Modified Ann White Table
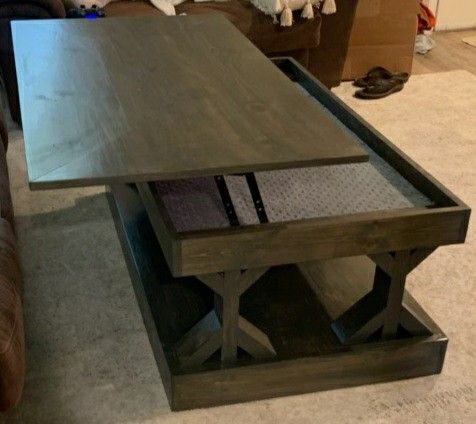
This is a modified version of your Farmhouse Coffee Table.
Built from Plan(s)
This is a modified version of your Farmhouse Coffee Table.
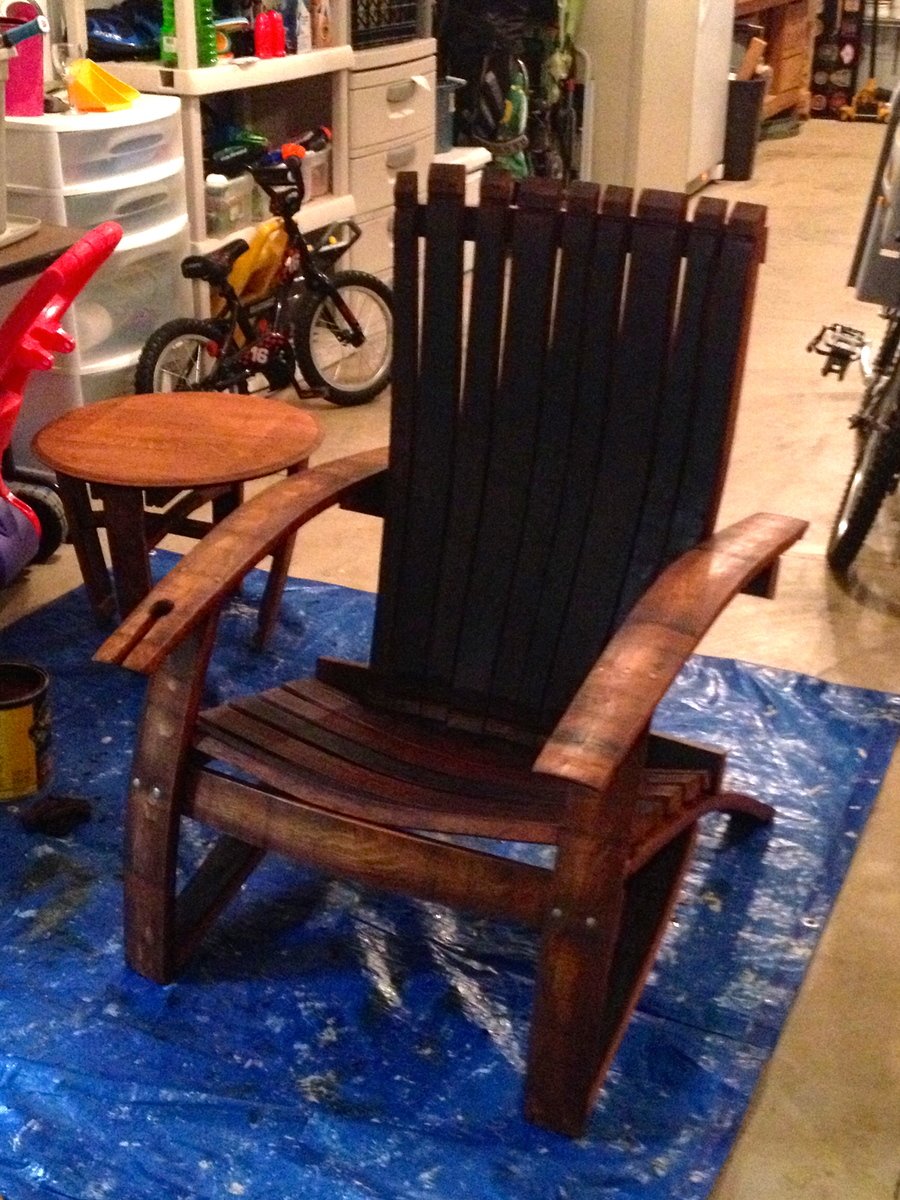
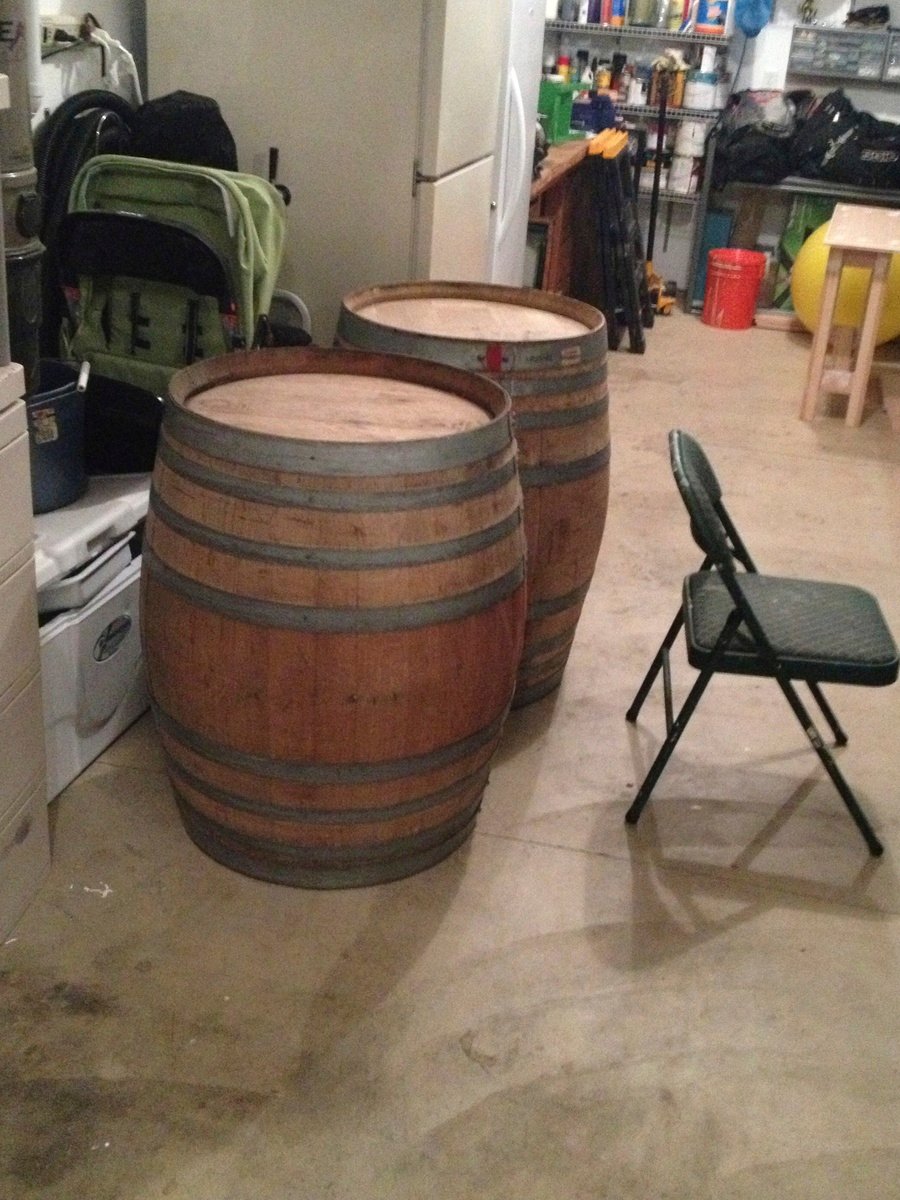
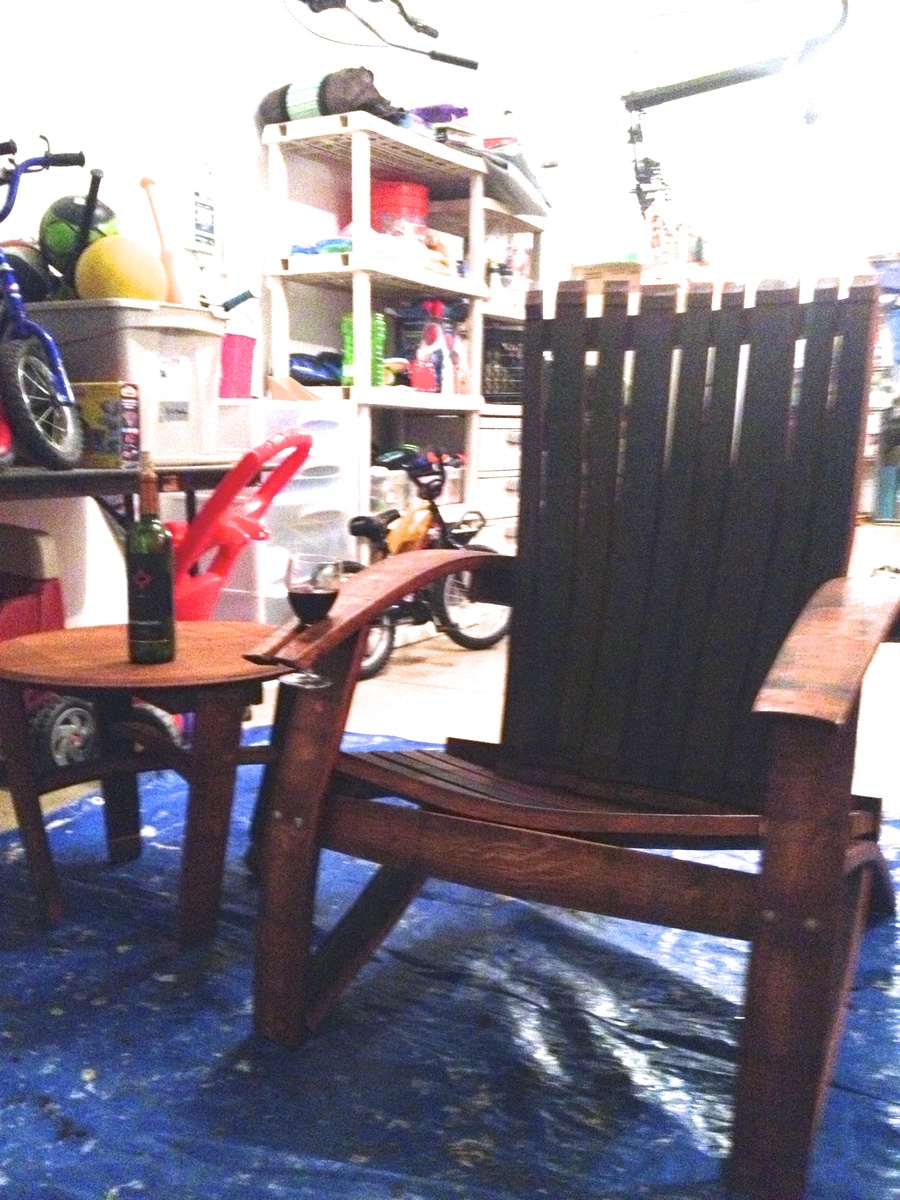
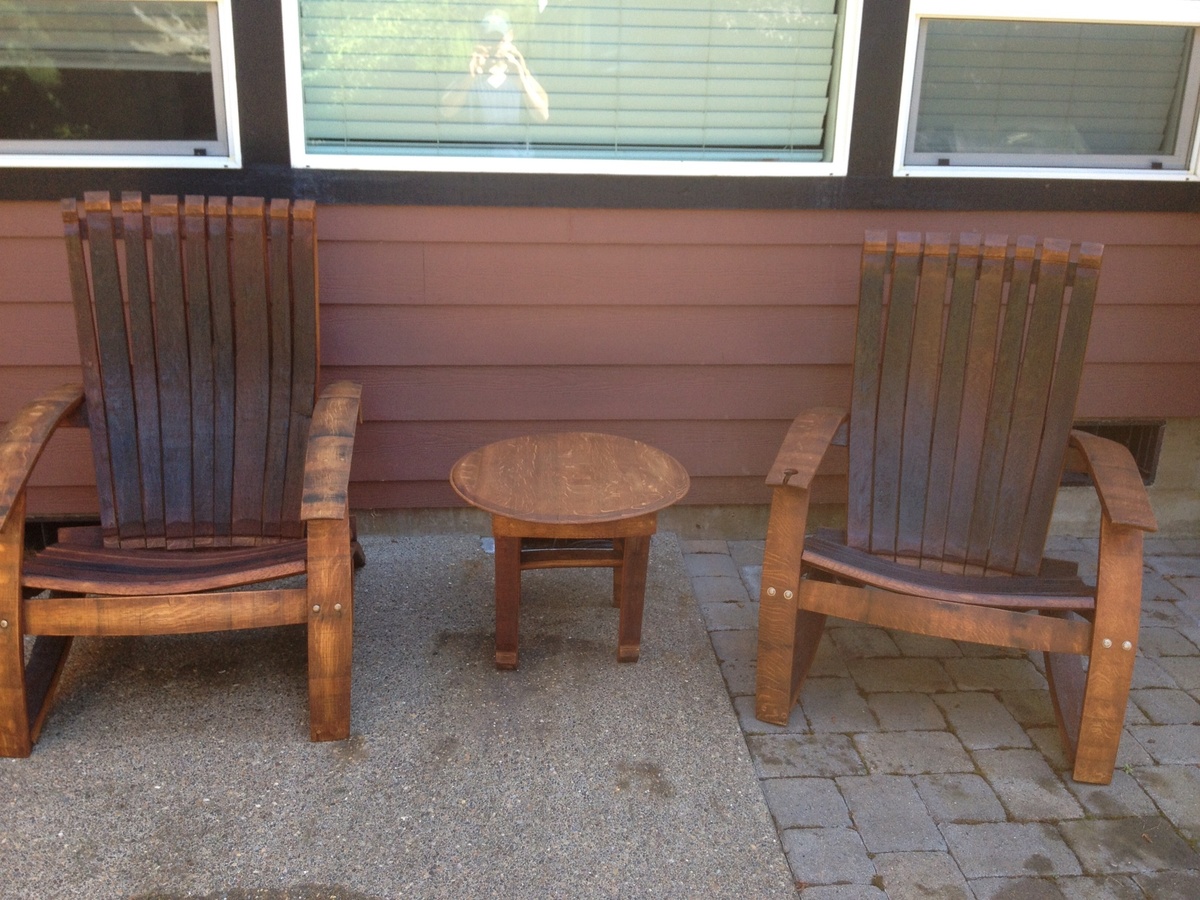
I got some oak barrels from a local vineyard and decided to try making some adirondack chairs. It was harder than I thought it would be, but well worth it!! The stain was a little darker than I thought it be, but it's rubbing off on me!
predrill, predrill, predrill, and learned a valuable lesson in predrilling, as solid wood under strain cracks easy when using 2 1/2" deck screws!
I need to whip out the nice camera and stop using my cell phone for finished products!
Sun, 07/21/2013 - 19:45
I did have some plans, which made it easier. I didn't use them as designed i.e. tracing, and I also altered the plans some to my liking. I got the plans for 15$ from here: http://www.gcwoodworks.com/Wine-Barrel-Adirondack-Chair-Large.htm
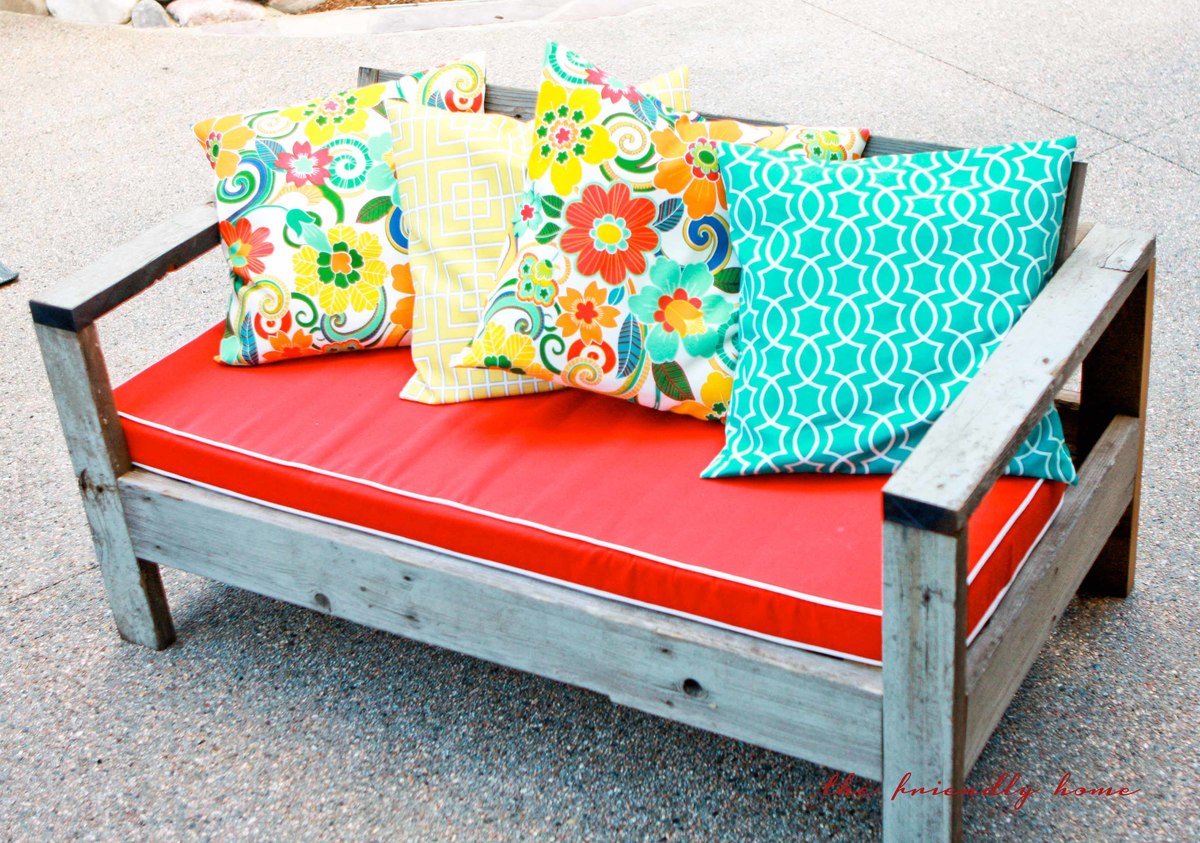
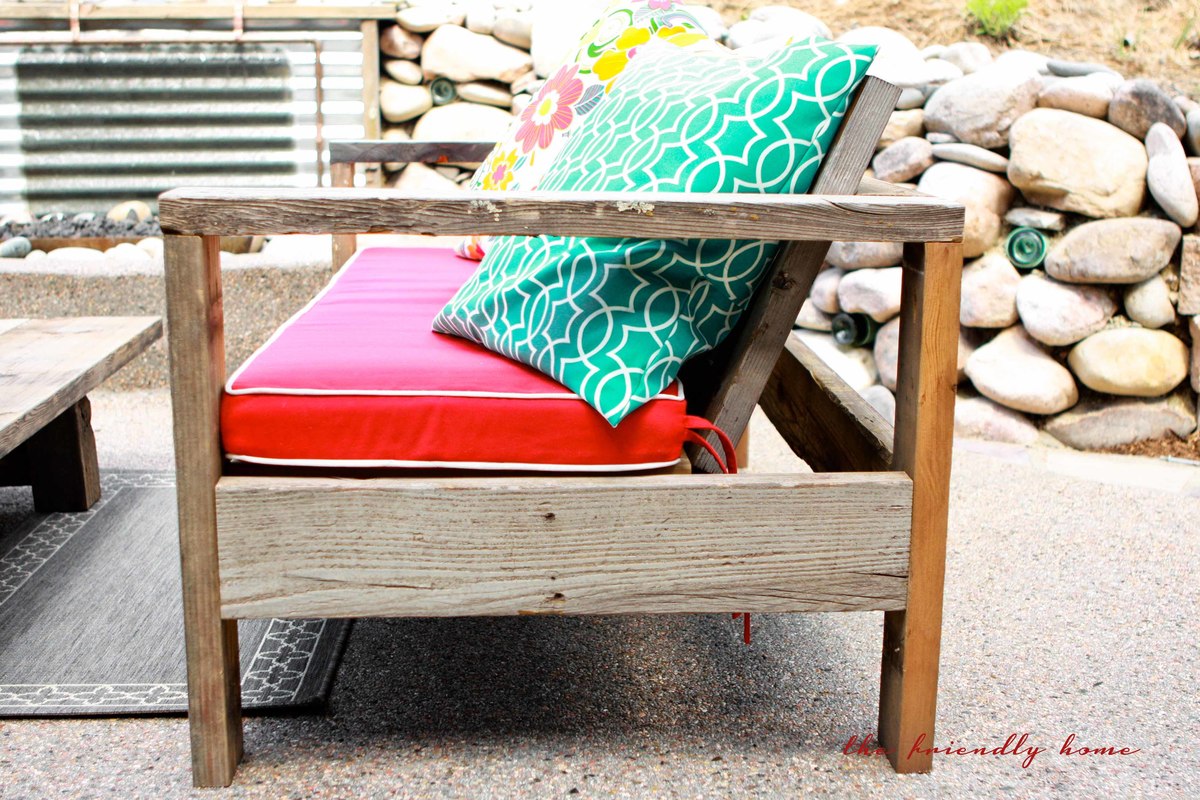
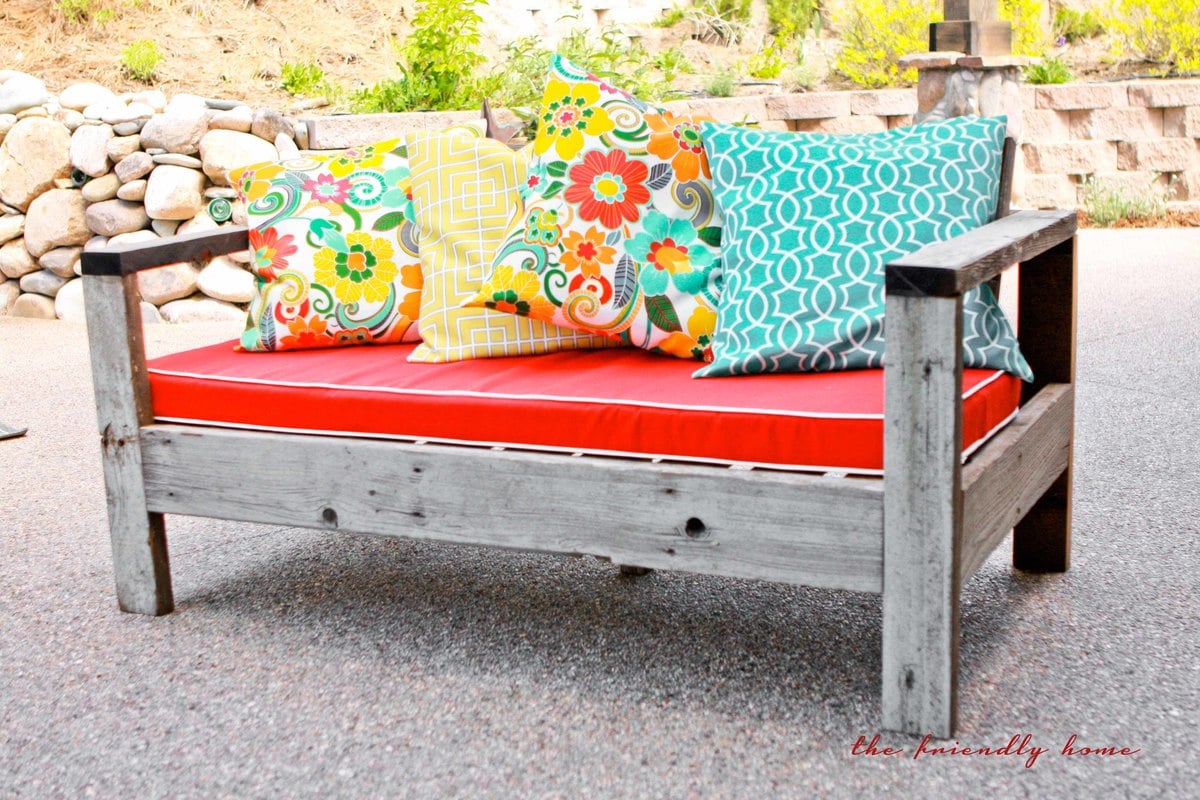
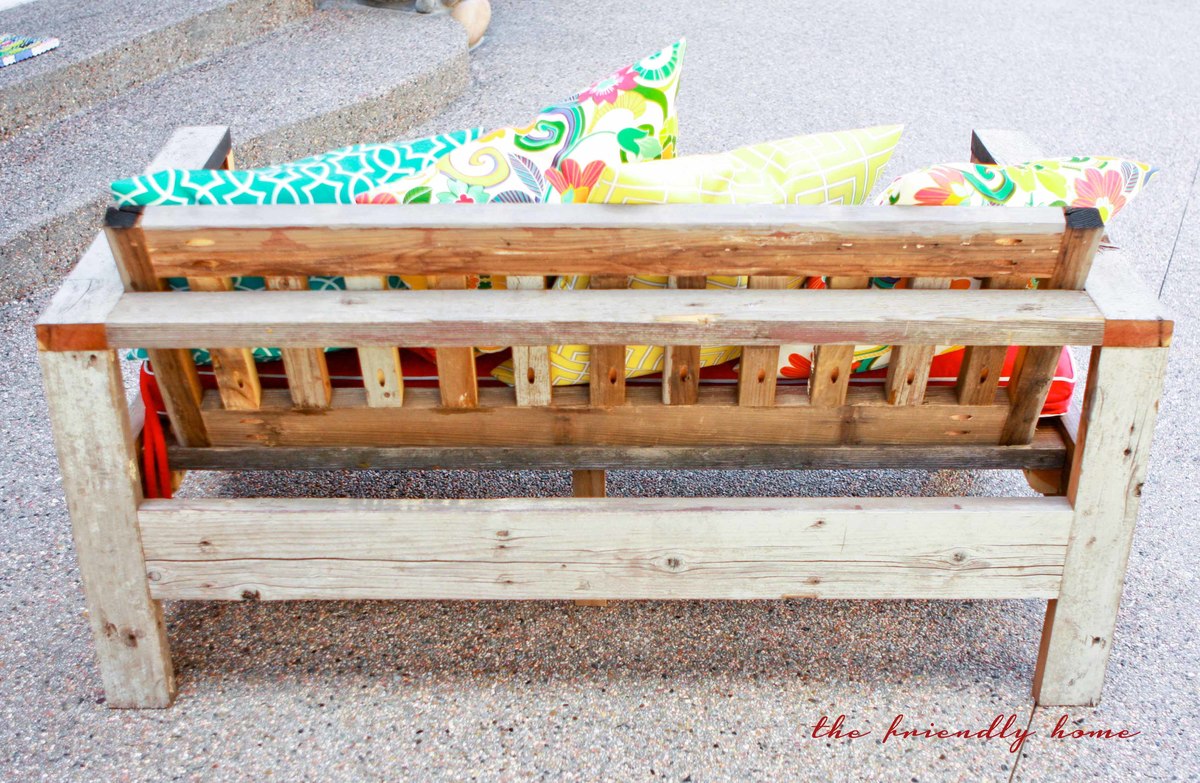
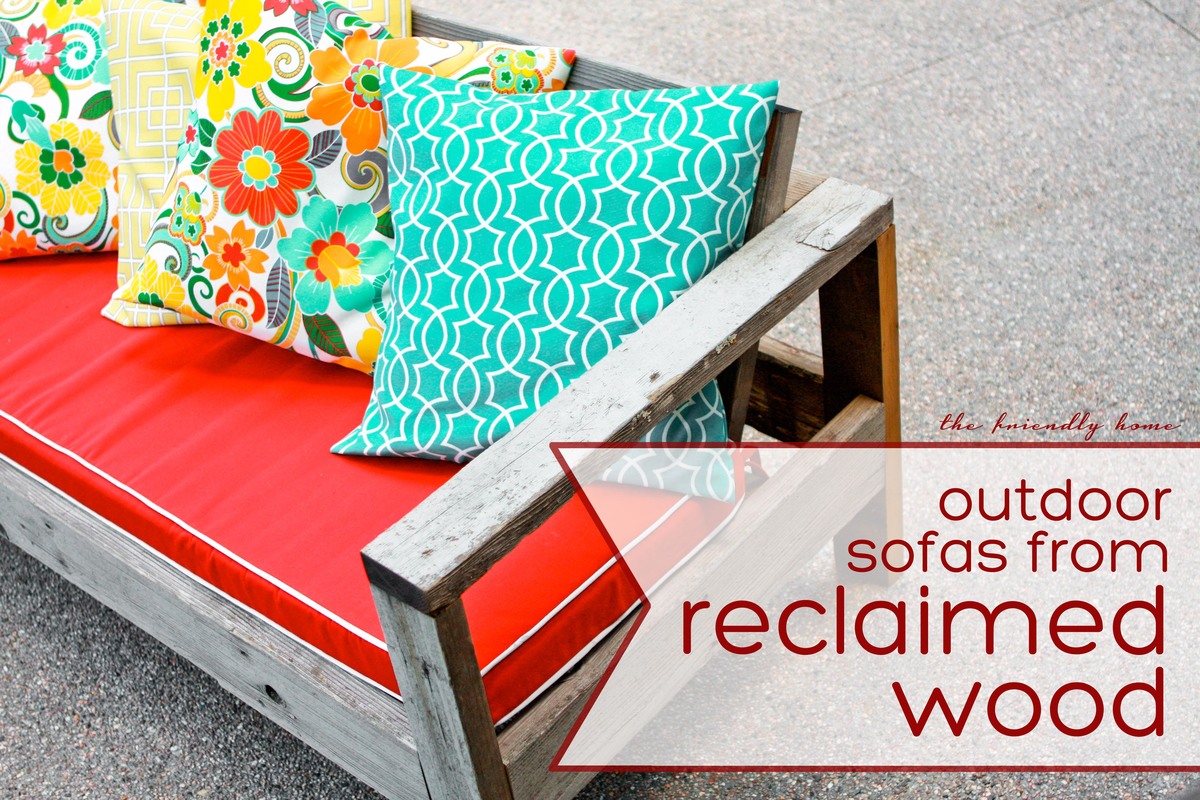
Using Ana's plan as a guide, I built two of these sofas to fit an outdoor cushion I already had. I used wood from our old deck -- a great way to re-use and save money, too!

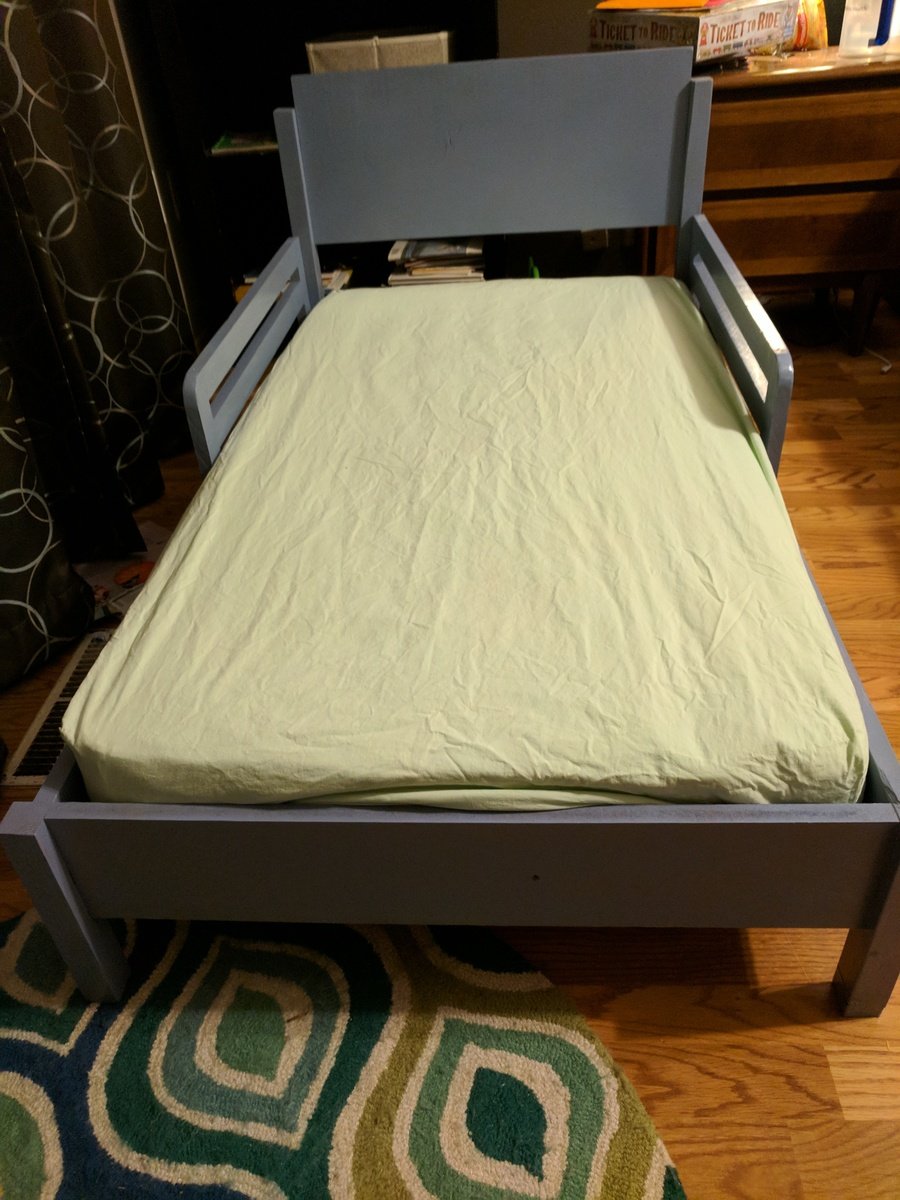
I made a loft bed for my 4-year-old son using Ana's Chelsea Loft plans. When I finished, I was able to build this toddler bed for my 1-year-old using almost entirely scraps left over from the loft (save for the 1x6 runners). I skipped the curved headboard design and went with a solid piece of 1x12. I was going to round the top edges or cut a more rounded design, but my wife said she liked the squared off look better (she has lots of ideas for painting various designs on it, apparently). Since we were going to use paint and not stain, I ripped some leftover MDF board for the 1x6 footers. The whole project took a single afternoon, including cutting, assembly, woodfill and sanding. The end result is pretty sturdy. My wife laid on it with both our small children and the slats hardly bowed at all.
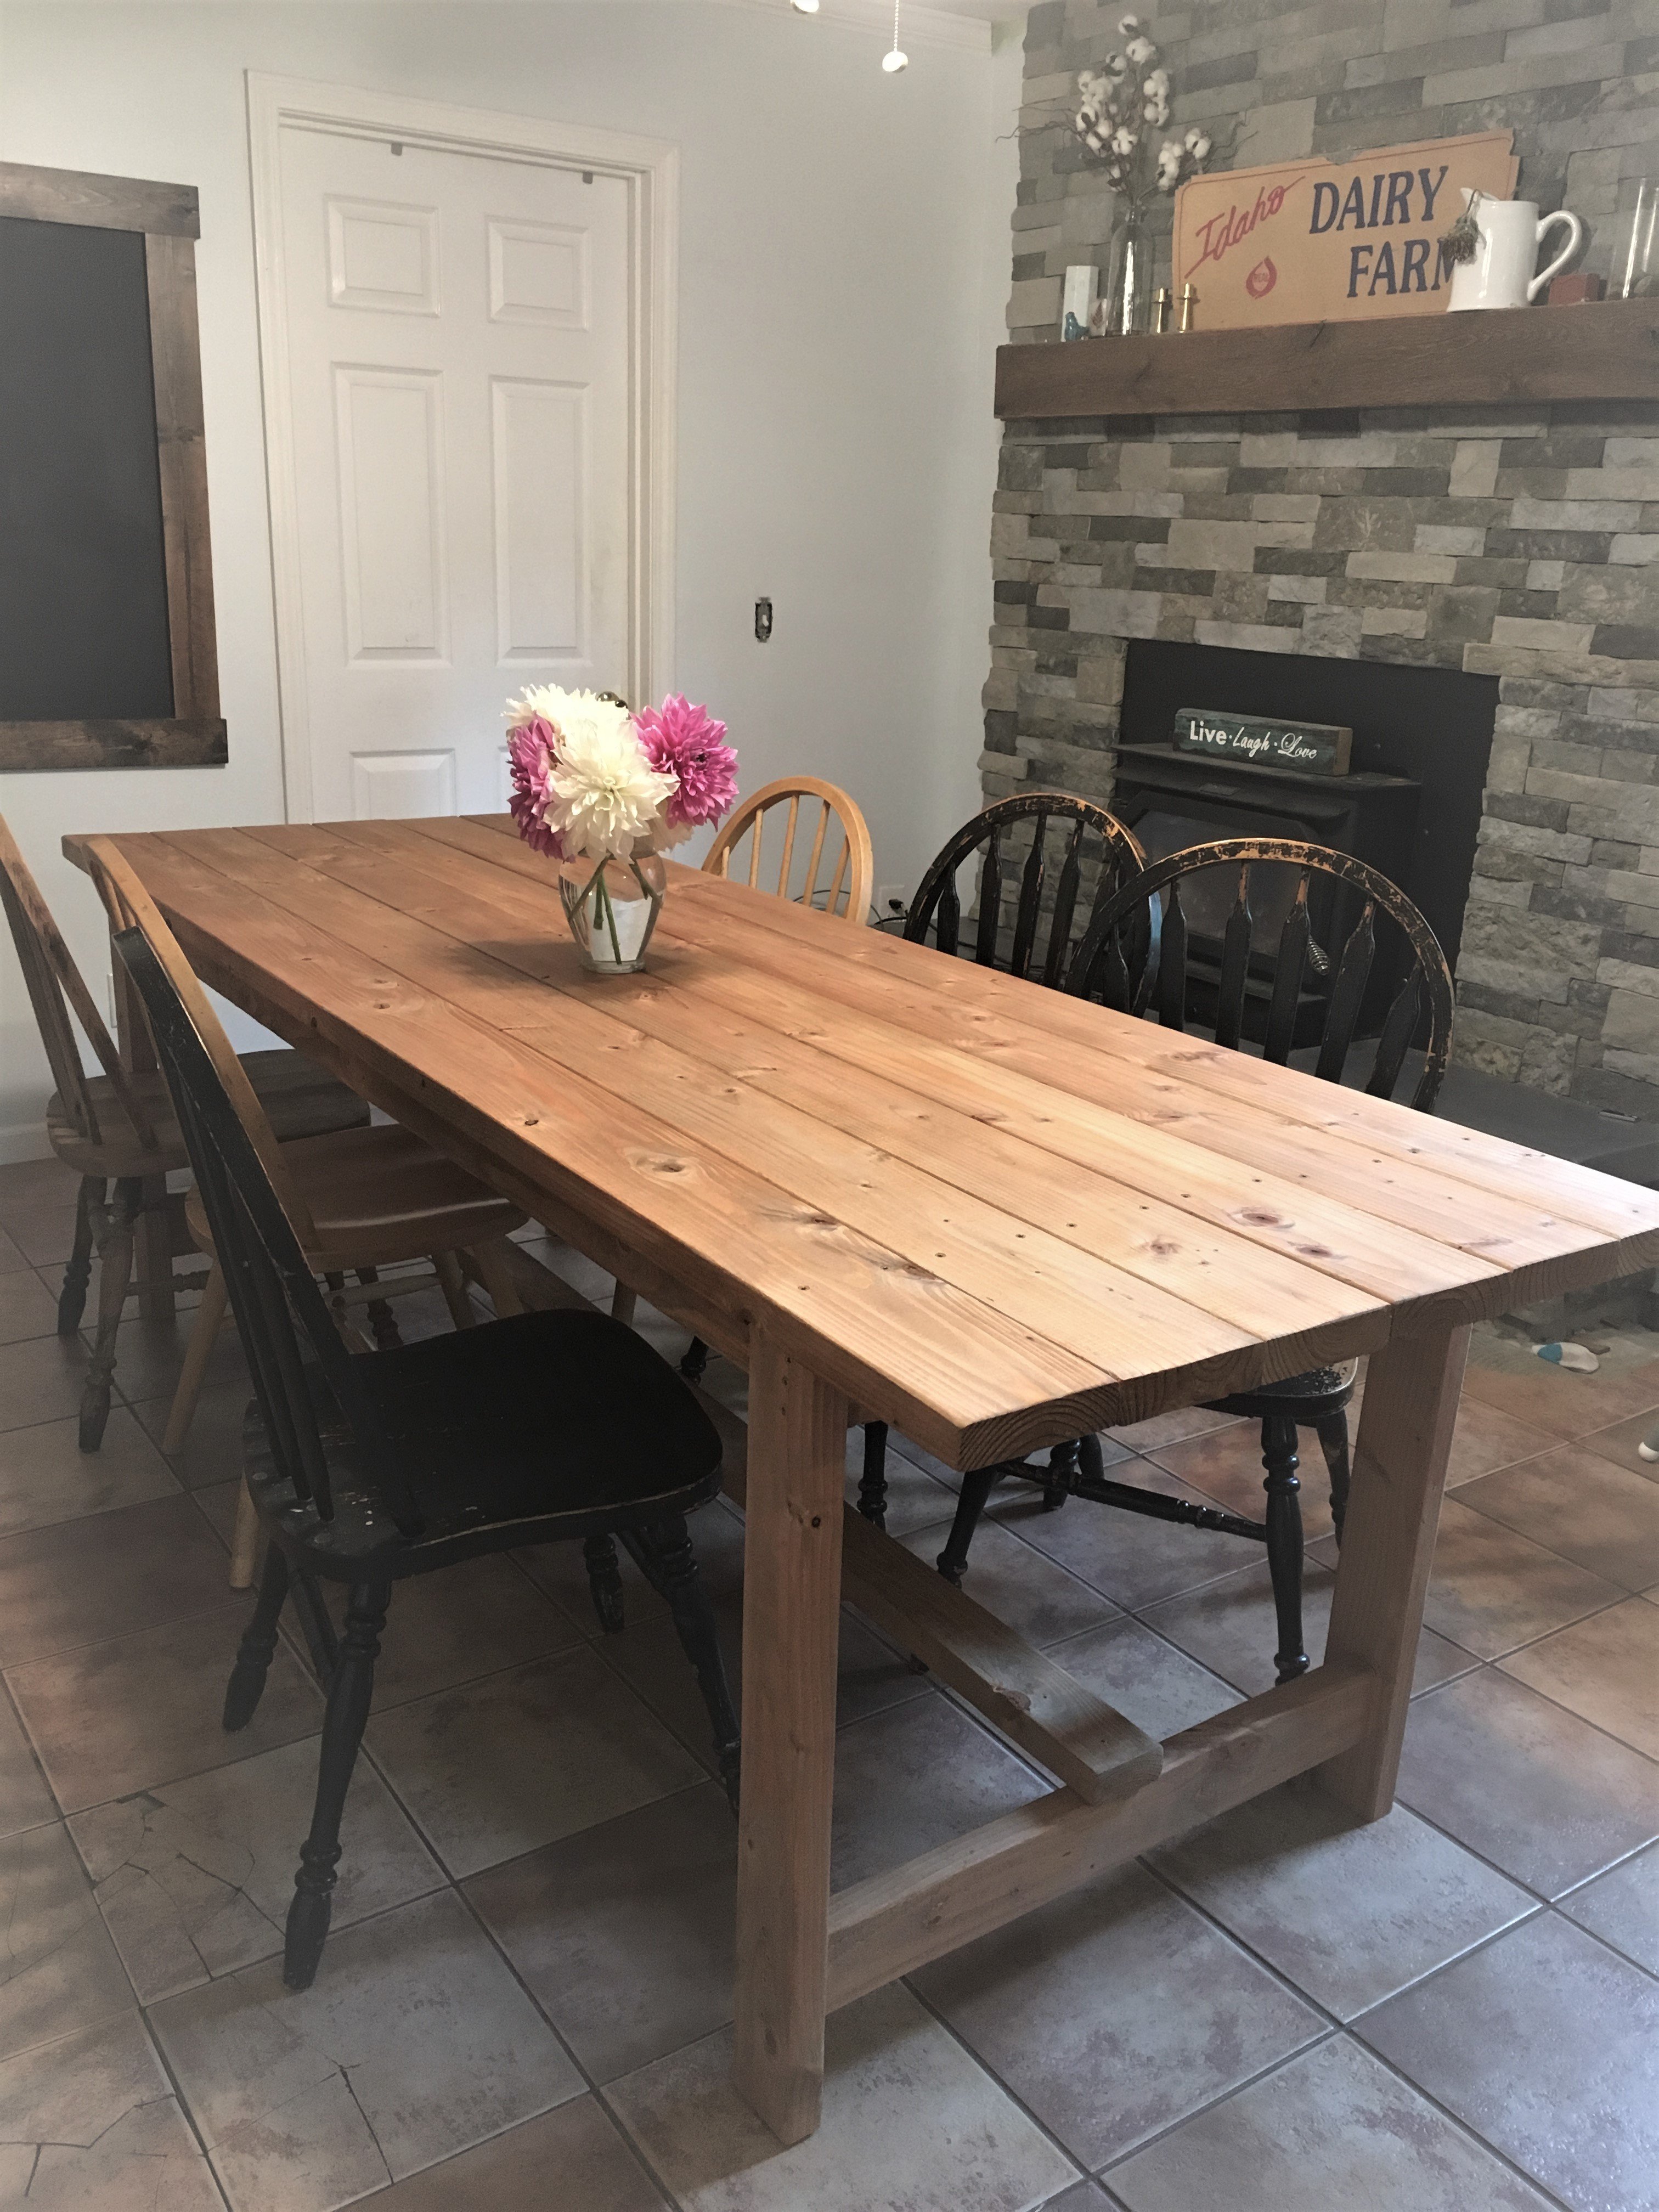
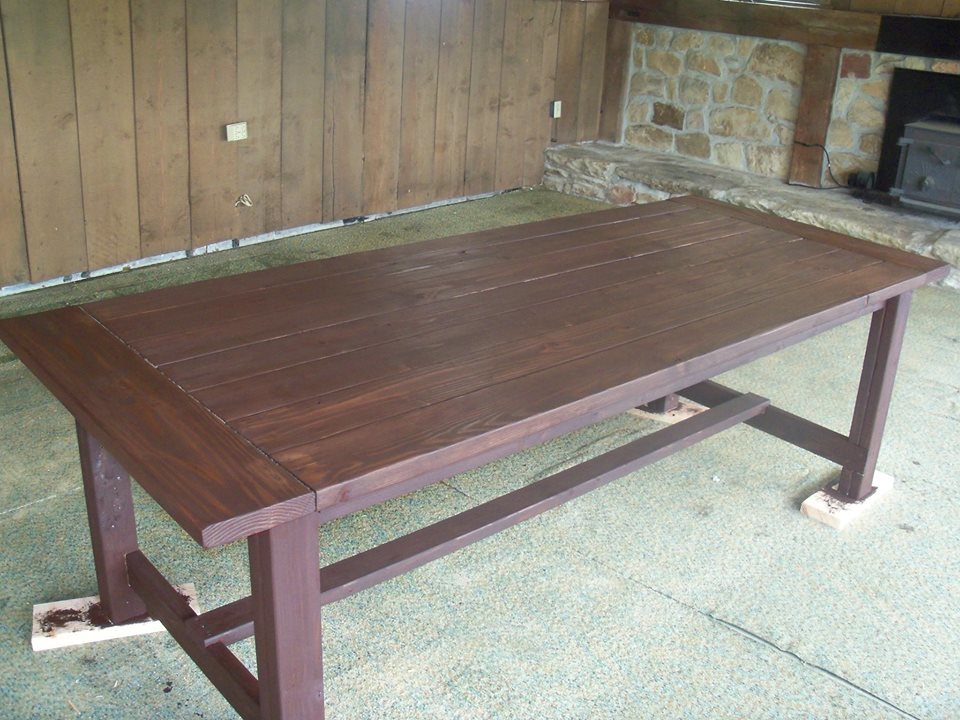
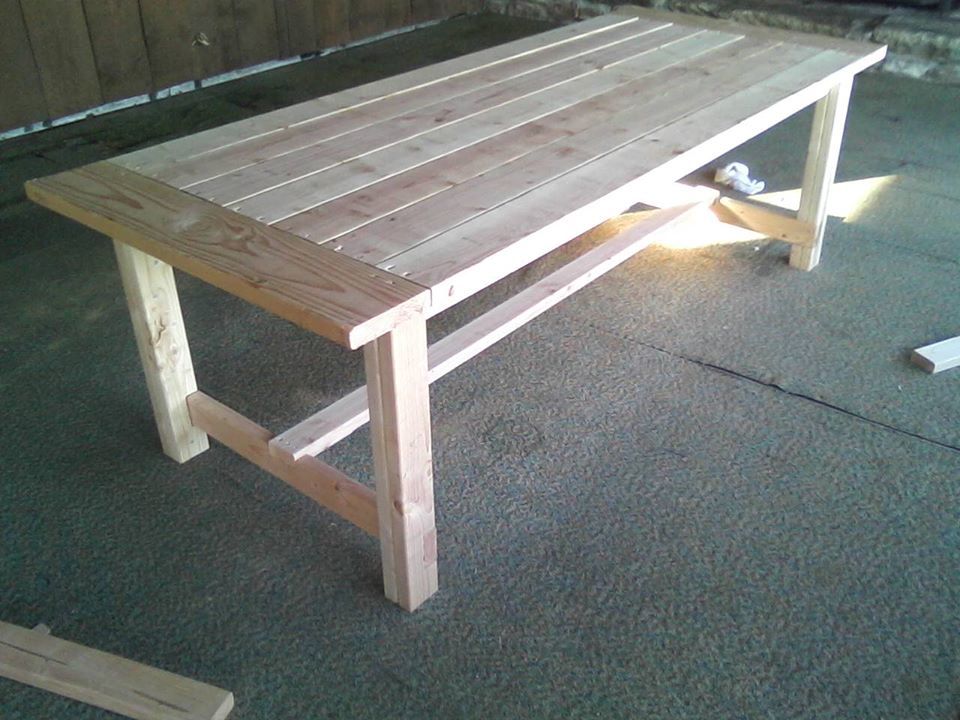
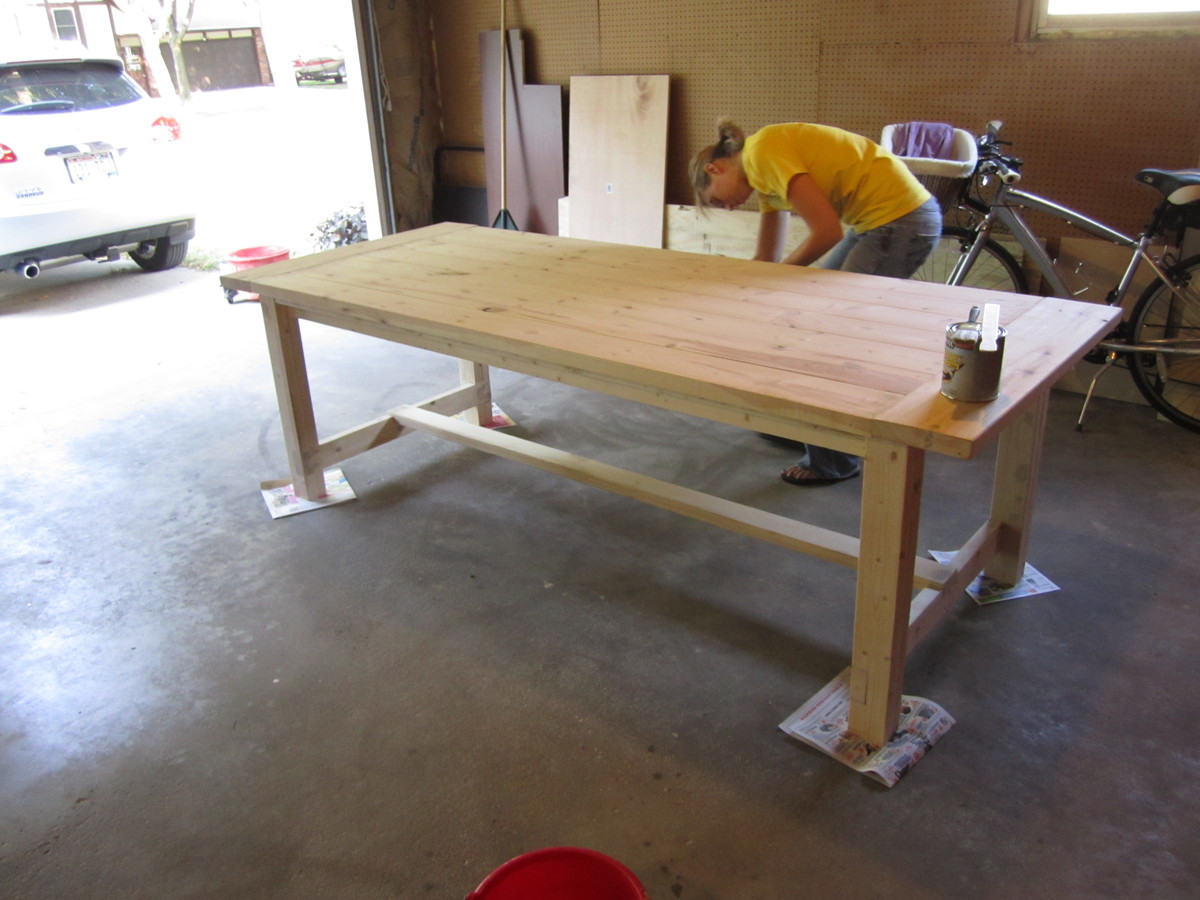
I saw this super simple farm house table plan on my Facebook feed from Ana and I just had to do it !!$50 in lumber a Saturday afternoon and I was done!!!! Followed all her tips and it turned out great
First bench to match the Farm House table I have built. Istill need to finish my table now to match the bench.
My first project built on the garage floor. Before I had work benches :)
I used a borrowed mitre saw, borrowed jig saw and a $20 drill.
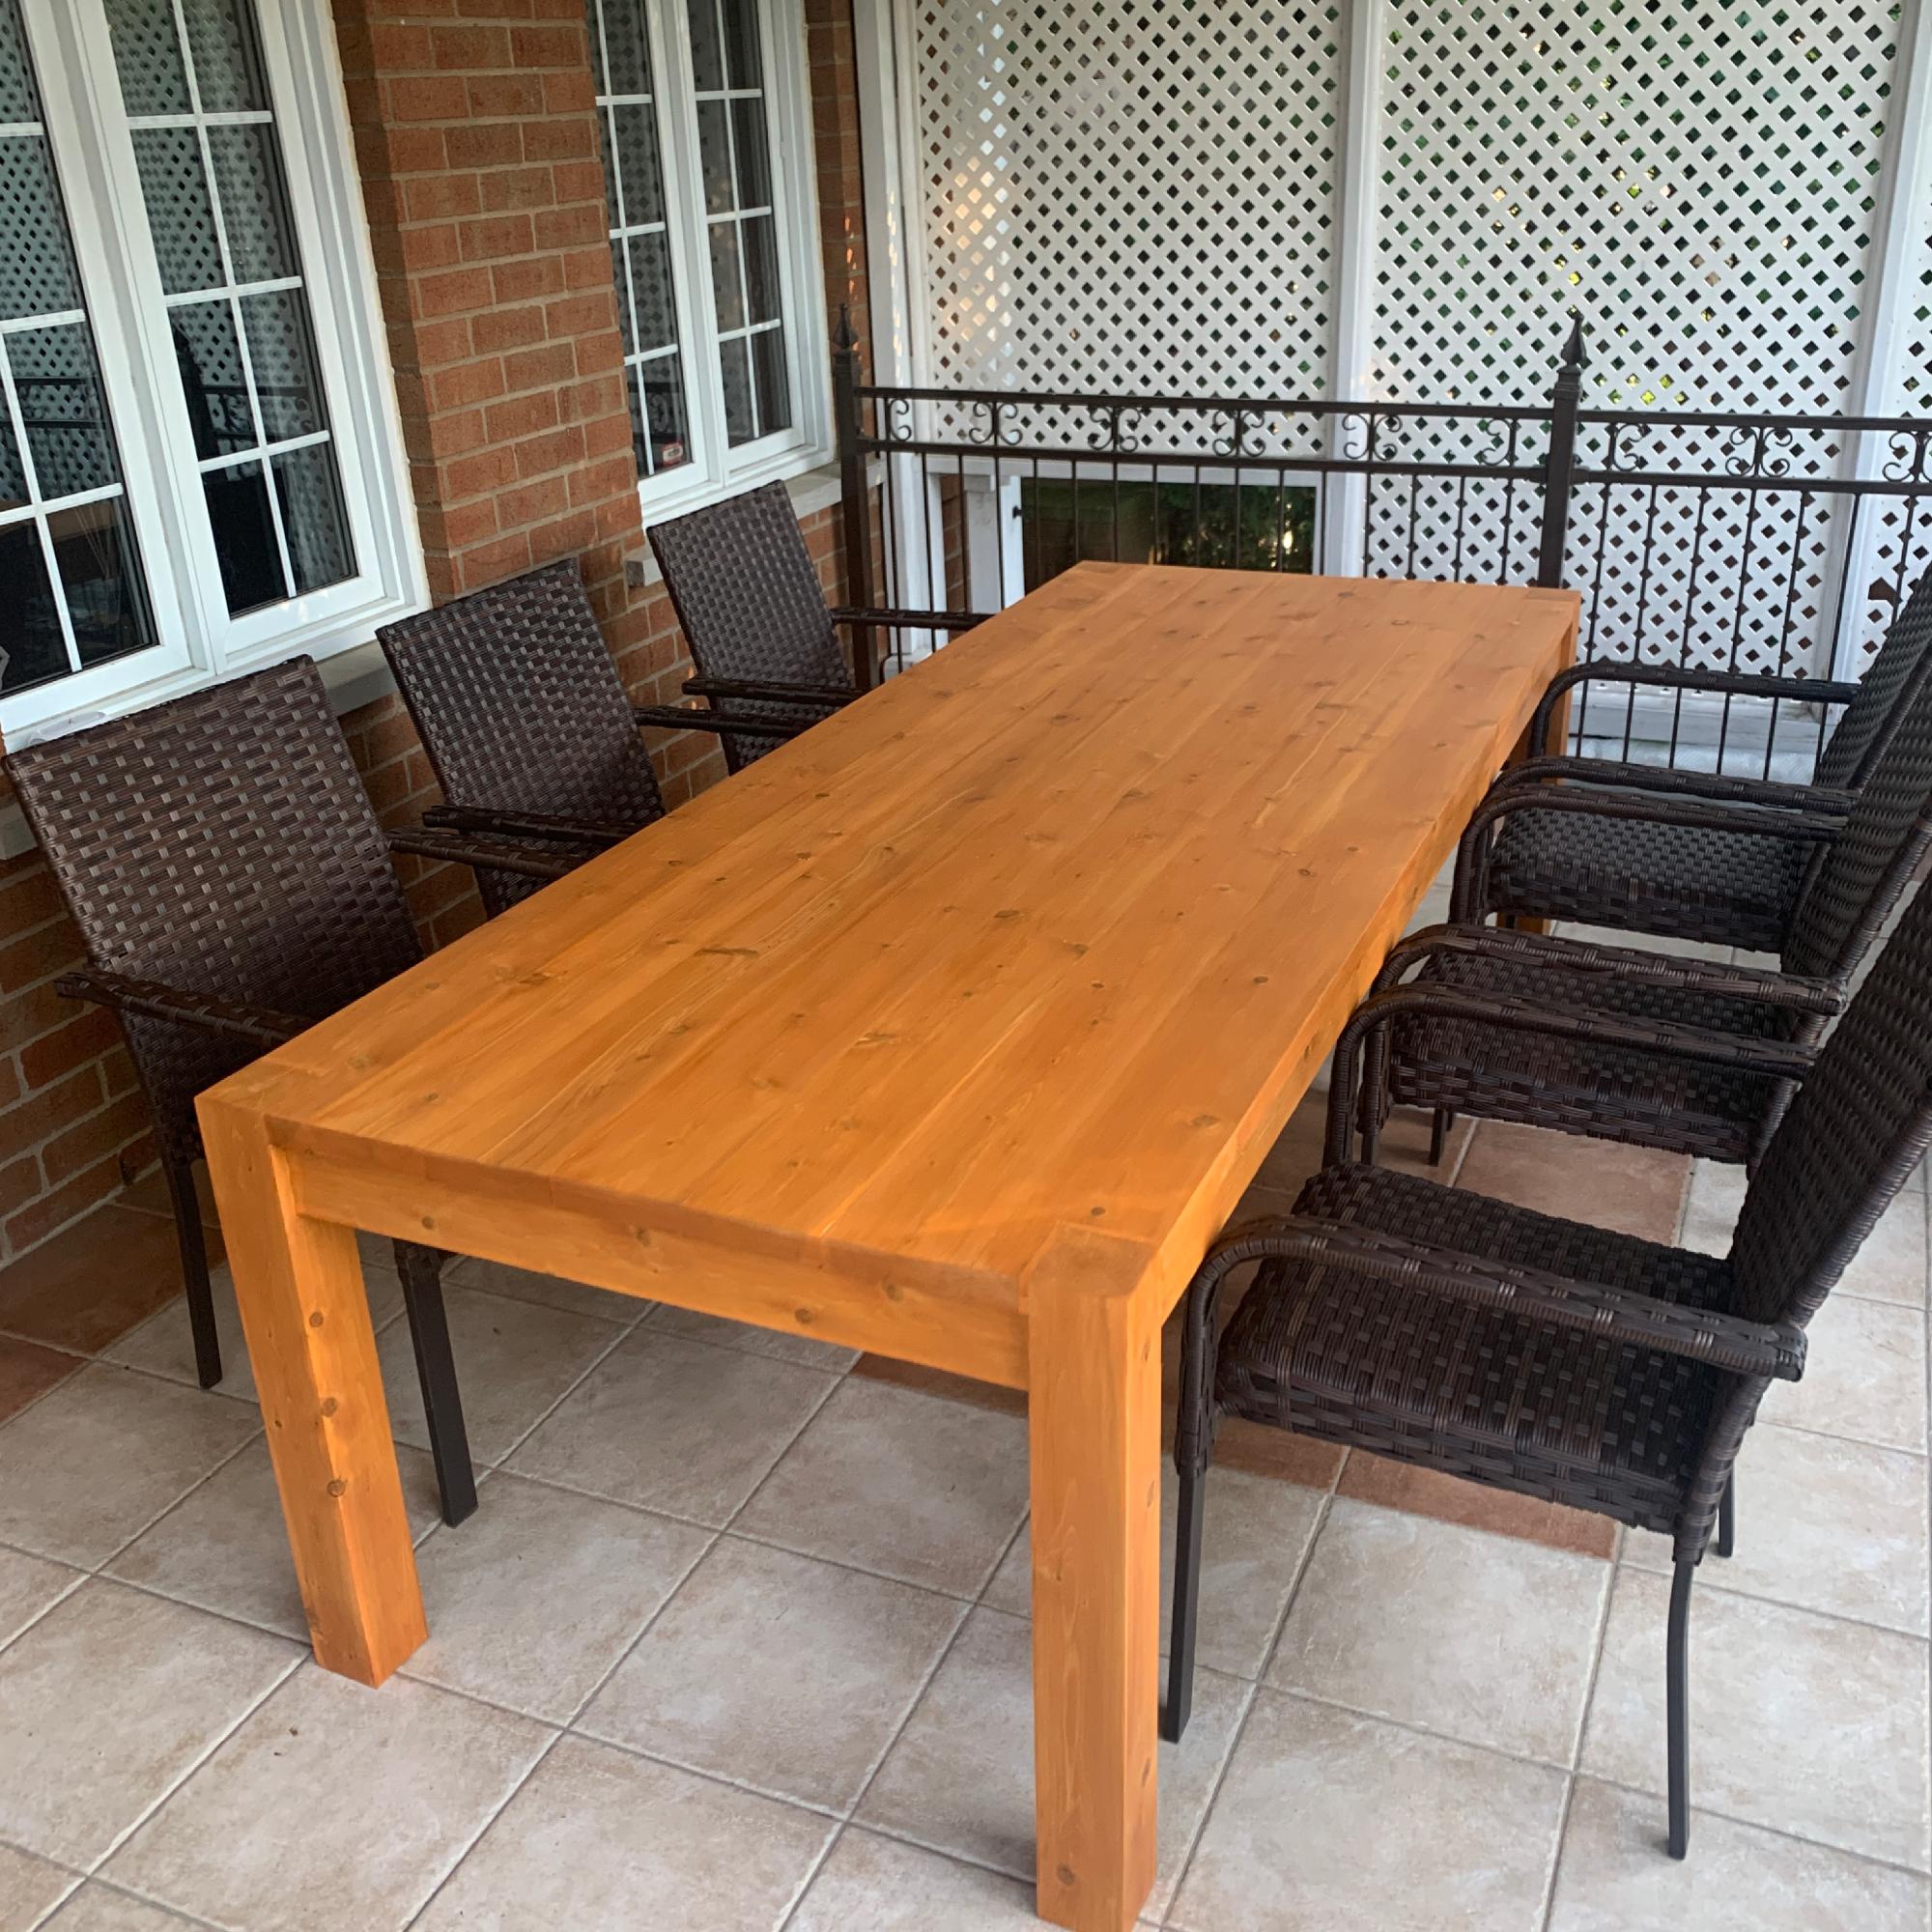
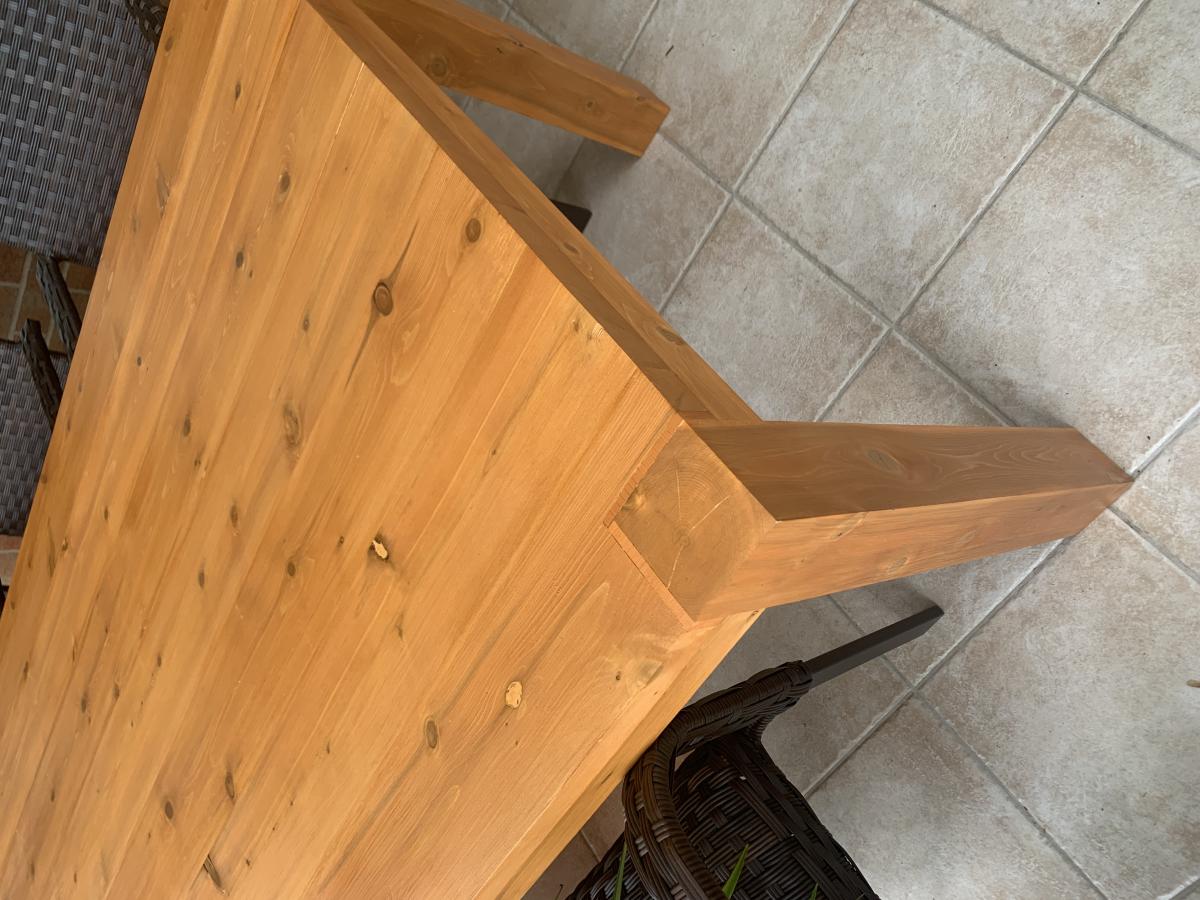
My version of the Simple Outdoor Dining Table
- All Cedar
Made this for my wife for our anniversary!
Check out a video of the project here: http://www.youtube.com/watch?v=3eyroIH517A
Check out more great furniture through All Garden Benches: http://www.AllGardenBenches.com
Thanks for the plans!!!
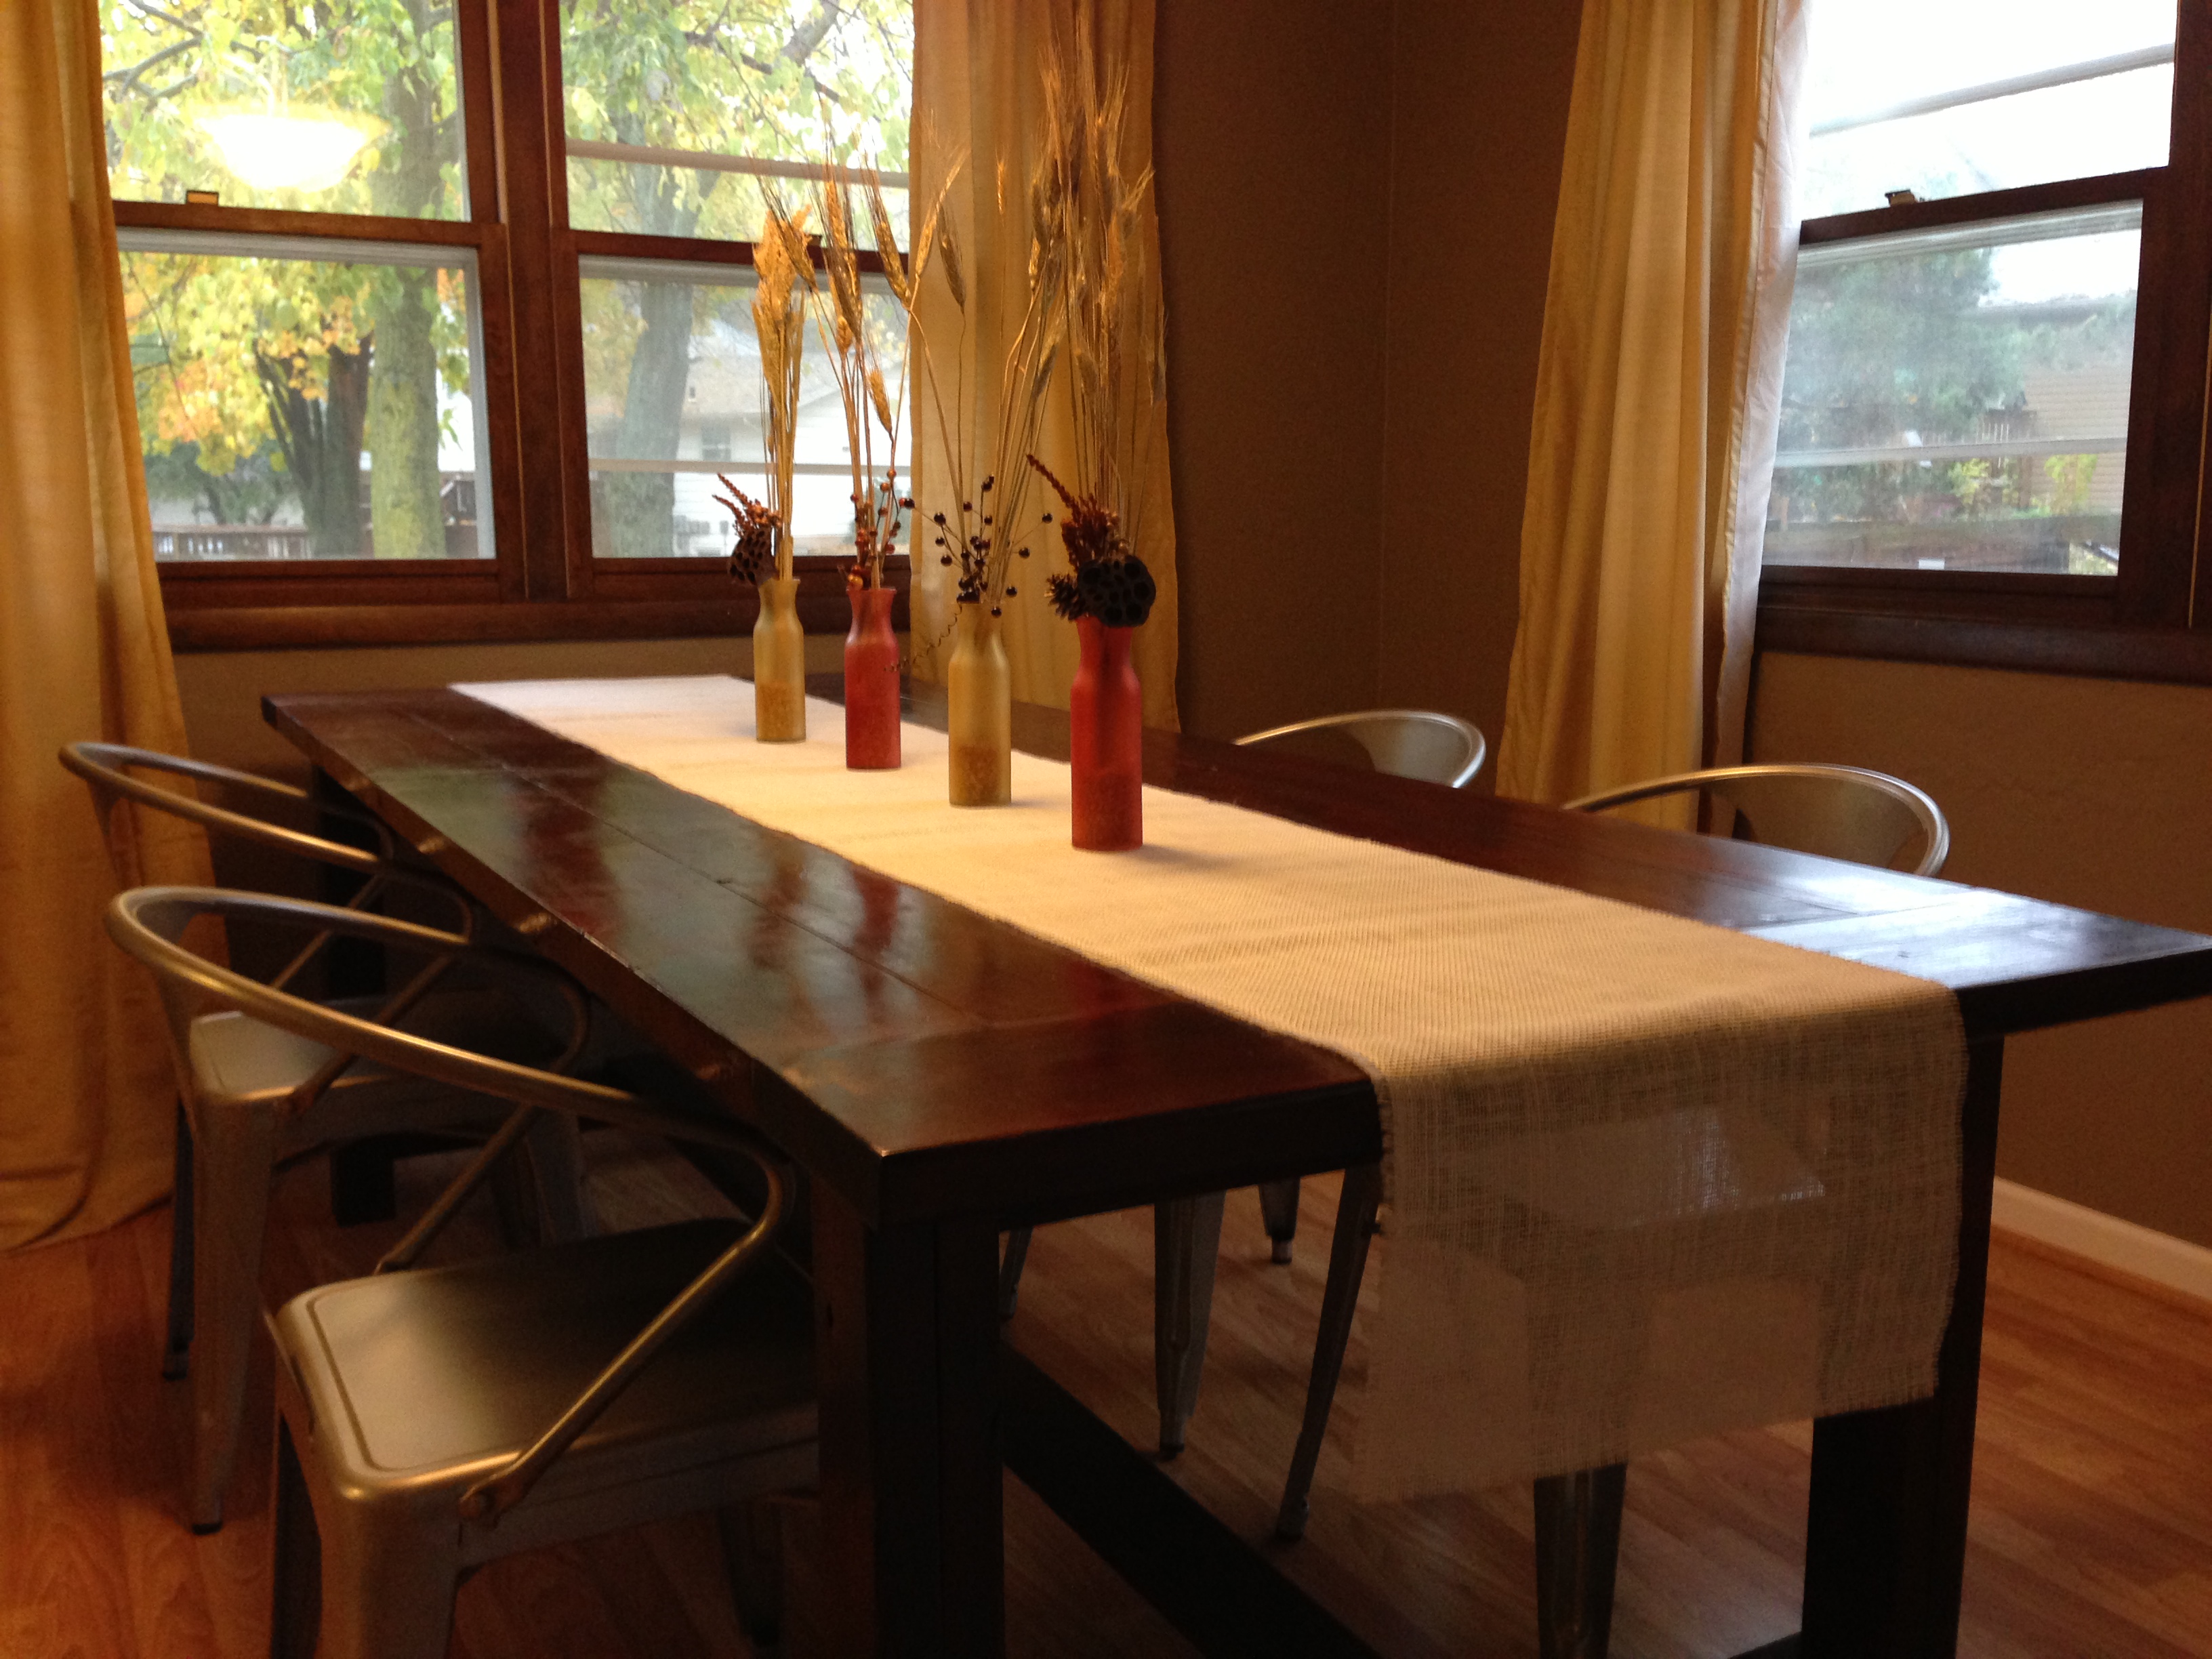
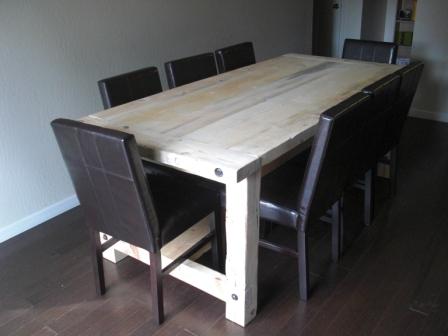
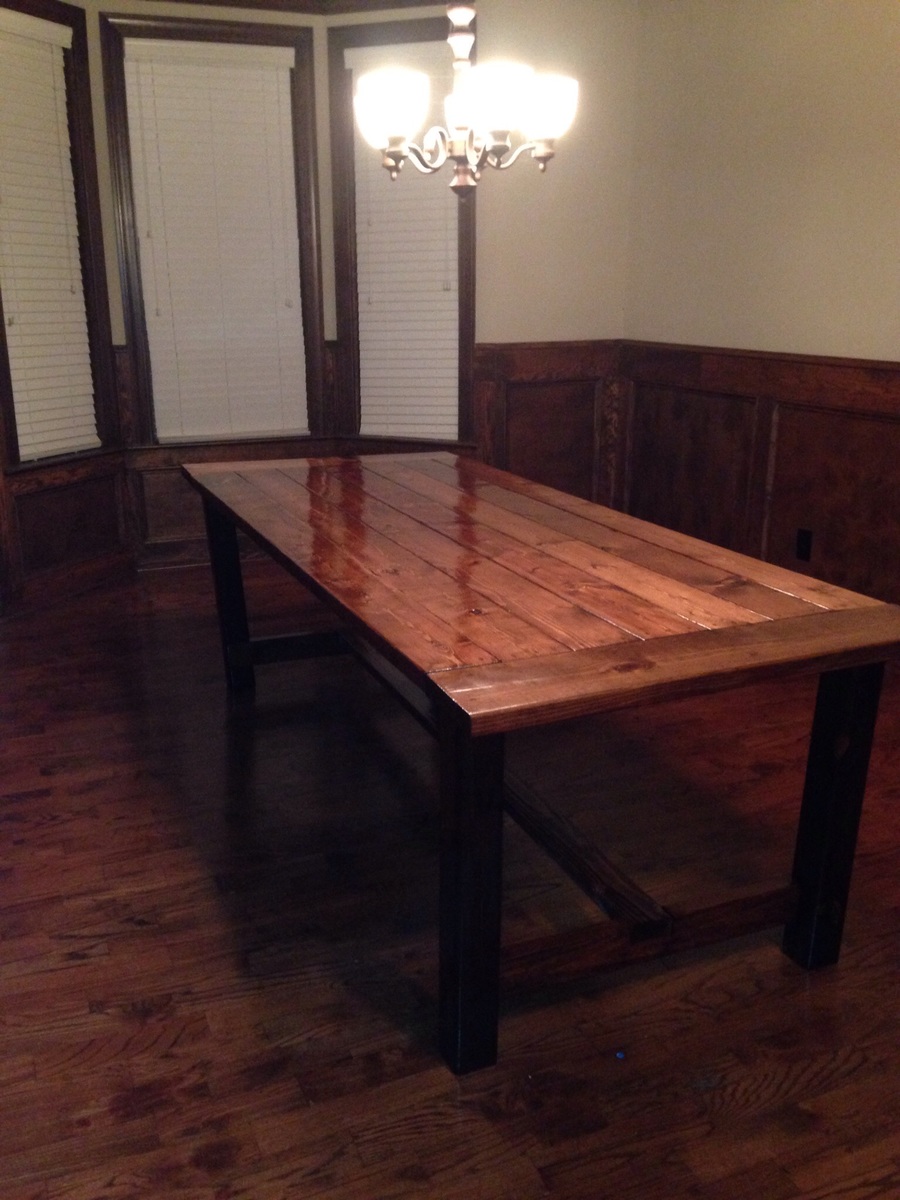
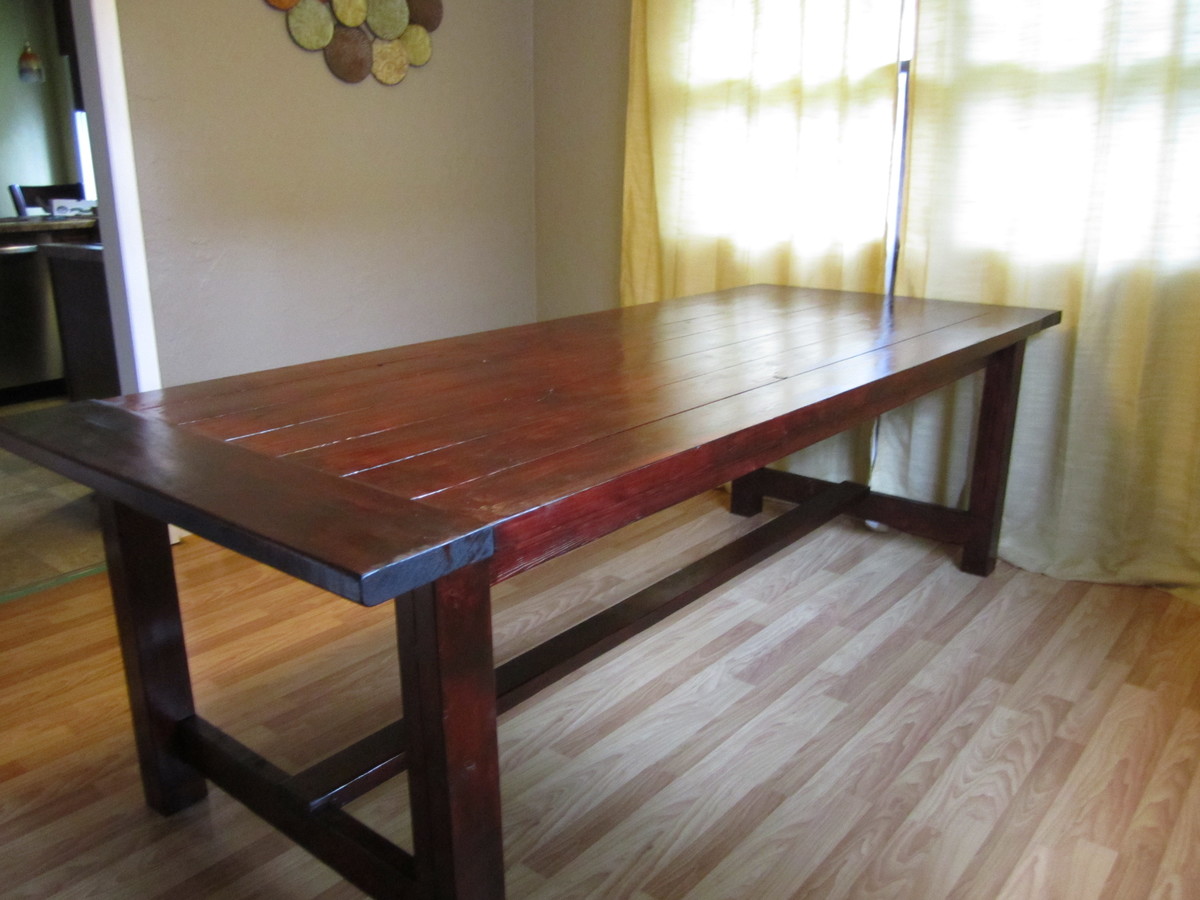
My husband and I used Ana's plans to create this BEAUTIFUL farmhouse inspired table for our dining room. The project was straightforward and we are EXTREMELY happy with the results. We added a touch of modern to the table by purchasing metal chairs from overstock.com. The table is perfect for family get togethers and even more important...family game nights!!
Mon, 07/01/2013 - 06:15
We used the "select" pine boards from Home Depot..which are a bit nicer than just the ordinary ones. To make the table top level we used a level to be sure that there weren't any major bumps...then once we had the top secured we sanded it to make the boards flush to each other. Hope that helps! Thanks for you comments!
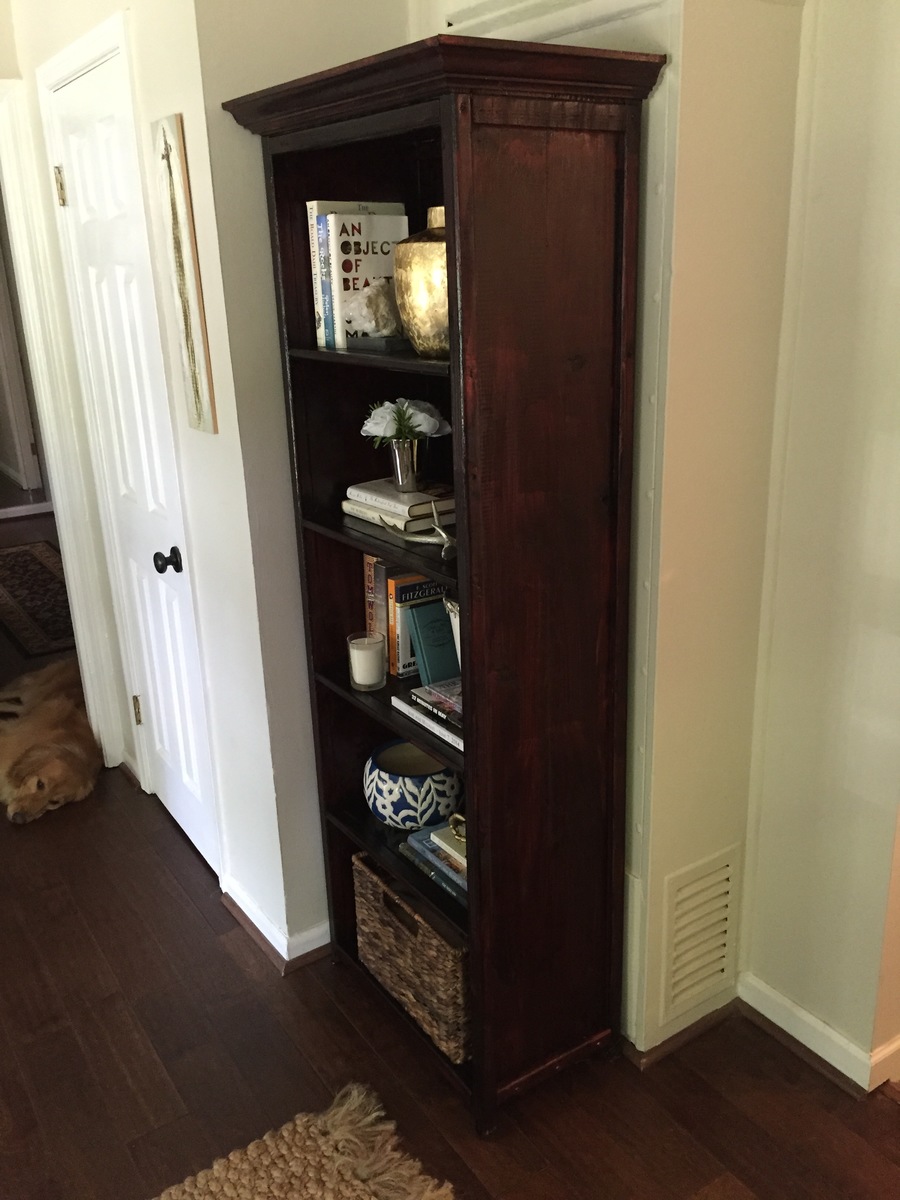
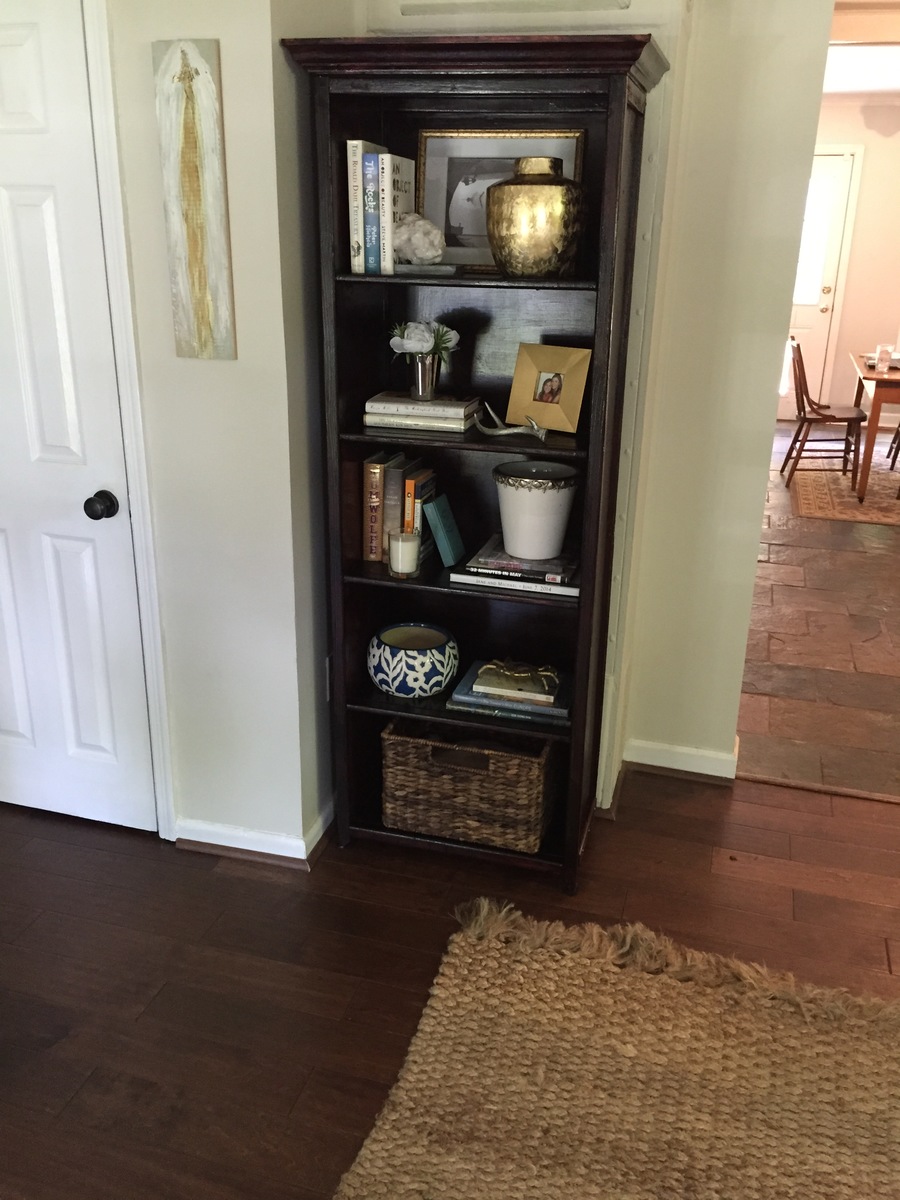
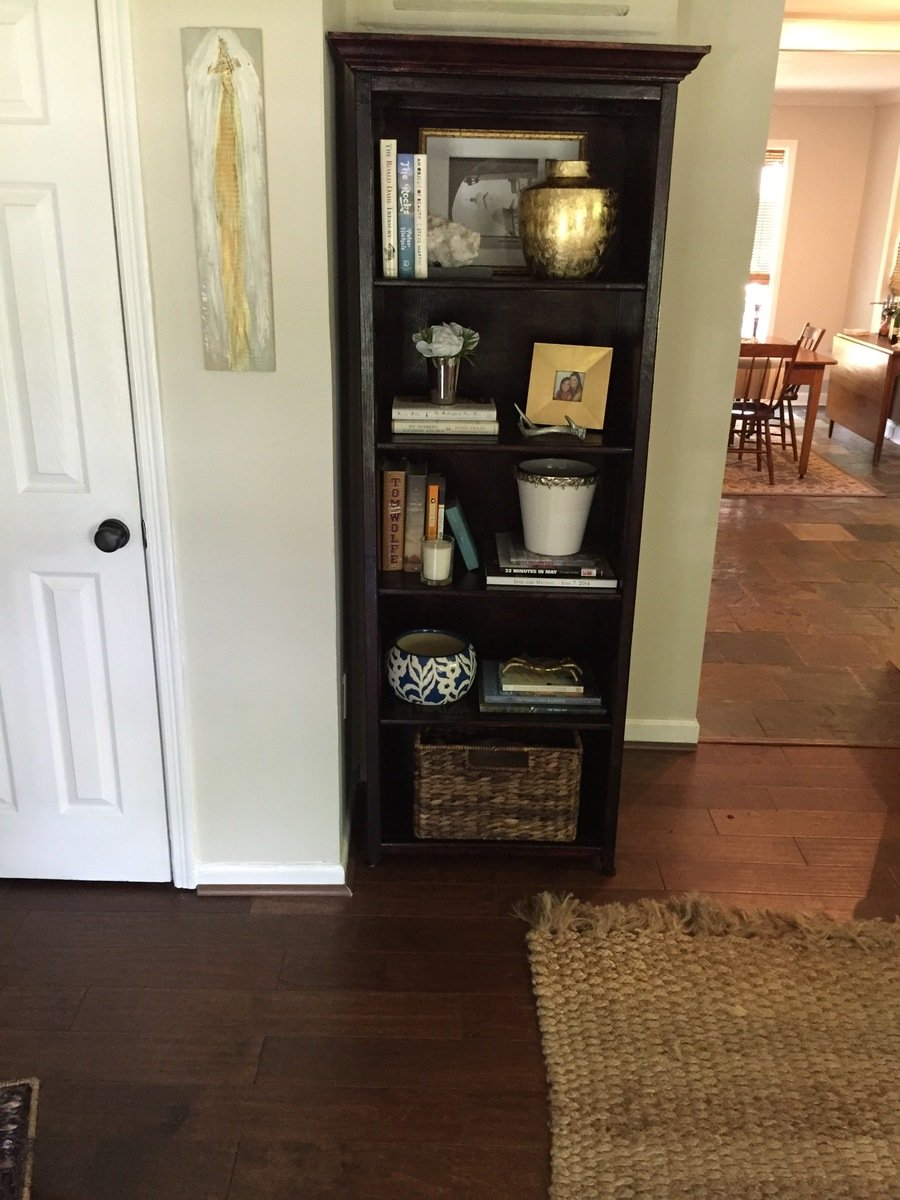
We needed a bookcase to fill a void in our living room and this was it. I altered the dimensions to increase the height to 72.5". I also added crown molding to the top which turned out nice. I used the same Bombay mahogany stain suggested by a previous post.
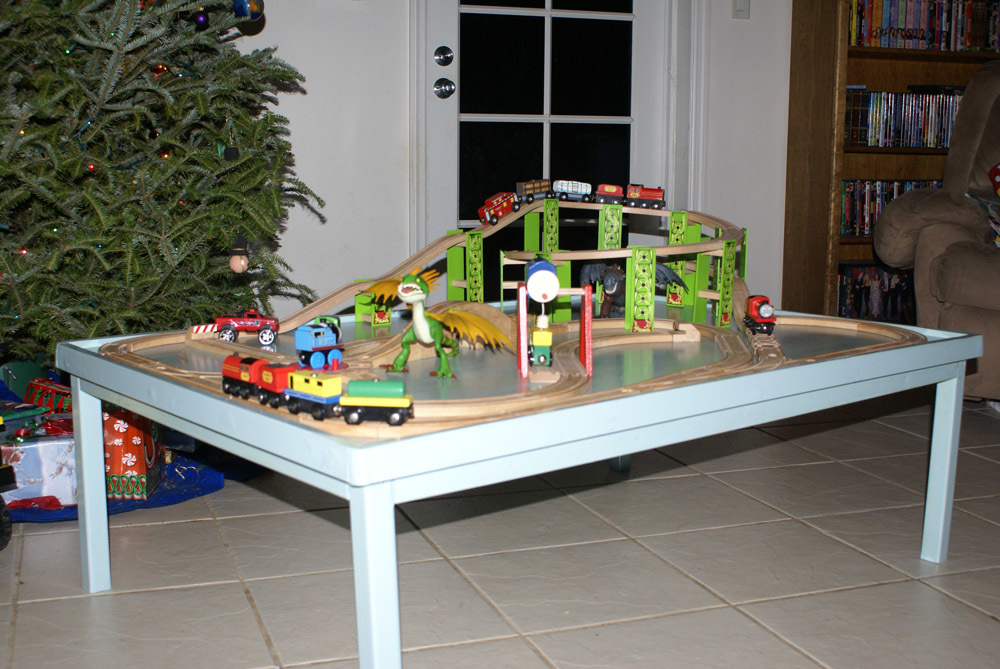
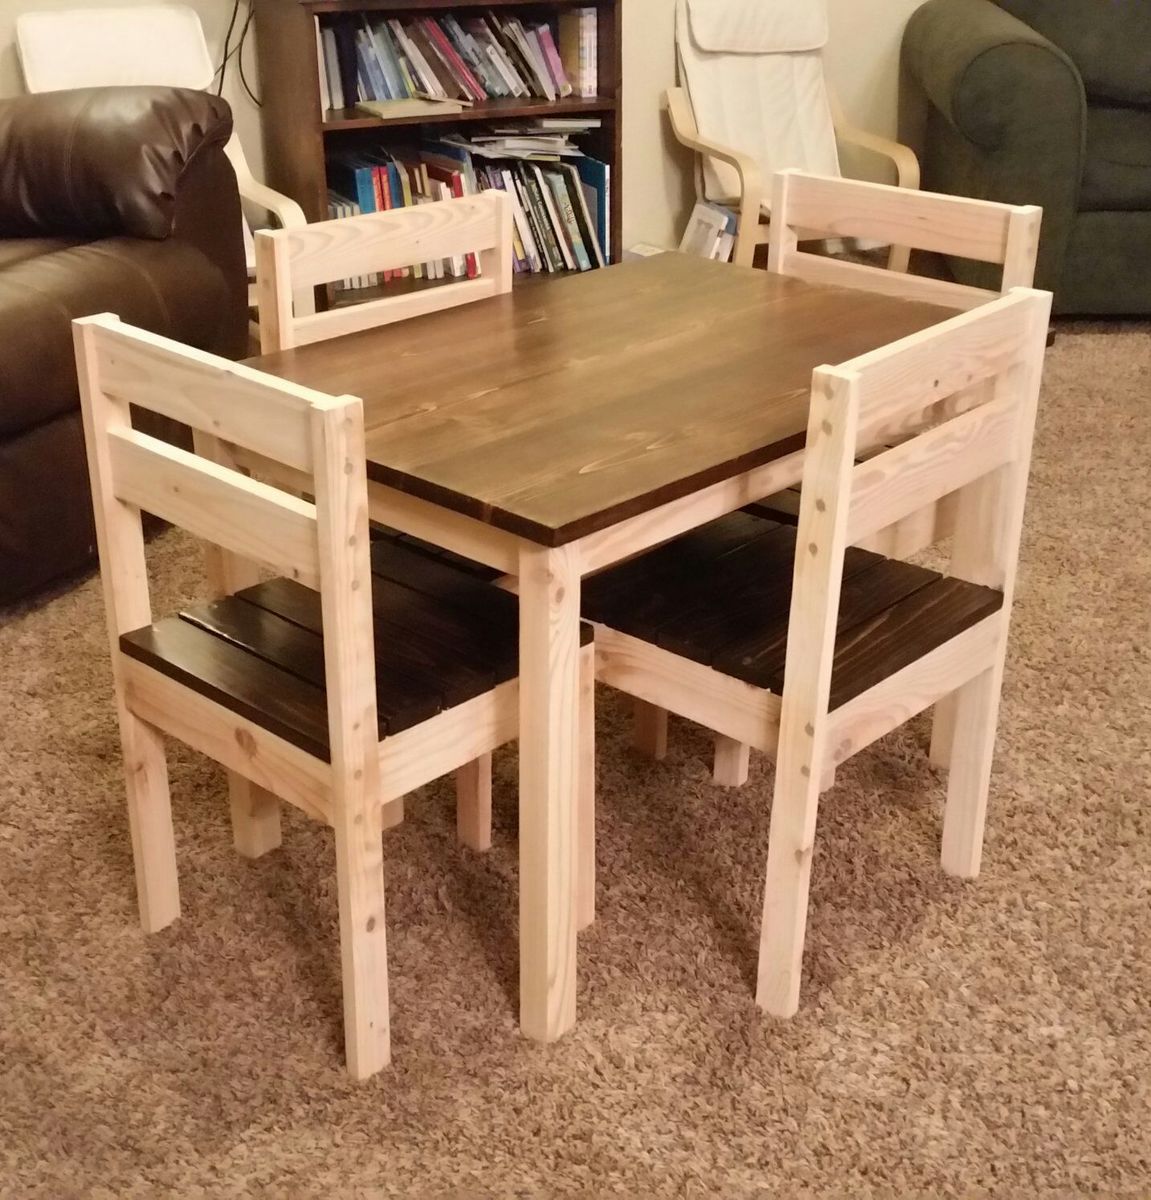
This was my very first "Ana project"! It was a special Christmas treat for my boys and their expanding train collection. This table has had many, many hours of entertainment and enjoyment. It is a great beginner project and has very easy plans to follow! I didn't do the storage carts at the time. I may go back and do them later though...for now they like playing under the table as well. My obsession began :)

I've built a few bookshelves and cubbies before, but nothing on this scale. I built this in my basement this past December as a Christmas present for my three-year-old son. The plans were easy to follow. I believe I spent about $150 on lumber. The bed is very sturdy. My kids love it! Now the the other kids want their own special daddy-made bed :)

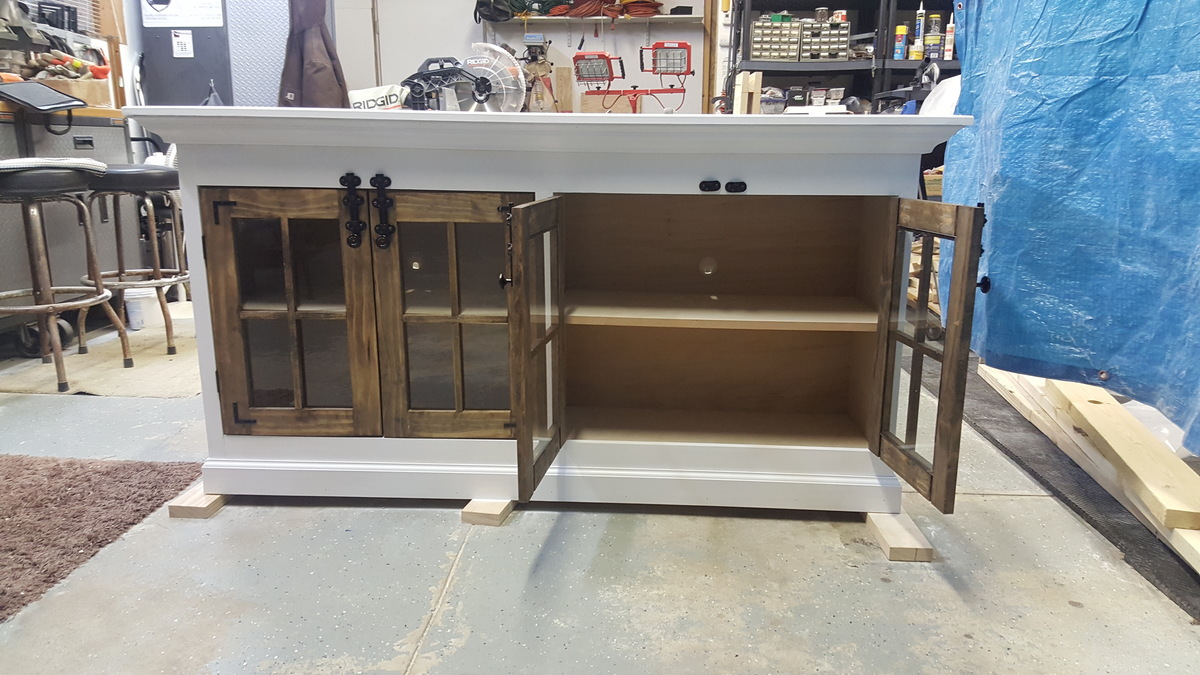
I took what was a single cabinet and doubled it.

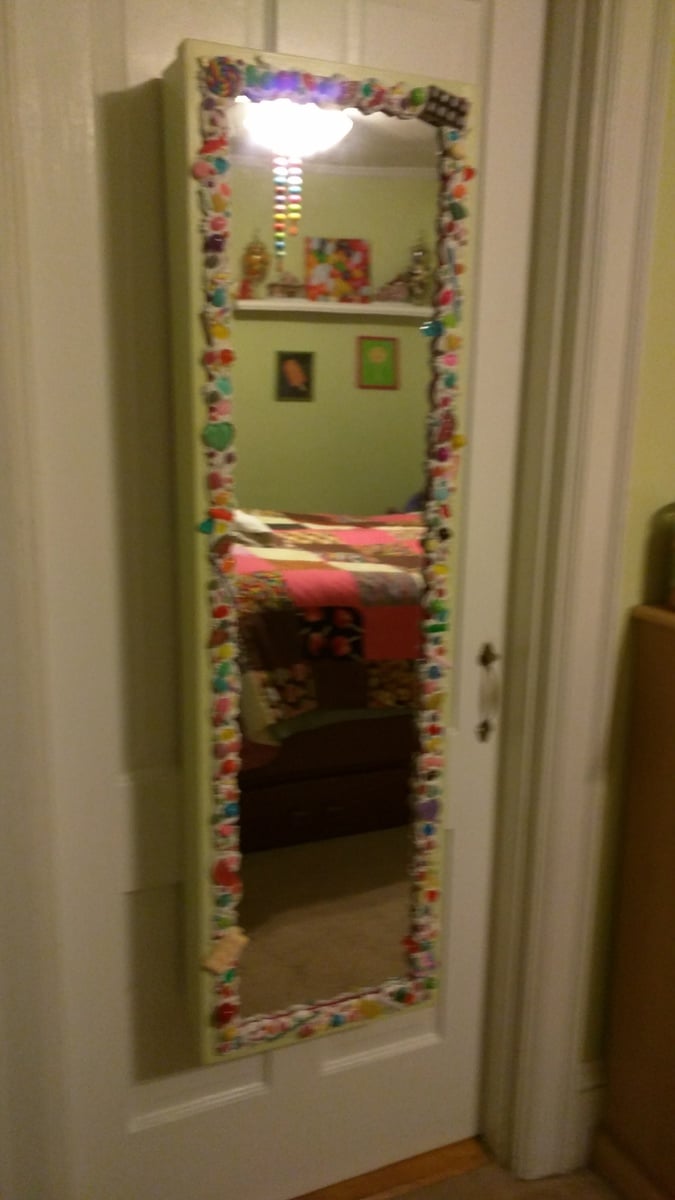
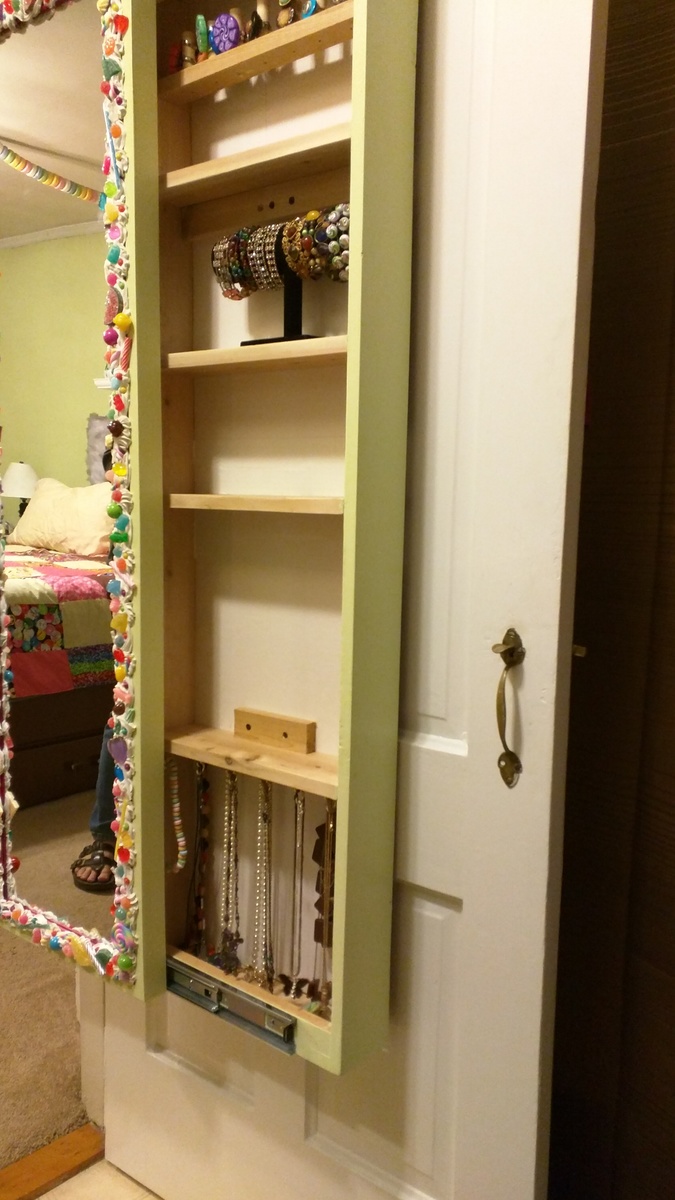
Hi Anna, I really had fun making our version of your sliding mirror project! Thought you might enjoy the photos! I made it into a jewelry cabinet.
Sun, 09/17/2017 - 20:48
How did you attach rails? I still cannot figure out the best way to do it...
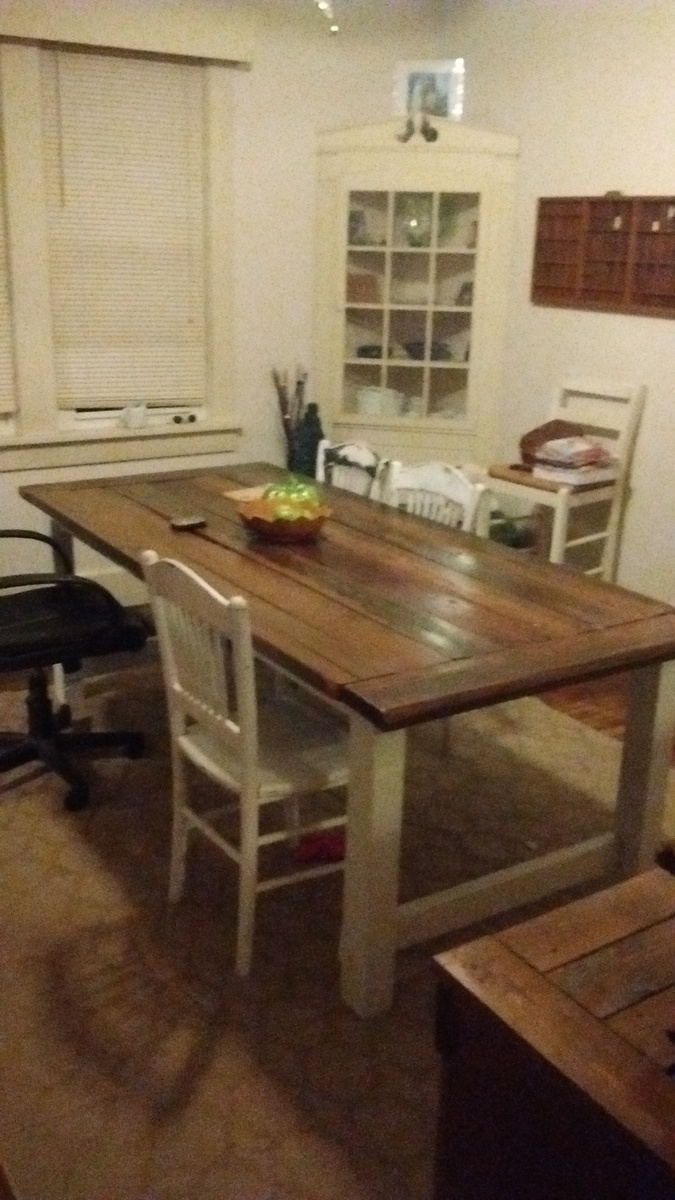
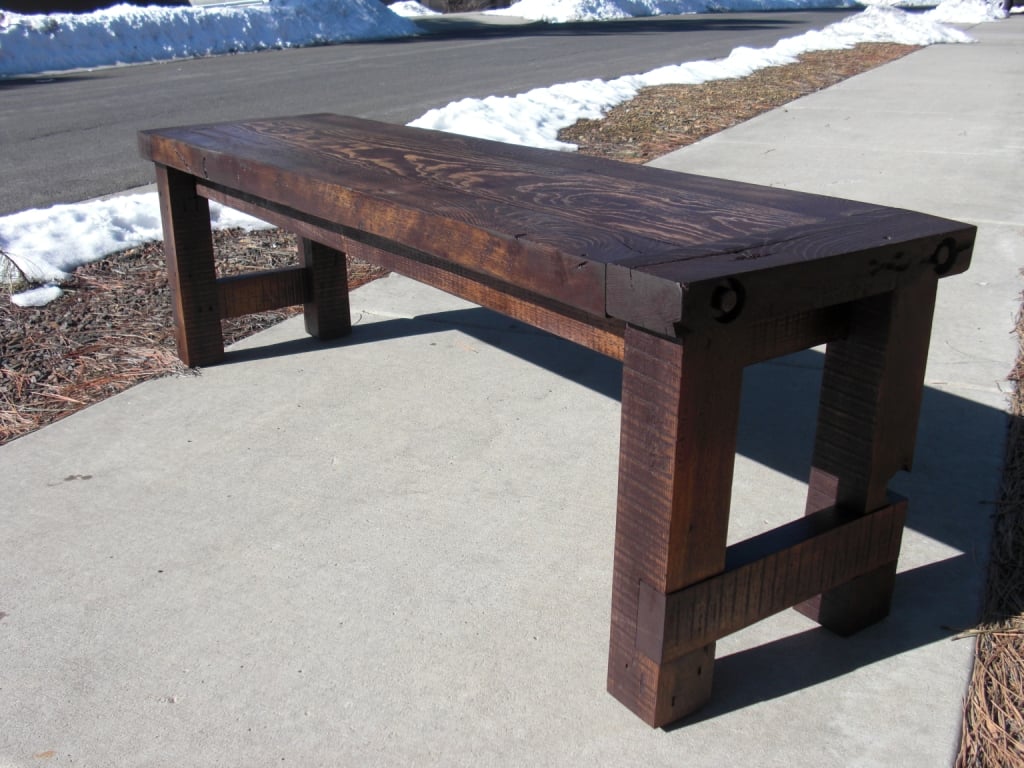
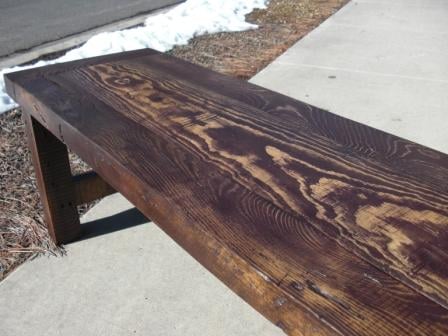
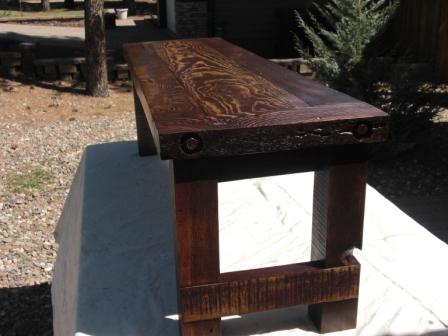
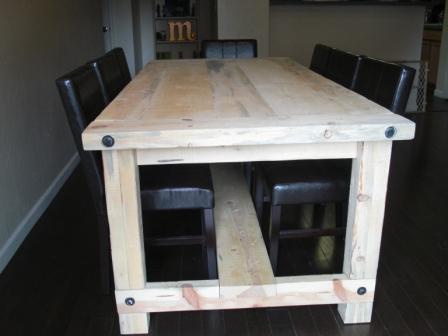
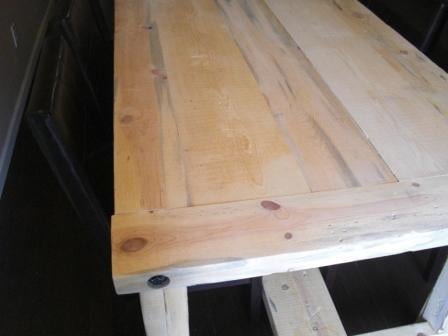
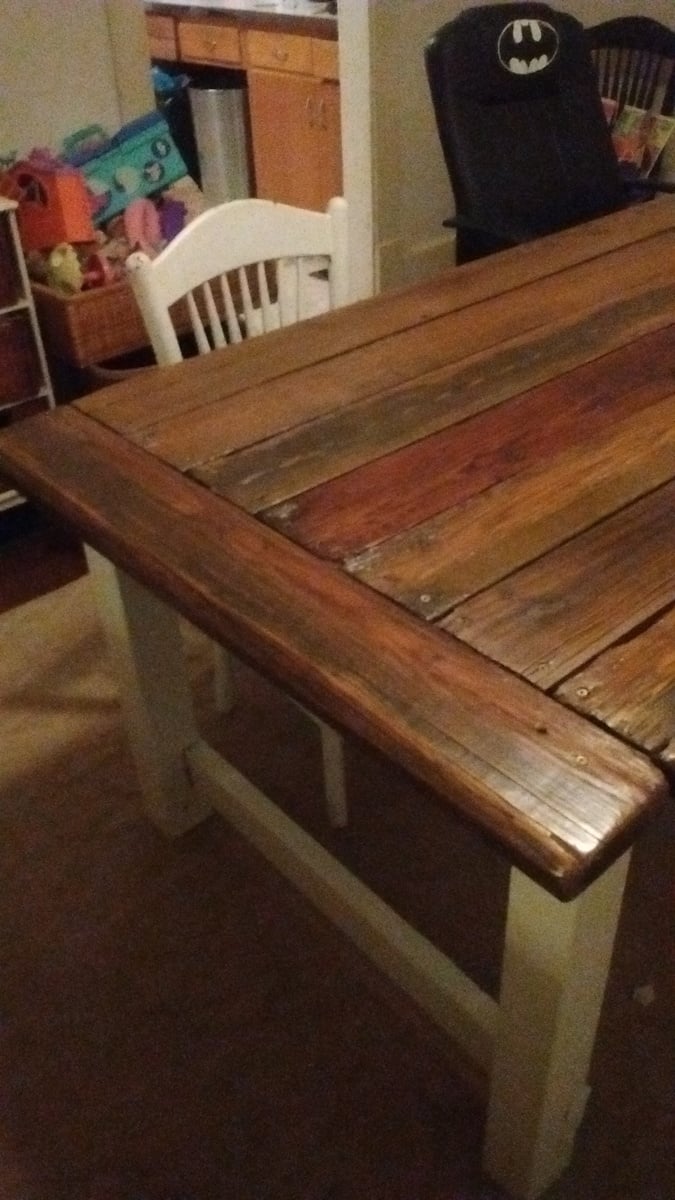
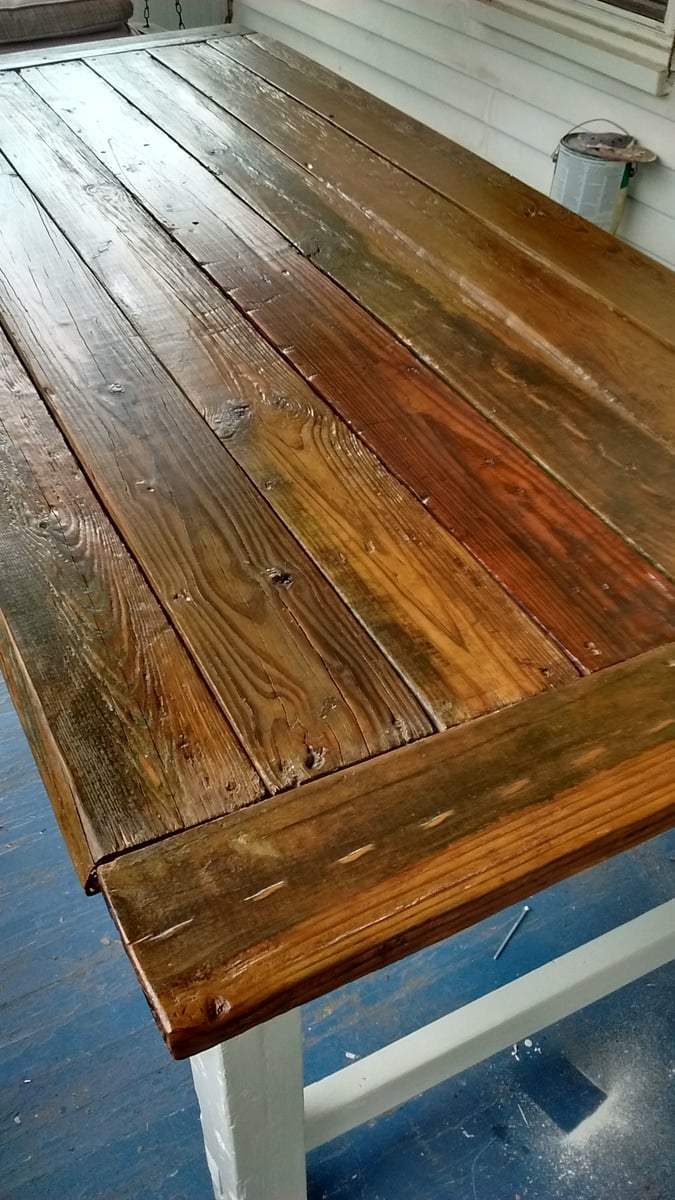
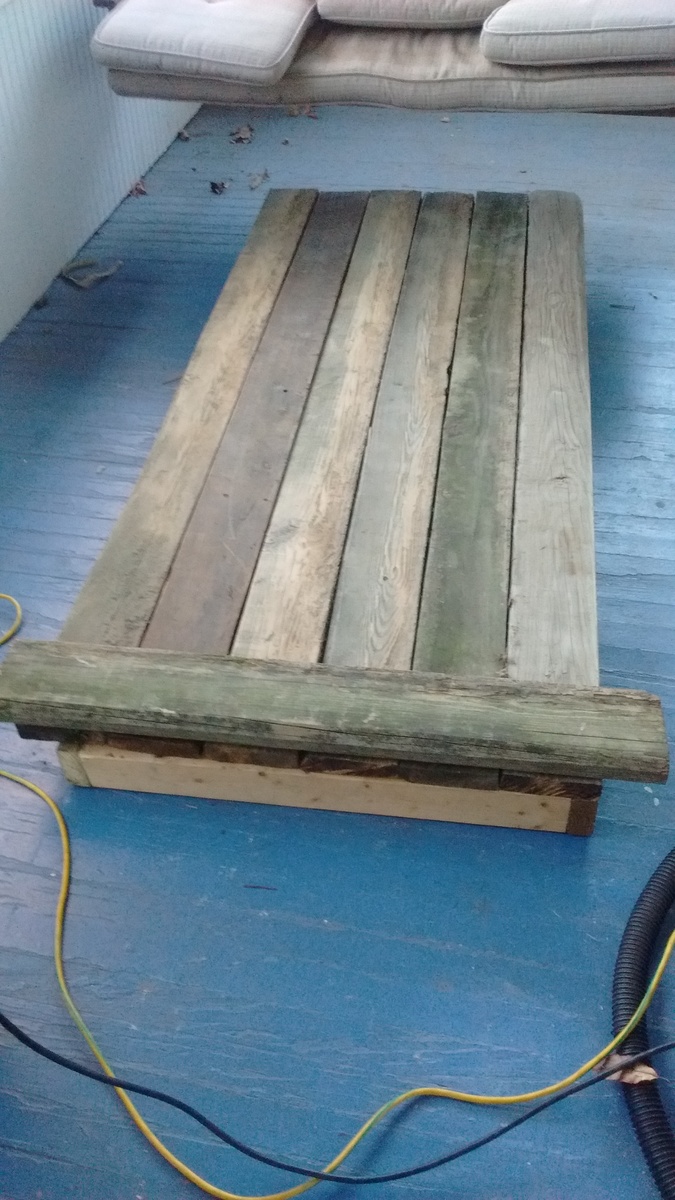
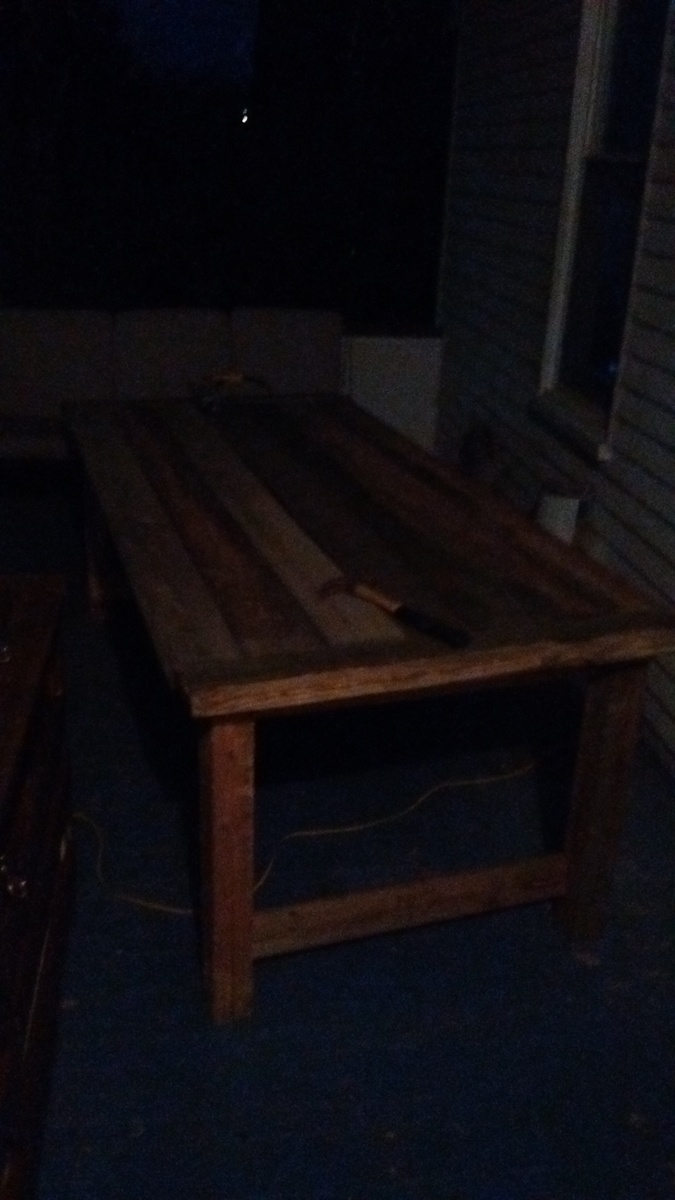
I started the project on a Monday and moved the table into the house on Thursday afternoon. All wood used was reclaimed. I shortened the length of the table by 9 inches due to the length of the reclaimed boards. The dimensions are 87 x 38.5 x 30. I used a colonial maple stain brushed on then rubbed in with a cloth. Then I applied several coats of Polycrylic clear satin. The stain was $1.50 from the Habitat store and the poly was found in the house we recently moved into. I spent about $15 on wood screws.
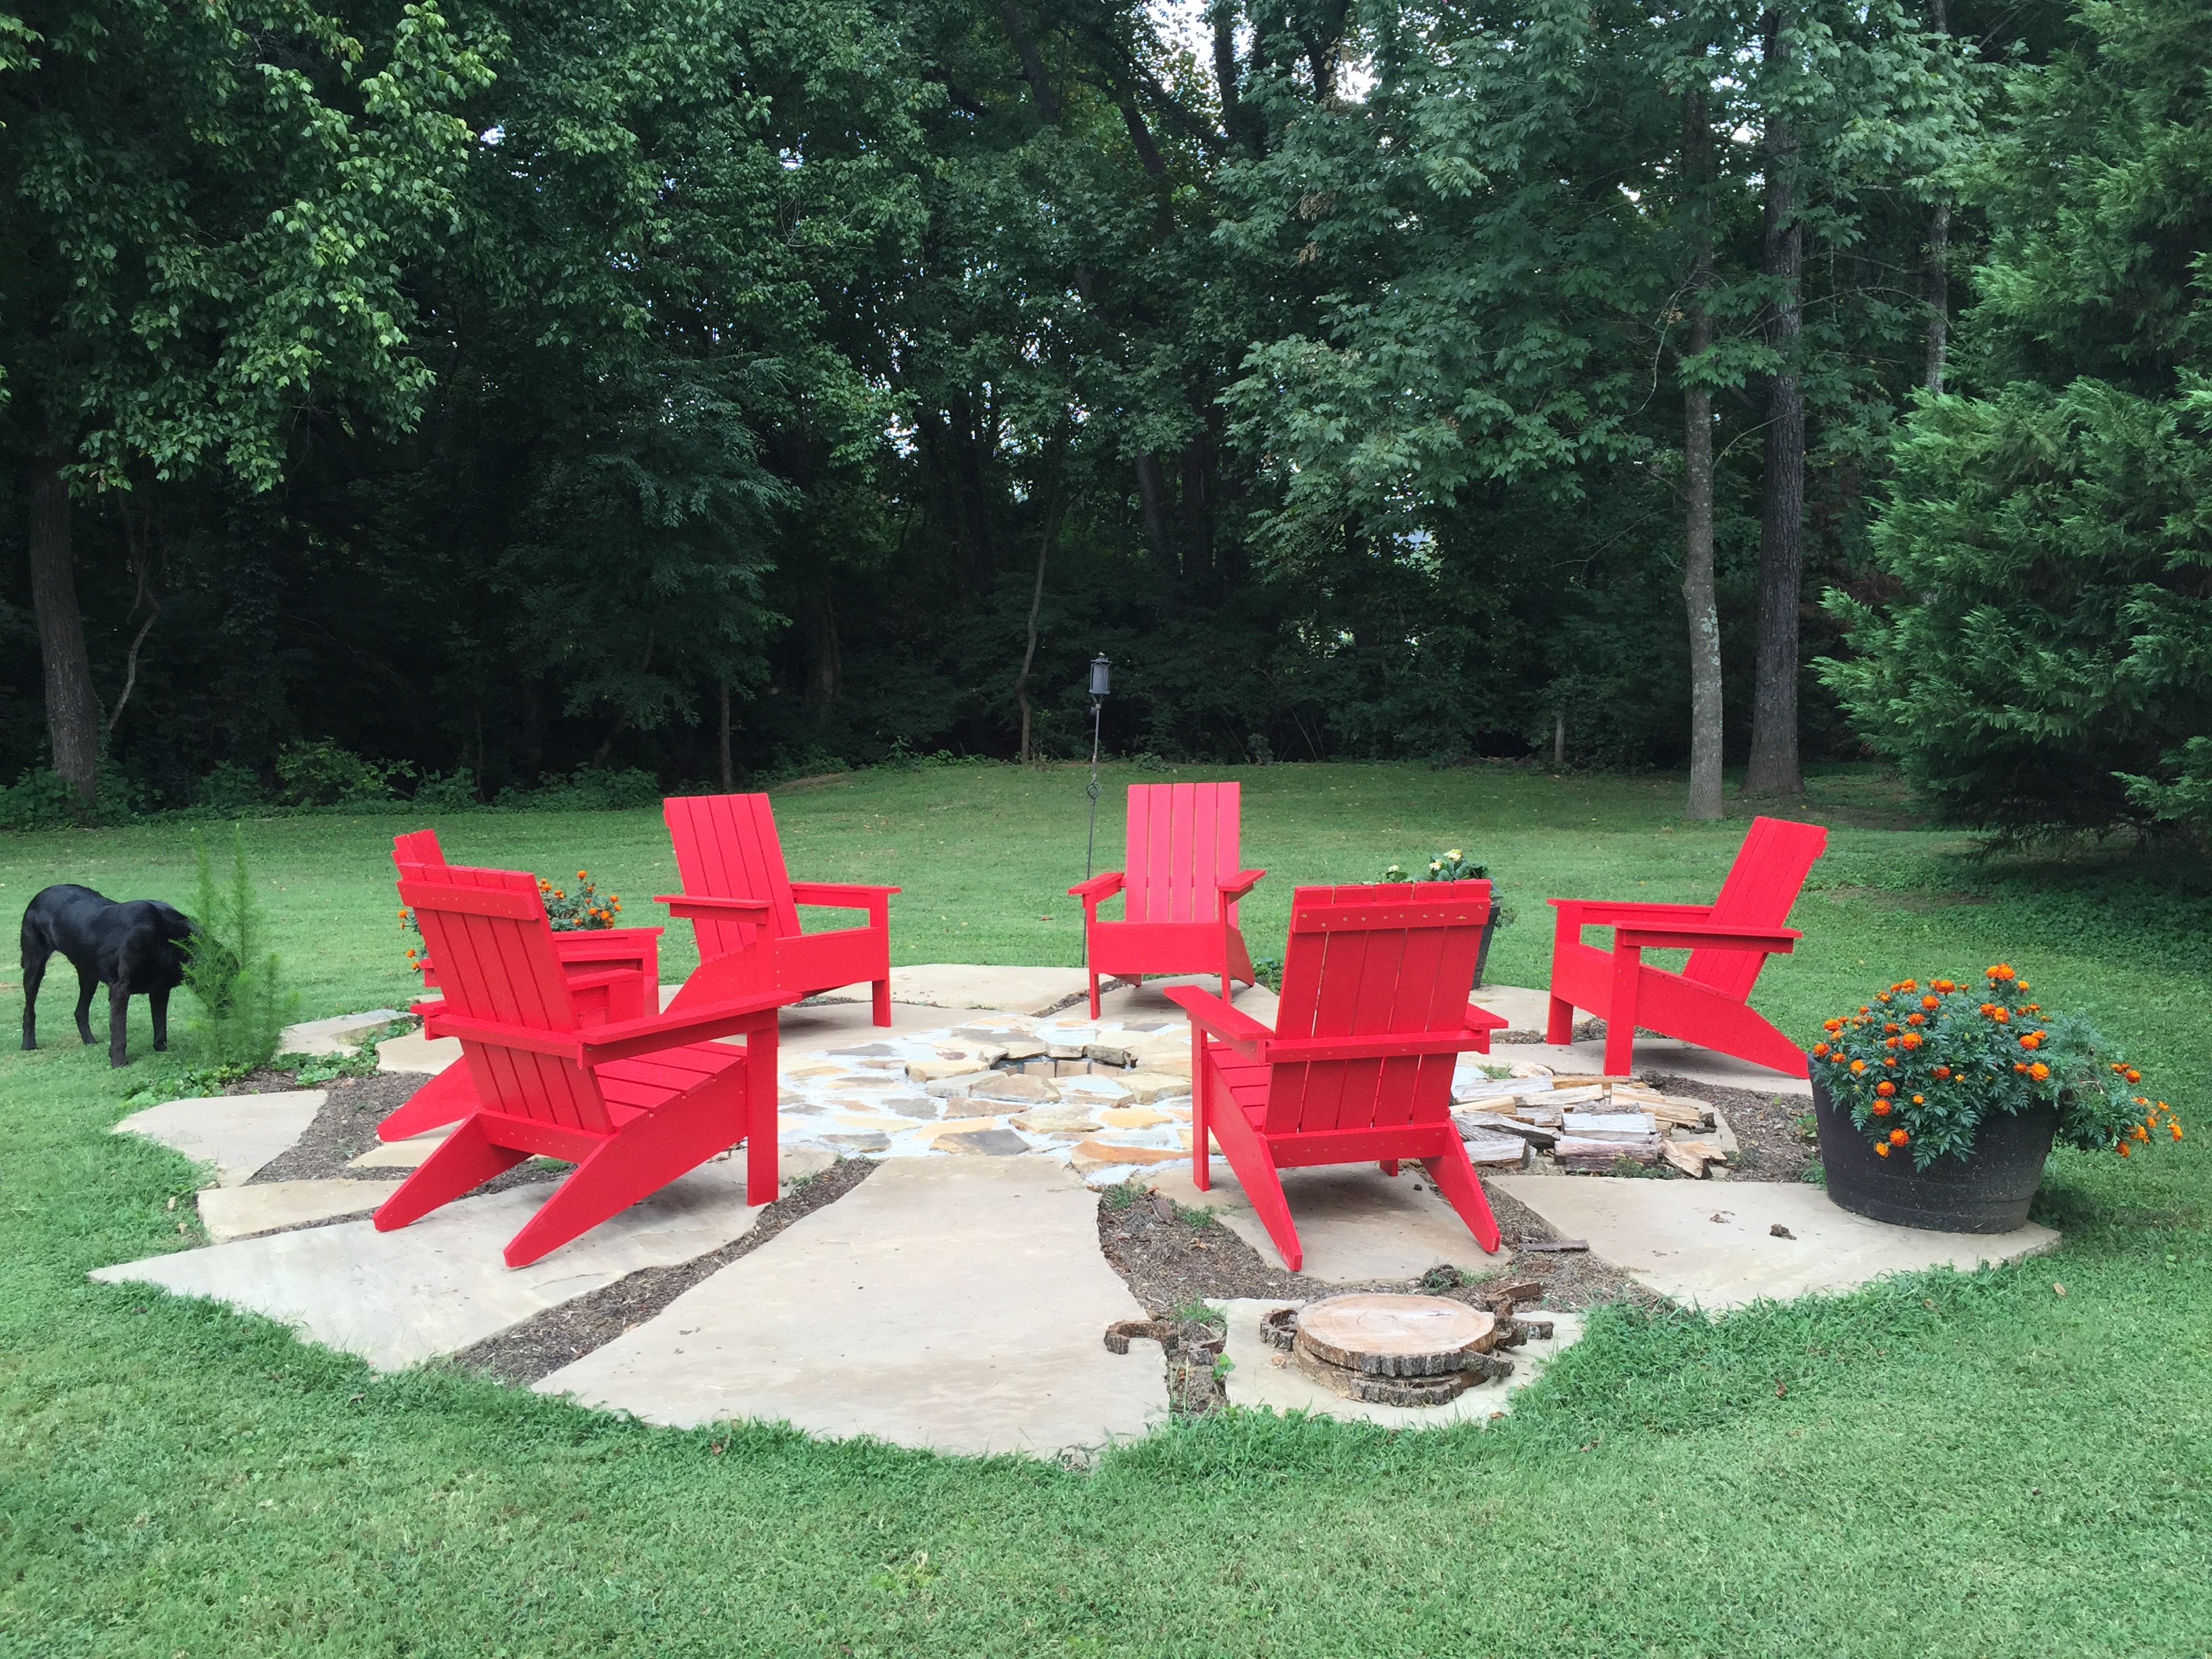
We had recenty been to Jasper National Park in the Canadian Rockies and saw beautiful red adirondack chairs out on many of the trails, so we built these to remind us of a great family vacation.
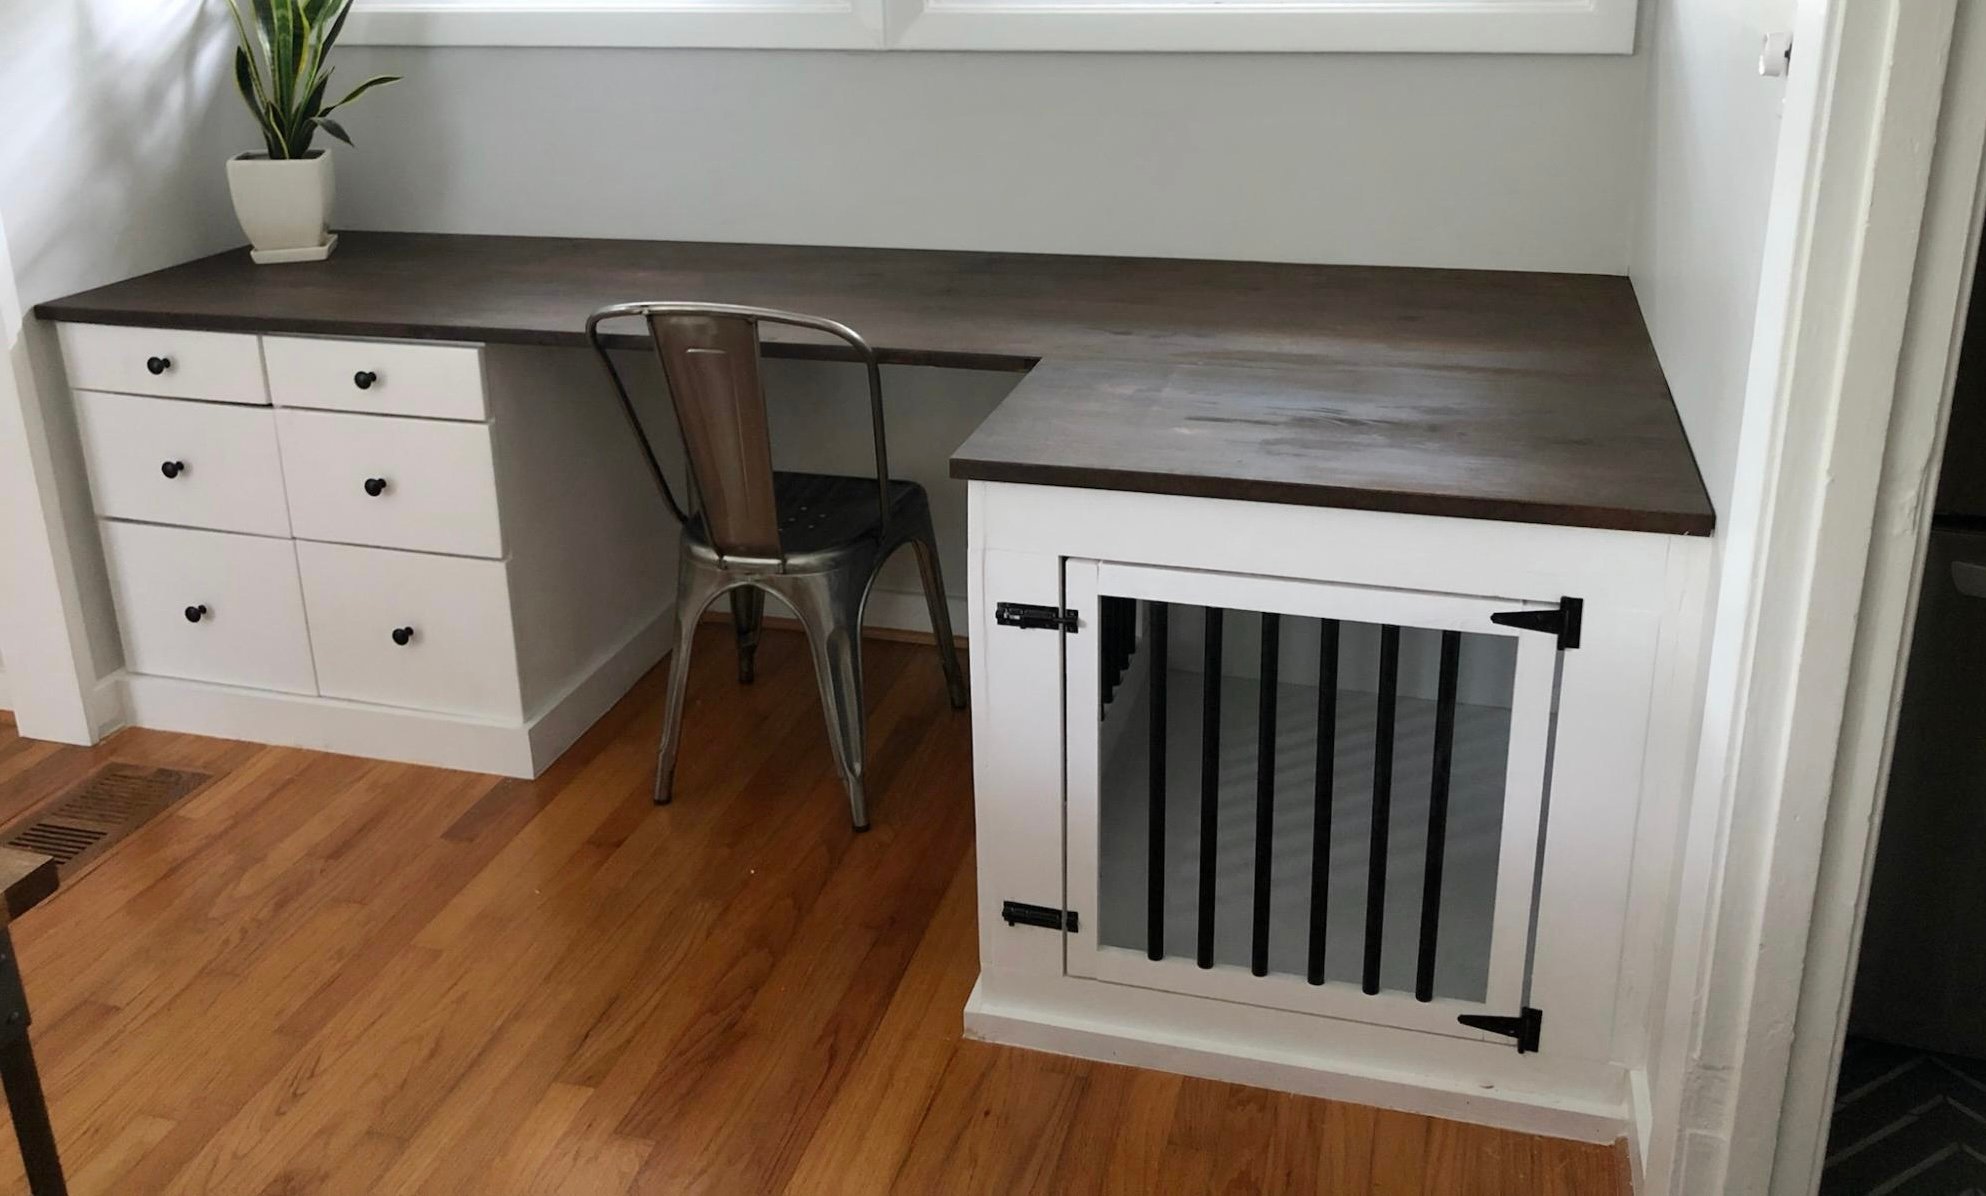
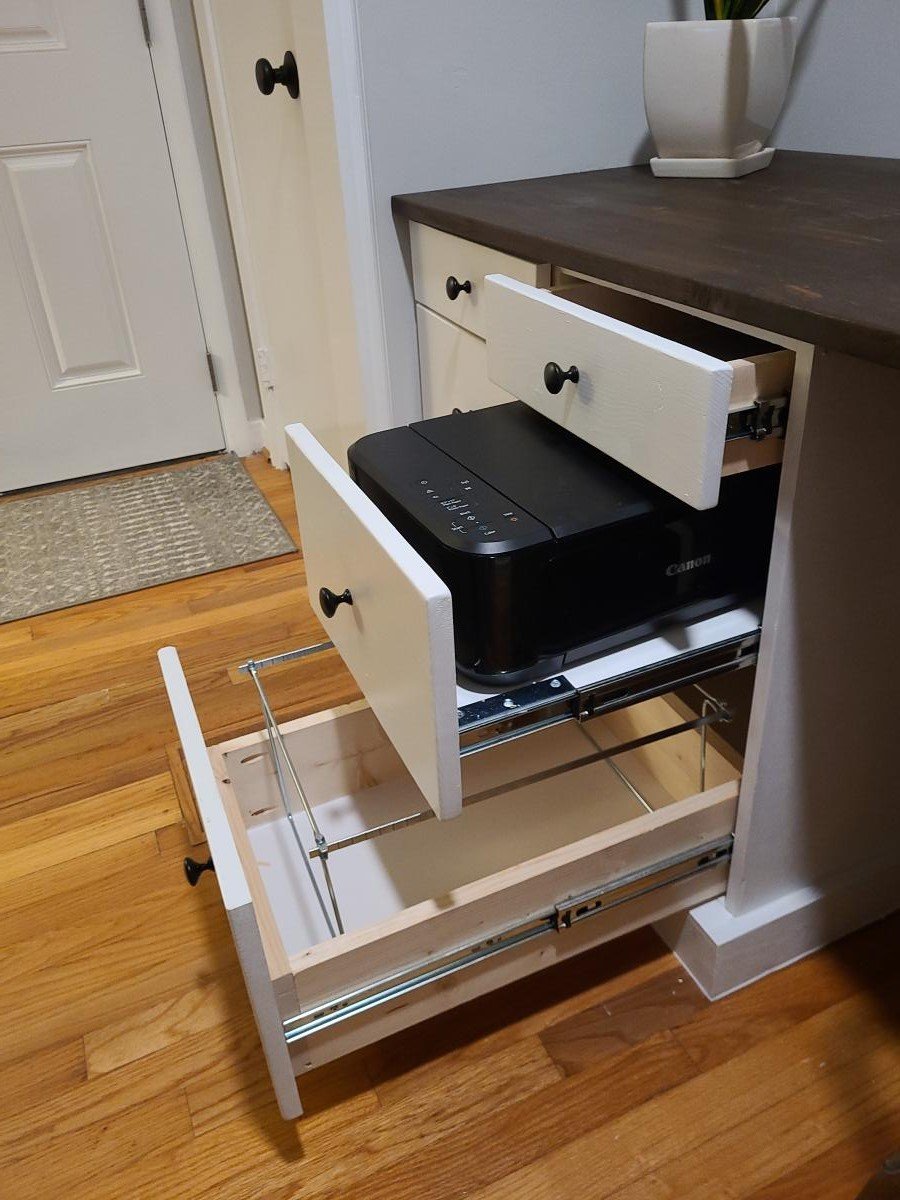
Built in desk with dog kennel complete with slide out printer drawer!
by Lisa
Great little project. Finished just in time for Thanksgiving.
Andy


Comments
Ana White Admin
Wed, 10/06/2021 - 08:16
Sweet!
That looks amazing, great mods!