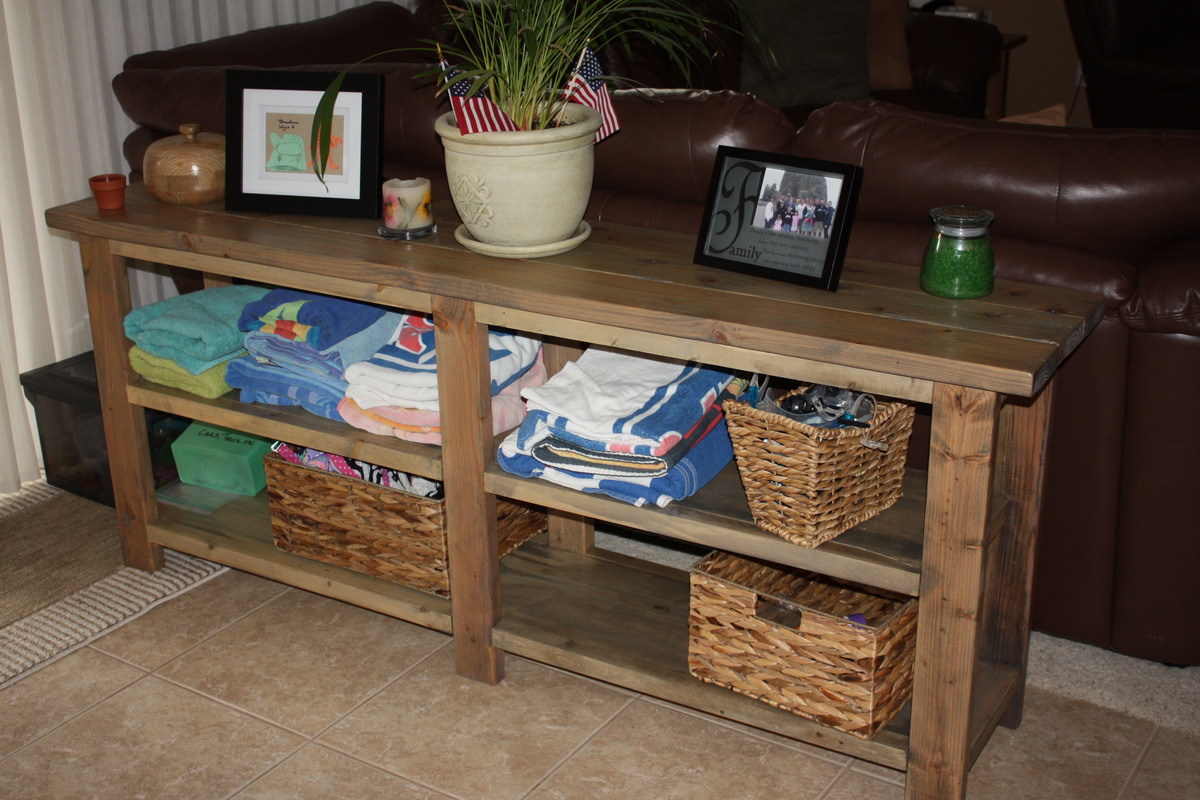
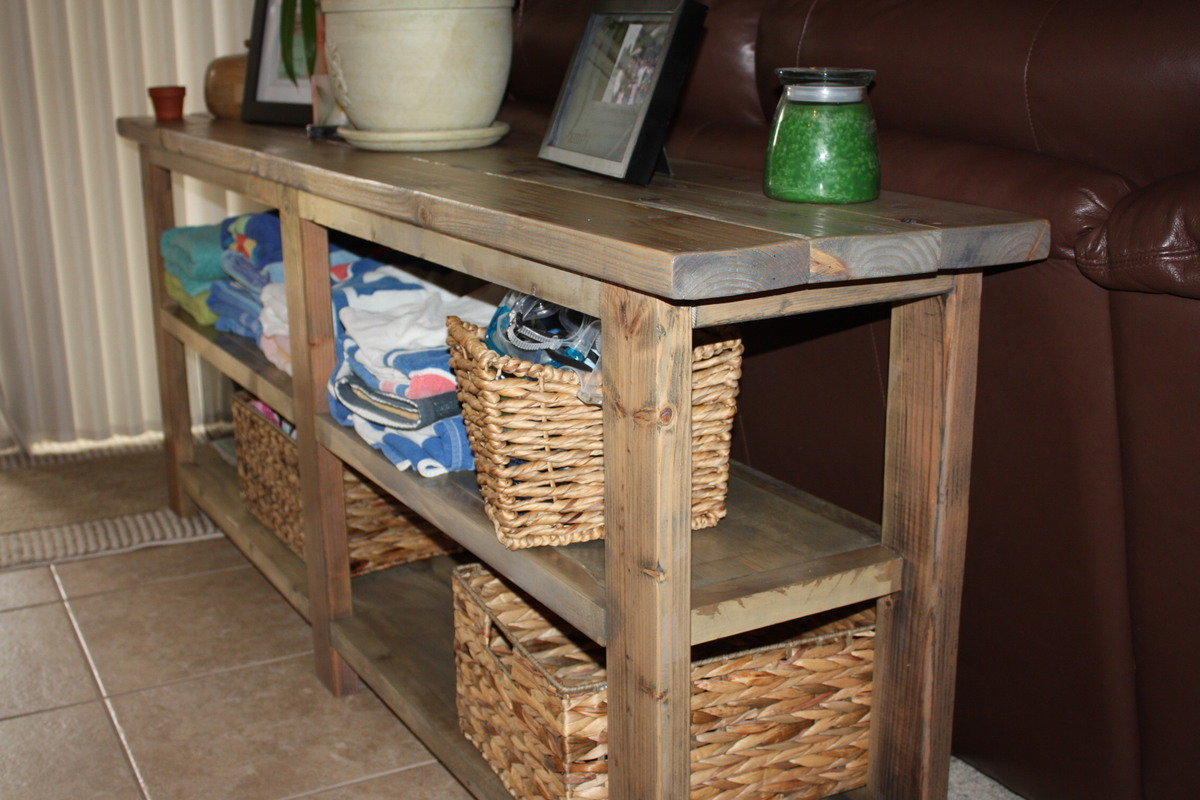
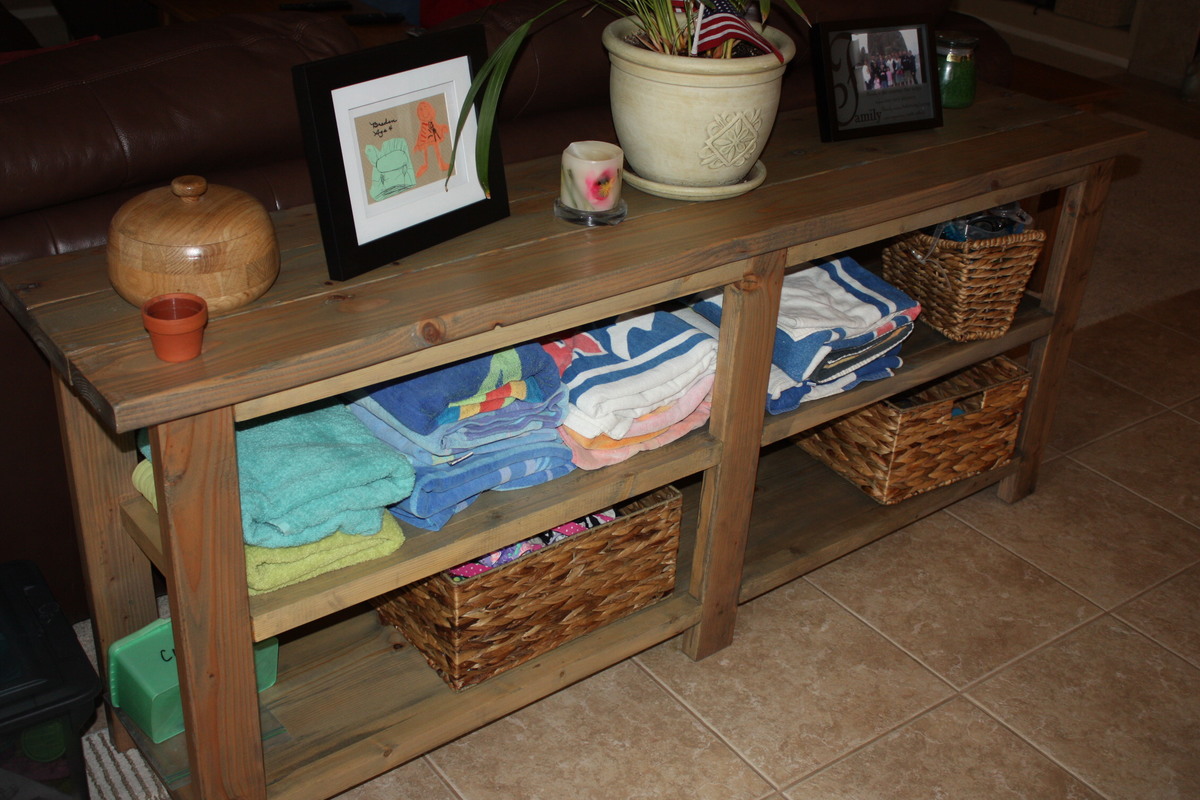
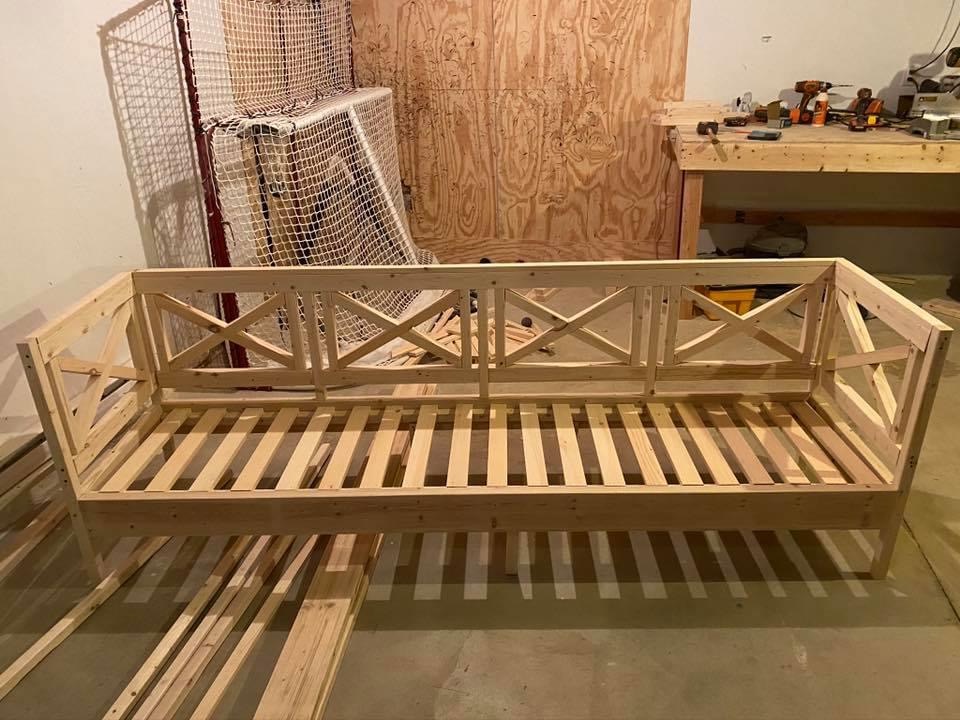
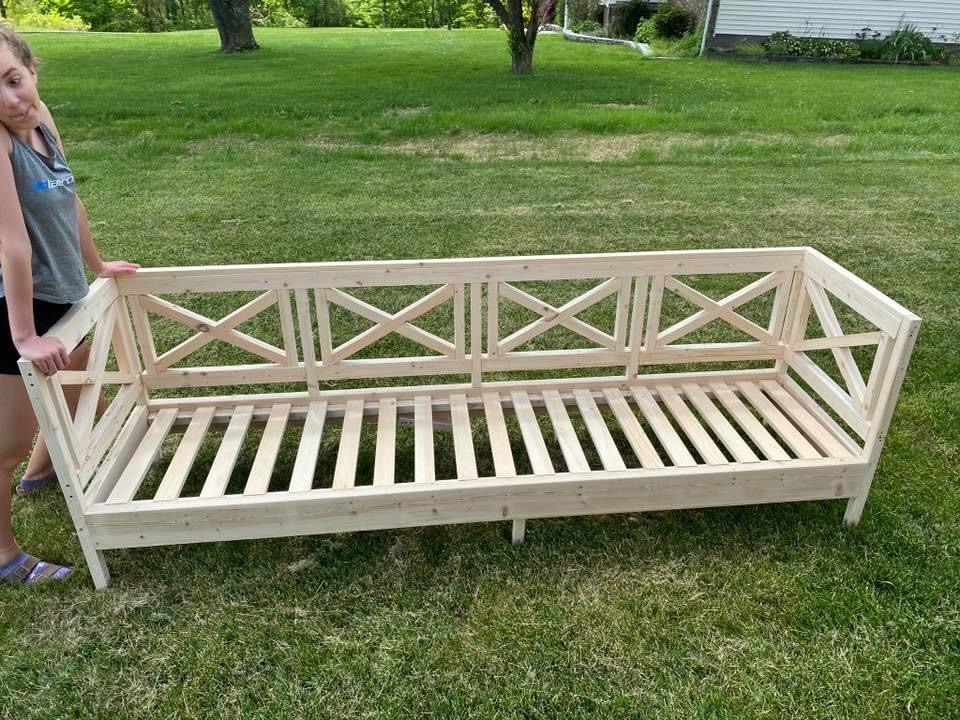
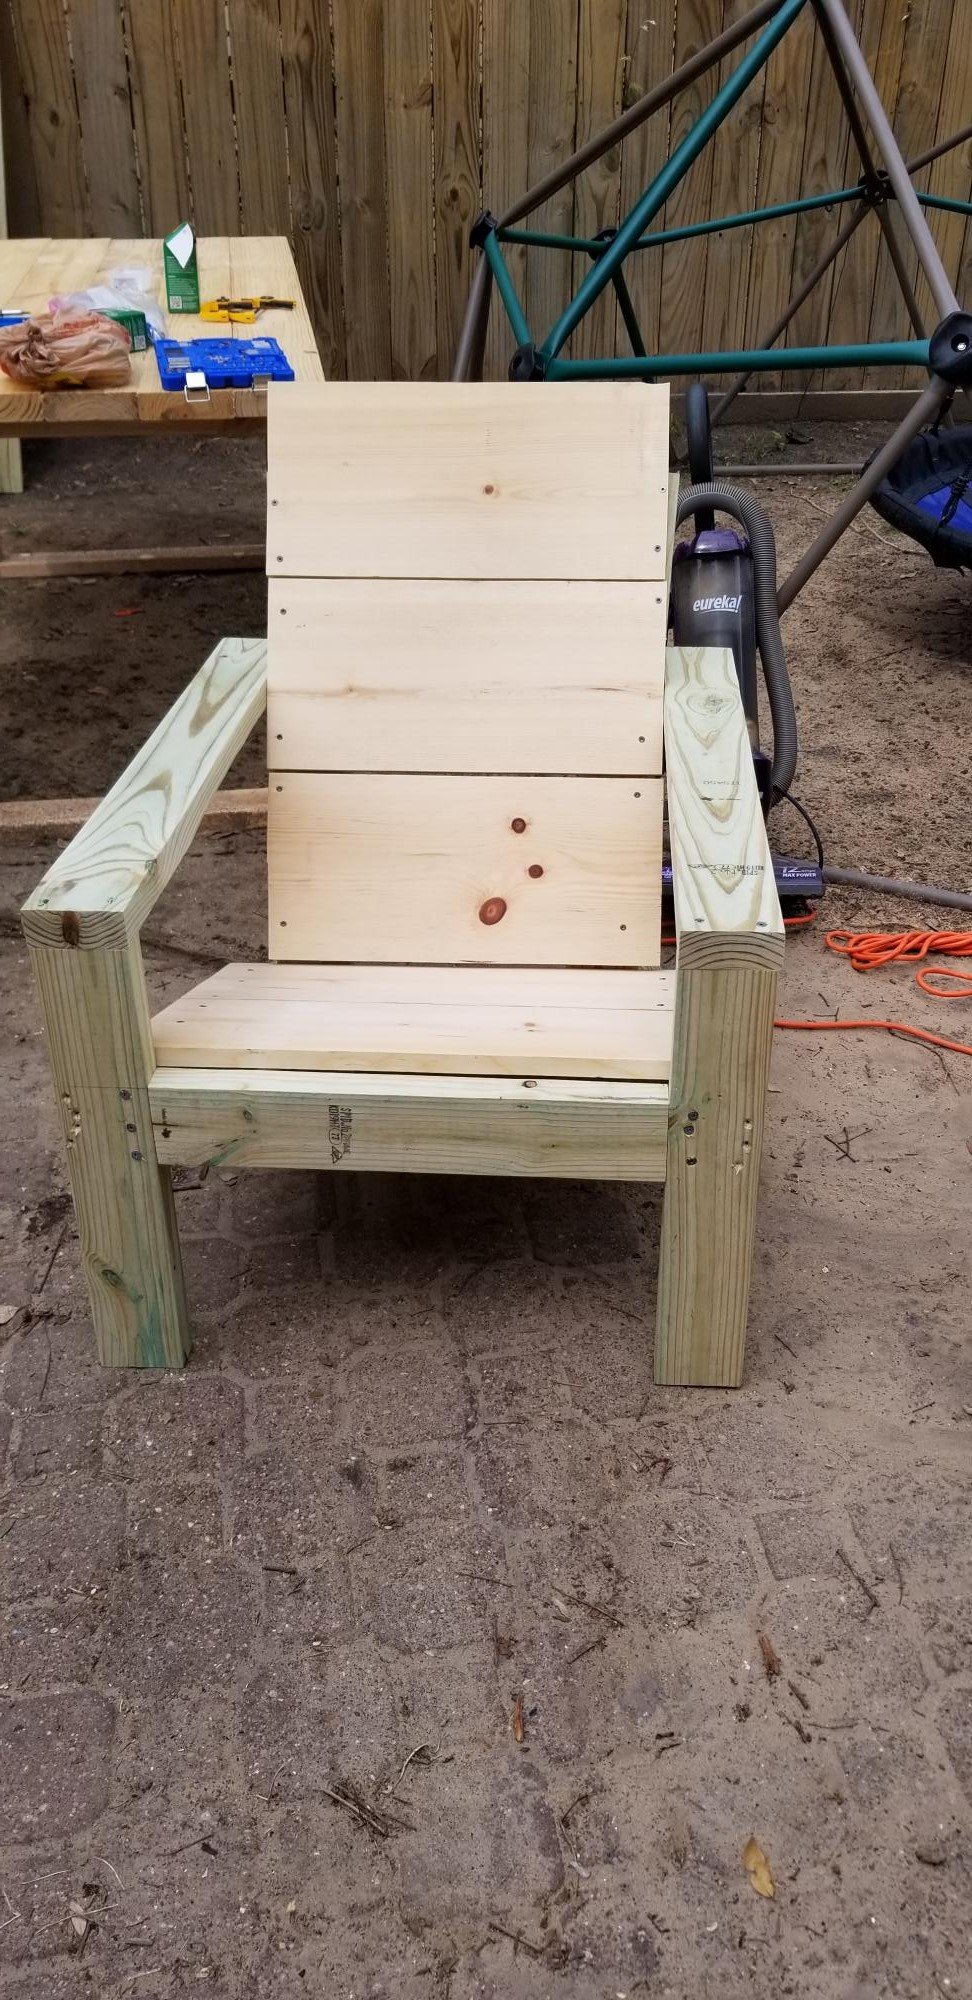
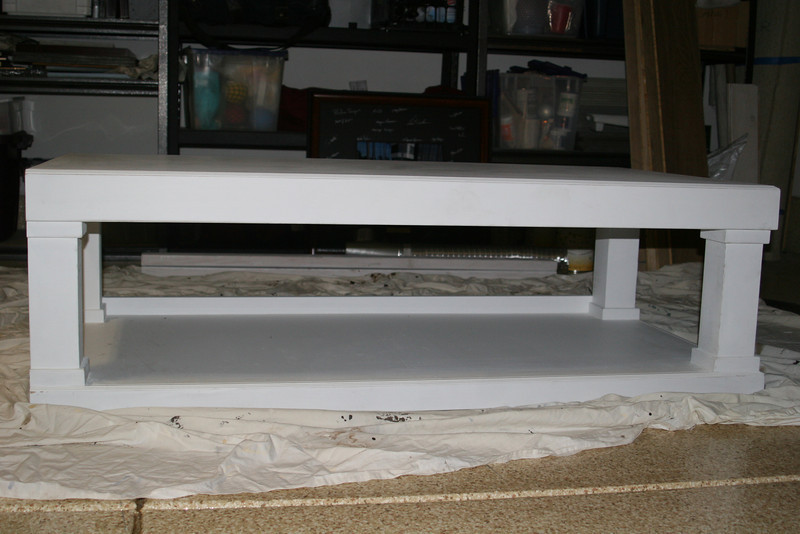
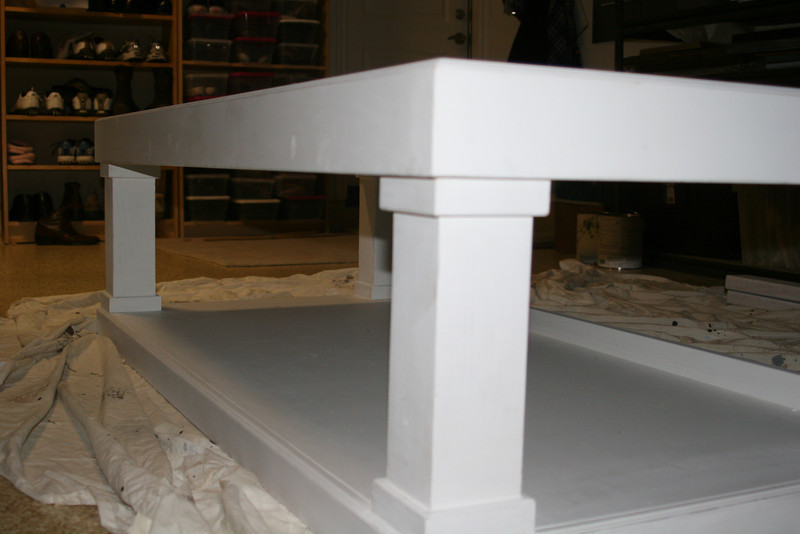
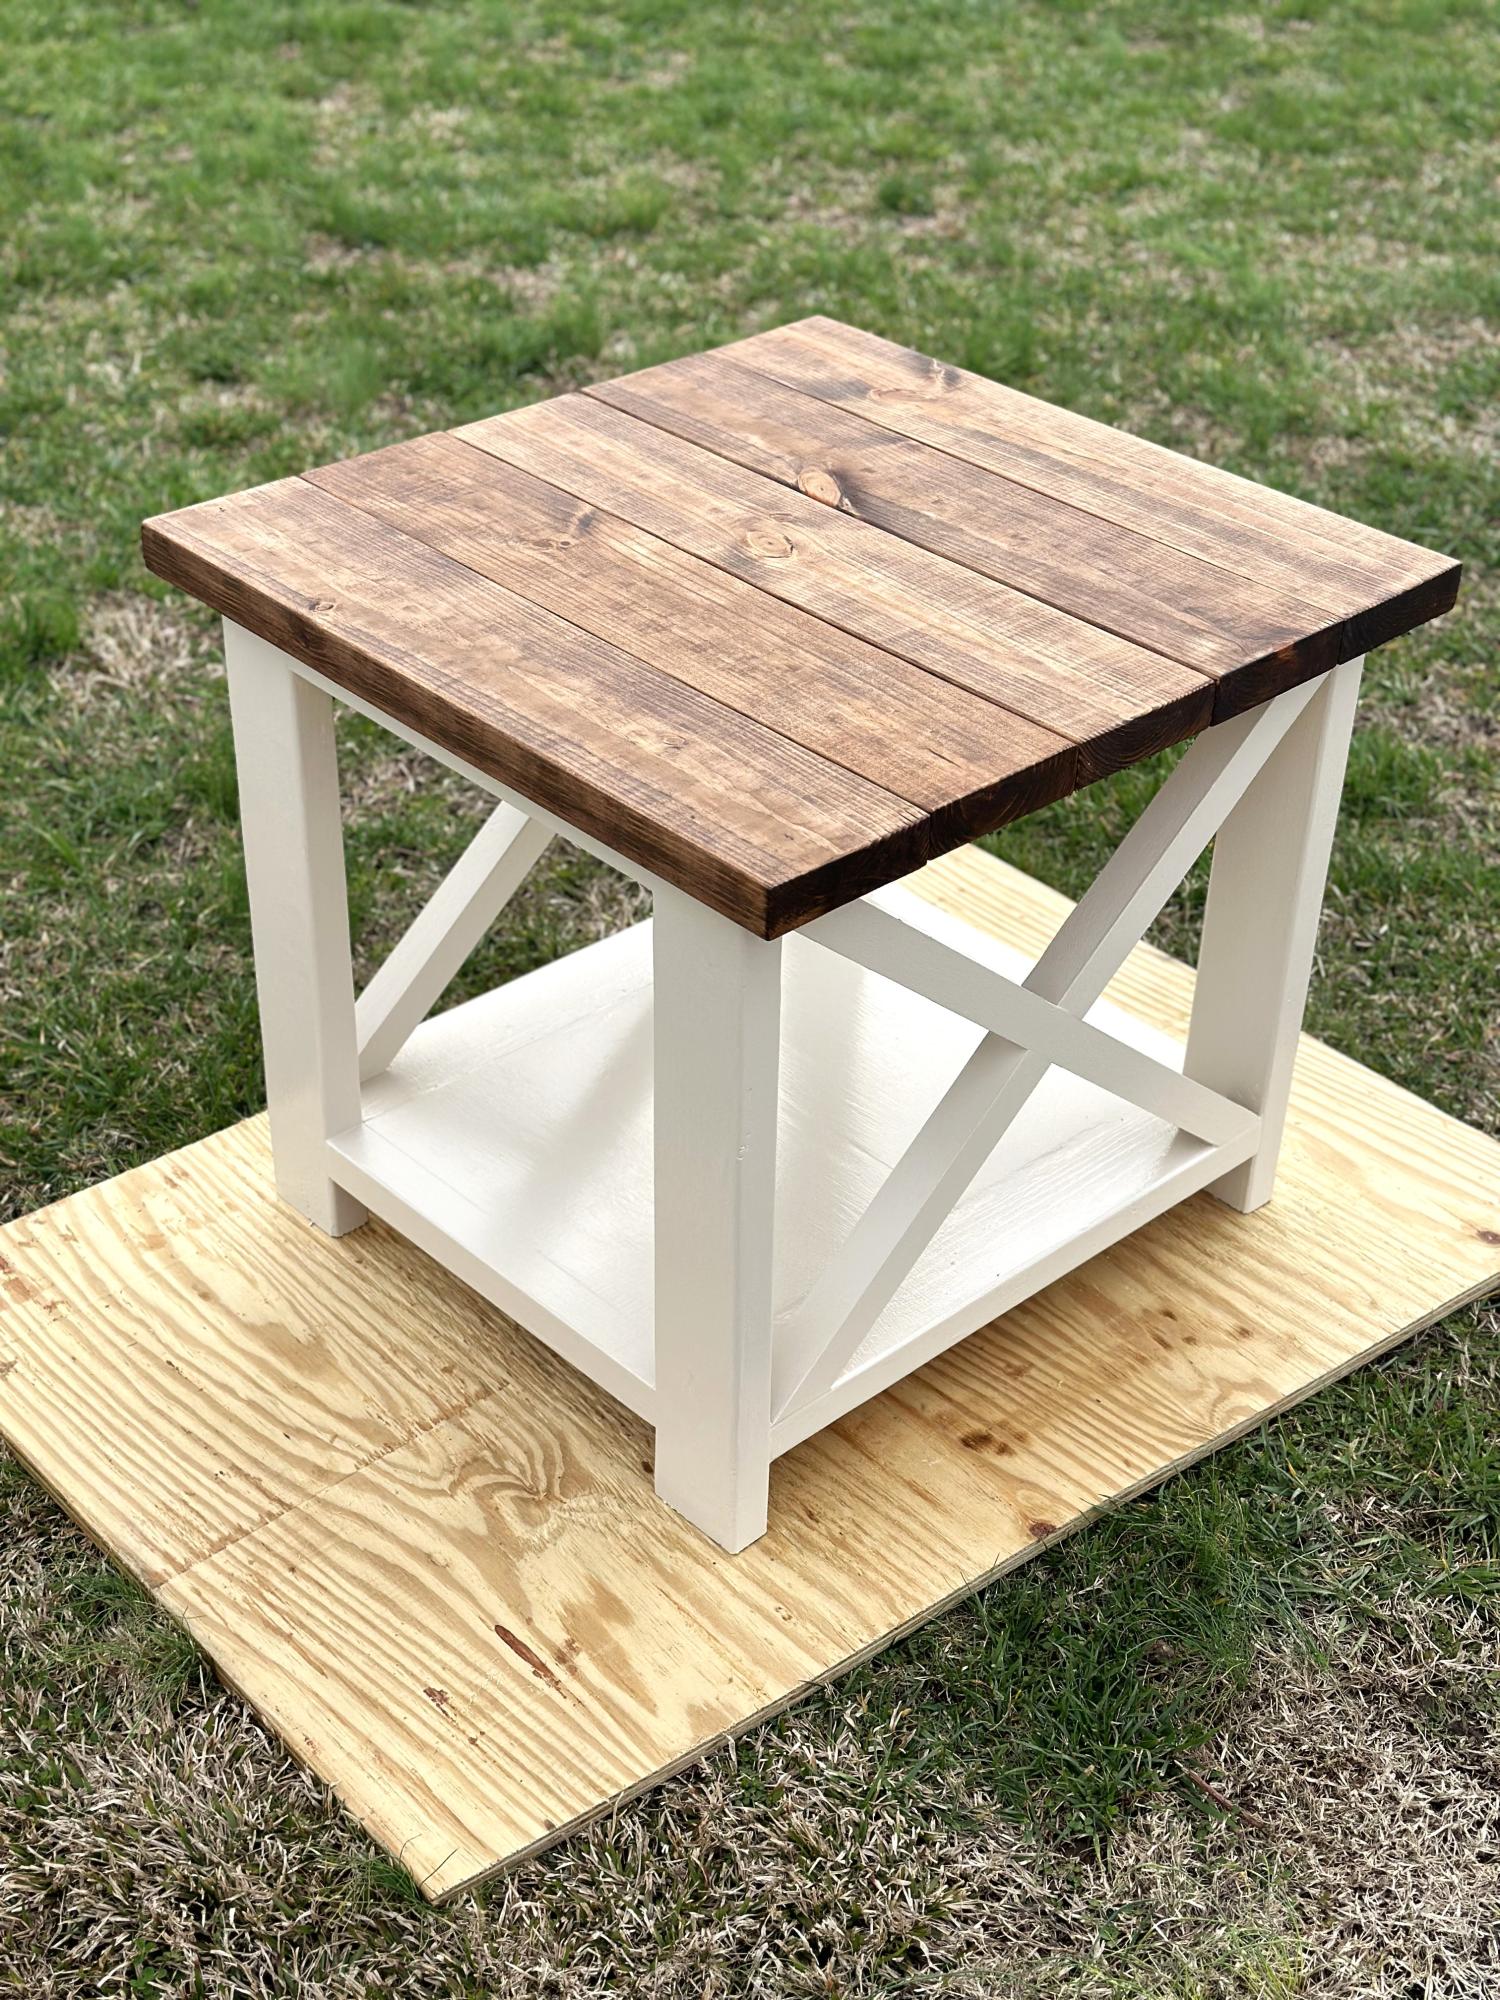
Rustic X Console without the X
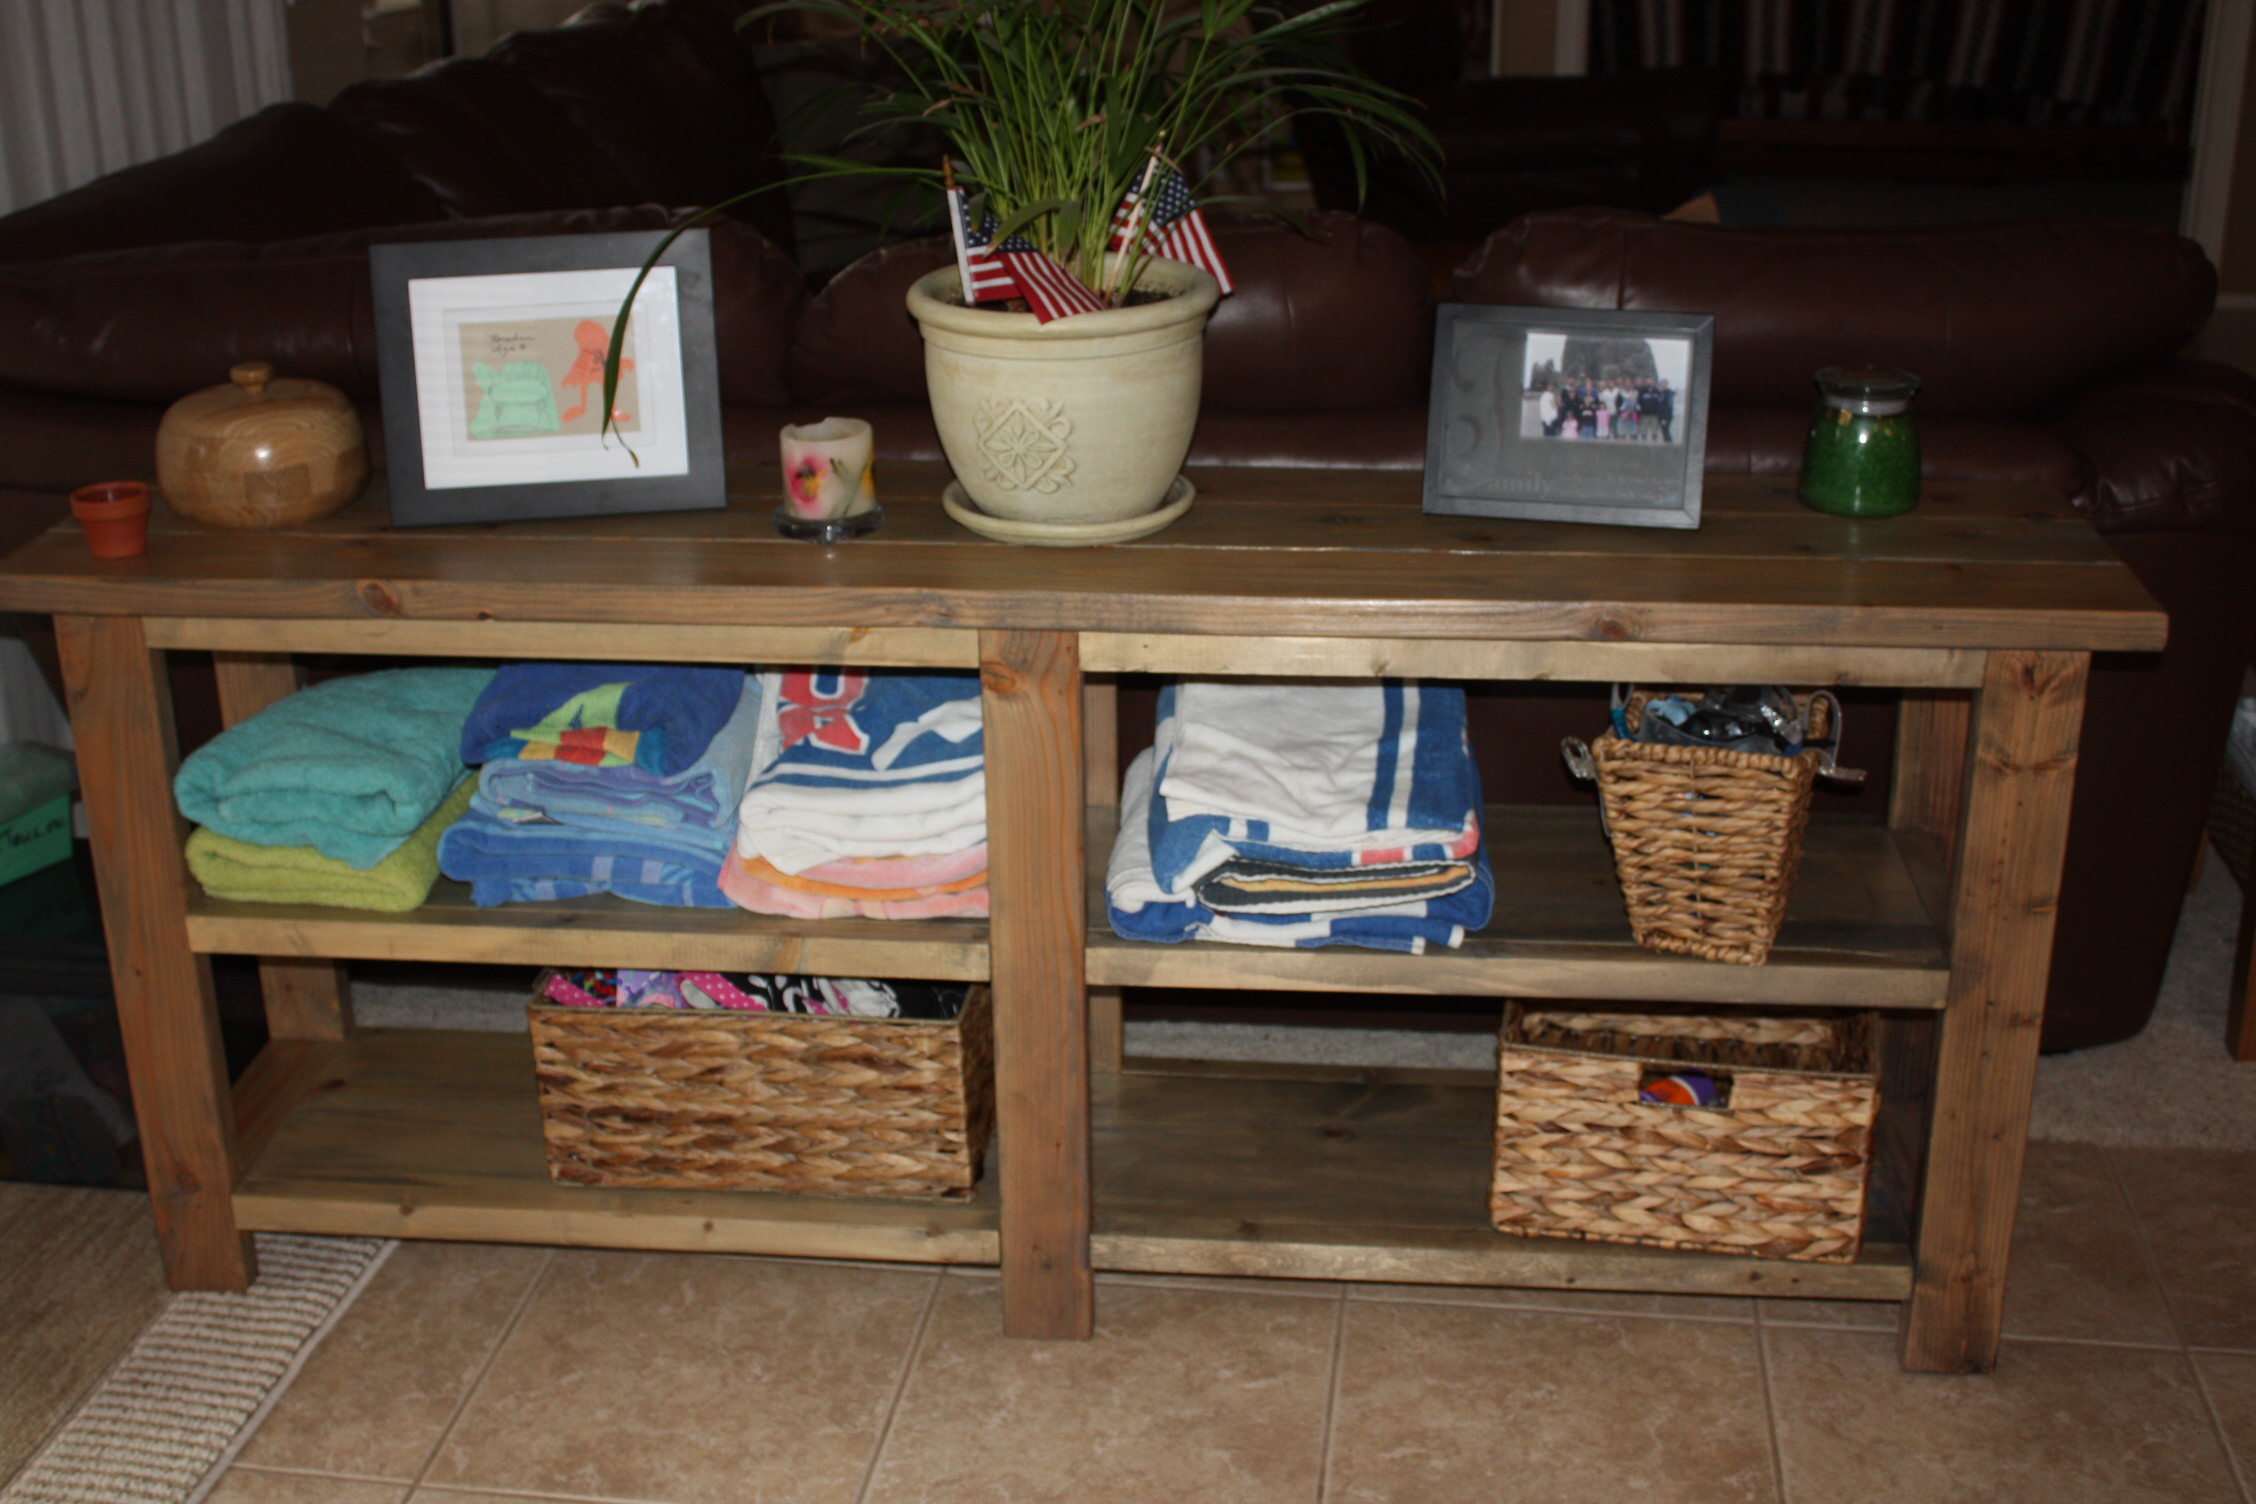
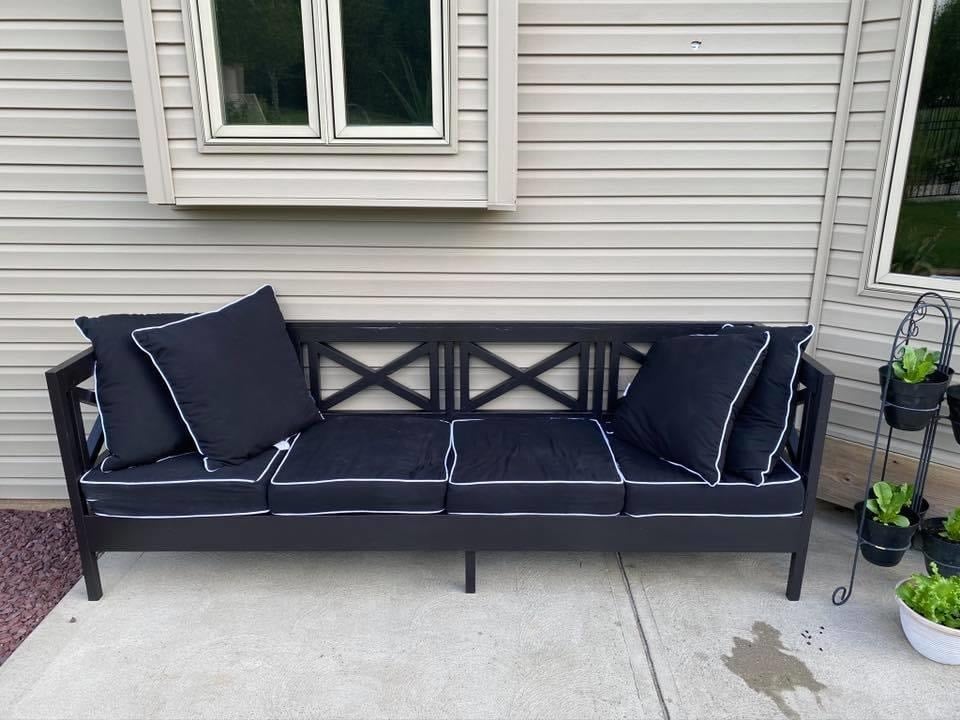
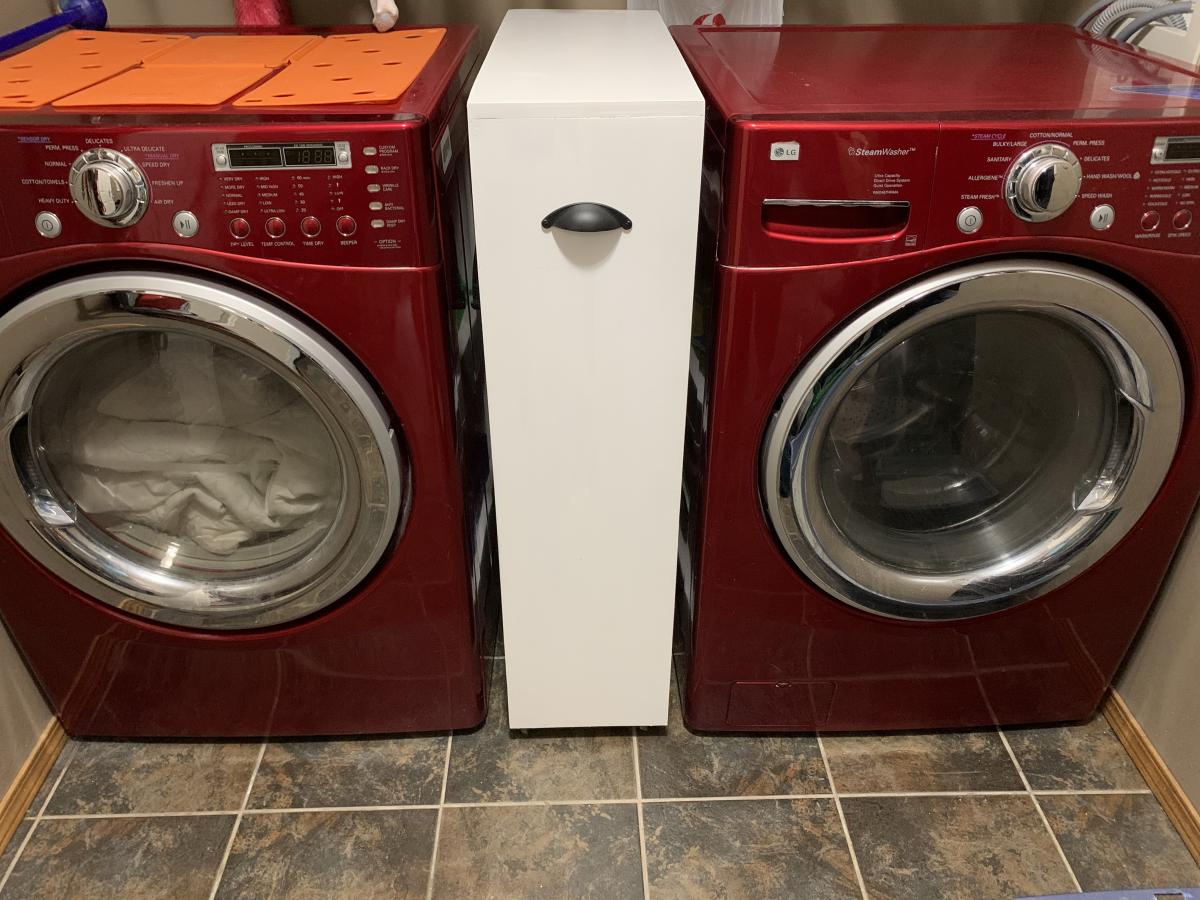
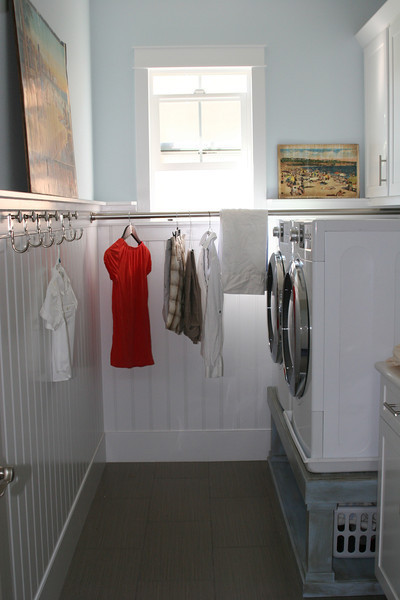
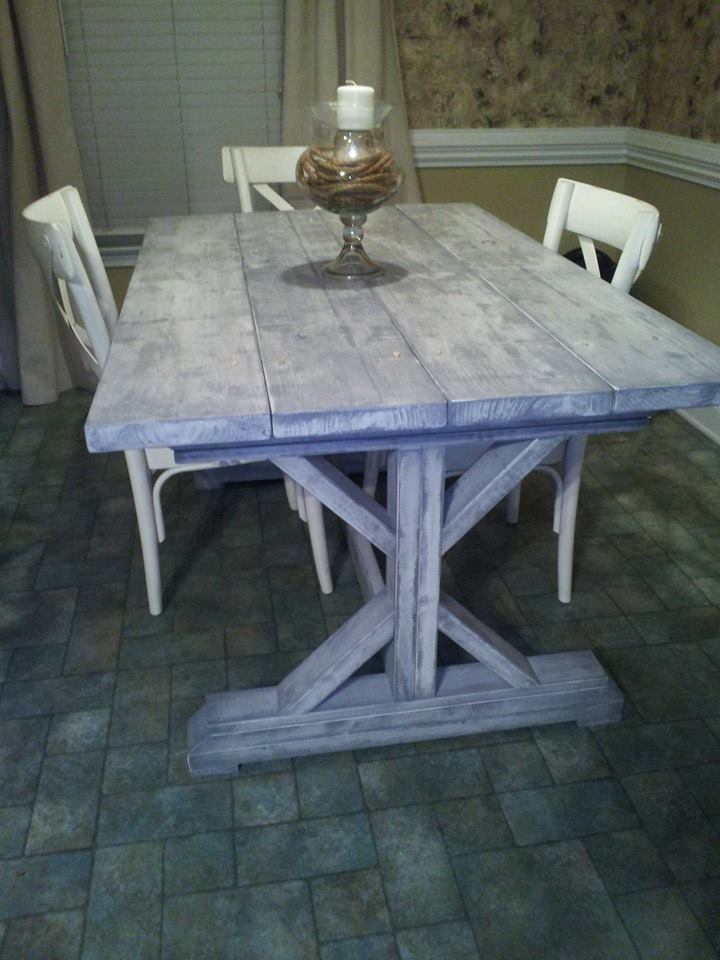
My wife wanted a sofa table near our sliding door going outside to backyard / pool. She was looking online and found some cheapo "made in China" types at some of the big box store sites; yuck.
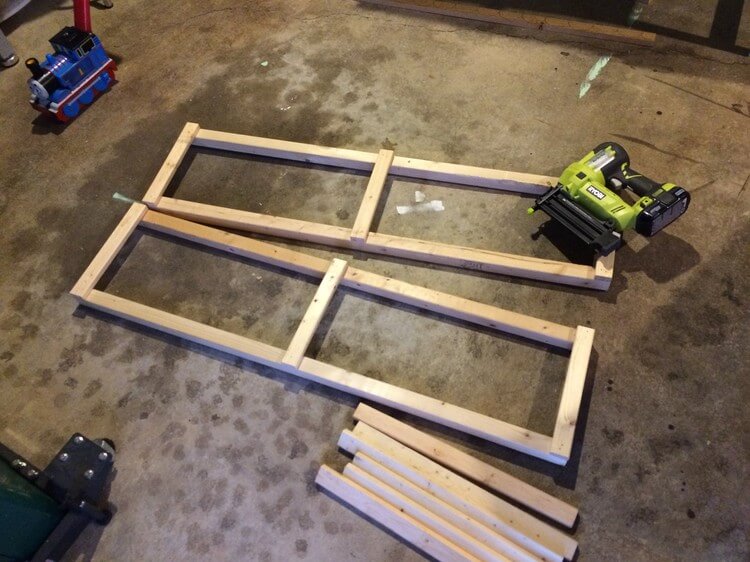
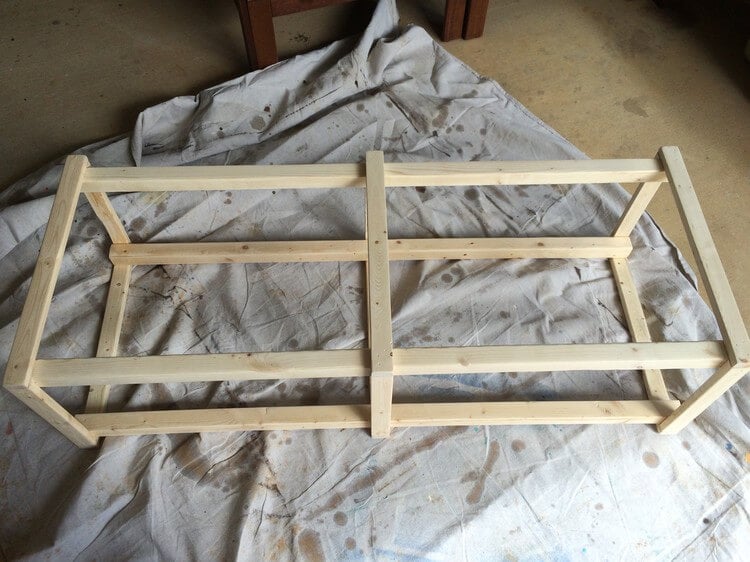
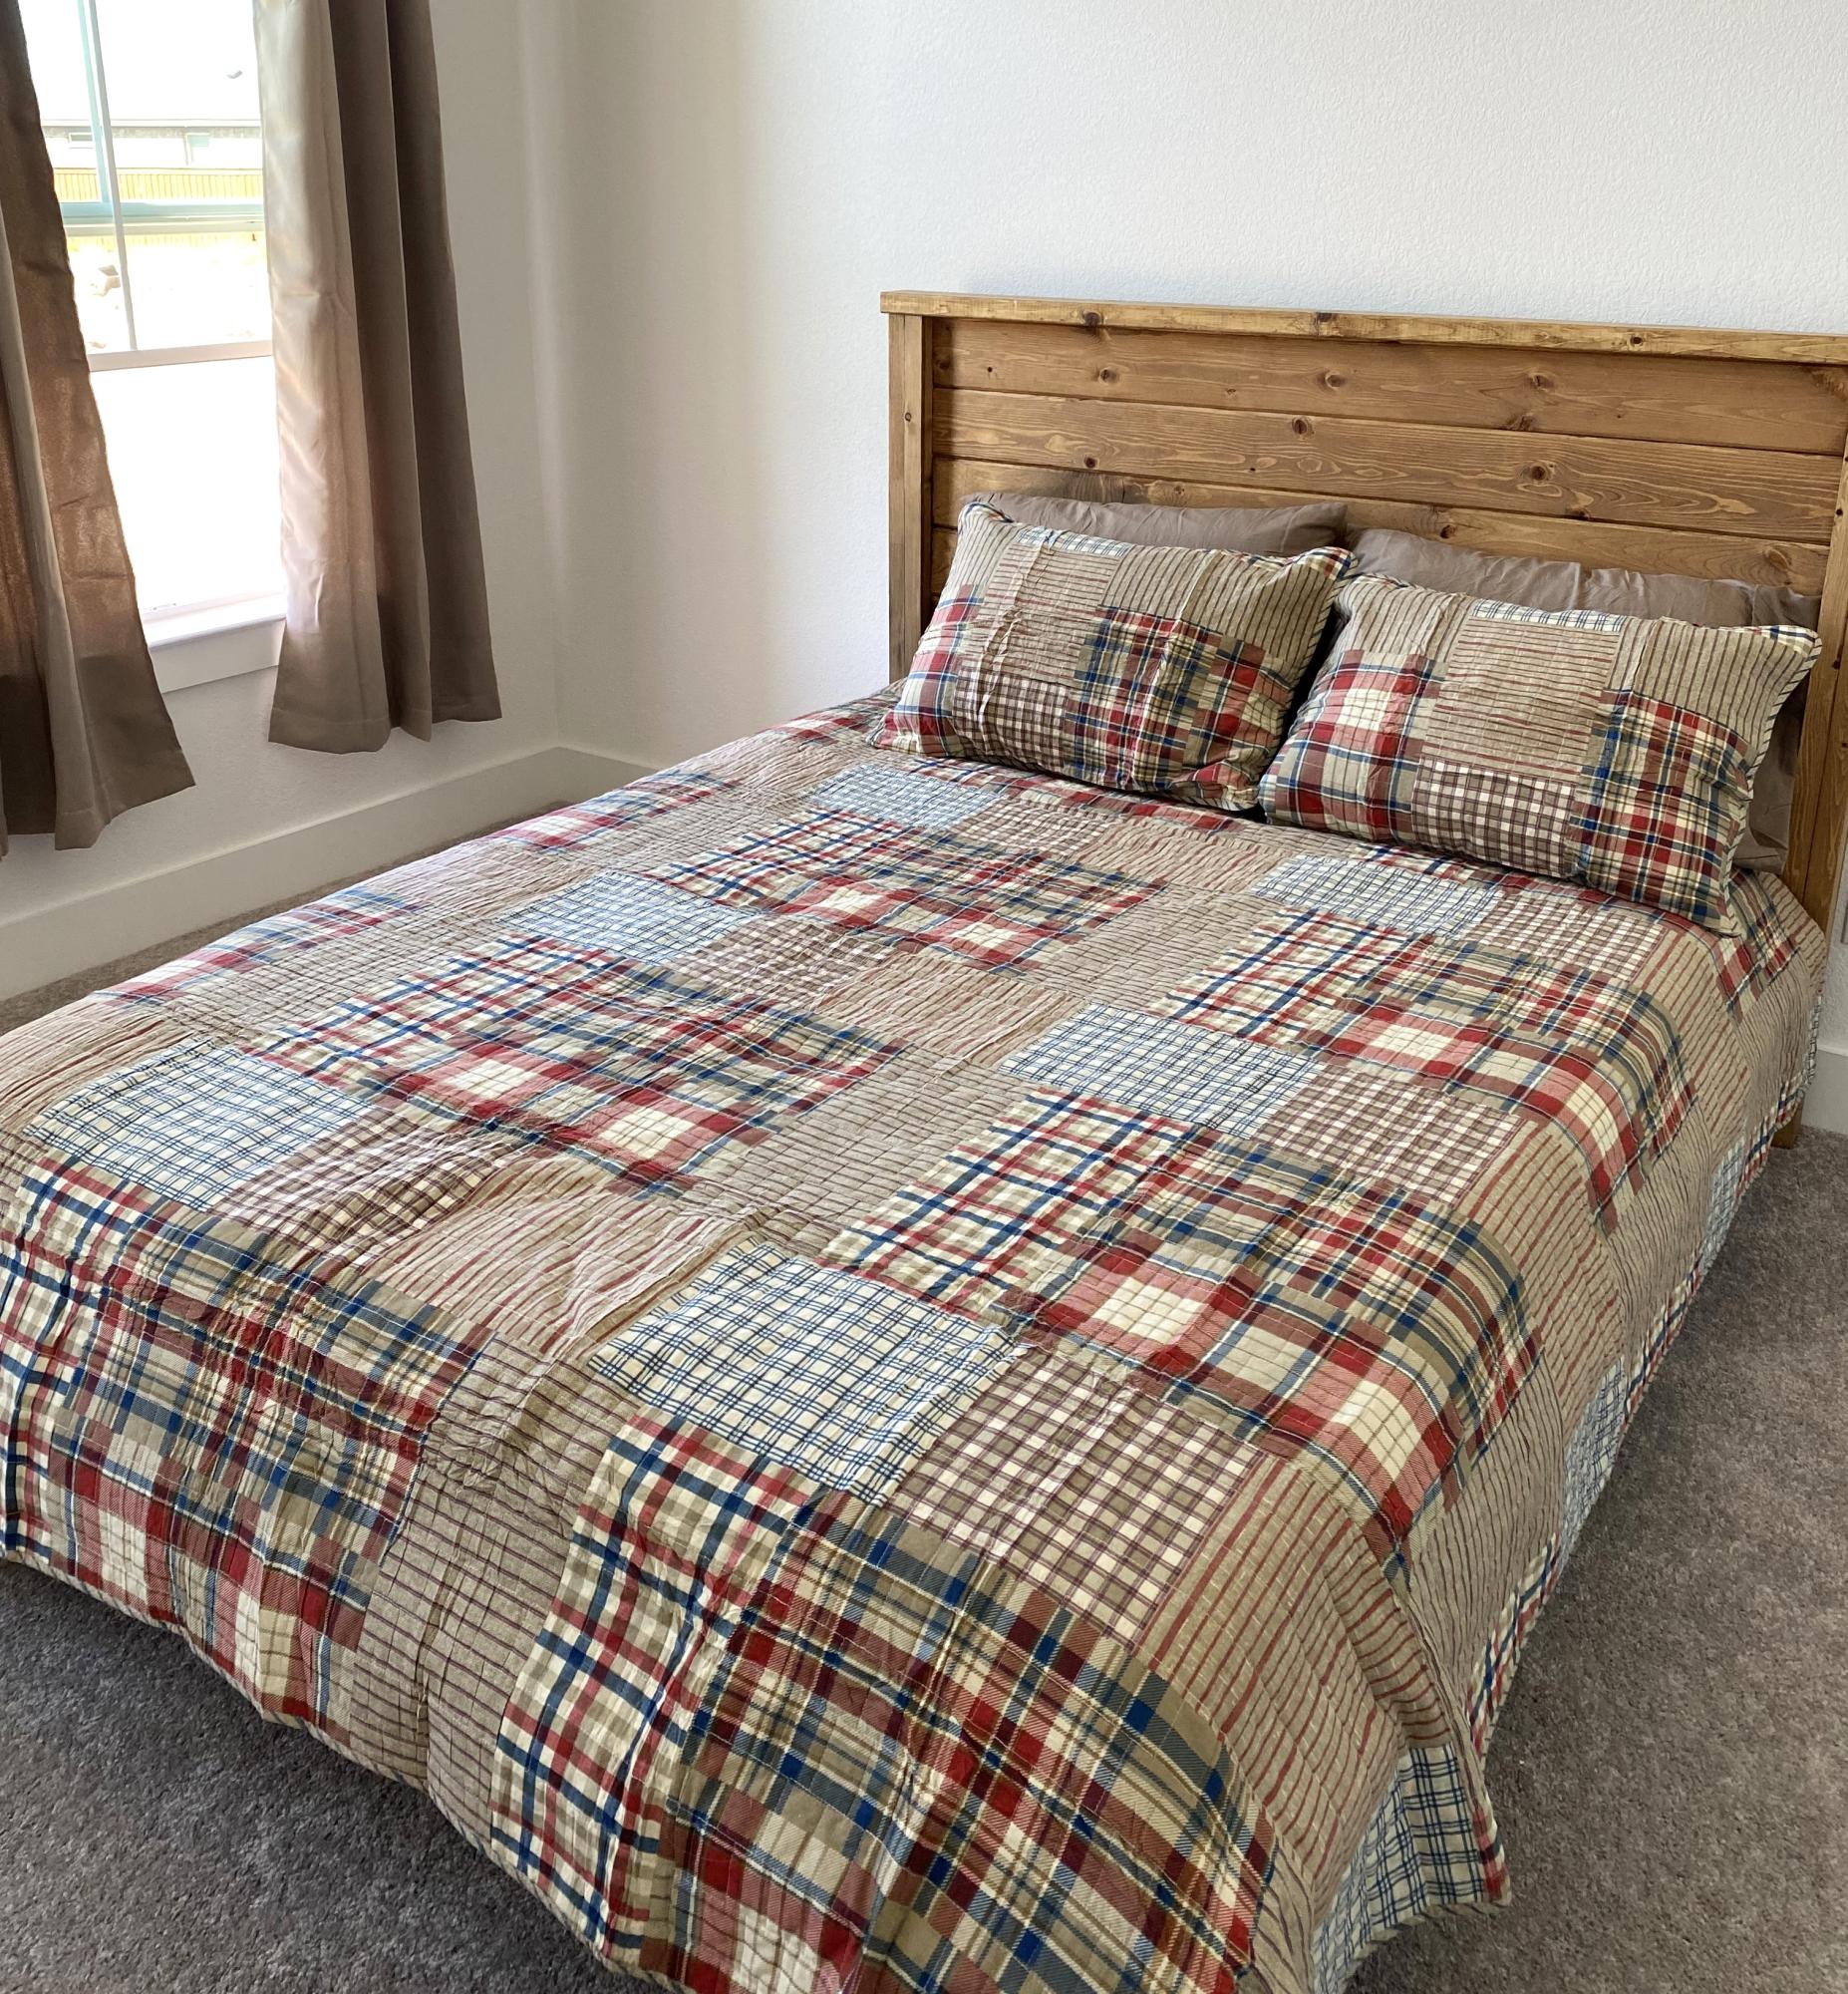
I had to come home from our family vacation sooner than the wife and kids which meant I had 12 days at home alone to make some sawdust. The wife got her sofa table which she really digs. My boy got a bed (different post) and daughter got her room painted.
I didn't add the "X" feature at the ends as I like the console better without them. Also spray painted some corner hardware; L brackets and lag bolts a textured black / copper spray, but didn't add them; wife liked the table without the added decor so it stays as is.
Built from Plan(s)
Estimated Time Investment
Day Project (6-9 Hours)
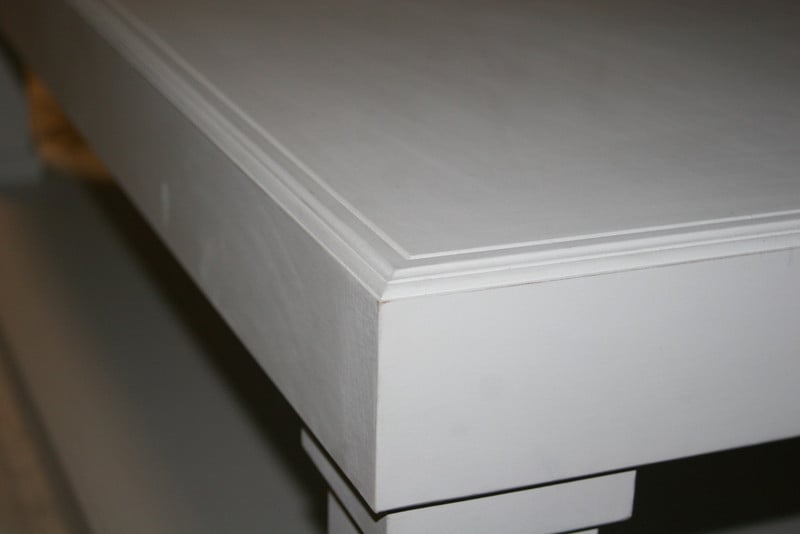
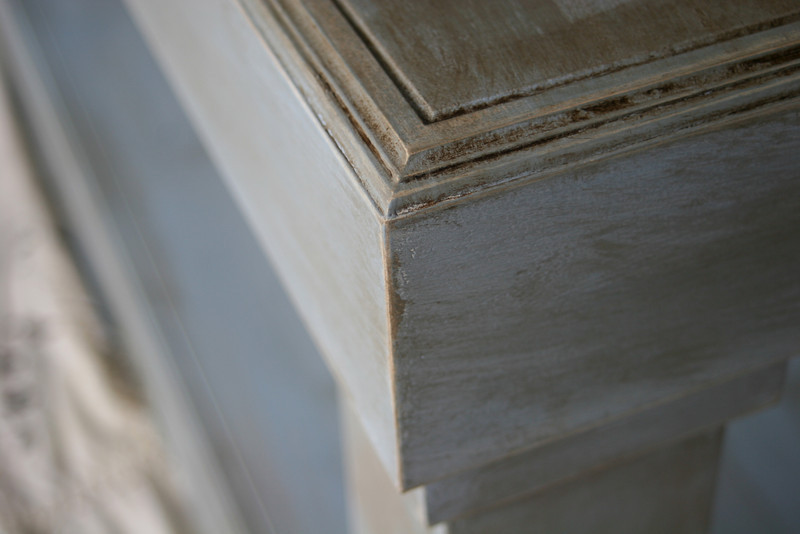
Finish Used
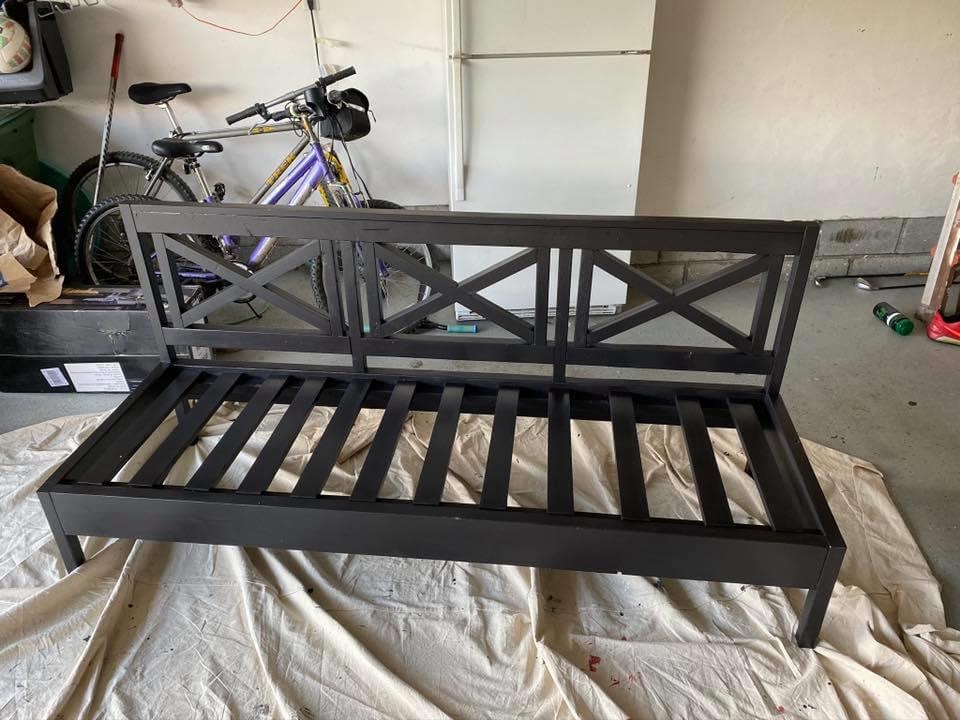
Minwax Grey & Polyurethene
Recommended Skill Level
Beginner


Comments
MichelleC
Sun, 09/30/2012 - 09:59
Looks great!
I love this console because it looks good either with the x's or without! Yours turned out great and I'm sure your wife was ecstatic at your accomplishment in her absence!!