HGTV'd myself
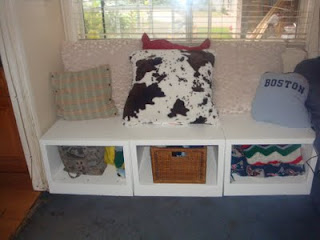
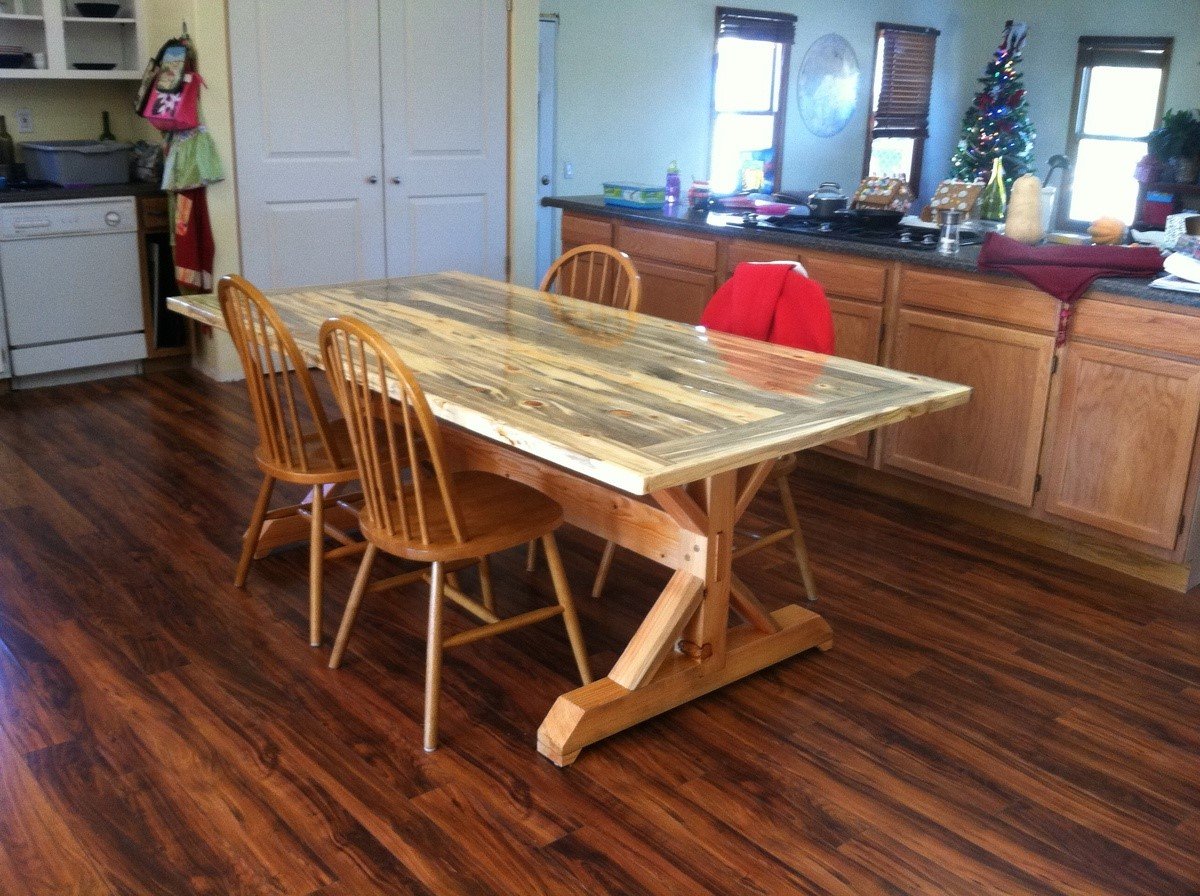
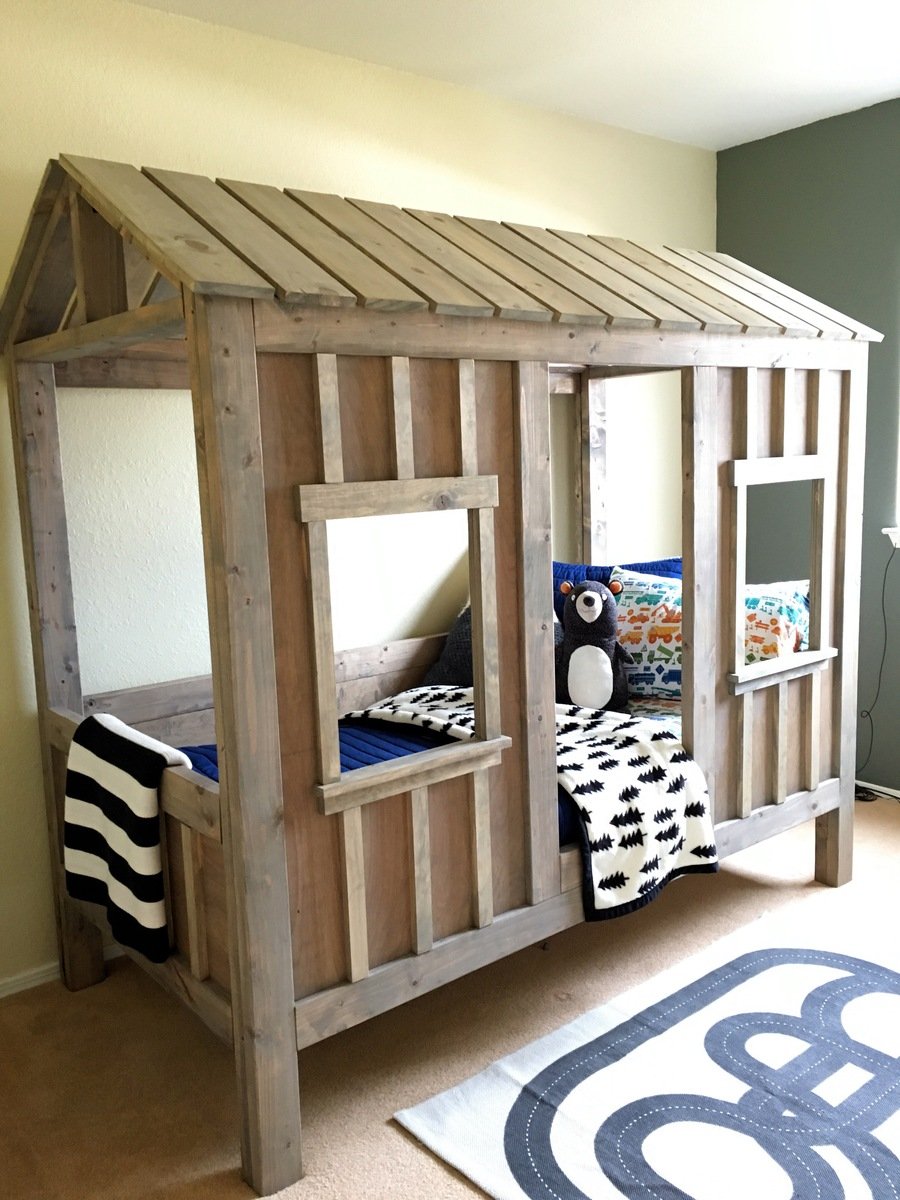
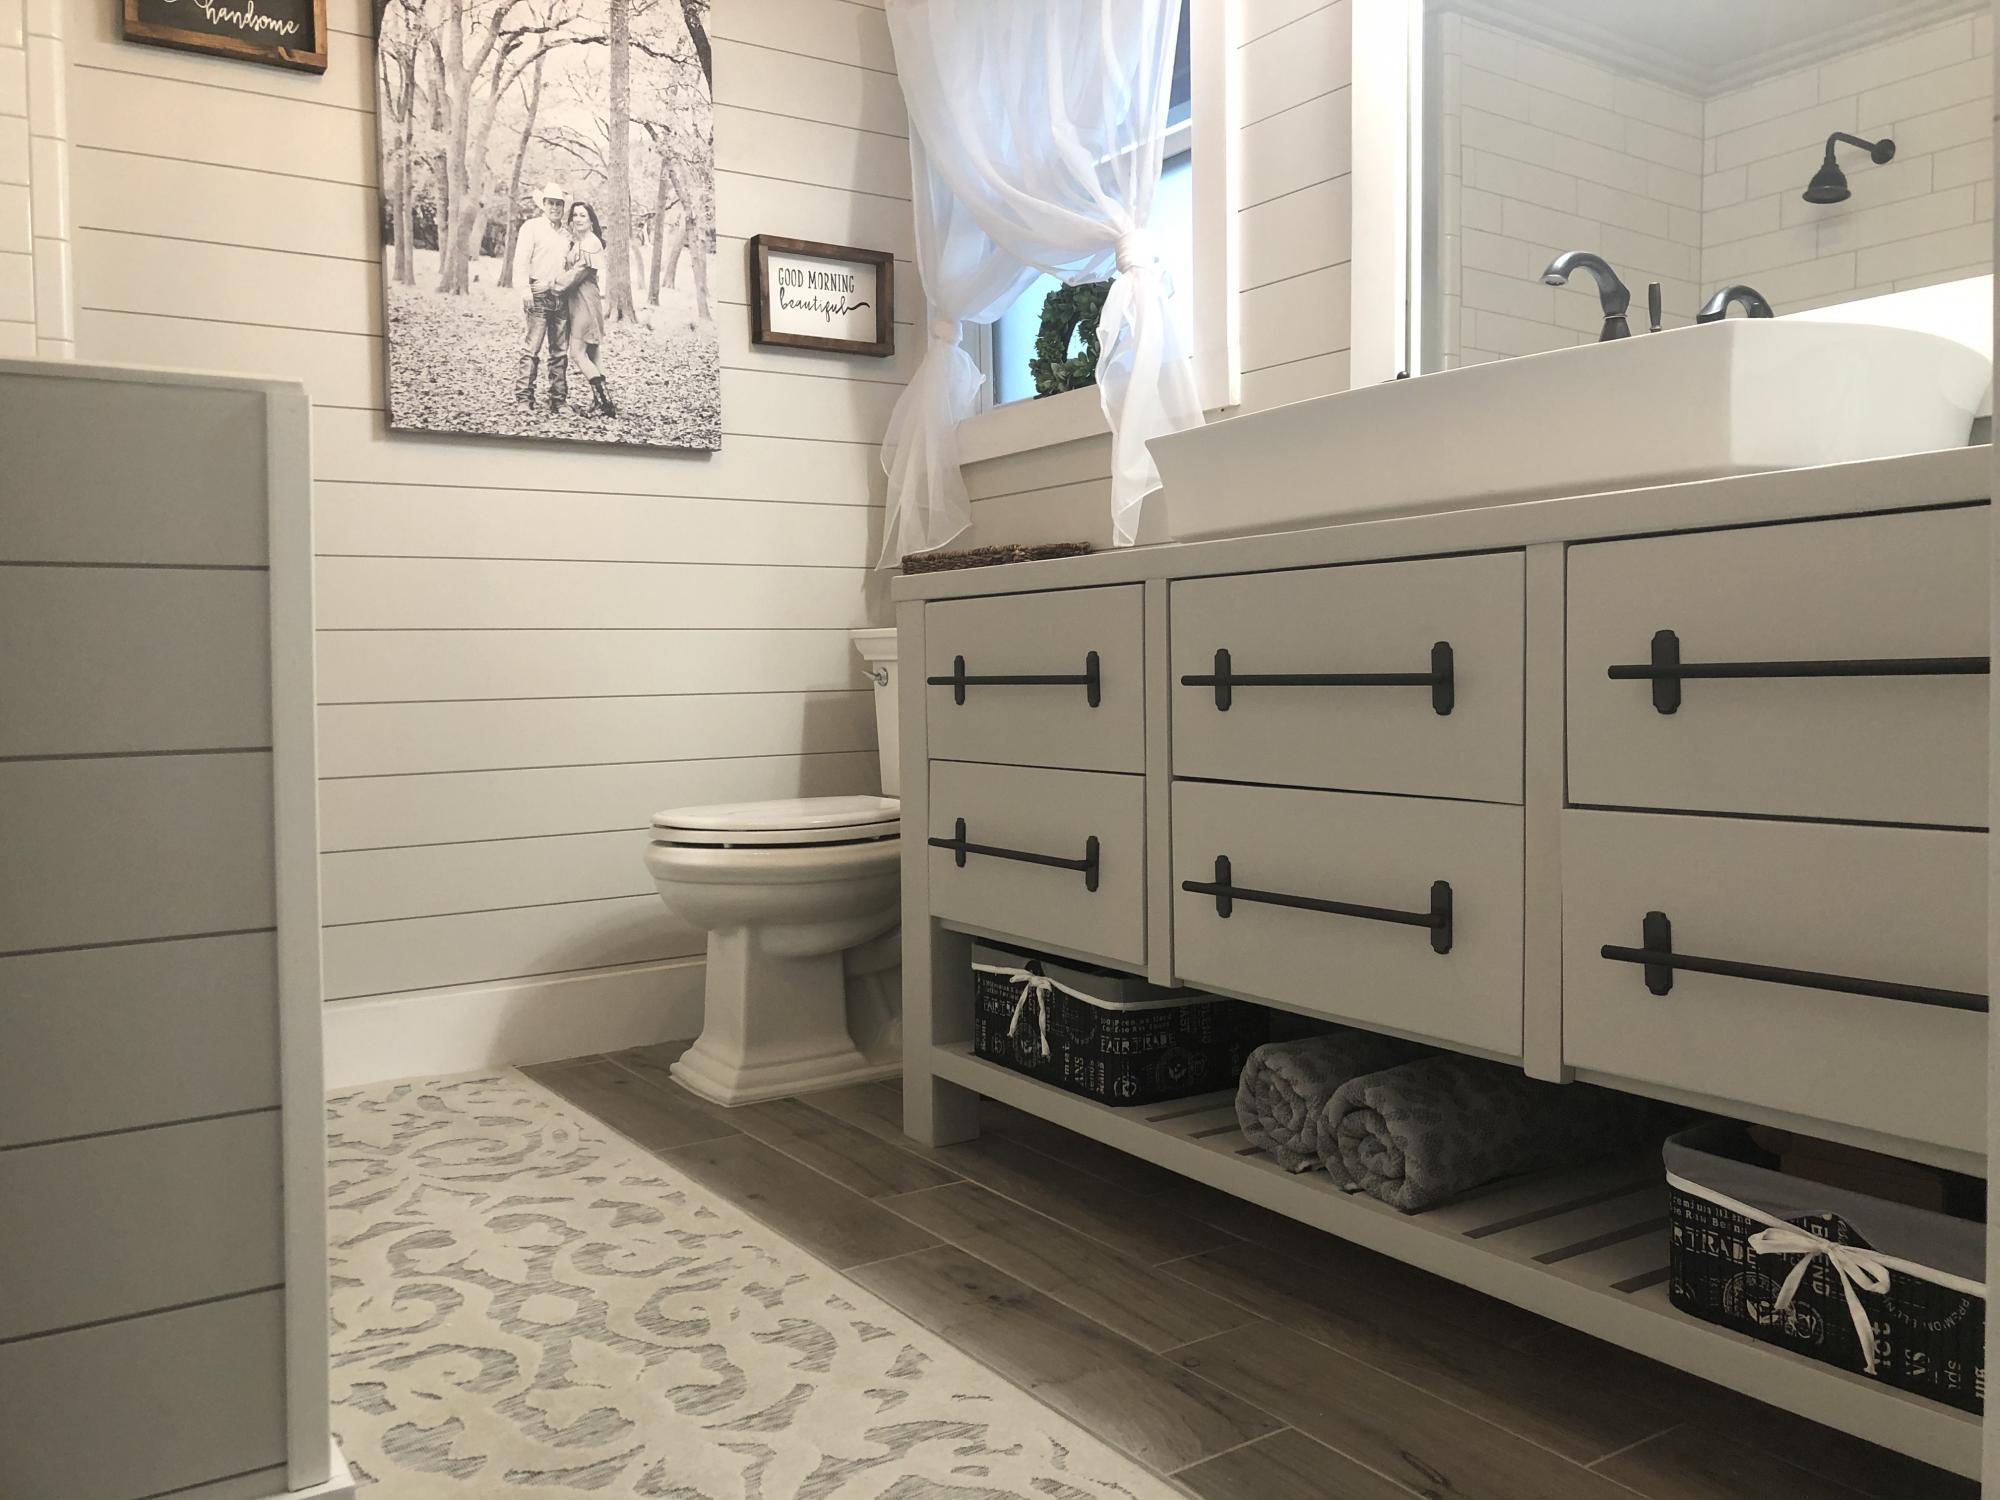
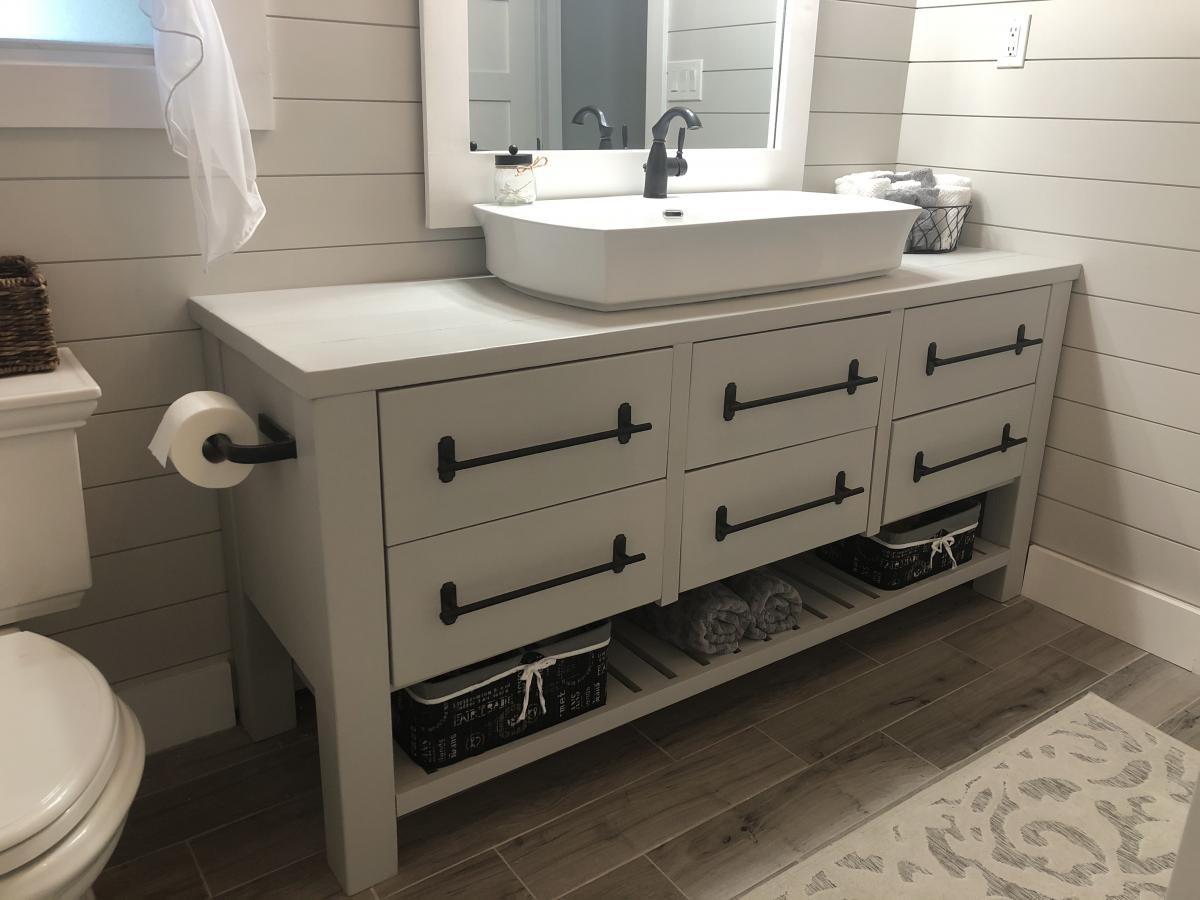
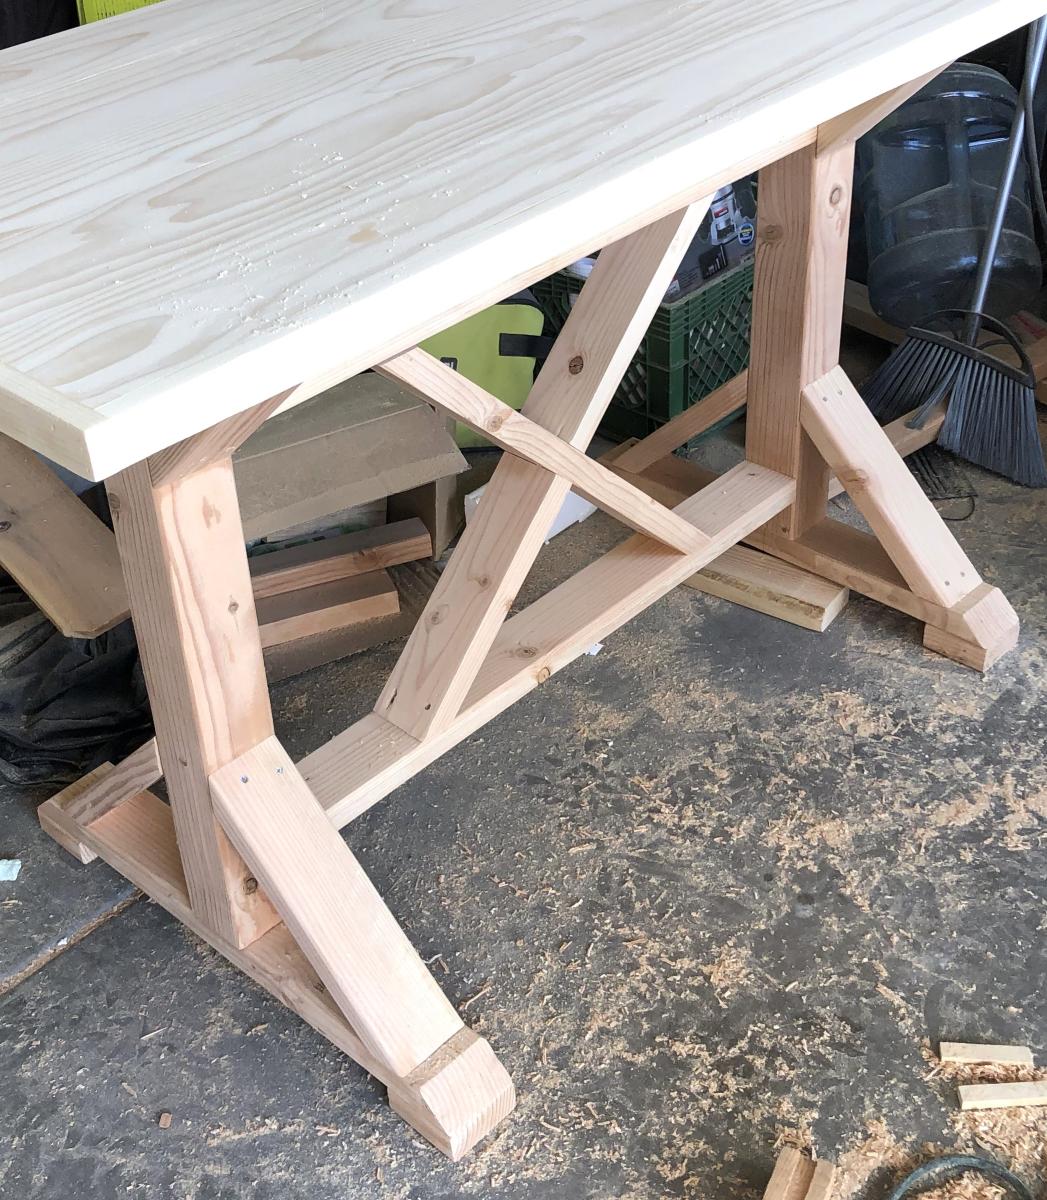
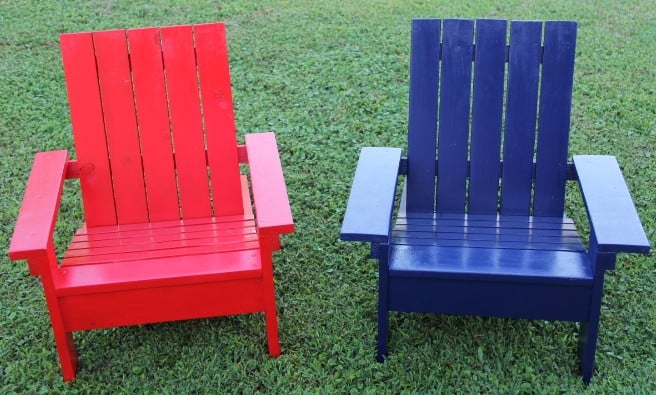
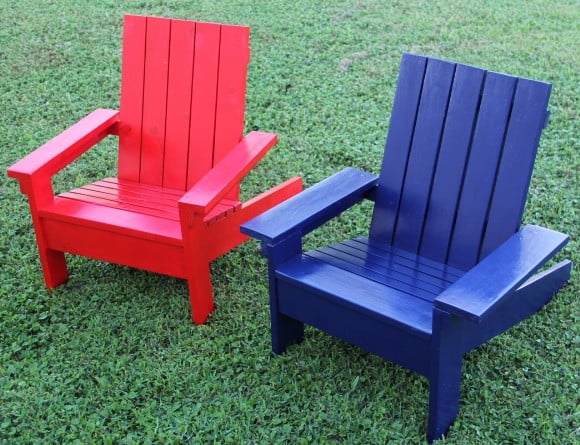
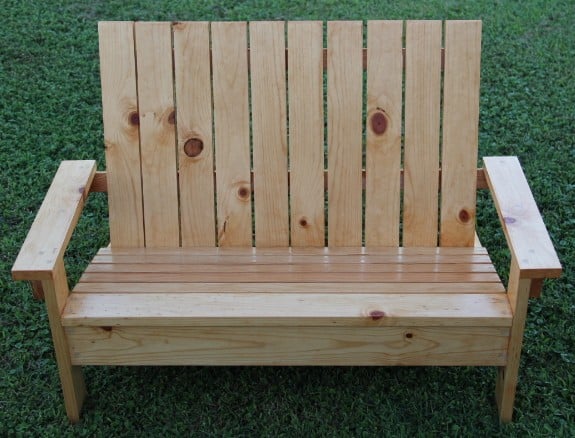
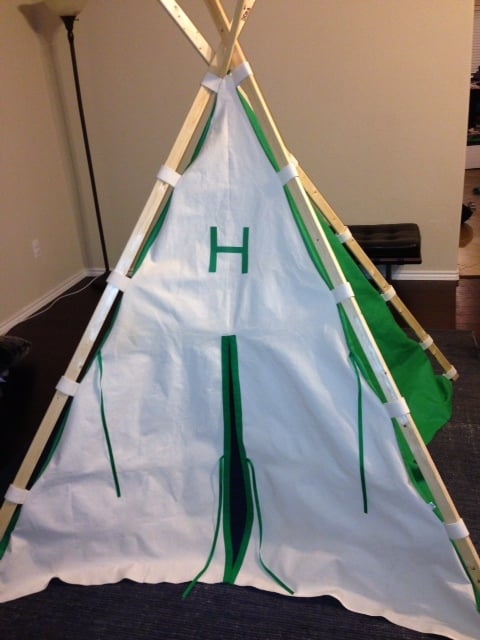
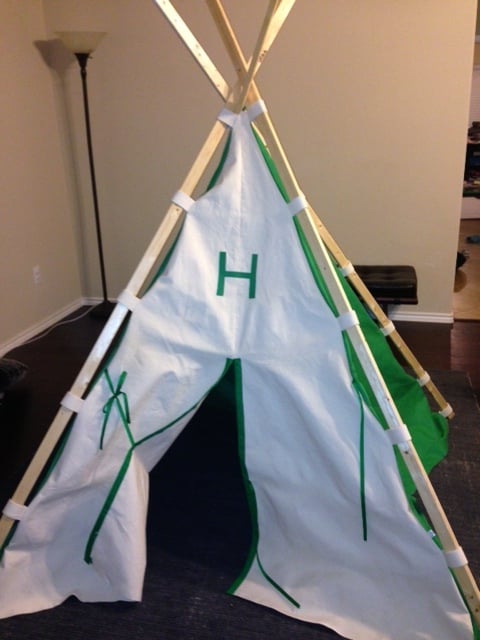
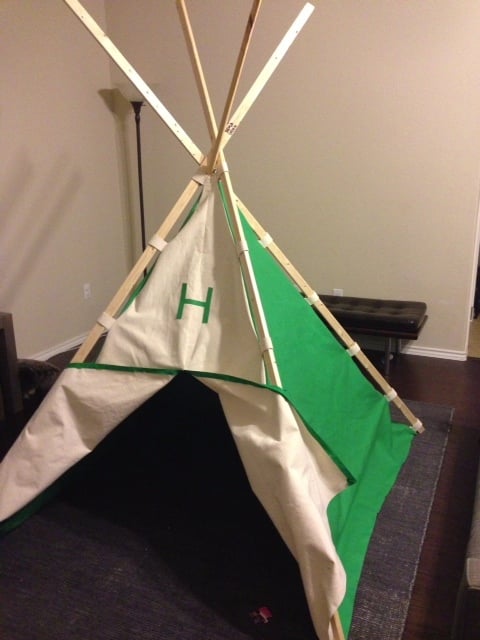
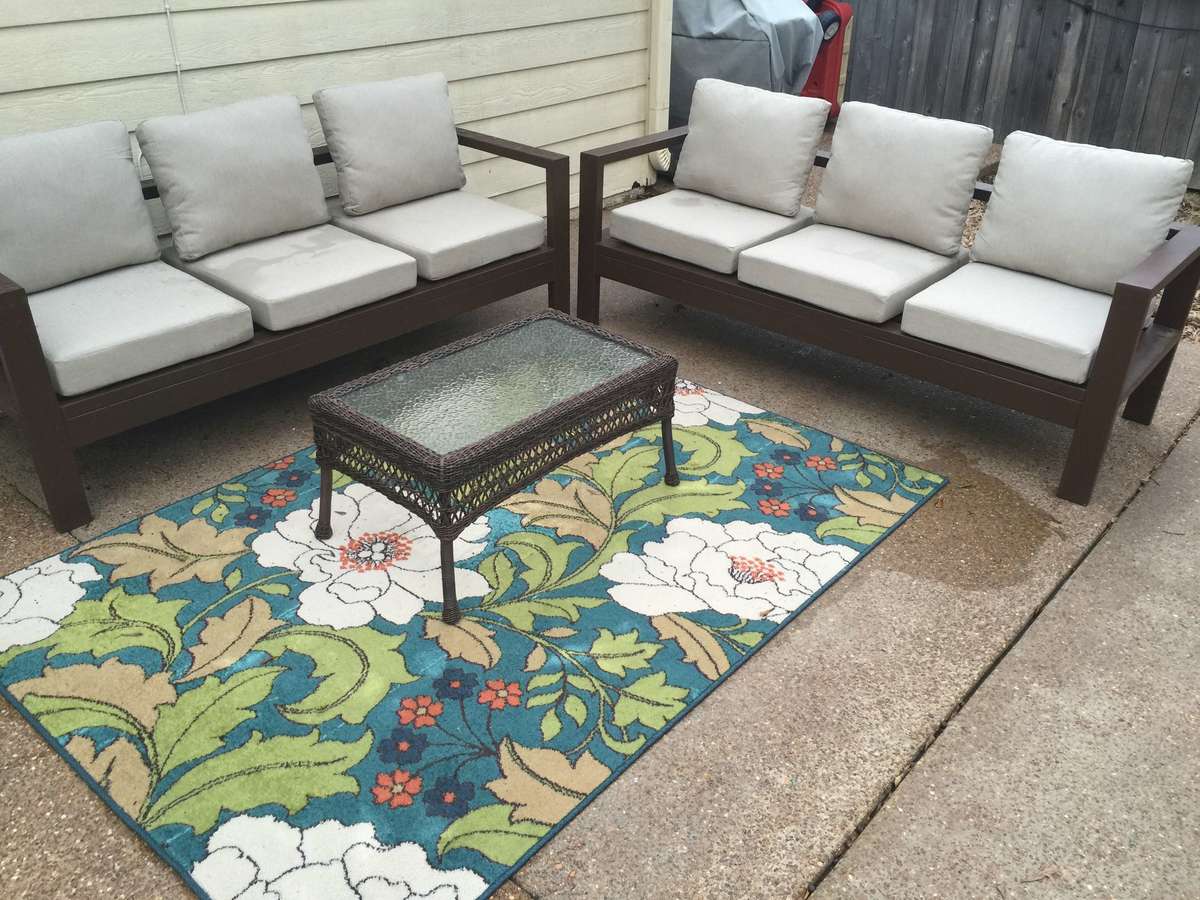
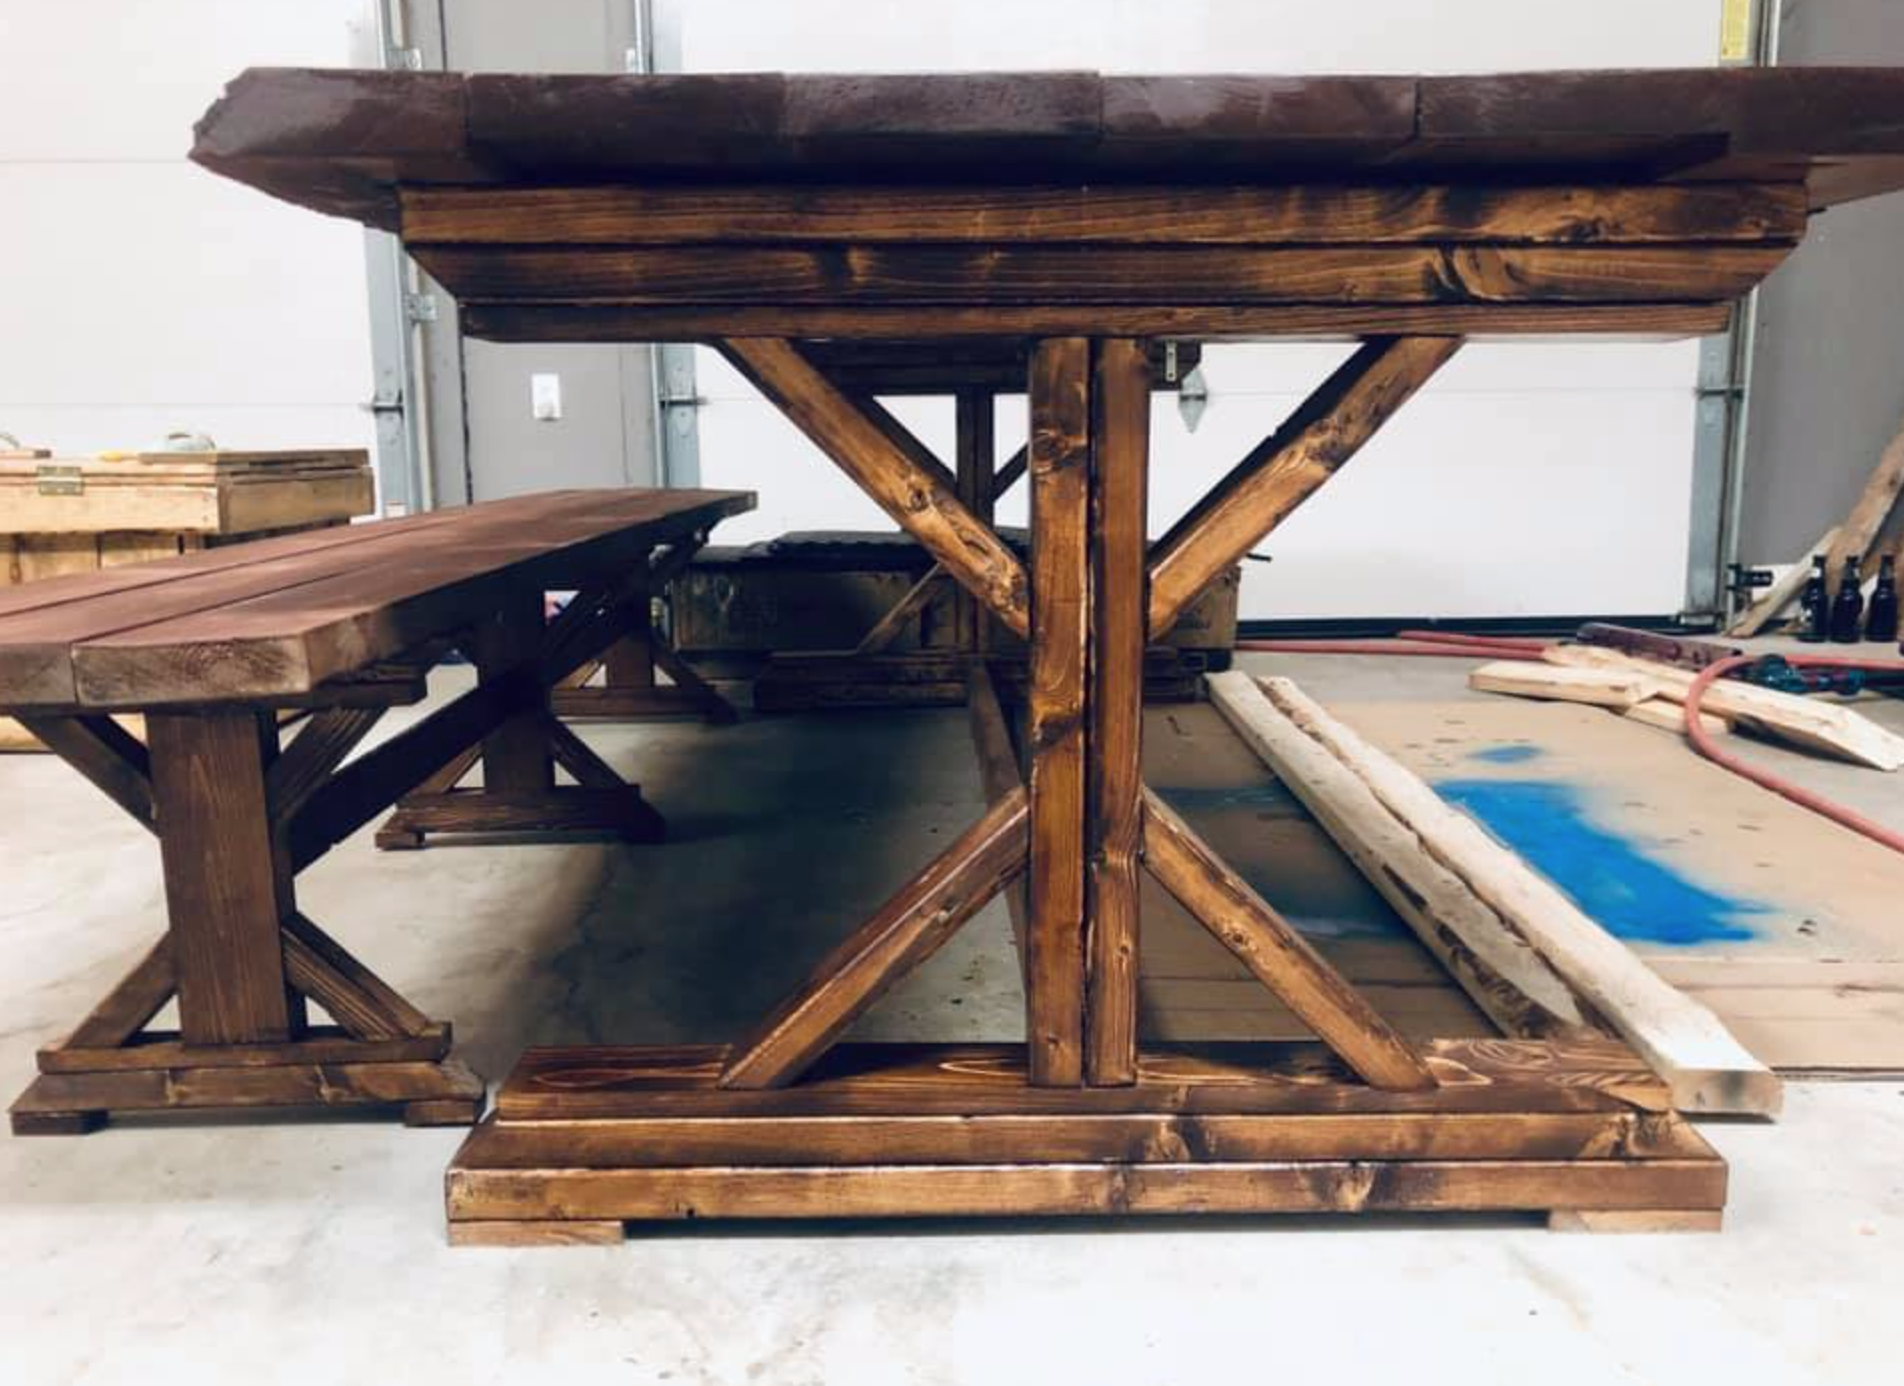
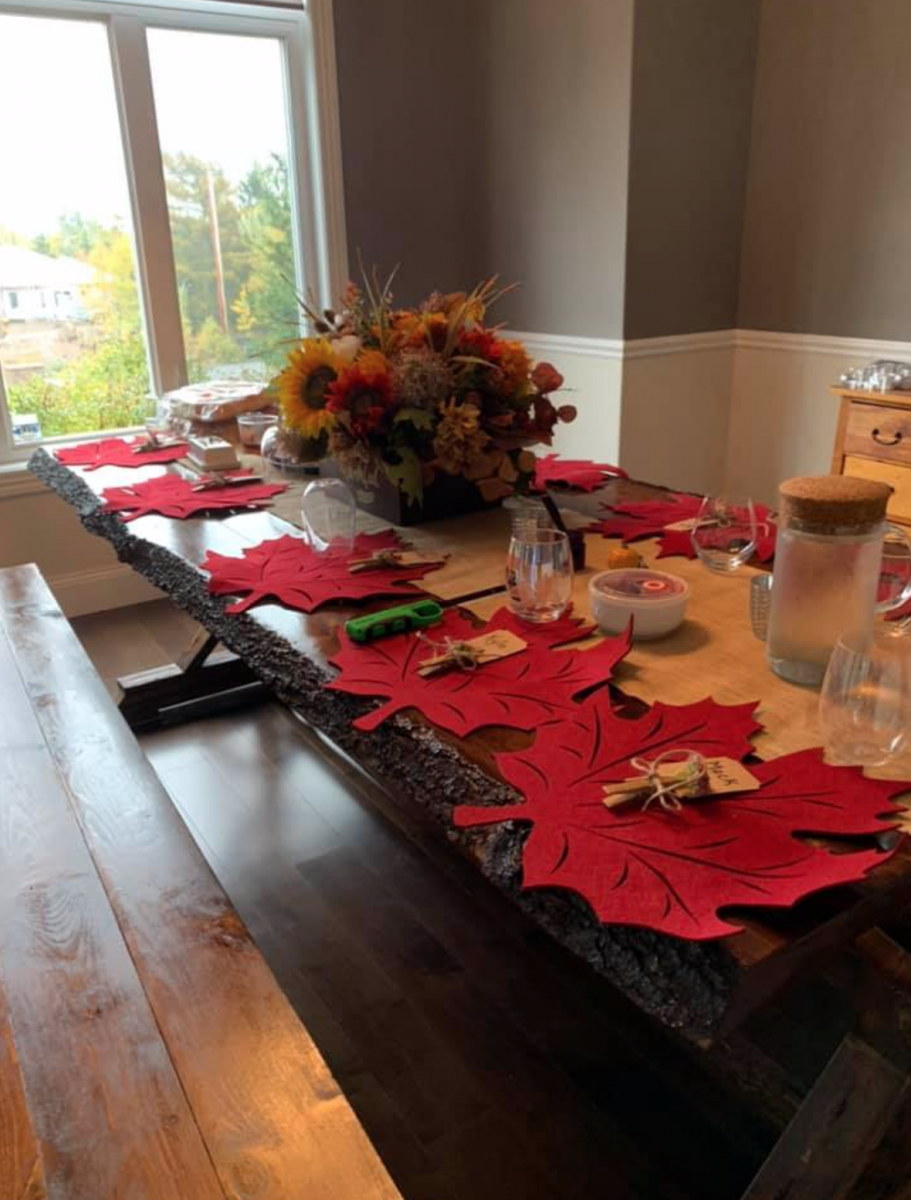
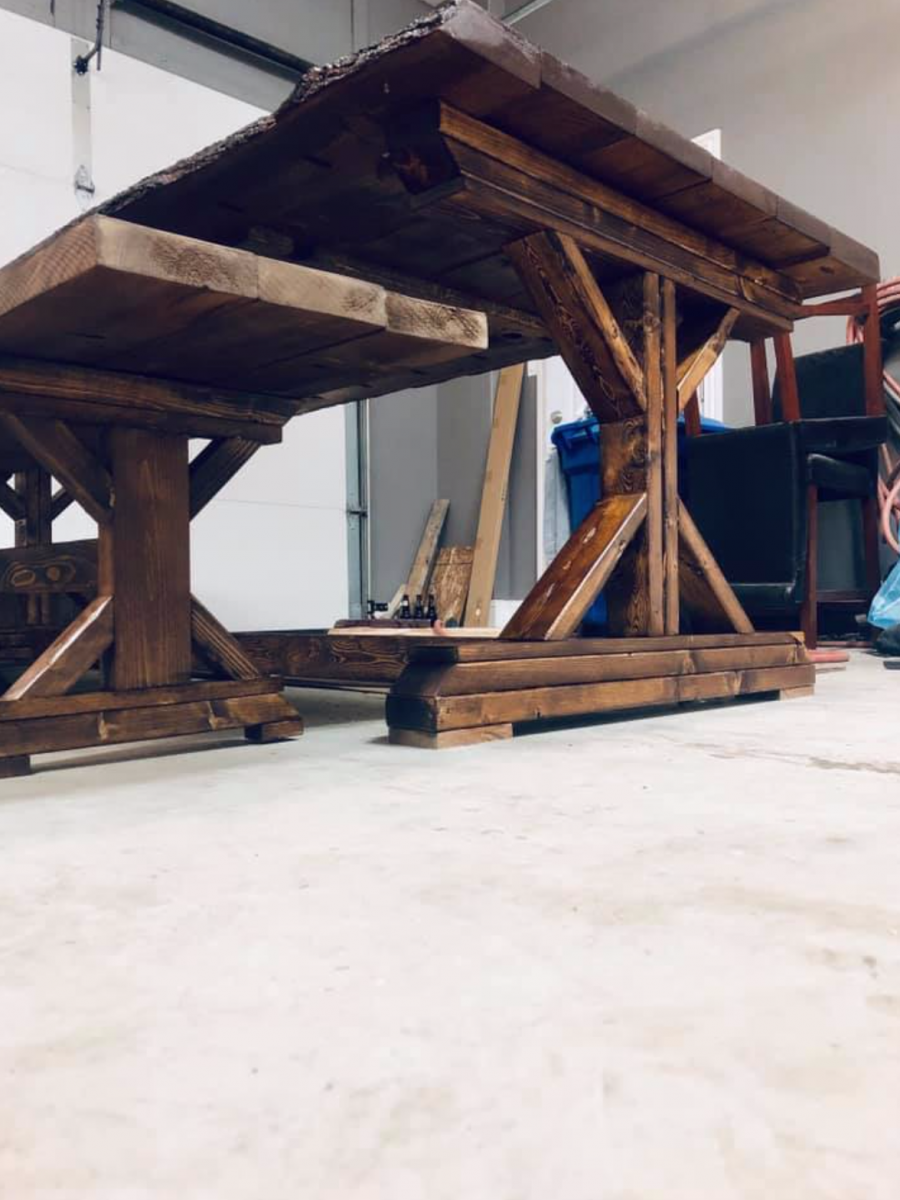
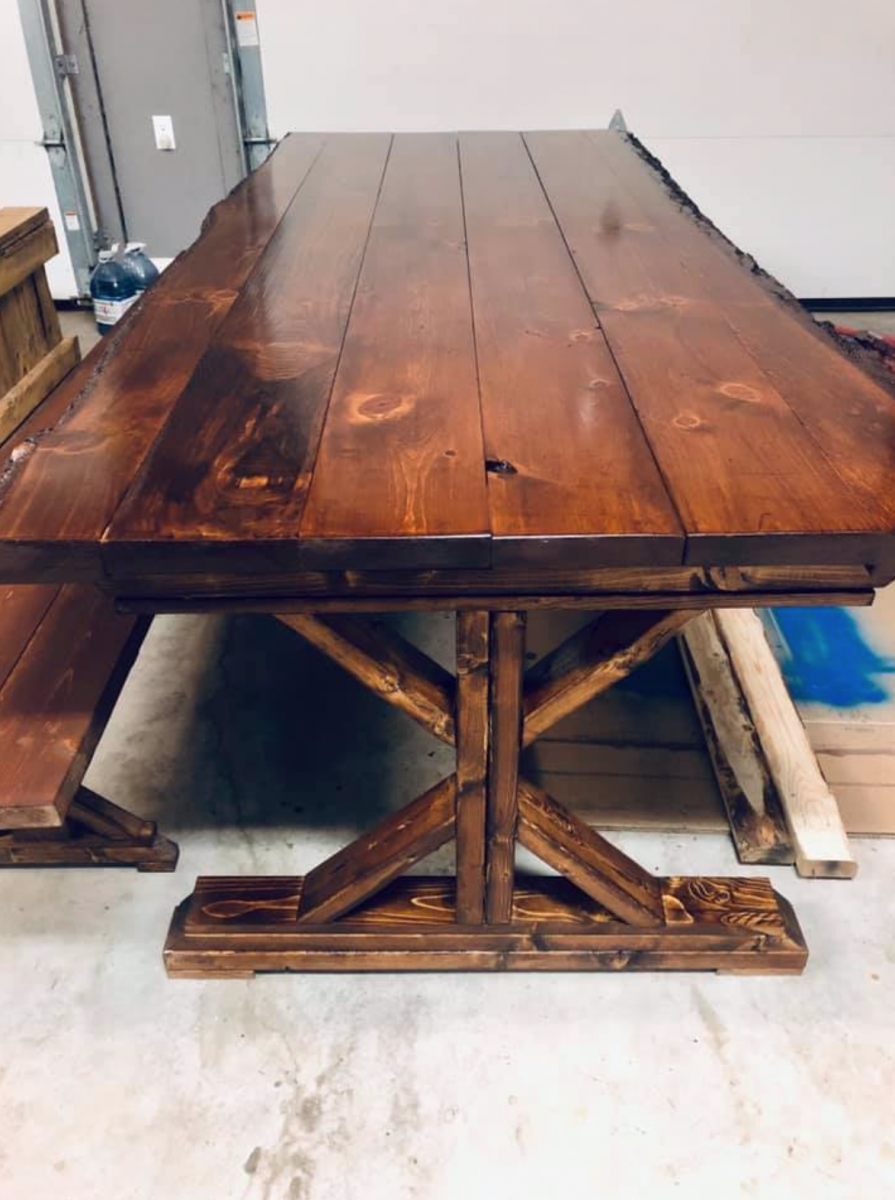
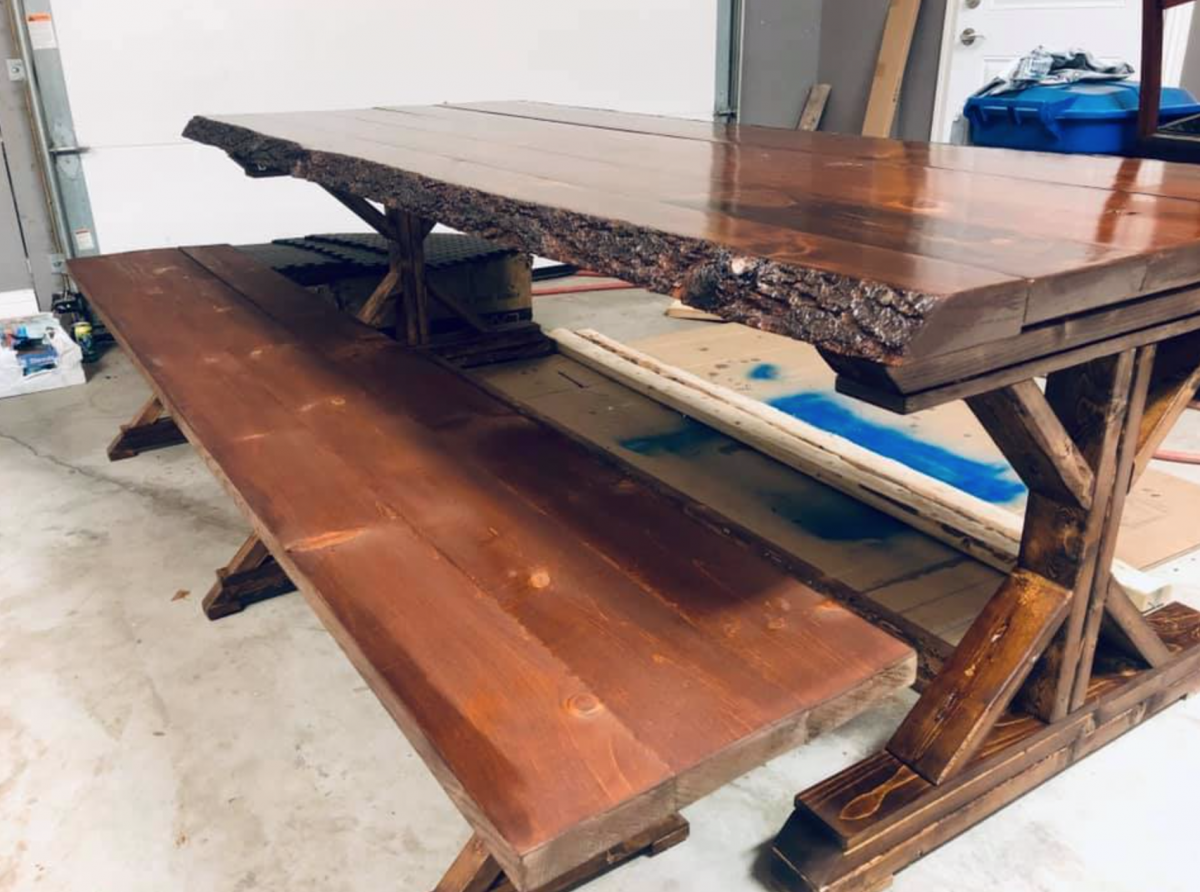
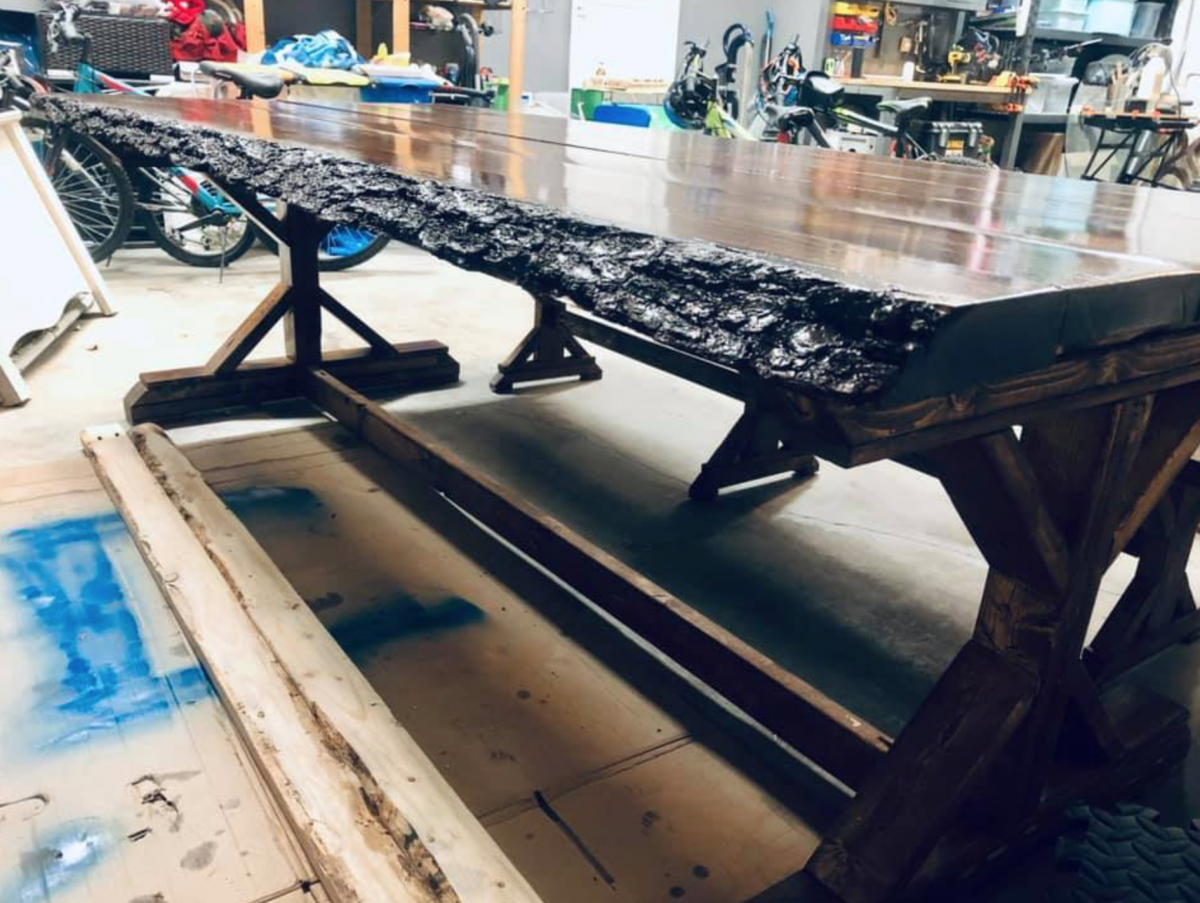
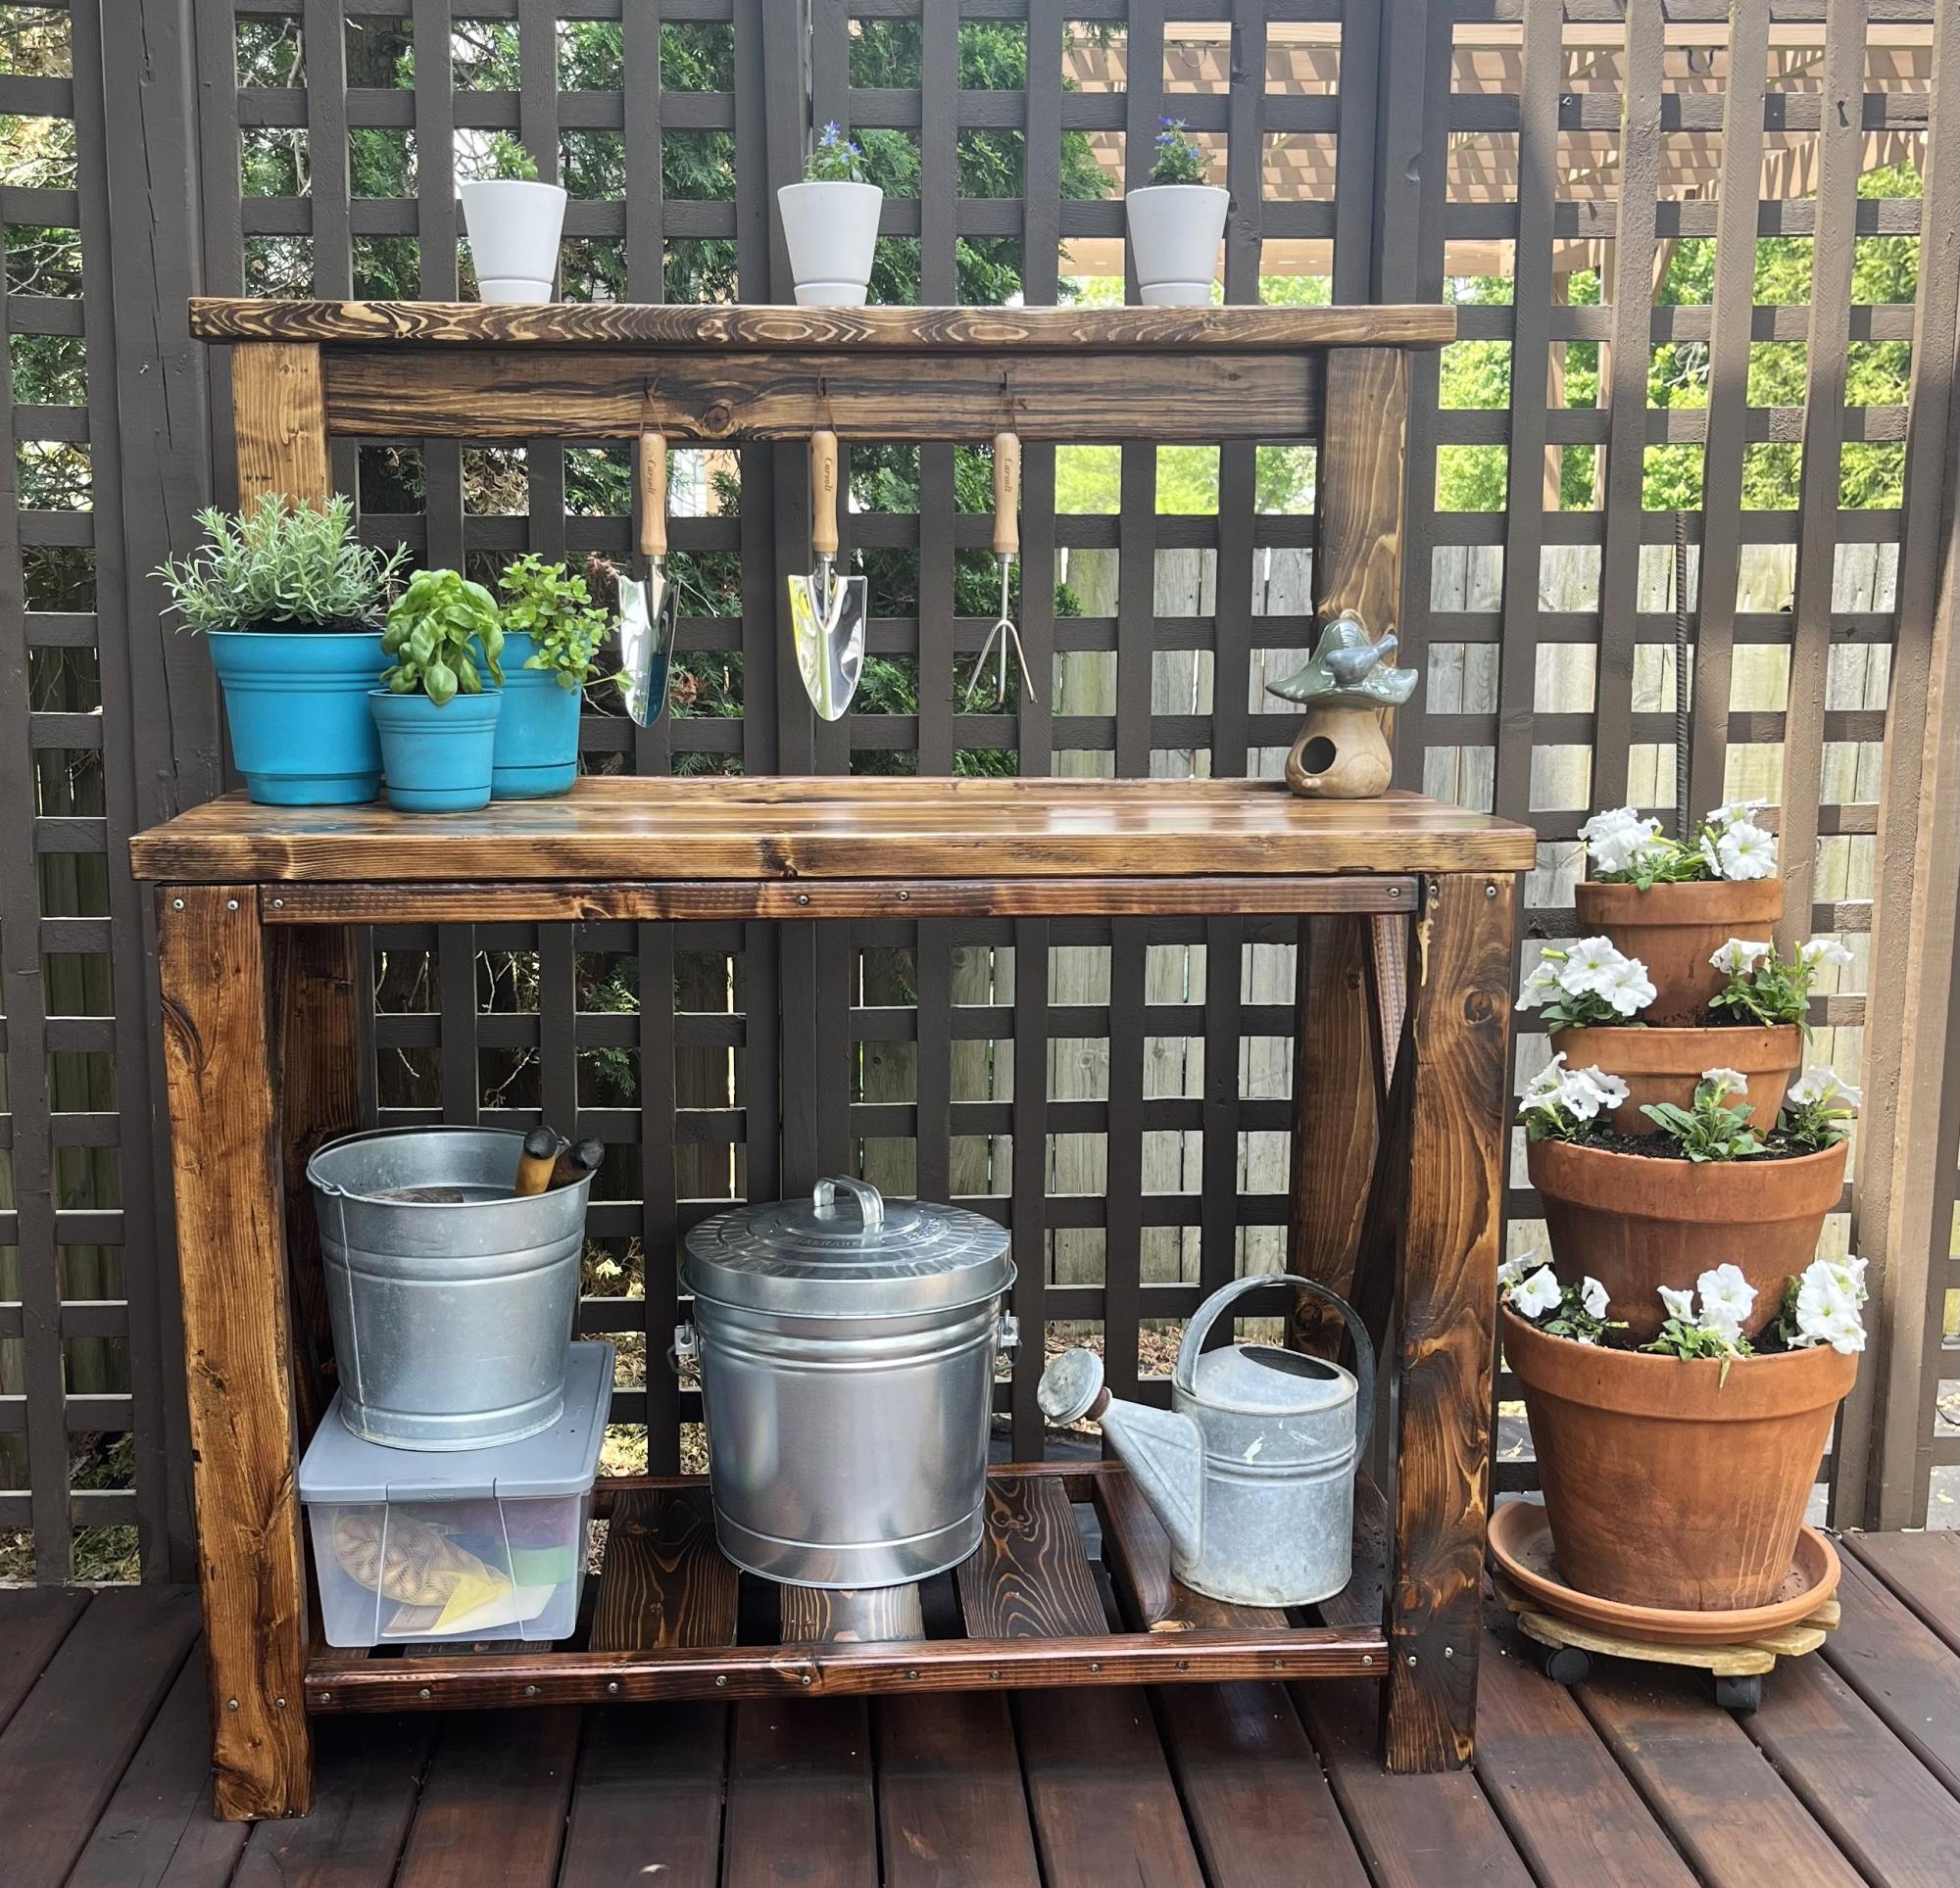
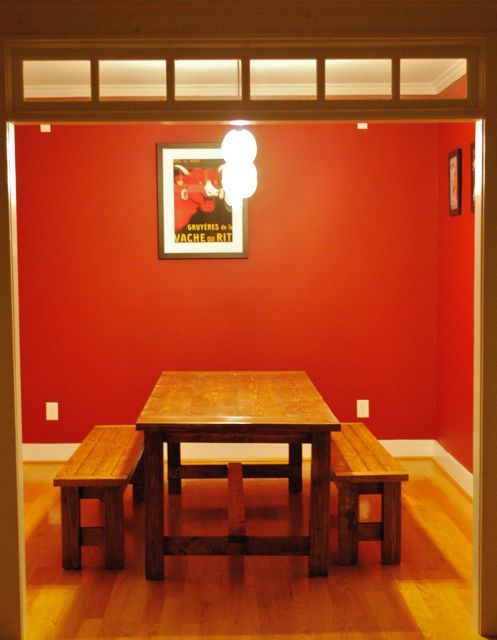
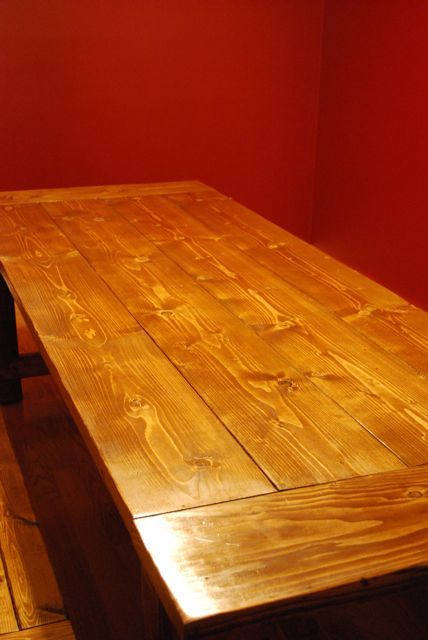
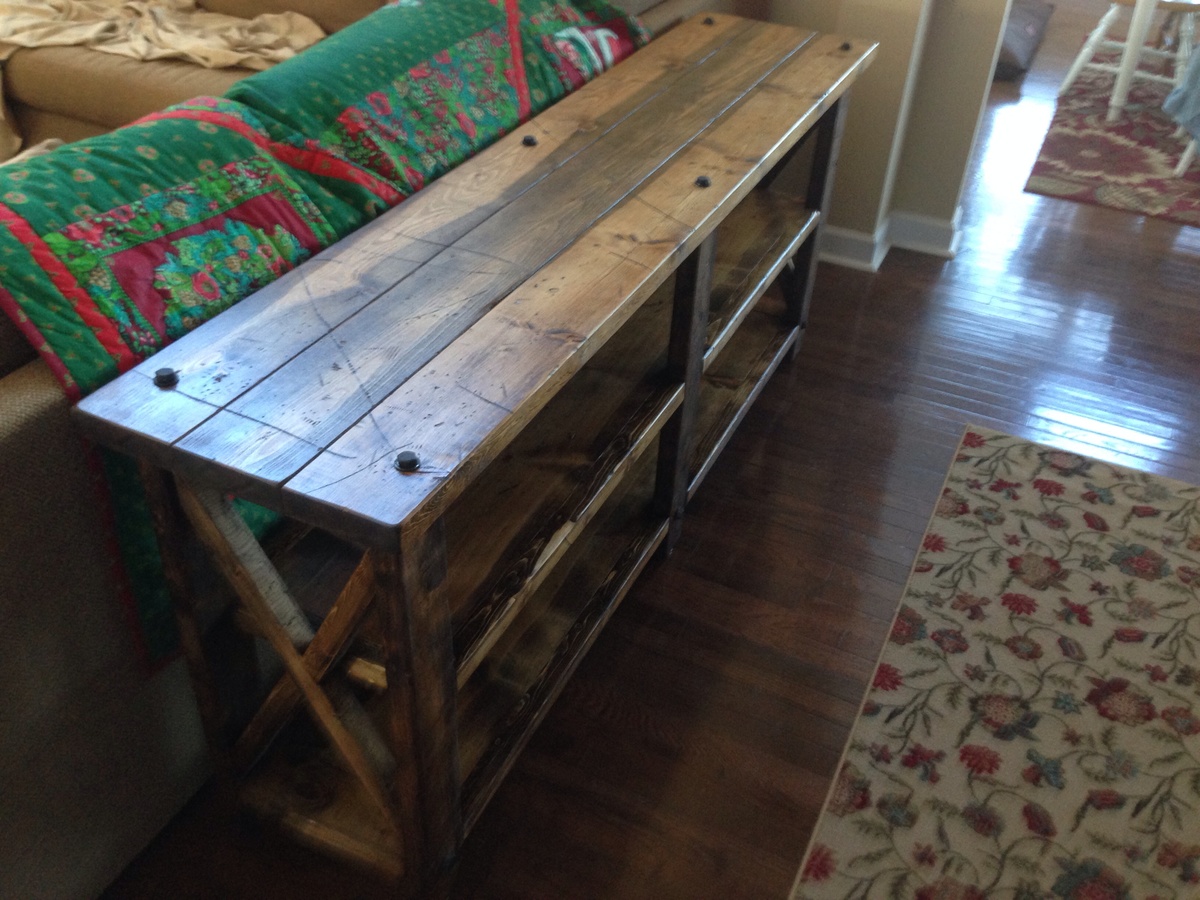
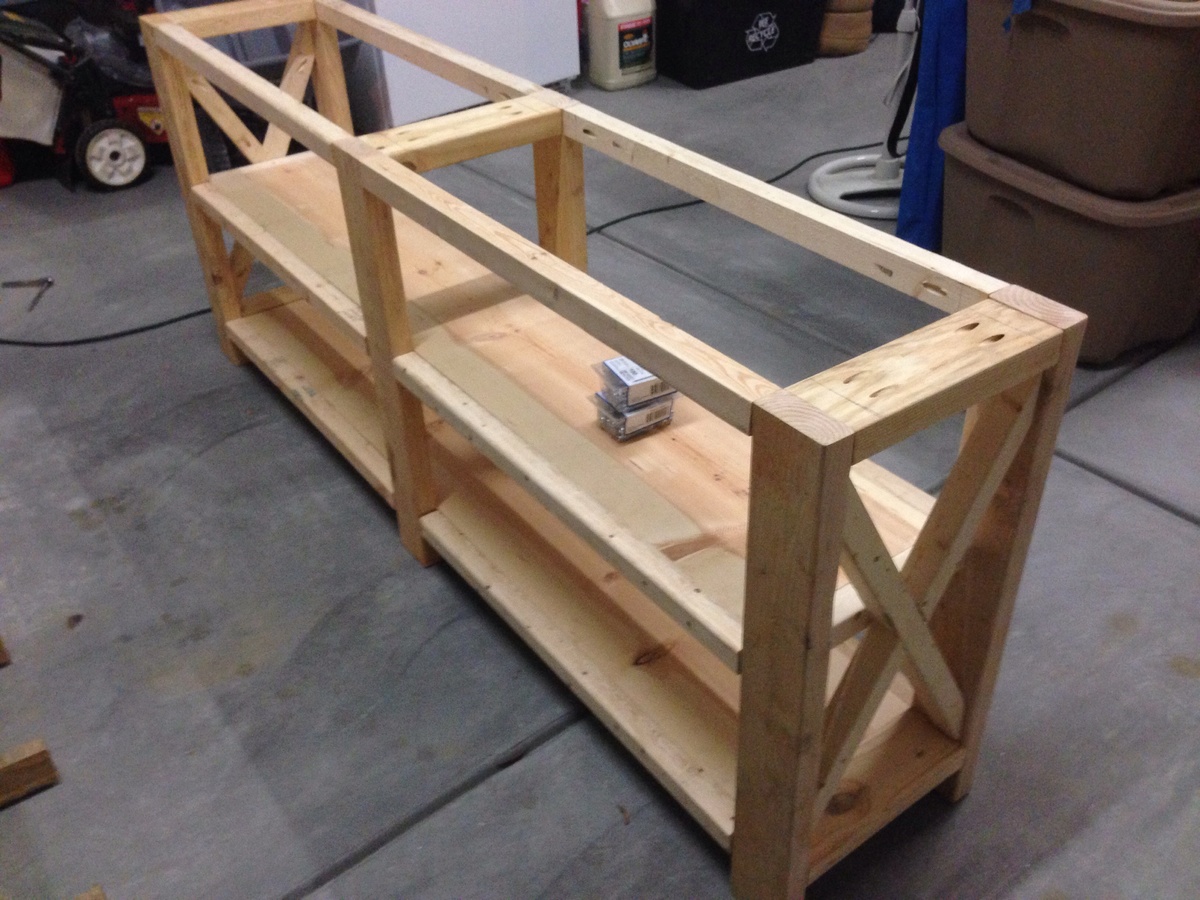
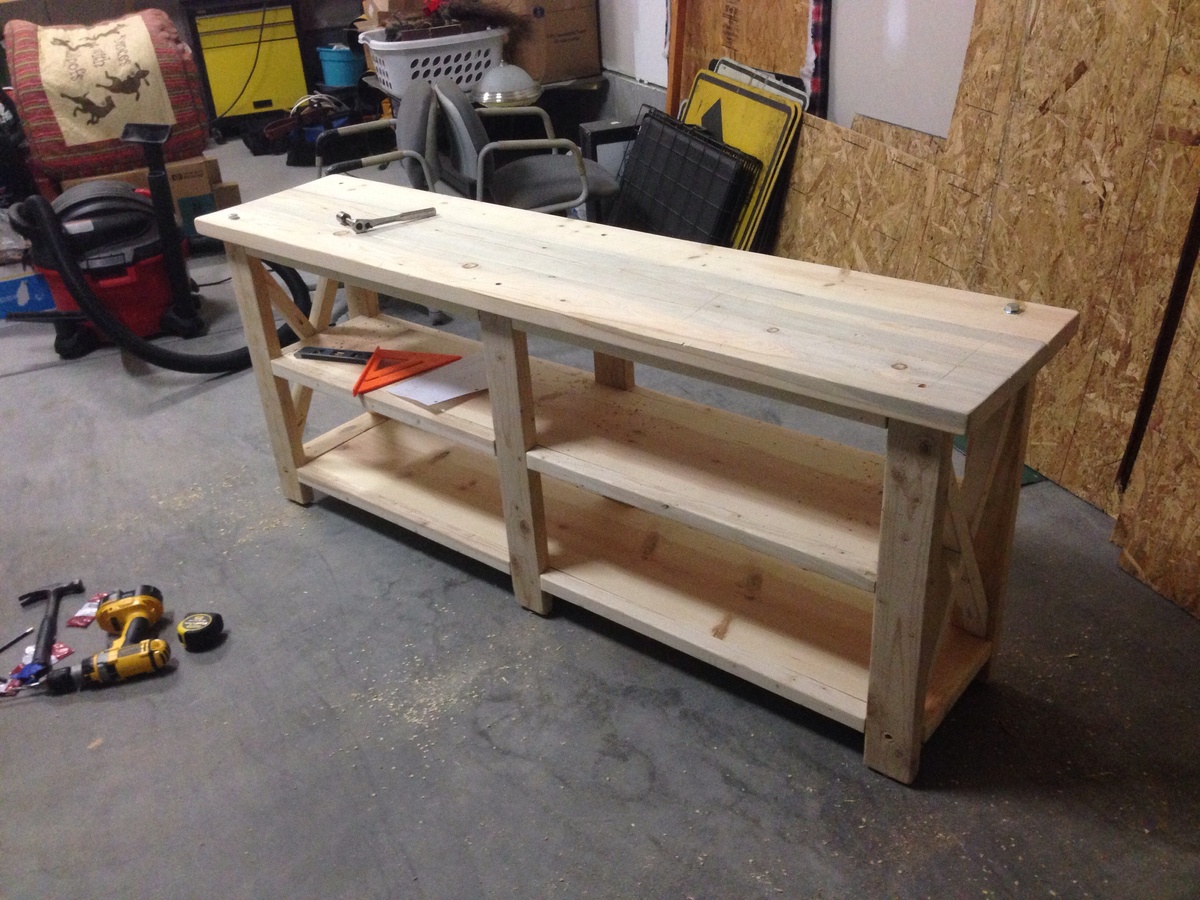
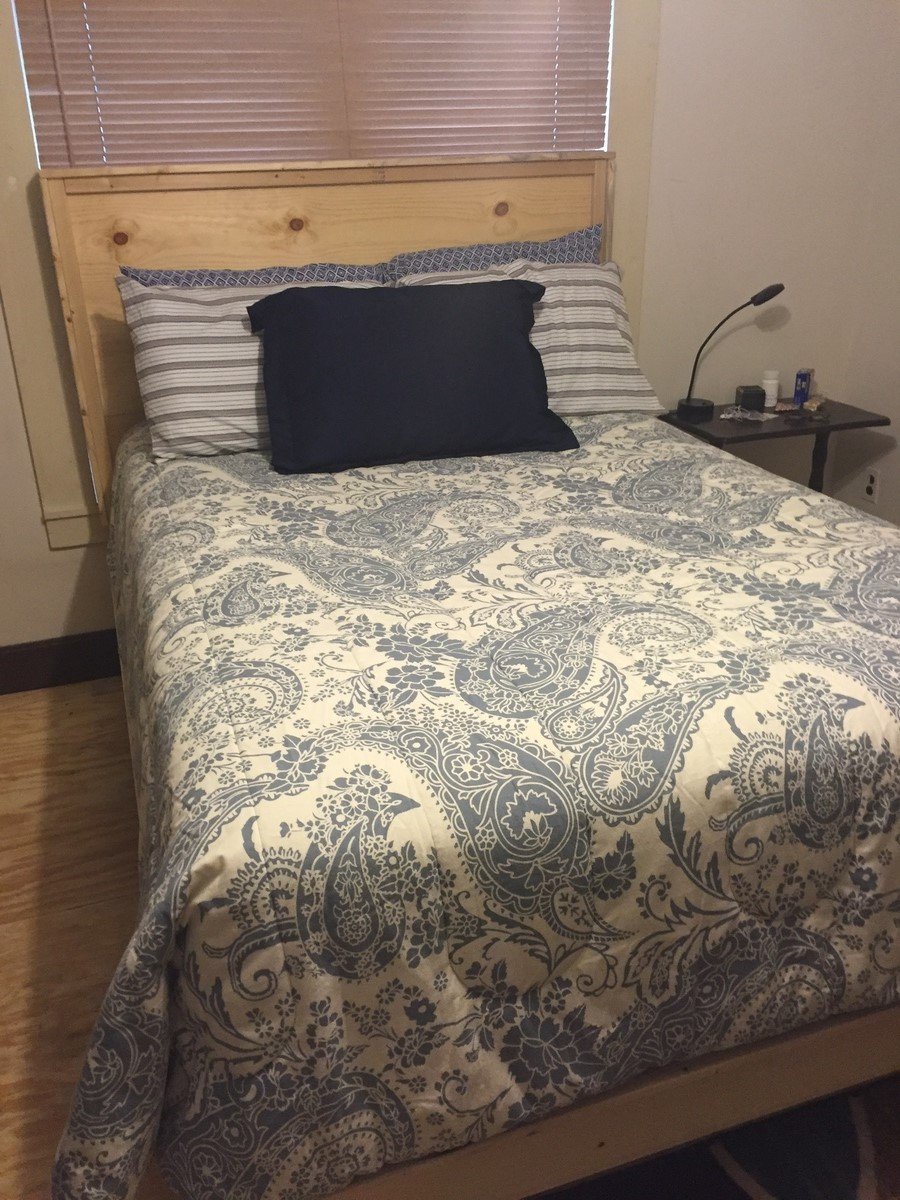
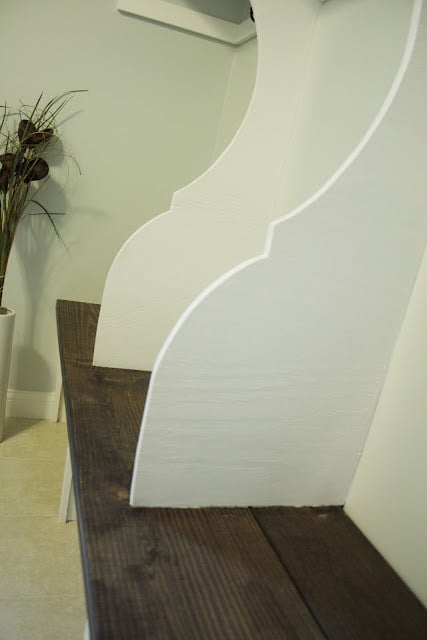
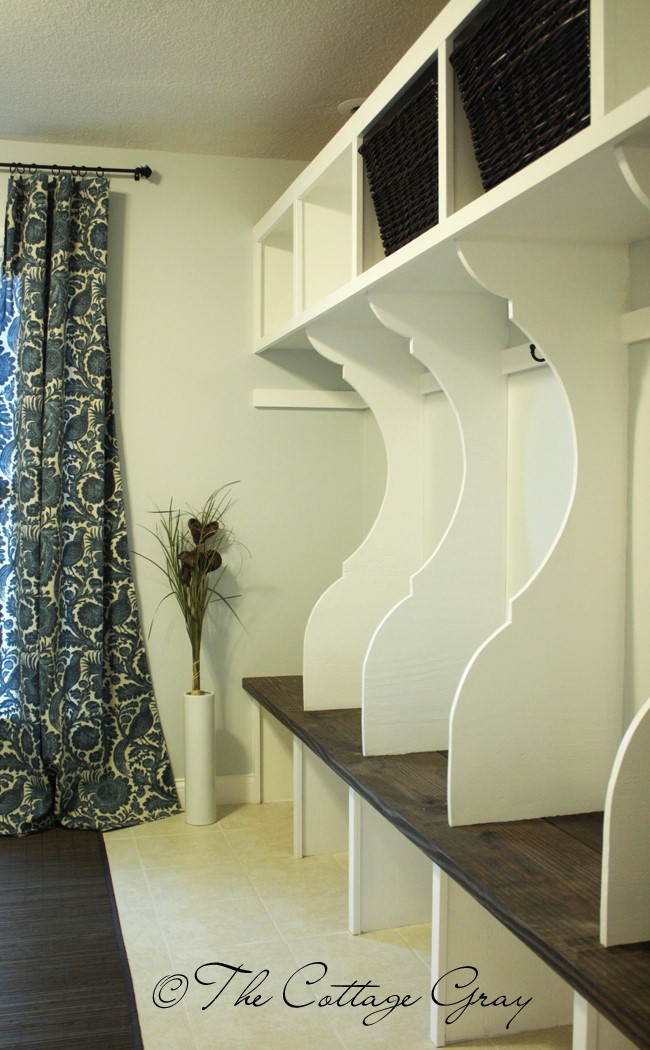
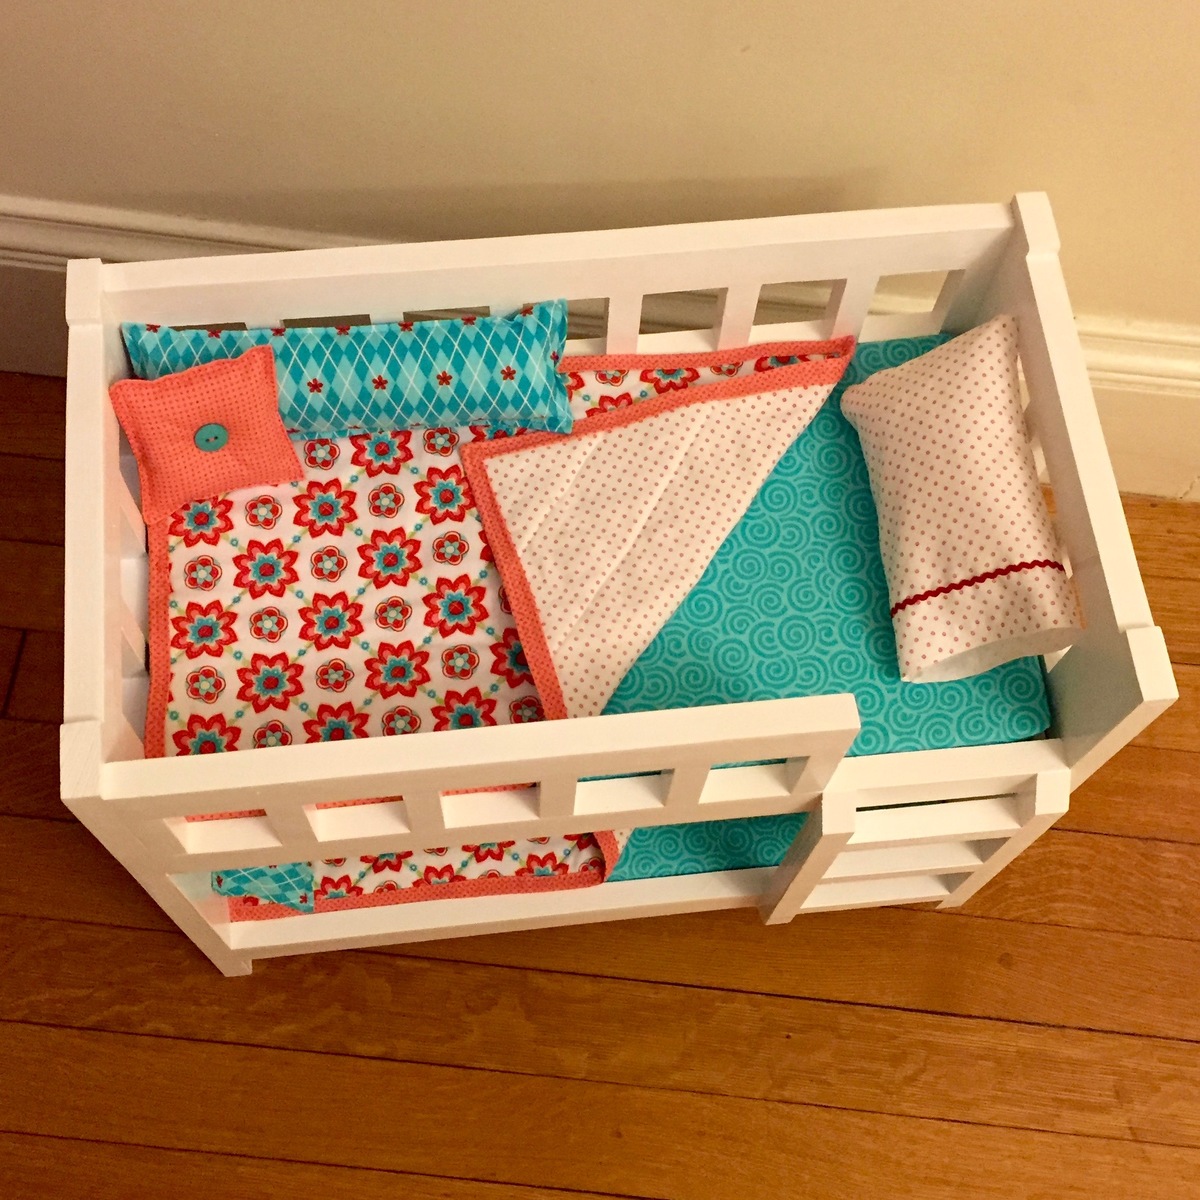
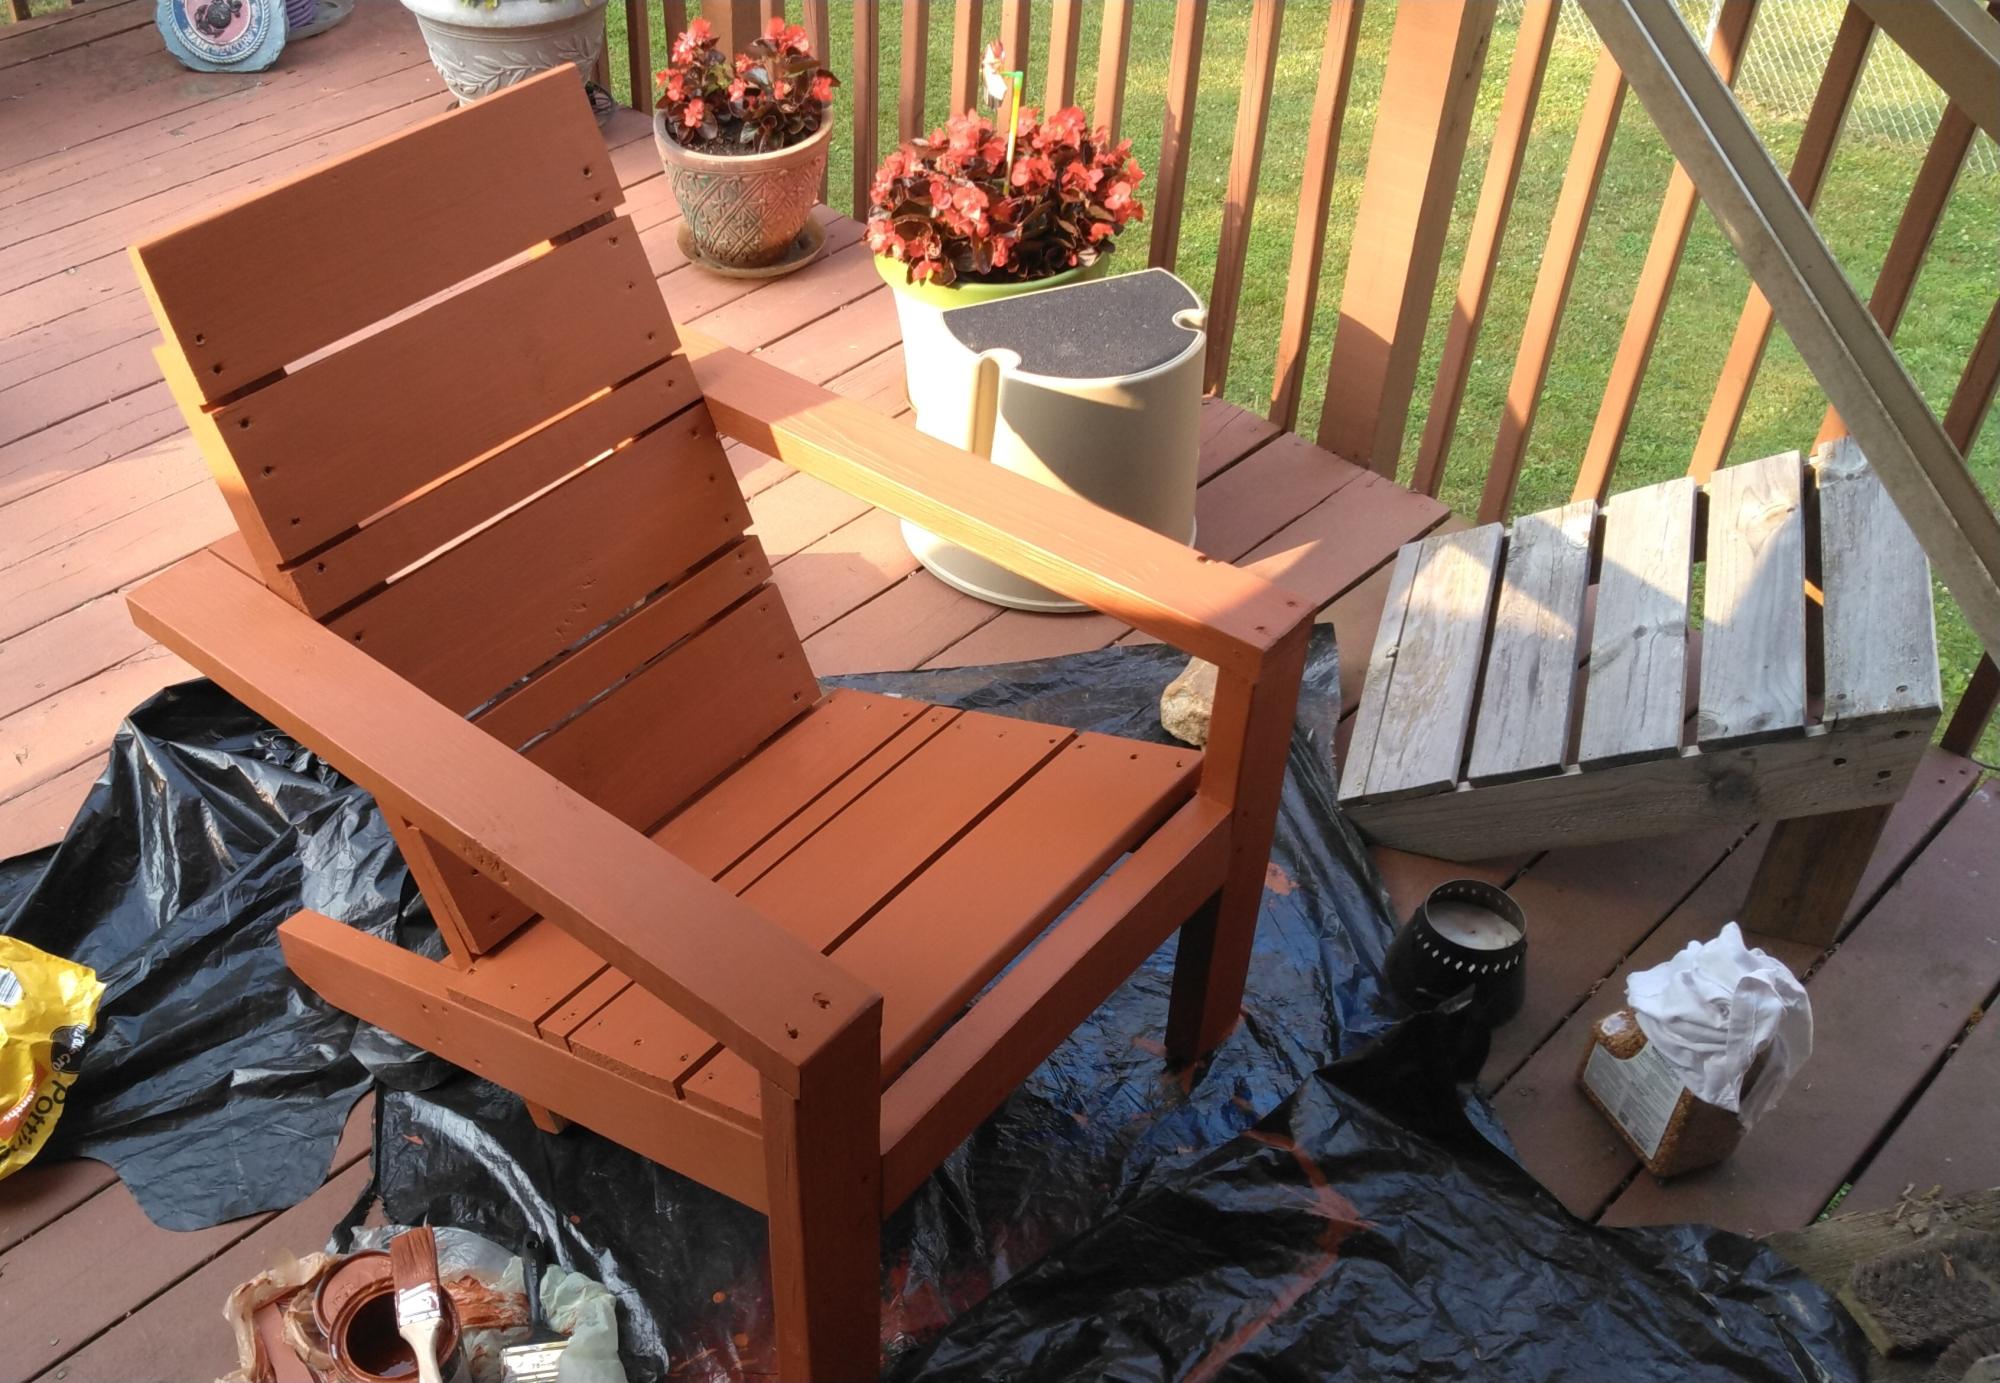
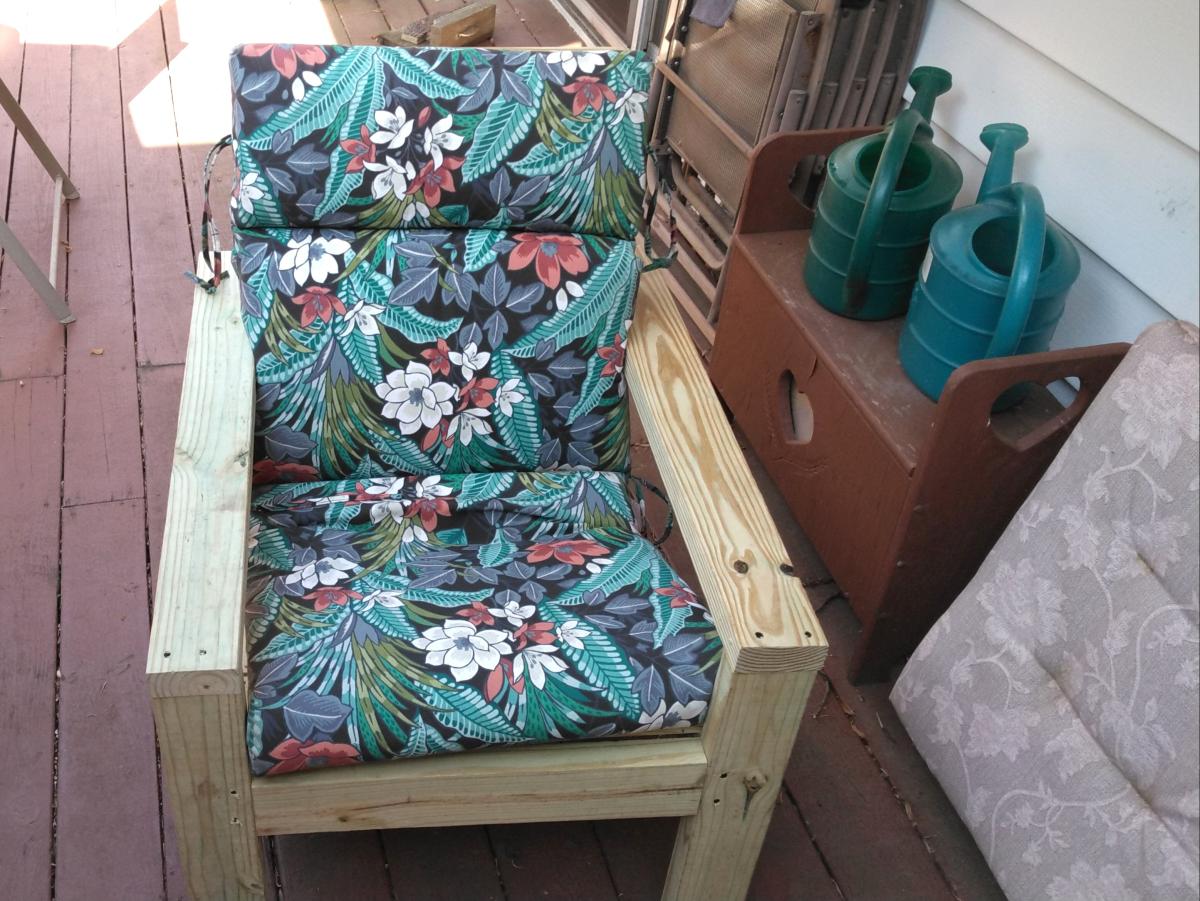
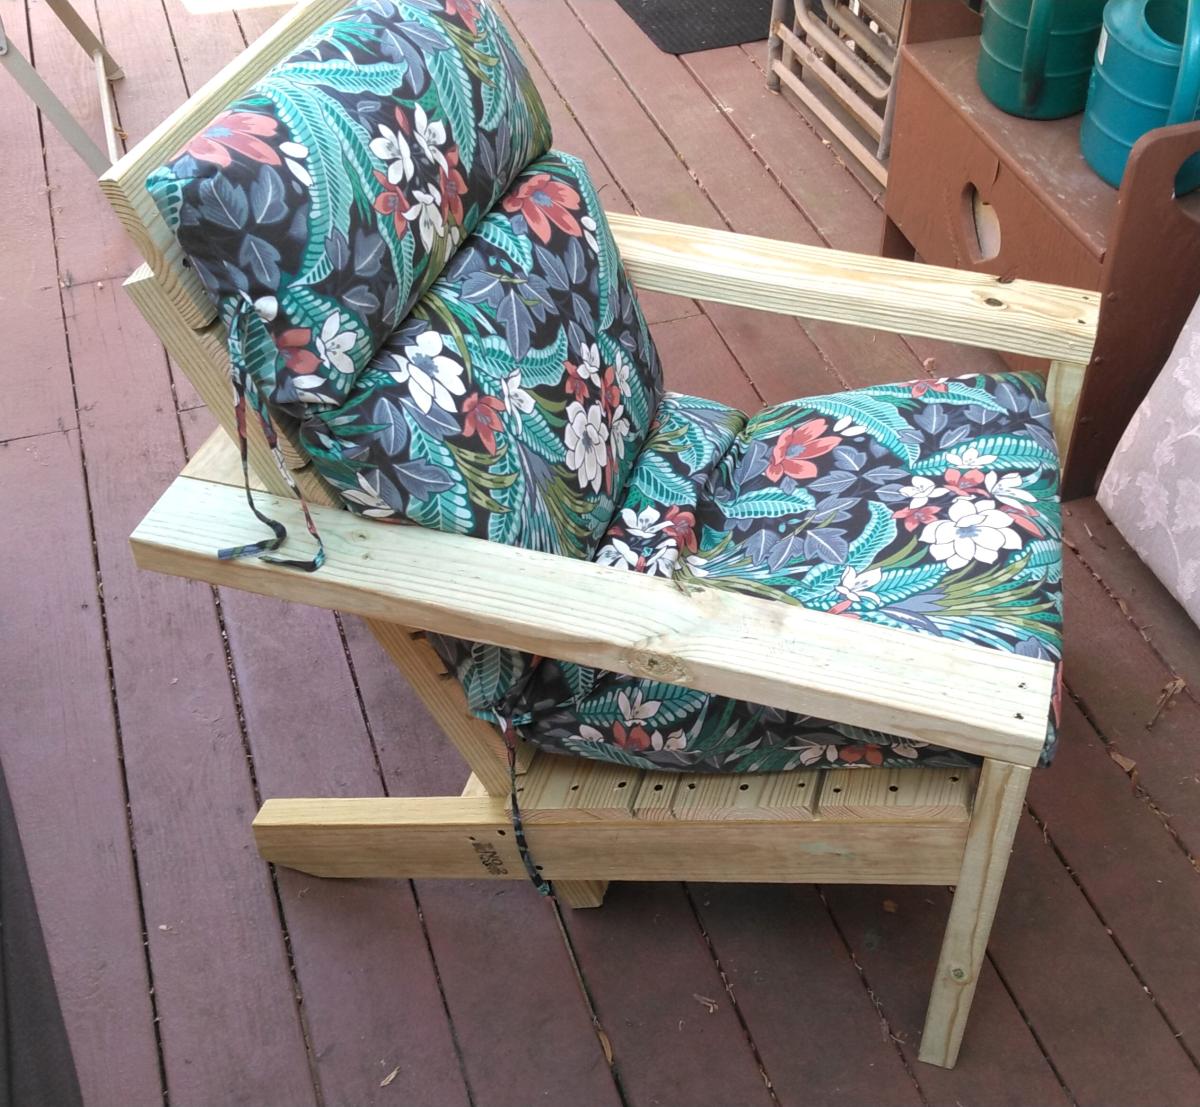
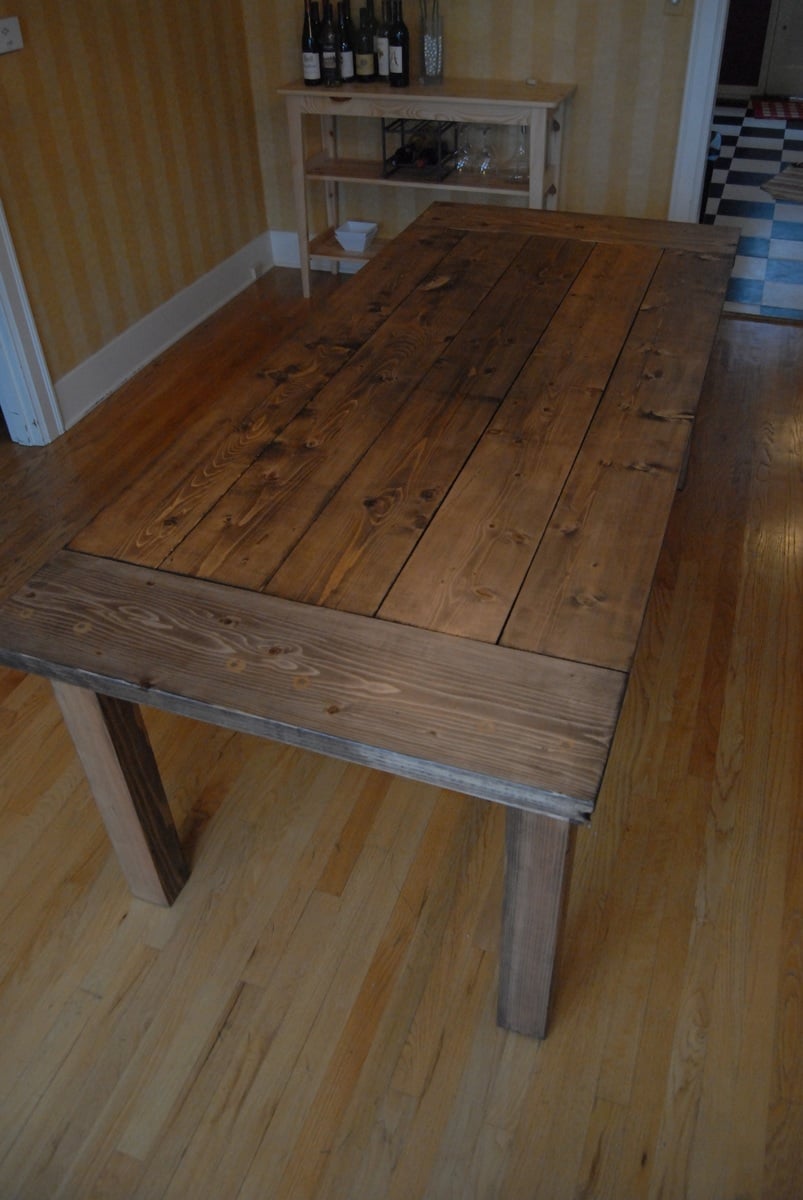
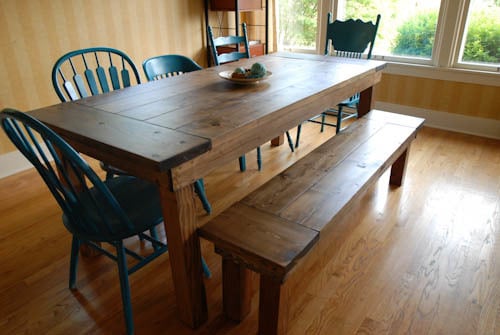
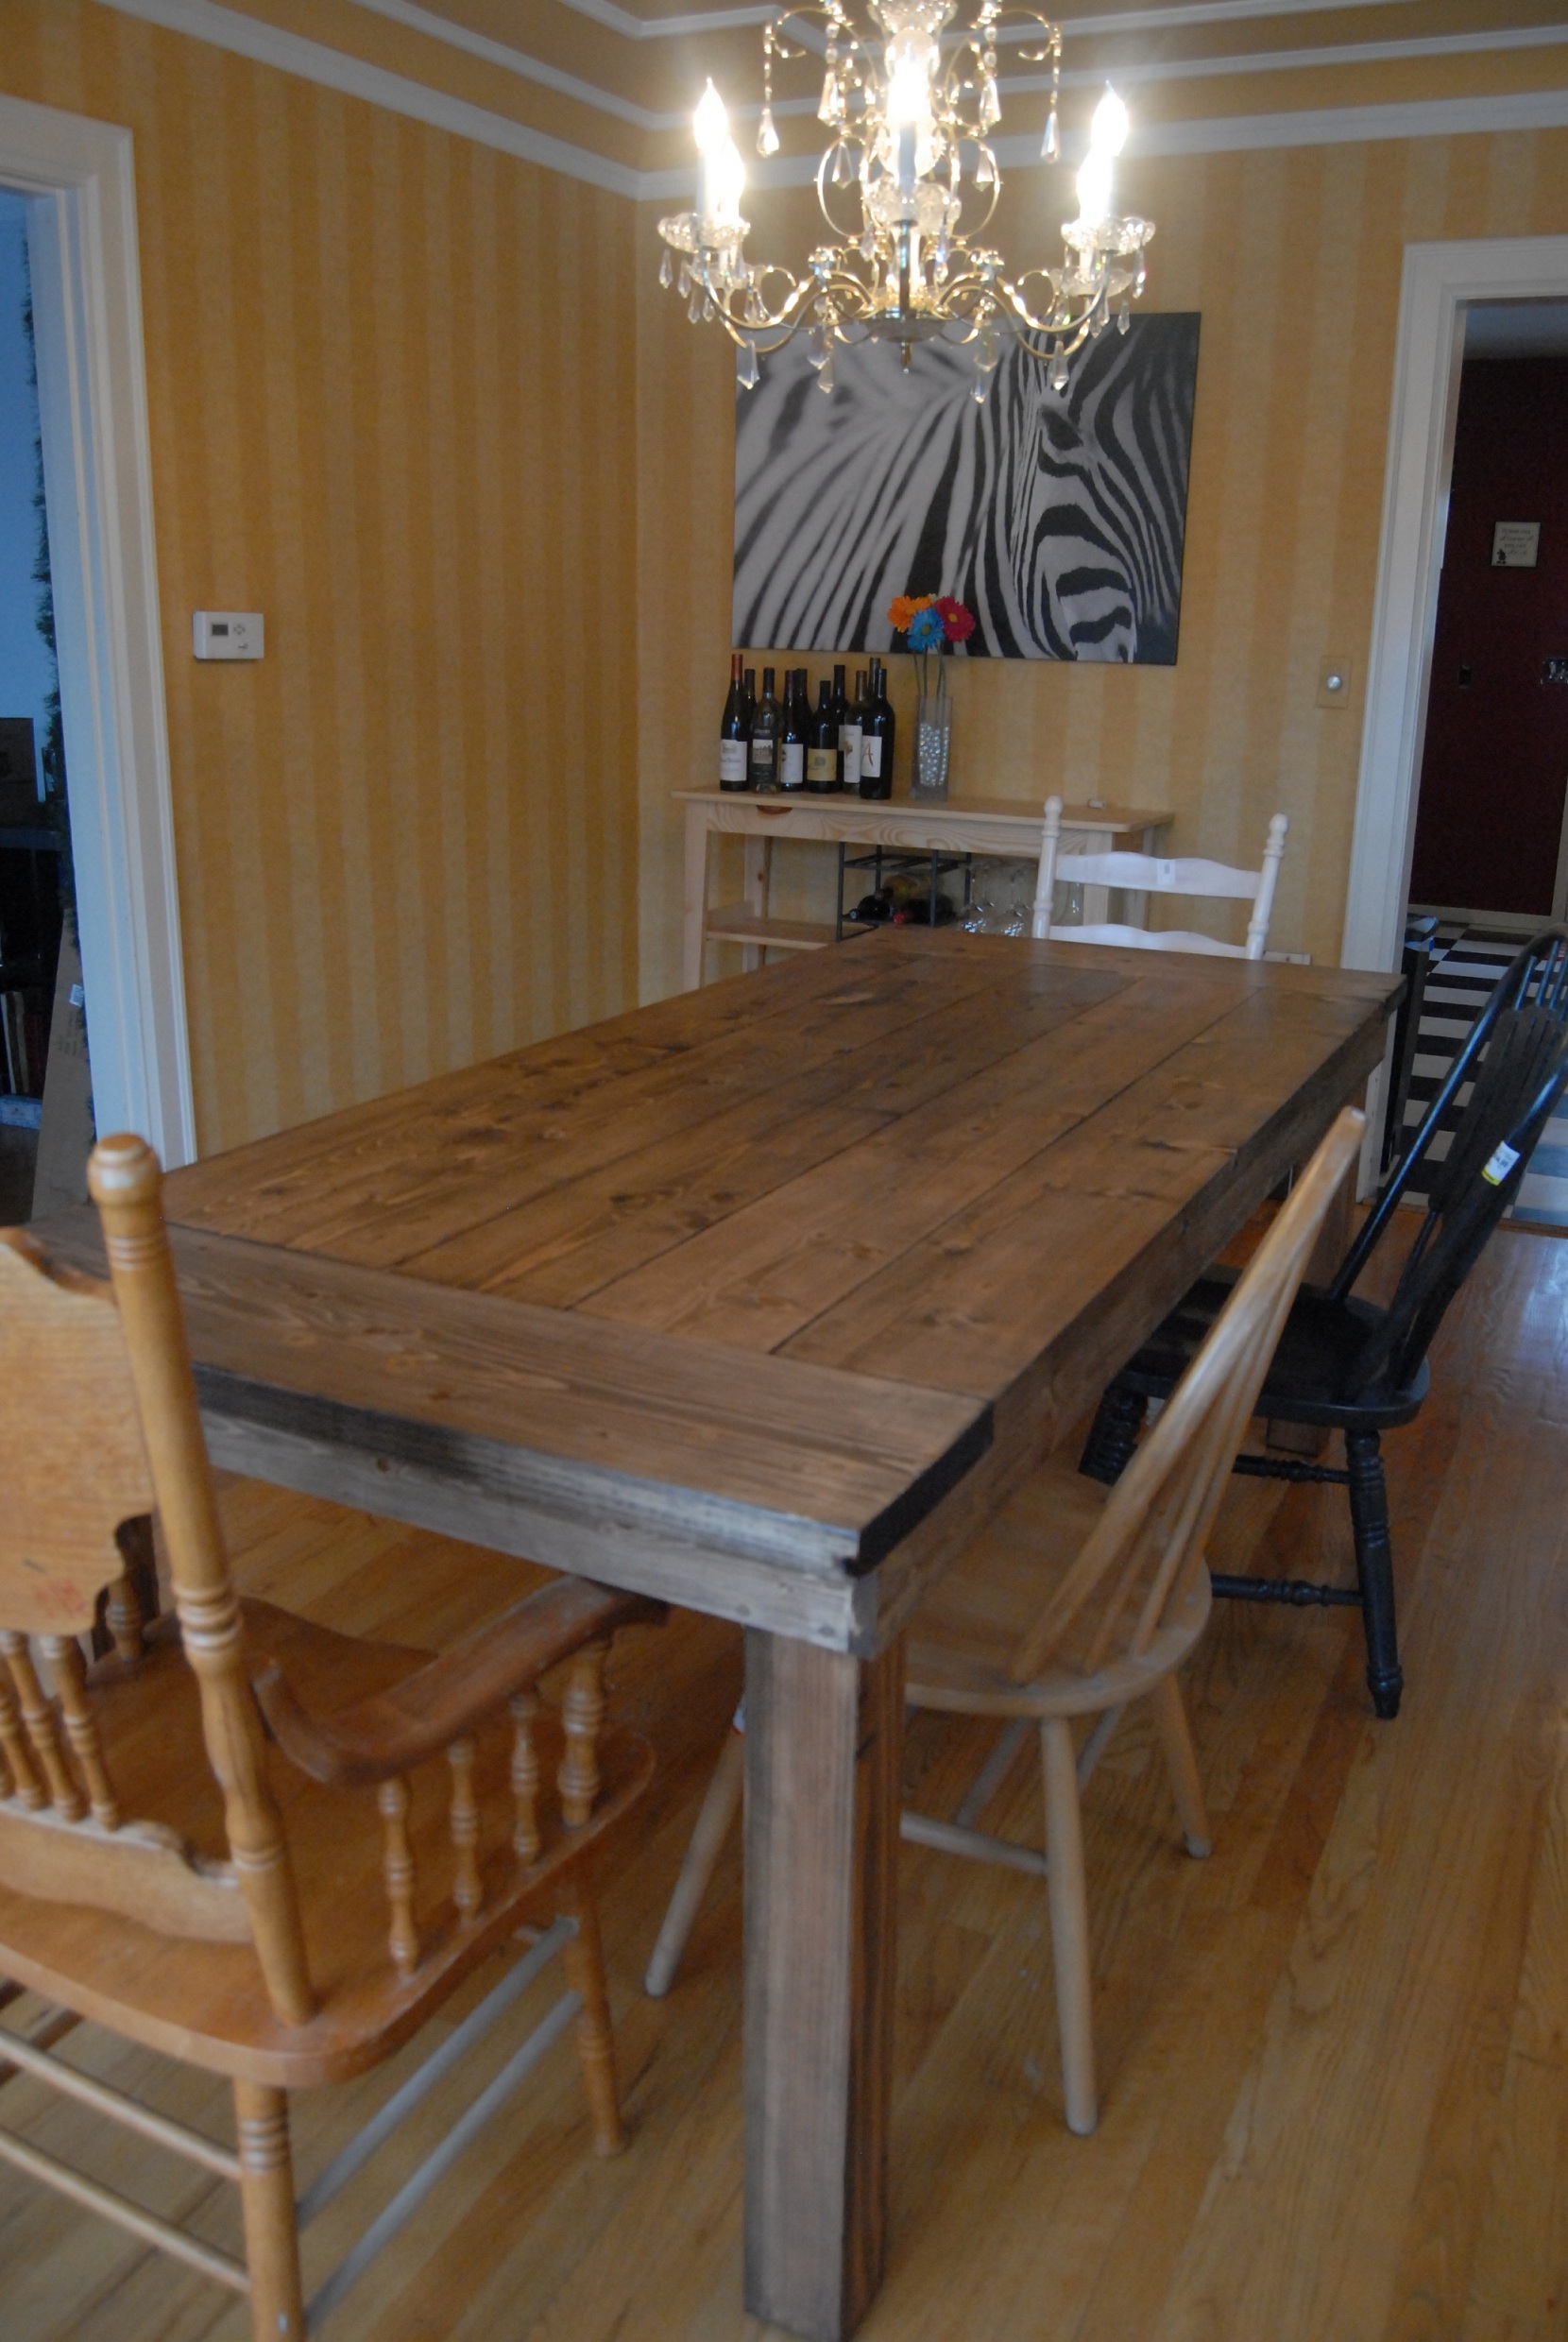
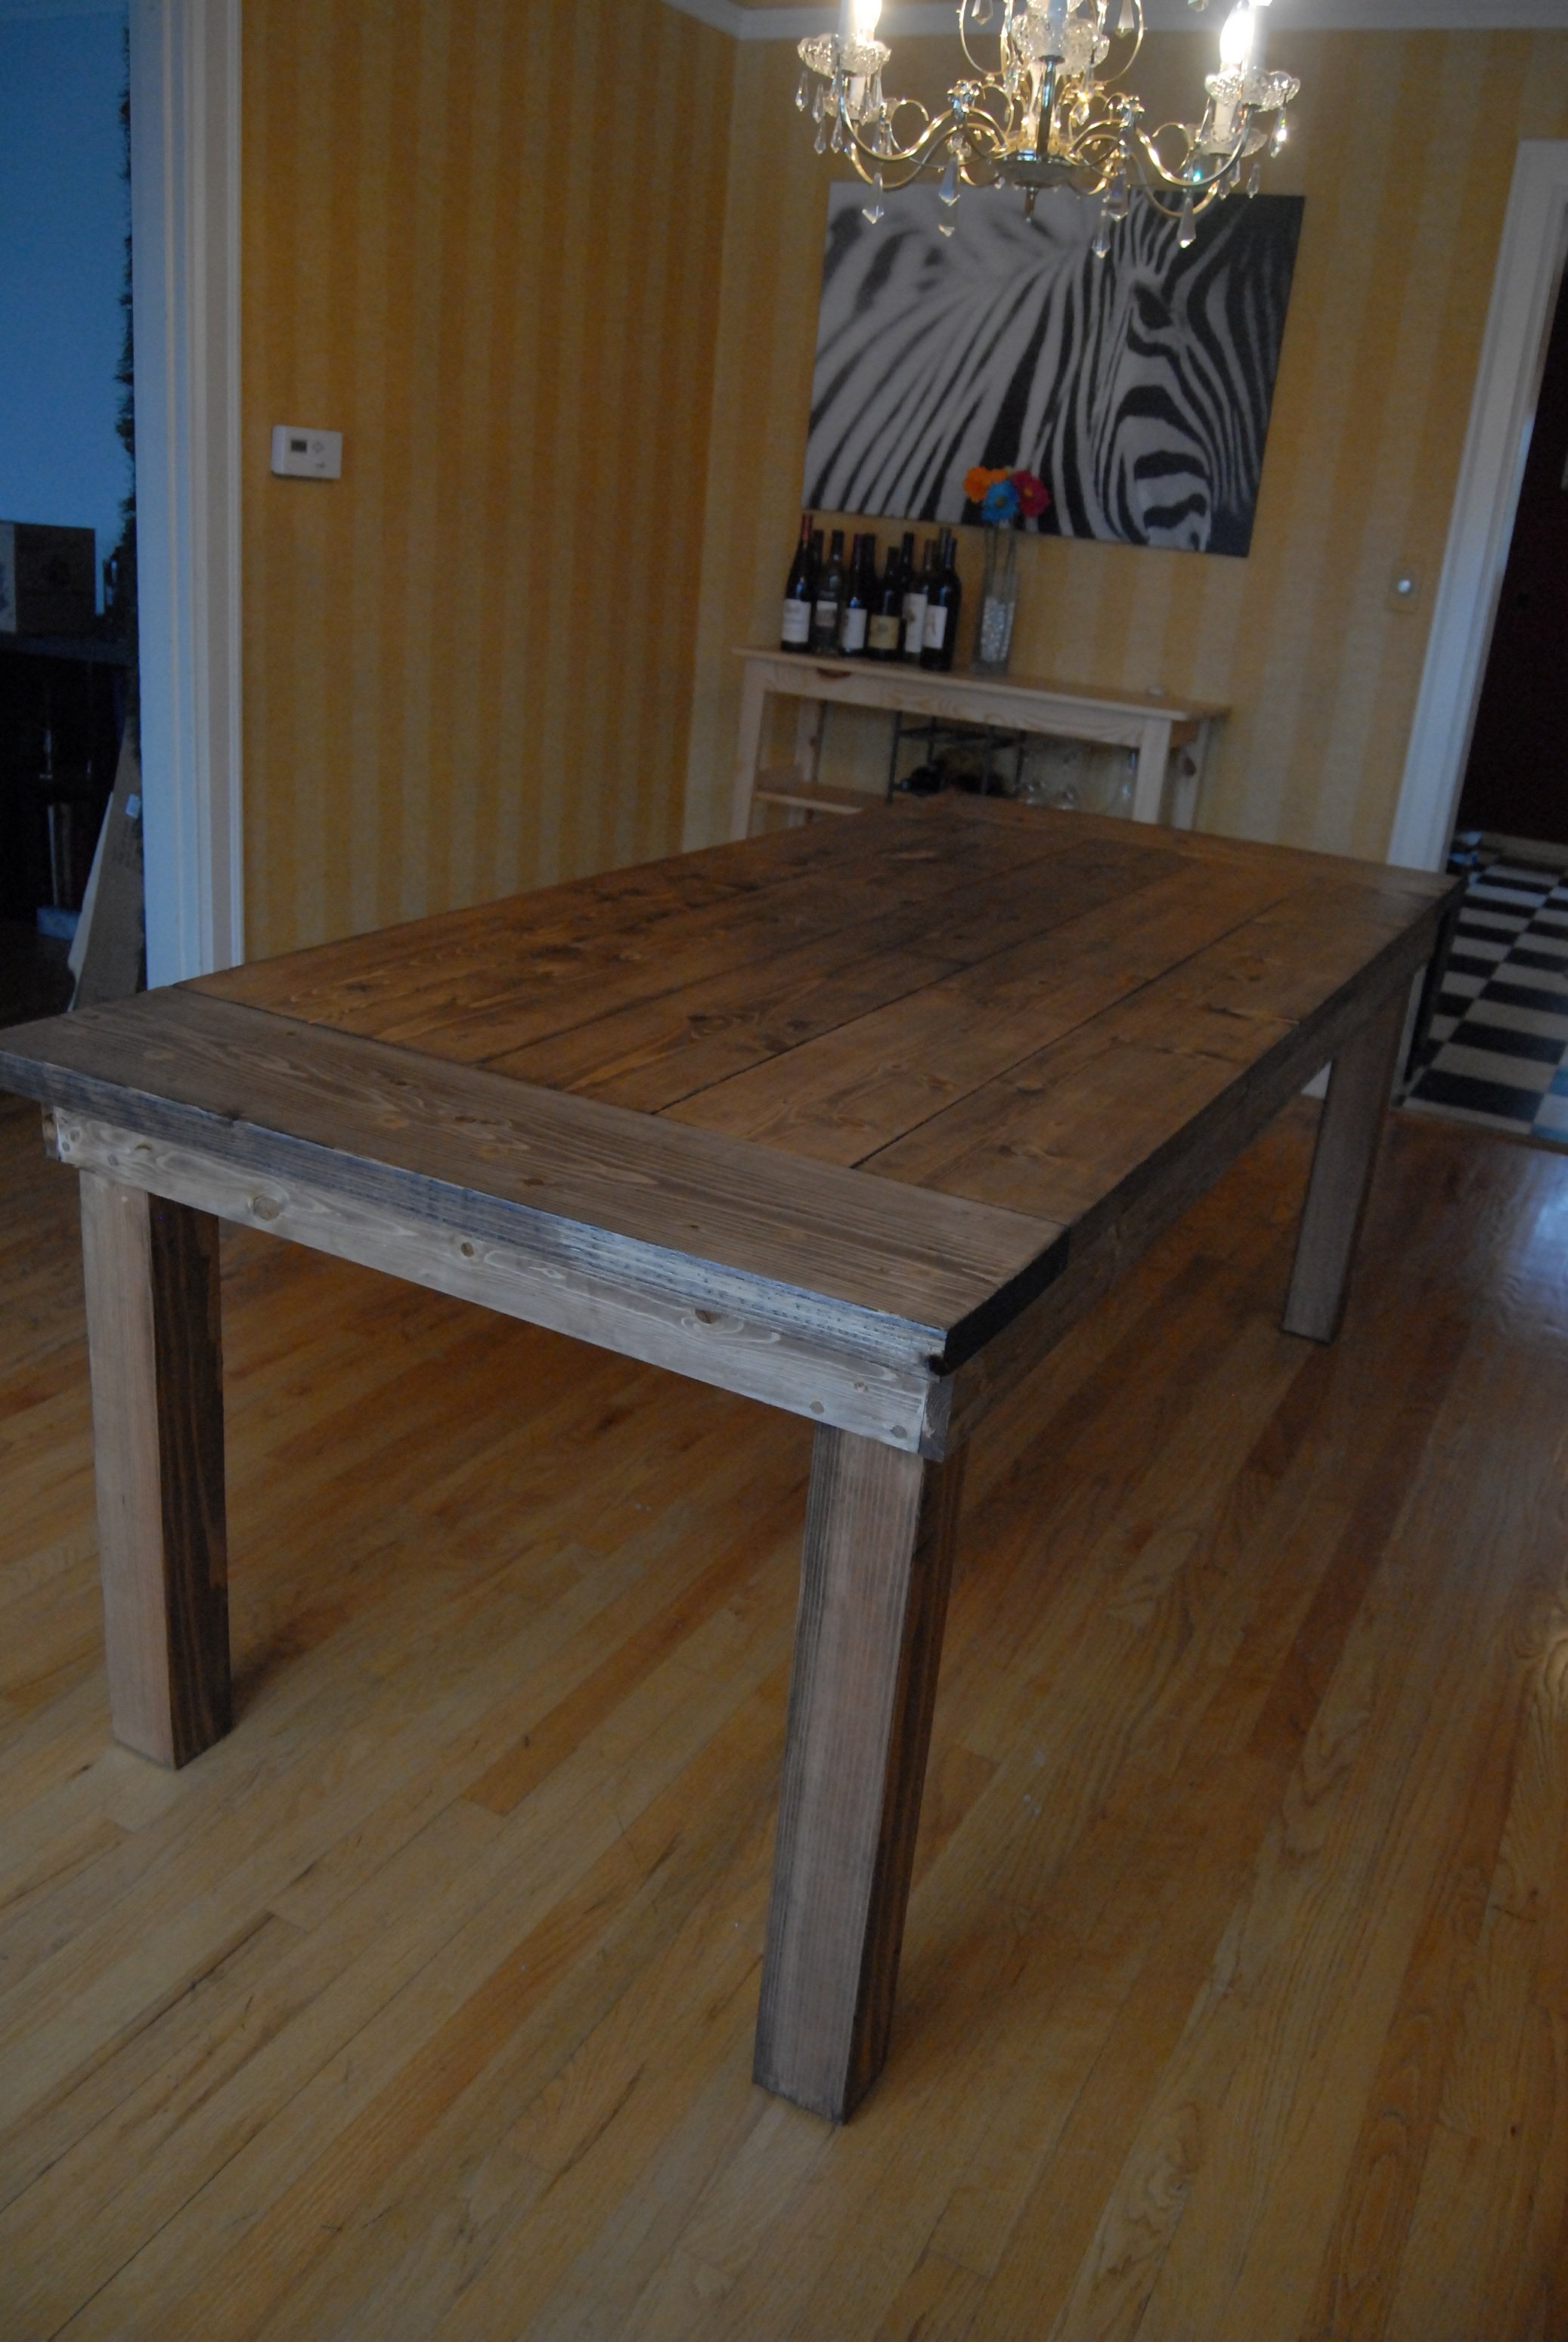
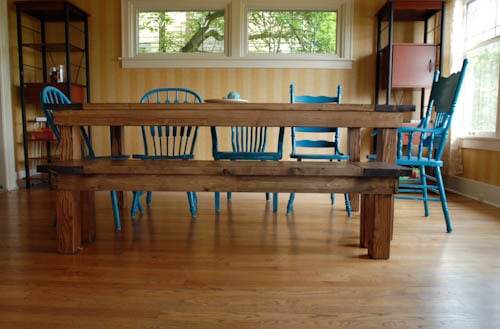
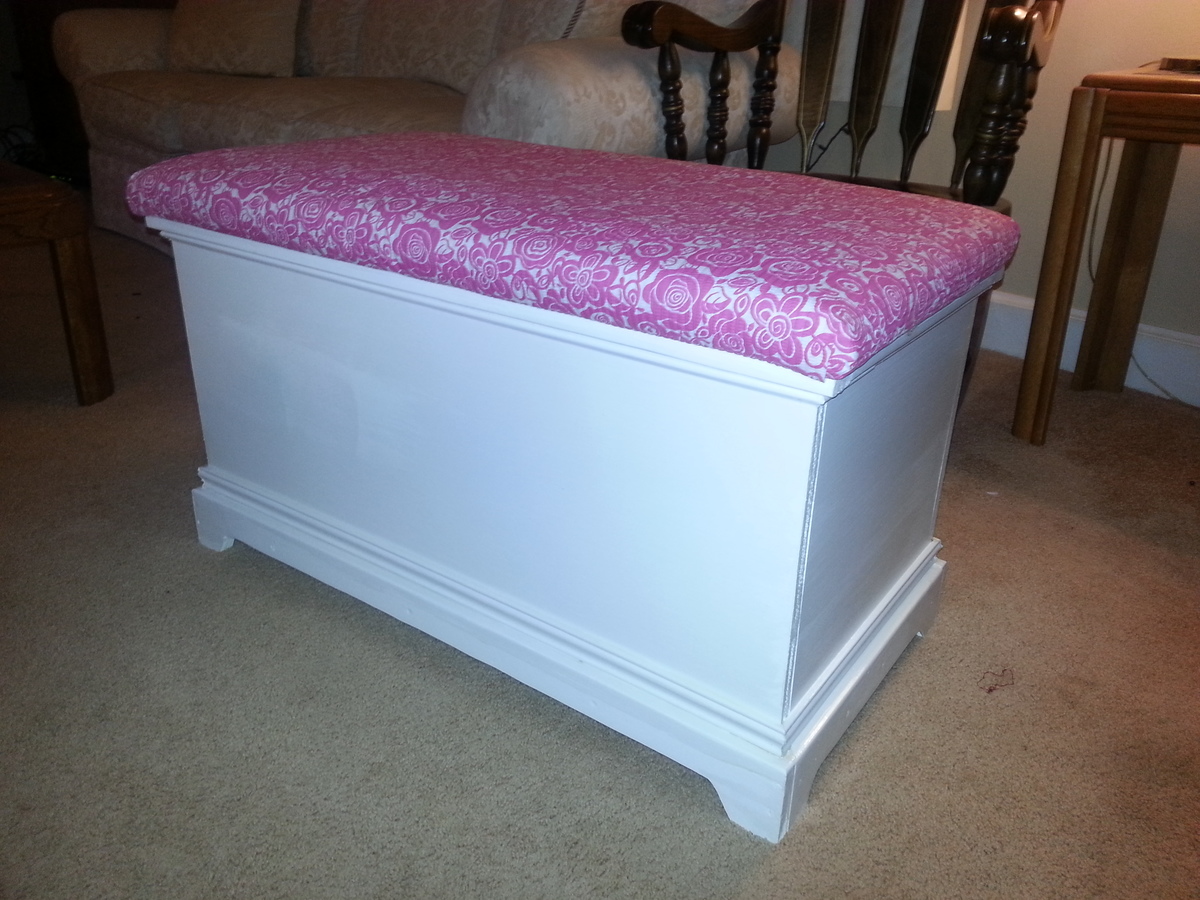
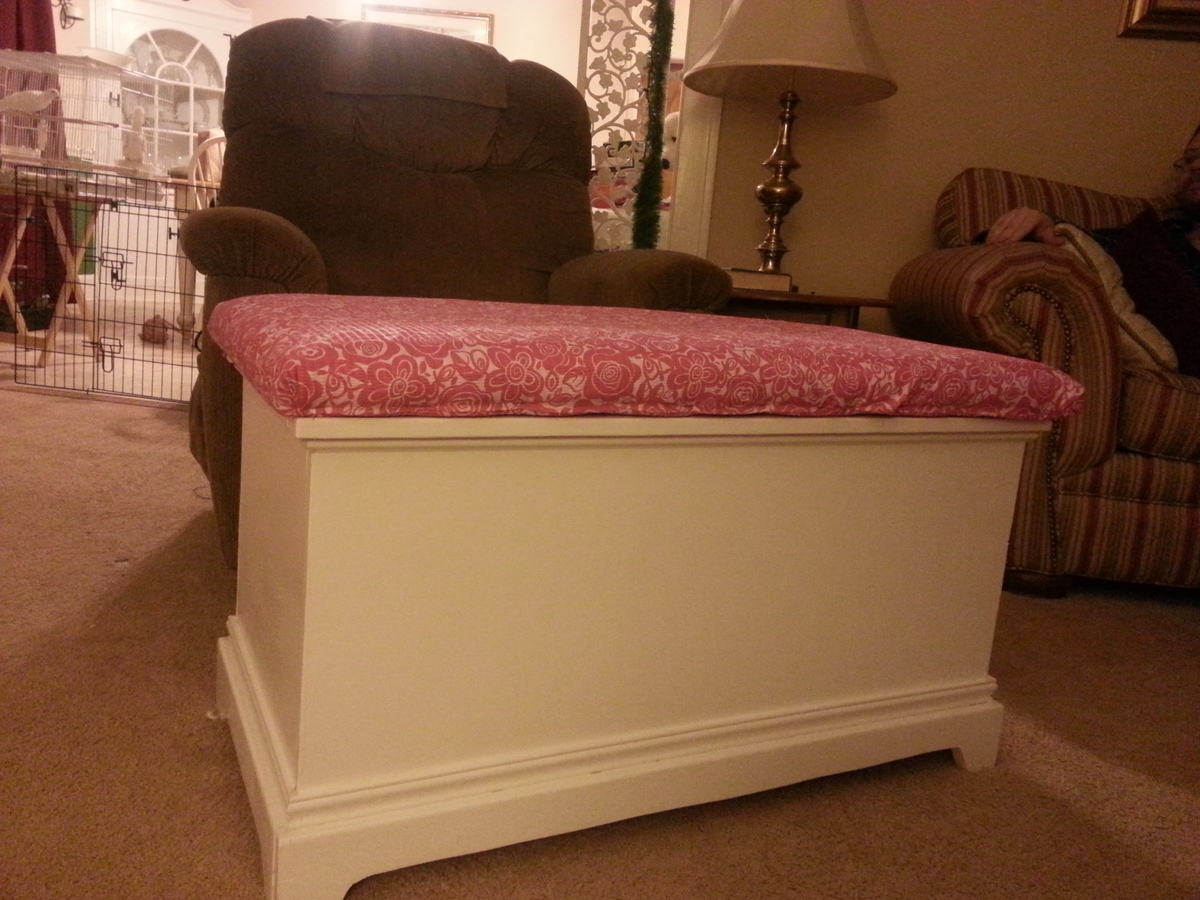
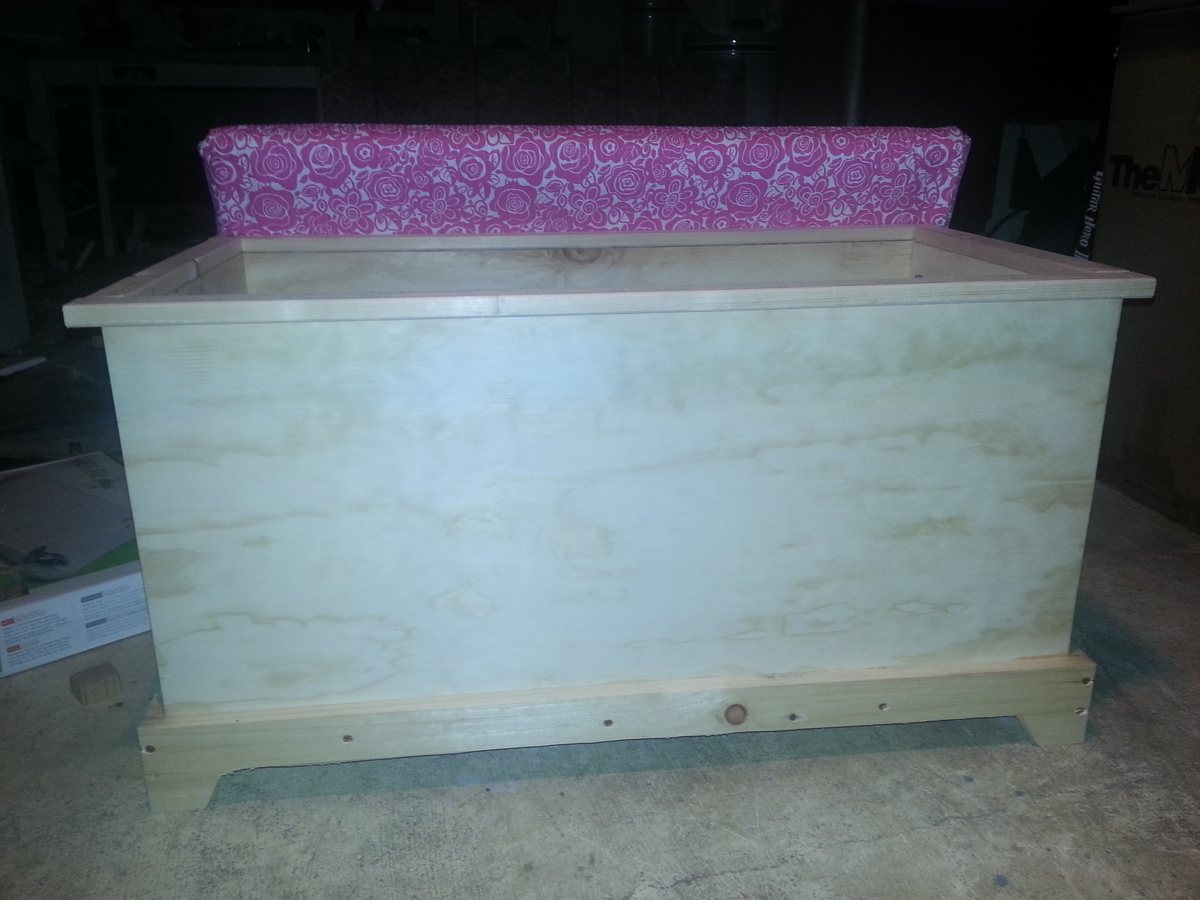
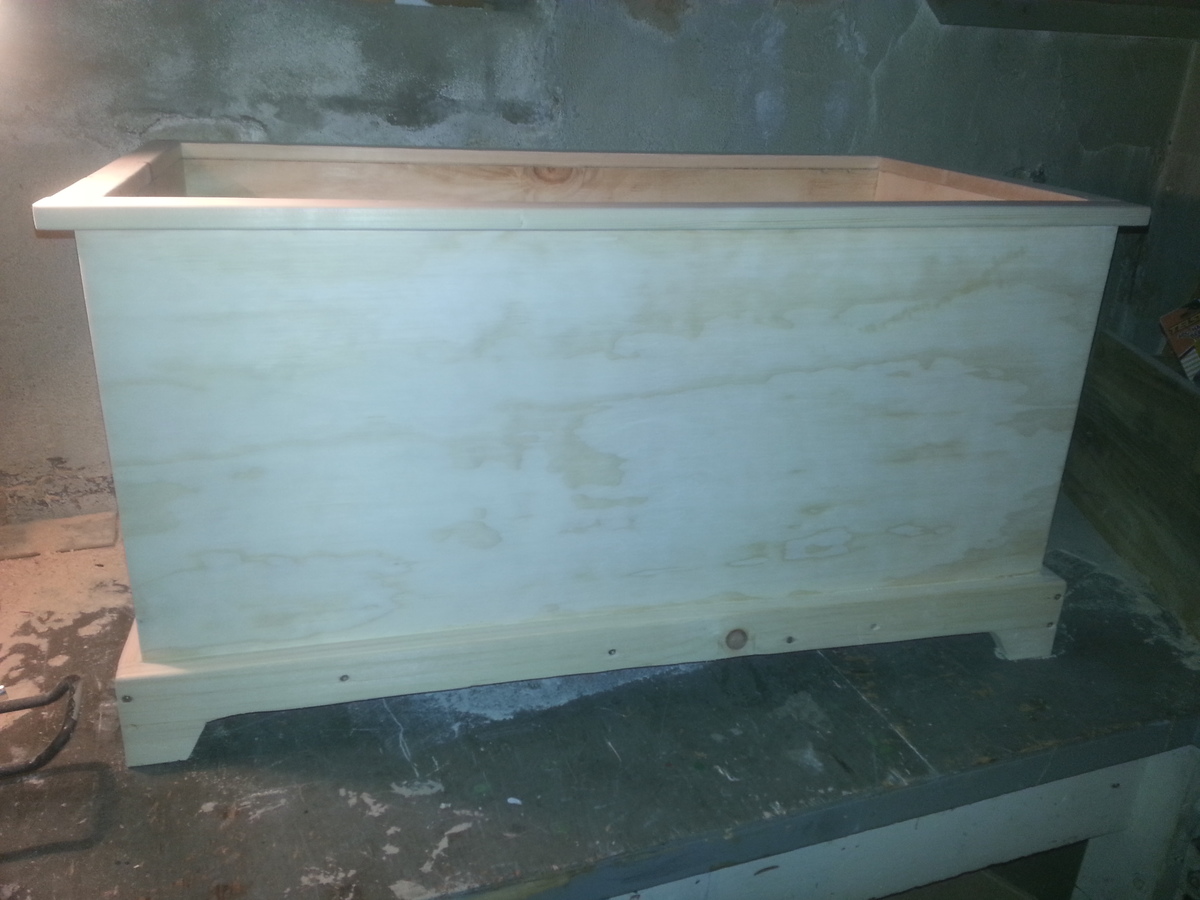
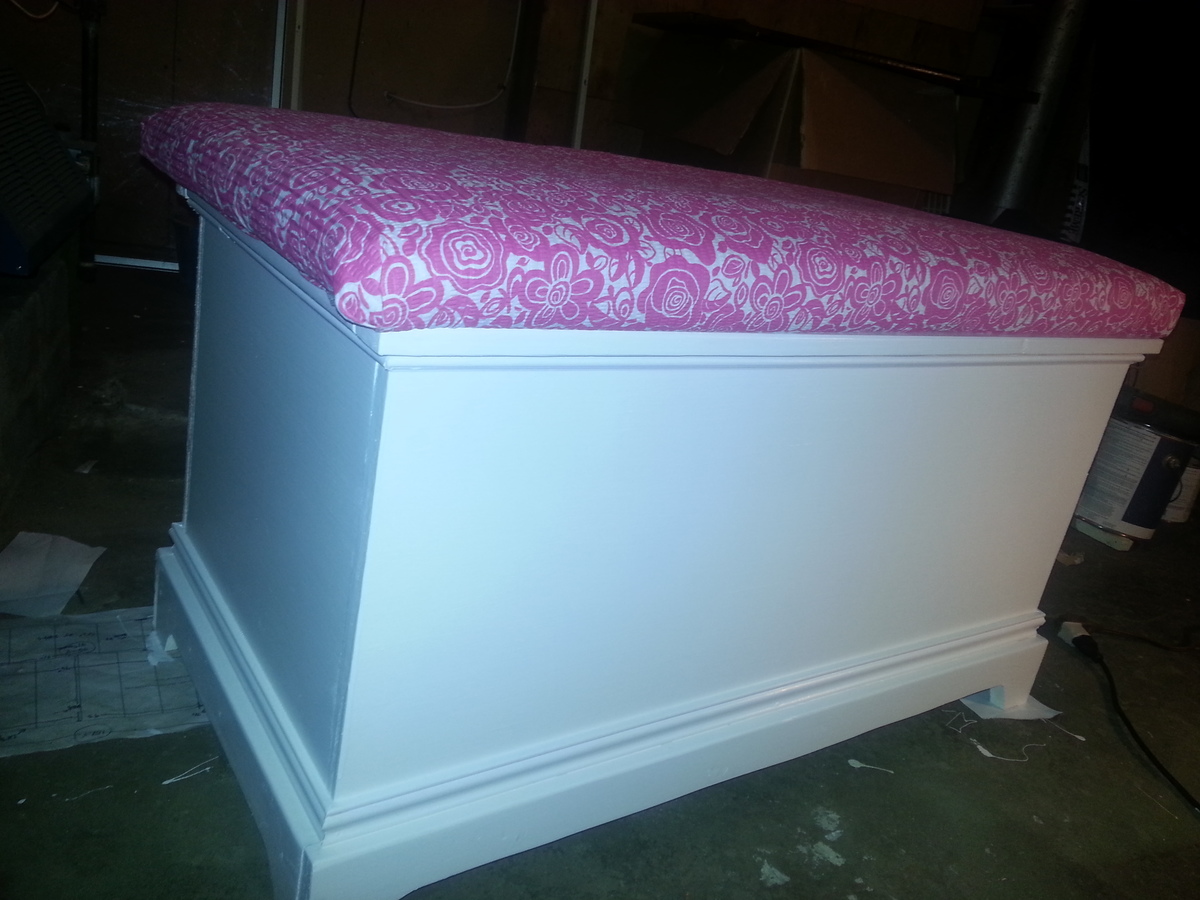
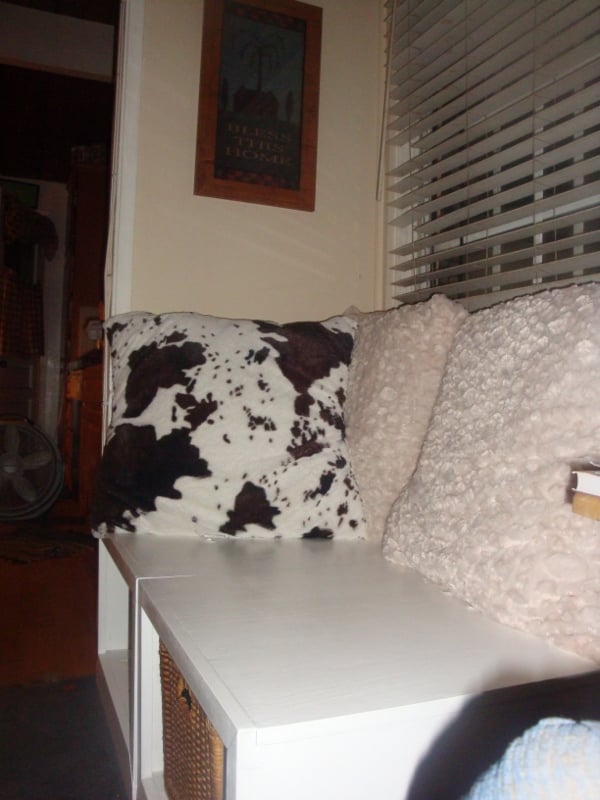
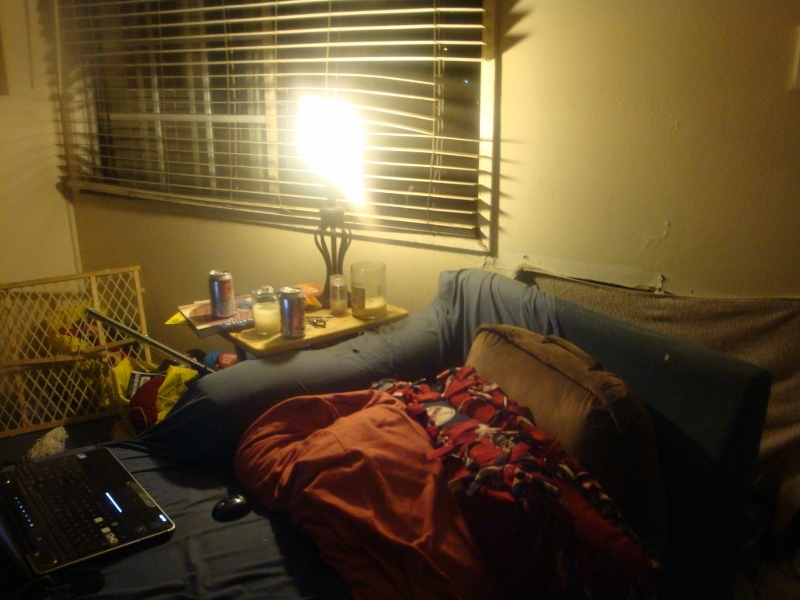
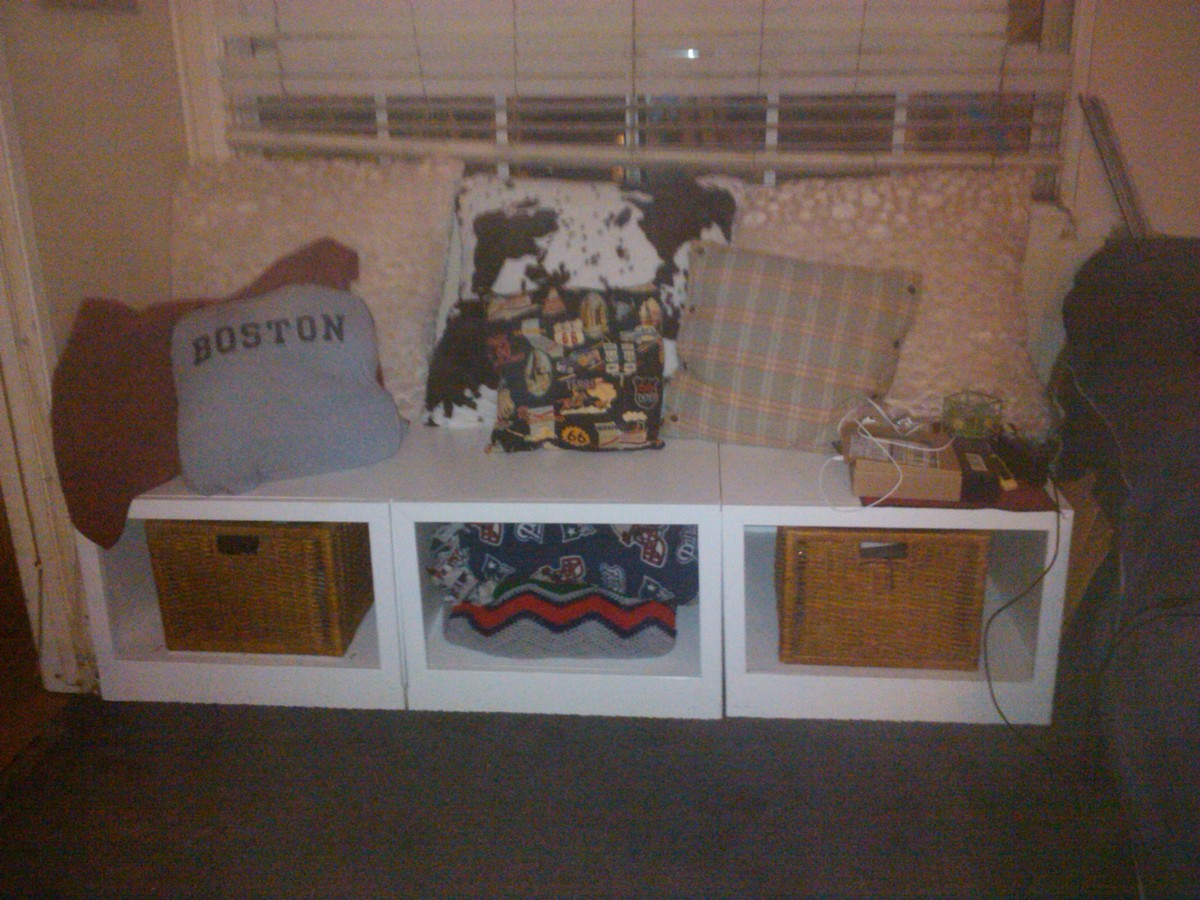
This was one of my first big projects, this site motivates you to get better. No, at first I couldn't build a box, now, I'm building outdoor bars! All of my skills, I learned from this site. The boxes are heavy, sturdy, they've had 5 golden retrievers on it, 4 adults at once, and the storage is incredible. The pics below show what an improvement a piece of furniture can do. This piece went into a dead space corner, a catchall. I'm not proud of the mess, :), but I am proud of the after. Extra room, light, airy, yeah!


Built from Plan(s)
Estimated Cost
80 to 100
Estimated Time Investment
Week Long Project (20 Hours or More)
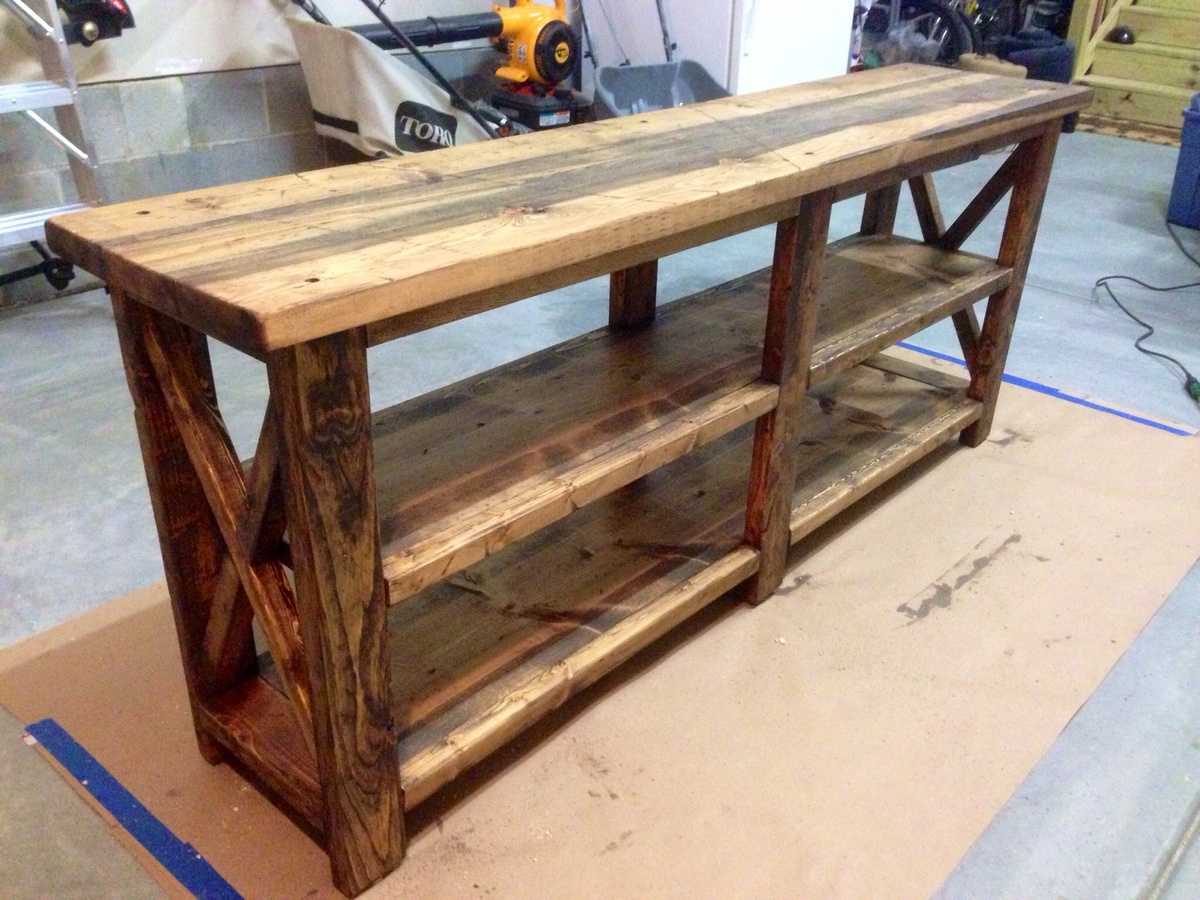
Finish Used
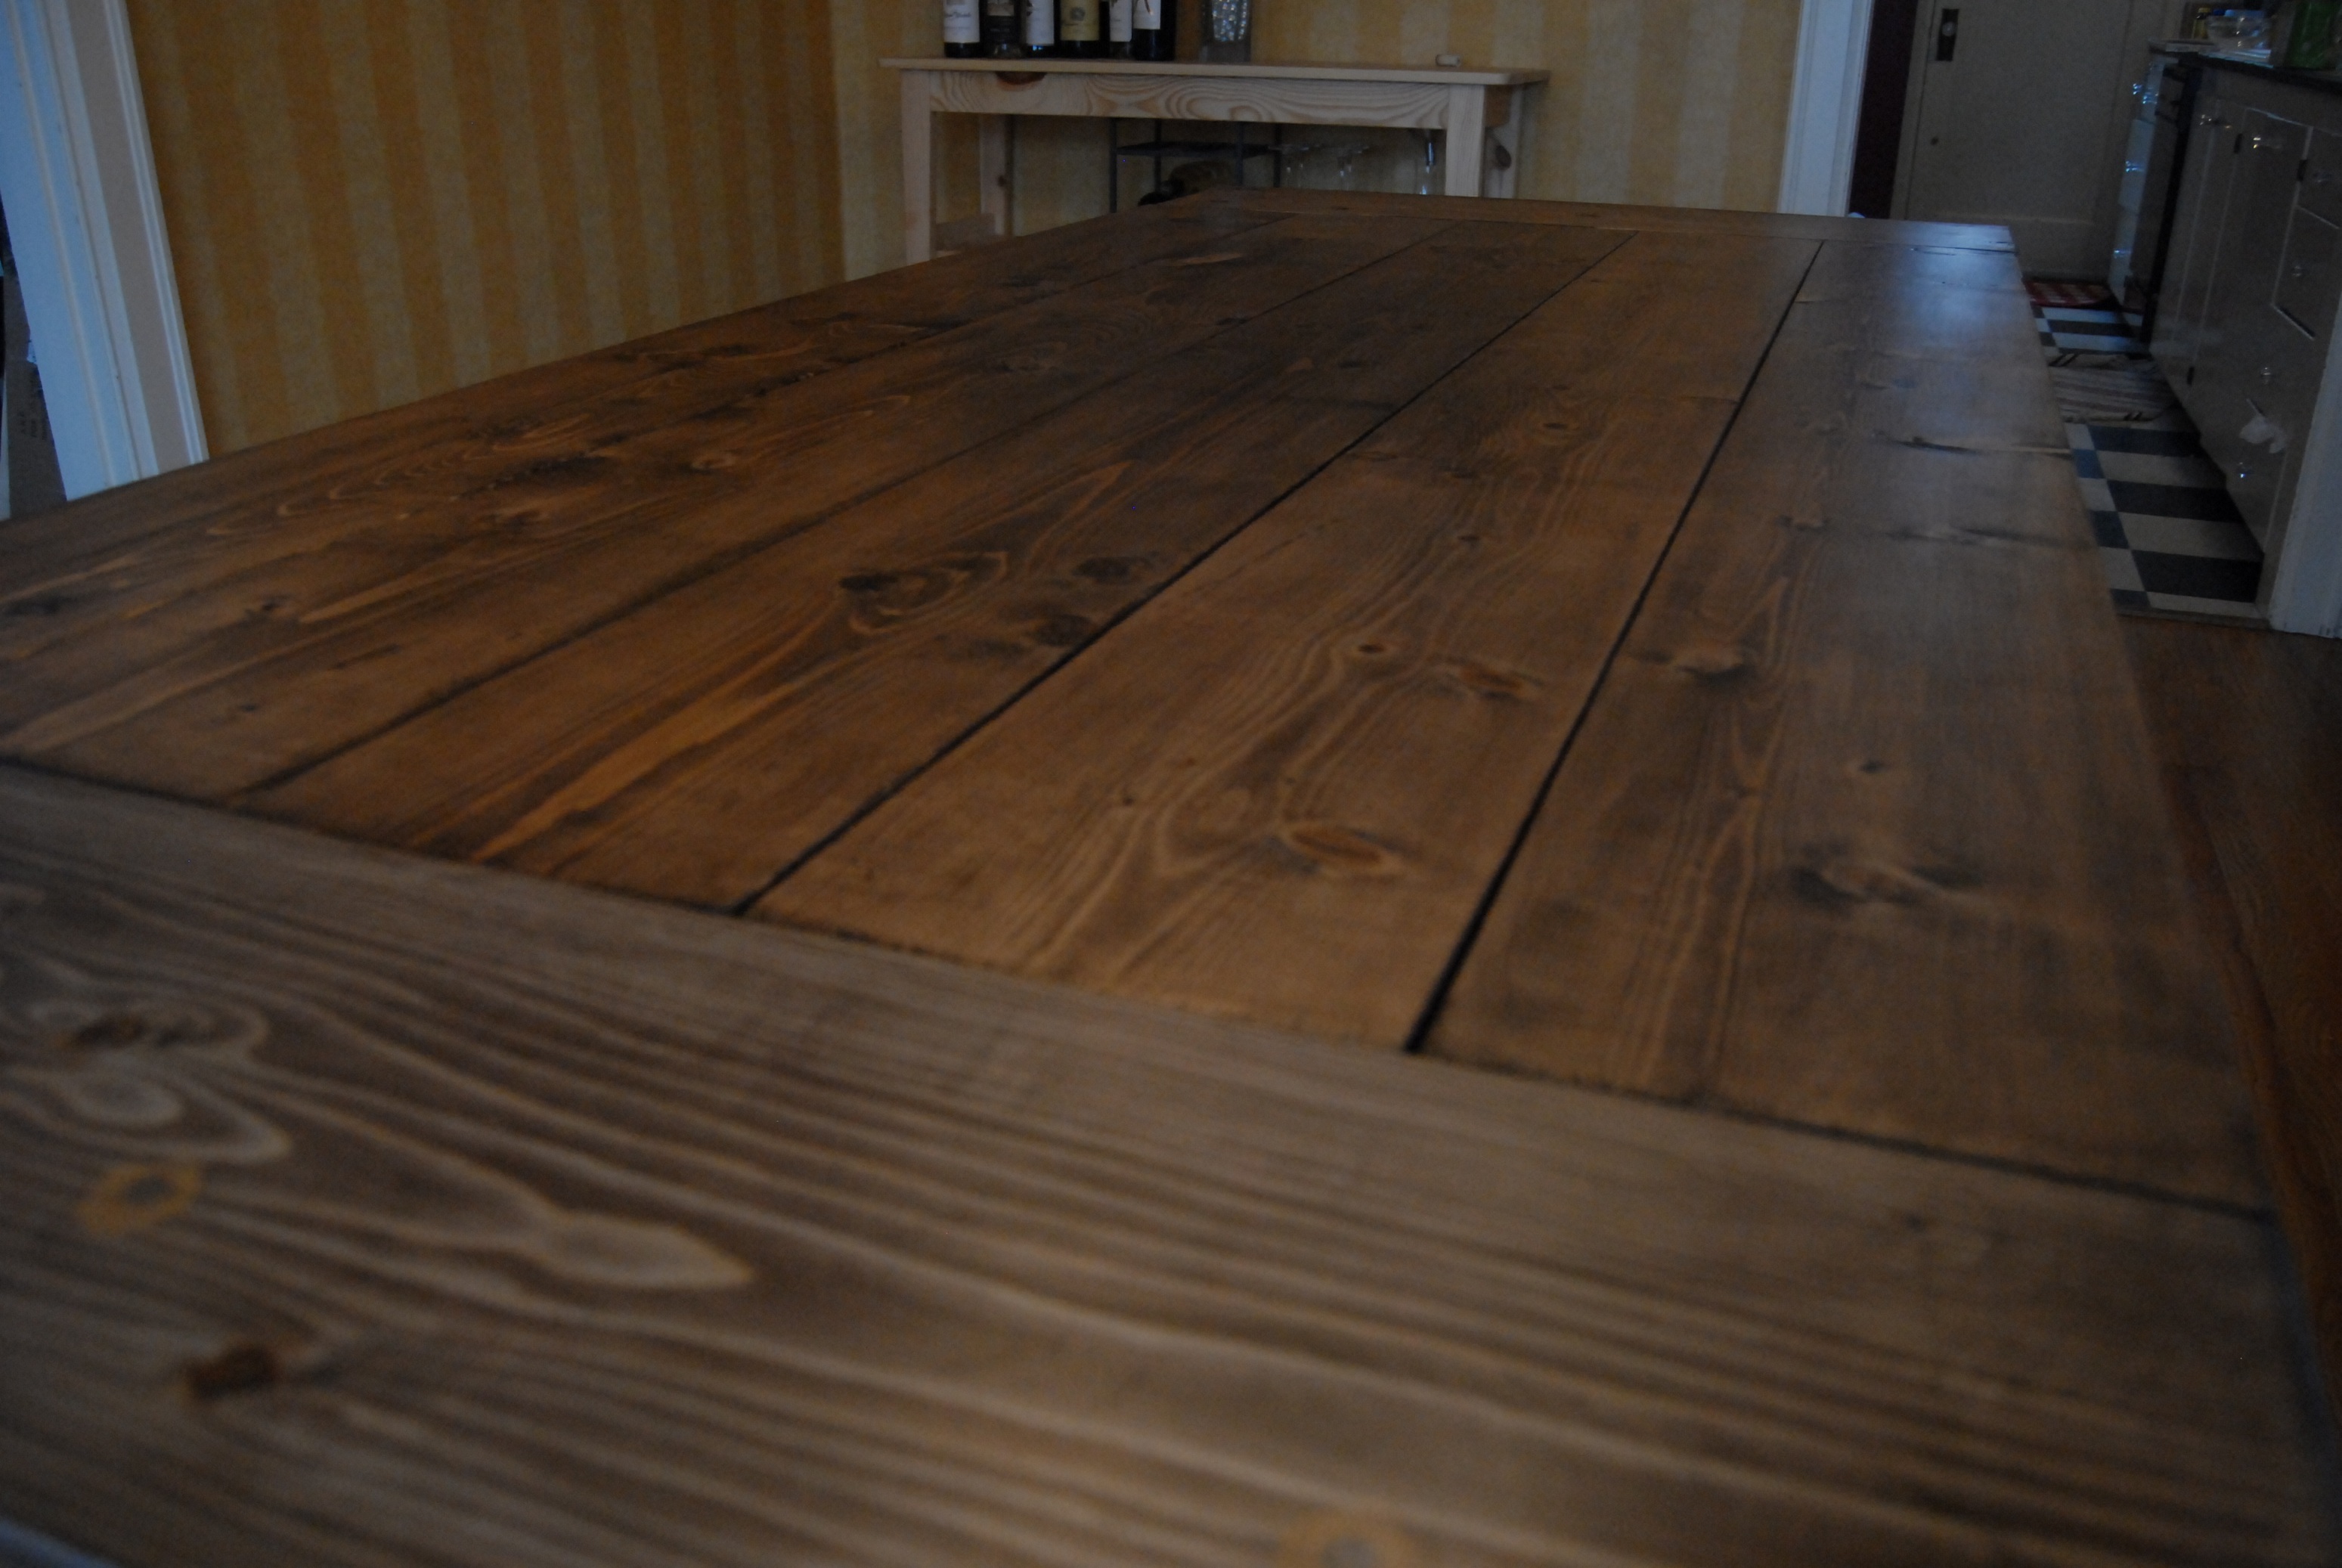
primered x2 coats, Kilz2, stained n between. Semi gloss Pure White 2 coats
Recommended Skill Level
Beginner