Firewood Rack Featuring DIY Done Right
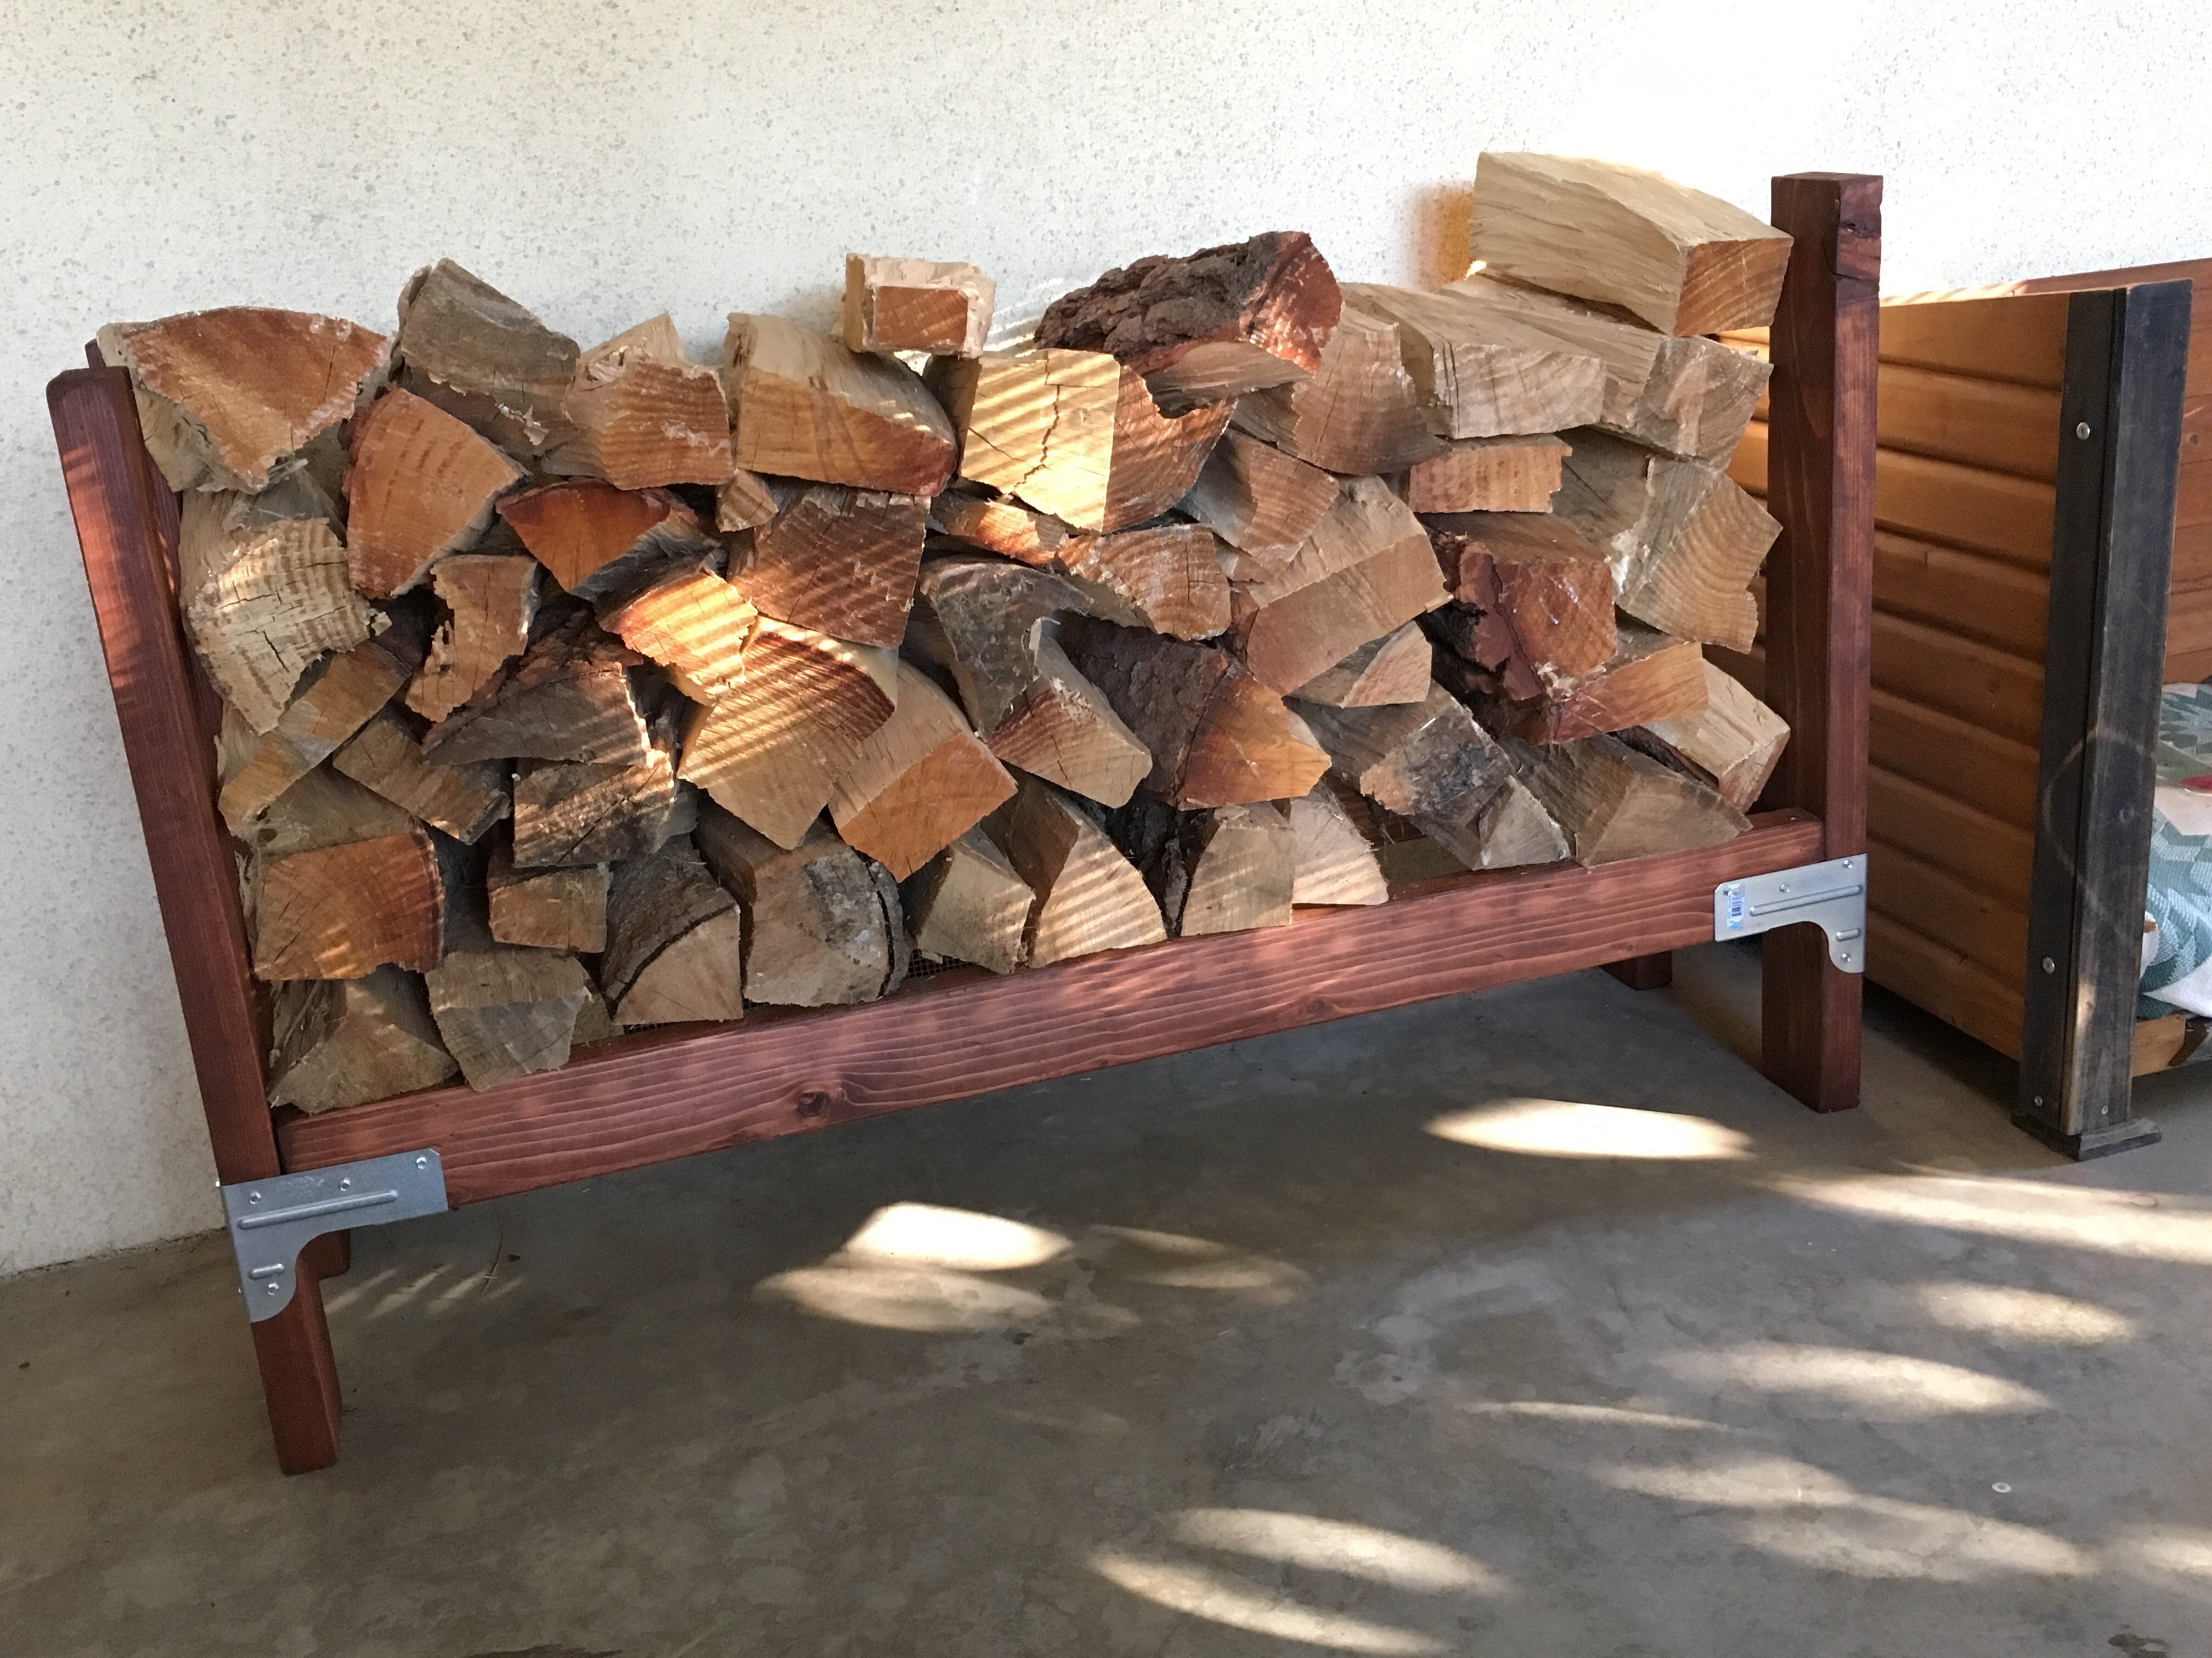
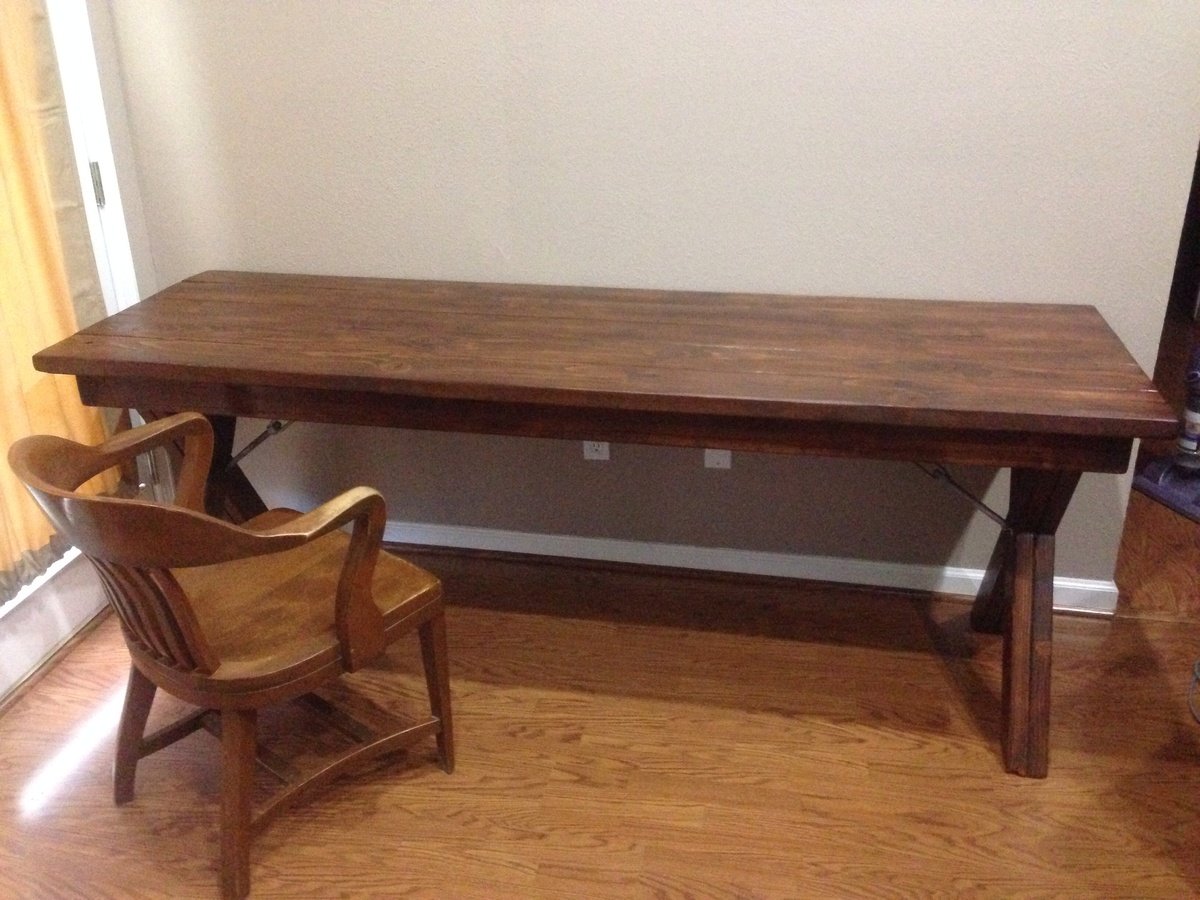
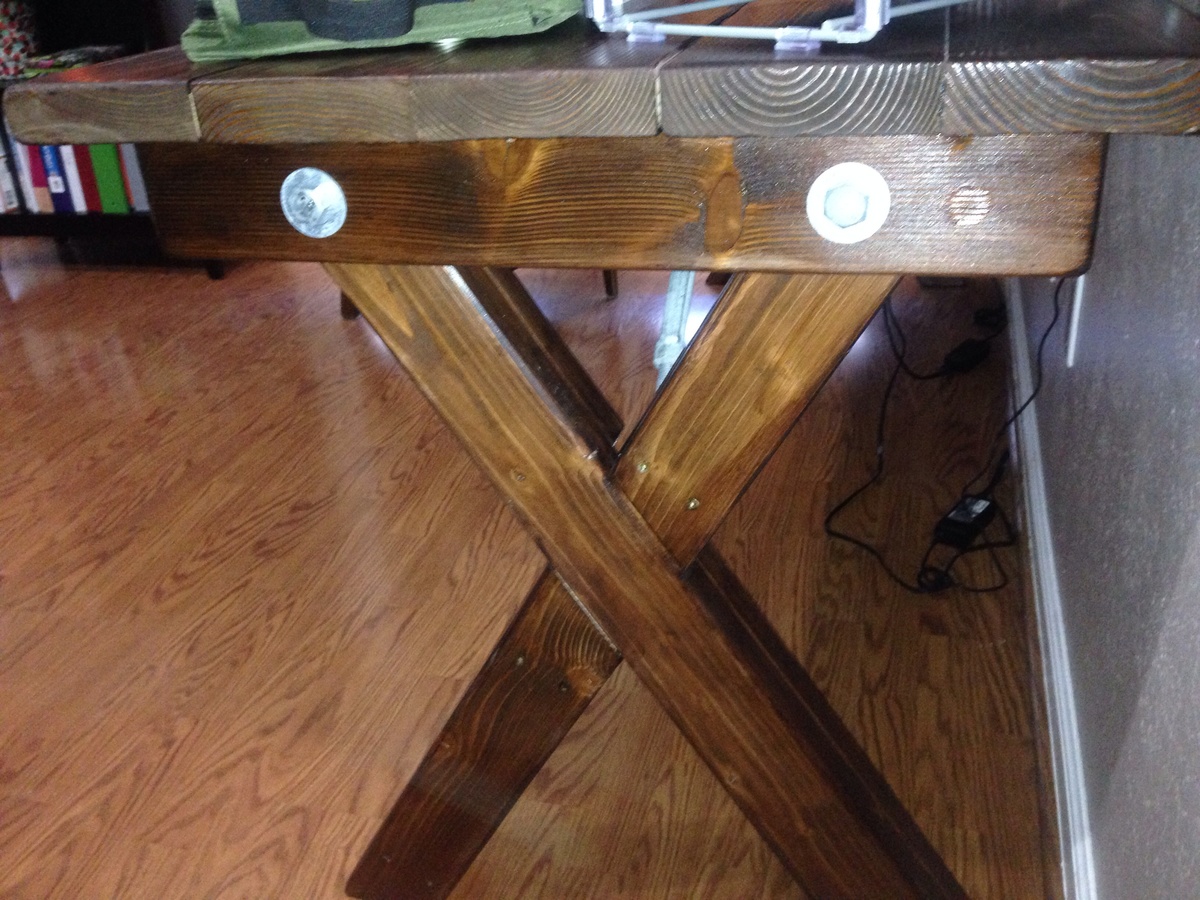
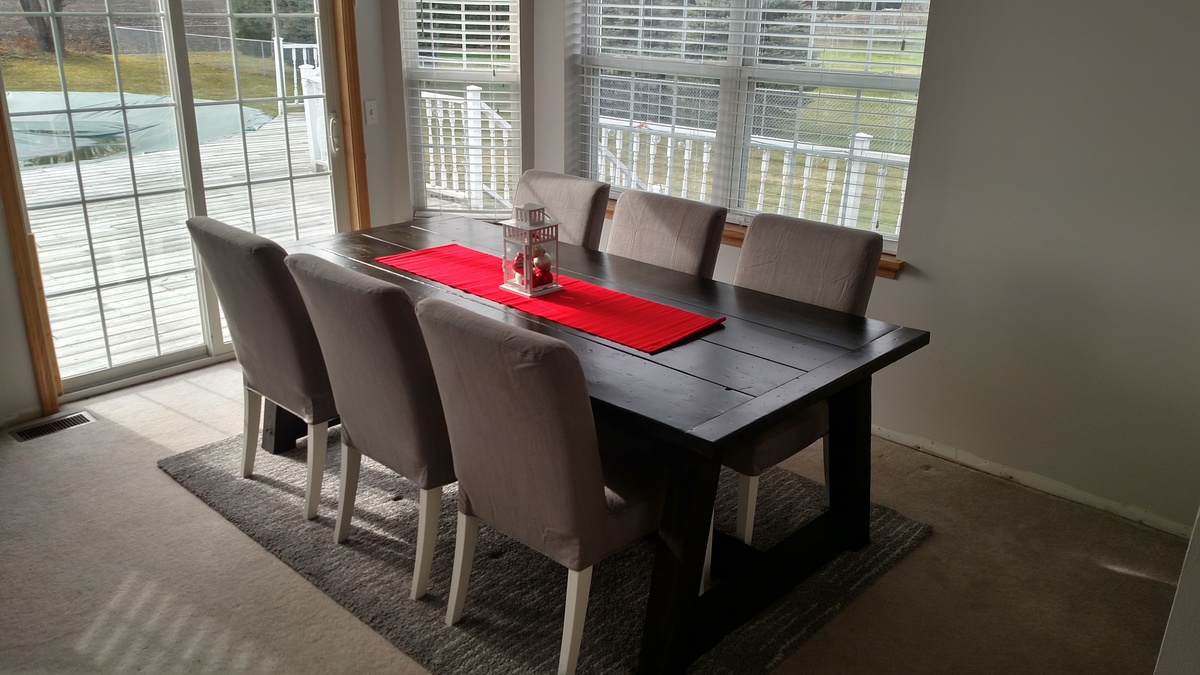
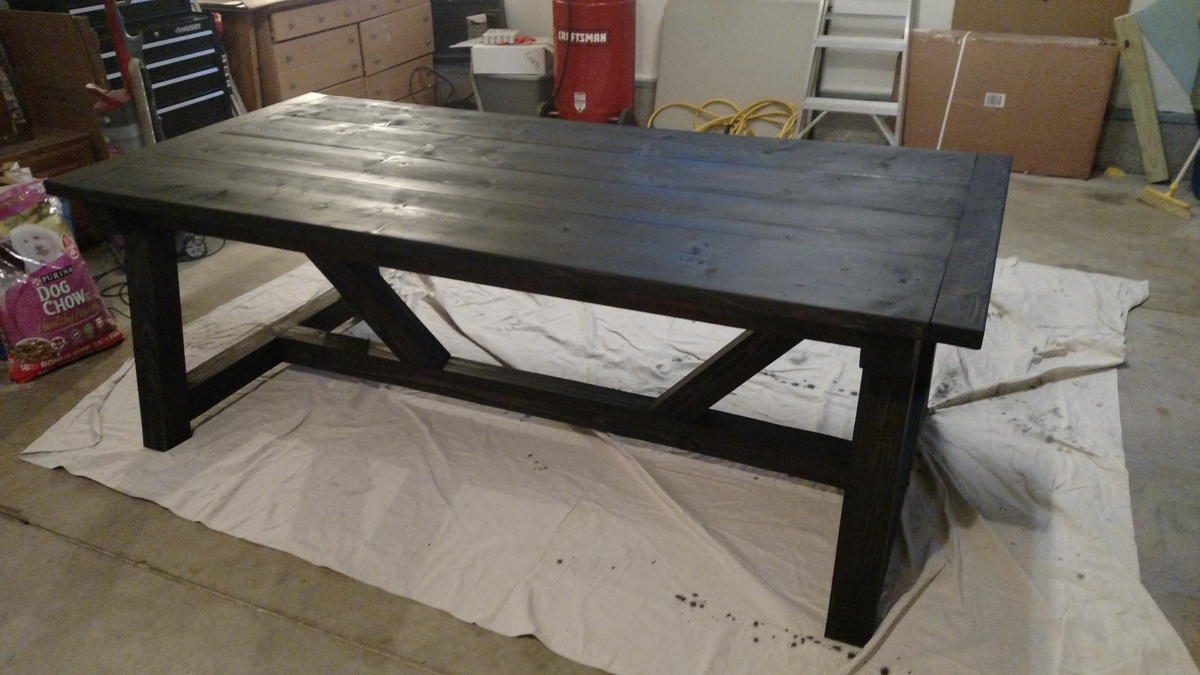
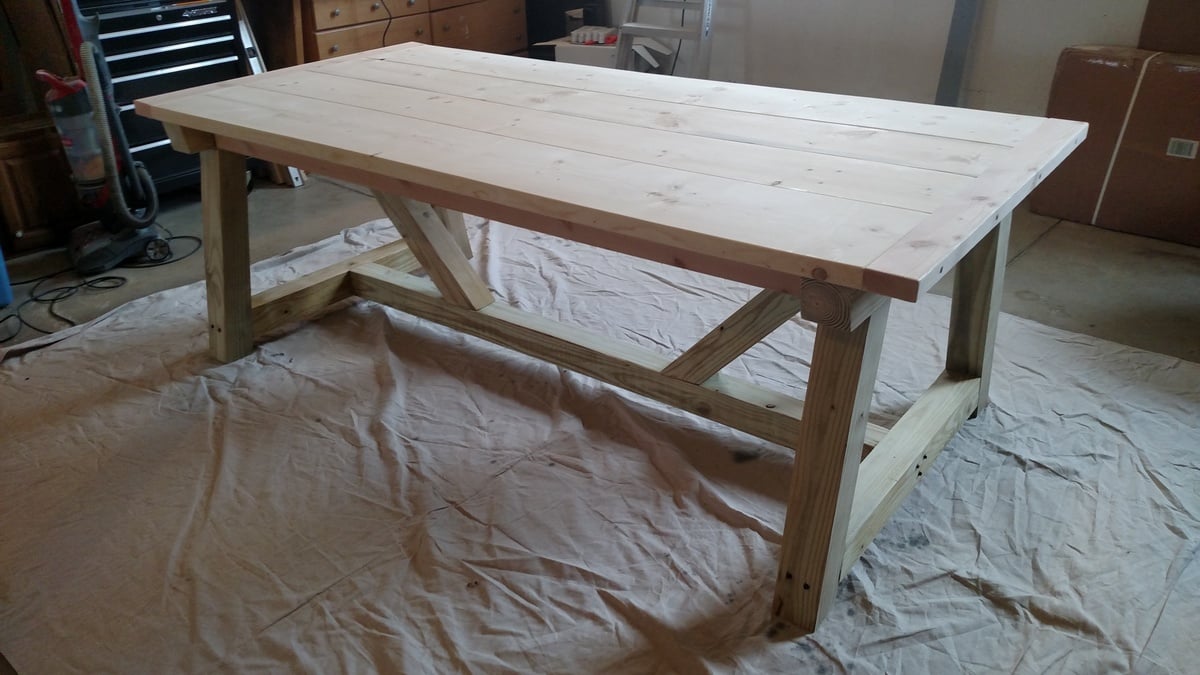
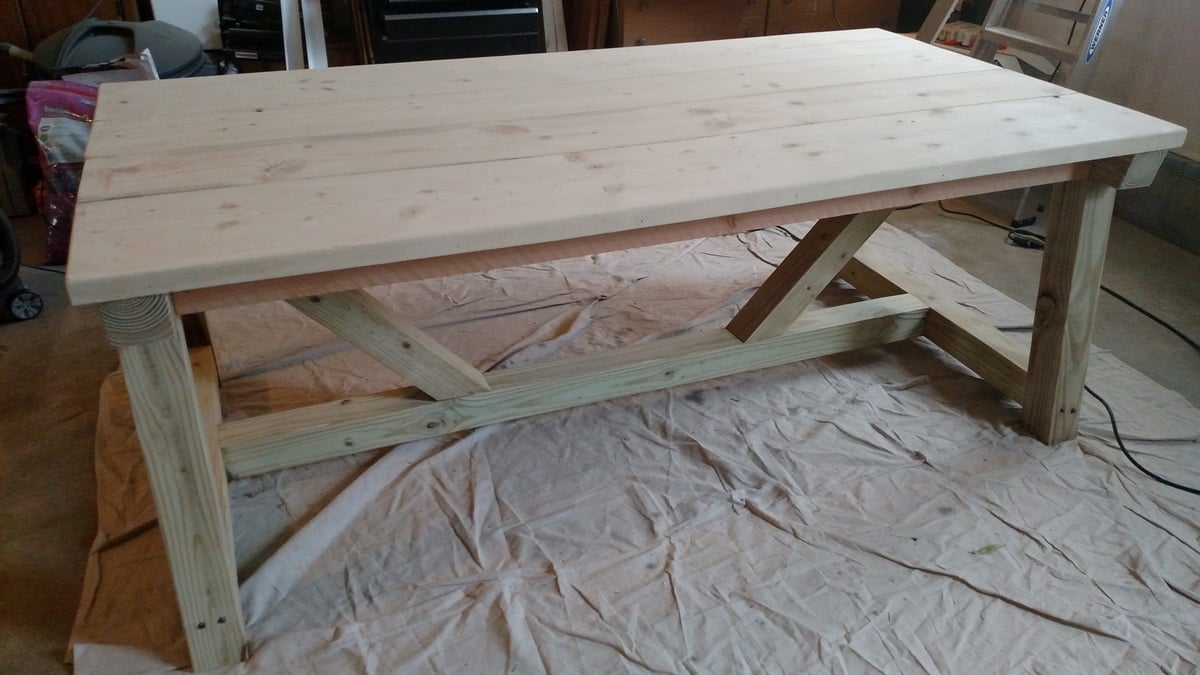
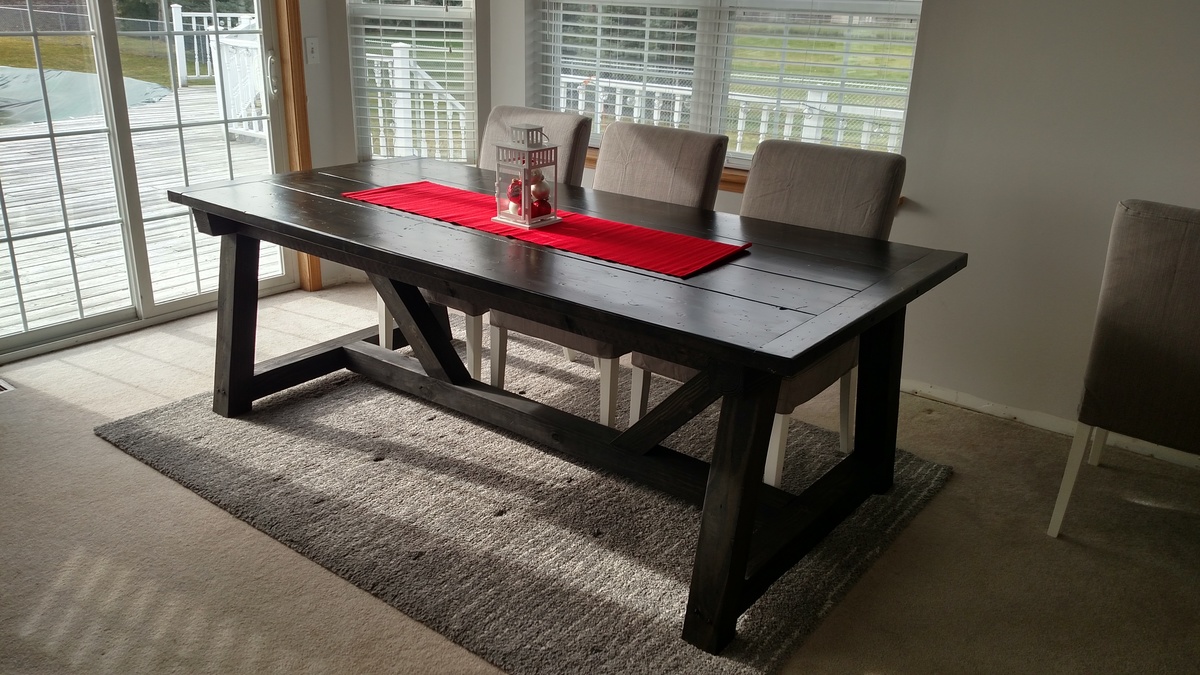
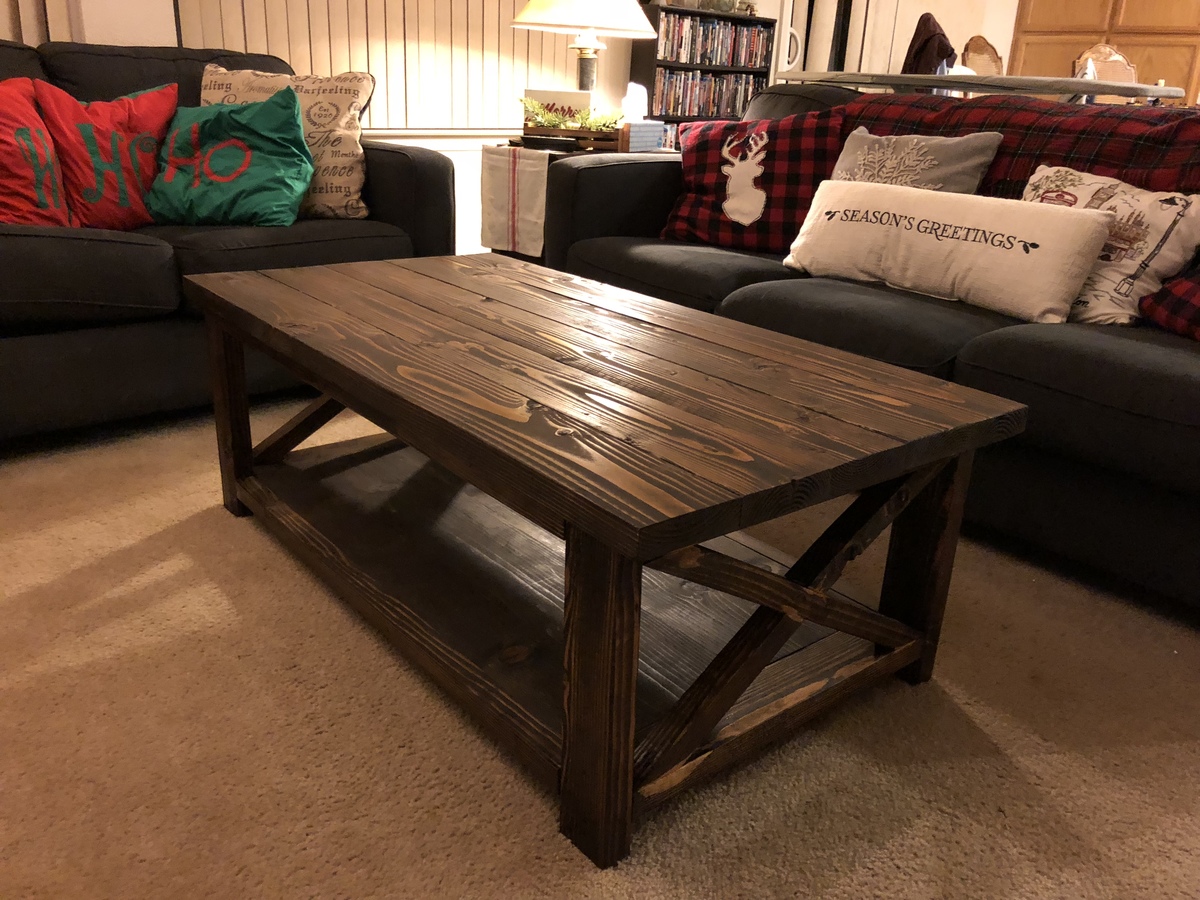
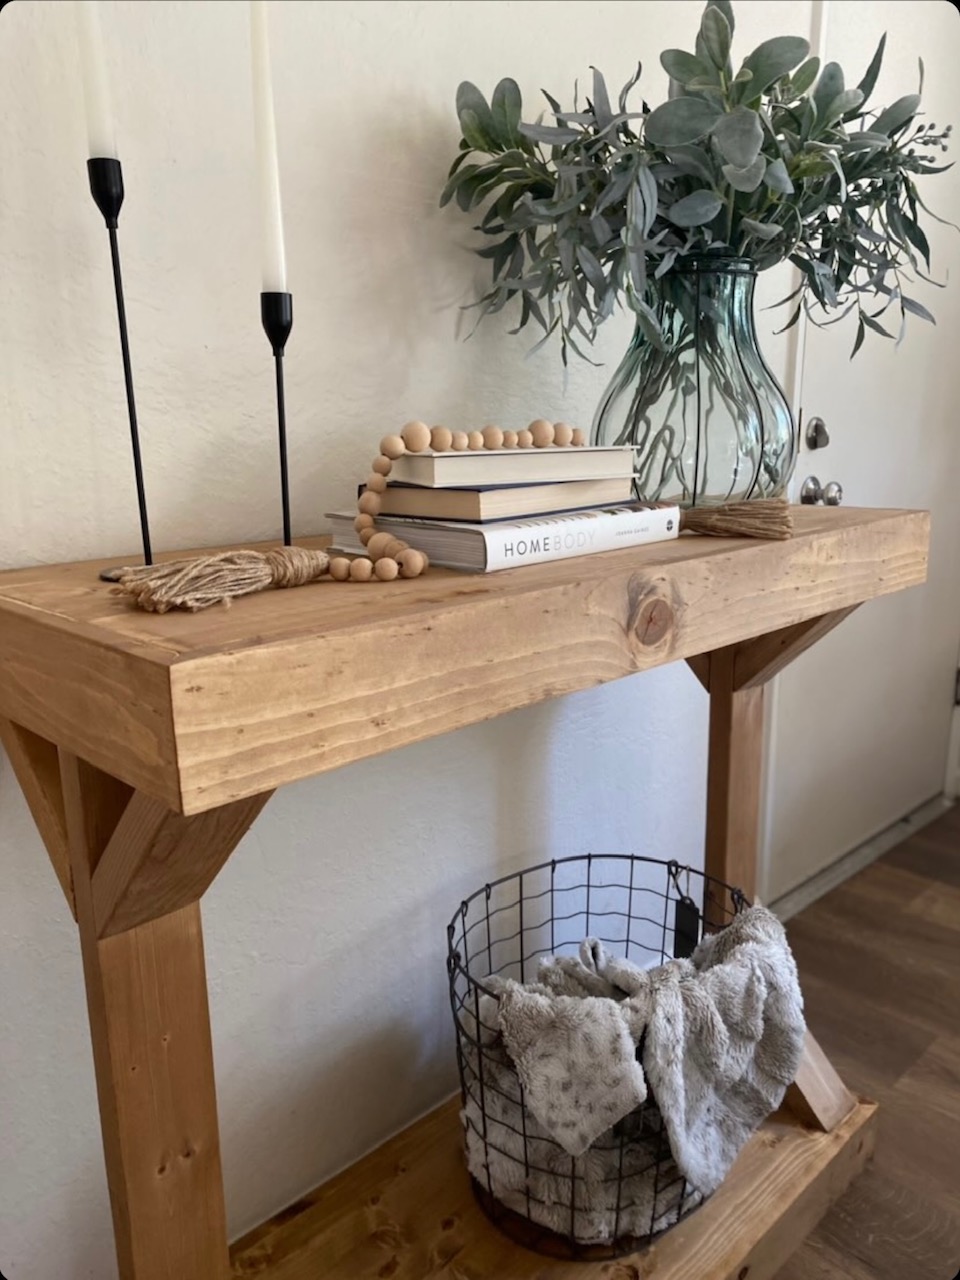
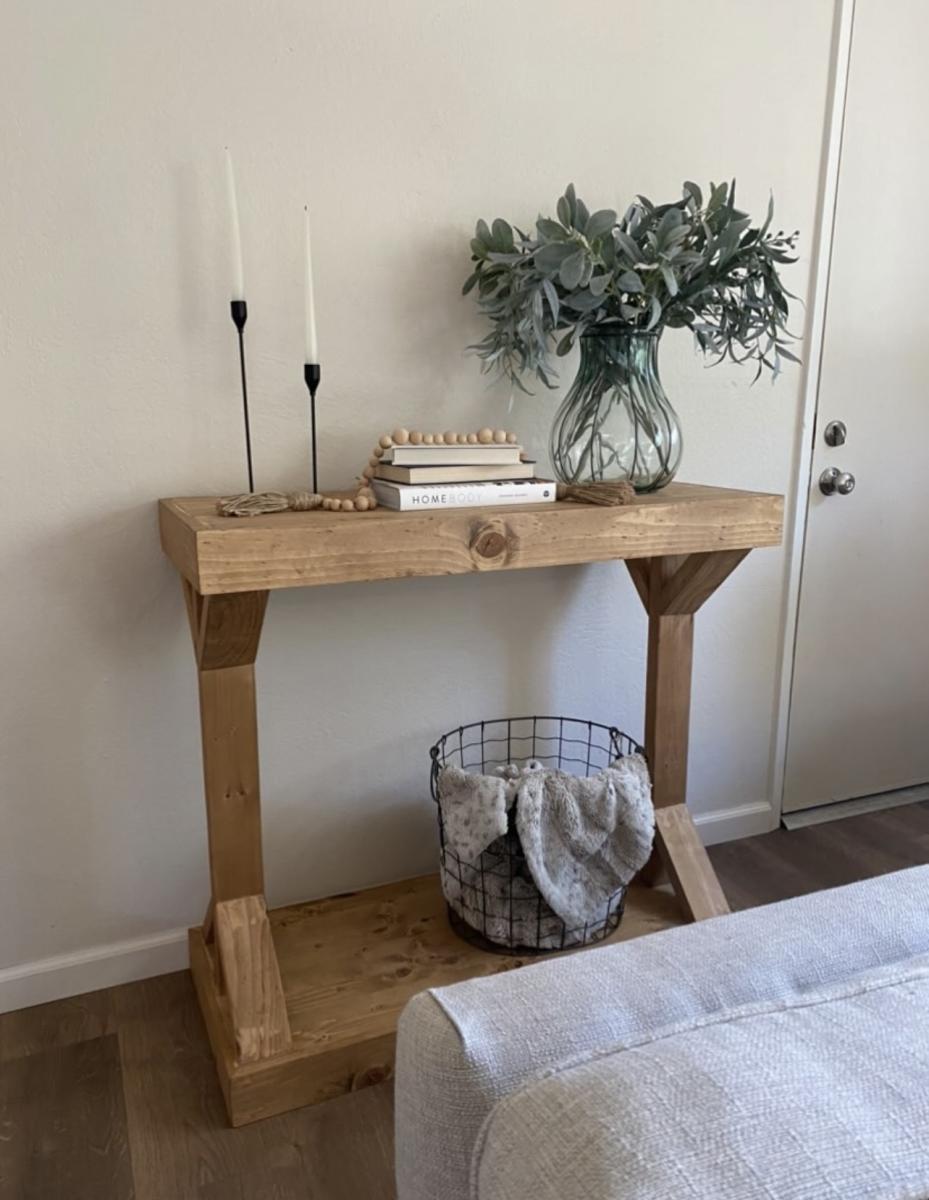
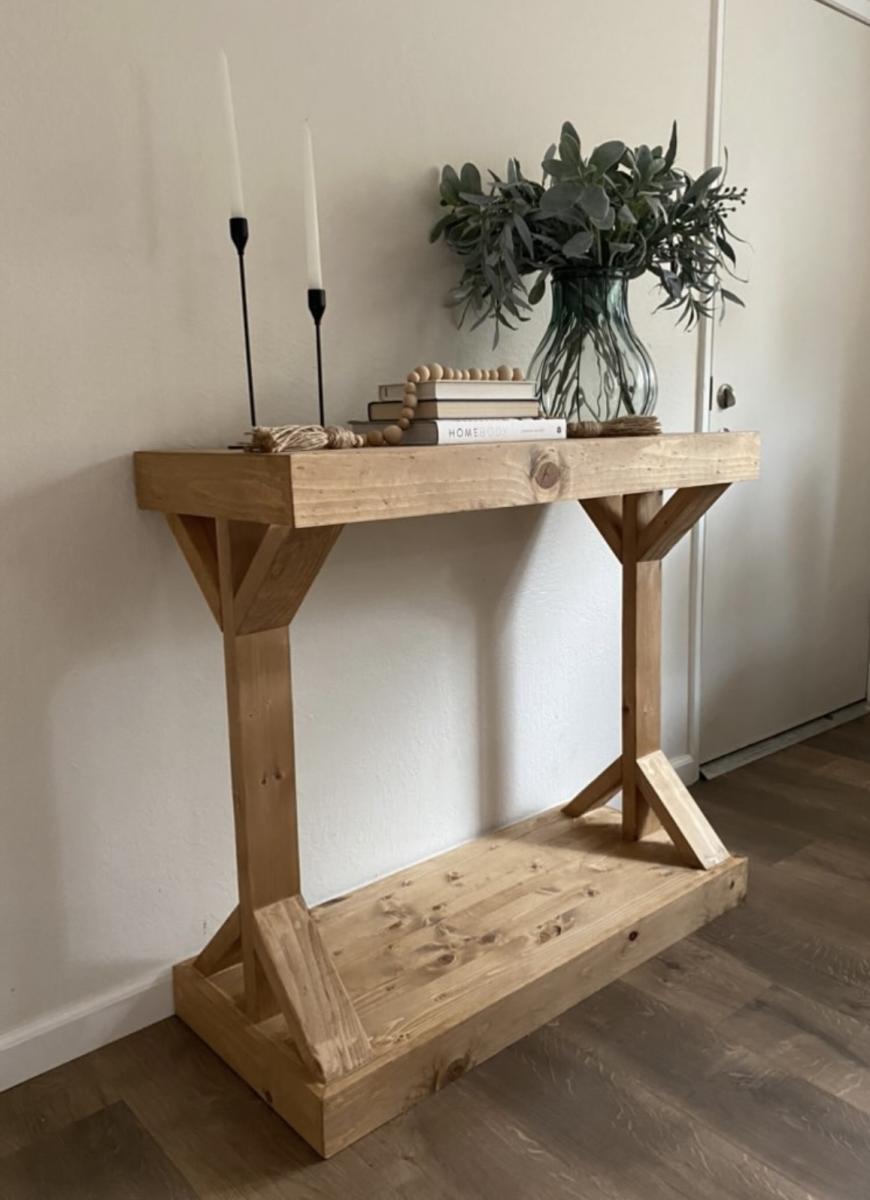
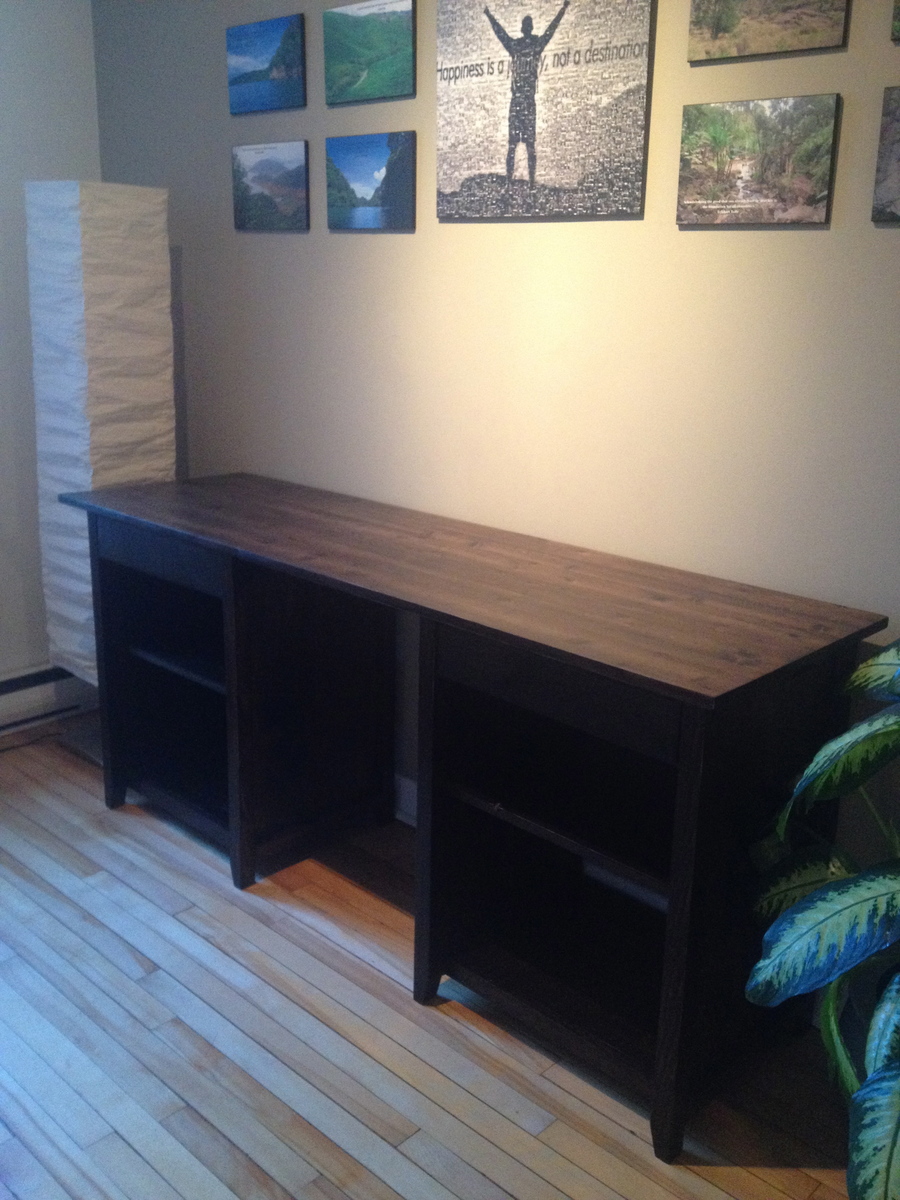
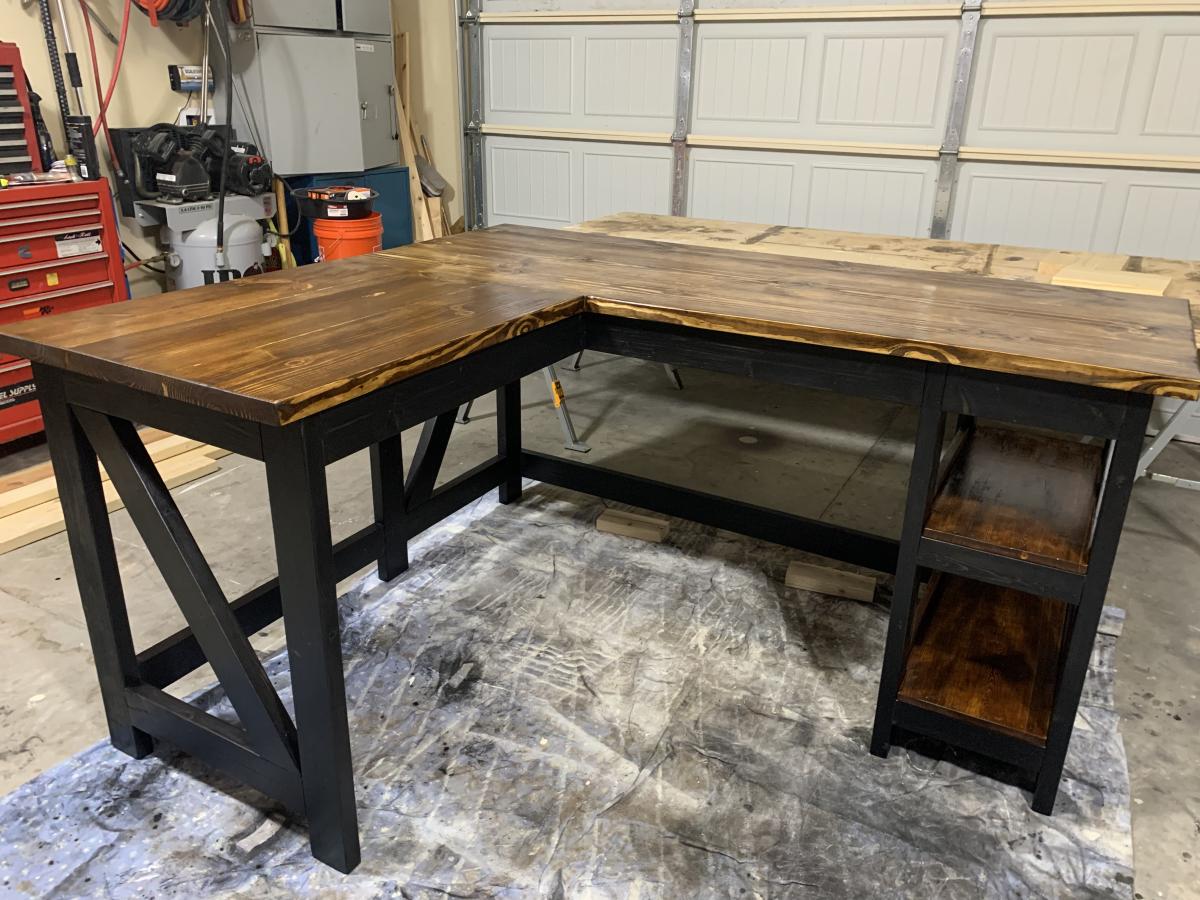
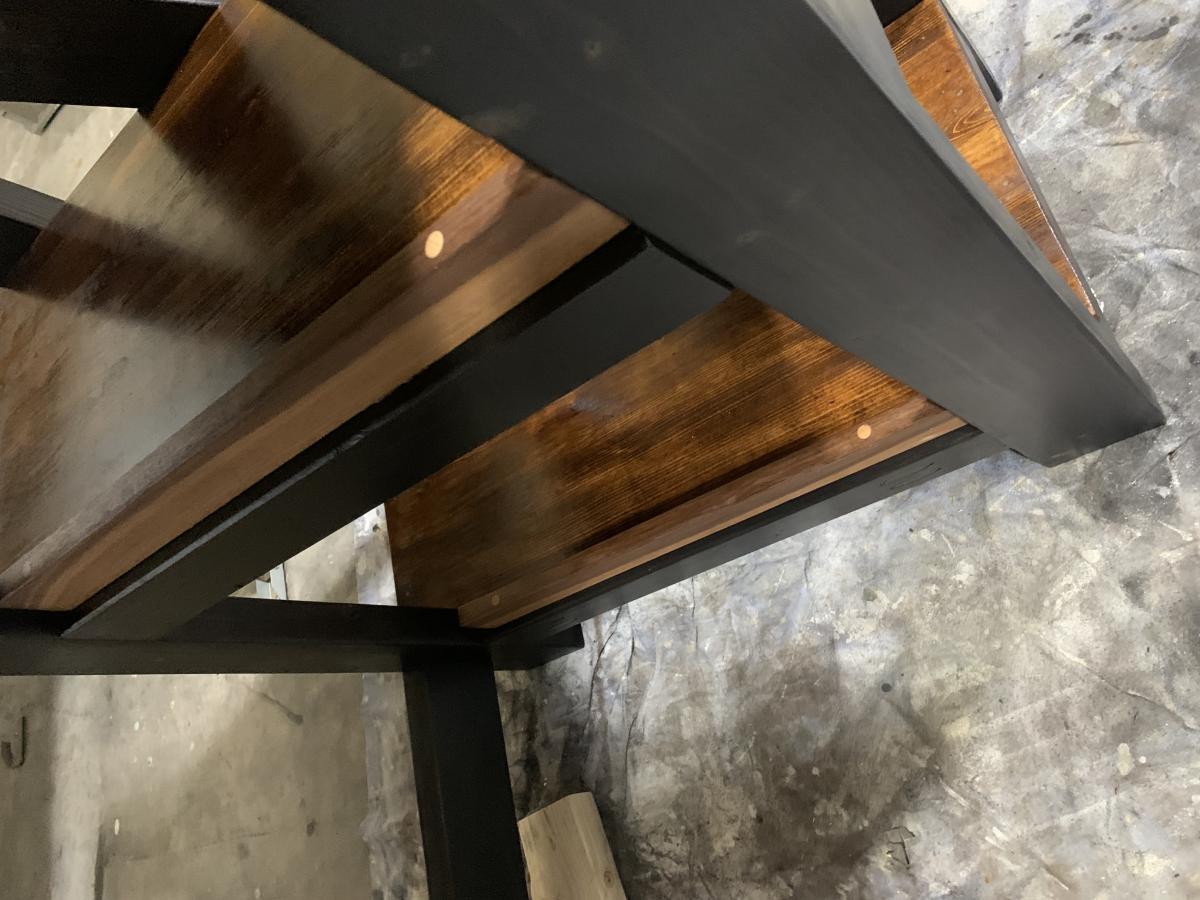
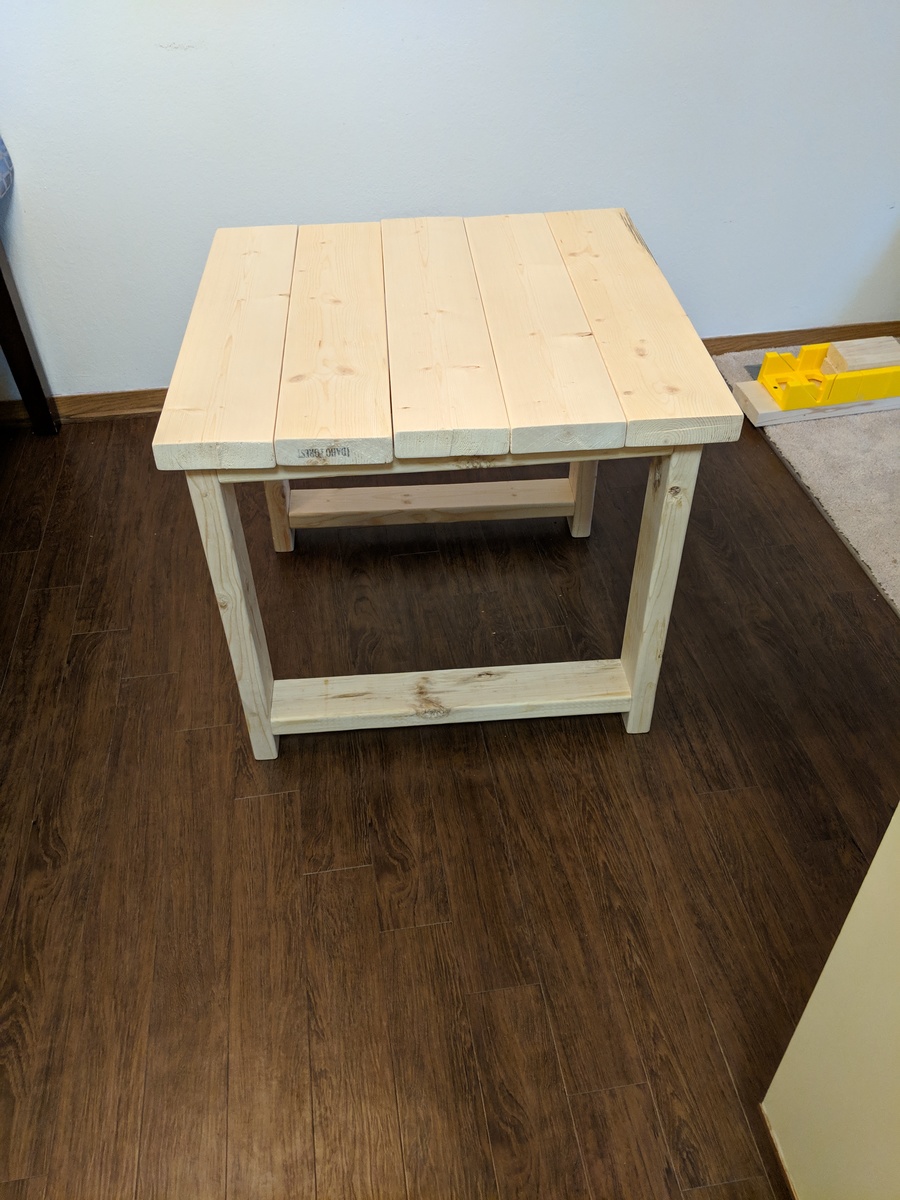
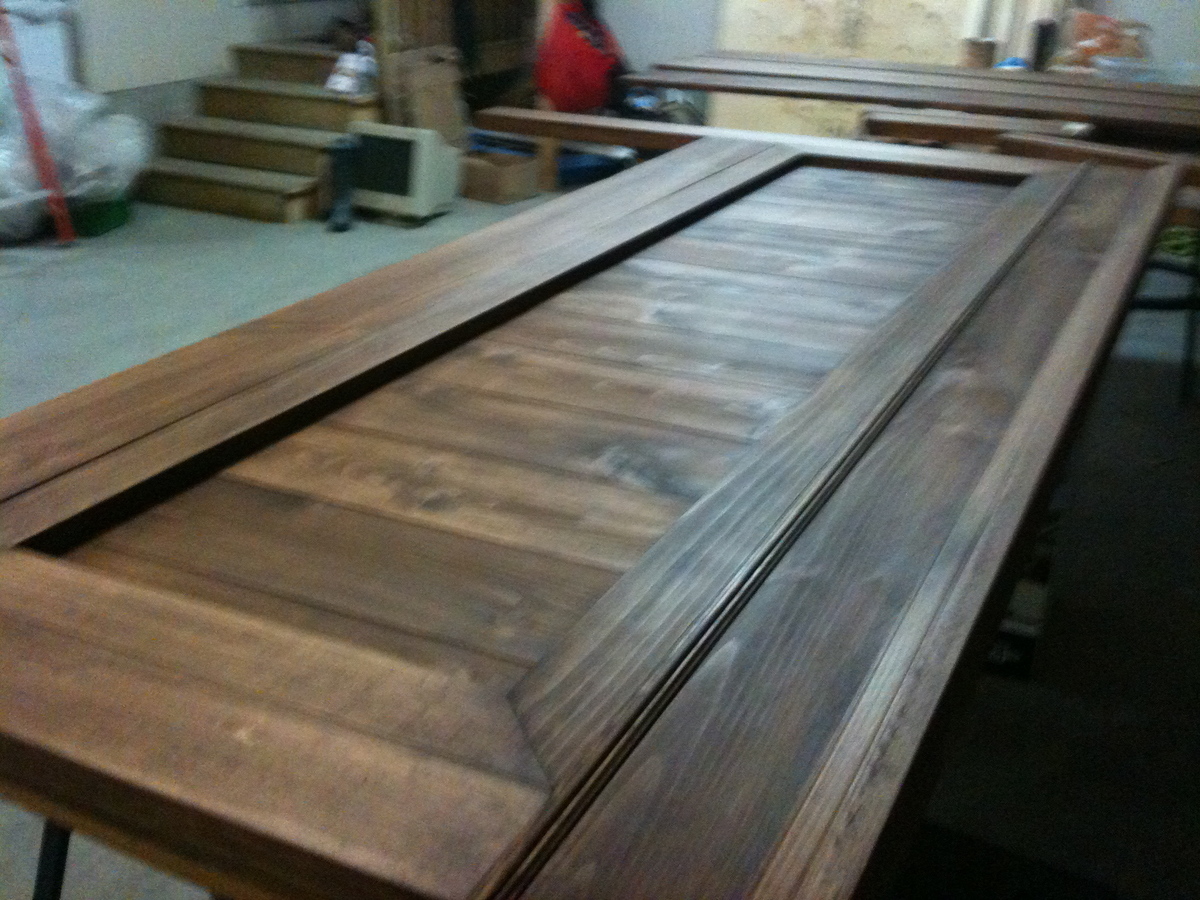
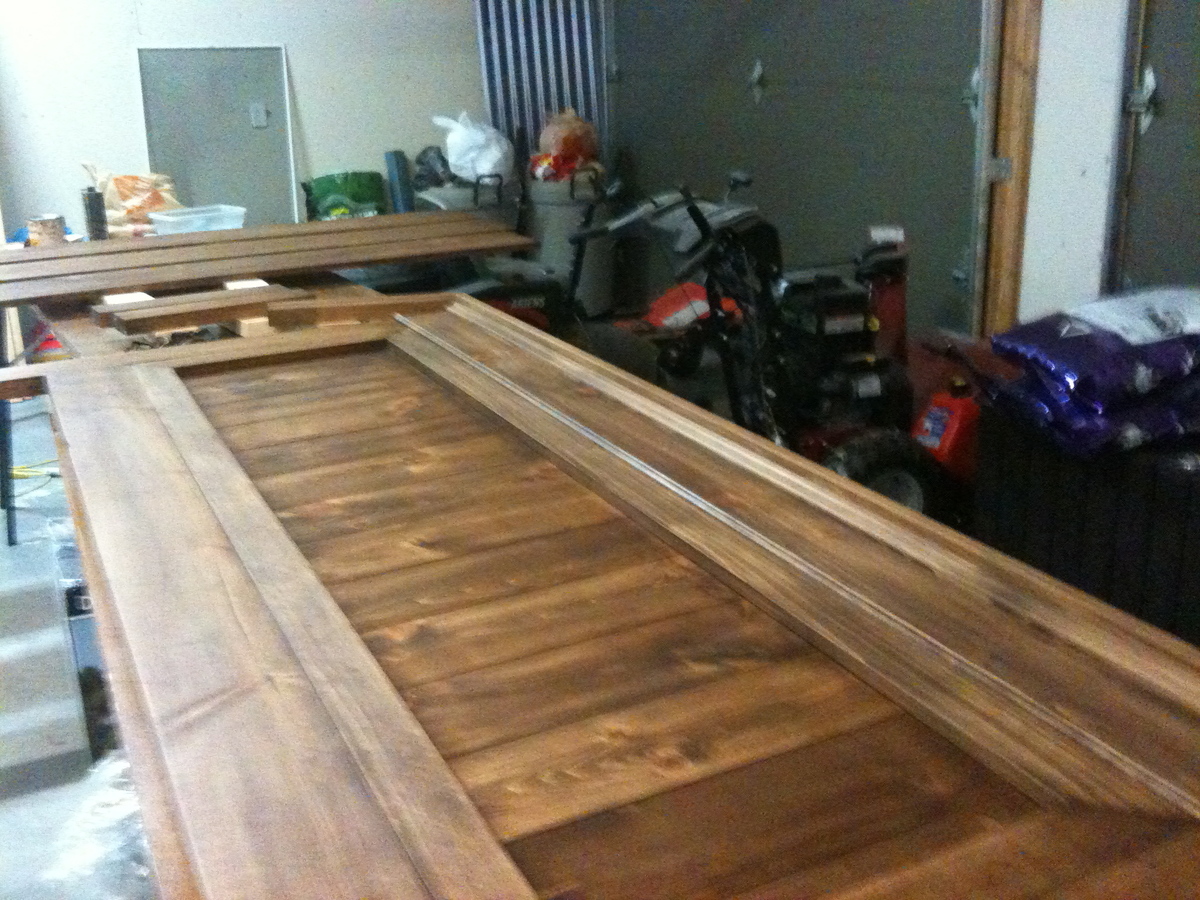
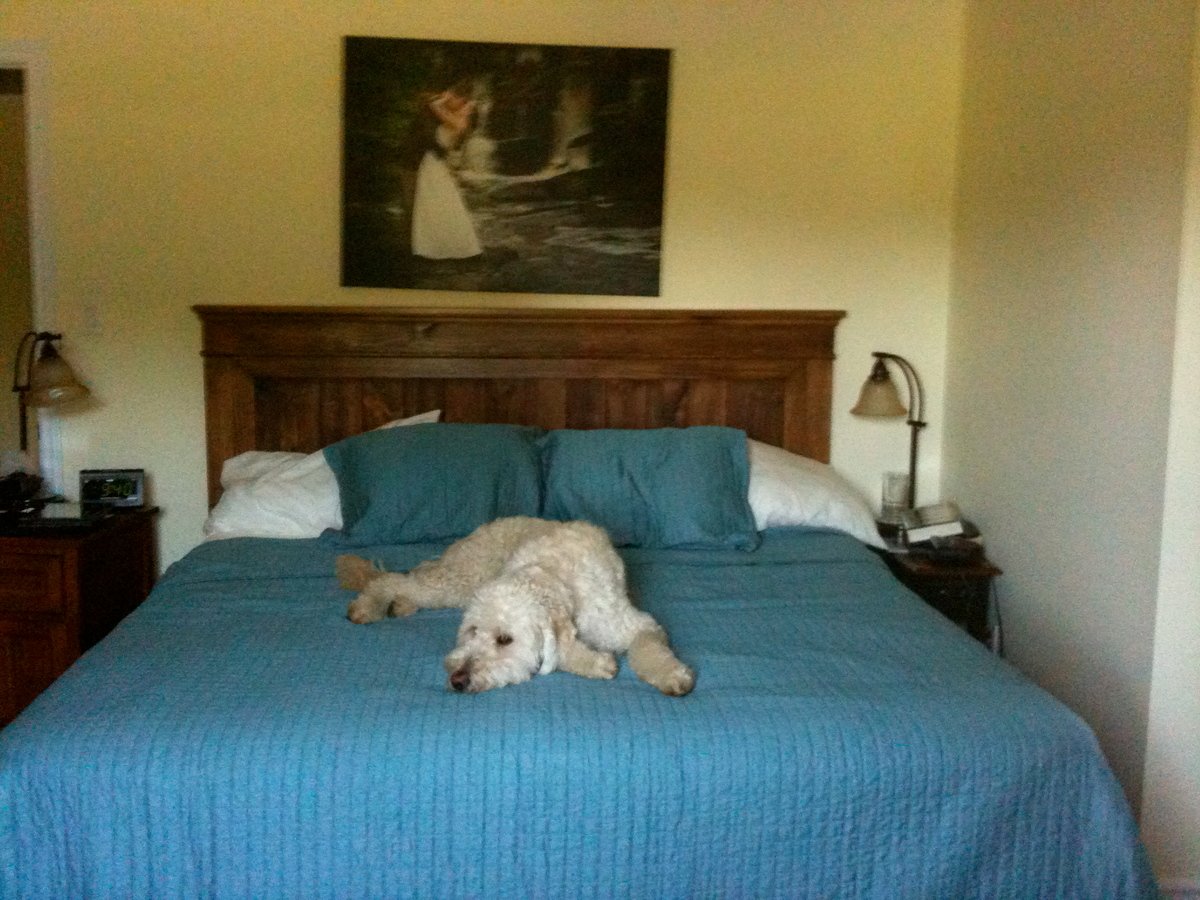
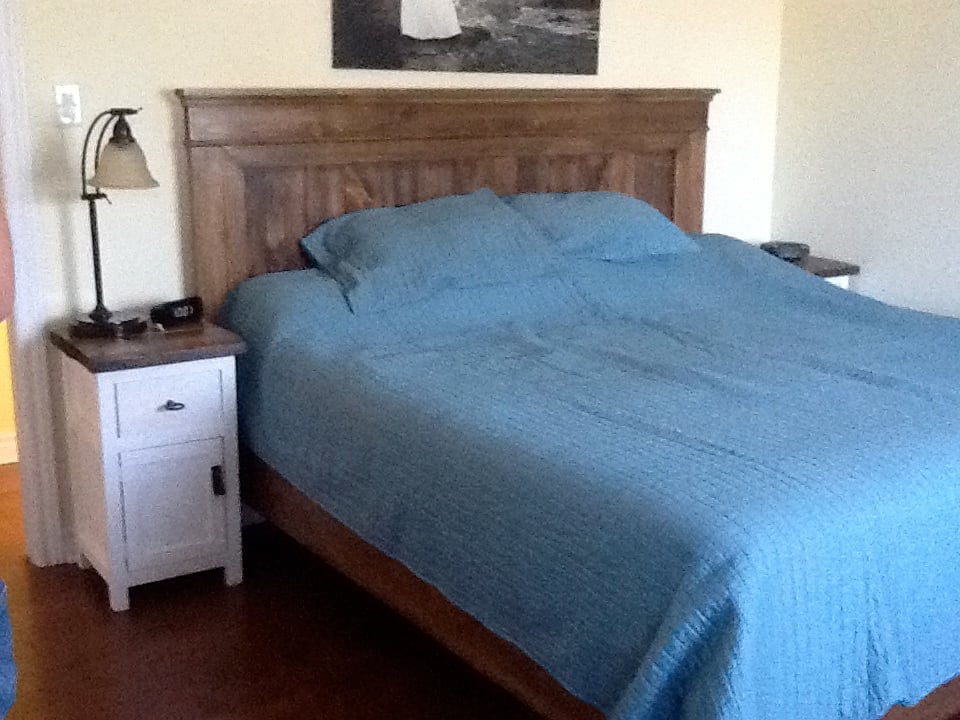
Found this on the website and had to build it. Turned out perfectly.
Built from Plan(s)
Finish Used
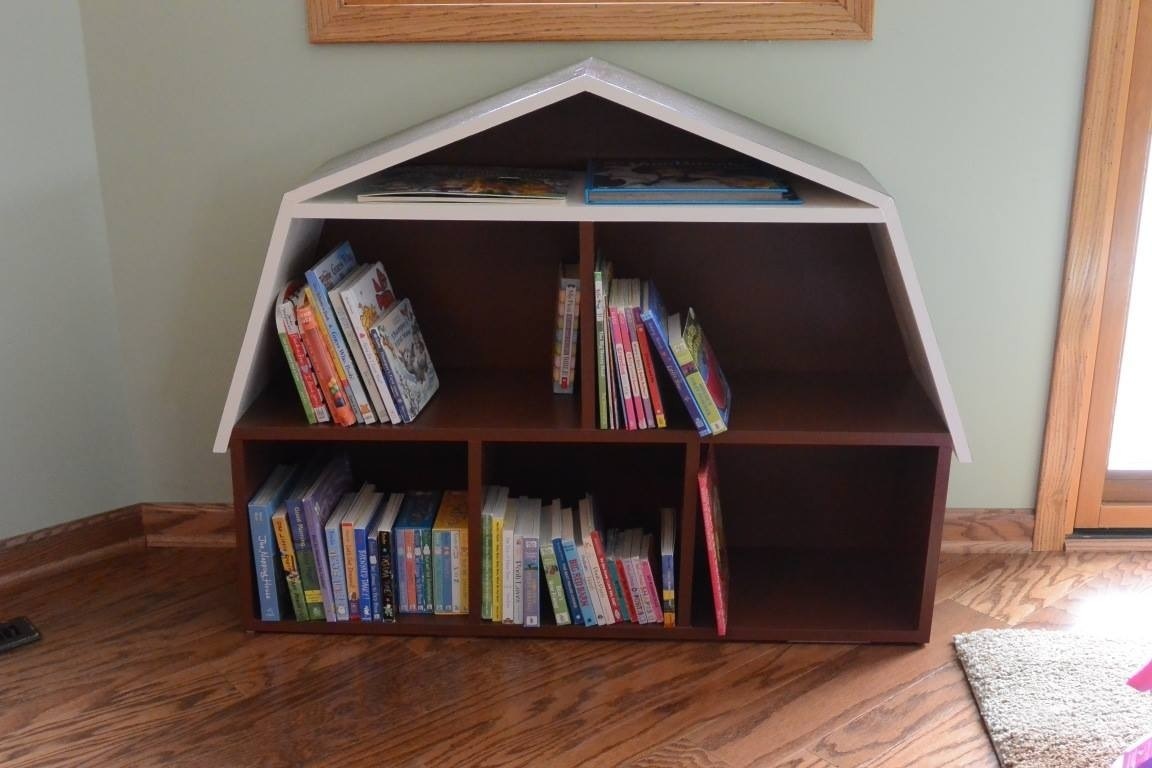
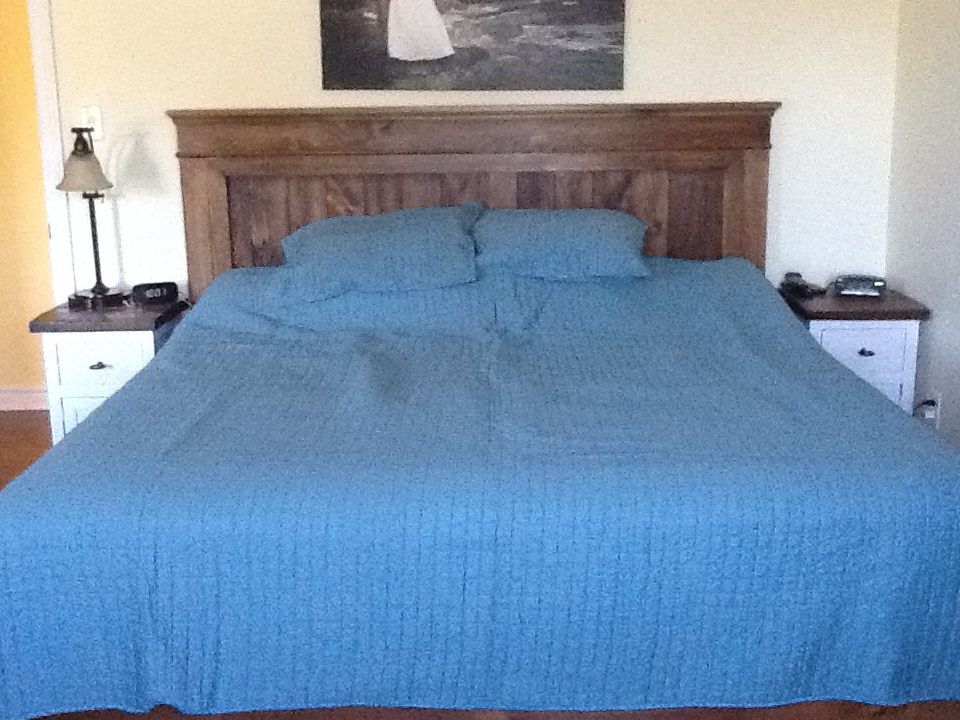
Mahogany Stain. Minwax
Recommended Skill Level
Beginner