Community Brag Posts
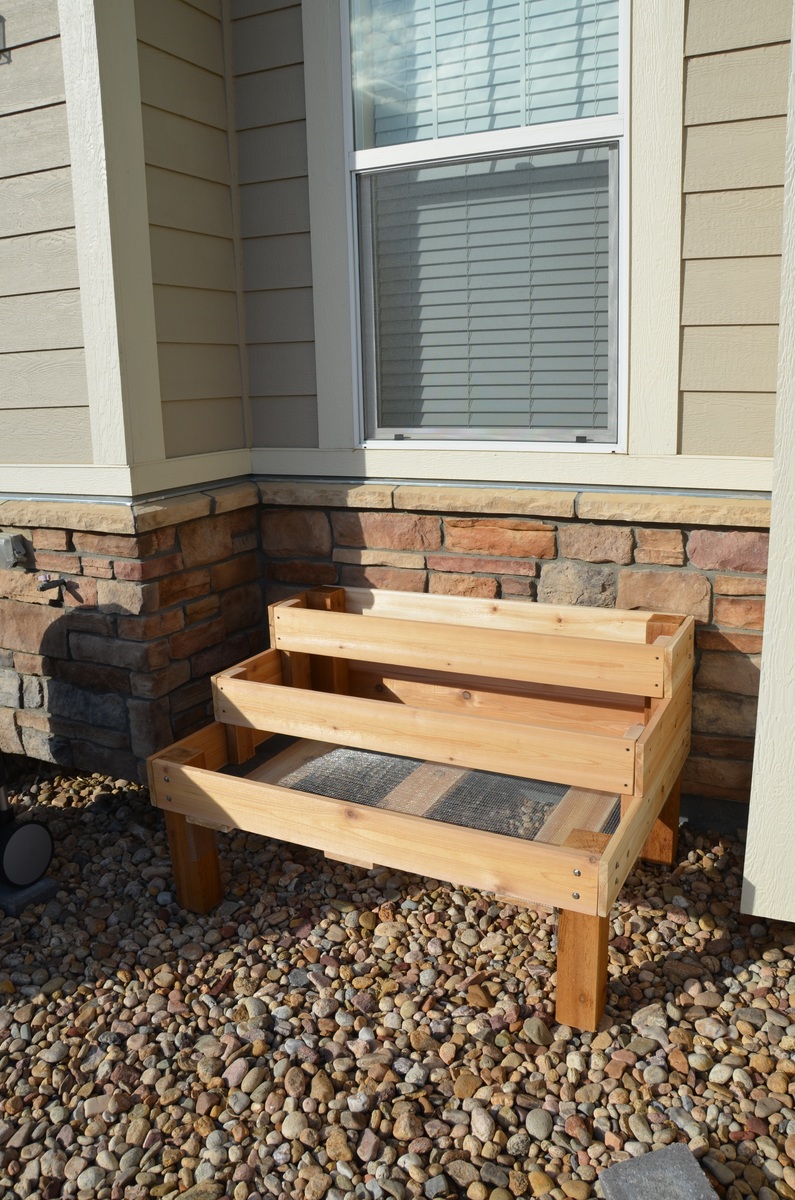
Stepped version
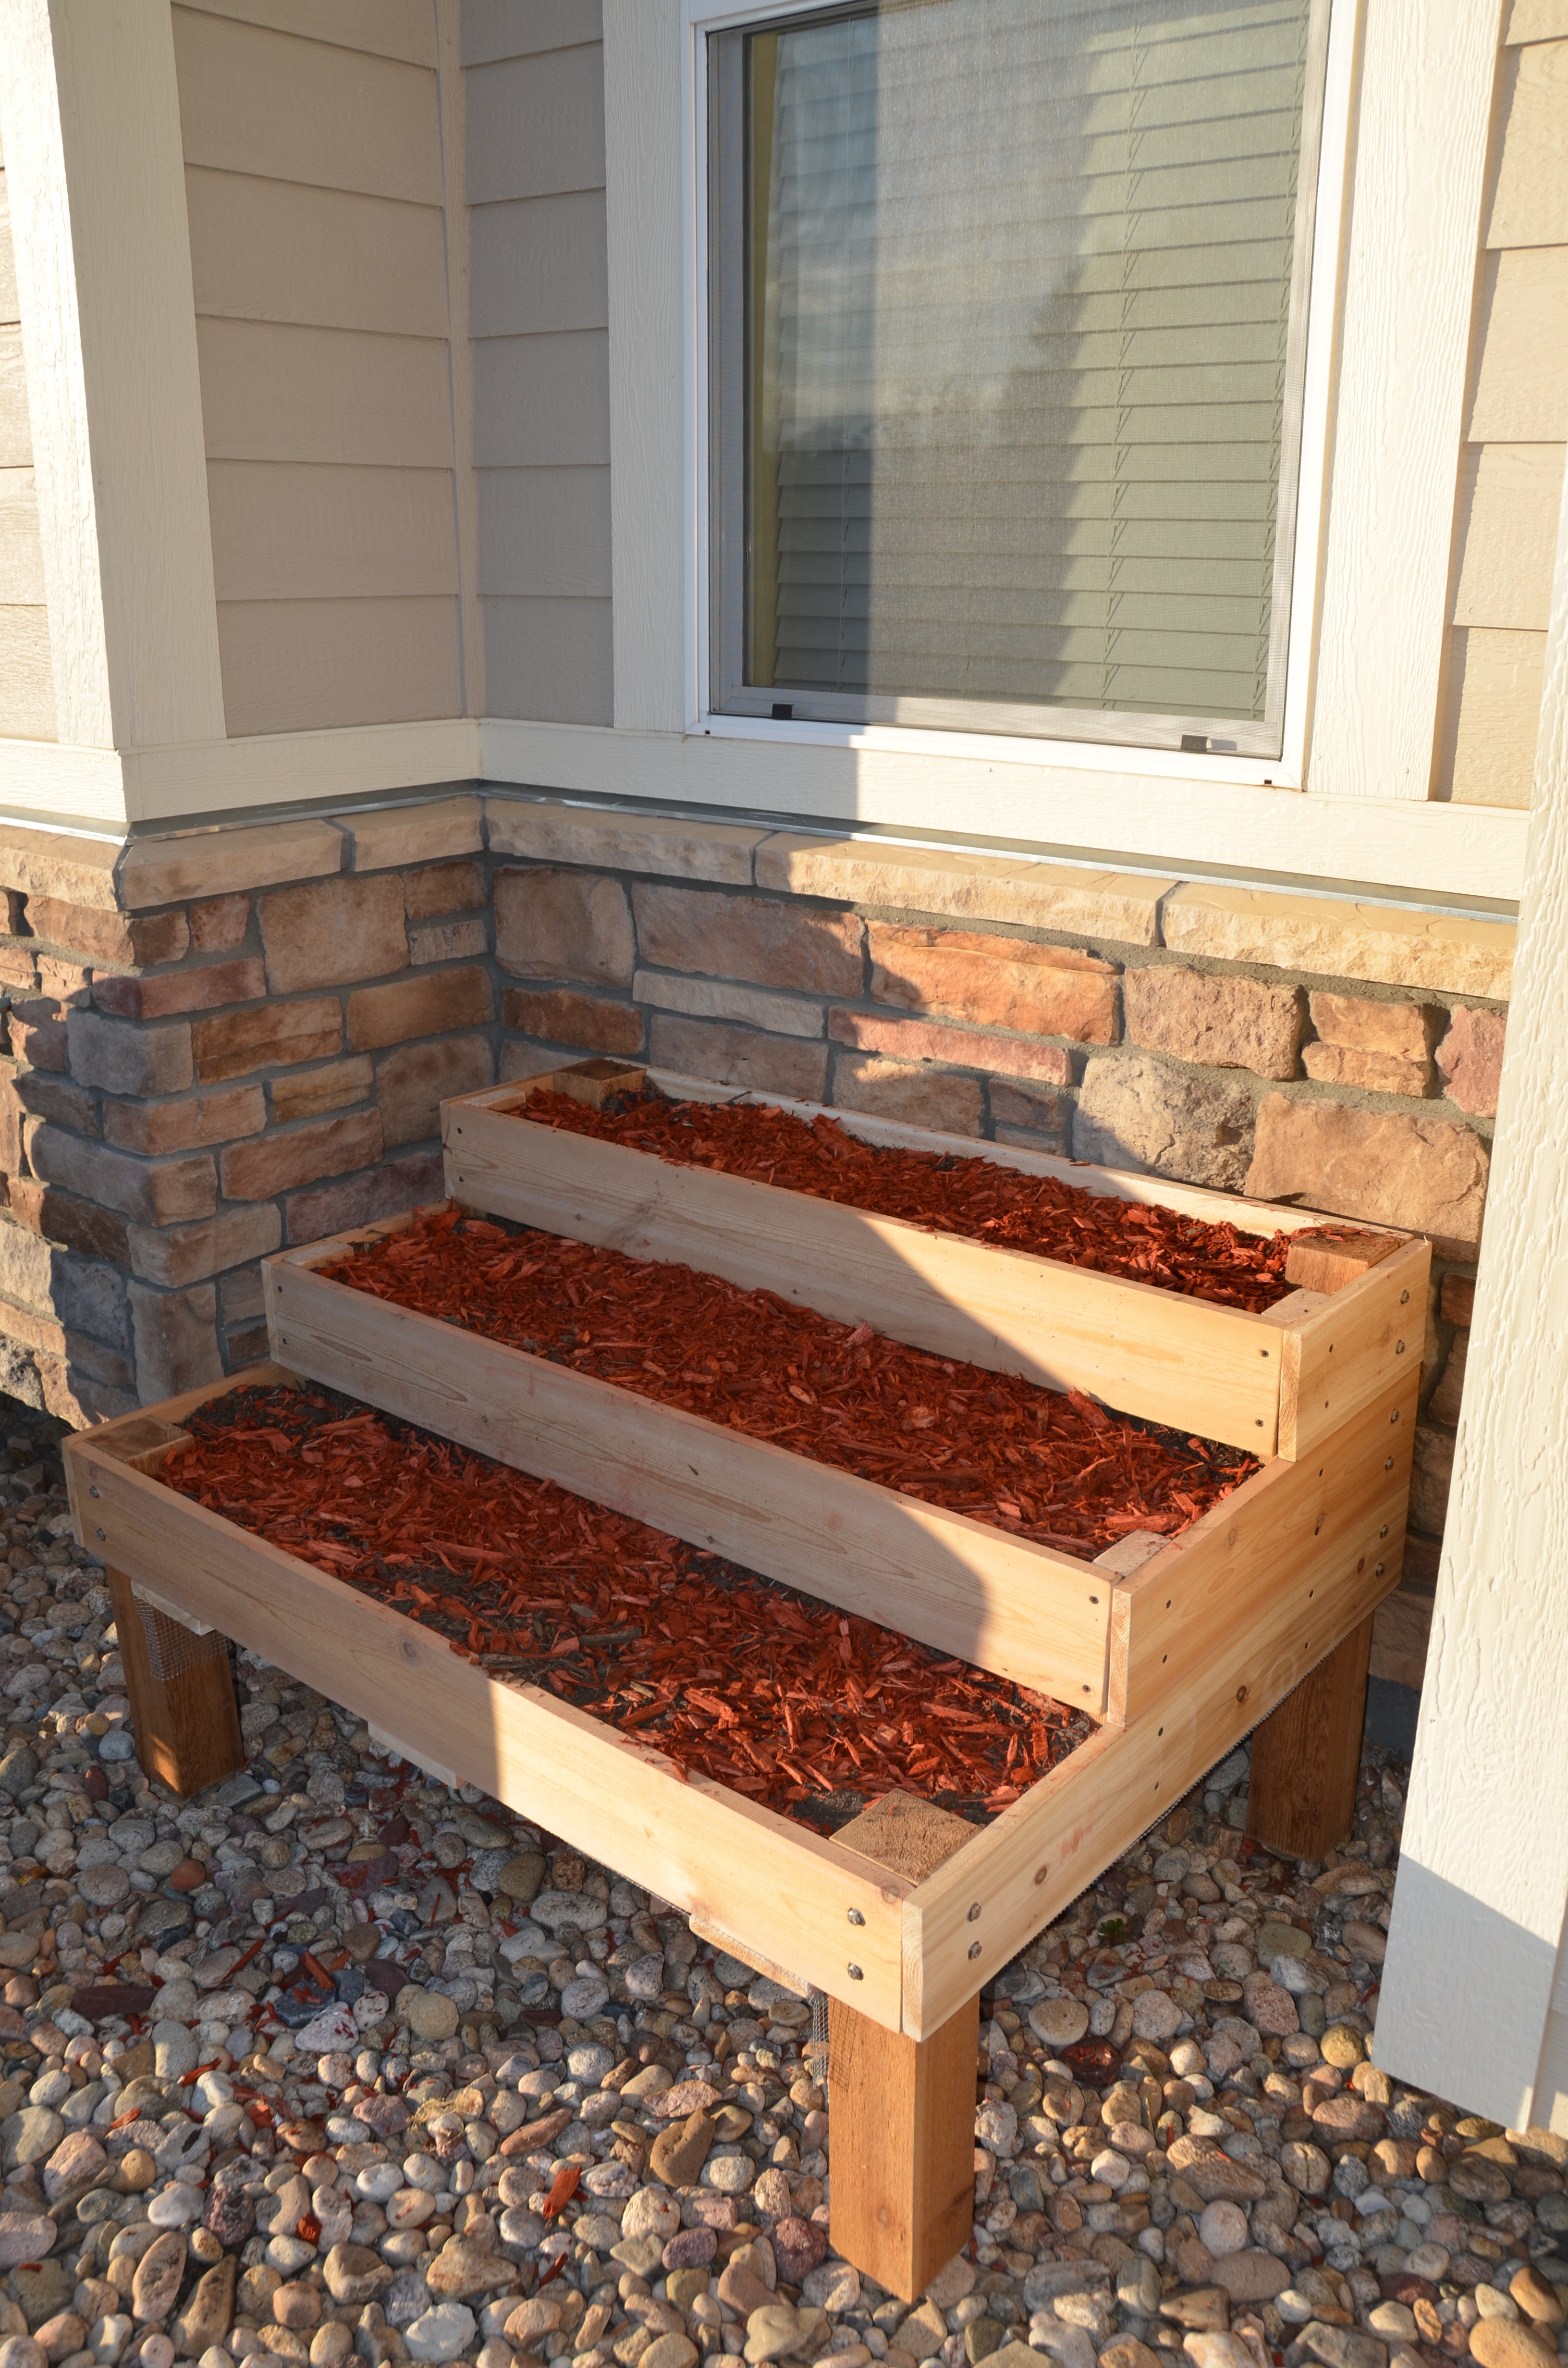
A modified version with tiered areas. 2x4's tie layers together. Happy Mother's Day!
Built from Plan(s)
Estimated Cost
150
Estimated Time Investment
Day Project (6-9 Hours)
Recommended Skill Level
Starter Project
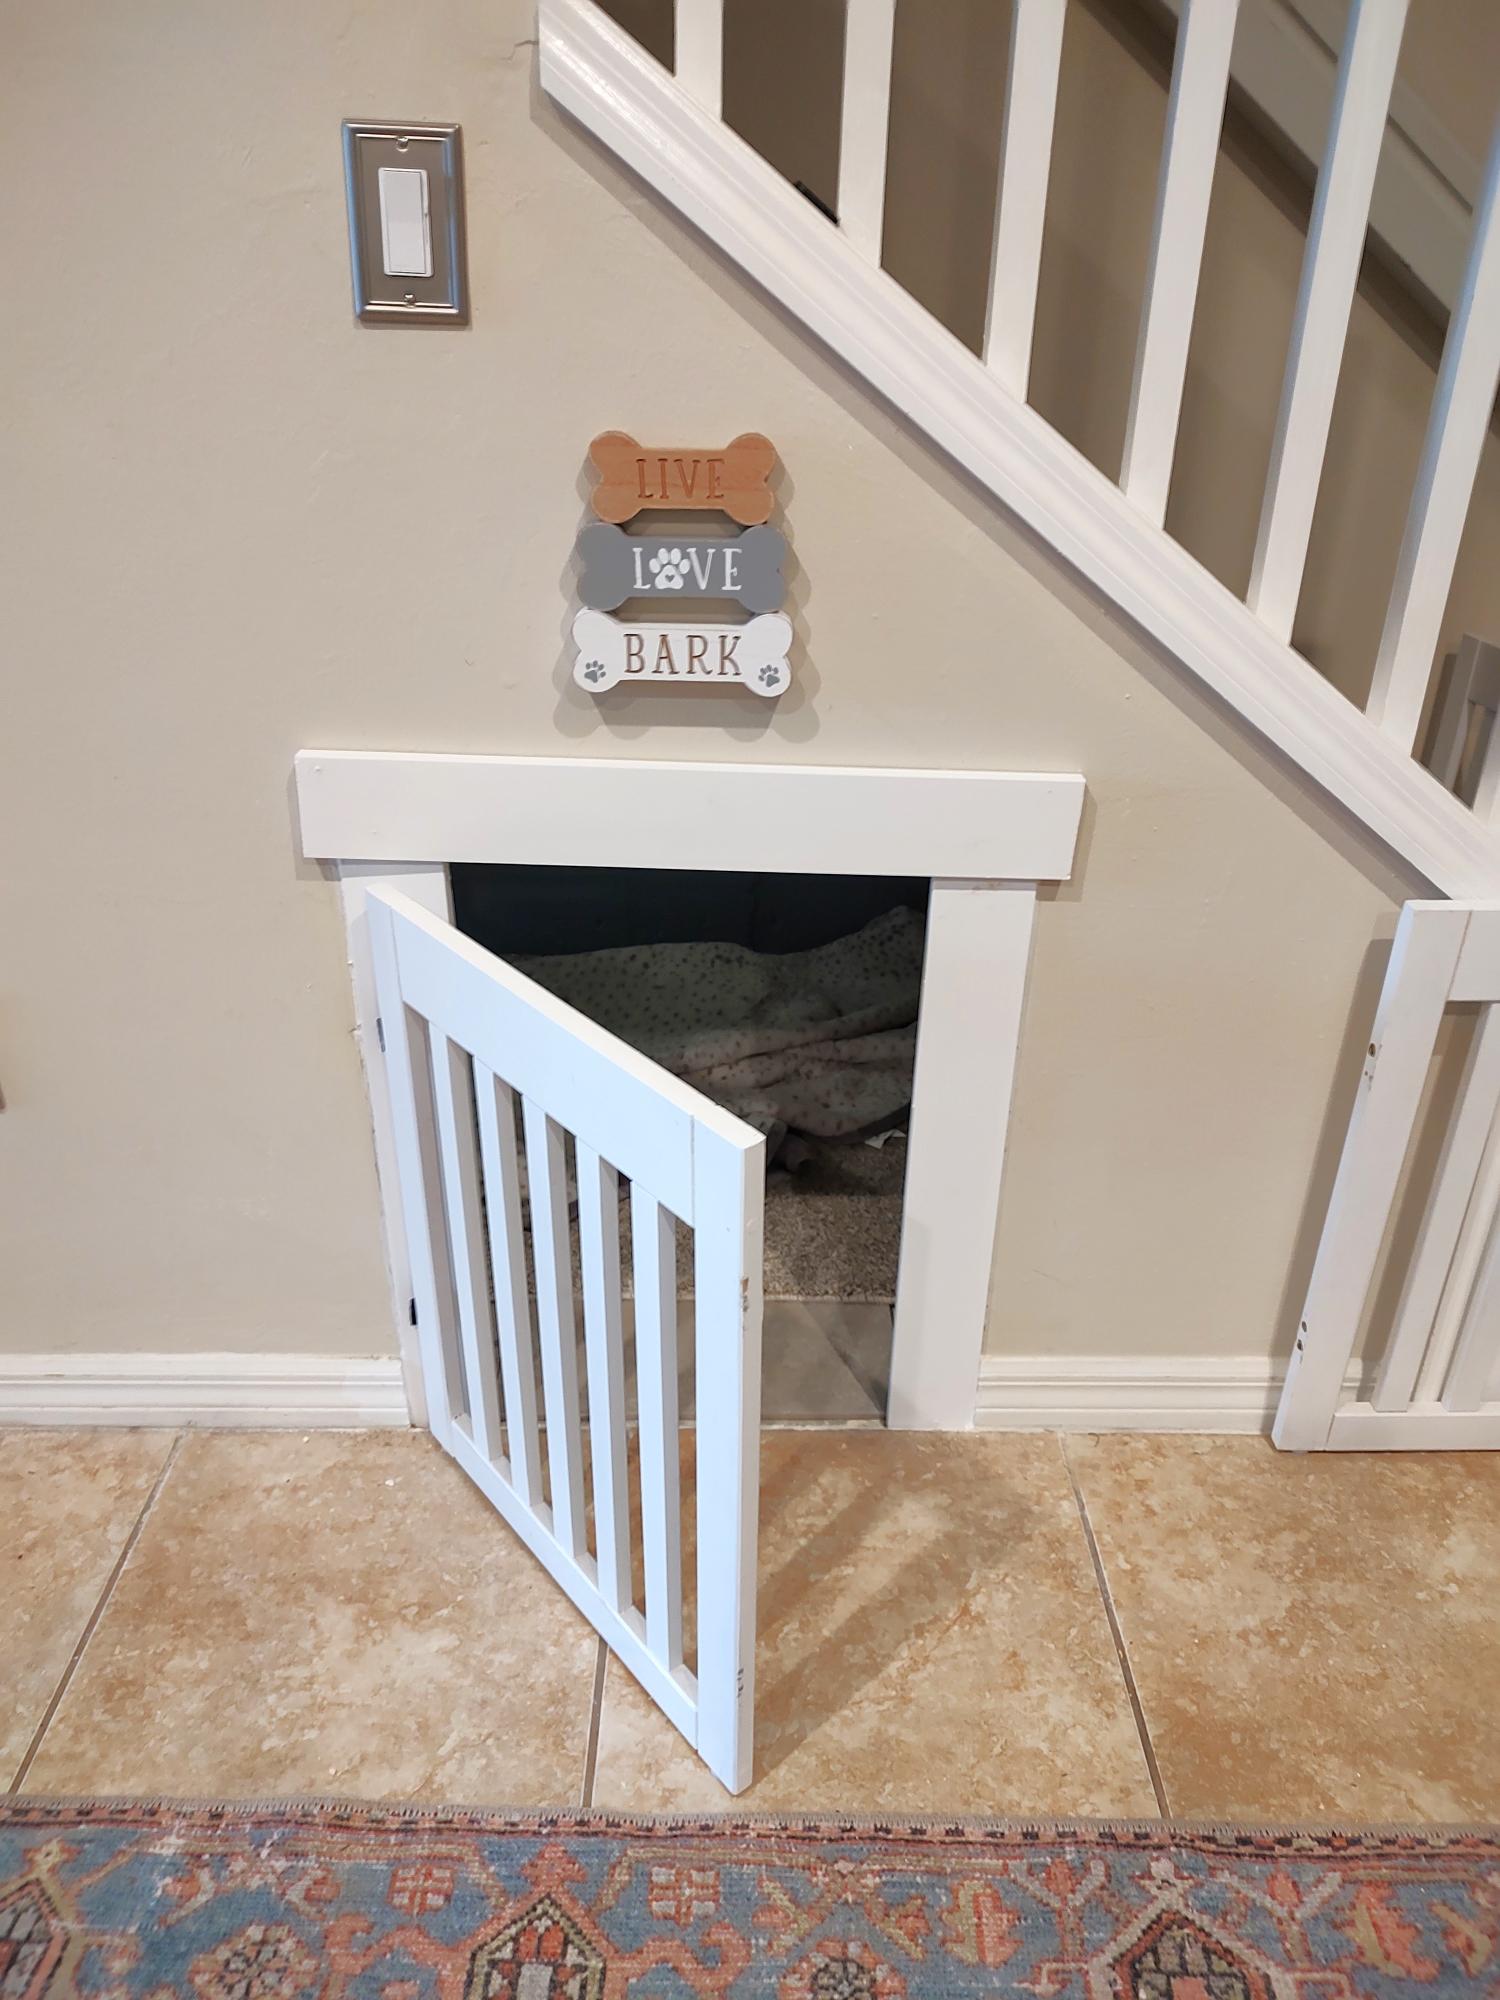
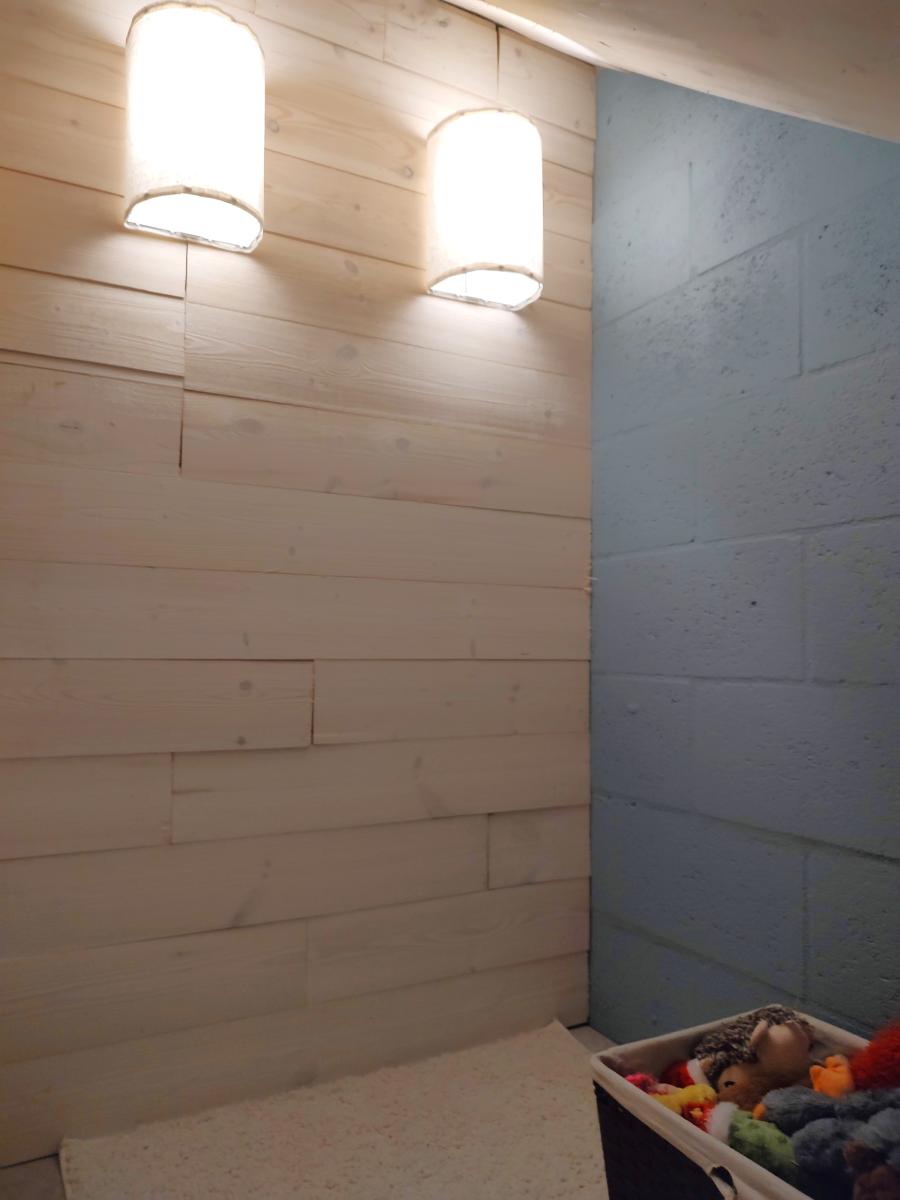
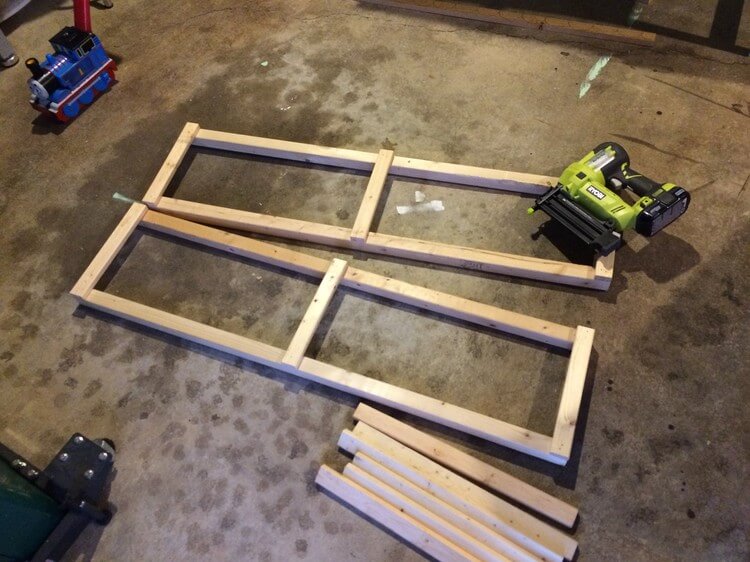
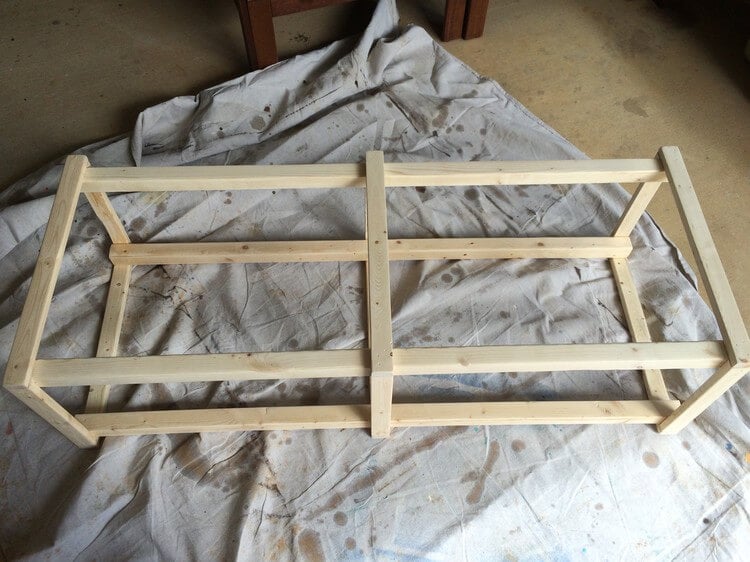
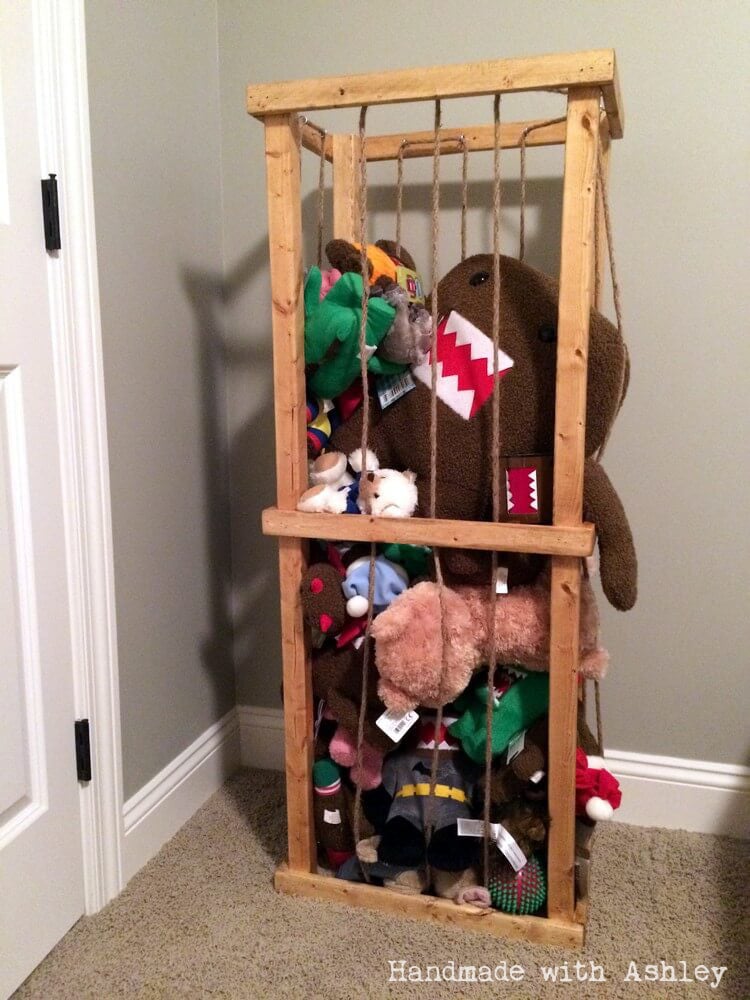
DIY Stuffed Animal Zoo Tower

This is my second stuffed animal zoo tower. This time around I used cheap 2x2 furring strips. Not the best pick of lumber, but it gets the job done well. :)
Built from Plan(s)
Estimated Cost
$30
Estimated Time Investment
Afternoon Project (3-6 Hours)
Finish Used
Watco Danish Oil (Medium Walnut)
Recommended Skill Level
Beginner
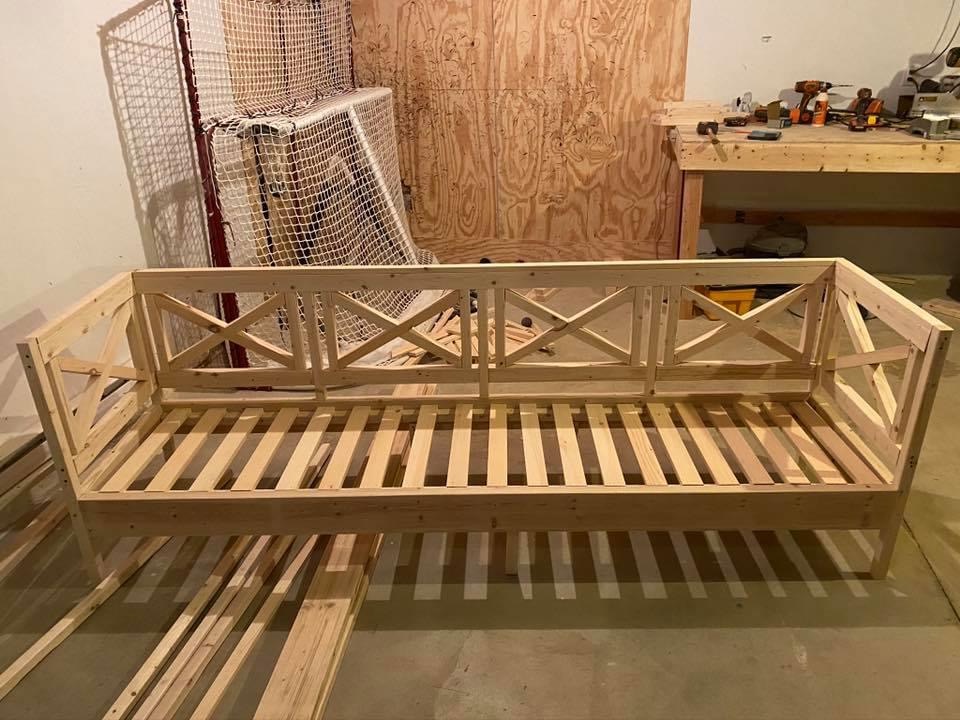
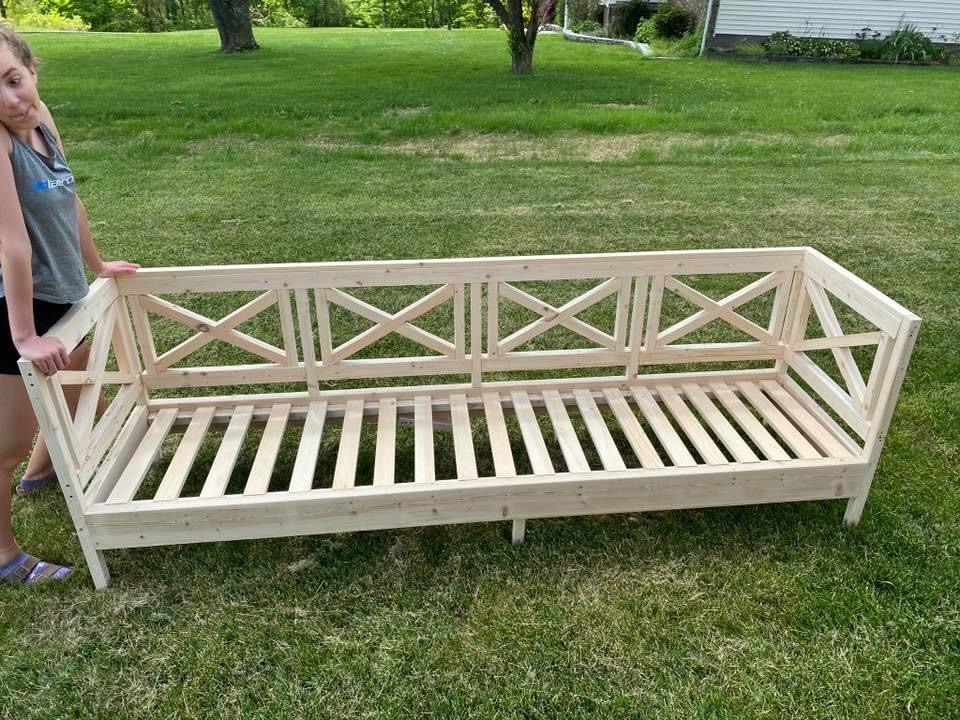
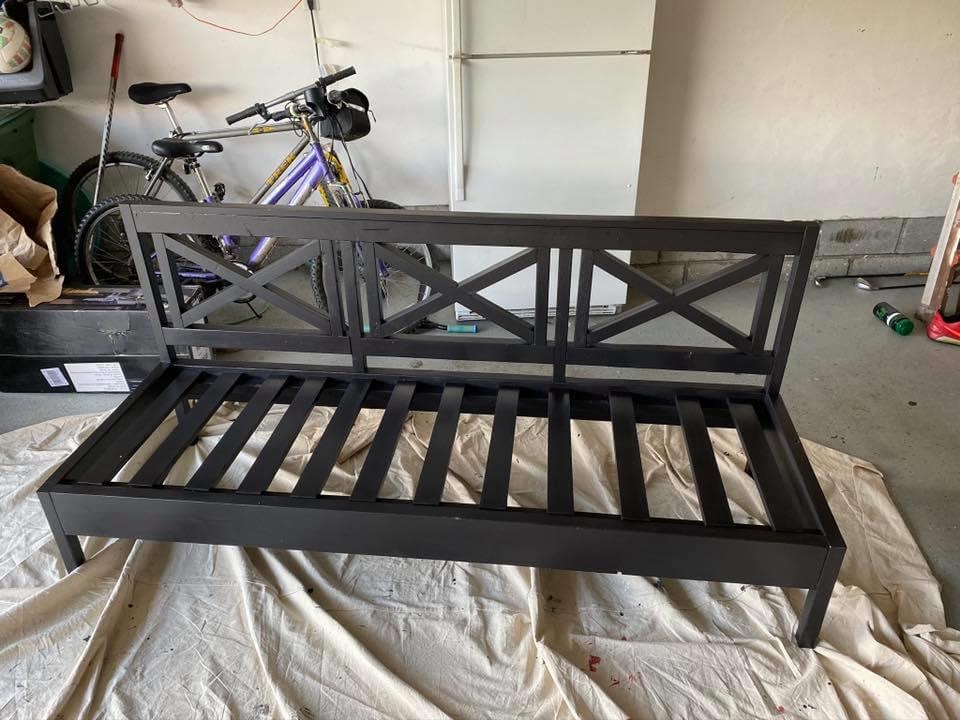
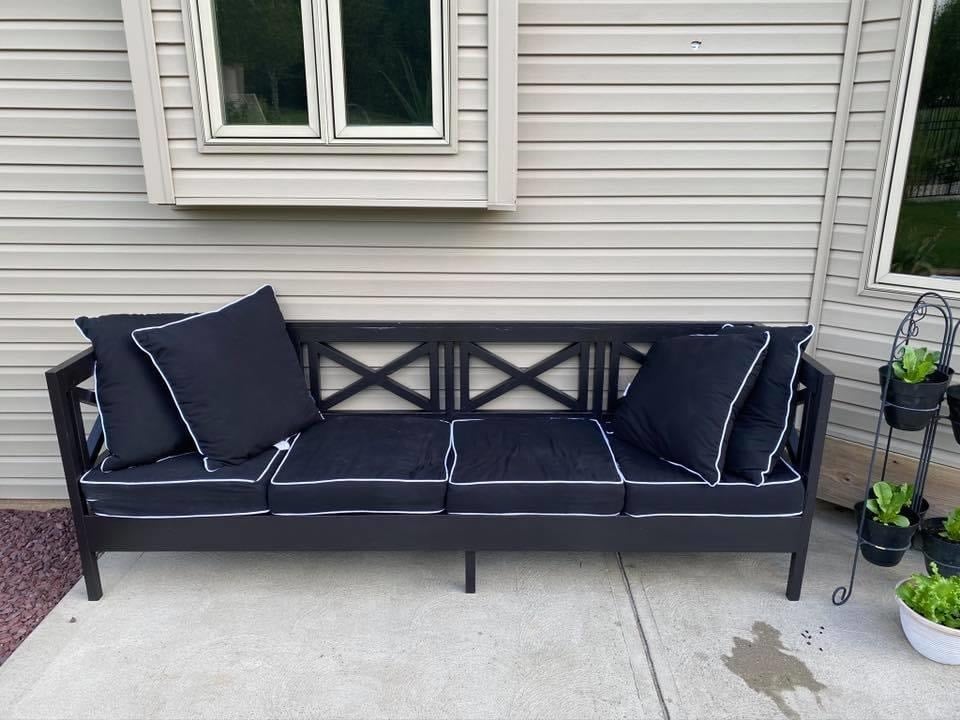
COVID 19 end of year home school project success
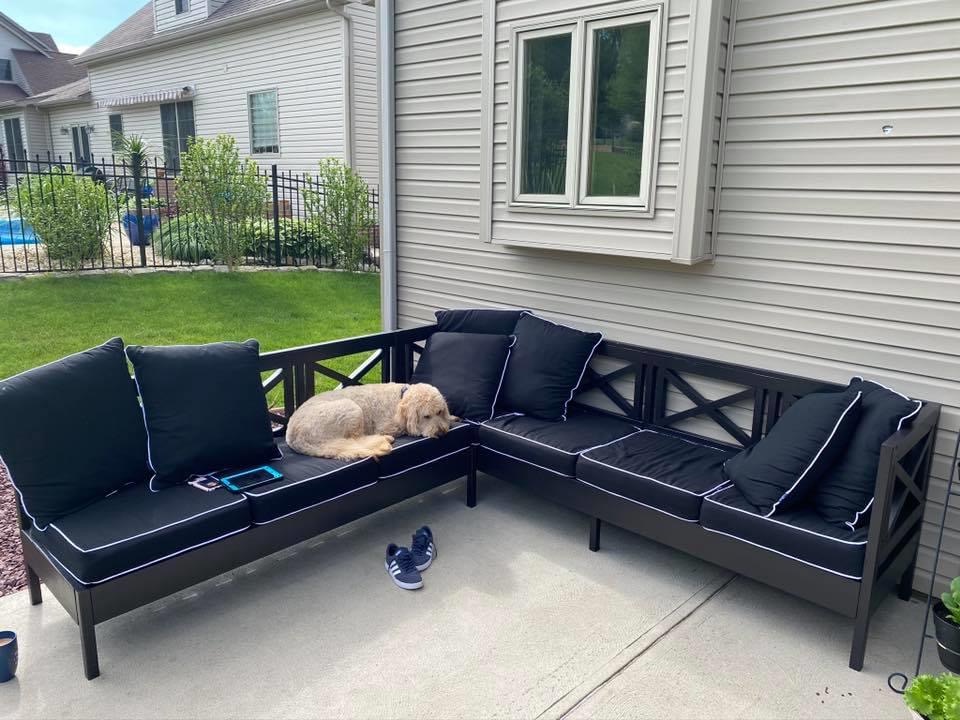
Great build. Hubbie extended to couch one seat and added legs for additional support. We painted after assembly and the x’s were a PITA to paint. Love the end result. Now to pick coffee table plans!
Built from Plan(s)
Estimated Cost
300 not including cushions
Estimated Time Investment
Weekend Project (10-20 Hours)
Finish Used
Sherwin Williams Caviar exterior paint and spray poly
Recommended Skill Level
Intermediate


American Girl Doll Trundle Day Bed

My neice wanted a bed just like hers for her American Girl Doll. I did manage to find one, but I also found plans here! Thank you!! :) So I modified the plans a little bit to add the back of the daybed. She loves it!

Estimated Time Investment
Afternoon Project (3-6 Hours)
Recommended Skill Level
Beginner
Modern Adirondack
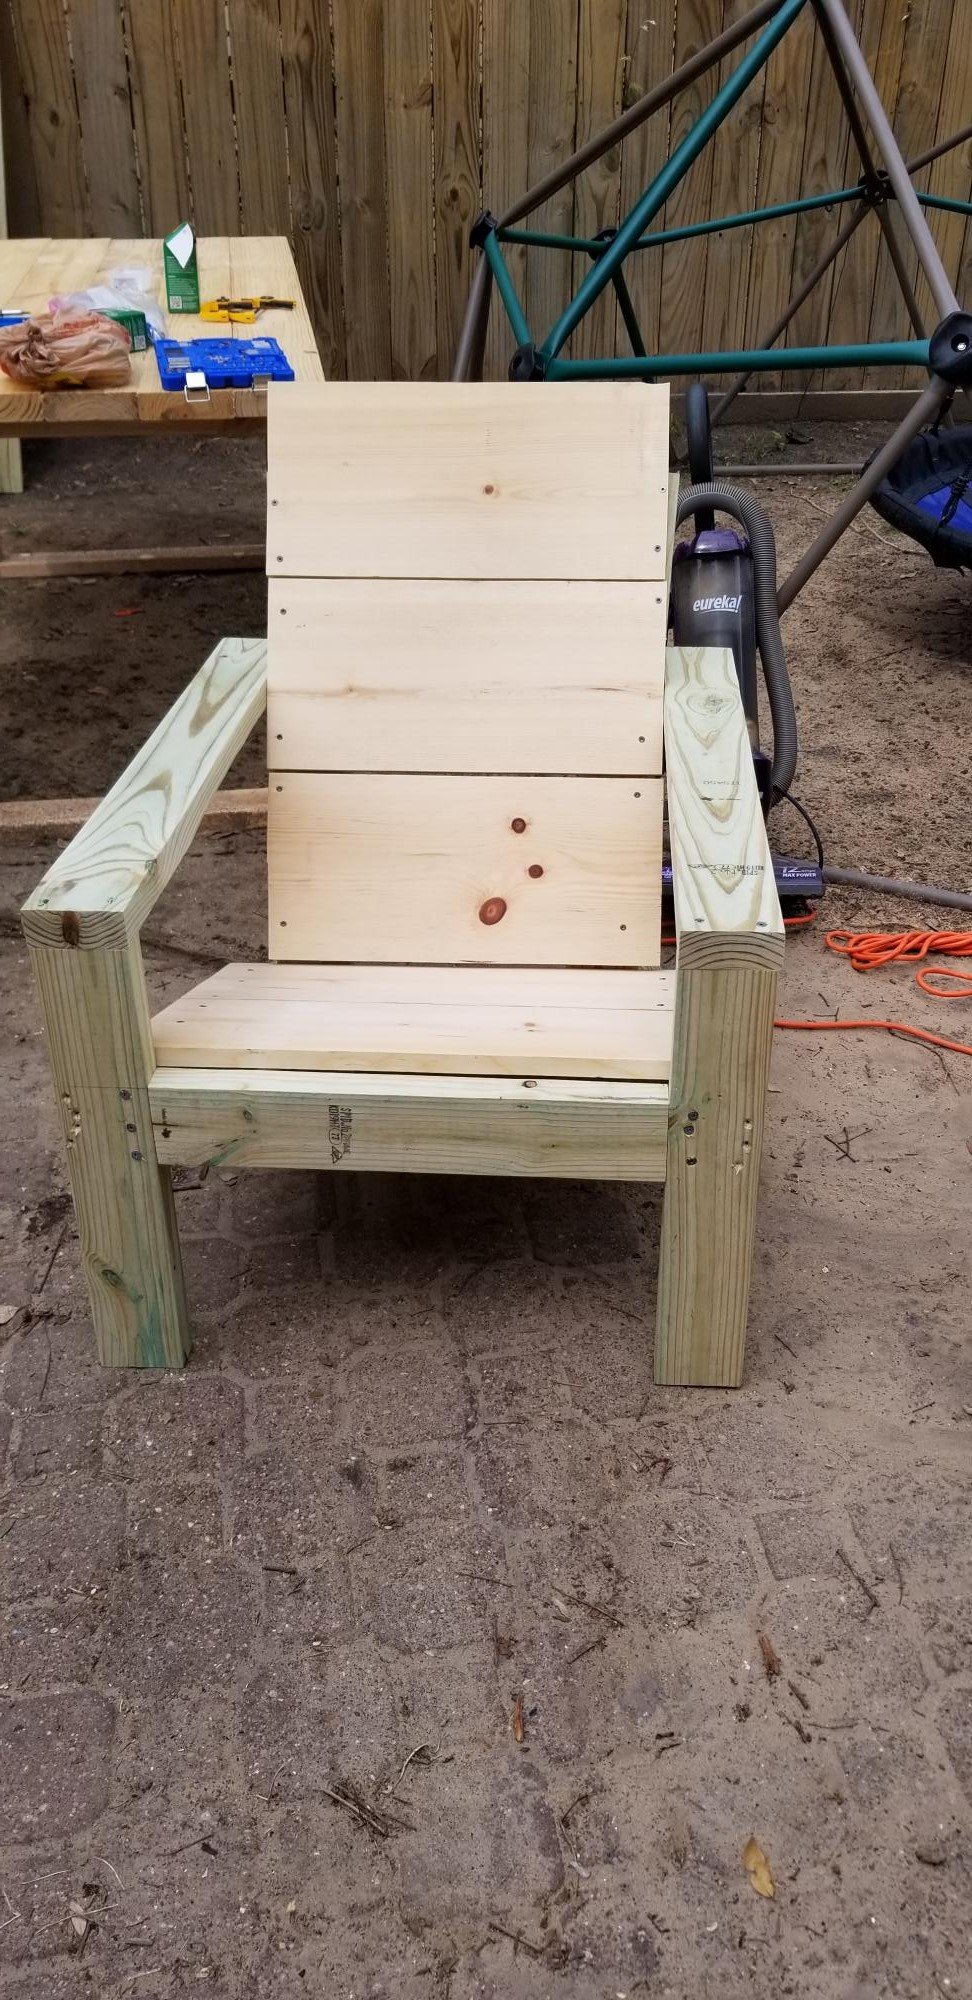
Lots of room for improvement but I'm pretty excited for my first time following plans.
Thanks, I love your videos and have learned a lot.
Built from Plan(s)
Estimated Time Investment
An Hour or Two (0-2 Hours)
Recommended Skill Level
Beginner
Modern Farm Bed
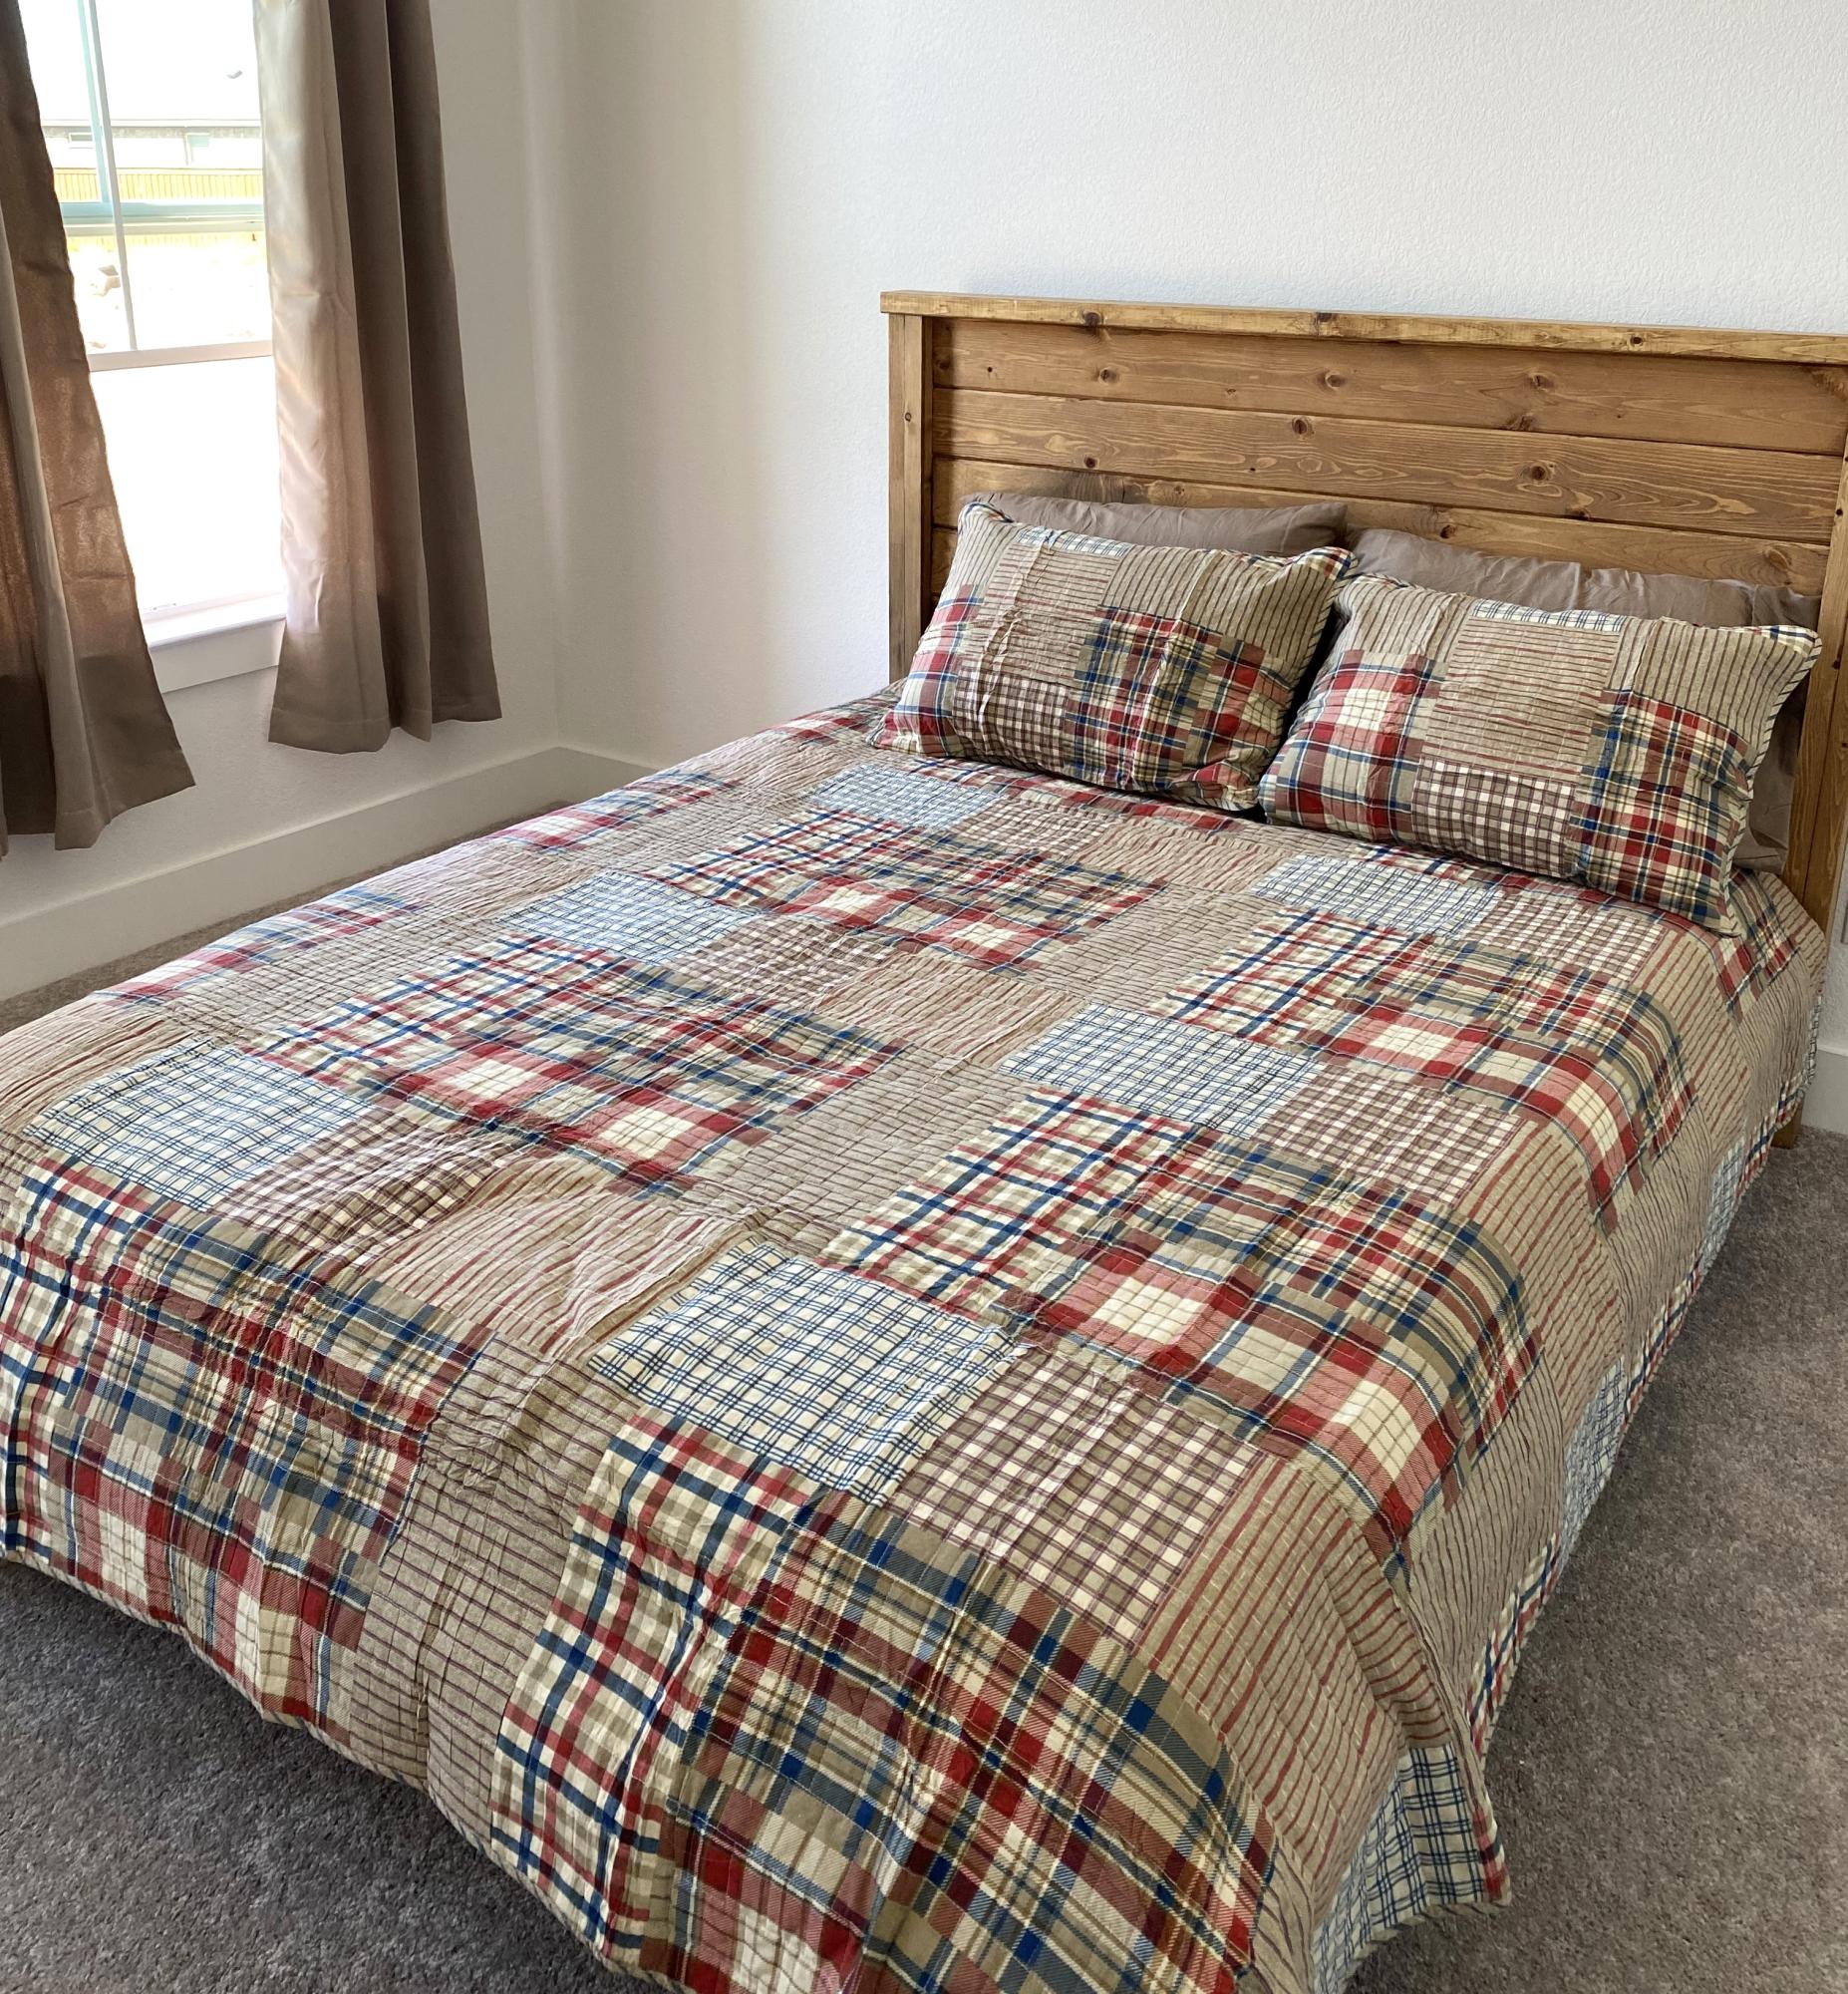
Only medication - cut 8” off the headboard to fit in our Maverick for transportation to Dallas. Stain is half minwax special walnut and half early American with dark minwax paste wax finish.
Built from Plan(s)
Daughters Desk

This was one of my first, bigger projects. It was so easy! I still need to finish the trim, but my daughter loves it as is!
Estimated Cost
20.00
Estimated Time Investment
Afternoon Project (3-6 Hours)
Finish Used
paint
Recommended Skill Level
Starter Project
Comments
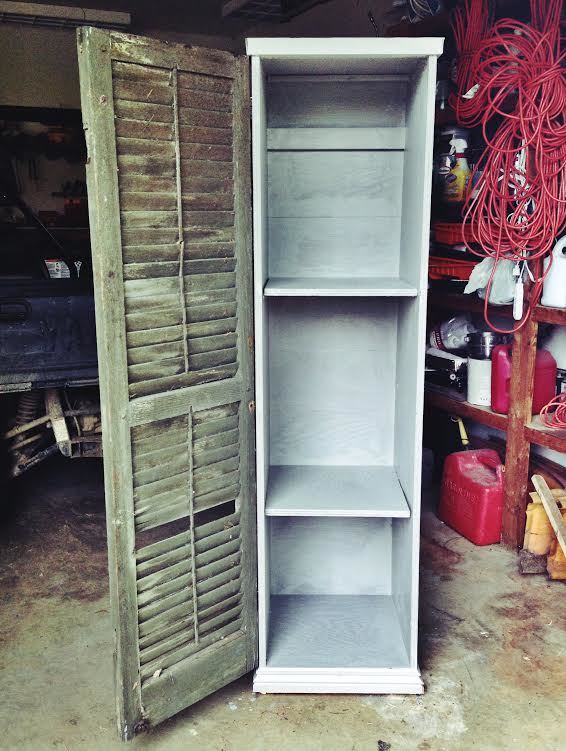
modular locker with old shutter
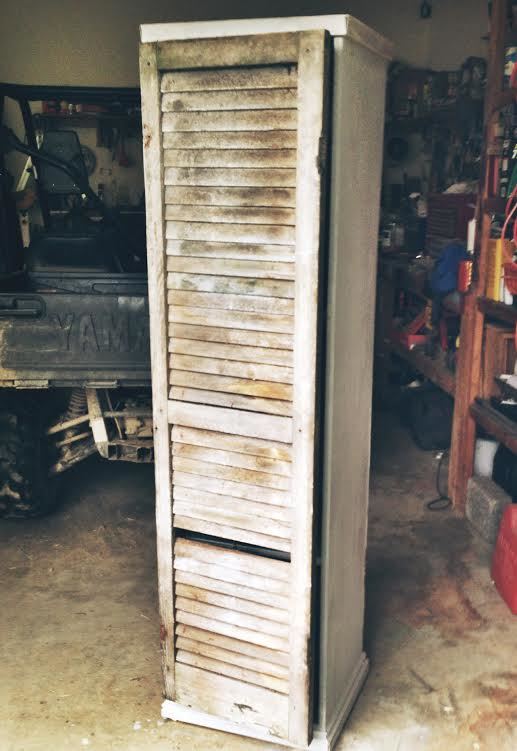
This was my first project! I used the plans for the modular locker, but used an old shutter for the door instead. Next, I think i'm going to try to connect 5 or so in a row for an entryway, all with different shutter doors :)
Estimated Time Investment
Afternoon Project (3-6 Hours)
Recommended Skill Level
Starter Project
Comments
Wed, 05/21/2014 - 16:27
looks great!
I am a total sucker for shutters. Love the look of them, not sure why..lol. this is nice, great job!
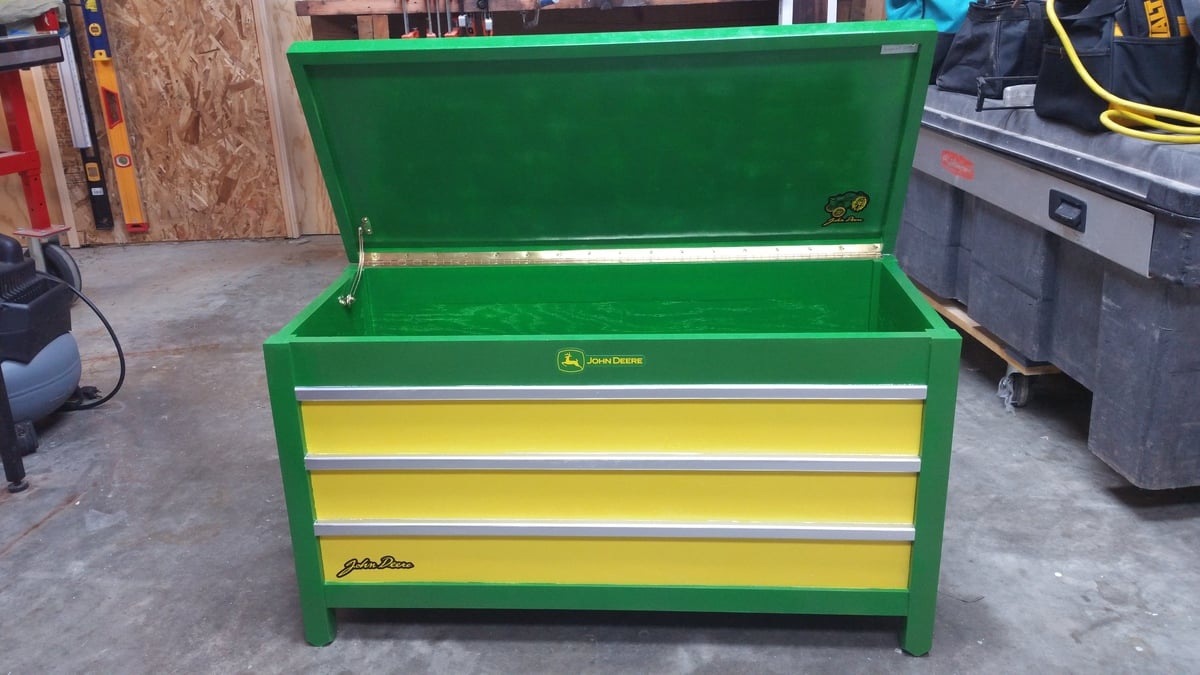
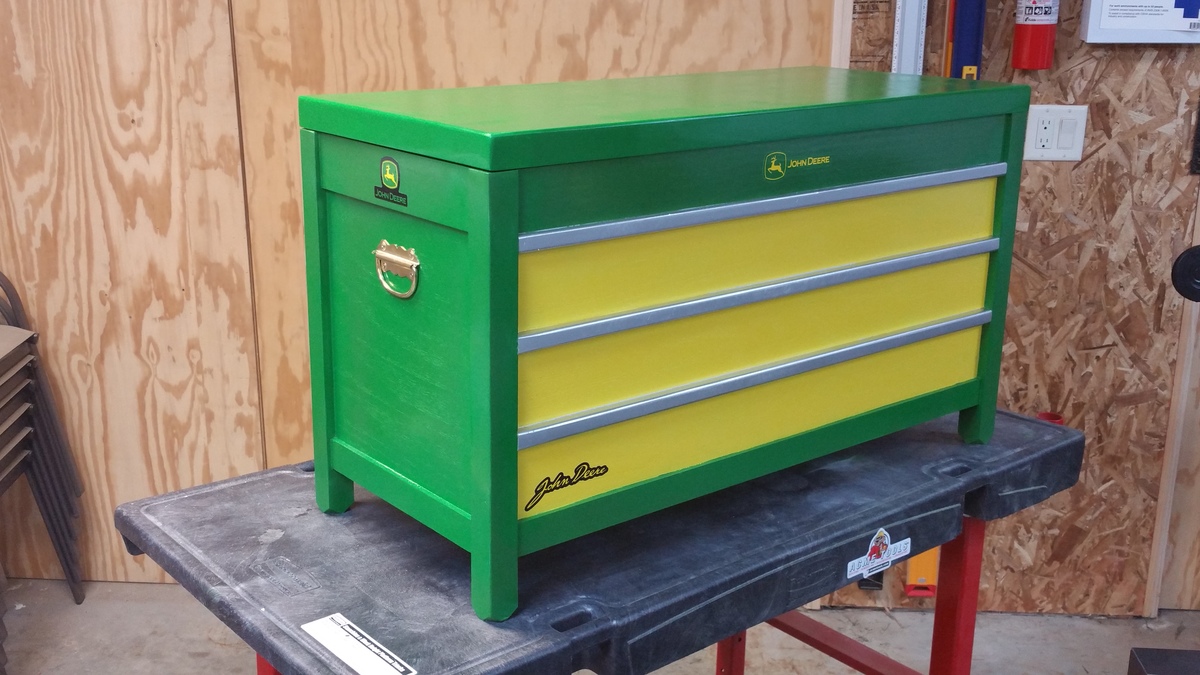
John Deere Toy Box
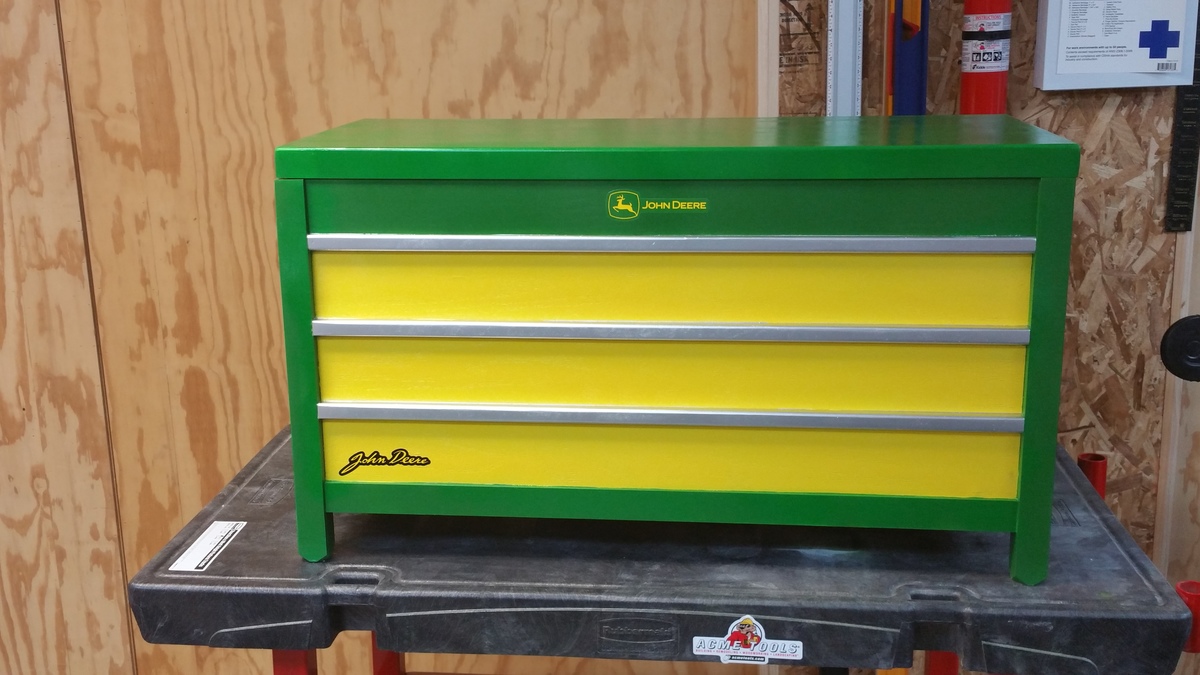
I built this toy box for my nephew, who is into Tractors, using the plan provided by Ana. I made some modifications to the lid mostly, other than that the differences are cosmetic. I thought the plan was super simple and easy to use!
Built from Plan(s)
Estimated Time Investment
Weekend Project (10-20 Hours)
Finish Used
Machine Paint
Recommended Skill Level
Beginner
Comments
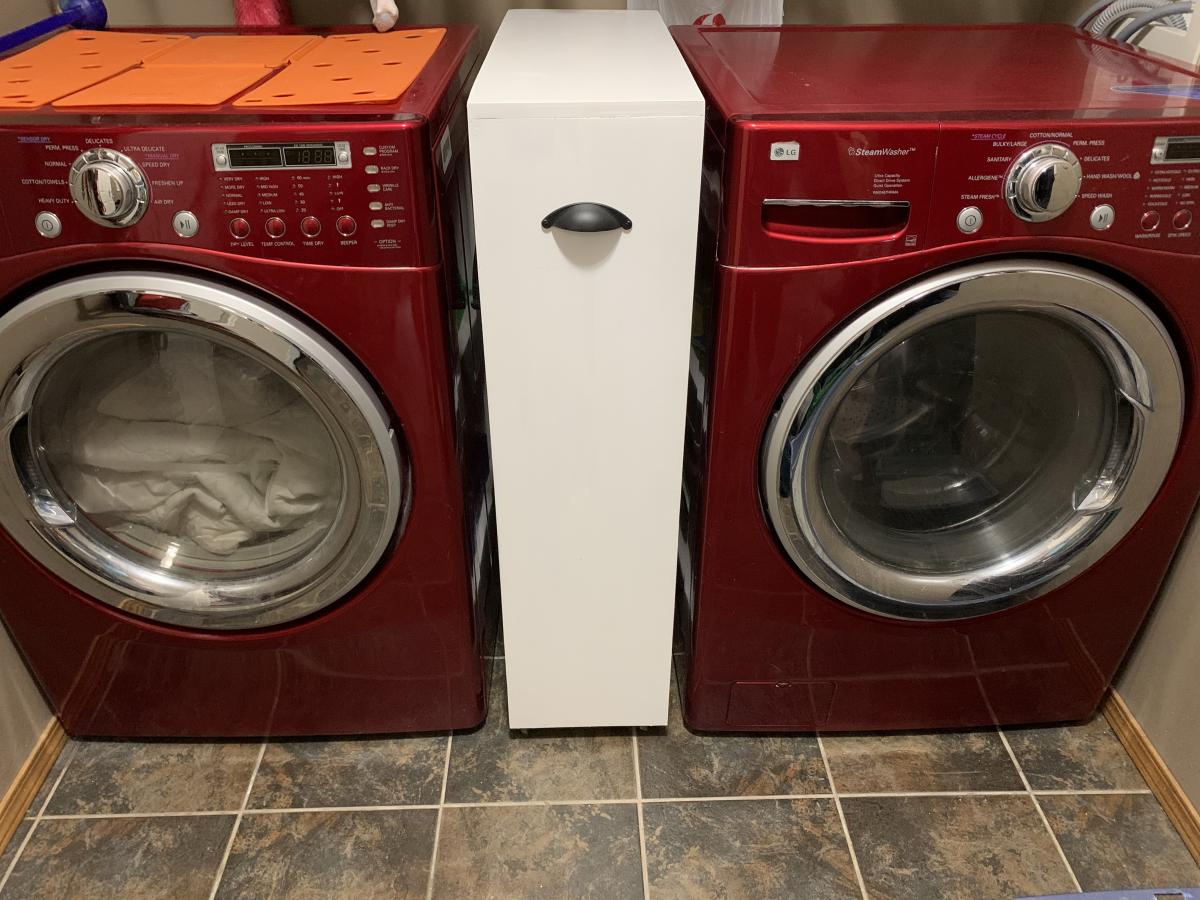
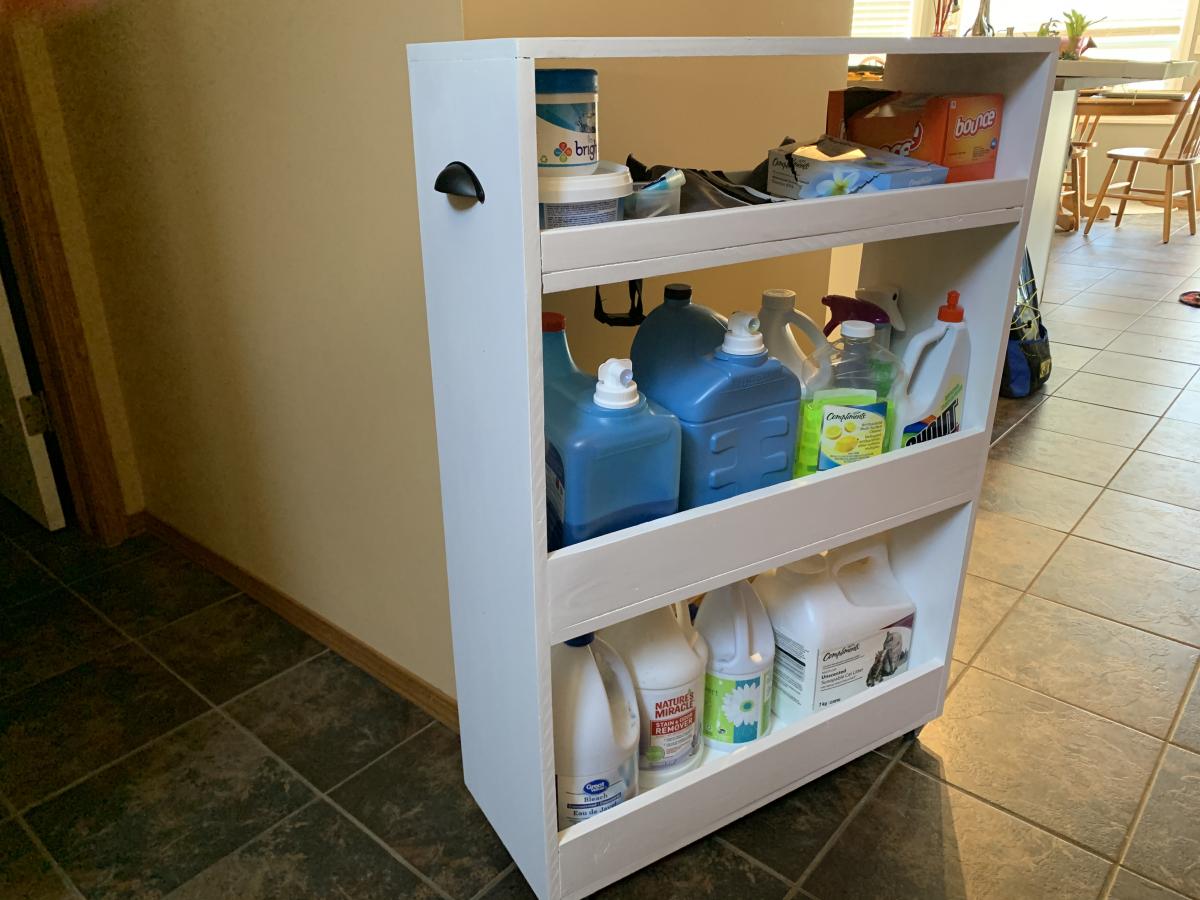
Rolling laundry cart
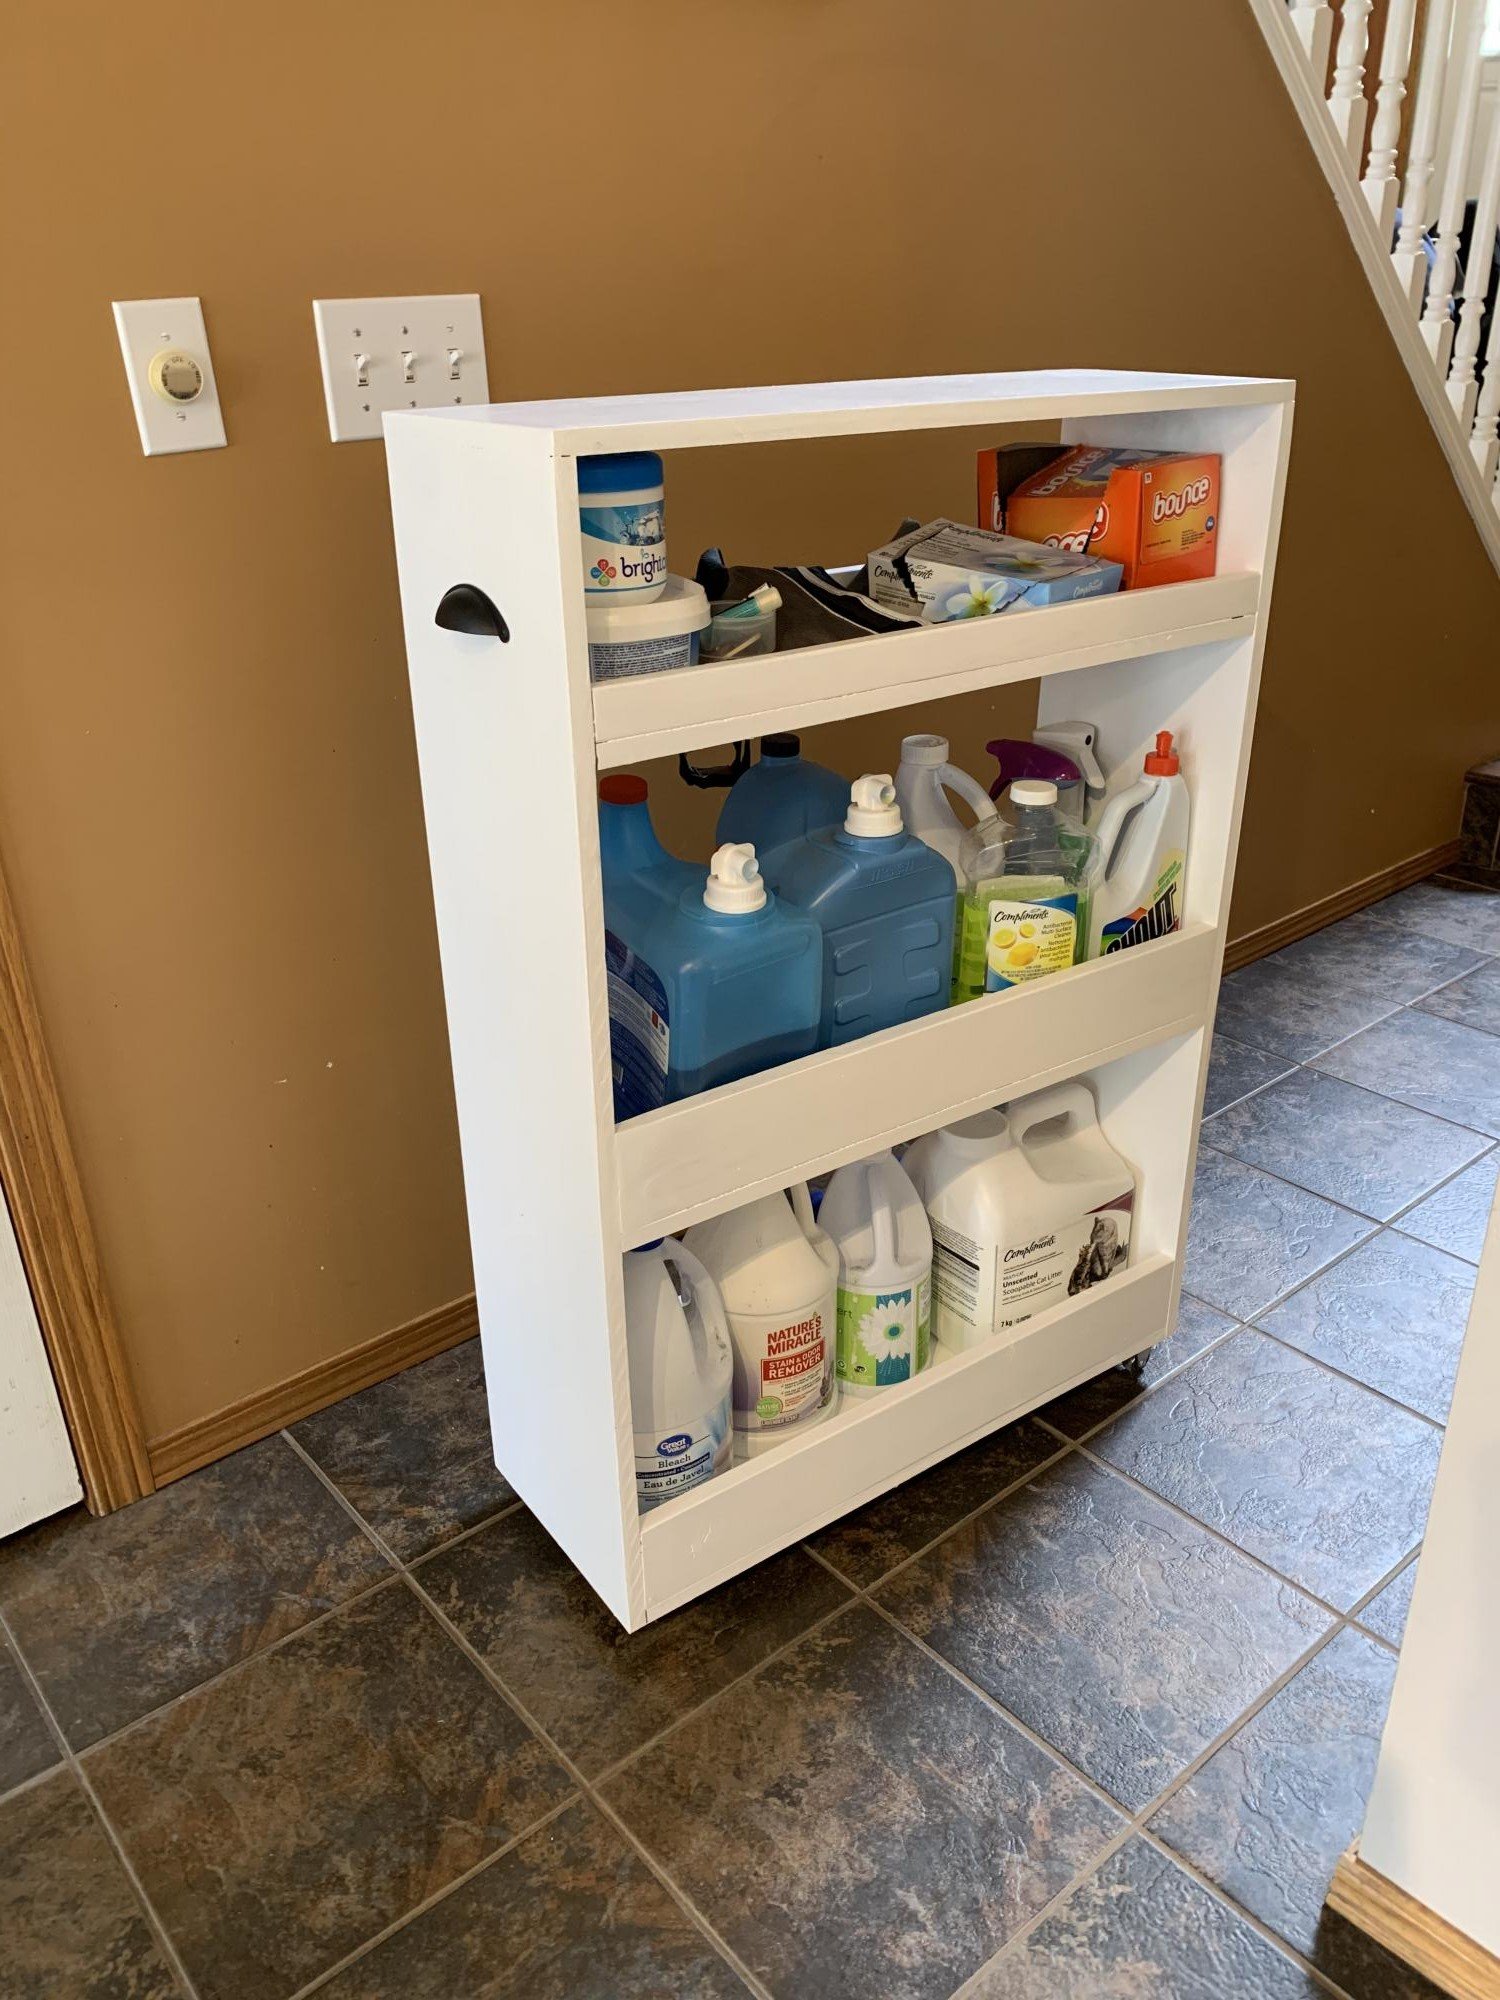
My husband and I have been inspired by your website and are getting started with wood working projects. We did this cart on the weekend. We used MDF board for the front, back and shelf bottoms because we had it laying around after replacing our garage shelving. I’m pleased with how it turned out given that we are just beginners. I do think we’ll have to invest in a table saw. Not a fan of working with MDF board. We used the example found on Infarrantlycreative.net but changed it up slightly. (Sorry about the first photo, I can’t seem to delete it)
Estimated Cost
Under
Approximately $35 CAD because we had the MDF, paint and nails
Approximately $35 CAD because we had the MDF, paint and nails
Estimated Time Investment
Afternoon Project (3-6 Hours)
Recommended Skill Level
Beginner
Comments
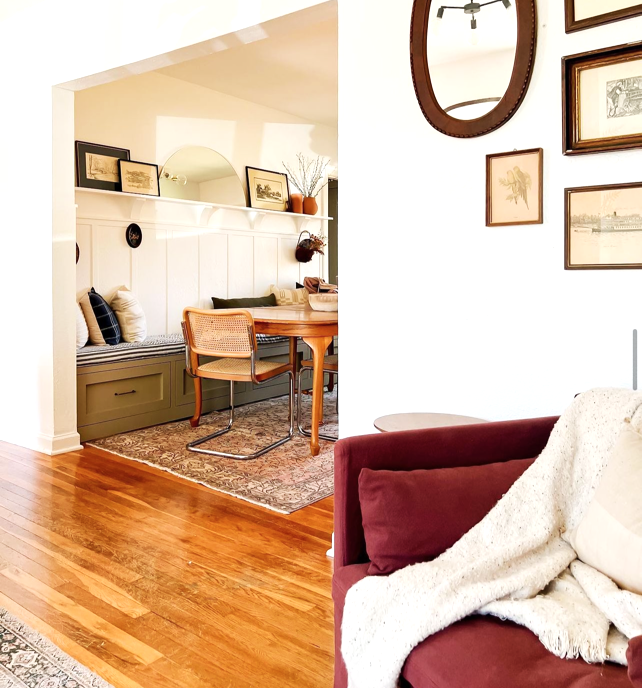
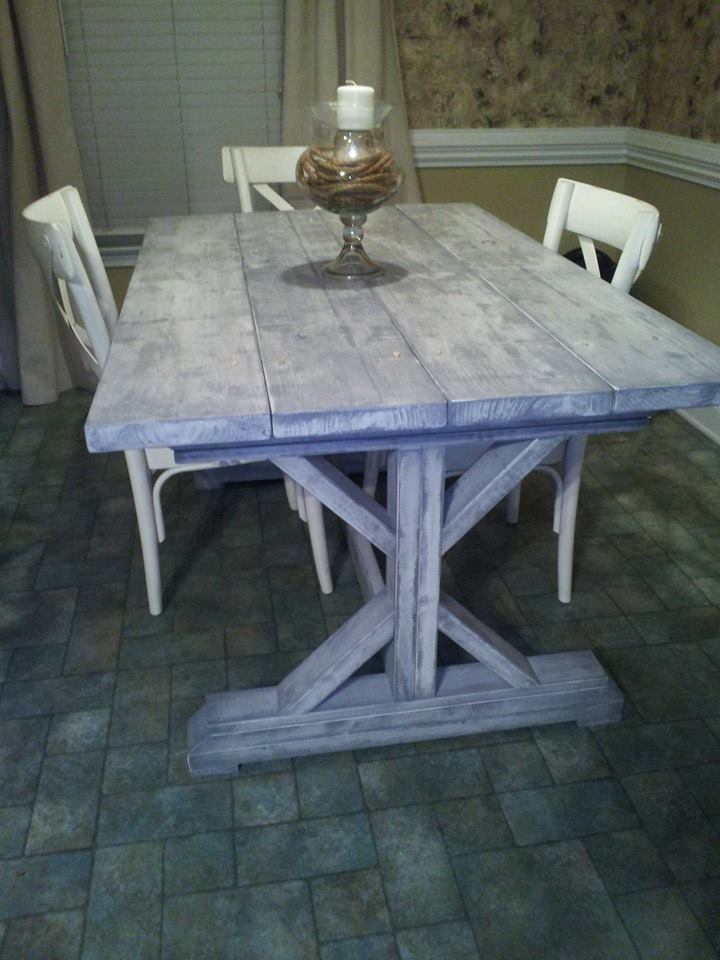
Dining Storage Bench

Love, love, love this gorgeous dining room with the storage bench, such a beautiful space @mylushabode
Built from Plan(s)
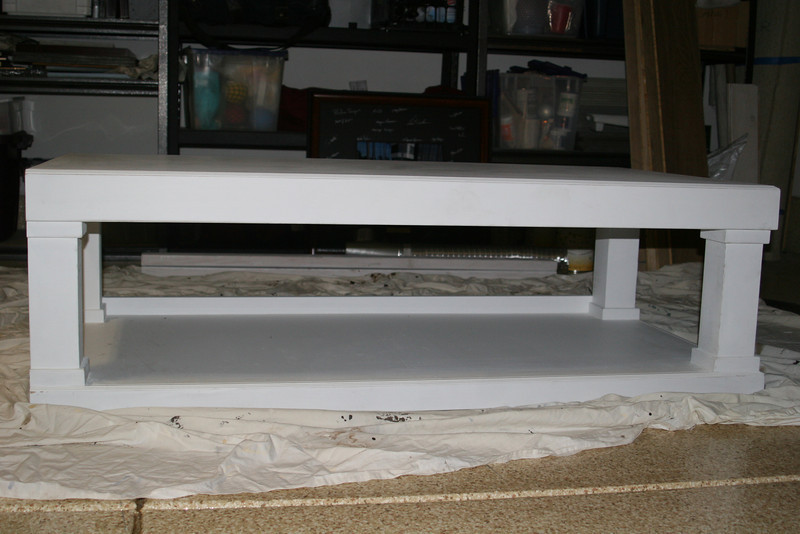
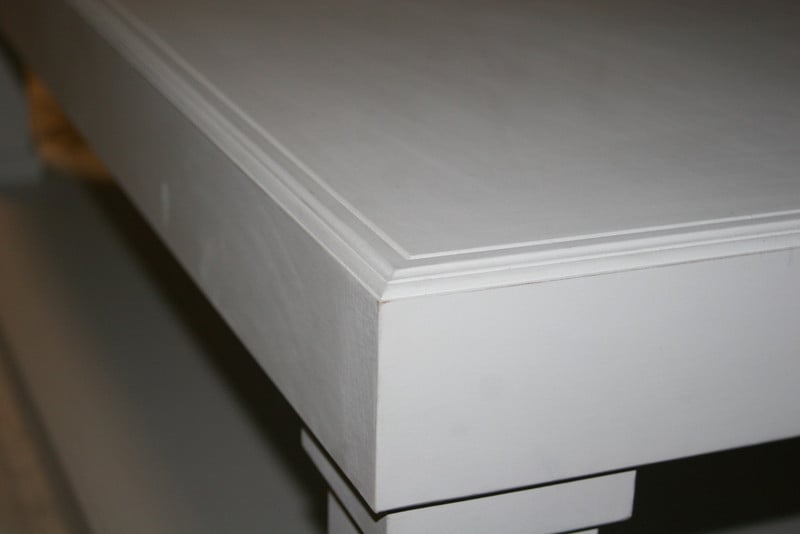
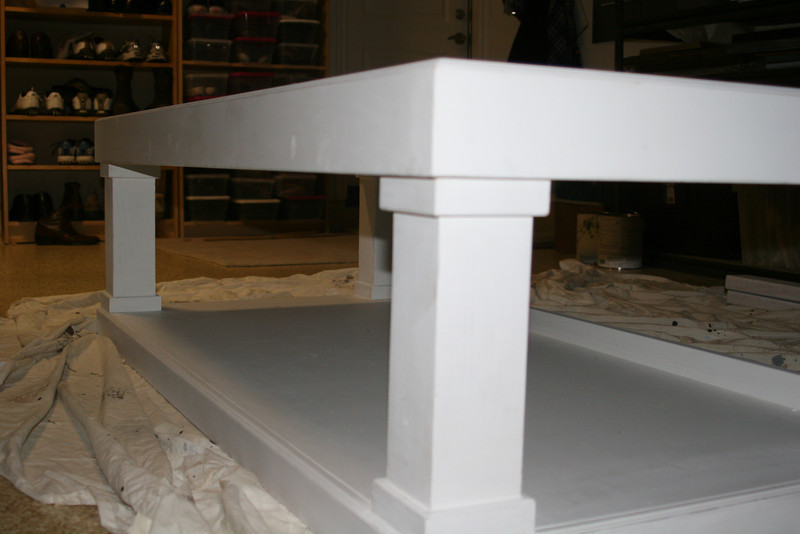
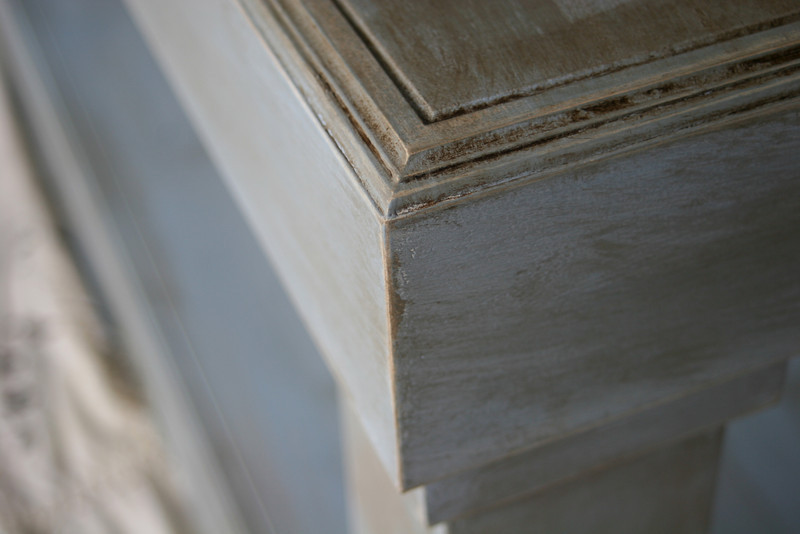
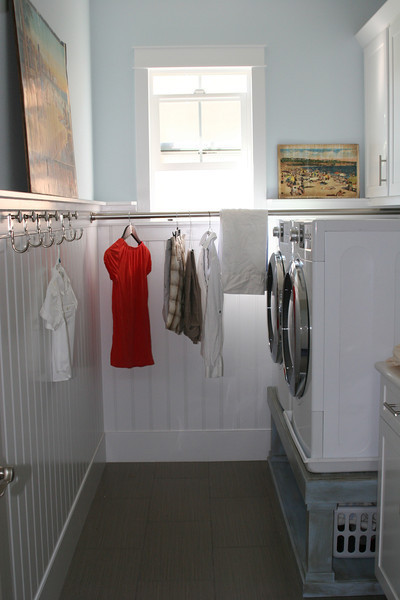
beachy cottage laundry room with Sausha's pedestal!
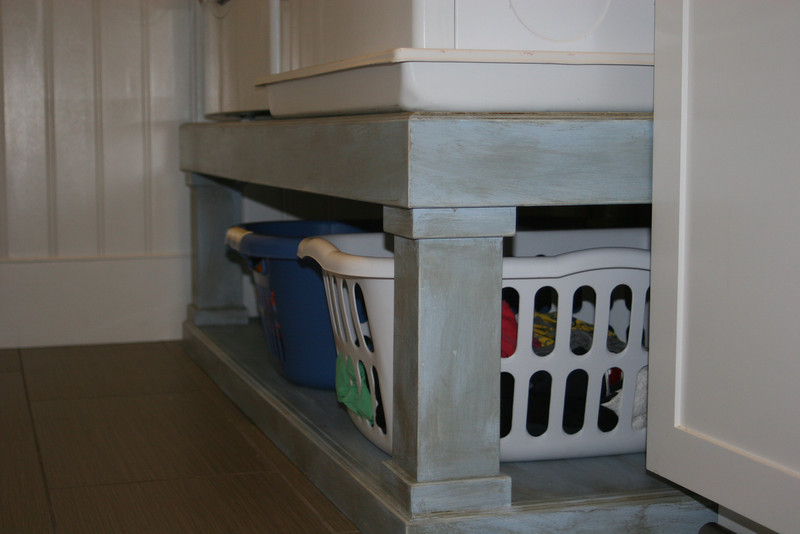
we remodeled the laundry room to have a beachy cottage feel. best part is getting the washer and dryer off the ground with Sausha's pedestal.
Estimated Cost
$500
Estimated Time Investment
Week Long Project (20 Hours or More)
Finish Used
Benjamin Moore's Ultra White in flat as a primer. Annie Sloan's Louis Blue over primer, then dry brushed Annie Sloan Paris Gray. Sanded with fine sandpaper. Wiped clean and vacuumed. Then clear wax and dark wax, rubbed in very well.
Recommended Skill Level
Intermediate

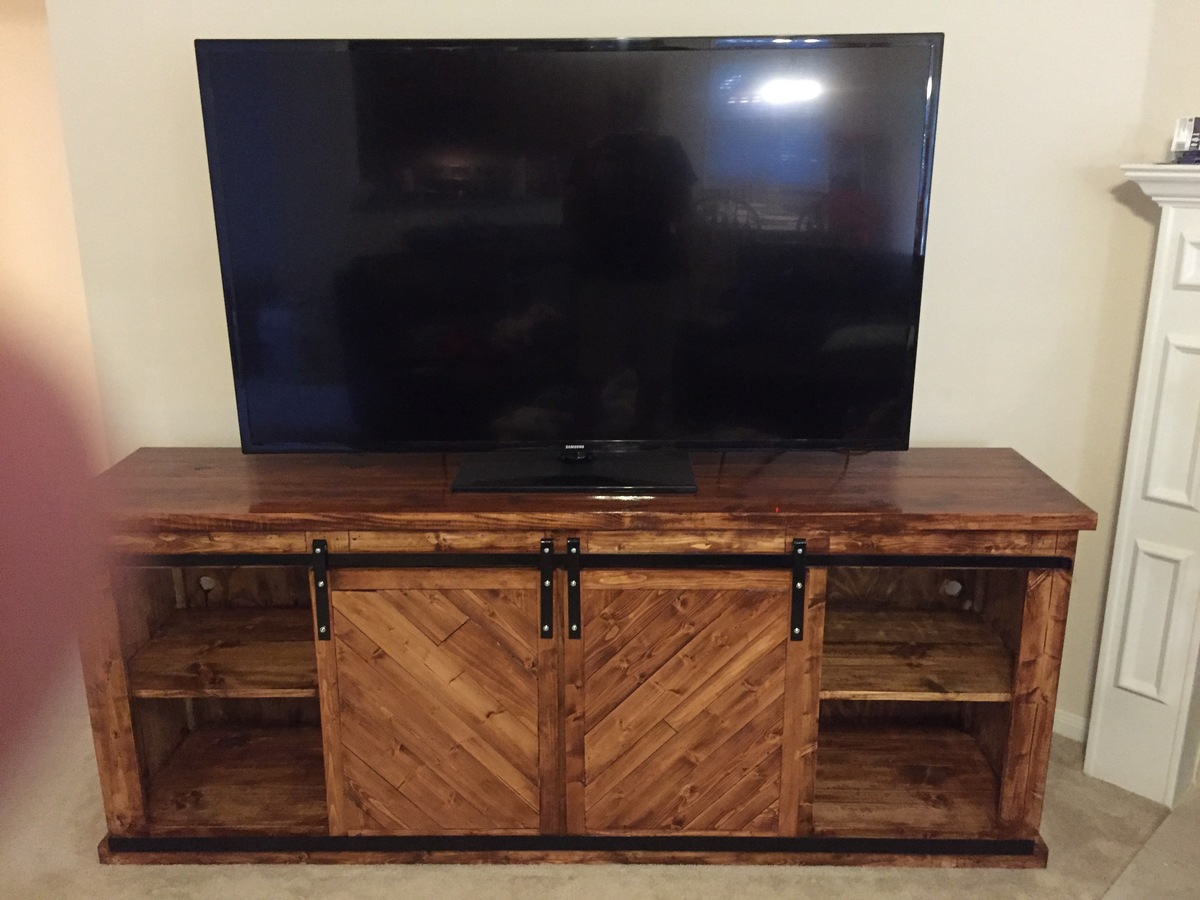
Grandly TV stand
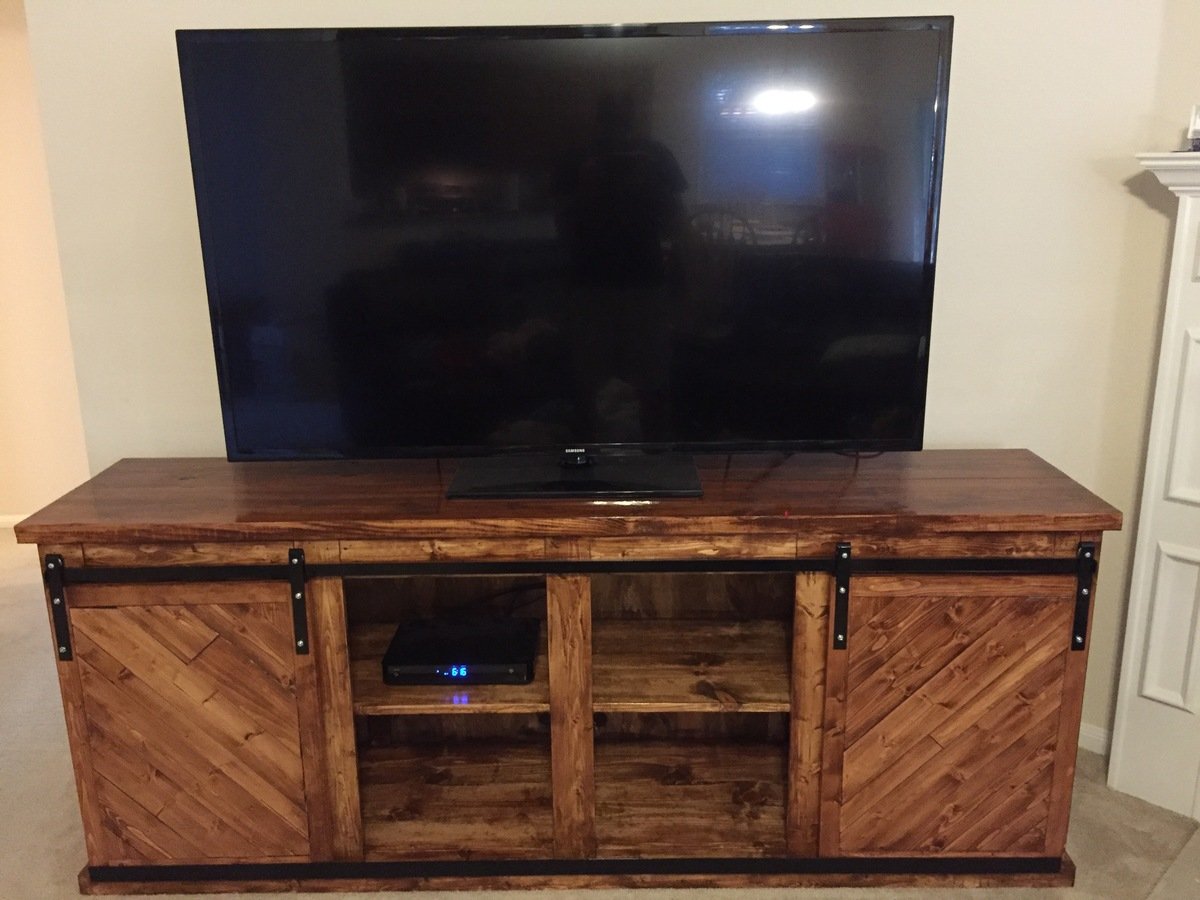
I used replacement screen door wheels and 1" by 1/4" Aluminum bar to make the hardware.
Built from Plan(s)
Estimated Cost
$250
Estimated Time Investment
Day Project (6-9 Hours)
Finish Used
Polyshade American Chestnut
Recommended Skill Level
Beginner
My interpretation of Modern Adirondack Chair
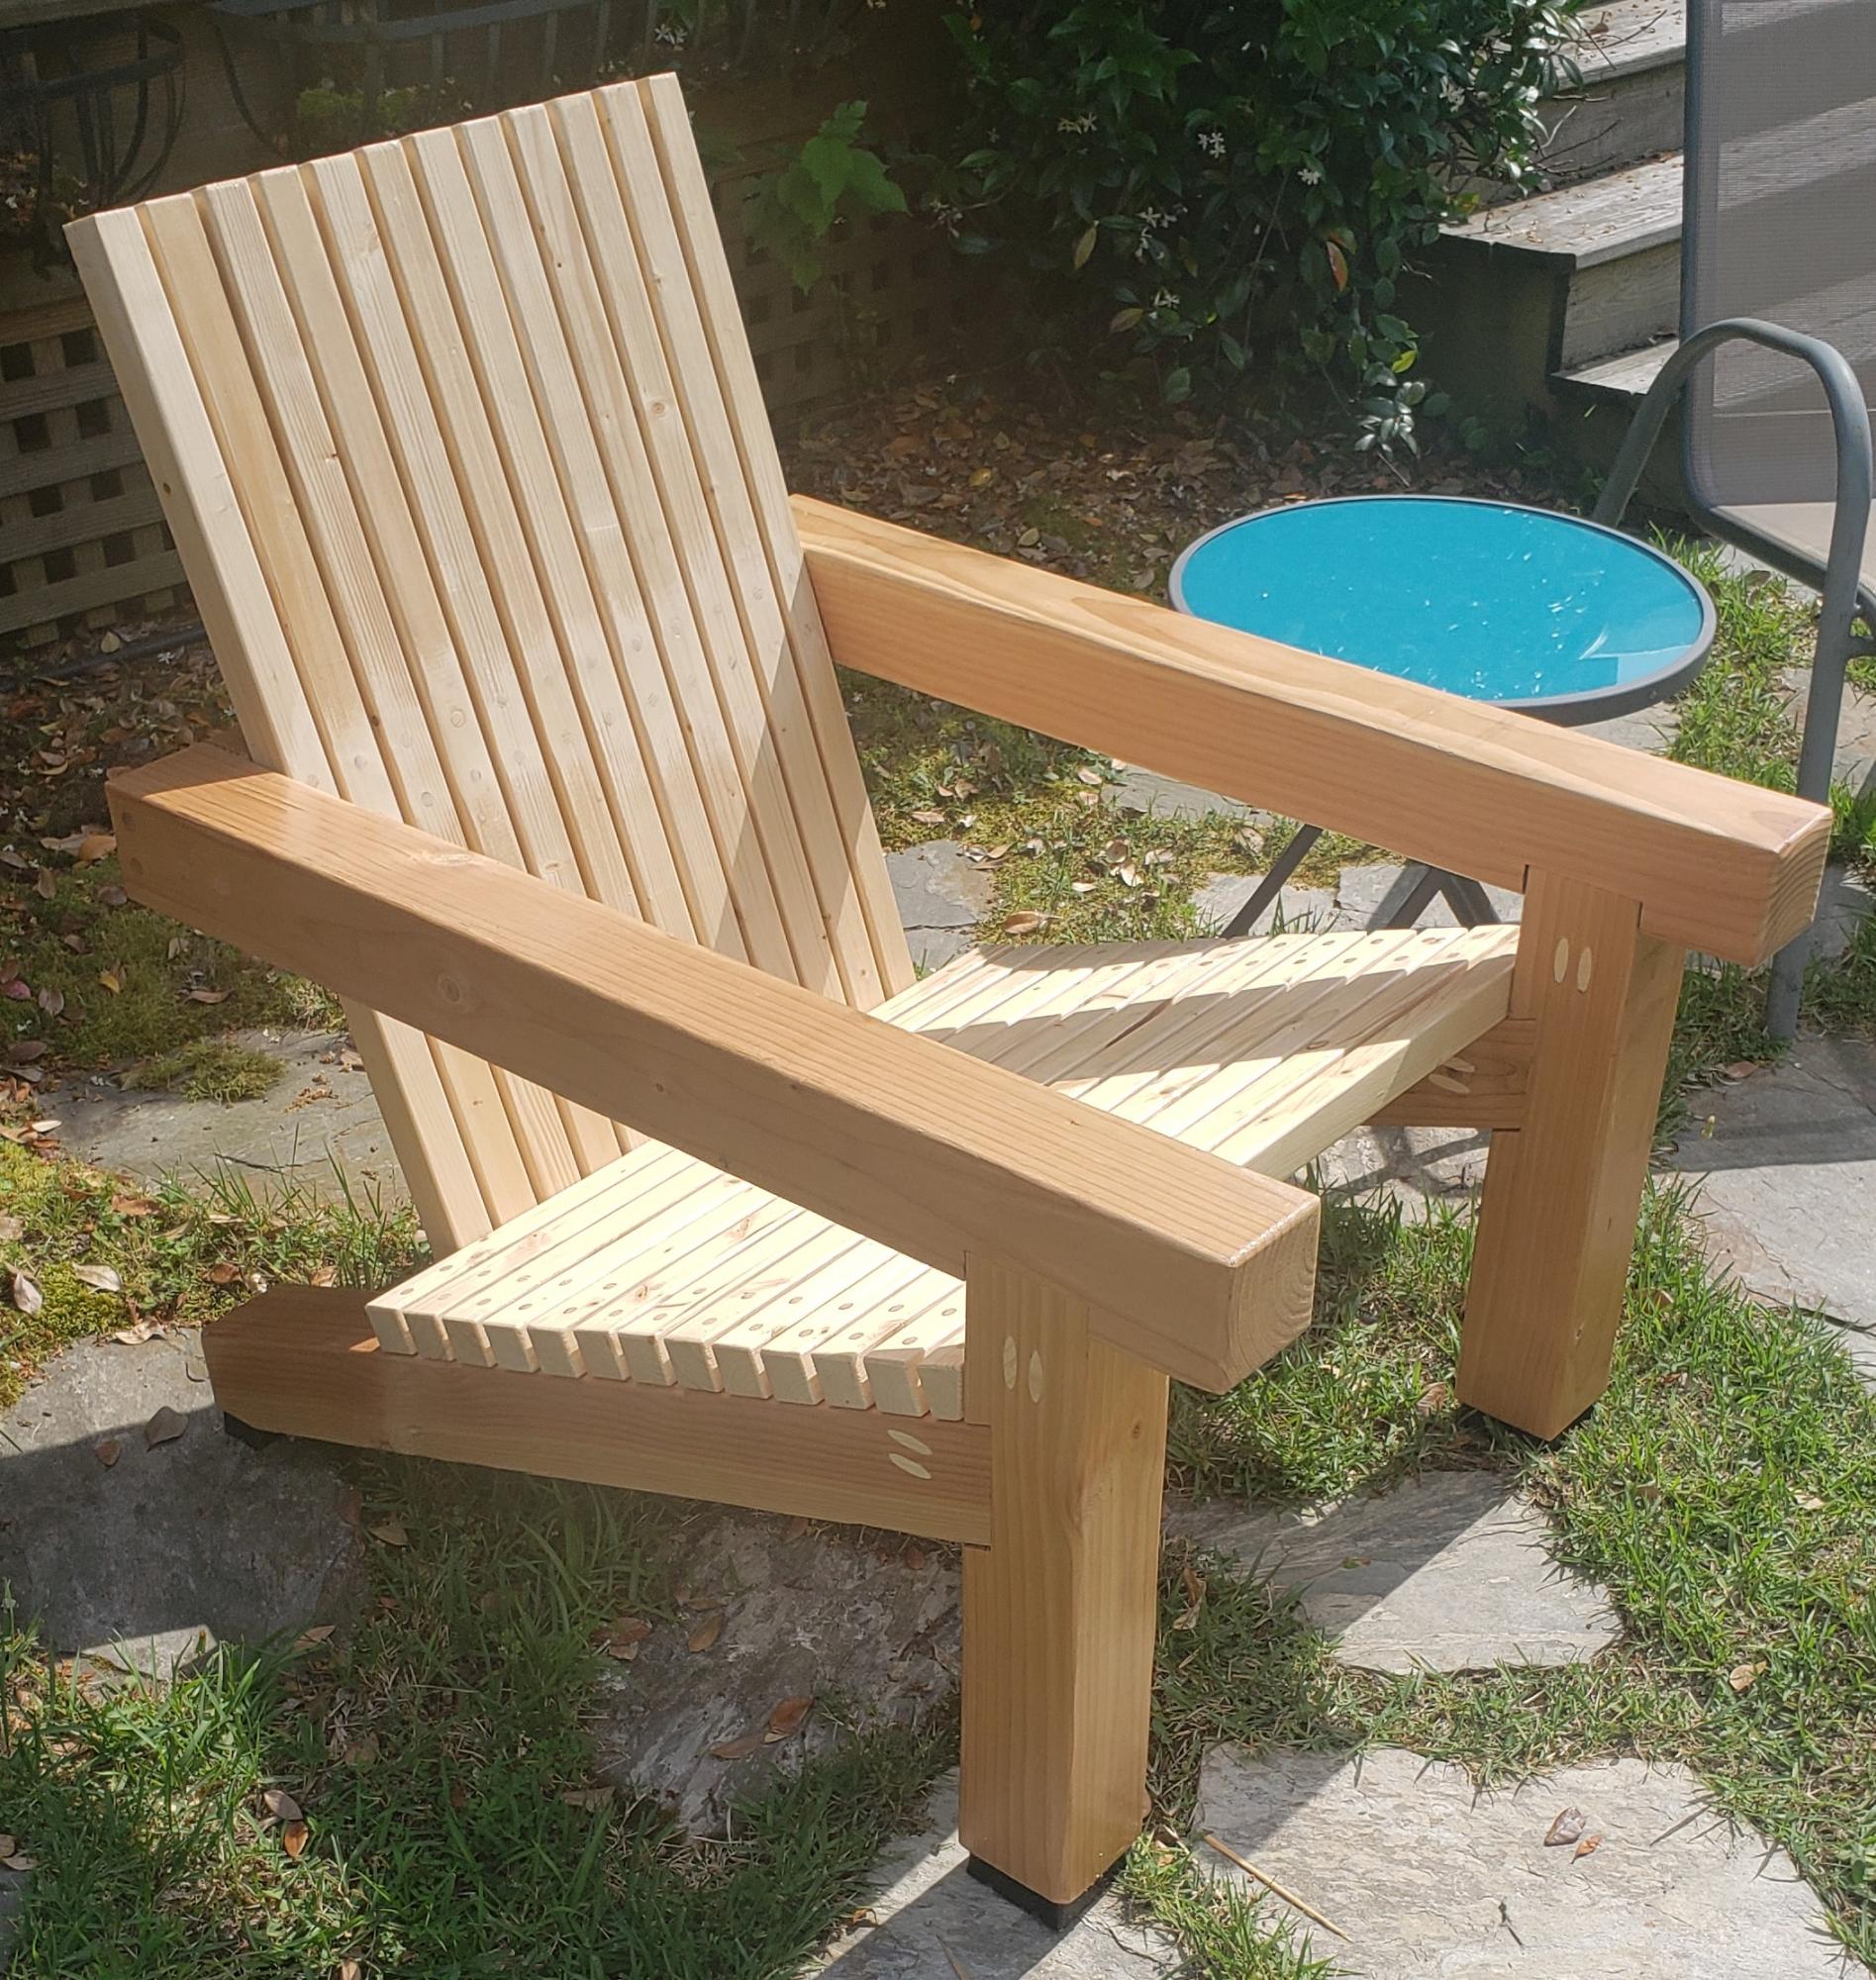
Went beefier.
Built from Plan(s)
Rustic Wood Side Table
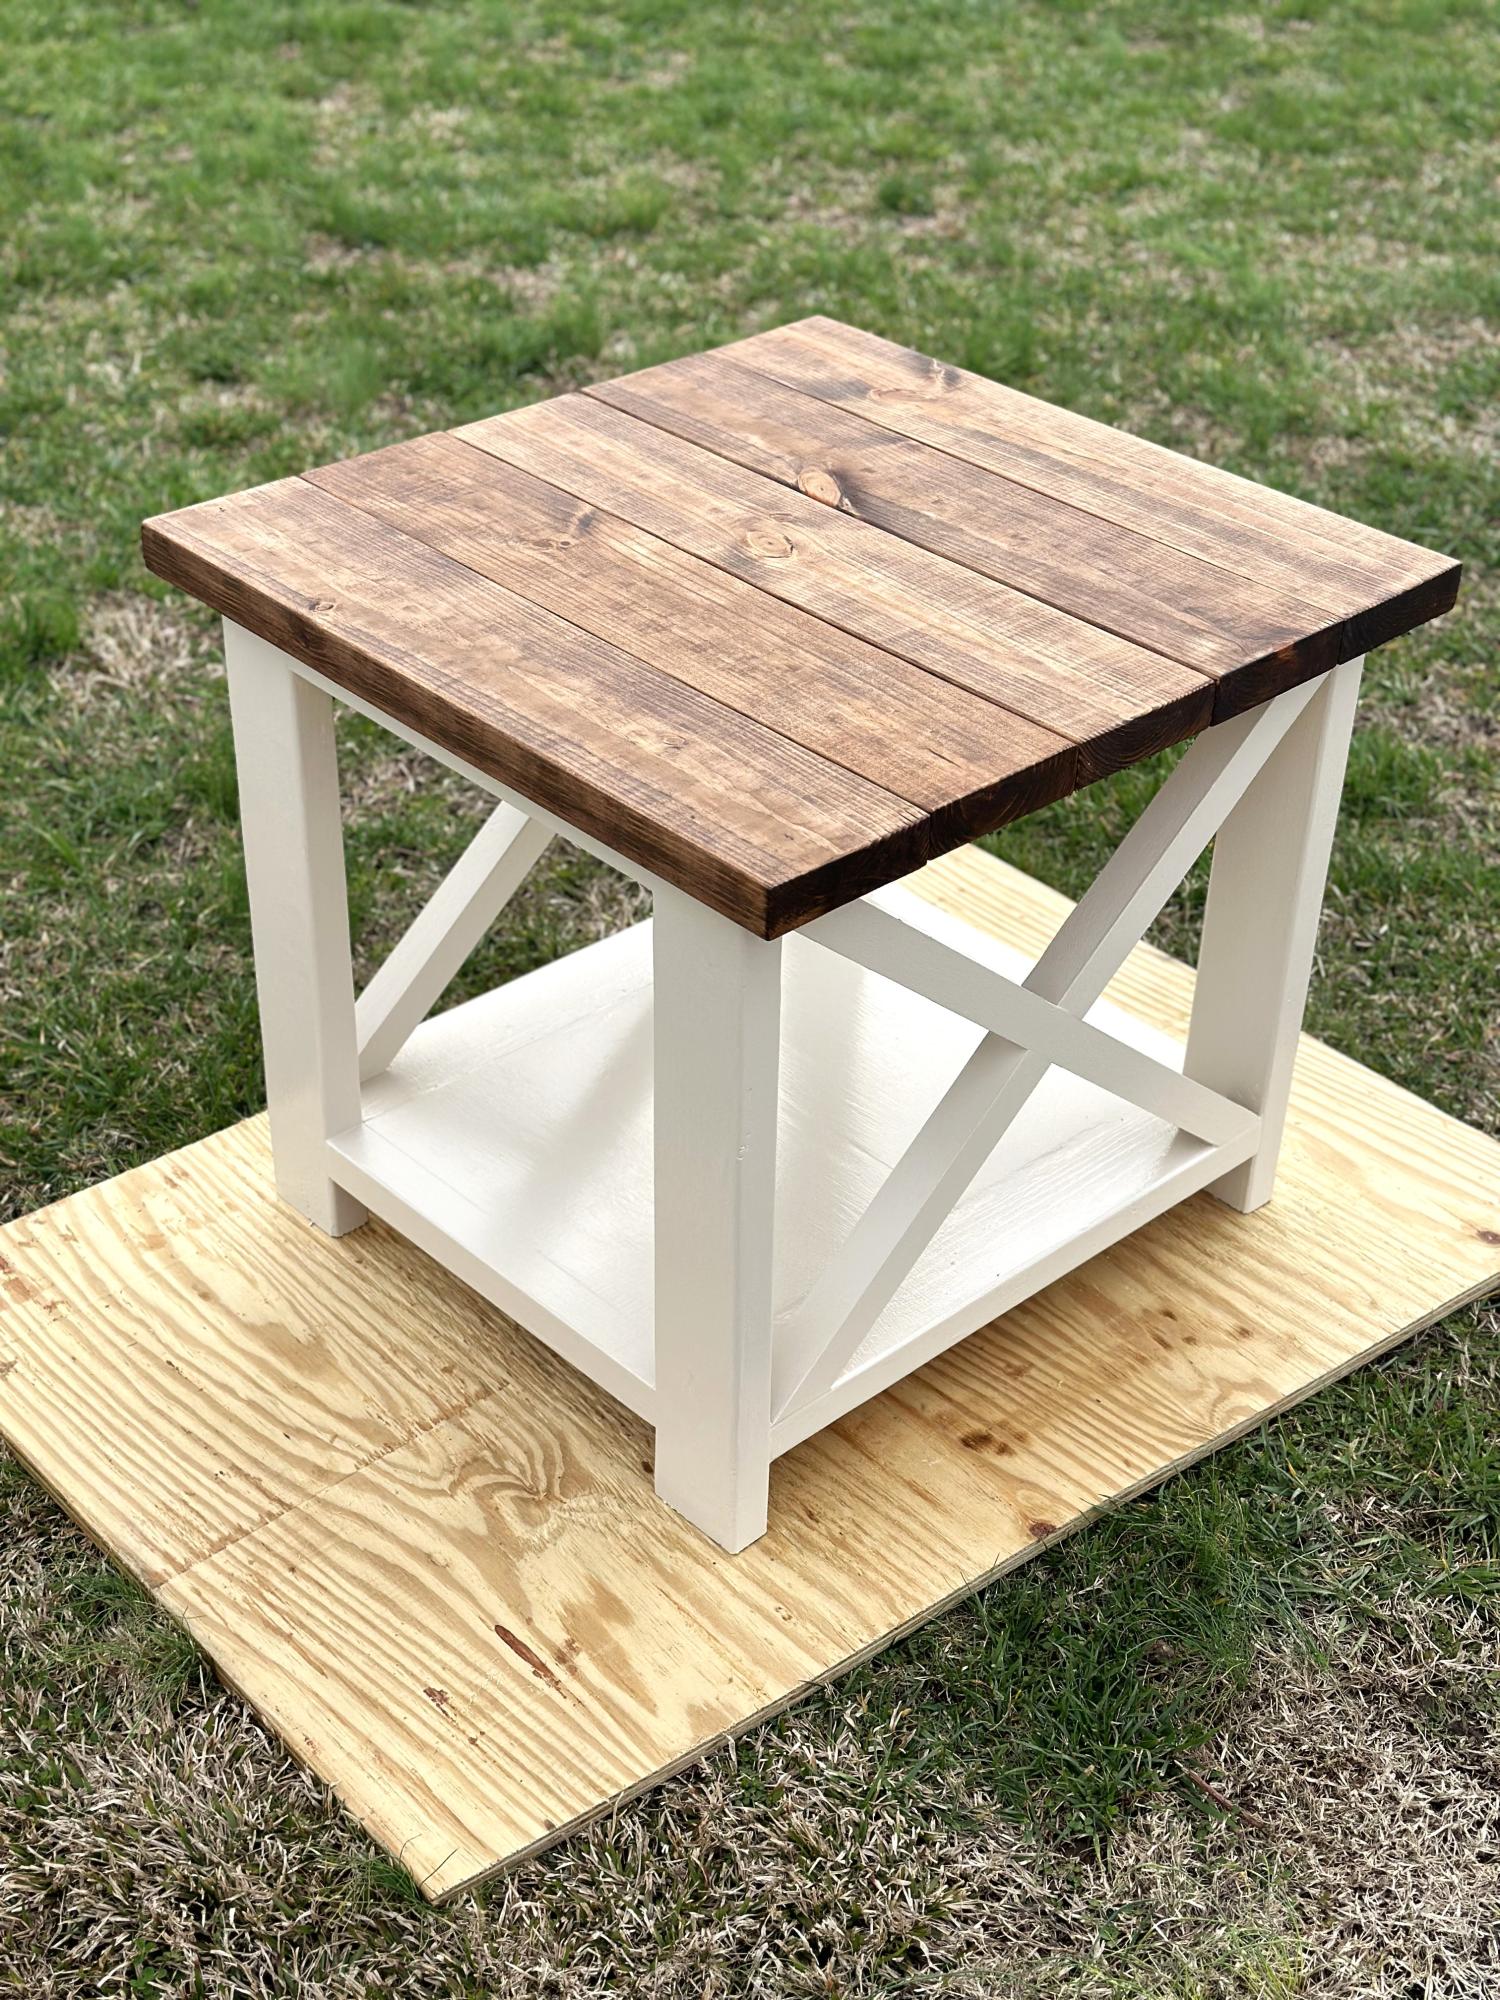
Wife wanted a new end table for our living room. After searching for a month and not finding one I ran across this plan and decided to just build it. Definitely saved a ton of money and she got to custom her own colors. Went with a Honey stain top and beige bottom. She is very excited about it. Built it in just 2 days with only a drill, palm sander and 10” miter saw.
Built from Plan(s)
My Own Chestwick Headboard!
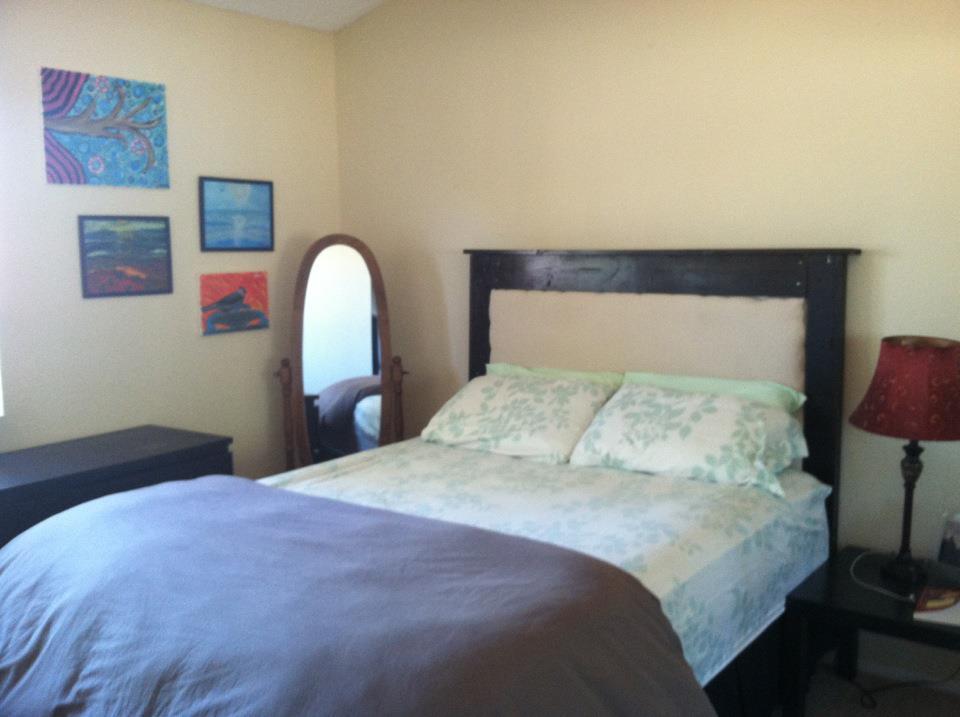
This is my first attempt to make any kind of piece of furniture, and I am really happy with how it turned out! I have been searching for over a year for an affordable solution to the blank wall above my bed, but never found something I loved enough to spend money on or time on to repaint, etc. I just loved the way this one looked in the pictures so even though I have never built anything before I thought I would give it a shot! I found the instructions to be really easy to follow, but the actual process a little harder than I'd thought it would be (due to my own mistakes). I thought I'd list some of the mistakes I made in case someone else reads this and can stop themselves before they make the same ones :)
First, I put the padded part a little wider than the allotted space, so when I went to nail the boards on the edges they didn't go down as smoothly. If I had just kept it within the lines I marked, this wouldn't have been a problem.
Also, I somehow missed the part of the instructions where I was supposed to use glue when I nailed the boards, so between that and the relatively flimsiness of the 1/2 piece of plywood, my boards came undone a couple of times. I eventually decided to use screws to hold everything and that was WAY better and sturdier, even though you can see the screws.
Also, I did not square it well enough along the way and I ended up with a sliver of extra plywood hanging off the side of the board, which made the trim piece on one side have a little gap at the bottom. I don't care though, since the bottom is out of sight anyways!
I saw other people had wondered how to attach this to a metal bed frame, but I never read a way to actually do it. I plan to figure out a way to either attach it to the bed frame or the wall, but for now, I just have it wedged between my mattress and the wall, and it seems stable enough. I hope it doesn't fall on me in the night ;)
I followed the lead of the Shanty to Chic lady and used a 5 dollar canvas drop cloth from Lowes for my fabric and I LOVE the way it looks in my room. I also took her advice and used Rust-Oleum stain (in Kona) and applied two coats of the stain to get the really dark wood.
Overall, I am super stoked to finally have a headboard, and to have made it myself! There is definitely a great feeling of accomplishment for building something like this so if you are hesitant to do it, I suggest you go for it! Next, I think I am going to make the tilt out trash can cabinet for my kitchen :)
Estimated Cost
70
Estimated Time Investment
Afternoon Project (3-6 Hours)
Finish Used
Rust-Oleum in Kona
Recommended Skill Level
Beginner
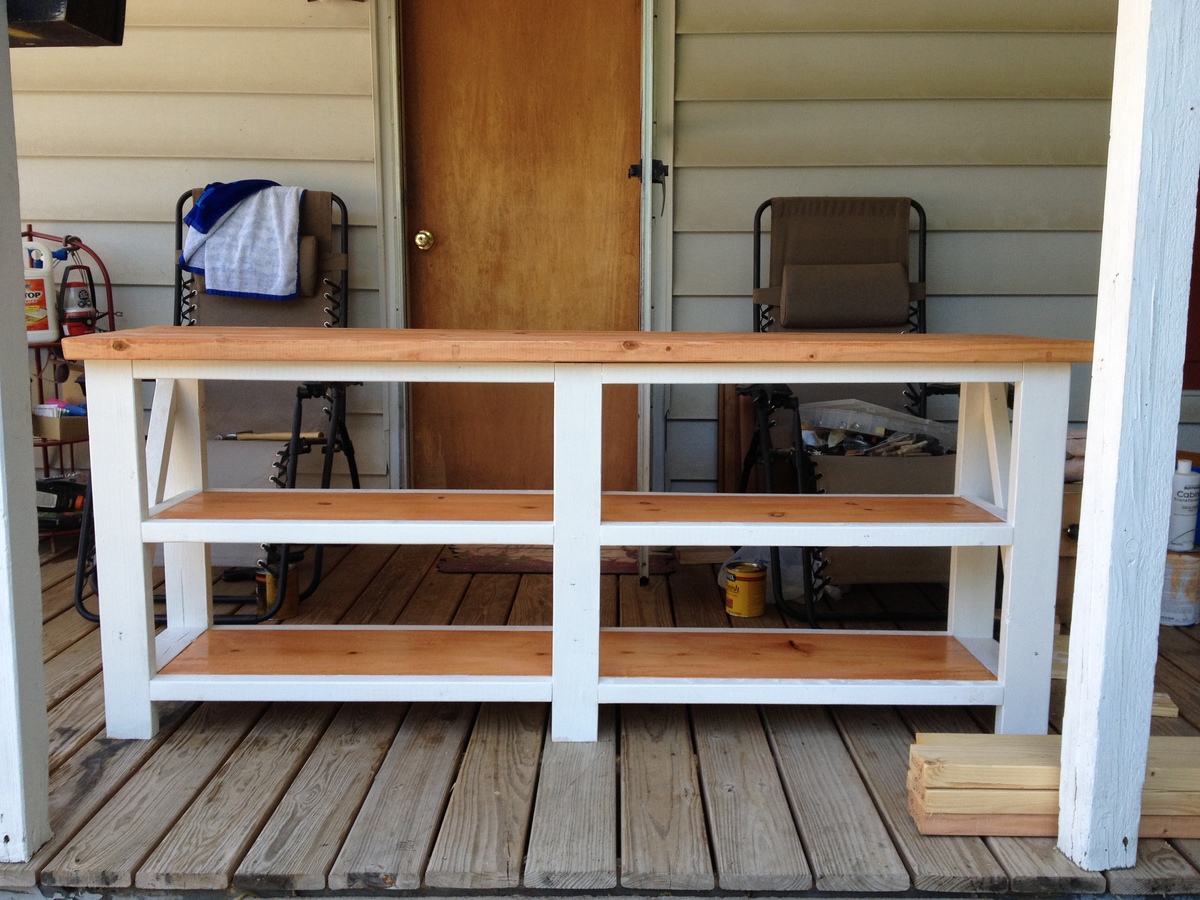
First Buffet
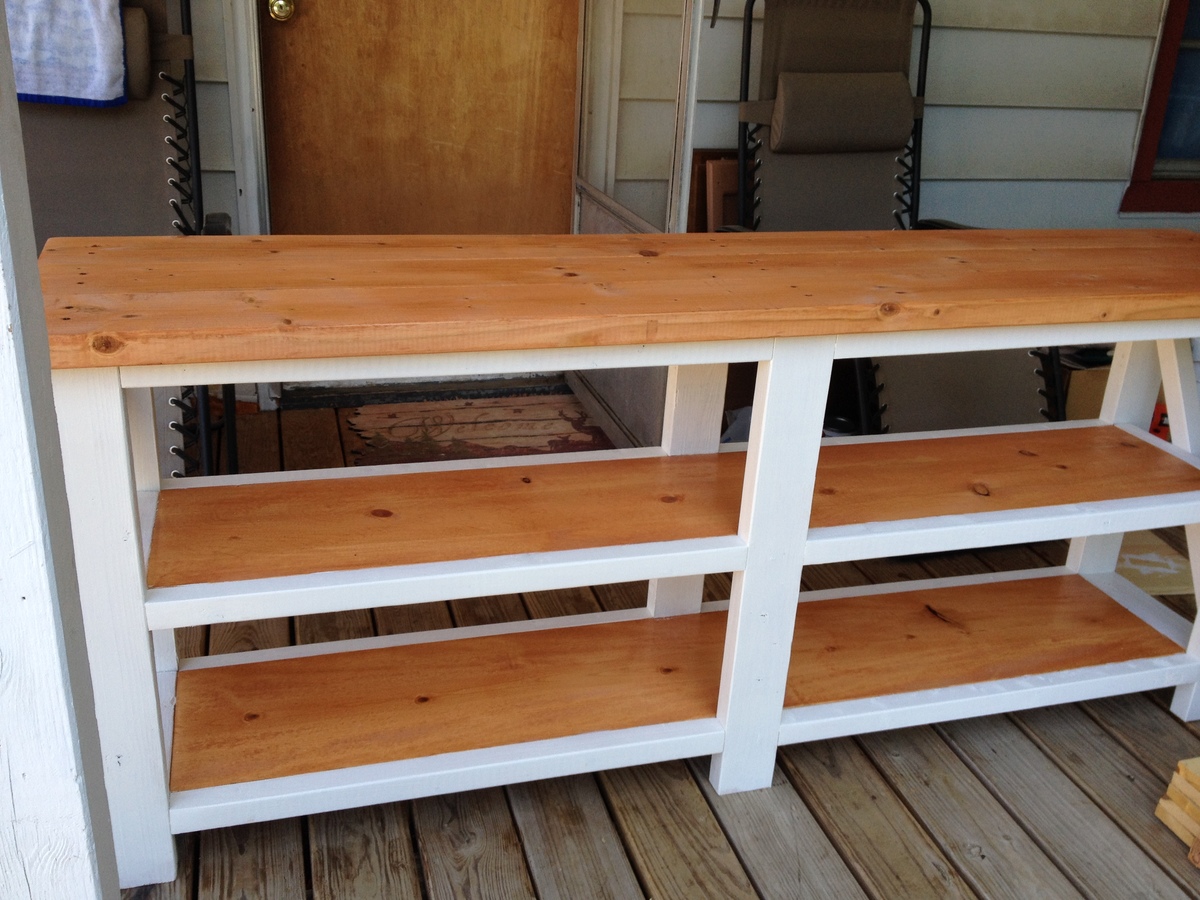
I took the plans from the Fancy X Console table and made all but the end "X's". I painted the legs and trim with a vanilla white, and stained the top and shelves with a golden pecan. Turned out great and looked amazing in the house of the woman I made it for......AKA my mother.
Built from Plan(s)
Estimated Cost
$70
Estimated Time Investment
Day Project (6-9 Hours)
Finish Used
HGTV Vanilla White paint
Minwax Golden Pecan stain
Minwax Fast Drying Polyurethane
Minwax Golden Pecan stain
Minwax Fast Drying Polyurethane
Recommended Skill Level
Intermediate
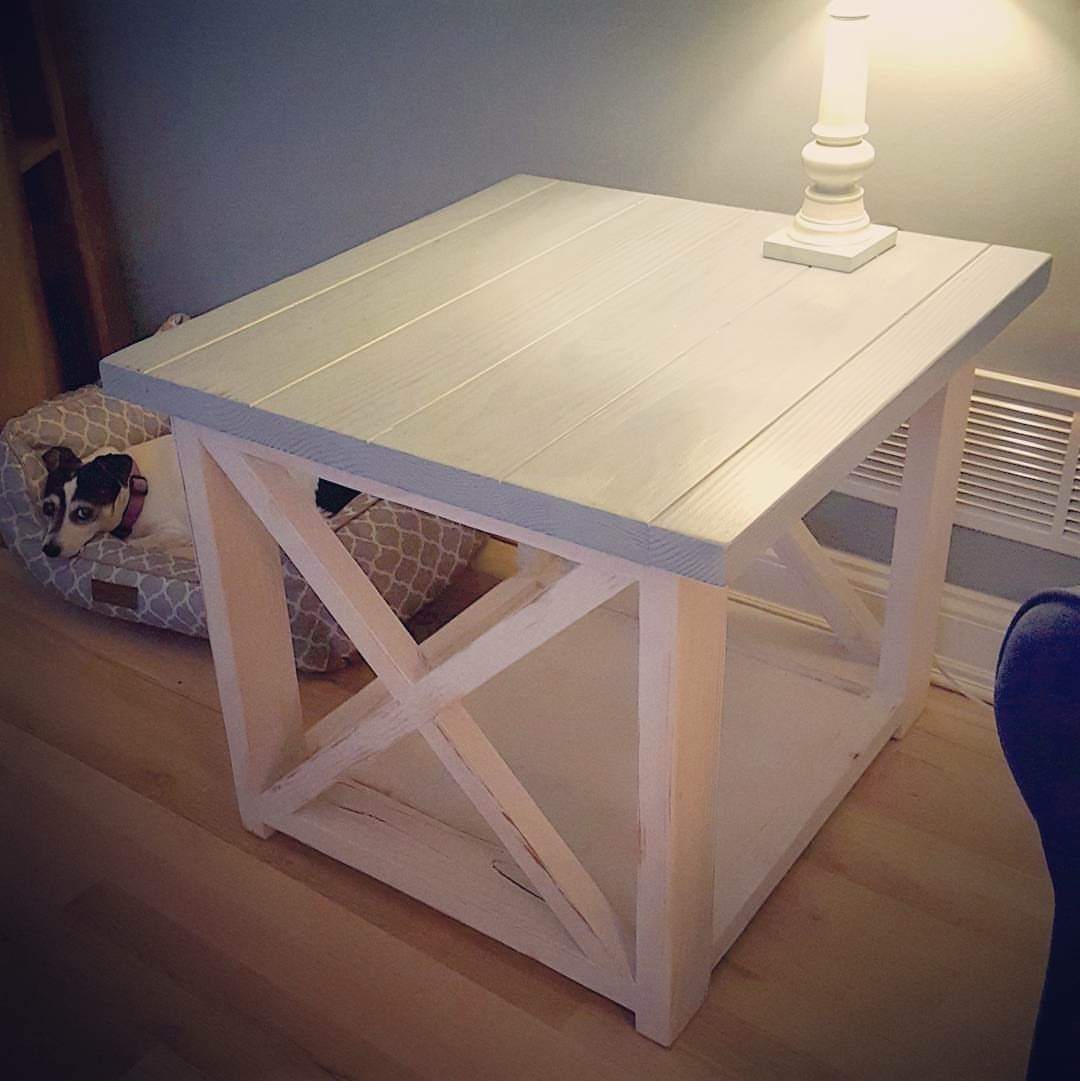
Rustic X coffee and end tables
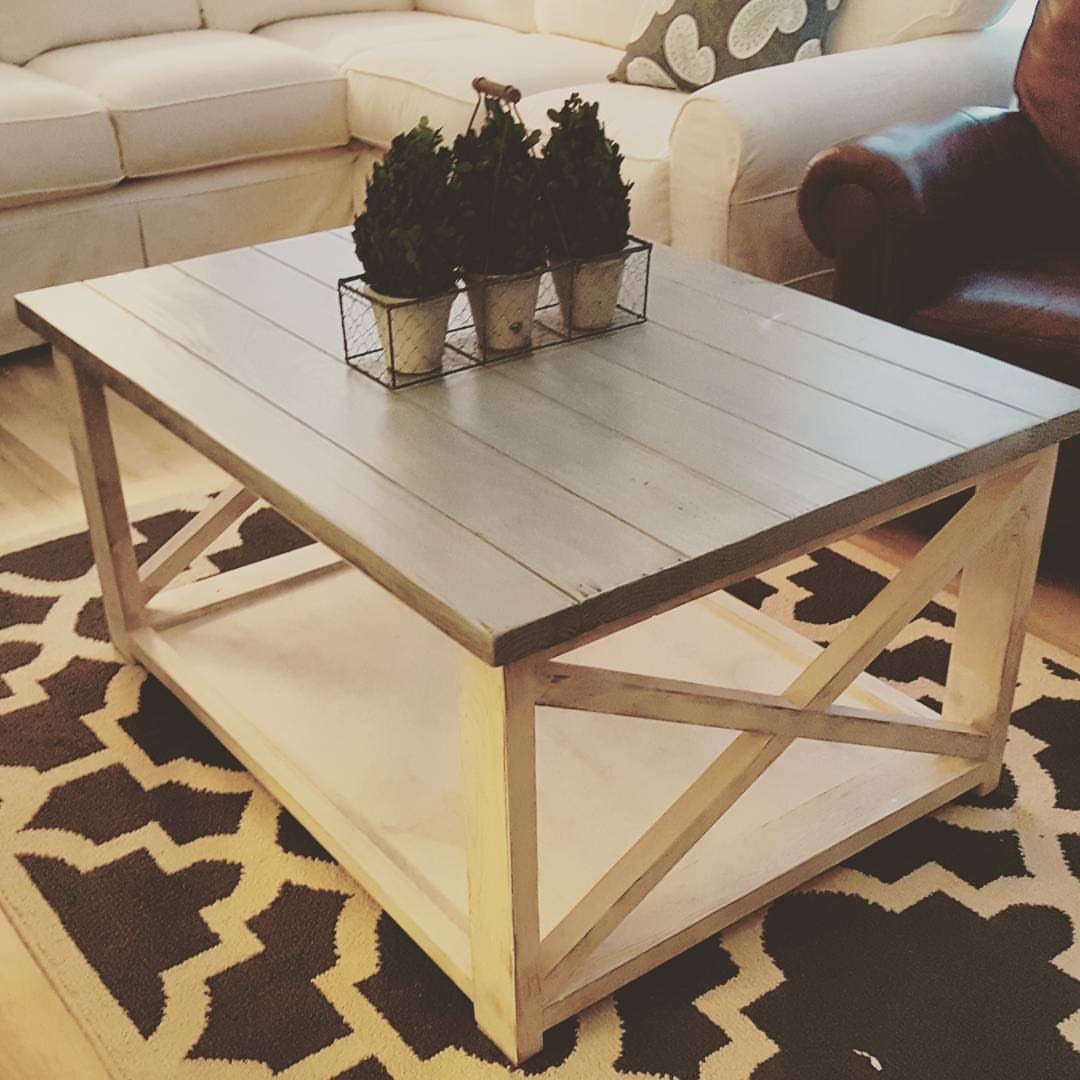
I really appreciated the build article. I customized the sizes and used plywood for the bottom shelves. I oxidized but painted with milk paint then sanded to distress. I also only painted one coat to still see some grain. I top coated with water based poly.
Built from Plan(s)
Estimated Cost
$100
Estimated Time Investment
Weekend Project (10-20 Hours)
Finish Used
Milk paint
Recommended Skill Level
Beginner