Community Brag Posts

Pub/Counter Height Table

Submitted by S.far87 on Sat, 12/08/2018 - 22:03

Facebook.com/esfwood


Modified the plans to match size for preexisiting tables in the bar. Table top burned, routed, dremmeled, stained, and finished with glaze coat.

Built from Plan(s)
Estimated Cost
180
Finish Used
Stain and Glaze coat
Recommended Skill Level
Beginner

Camp Loft Bed (slightly higher)

Submitted by Anonymous (not verified) on Fri, 08/26/2022 - 05:53

I made it slightly higher with some extra bracing for additional strength. Added a table underneath and some colored lights. The stain and satin clearcoat finished it off well I think.

Comments

Narrow Farmhouse table

Submitted by rhilborn on Thu, 08/11/2011 - 12:01

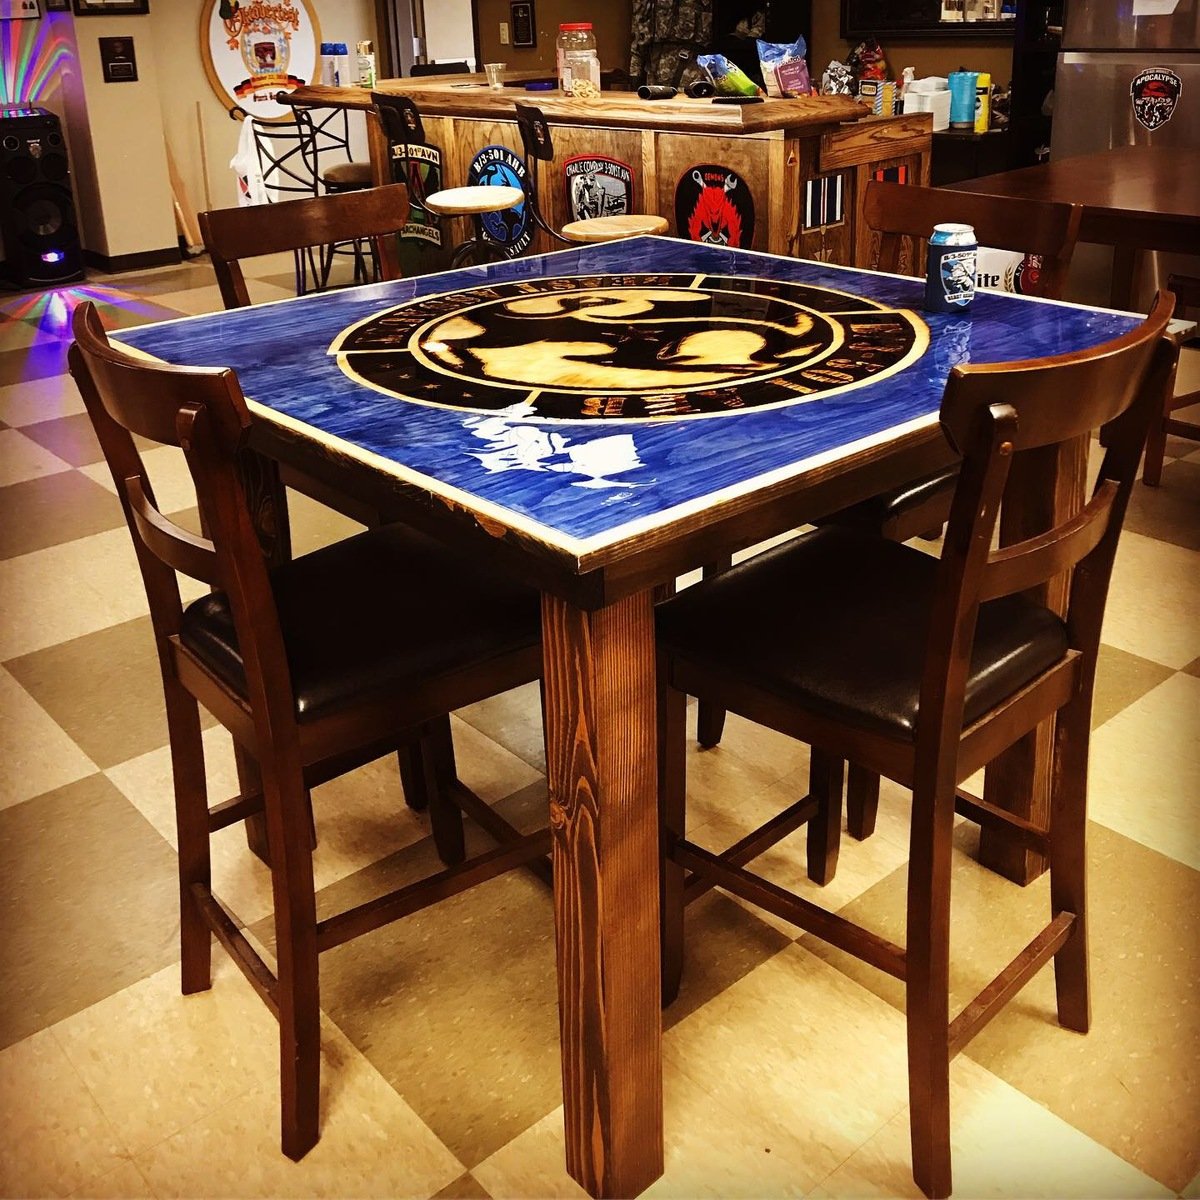
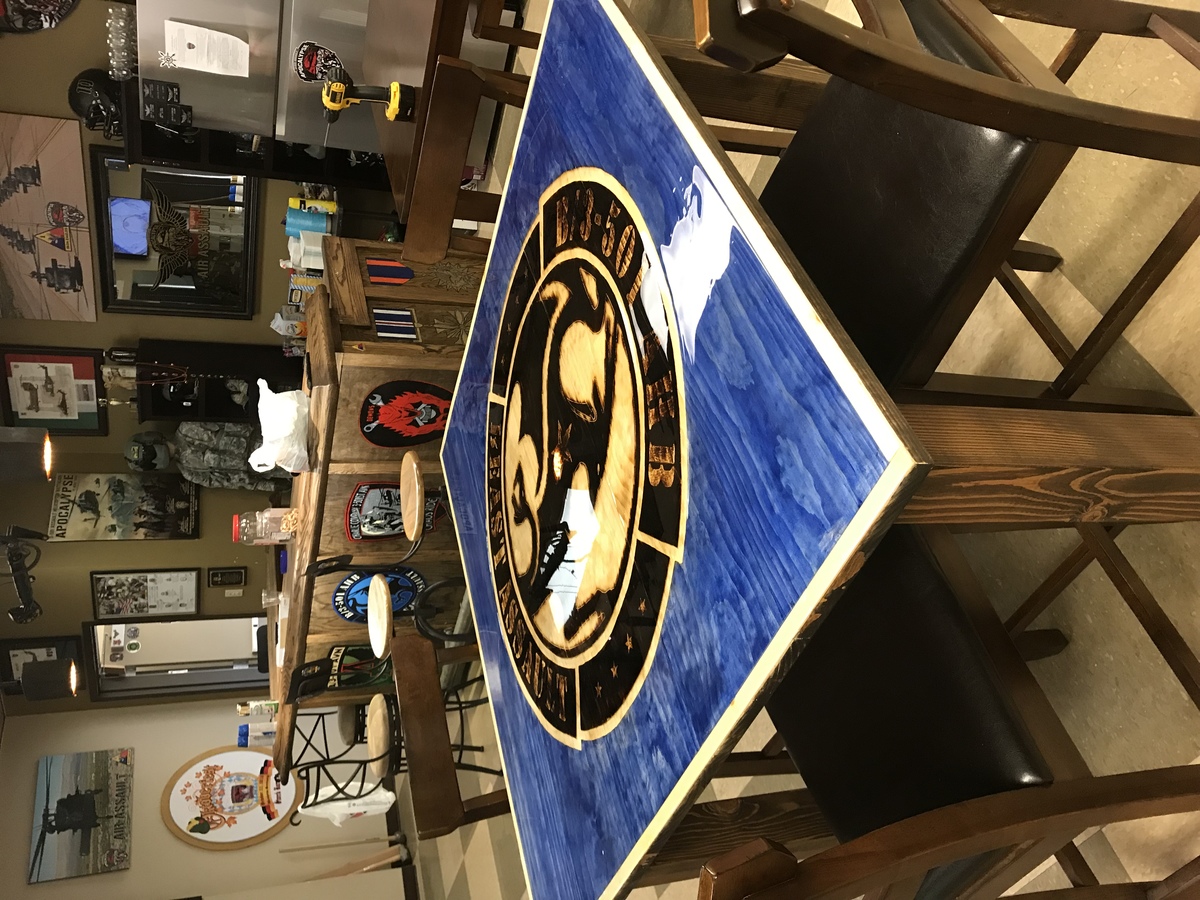
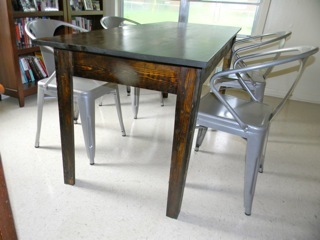
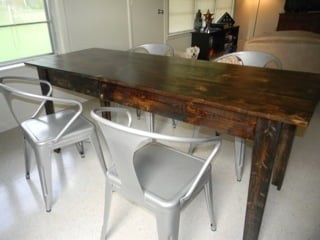
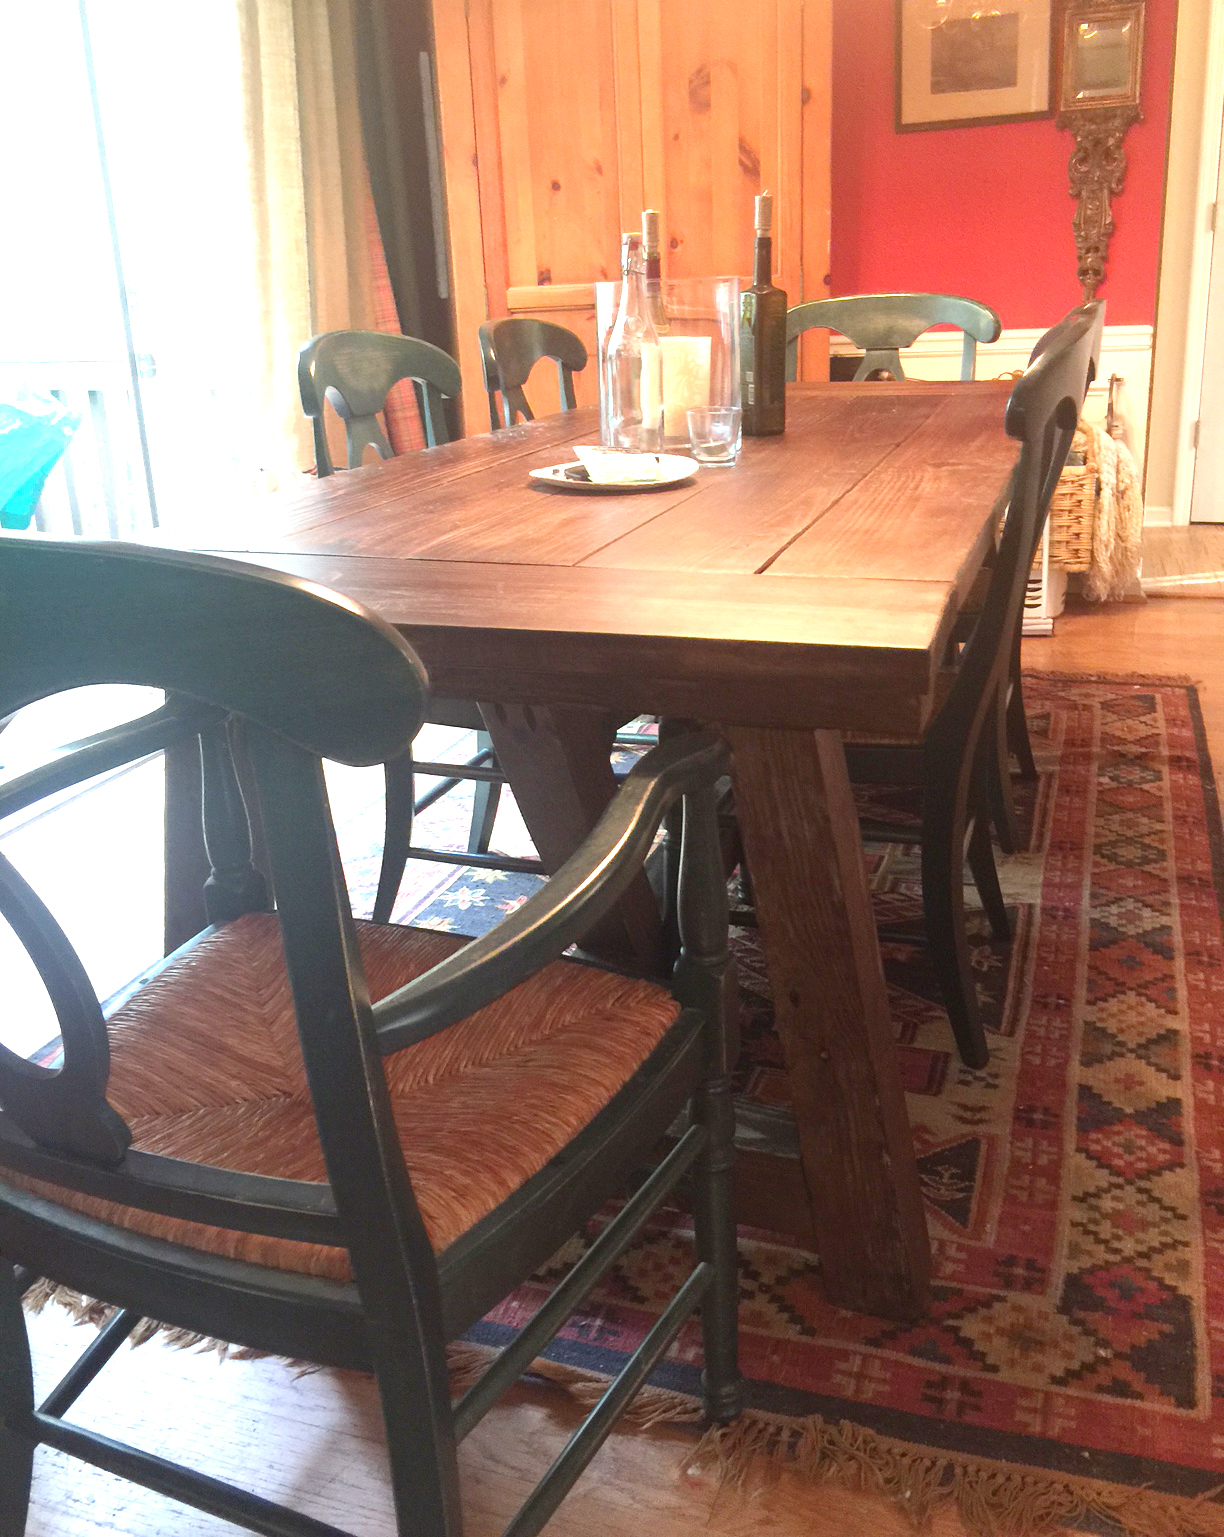
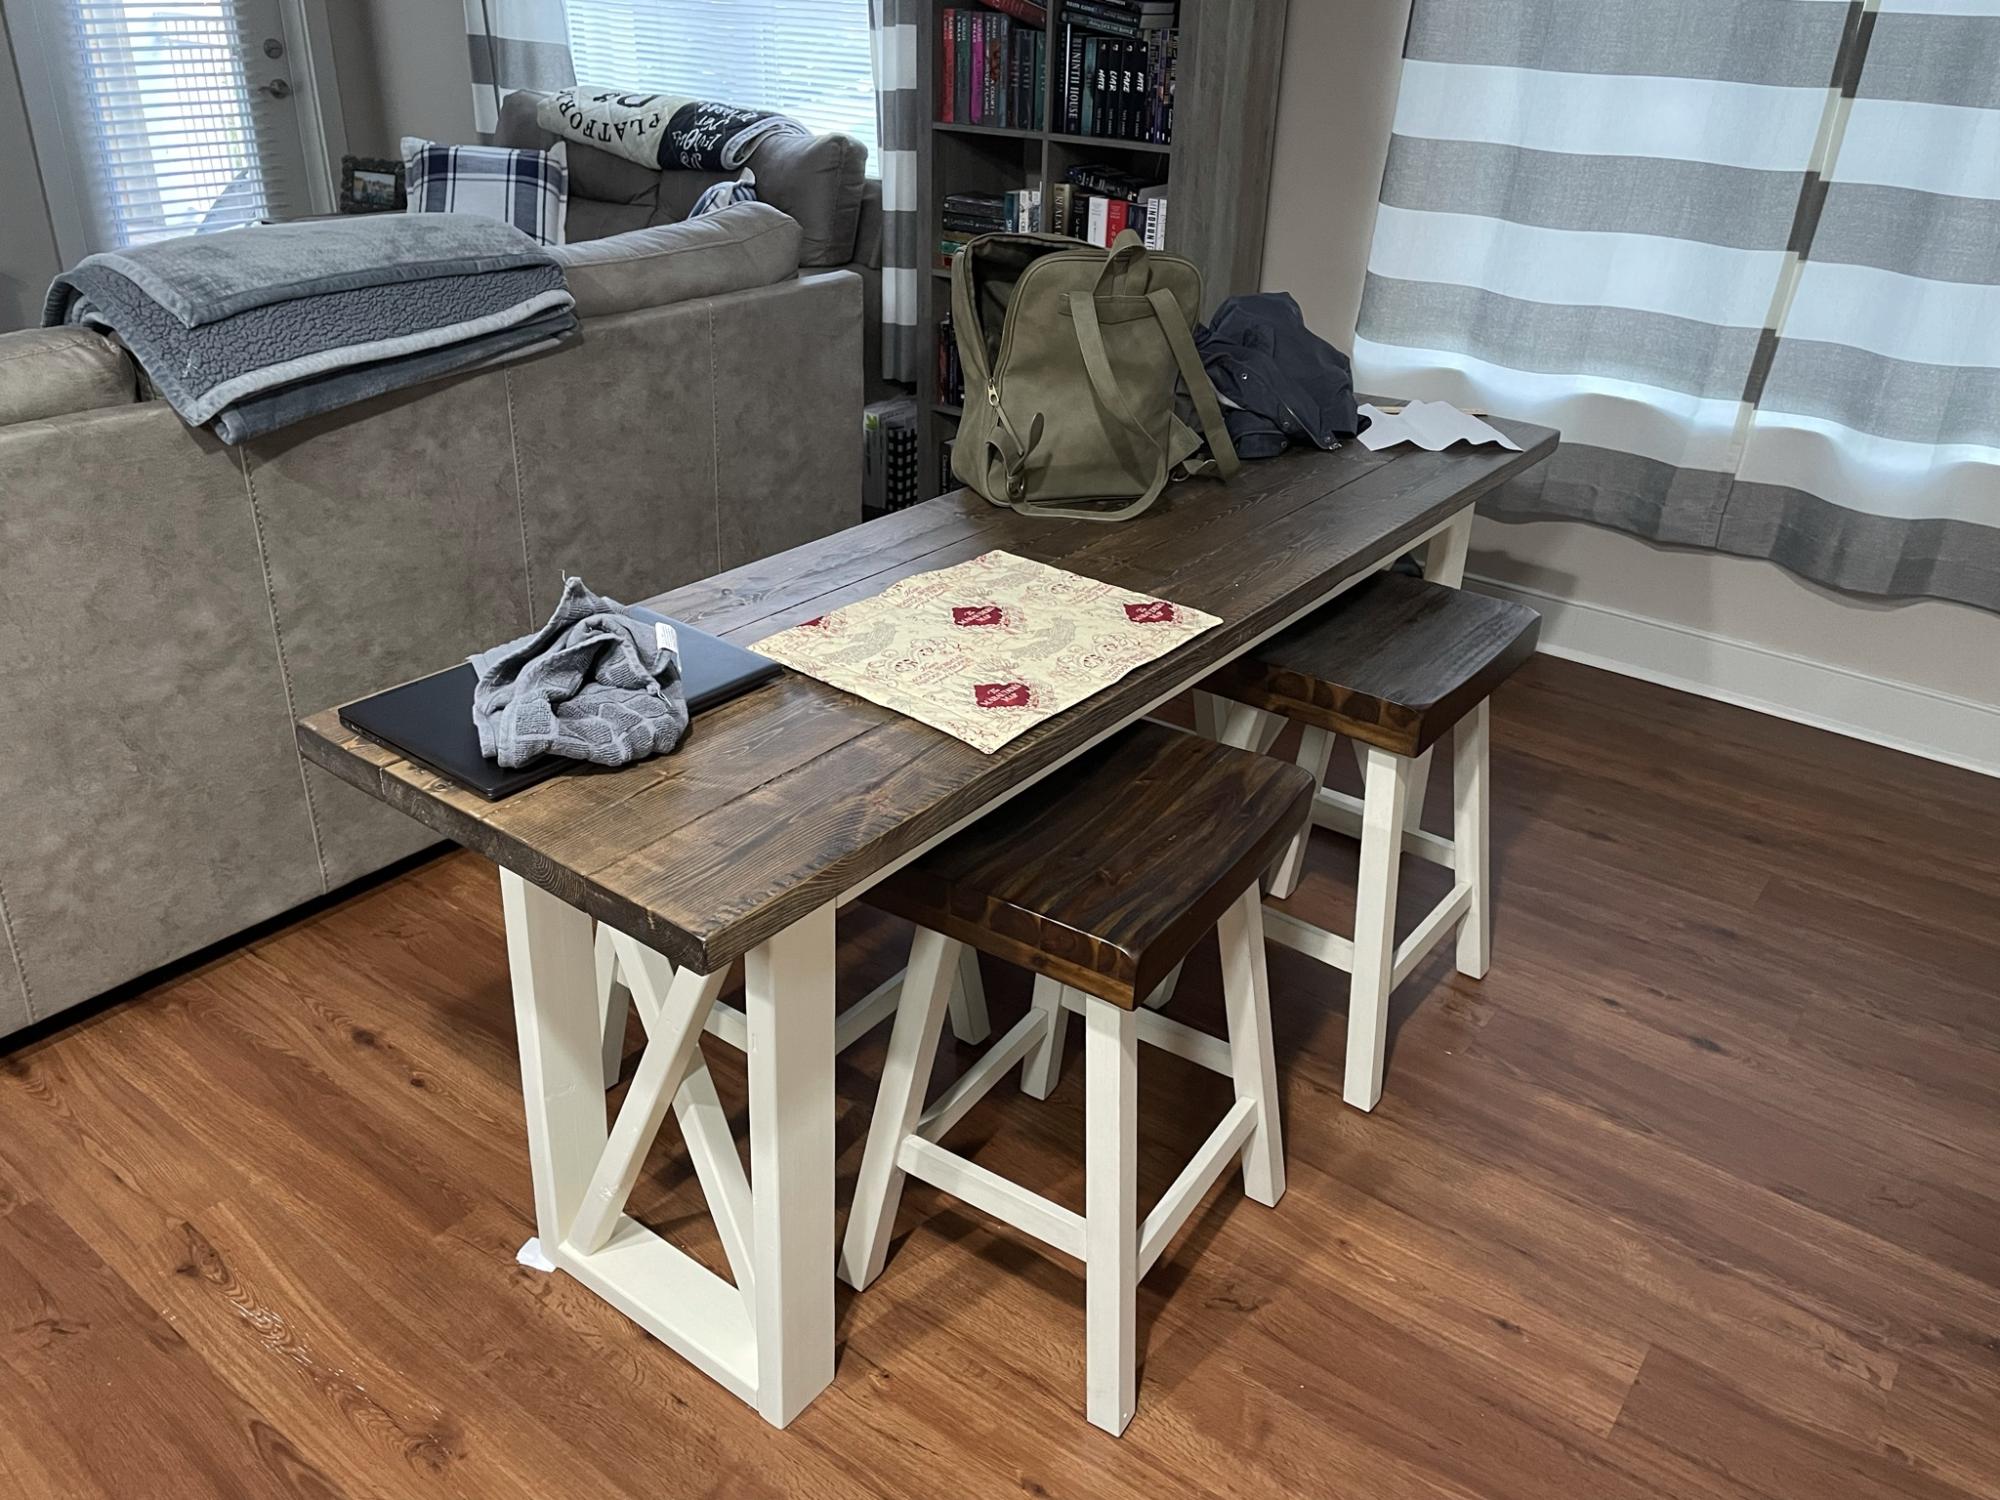
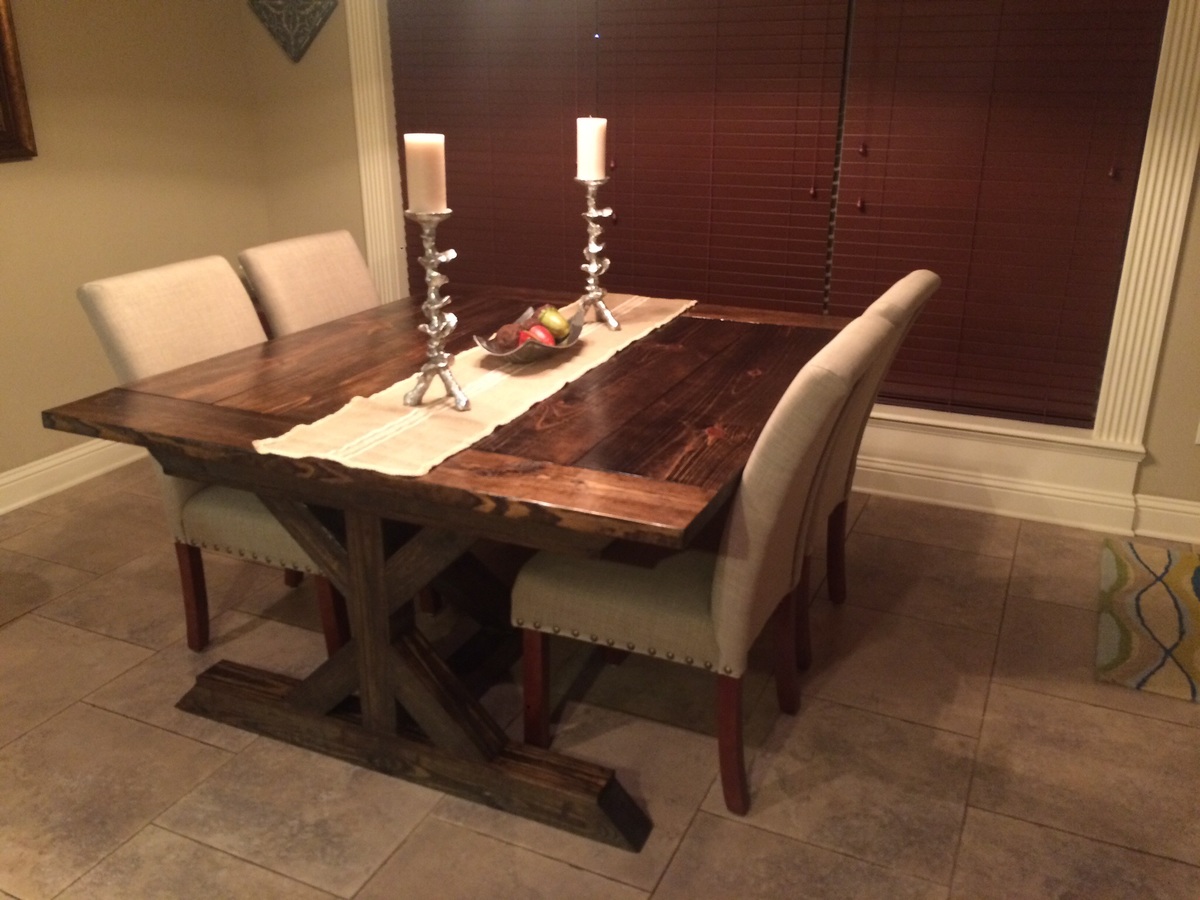
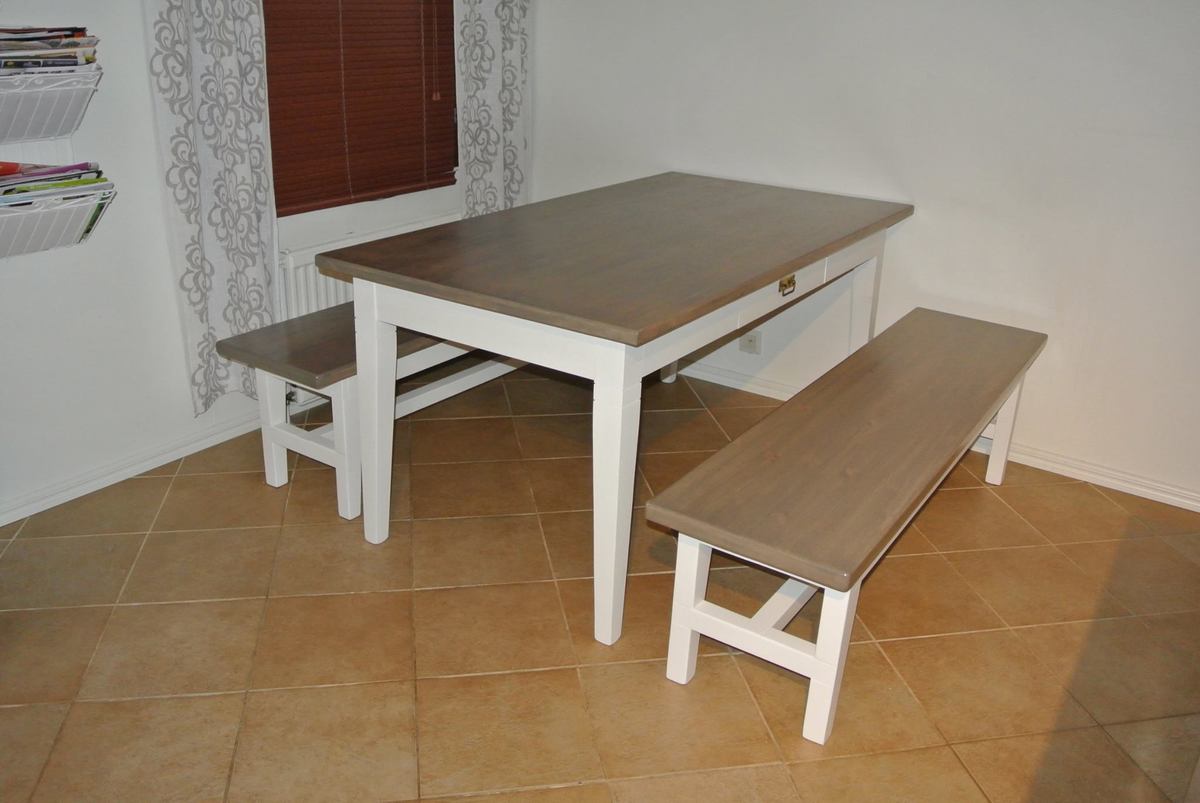
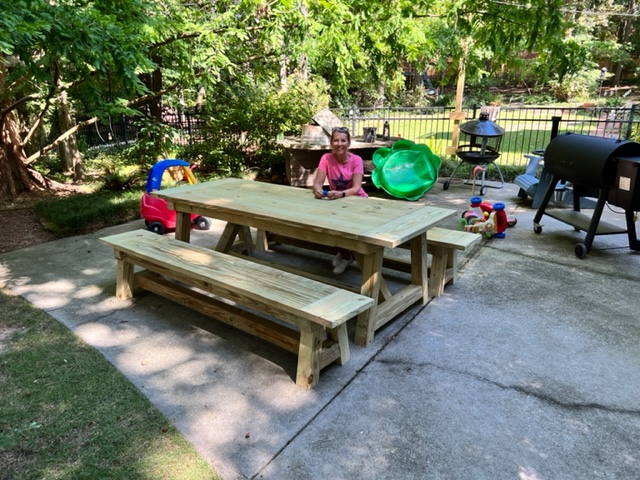
After discovering Ana White over a year ago, we knew that we wanted to build ourselves a dining room table. It was just a matter of finding the right plan for our house and family. The Narrow Farmhouse table was just perfect! We shortened the length to 6' to fit into our combined living dining area. I would love to have the 8' version some day, maybe when we have 2 separate eating areas?!

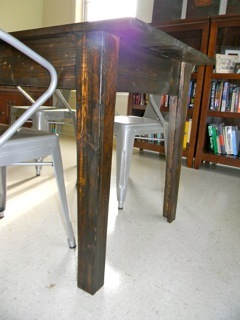
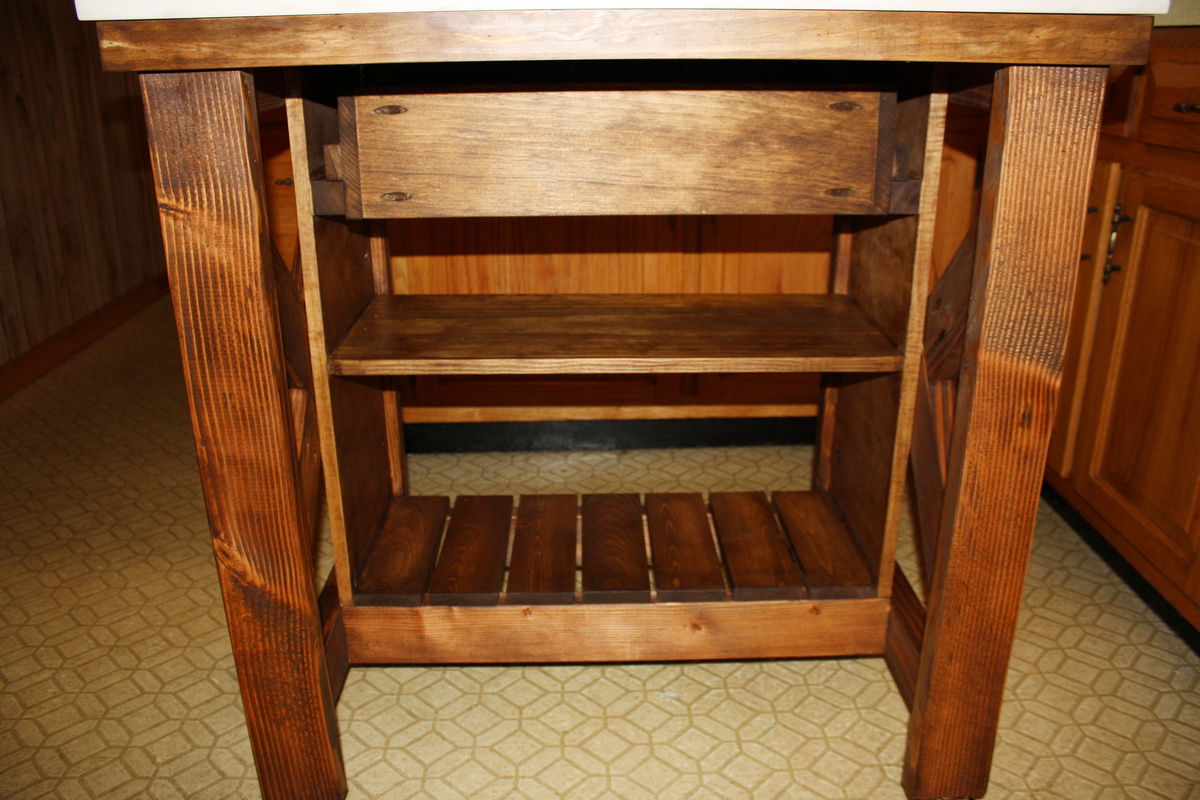
A note on our wood choices, I would try hard to use pine in lieu of whitewood for ALL the table components. The pine did a much better job with the stain and poly then the whitewood. As I have seen the one other time I tried to work with whitewood, it's CRAZY soft and I suppose I'm just not a big fan. I would take the trade off of more sanding with pine to insane finish silliness, any day!

Built from Plan(s)
Estimated Cost
$100, mostly because we moved this summer and had to buy stain & poly again. The wood cost was about $60 and we already had the pine scraps for the legs.
Estimated Time Investment
Day Project (6-9 Hours)
Finish Used
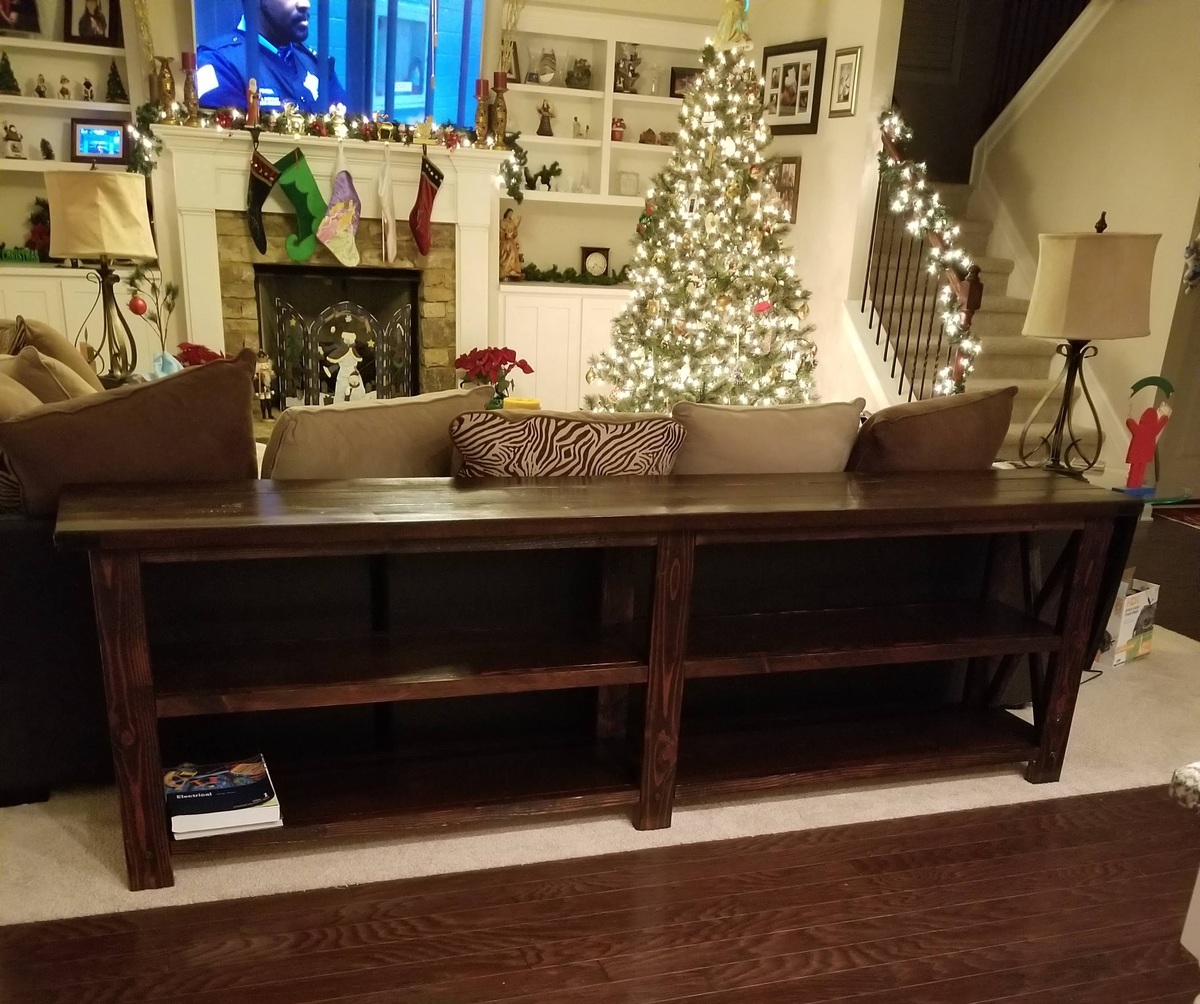
Minwax Dark Walnut with both Minwax Wipe On Polyuretane and Minwax Polycrylic. I am not usually aiming for a shiny, glossy finish so Wipe On Poly is my go-to finish. However, for this project, the Whitewood just soaked up the Wipe On Poly and the tabletop was not sufficiently smooth. So I bought a tiny jar of Polycrylic. I may just be converted, at least for tabletop surfaces, because the finish is now just beautiful.
Recommended Skill Level
Beginner

Comments

Guest (not verified)

Tue, 08/23/2011 - 16:49

Looks good!

I've found that if you put a conditioner on first, the soft woods take the stains more evenly and don't soak up the stain so readily. Minwax makes one for both oil and water-based stains.

In reply to by Guest (not verified)

rhilborn

Tue, 08/23/2011 - 16:58

I actually used a wood conditioner from Minwax and yet the stain still had a struggle. I did not use the wood conditioner on the pine on the legs and they had no problem. Thanks for the tip though!

The only glamorous thing in my kitchen...

Submitted by bhoppy on Wed, 09/04/2013 - 16:40

Is this kitchen island with its beautiful marble top:-) I really hate my kitchen because it is so ridiculously from the 80's and small... but it's a rental so it's not forever. The only counter space I had to cook is right there to the right of the sink by the coffee maker. I started building this the night Ana put the plans up. A friend of mine just remodeled her bathroom; and gave me the top since it was just sitting in her garage. I had to modify the plans only slightly to accommodate the top. It's 3 inches wider than the plans and I beefed up the top frame with 2x2's to support the 29 pound slab of stone. I spent less than $20 on the project because I had leftover wood from another project and a whole bunch of 2 x 4's from a project that got trumped for this one:-) I also ripped a piece of plywood to 11 1/4 to use as the sides and added edge banding on the back. I used paste wax for the very first time instead of polyurethane and I'm not sure how I like it yet.

Estimated Time Investment
Weekend Project (10-20 Hours)
Finish Used
Early American, dark walnut and paste wax
Recommended Skill Level
Intermediate

Comments

Rustic Farmhouse Table

Submitted by Sbarker645 on Thu, 10/29/2015 - 07:33

Built this table for our dining room. Neighbors kept coming by to look at it and I now have my first commissioned woodworking project for a table and benches!

Built from Plan(s)
Estimated Cost
$140
Estimated Time Investment
Week Long Project (20 Hours or More)
Recommended Skill Level
Intermediate

8 Foot Rustic X Console

Submitted by Anonymous (not verified) on Wed, 12/26/2018 - 19:17

Was inspired to build this to go behind our sectional.  Next year, it will house our Christmas town.

Built from Plan(s)
Estimated Time Investment
Weekend Project (10-20 Hours)
Finish Used
Red Mahogany
Recommended Skill Level
Intermediate

Farmhouse Table and Stools

Submitted by Anonymous (not verified) on Sat, 09/03/2022 - 15:55

My daughter has a small 1 bedroom appointment and needed a place to eat. I built this table and stools to give her and her friends somewhere to gather. The stools came out darker than expected after I put a harder finish on it. They we’re getting scratched up from the sitting on them. But over all she loves it.

Comments

Family Computer Station

Submitted by kdins31 on Sat, 08/13/2011 - 13:39

It was an unused corner of the playroom and I decided to put it to use with a computer station with an area for the kids. The desk top is stain grain ply, stained a satin dark walnut. Body is paint grade ply, painted white. On the walls I used whiteboard/dry-erase paint over a magnetic base so the kids can draw on the walls and hang pics with magnets, and added a cork board to the right. Built the cabinet for the computer and printer using same wood with a sliding shelf. This turned out to be one of the best things I've done in the house, the kids do their homework here and we use the desk all day long! A really cheap project that has very few parts. With paint, wood, stain and hardware its a $150 weekend project. I didn't use any plan here from this site but I've taken a lot of inspiration and tips!

Built from Plan(s)
Estimated Cost
$100-150 and two walls of your house!
Estimated Time Investment
Weekend Project (10-20 Hours)
Finish Used
Dark walnut stain, satin white paint
Recommended Skill Level
Intermediate

Comments

BethG (not verified)

Sat, 09/10/2011 - 17:57

Great use of space & I like that you used painted and stained wood together. It looks very professional.

Guest (not verified)

Mon, 01/16/2012 - 19:47

Could you mind providing the dimensions of your desk? It looks like the perfect size to fit our needs!

Quintin79

Thu, 01/31/2013 - 05:41

Looks great, you can paint and stain prior to putting together saves on taping everything off and possibility of bleedthru of tape. Amazing job and design.

Kids step stool w/ storage

This stool was made as a b-day present for my nephew Ryder (hence the play on words "free Ryder") . His dad, an avid motorcycle enthusiast, is deployed w/ the army in Afghanistan so I went w/ a patriotic motorcycle theme. Ryder just turned 2 so he is about to start the adventure of potty training si I figured this would be perfect for that and double as bath toy storage. To keep the wood from getting damaged by the humidity of the bathroom, I used pressure treated plywood and further protected it w/ tompsons wood waterproofer. I also drilled 3 rows of drainage holes in the bottom so water wouldn't be sitting in there.

Built from Plan(s)
Estimated Cost
$15
Estimated Time Investment
Afternoon Project (3-6 Hours)
Finish Used
General Finishes black milk paint. And an out door varnish. I also added a non-slip texturizer to the paint on the top stool. It's a little rough on bare knees but I figured scrapped knees were not as bad as a cracked skull
Recommended Skill Level
Beginner

Shed Tool Rack

Submitted by Anonymous (not verified) on Fri, 09/09/2022 - 08:05

The instructions were easy to follow. I didn’t have the exact wood so I improvised with what I had on hand. Thanks Ana!

Comments

Numbered Cubbies on the Wall

This is not my first Ana project, but it is my very first brag post! :) I am thrilled with the way this turned out.

Built from Plan(s)
Estimated Cost
Less than $10
Estimated Time Investment
An Hour or Two (0-2 Hours)
Finish Used
I used black satin spray paint for the first coat and then brushed on two coats of satin China White. After the paint was dry I traced on the numbers, filled them in with a black satin paint pen and sanded with 150 paper to show wear.
Recommended Skill Level
Beginner

Lex's Shark Shack

Submitted by Ran on Mon, 09/09/2013 - 09:30

We to make a Loft turn into a closed room for my grandson. We used the Sweet Pea Plan and made it a boy bed. We enclosed the back of the bed. the top bunk is a play area for him and my grand daughter. He loves it. Thanks for the Website.

Finish Used
White Wash. 50% Paint 50% Water
Recommended Skill Level
Intermediate

Comments

JoanneS

Mon, 09/09/2013 - 13:32

This is an awesome project! I love how you took the plan and customized it to be a boy's space. And the shark motif - how cute is that!?! Love it, great job!

kellie

Mon, 09/09/2013 - 21:35

I absolutely love this! You did a great job with converting it to a boys bed. I was actually going to do the same thing to this exact plan when we move in a few months! Very well done. Love your taste.

Thanks for the inspiration!!

Dan's Salsa Console

Submitted by Bmore2ny on Fri, 11/13/2015 - 19:01

This was my first big project. Came out out pretty well. 

Built from Plan(s)
Estimated Cost
$200
Estimated Time Investment
Week Long Project (20 Hours or More)
Finish Used
Espresso wood stain and satin polyurethane. Universal white eggshell paint and primer
Recommended Skill Level
Intermediate

Comments

My Christmas present!

Submitted by Anonymous (not verified) on Tue, 01/01/2019 - 10:26

I was looking for a console table just like this one. A friend of mine told me to check out your website and I found this one.  I was so excited.  My husband bought a miter saw and I got my table. Lol. Love it.

Built from Plan(s)
Estimated Time Investment
Afternoon Project (3-6 Hours)
Finish Used
Weathered Gray and Kona stain.
Recommended Skill Level
Intermediate

"Pearce's Library"

I wanted 3 shelves so I took apart the entire pallet (44 x 44) Sanded and spray painted two coats. Only advice is next time I will make sure the pallet is in better condition. Less time sanding. My 4 year old daughter loves her new reading area!

Estimated Time Investment
Day Project (6-9 Hours)
Recommended Skill Level
Starter Project

Table + farmhouse benches

Submitted by Marimac on Tue, 11/17/2015 - 09:59

I've fixed up an old table and borrowed Ana's plans for farmhouse bench. I've modified them, and this is the outcome.

Estimated Cost
about 300-400€ (in Finland)
Estimated Time Investment
Week Long Project (20 Hours or More)
Finish Used
Legs "Kitchen white"
Tops "Raindeer"
Recommended Skill Level
Beginner

Country Table - picnic

Submitted by TrayScates on Mon, 10/03/2022 - 19:00

Outdoor - pressure treated; added 1 foot to length.

Comments

Entry way console table

Submitted by MatiaP on Sun, 08/21/2011 - 22:42

This was my second project. My eleven year old son and I had great fun building it together.

Estimated Cost
$30
Estimated Time Investment
Afternoon Project (3-6 Hours)
Finish Used
I painted it lightly with milk paint in antique white so the grain of the wood was still visible. Then I sanded down the edges to reveal some wood tones and give a rustic look.
Recommended Skill Level
Beginner

Comments

Chicken wire pantry

This is my version of Patrick's jelly cupboard. I made some changes to he dimensions by making it taller and a bit wider.

Estimated Time Investment
Weekend Project (10-20 Hours)
Finish Used
I used a latex off white paint then put a wax on it with minwax paste wax.
Recommended Skill Level
Beginner

Comments

JoanneS

Sun, 09/15/2013 - 13:48

I actually said, "Oh my gosh, that's fabulous!" out loud when I opened up this picture :) This is just awesome. Beautiful job!

allisonnavarre

Wed, 06/11/2014 - 05:00

My husband and I built one of these last year and made it into a wine cabinet. My Mom wants us to build her one but she would like it to be a little bigger also. Do you mind me asking what you changed the measurements to? It looks like the perfect size for her. :)

Crafted Perfection

Wed, 06/11/2014 - 12:23

I believe the measurements are 72" high by 35" wide by 12" deep. I built that last year and I sold it at a antique shop that I had a booth at. But to the best of my knowledge that was the measurements. Thanks for taking a look at it!!

Drink serving tray

Submitted by brittanyj on Fri, 11/20/2015 - 10:16

Used scrap pine sitting around- a 1x10 and 1x3's.  Most time consuming part was cutting out the hand holds.  Wanted a rustic look, so I weathered the boards by first beating them with hammer, screwdriver and crowbar, then with tea and steel wool vinegar "stain" to age the boards.  One coat of poly on top.  Made the plugs with dowels, adds to the rustic look. 

Estimated Cost
Free- Scrap wood
Estimated Time Investment
An Hour or Two (0-2 Hours)
Finish Used
steel wool and vinegar mix painted on after a tea stain. Poly on top.
Recommended Skill Level
Beginner