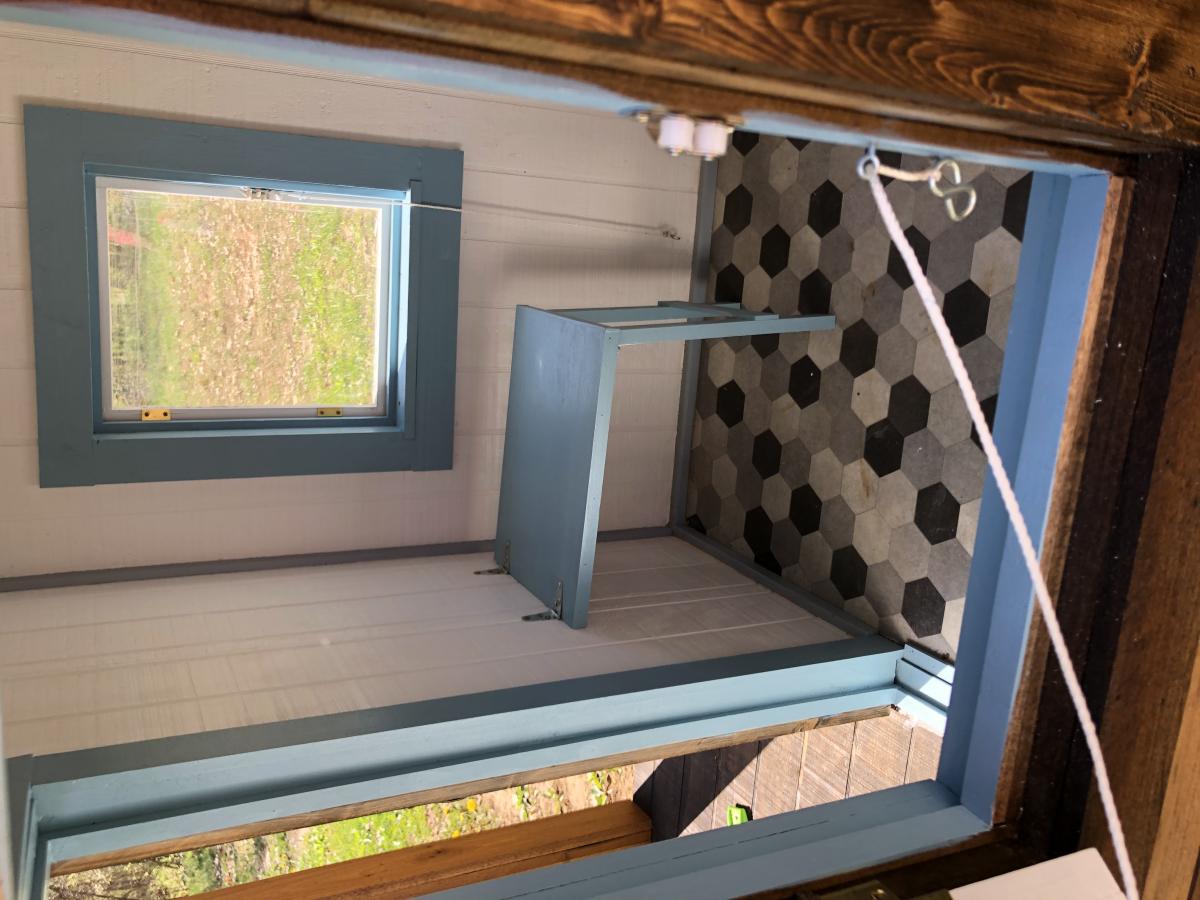
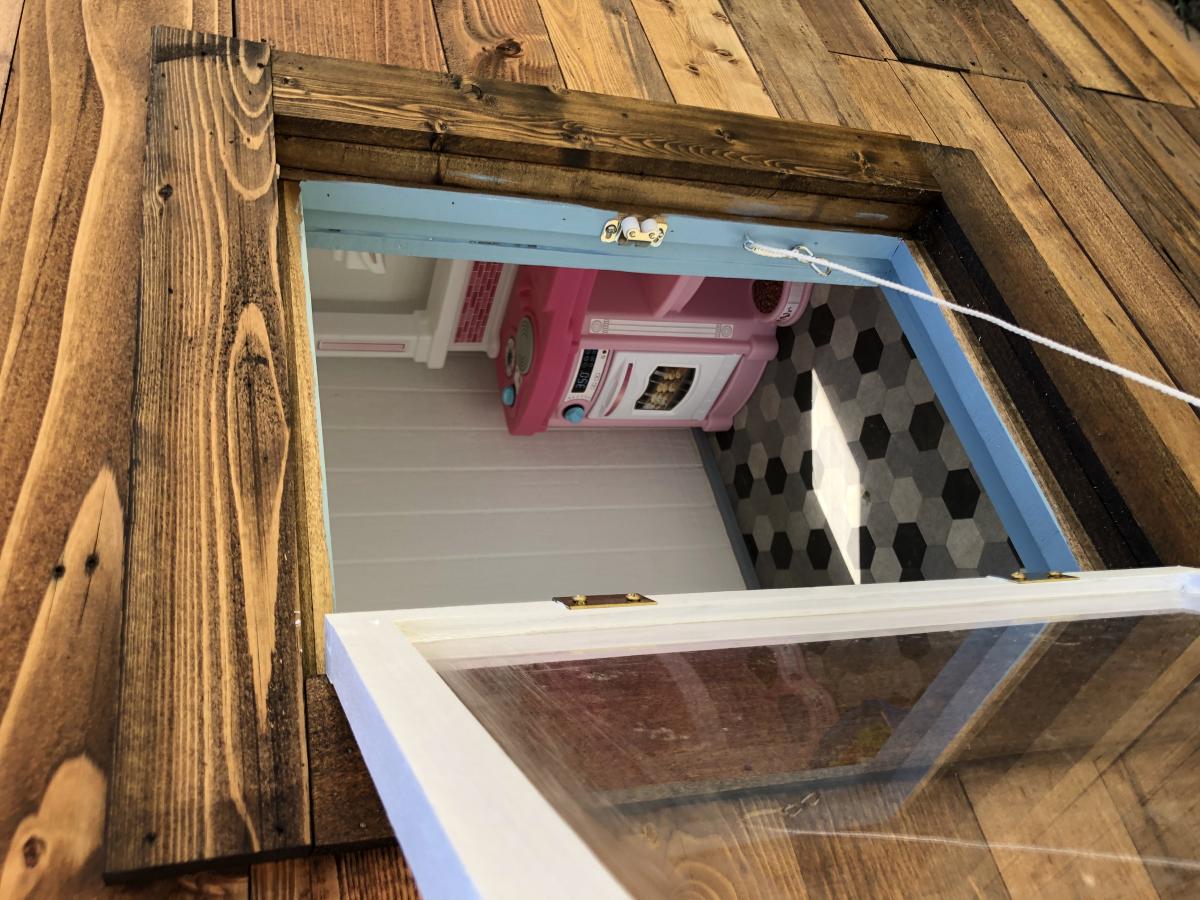
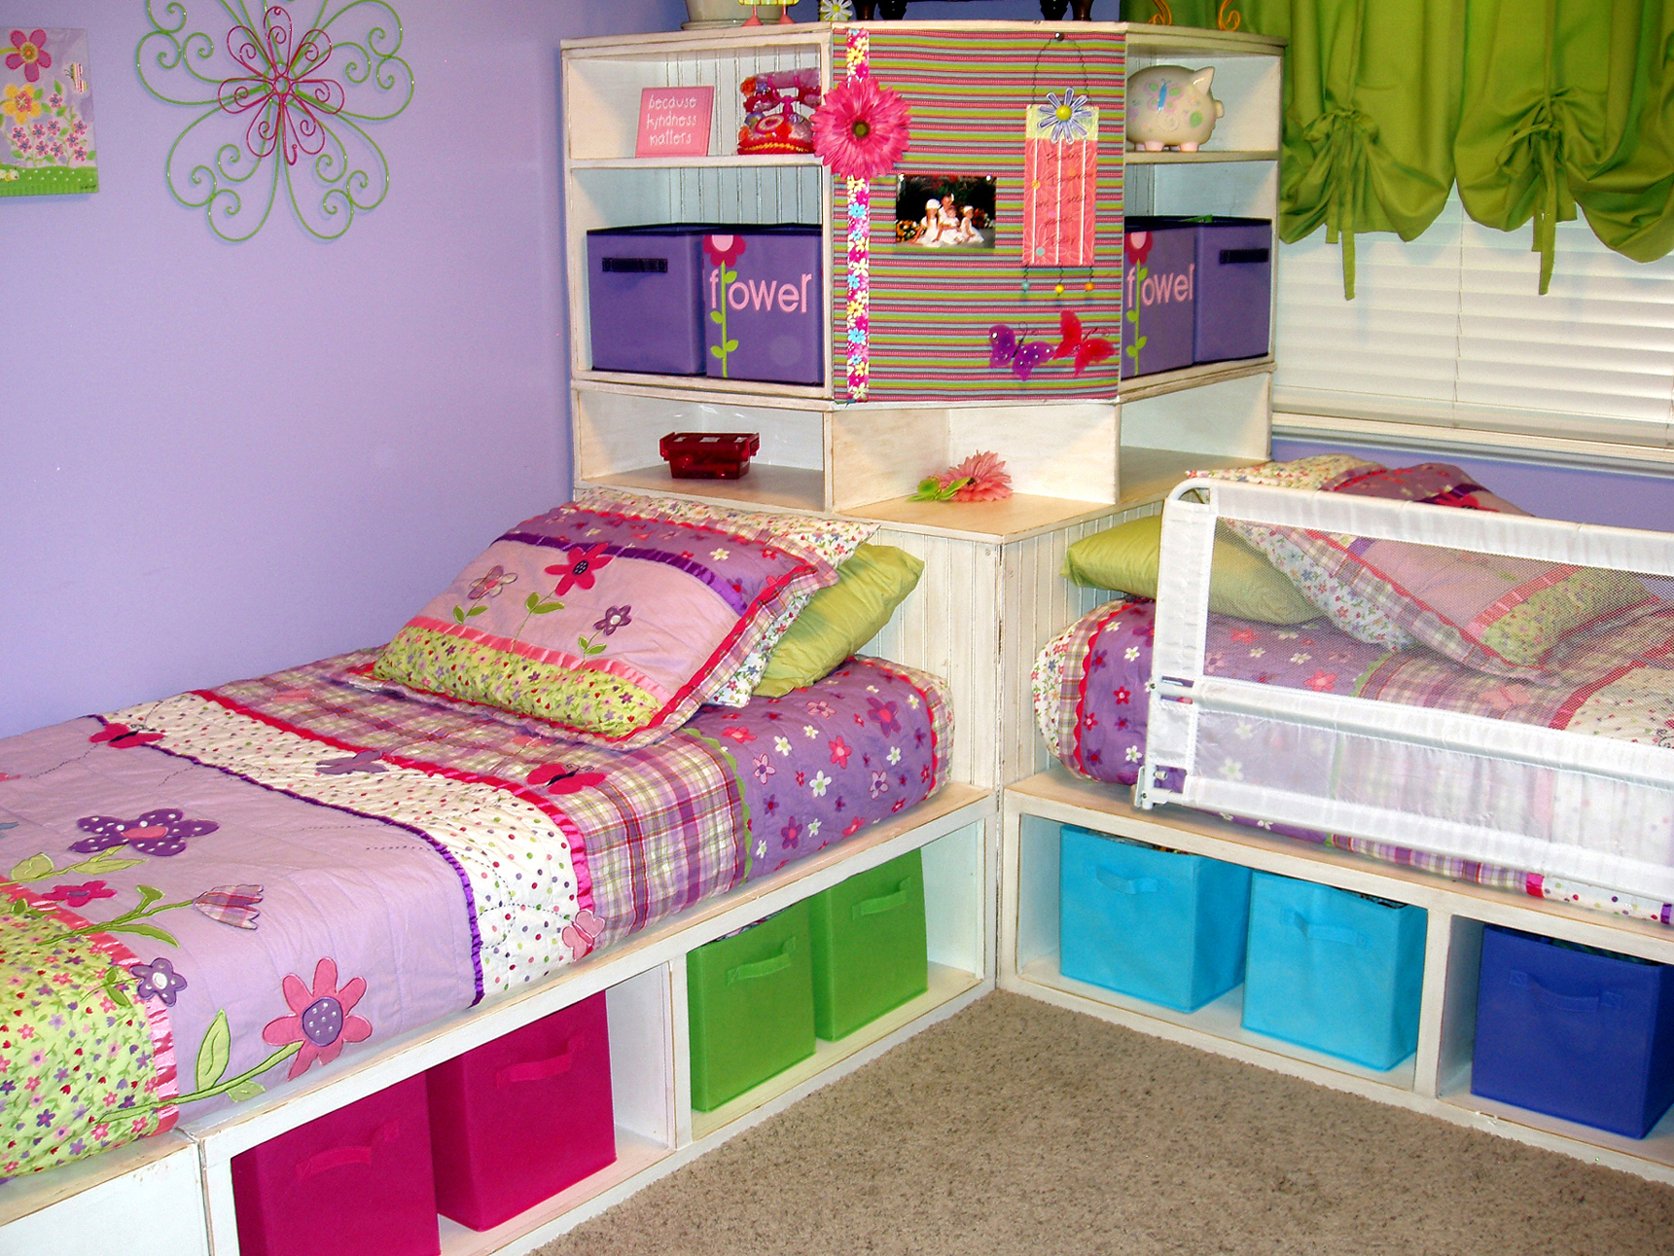
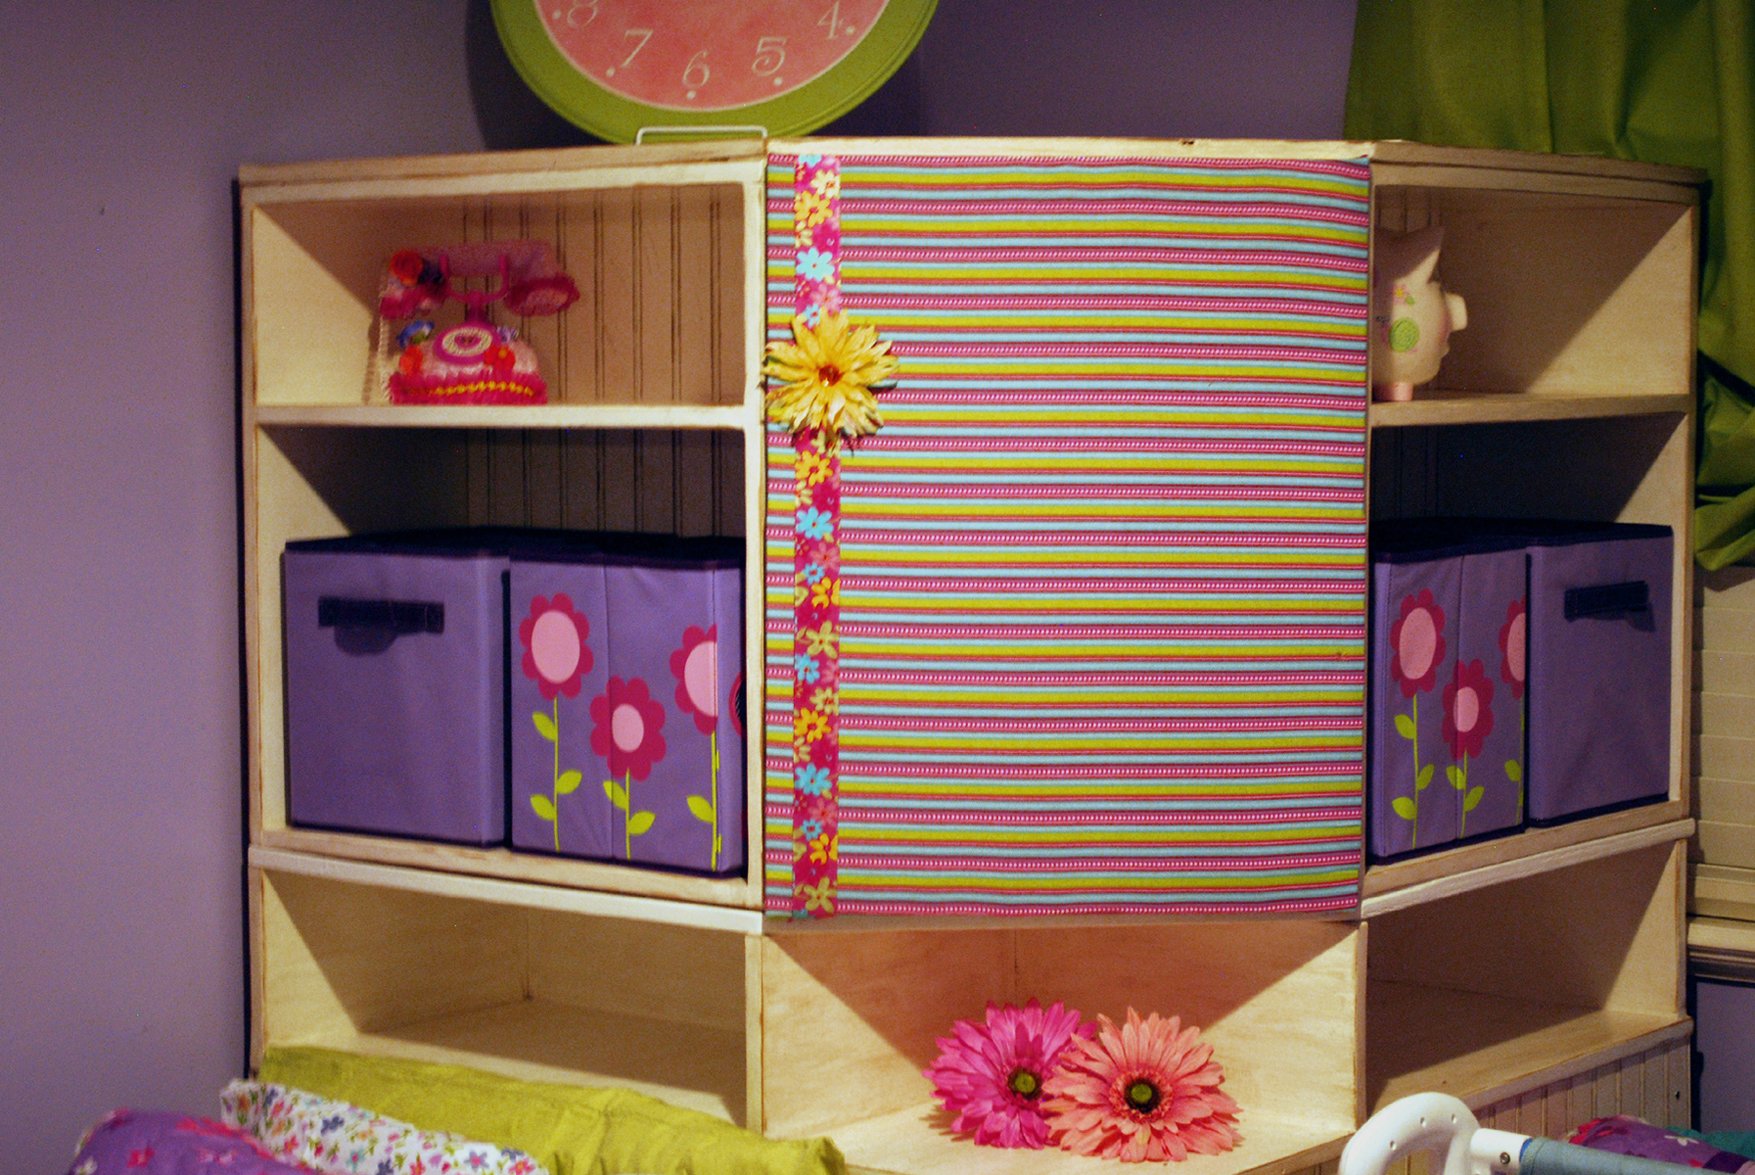
Cottage Bunk Bed
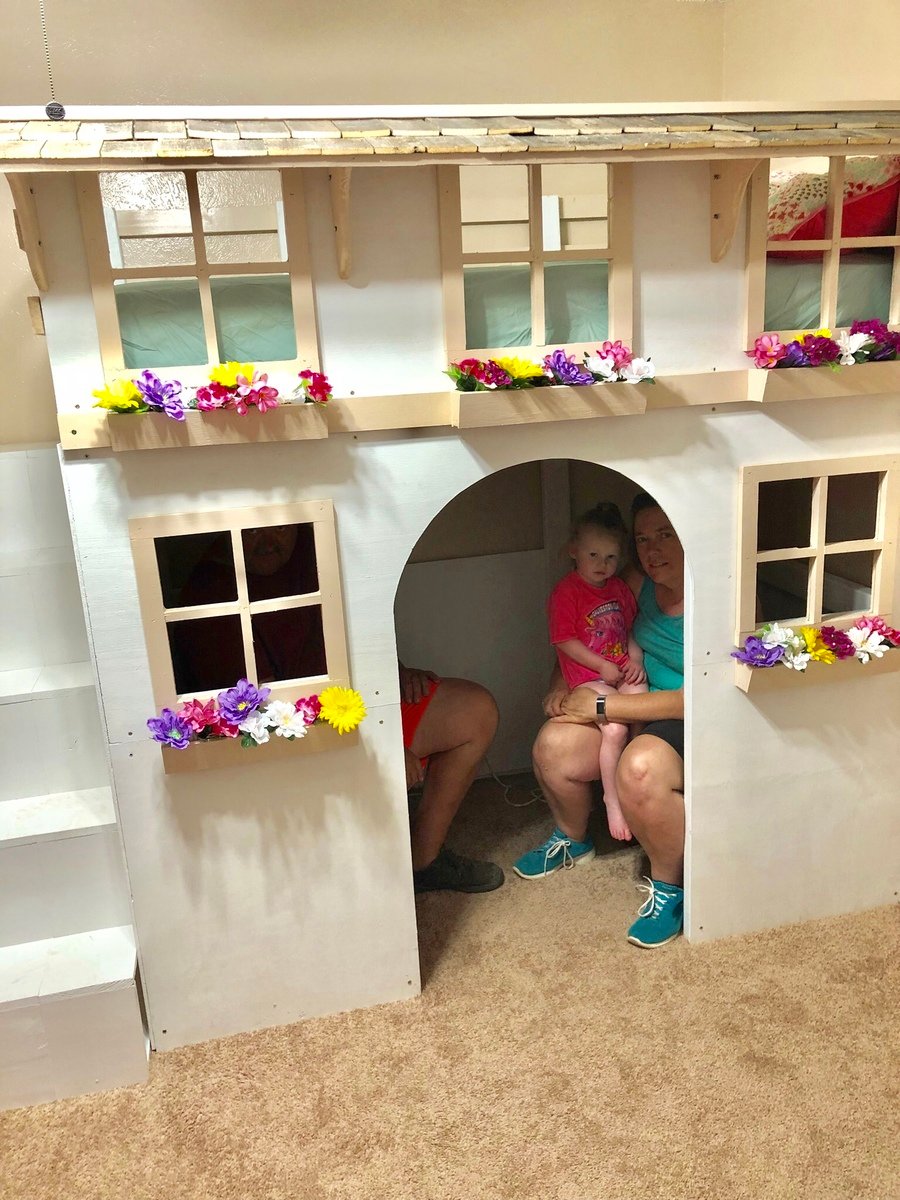
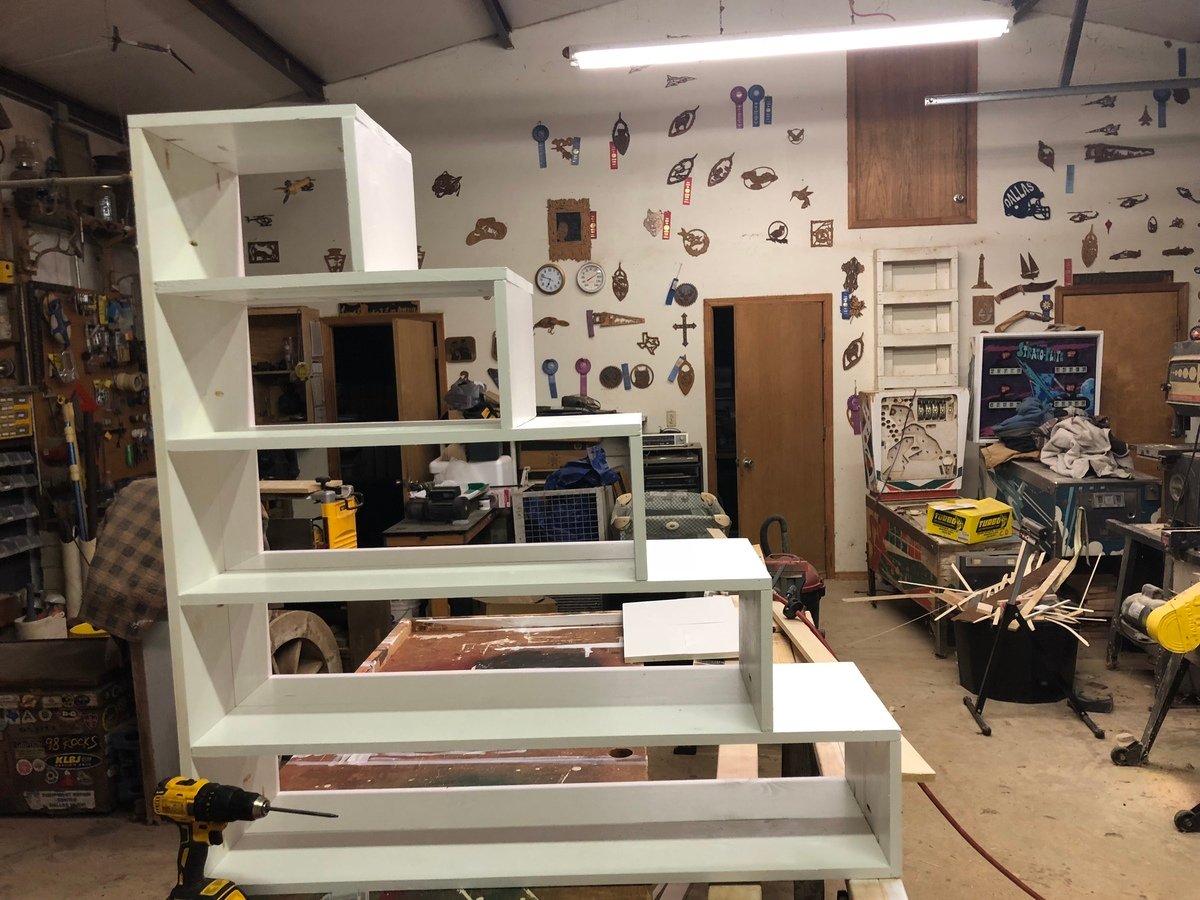
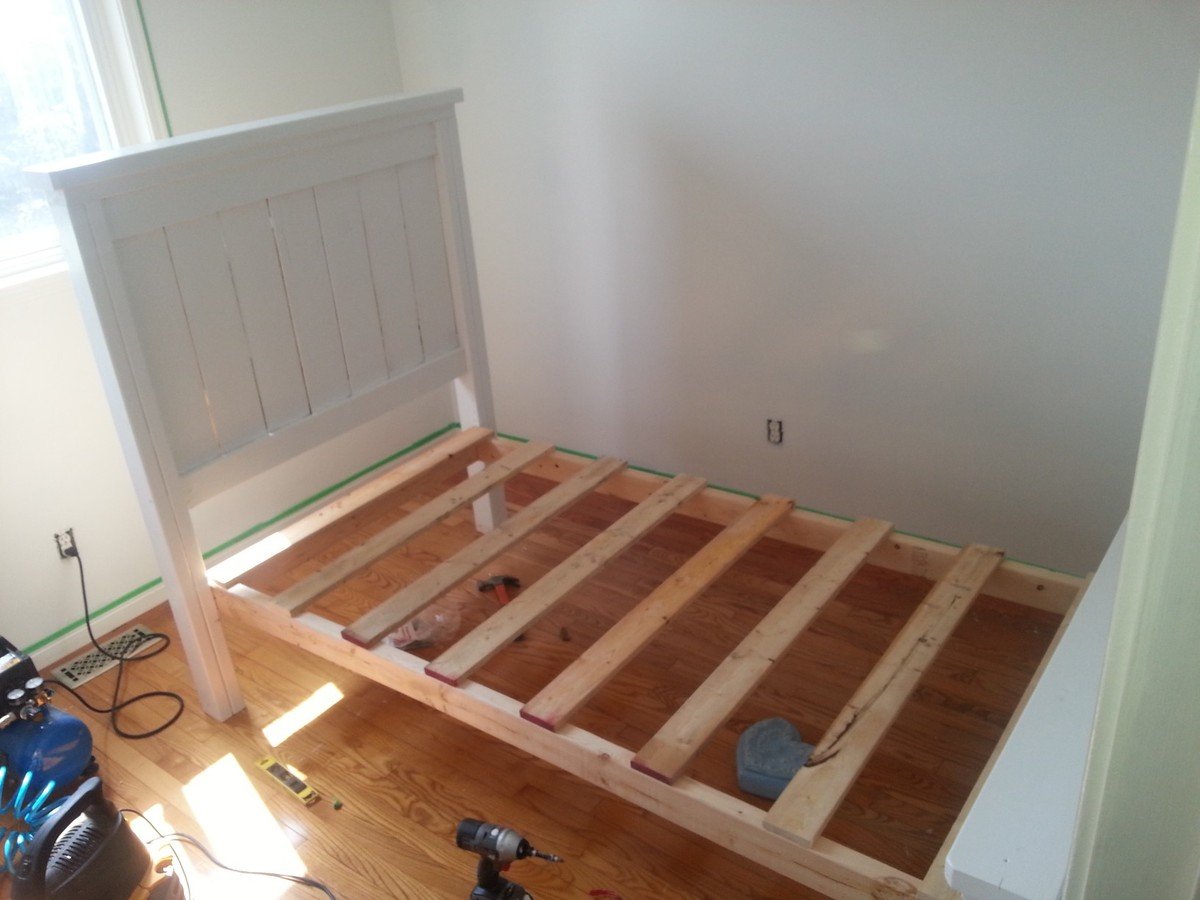
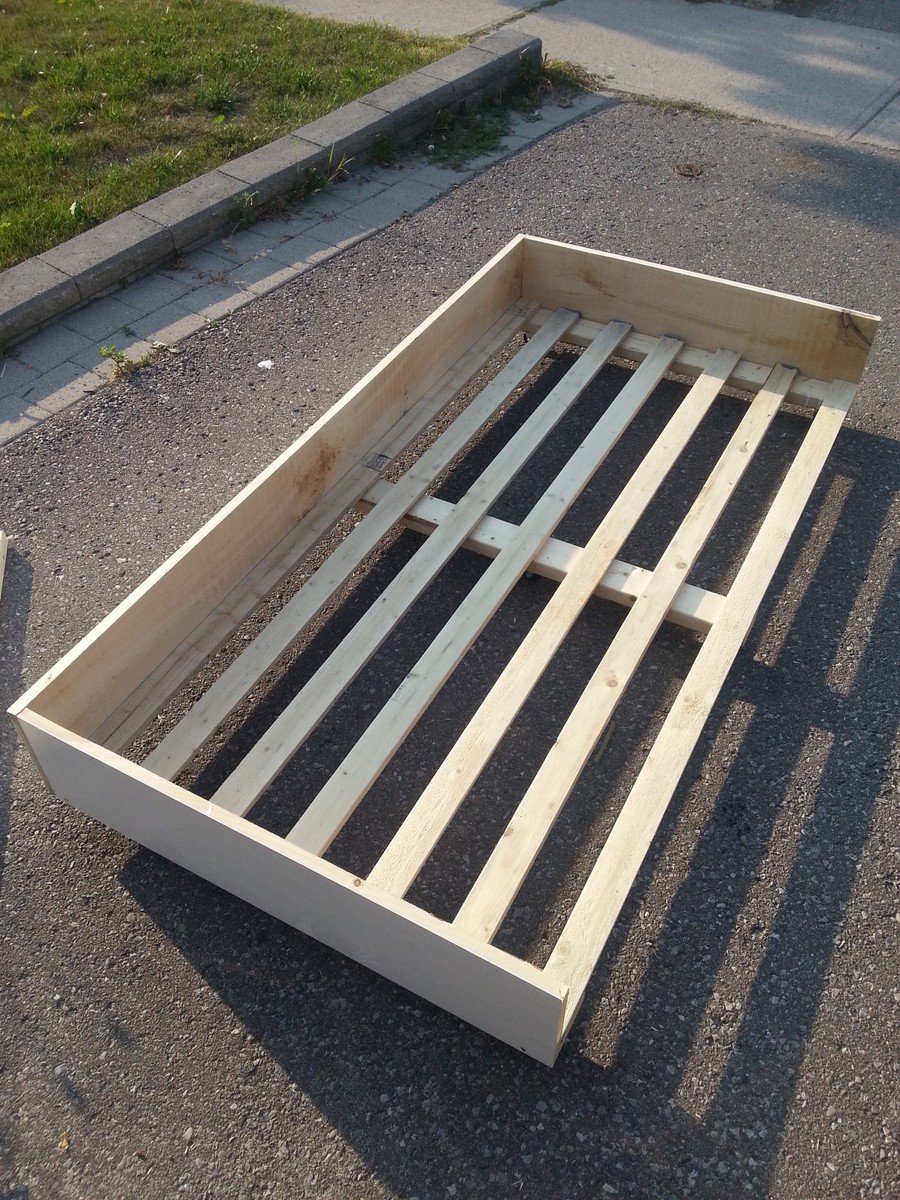
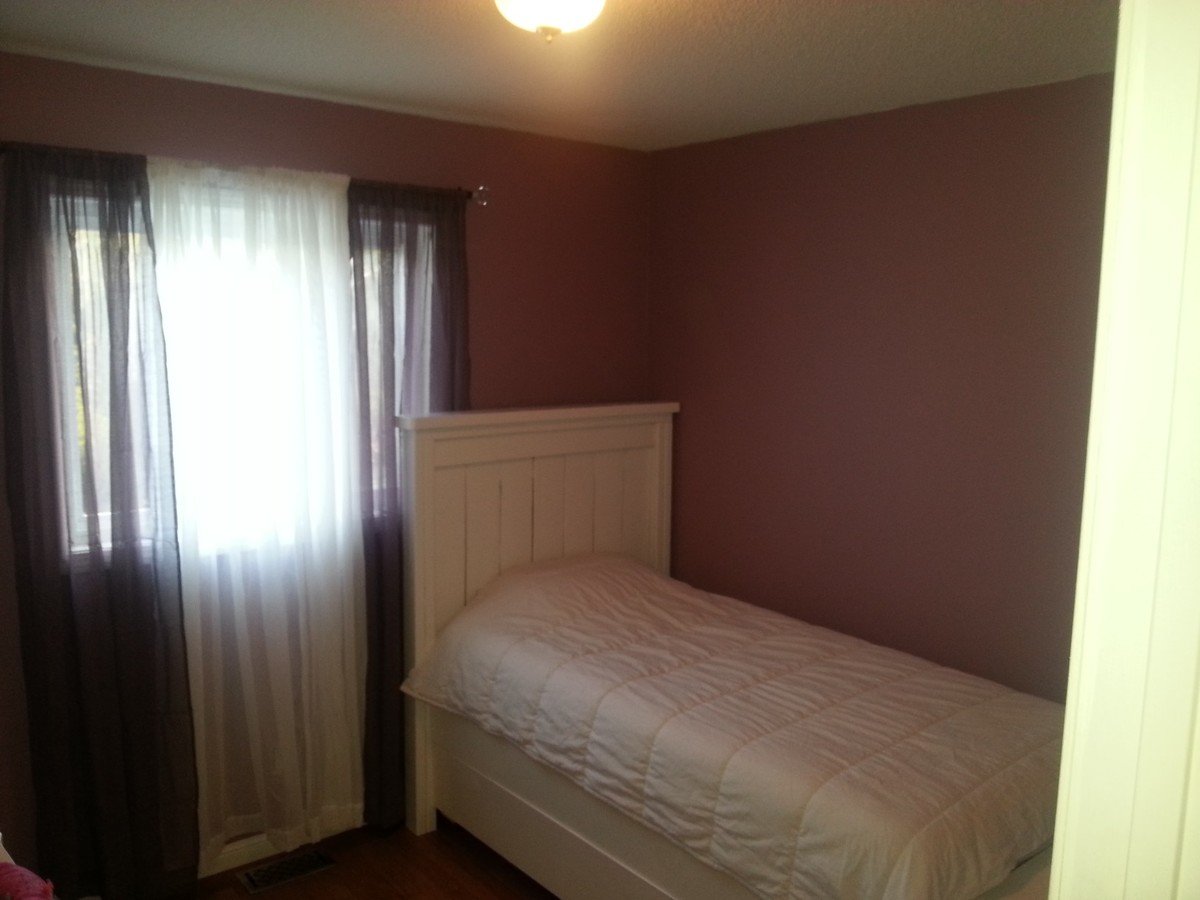
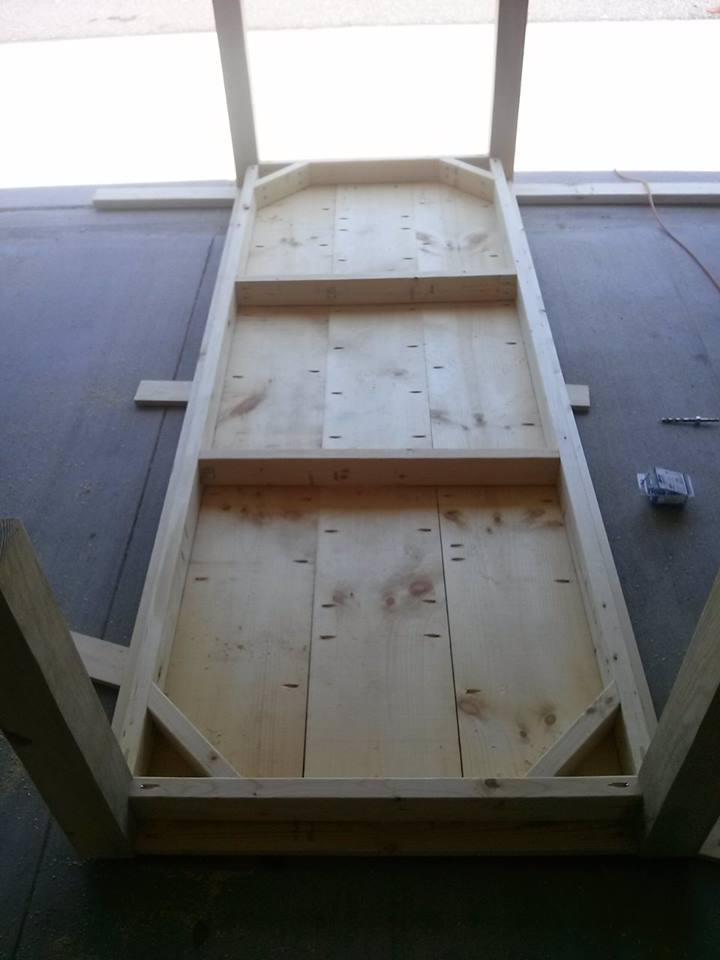
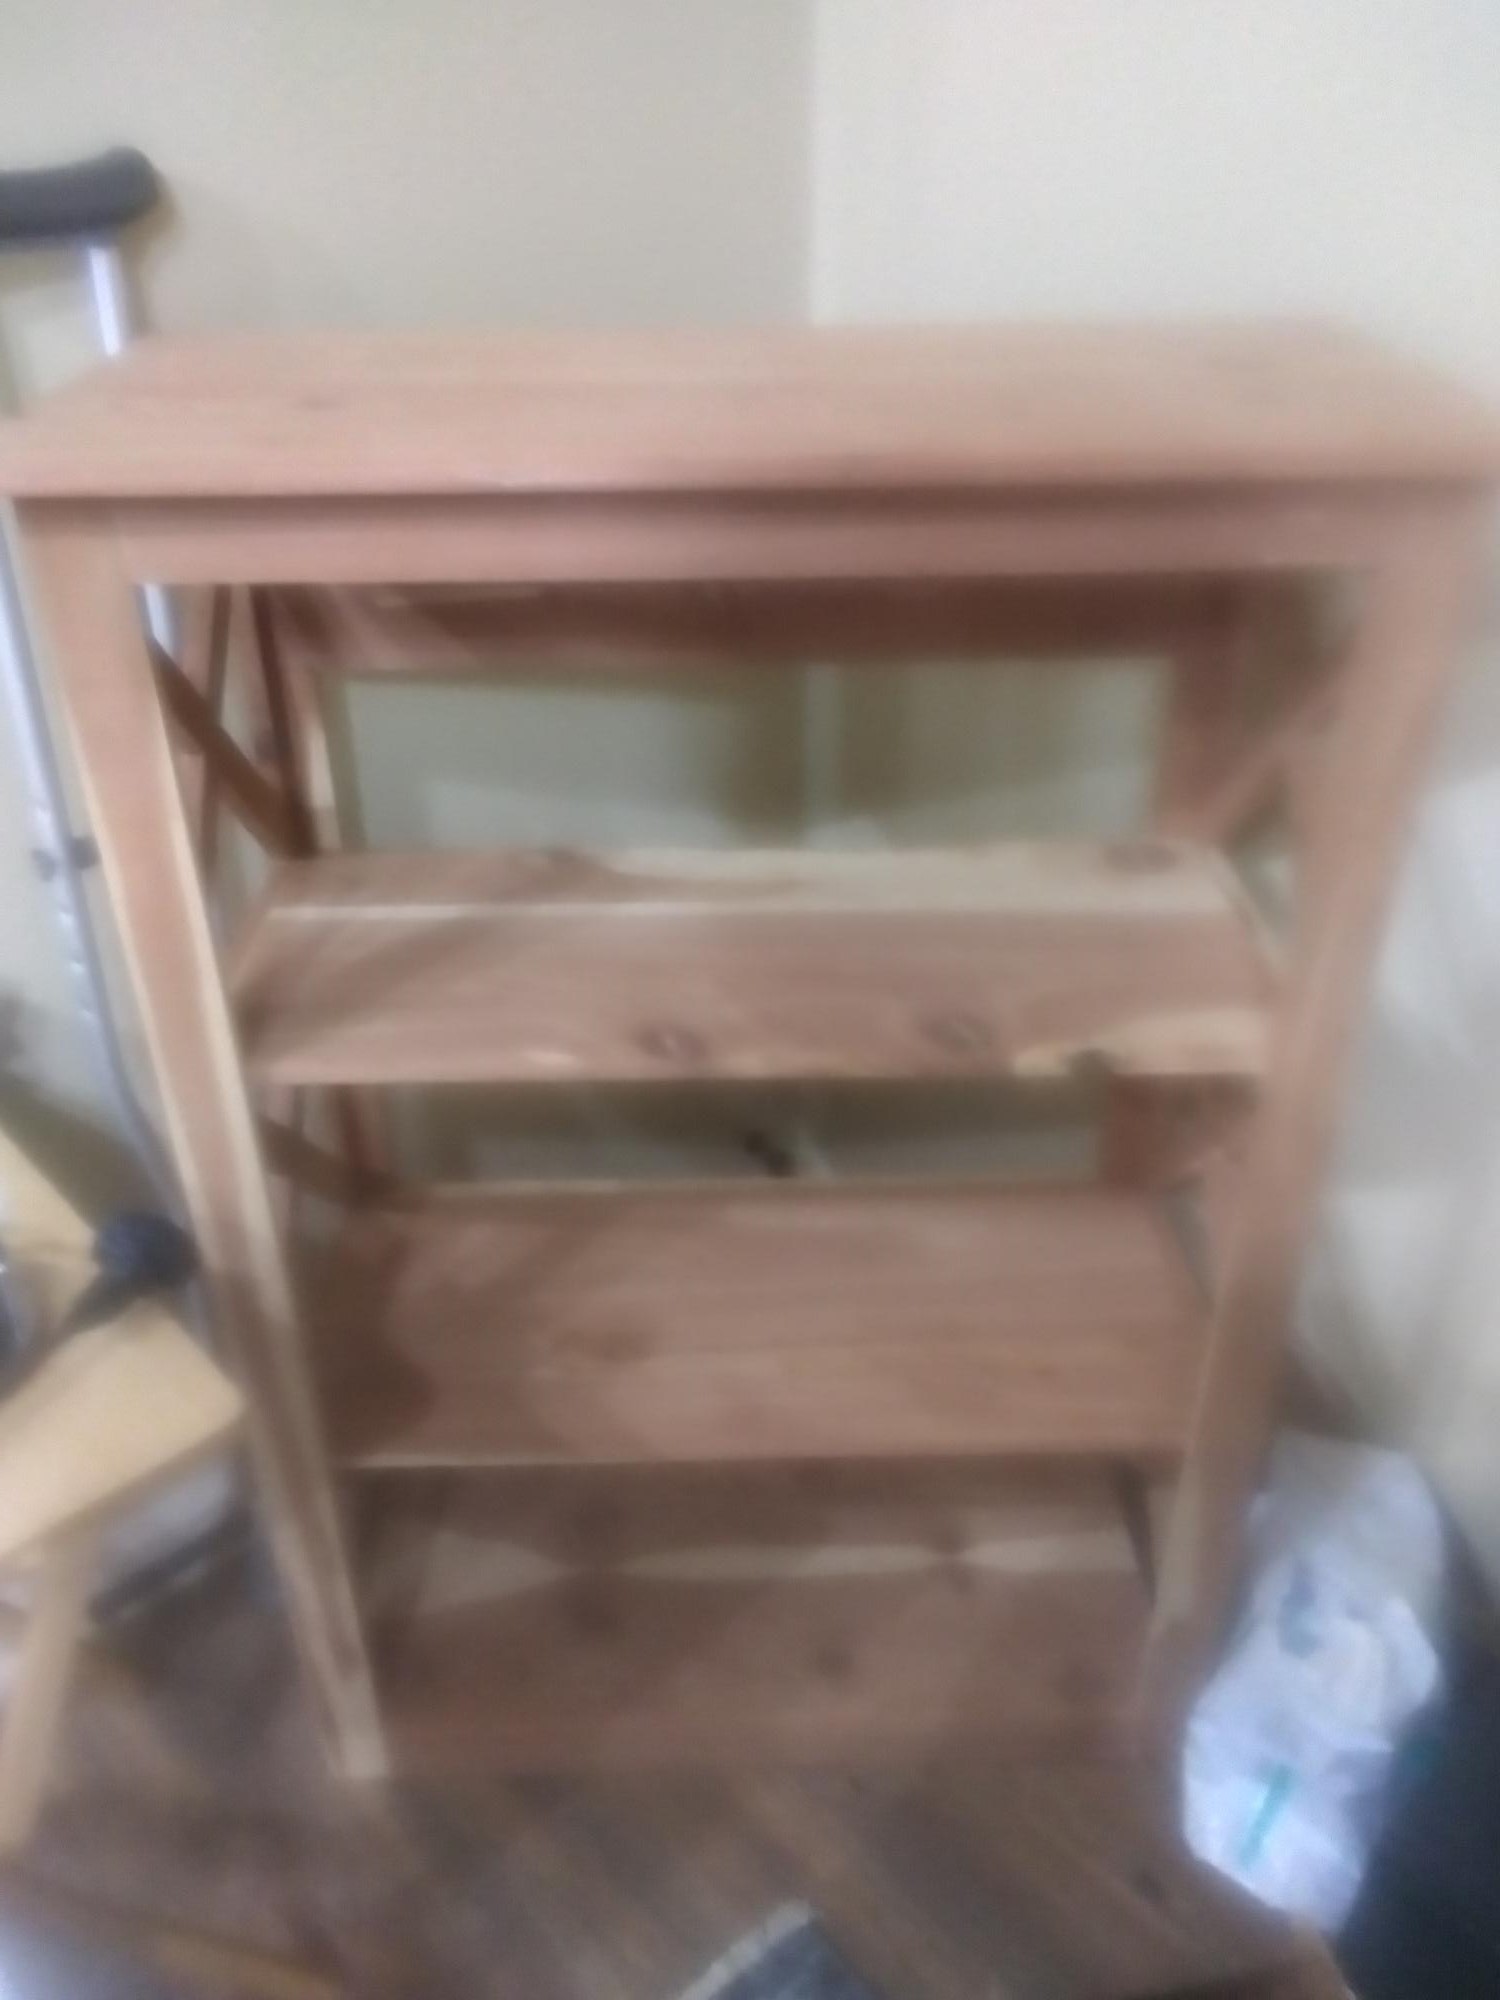
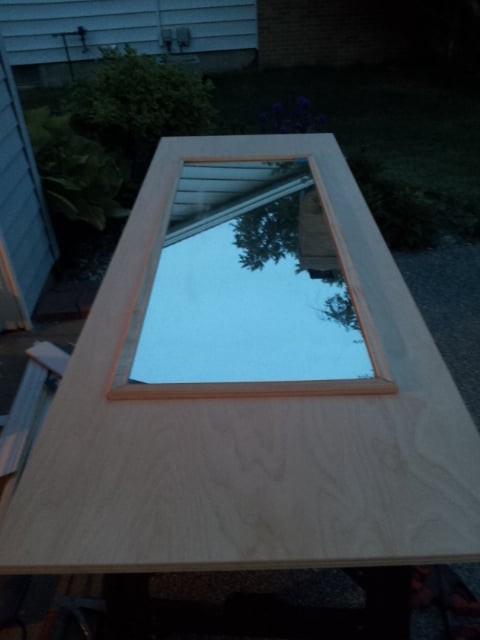
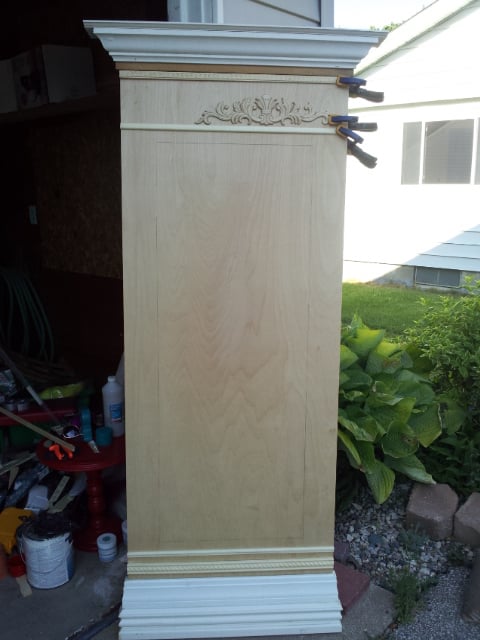
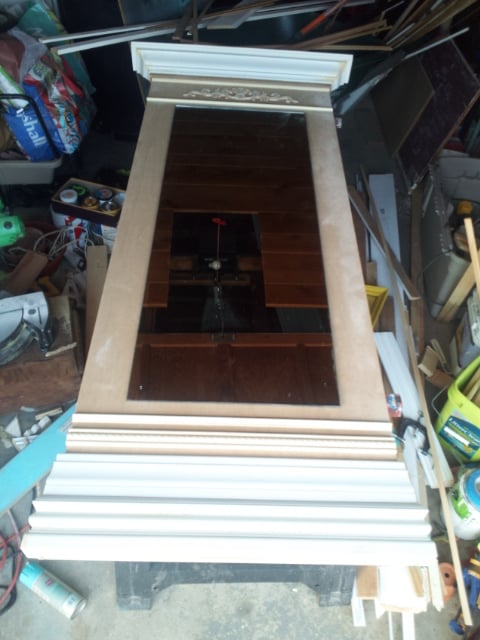
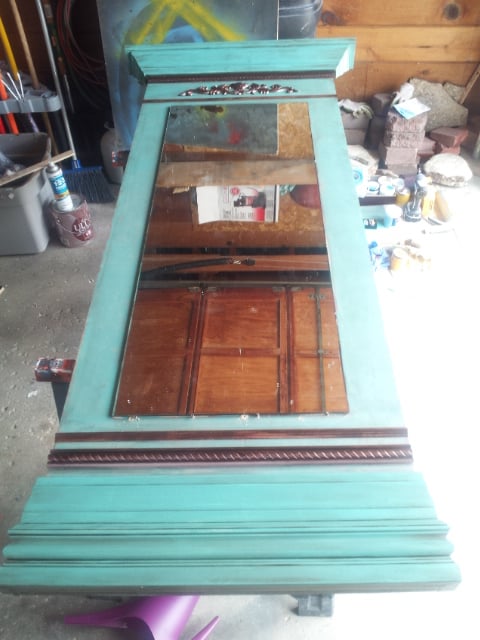
I used the surf bed plan and put a plywood face on the front and added the roofline, windows and flower boxes. The steps double as a bookshelf.
Built from Plan(s)
Estimated Cost
$400
Estimated Time Investment
Week Long Project (20 Hours or More)
Finish Used
Semi-gloss paint
Recommended Skill Level
Intermediate


Comments
Ana White
Thu, 06/14/2018 - 11:32
This is adorable! Glad you
This is adorable! Glad you used the surf bus plans - those plans are so easy - smart to just add your own front too it! Very much appreciate you sharing a photo. Great job!