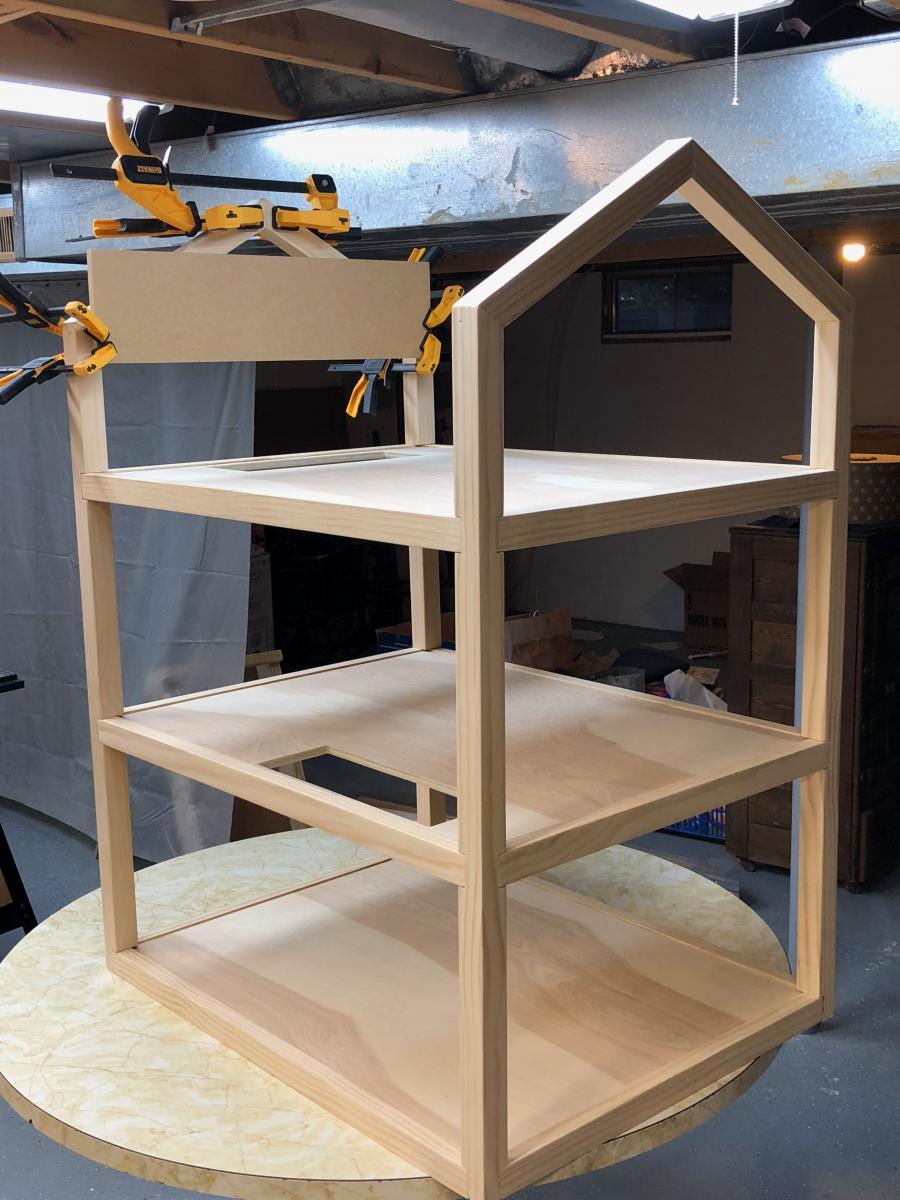
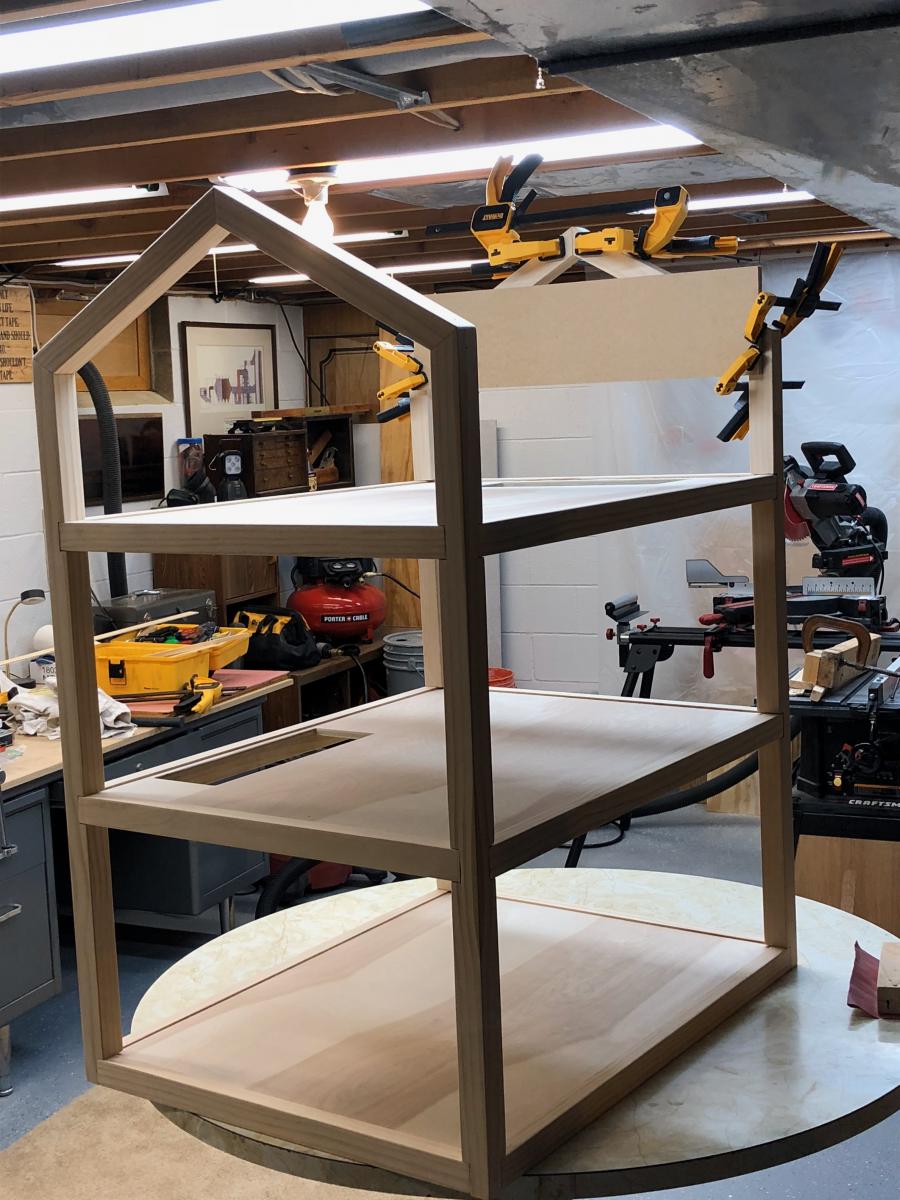
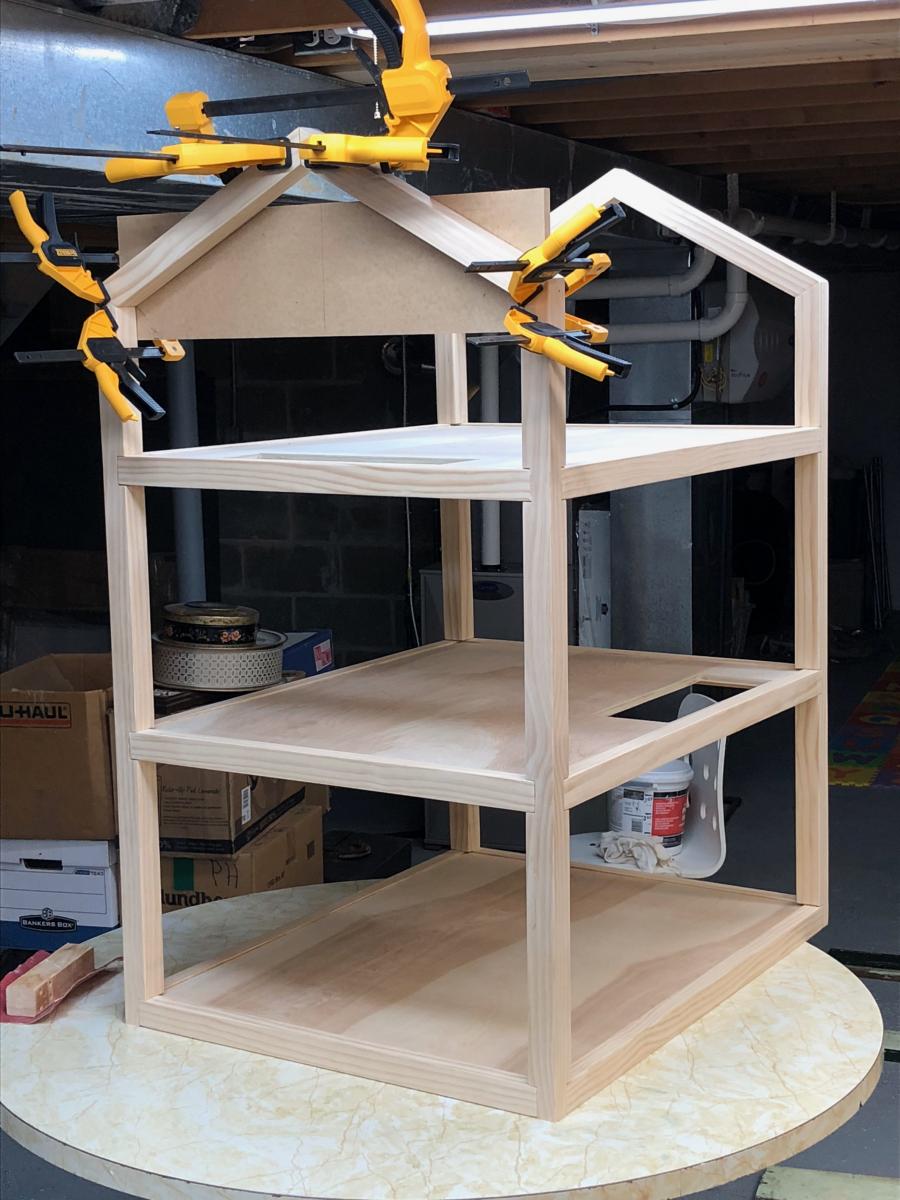
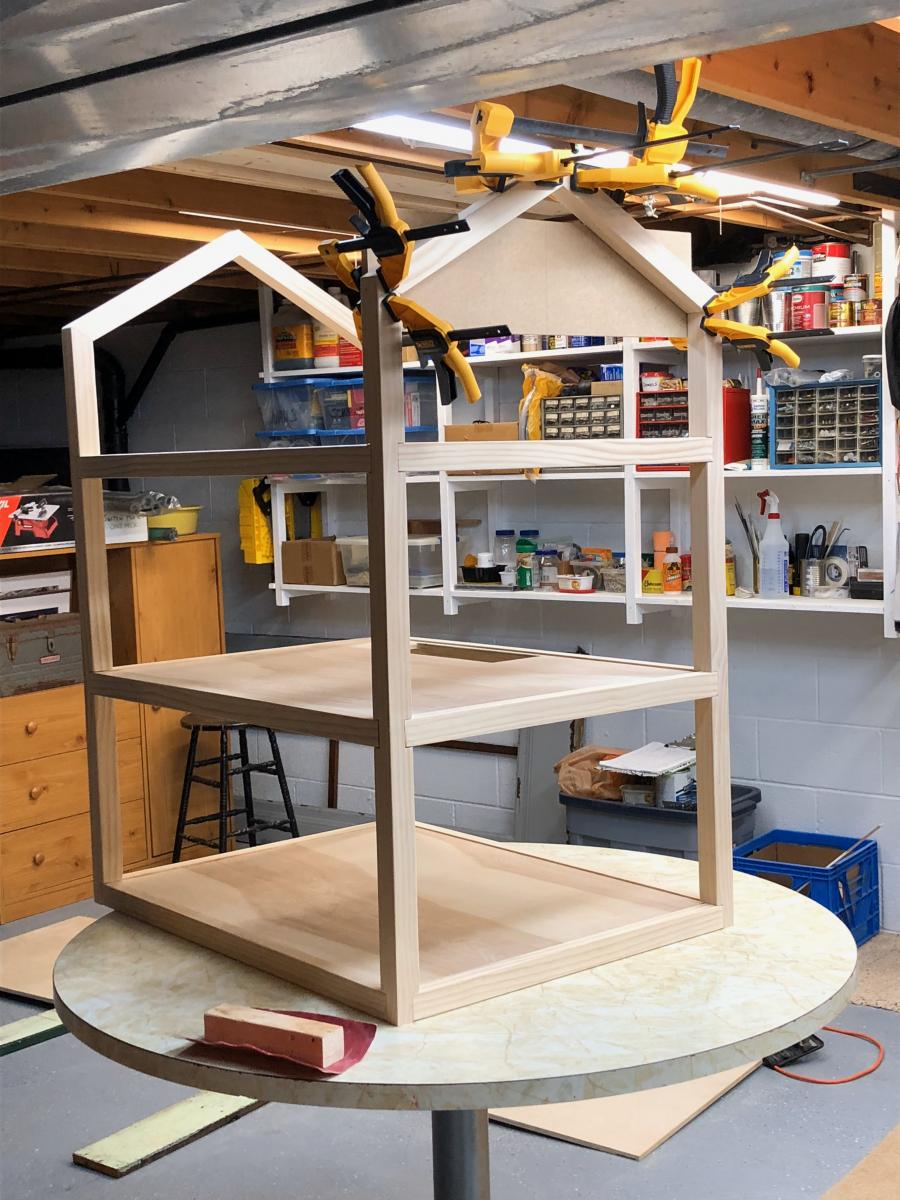
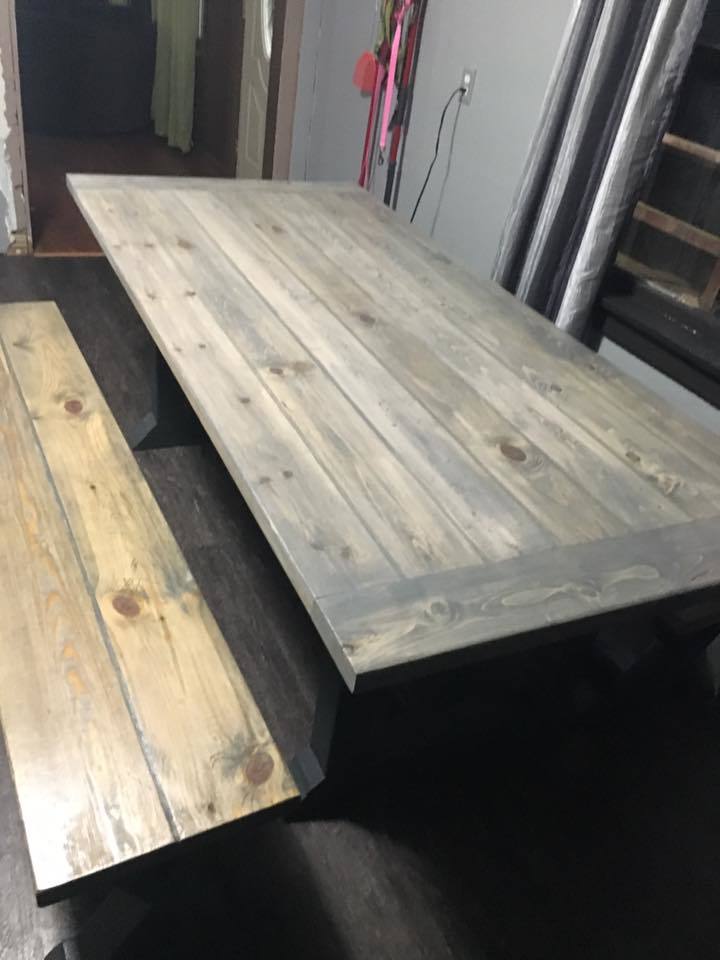
Toddler Farmhouse/Platform Bed
Our 18 month old was constantly climbing out of her crib so we got a cheap toddler bed and tried it out. She liked to go under the bed and almost always got one of her legs stuck between the slats on the under side of the matress.
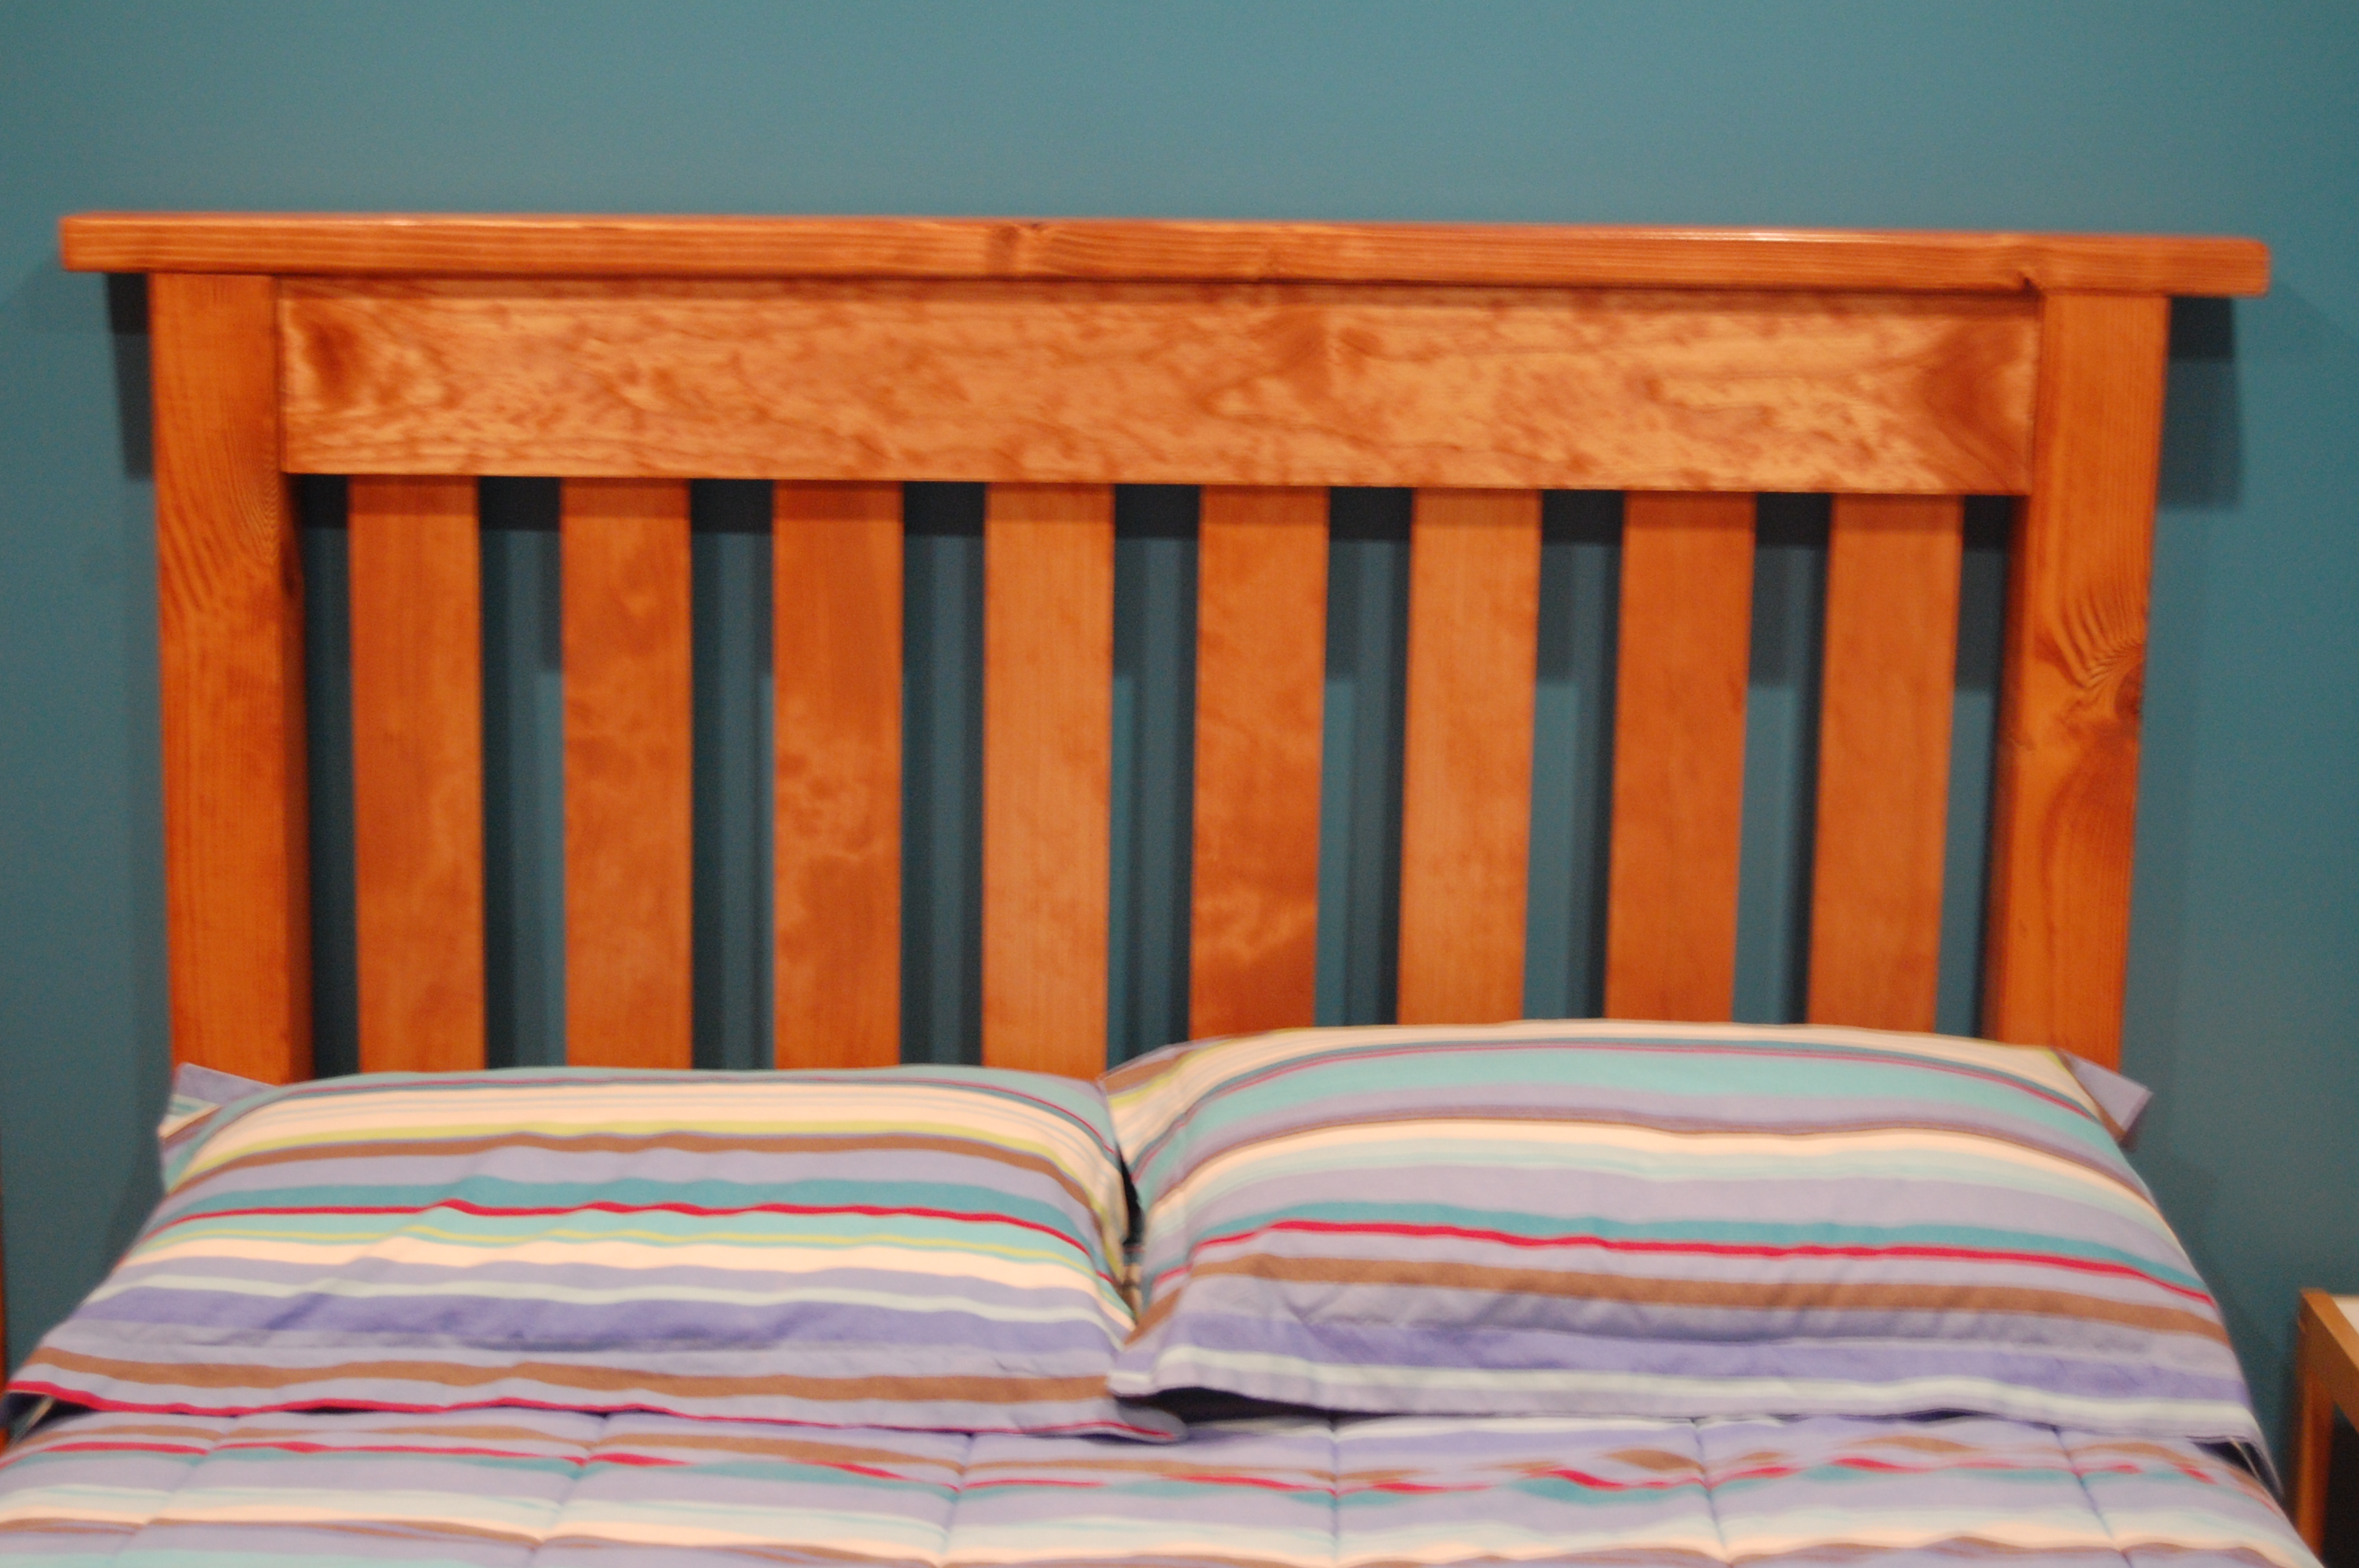
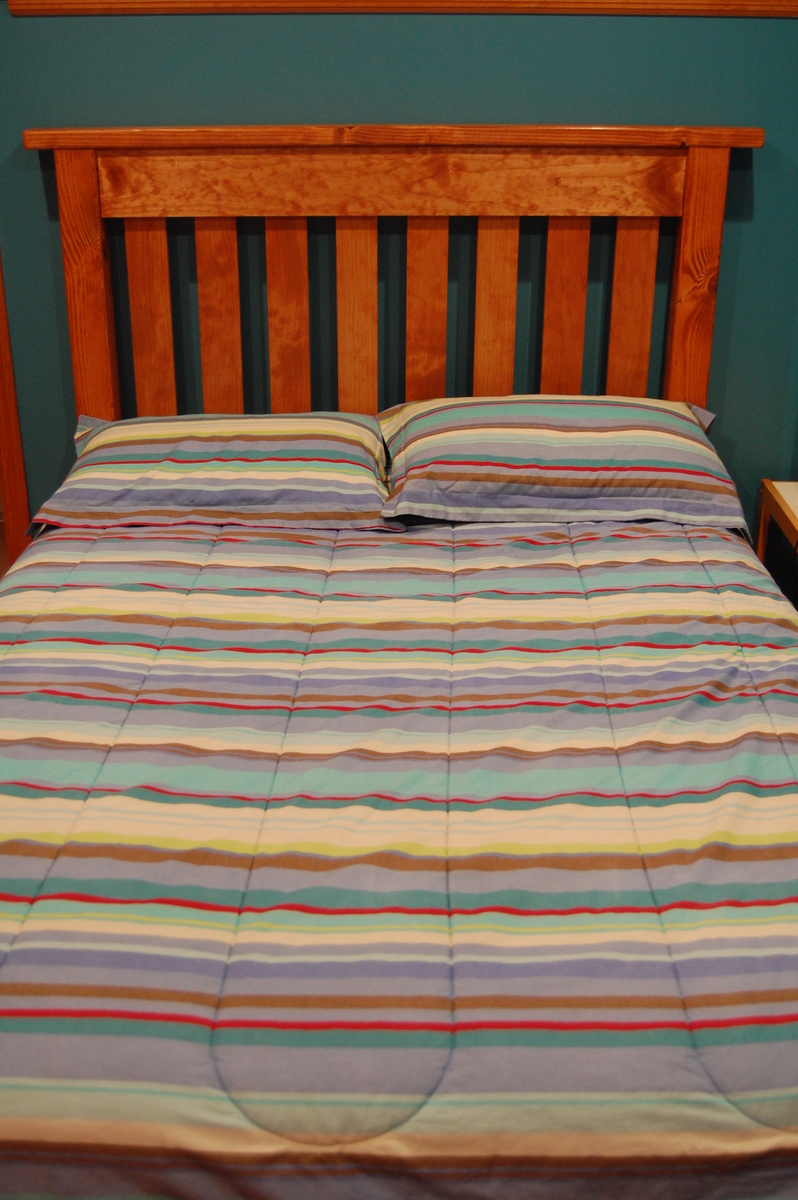
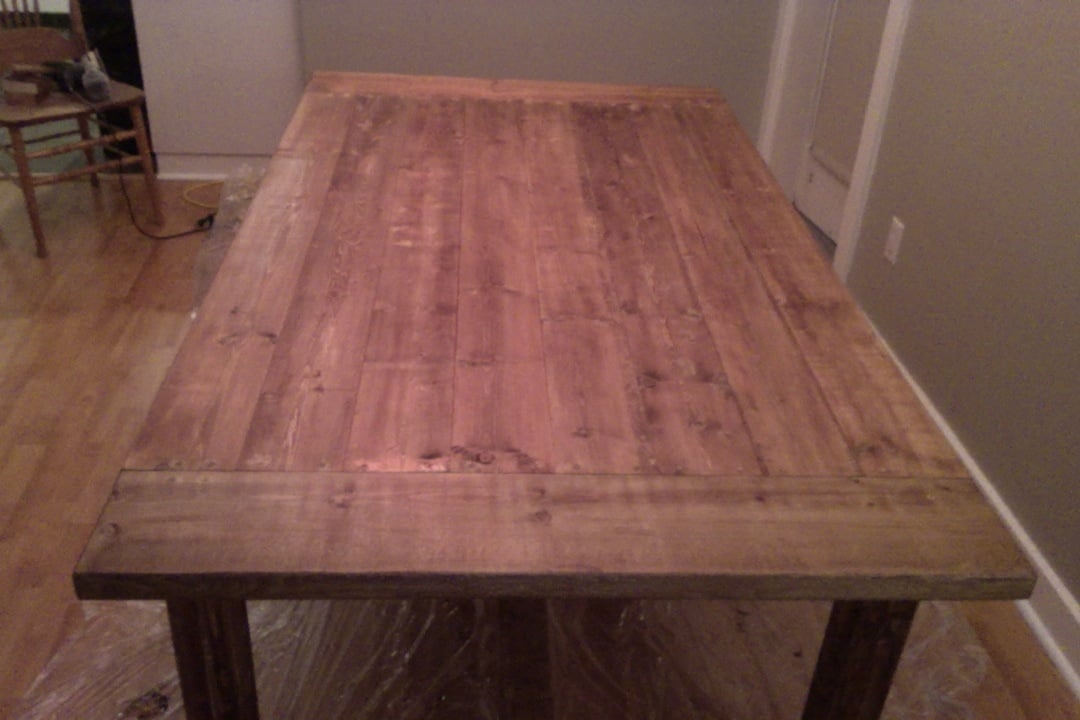
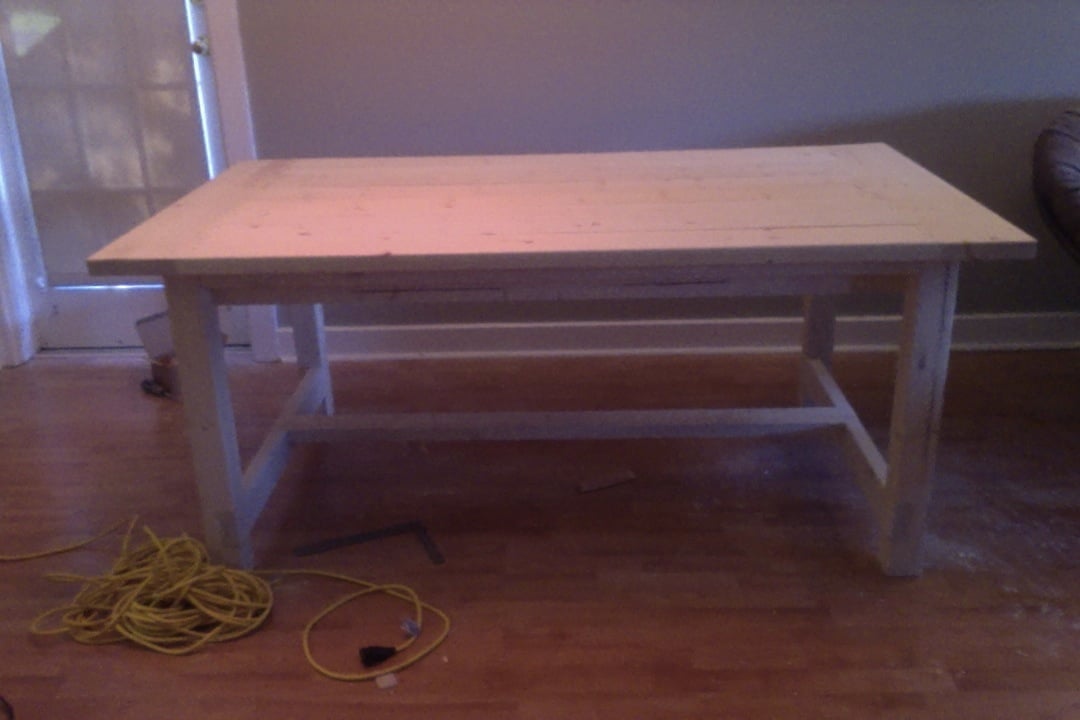
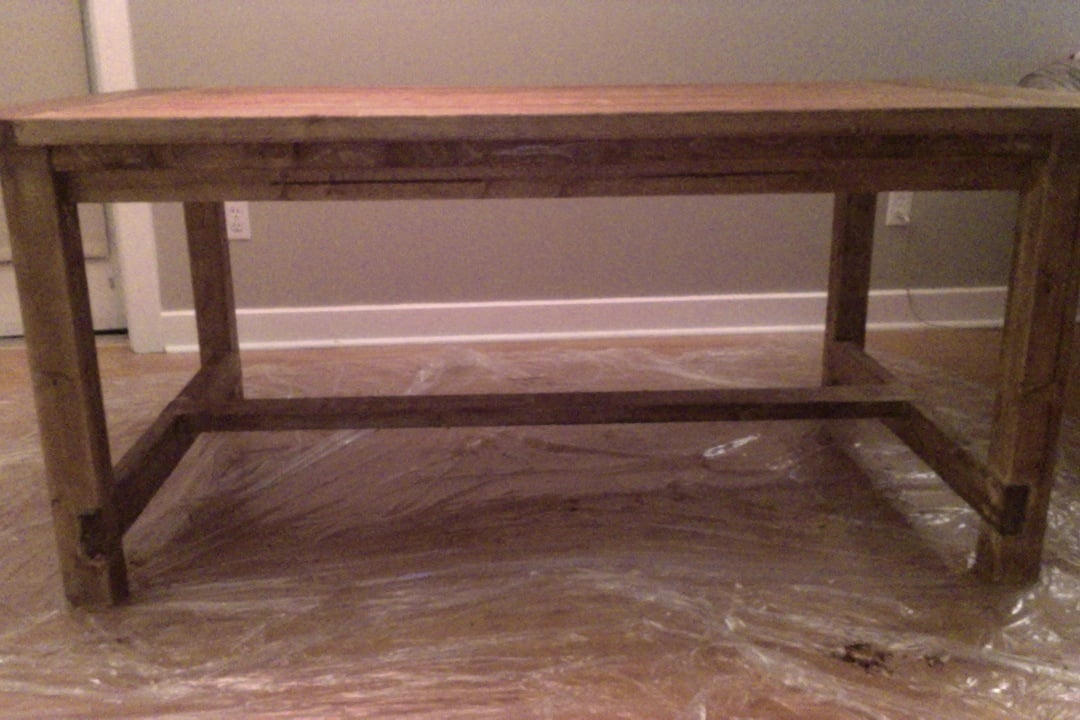
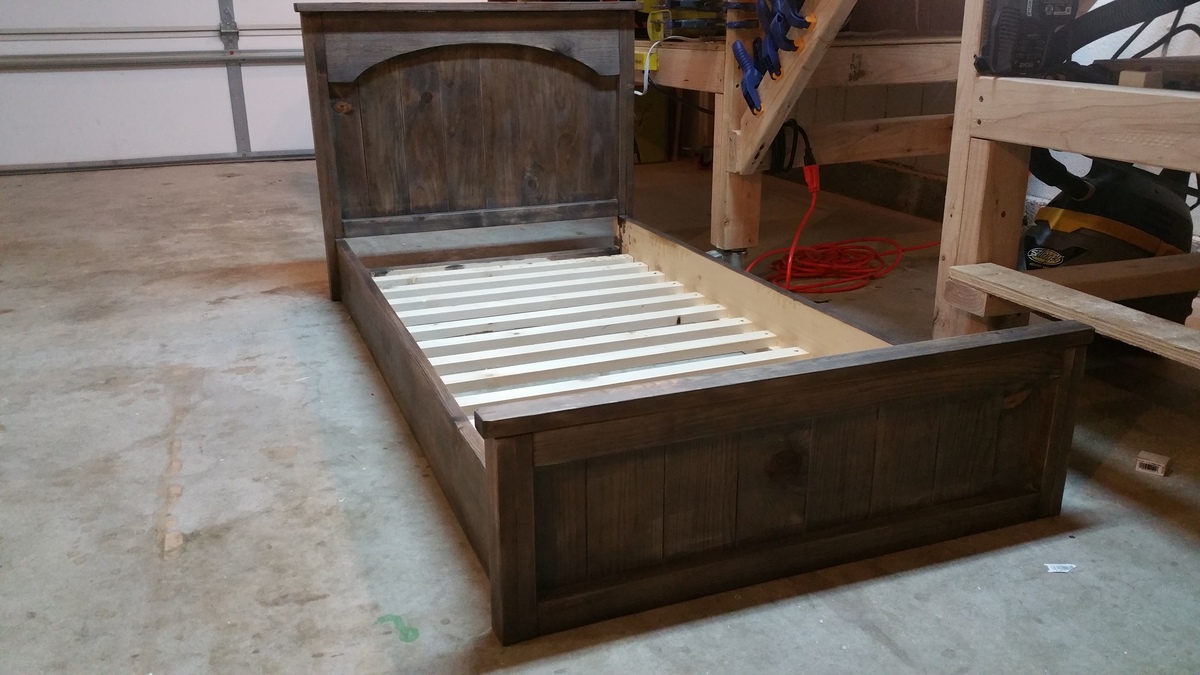
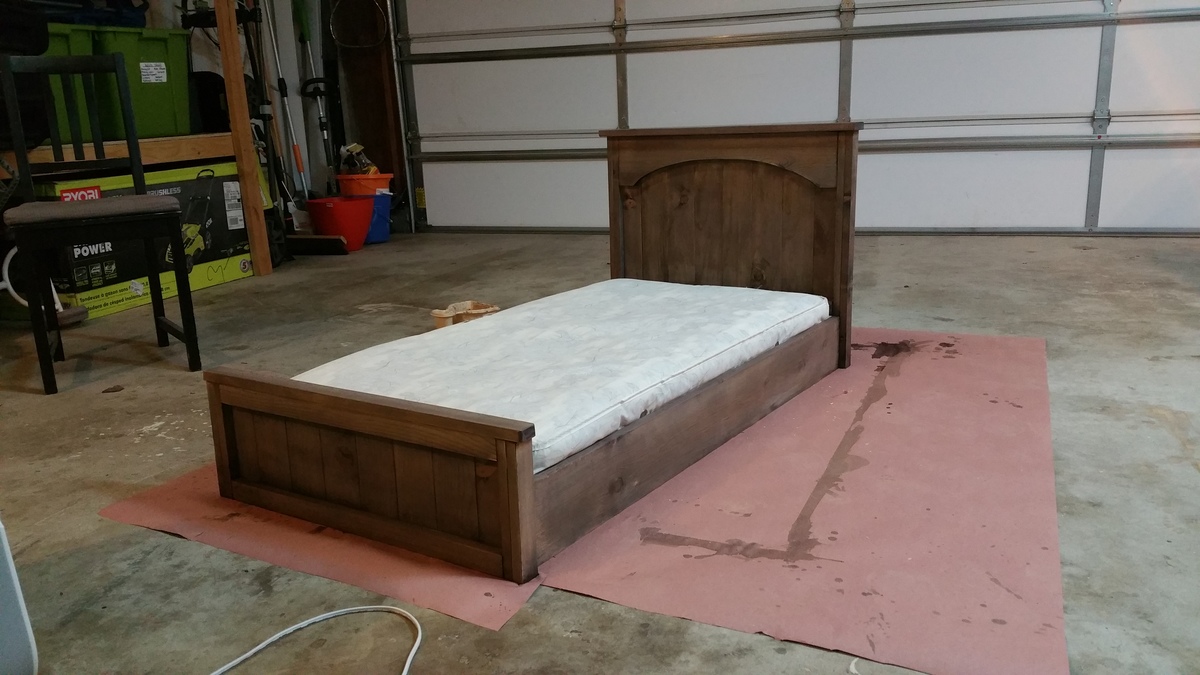
I decided to build a bed and found Anna White's Toddler Farmhouse bed plans. We modified the plans ever so slightly to make it a platform style to address our original issue.
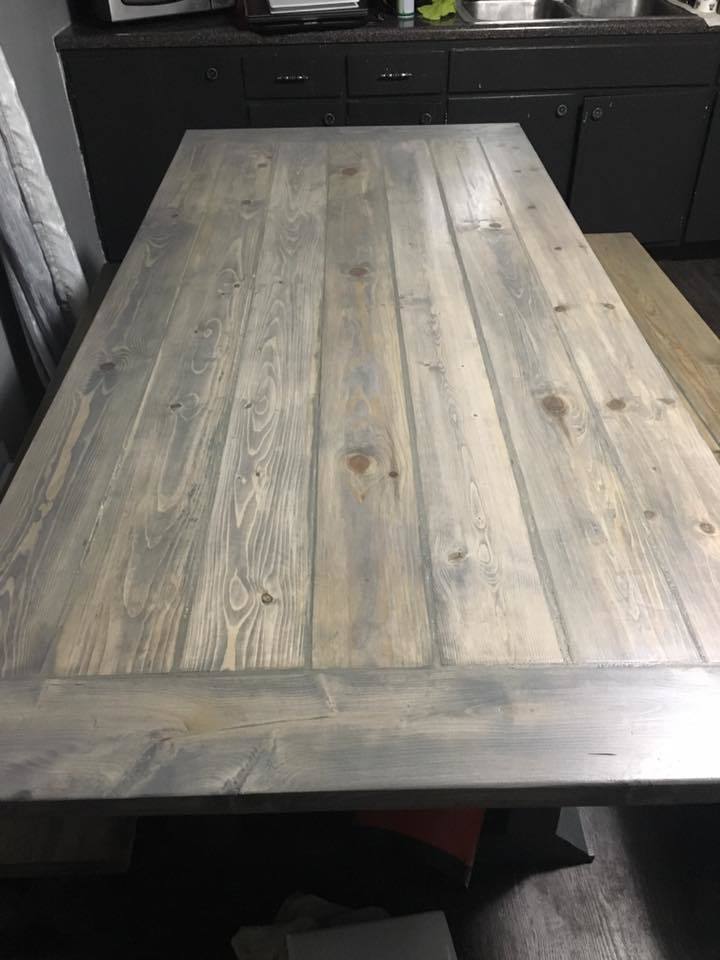
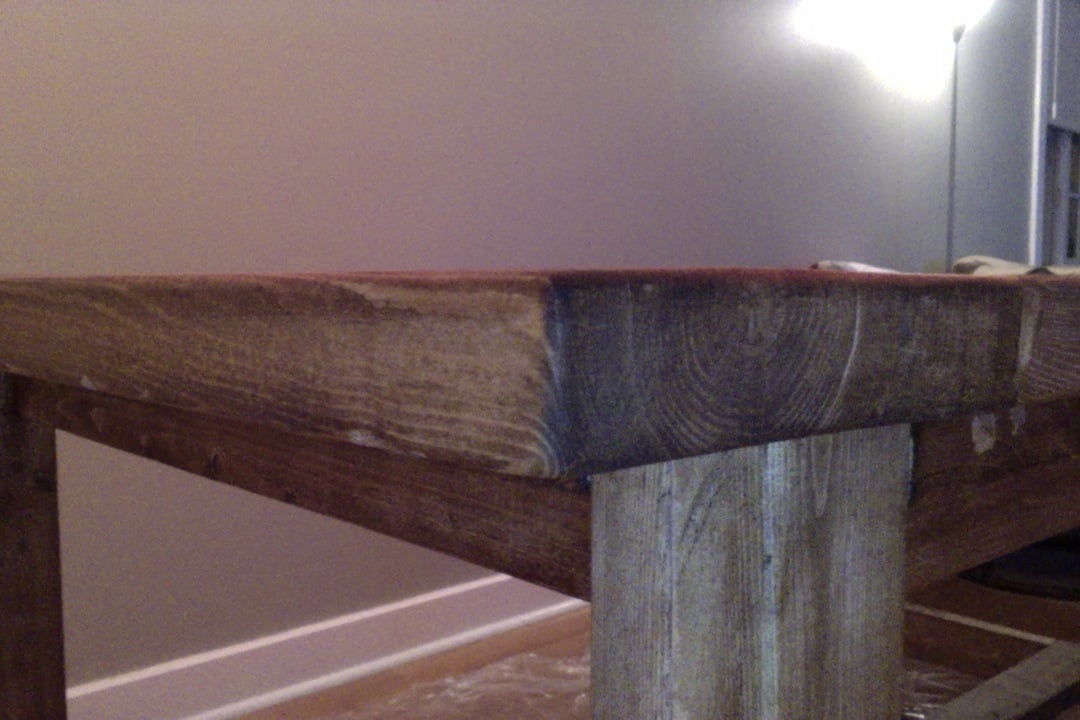
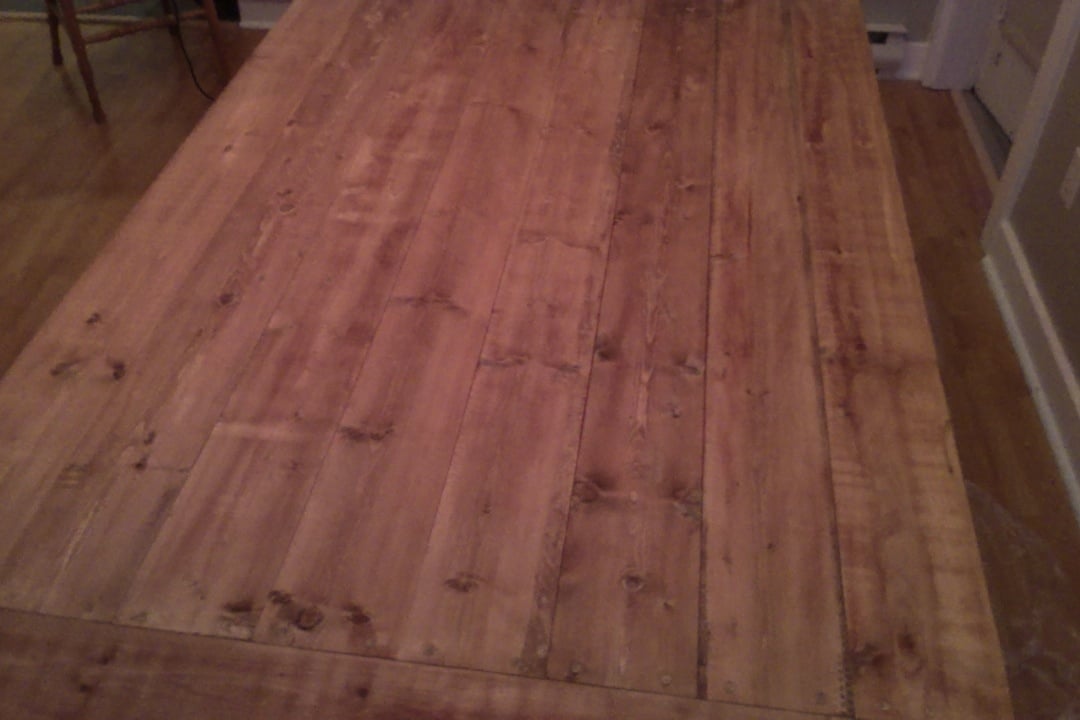
For the stain, we used 1 coat of steel wool and white vinegar that sat for 24 hours and prepped the wood with 3 bags of black tea steeped in boiling water for 10 minutes. The color was exactly what we were looking for.
This is my first project and there was a good amount of learning involved but it turned out amazing!
Built from Plan(s)
Estimated Cost
$35
Estimated Time Investment
Day Project (6-9 Hours)
Finish Used
White Vinegar and Steel Wool - 24 hour soaking time - 1 Coat
Large Mason Jar of Black Tea - Steeped for 10 minutes in boiling water, 3 bags - 2 Coats
Large Mason Jar of Black Tea - Steeped for 10 minutes in boiling water, 3 bags - 2 Coats
Recommended Skill Level
Starter Project