Community Brag Posts
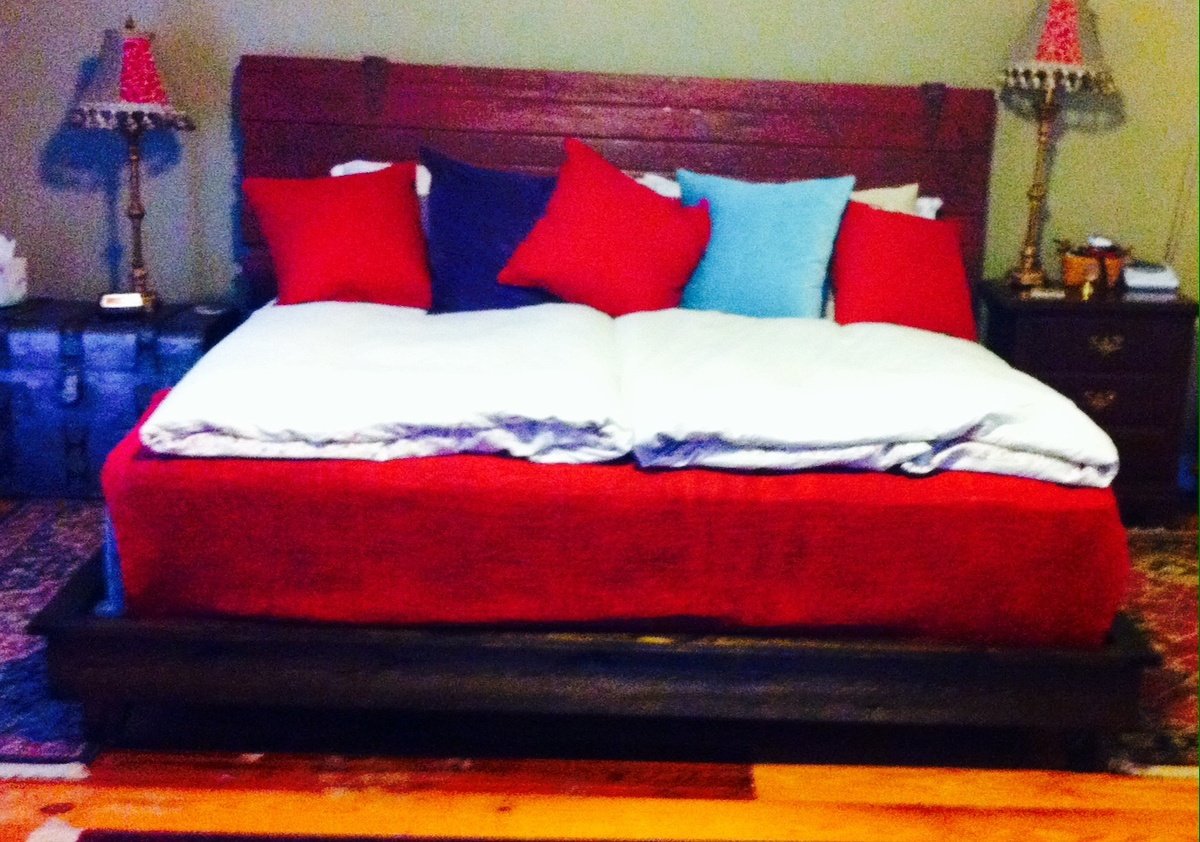
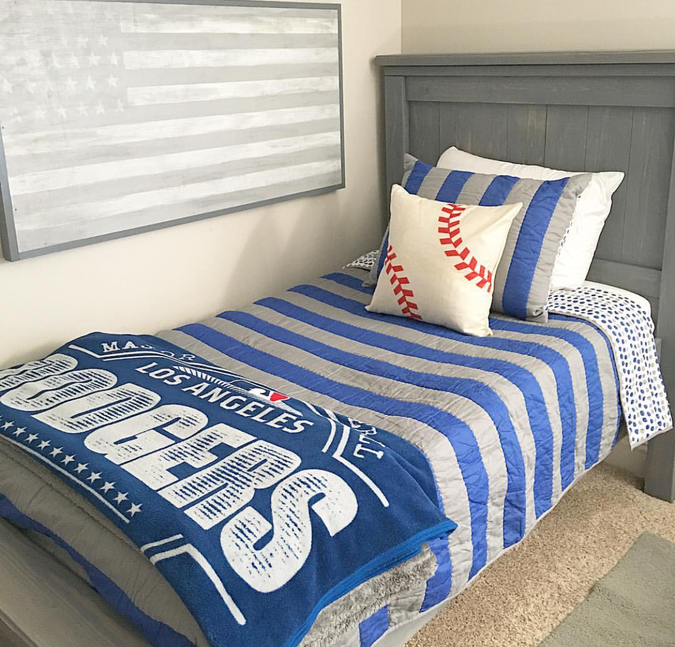
King Size Platform Bed
followed your instructions for the "Essential Platform Bed Frame" -- made this as a king. 2x6's for all legs/center supports with mitered corners for a simple added style. only suggestion/modification is the the #of slats you suggested (10) is way too few, I ended up using 15 or more
Also, used the circle-corners instead of mitering because all our doorframes in the house have that type of corner, and then I wouldn't have to "match" the leaf design where the mitered corners meet
Thanks for your guide!
Jake in Spokane
Built from Plan(s)
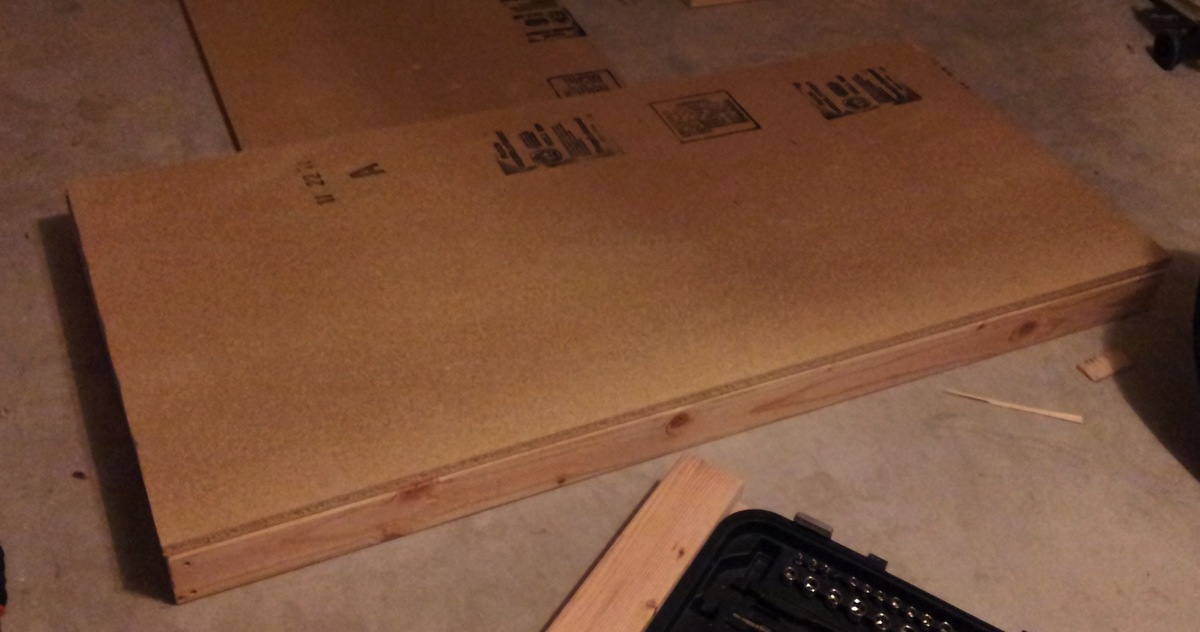
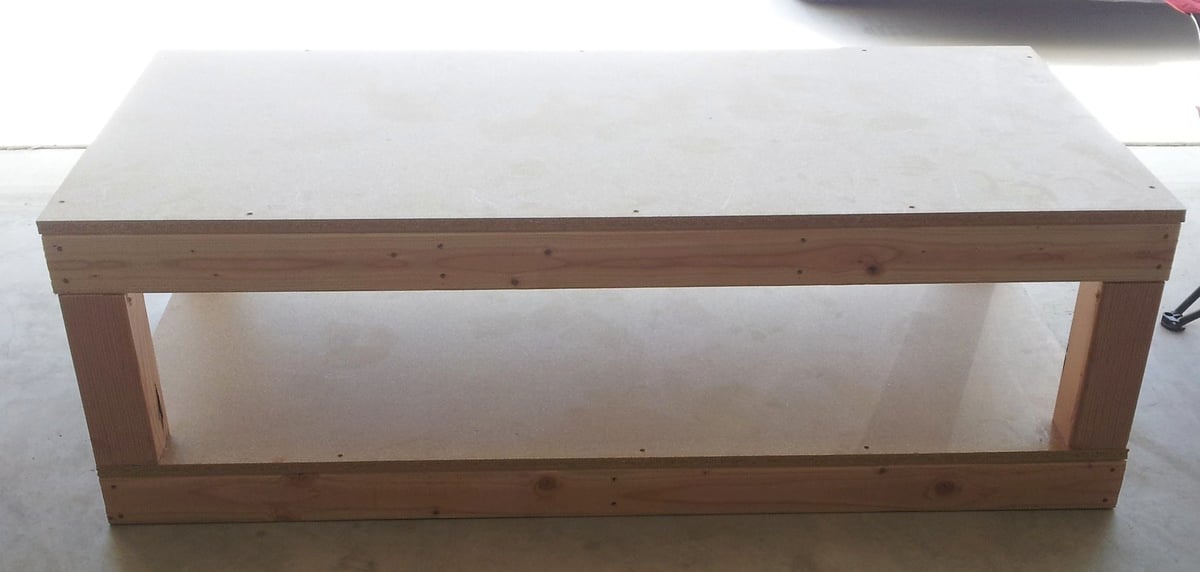
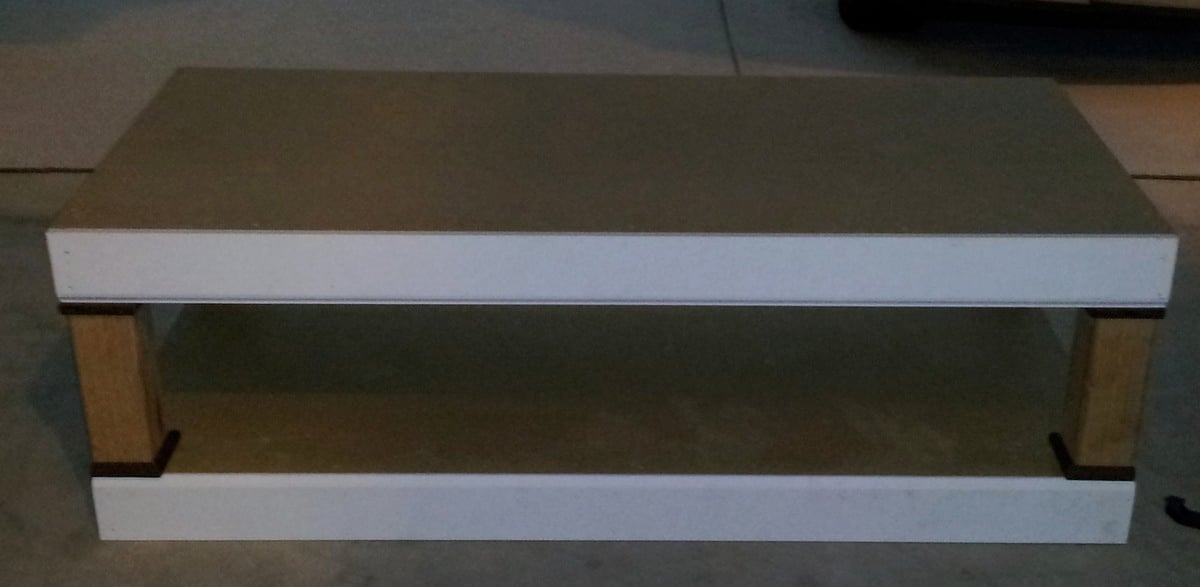
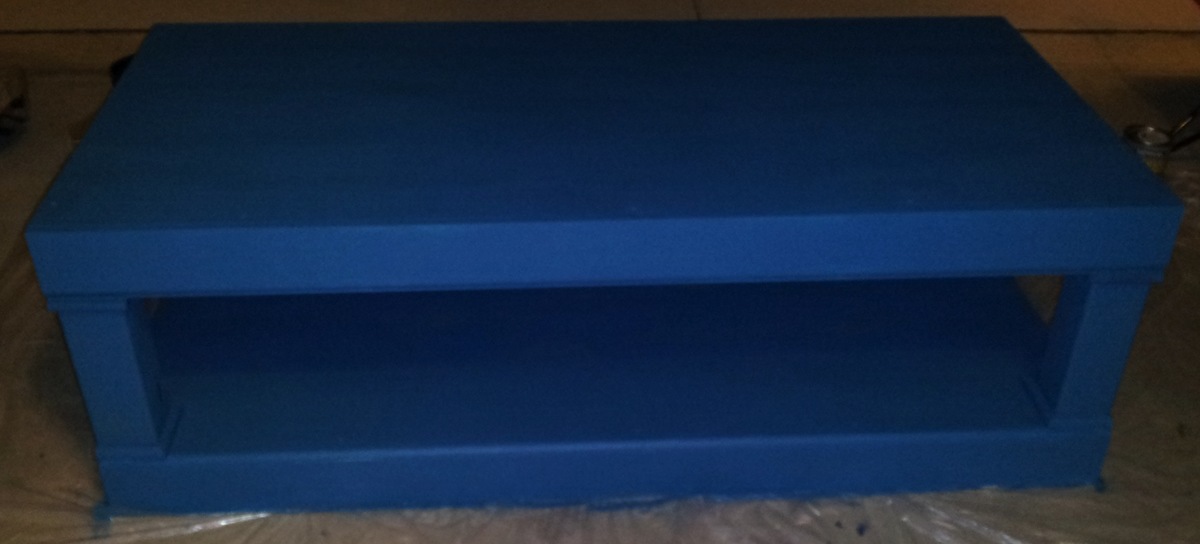
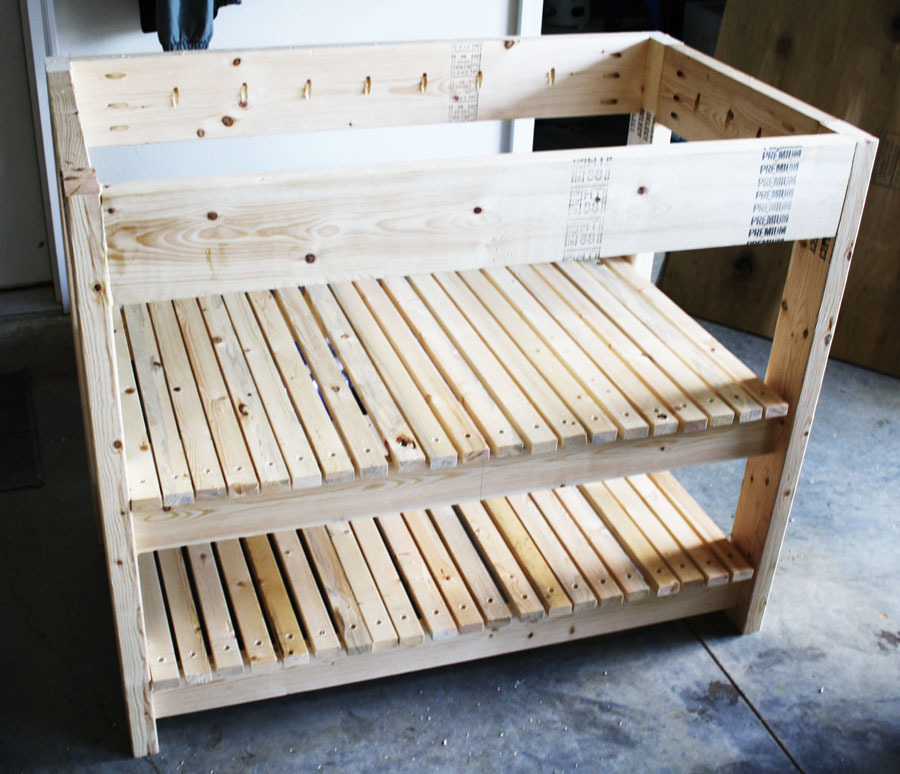
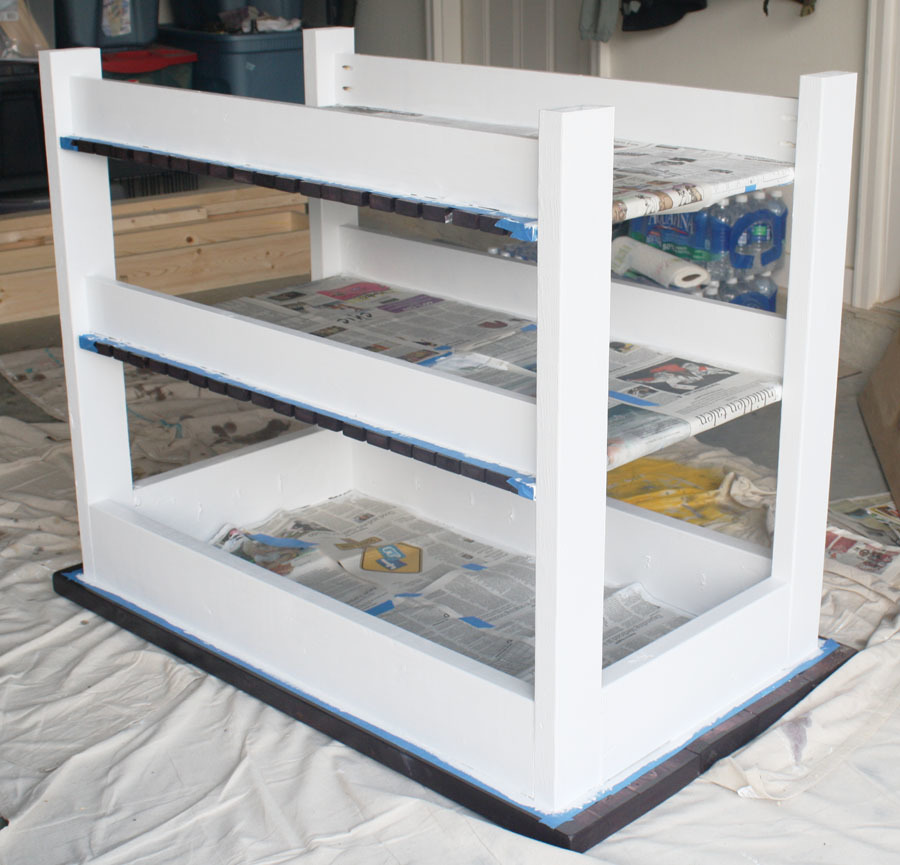
Washer/Dryer Storage Pedestal

After I built my work bench I was ready to get started with my first real projets from the site. My wife requested that I make this pedestal first so that she could get a little more organized. I would say total there was about 8 hours of cutting and building and then another hour of painting. I did make one modification to this project and that was to add extra trim to the bottom and top of this pedestal. With everything included (wood, trim, paint, screws) this probably costs me right around $115. Much less than two of the standard medal pedestals that don't add much as far as aesthetics to the laundry room.

Estimated Cost
$115
Estimated Time Investment
Day Project (6-9 Hours)
Finish Used
Leftover blue/green paint from my son's room, white vinyl letter appliques
Recommended Skill Level
Beginner
Queen Sized Farmhouse Bed
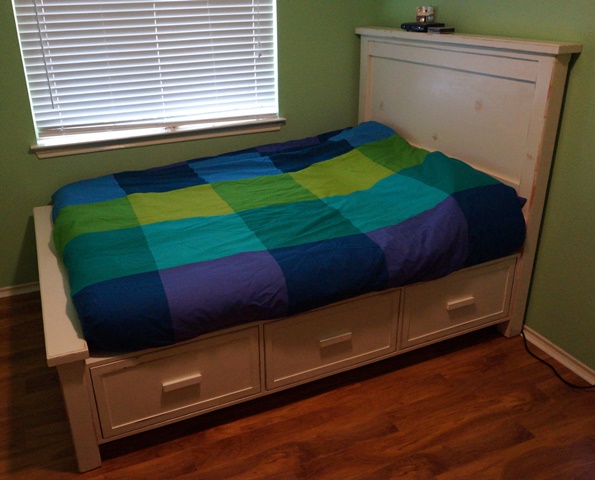
I built this Farmhouse Storage Bed with Storage Drawers for my youngest son. I wanted this bed to be for our current use (for my son and when my parents come a visit) but also I wanted deeply for this to be an heirloom that he would carry with him in his life.
I worked on it a bit at a time for about three weeks. I probably put 50 or so hours into it and I learned a lot. I used redwood 4x4 posts for the head and foot board, cabinet grade plywood, and reclaimed poplar for the trim and handles on the drawers.
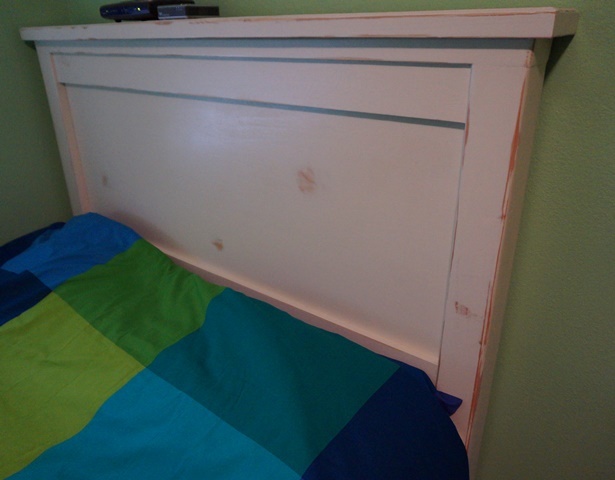
I sealed the drawers and drawer boxes with my own version of "Wipe on Poly" that I mixed myself. I painted the bed with eggshell white paint that I bought a while back to repaint our ceilings with when Hurricane Ike came through. I sanded back portions of the bed to make it look distressed and then sealed the whole thing (bar the portions I already sealed) with clear semi gloss polycrylic.
My thinking was that I would have the color I wanted and yet seal the whole bed including the portions I distressed making the look rather permanent and tough for a child under 10.
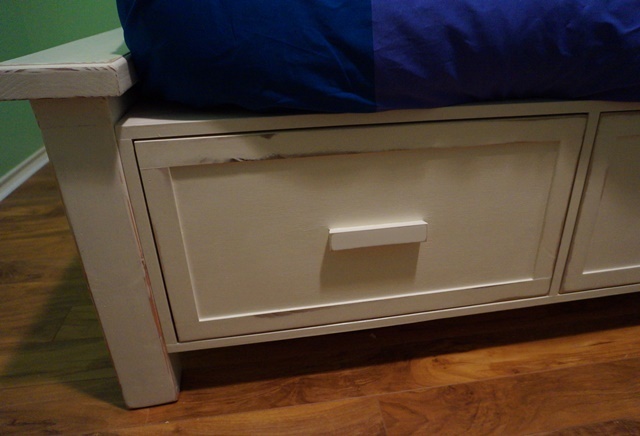
I plugged all of the pocket holes that I used and sanded them flush as well as using edge banding on the drawers and the bases so that they looked like solid wood. These two alterations to Ana's plans added some time to be sure - but I was really happy with the result.
Ana, I wanted to thank you personally for putting these plans together and encouraging others to try their hand and building furniture. I had build a lot of other woodworking projects before but nothing of this scale. It went VERY smoothly with few hiccups and came together, essentially, like I wished it would.
I plan on making more things in the plans soon, including a loft bed for my other son, and will post them here when I do.

Estimated Cost
400 dollars
Estimated Time Investment
Week Long Project (20 Hours or More)
Finish Used
Sand back wood, add eggshell paint and let dry overnight. Adding a second coat a few hours after the first. Sand back paint, 220 grit, to a smooth finish and then sand back points where natural wear would occur creating a distressed look. If you want the wood to be a little darker at these points, use Danish oil on the wood and the paint. Let this dry for 72 hours then cover with polycrylic sealer (semi gloss) and let dry.
Recommended Skill Level
Intermediate
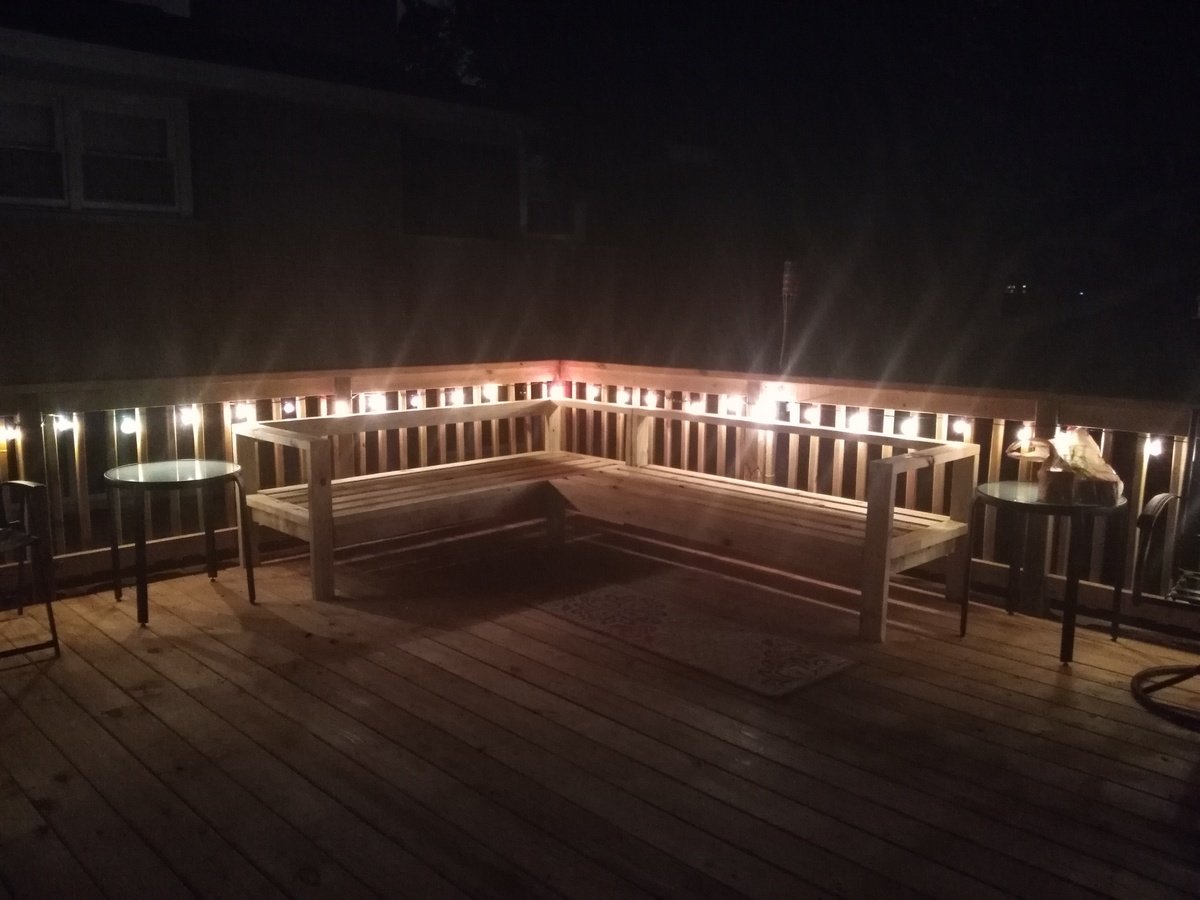
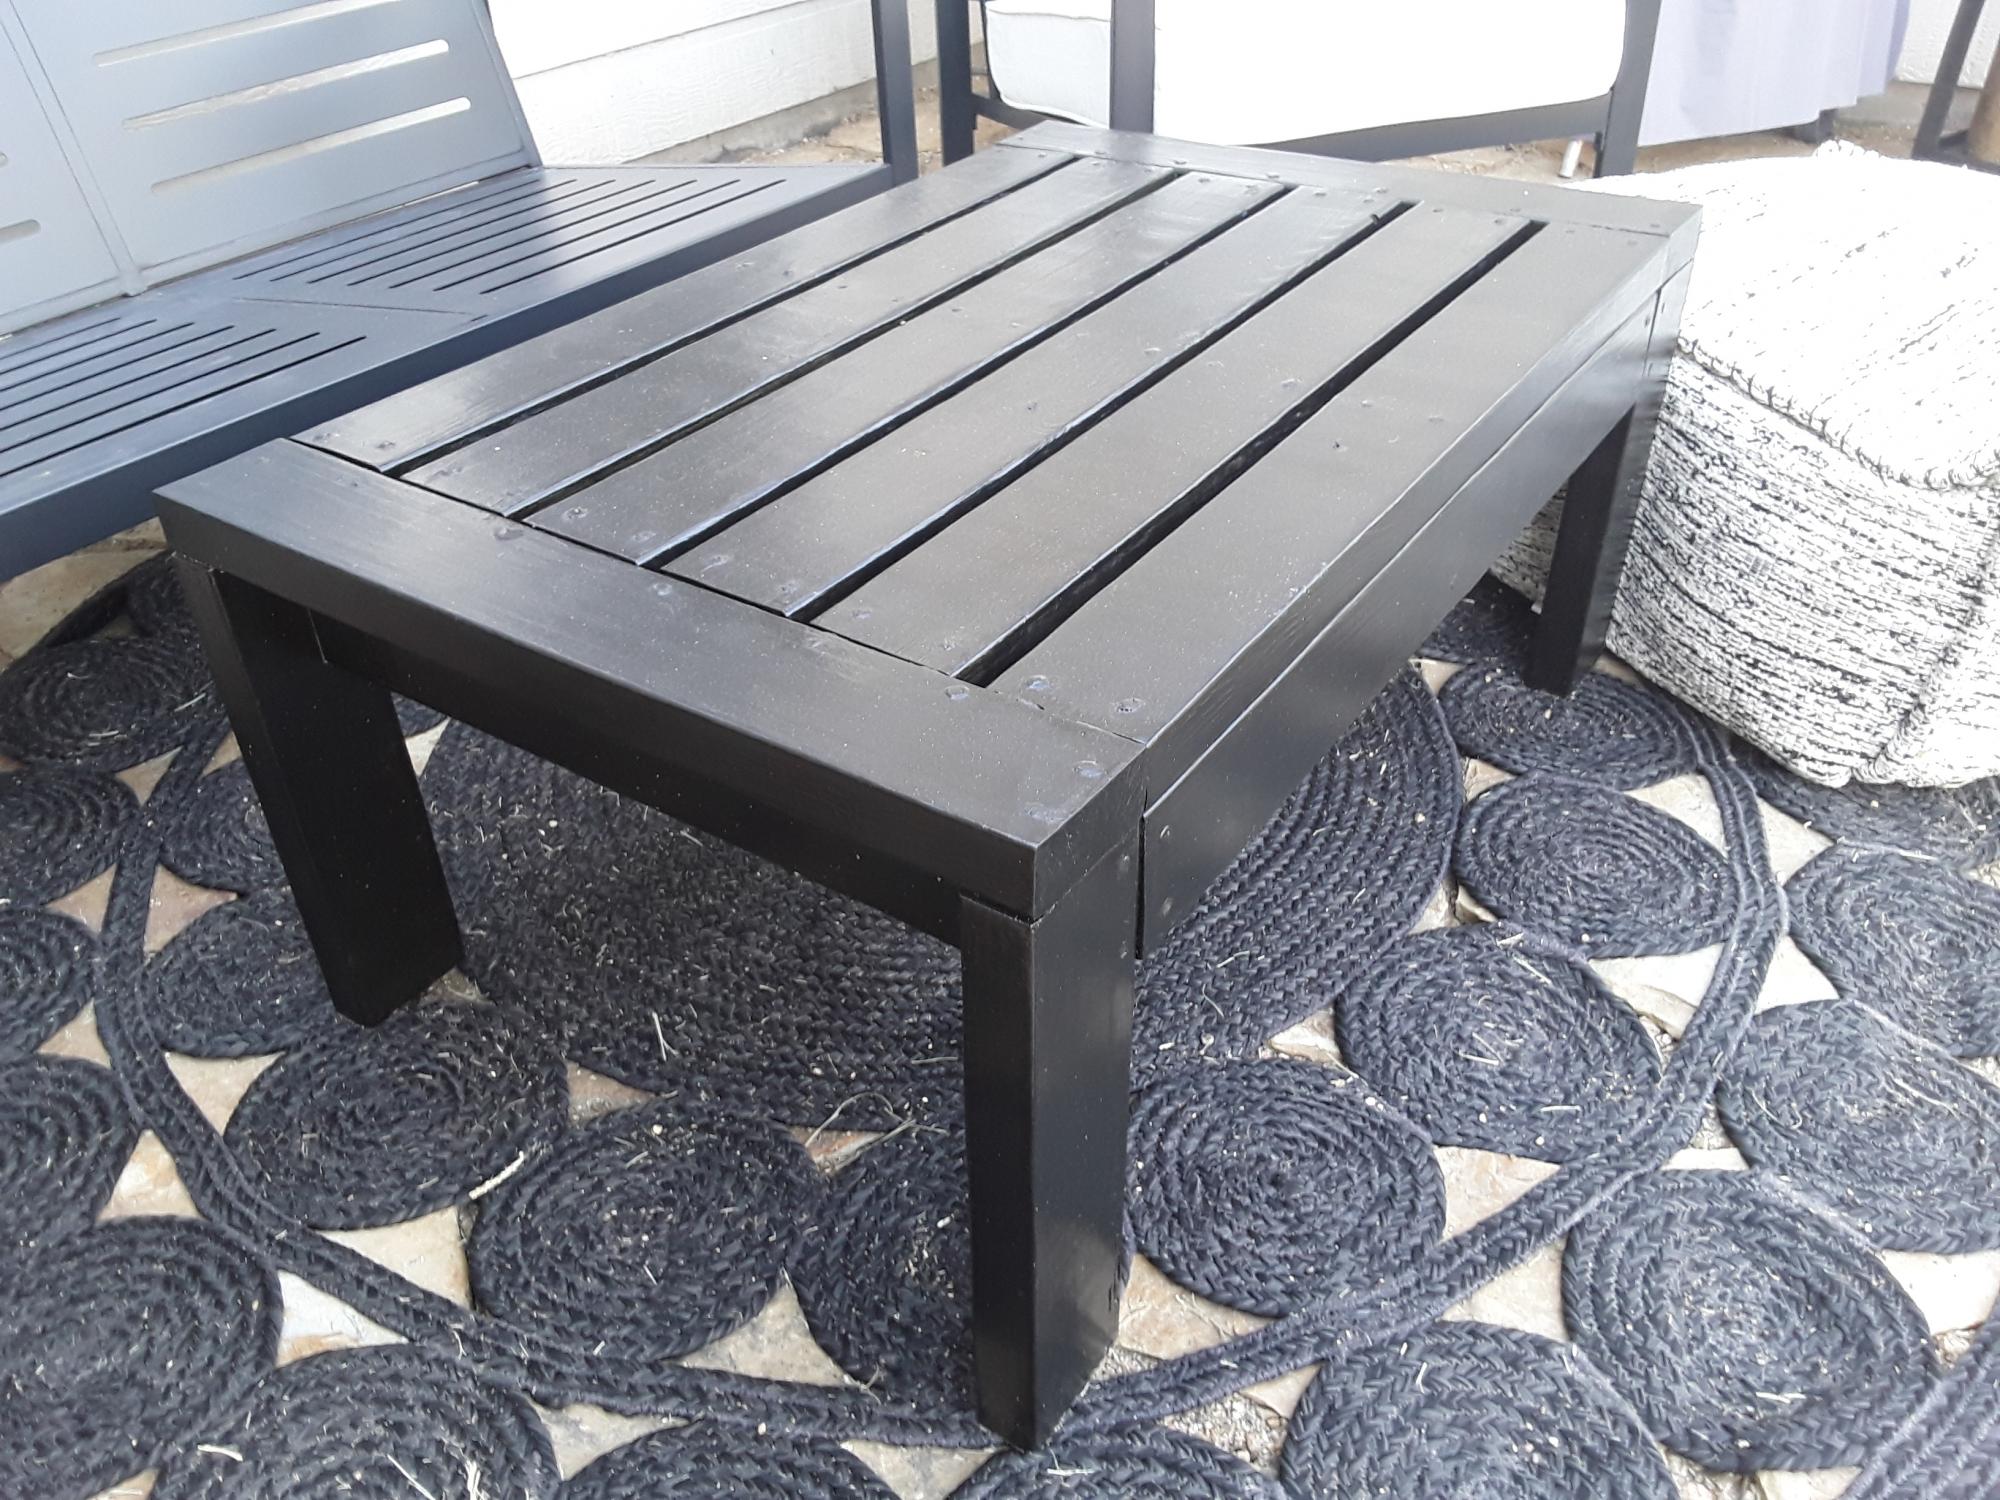
My outdoor sectional

My version of the outdoor sectional couch.
Built from Plan(s)
Estimated Cost
$110 wood and screws. $300 cushions from Lowe's.
Estimated Time Investment
Day Project (6-9 Hours)
Finish Used
None yet
Recommended Skill Level
Beginner
Doll bunk beds
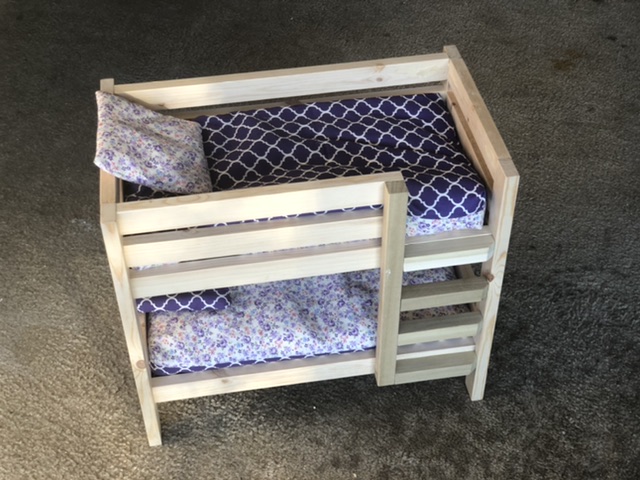
I altered it a little bit since I could not find a 1x1 anywhere near me. I used a square dowel and I placed the ladder steps on the outside. The square dowel was a little big so i notched the right side. I also cut the left side of the ladder to not block the bottom. I may try a trundle later on. It’s not painted yet but she wants it a light pink. Maybe tomorrow we will do that.
Built from Plan(s)
Estimated Cost
$25
Recommended Skill Level
Beginner
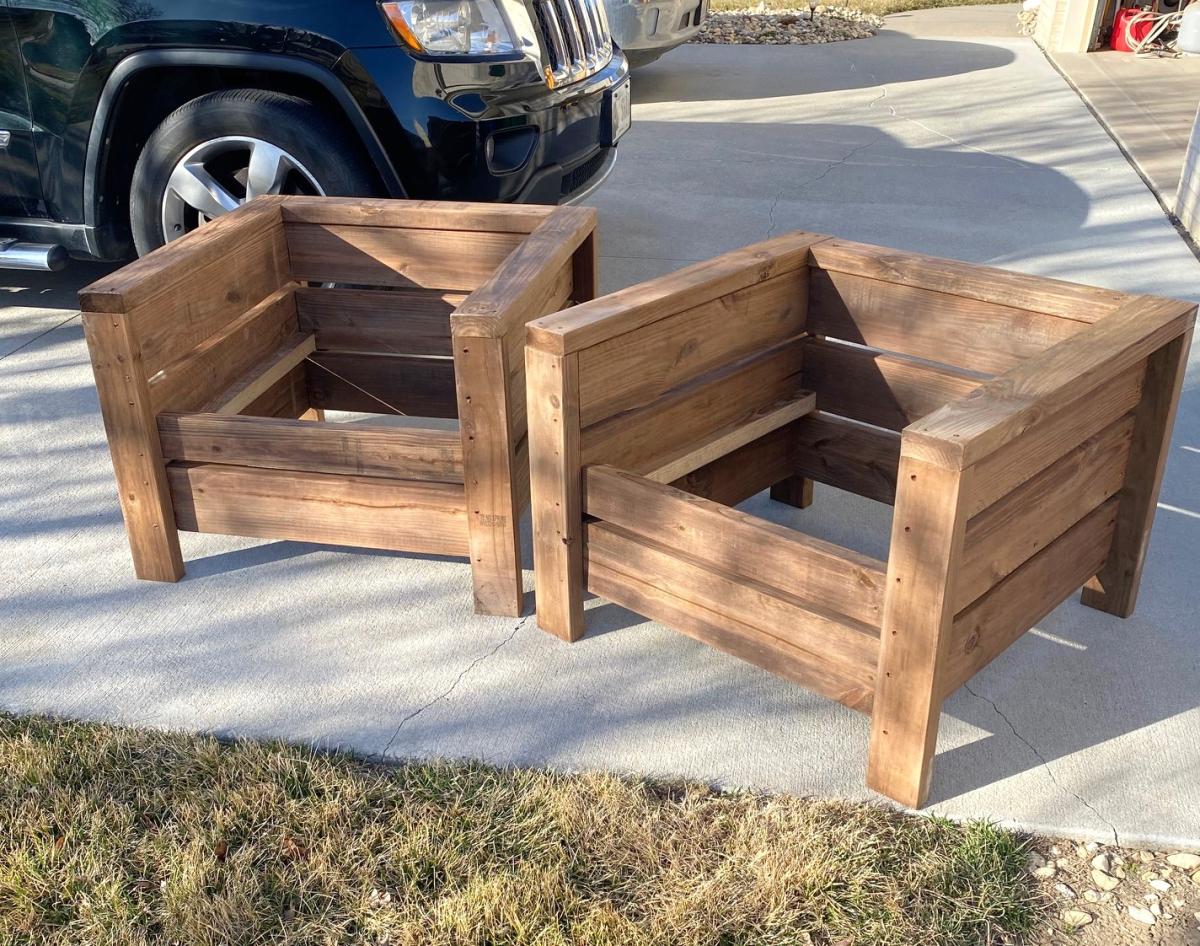
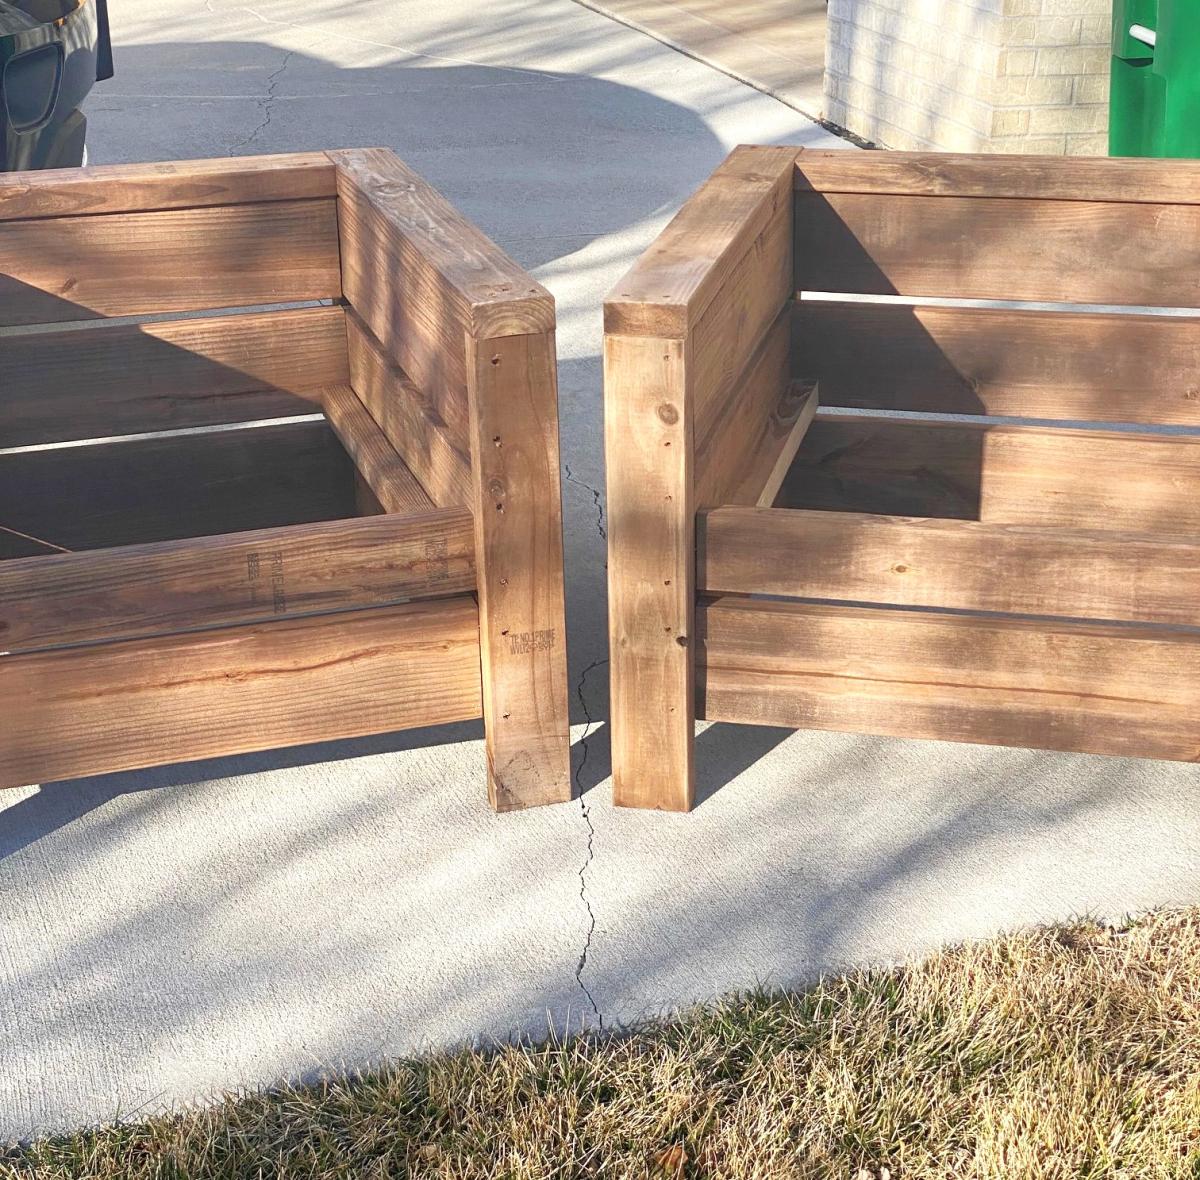
Rustic Outdoor Chairs

Seen these plans a couple years ago and finally have gotten around to making a set. This was a fun and really easy to follow set of instructions and I think they turned out really nice.
Jeff, with LaBrie Family Woodworking LLC
Built from Plan(s)
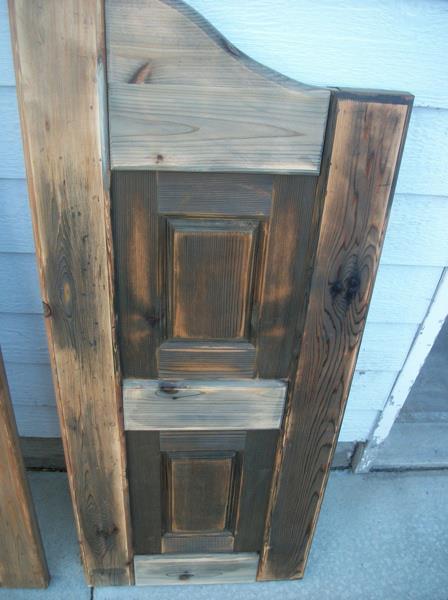
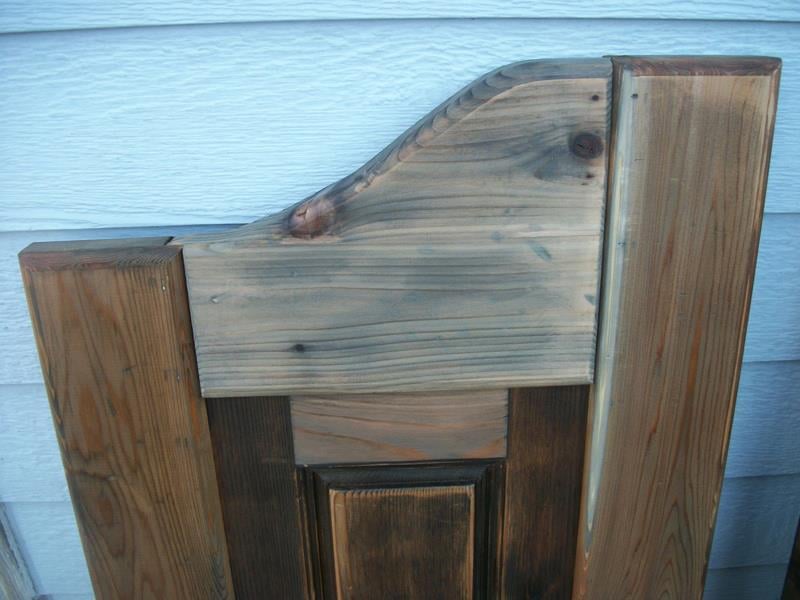
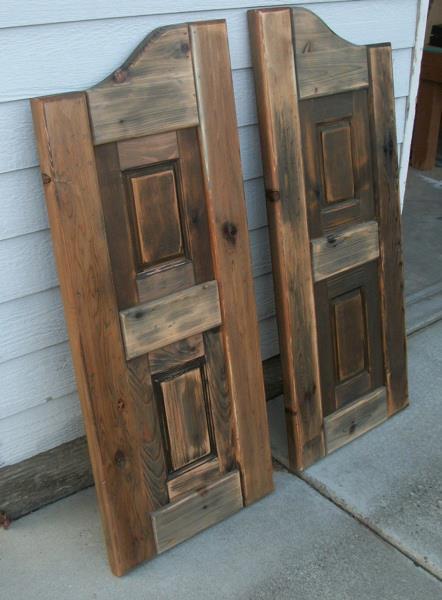
Western Saloon doors
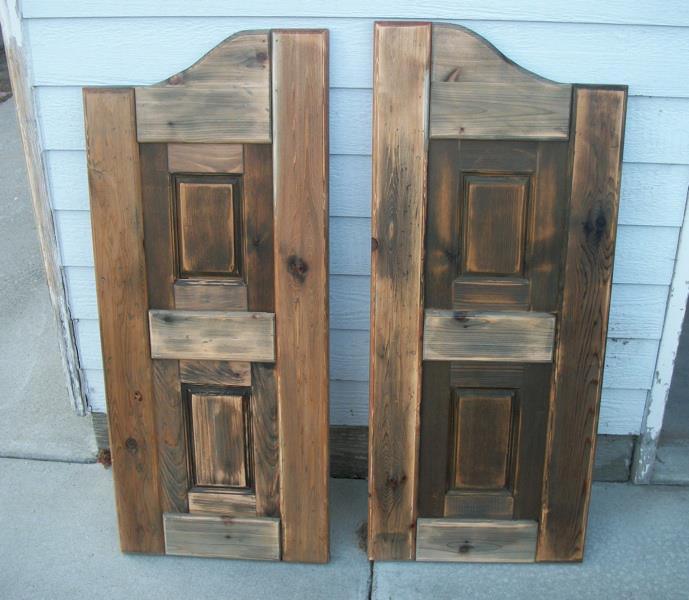
I built these doors for a very good friend of mine who actually helped me get started turning my new love for building (after finding Ana's site) into a way for our family to make some extra money.
It took me a little while to wrap my brain around building something without using my Kreg Jig. I used a router table set up with some raised panels bits and put the whole thing together with glue and nails! Wonderful experience!
For the finish, I used a vinegar solution to give the cedar wood an old barn look. I think the final result turned out great and the final step was a clear coat sprayed on out of a rattle can.

Estimated Cost
Lumber cost was about $80
Estimated Time Investment
Week Long Project (20 Hours or More)
Finish Used
Vinegar solution and a clear coat put on.
Recommended Skill Level
Advanced
Comments

Thu, 08/02/2012 - 10:51
These turned out great! I
These turned out great! I haven't seen this style of door in forever! They used to be really popular, I remember my Aunt and Uncle having these in the entry to their kitchen. They were the coolest thing ever when I was a kid! Maybe they are a making a comeback?
I'm really impressed with your routing skills, that's a task I have yet to tackle, but I've got the bits laying around waiting.
Nice job!

Thu, 08/02/2012 - 21:10
Thanks a bunch!
Thanks a bunch! My friend is replacing an old set of louvered doors that went into her laundry room. Her family are farmers and rodeo people so the western decor really fits in their house. Great western stuff there. They made a chandelier out of a wagon wheel! Really cool!
This was my first attempt at routing so I really appreciate your compliment! It's really simple if you can get the basics of it. I'm sure you'll do just fine when you get to that point. If I can do it, anyone can do it! Thanks again!!
Mon, 01/23/2017 - 09:32
Instructions?
I really want to try and build this for a closet. Are there any instructions for this? This is the first door of this style that I have come across that I absolutely love.
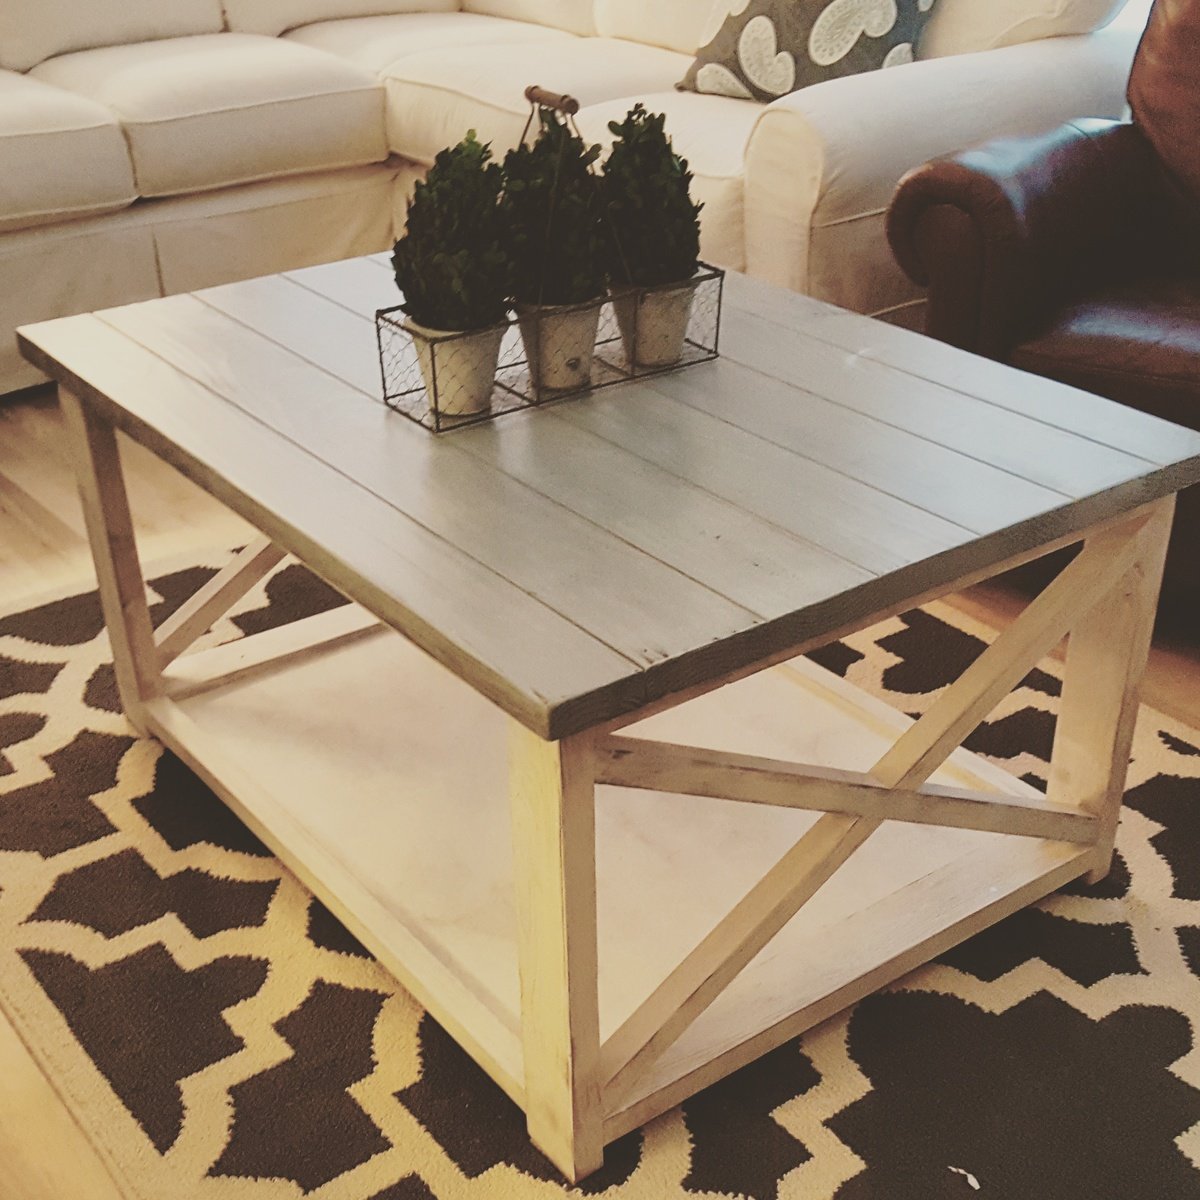
Tryed end table
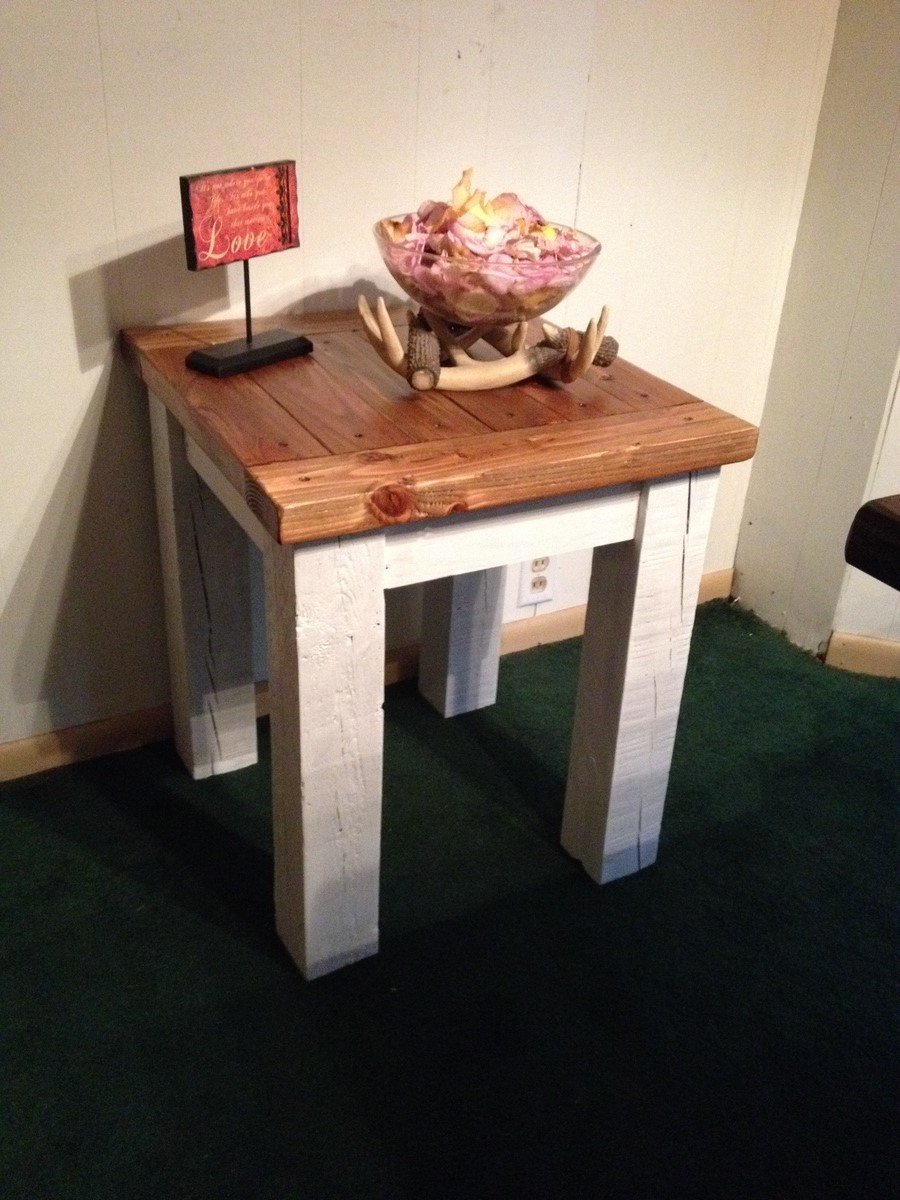
I had some really old (30+ years) 4X4's laying around the backyard that I found in a brick pile at my grandmothers house sometime back. I saw the plans for the really easy Tryed Side Tables, so I made a few of them, and people jumped on these really fast. This may be the simplest tables I have ever made, time and skill-wise. Just need a few 4x4 legs, 2x4 top, and 1x4 trim and support. THAT'S IT. Then about an hour of your time plus paint and stain time. Very cool and very easy.
Built from Plan(s)
Estimated Cost
$12
Estimated Time Investment
An Hour or Two (0-2 Hours)
Finish Used
Legs and support trim are painted Vanilla White
Top is stained Golden Oak.
Minwax Poly applied to top.
Top is stained Golden Oak.
Minwax Poly applied to top.
Recommended Skill Level
Beginner
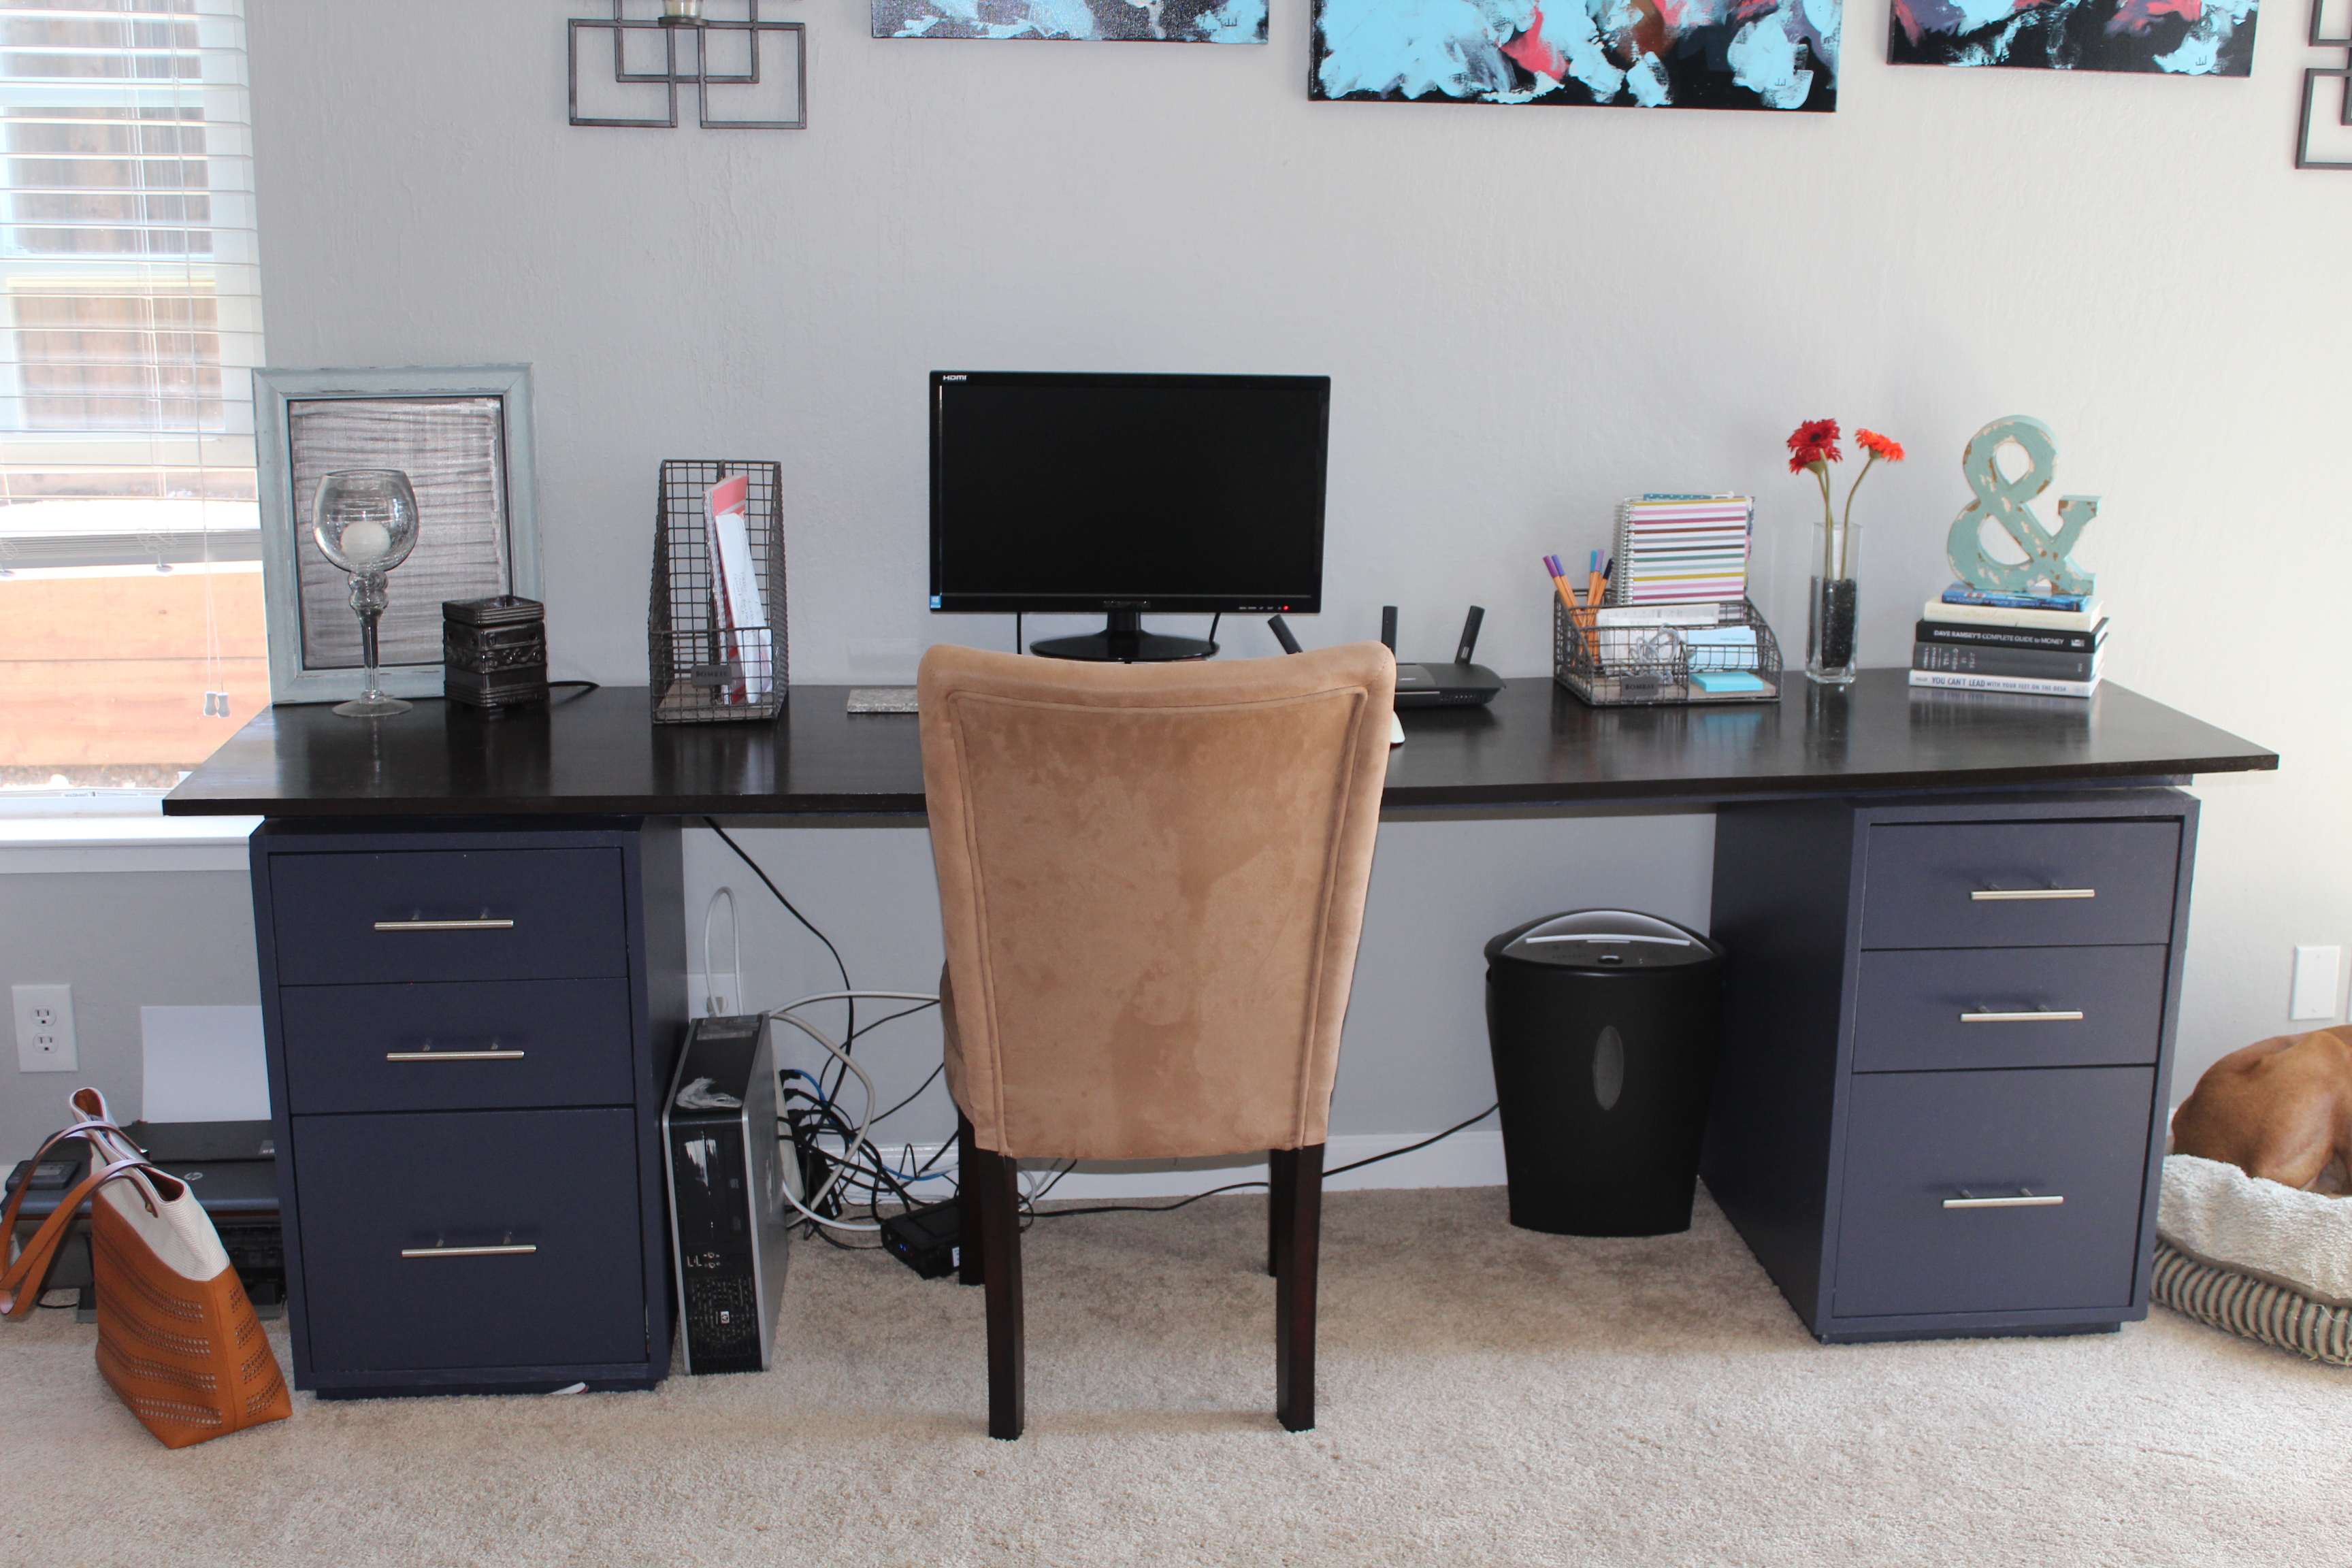
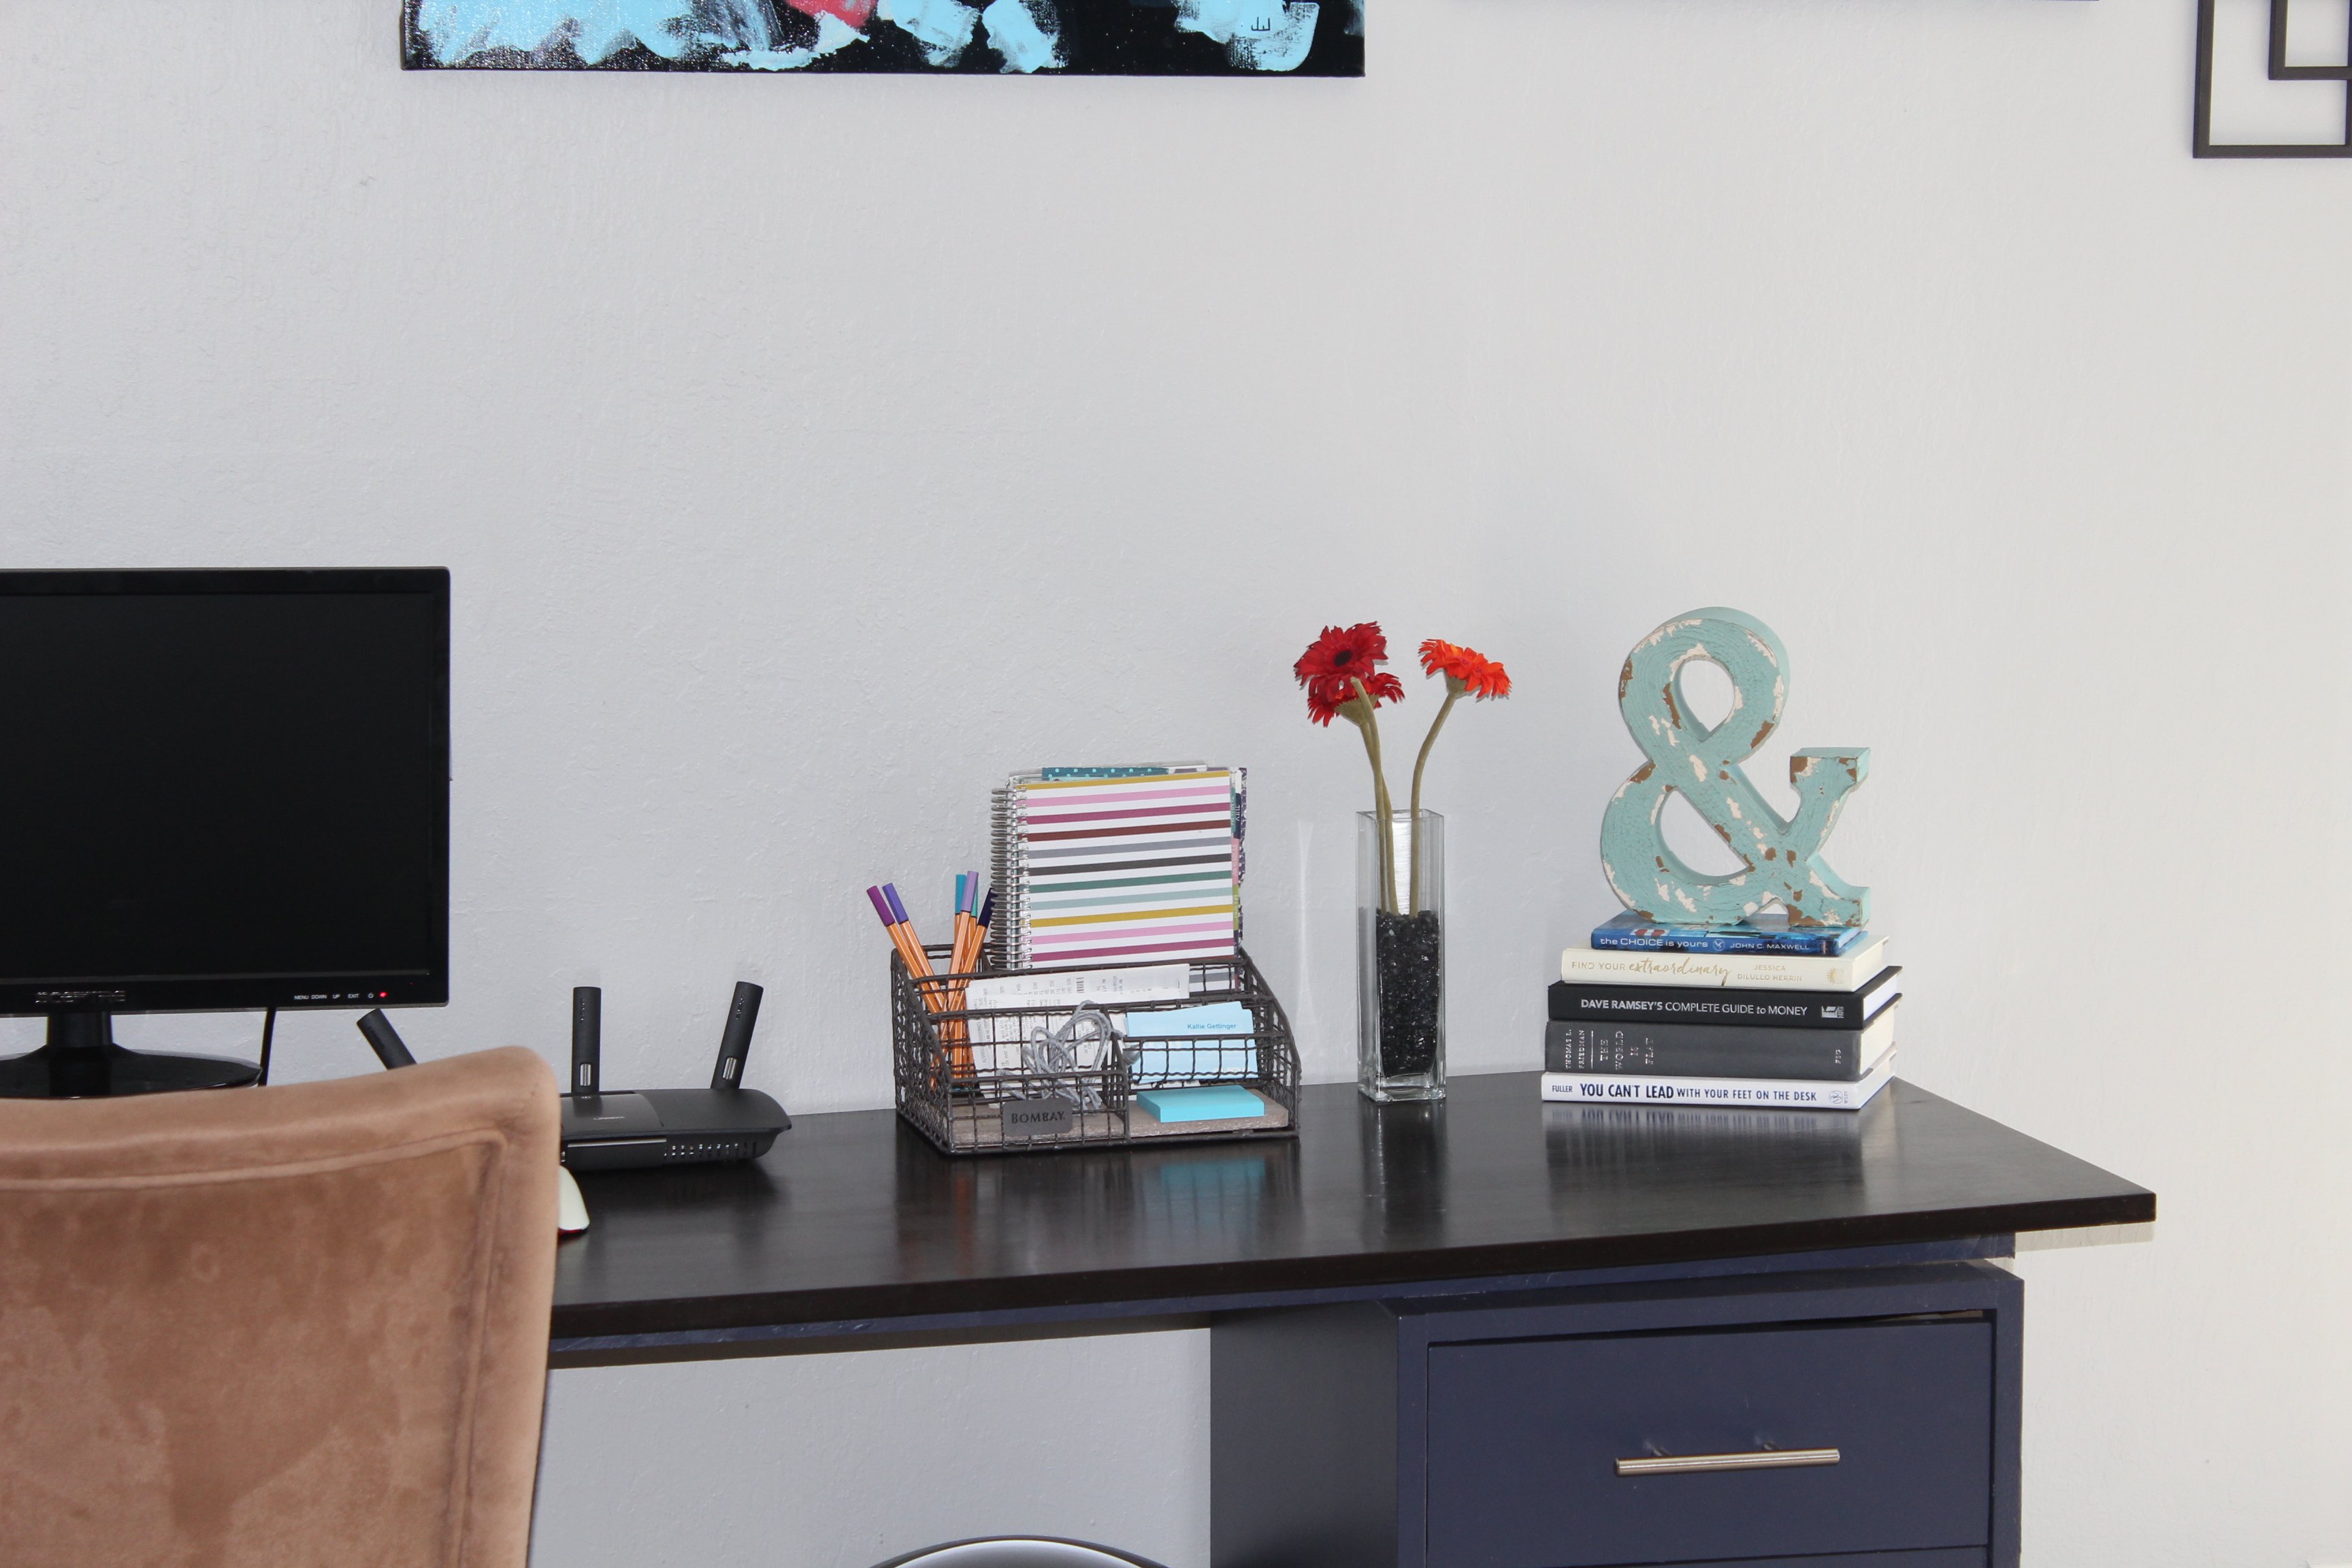
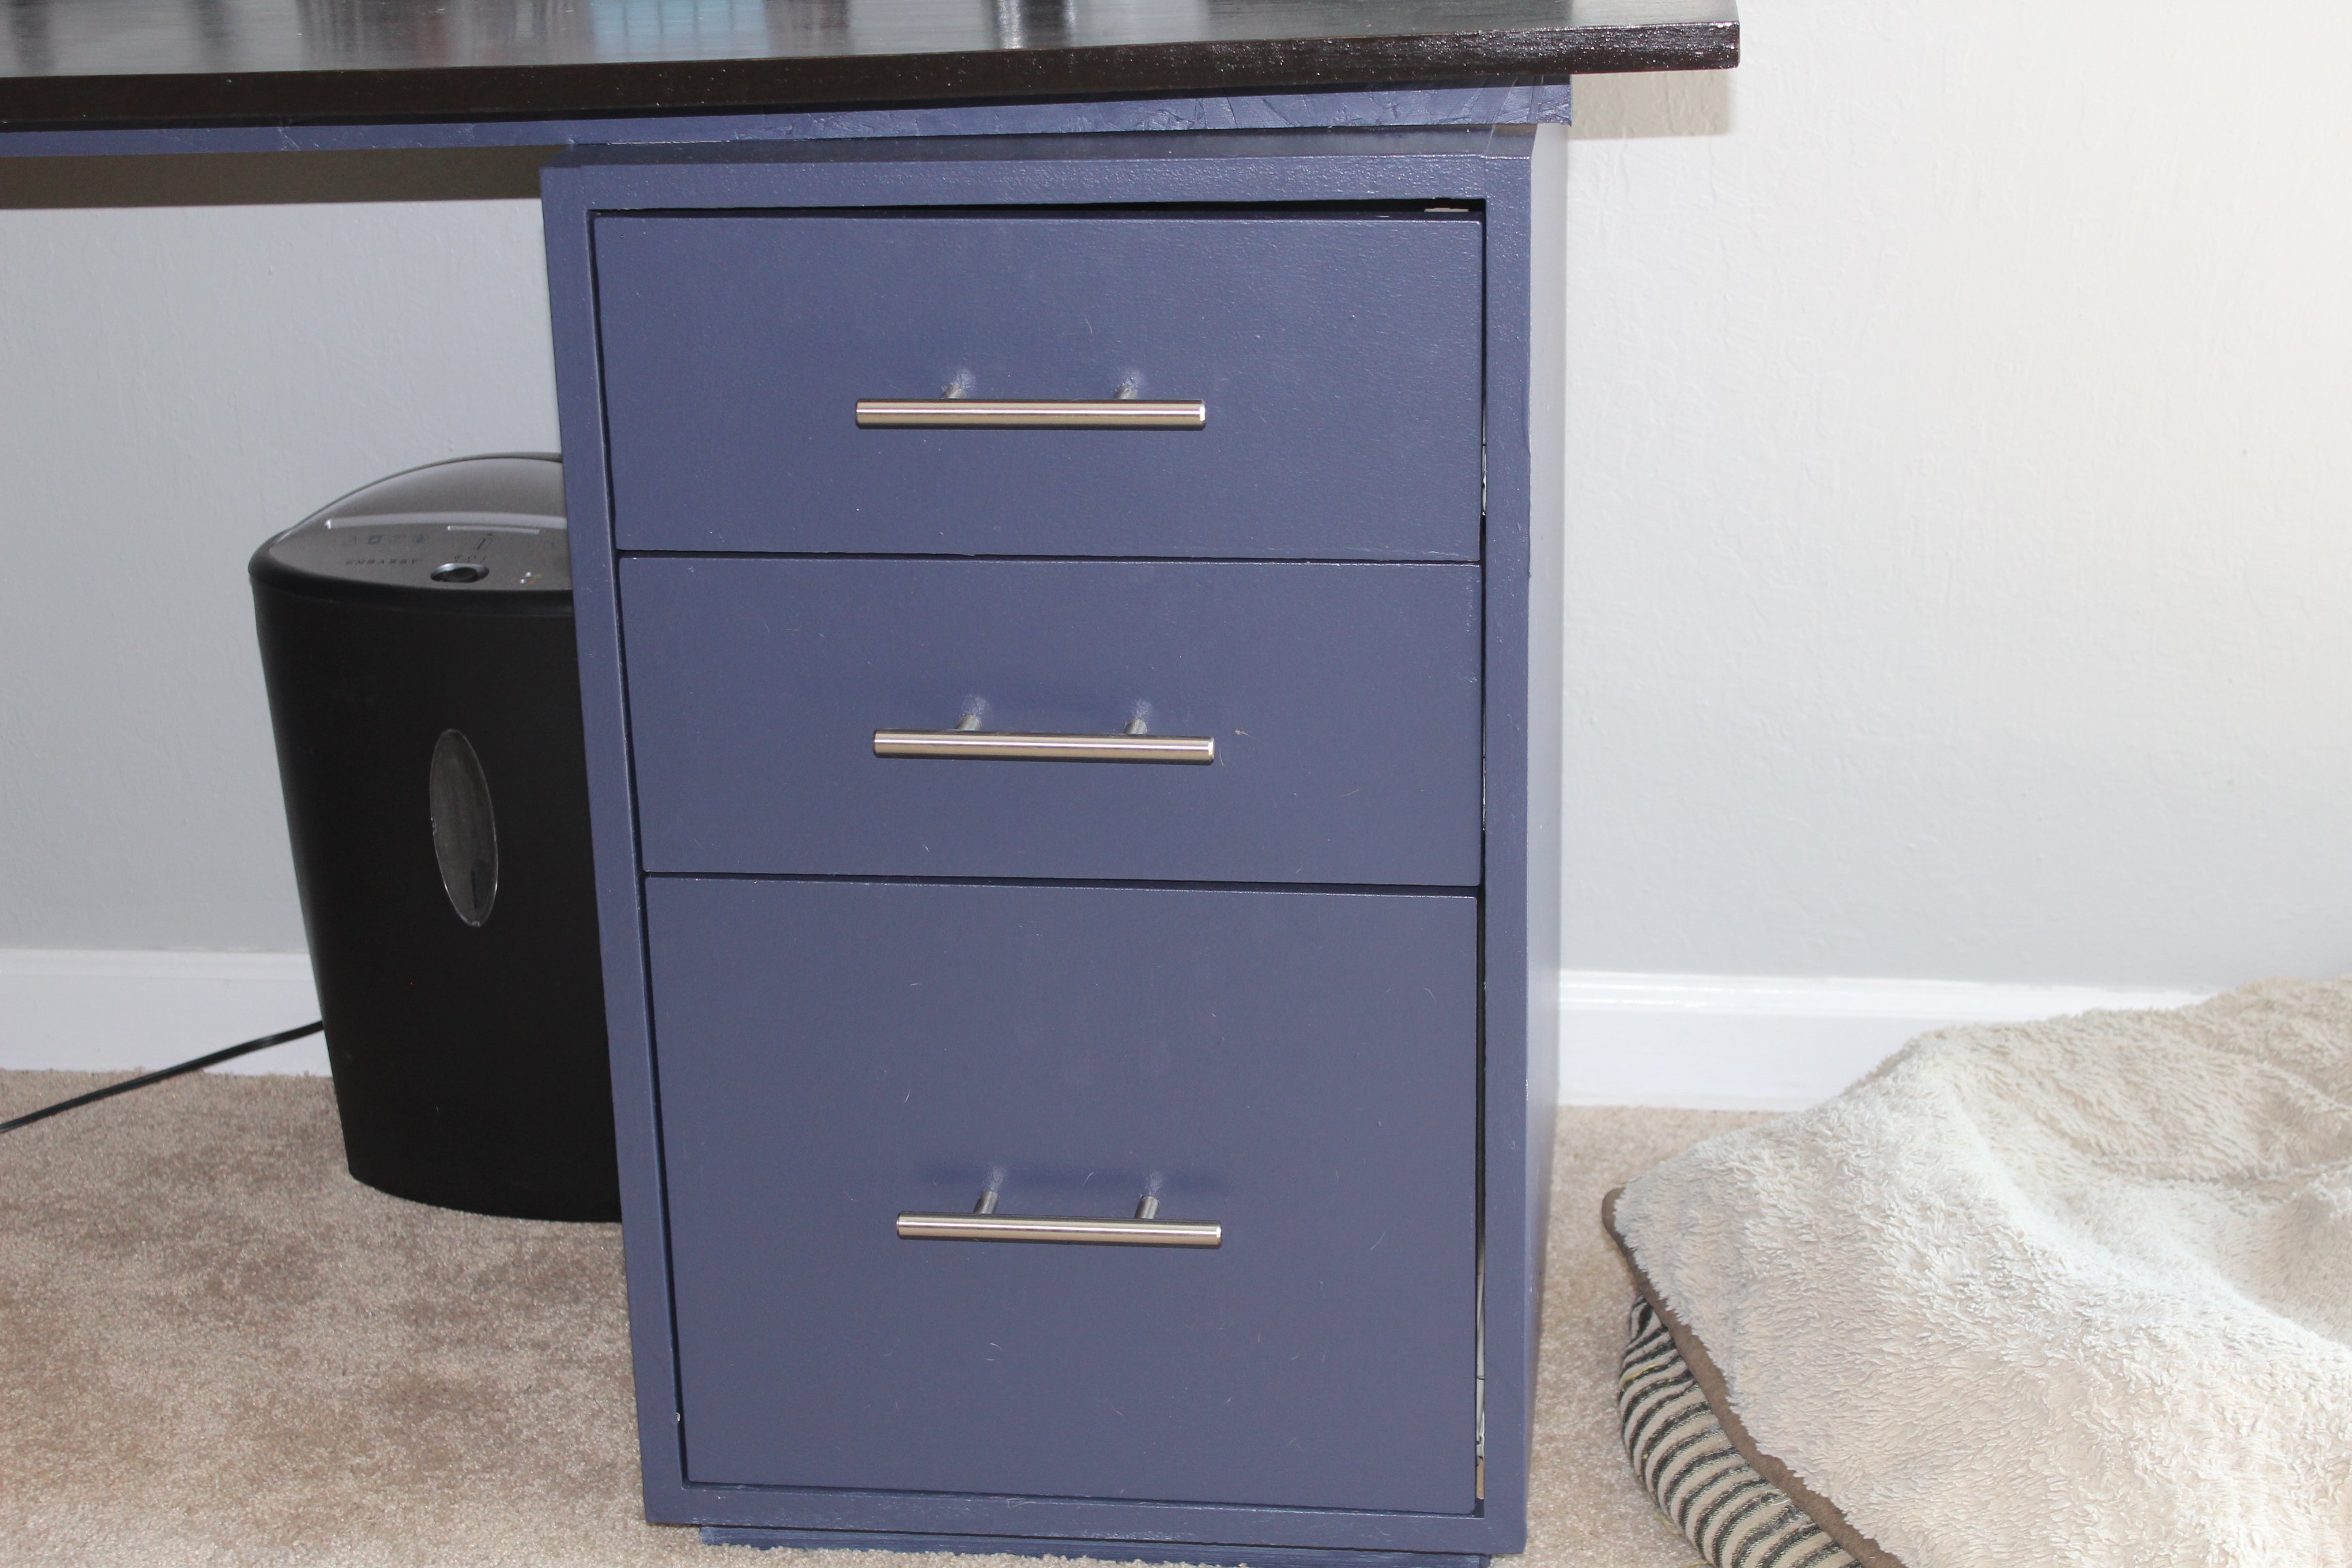
Multi-Use Desk with File Cabinets - 3rd configuration
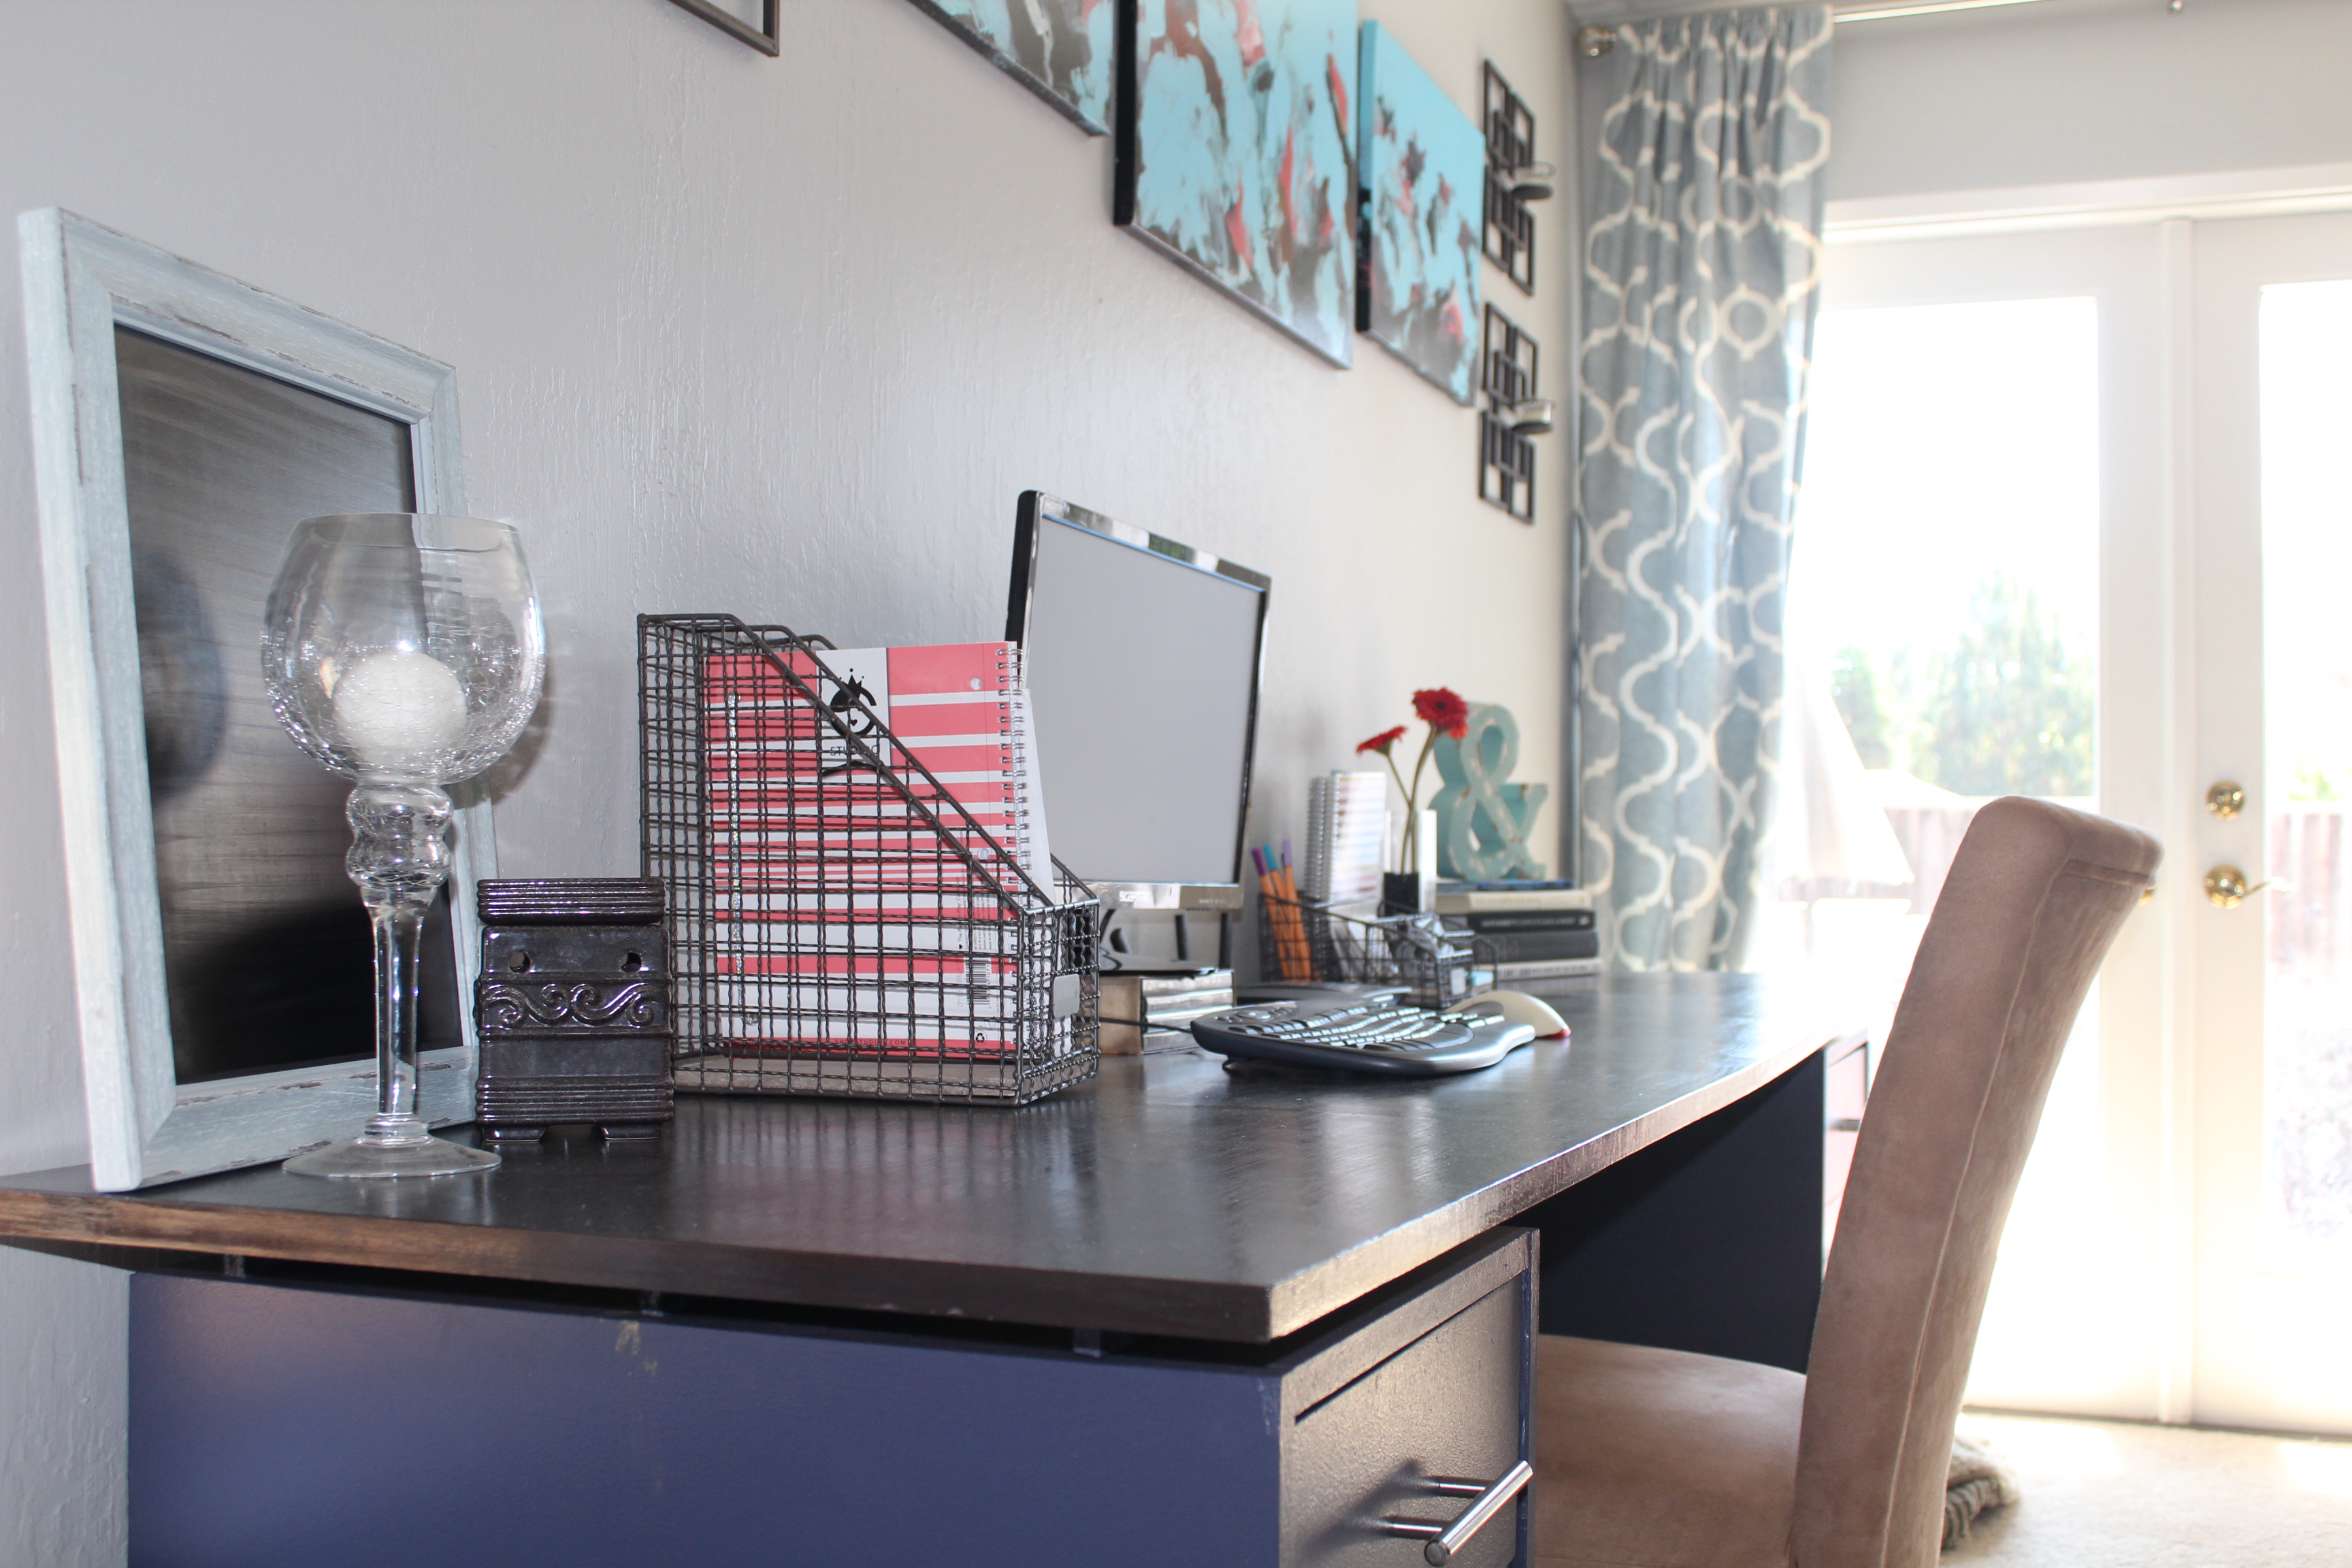
The first version of this desk was built for our office prior to having kiddo #2. My husband altered the plans a bit to fit our room and instead of open shelving on the end cubbies, he converted them into drawers and a file cabinet.
Checkout more photos and details on my blog at www.momontrend.com
Built from Plan(s)
Estimated Cost
$100
Estimated Time Investment
Day Project (6-9 Hours)
Finish Used
Expresso stain on top. Sherwin Williams Paint
Recommended Skill Level
Intermediate
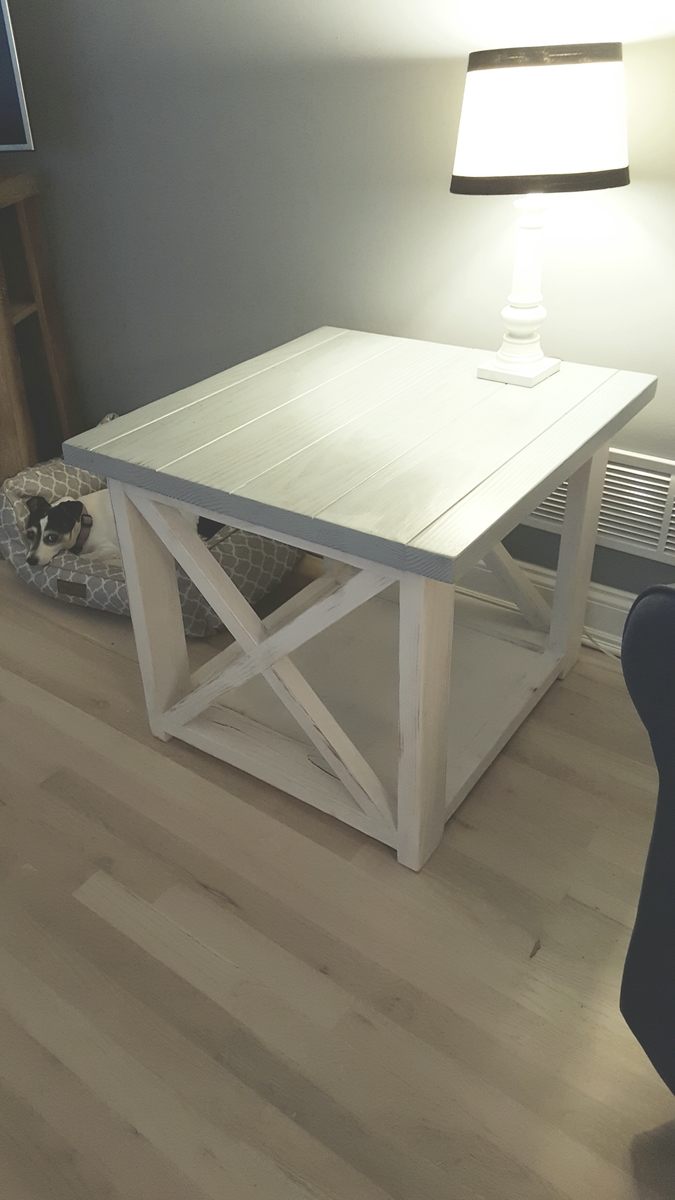
Farmhouse end table
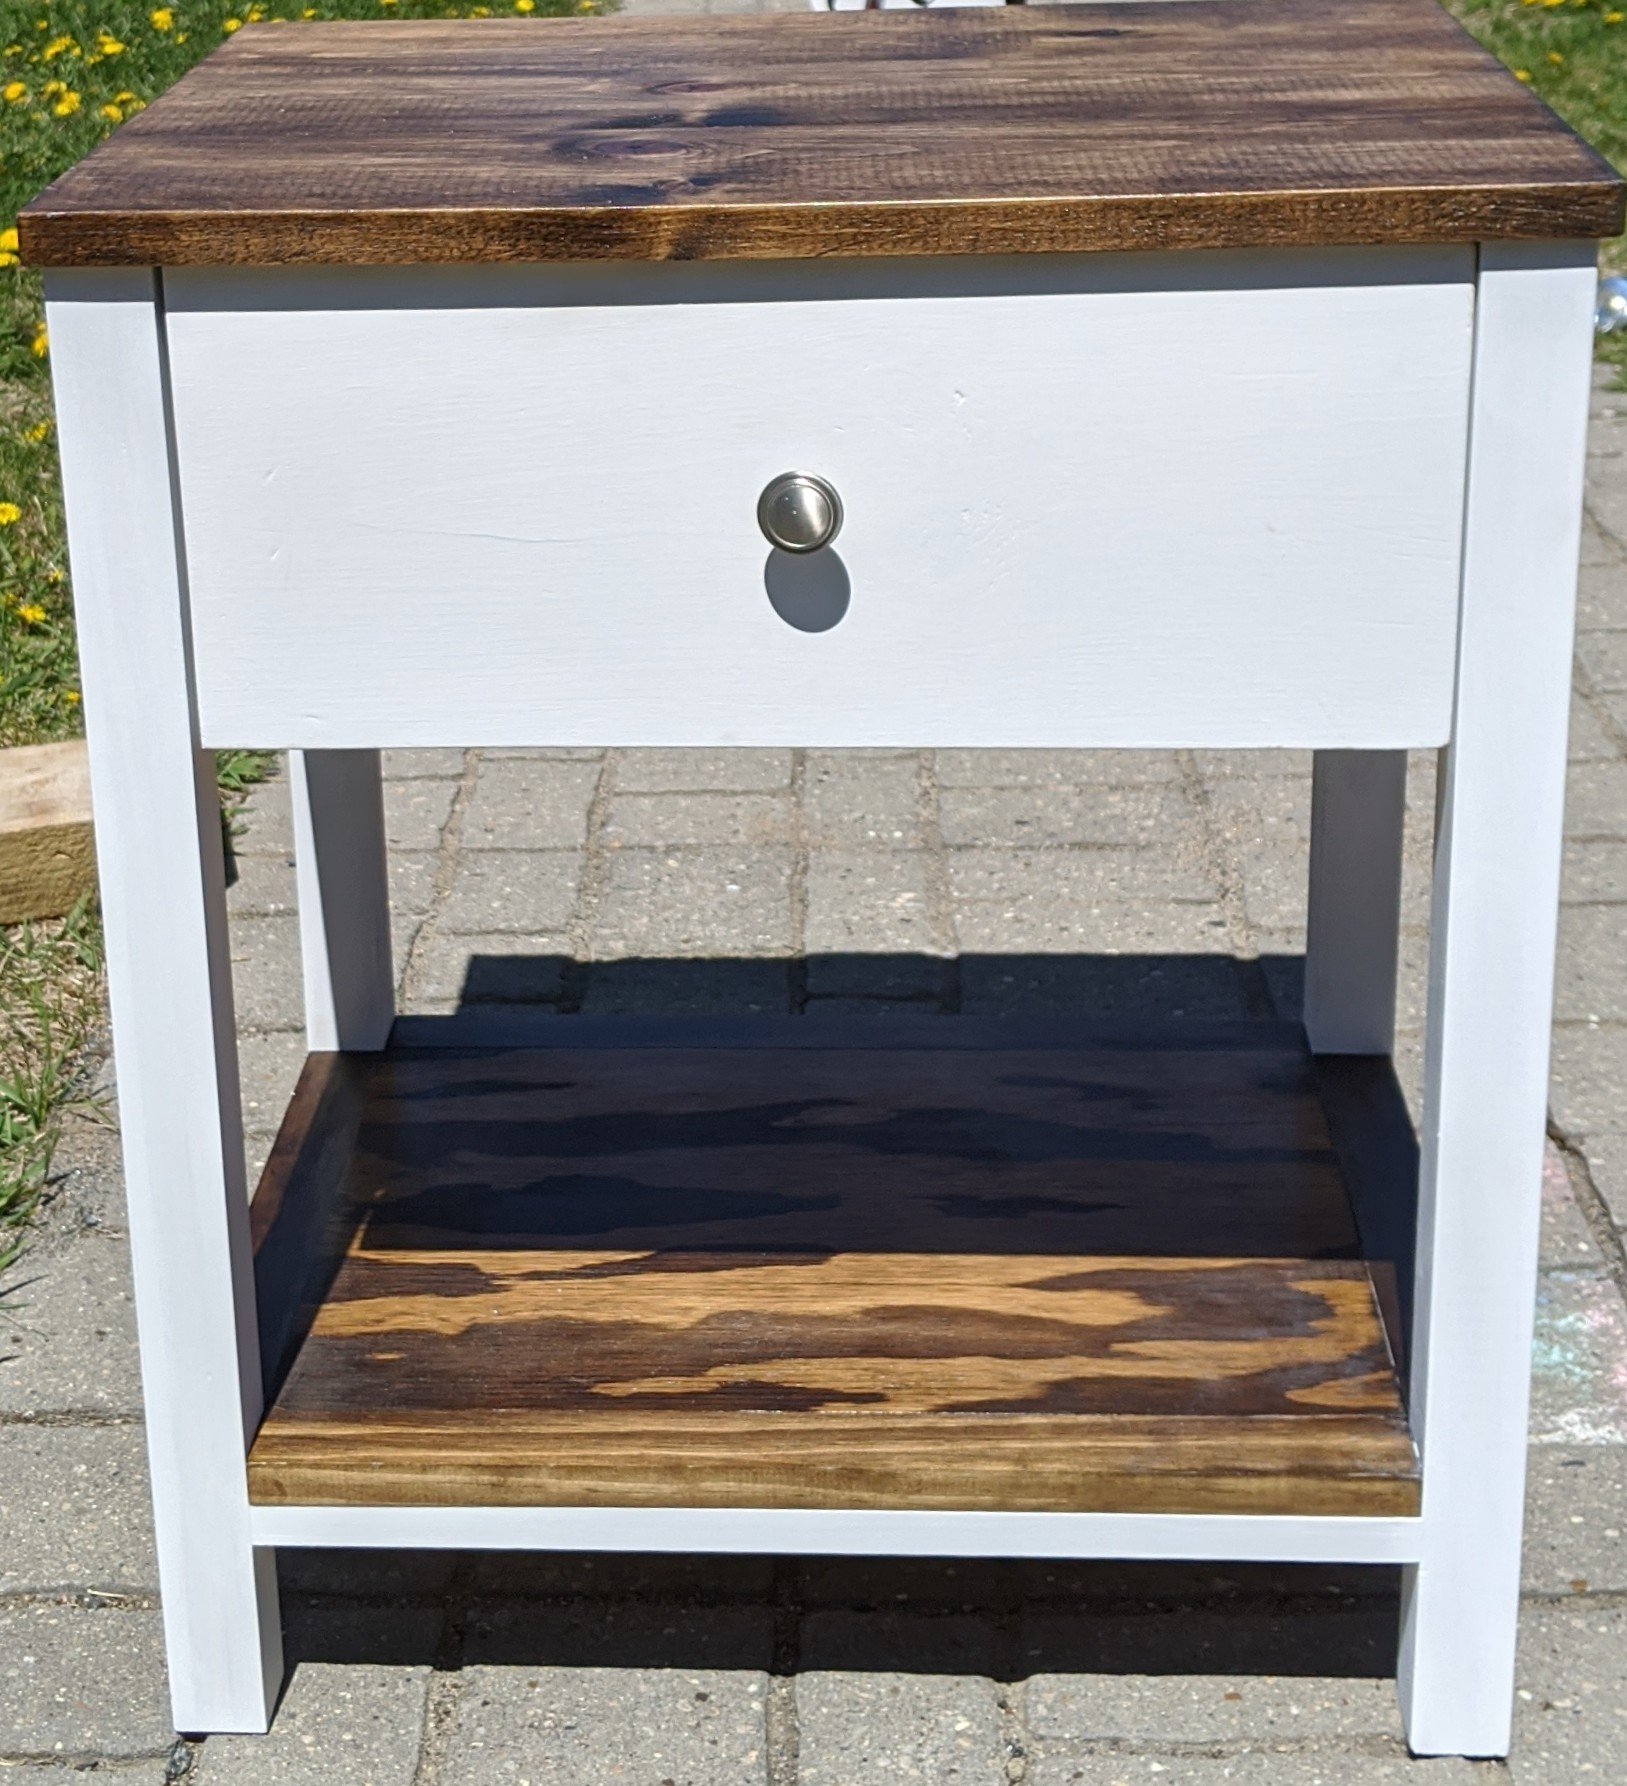
I made this based on a plan here and modified it to my preferences and needs. It was my first time working with drawer slides and it wasn't as bad as I was afraid of. Pleased with the results.
Built from Plan(s)
Estimated Cost
50
Estimated Time Investment
Day Project (6-9 Hours)
Finish Used
White paint and dark walnut stain and poly
Recommended Skill Level
Intermediate
Wood Cabin Bunk
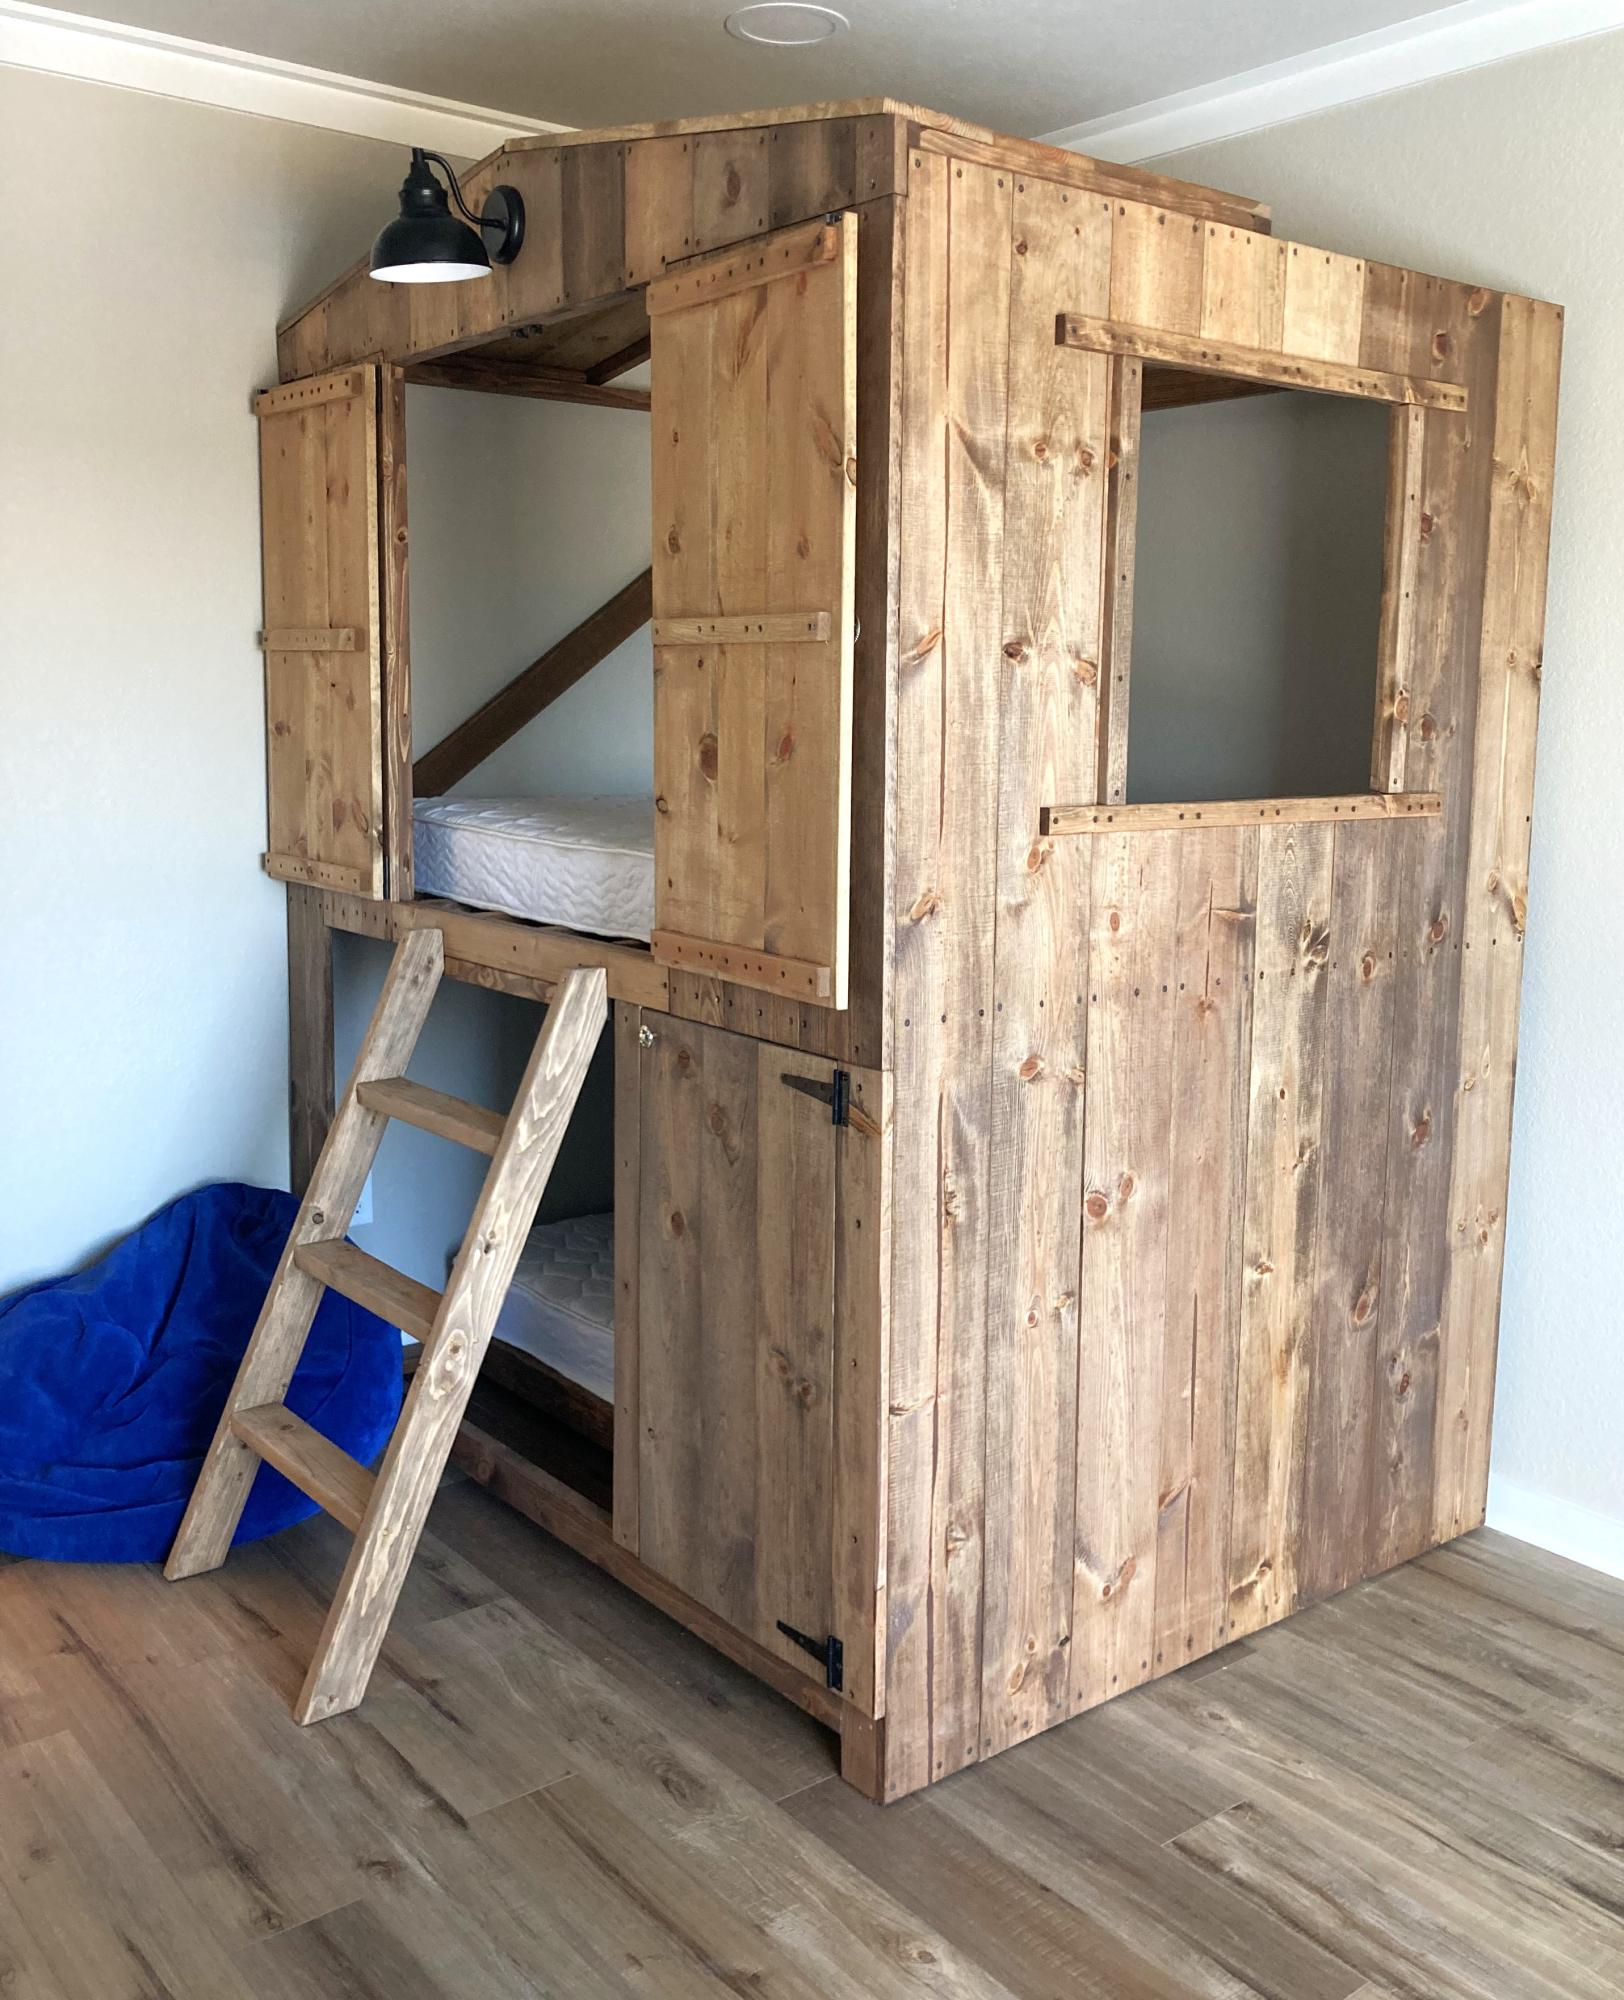
I saw this and built it for our oldest grandson . He is 8. My wife and I have built 6 different beds for our grandchildren ages 2 - 8 plus numerous other projects for their parents . Having a lot of fun with woodworking and this website.
Fig Tree Lane [email protected]
A Bittersweet Building Project
I built this table for my friend who is moving away in a couple days :( She's going to use it as a coffee bar in her new home. Visit my blog link for the complete play-by-play!

Built from Plan(s)
Estimated Cost
$125
Estimated Time Investment
Weekend Project (10-20 Hours)
Finish Used
Rustoleum Ultimate Wood Stain in Black Cherry and White High Gloss Paint
Recommended Skill Level
Intermediate
Love love love
Our first build! Adapted plans to make a king size. Headboard is an old barn door I found. (Pic is crooked not bed ;) ) We had to use 2 Twin XL mattresses due to narrow staircase. Added extra slats. I'm saying it took a weekend to build only because it was below 30° in garage and we took warm up breaks.
Built from Plan(s)
Estimated Cost
$100 (bed only... headboard separate)
Estimated Time Investment
Weekend Project (10-20 Hours)
Finish Used
Minwax Jacobean
Recommended Skill Level
Beginner
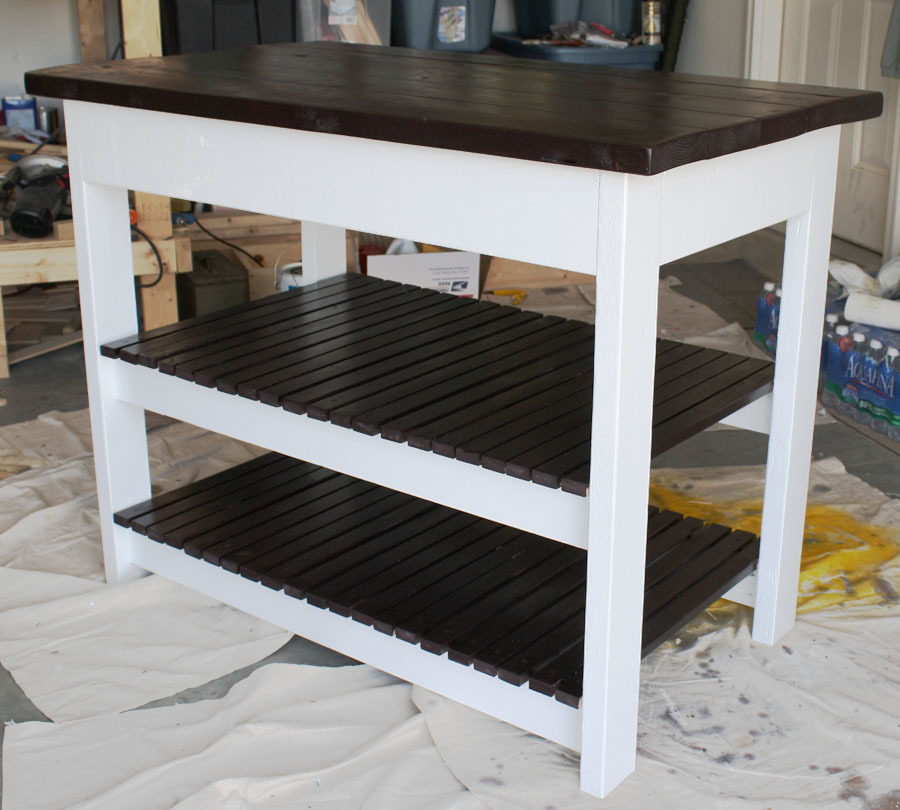
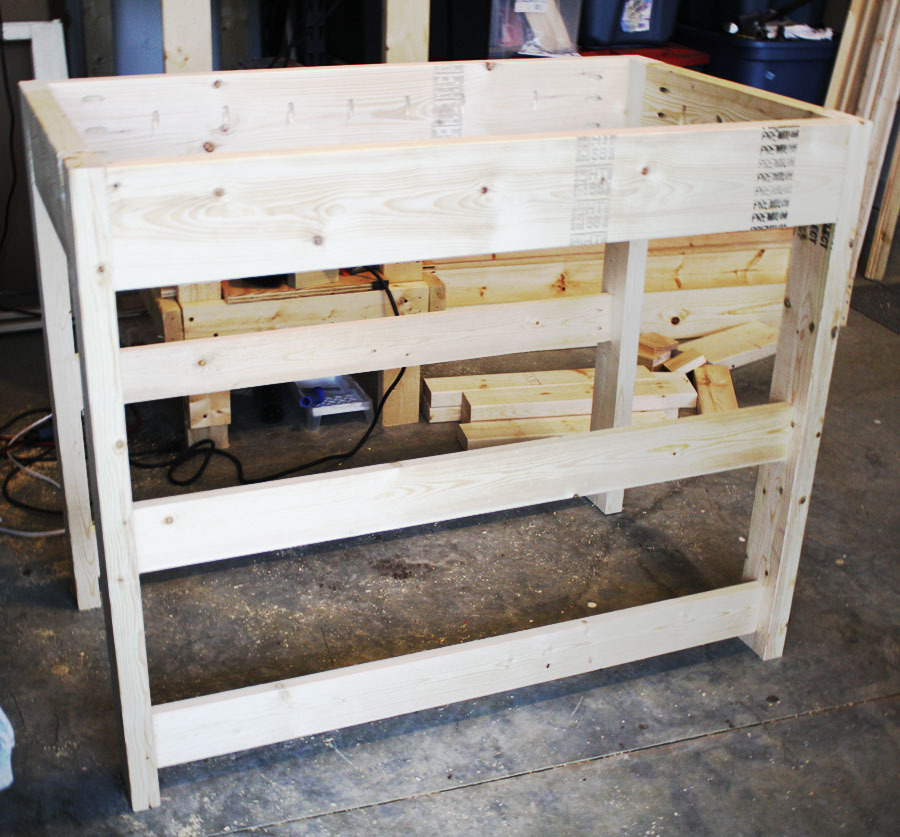
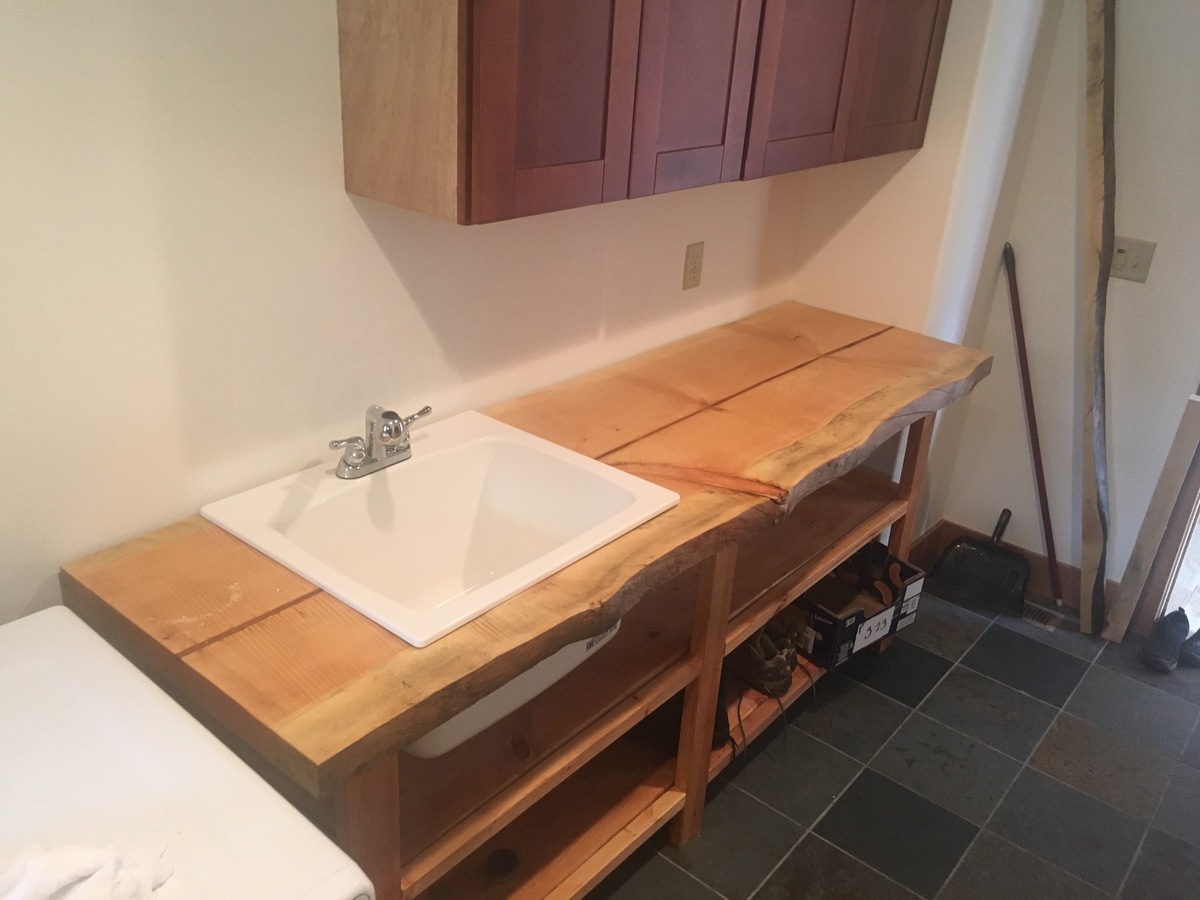
Console Table Modification to Utility Room Bench/Sink
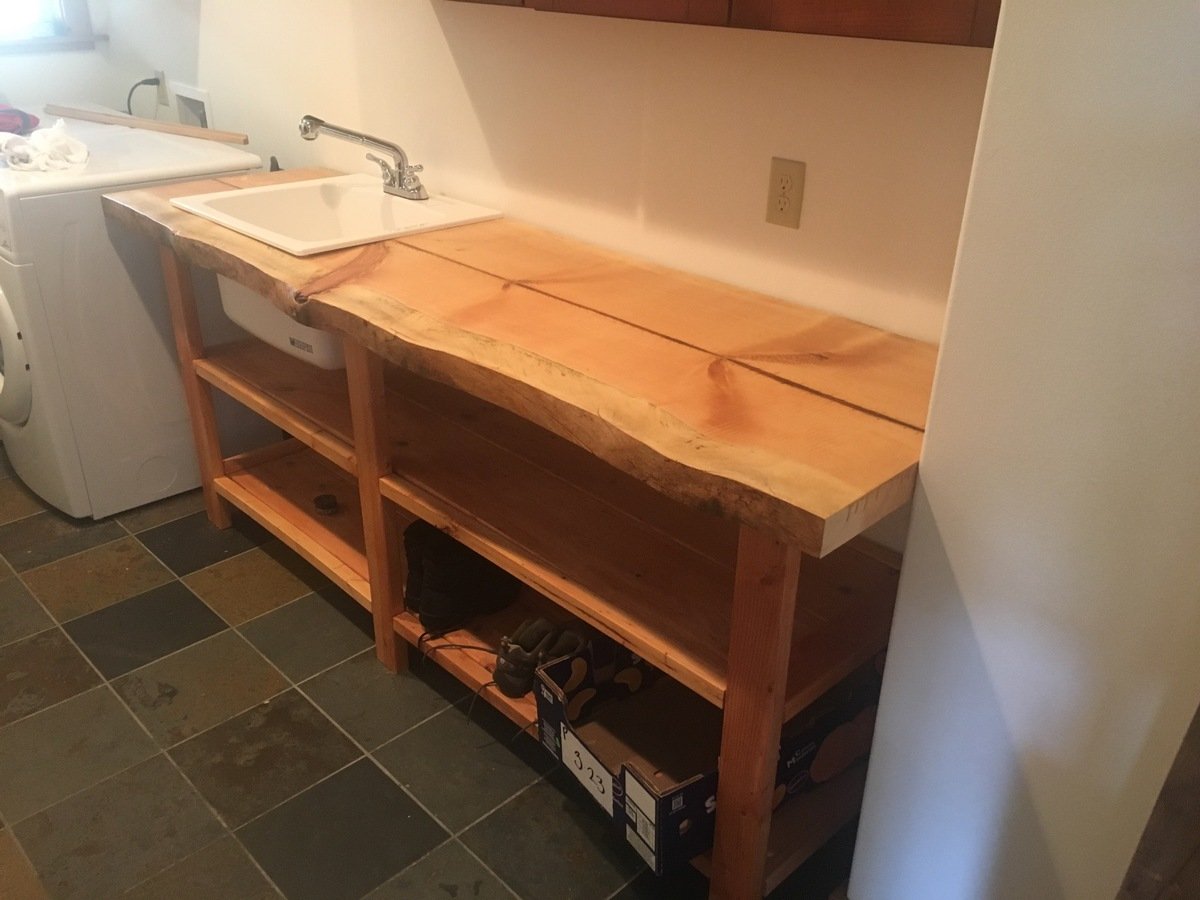
Very much like the console table look but decided to modify it to create a utility room bench and sink with open storage space below. Got a 1.75" pine slab to put on top and then cut out the space for a utility sink. Did not put in the cross pieces as the bench was to run from one wall to the washer/dryer setup. Used dimensional lumber from Lowe's (after perusing several second-hand sources for more interesting woods but prices and quality fell short) and stained with an oak stain. Now may try my hand at an actual furniture piece that will be in a living area and needs to be done right.
Estimated Cost
$500 - lumber for frame, pine slab, sink, plumbing,
Estimated Time Investment
Week Long Project (20 Hours or More)
Finish Used
Oak stain.
Recommended Skill Level
Intermediate
Cluckingham Cottage

Cluckingham Cottage wasn’t built in a day, but it WAS built by a DAME!
A-frame instructions were pretty helpful considering the builder knows nothing about construction. I made a few modifications to accommodate my 5 chooks + 2 bantams . Sturdy and tight structure.
Built from Plan(s)
Estimated Cost
Under $400
Estimated Time Investment
Weekend Project (10-20 Hours)
Rustic Waterfall Console Table
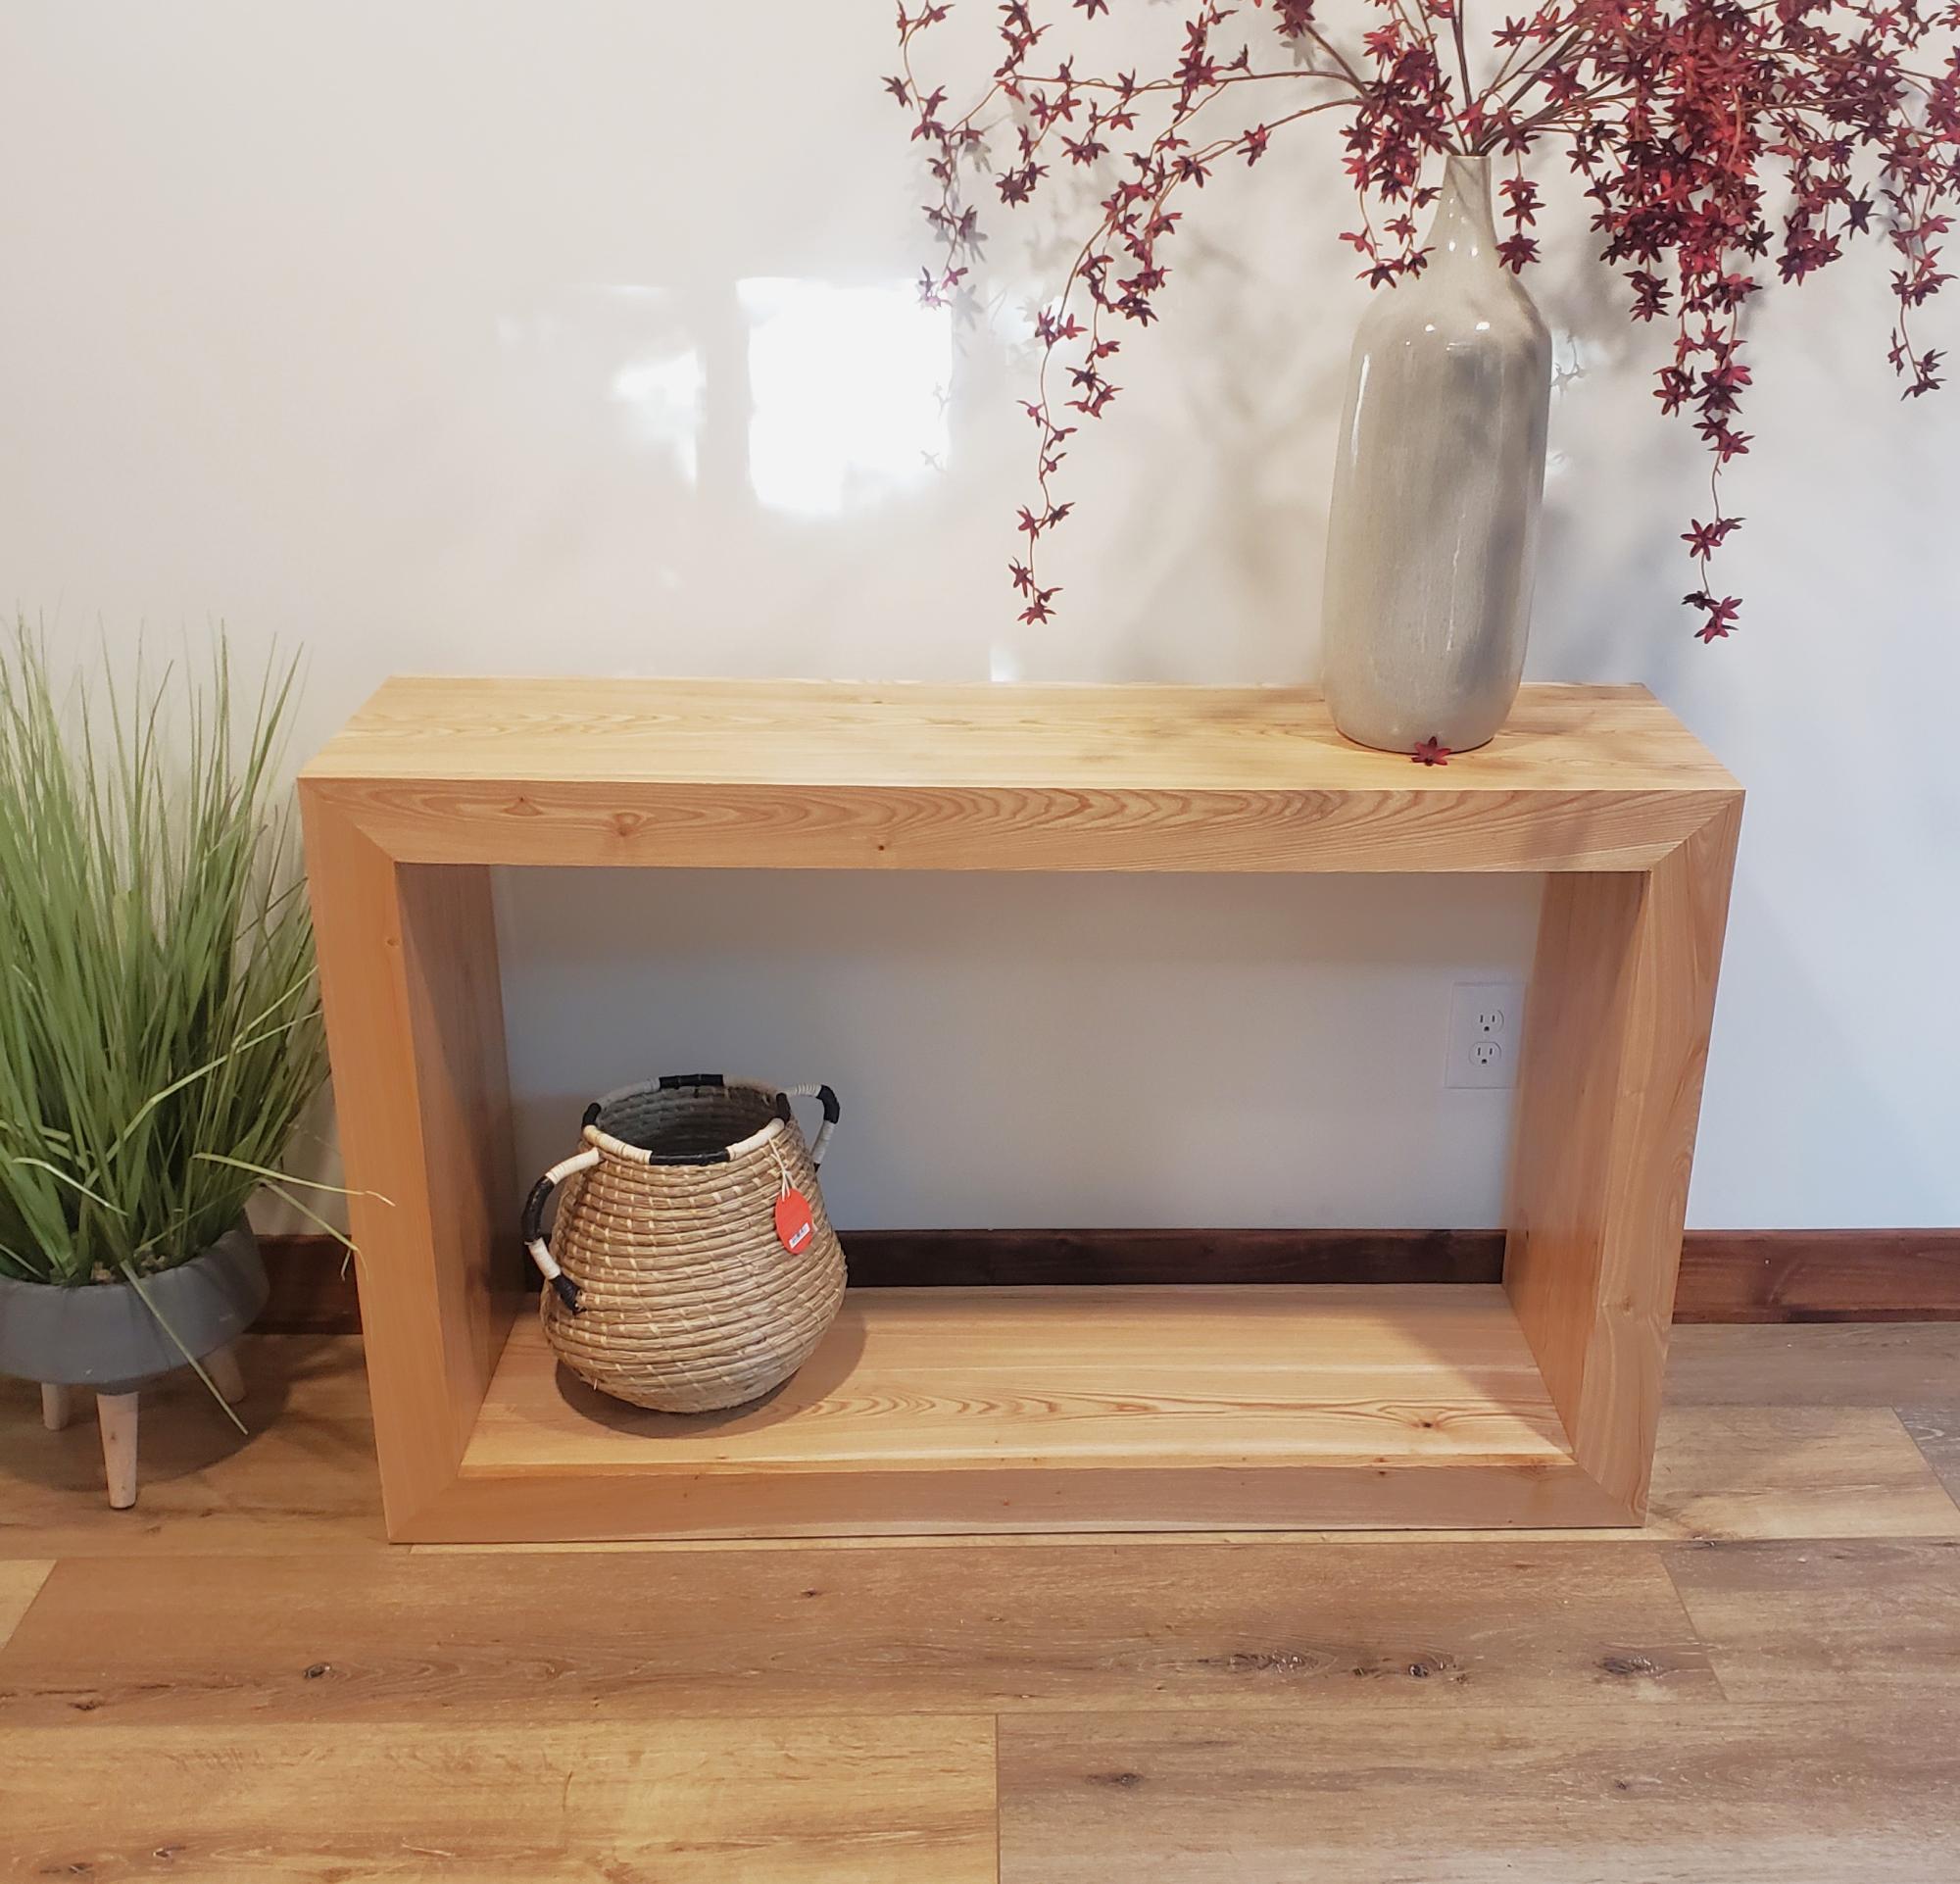
Built it from Black Ash
Built from Plan(s)
DIY Kids Seesaw on the Cheap!
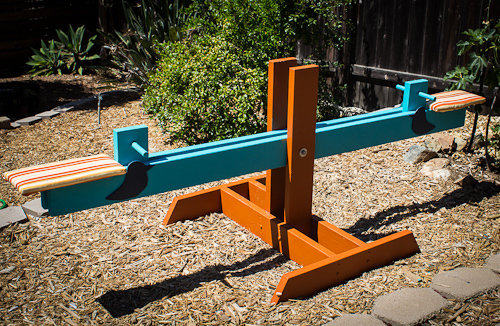
The seesaw is like a dinosaur: the extinct relic of the playground, still held in awe by kids the world over. No longer available to the public in its original form, the original seesaw is the perfect DIY project. My older daughter had been asking for one for a couple of years, and after finding the plans on Ana White’s website I was able to build one cheaply for about $50 in wood and screws. This was the perfect weekend project, and I was able to use up some leftover paint and fabric to create this nice addition to our yard.
Check out my blog post about this seesaw here:
http://sandiegocountypropertymanagement.com/diy-kids-seesaw/
Built from Plan(s)
Estimated Cost
$50-$75
Estimated Time Investment
Weekend Project (10-20 Hours)
Finish Used
Behr exterior flat paints.
Recommended Skill Level
Intermediate
Comments
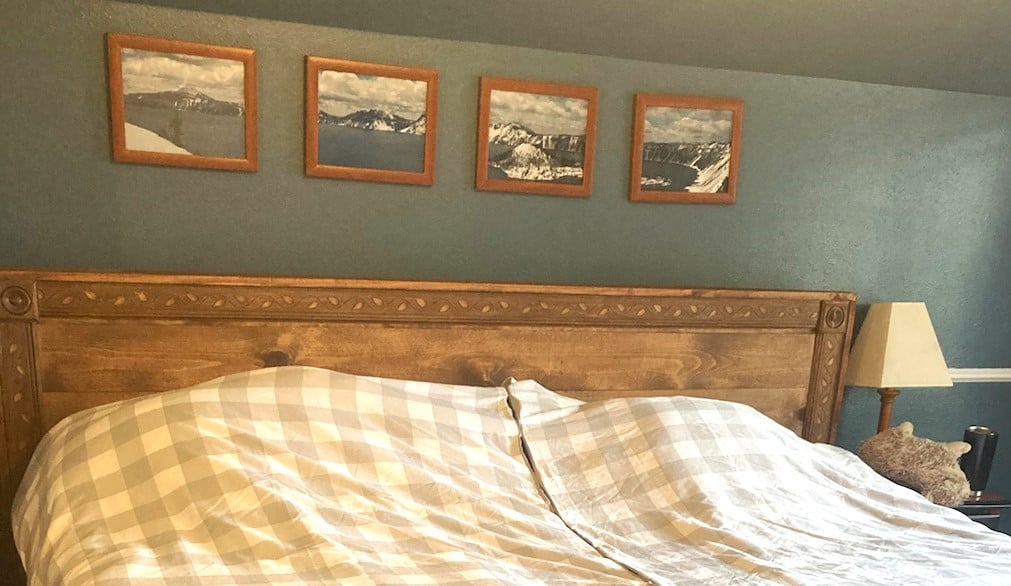
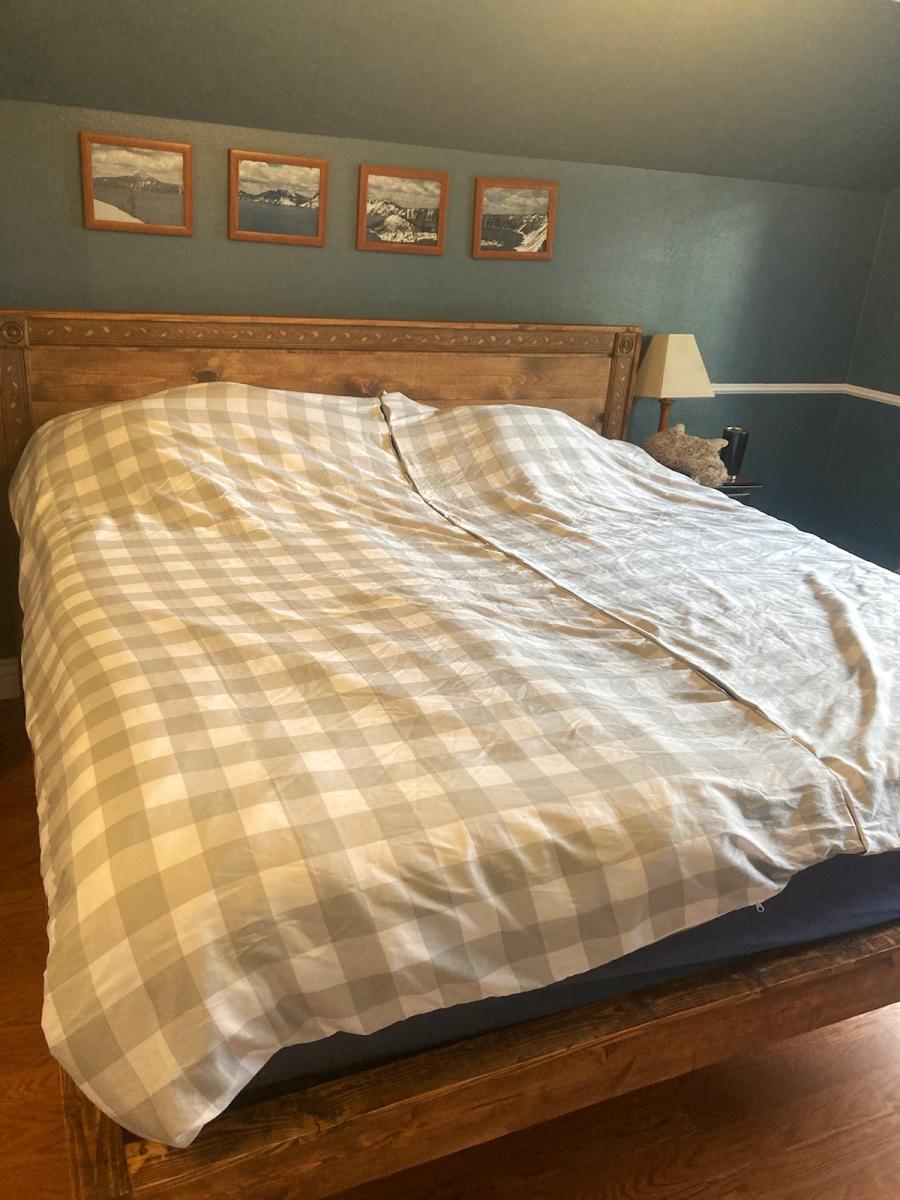
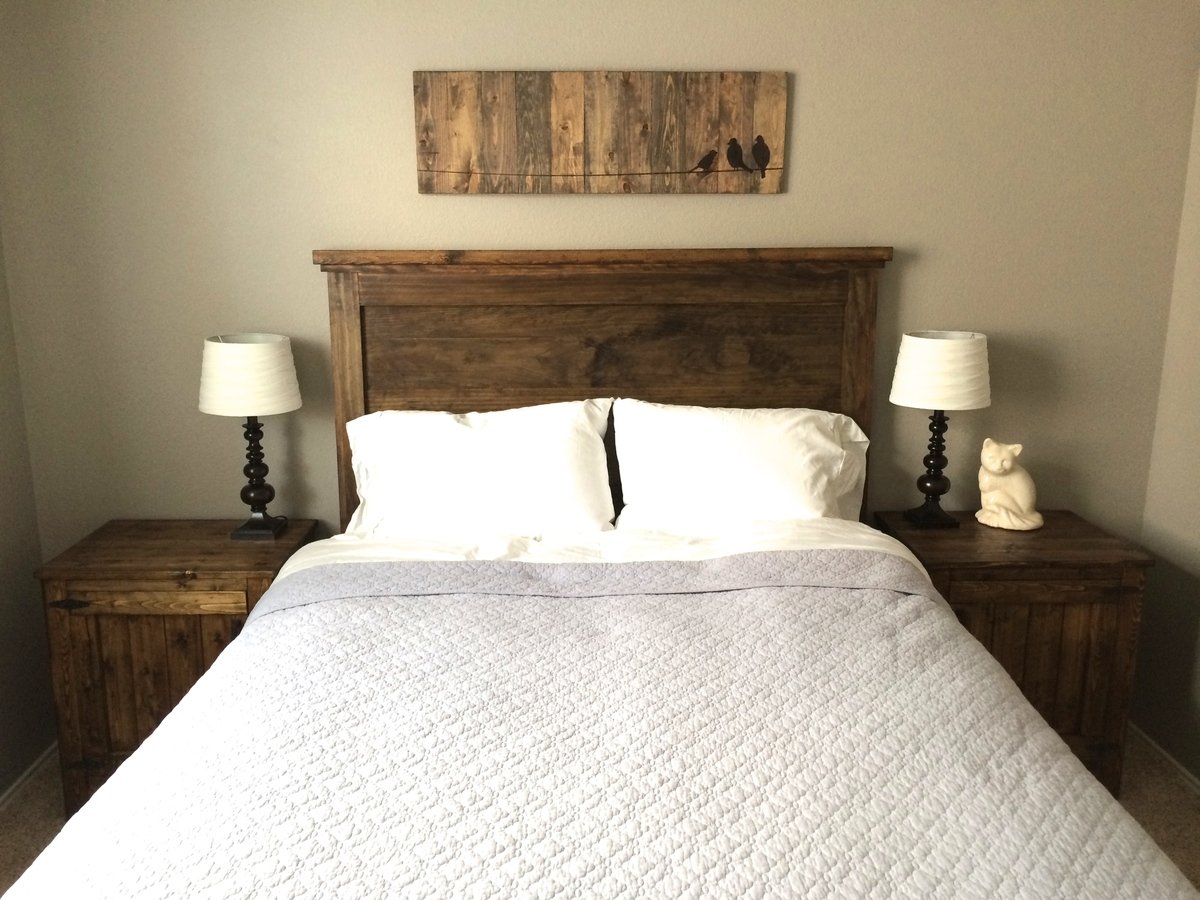
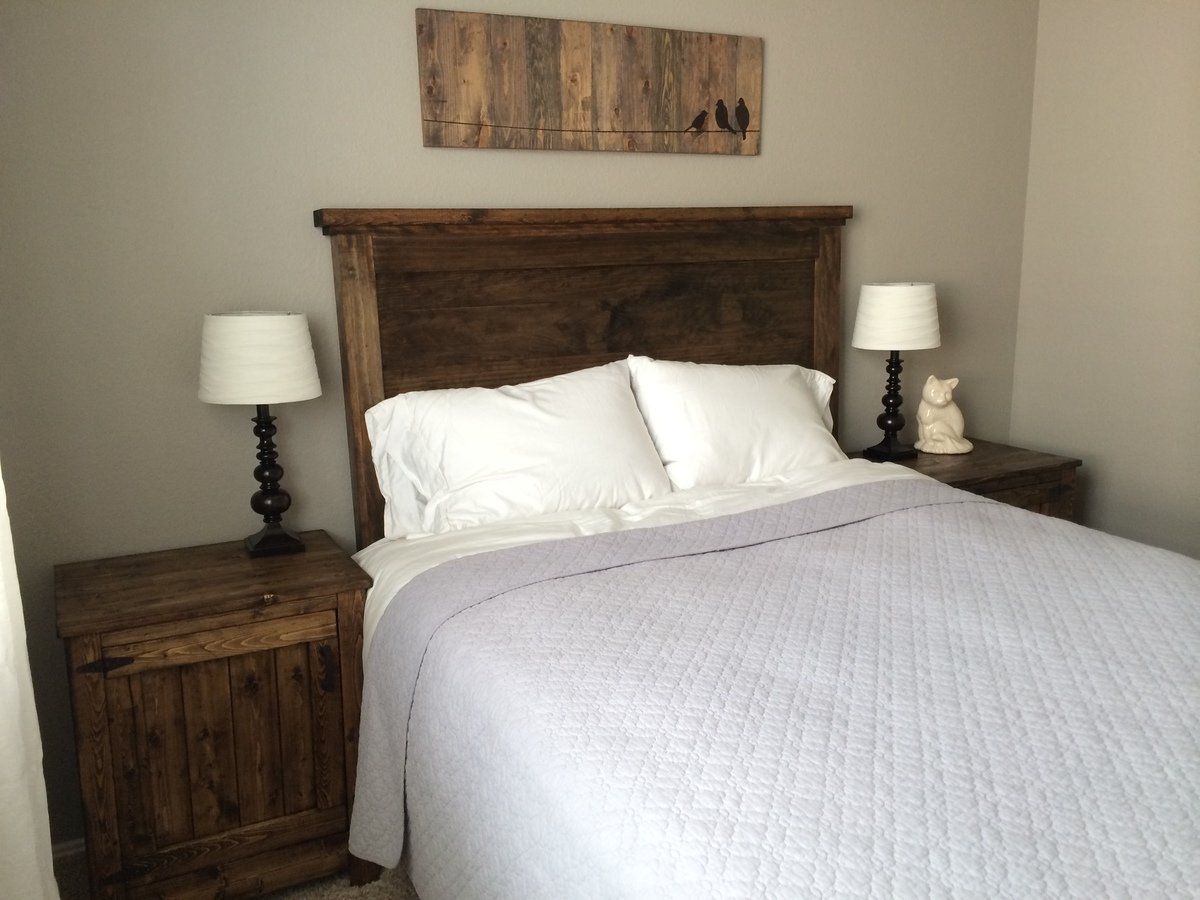
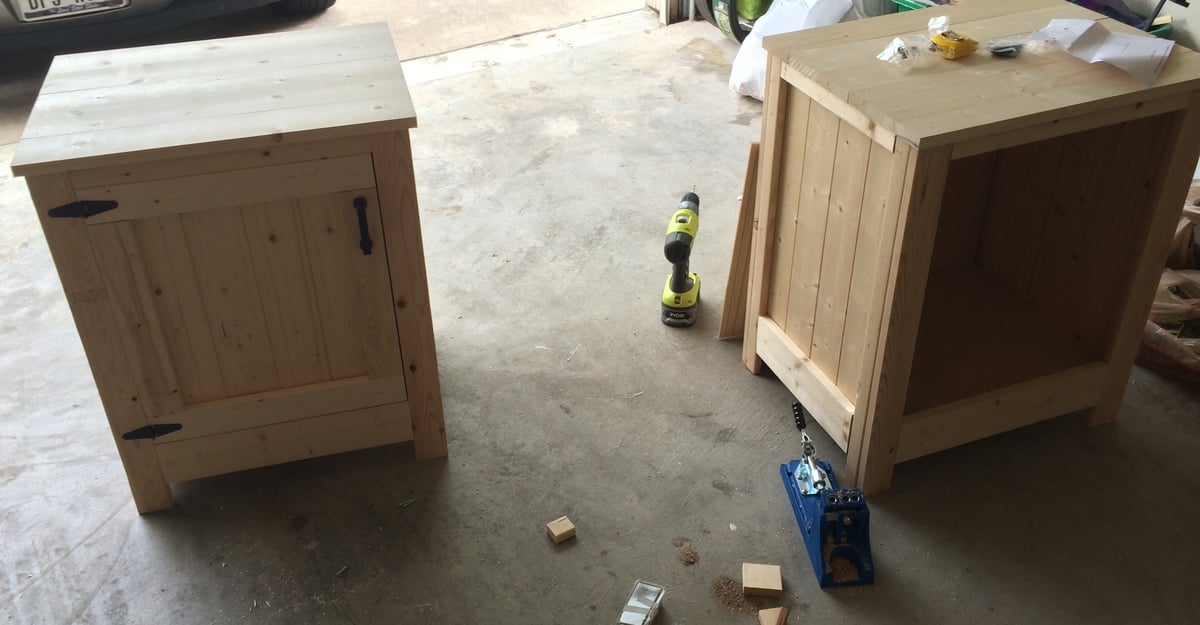
Headboard and nightstands
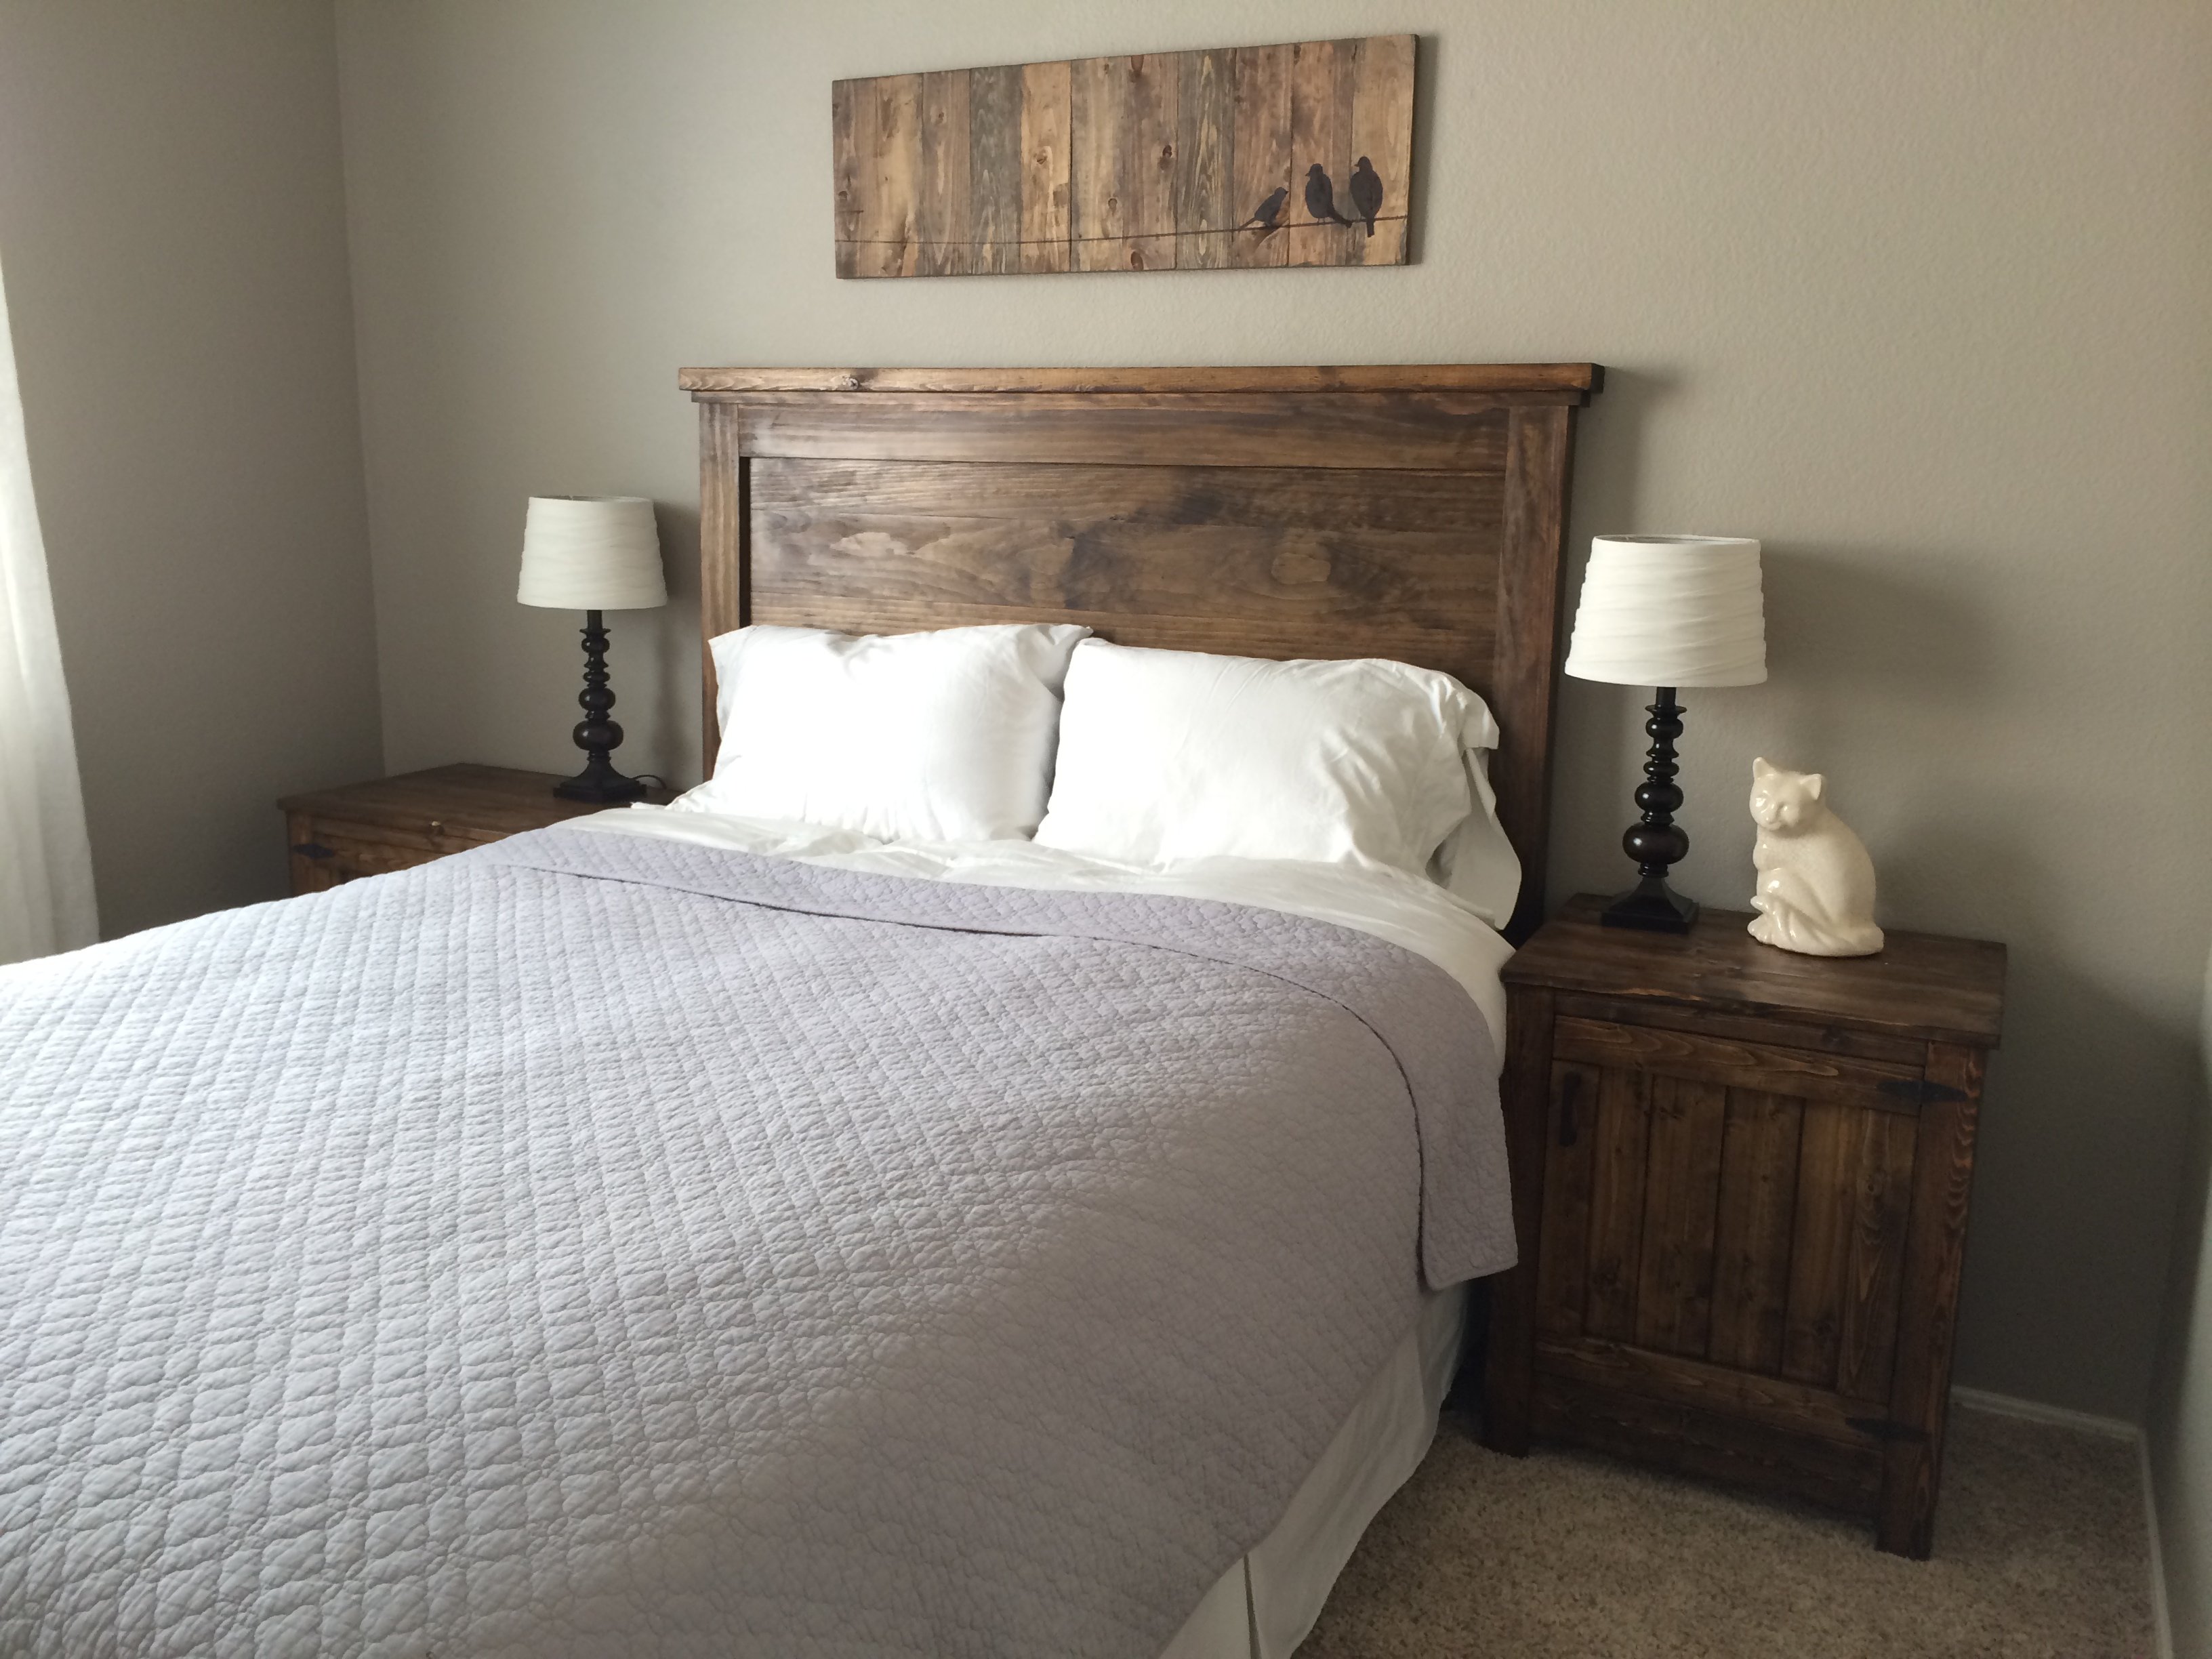
I made this headboard a year ago and it was my first Ana White project. I finally got around to making the nightstands last weekend and I just adore them. My guest room is finally complete!

Built from Plan(s)
Estimated Cost
Unsure since part of it was built last year
Estimated Time Investment
Week Long Project (20 Hours or More)
Finish Used
Minwax Dark Walnut with Polyurethane (satin)
Recommended Skill Level
Intermediate
Twin farmhouse
Made two of these for our twins! Lots of steps and measuring but pretty simple!
Built from Plan(s)
Estimated Time Investment
Day Project (6-9 Hours)
Finish Used
Weathered grey stain
Recommended Skill Level
Intermediate
Comments
Sun, 01/21/2018 - 16:32
Your Stain
I'm making these beds and love your stain! I have tried several sample stains and cannot find one I like. Where did you find your stain?
Seasonal And Holiday
Patio Table
Outdoor Coffee Table
Built from Plan(s)