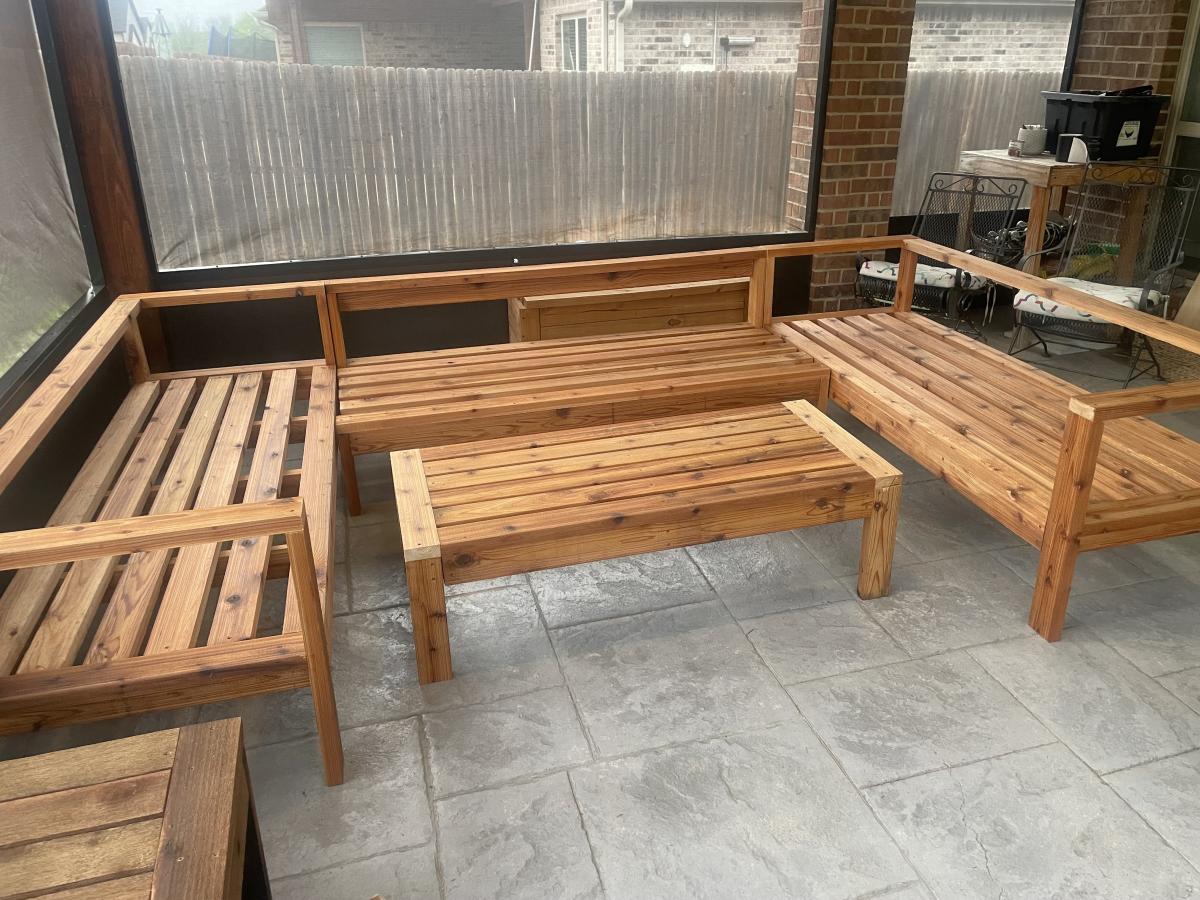
Sun Room Sectional
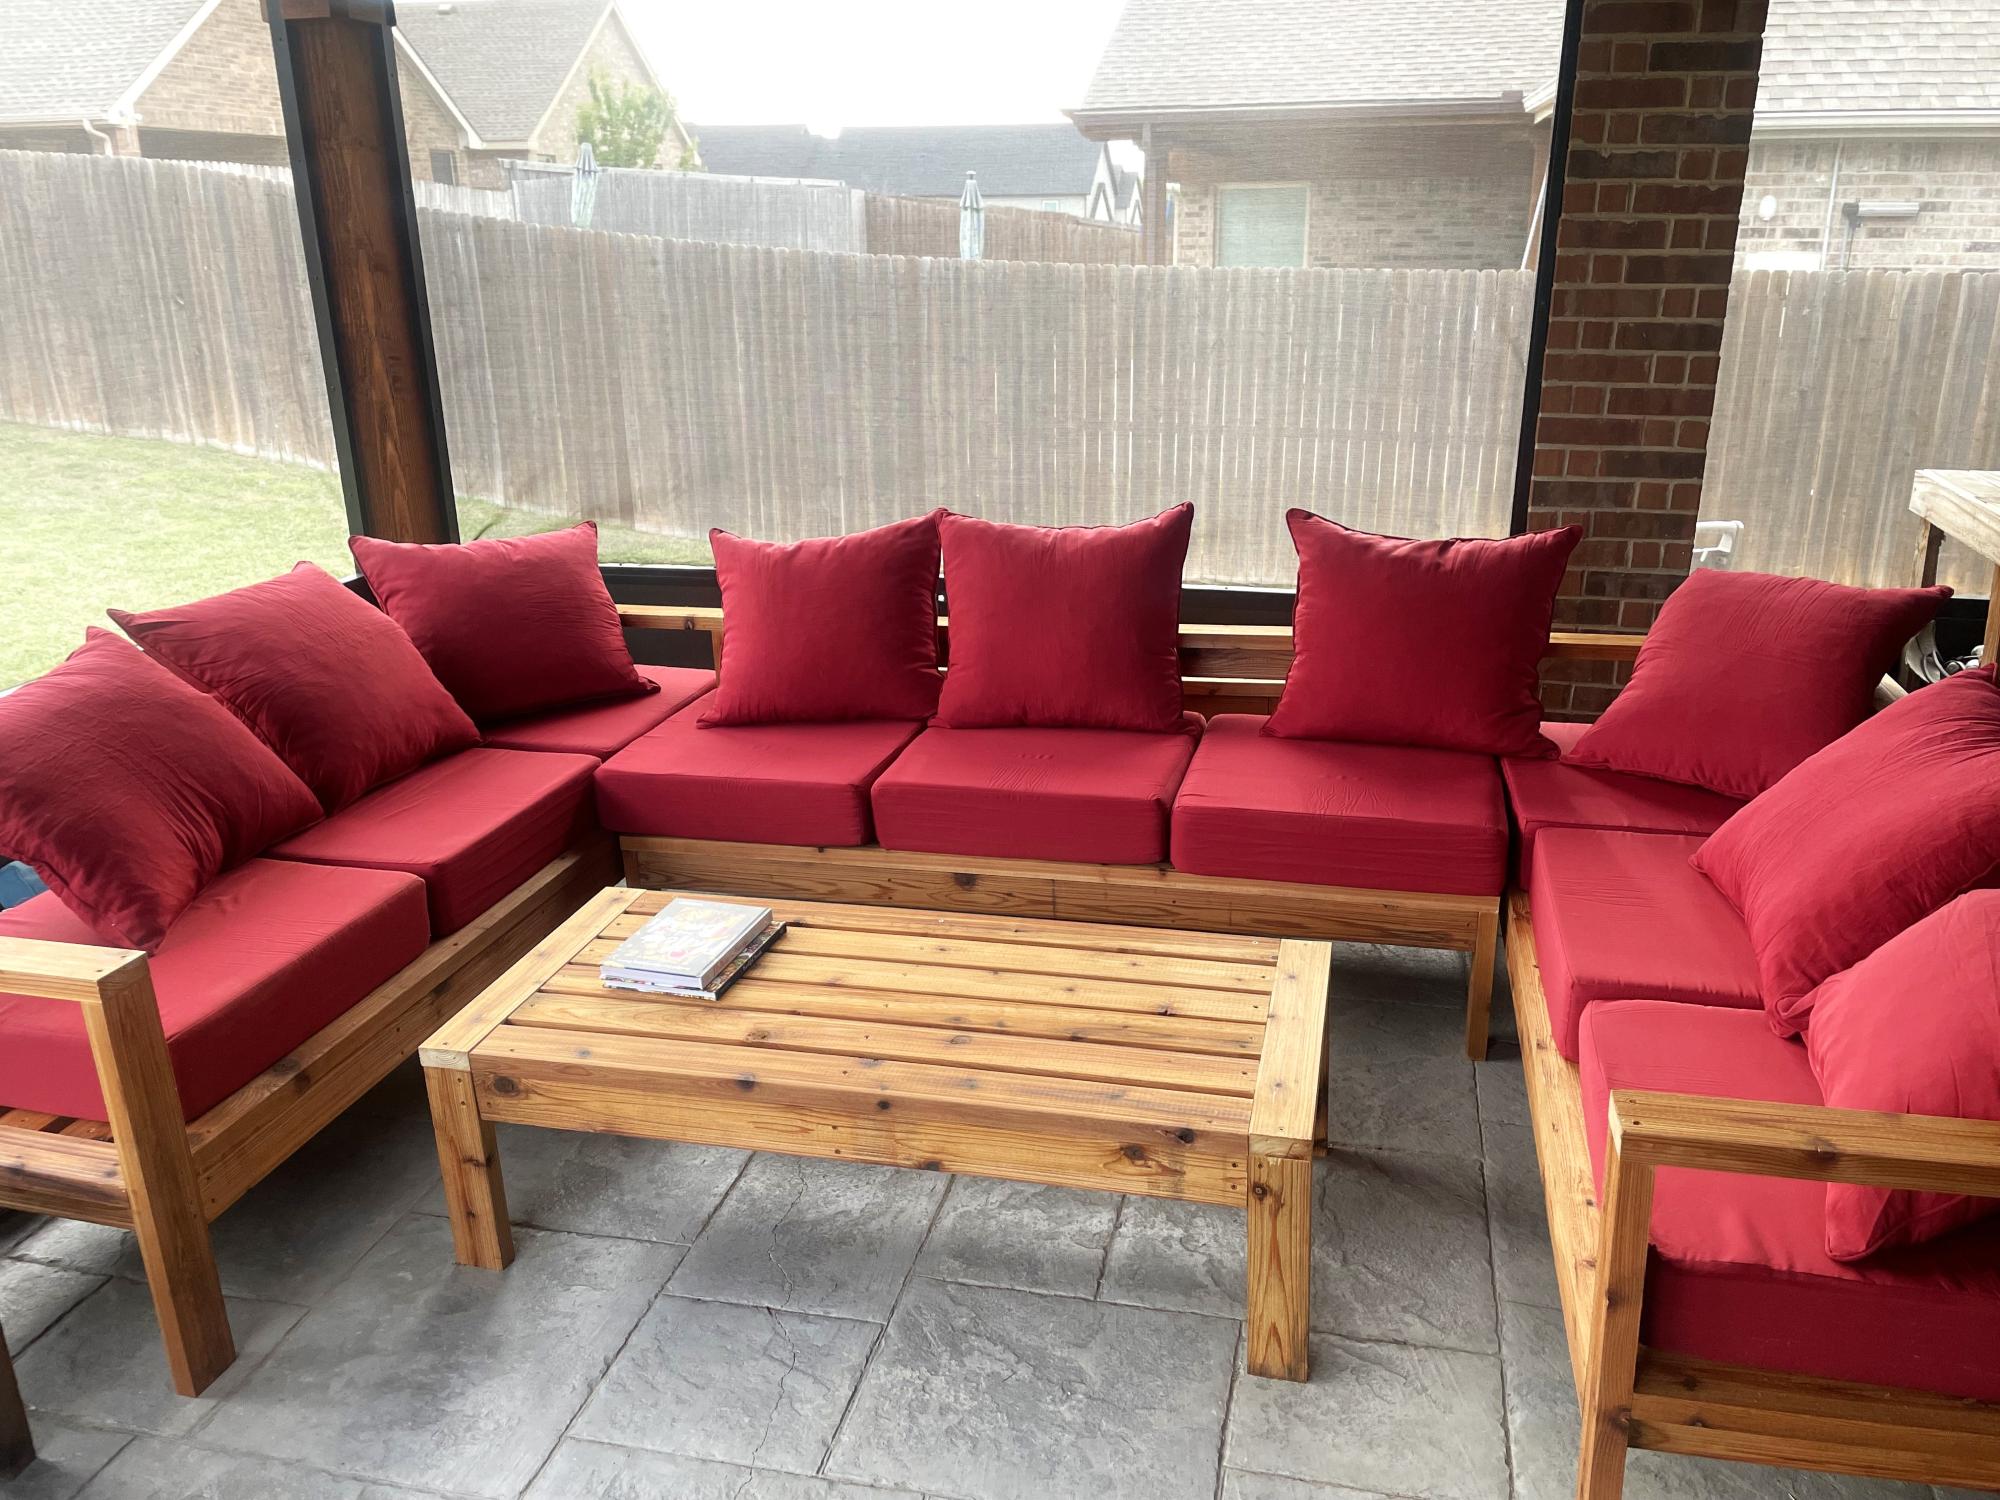
3 piece sectional from cedar for my new sunroom!
Thomas Lott
Built from Plan(s)
3 piece sectional from cedar for my new sunroom!
Thomas Lott
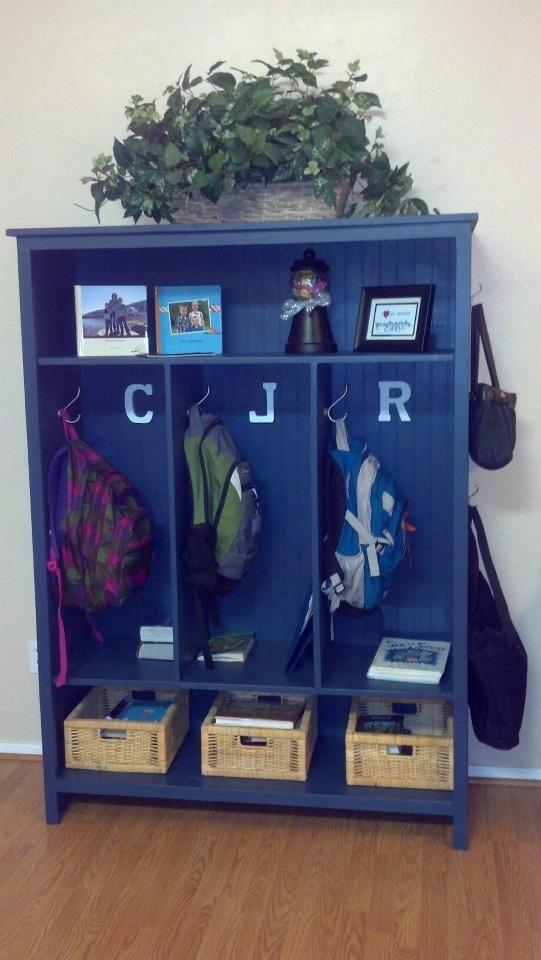
Thank you so much, Ana, for posting these plans. My husband built the storage locker in a few hours last Saturday. Our only modification was to use beadboard for the backing instead of plywood, and to switch out the 1x12's for 1x16 project panels to add depth so the backpacks will fit. I love how it turned out and now there is no more tripping over backpacks! I can't wait for our next project.
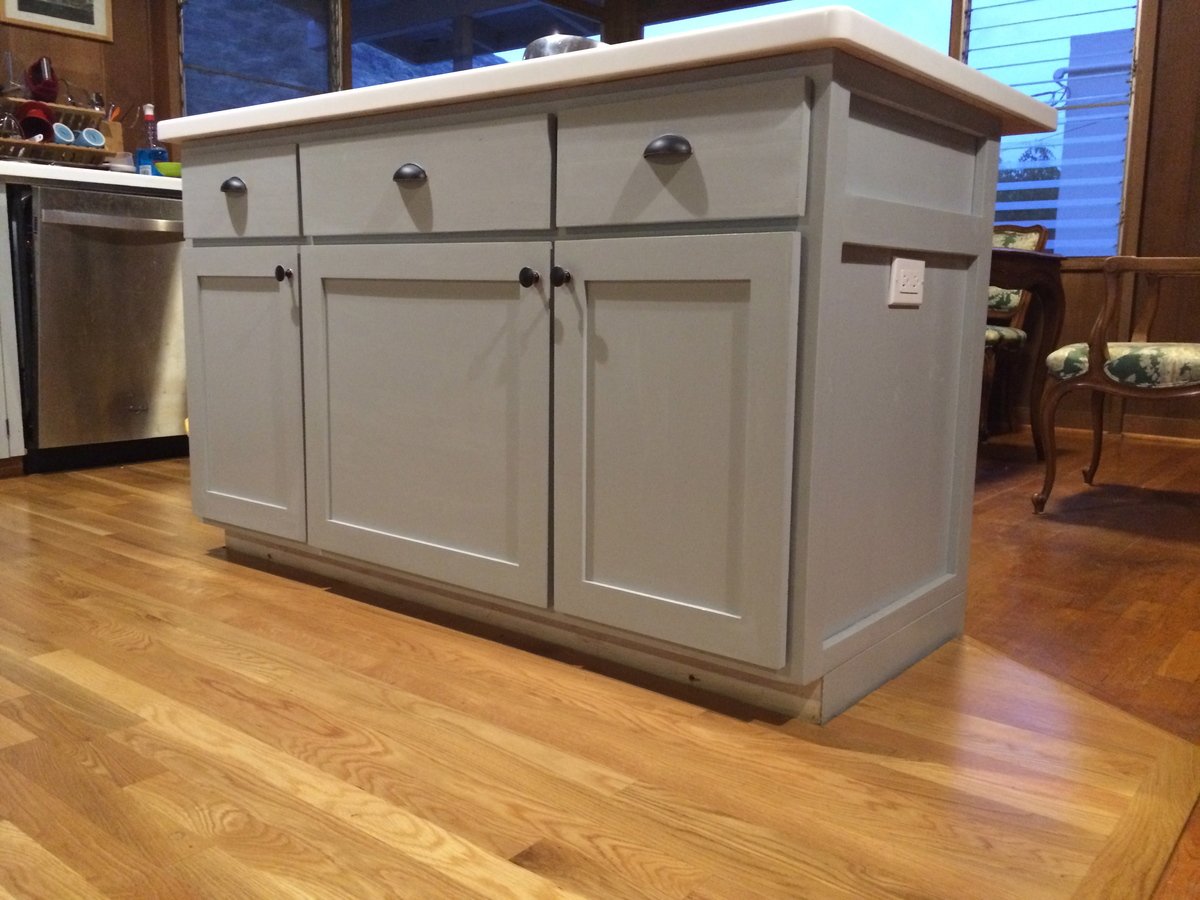
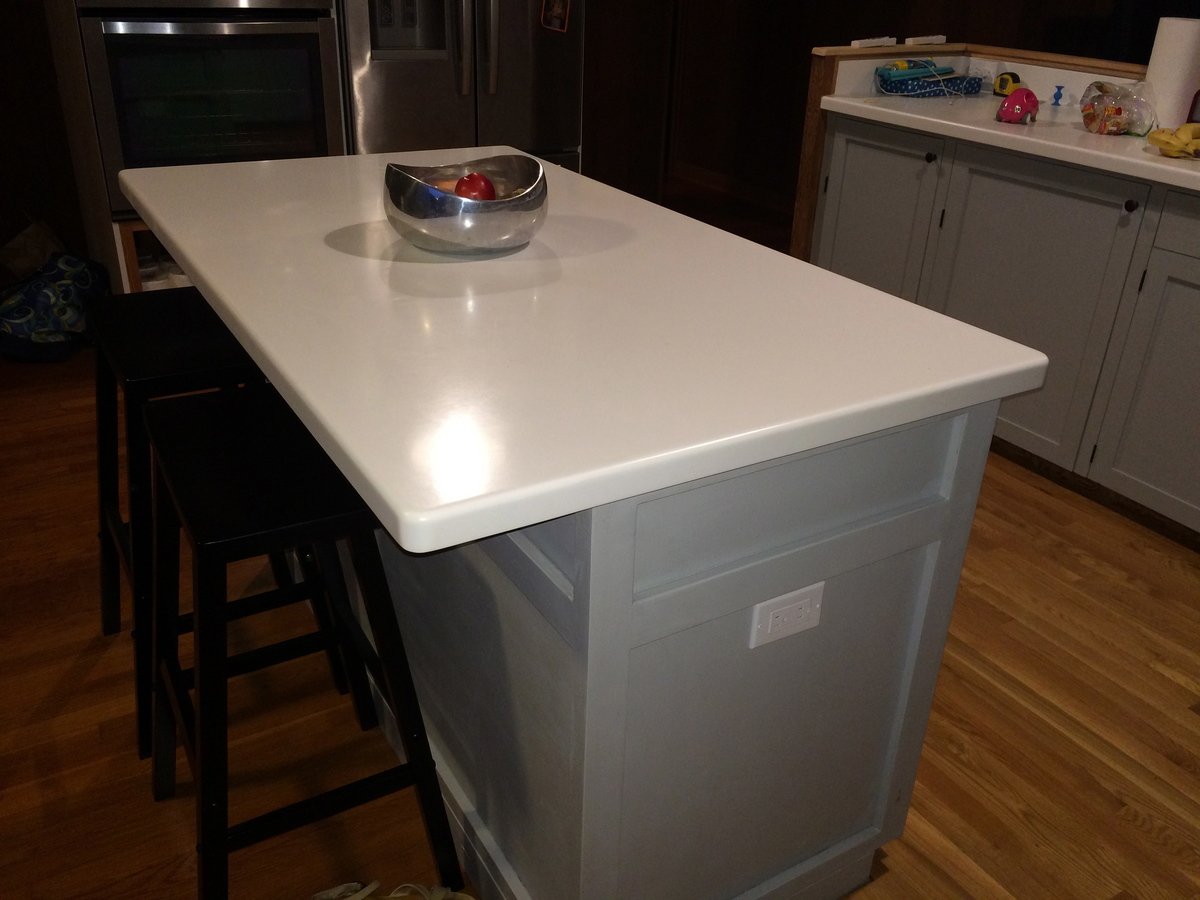
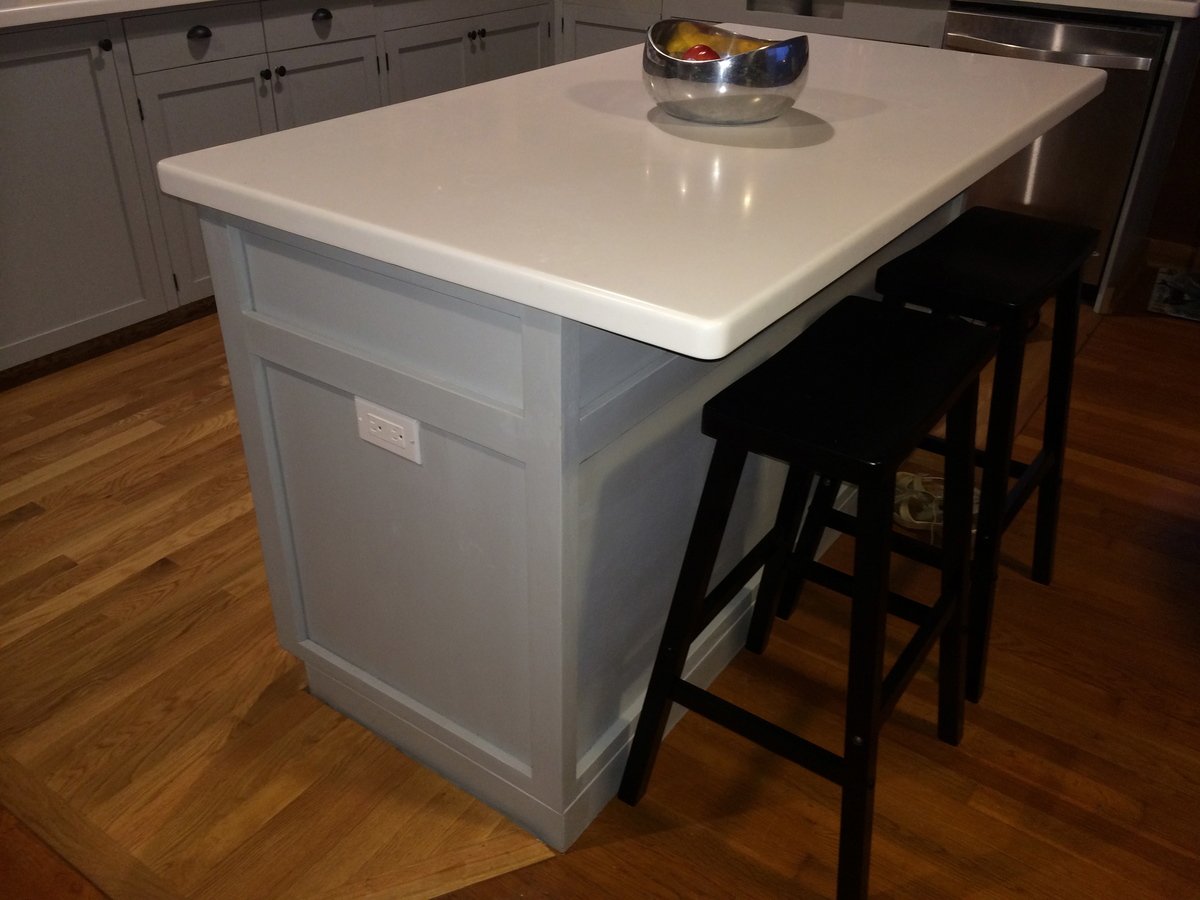
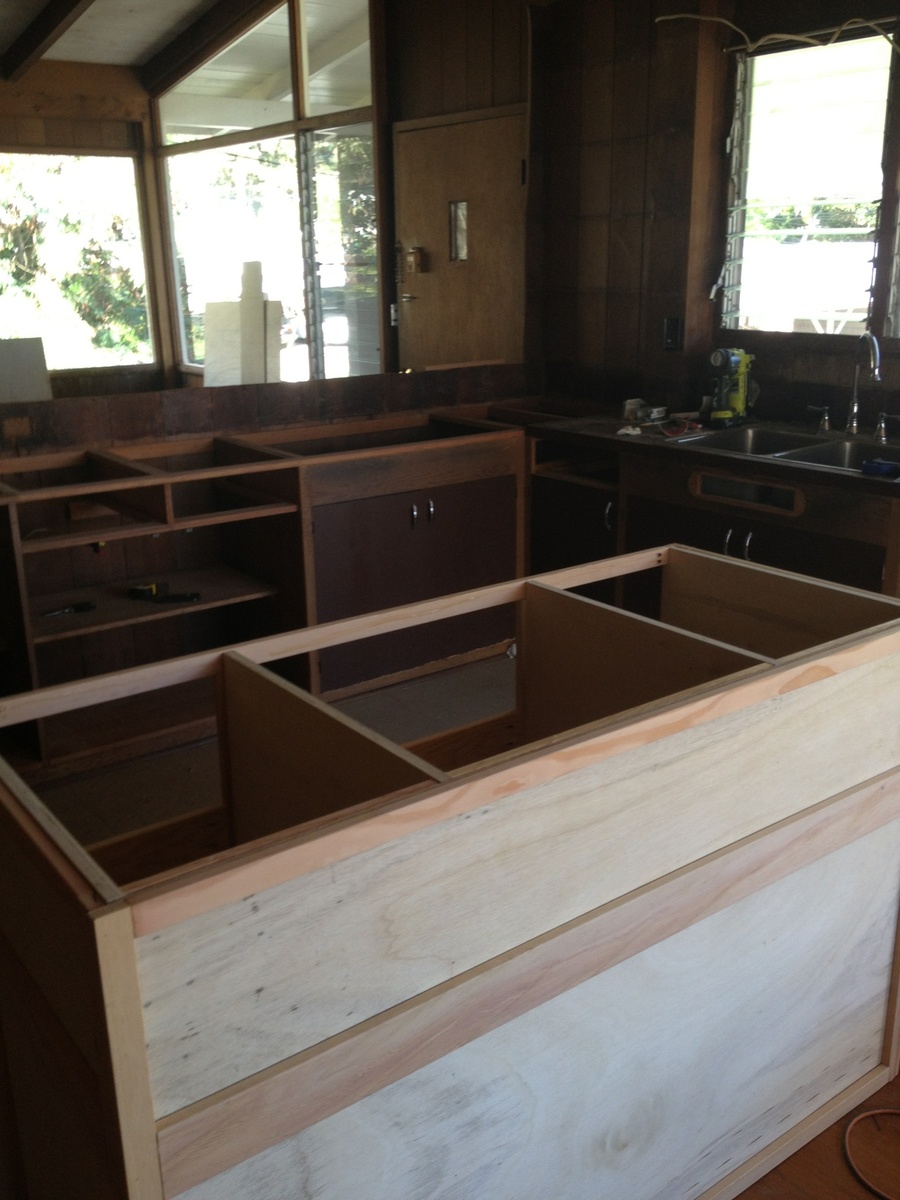
Our new 1970s Hawaiian house had never been renovated. It has beautiful redwood walls, but felt dark with a lot of walls dividing the kitchen from the living and dining rooms. They were partial walls, so we removed them and decided to add an island to divide the kitchen from the dining room.
I actually built this twice, the first time at bar height and the second one I altered to be counter height to match the existing cabinets. Since the kitchen is open to the living room and dining room, we thought it would look cleanest if the counters were all at the same height. (We saved my first build and I now use it as a workbench).
I also removed the corbels from the plan and closed in the center wine rack. Lastly, instead of feet, I added 2X4 to the bottom to create a toe kick on one side. The top of the island is Corian and the paint color is Benjamin Moore Marina Bay.
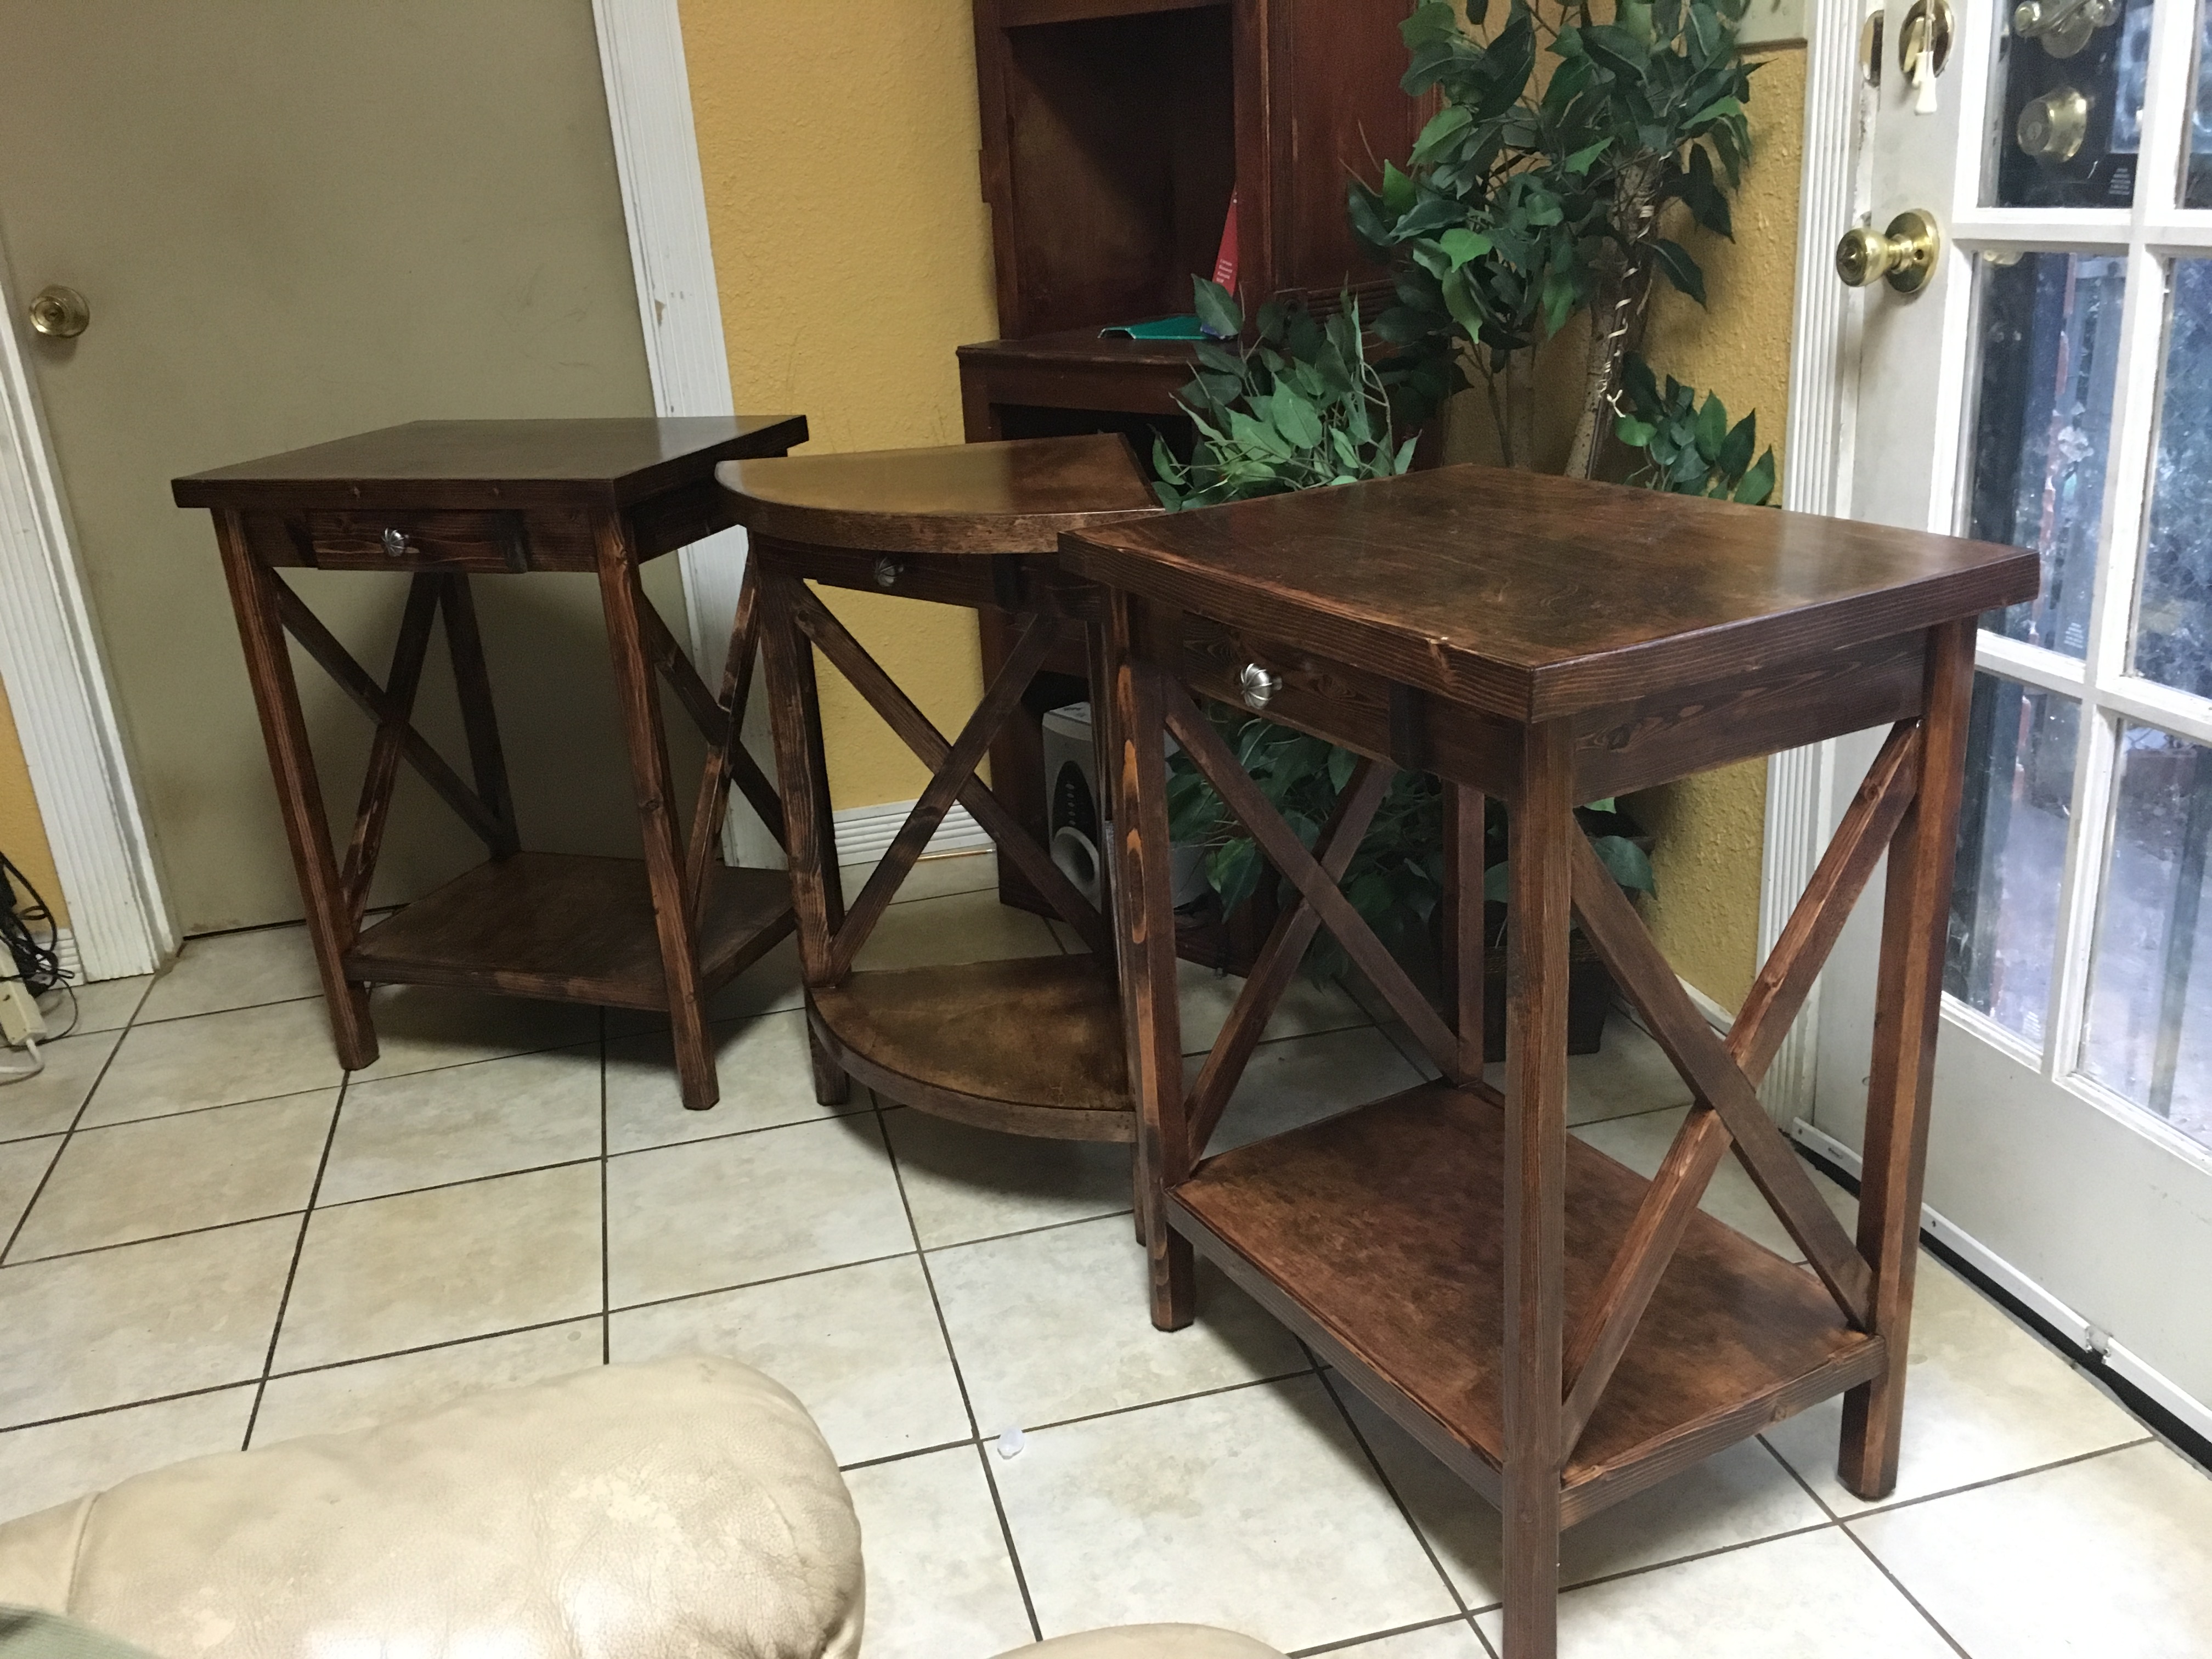
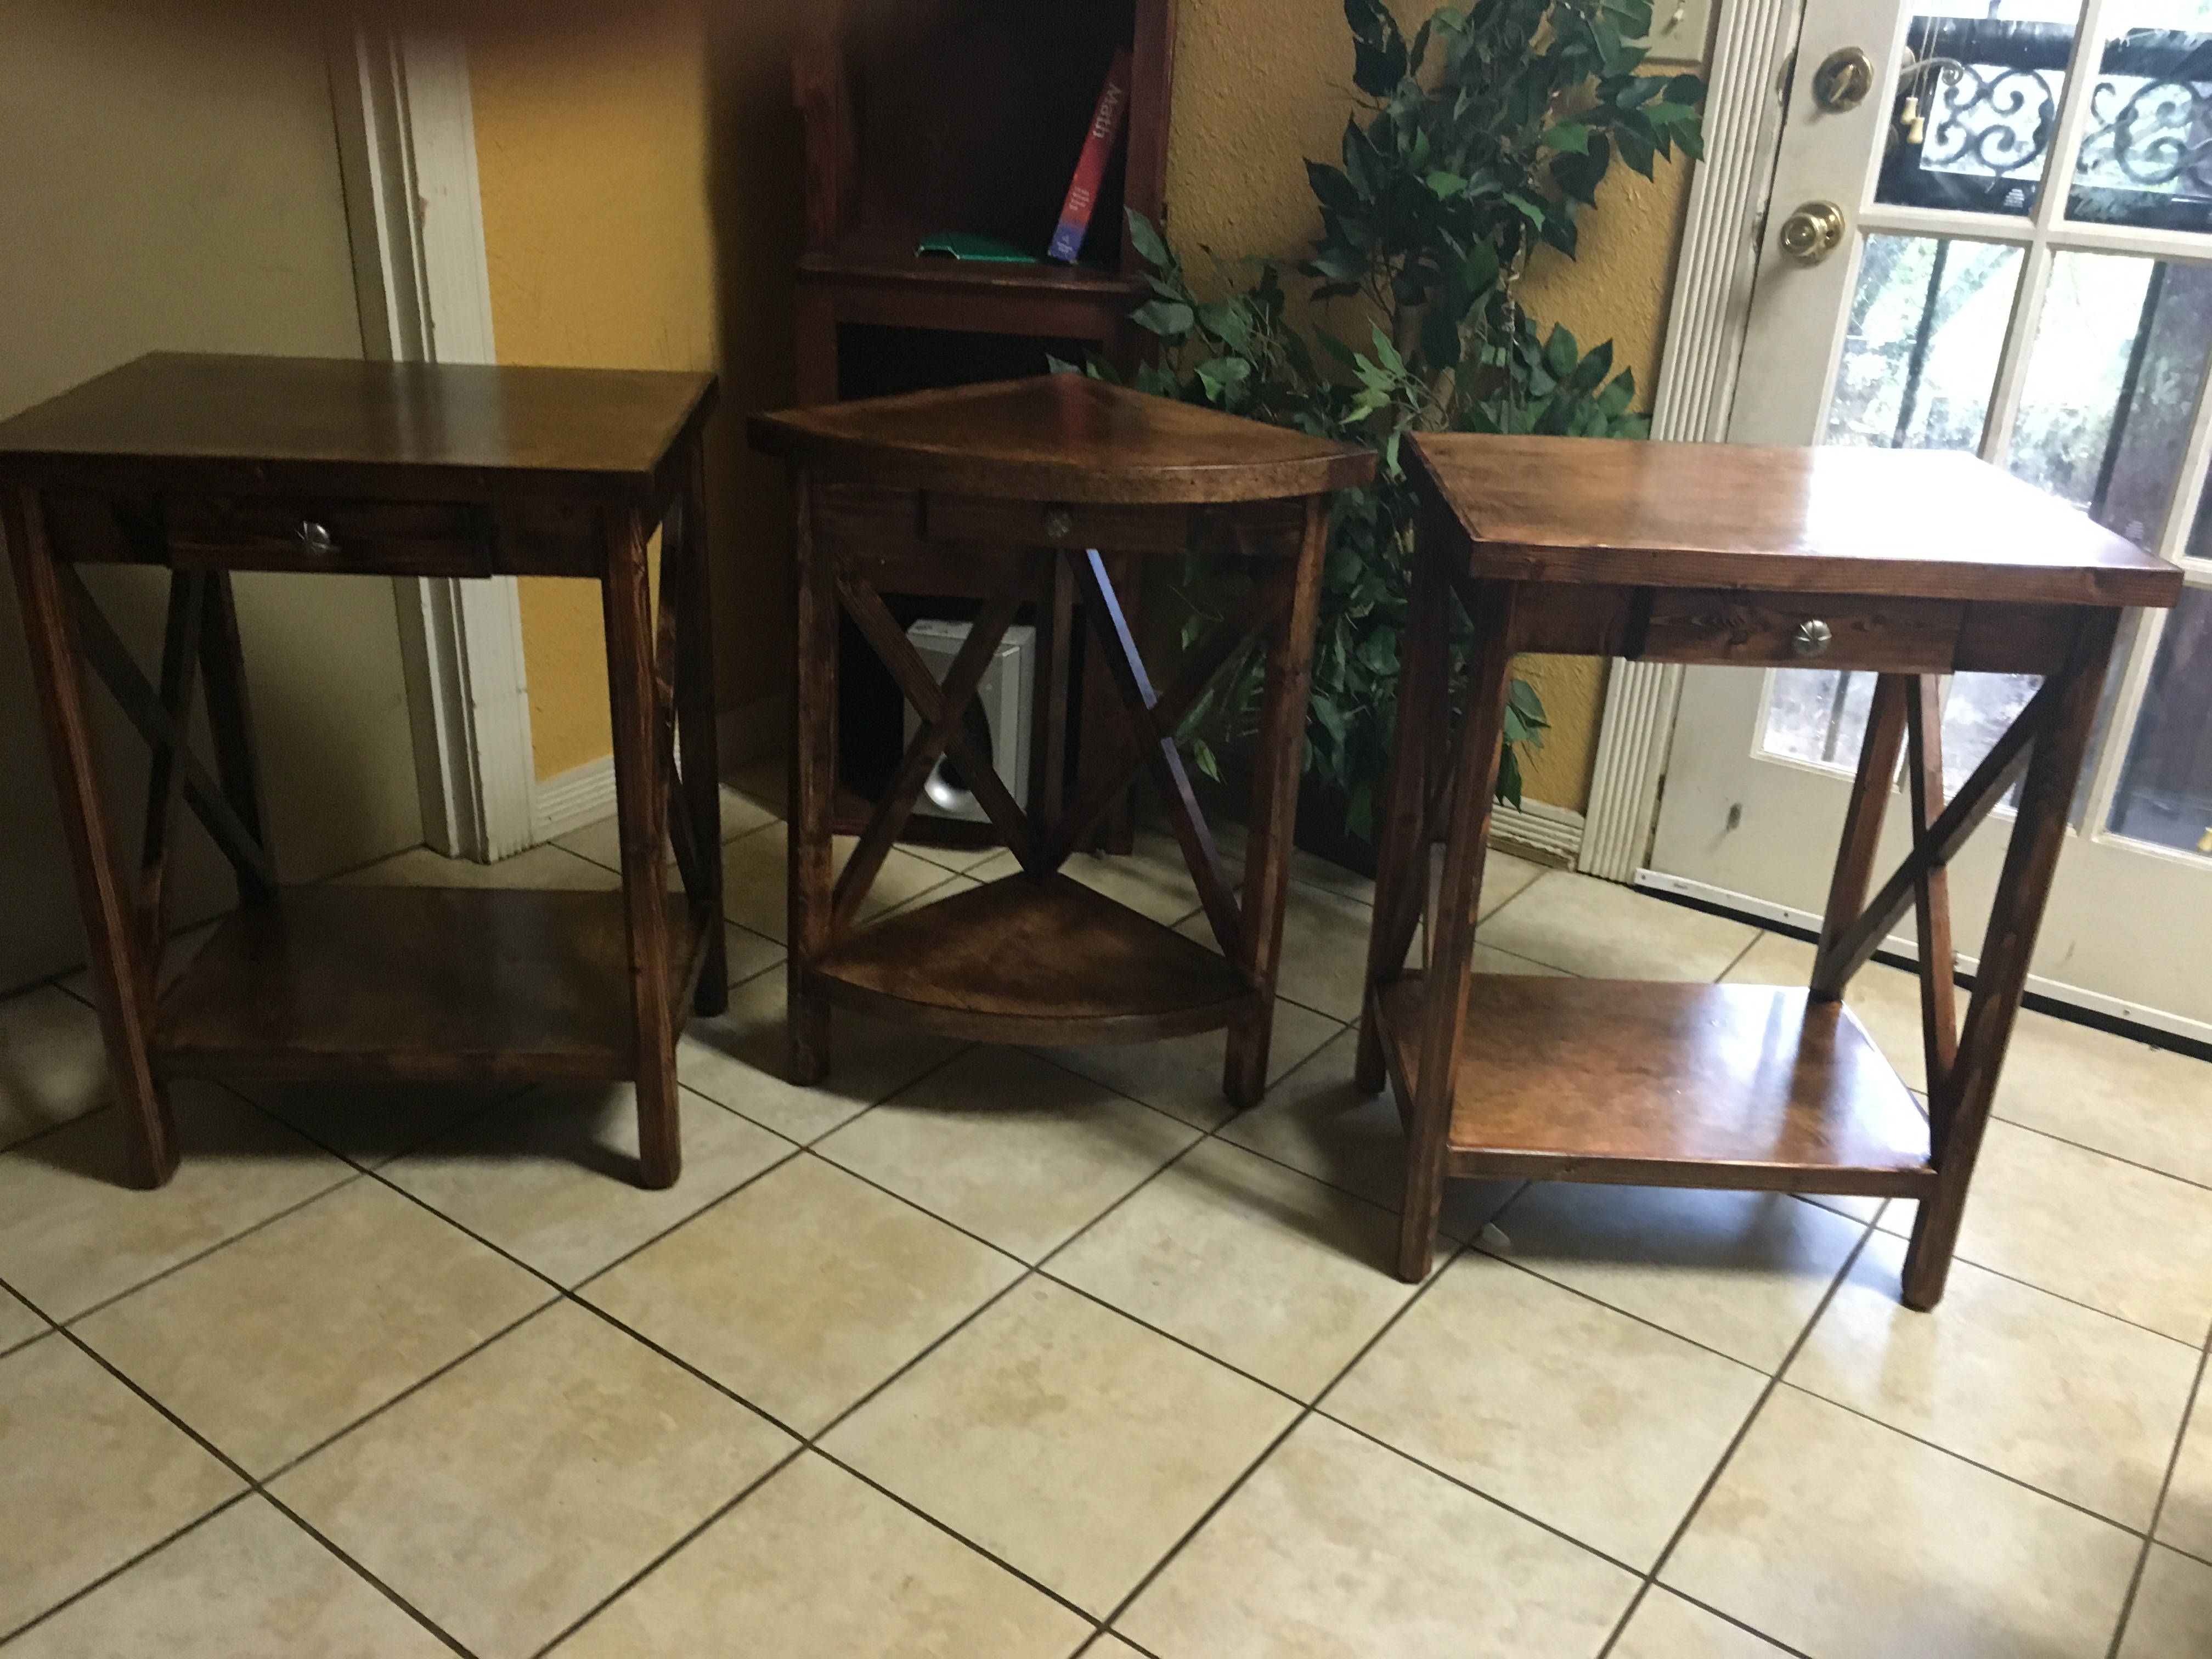
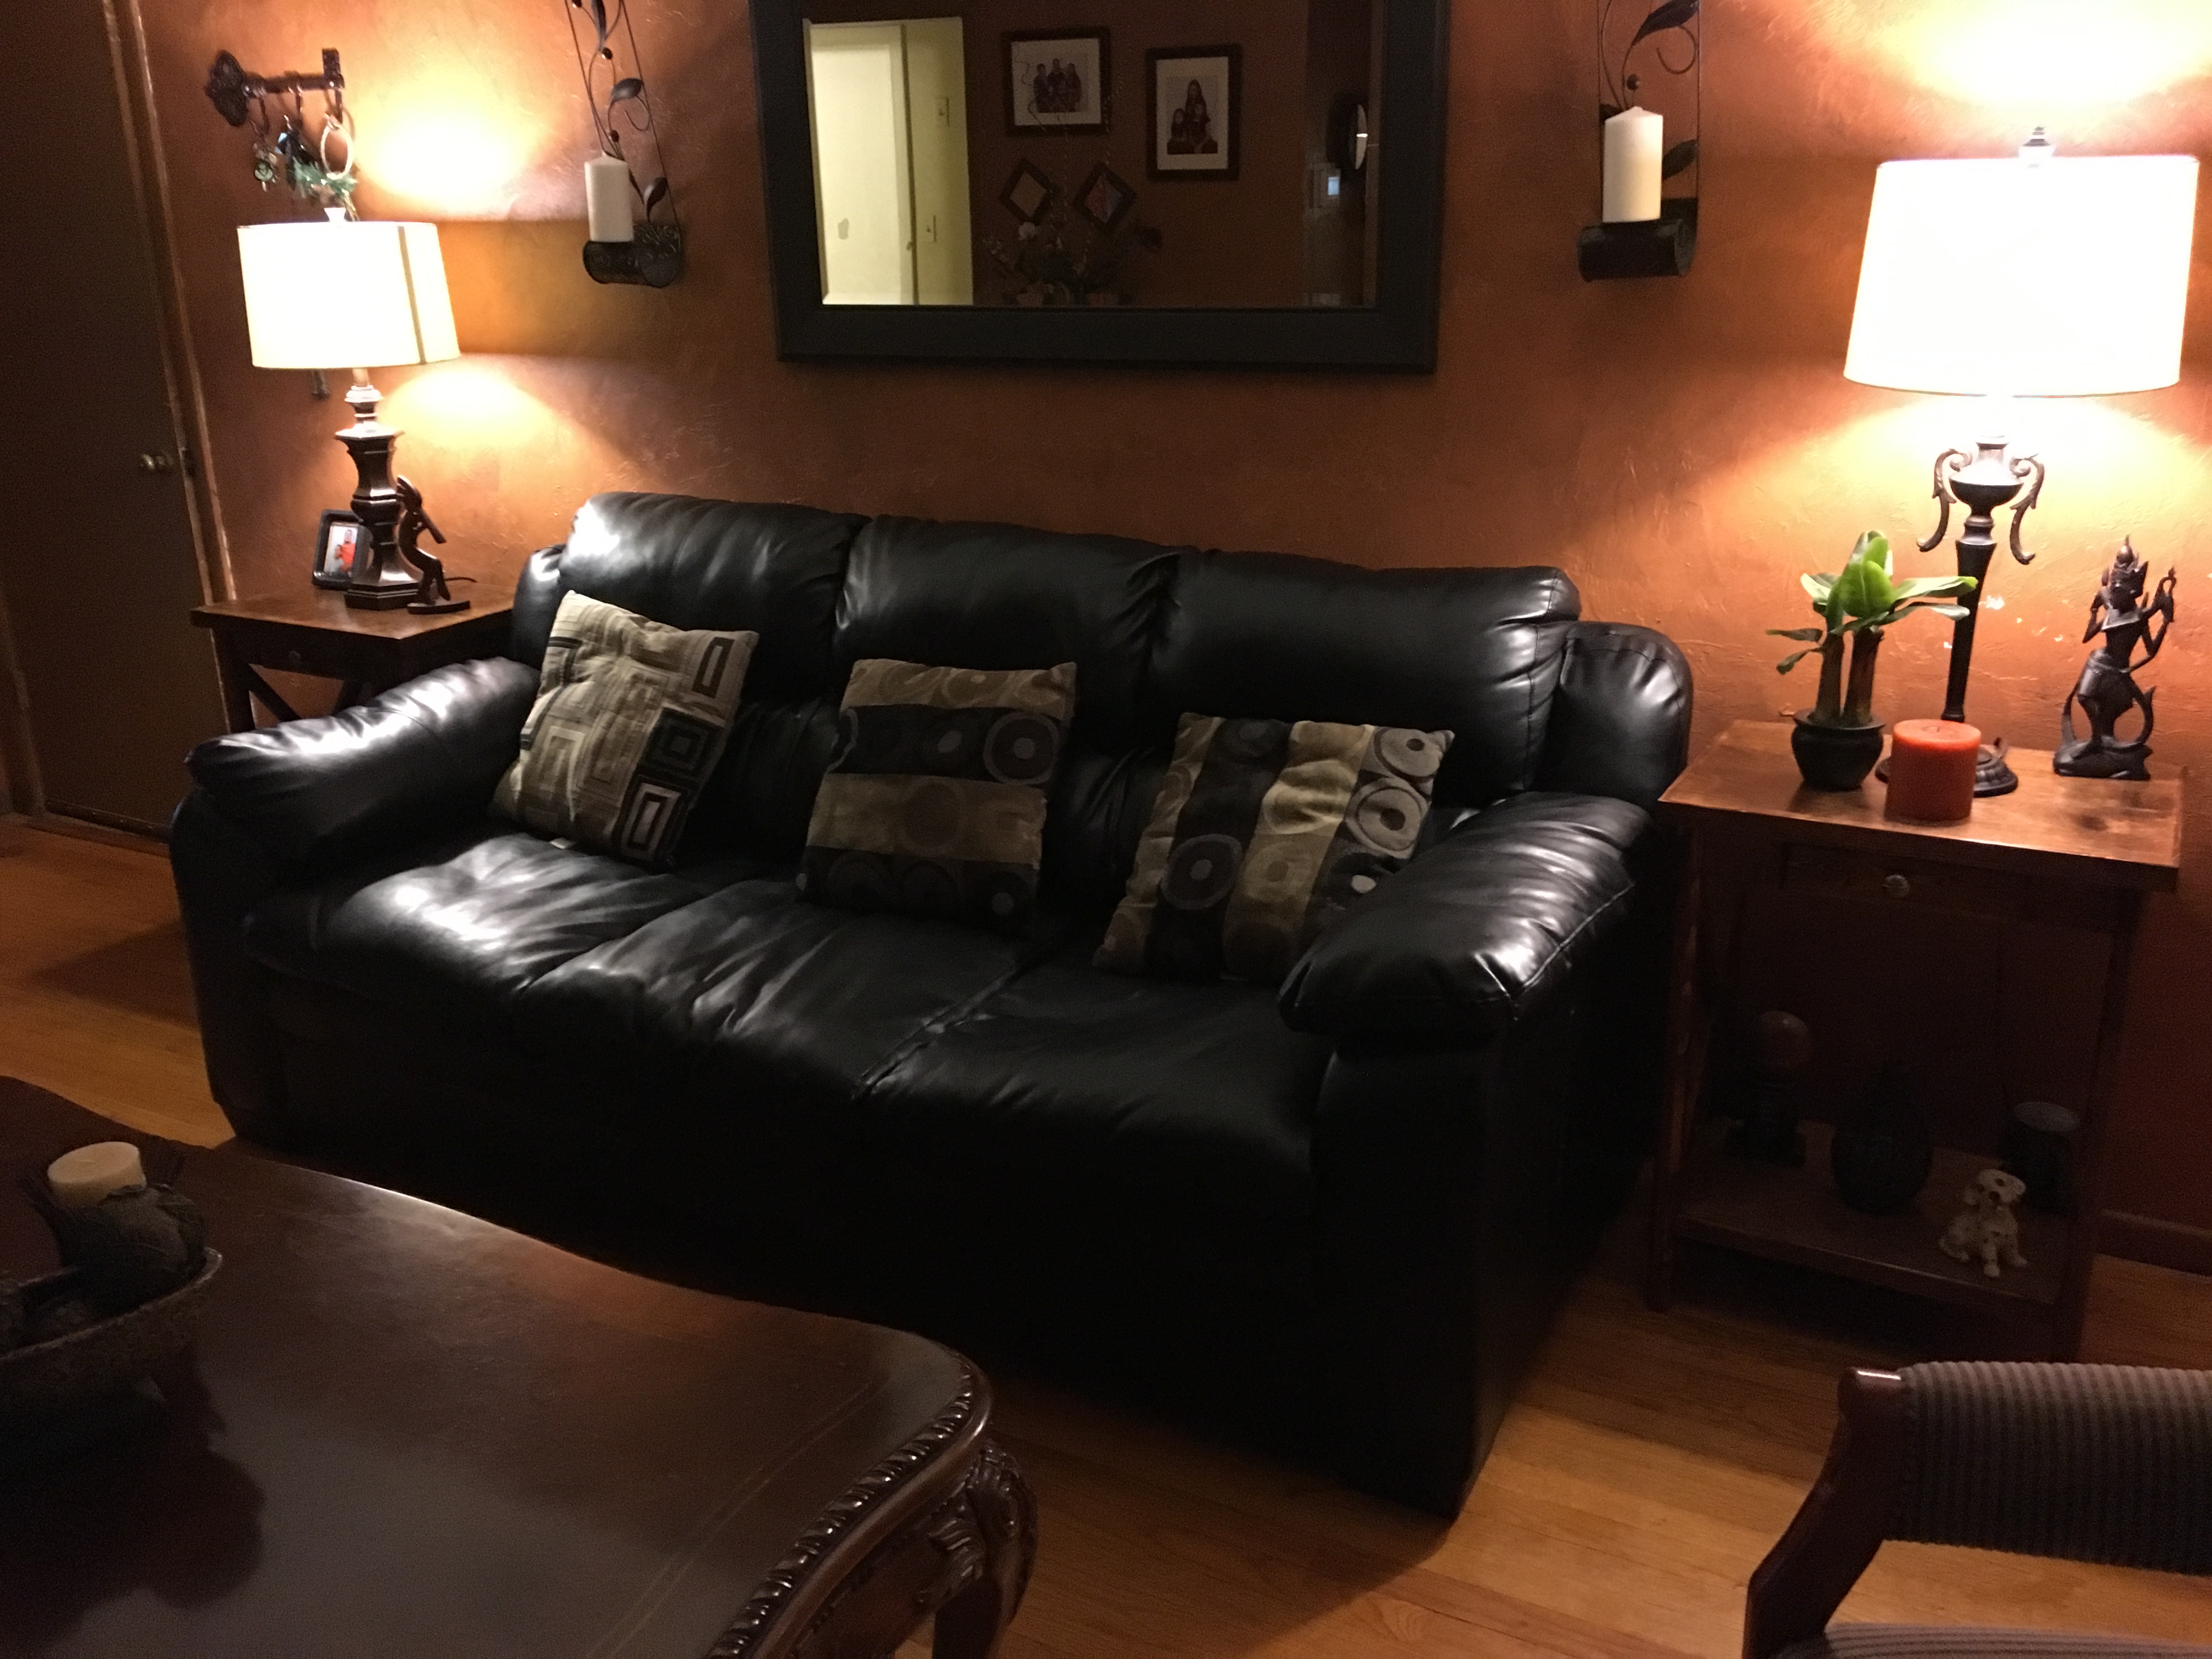
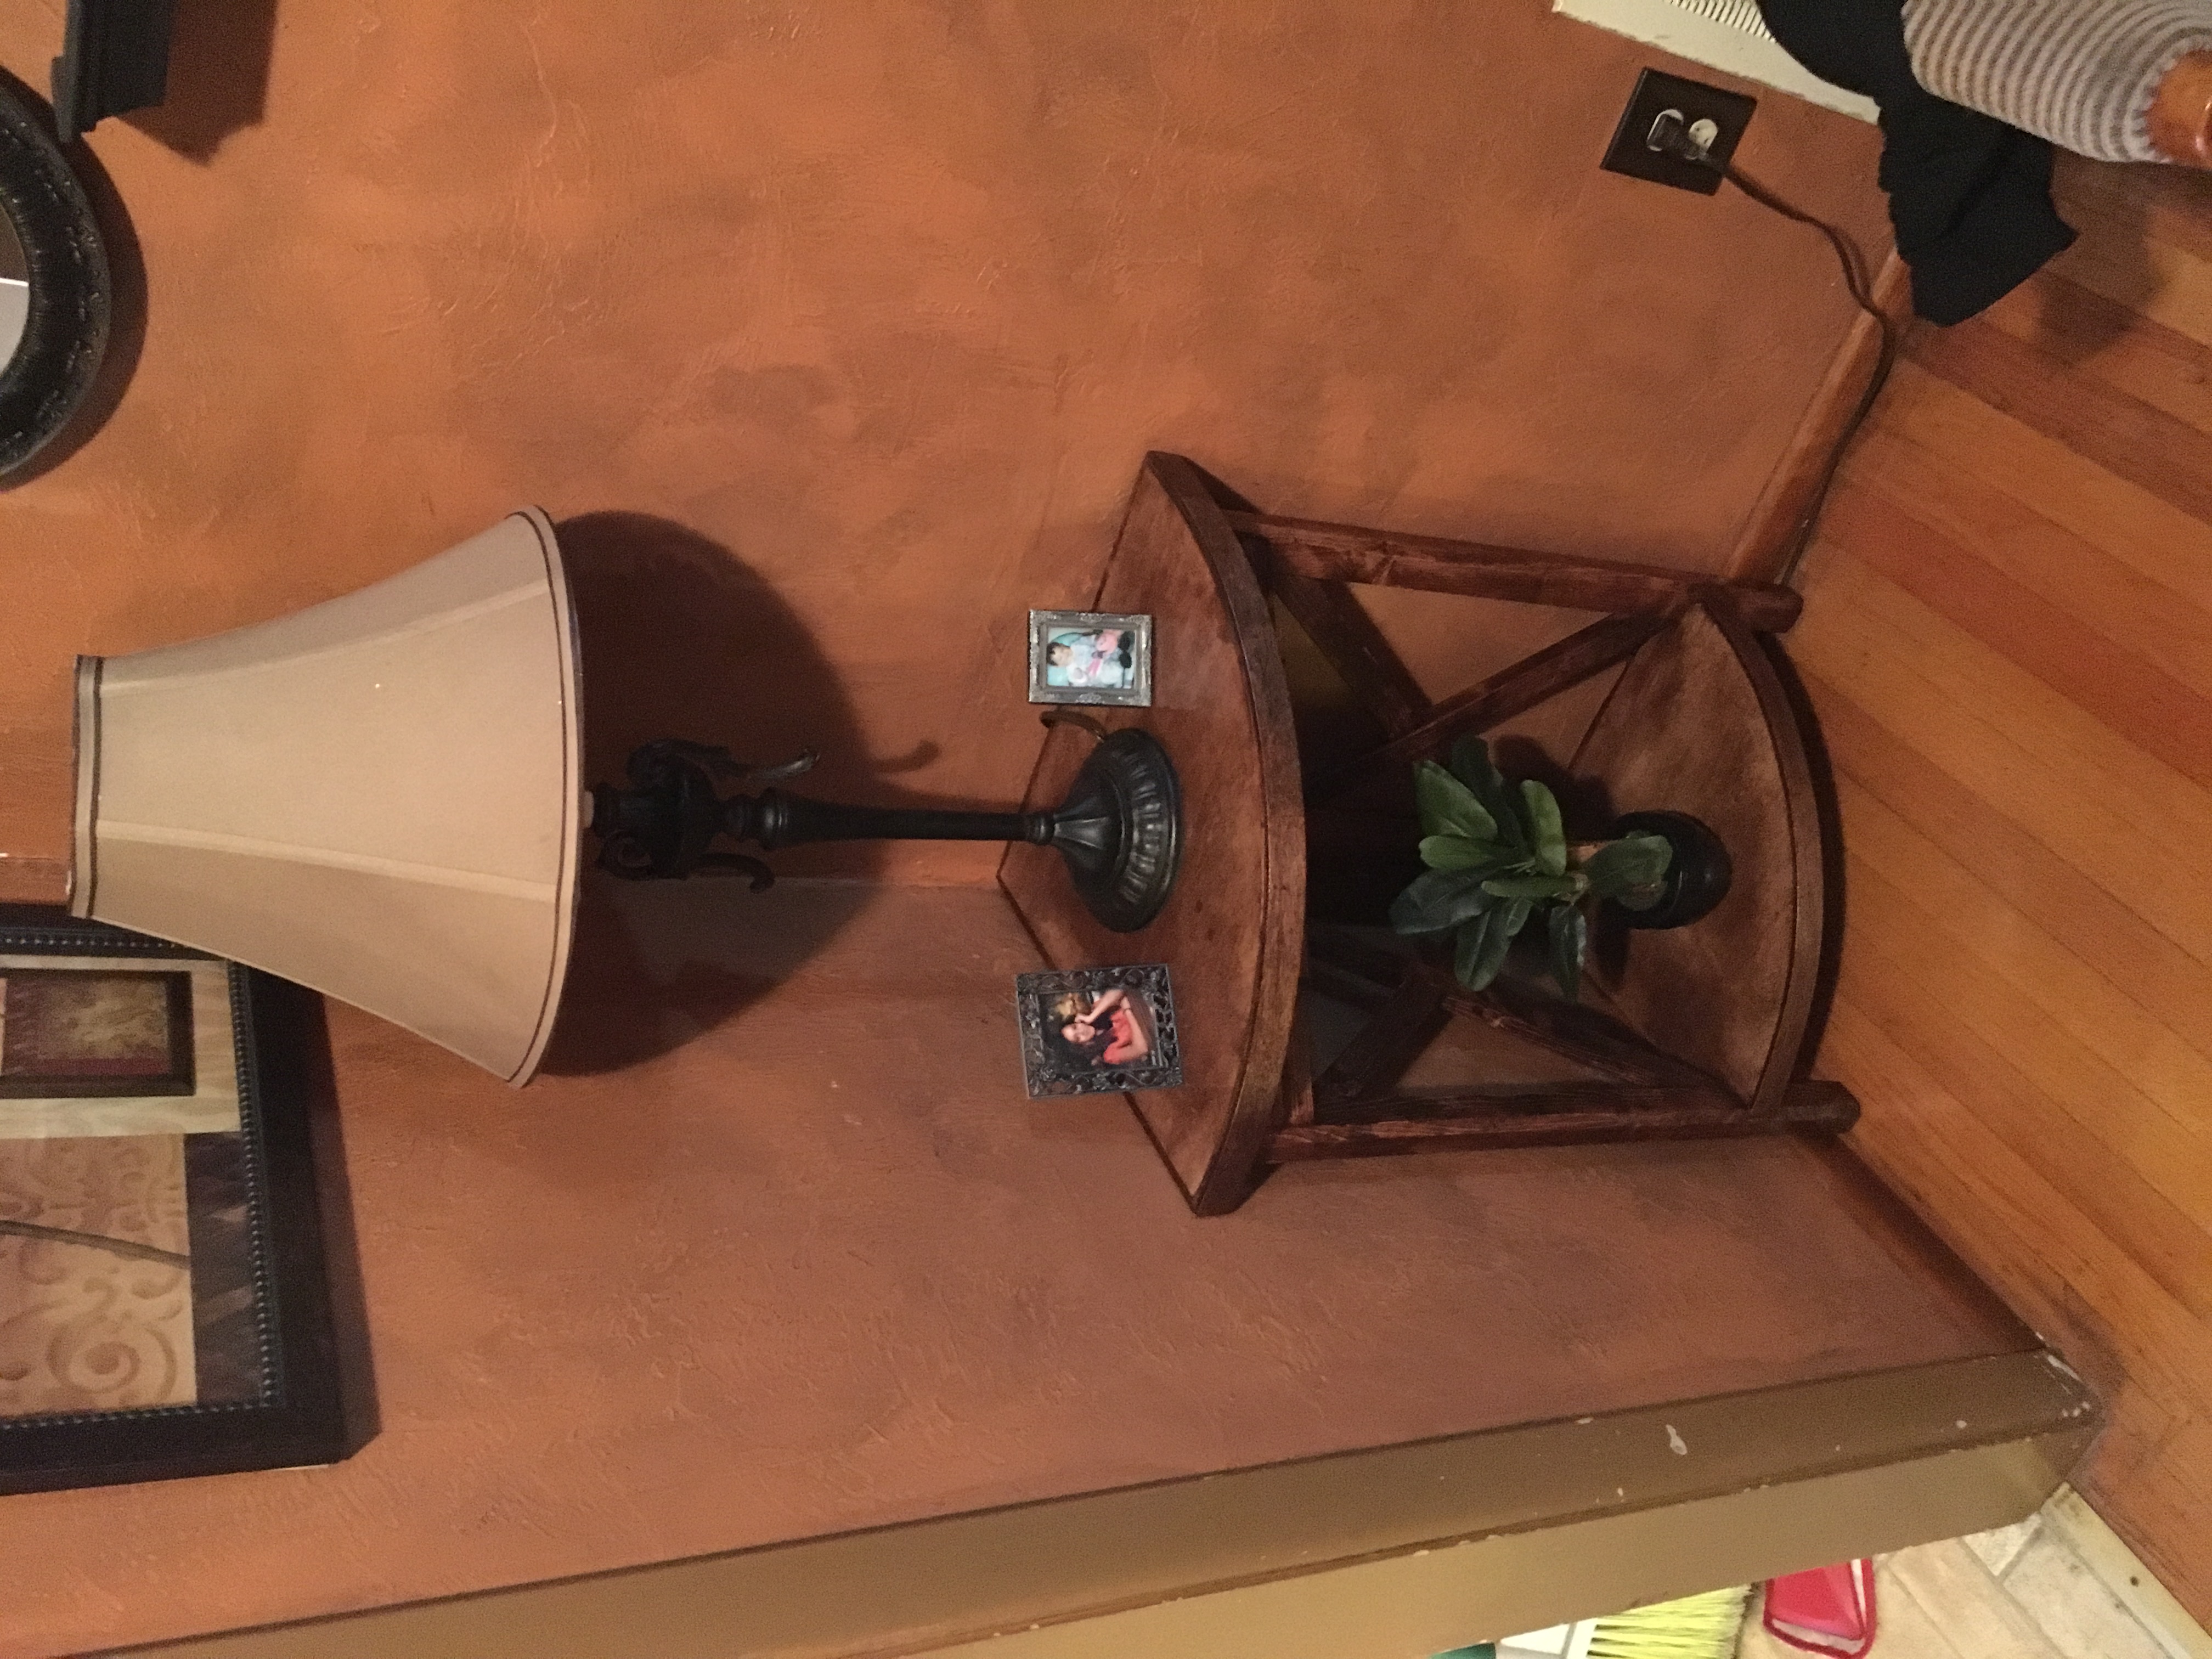
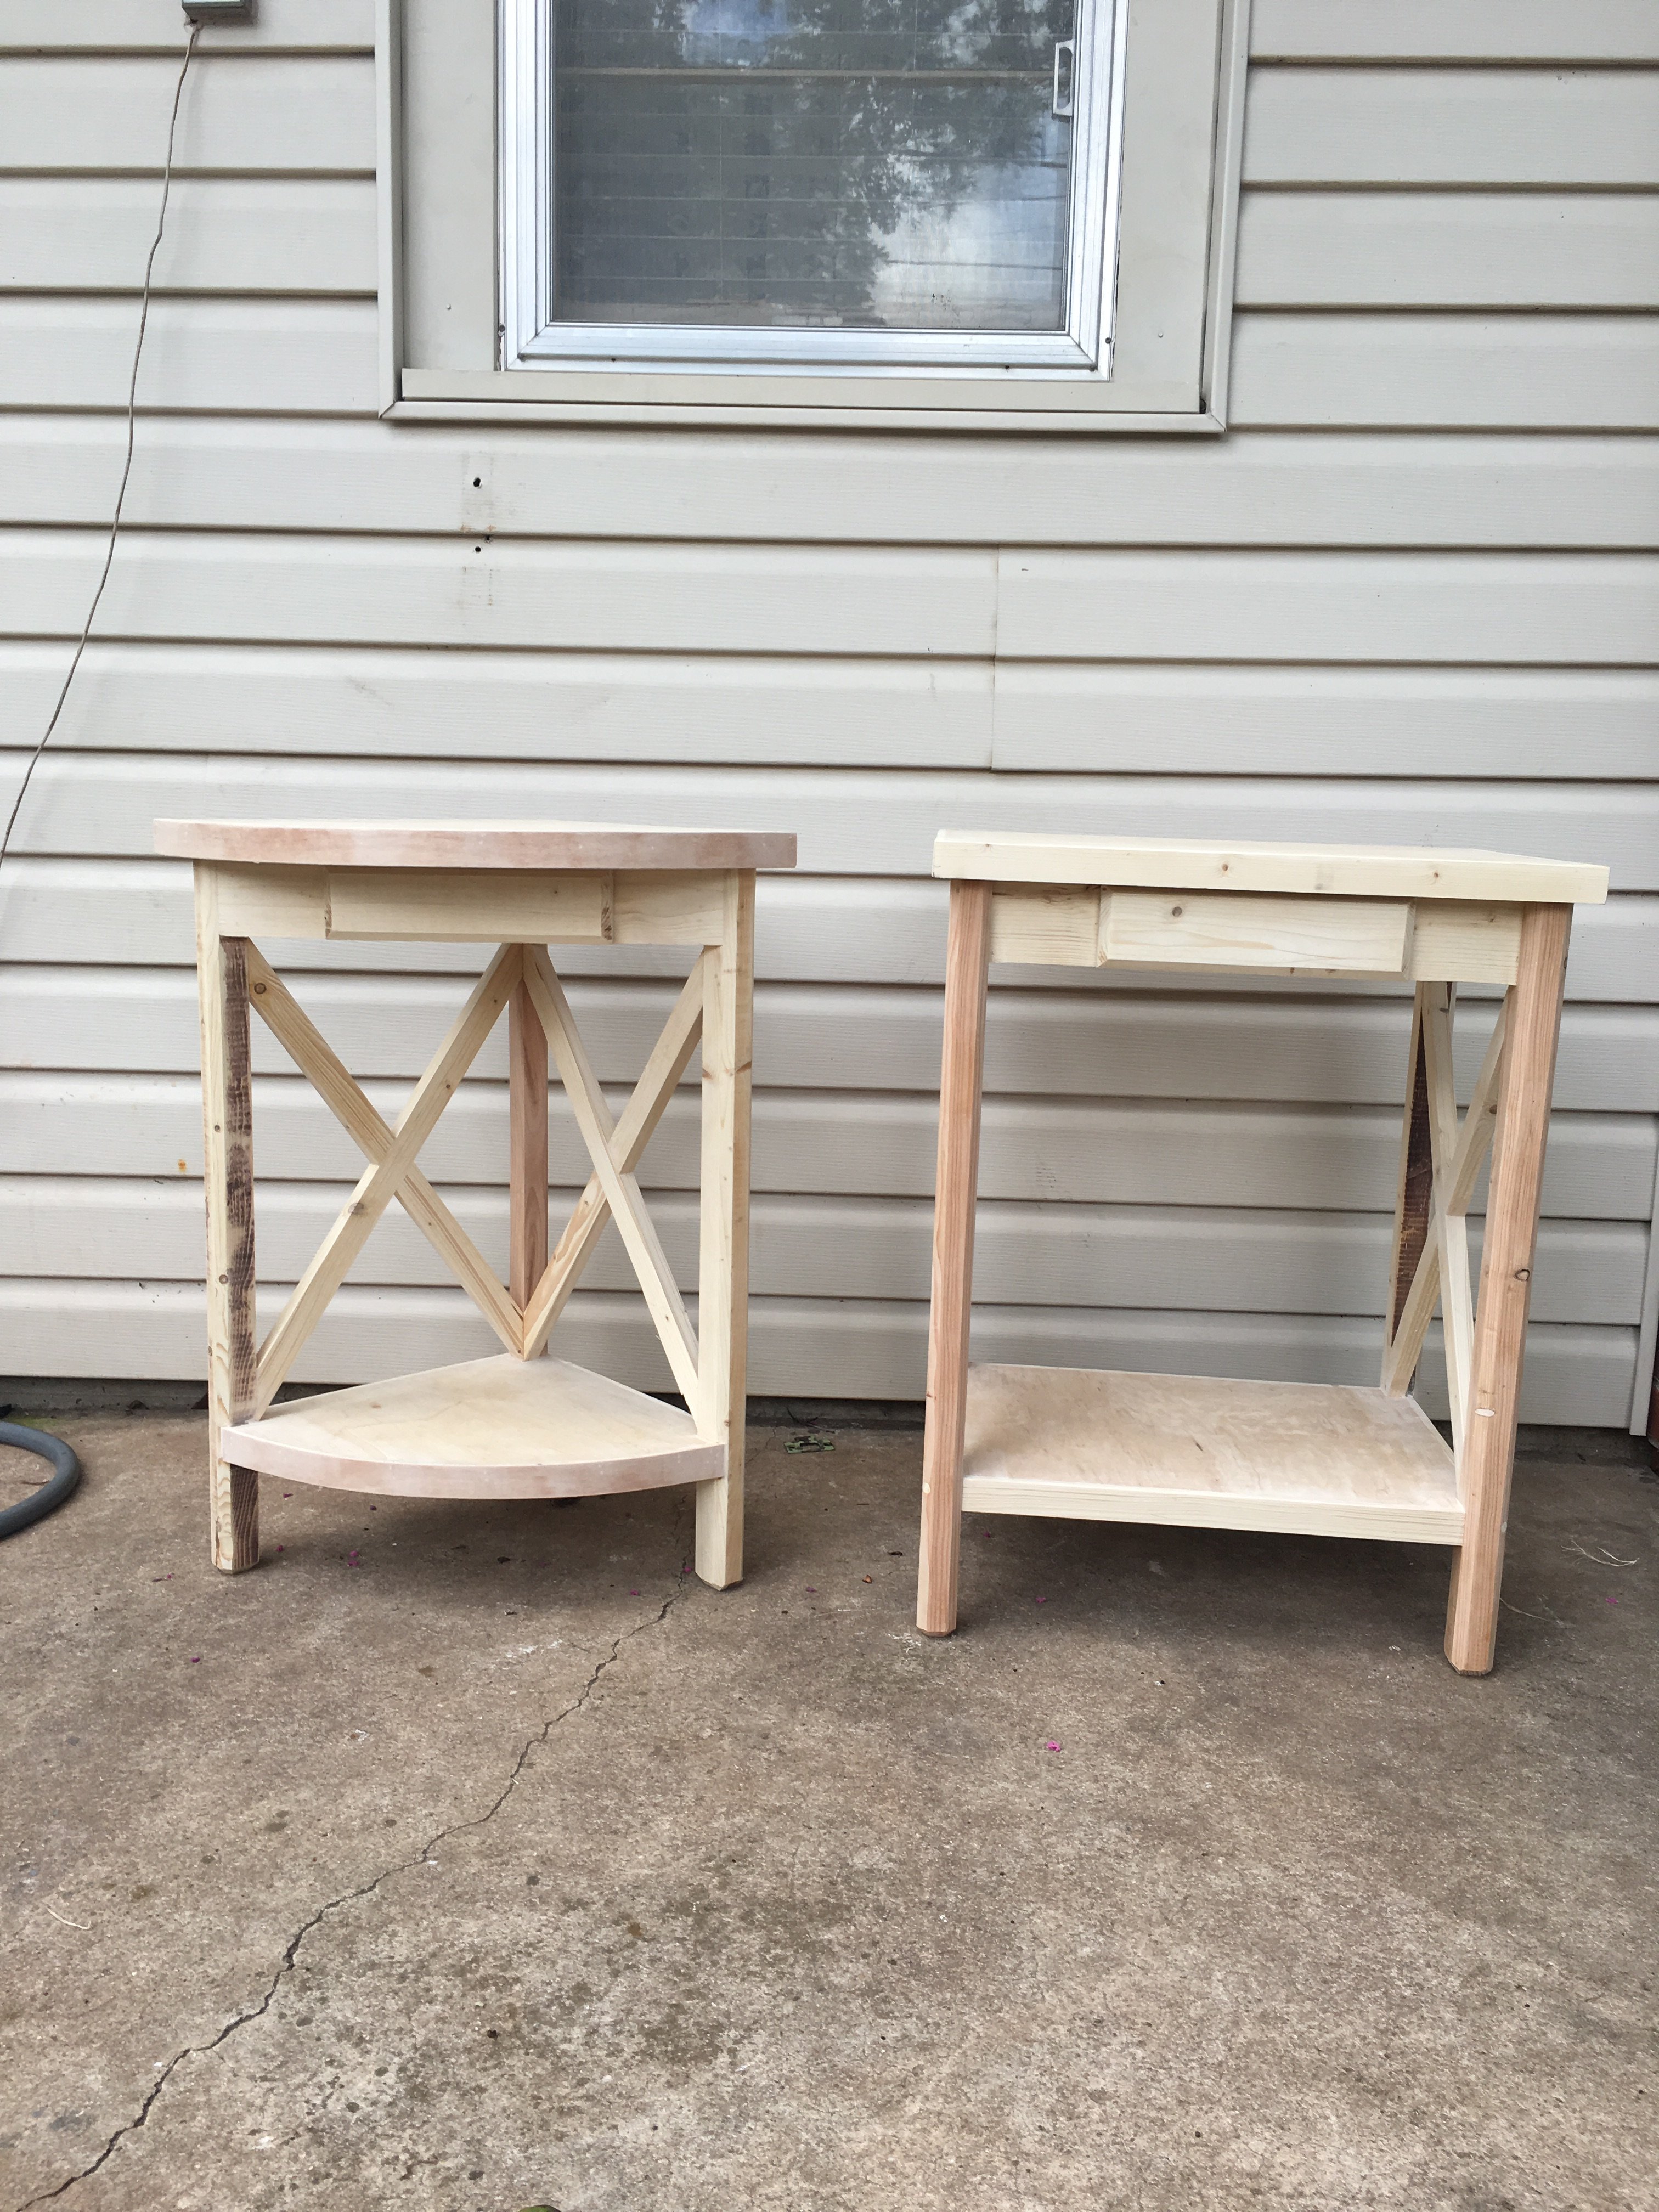
I build just one piece for my wife and she love it and ask me for build another one so I just build it and add a triangle table more for surprise her,The ""X'' design I take of this website and the legs and dimension and style is my own design 3 corner 45 with the router and and Front drawer is decorative (fake)
This was my first time building something and I was thrilled with how they turned out. Thanks to Ana for creating such easy to follow plans. I look forward to many more projects to come!
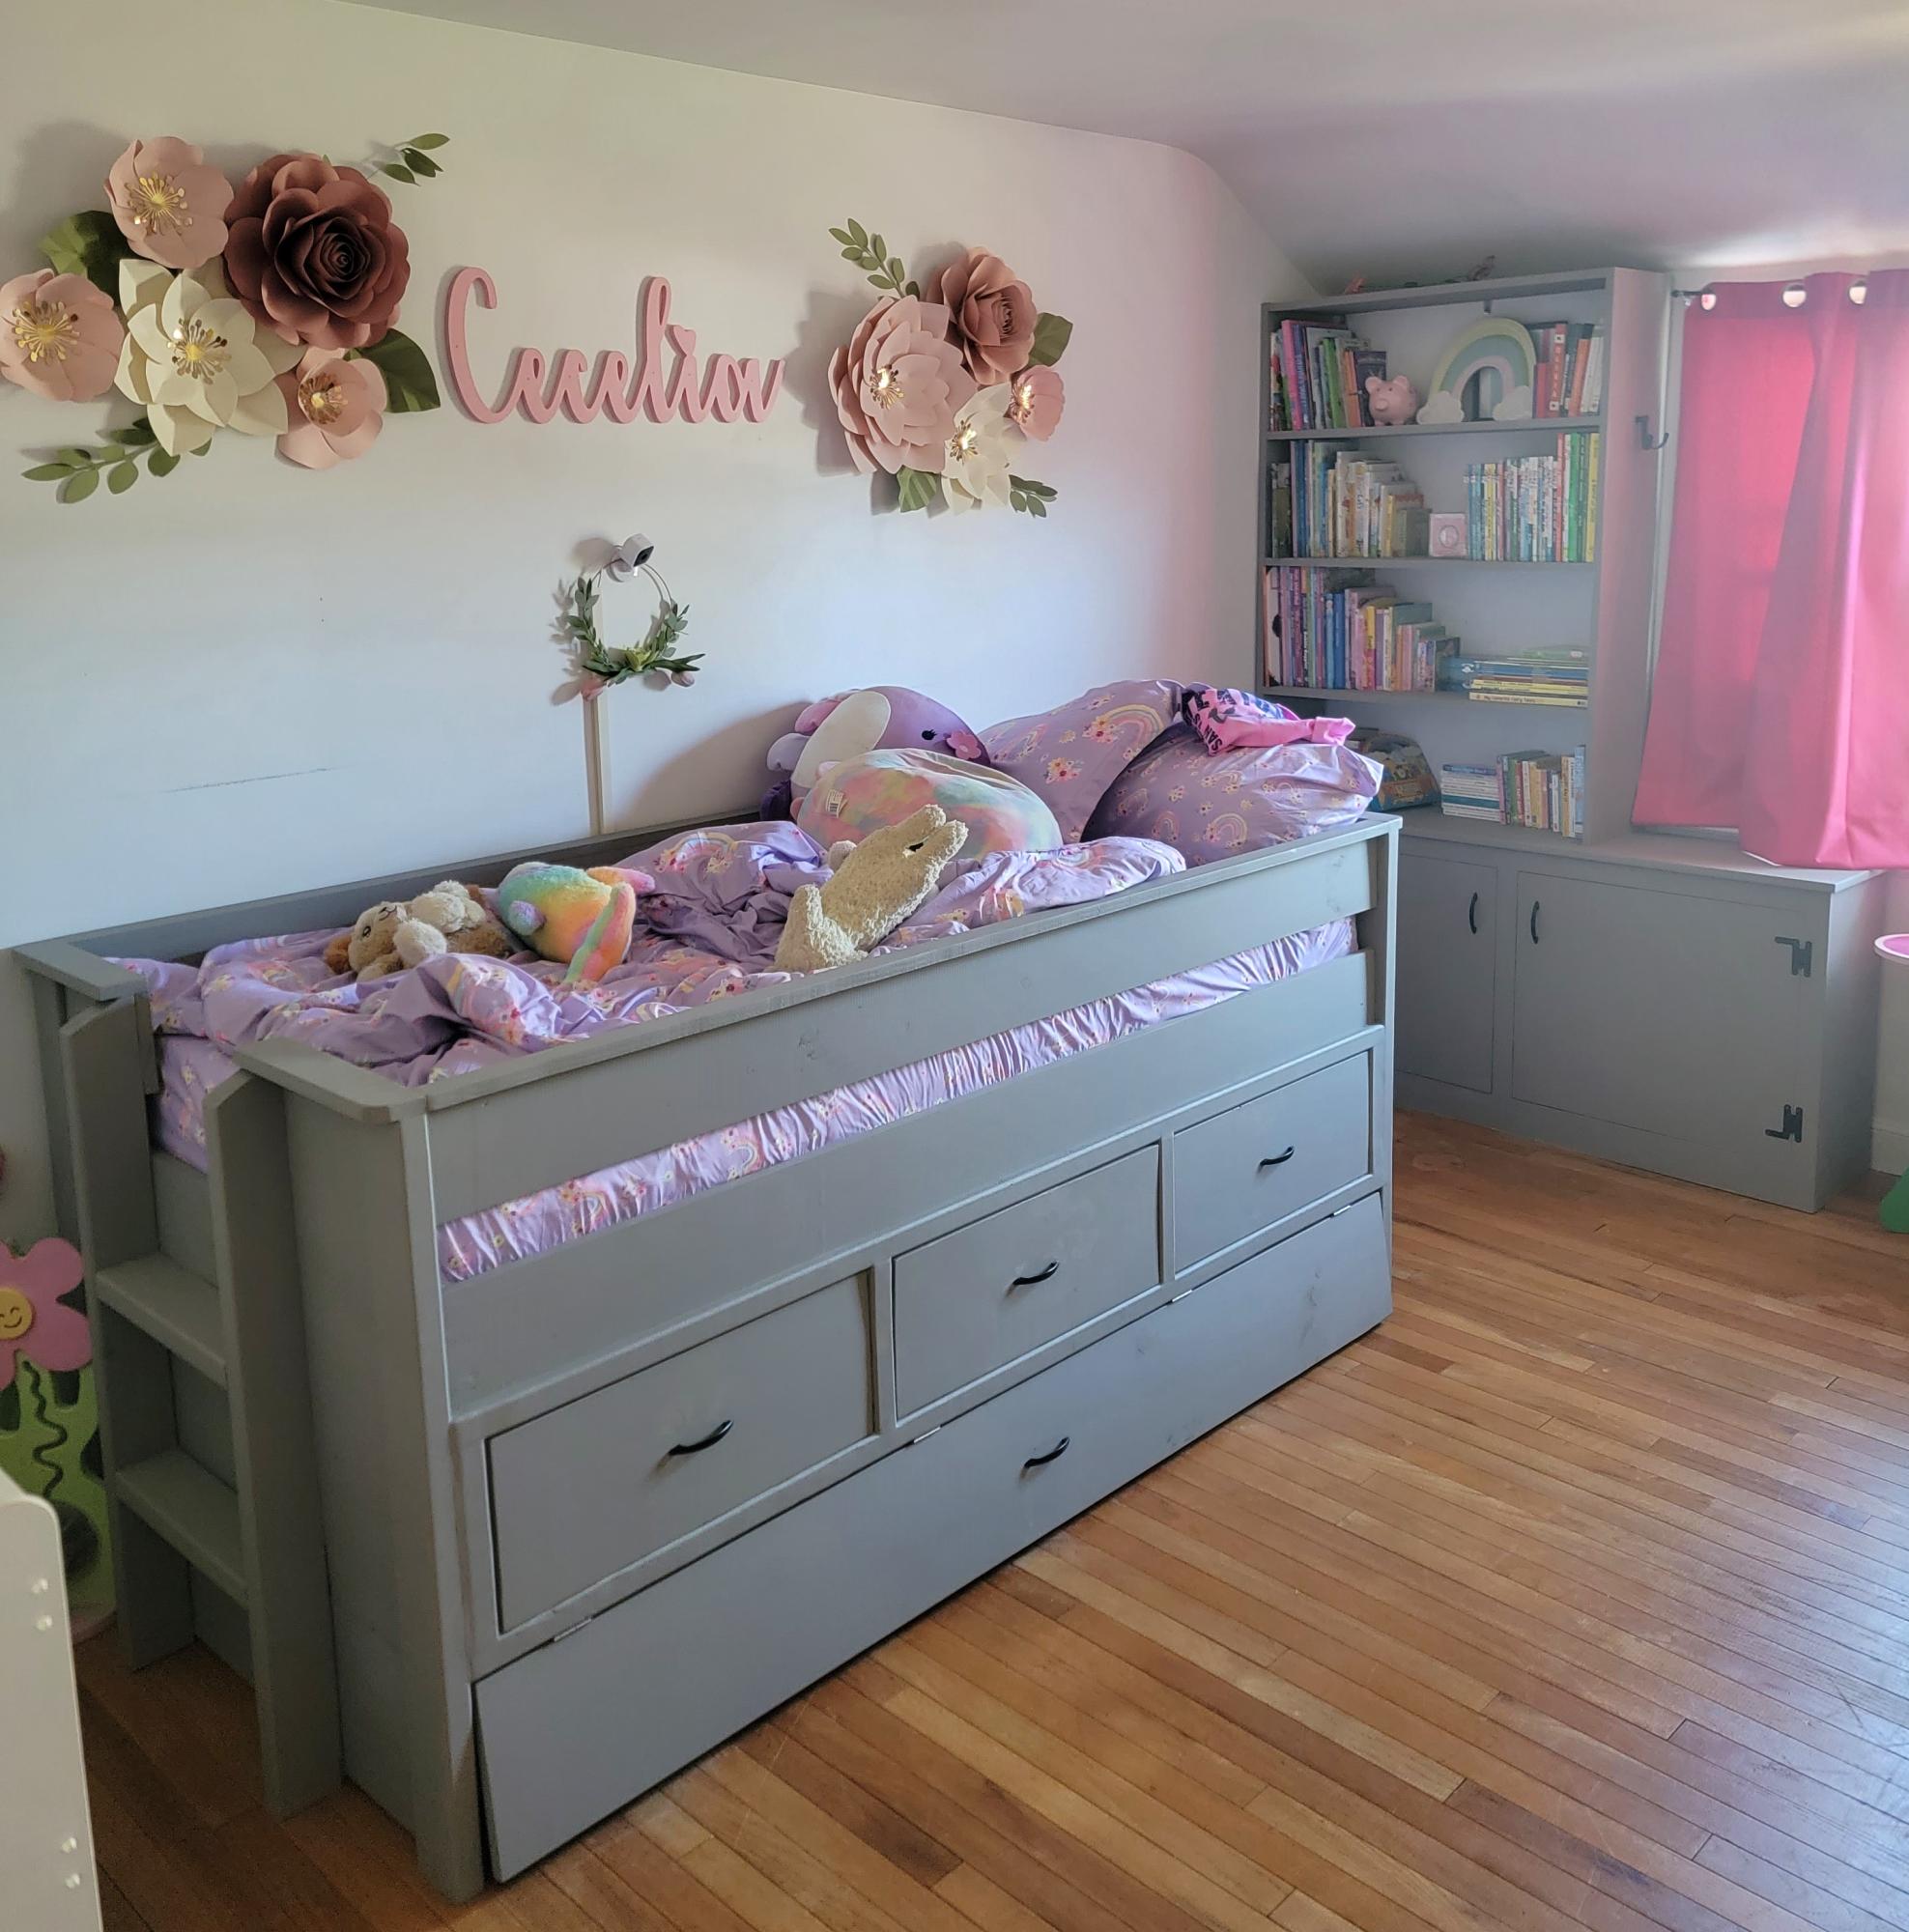
My wife and I were looking for a "Big Girl" bed for our 3yo. After searching online and in-person and coming up more disappointed each time, I found your website and plans for the captains bed with trundle and I knew it was something I could build! I've built 3 dining room tables with benches and other furniture before, and so I started getting materials together. I took a solid day to make sure my measurements were on point and a week later, we had the bed constructed. I couldn't stop there so I built a book shelf on top of an old cabinet we found to repurpose. Thank you for allowing us to share our projects with you!
Robert E. Lee King
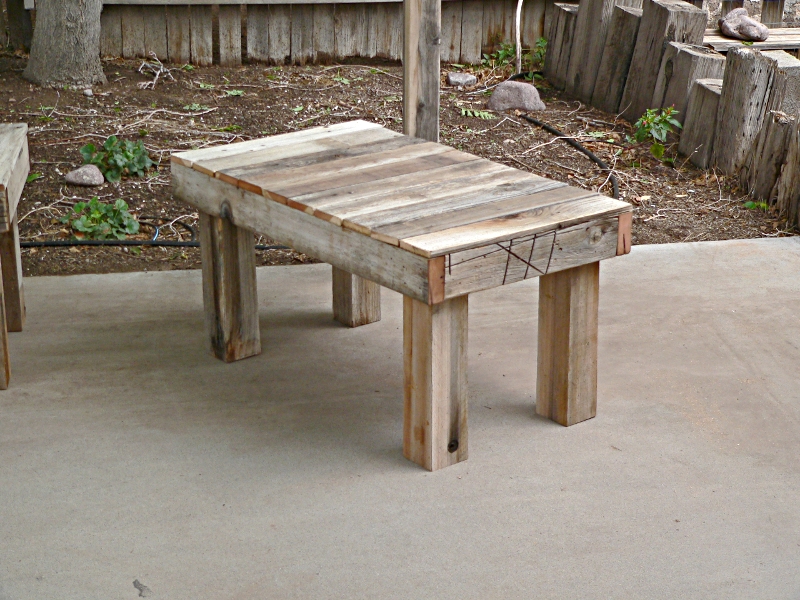
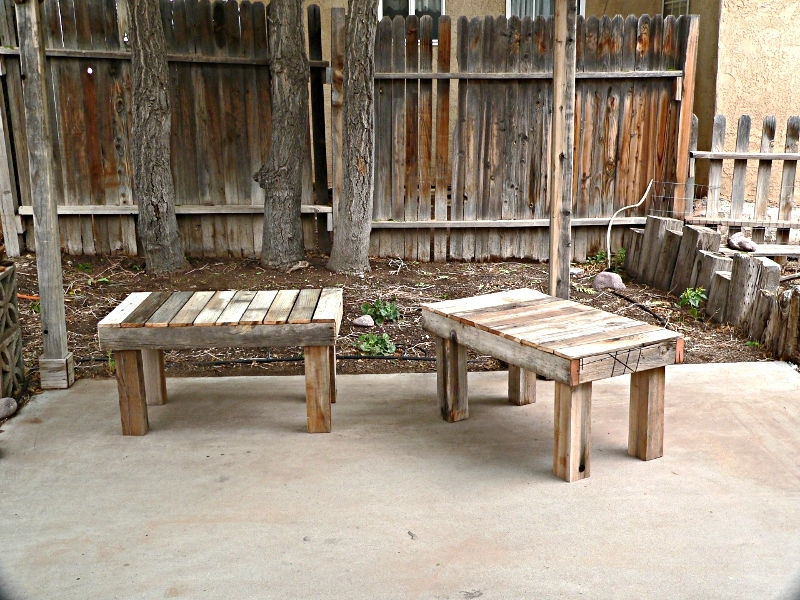
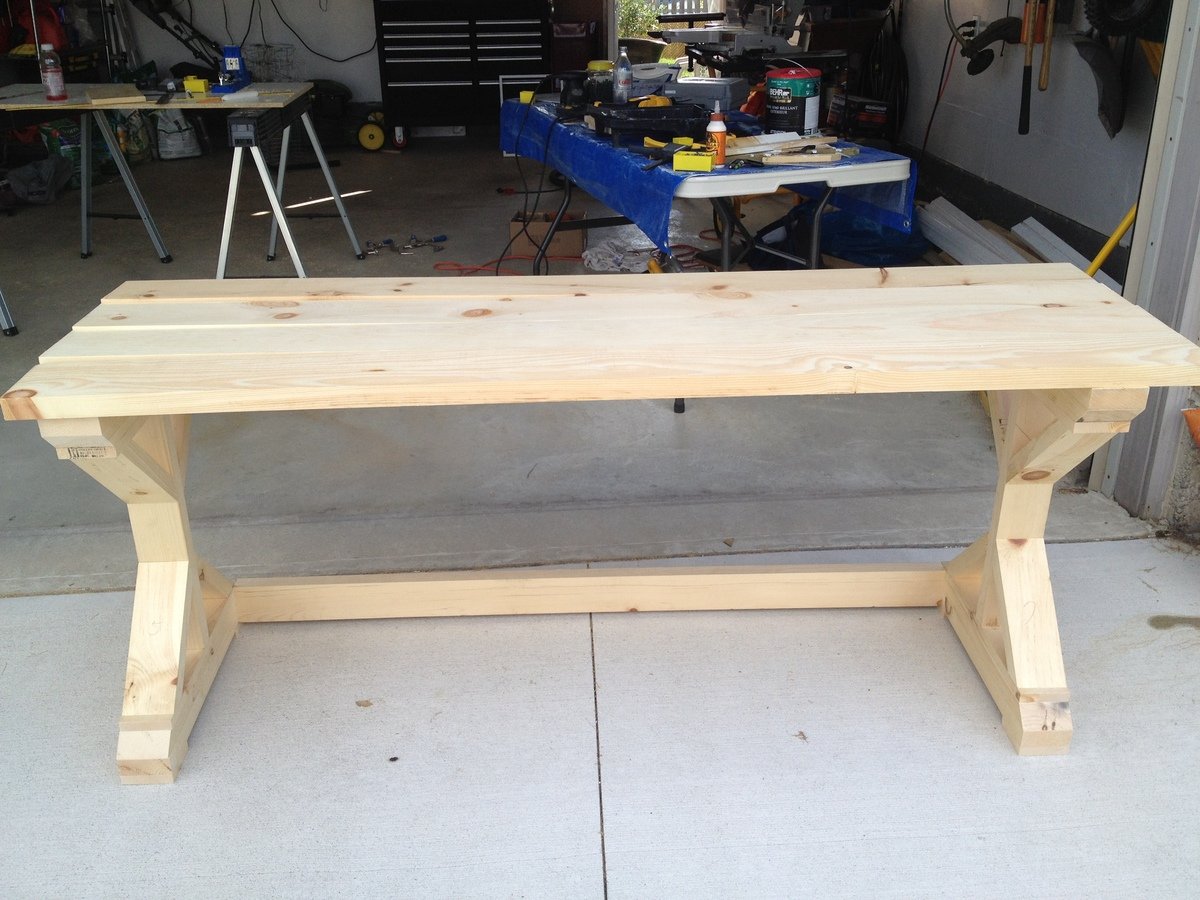
These are made from the 4x4 posts, 2x4 rails, and slats from an old wooden fence that weren't good enough to re-use when we repaired the fence.
It's close to the Simple outdoor bench, but I simplified the plan even more to take advantage of the pile of free lumber. Or maybe it's the Simple Outdoor Dining Table ... but a lot shorter.
CAUTION: Be careful to remove ALL nails, screws and bolts from the lumber you are reusing. If you can't get the metal out, mark that area and figure out a cut that won't hit it.
TIPS FOR RECLAIMED LUMBER:
* Trim the ends of the lumber square before you measure.
* Don't try to salvage split or rotted wood. Trim it off and see what you can do with the good bits.
* Plan your cuts so you have the least waste.
TOOLS:
10" Miter saw
Wood glue
Nail gun, with 2 1/2 and 1 1/4 inch 16gauge nails for gun (You could use deck screws if you have them)
Surform Pocket plane (wood rasp from Stanley tools)
CUT LIST:
For one bench, 21x36
NOTE: To cut a 4x4 cleanly with the 10" miter saw, put a thin shim behind each side of the 4x4
4 4x4 post scraps, 18 inches long (legs)
2 2x4 18 inches long (sides)
2 2x4 36 inches long (front and back rail)
10 fence slat pieces, 21 inches long (cut to fit the top after it is assembled)
ASSEMBLY:
See the picture of the underside of the bench:
1 - Square up the legs with the end pieces, glue and nail.
2 - Square the sides with the legs, so the legs are inside the 2x4 apron, glue and nail.
3 - Align the 2 end slats with the edges of the bench and nail through them into the 2x4 apron
4 - Space the rest of the slats on the top, leaving 1/8 inch or so etween the boards for drainage. Nail them to the 2x4 apron.
FINISH: Use the wood rasp to round the cut ends of the slats and 2x4s. Rasp with the grain to avoid raising splinters. Lightly rasp the tops of the slats to smooth any really rough spots.
A table or maybe a buffet is planned, with the same construction method, but a bit taller. Tables are 26-29 inches, most buffets are 36". It depends on what will make best use of the remaining bits.

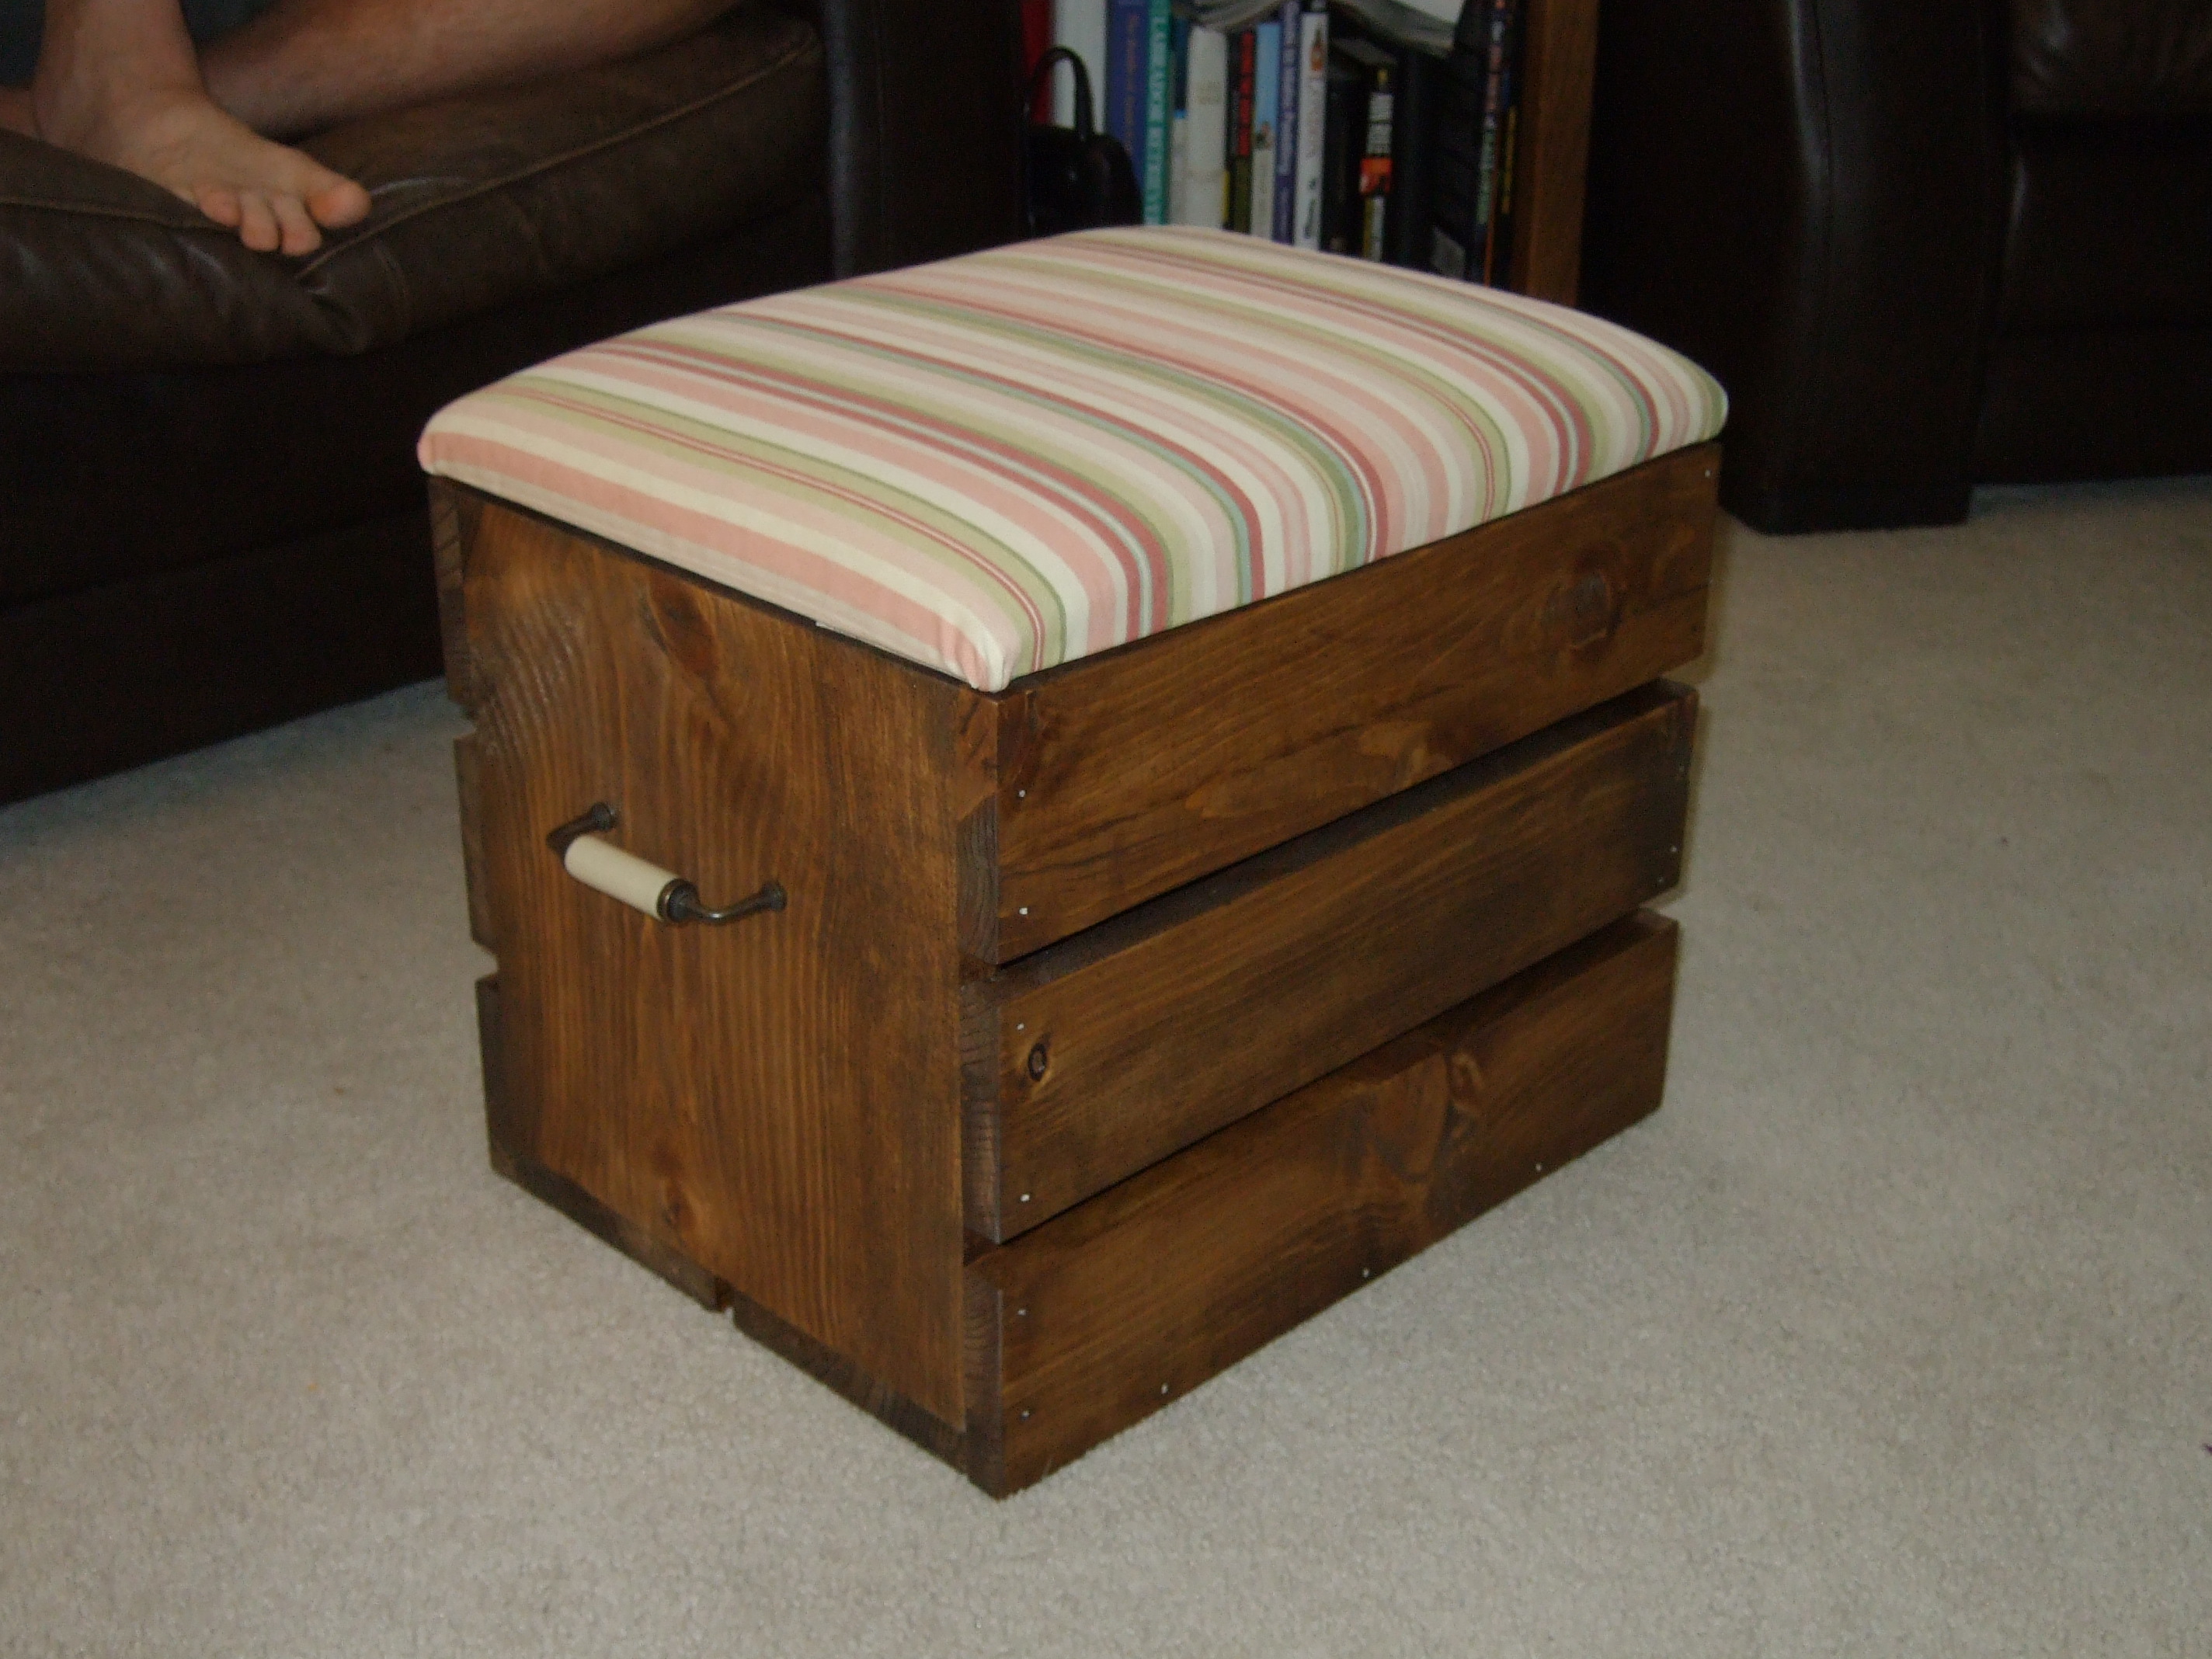
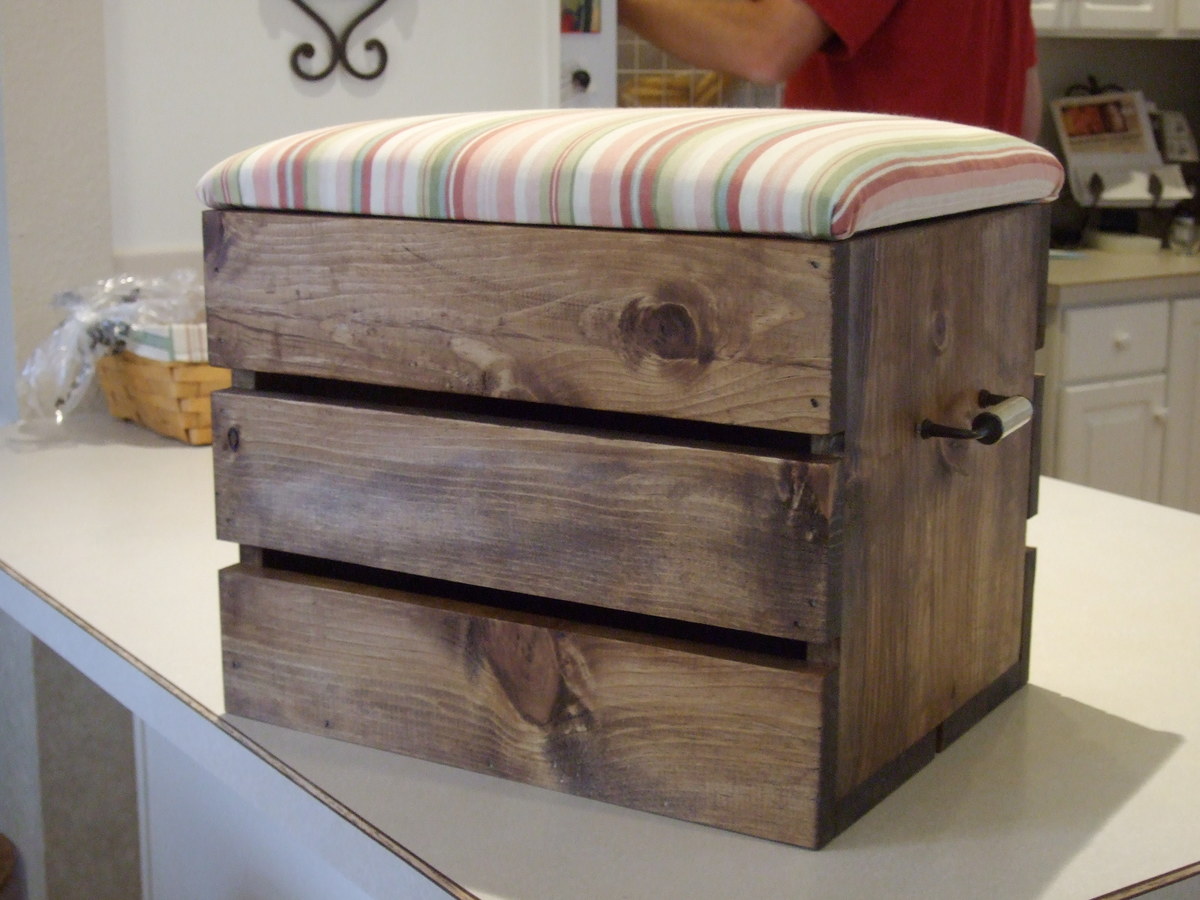
I left off the casters, but added a one inch foam pad covered with outdoor material to make an ottoman. I made sure the top was removable so we could also use it as storage. I've got a little material left over to make a matching throw pillow.
My husbannd has built a handful of things using Ana's plans, but this was my first time doing everything on my own (aside from asking where to find the wood filler in our messy garage). It was super easy to cut and put together and turned out perfectly for my girls nights stand/book shelf.
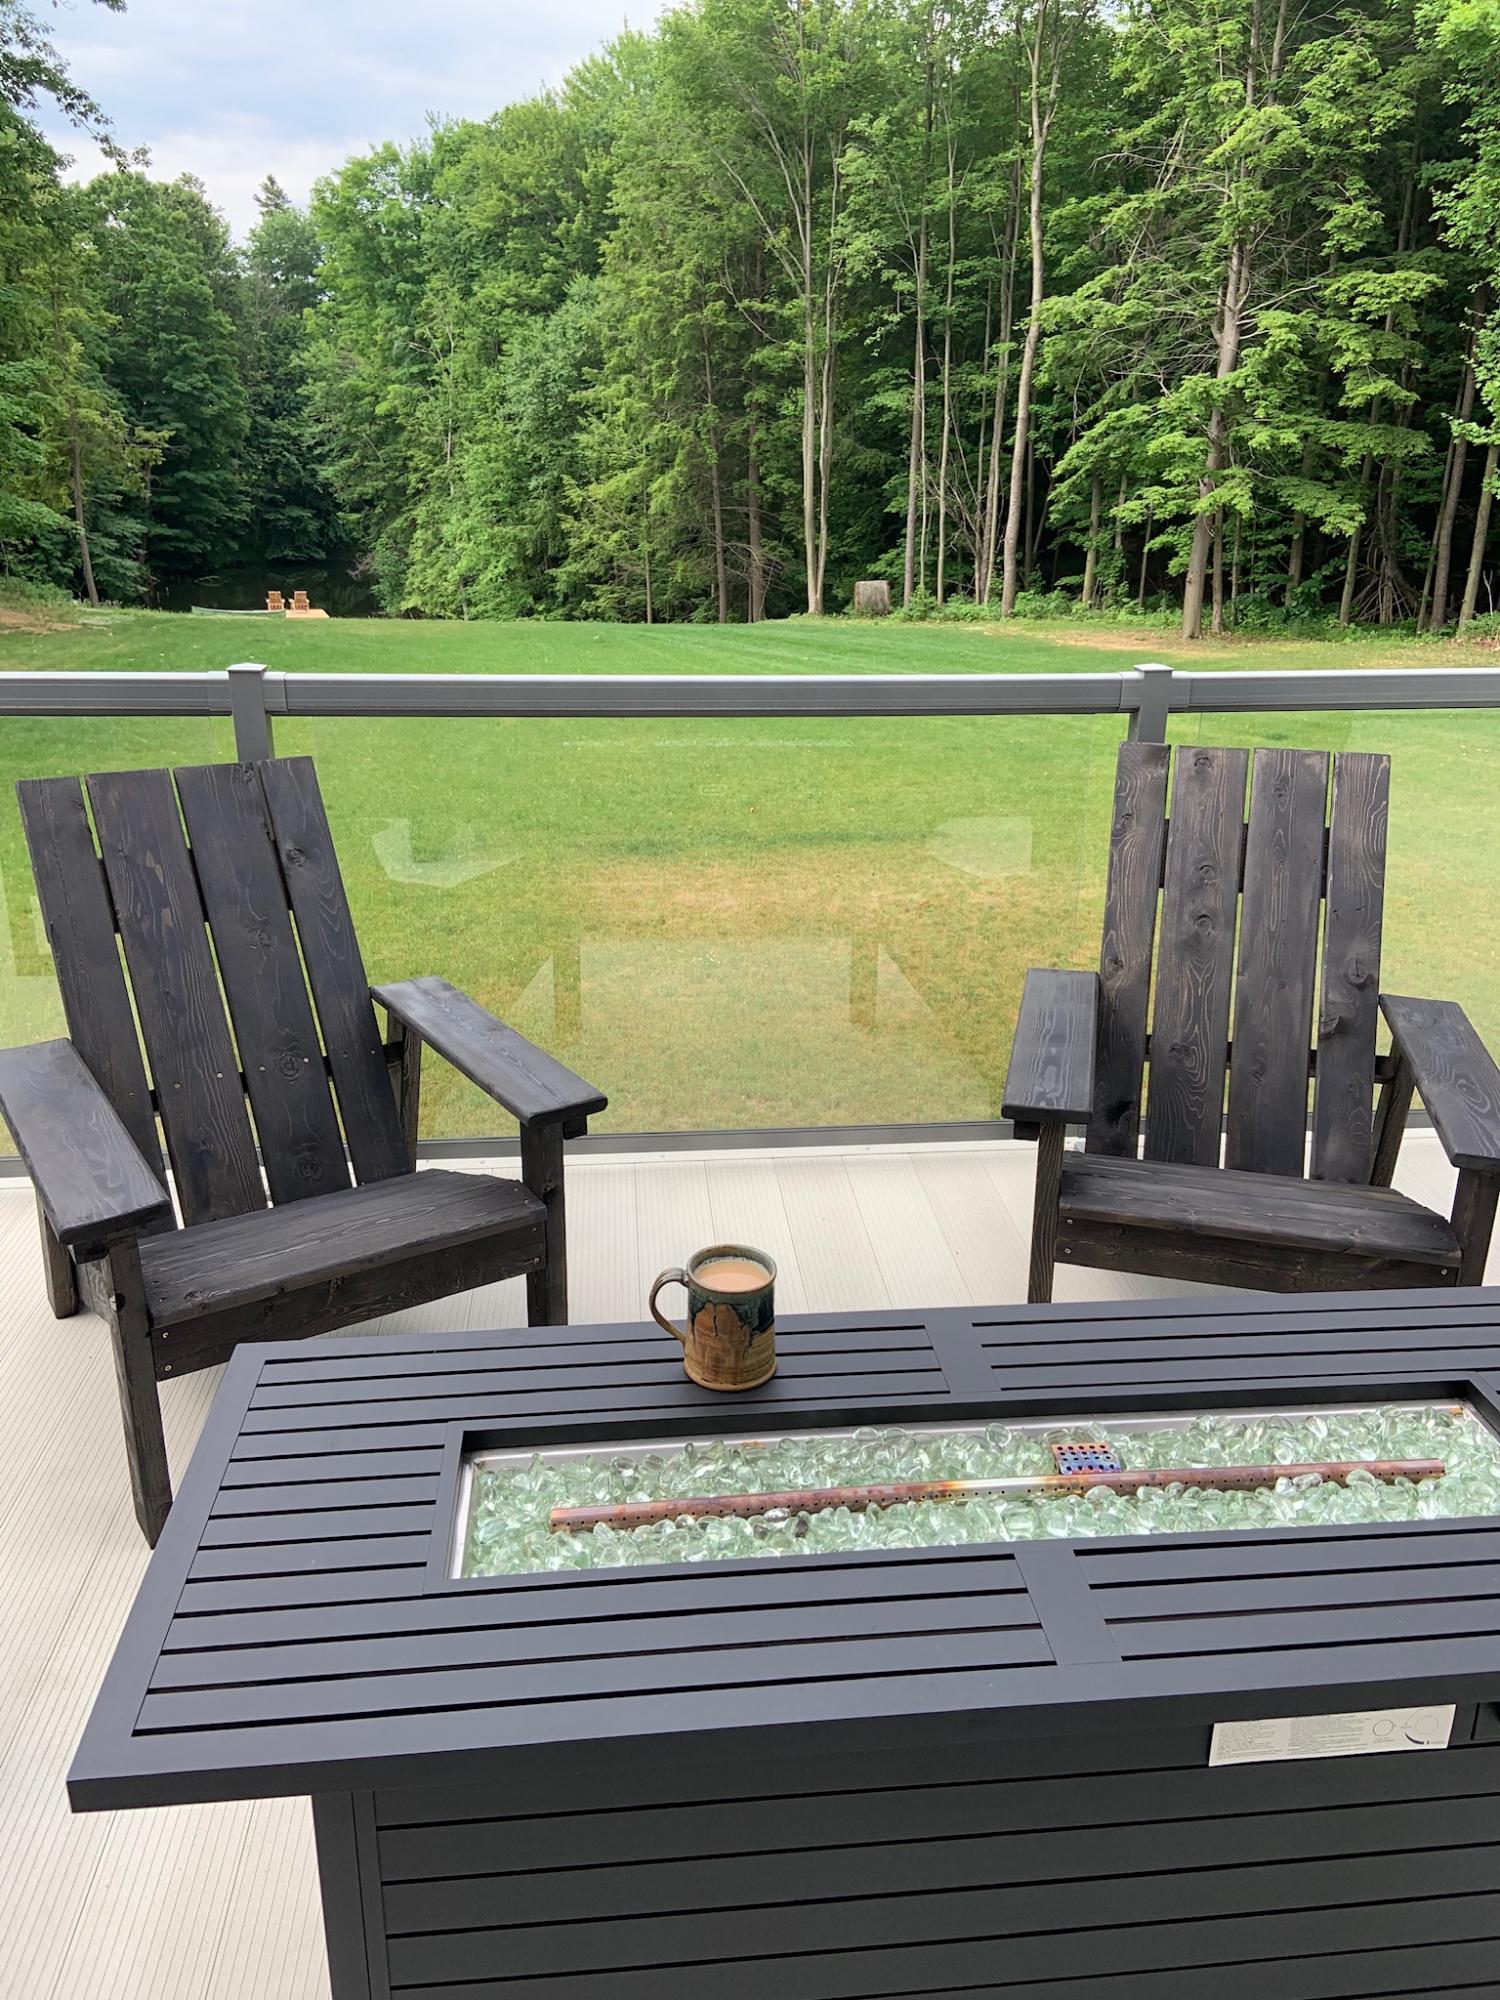
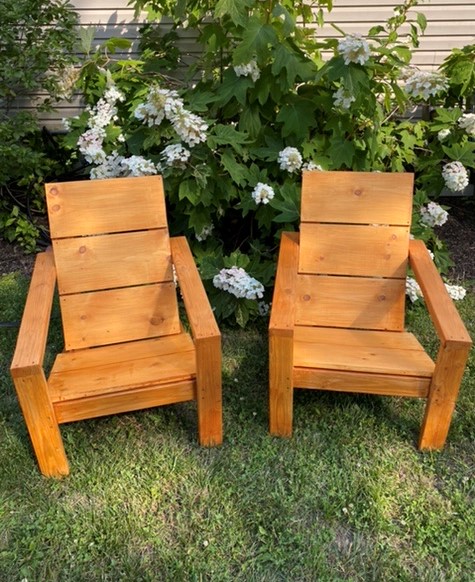
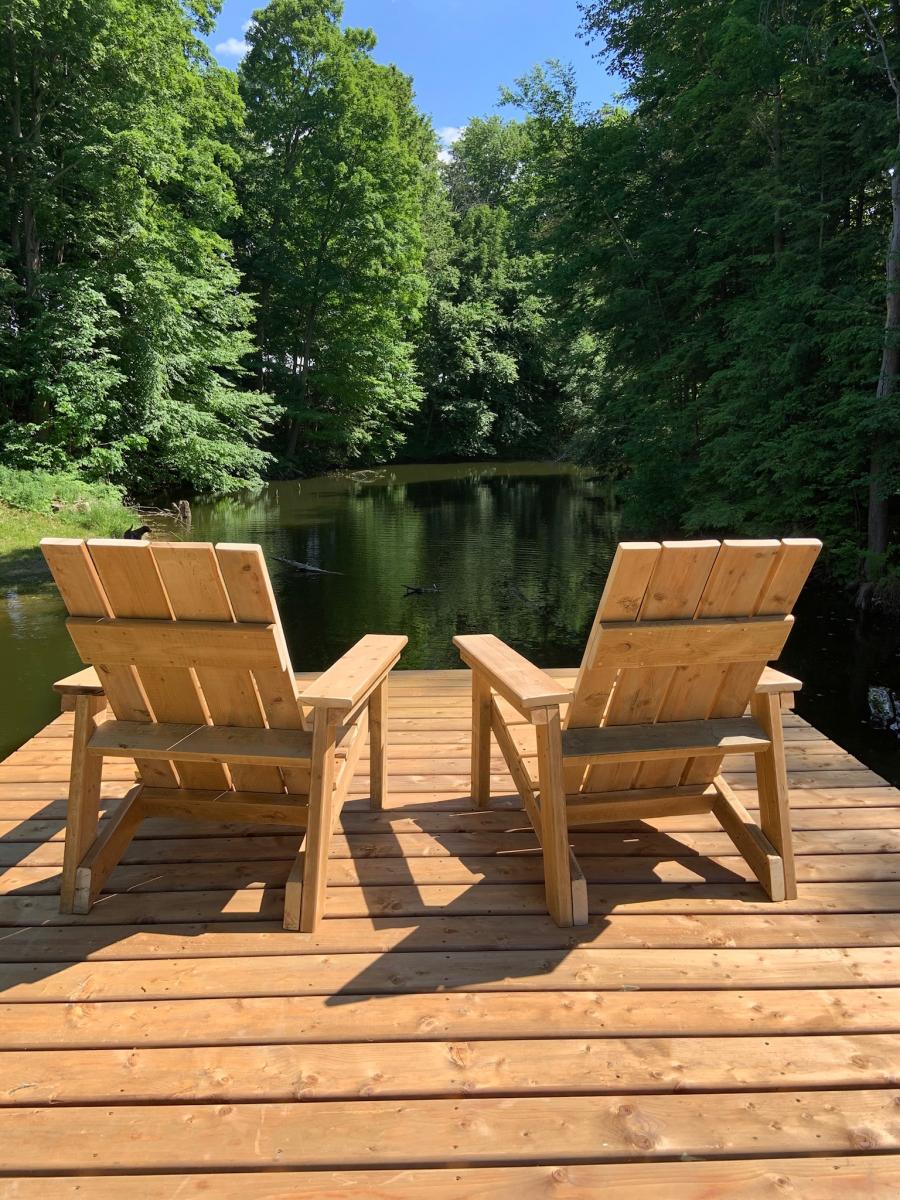
made 2 sets of these 2 x 4 Adirondack chairs (with the occasional guidance from my woodworking hubby) and they turned out awesome! I went with a more modern look by not rounding the tops and love how they look! They’re sturdy and comfortable and my only complaint is I’m 5’3” and my legs don’t quite reach the ground so I’ll just have to make a footstool!
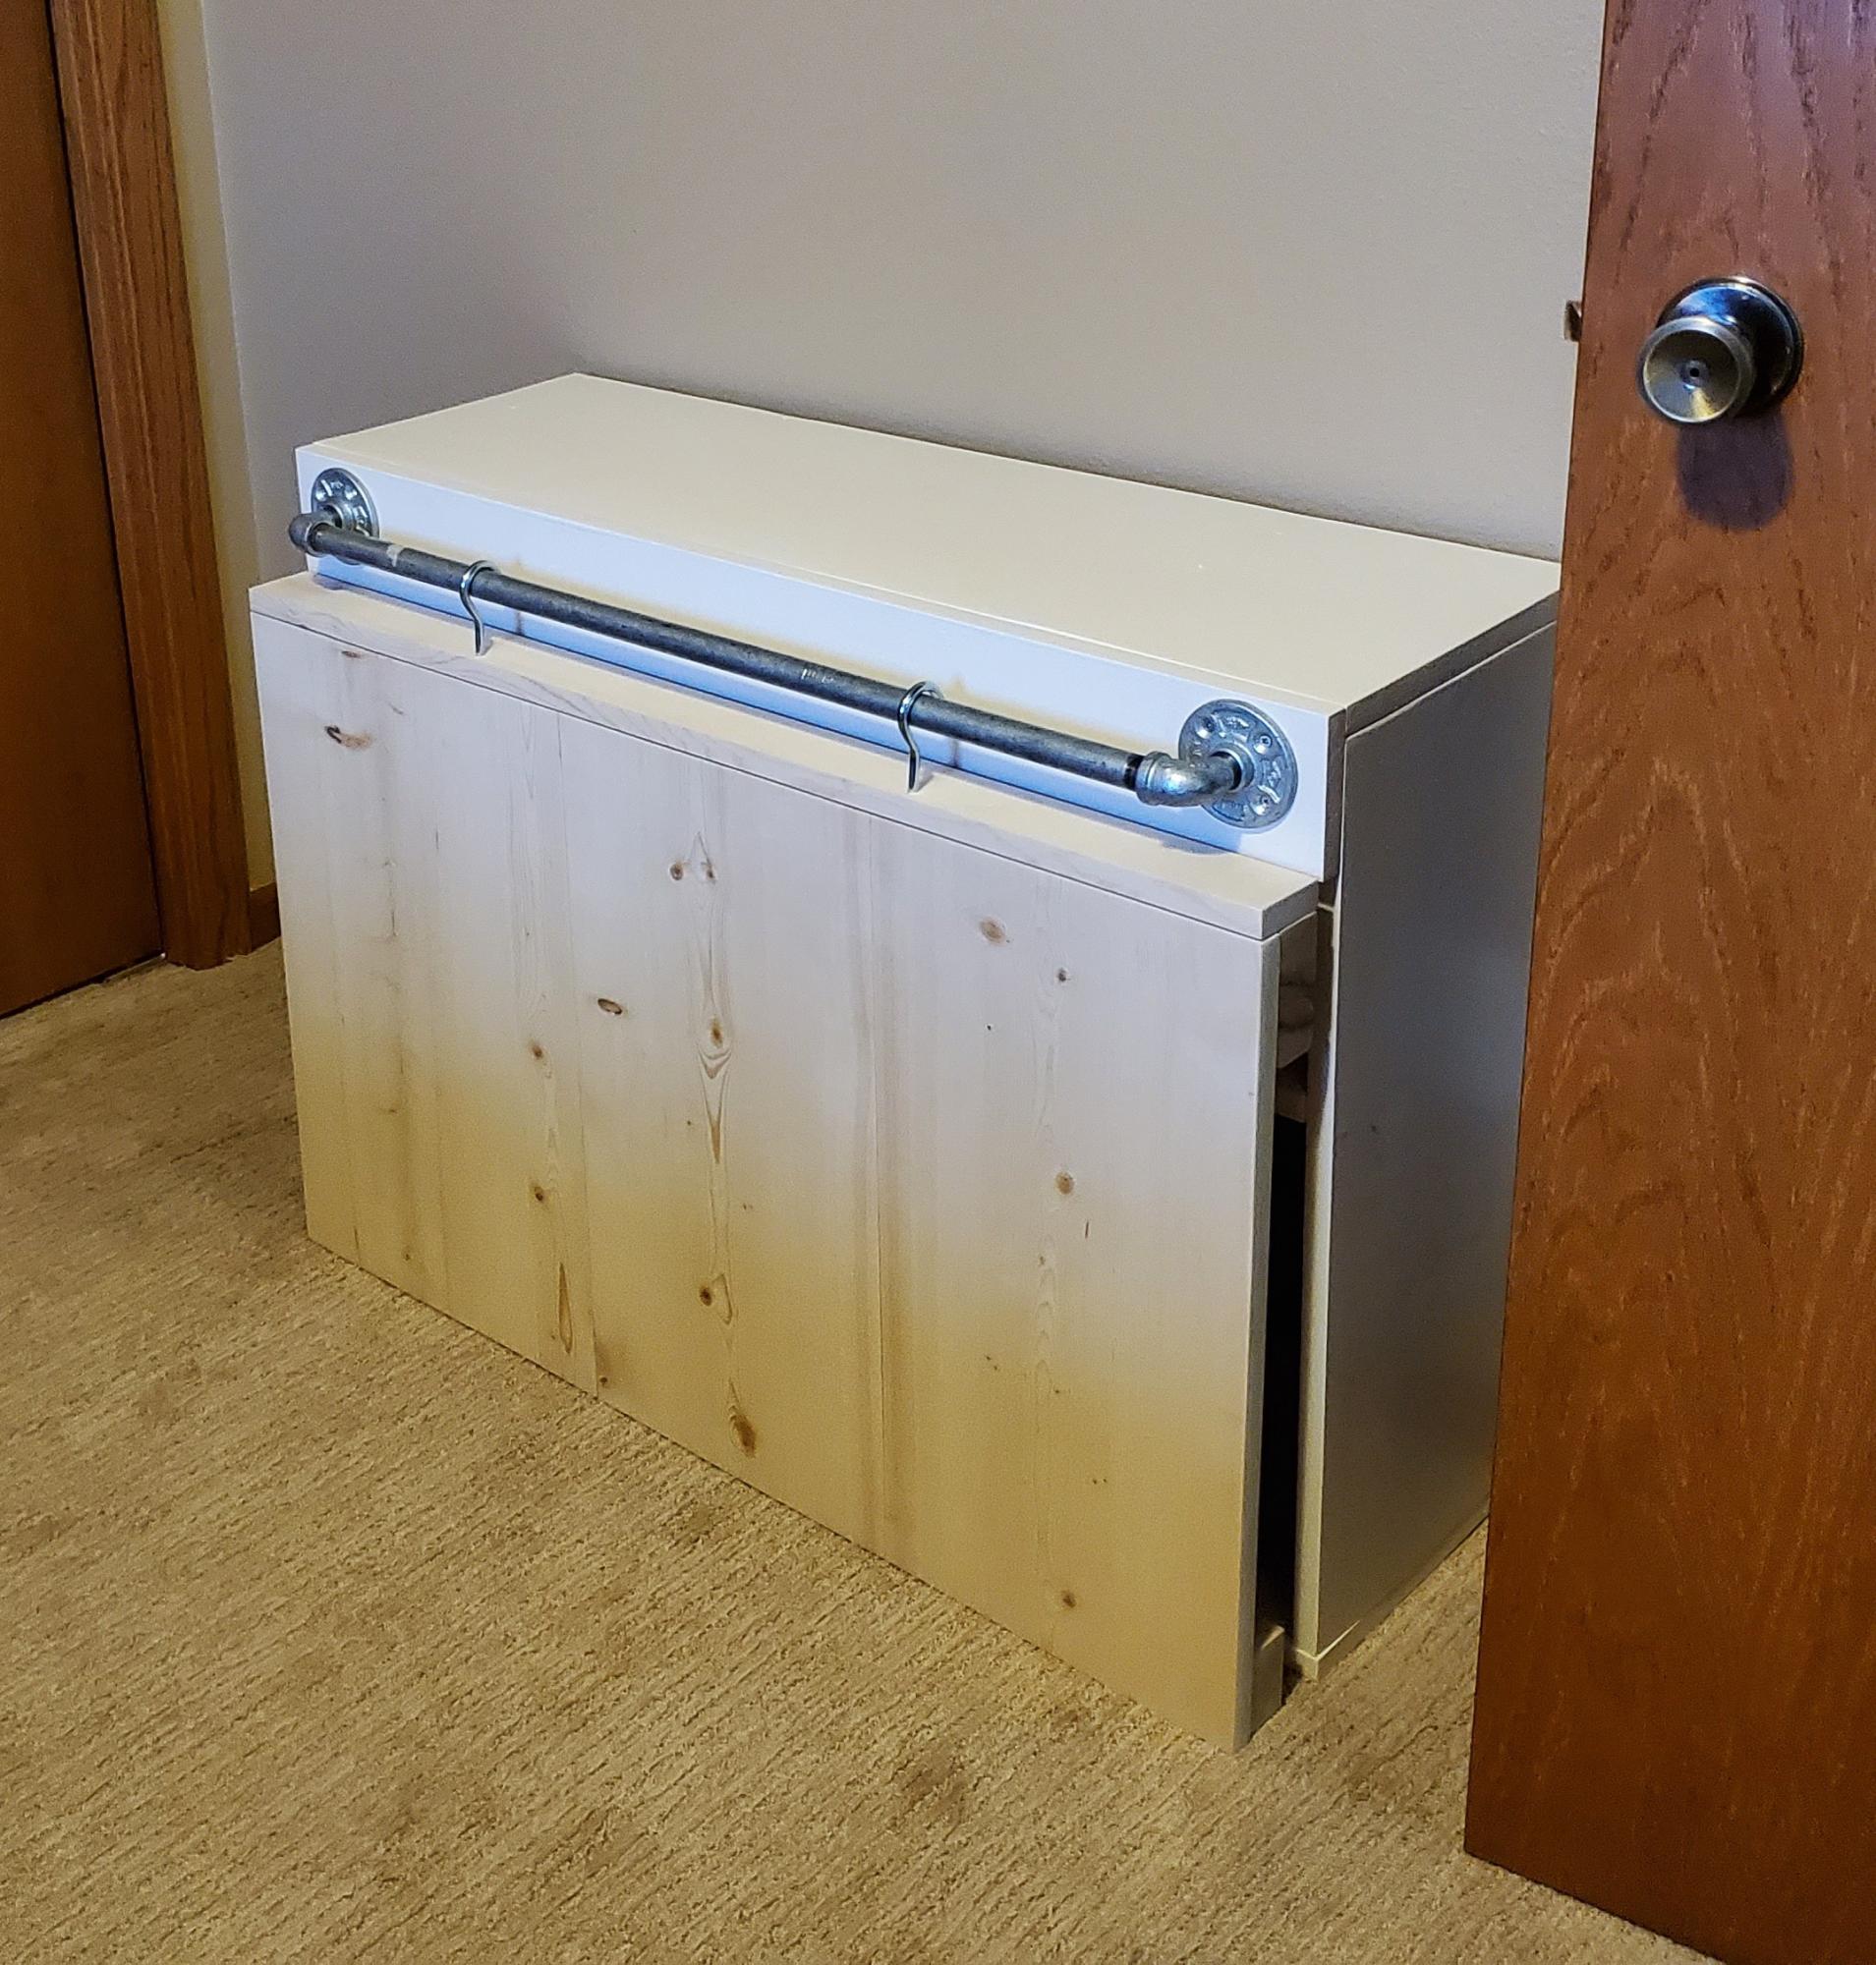
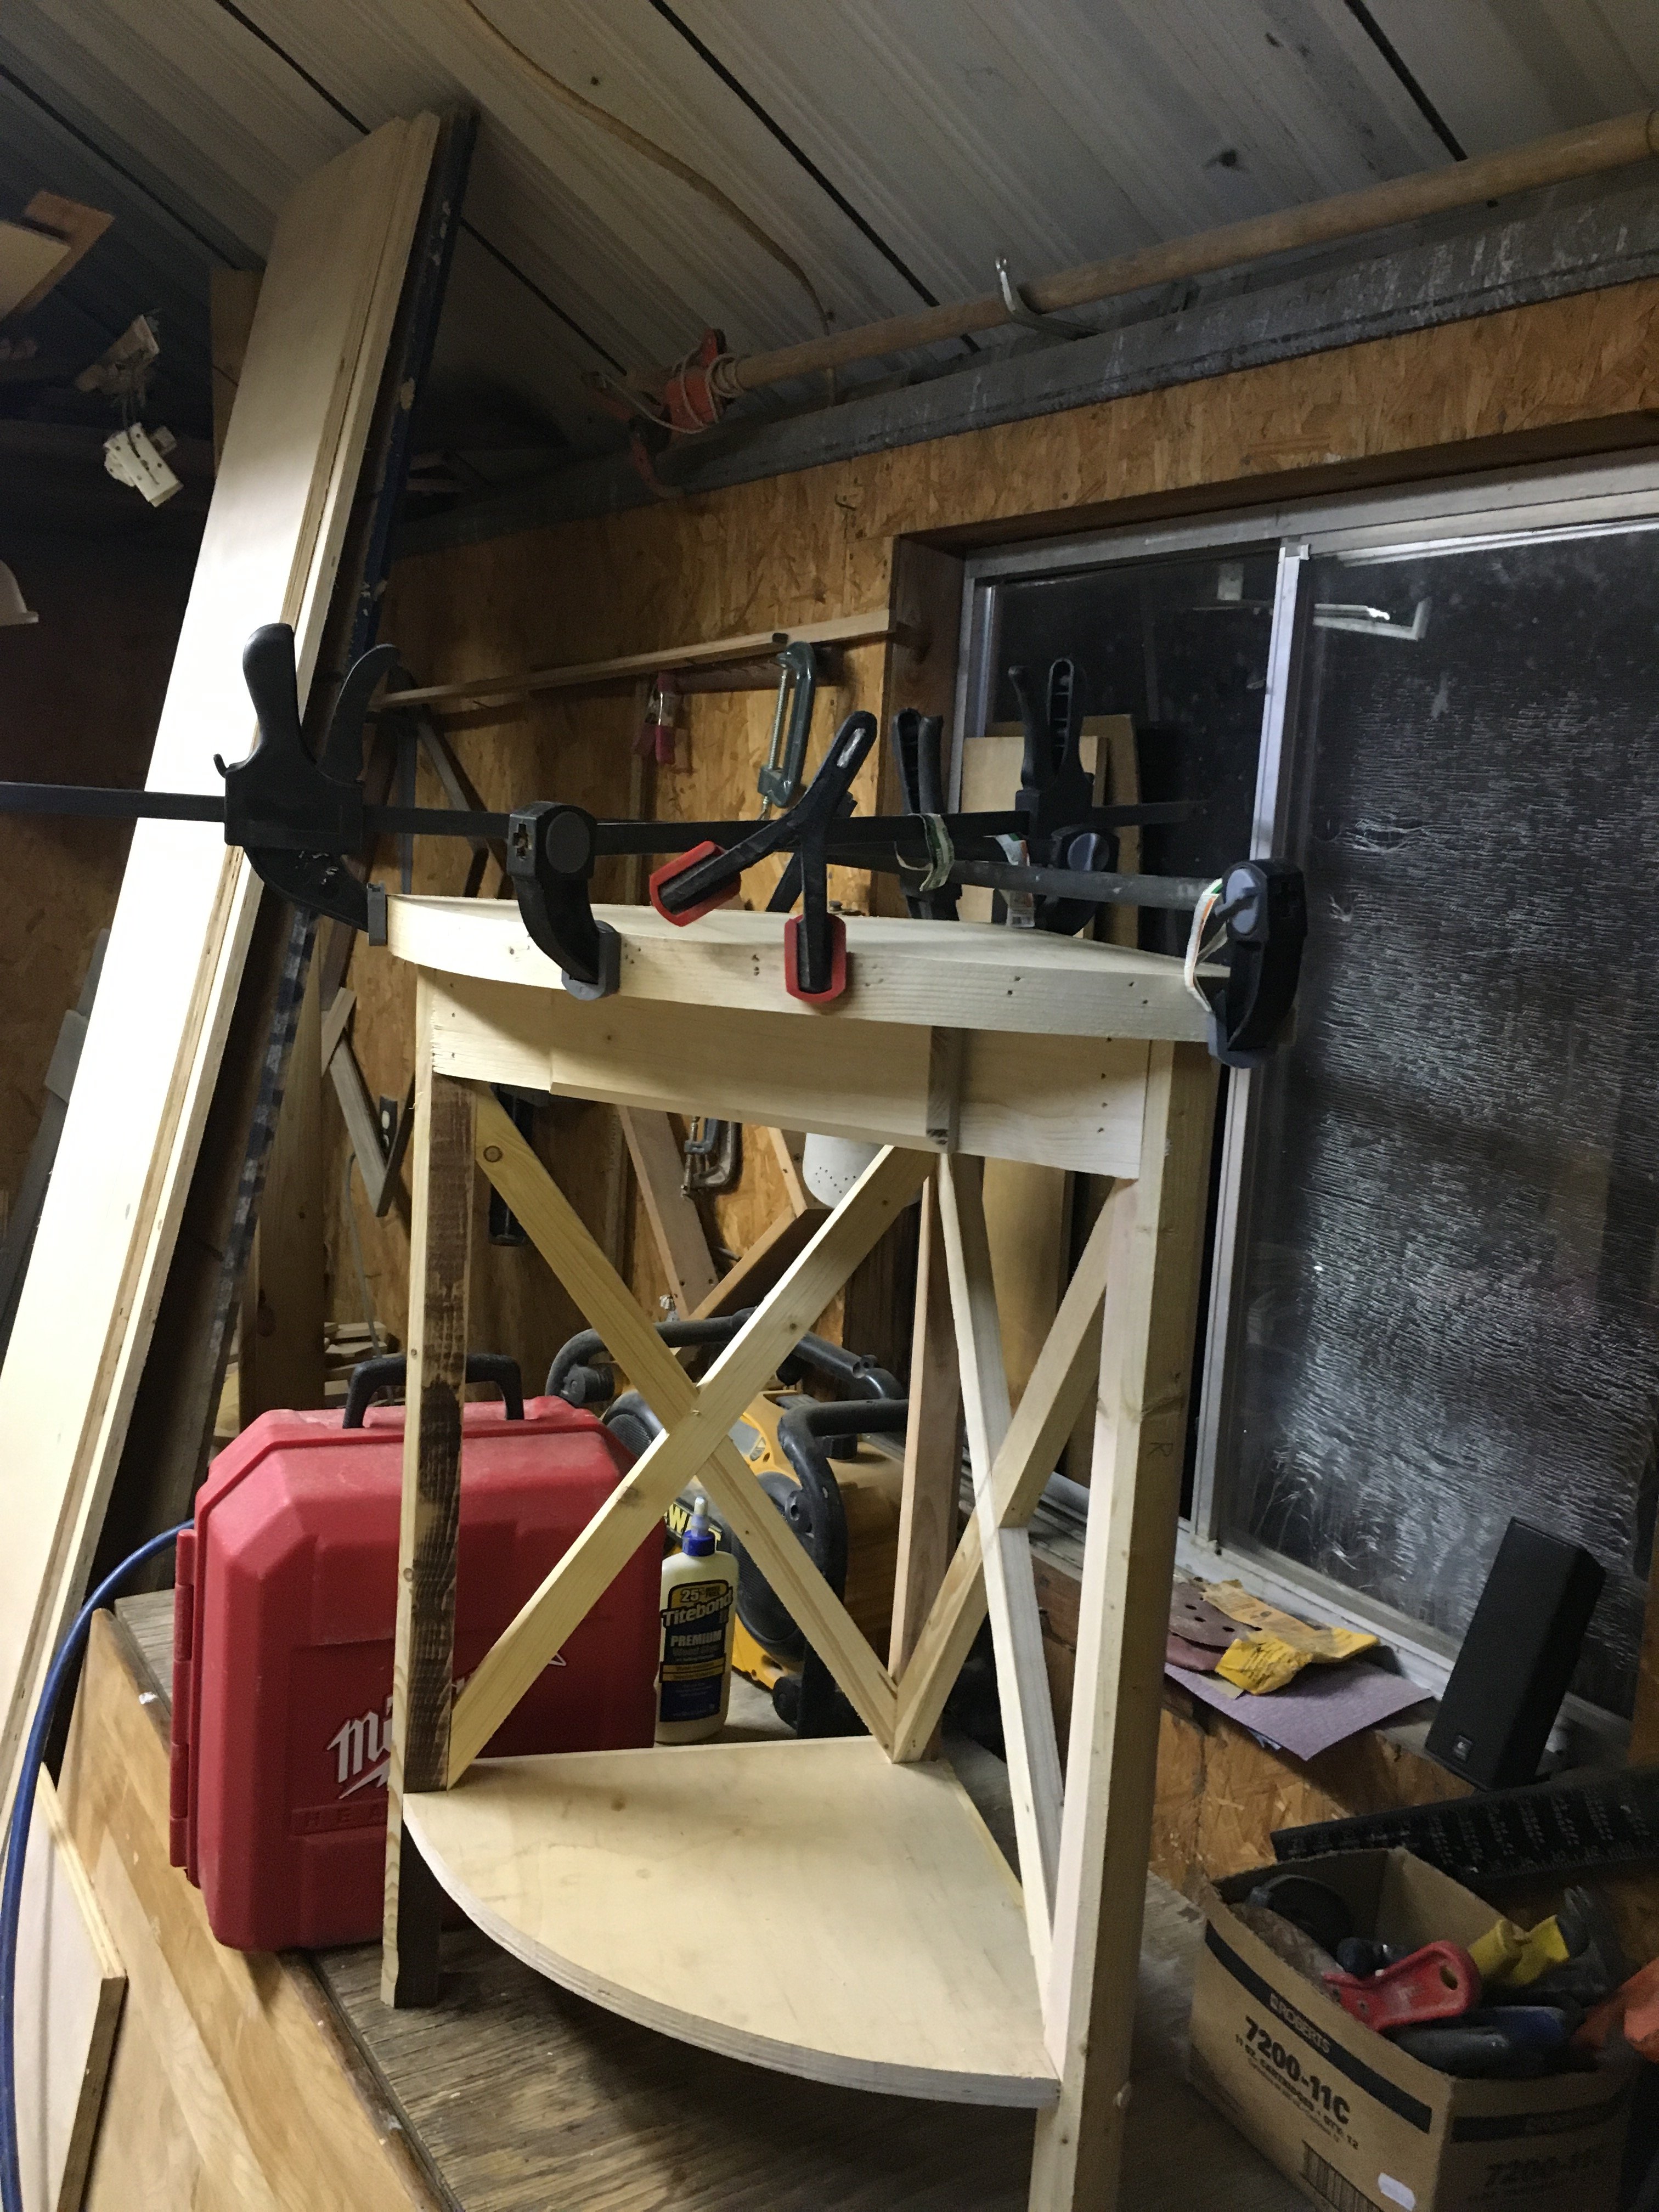
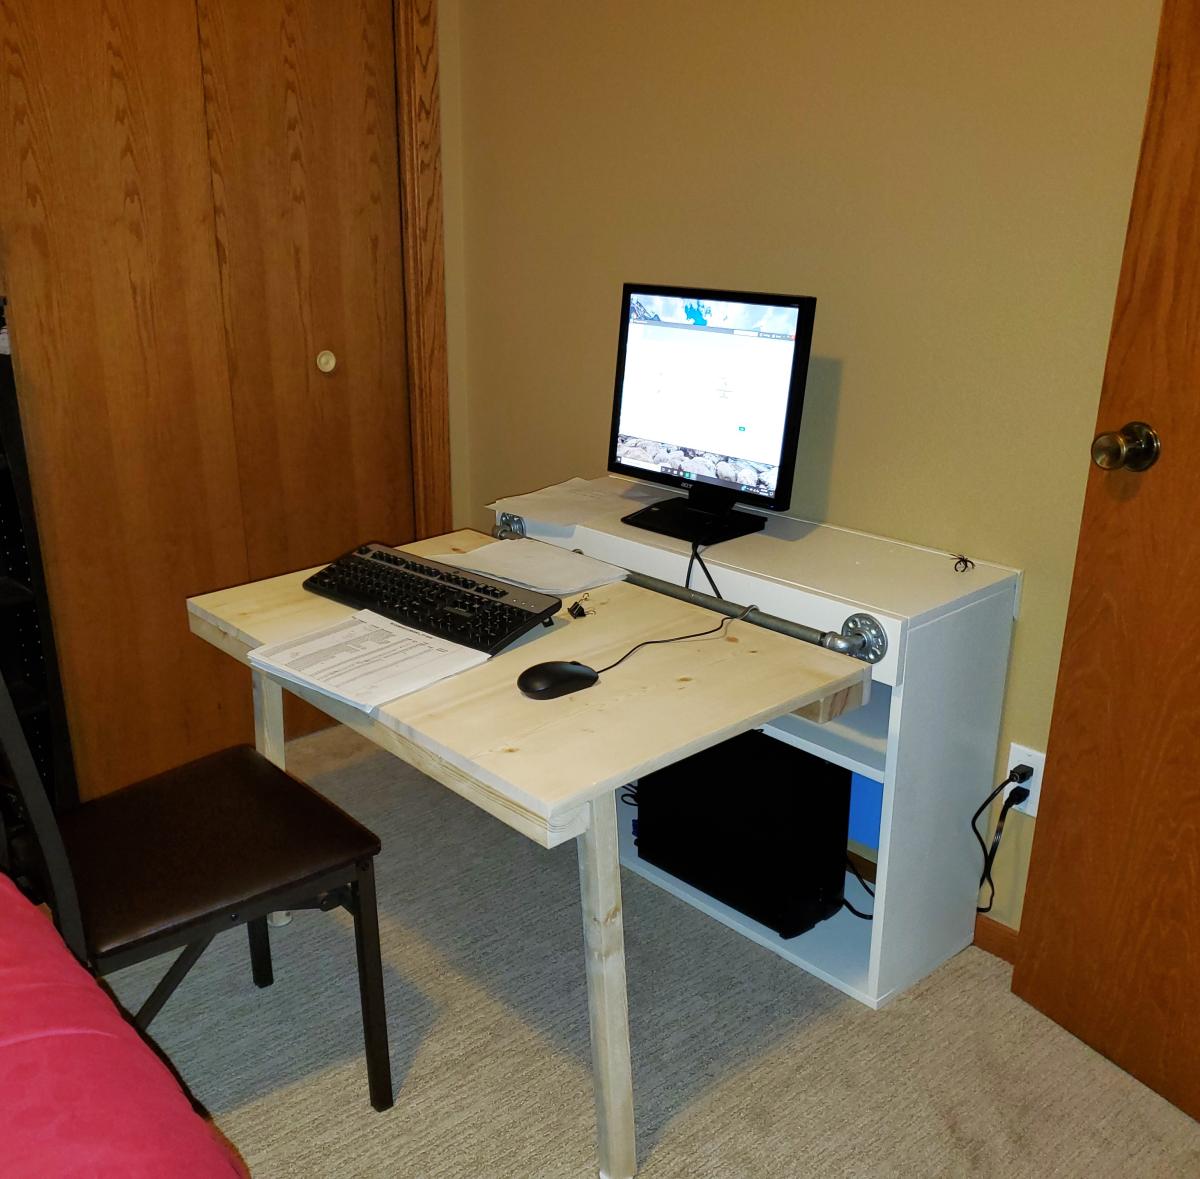
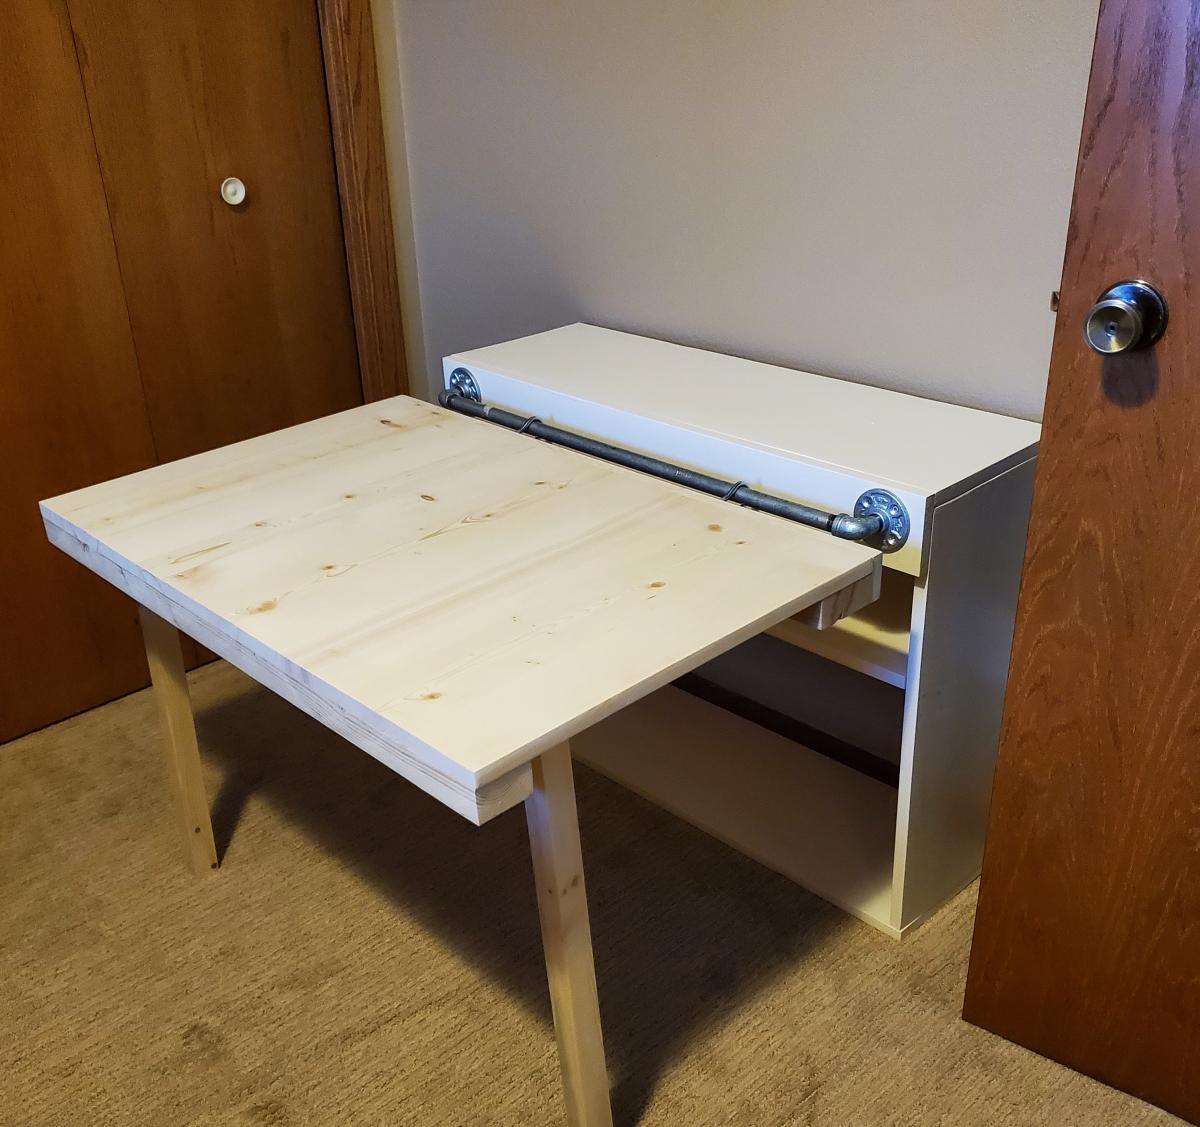
Folding desk based on Ana's Sliding Door Console with Folding Tables. I needed a desk that could collapse when the room was needed for guests. I liked that there was storage built in. I based my depth on my printer. There is a french cleat on the wall to help counter balance when opening and closing the work space.
Mystiy
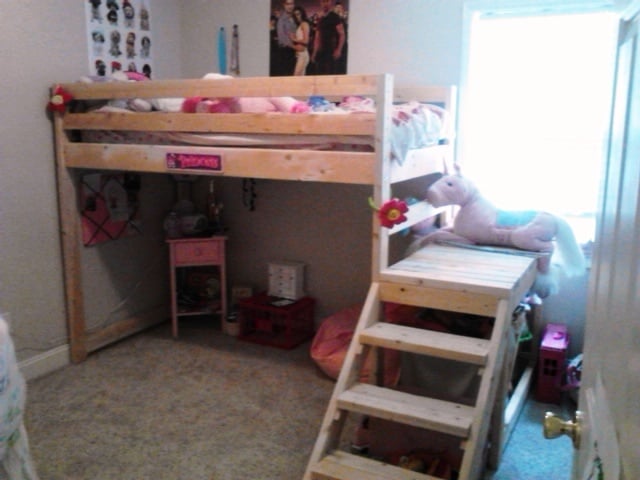
Thank you for this plan! We had a blast building this project and watching our daughter's expression once she saw it complete made it all worth while! She has a very small bedroom and this bed allows her so much more floor space now plus it has the "fort" feeling. She loves it! Thanks, Ana!
This was my first real project and I am happy with how it turned out.
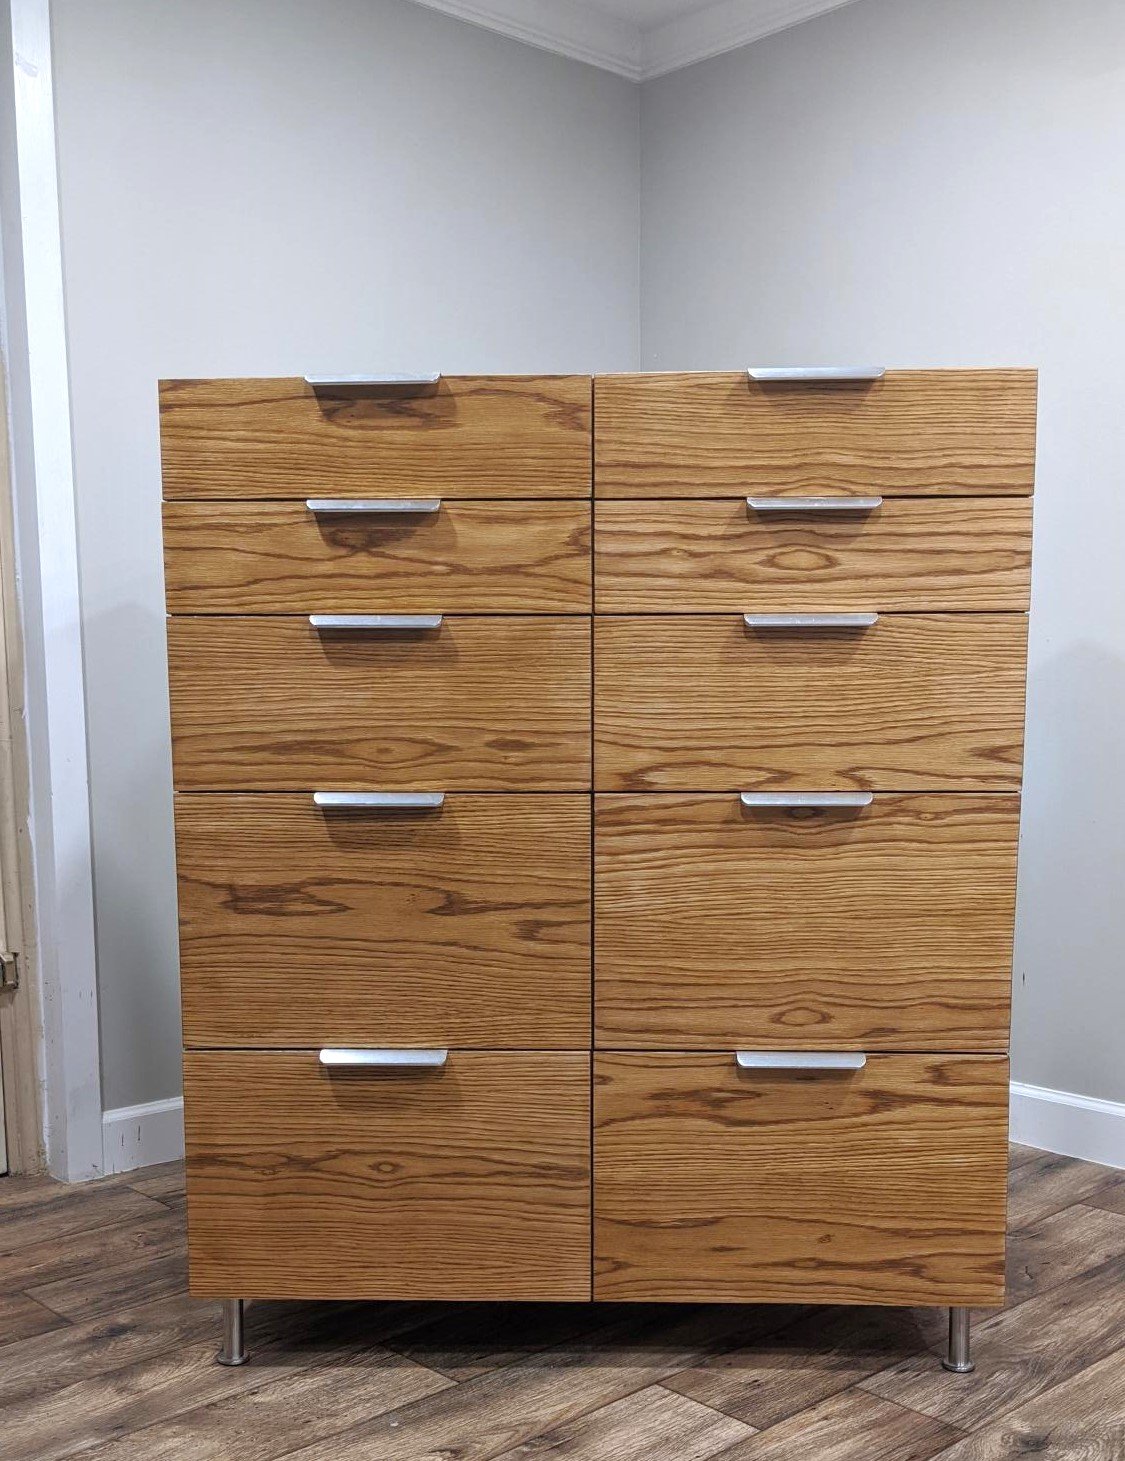
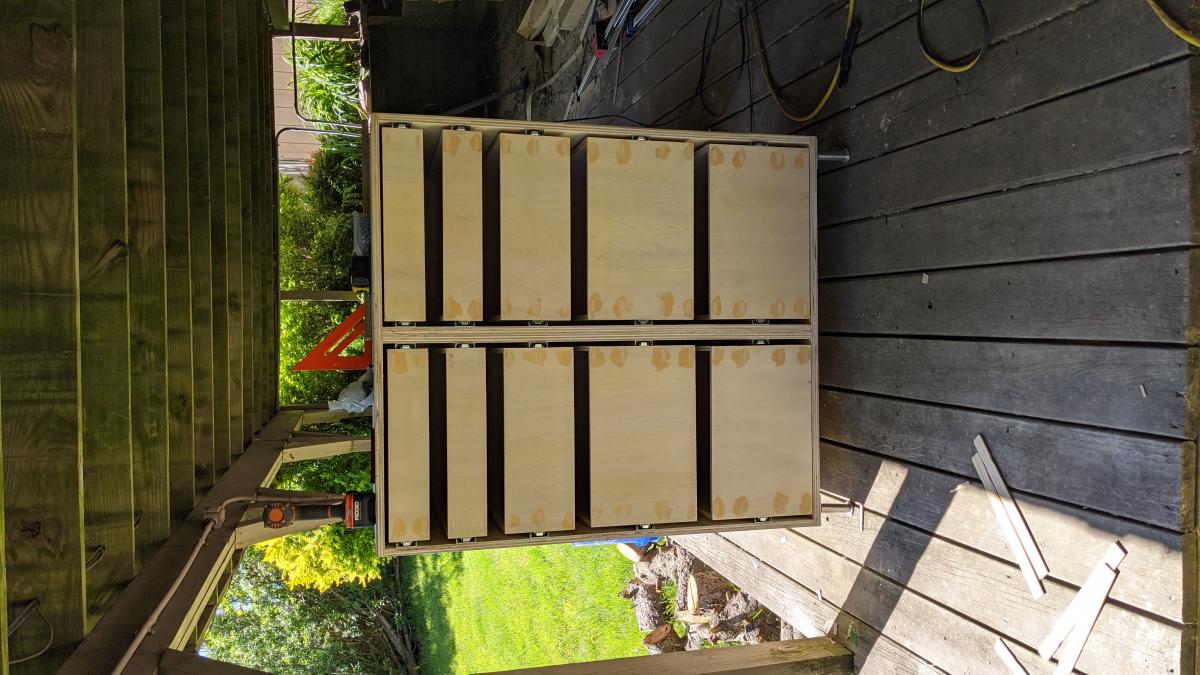
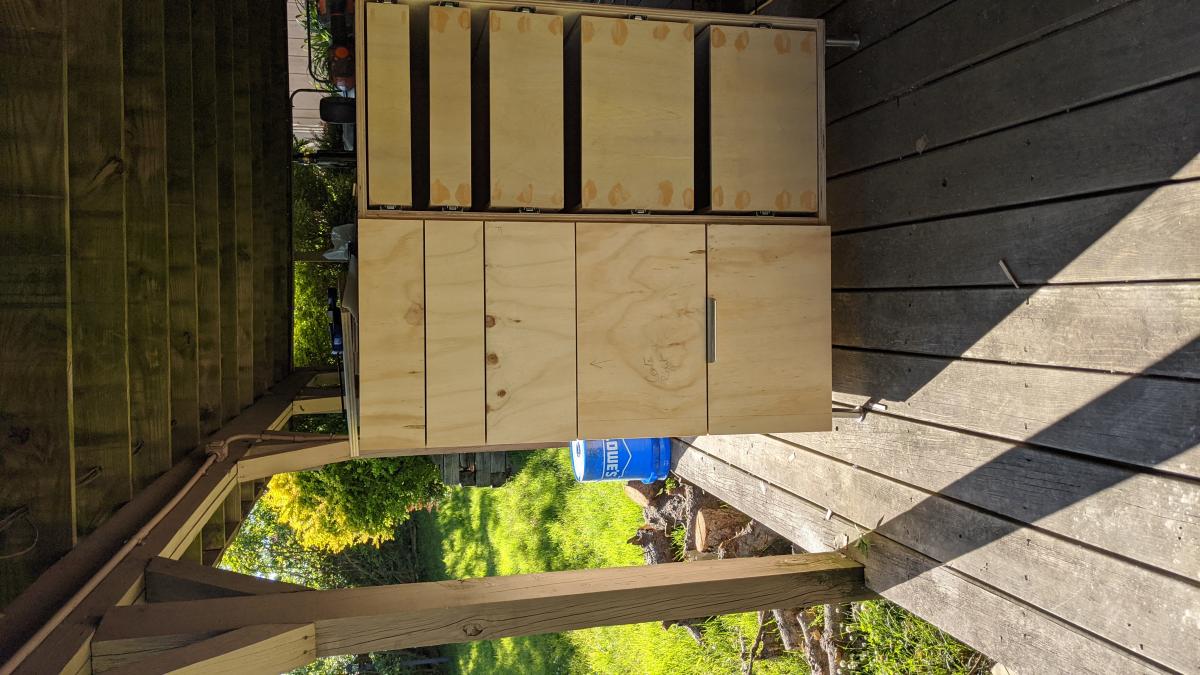
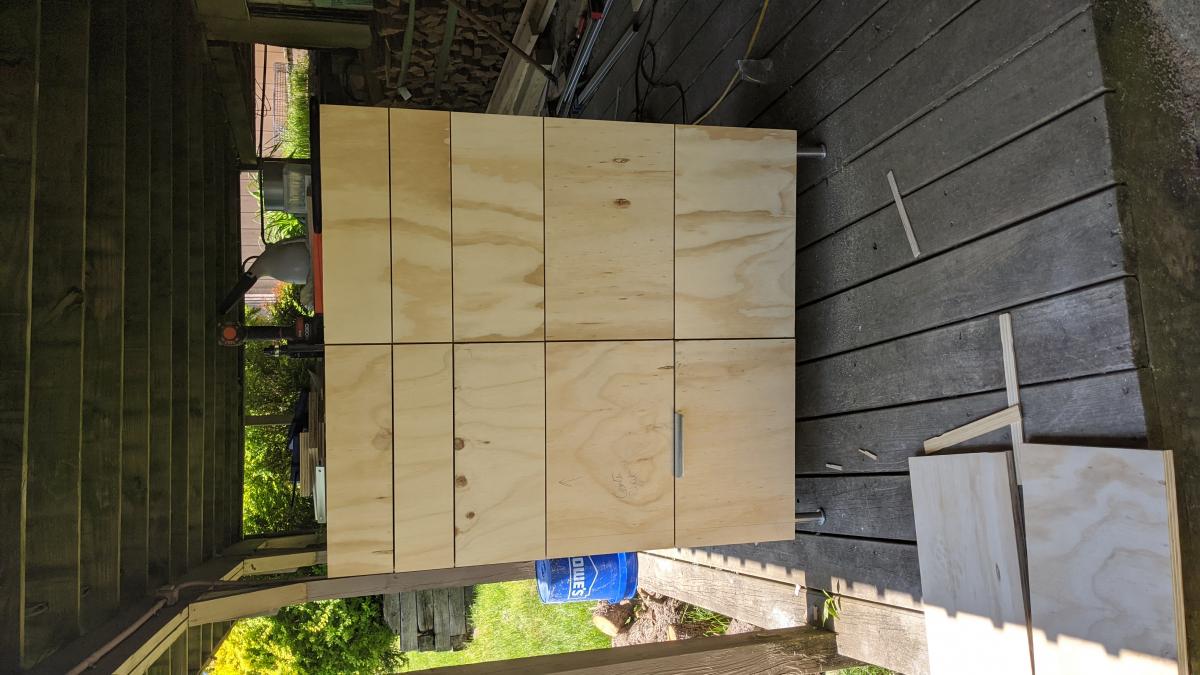
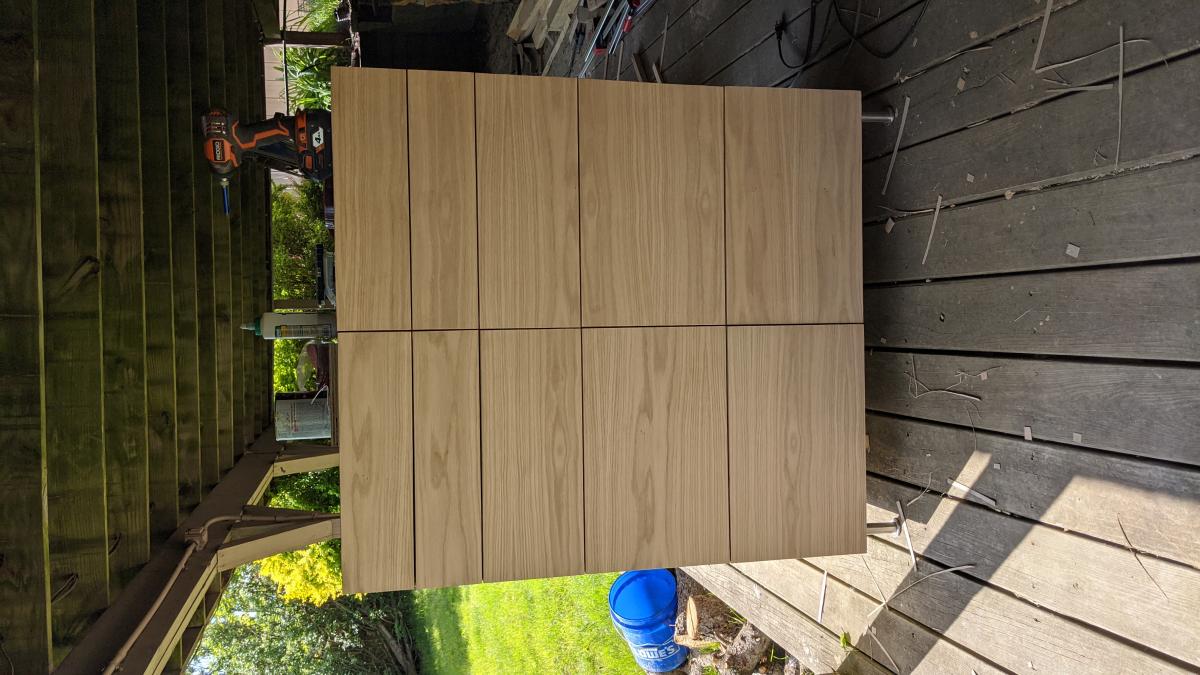
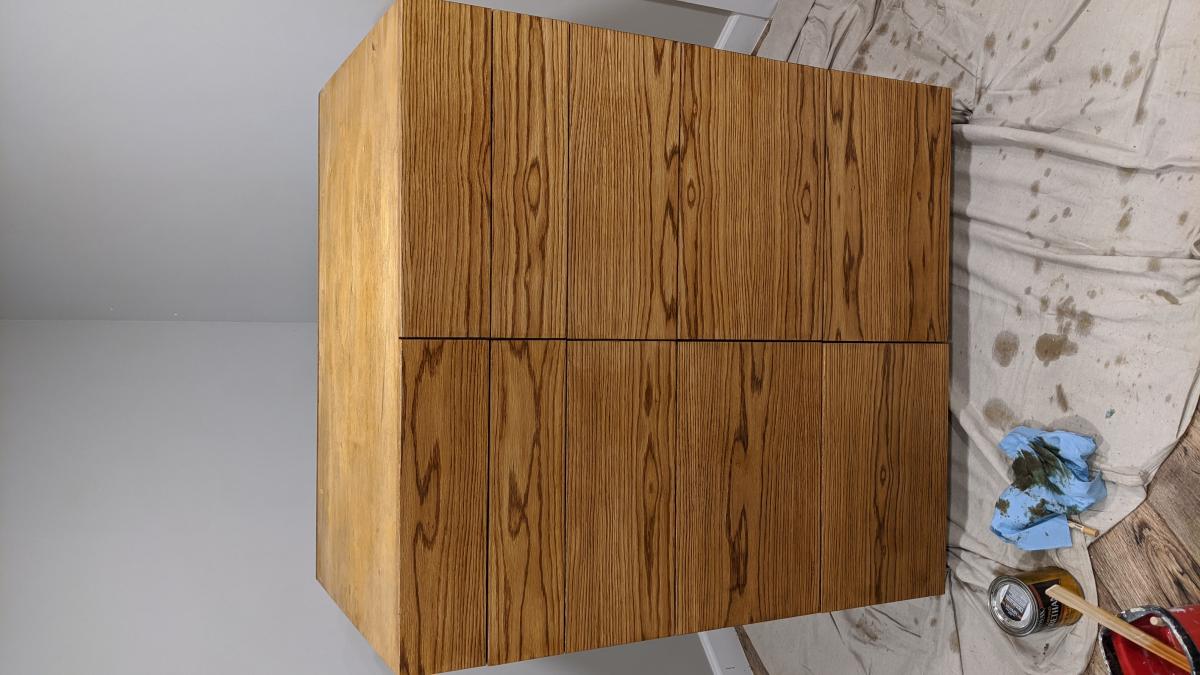
This is a 10-drawer cabinet that I designed and built. It's the first woodworking project I've ever undertaken. It took about 2 weeks to complete the build (between bedroom remodeling and this project), but I think it can easily be completed in half the time. The cabinet carcass was built with 3/4" plywood. The drawers were built using 1/2" plywood. The drawer bases are also 1/2" thick as I intend to store some heavy items in these drawers. The drawers all measure 23" in outside length and 17" in outside width. The bottom 4 drawers measure 10" deep (internal dimension). The top 4 drawers measure 3" deep and the 2 remaining drawers measure 6" deep (internal dimensions). The drawer banks (Each vertical set of drawers) are separated by a 1.5" thick center wall (glued two 3/4" plywood boards) to allow fastening of drawer slides using 3/4" truss head screws. All joints on the cabinet carcass and drawers are glued and pocket screwed (512 pocket holes all told). Having the Kreg K4MS pocket hole jig was a time saver compared to the Kreg R3 jig that I had before as I was able to "assembly line" the pocket hole drilling process. The drawer fronts were designed to be flush with the outsides of the cabinet and have a 1/8" gap between drawers (both vertically and horizontally) and were made out of 3/4" plywood. They were then veneered with White Oak Veneer sheet and edge banding
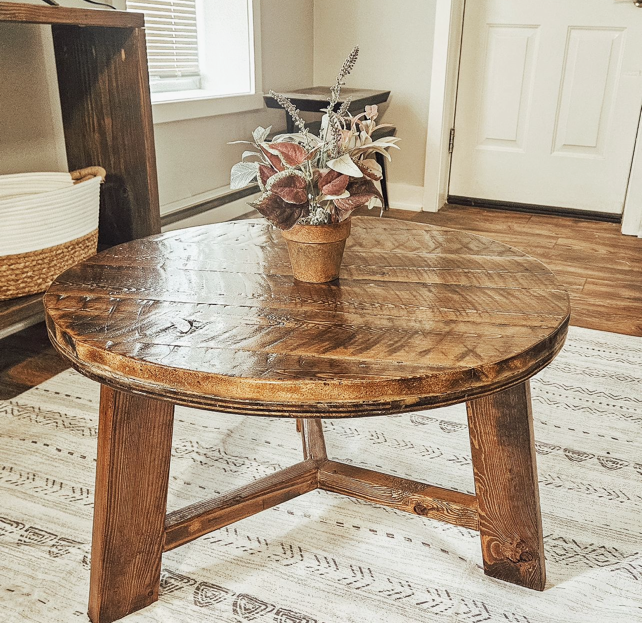
Rustic Round Wood Coffee Table by Three Tulips Woodshop on Instagram
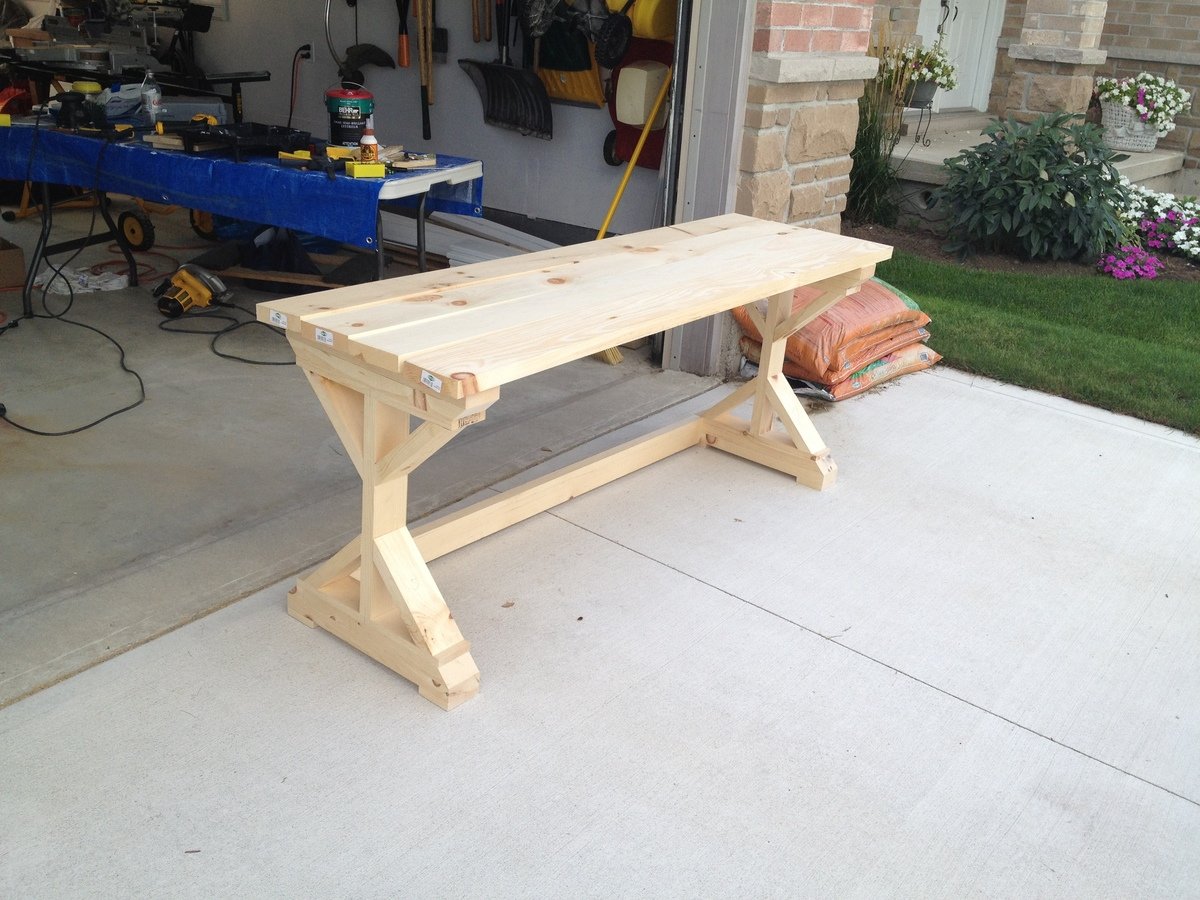
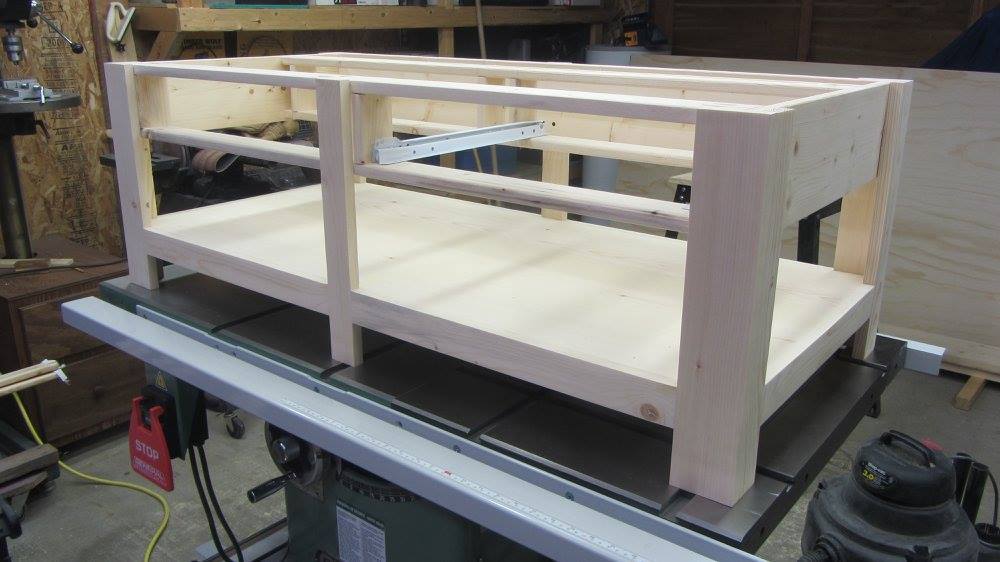
These are the shots from my dry-fitting assembly. I have yet to instal the back supports and to secure the top 2x6s but that will be done shortly.
I did run short of 2x4, I needed 1 more probably because of my inexperience with maximizing my cuts and minimizing waste. I plan on testing out my cuts in SketchUp for future projects and see if that helps. I find it much easier when the cut plan is already worked out before I get to the saw.
I cut and dry-fit the whole thing in 1 day although it would have been faster if I worked out the regional dimensions first. Again, SketchUp to the rescue!
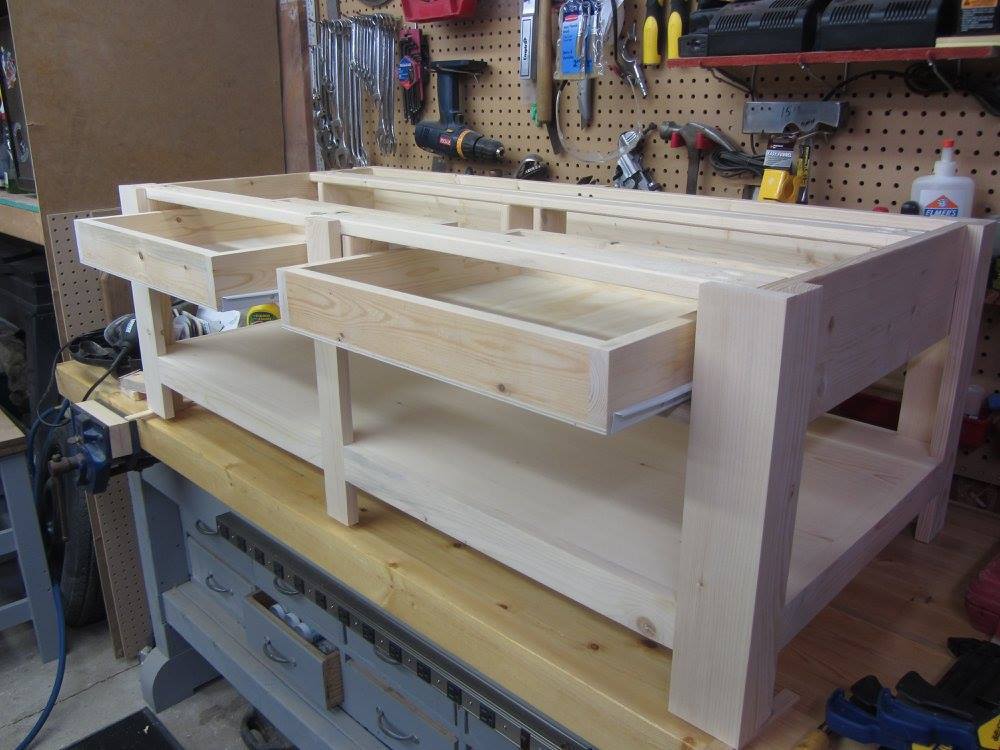
I plan on adding pocket holes in the inside top piece of the leg assembly as well as the tabletop supports to secure the table top assembly.
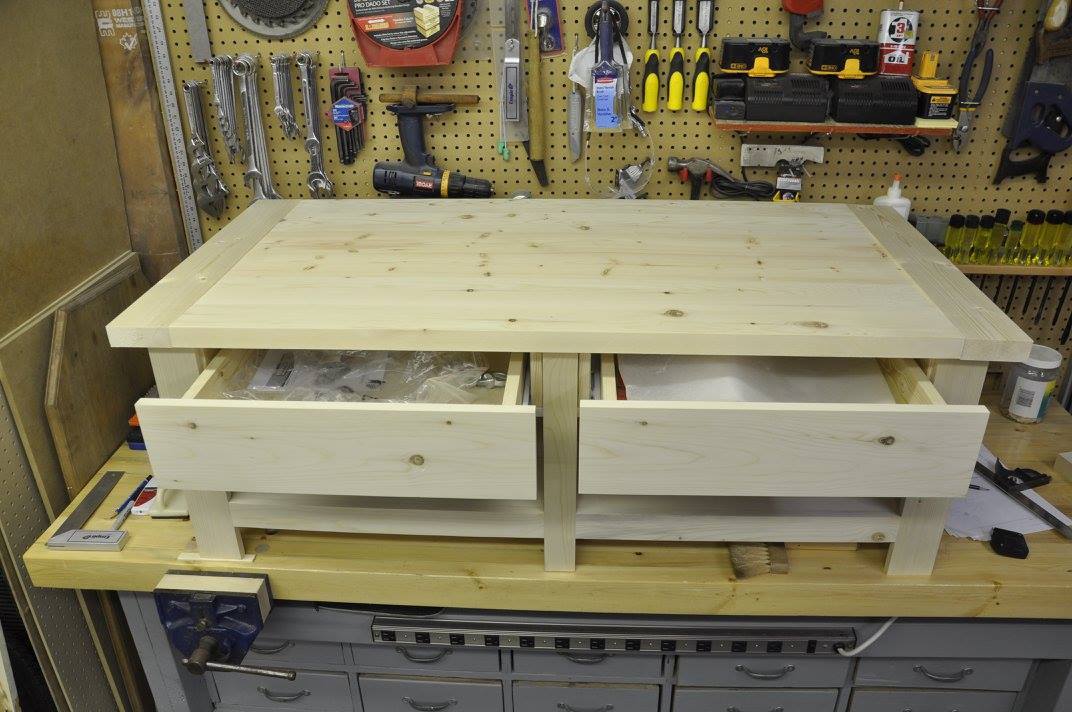
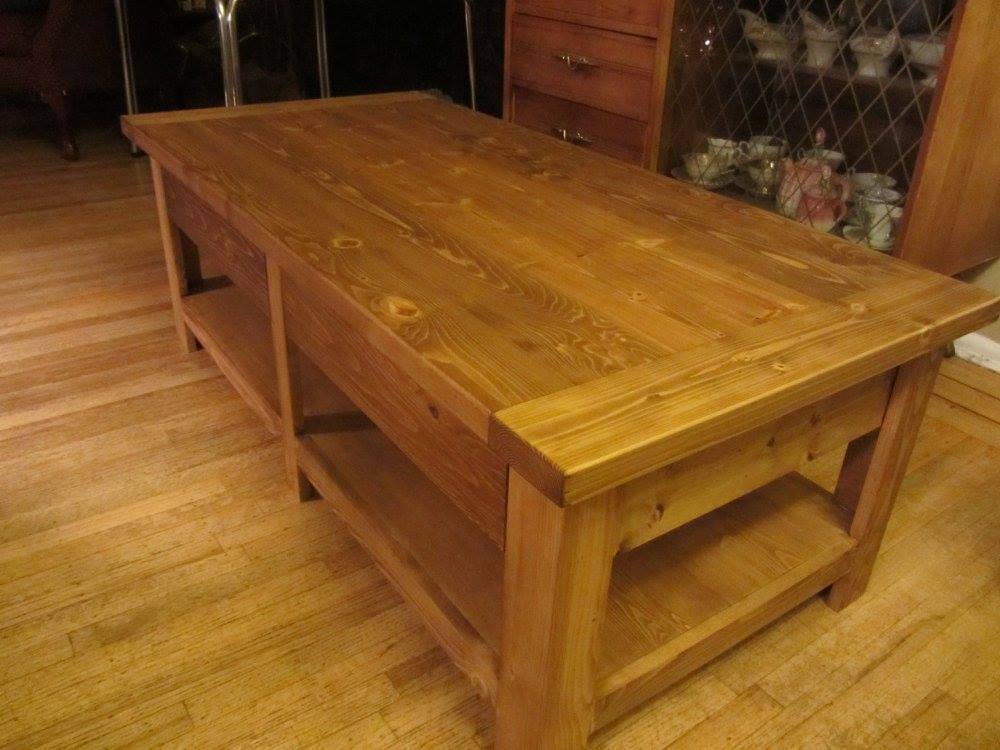
This was a great build, I built it for my husband as a 25th anniversary present and he absolutely loves it.
I used knotty pine S4S and we plan to stain it to show off all those pretty knots.
This is only my 4th build, if I can make this anyone can!

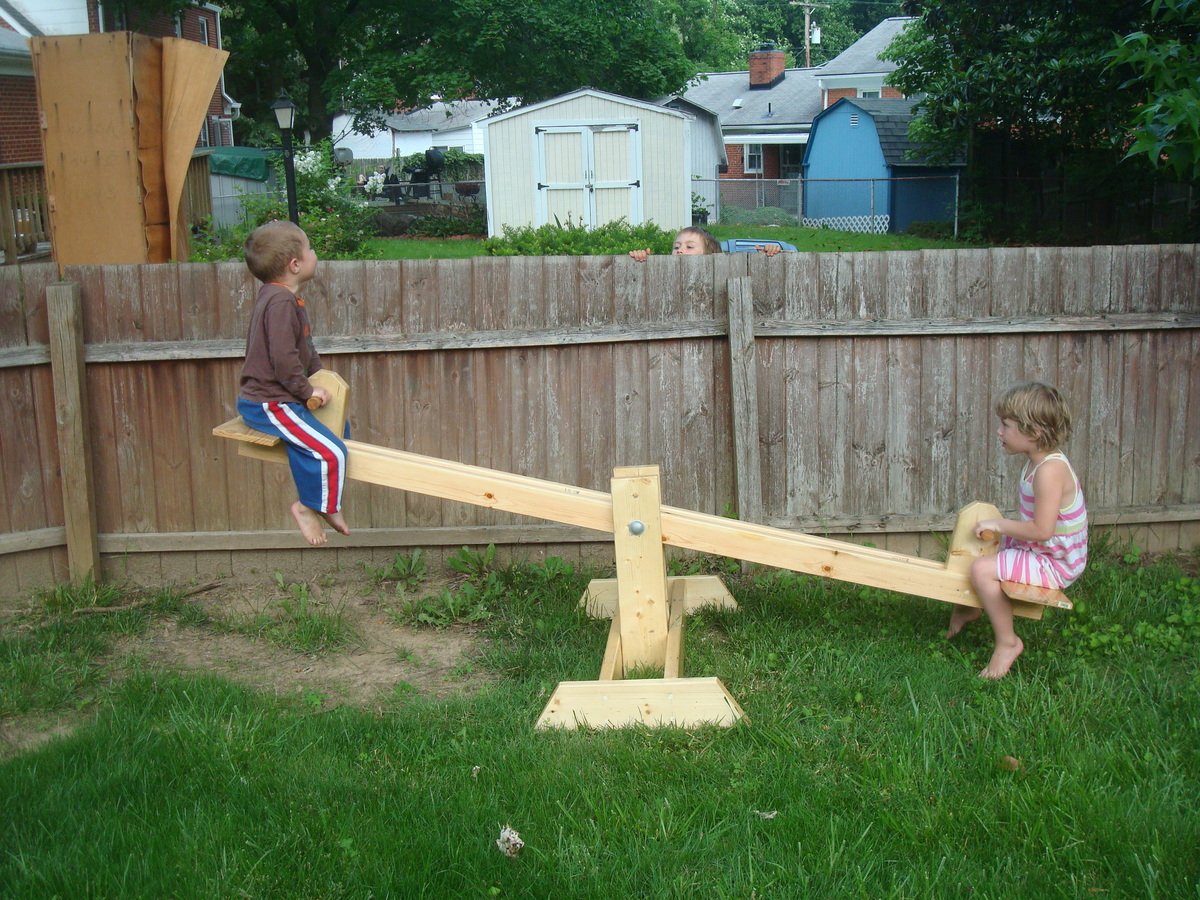
This was our first foray into a built-it-yourself Anna White project, and WE DID IT!!!
(and you can see from the picture that it's structurally sound!)
It took a little longer than the 45 minutes in the plans, but was finished before the birthday party :-) Our kids ( 5 and 7) even had ownership in this project and enjoyed helping sand.
Only modification we made to the plans was to turn the seats 90 degrees to make a bit more of a seat so that our 2 year old could seesaw too.
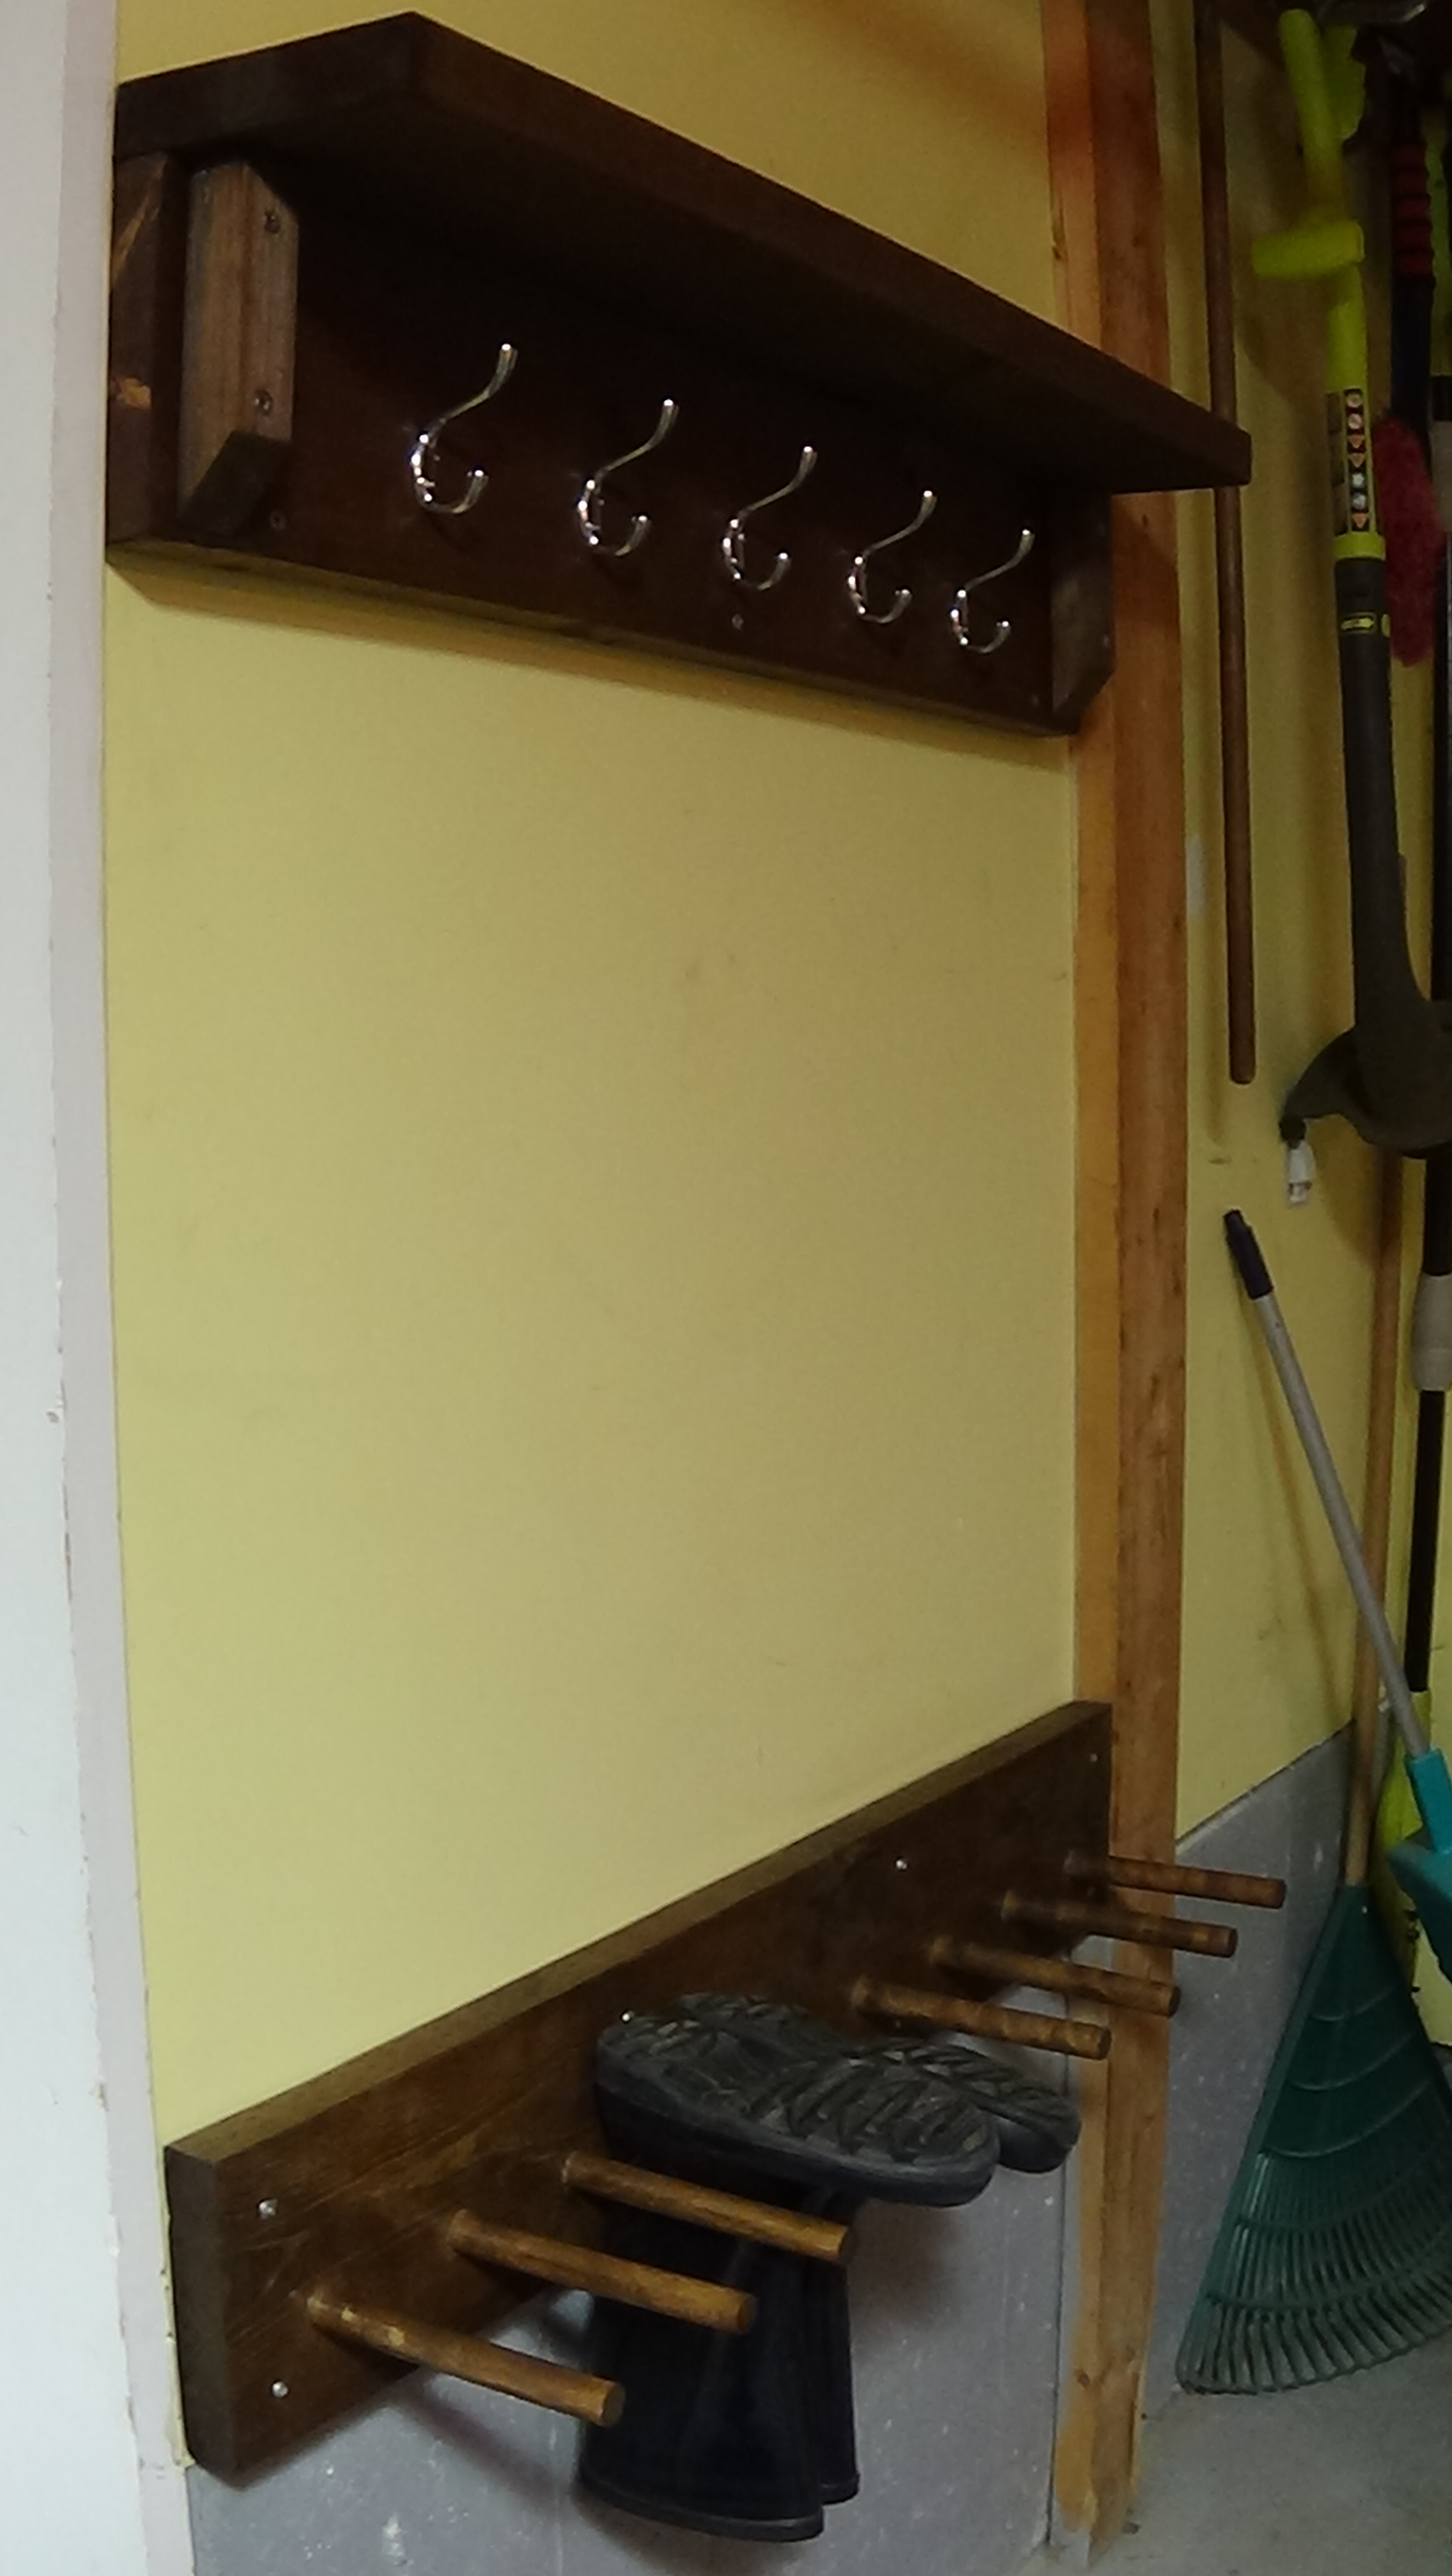
My garage is in a different dimention now! Thank you Ana!
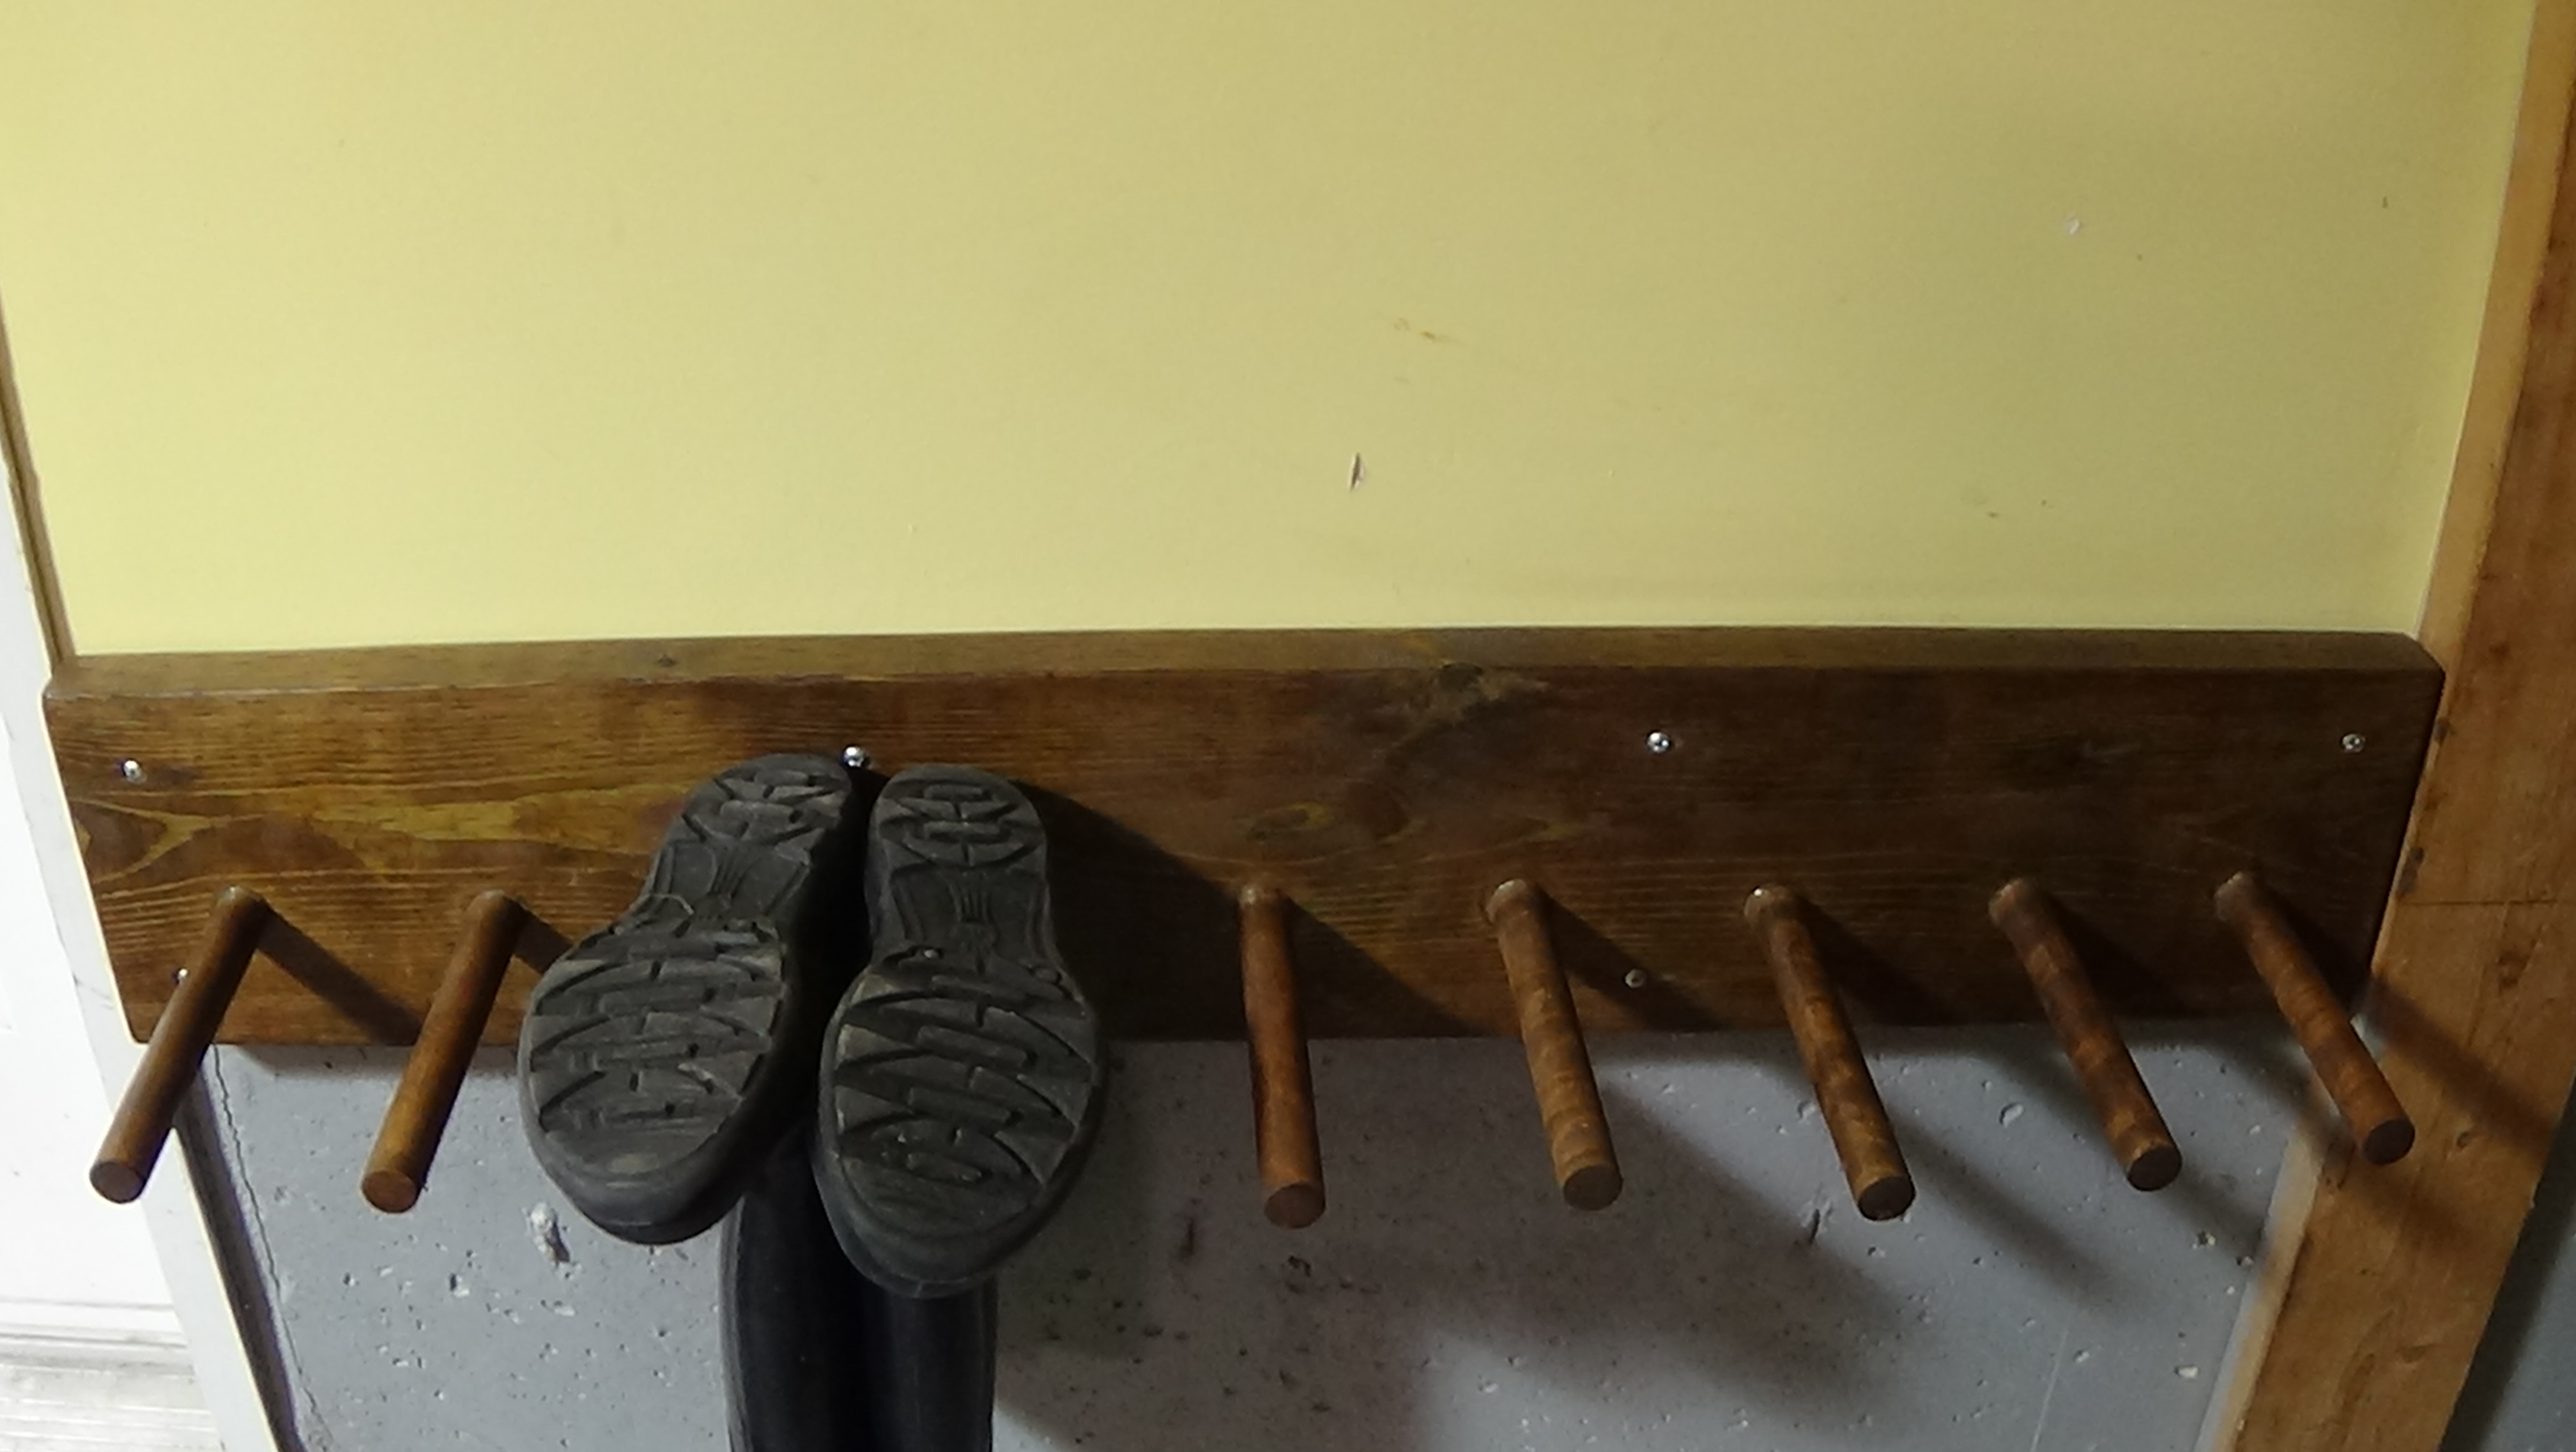
I had a bit of trouble with the length of the dowels but overall I am so happy with it.

Sun, 09/25/2016 - 12:33
Glad to see these made! It is such a simple project but so userful! Your space looks great, thanks for sharing! Ana

In reply to Glad to see these made! It by Ana White
Sun, 09/25/2016 - 18:56
I have to say I will be making a few of those! I find the plan you designed is simply awesome! The boots are of the floor which simplifies the cleaning, the dowels are not very long so you wouldn't stumble upon them, the spacing is great! I can go on and on about this one very well thoughtout !!!
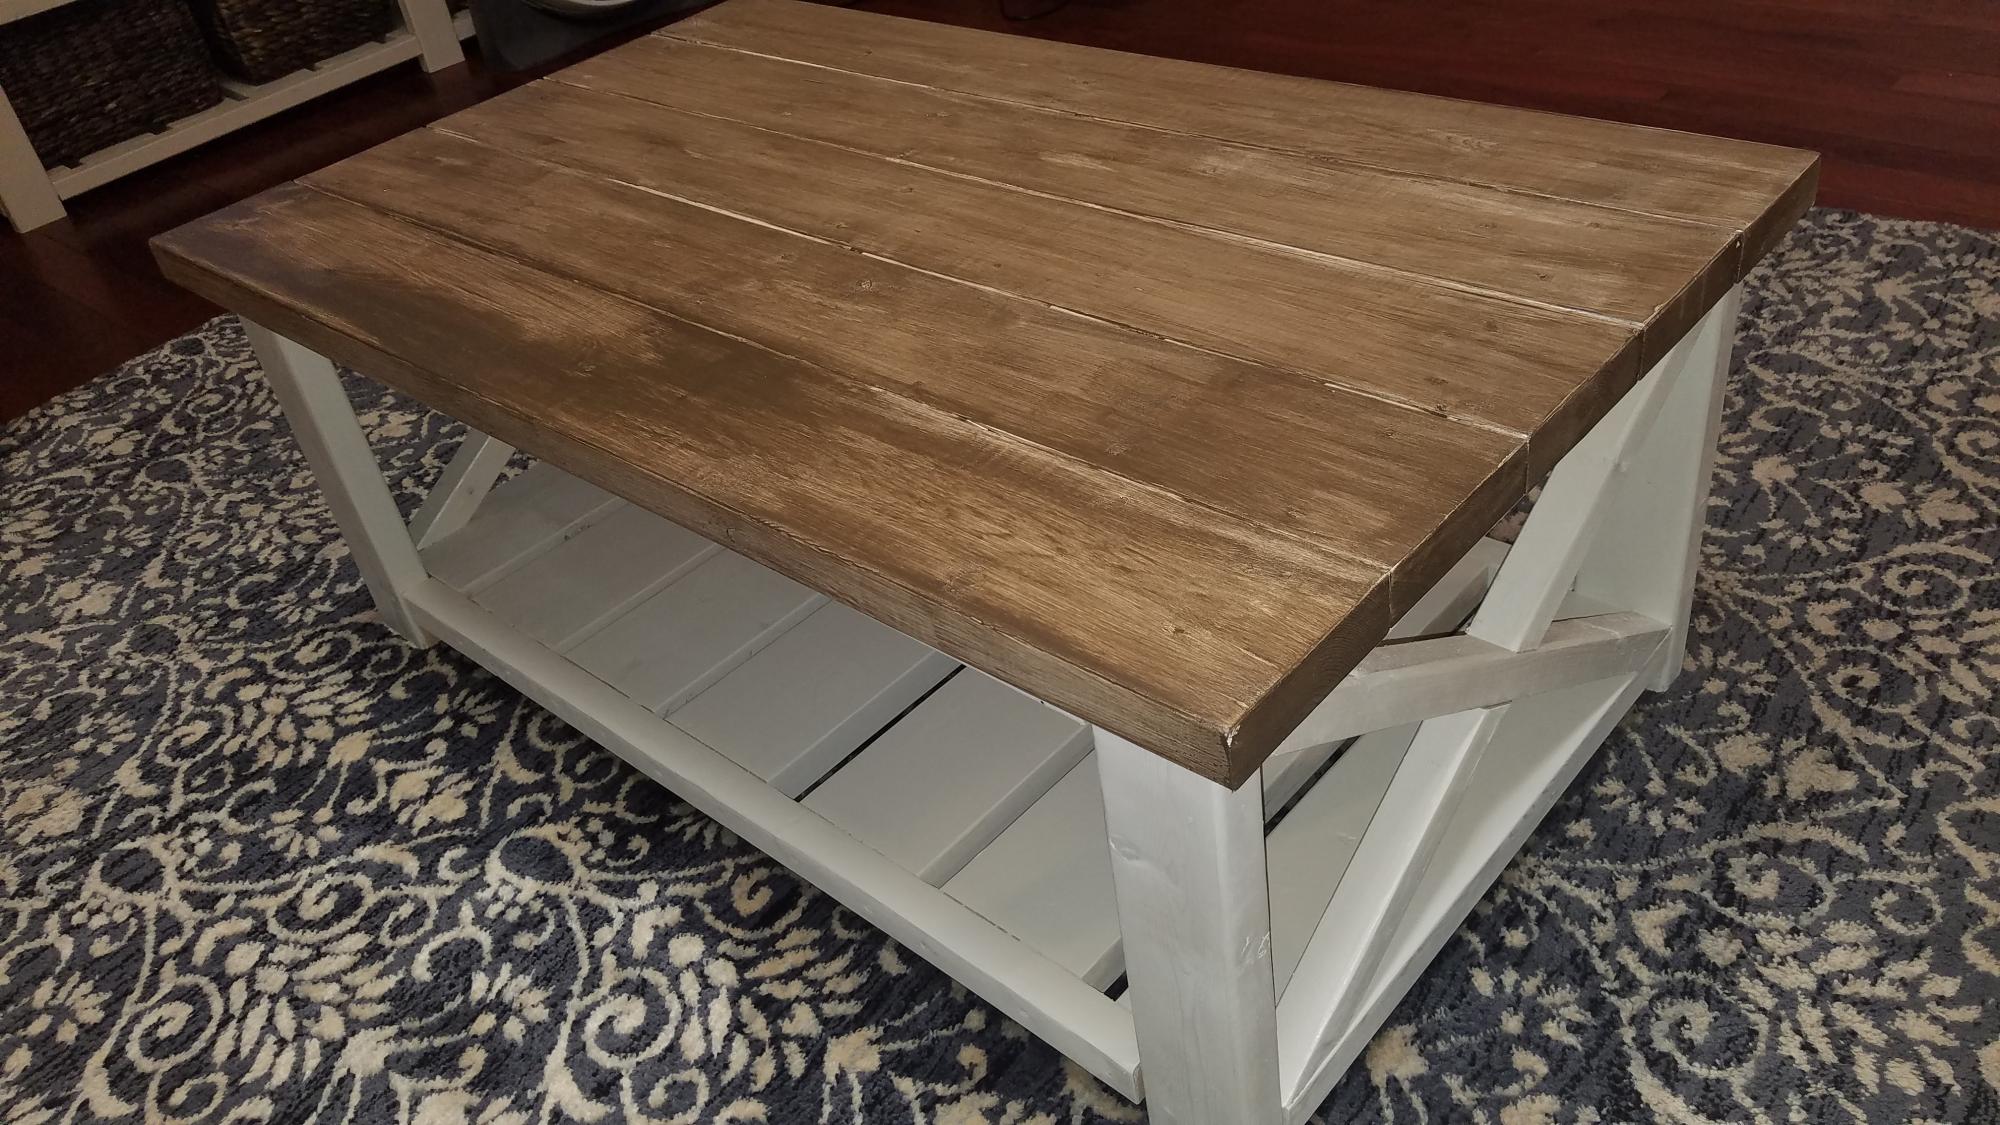
Love my new coffee table! I modified the plans to fit the space.
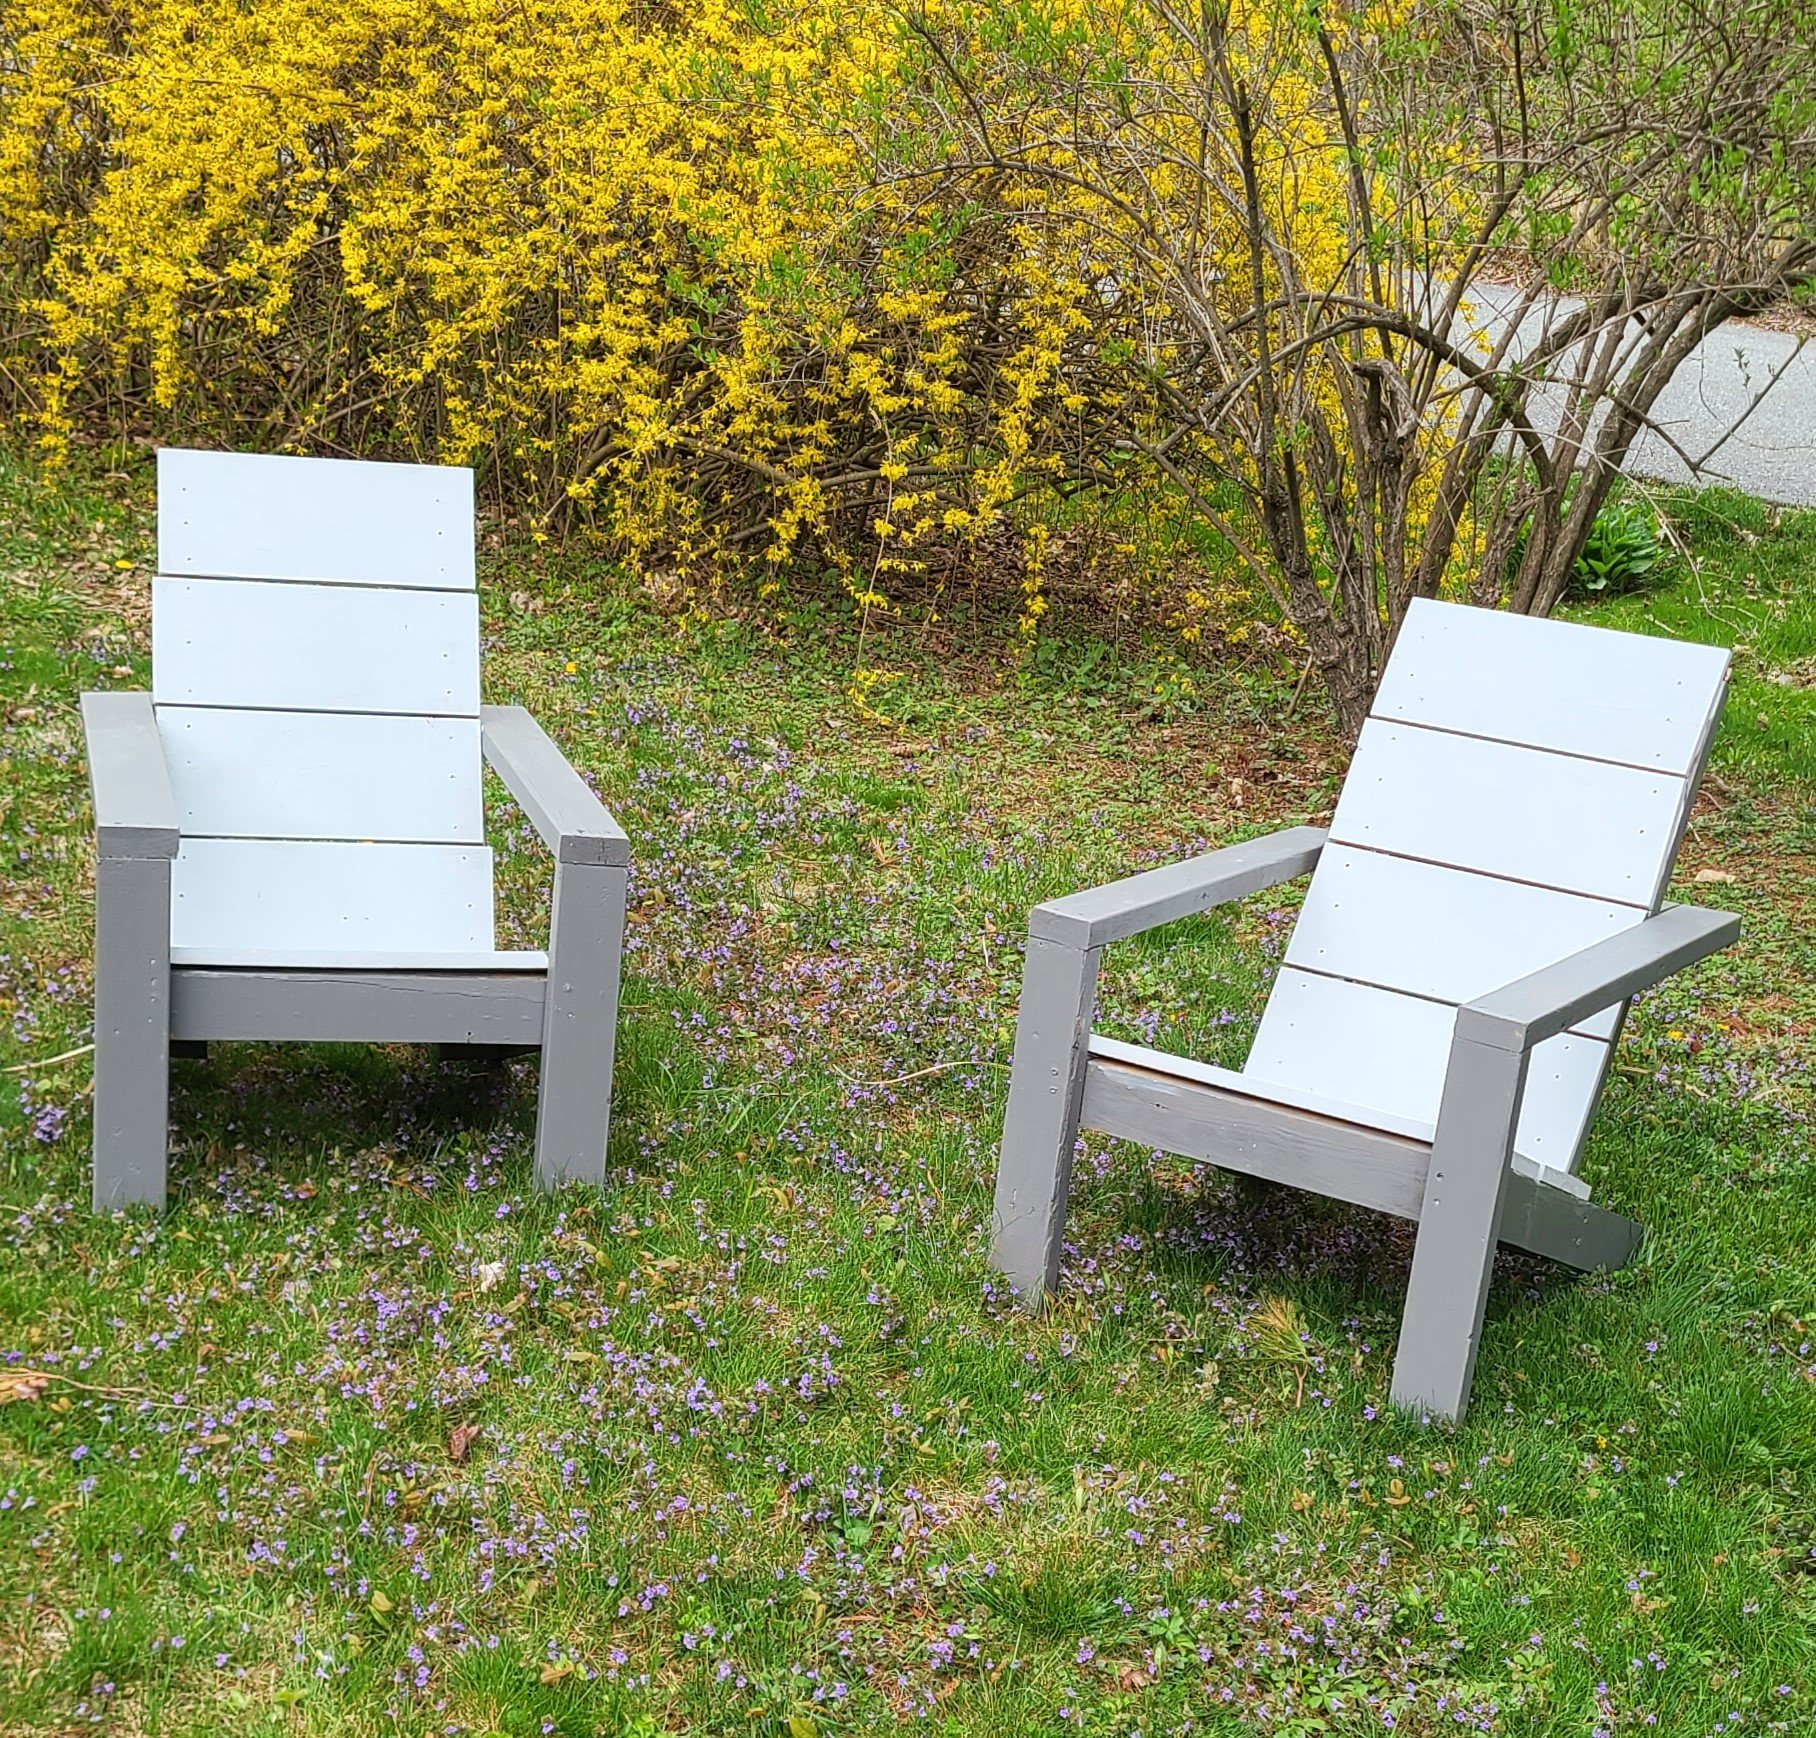
I made these two Adirondack chairs. I decided to put a deck stain on them (Cape Cod Gray and Pewter)
Greg Porpora
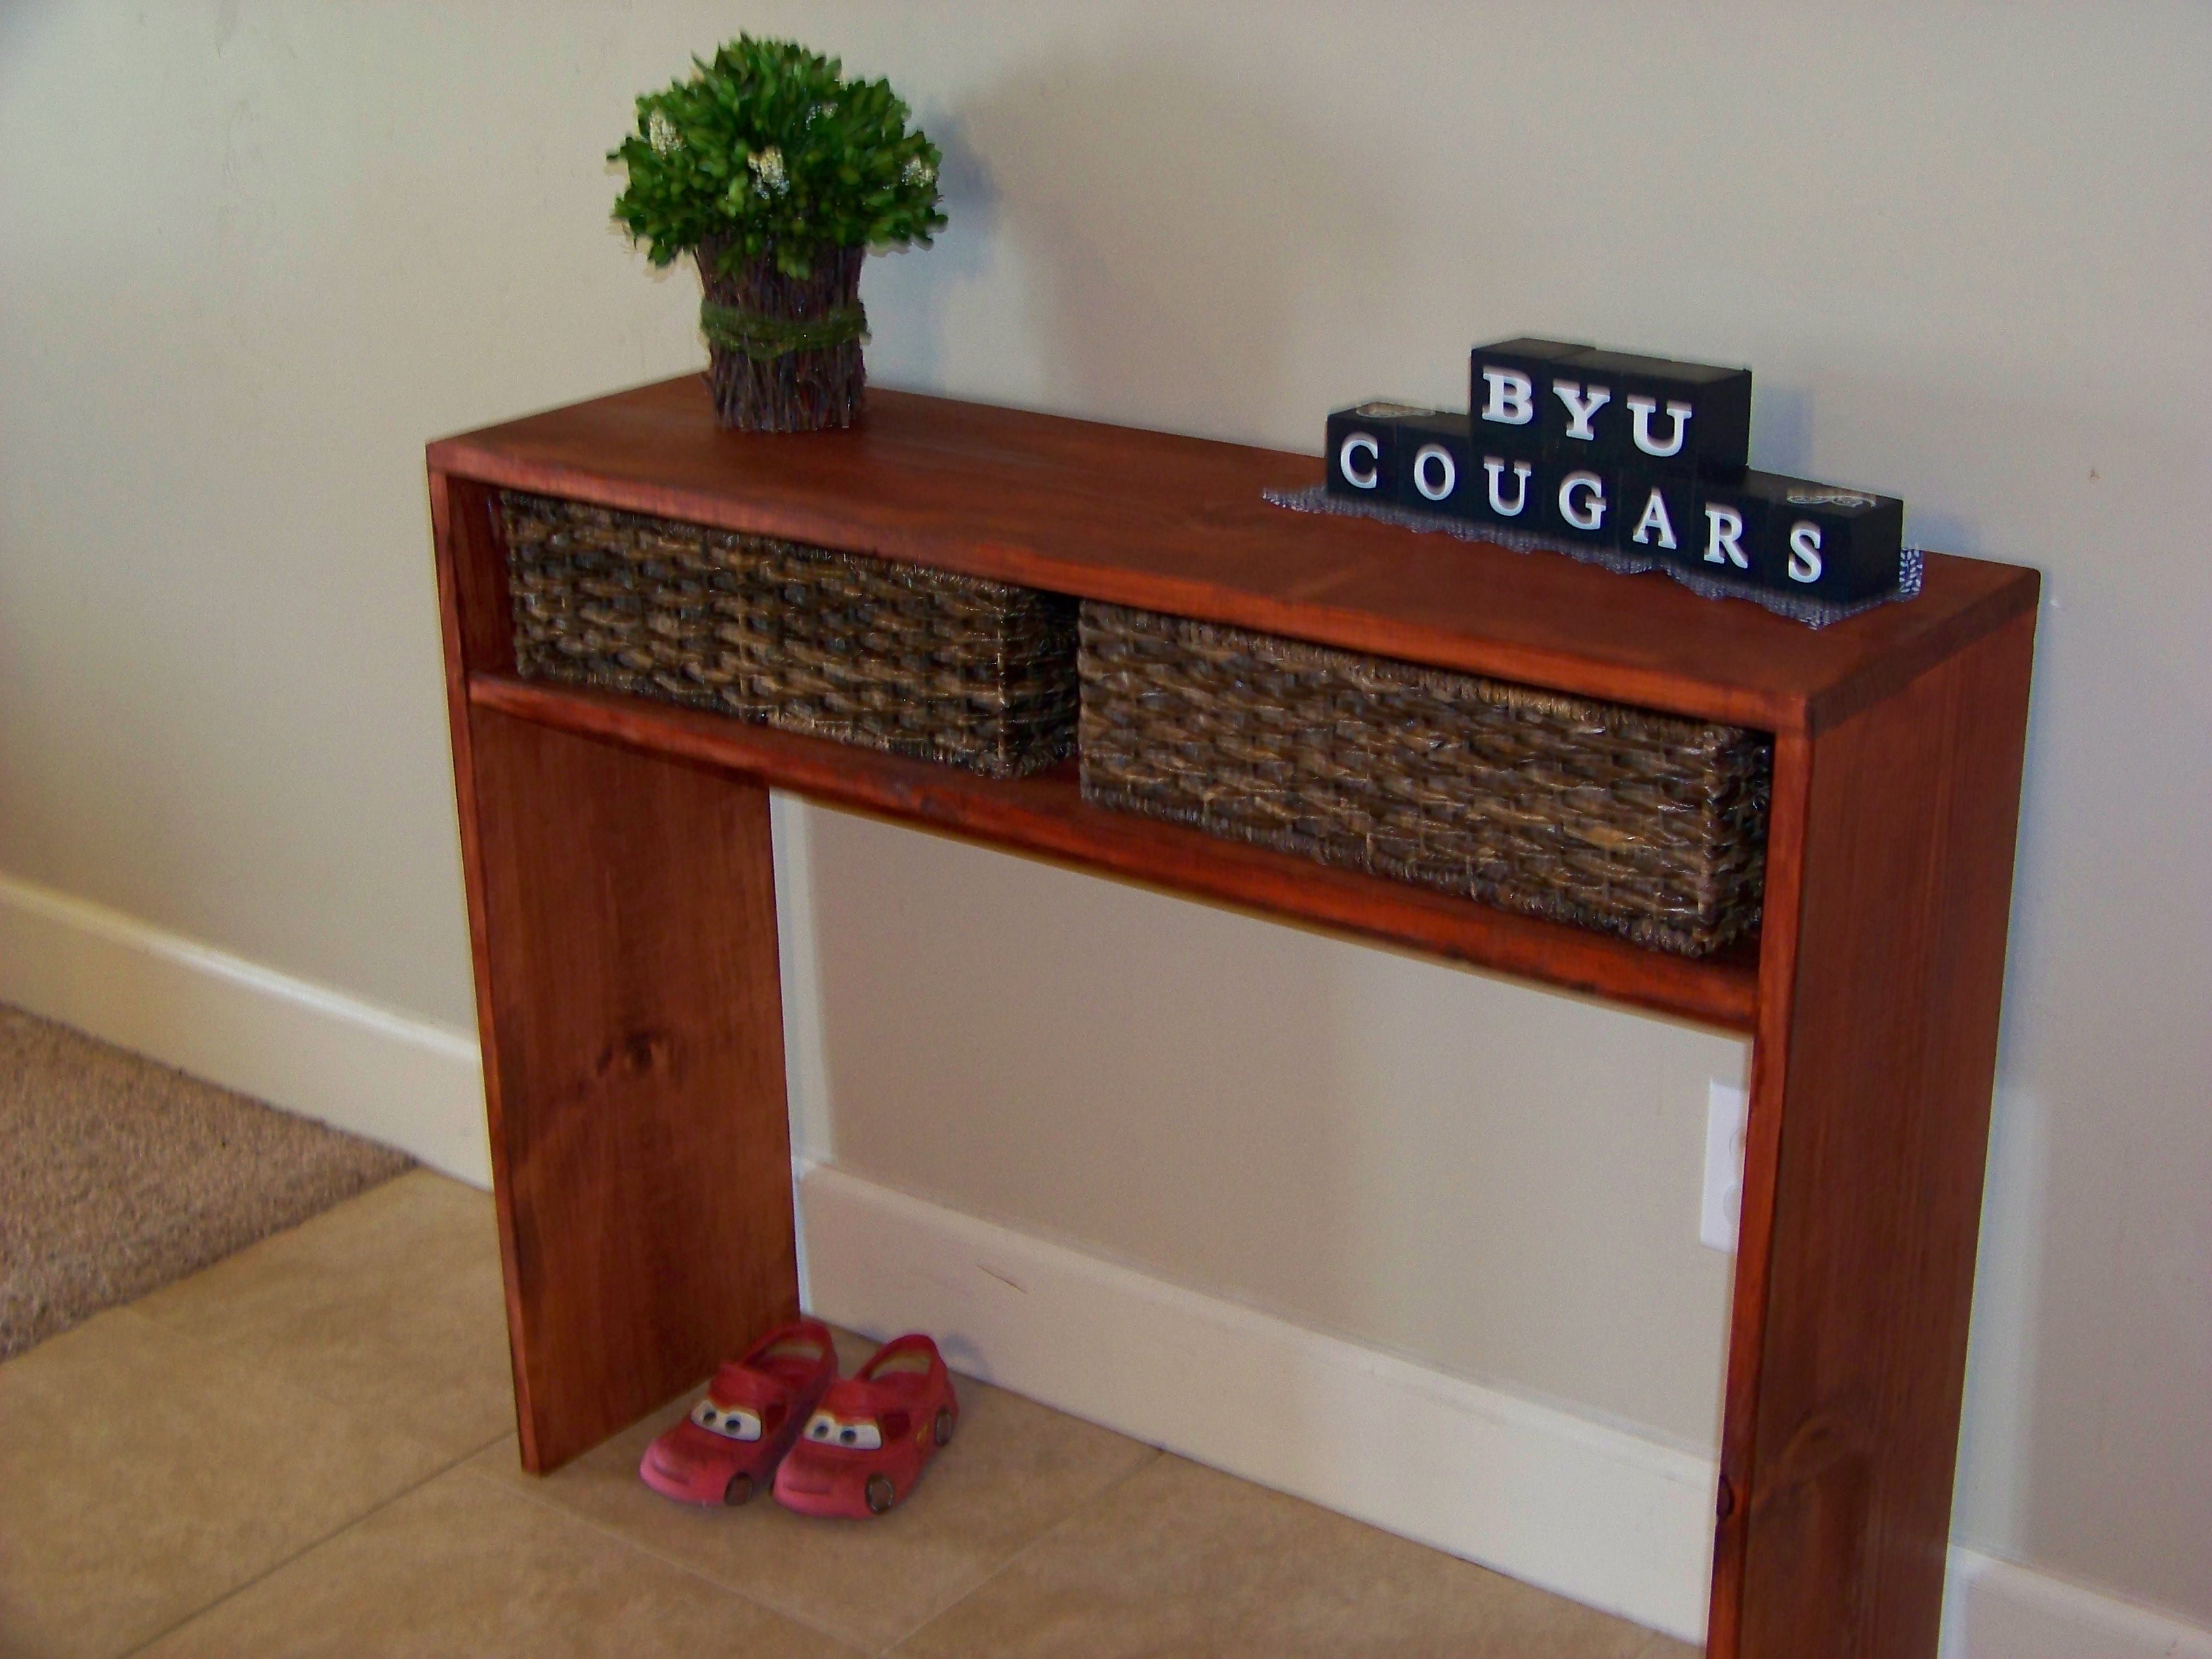
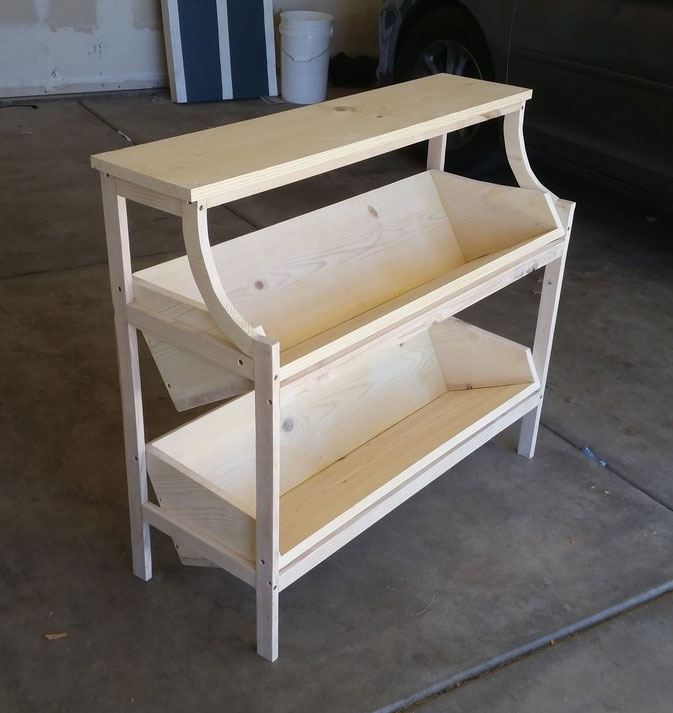
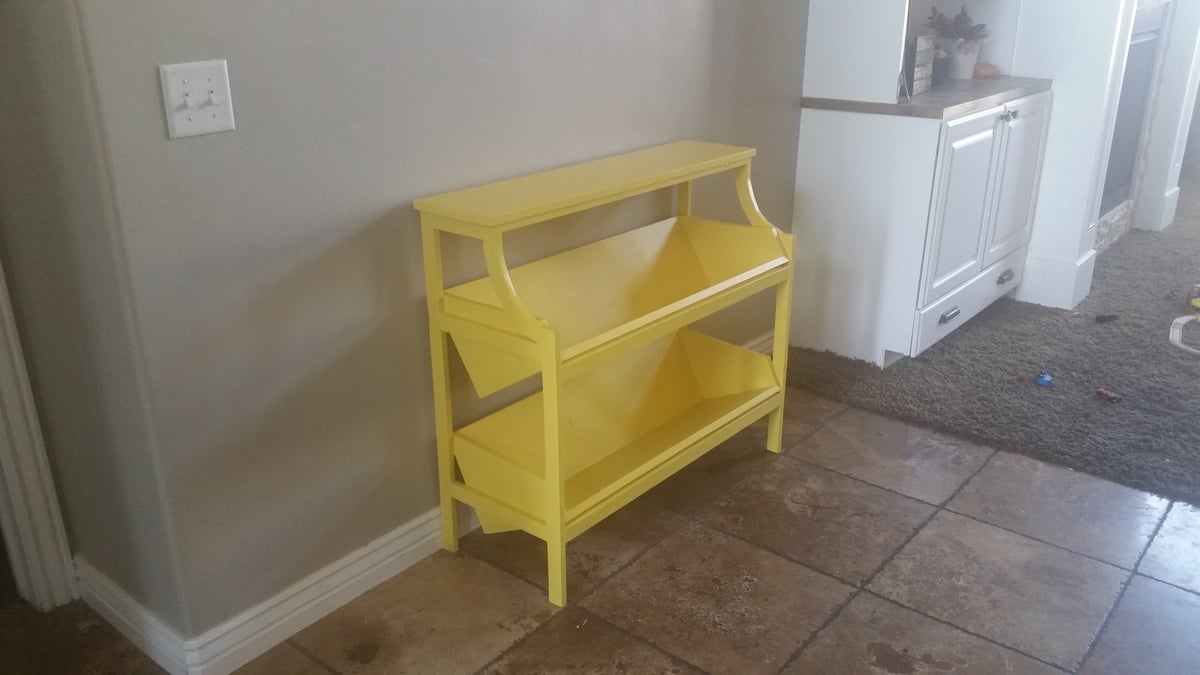
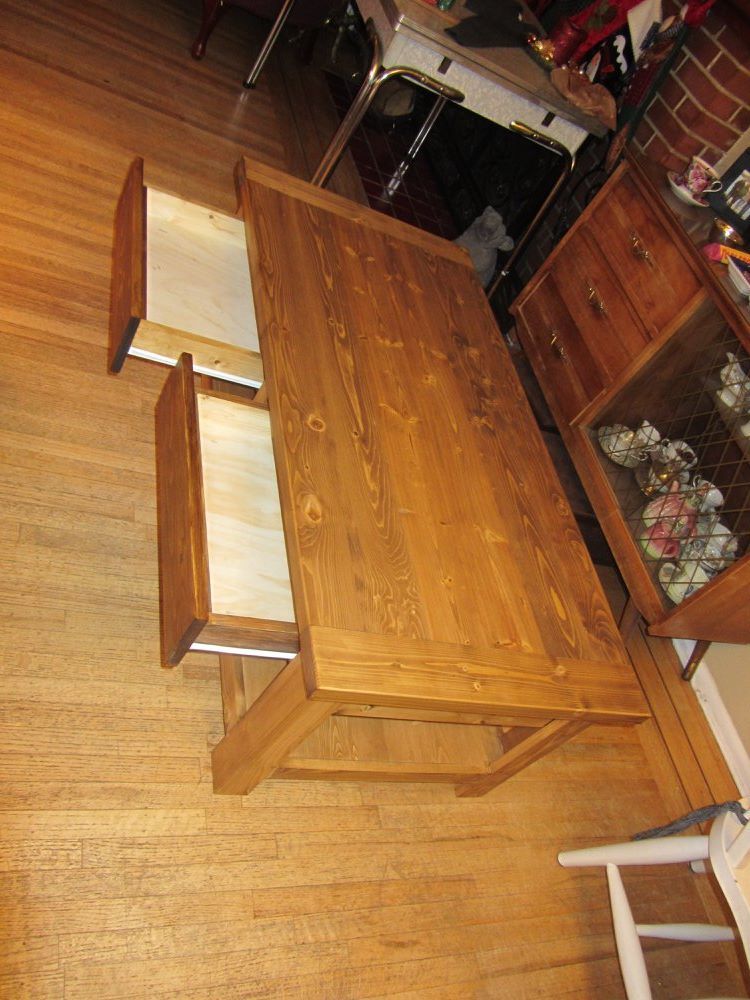
I had been looking for a small table for our small entry space. When I was searching, I was hoping to buy a table but couldn't find something I liked. I found this plan but it scared me because I had NEVER built anything. After researching on this site, I decided to jump in and try it. I made it much smaller to match our space. I added the shelf higher than recommended because I wanted to be able to use it as a homework spot when the kitchen table is covered by a project. I don't like the finish, but it will stay for a while because others like it.
