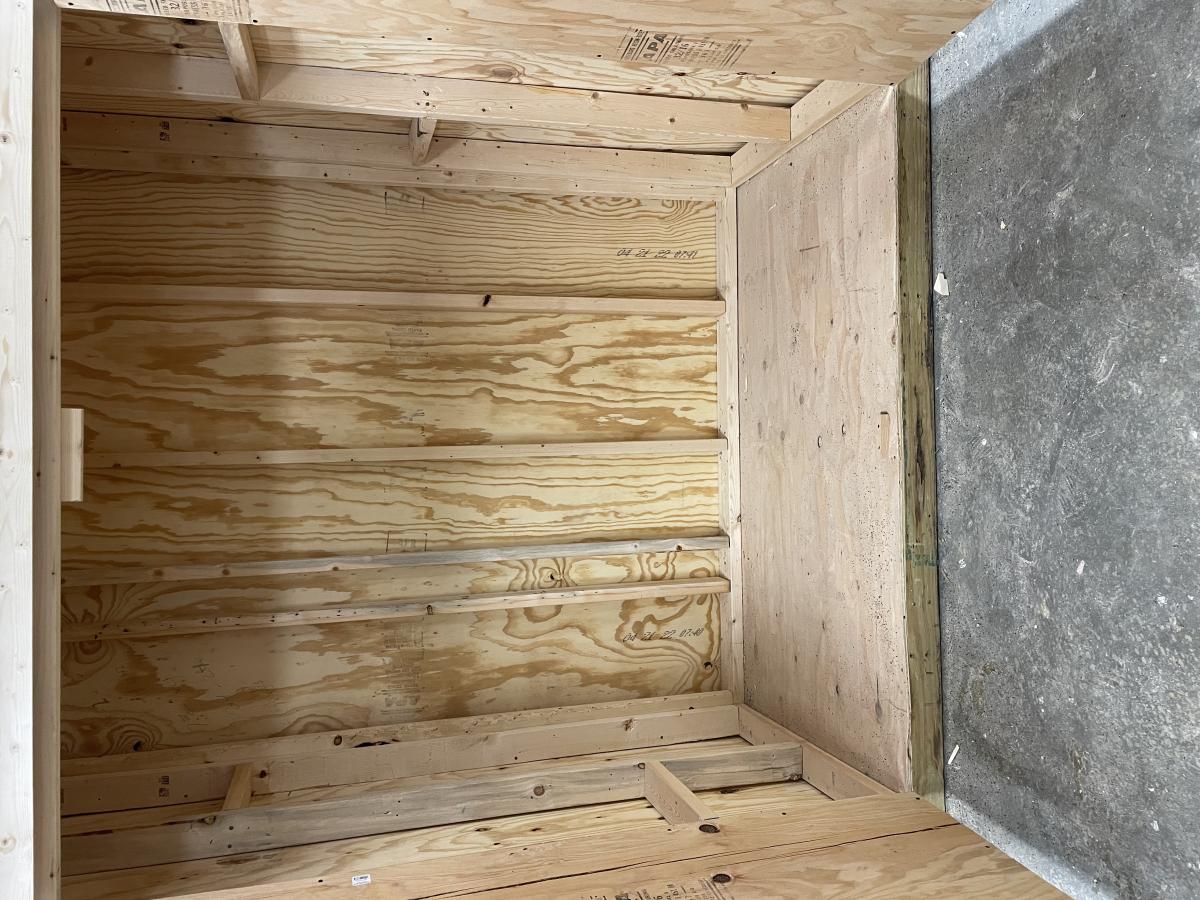
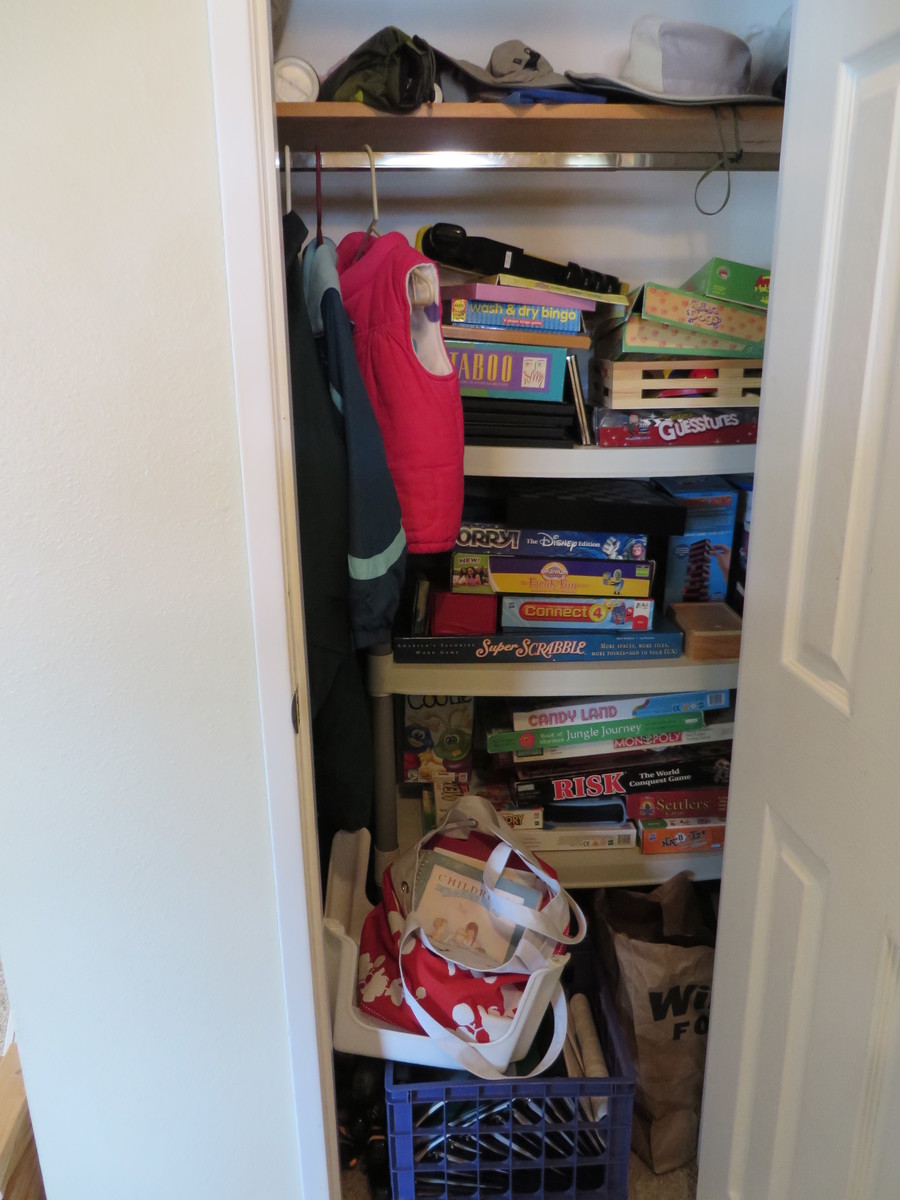
Community Brag Posts

Closet shelves

Submitted by mom of 4 on Thu, 09/19/2013 - 22:12

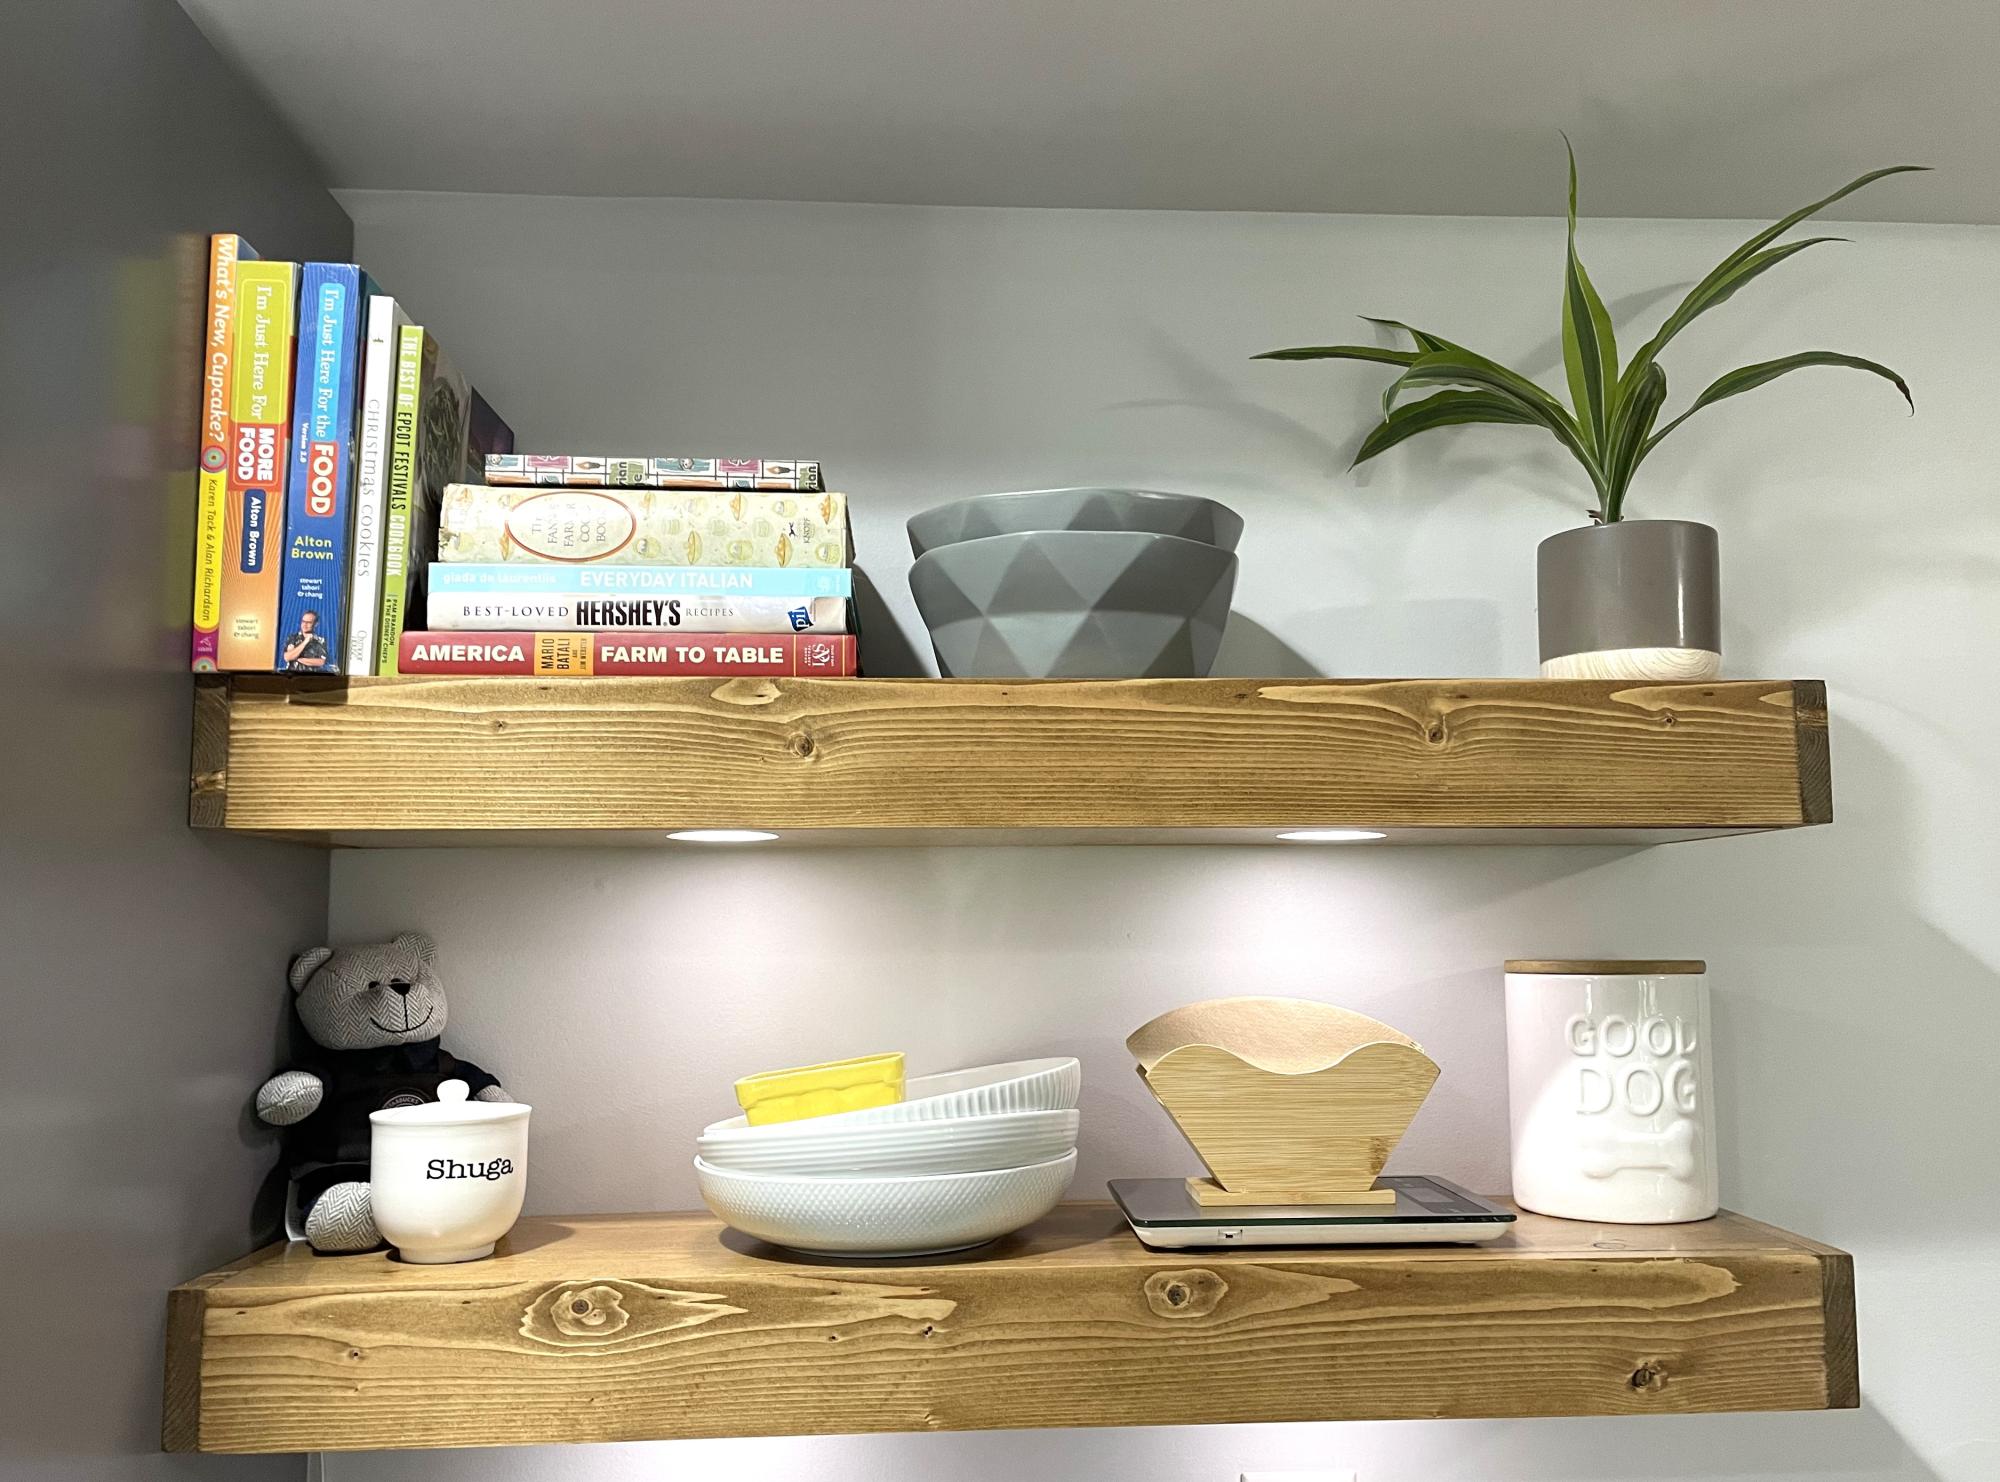
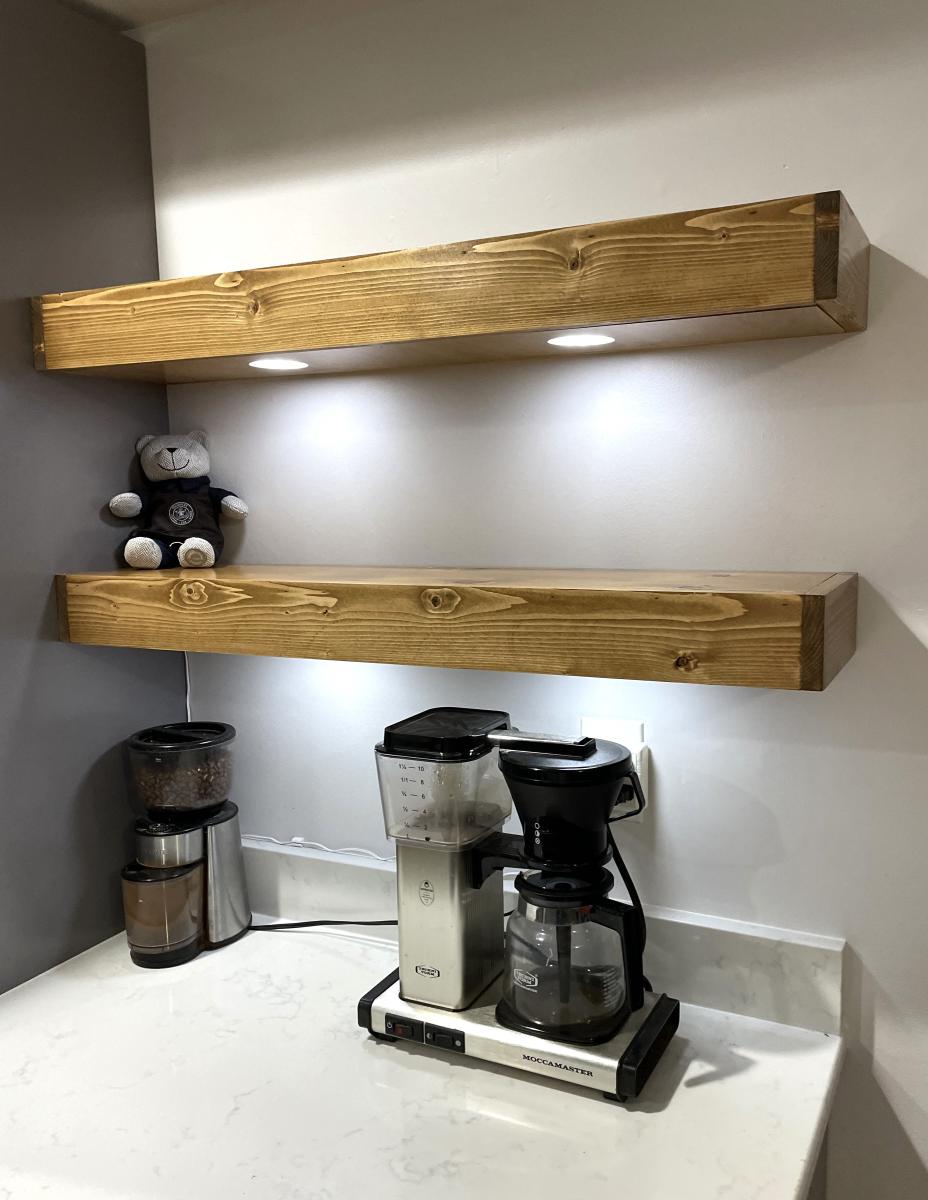
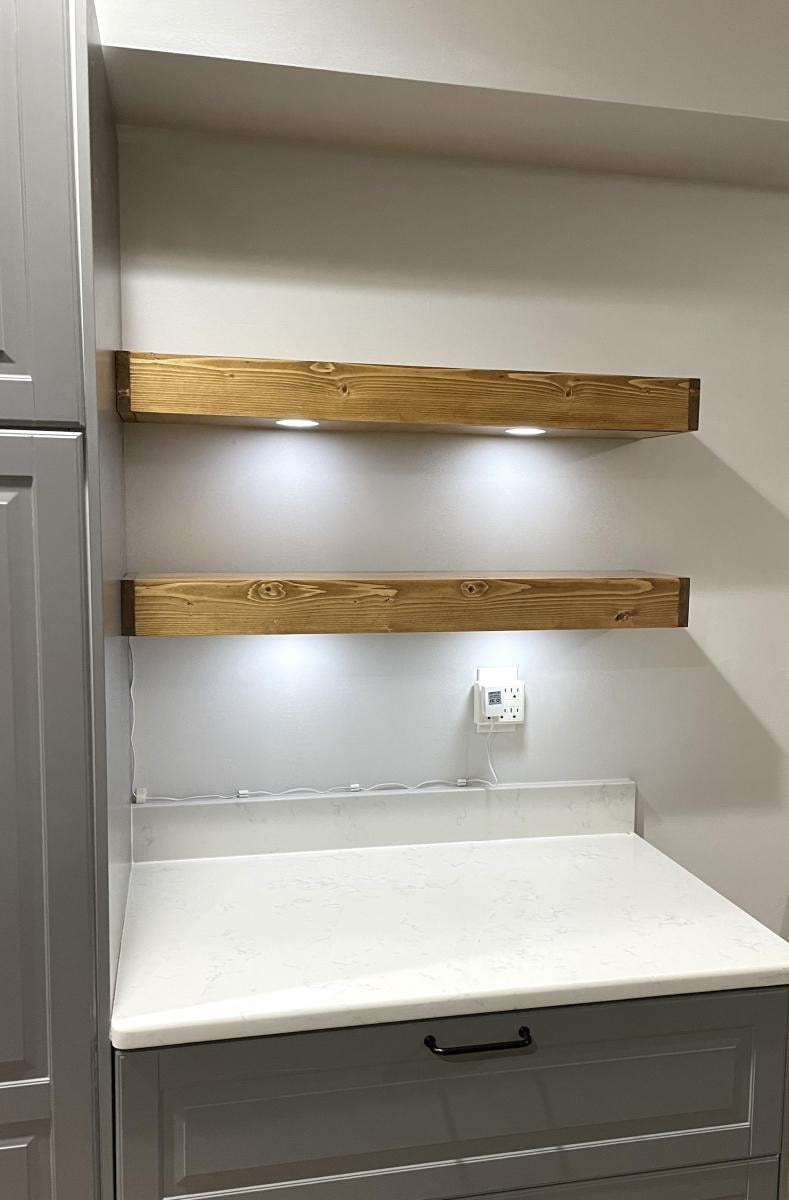
I needed to use my small coat closet more efficiently (observe the disaster in the before picture!), so I installed built-in shelves along a side wall for all our board games. Not a plan really, but just a simple solution. Measure the height you want your shelves to be, install a 1X3 at that height on either side wall, making sure they are level and secured to studs or anchored (Mine are 1 foot apart up to 5 feet). Then install plywood or solid wood shelves across the supports. Screw in to secure and you've got functional, inexpensive shelving, built to fit your unique space.

Estimated Cost
Scraps or the cost of 1 sheet plywood and 1 1X3 or 1X4.
Estimated Time Investment
An Hour or Two (0-2 Hours)
Finish Used
It's all just bare wood.
Recommended Skill Level
Beginner

Sideboard

Submitted by Anonymous (not verified) on Mon, 01/21/2019 - 23:48

Really enjoyed making this! Thank you for the plans Ana White! 

Built from Plan(s)
Estimated Cost
250.00
Estimated Time Investment
Weekend Project (10-20 Hours)
Finish Used
Rustoleum Chalked linen white with gloss finish.
Recommended Skill Level
Intermediate

Comments

Farm table and puppy version.

Submitted by Old JMU on Sat, 12/12/2015 - 16:10

Table I built for my wife. She found it while browsing Ana's site. Loved it so much she wanted one for herself. Came out so nice we decided to make our puppy a version of her own.     


LOVE THIS SITE!!!!

Estimated Cost
Dog table - less than $10
Estimated Time Investment
An Hour or Two (0-2 Hours)
Finish Used
Dark walnut stain and satin poly
Recommended Skill Level
Beginner

Comments

Modern Farmhouse Bed

Submitted by Anonymous (not verified) on Sun, 01/15/2023 - 13:37

My husband and I had worked on this bed together, and we are so happy with it! We went with taller side tables that we purchased, and just stained the wood instead of painting it.

Comments

Grandy TV Stand

Submitted by Anonymous (not verified) on Sun, 12/27/2015 - 12:20

Modified the plans to make smaller and shorter to use as a flatscreen tv stand to fit up to a 60 inch tv. It has room on each side for baskets that I will put in later!

Built from Plan(s)
Estimated Cost
$120
Estimated Time Investment
Weekend Project (10-20 Hours)
Finish Used
Minwax polyshades in Mission Oak satin, and Behr premium plus ultra in satin Ultra Pure White
Recommended Skill Level
Intermediate

Comments

End of the Bed storage ottoman

This was my first project. I already had a large ottoman, but it didn't hold anything. So I broke it apart for the box frame, added a bottom and hinged the lid. I was able to reuse the padding and upholster the pieces with sale fabric from Joann Fab ( love that store). Than I attached the fabric with a staple gun. Since it's in my bedroom, I like to keep wedding photos and such inside. Plus my 2 year old cannot open it!

Built from Plan(s)
Estimated Cost
$50, since I had the frame and padding already
Estimated Time Investment
Weekend Project (10-20 Hours)
Recommended Skill Level
Beginner

Lean-To Shed

Submitted by Anonymous (not verified) on Fri, 03/24/2023 - 13:17

I’m a first year teacher of construction class at Waterloo High School in Illinois. We recently used your Small Cedar shed instructions with some modifications for a class project. It’s a bear getting cedar right now, so we used T1-11 for the outside and 2x4 for the frame.

Built from Plan(s)

Comments

One arm 2x4 outdoor sofa

Submitted by Anonymous (not verified) on Thu, 05/18/2023 - 08:10

This was so super easy. We are so in love with this. Thank you Ana for making DIY so much fun!

Comments

Refreshment center console with barn door

Submitted by calcowoods on Sat, 10/19/2019 - 07:10

My wife and I built this Refreshment Console as a birthday present for our daughter. She had previously purchased a beverage refrigerator and wanted us to adapt it inspired by your barn door console project. Thus, we modified your plan to accommodate the height of the refrigerator. Also, she wanted three shelves with a closed back on the right side of the cabinet. Simply plan adjustments were all that was needed.

Using your plans, material list and excellent video we were able to construct the barn door rails and hangers using 1 ½ inch fender washers which sandwiched three 1-inch fender washers.  The metal bar was sized to fit the top of the cabinet and connected to the top trim board using spacers, washers and bolts.  As we decided to place a middle support for the bar, we added a t-nut into a center plywood partition so that we could use the same bolts, spacers and washers to support the rail.   

As we were following a rustic theme, we decided to add the X Braces to the barn door and used a project panel board as the top. The barn door is guided at the bottom using a simple U shaped metal bracket that we lined with felt for a smooth glide.

Estimated Cost
$100
Estimated Time Investment
Weekend Project (10-20 Hours)
Finish Used
Top, barn Door and Bottom Trim treated with one coat of Varathane Aged Wood Accelerator using a rag to create a rustic brown look.
Cabinet carcass and surrounding trim painted with one coat of Behr Premium Plus Ultra Satin Finish Metropolis Grey.
Entire cabinet finished using MinWax Paste Finishing Wax Natural applied with a rag and buffed for a durable finish.
Recommended Skill Level
Intermediate

Mario Castle Bunk

Submitted by jlholmes80 on Wed, 01/01/2014 - 00:30

So my son needed a bunk bed and we came upon the sweet pea bed. It was too girly for him so we decided to go with a theme that would be timeless, something he wouldn't mind having when he is 18 (or older, he is 10 now). What is better than Mario! (We are a house full of gamers, my 17 year old is super jealous of this bed lol). The build was fairly easy and the plans were straight forward enough, the time consuming part was the painting (without all the painting we could have probably build this in a long weekend). We changed a few things, like not arching the top windows, adding the 4 inch 2x4 squares to the top to give the castle look and stairs are made to look like stairs from the side so we stepped out the banister instead of angling it.

Estimated Cost
500
Estimated Time Investment
Week Long Project (20 Hours or More)
Finish Used
Paint colors were all Behr paint+ primer (mostly eggshell or flat):
New Brick, Black, Polar Bear White, Green Crush, Green Acres, Lemon Zest, Windjammer, and French Silver. Some of the colors (like pinkish tone on the stairs) we created on our own mixing the New Brick and the Polar Bear.

Polyurethane. I mixed regular oil based polyurethane (gloss) with mineral spirits (50/50) and wiped it on. It was remarkably simple and gave it a nice seal/finish. Last coat I used Satin Polyurethane because I didn't want the gloss finish. I opted not to sand between coats because this is a kids bed and I wasn't looking for that "perfect" finish, just wanted some added protection.
Recommended Skill Level
Intermediate

Comments

Mrswhetstone1

Wed, 01/01/2014 - 06:11

This is the coolest bed I have ever seen! I wish I could make this for my youngest. I could probably build it, but I 'm pretty sure it would go downhill when I started painting it. You did an amazing job and your son is a very lucky boy!

jlholmes80

Wed, 01/01/2014 - 16:10

You can totally do it! I am a horrible painter (I'm too impatient) and you can't tell with this because of how forgiving the design ends up being. There is so much going on it's hard to pinpoint the mistakes. :)

jlholmes80

Wed, 01/01/2014 - 16:07

Thanks so much! This was the first thing we ever built (although my husband did a lot of building stuff in his youth we have never done anything together and I was a total beginner) so we are very happy with it. :D I appreciate all the kind words.

amercpina

Fri, 05/03/2019 - 22:00

We are super excited to build this for our 9 year old son. To make this a Full size bed am I correct in thinking that I only need to alter the side panels by adding 15inches? I am paranoid about building it and the mattress not fitting. Thanks so much!

Garage shelves

Submitted by papadog on Thu, 10/31/2019 - 11:46

Added some storage to the garage. Wife got some more room for her canning. Looks much better than older metal shelving. Thanks for the ideas, again!

Estimated Cost
240
Estimated Time Investment
Day Project (6-9 Hours)
Finish Used
None
Recommended Skill Level
Beginner

Poker table with hiding beverage holder

Submitted by jasonr on Mon, 04/02/2012 - 12:48

*I did not have any plans to work from*
the cost really depends on how much you can get your wood for. I had a lot left over from previous projects, so $500 is only a low guess.

This is the second of 3 poker tables built.
Each side is 24"
the table measures 58" across
Some of the accompanying photos of the build were from my first table, but thought they might help.

I purchased a foam pad and "speed cloth" from a local poker supply store. The slide away bev. holders are kept in place with rare earth magnets

If you need any specifics, I'll try to help

Estimated Cost
500+
Estimated Time Investment
Week Long Project (20 Hours or More)
Finish Used
tung oil-
start with a 50/50 mix of turpentine and tung oil and rub into the wood. It will dry fast and absorb quickly. Wipe off excess after 15 minutes (if any). Allow 24 hours between coats. Sand with 220 grit and rub in tung oil with a few drops of japan drier. I add 1ml of japan drier to 40ml of tung oil. Allow oil to sit for 15-20 minutes before wiping off oil. Buff with cloth and allow another 24hrs. Sand with 0000 steel wool and repeat application process. Continue everyday until the desired finish achieved
Recommended Skill Level
Intermediate

Comments

carcreek

Tue, 02/25/2014 - 10:12

If you have plans for this poker table I would love to see them! Beautiful table.

Outdoor Daybed with Canopy

Submitted by Anonymous (not verified) on Sat, 08/26/2023 - 12:27

I built this slightly modified Daybed using 4x4’s for the legs instead of 2x4’s. I really like the solid look the 4x4’s provide. Can’t wait for the weather to get cool enough in the south to sit outside.

Braden Turner

Built from Plan(s)

Live Edge Cubby Bench

Submitted by Anonymous (not verified) on Sun, 09/03/2023 - 20:34

Entry way bench. The top is made from a cherry tree off our property. It was milled into slabs then I had it dry for approx.2 years before the moisture level was appropriate to build this project. I applied resin to the live edge to protect the edge from breaking off and to provide a smooth finish. I applied Walrus furniture oil to complete the top. The base is made from pine wood and the shelving is made out of MDF board.

Mark Gilles

Built from Plan(s)

Sylvie's coat tree

I built my daughter a coat tree from Ana's plans and it looks basically just like Ana's-even the same color. My daughter-in-law saw it and wanted one for my granddaughter's room to hold her dressup clothes but she wanted a natural look, instead of painted and her room is basically natural wood, red and white so this is what I came up with. I would never have even known I could build a coat tree if I hadn't tried Ana's first!! This one was super easy and cheap, made mostly with scraps and some varnish I already had. I had to buy the balls, dowel and letter S.

I would encourage anyone to build one of these if they have need of a coat tree. You could even make it adult size if you combined Ana's plans with these plans and screwed in some hooks.

Estimated Cost
about $8.00 if you don't have scraps
Estimated Time Investment
Afternoon Project (3-6 Hours)
Finish Used
Spray on varnish and acrylic paint for knobs and letter.
Recommended Skill Level
Starter Project

Queen Loft Bed

Submitted by christy on Tue, 05/22/2012 - 07:54

I made this bed for my 6 year old daughter. I loved Anna's Loft Bed plans, but she wanted a bigger play area underneath. So I modified the twin loft bed plans to fit a queen mattress. I also added extra supports for the mattress, and I used PureBond plywood on top of the supports for the mattress to sit on.
That's the Farmhouse Toddler Bed underneath. My younger daughter inherited her big sister's twin bed, so the toddler bed was put to use in the new "playhouse."

Estimated Time Investment
Week Long Project (20 Hours or More)
Finish Used
I sanded the wood and primed it. Then I sanded (lightly) again and painted it with Valspar latex enamel in Gloss Almond.
Recommended Skill Level
Intermediate

Comments

Neatha (not verified)

Mon, 08/20/2012 - 13:04

Do you have your modified plans still? I don't know where to begin with editing the originals. I am moving and we have limited space I need to place a desk under and queen sized bed but my ceilings are only 8ft.

Lindsay (not verified)

Sun, 09/02/2012 - 12:45

I think it's great that you modified it to a queen! I live a studio and NEED something like this. Could you share the modifications? It looks beautiful = )

christy

Sun, 09/02/2012 - 20:58

The changes I made were:
End planks cut to 63"
Top back guard and front and back rails cut to 87"
The top guard rails on ends cut to 66"
I measured for the mattress supports and the front guard rail after the rest was completed.
You should also measure for the bookcases after the rest is completed, but each of mine wound up being about 31" wide.

Everything else was pretty much the same.

Hope that helps.

dbai (not verified)

Thu, 11/01/2012 - 08:24

This is wonderful - I've been looking to make something like this for an urban efficiency (adult) apartment! Thanks so much for sharing your modifications!

gmur589

Mon, 07/29/2013 - 14:08

Will the height of the bed allow for adults to stand under it? If not what modifications should be made to make the height fit a standing adult? (the highest being 6'1" male) Thanks! =D

etb1999

Sun, 10/06/2013 - 08:23

Hello, about how much did it cost you to make this?
THANKS

NicoleLance0826

Fri, 09/19/2014 - 12:30

Hey Christy I was wondering if you could send the plans for upgrade to queen size. I cannot pull up the changes. Thank You. Im sure its not to many changes.

pretty-prima

Thu, 03/24/2016 - 16:52

Hello! I would like to build this queen sized bed, could you give me a cost estimate? I don't have any wooden planks sitting around so I would have to buy them all new.

Loft bed for Wyatt

Submitted by Quartney on Thu, 06/20/2019 - 11:47

I did this project 99.97% alone (if you call "alone" with a 1-year old and 3-year old nearby). This was a challenging project that took longer than expected (one full week, working well into the night after the kids went to sleep). I used furring strips for the 1x3s and 1x4s. They cost about $2 less per board! Total cost of this project includes paint, screws, etc.

Estimated Cost
$240.00
Estimated Time Investment
Week Long Project (20 Hours or More)
Finish Used
Zinsser BIN primer, followed by Sherwin Williams semi-gloss enamel paint
Recommended Skill Level
Intermediate

Comments

John Hopkins (not verified)

Mon, 10/22/2012 - 20:40

I have been looking for something similar to this but with a futon in the bottom. Anyone seen plans for such a critter?

Back