Community Brag Posts

DIY Can Good Storage
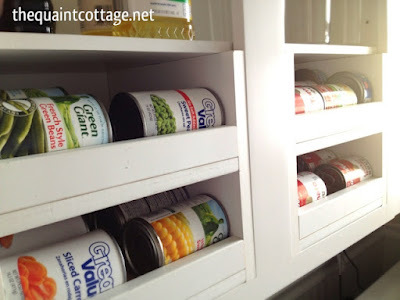
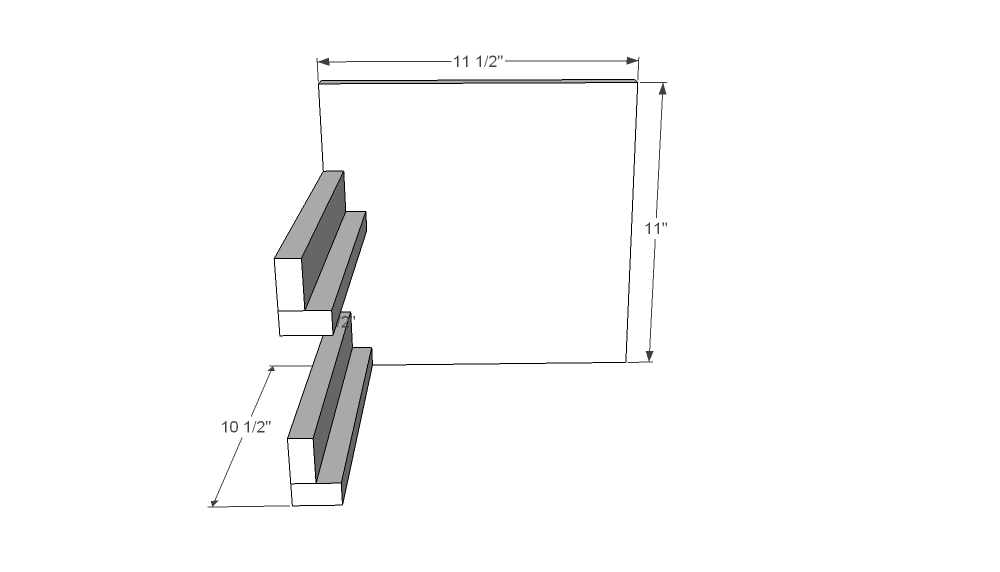
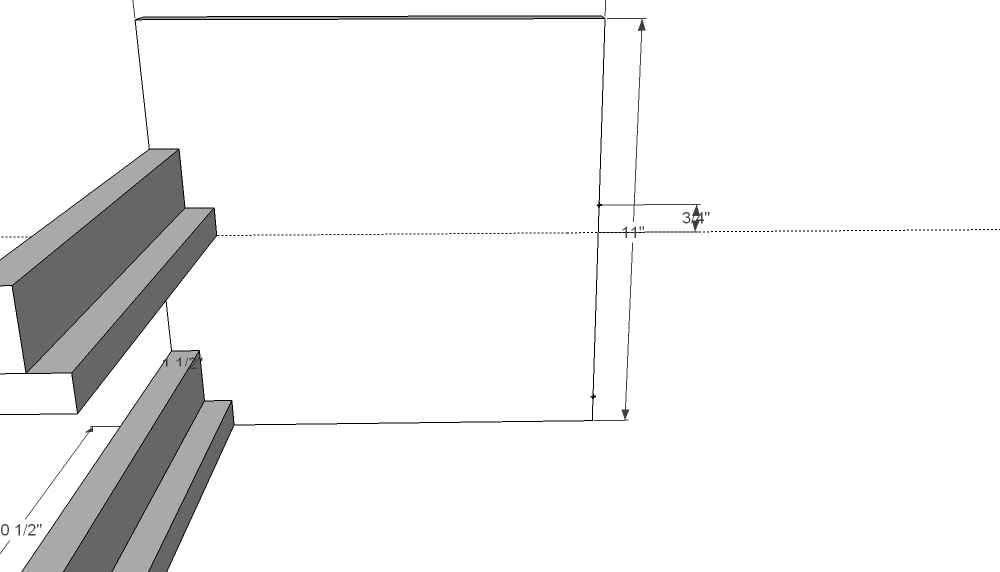
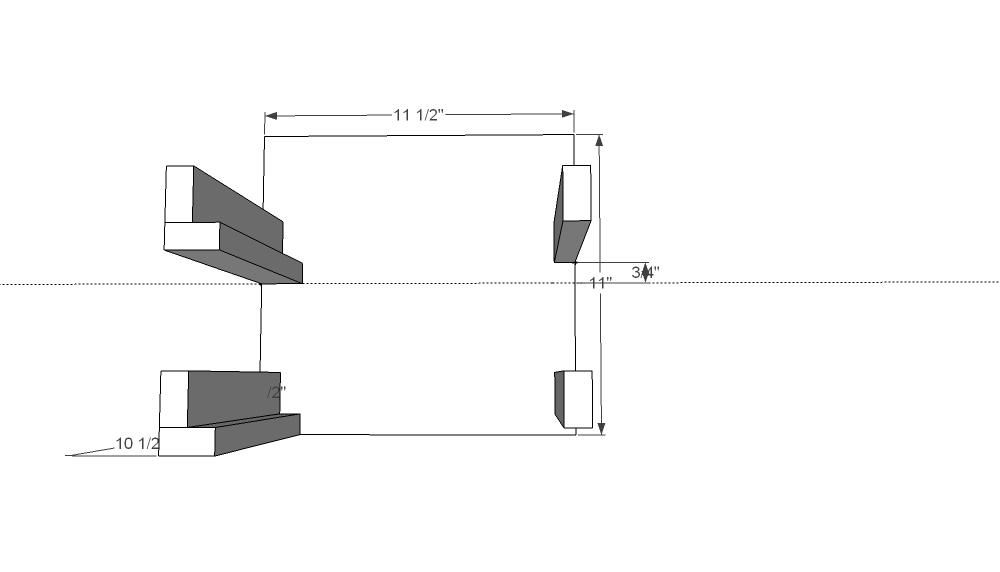
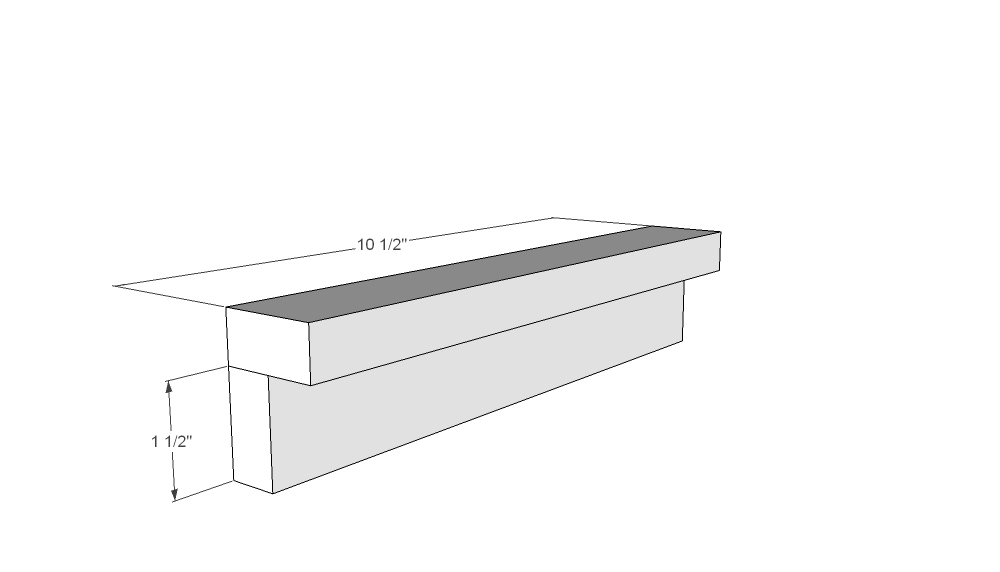
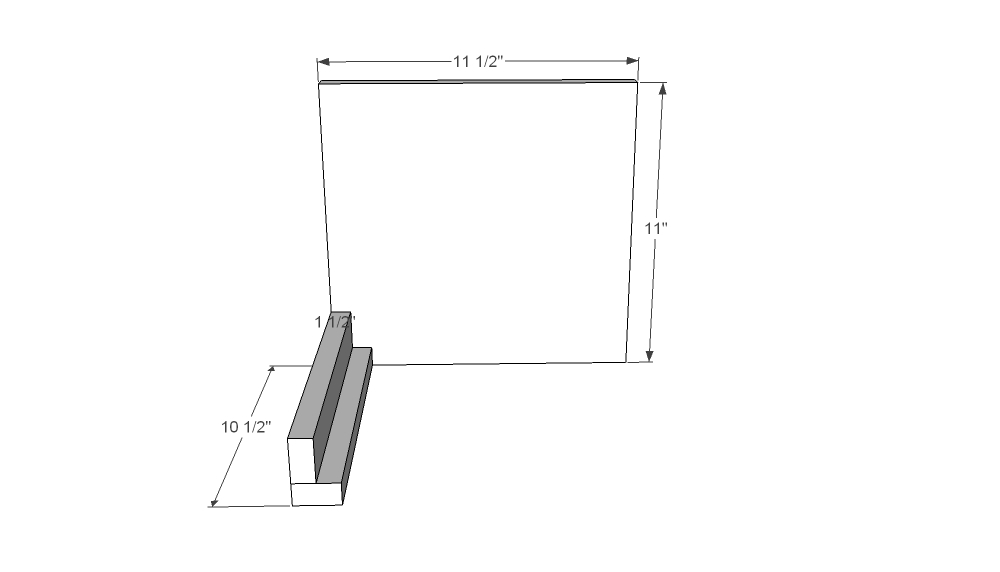
The can good organizers I found on line were metal and didn't fit the exact opening I needed. I built my own for much less than the metal ones (which were $36 each!). With this plan, you can build up to four of the size I made for under $36. See how they just blend into the cabinet and look like they are built in it? Here is the process. Step one: Cut the sides and the ledges. Step two: Attach pieces to the walls of the unit. Step three: Set the lauan onto the ledgers. See? I told you it was easy! I drew up a sketch of the size I used for my 12" opening with a cabinet depth of 11.5" (if you have doors, it will be a depth of 10.5-10.75"). The height of my can good holders are 11". Again, the plan can be adjusted to any size space, but I think if you go past three cans wide, you may want to use something more sturdy than the lauan. Additionally, if you make the unit taller and add shelves, make certain the cans will fit thru the opening, don't just measure with the can in place on the shelf. Cut list for 1 can good holder: 2 - 11"tall x 11.5"deep walls (the melamine is 11.75" deep, I had to trim mine down) If your doors are on your cabinets, your cuts will probably be between 10.5" and 10.75" 6 - 1x2" 10.5" strips 2 - 10.5x10.75" lauan cut for the shelf If your doors are on your cabinets, your cuts will probably by between 9.75" and 10" I used 1.25" finish nails, but you can use screws if you prefer. Wood glue, wood filler, etc. Cut 6 equal size 1x2 strips. 2 per ledge, one for the back support. The size of the opening subtract the width of the melamine walls (.75x2=1.5"). My opening was 12" and then I subtracted the 1.5" (for walls). Nail the bottom 1x2 to the end of the upright 1x2 as shown above to create the front ledge.  Flip the ledge over and attach the ledge to the front (finished) edge of the melamine. Make sure the bottom ledge is flush with the front and the bottom of the wall. Measure down 5.5" (halfway point) from the top and mark the edge of the wall. Attach the top ledge to the wall keeping the front of the ledge flush with the side wall front edge.  Find your center point again (5.5") and measure up toward the top .75" to create a bit of a roll for the cans to come forward when you remove one. Do the same for the bottom. Measure .75 up from the bottom and mark. Attach the back supports at the marks you made in the last step. Attach second wall and screw or nail supports and ledges. Once all the 1x2s are in place and secure, the lauan pieces will fit in place and stay with the weight of the cans. You can add glue to secure them, your preference. Then touch up the nail holes and slide into place. I hope this gave you a helpful way to store your can goods. Let me know if you have any questions. Happy building! Karen :)
Estimated Cost
About $36 for 4 units
Estimated Time Investment
An Hour or Two (0-2 Hours)
Recommended Skill Level
Starter Project

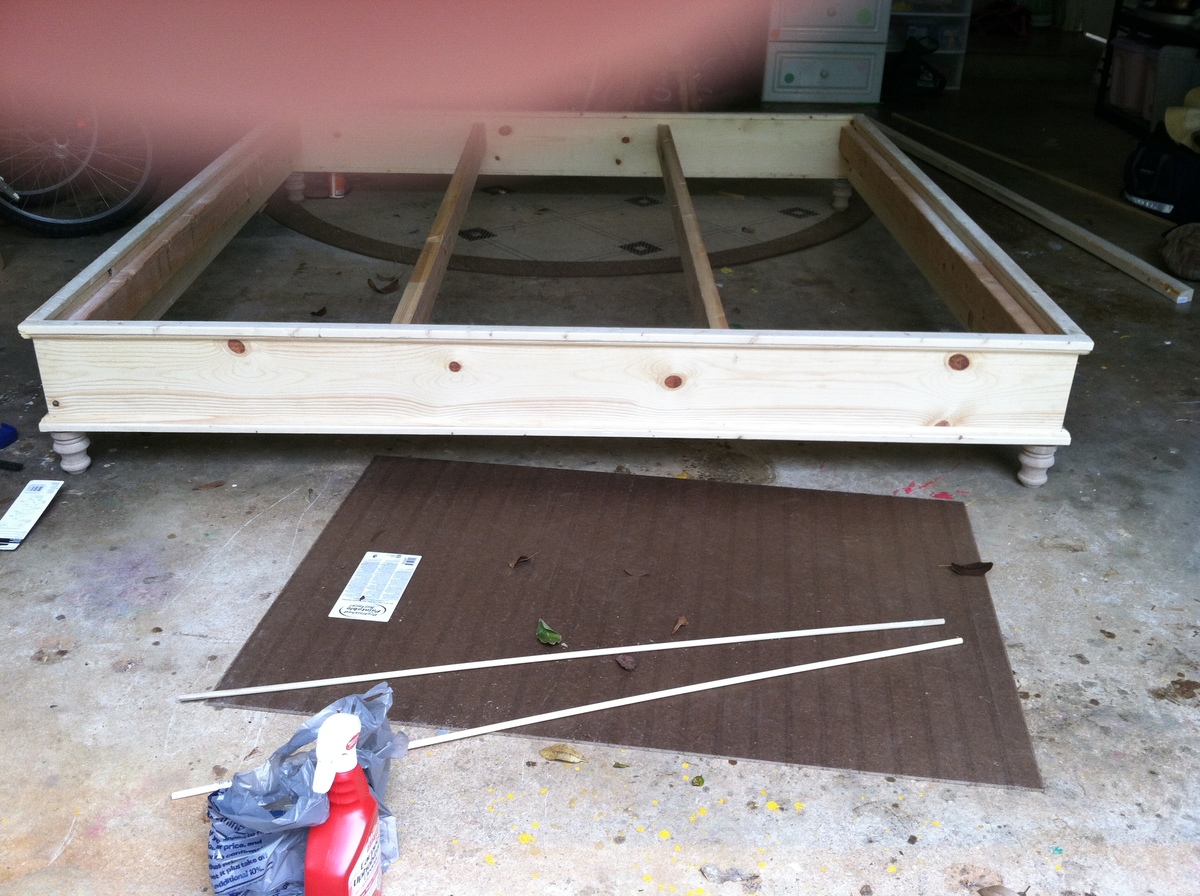
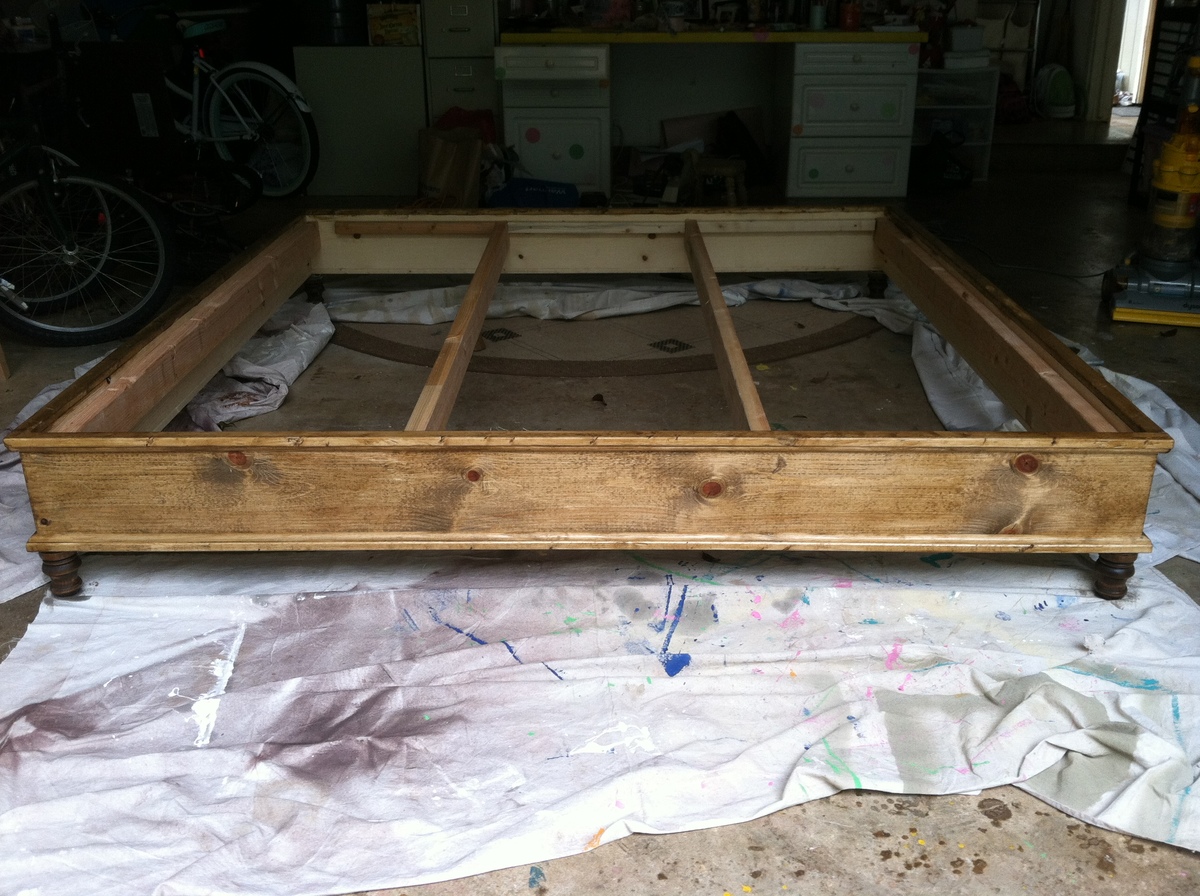
Farmhouse King Bed Frame

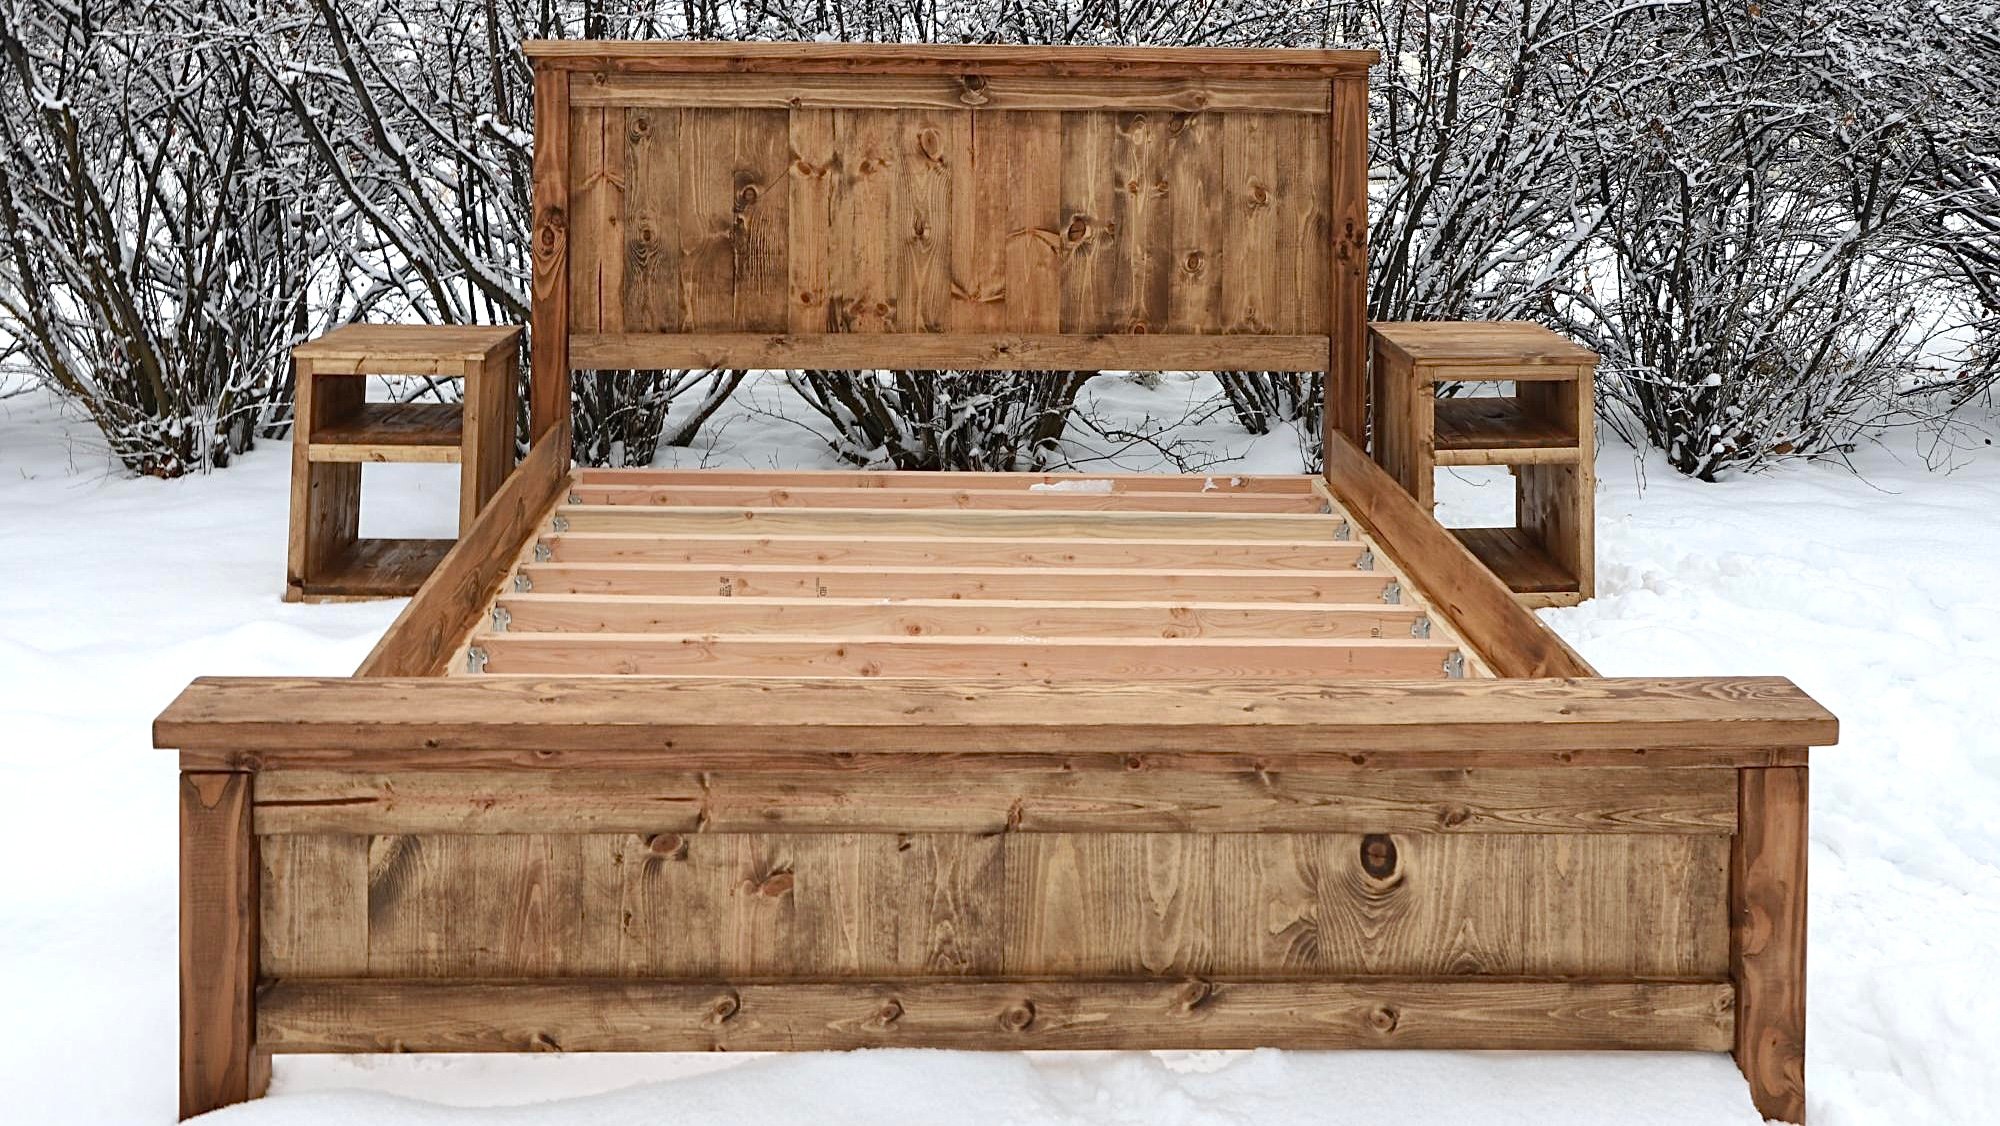
Since developing a love for woodworking I’ve began building things for other people. This particular bed frame I built for a couple who are rebuilding their home after it unfortunately burned down. It’s a beautiful farmhouse home out in the country, and this bed frame fits perfectly in their new home.

Estimated Cost
$250
Estimated Time Investment
Weekend Project (10-20 Hours)
Finish Used
I used minwax pre-stain to prepare the wood. I then stained it using special walnut by Varathane (got it from The Home Depot). Finally, I finished it using a clear satin polyurethane by Minwax.
Recommended Skill Level
Beginner

Lego and Art Table

Submitted by ahicks6 on Fri, 12/27/2019 - 08:57

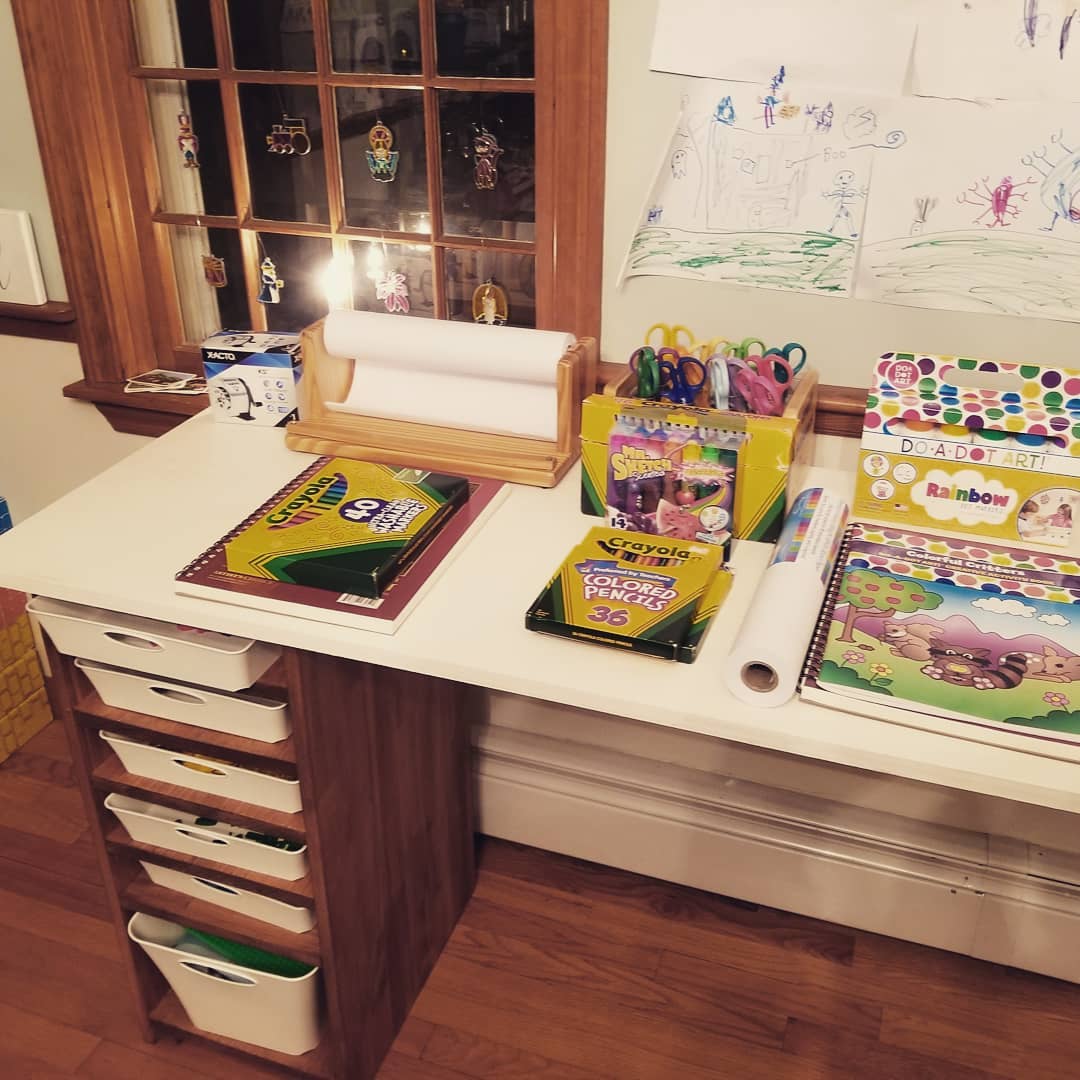
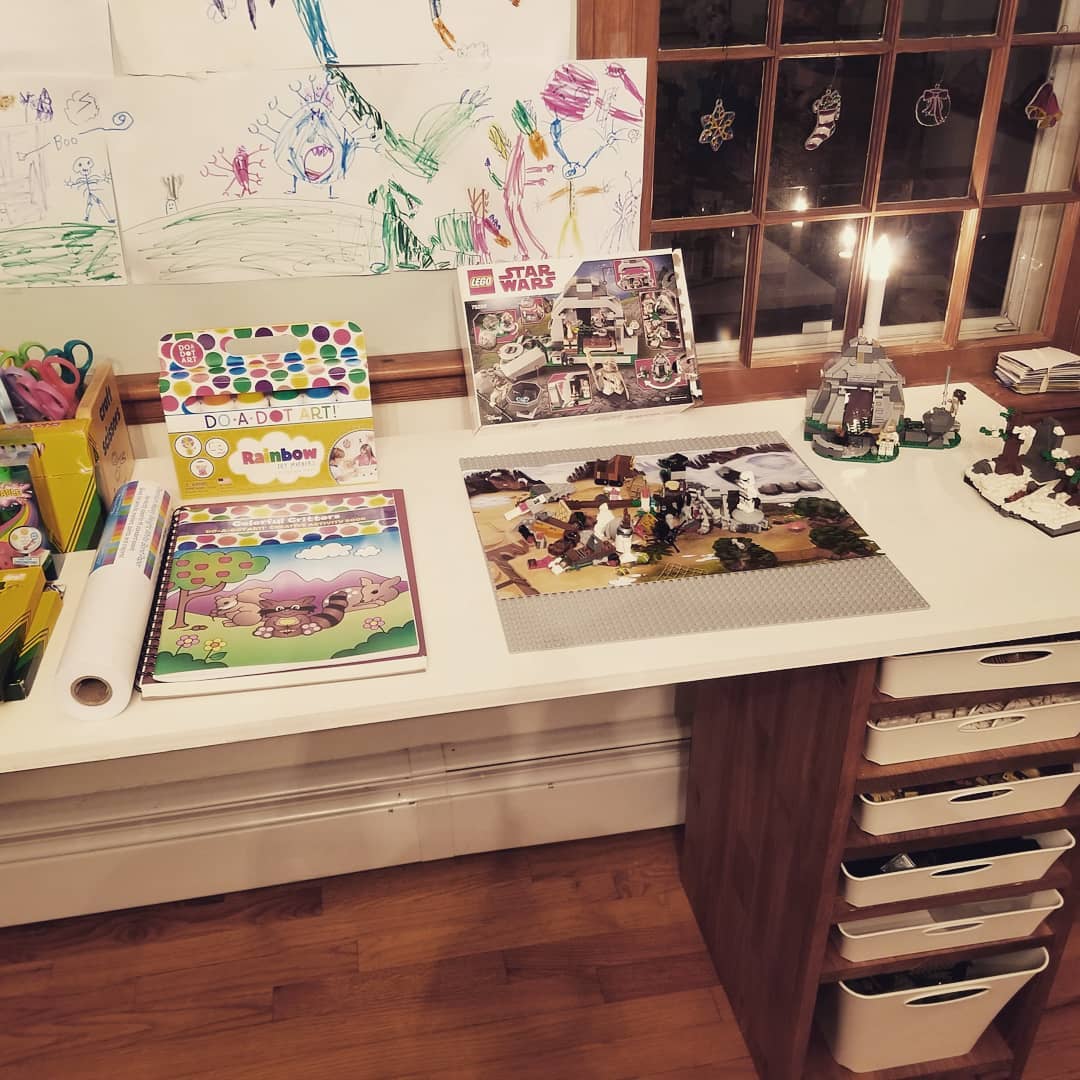
I looked everywhere for a Lego table that would fit my needs and not be super expensive, but I kept coming up with nothing. So I decided to make my own and to make it a place for my kids to do their art as well.

This was my first time using a Kreg Jig as I wanted it to be really stable. I found the drawers at The Container Store. They house all of the color coordinated Legos together.

It has been amazing so far and I'm so glad I didn't settle for any old Lego table on the market that didn't suit our needs. 

If you want more info regarding sizes, cut list, etc, let me know and I'll try to post them. 

Estimated Time Investment
Weekend Project (10-20 Hours)
Finish Used
Homemade chalk paint, Minwax Red Chestnut stain, Rustoleum Clear Enamel Spray
Recommended Skill Level
Intermediate

My farmhouse dinning room table

Submitted by BthAnn08 on Fri, 01/24/2014 - 17:45

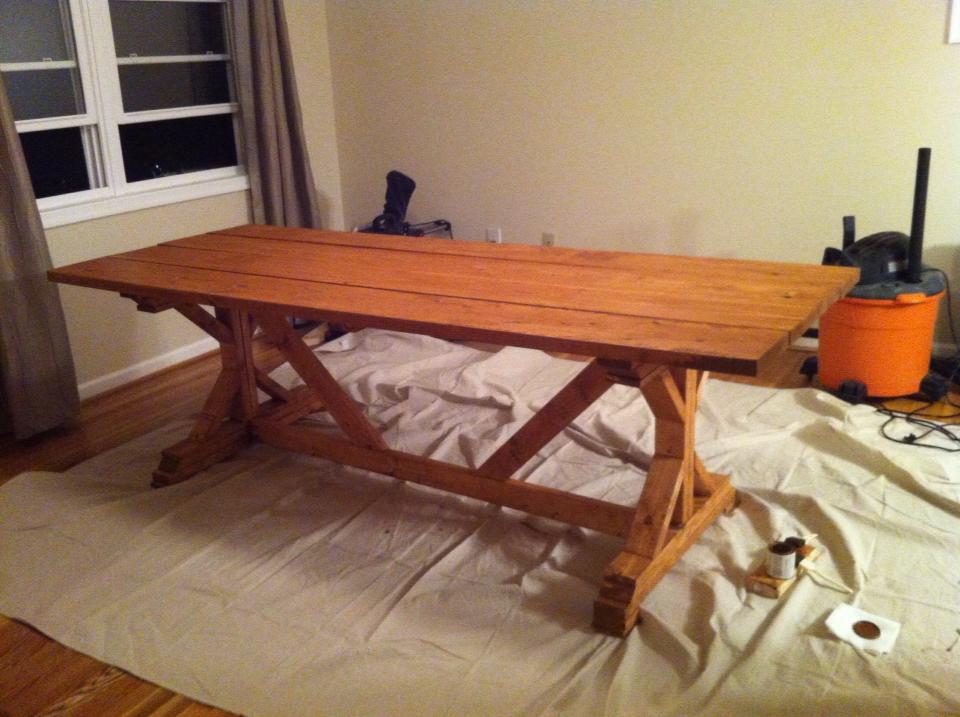
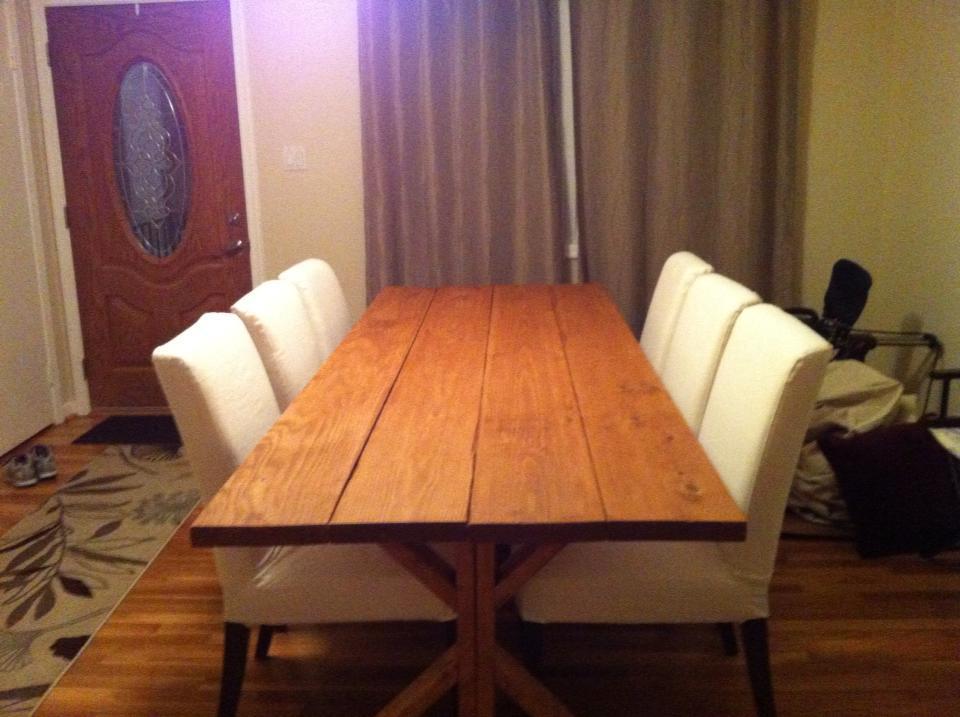
I loved working on this project! This was my first real building project! My friend Jody and I had a blast working on it together. It can seat up to 8 people which I love when my family and friends come to visit.

Built from Plan(s)
Estimated Cost
$80
Estimated Time Investment
Weekend Project (10-20 Hours)
Finish Used
Minwax Stain in Early American and a Rust-Oleum polyurethane matte finish
Recommended Skill Level
Beginner

Rolling Shelf

Submitted by imsomark on Tue, 04/19/2016 - 06:31

Thank for this plan, I needed something in the corner of my living room and this ended up being perfect. I followed the steps for the frame of the bookshelf as the plan outlined but made a few other changes:

1. I put the EMT pipe a bit lower than Ana's plan, more like how the RH shelf looked. I drilled a hole 5 inches from the top of each shelf, and about 3/4 of an inch from the back (5 inches up, 3/4 over)
2. I used flat iron spray paint for the EMT pipe and caps
3. I used caps instead of having the pipe ends sticking out
4. I used 4'' rigid caster wheels, found on etsy for $15 each
5. I used weathered oak stain
6. I couldn't find the right size corner brackets so I bought a 1.5'' wide steel flat bar from Lowes and made them myself. I cut the bar at 6'', put it in a vise and hammered it in the middle to be at 45 degrees, and drilled holes for the screws.

Built from Plan(s)
Estimated Cost
Wood - $50
EMT Pipe - $4
Pipe caps - $10
Casters - $80 (including $20 shipping)
Stain - $7
Spray paint - $7
Steel flat bar - $5
Screws - $5

Total - $168
Estimated Time Investment
Weekend Project (10-20 Hours)
Finish Used
Weathered Oak
Recommended Skill Level
Intermediate

Scaled down Planked Wood Sideboard

Submitted by hcharnock on Thu, 04/19/2012 - 06:02

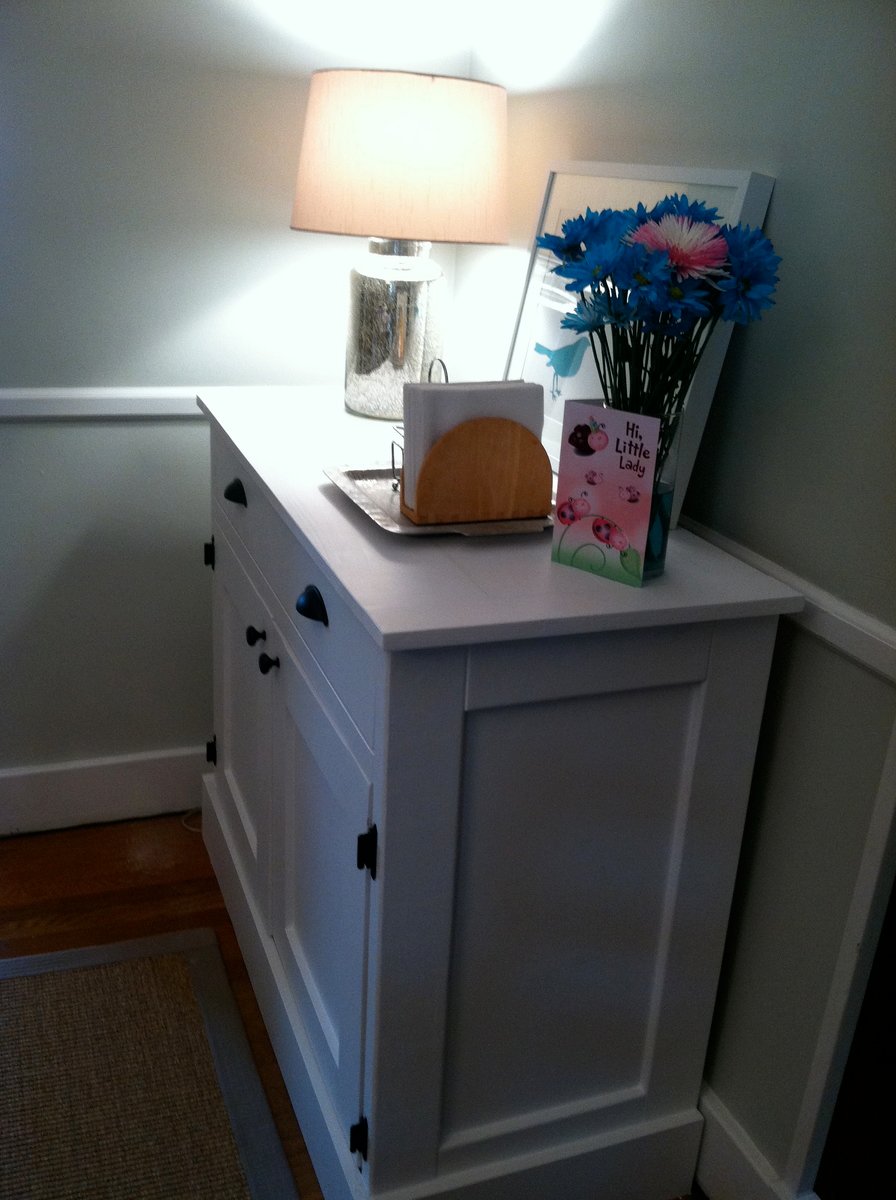
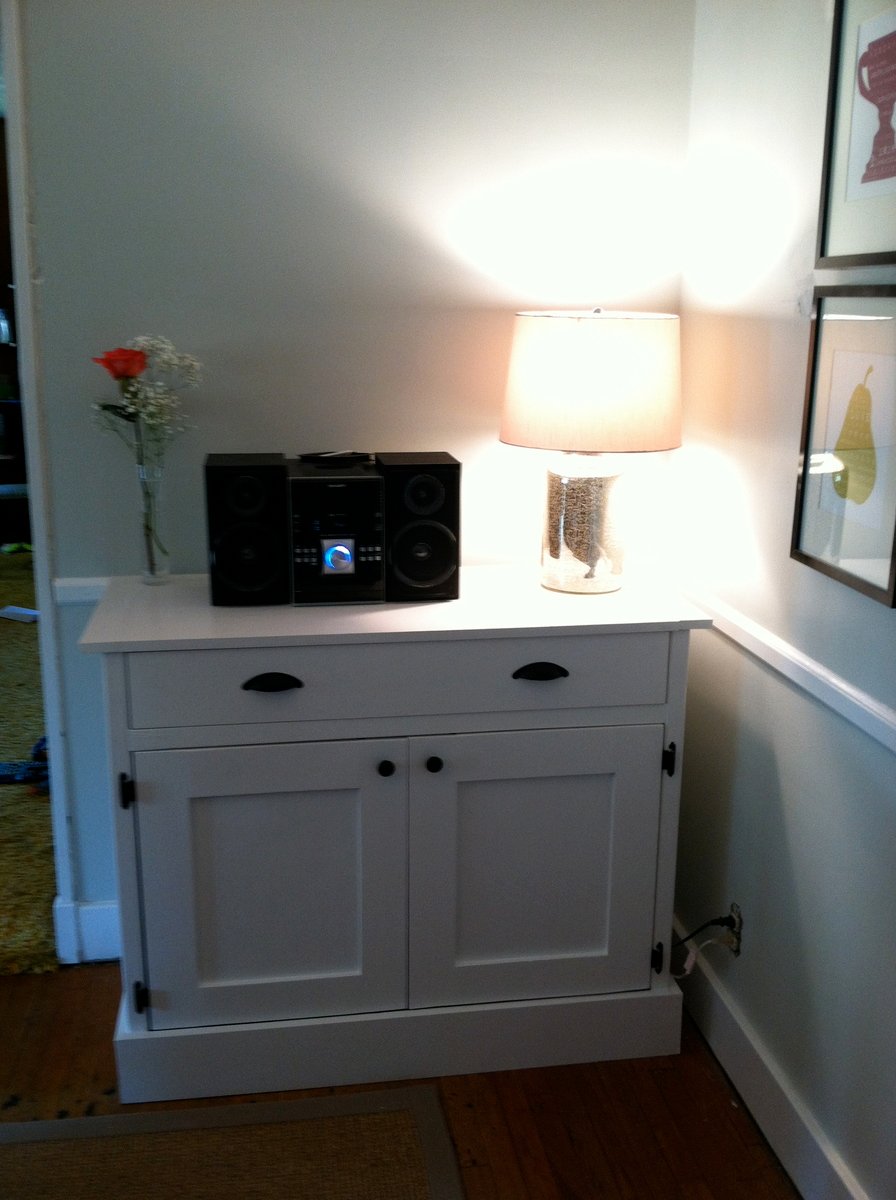
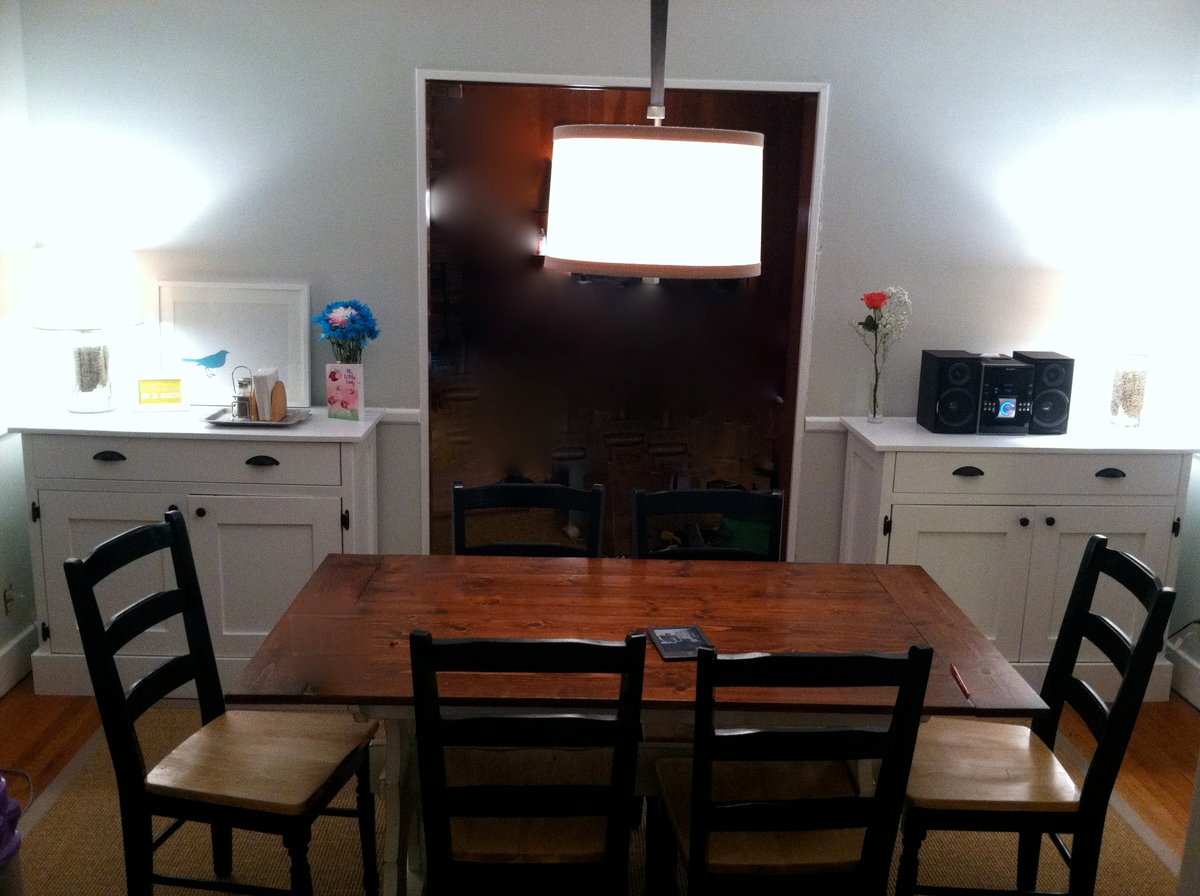
I wanted two sideboards flanking the doorway in my dining room. I took these awesome plans and just scaled them down, building the middle portion of the sideboard only and ignoring the two sides. I used the exact measurements of the middle portion of the plan. Other changes were that I used 1x12's on the ends of the sideboard, instead of planks, and luan in the doors, instead of beadboard. My biggest advice to someone else building this would be to make sure that the unit is square as you build, if it is not, you will have some serious shim work to do with the drawer slides! (of course, I know nothing about this, haha!) It was a great plan and a lot of fun to build. Oh, and I also used my router to rout out a 1/2 inch deep groove all the way around the back side of the unit, that way I could inset my back into the piece and it would not be visible from the side.

Estimated Cost
$85 for both of the sideboards, but I already had the paint and some of the wood
Estimated Time Investment
Weekend Project (10-20 Hours)
Finish Used
I caulked seams, woodfilled holes, sanded with 120 grit, primed with Cover Stain, sanded with 220 grit, painted with Olympic Low-VOC white semi-gloss paint, sanded with 220 and painted again!
Recommended Skill Level
Intermediate

Comments

spiceylg

Thu, 04/19/2012 - 08:04

You did an amazing job! Great idea and looks fab! I'm trying to get up the nerve to build it full size. I've just done simple projects so the thought of doing doors and especially drawers makes me nervous as I'm real particular and get frustrated when things don't go as planned!

hcharnock

Thu, 04/19/2012 - 17:04

Hi! Thanks for the compliment. I have a Bosch Colt, handheld router that I used for all of the routing, on the back of the unit and also on the doors to inset the panels. Hope that helps!

Hillary (not verified)

Mon, 05/14/2012 - 23:02

Great work! I love that you routed the back. It's so nice not to see the back tacked on. In some applications it is no big deal, but for a piece like this, when you're walking by the side of it every day, I think it is much more polished not to see the back. And...I totally know what you mean about building square for that drawer!!

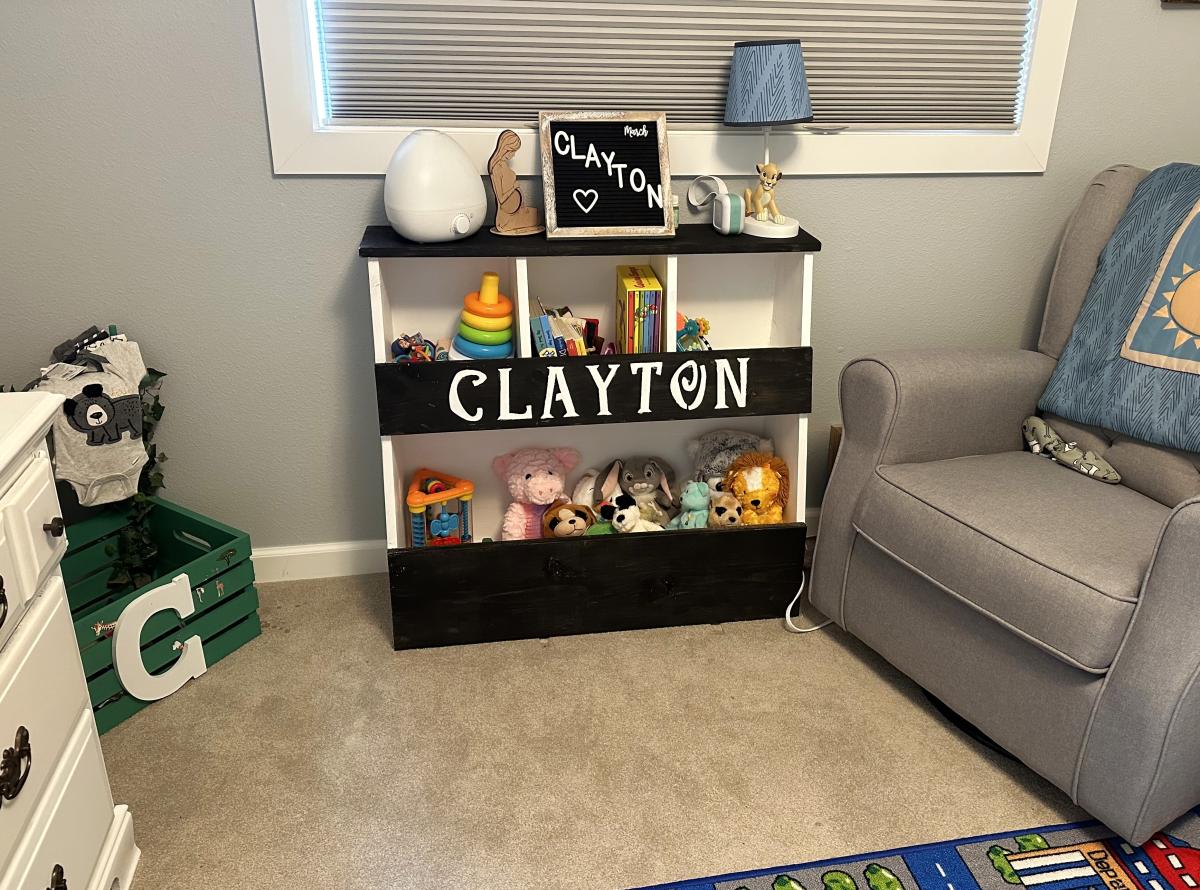
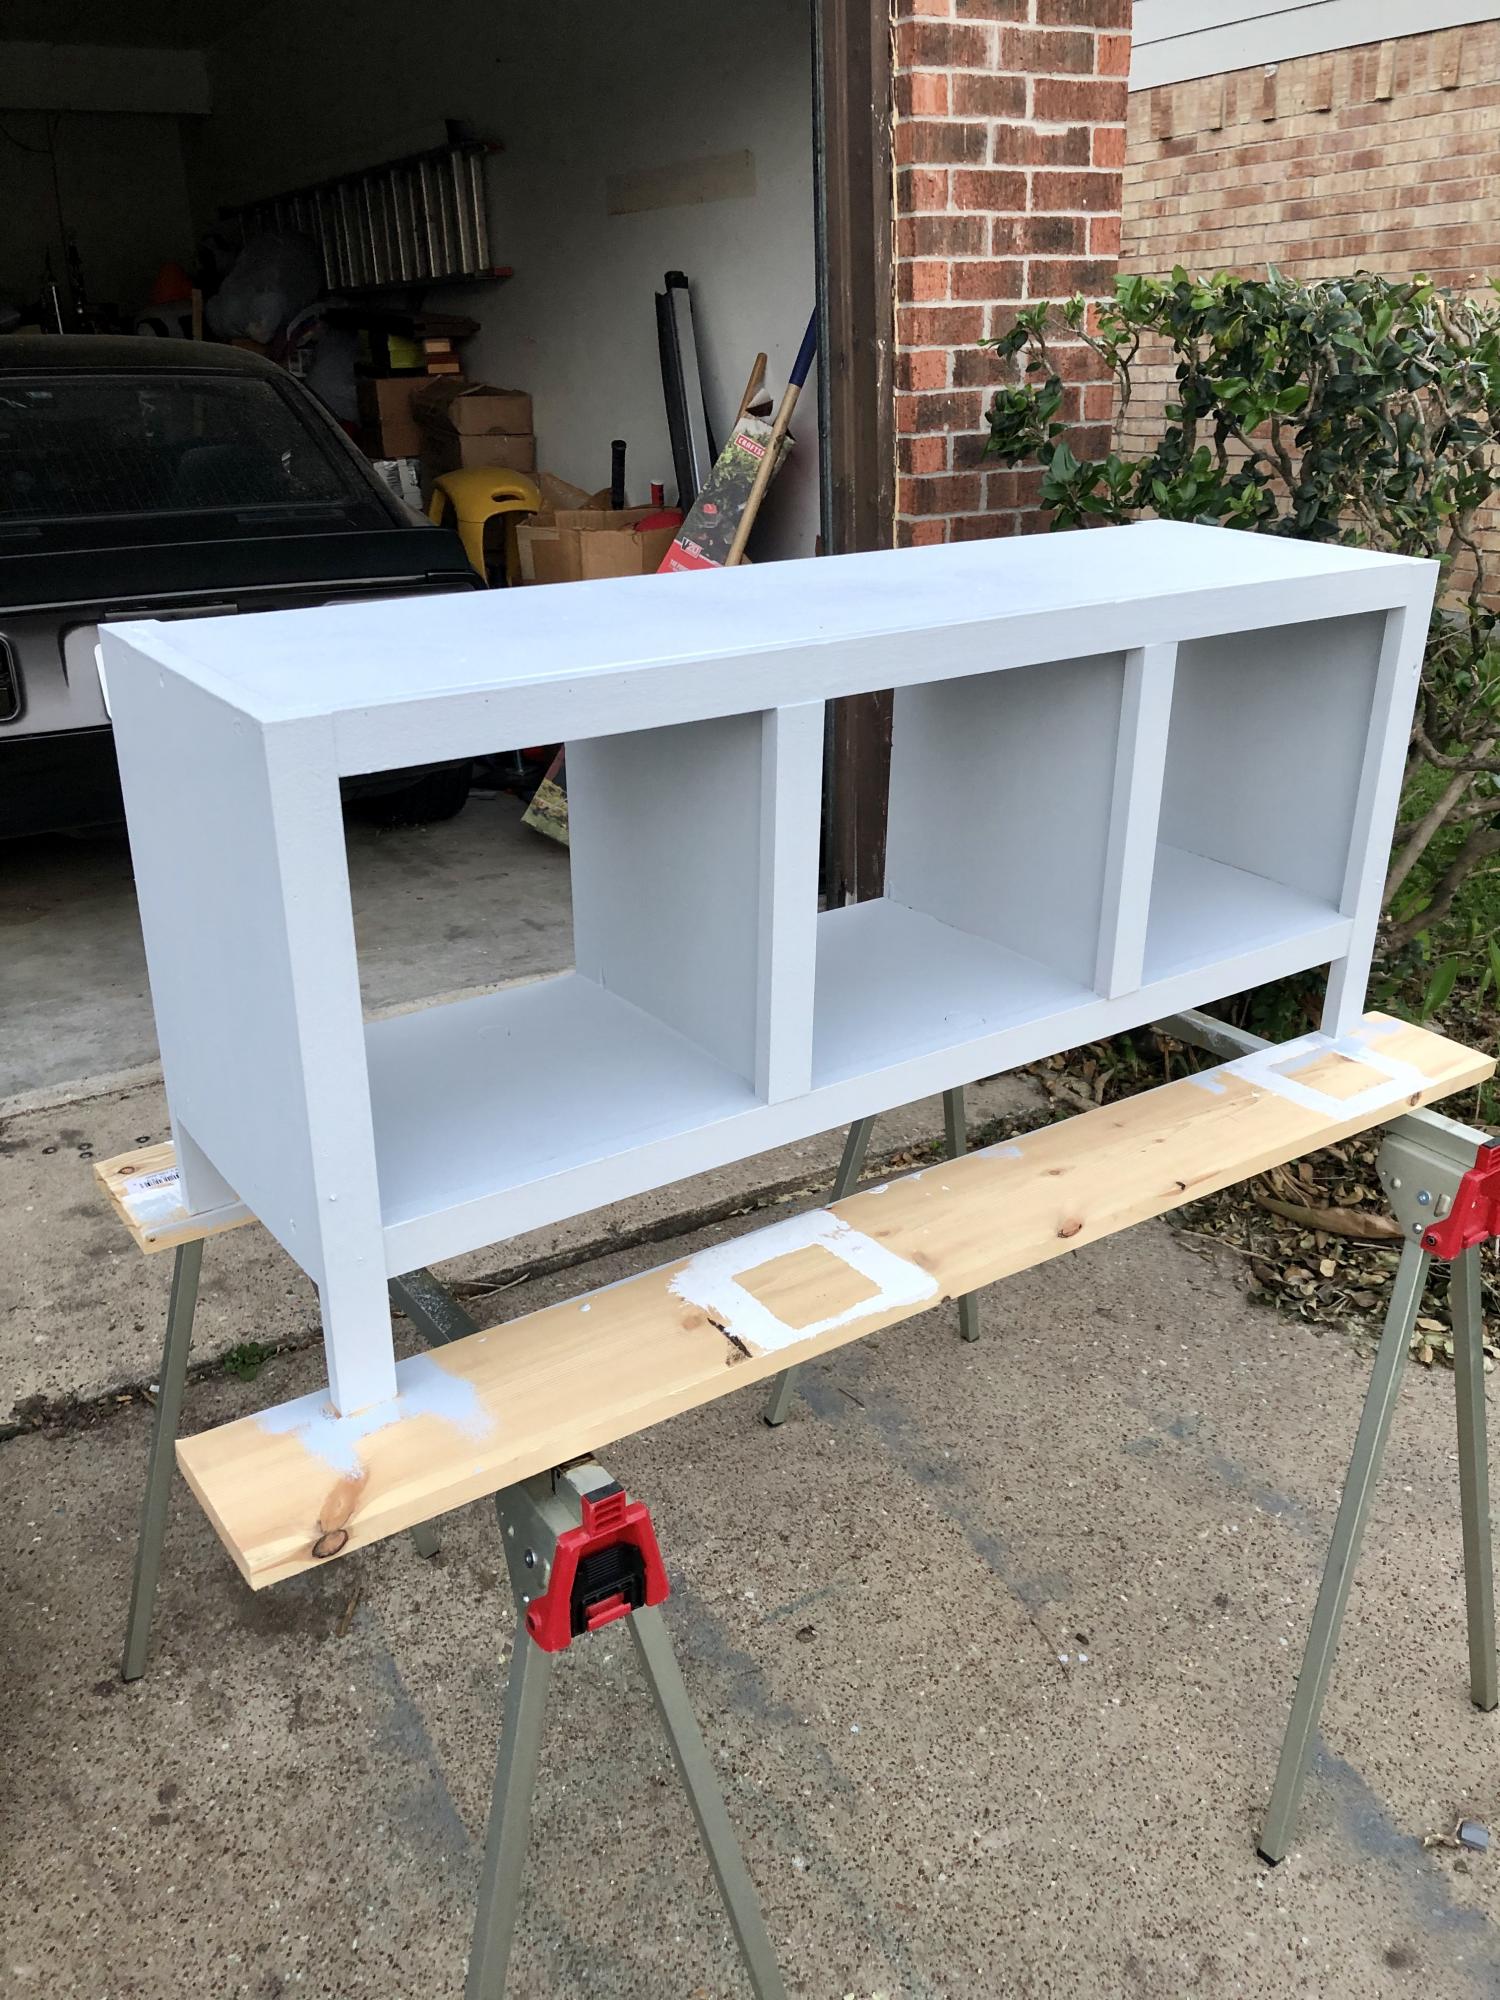
Toybox Bookshelf

Submitted by Anonymous (not verified) on Mon, 09/18/2023 - 15:46

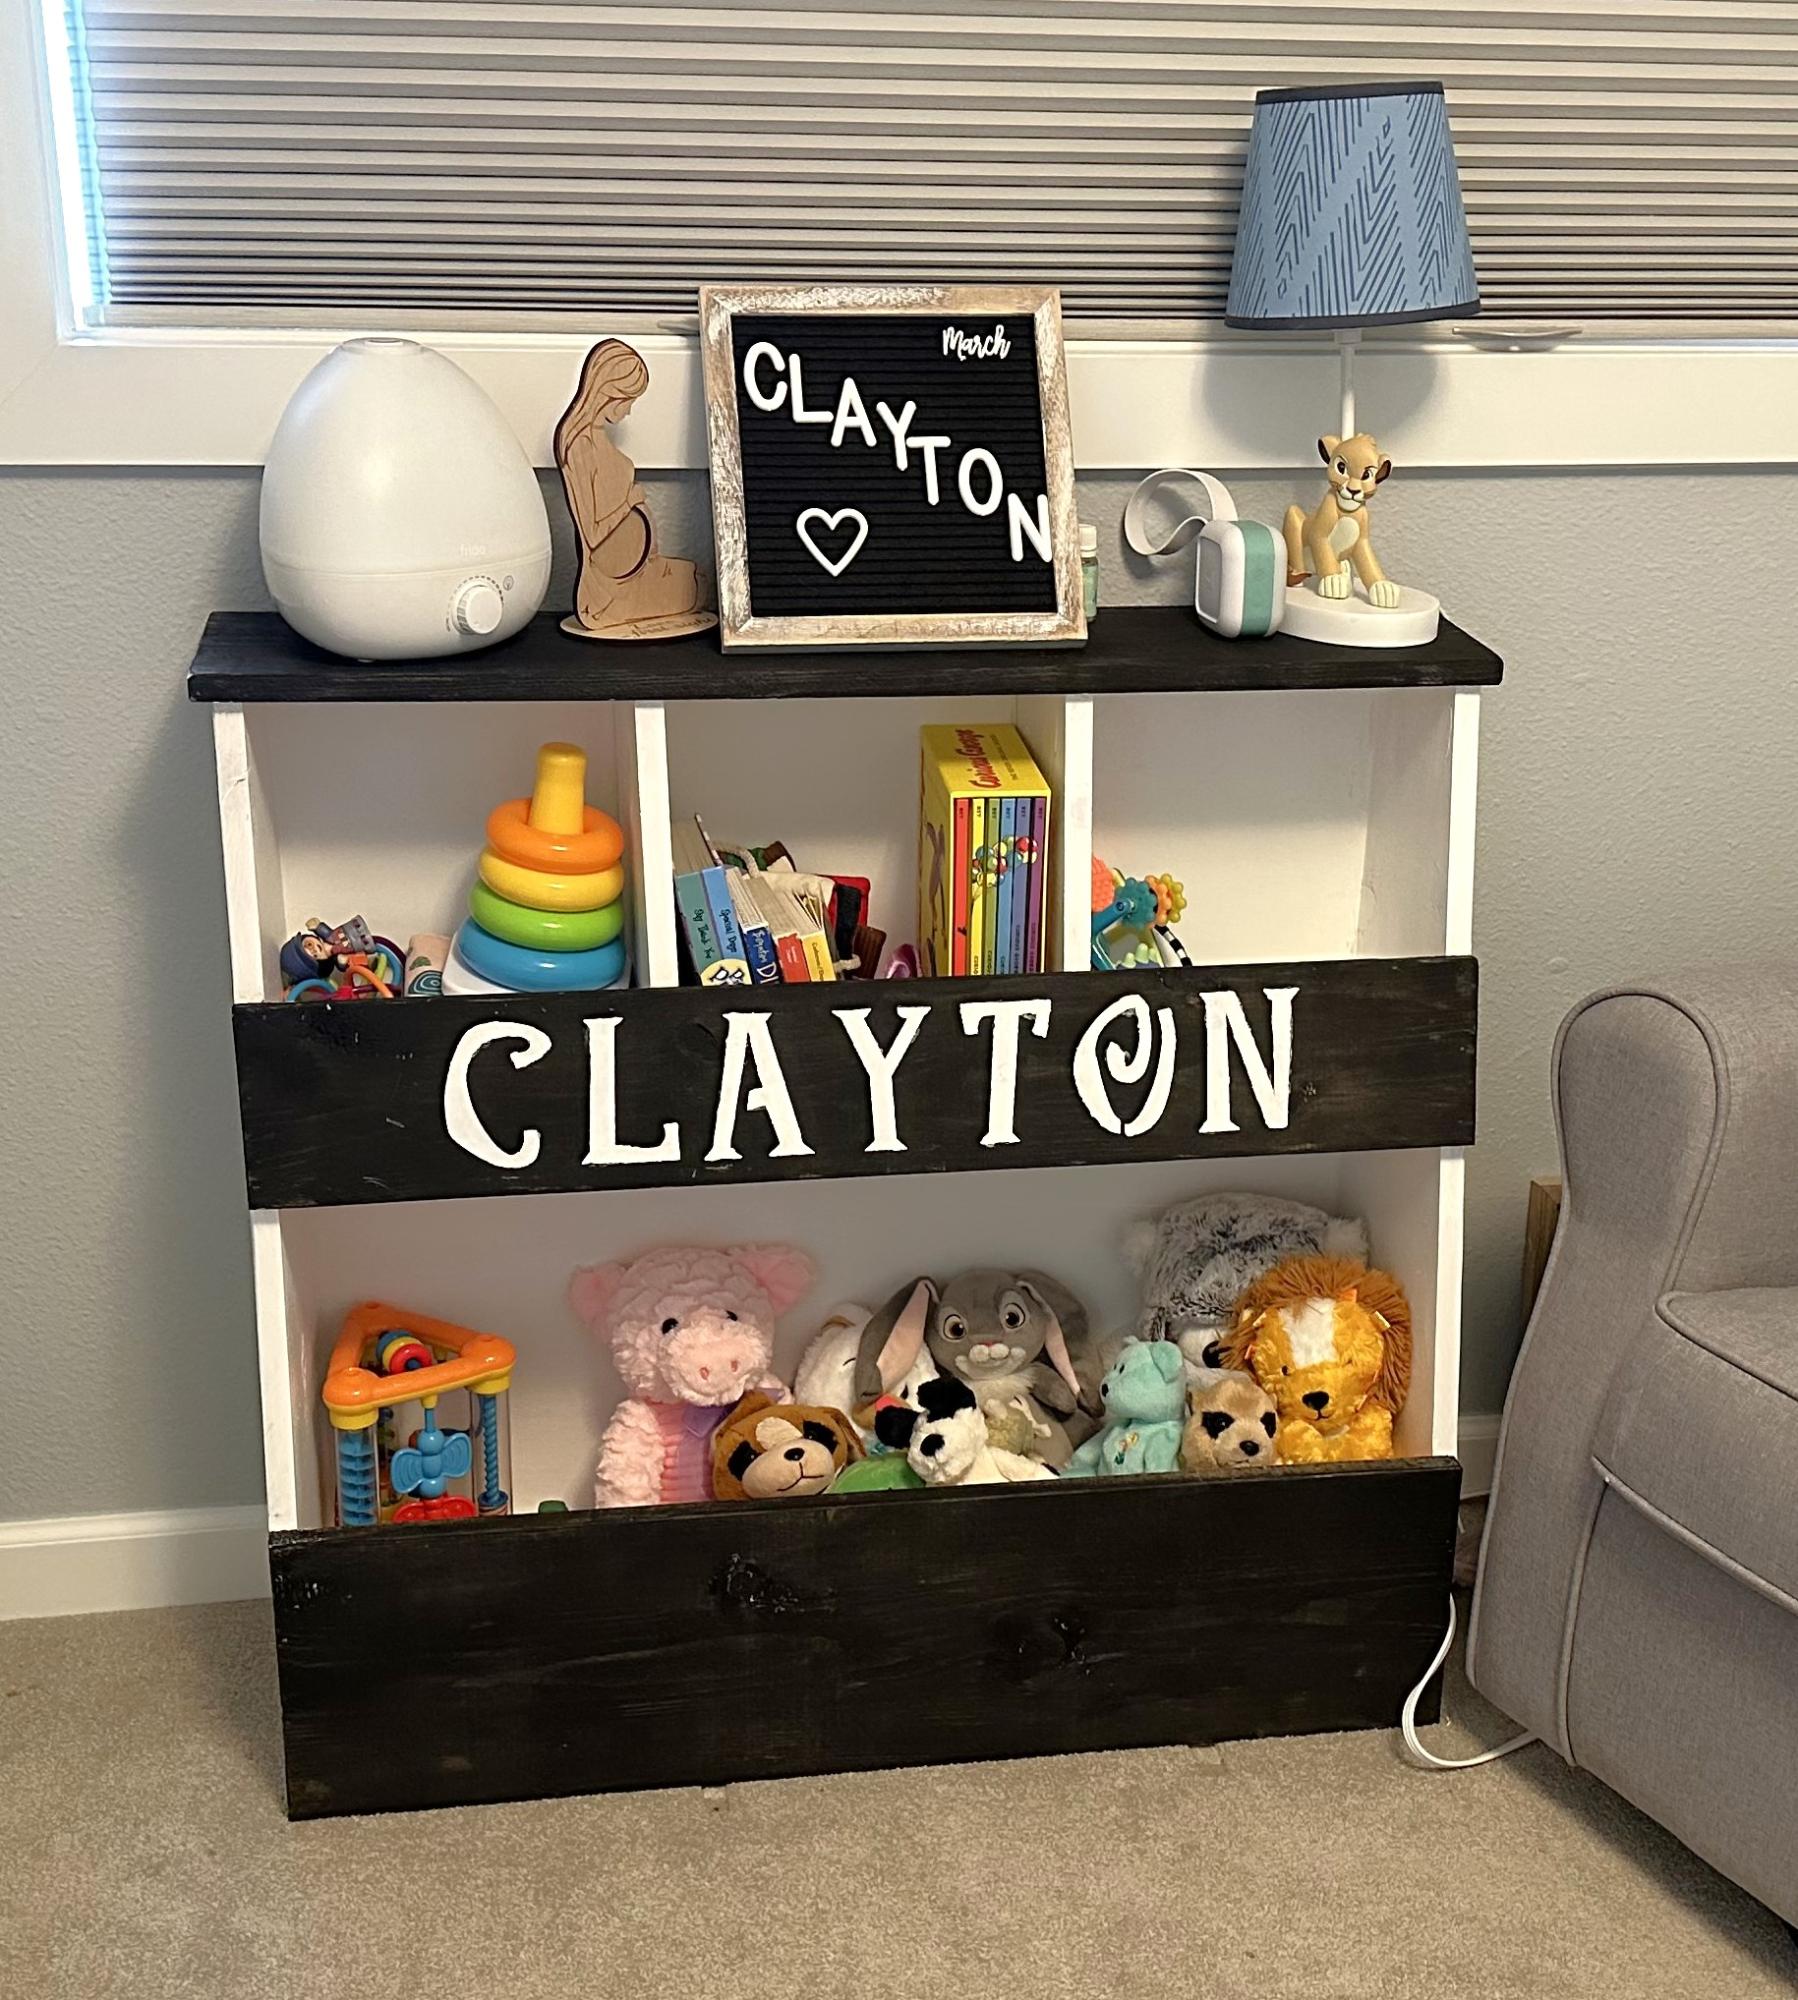
Toy bin box with cubby shelves

Caleb

Built from Plan(s)

Comments

Wood Outdoor DIY Furniture

Submitted by Anonymous (not verified) on Sat, 09/23/2023 - 14:23

Sofa, loveseat and chair based on the same design. Incredibly simple plan to follow. Love the plans on this site!

Mike & Sarah Semrow

Built from Plan(s)

Comments

The Best Console Table

Submitted by kristyzed on Sat, 02/15/2014 - 09:48

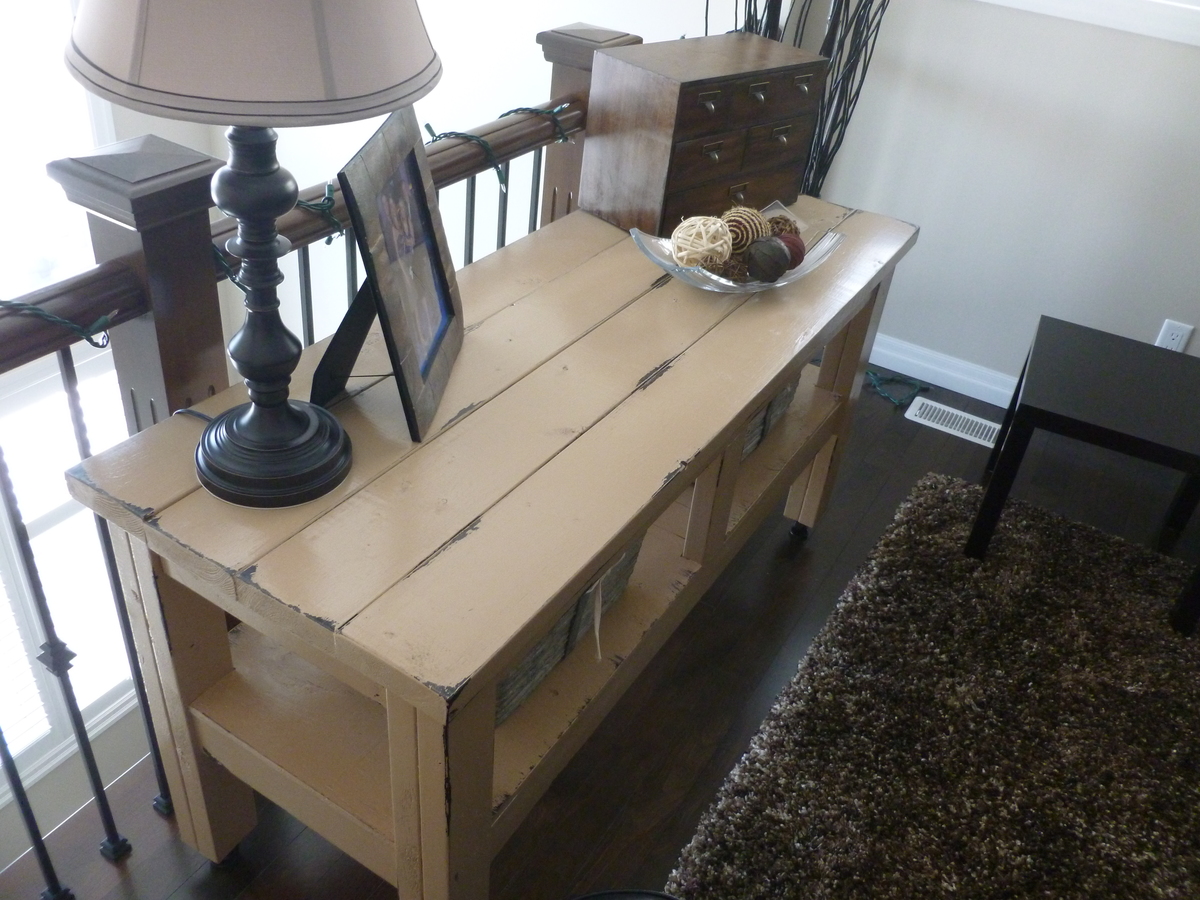
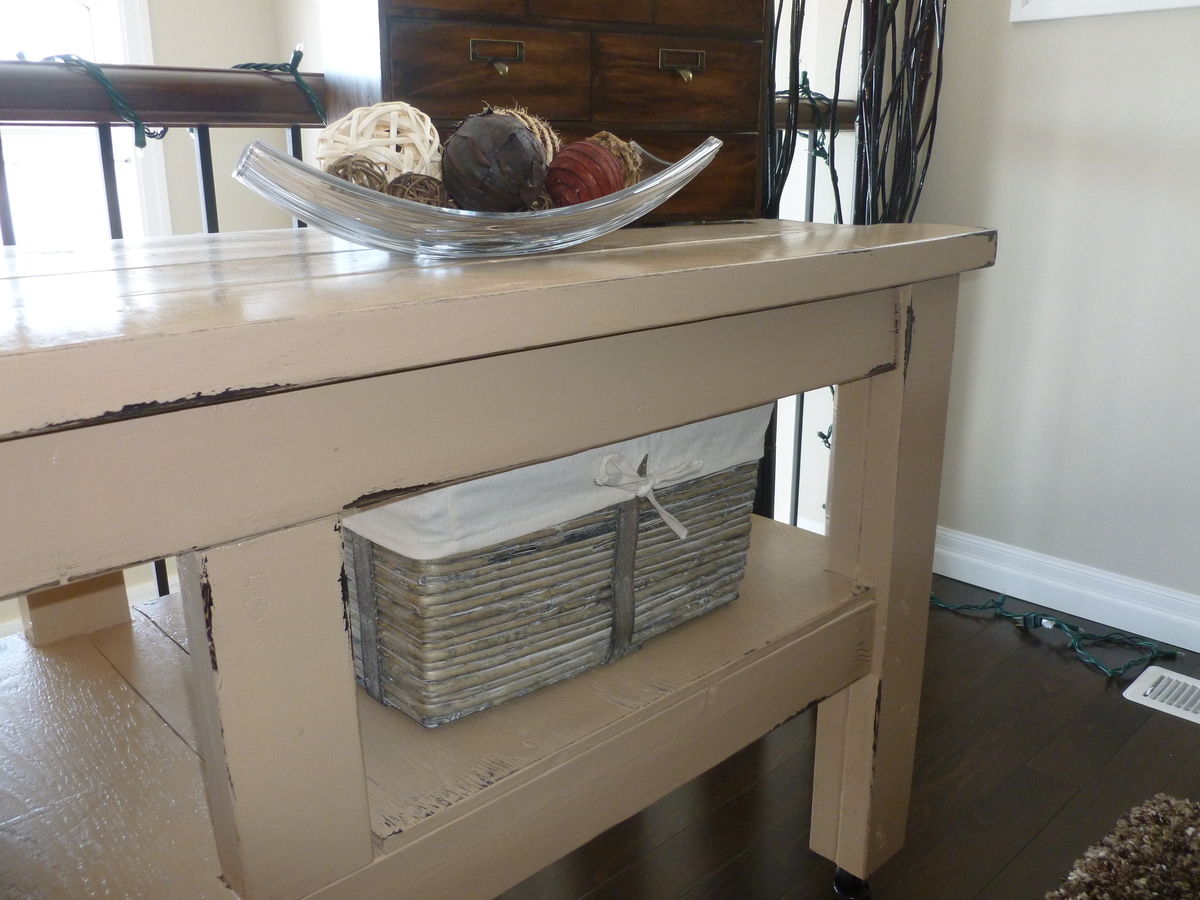
I first saw this project on Shanty-2-Chic's website and fell in love with it. It was my first furniture build. In my area (near Toronto, Ontario, Canada) I couldn't find 4 x 4s unless they were treated. So I used 2 - 2 x 4s instead and made the minor adjustments necessary.
I chose casters that don't rotate but screwed the back two in pointed inward so that my children can't easily move the table around if they are playing near it and bump into it.
This is my favourite piece that I've made so far.

Built from Plan(s)
Estimated Cost
$140
Estimated Time Investment
Day Project (6-9 Hours)
Finish Used
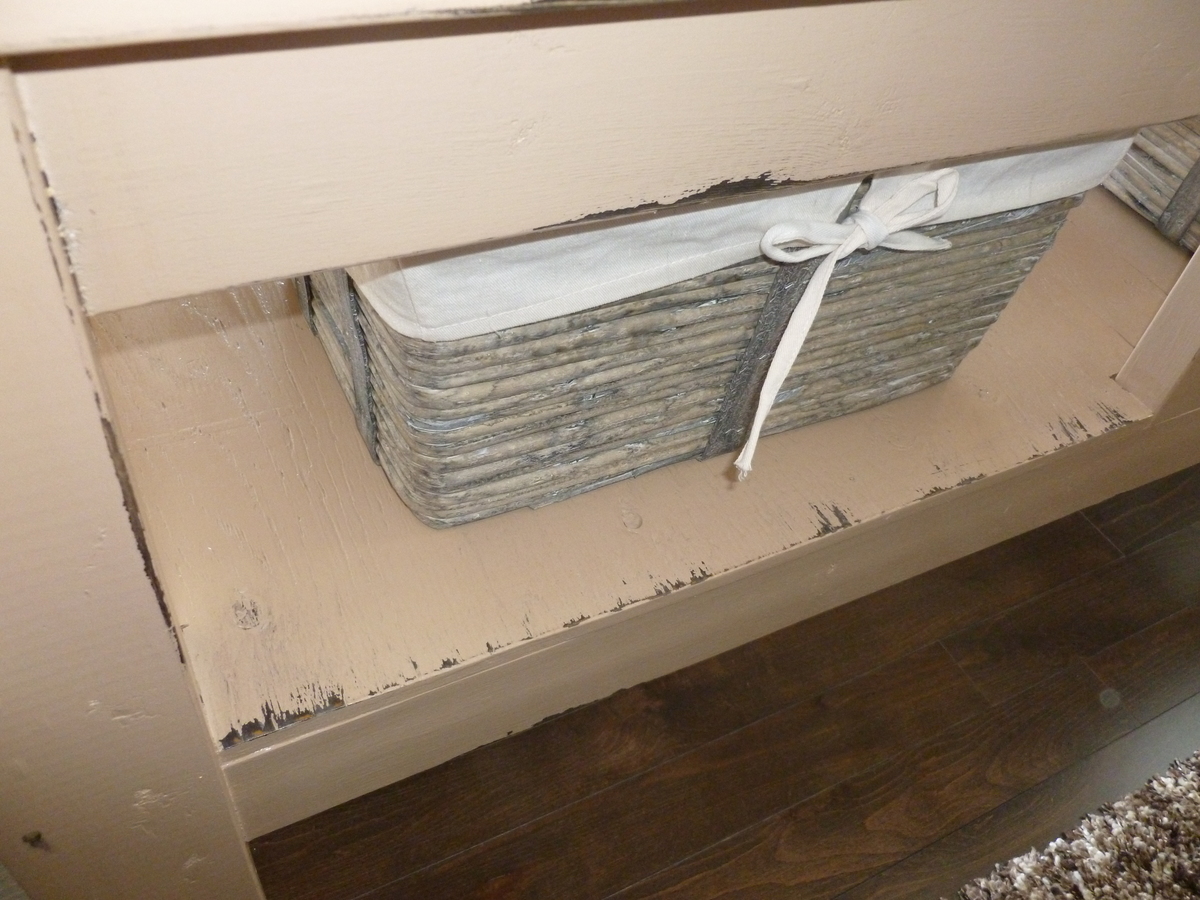
I finished it using the technique from Shanty-2-Chic's website. I spray painted Rustoleum's Dark Walnut on the edges that I wanted to show through the paint. I then lightly rubbed in vaseline on the corners and edges that would naturally show wear over time using my fingers. Then I used 2 coats of Valspar's La Fonda Boulder. After that all dried I lightly sanded over the areas I applied vaseline to reveal the dark spray paint and create a chippy finish. I gave it 1 coat of poly to seal it.
Recommended Skill Level
Beginner

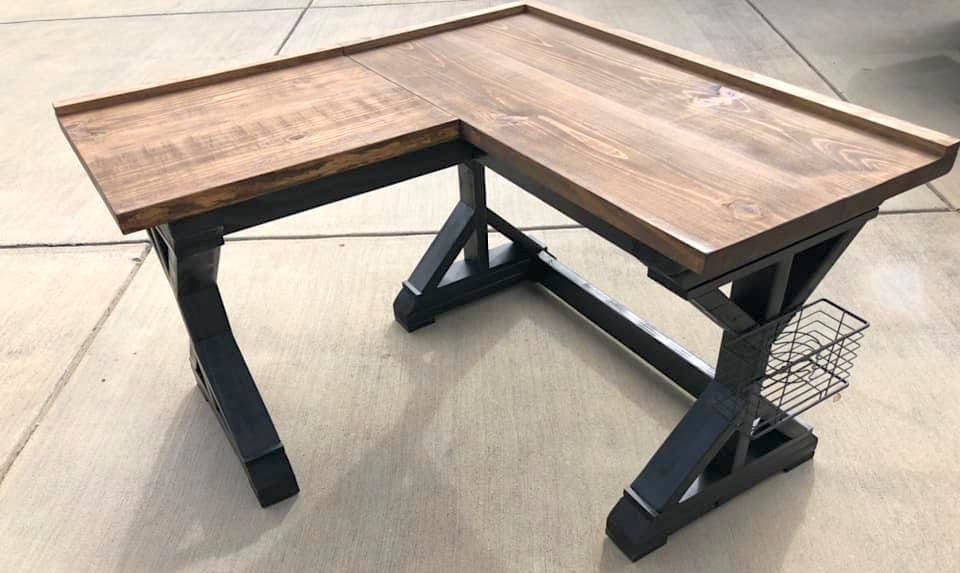
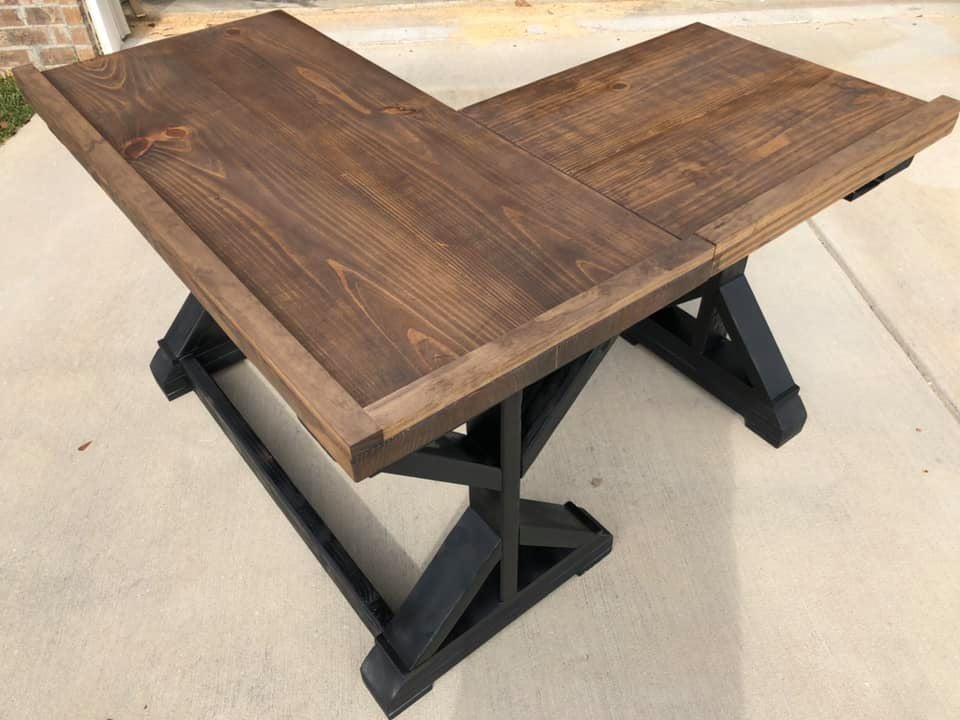
Fancy X Corner Desk

Submitted by Anonymous (not verified) on Mon, 02/17/2020 - 13:54

I used the Fancy X Desk plans then made half a desk as a side wing in order to make it fit a corner. I made this for a niece who goes off to college next year, so I made the extra side to be detachable in case she wants to take the table or desk with her but has limited room.

Built from Plan(s)
Estimated Cost
Less than $100
Finish Used
Dark Walnut stain on the top and semi gloss black spray paint on the bottom.
Recommended Skill Level
Intermediate

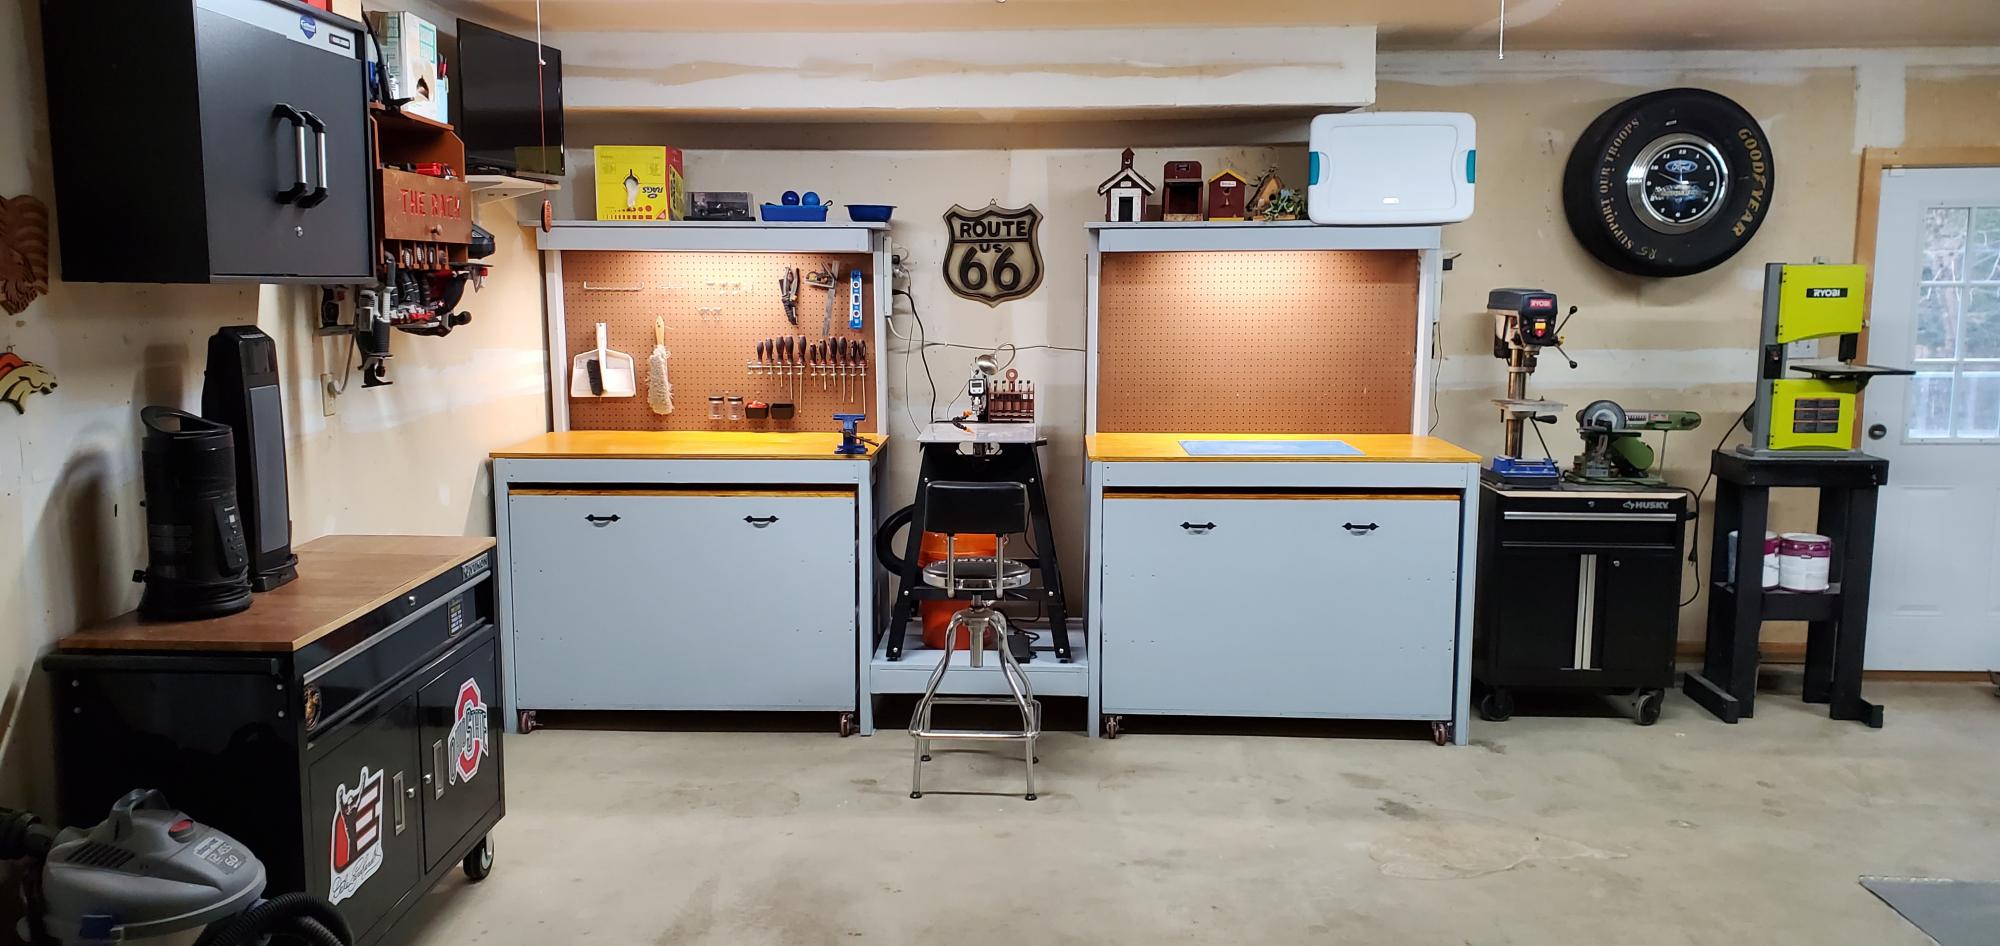
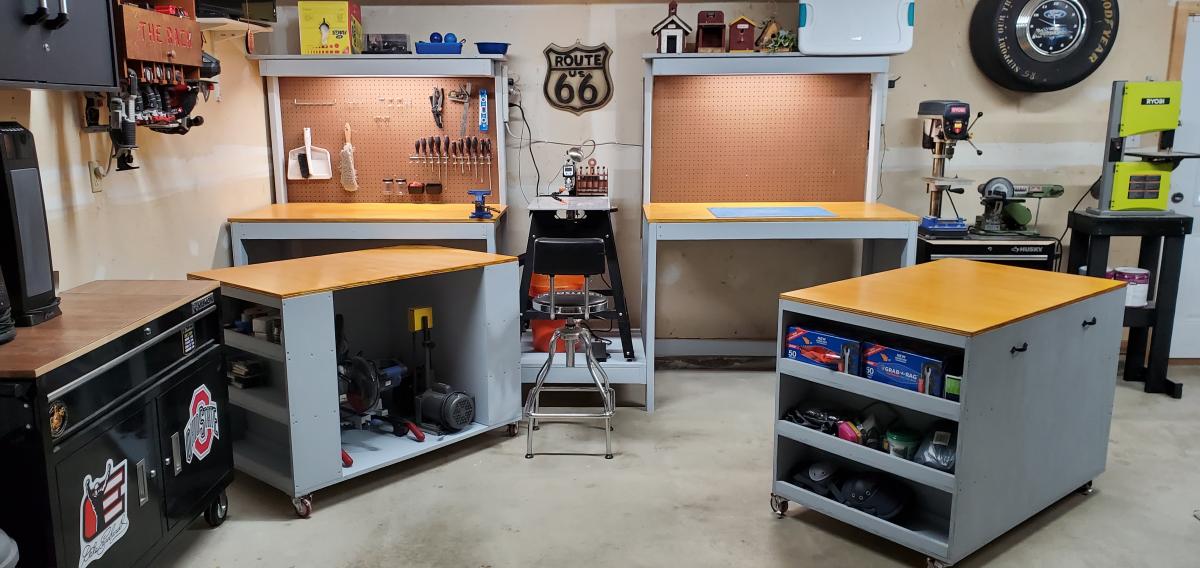
Modified Ultimate Roll Away Workbench with Miter Saw Stand

Submitted by Anonymous (not verified) on Thu, 02/27/2020 - 14:28

I loved the idea of roll away cabinets that could double as more tabletops for larger projects but then be able to hide them and save space. I usually have 2 cars parked in the garage and space us at a premium. Instead of a mitersaw I placed my scrollsaw in the middle added peg board, lights, and a shelf. Thanks for the plans and the idea.

Estimated Cost
$325.00
Estimated Time Investment
Weekend Project (10-20 Hours)
Finish Used
Wood working workbenches.
Recommended Skill Level
Intermediate

Comments

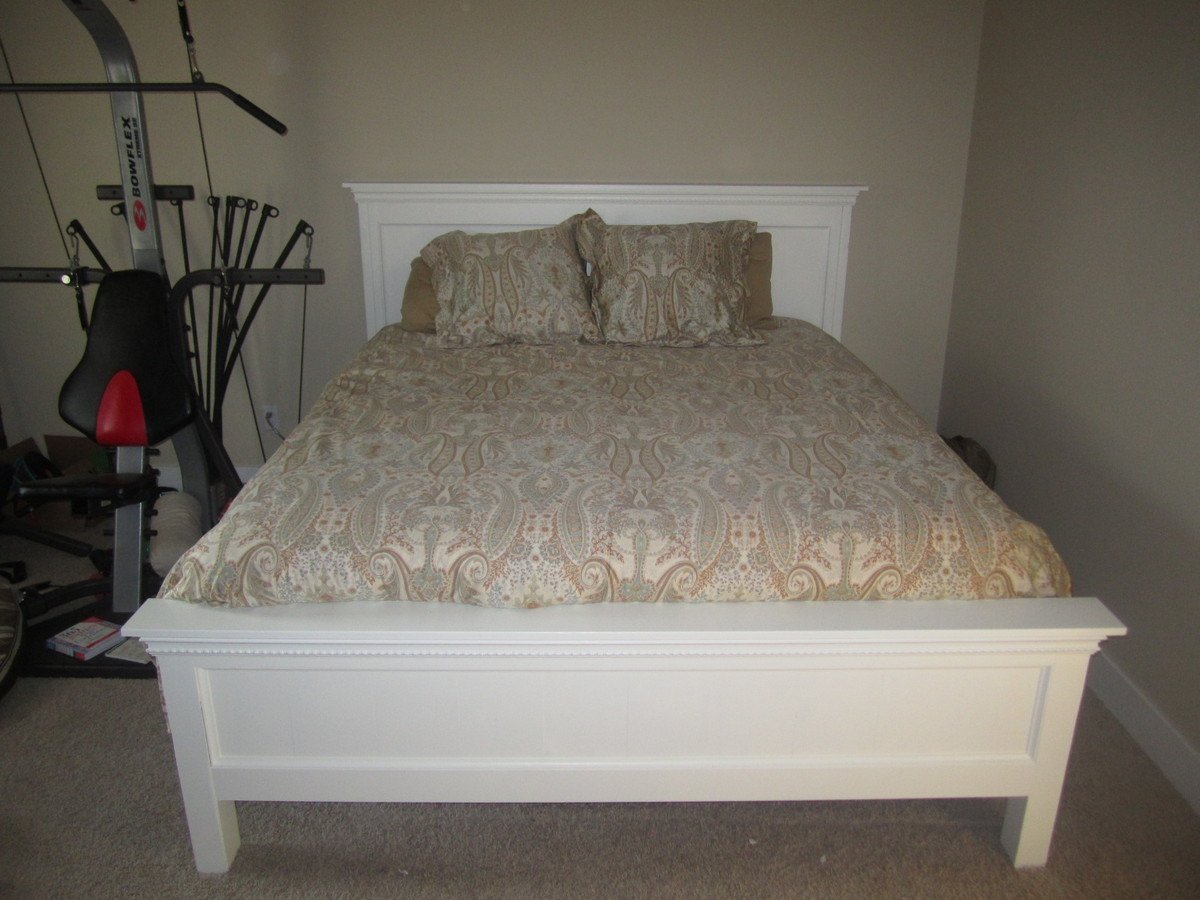
California King Farnhouse Bed Fancy Style

Submitted by crtrimb83 on Tue, 05/15/2012 - 20:50

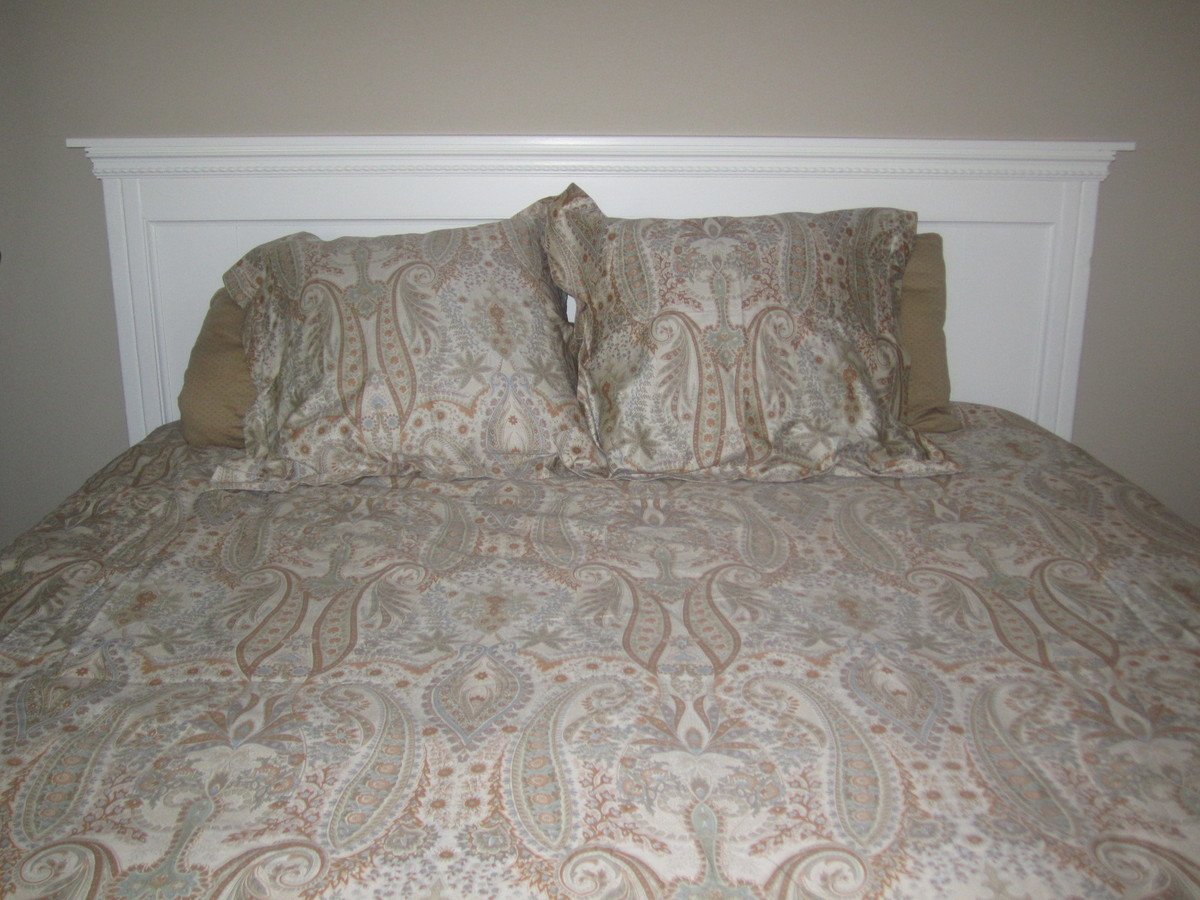
I LOVE the Farmhouse bed but wanted to do something new with it. After looking through some other brag posts for inspiration I made my own blend of things to get what I wanted. There are a a few things I did differently than the original Cali Kinf Bed instructions, which are noted in a list below.

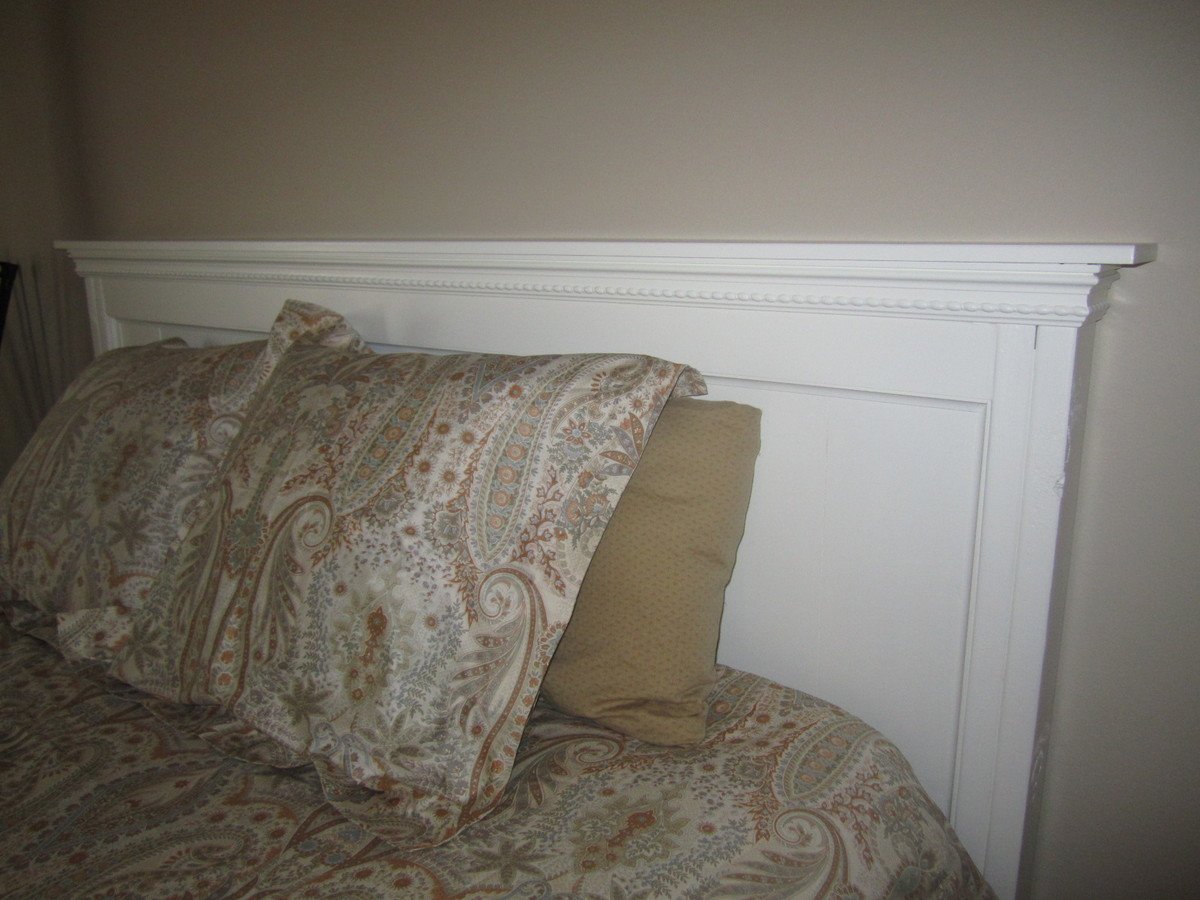
I'm a military wife so whatever I made needed to be easily taken apart, moved, and put back together. For this I used 2x4 joist hangers on the inside of the side rails and cut 2x4's to width. I also wanted to have storage available under the bed so I made it a little higher, 12 inches rather than 10. I should have also made the overall headboard 2 inches higher as well, not just the spot the side rails sit on. Our mattress is a little taller against the headboard than I thought it would be. That's the only thing I'd of done differently.

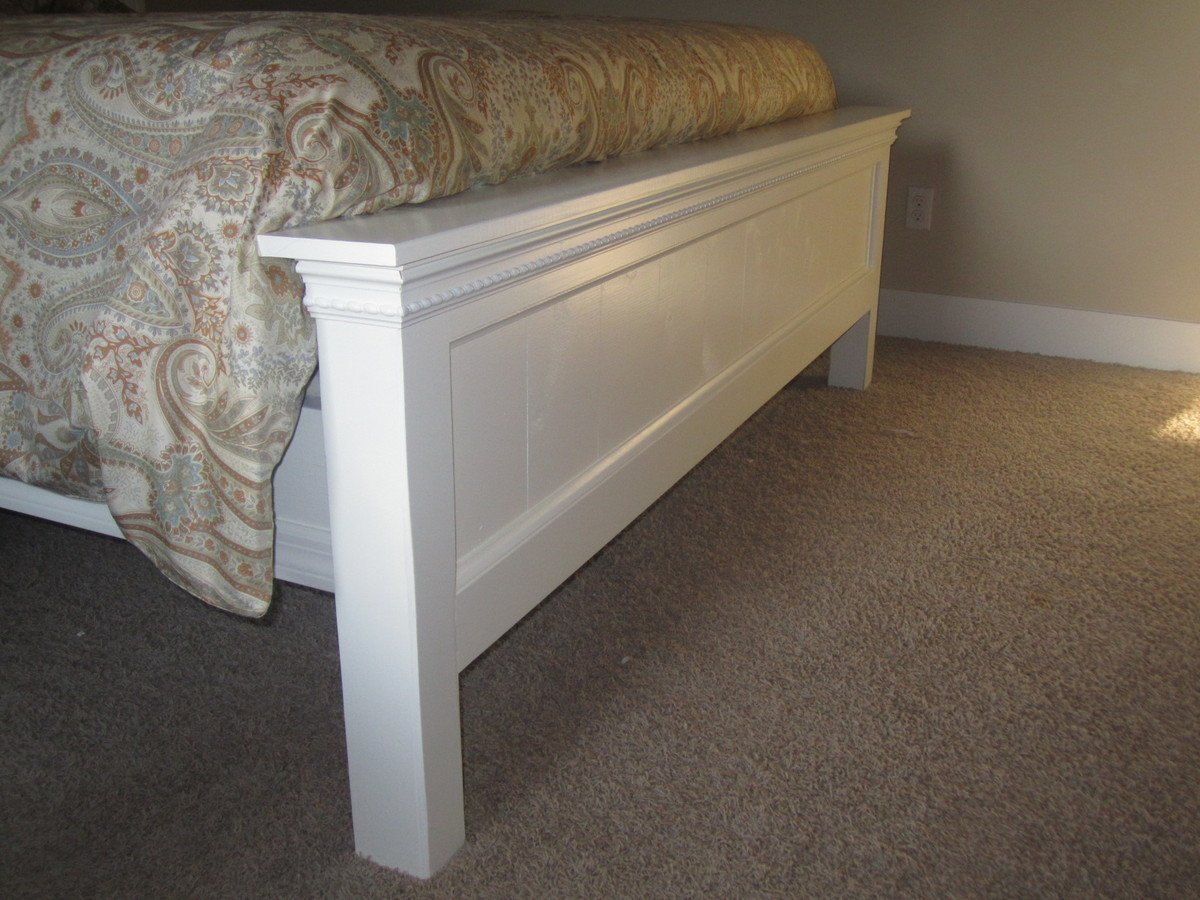
I didn't use 4x4s for the foot board sides, I did use 2x4's and put them together like the headboard instructions with the slot for the side rail. The difference in mine is that I added thin backer board on the front of the 2x4 and mounted the foot board flush with that, and then used wood filler to smooth around the edges and give it the appearance of a 4x4. Adds a little more work but it was well worth it.

~ I did not use 2x4s laid on top of the finished head and foot boards
~ The headboard top has a 1x6 rather than the 1x4
~ I added rope chair rail on the tops of the head and foot boards
~ I added cove molding around the plank section of the head and foot boards
~ The very top pieces of wood on the head and foot boards have a 1 inch overlap to the back of the 2x4 sides. This allows space for floor trim behind the headboard and comforter stuffing behind the foot board.
~ I added molding to the bottom of the side rails, they looked too plain with the rest of it together and that made a big different in the overall look.

Overall I'm very happy with the way this build turned out, especially for my first furniture build!

Estimated Cost
$250
Estimated Time Investment
Weekend Project (10-20 Hours)
Finish Used
Behr Ultra in Magnolia Blossom
Recommended Skill Level
Intermediate

Dining Room Table

Submitted by Anonymous (not verified) on Tue, 05/31/2016 - 07:23

Great plans. Fairly easy project. My husband built it and I stained it, Briarsmoke by Varathane. The most difficult part was to get the bread boards to sit flush with the perpendicular boards when attached. We had to undo and re-do that part several times. We followed the plans and built the table base before adding the bread boards at the end, but my husband decided that it would have been easier to attache one end of each board to the bread board, then attach the perpendicular boards together, then attach the other bread board.

Built from Plan(s)
Estimated Time Investment
Weekend Project (10-20 Hours)
Finish Used
Wood pre-conditioner. The stain color is Brairsmoke by Varathane, folowed by two coats of matte poly.
Recommended Skill Level
Intermediate

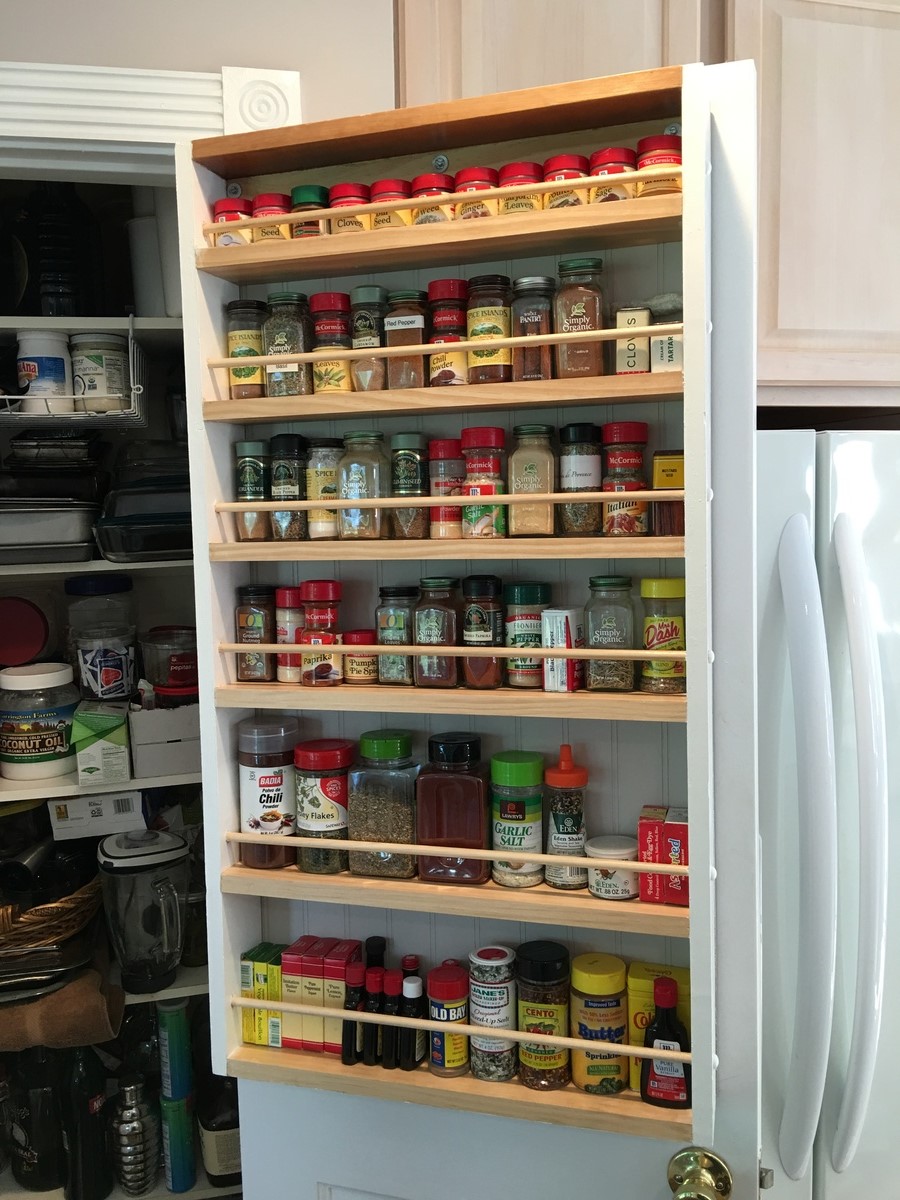
Door spice rack

Submitted by Anonymous (not verified) on Fri, 06/10/2016 - 18:02

love Ana!  We moved from the city to a late 1800's Victorian farm house with no closets, no basement, no storage!  This was a great Woodshop 101 project for my husband and me, and gave us extra space in the kitchen. Can't wait to do another Ana project. 

Built from Plan(s)
Estimated Time Investment
Afternoon Project (3-6 Hours)
Finish Used
A mix of paint and water-base poly
Recommended Skill Level
Starter Project

Comments

King Size Platform Bed

Submitted by hawaiitara on Sun, 06/03/2012 - 20:09

After building my daughter's beds and some outdoor day beds, I finally got around to building a bed for my husband and I. I altered the plans to a king size bed. I added a second 2x4 in the middle for support and around the inside edges as I used the box springs to make the bed taller. Using the kreg jig really made this project so easy. I also used 1x8's instead of 2x8's because I couldn't find those in Hawaii anywhere, except pressure treated wood. It still turned out great.
Thanks for the wonderful plans!

Estimated Cost
$125
Estimated Time Investment
Afternoon Project (3-6 Hours)
Finish Used
I used cabot stain in antique walnut with a cabot satin poly over it.
Recommended Skill Level
Beginner

Comments

Katie Saldivar (not verified)

Mon, 06/25/2012 - 19:40

I LOVE this bed! I'm asking my husband to build it and I was wondering if you could email me the dimensions for the plans of a king size Chestwick Platform bed? I'm pretty sure he could figure them out on his own, but I'd love to make it easier for him :) Love your work!

Larryshandywife

Wed, 08/22/2012 - 23:04

Whats the point of sharing projects with people when they dont leave the dimensions????............How stupid!!!

sgilly

Thu, 08/23/2012 - 08:25

For sharing. It's beautiful, and how smart you are to work from existing plans but be able to figure out the dimensions you need for your own bed!

DIY Media Console

Several months ago, my sister approached me with the request of helping her build a media console for her home.   We left off the doors and drawers in favor of having open shelves.  We worked on this project over the course of several weekends and my sister is very happy with the final result!

Built from Plan(s)
Estimated Cost
$150
Estimated Time Investment
Week Long Project (20 Hours or More)
Finish Used
Minwax Jacobean, ECOS Paints WoodShield Satin Varnish
Recommended Skill Level
Intermediate

Barstools

Submitted by lazyLiz on Sat, 06/09/2012 - 21:22

A 30" tall bar stools inspired by the plan simplest stool.

Built from Plan(s)
Estimated Cost
$ 40- $60
Estimated Time Investment
Afternoon Project (3-6 Hours)
Finish Used
valspar white paint
Recommended Skill Level
Beginner

Comments

Handygirl

Sat, 07/07/2012 - 18:47

I love these stools! I love the curve in the top. Are yours square on top or rectangle?
Also, what size of board is the top (seat)?

Rusty Cottage

Fri, 07/20/2012 - 05:32

I like your design. Finally made an account and will be making matching ones. Thanks for the inspiration. If the better half doesn't like the first one I will have a new stool for my workbench

MrsPowers

Fri, 08/31/2012 - 20:27

Hi! You're stools came out wonderful. I was wondering how you got the seat to be curved that way.
Thanks!

Taylor Console

Submitted by raybotelho on Fri, 04/04/2014 - 14:57

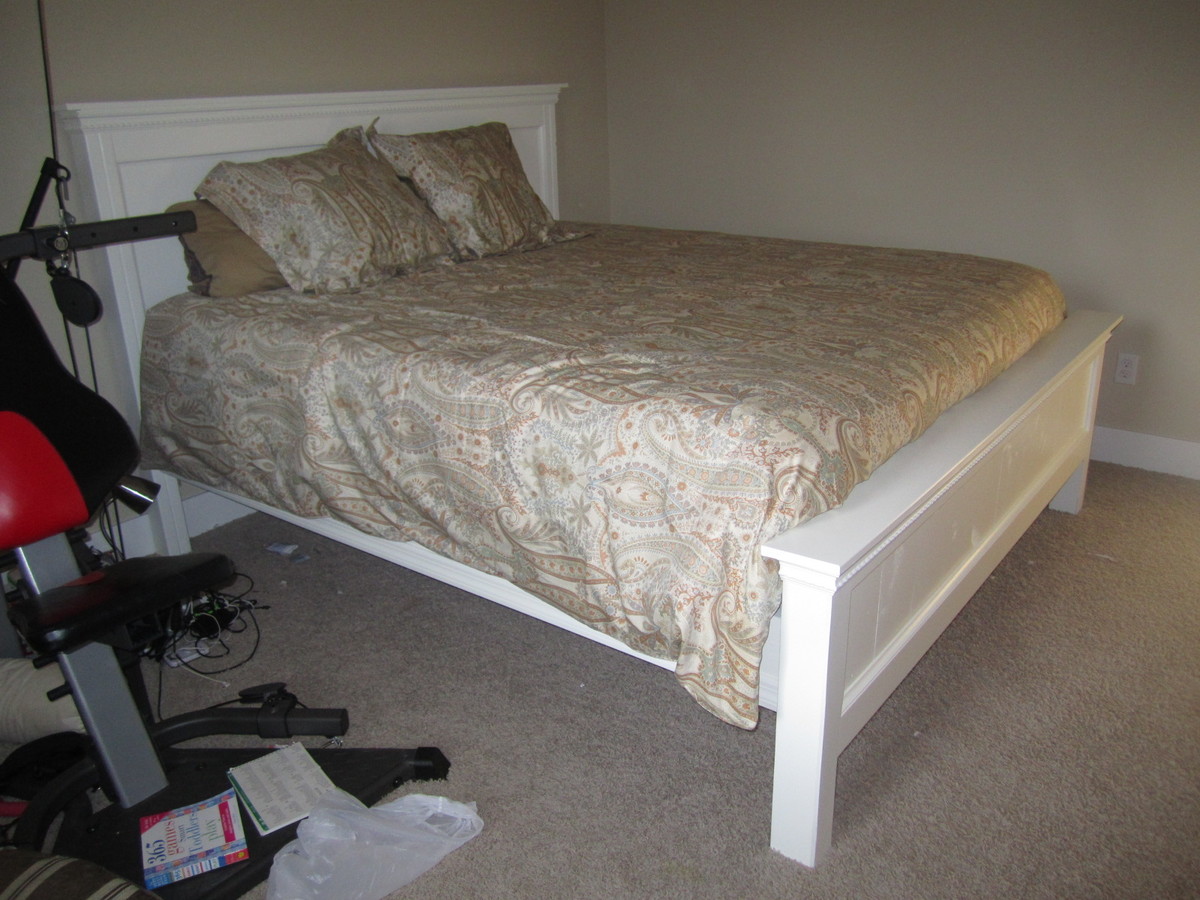
I love this plan and had already built one a few months ago. It is an easy project to tackle ;) I did change things up a bit. Will be building another one soon :) Thank you so much for sharing the plans.
Built from Plan(s)
Estimated Time Investment
Day Project (6-9 Hours)
Finish Used
Dark walnut stain followed by white dry brushing on the base.
Recommended Skill Level
Beginner

Matching Stools for Kids

This was my second project from Ana White, and overall it was successful. I used a miter saw for the cuts (struggled with the bevel because my 12 inch saw isn't a slider, a kreg jig to attach everything (struggled to attach the 1x3s to the legs due to the angle of the dril and tight space), but everything eventually was held solidly together and it's really very sturdy. My husband is about 160 and he was able to jump on it with absolutely no give. 


The paint is just small samples we had on hand from home depot to coordinate with other projects in the kids' rooms, and I handpainted the letters. I finished it with a double coat of polycrylic. 

Estimated Cost
$20 total for two stools.
Estimated Time Investment
Day Project (6-9 Hours)
Finish Used
paint and polycrylic
Recommended Skill Level
Beginner
Back