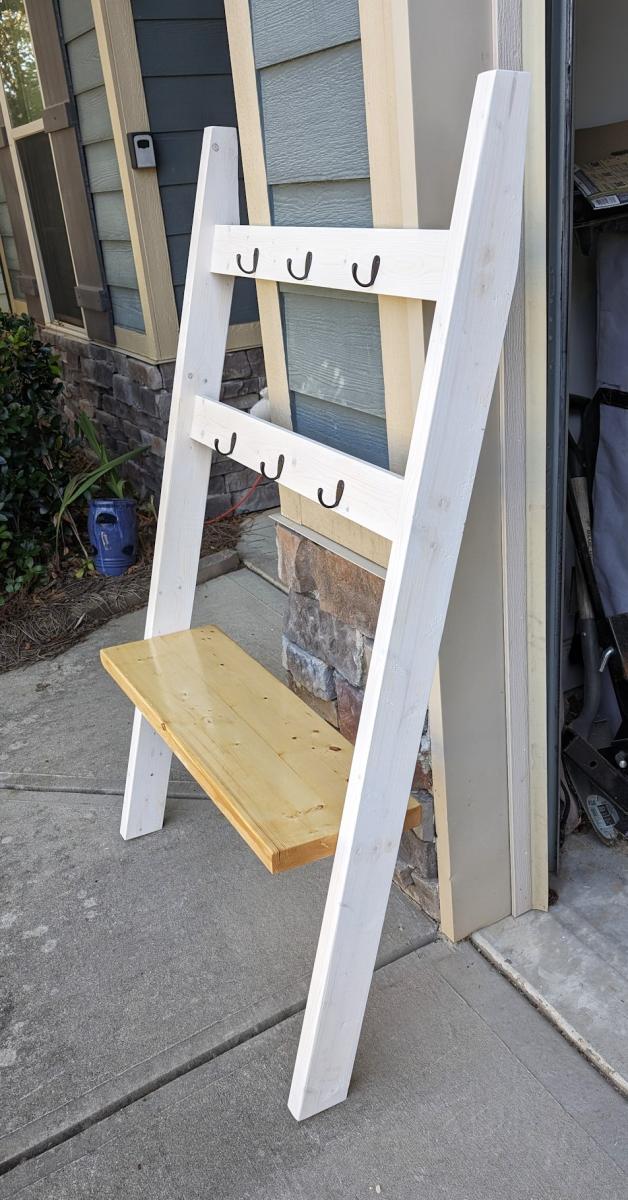
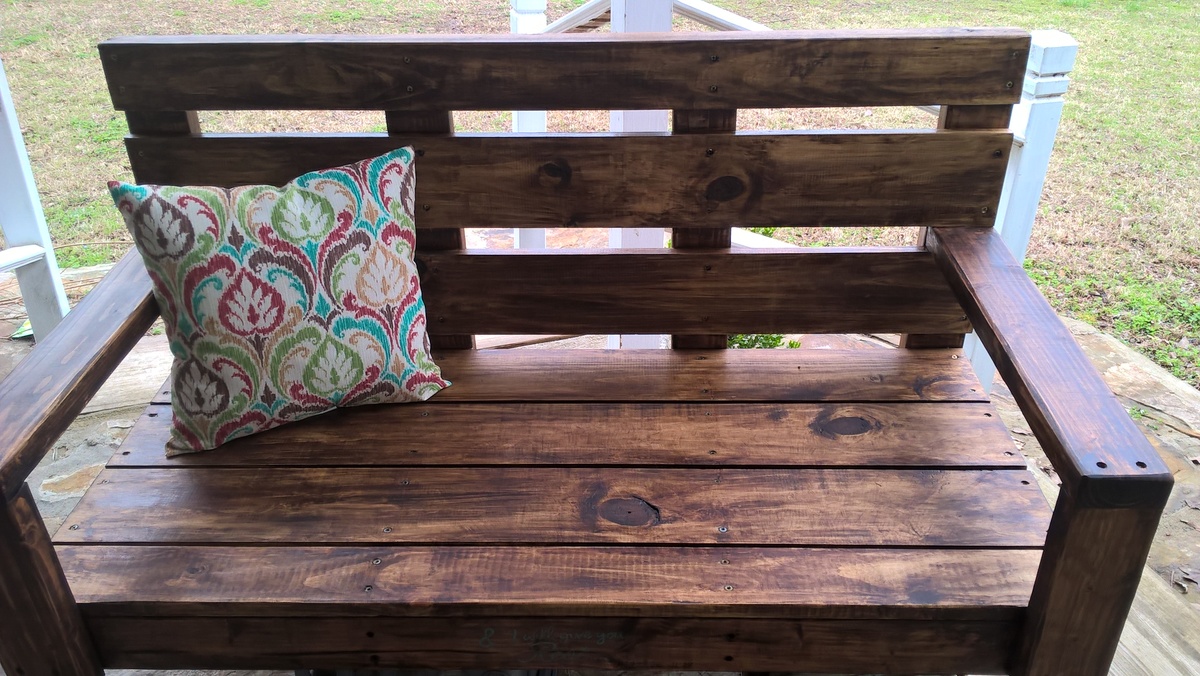
Leaning Hall Tree
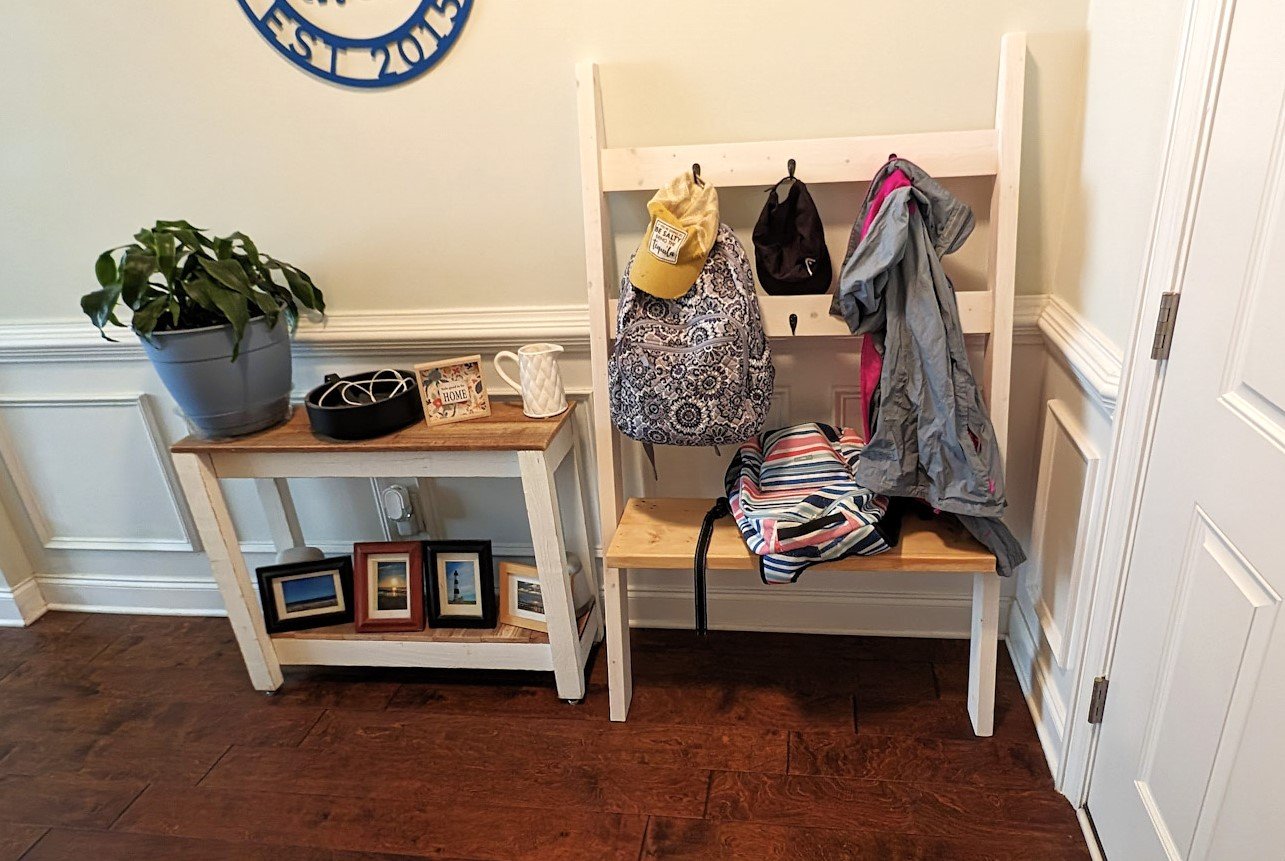
Super simple and fits right in!
ScottW
Built from Plan(s)
Super simple and fits right in!
ScottW
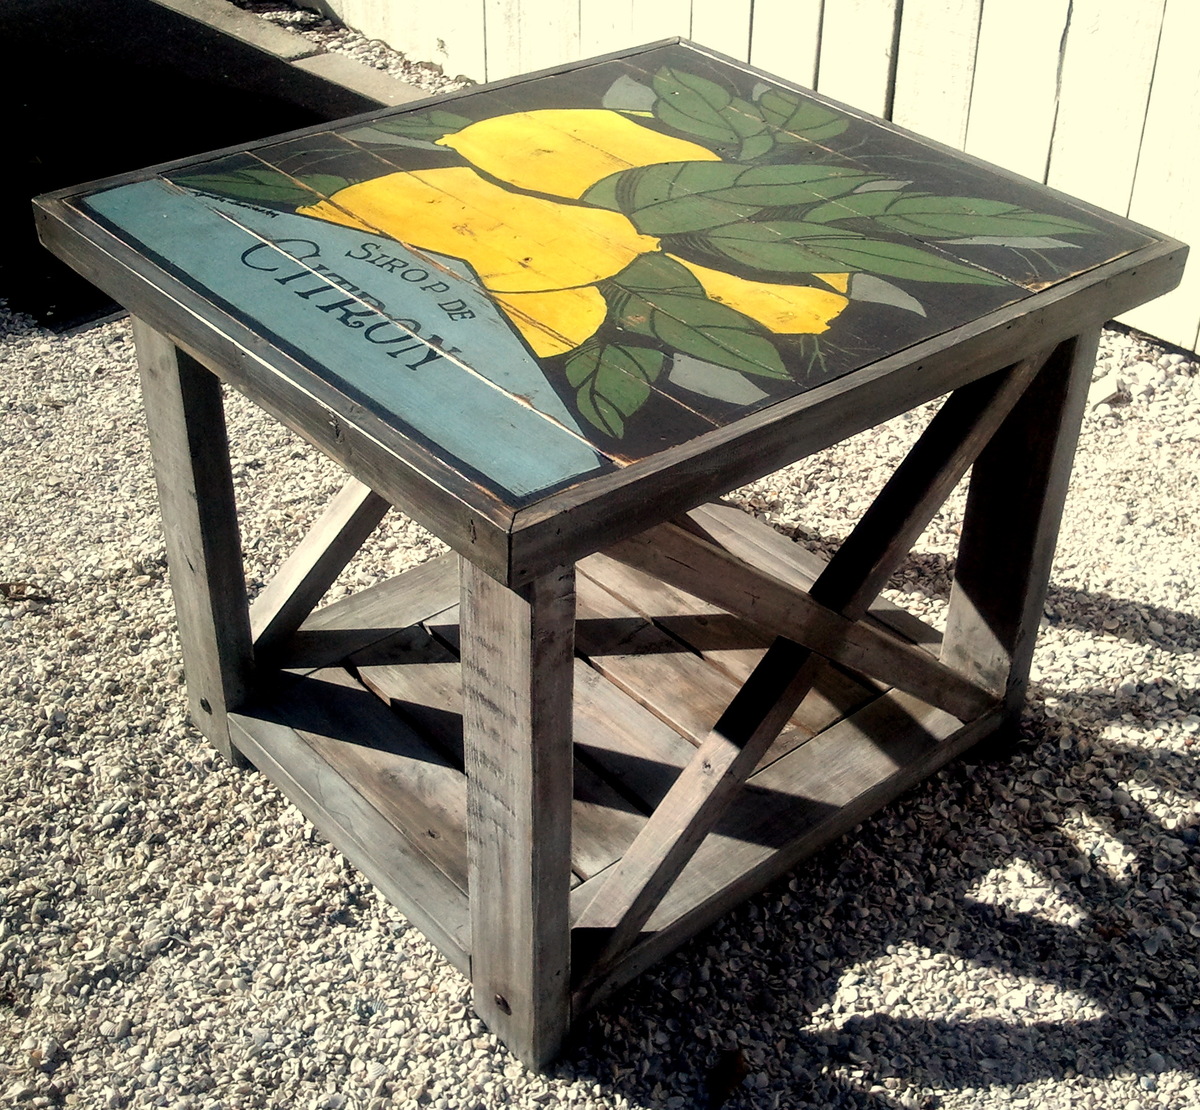
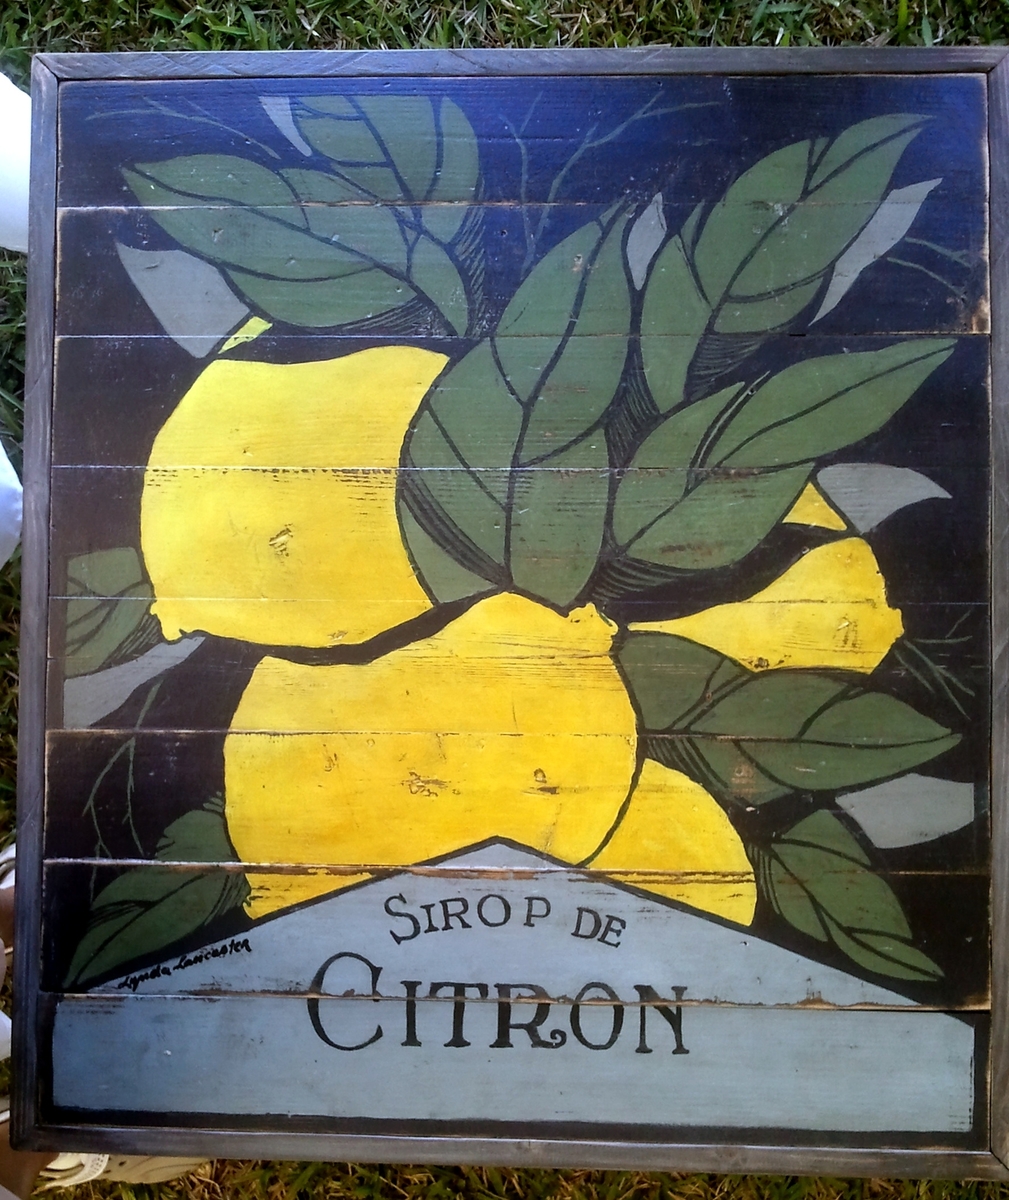
I modified the plans just a tad bit, i.e., framed the top and used 1" x 4"s on the top and bottom horizontal planes... painted a vintage citrus label on the top and now I have a one-of-a-kind side table for my porch.
Very easy to read instructions... Excellent swing. You can build and stain in one evening. Love it.
Really loved these plans and they produced a beautiful product. The only minor change I'd make is to double the number of support slats. Our Casper mattress requires gaps less than 3" between each slat. Thank you for the plans!
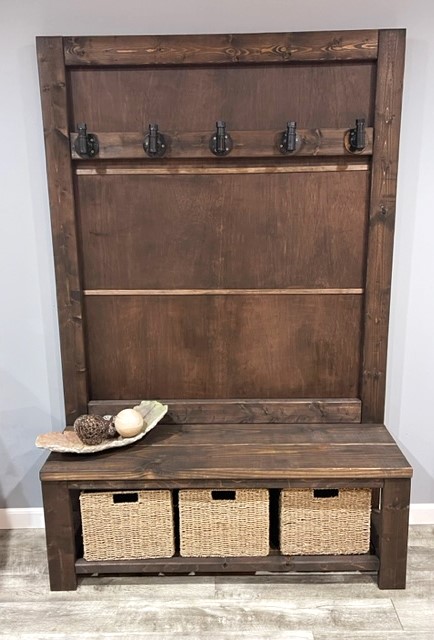
I used the Rustic X Hall Tree plans and slightly modified them. I'm very happy with how it turned out. I used black pipe for the hooks as I have a lot of this style of decor in my home. The stain color is Dark Bourbon from Varathane. The back is luan with screen bead across the front to hide the cut panels (I have a Ford escape and had them cut the luan into panels). The back is secured with 1x2s so I had something to hold my 5/8 inch brad nails for the screen bead. I didn't use the X design; I can always add it later if necessary. The baskets are from Amazon sized 12x12x10. I also didn't add the 16 inch side pieces or the top piece. I used pocket holes on 95% or more of the piece.
My wonderful hubby built this bed in a short amount of time and I did the sanding and staining. We made it for my 6 year old daughter for her 6th birthday surprise. Her reaction… a high pitched scream of excitement.
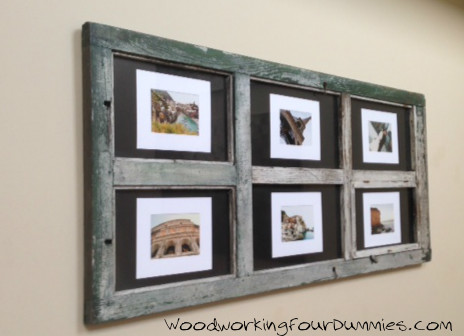
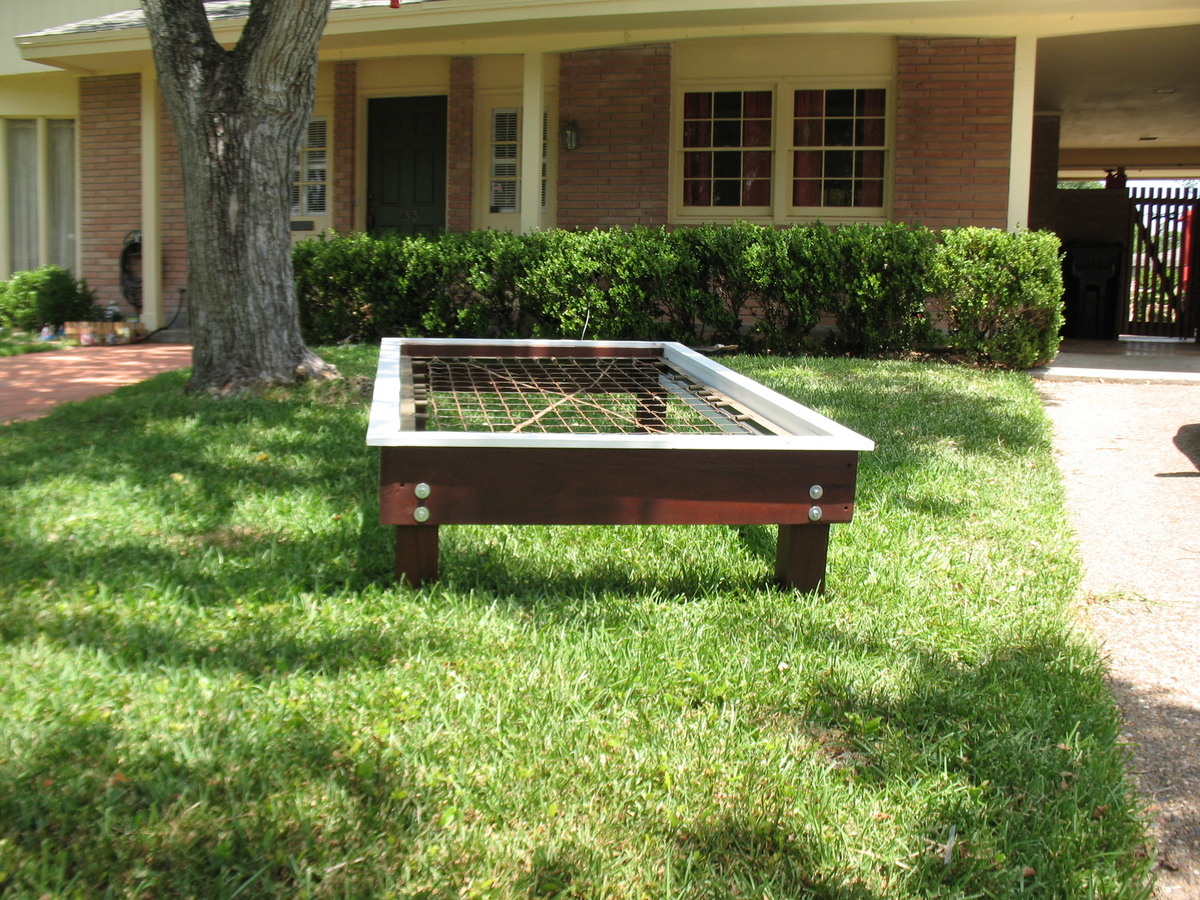
Our house walls are still pretty bare, we wanted some artwork. We bought an old door at a flea marker last summer and decided to turn it into a large picture frame.
More details and photos on my blog:
http://www.woodworkingfourdummies.com/blog/door-picture-frame
Cheers,
Ian

We NEEDED a table really bad when we moved into our first home. This was really easy to build as it was only my second project doing woodworking. I must have put 5 layers of polyurethane on the finish, but it was sooooo worth it!
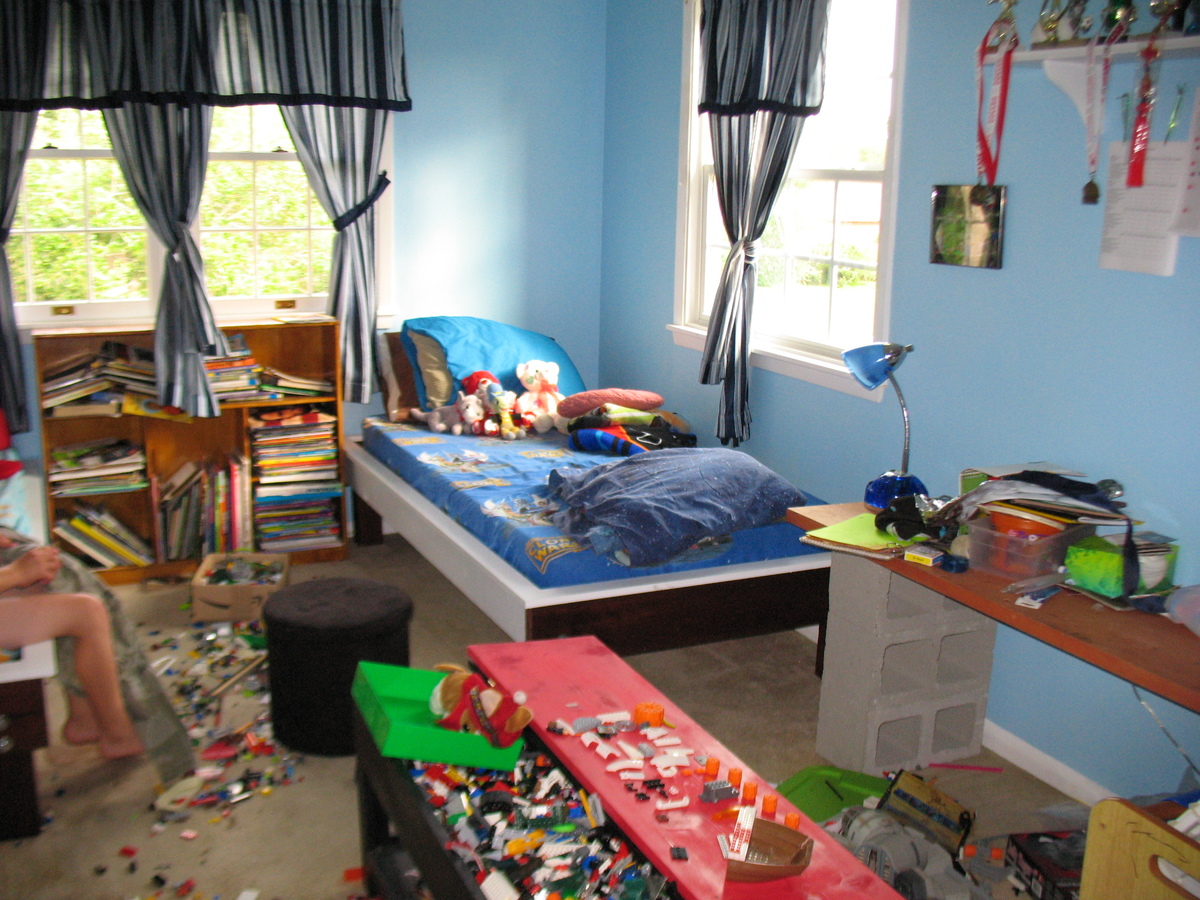
Loved building this for my son, much easier than I expected it to be.
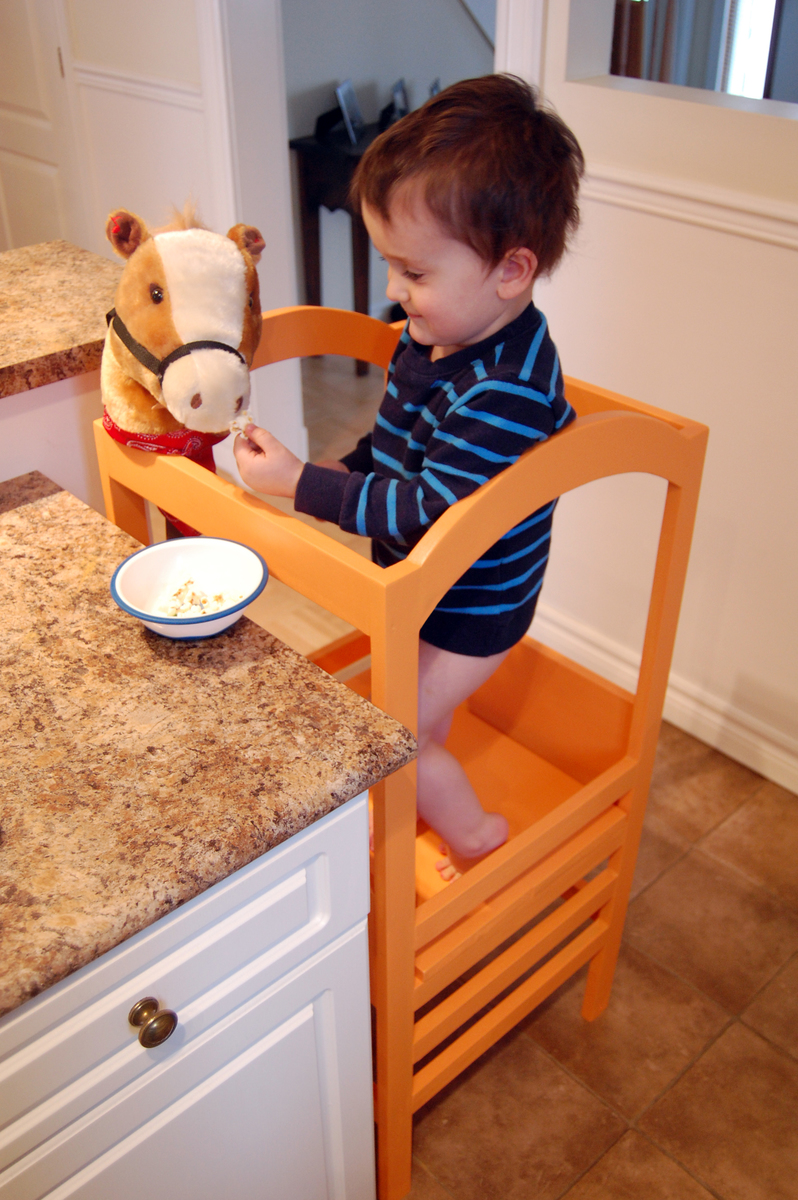
Total build time was about 3 hours, and another 3 hours for finishing. We've had it only a few days and it's already a staple in the kitchen, used for everything from peeling potatoes to feeding his horse!
Thank you so much for making these plans freely available.

The wife has a hard time bending down so she wanted pedestals for the washer and dryer. The metal ones with a drawer were too tall. I showed her Sausha's and she really loved that design. I basically used the same construction plans idea from Sausha's project and some tips from Ryan's brag post. But, I wanted to beef it up some. I didn't like the L-bracket to attach the top and 4X4 legs. It didn't seem sturdy enough for me. I used my table saw to square the edges on the 4X4 posts and the 2X6 rails. Then I used my Kreg jig and glued and screwed everything together. I liked Ryan's trim ideas, so I used baseboard trim for the bottom and flipped it for the top trim. I made a 1/2" lip so if it were to vibrate, the washer/dryer would not fall. I put the trim on the bottom of the legs and was considering putting on the top but I put some different trim all the way around the bottom of the 2X6 rails. The wife liked that. I also added some carpet on the top to cut down on vibration and to help keep the units in place. I also put some 4X4 pieces of carpet on the bottom to keep the noise down and to help in moving it. I primed and used an gravity sprayer to paint it. Then I put 3 coats of polyacrylic to help in cleaning and to cut down on scratches from the laundry baskets.


Wed, 06/29/2016 - 14:31
I think you could probably drive a truck on top of yours. :) I was a bit concerned about the strength of the construction when I first decided to build it, but I decided that since it would be stationary once I have it in place and the only force would be straight down, it would be fine. Once I got it put together, it was actually sturdier than I thought it was going to be...from a horizontal force perspective. Virtically, that thing could hold 100 washer/dryer pairs...the plywould would give out before the 2x4s and 4x4s would even budge.
Anyway, nice work! I love the Kreg Jig...I need one of those.
Sun, 01/29/2017 - 16:23
Great looking build, thanks for the detailed photos!
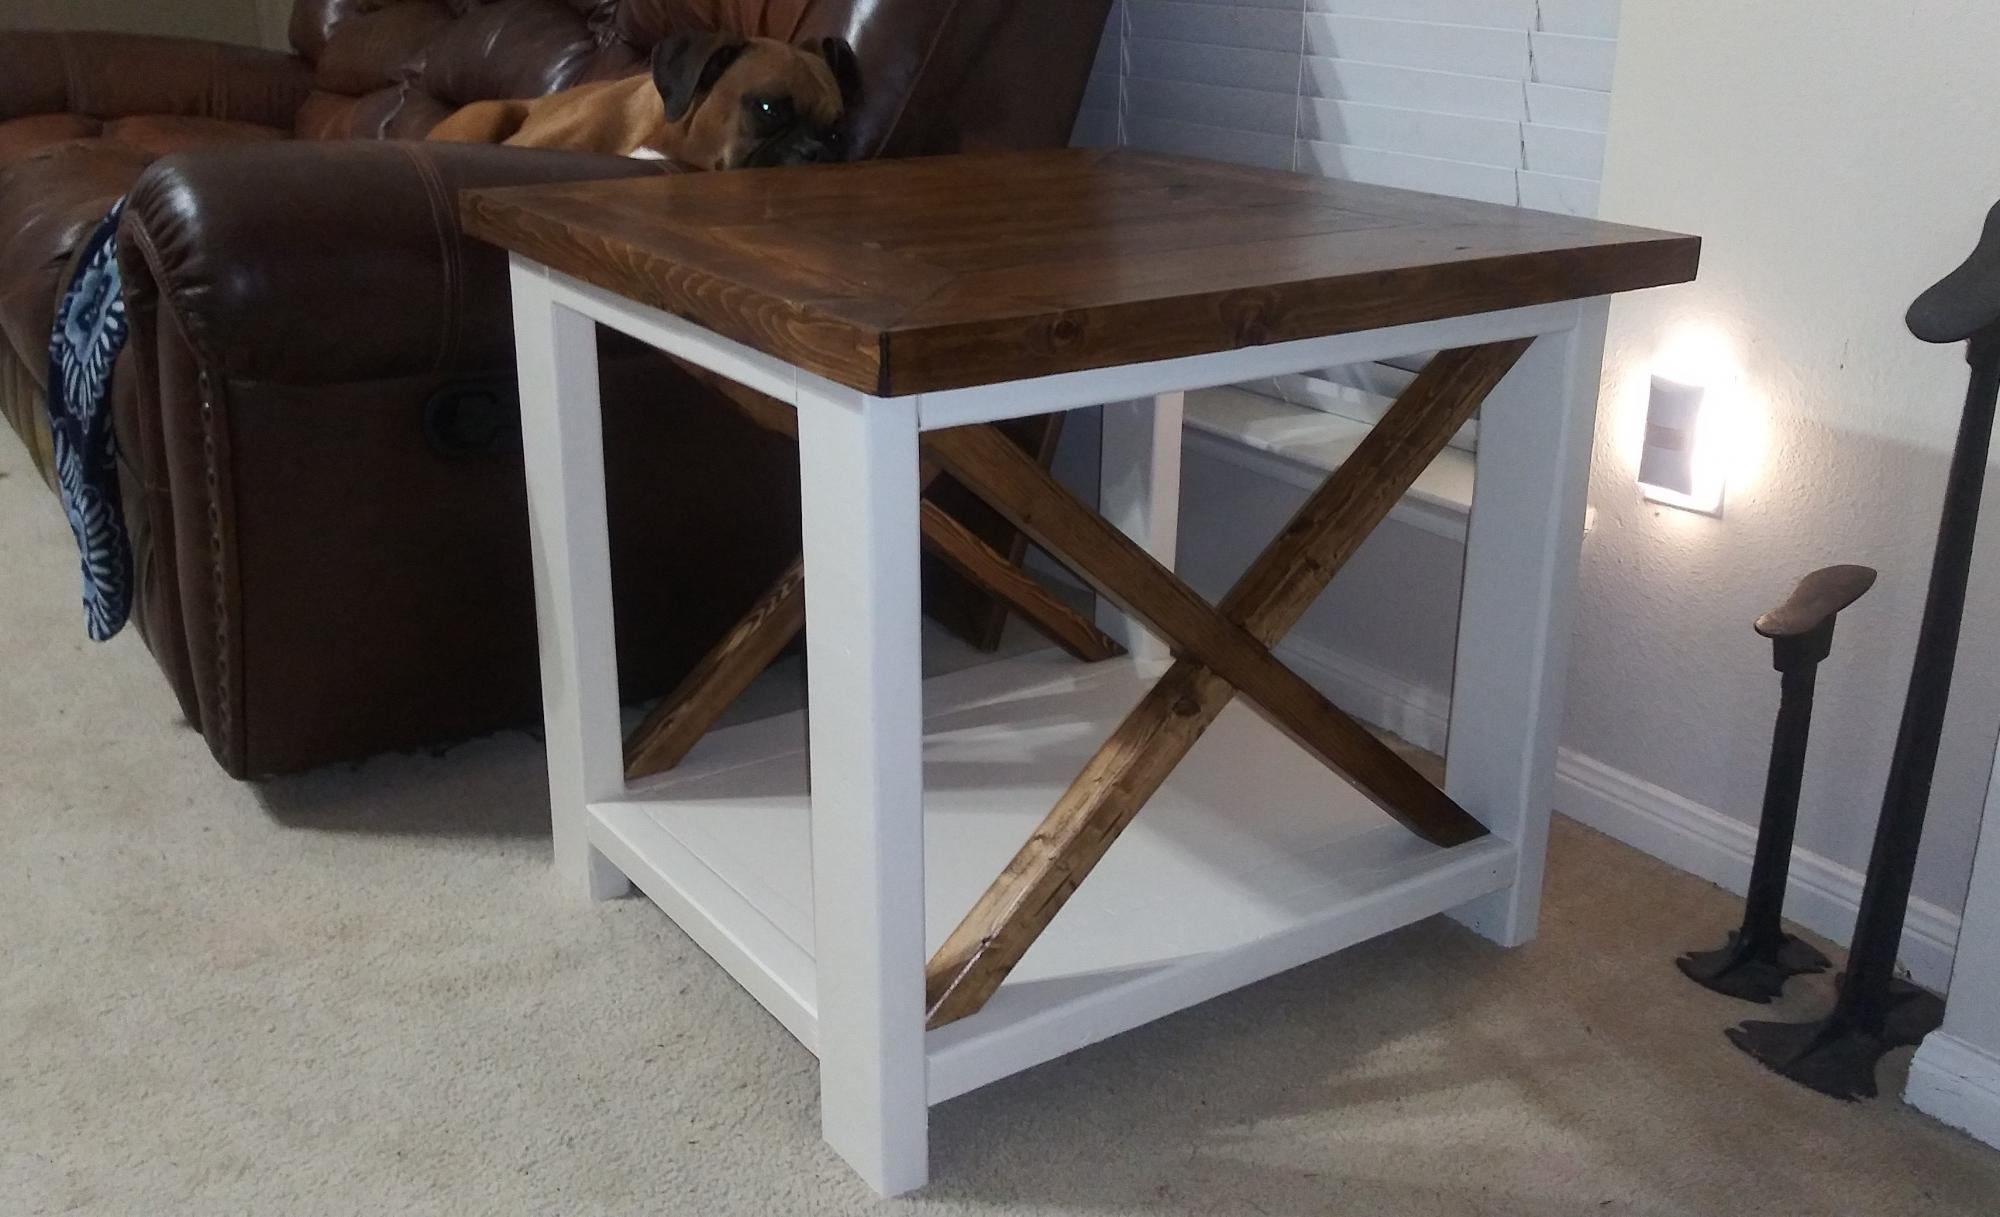
I used the rustic X end table plan to make a set, went a different route on the color and stain. I also used plywood on the bottom instead of 1" by 12".
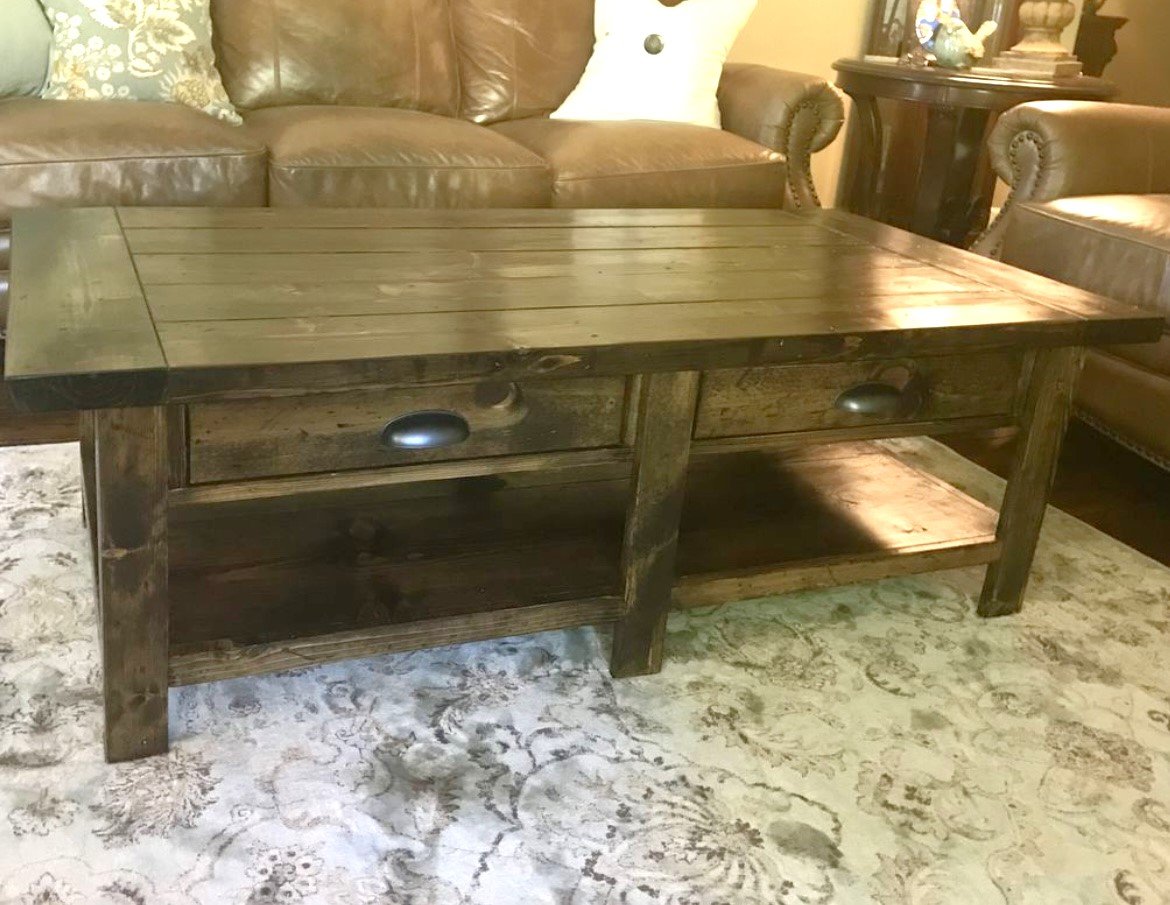
This was inspired by a Potter Barn table that looked similar. It was one of my first projects. I couldn’t afford the 2000 plus from there so built it. Sanded very fine and used Dark Walnut stain. Sealed four times with polyurethane sanding between each. Rubbed last coat of polyurethane on with cloth and used 0000 steel wool to give it a very soft and smooth finish.
Lynn
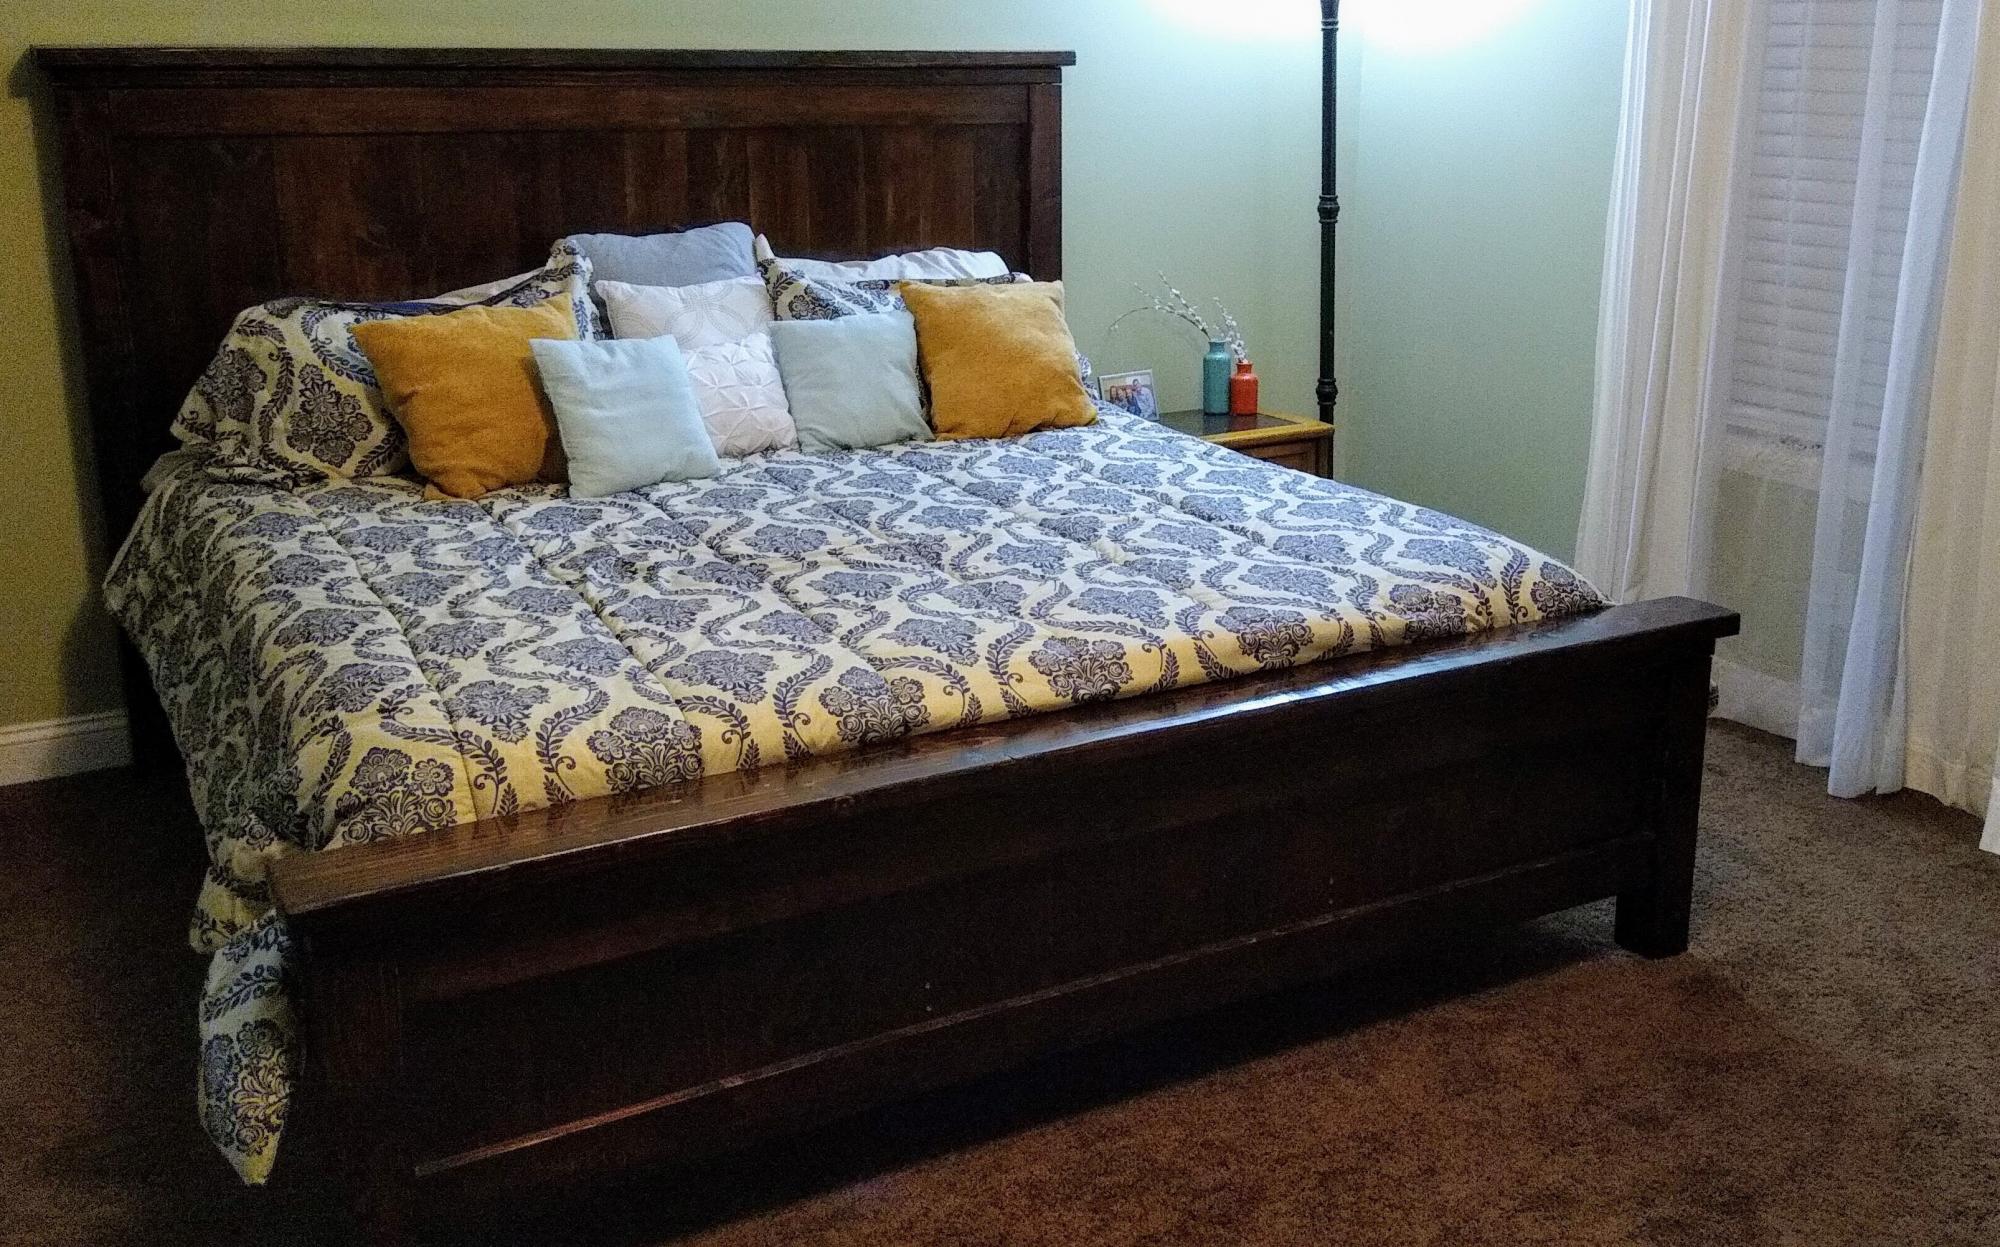
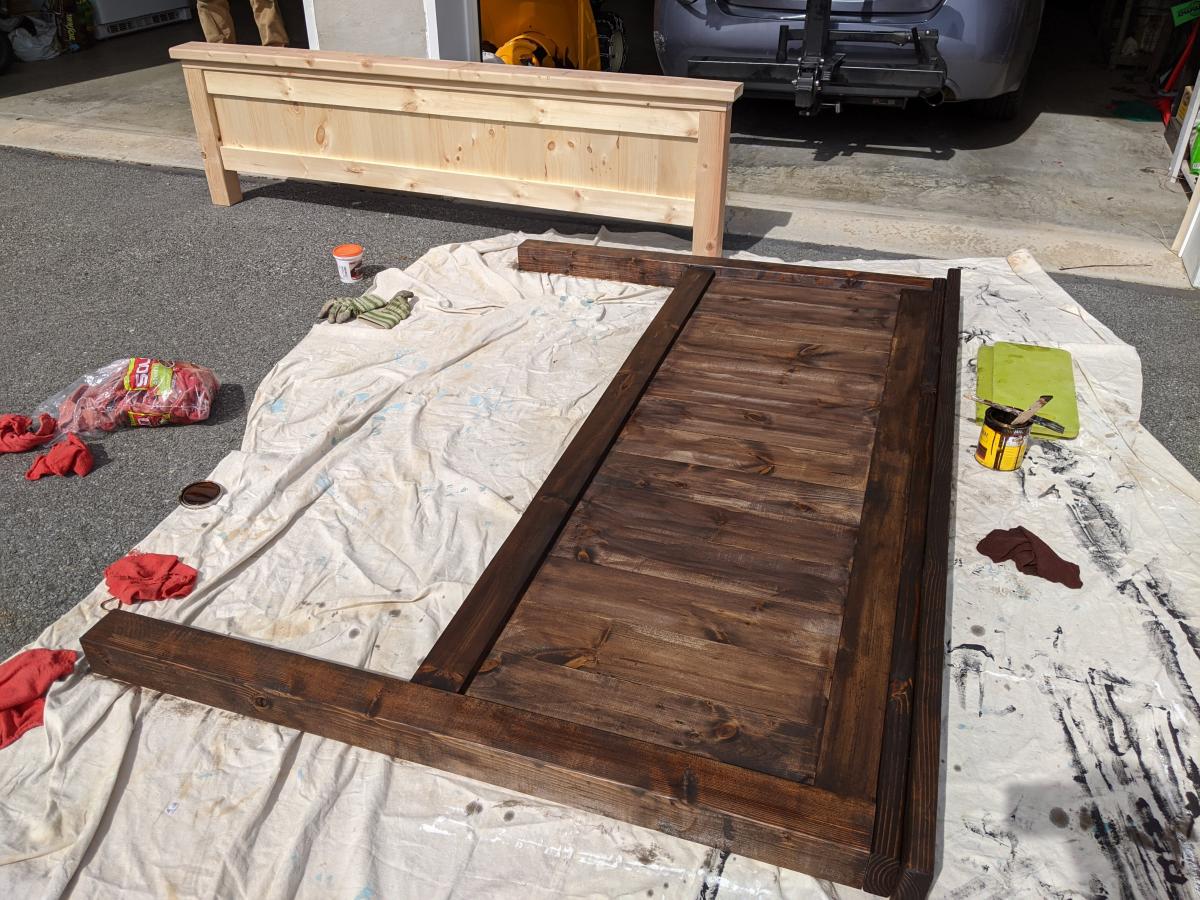
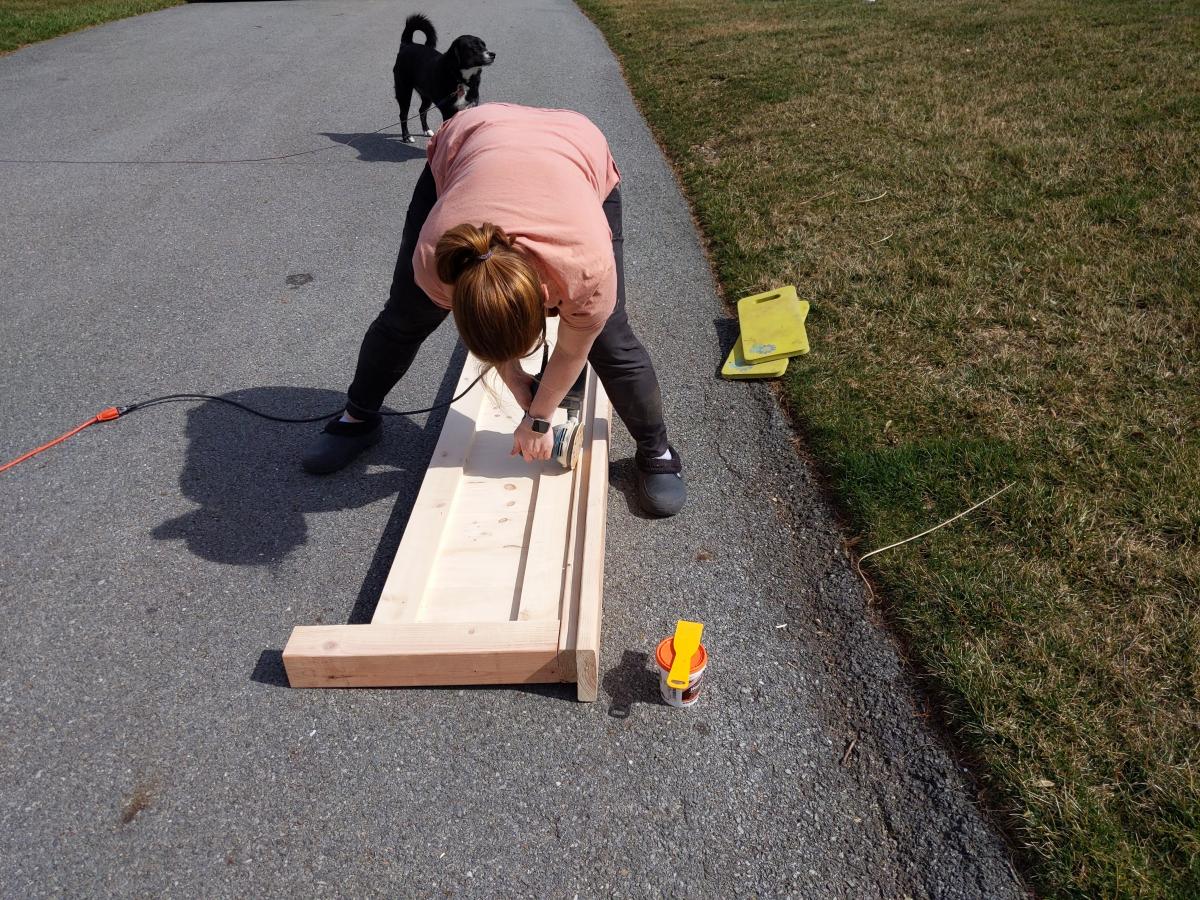
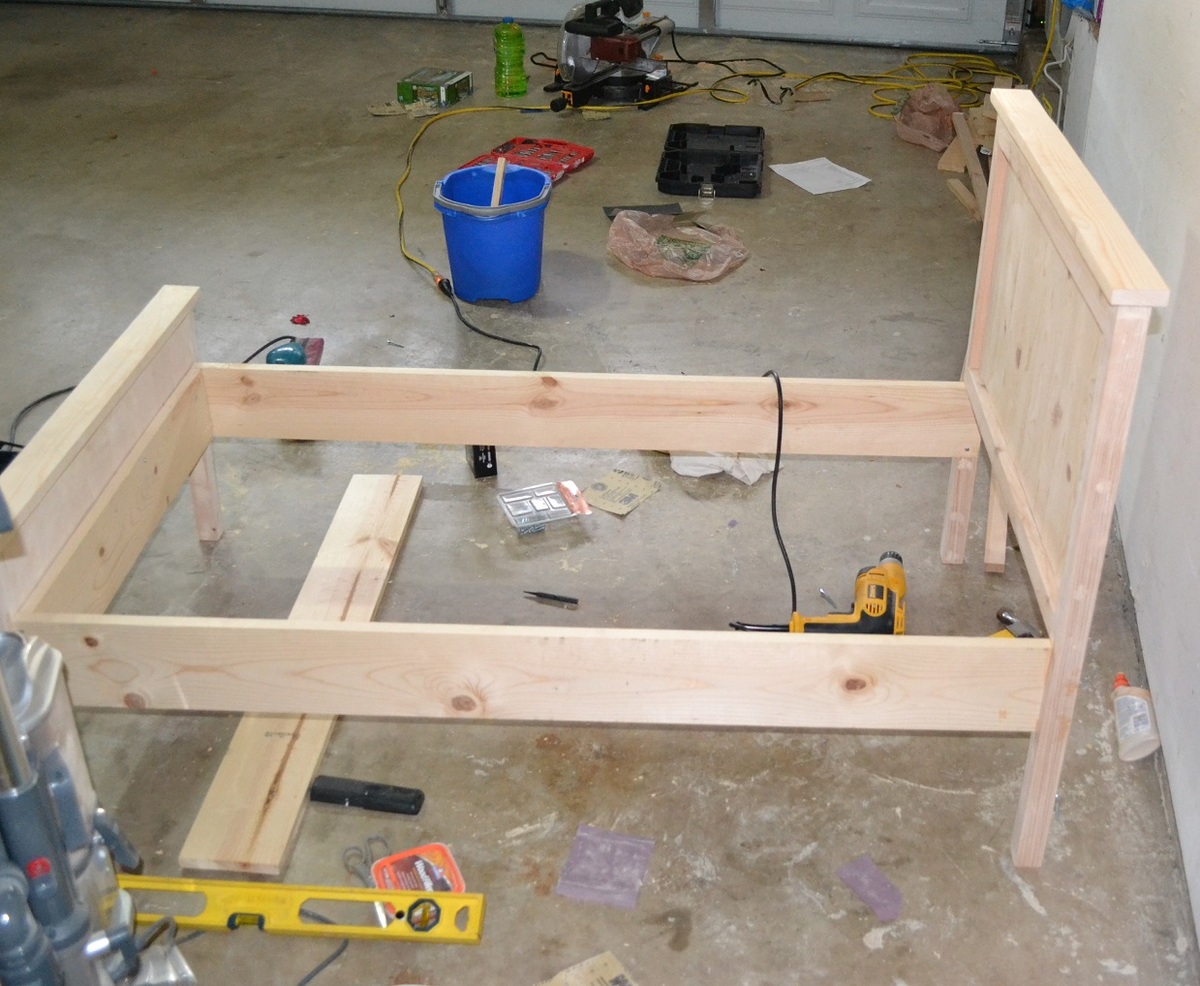
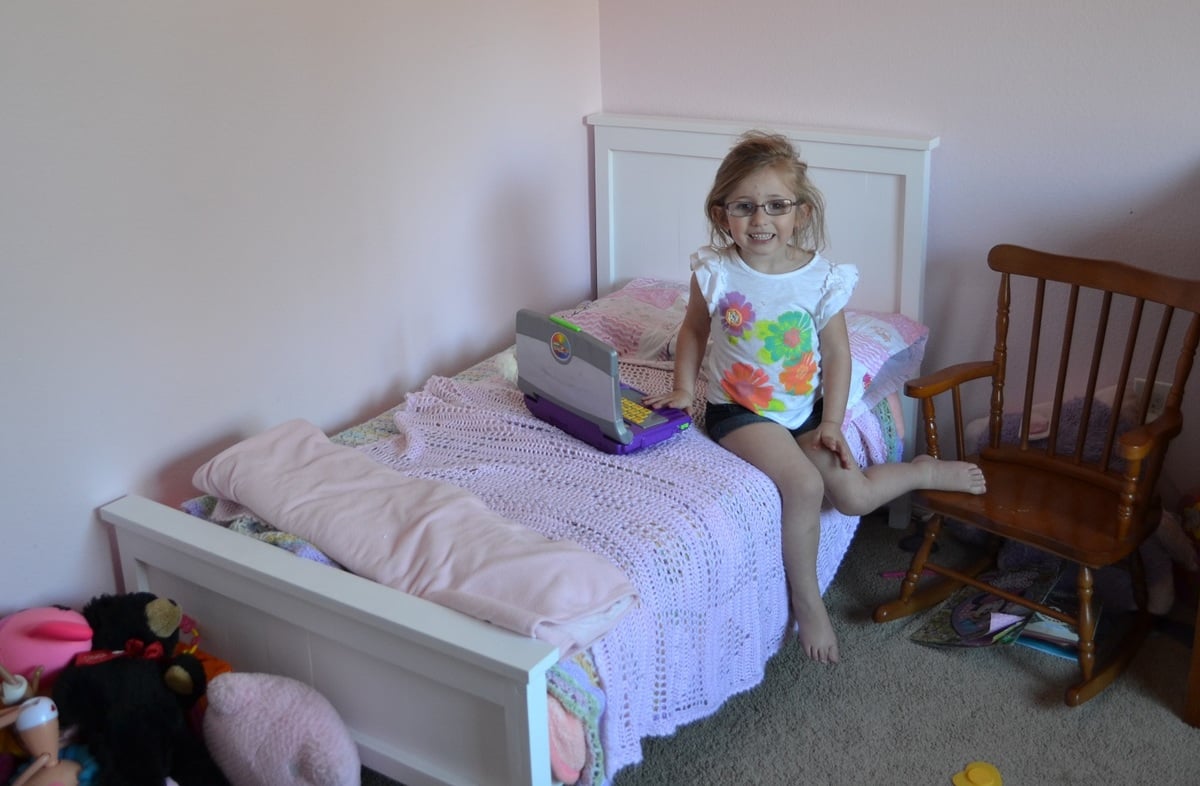
I took the Hailey Platform Bed plan and cut to a twin bed size. I used some old wood I found in the garage for the head and foot boards and the legs. Notice the legs are 4x4s. The grandkids had some old bed springs under their mattresses so I incorporated the spring into the build. That required that I lower the cleat a couple of inches and it meant I had a very complicated leg geometry in order to get it deep enough to support the bed. I built the frame with Kreg Jig pocket joints and they made the work very easy with such large and heavy timbers. Notice I attached the legs to the frame with 5/16" lag screws which allows easy removal of the legs if you need to make it easier to move. Came out very good but I think I will build the second bed without the springs and go for the slat method as shown in the plans.The result is beautiful. My neighbor commented that it looked very Pottery Barnish!
The second bed I finished yesterday is made with slats. A very smart move. The legs are so much easier to attach to the frame. Both beds are beautiful and sturdy. One grandkid told me that when the hurricane comes he is going to get under his bed because it is so strong. He may be right but I will be in Laredo or San Antonio.
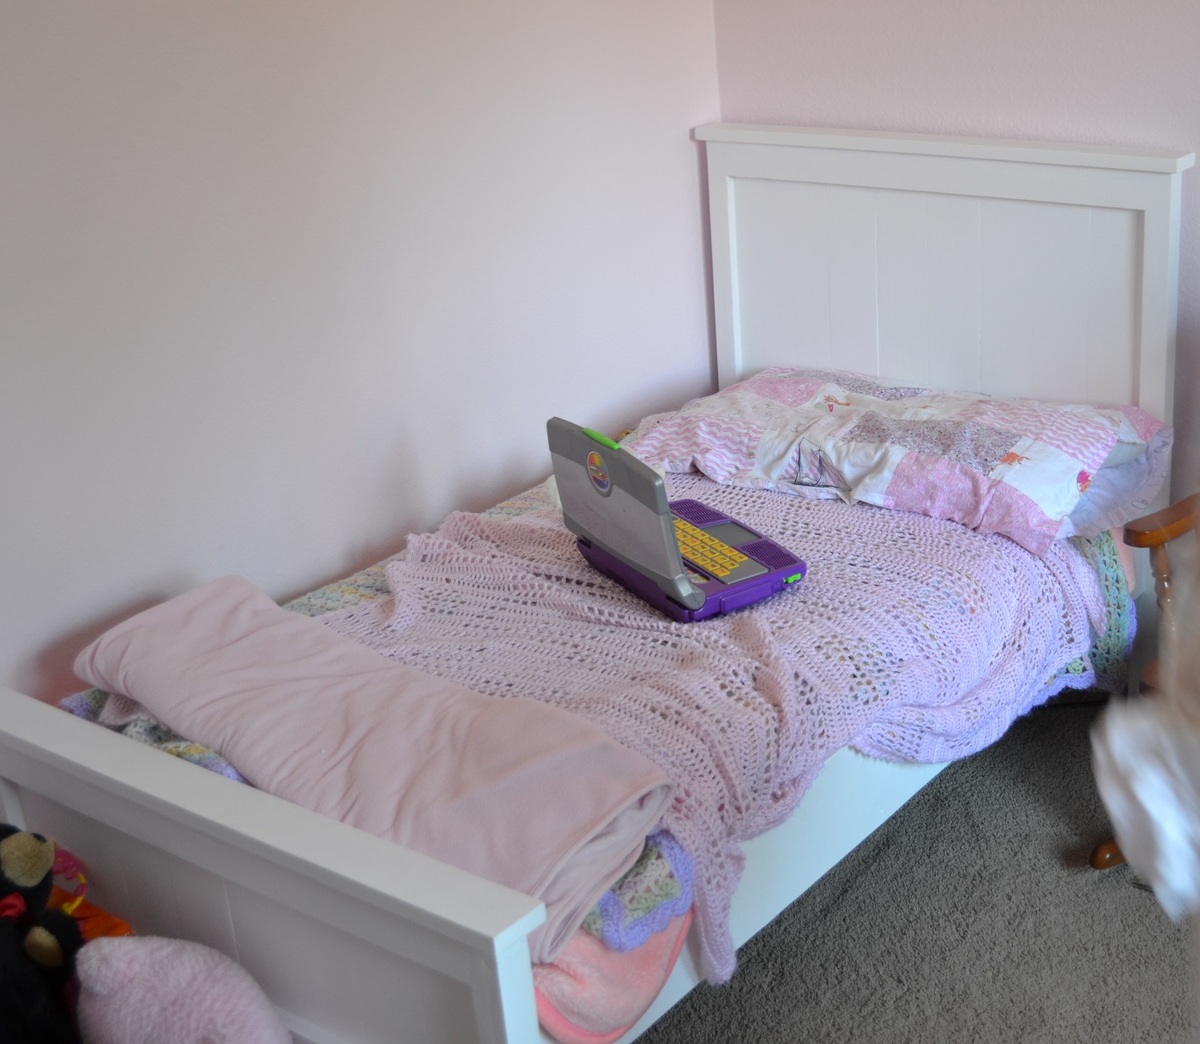
I'm so excited, this is my first furniture project. My husband was a little hesitant initially but is happy with the completed bed. This bed is so sturdy, I can easily sit on the edge and even lay down with my daughter. She loves her new bed and her brothers are a bit jealous. I told them to go through Ana's site and find something they like! Thank you so much for the projects you offer on here.
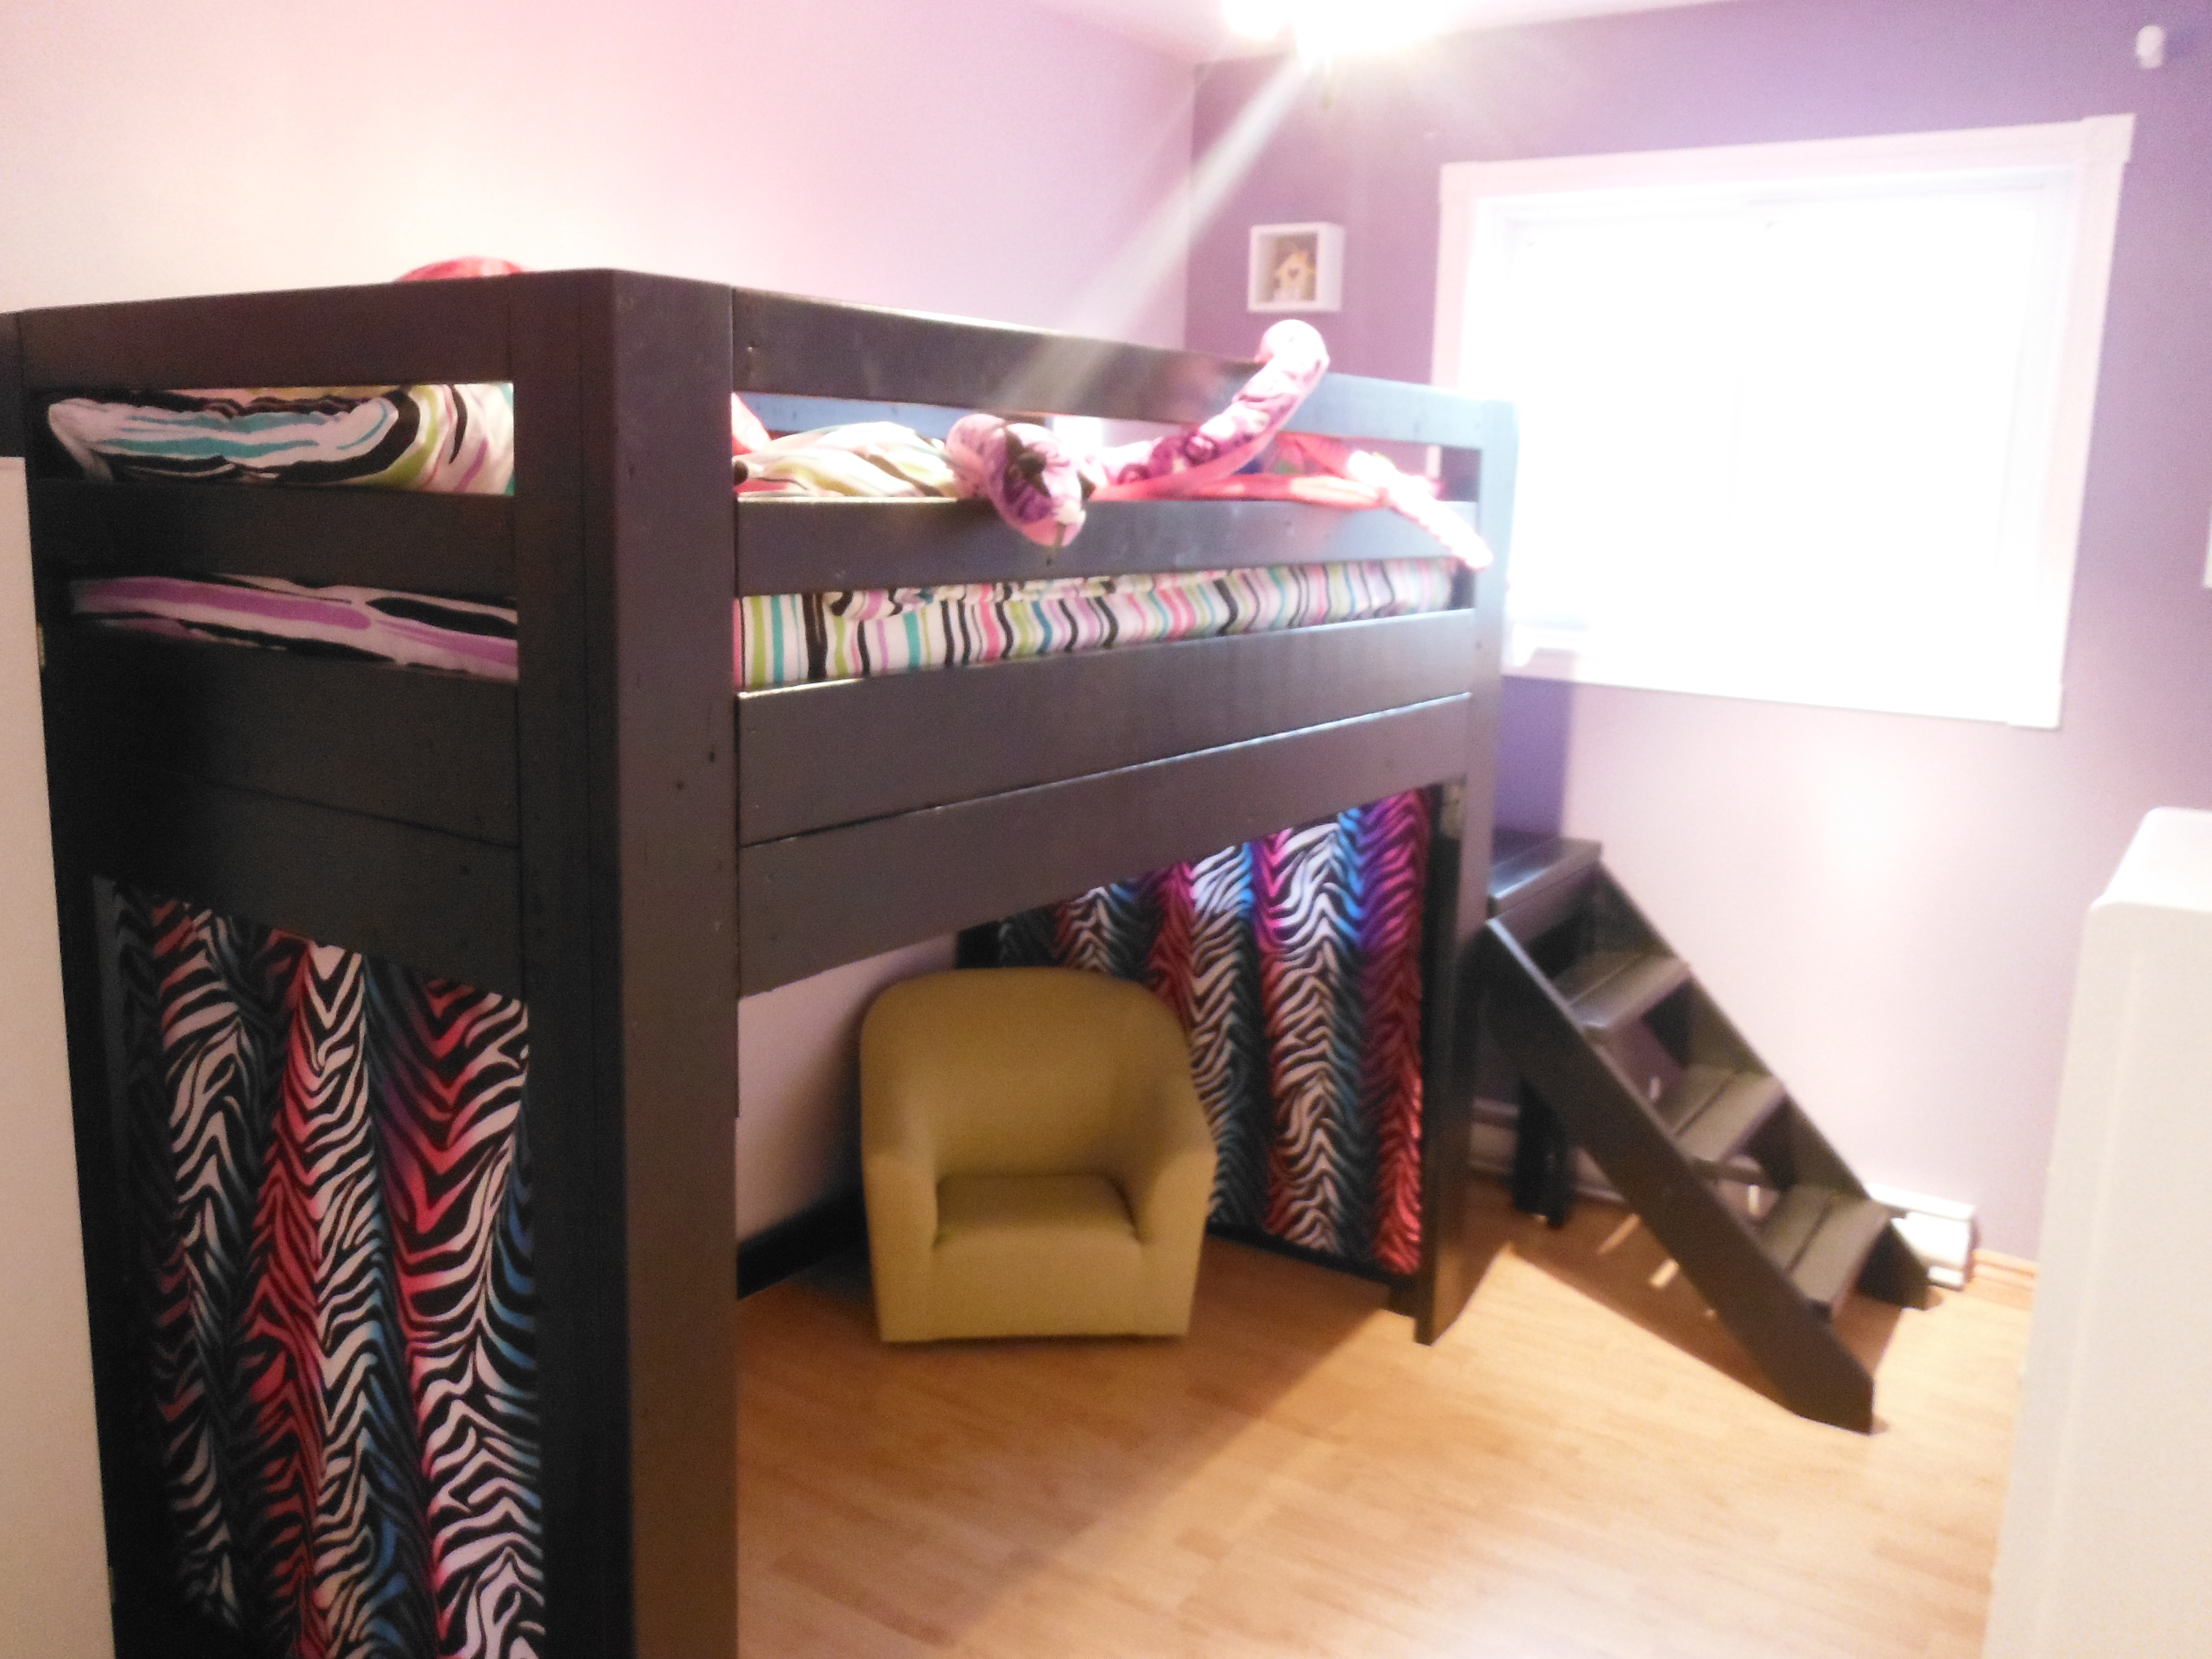
I altered the plans for a 28" wide crib mattress. Instead of a 1 x 3 on the ends of the head and footboard, I used 1 x 4s all the way across.
I also altered it to be 3" taller because I need a little extra storage space under my daughter's bed.
I did not use a nailer, just a hammer and nails. I found that it helped to use legs and shims on the bed rails frame and get to perfect level and then nail the footboard to the frame. Next, I screwed the frame into the footboard. This might be unnecessary info, but as a beginner, this part gave me a bit of trouble.
I used Behr Premium in Ultra Pure White with an Eggshell finish.
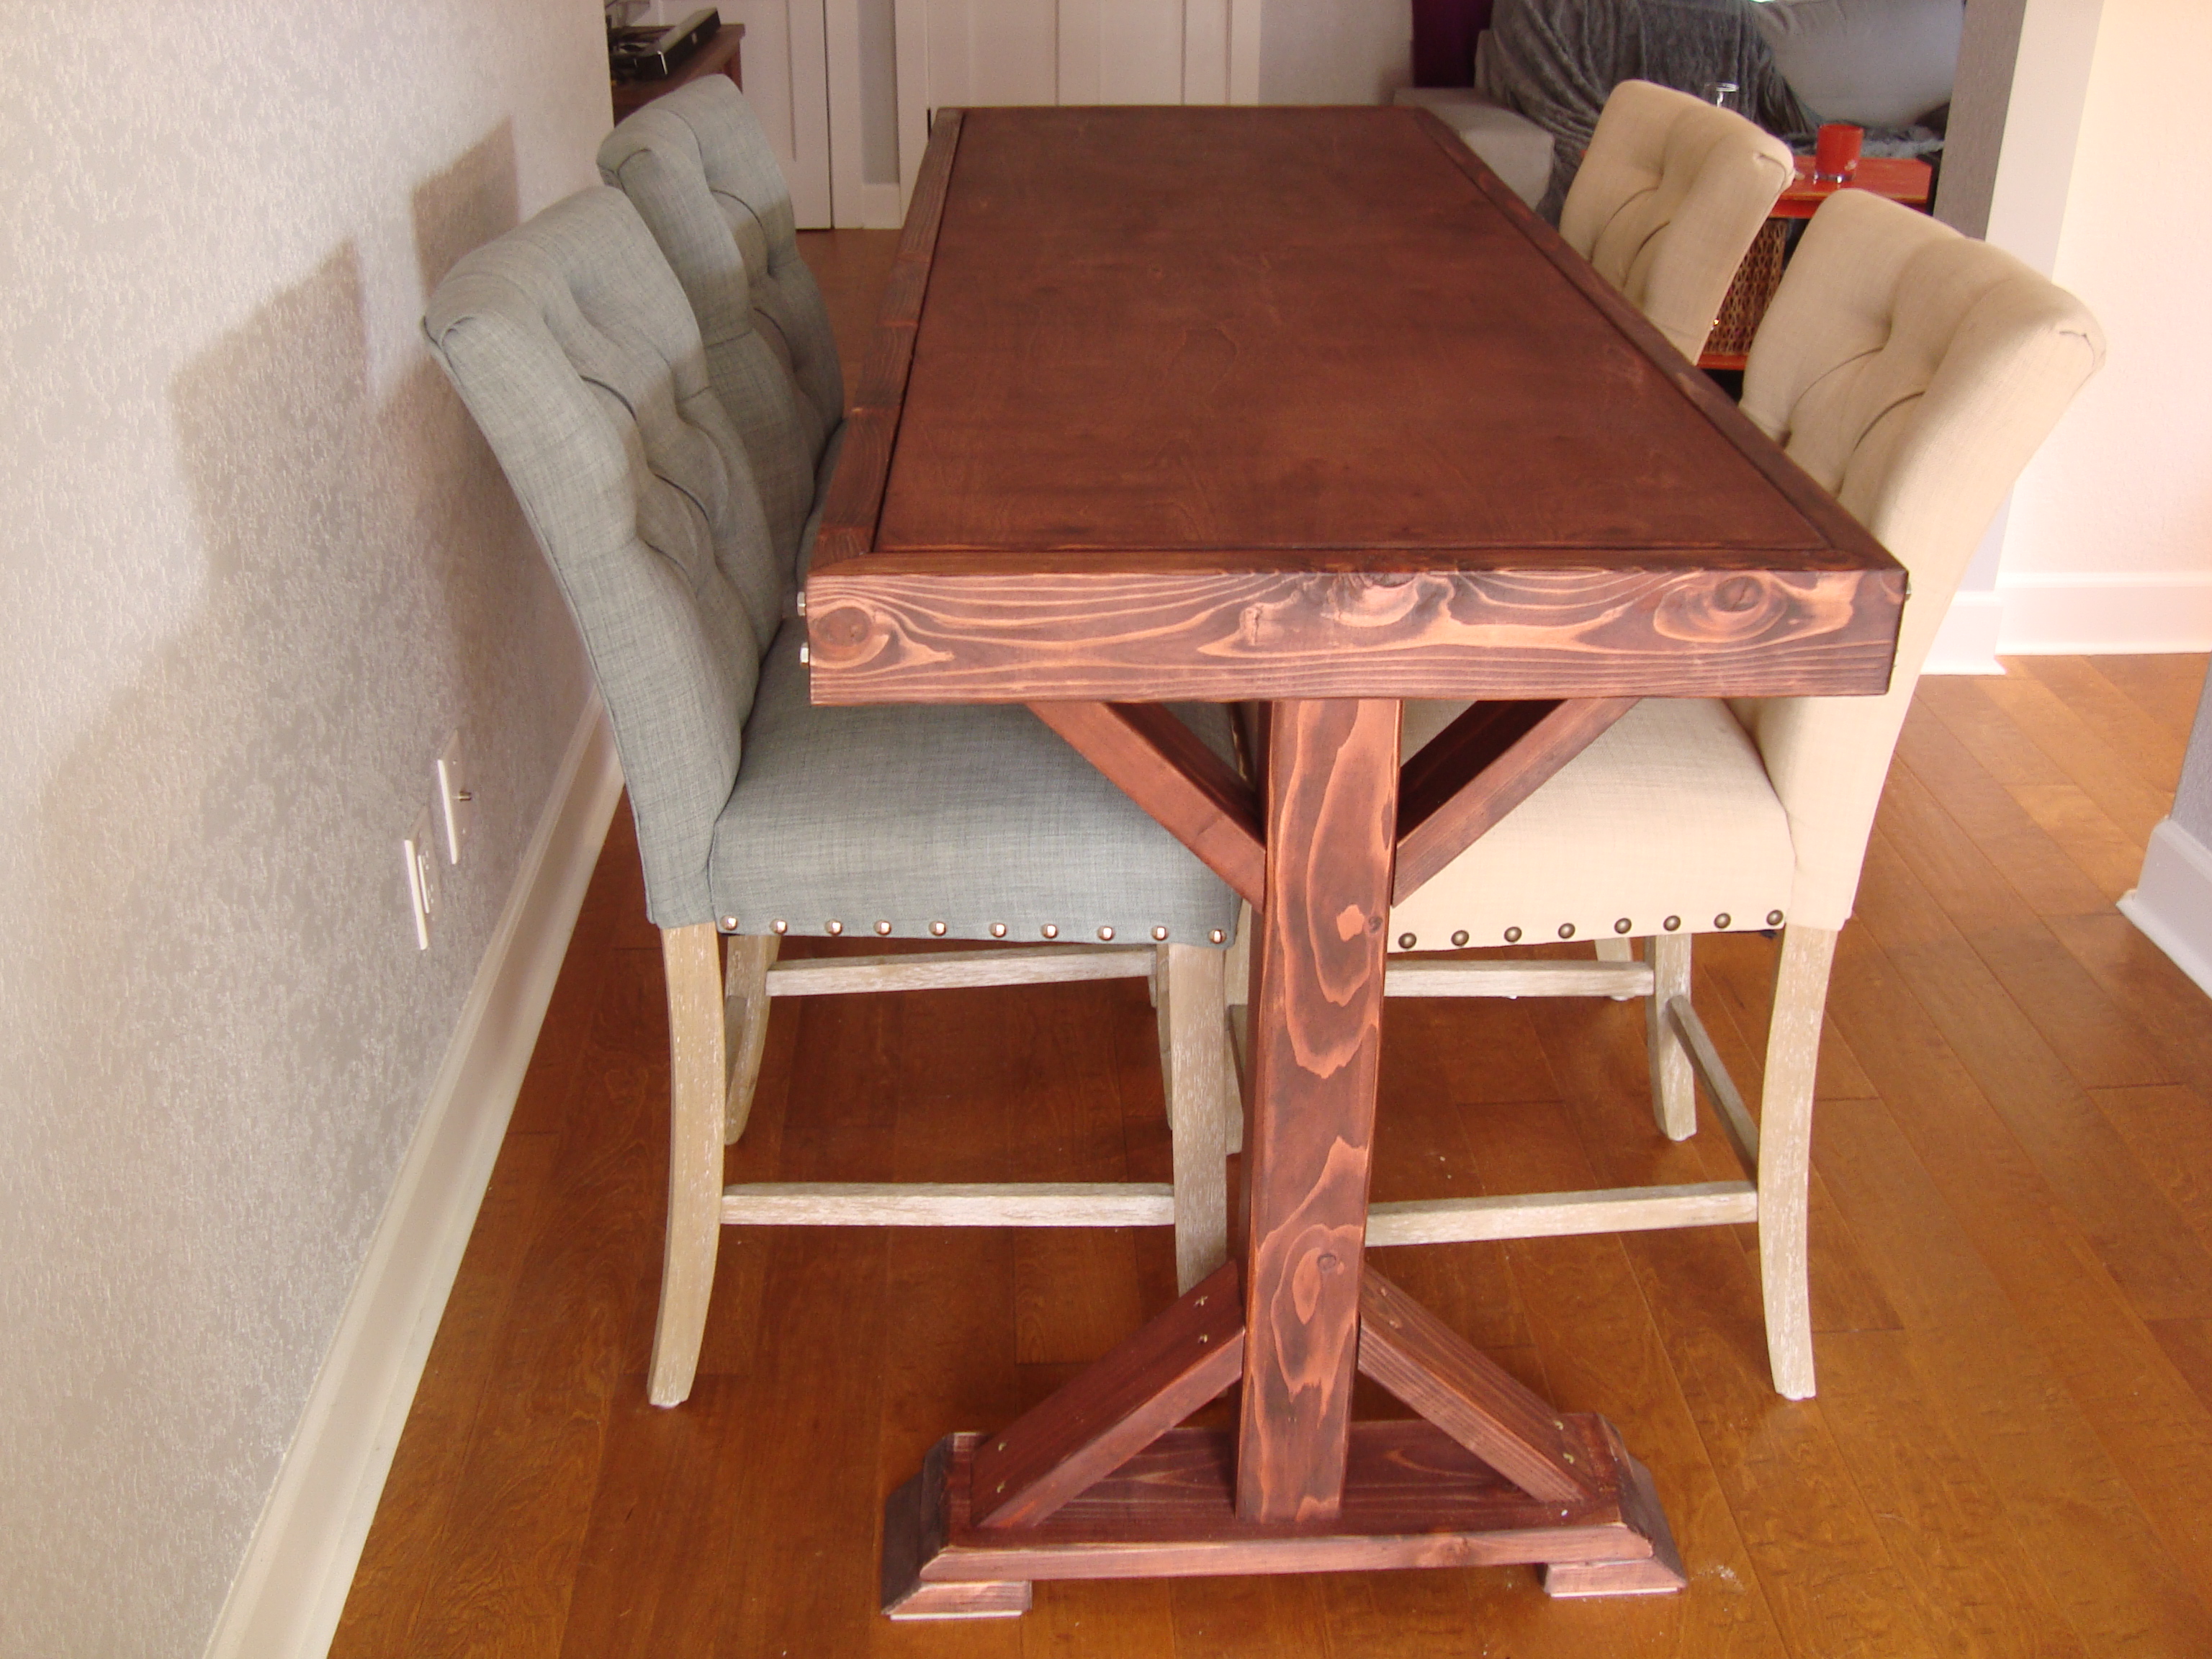
This is an adapted plan from the:
Chunky X Base Table
http://www.ana-white.com/2016/02/free_plans/chunky-x-base-table-featuri…
I made it counter height, made it skinnier at 27" depth and really long at 72" long.

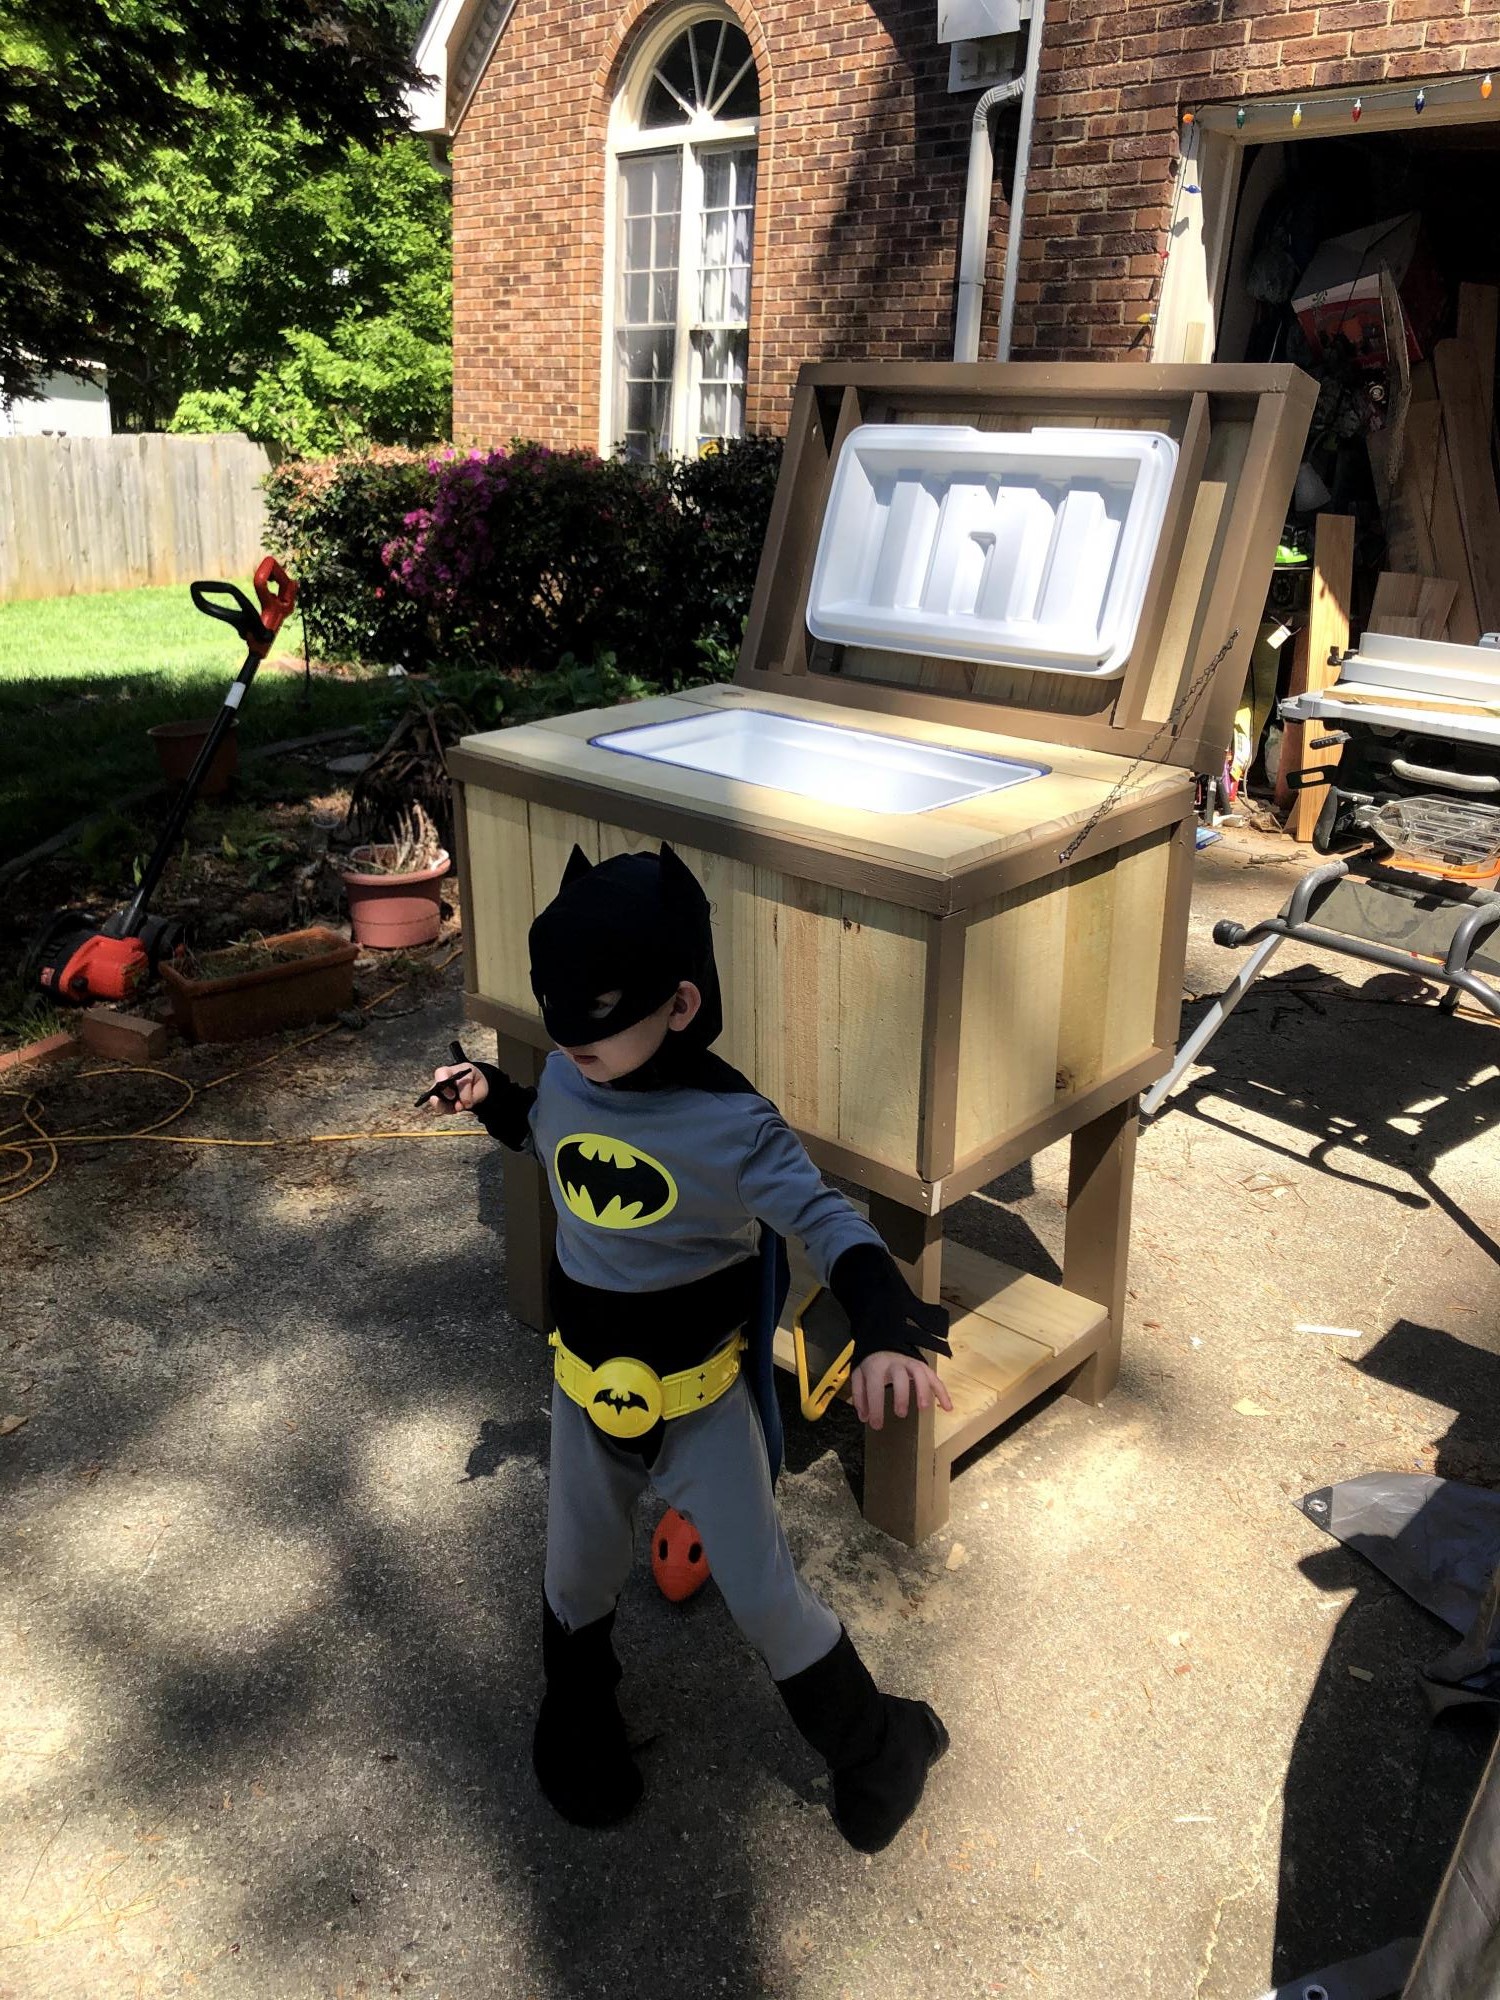
Wood Cooler Stand
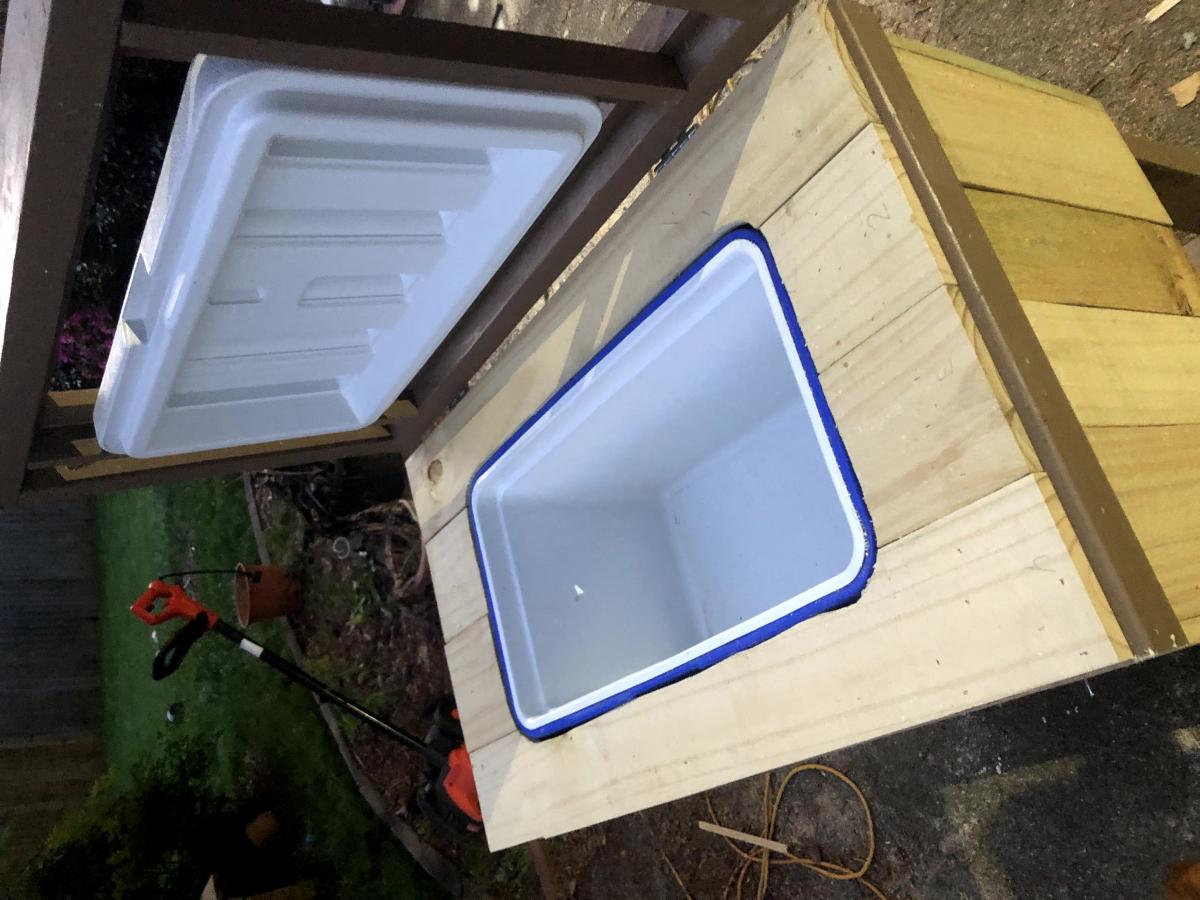
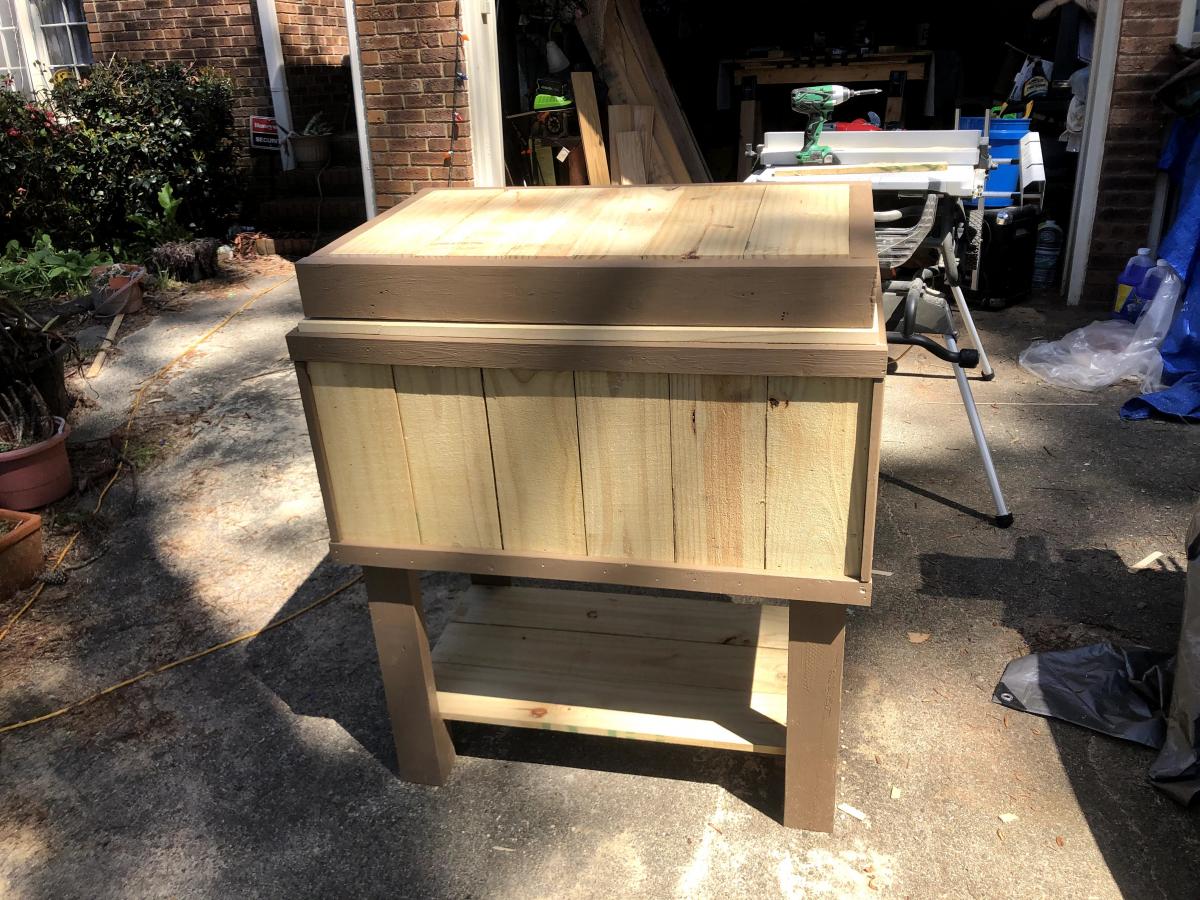
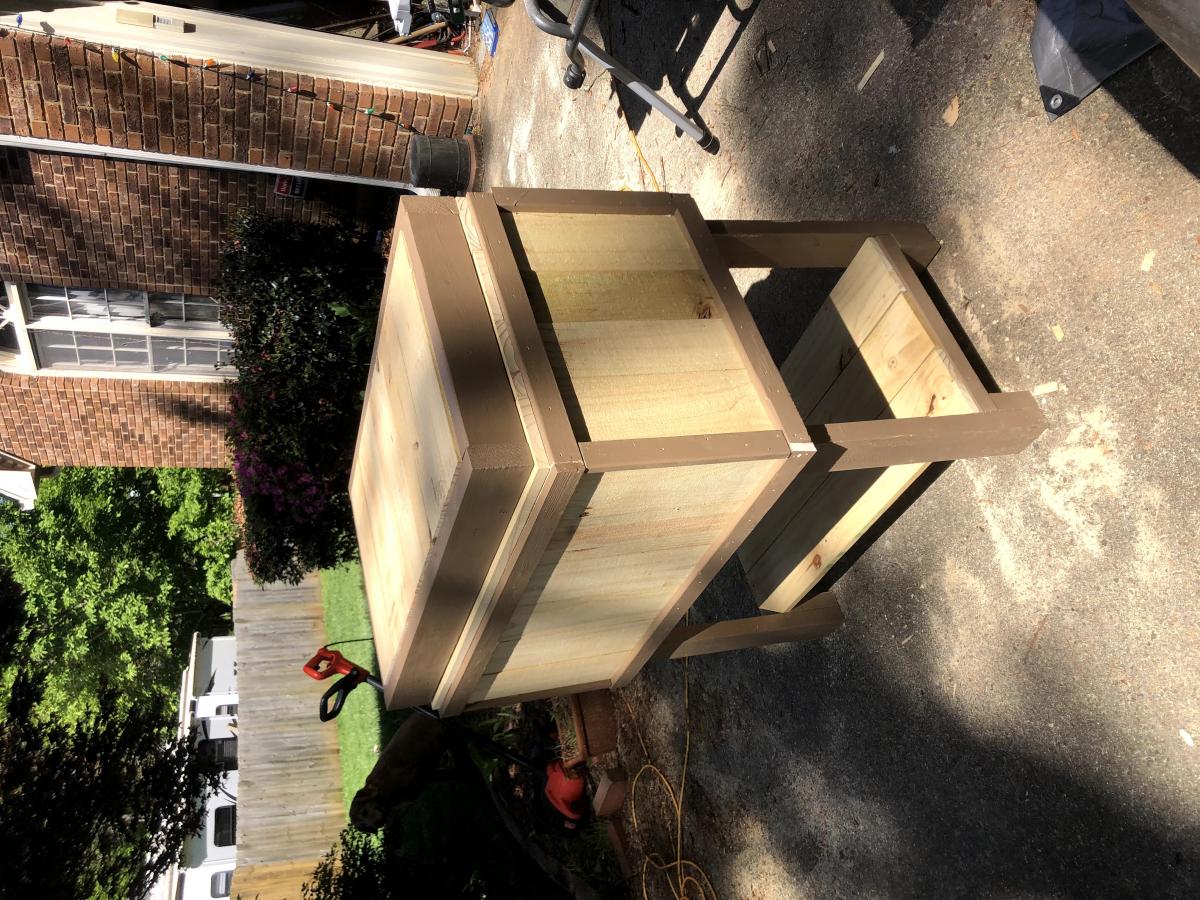
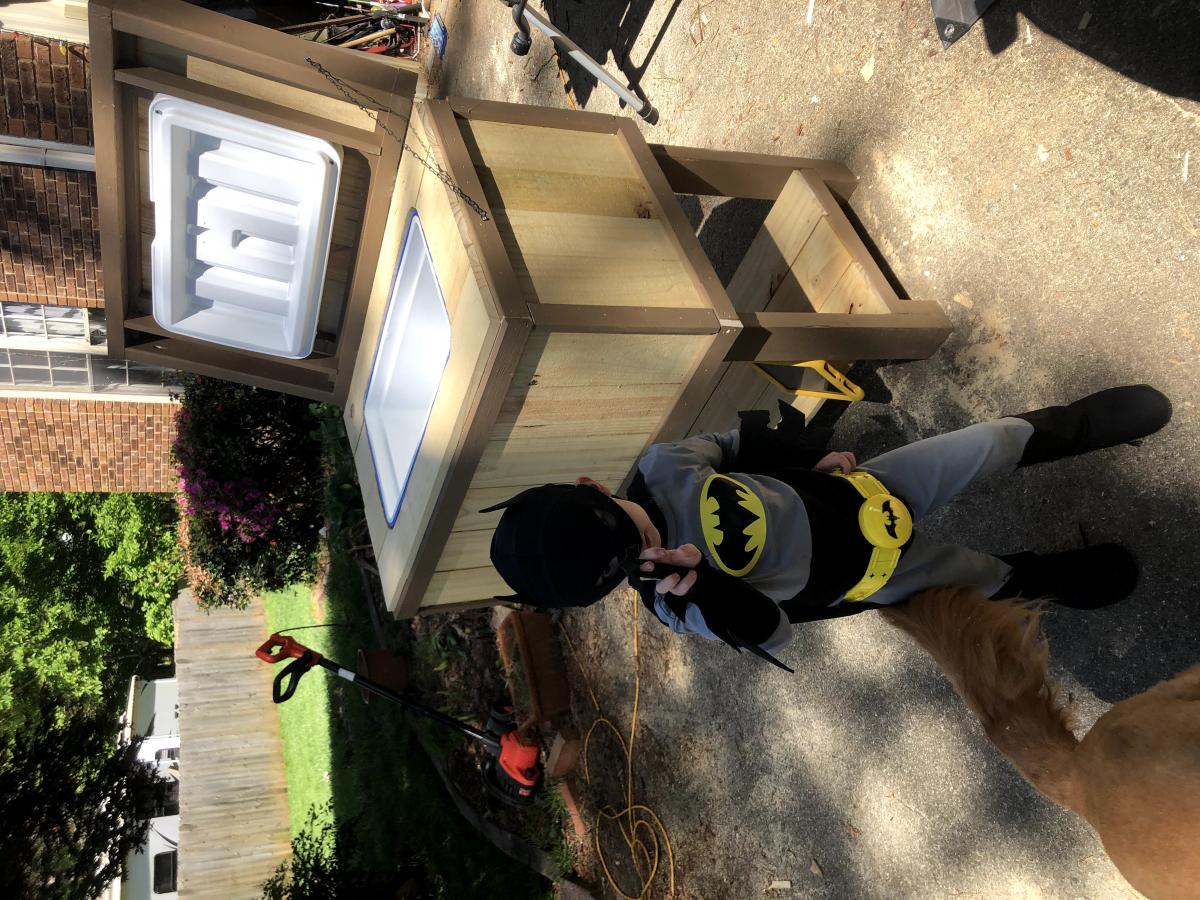
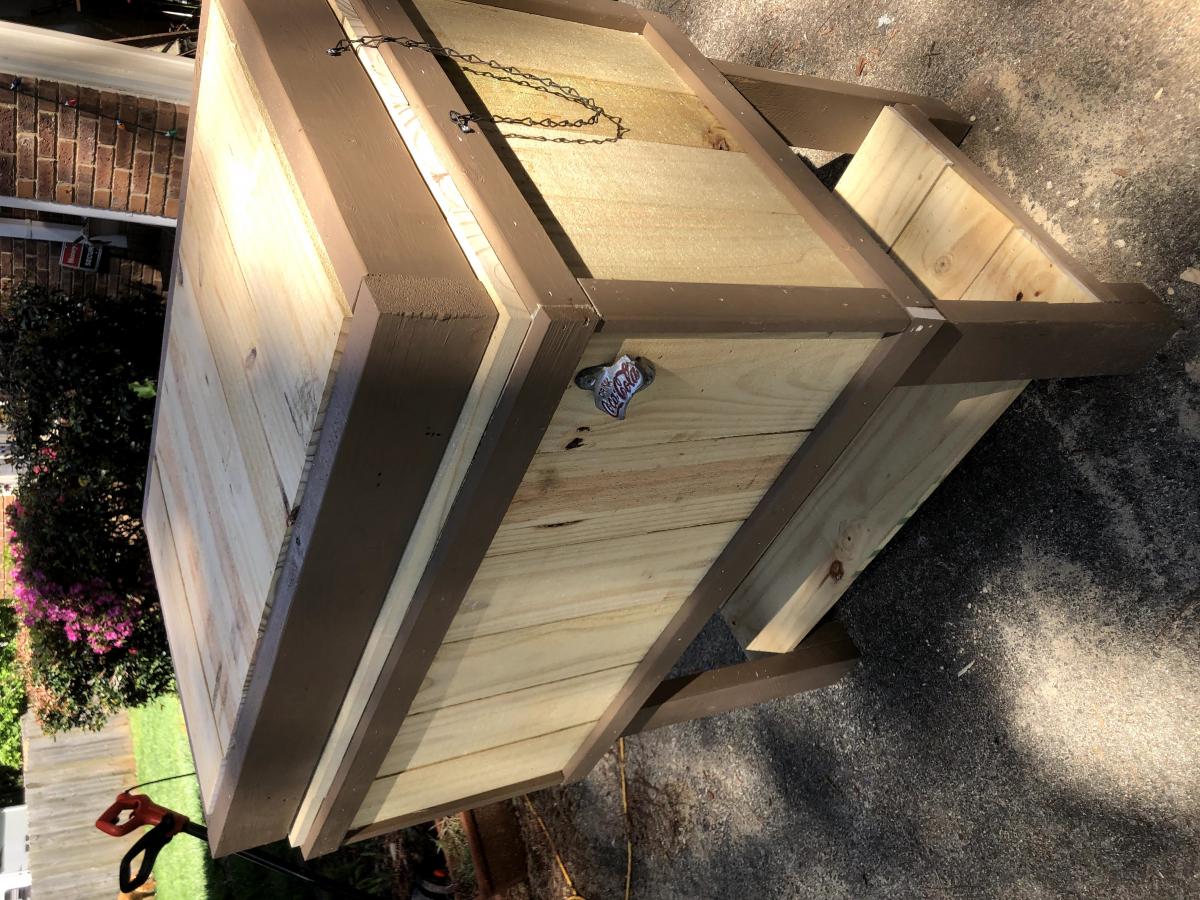
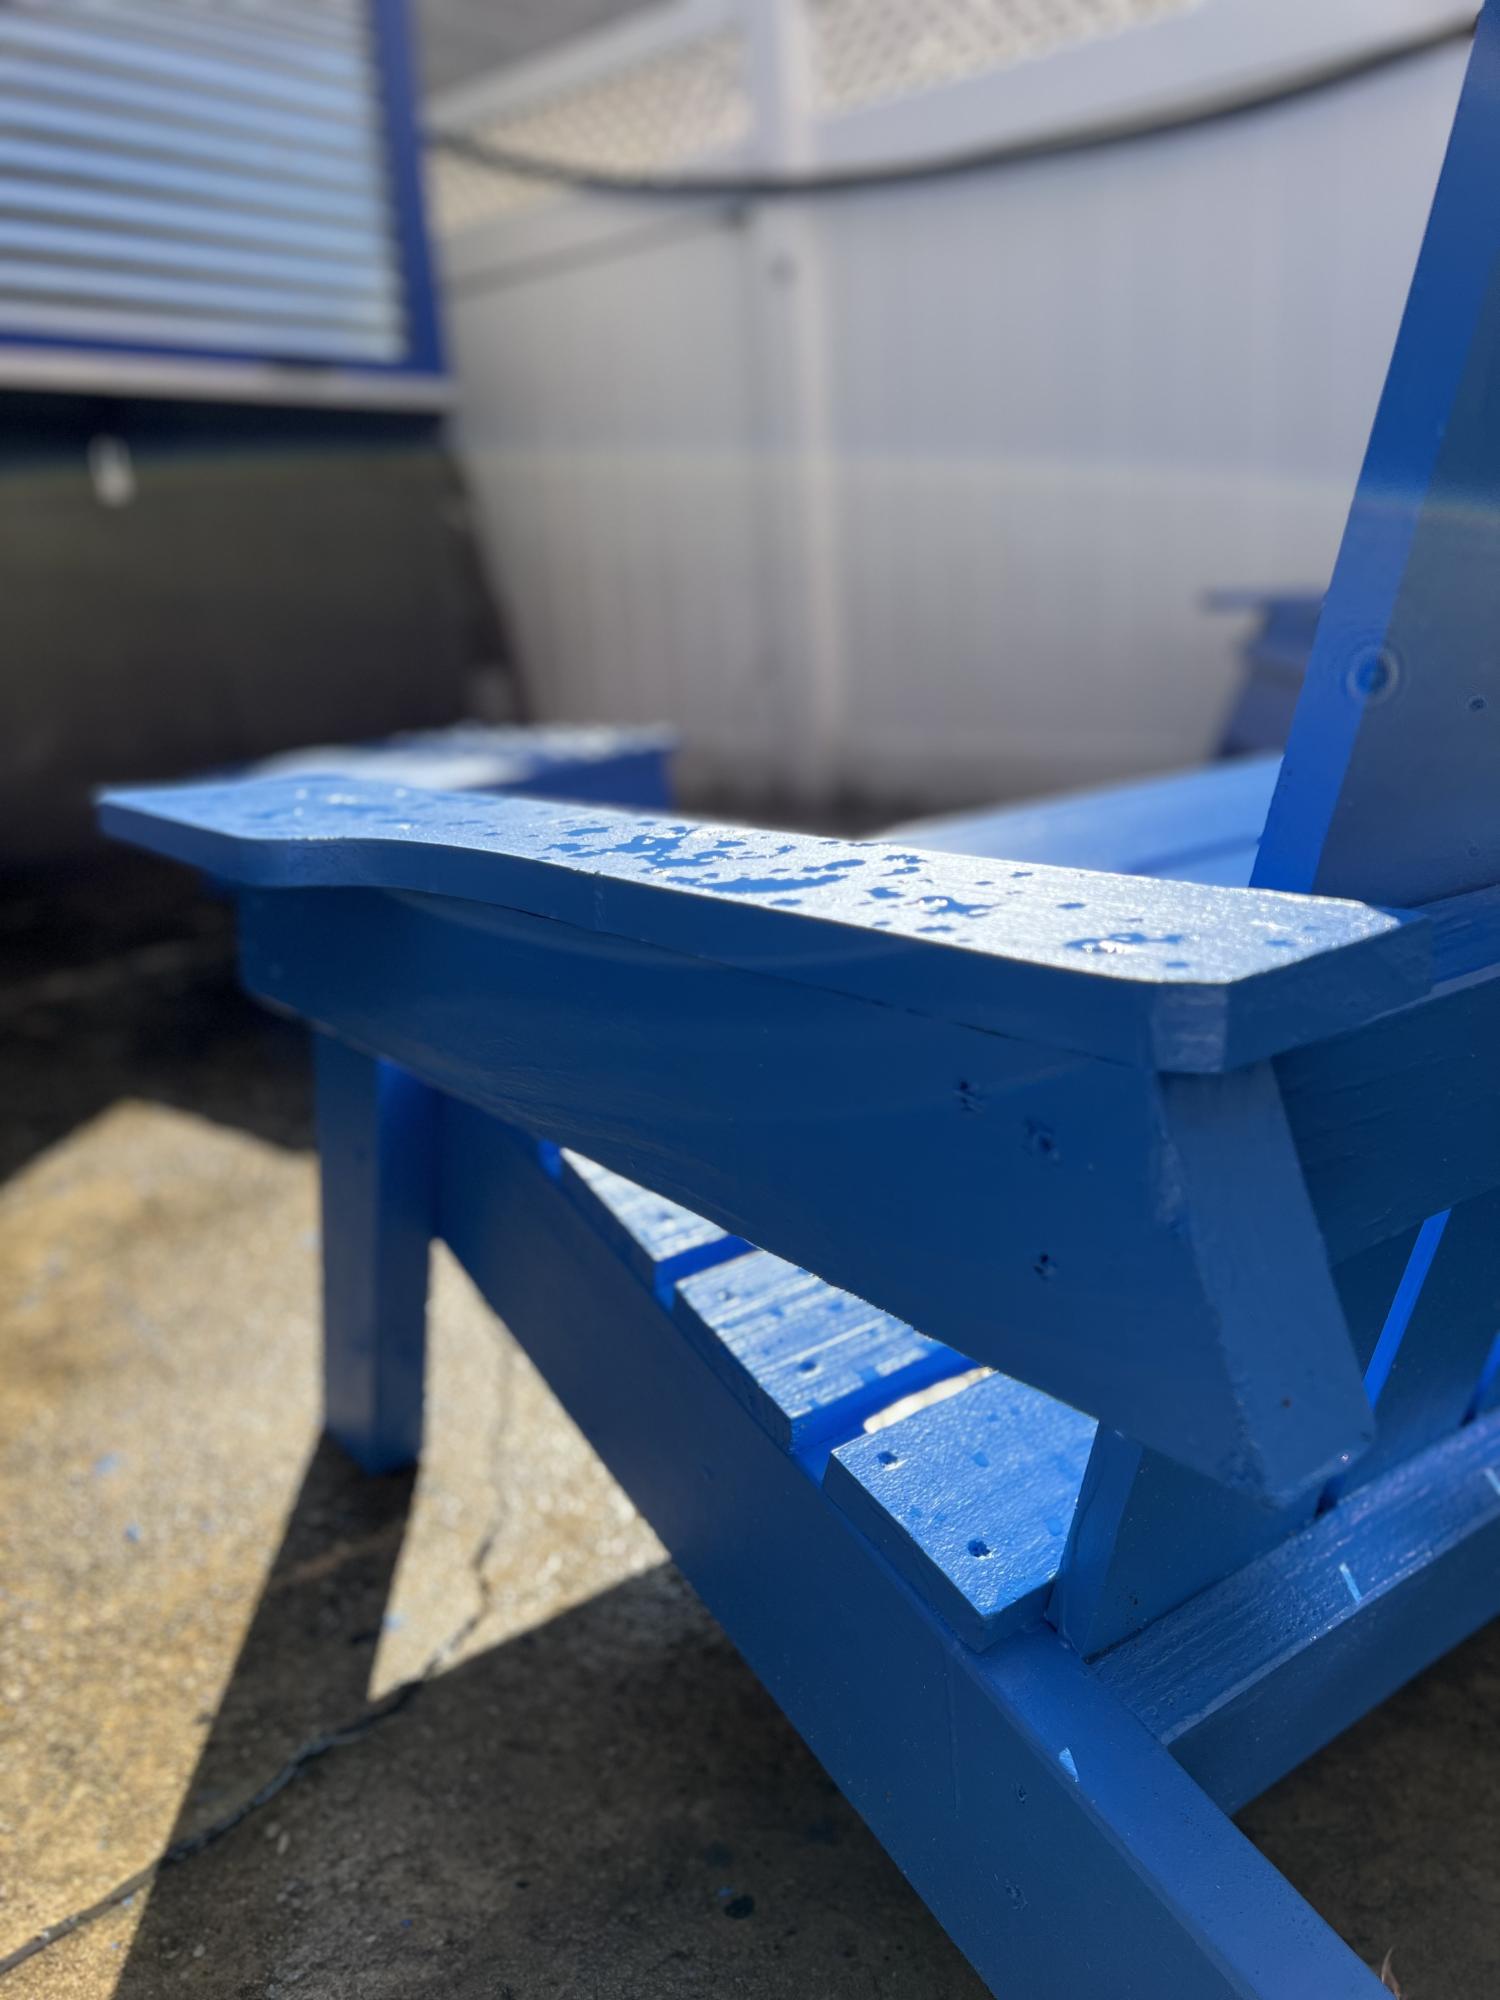
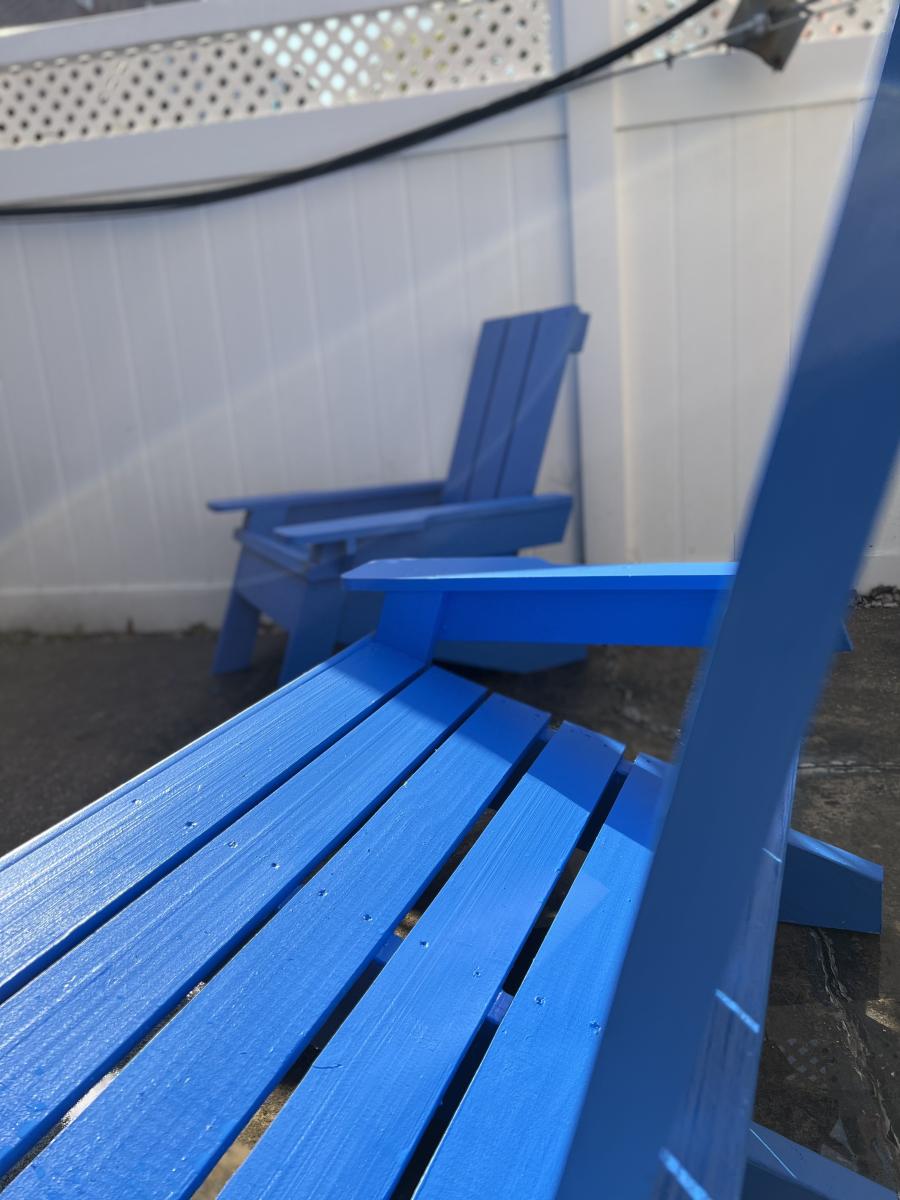
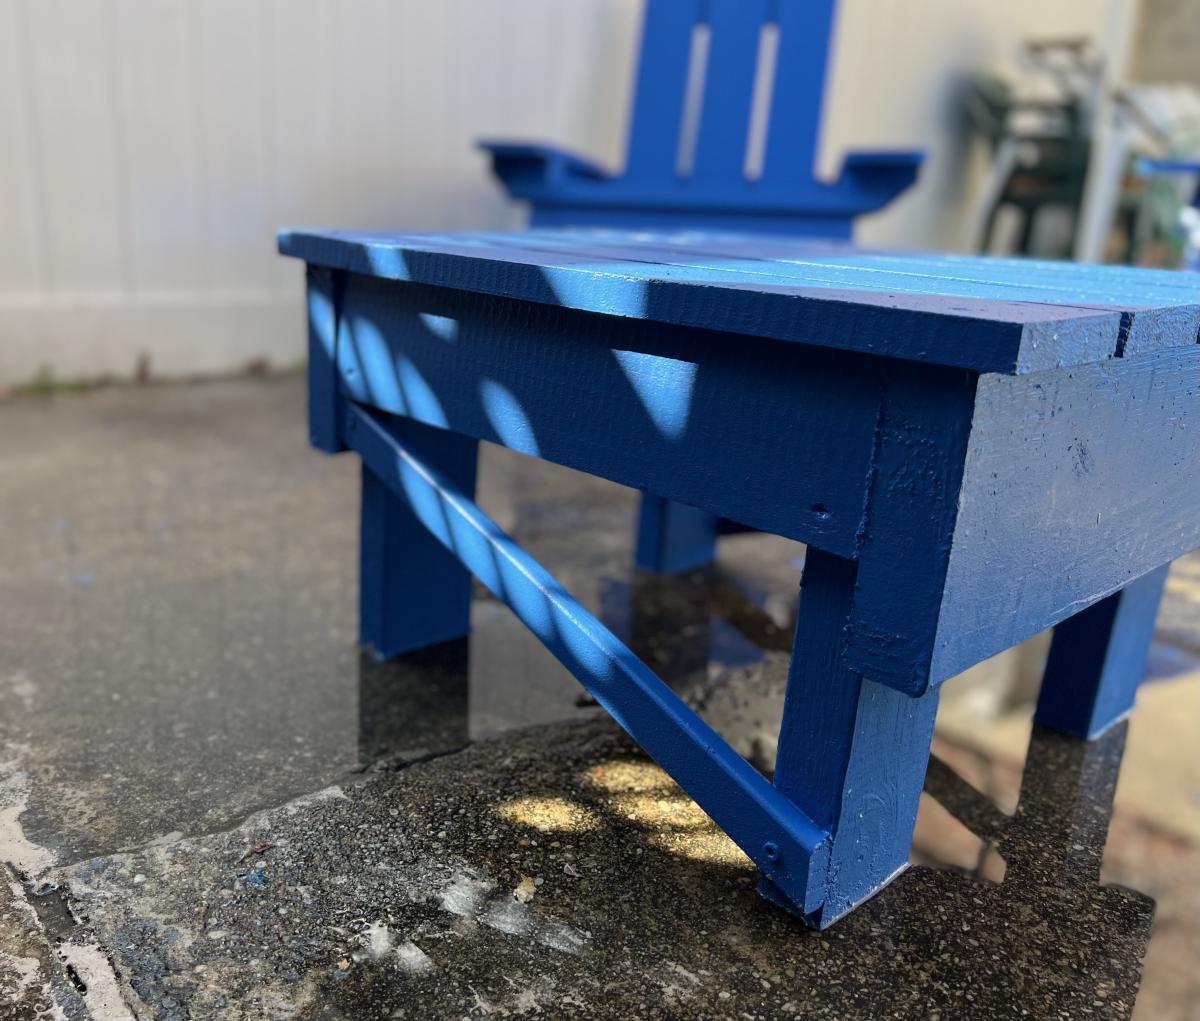
Very inspired by this design. As well as the solid and bold colors, these are very functional. Thanks for the inspiration!
MR DALLIS

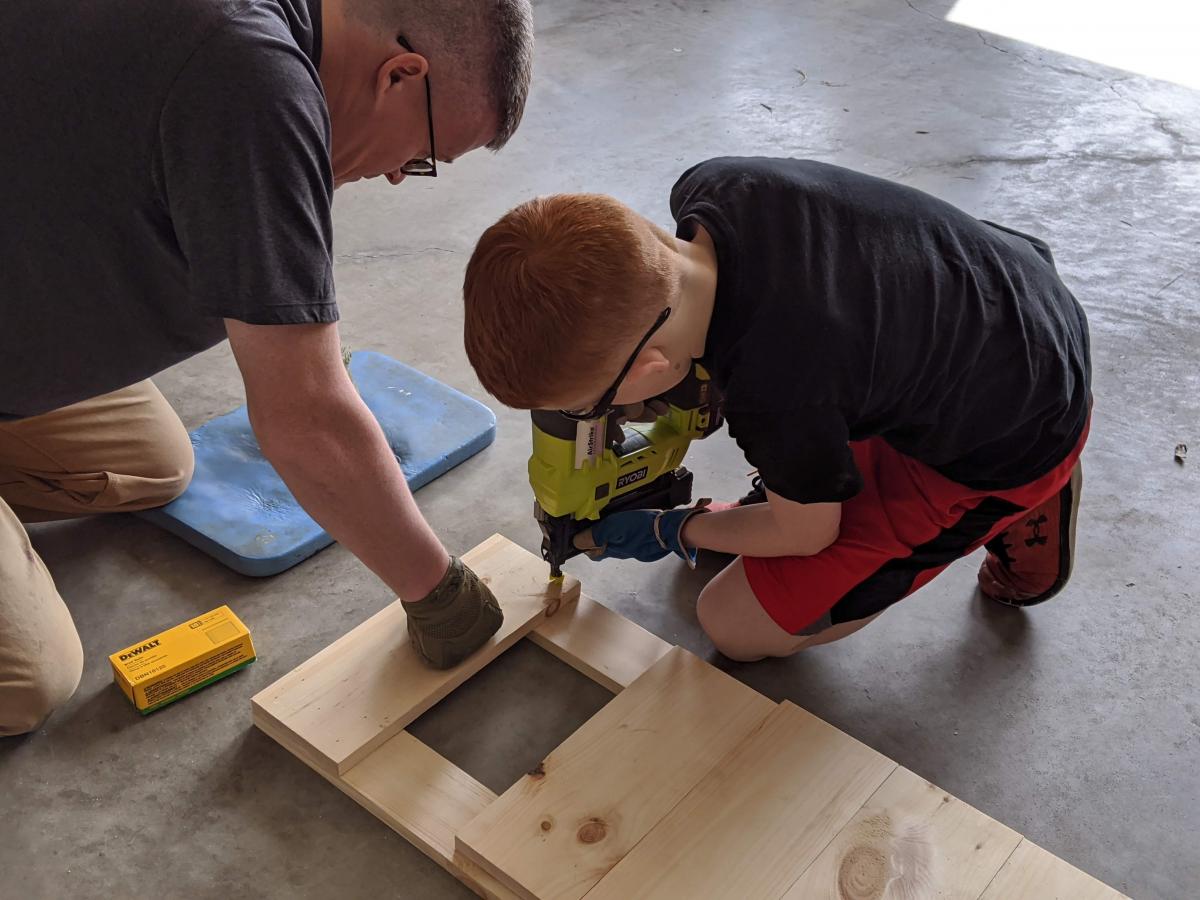
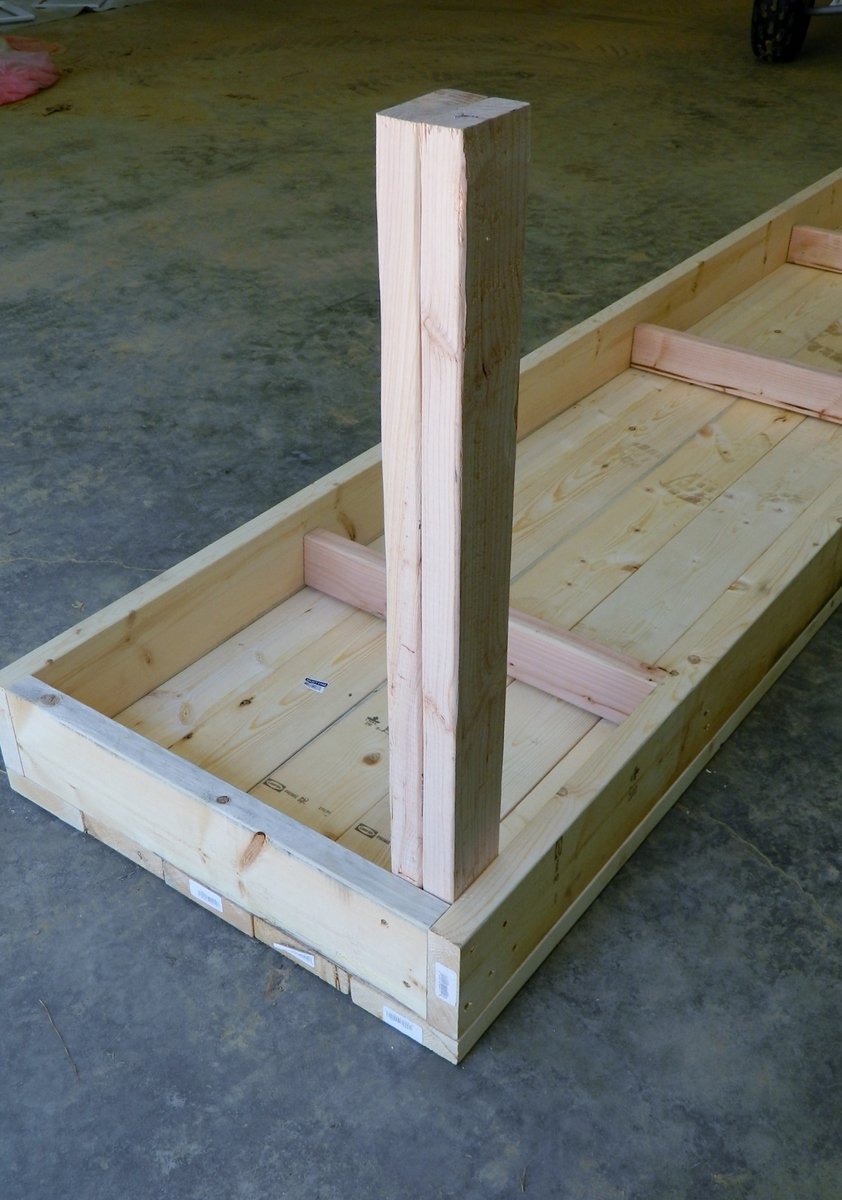
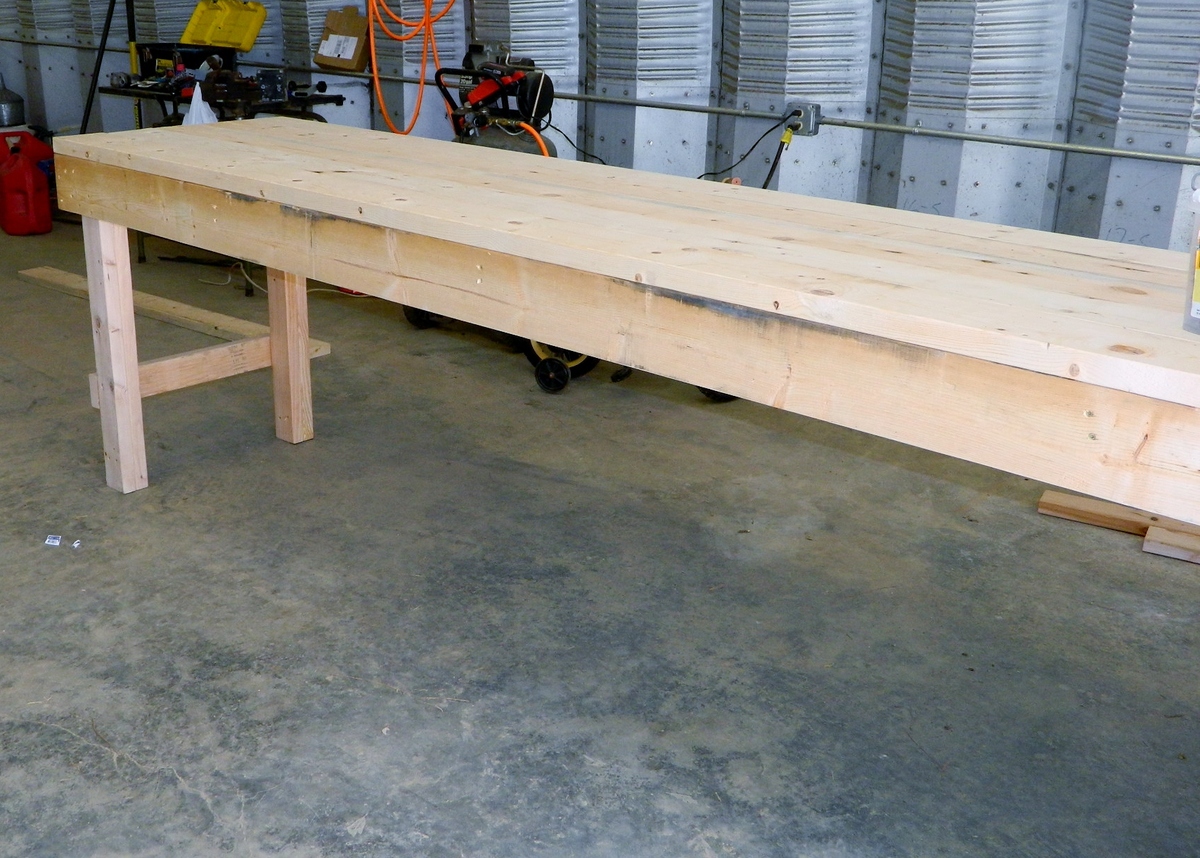
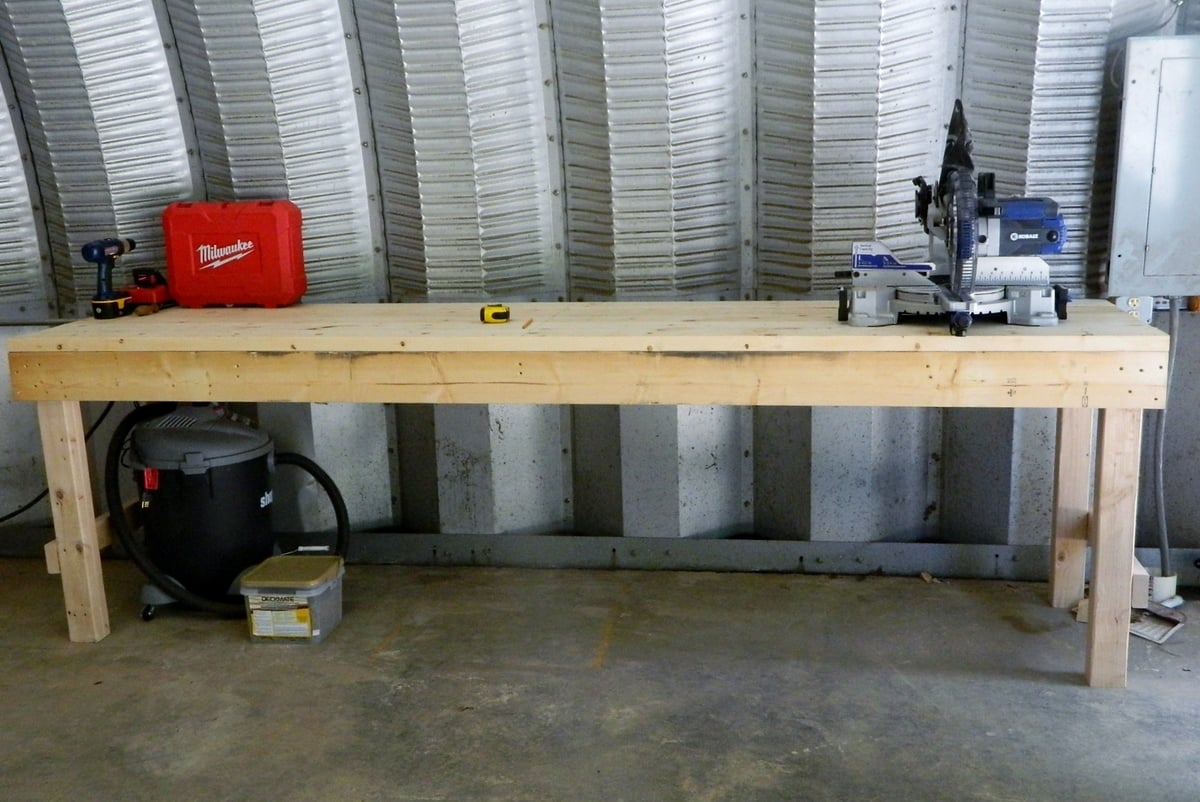
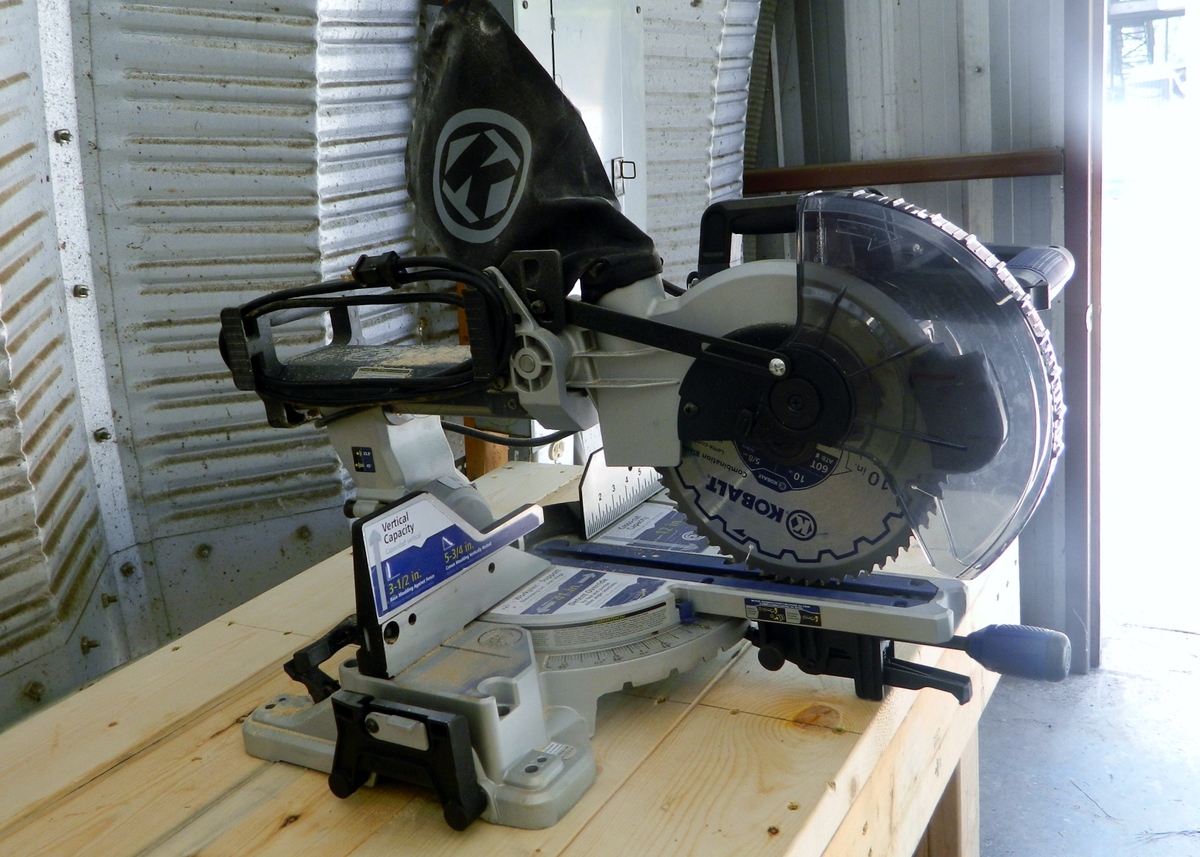
This morning my dad decided to help my build the workbench I've been wanting since we moved to our new house. I would usually do it myself but being 37 weeks pregnant I wasn't wanting to get out there on my own and lift a bunch of 10 ft boards. So we got a bunch of 2x4s and some 2x6s and threw one together... it ended up being 10 ft long and around 28 inches wide and a good 36 inches tall. Now I have a nice place to put my new saw I got for Mother's Day
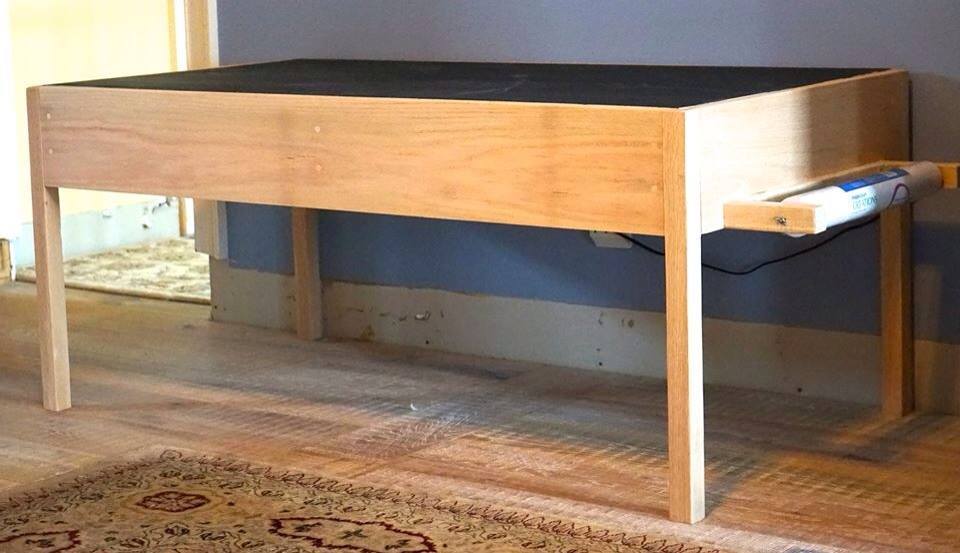
http://ana-white.com/2010/09/pb-kids-caroline-craft-table
*** apologies for the missing baseboard in the photo- we are in the midst of a remodel ***
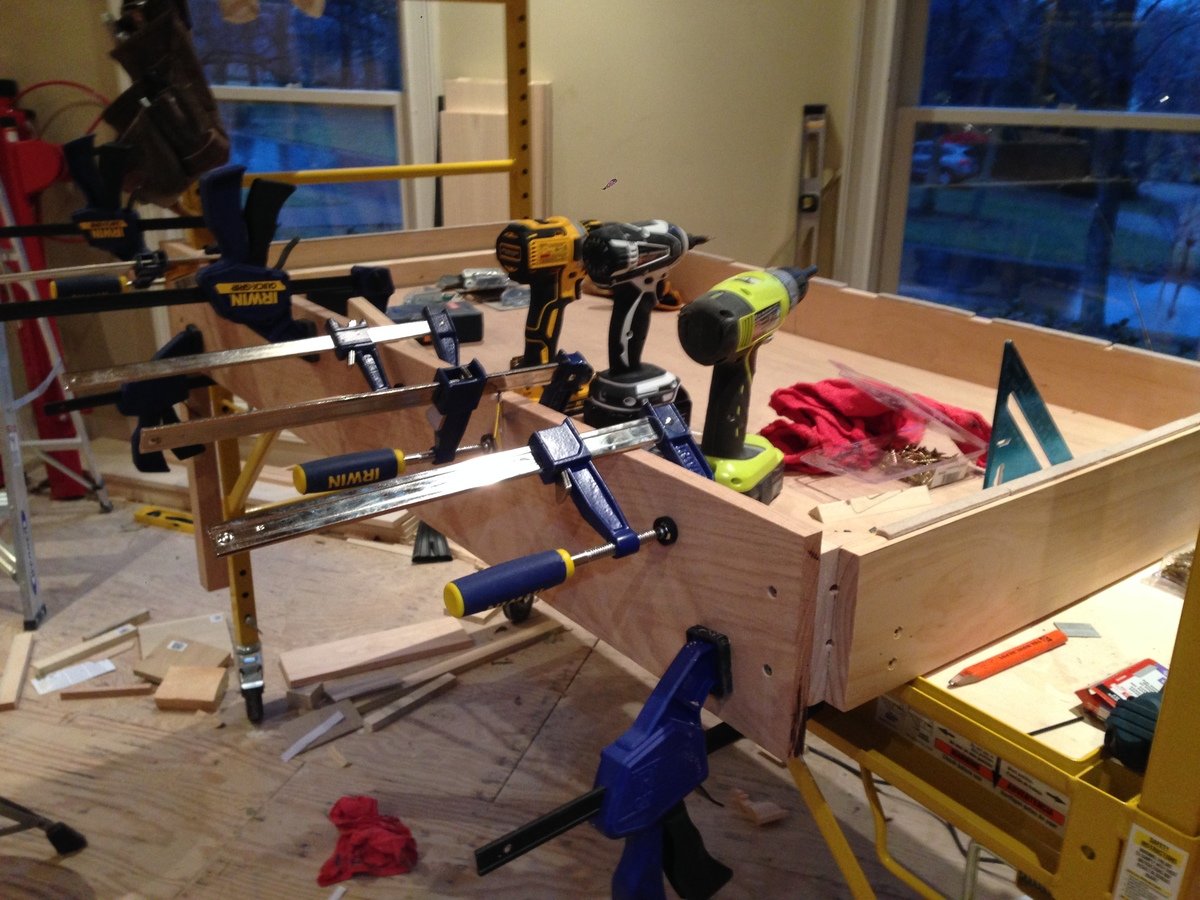
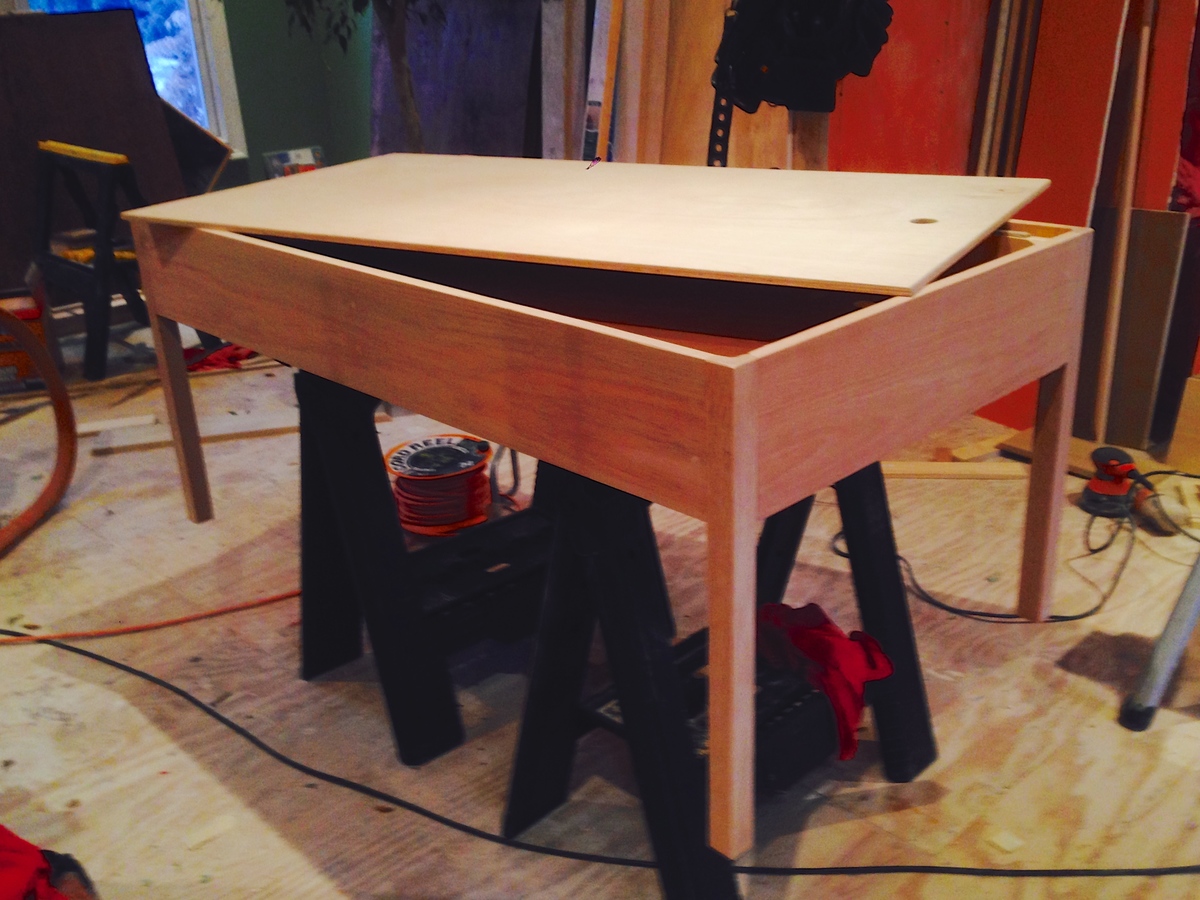
We wanted a high quality table so we researched the Parker Play Table ($1200) and the Carolina Craft Table- ($600).
In the research i found the plans for the Carolina table on this site- and modified them a bit (we wanted the removable storage top).
We painted the top with White board on one side and Chalkboard on the other.
The table has 22" legs and they can be changed out with a second set of legs when our daughter gets taller.
There is plenty of storage for all the art supplies in the unit and a art paper dispenser on the end.
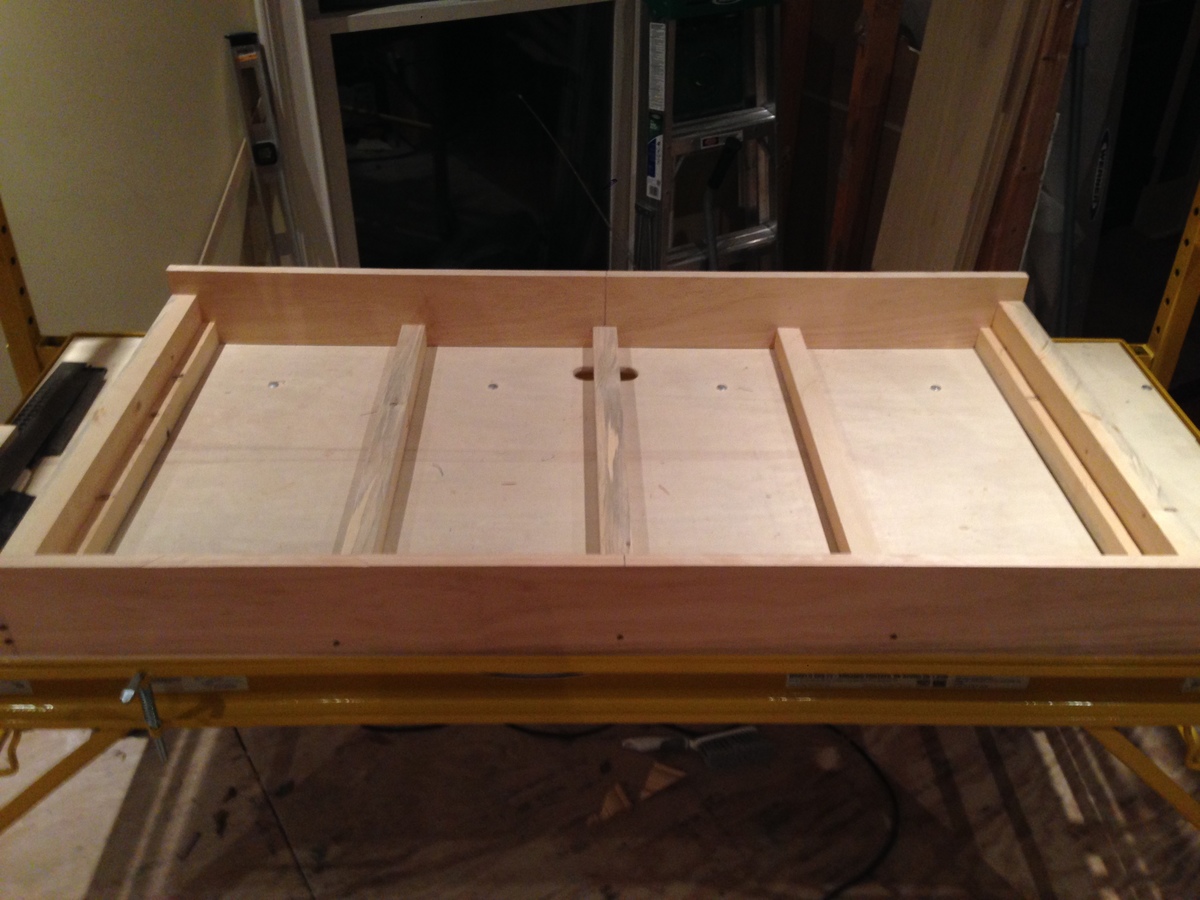
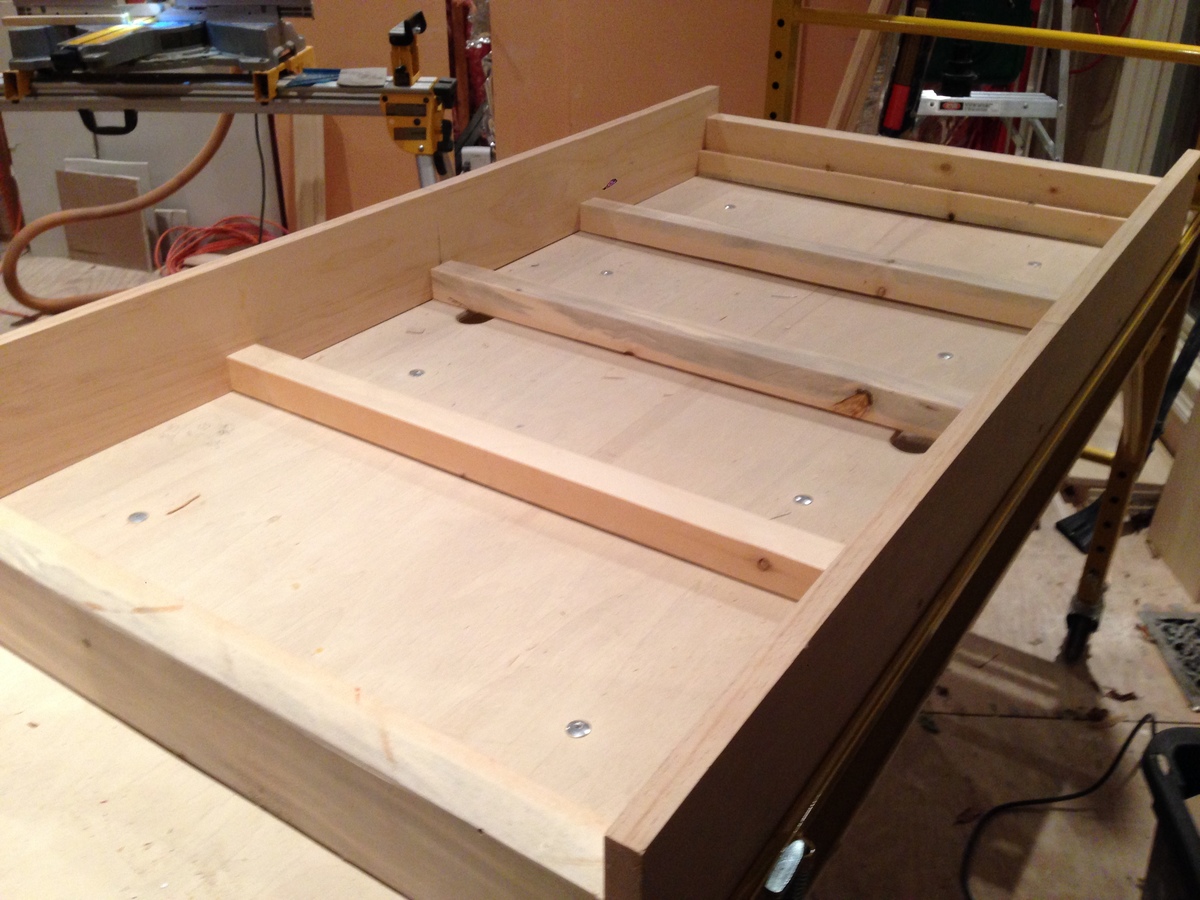
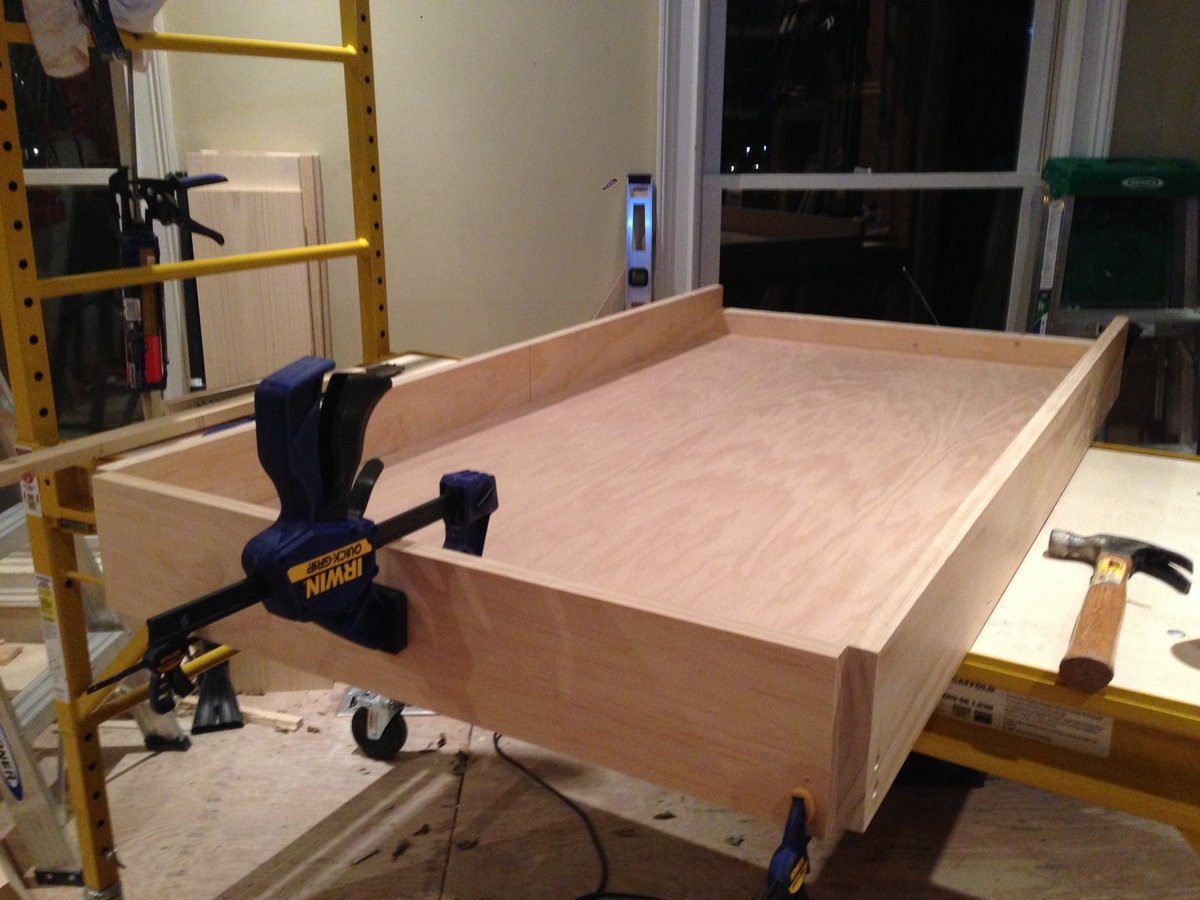
The unit is made of poplar on the inside and the legs and facia are all red oak- a very dense and beautiful wood.
All exterior screws are counter sunk and hidden under face grain wood plugs that are surface sanded. i chose to do no finish as the wood grain is beautiful- although i may do a timber oil or tung oil at some point -
the project took about 2 days total time- $150 in supplies (including paint) and the piece feels substantial..... like it will be used for my daughters children.
you will want to have access to a table saw and some clamps, wood plugs and a countersink bit for your drill
My first big project. Great for beginners.

My first attempt at a dresser before my first grandson arrives.
Rick White
Tue, 11/28/2023 - 09:51
The room looks great and the dresser is fabulous! Thanks for sharing.

