Community Brag Posts

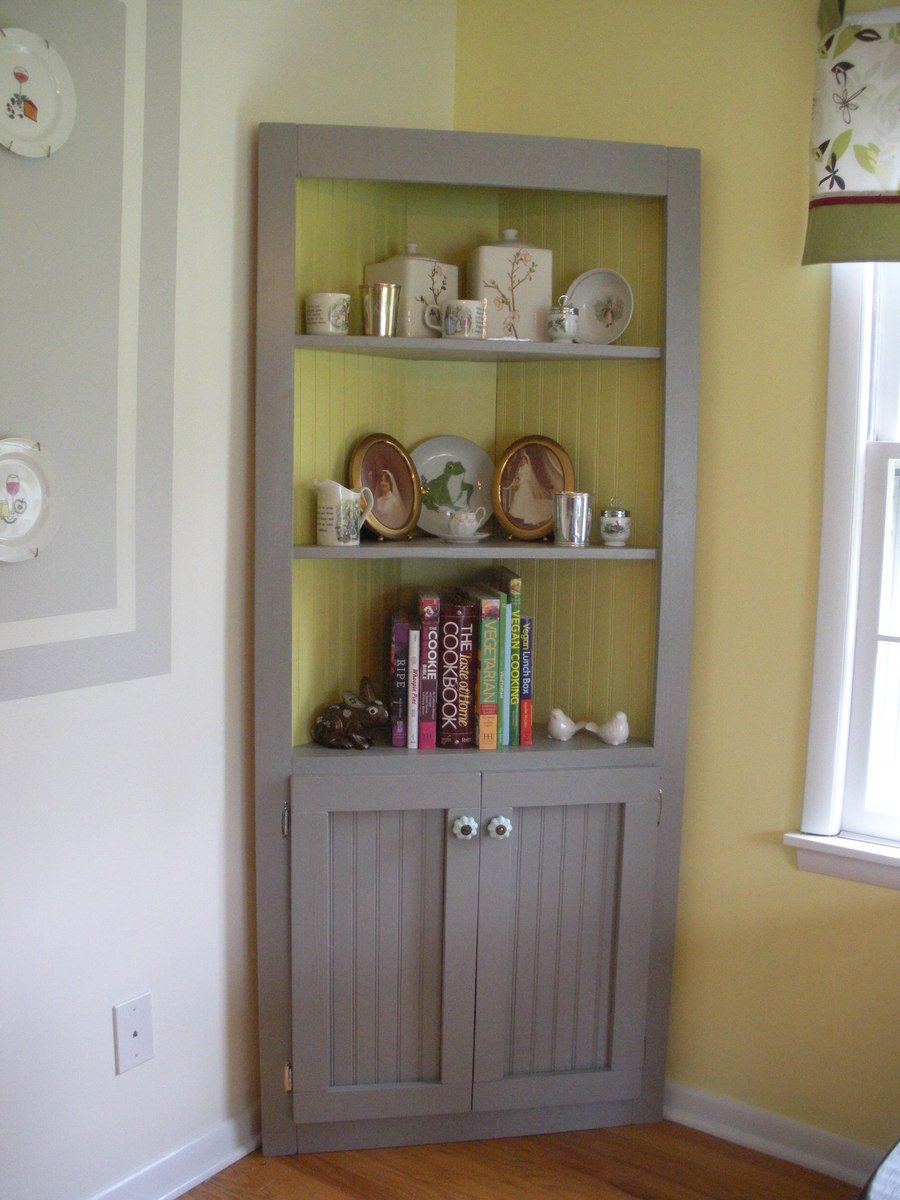
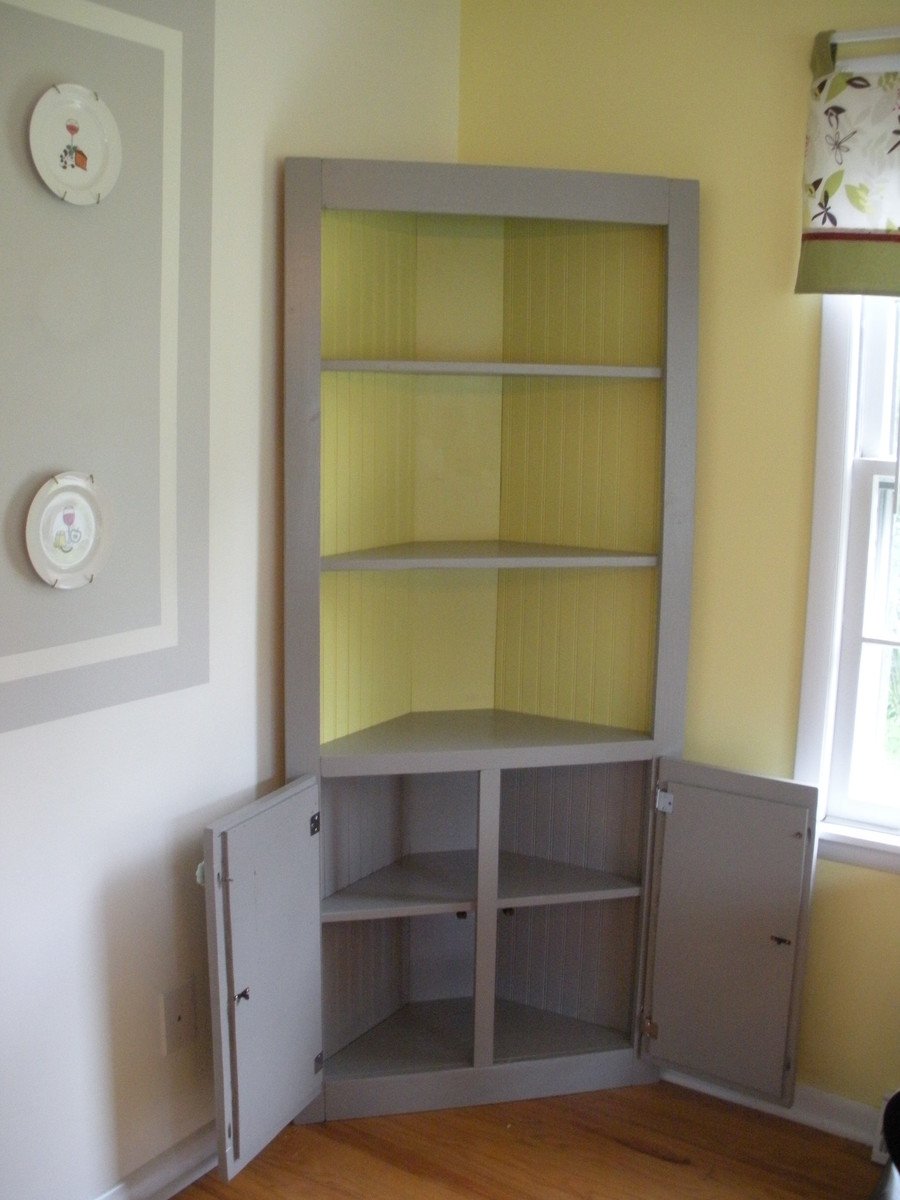
Cute corner cabinet!

Submitted by rmurray87 on Sun, 06/02/2013 - 11:24

This project took me the majority of a three-day weekend to complete, but it was well worth it! I had the lumber store cut the beadboard panel for me so that it would fit in my car. This was also the first time I built something with doors on it, which was a bit of a learning curve, but came out alright in the end. I used pocket holes to build the face frame, and attached the shelves to the frame first before attaching them to the 1x8 back. I used 1 1/4" pocket hole screws and 2" wood screws. I left off the trim at the top and didn't bother to cut out the footer, but I think it still looks pretty cute.

Built from Plan(s)
Estimated Cost
$110
Estimated Time Investment
Weekend Project (10-20 Hours)
Finish Used
Accent color: Appletini from Valspar
Main color: Earthy Mushroom Taupe from Glidden

Everything was given a good sanding and a healthy dose of primer before painting.
Recommended Skill Level
Beginner

Comments

Farmhouse Nightstand

Submitted by RenoRustic on Tue, 05/12/2015 - 10:17

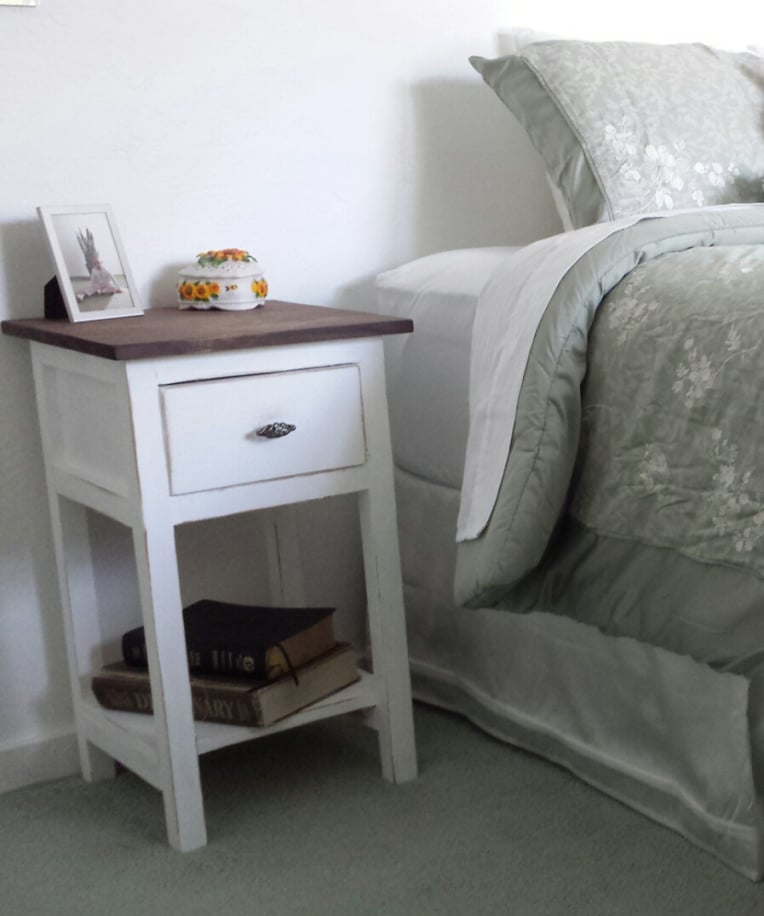
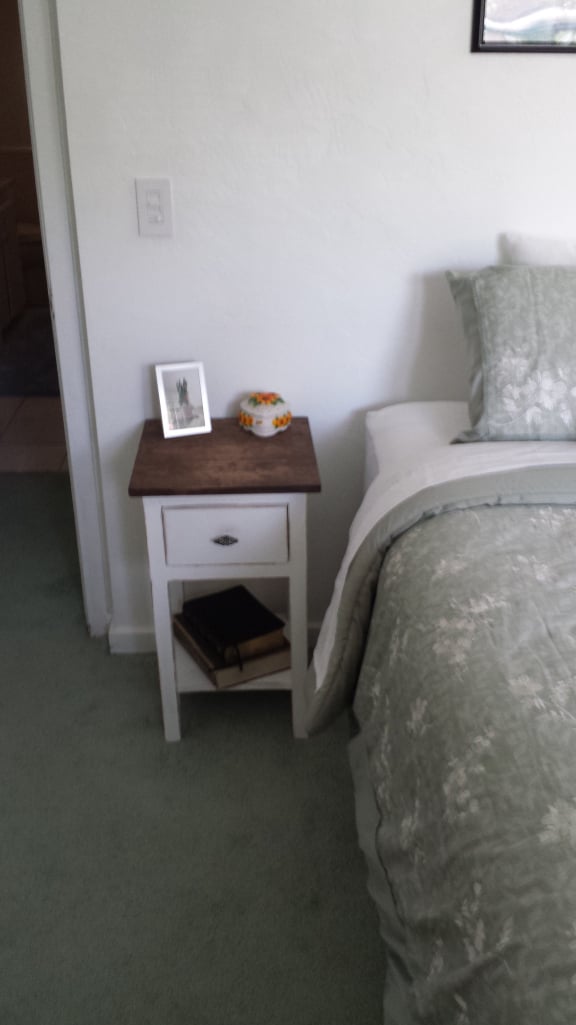
I built this nightstand when my wife and I purchased a new bed. We had to rearrange the bedroom and as such, I no longer had a desk or table on my side of the bed. I wanted something "country" style and after searching through several different plans I found a brag post that fit exactly what I was looking for. Well, technically, I found the original Farmhouse Bedside Table plans and modified them to fit what I needed. It wasn't until after I completed the project that I realized there was a "Mini" version as well. What can I say, I'm not that great as using search. I actually built this over a year ago at this point, and it was the second project I ever built. I learned quite a bit on this project, including the fact your project will only come out as good as your lumber selection! This build actually created my addiction for DIY and woodworking. Thank you Ana!

Estimated Cost
$40
Estimated Time Investment
Day Project (6-9 Hours)
Finish Used
I used Minwax Special Walnut for the entire project, then painted the base and drawer Behr white (their basic white off the shelf, I didn't have the paint mixed) in semi-gloss. I antiqued everything for a more rustic look.
Recommended Skill Level
Beginner

Comments

Cedar Toy box

Submitted by Kassidy_D on Fri, 11/19/2021 - 19:22

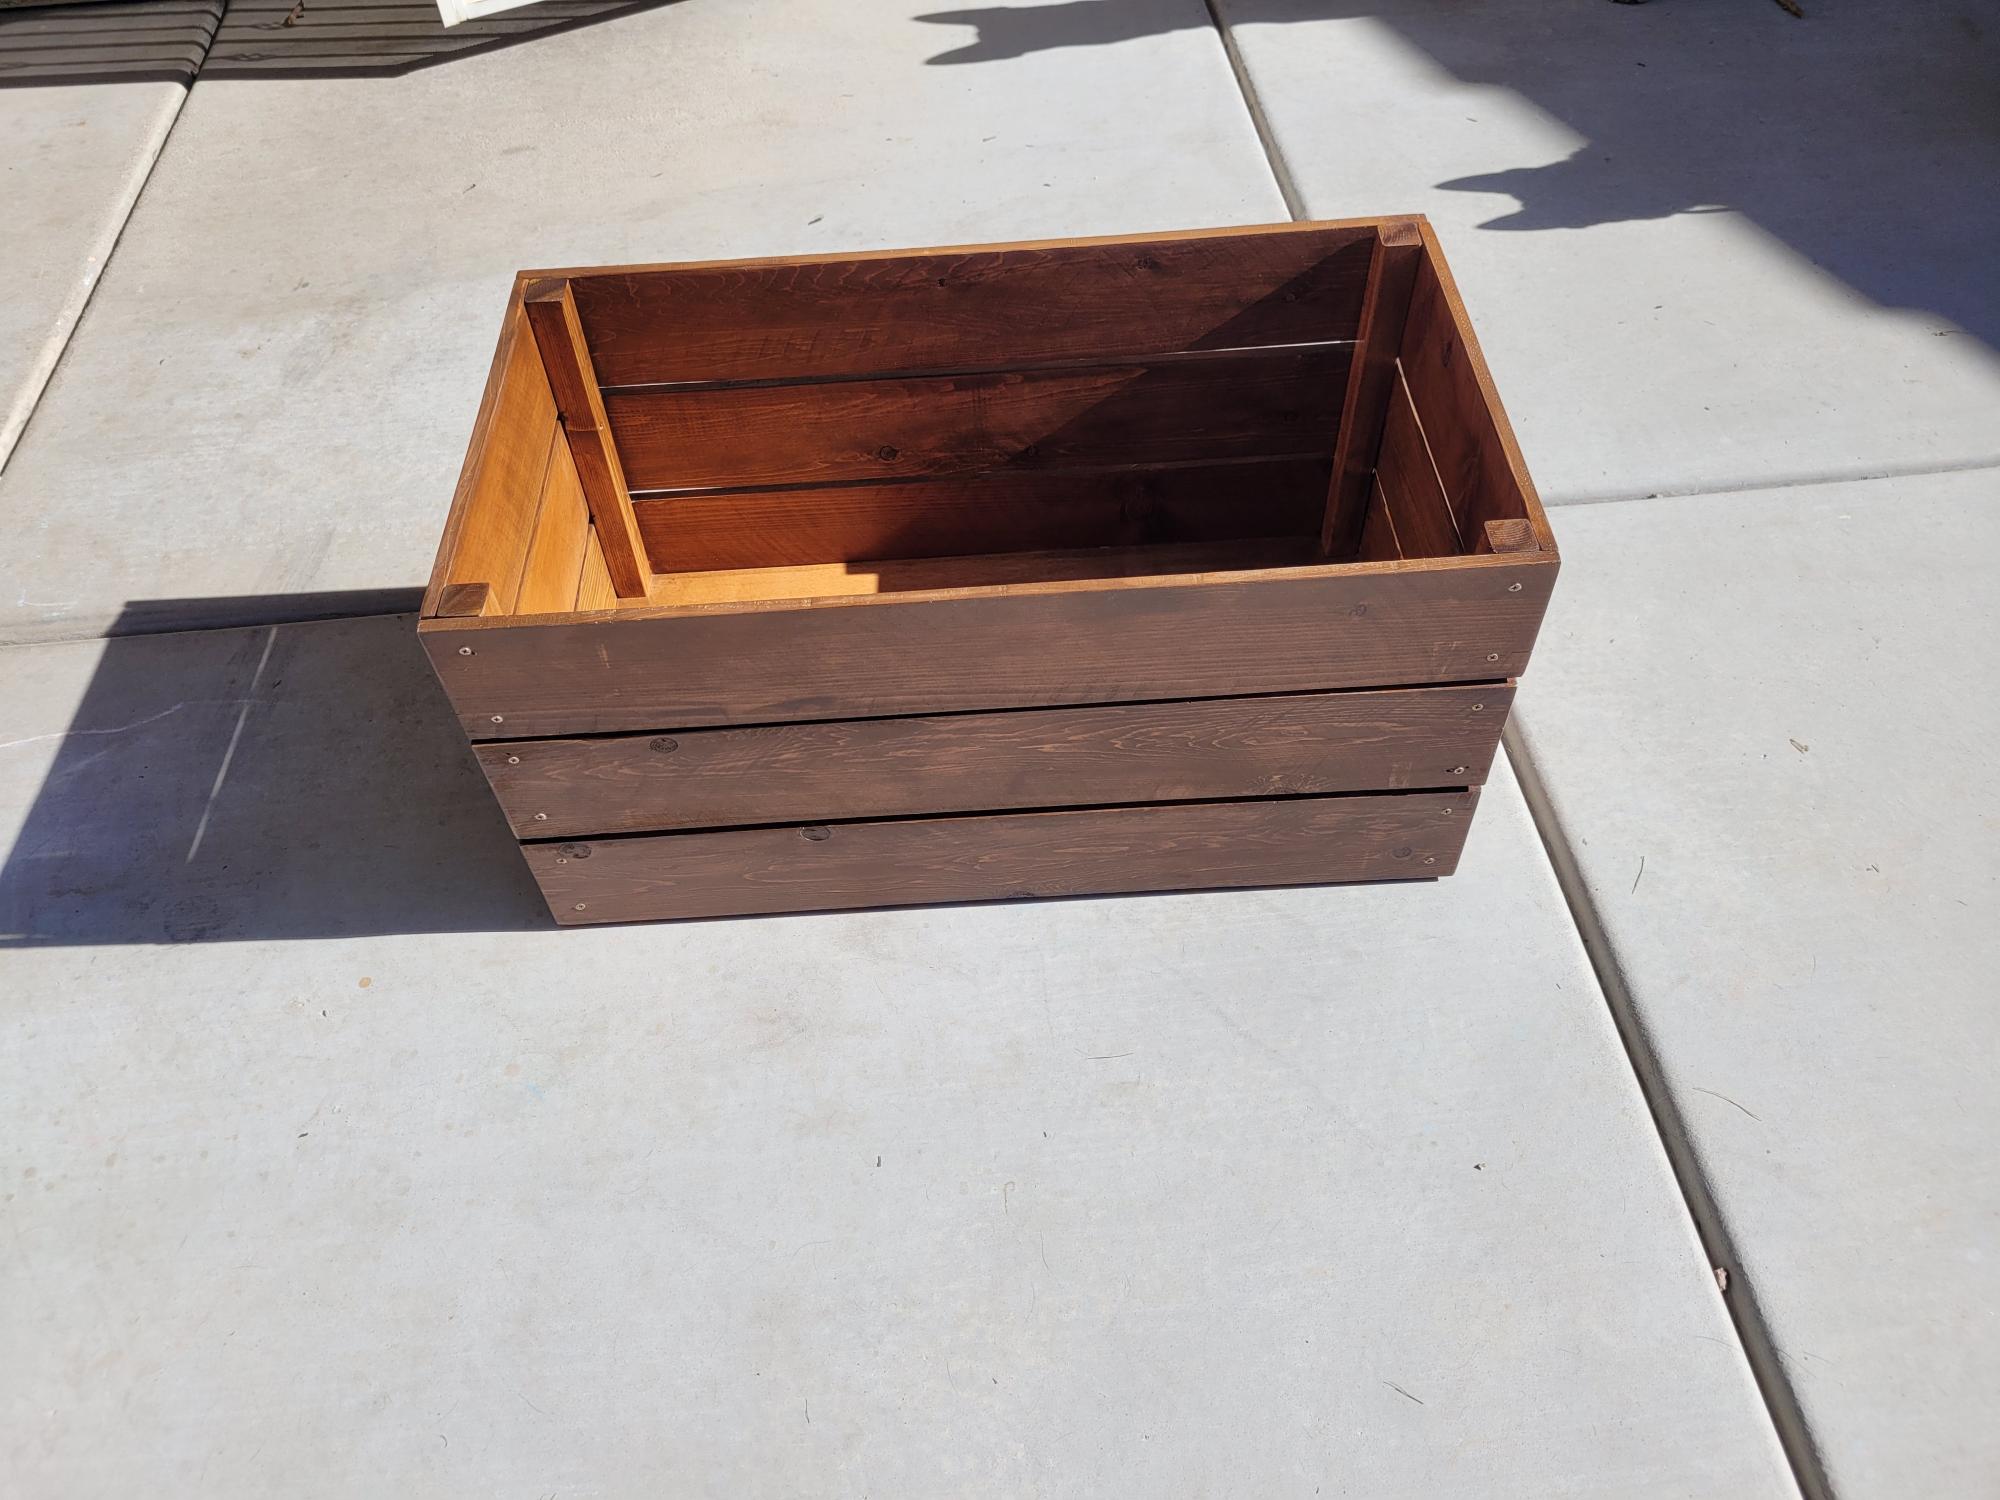
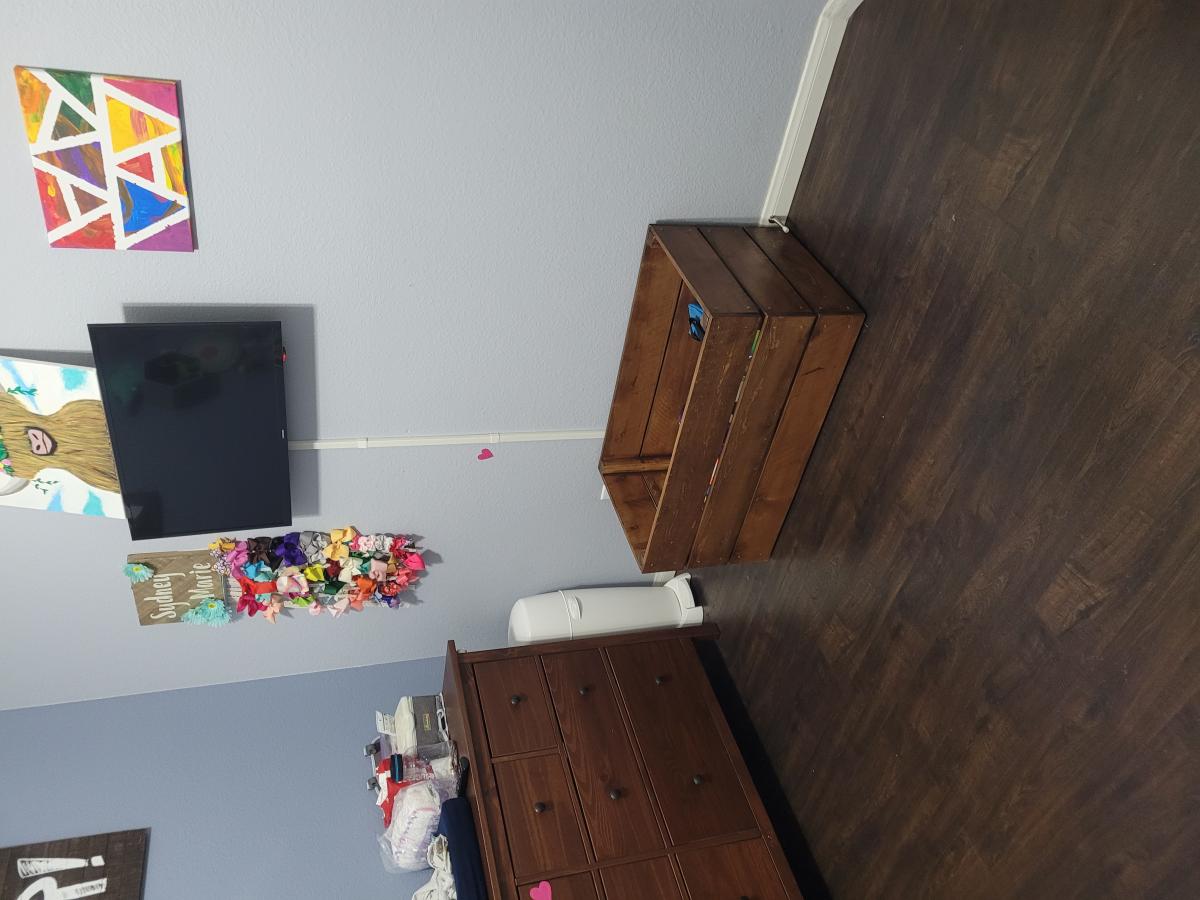
My first project, I've never done any kind of wood working at all. I made and noticed several mistakes however, I'm still very pleased with how it turned out. I learned from all my mistakes and now know the best ways to avoid them in the future. Super excited to begin my next project!

Built from Plan(s)

Comments

DIY Planter Box

Submitted by Anonymous (not verified) on Sun, 12/12/2021 - 17:37

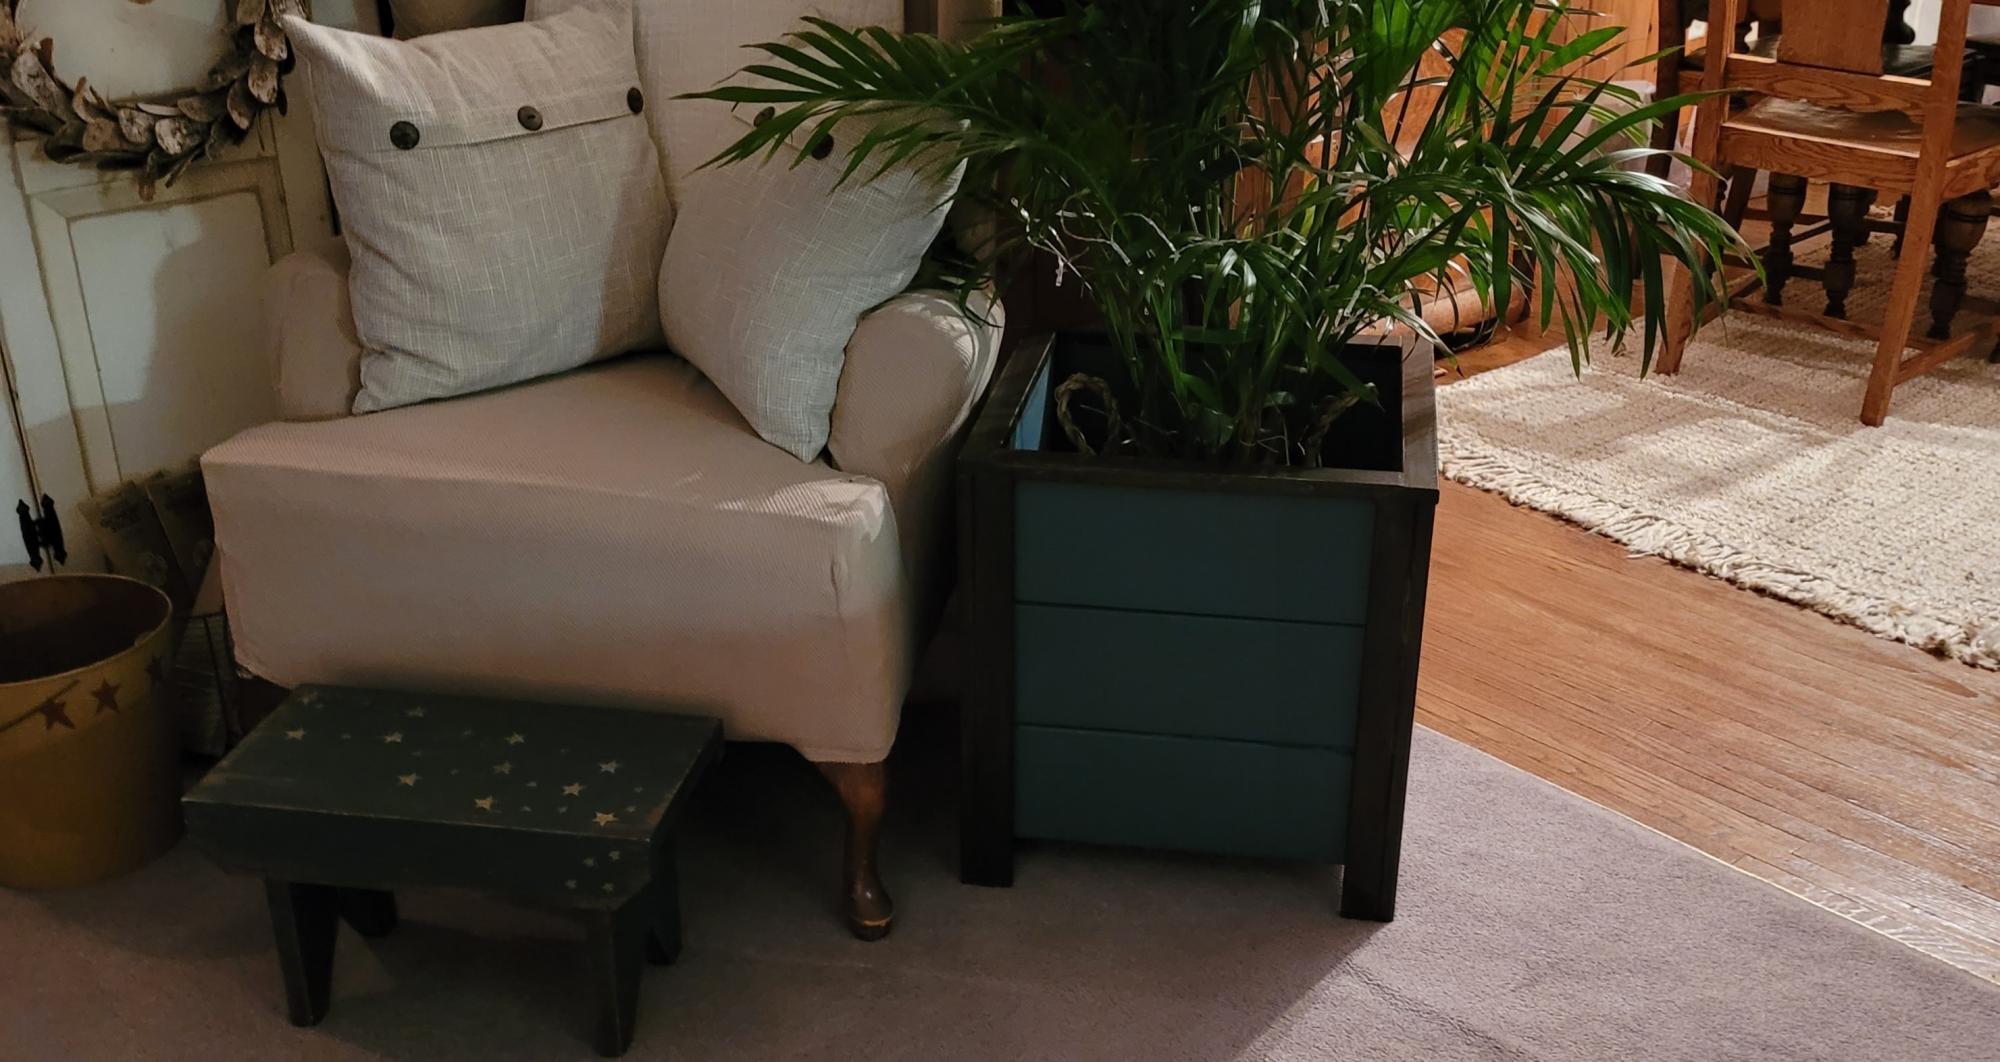
My very first project. Was so easy thanks to Ana's instructions. Dark walnut gel stain and Fusion Seaside. Thank you so much Ana.

Comments

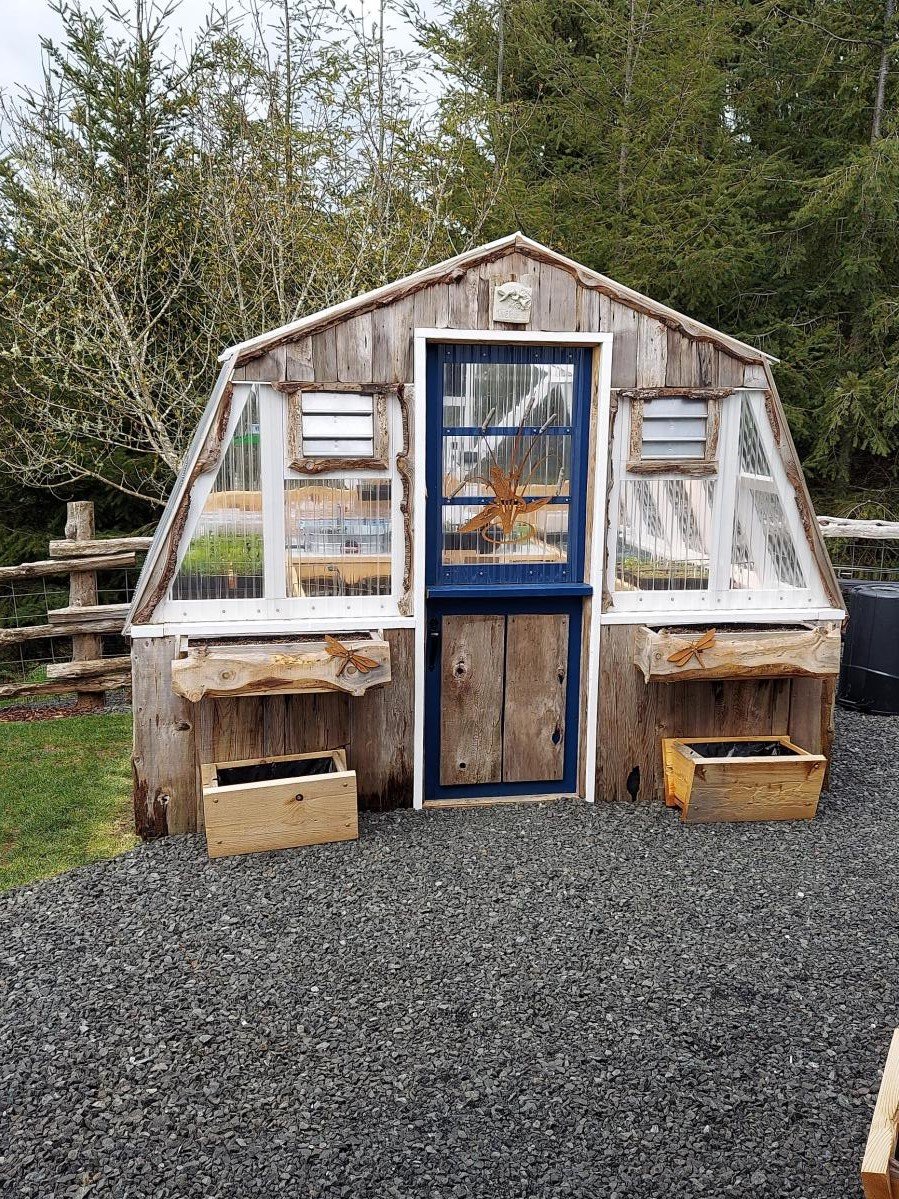
Reclaimed Cedar Board 10x 10 Barn Greenhouse

Submitted by bailie on Sun, 04/24/2022 - 13:02

Thank you for sharing your plan!

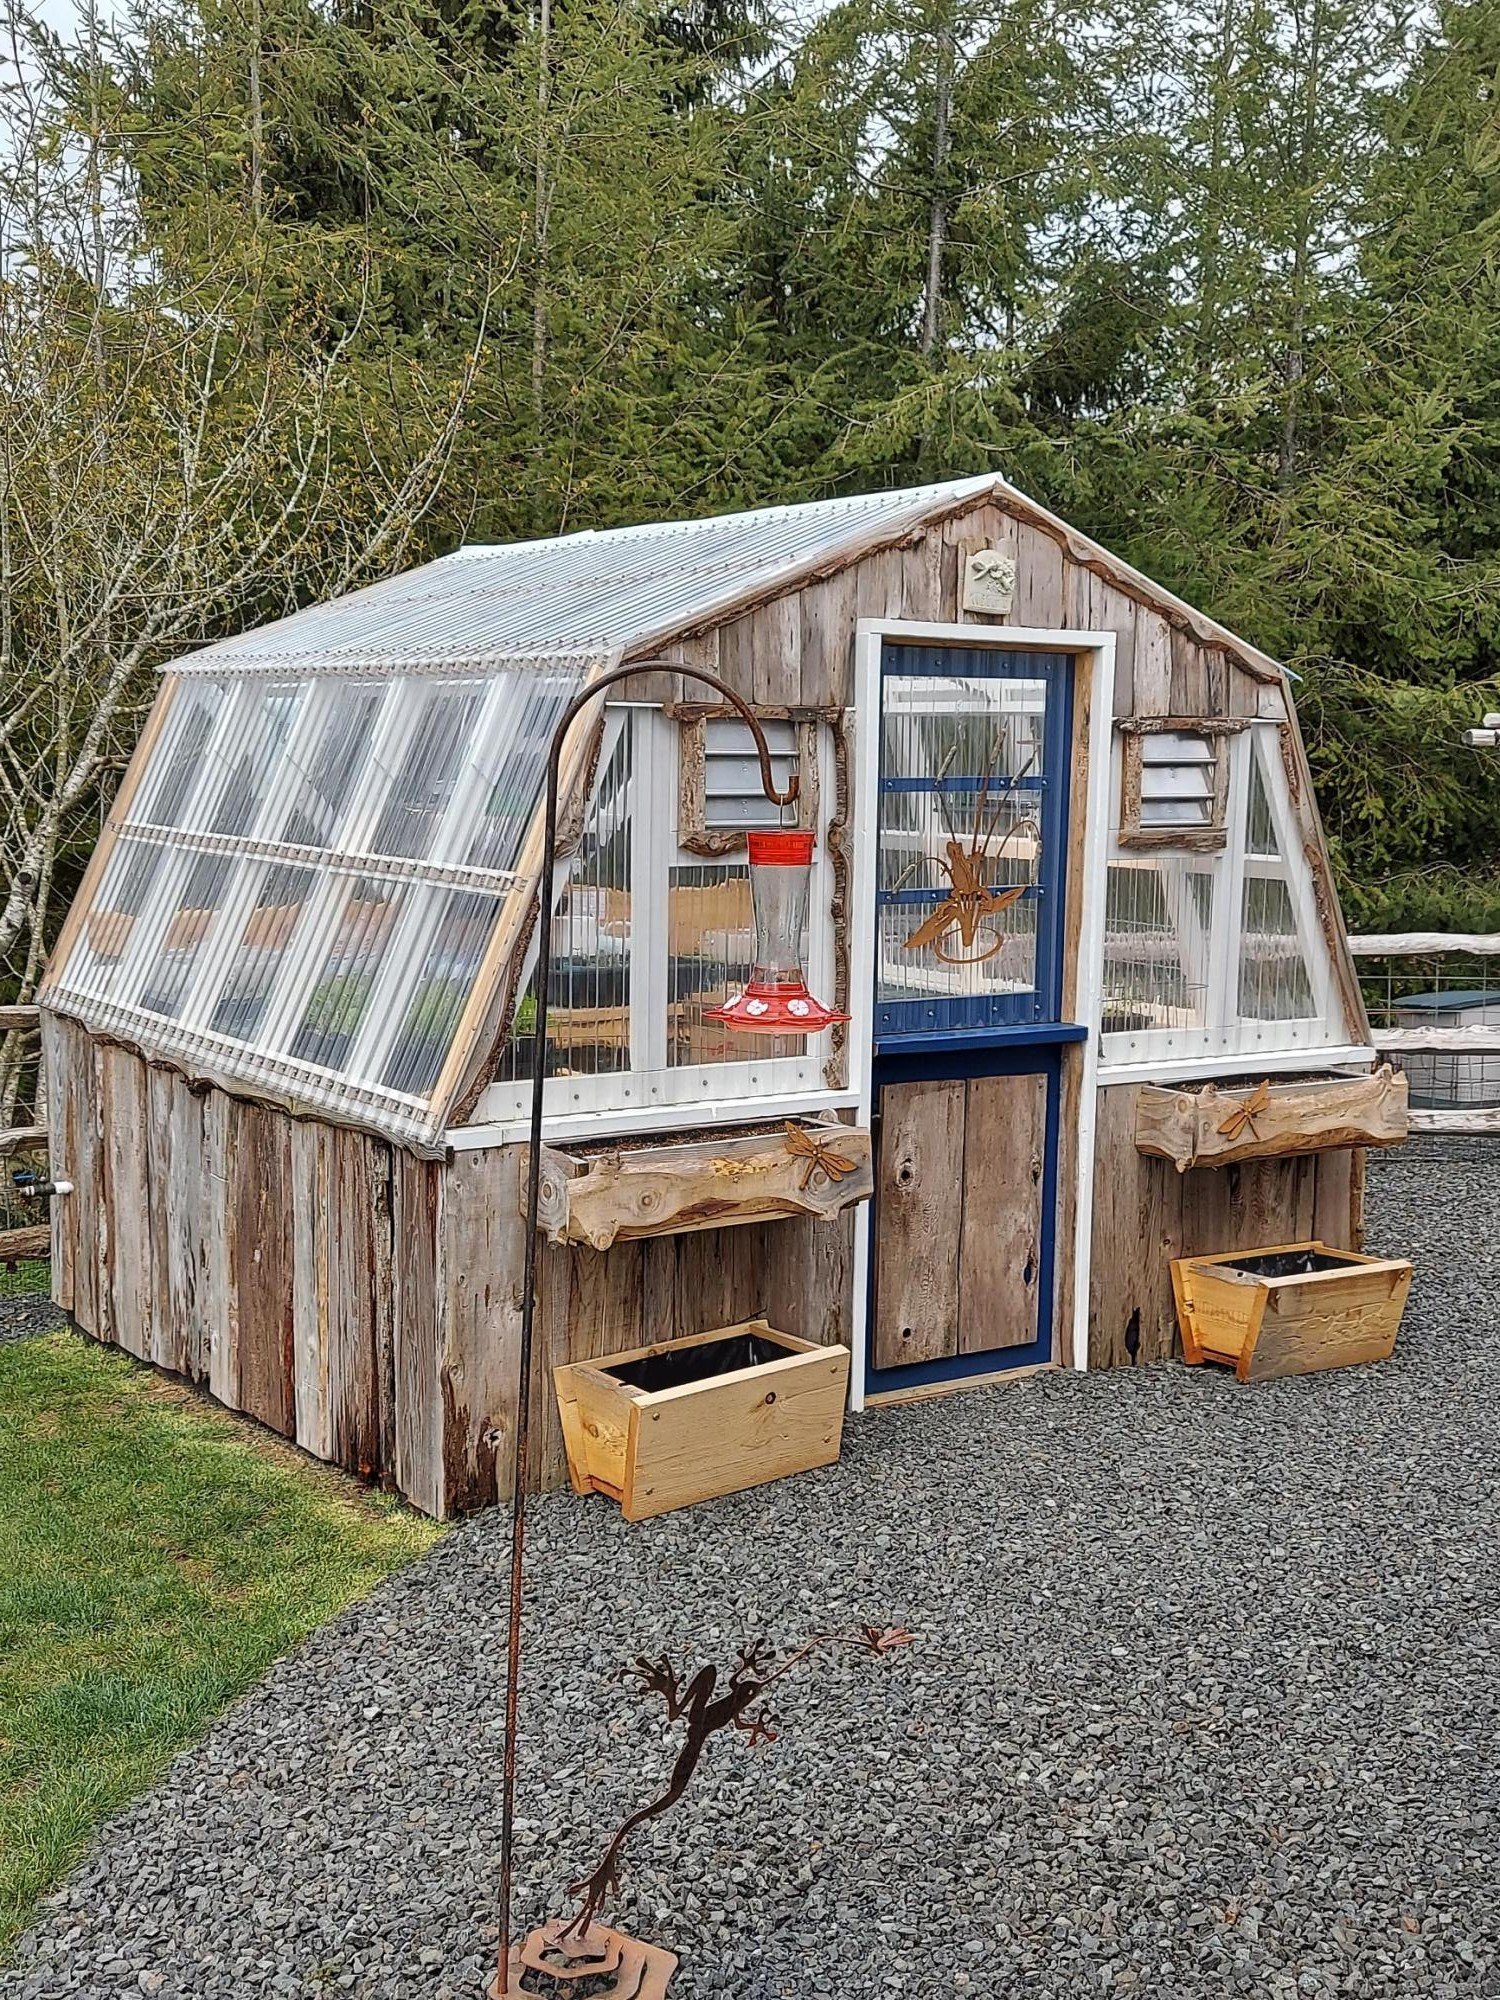
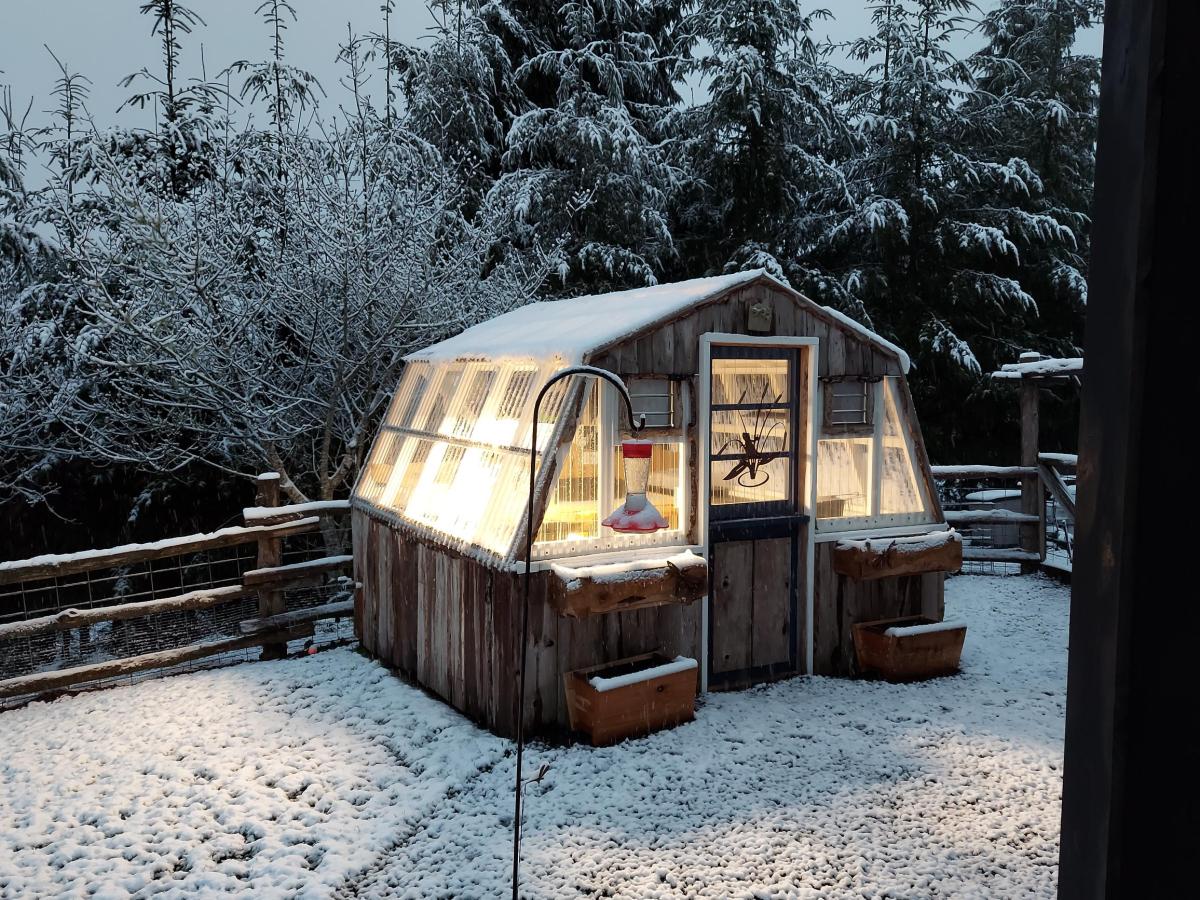
10×10 greenhouse made with re-claimed cedar boards from old barn on Menlo, WA

Built from Plan(s)

Comments

rick1956

Wed, 06/08/2022 - 05:52

Beautiful! I like the fact that you bucked the trend and turned your clear panels for Washington rainwater runoff. There are good and bad with both directions, vertical makes the most sense. I can see myself re-doing ours at some point to change the panel direction. At least they're pointing the right direction on my skylights.
Great design, and of course, I love the 'live edge' details you added throughout!

Loft Bed for Renee's Room

This is the 2nd of two loft beds I have built using Ana's plans - they came out great and my girls love them! I did make some modifications to each, as the girls have different needs. It was a great project and I would like to thank Ana for the concise plans, cut lists, ideas, etc. You made it so easy!

If you are interested in seeing more about this project feel free to visit my blog at www.mothersmusings.net. See you there!

Estimated Cost
$150.00
Estimated Time Investment
Week Long Project (20 Hours or More)
Finish Used
I must say, if I had it to do again I might have upgraded on the wood, but I got the cheapest pine I could find. This led to using A LOT of wood filler and sand paper - and probably took me about twice the time it would have taken had I used prime wood. I used an oil based primer to make sure the knots stayed covered, and 2 coats of Behr high gloss white paint for the finish. Extra work...yes - but ultimately I think I cut my cost in half.
Recommended Skill Level
Beginner

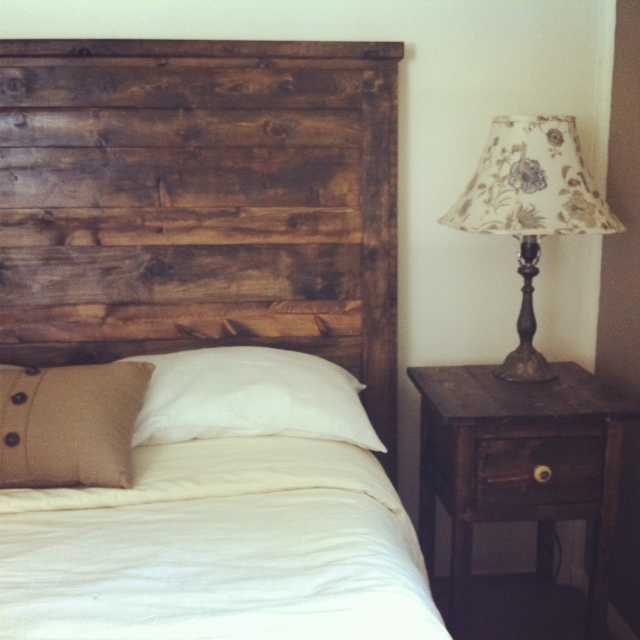
Love love love my new bedroom!!!!

Submitted by DogDoc25 on Tue, 08/27/2013 - 18:49

I've posted pictures of these separately, but I'm so excited about how these things came together in my room! This is the reclaimed wood headboard (queen) and the mini farmhouse bedside tables (only 1 pictured but the other is identical). Thanks so much Ana (and friends) for these awesome plans which have given me a fun thing to do in my free time and also inexpensively furnish my house!

Finish Used
Minwax Jacobean (looks slightly lighter in the picture than it is in real life)
Recommended Skill Level
Beginner

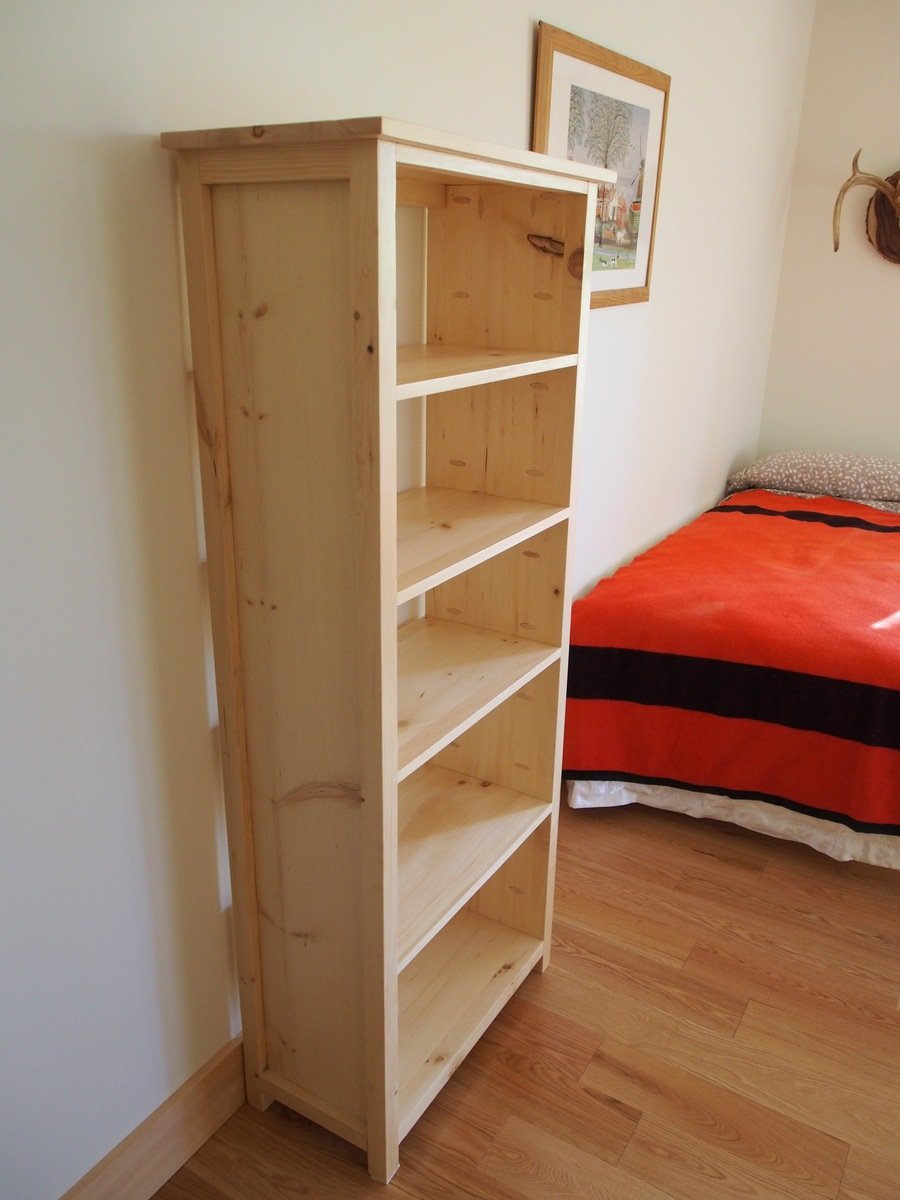
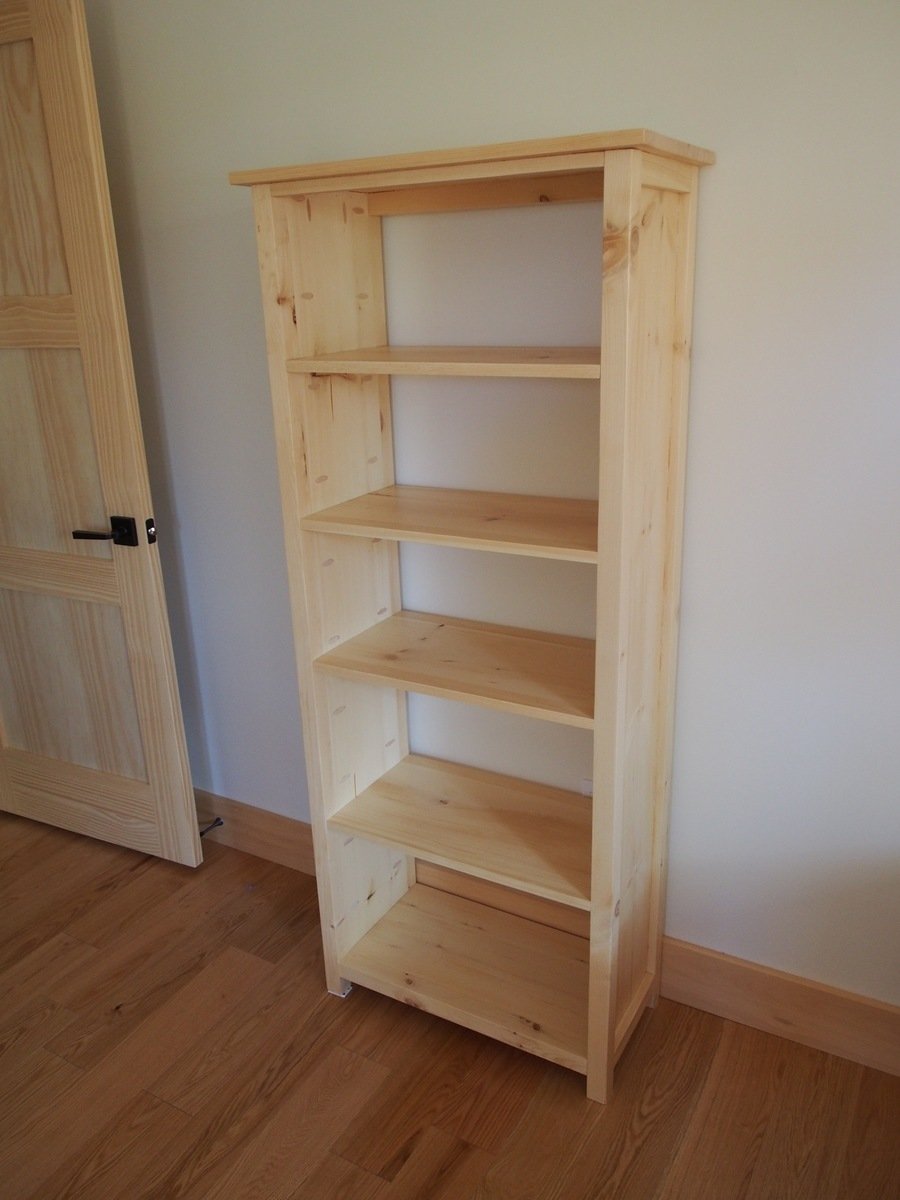
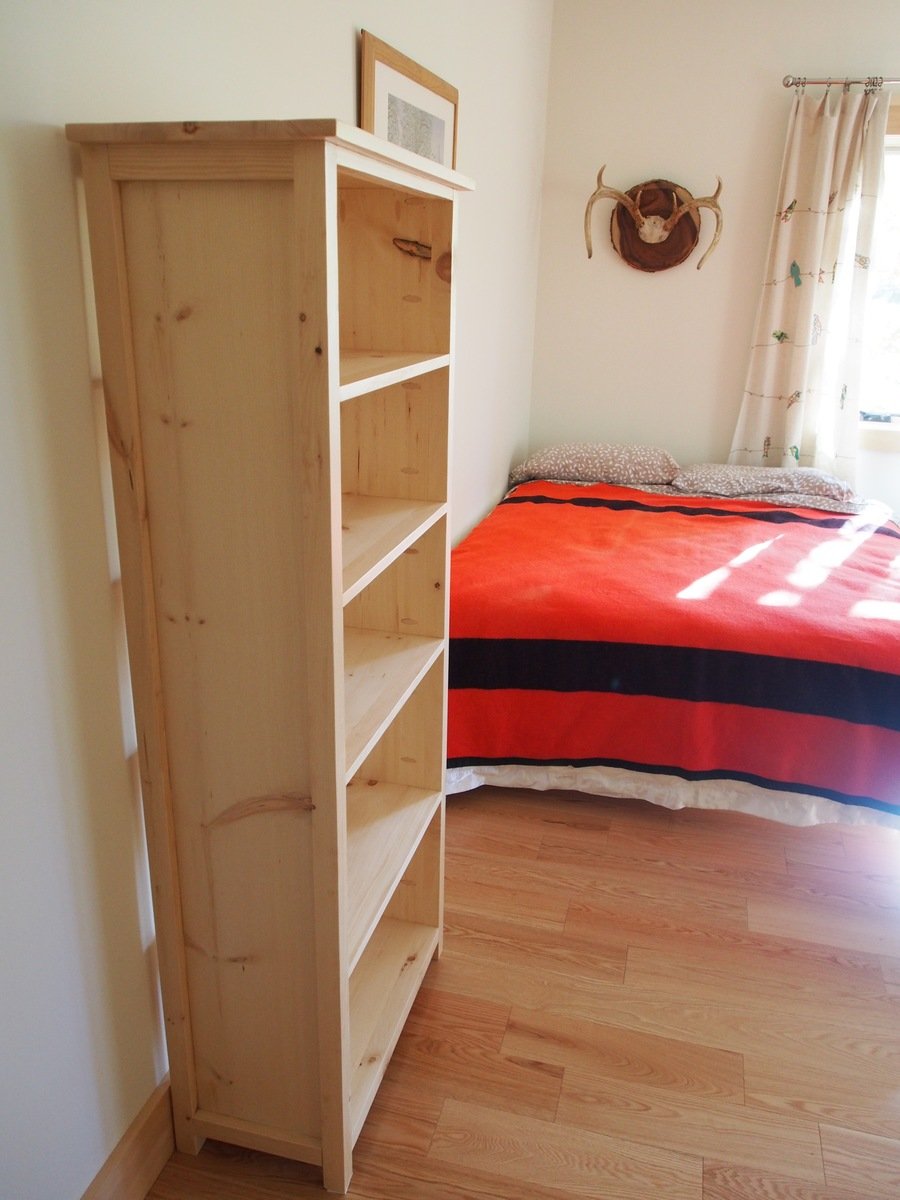
Cottage bedroom bookcase

Submitted by yhaas on Thu, 10/29/2015 - 20:42

I used 1 x 10s to make the bookcase a little shallower, and left the back open. Thanks for the great plan.

Built from Plan(s)
Estimated Cost
$100
Estimated Time Investment
Weekend Project (10-20 Hours)
Finish Used
Varathane diamond finish water-based polyurethane, satin.
Recommended Skill Level
Beginner

Christmas Tree Shelf with Lights

I made this Christmas tree shelf using the plans here.


I modified it by adding on two shelves so that it could accommodate the 6 hooks I needed for my family's stockings.  I also hot glued a string of lights to the perimeter.  This is serving as our Christmas tree due to space constraints, so I wanted it to be "fancier" and more like an actual tree.

I think I did ok for my first real build and my family seems to really like it.

Estimated Time Investment
Weekend Project (10-20 Hours)
Finish Used
Rustoleum Sage Green spray paint in Satin
Recommended Skill Level
Beginner

Comments

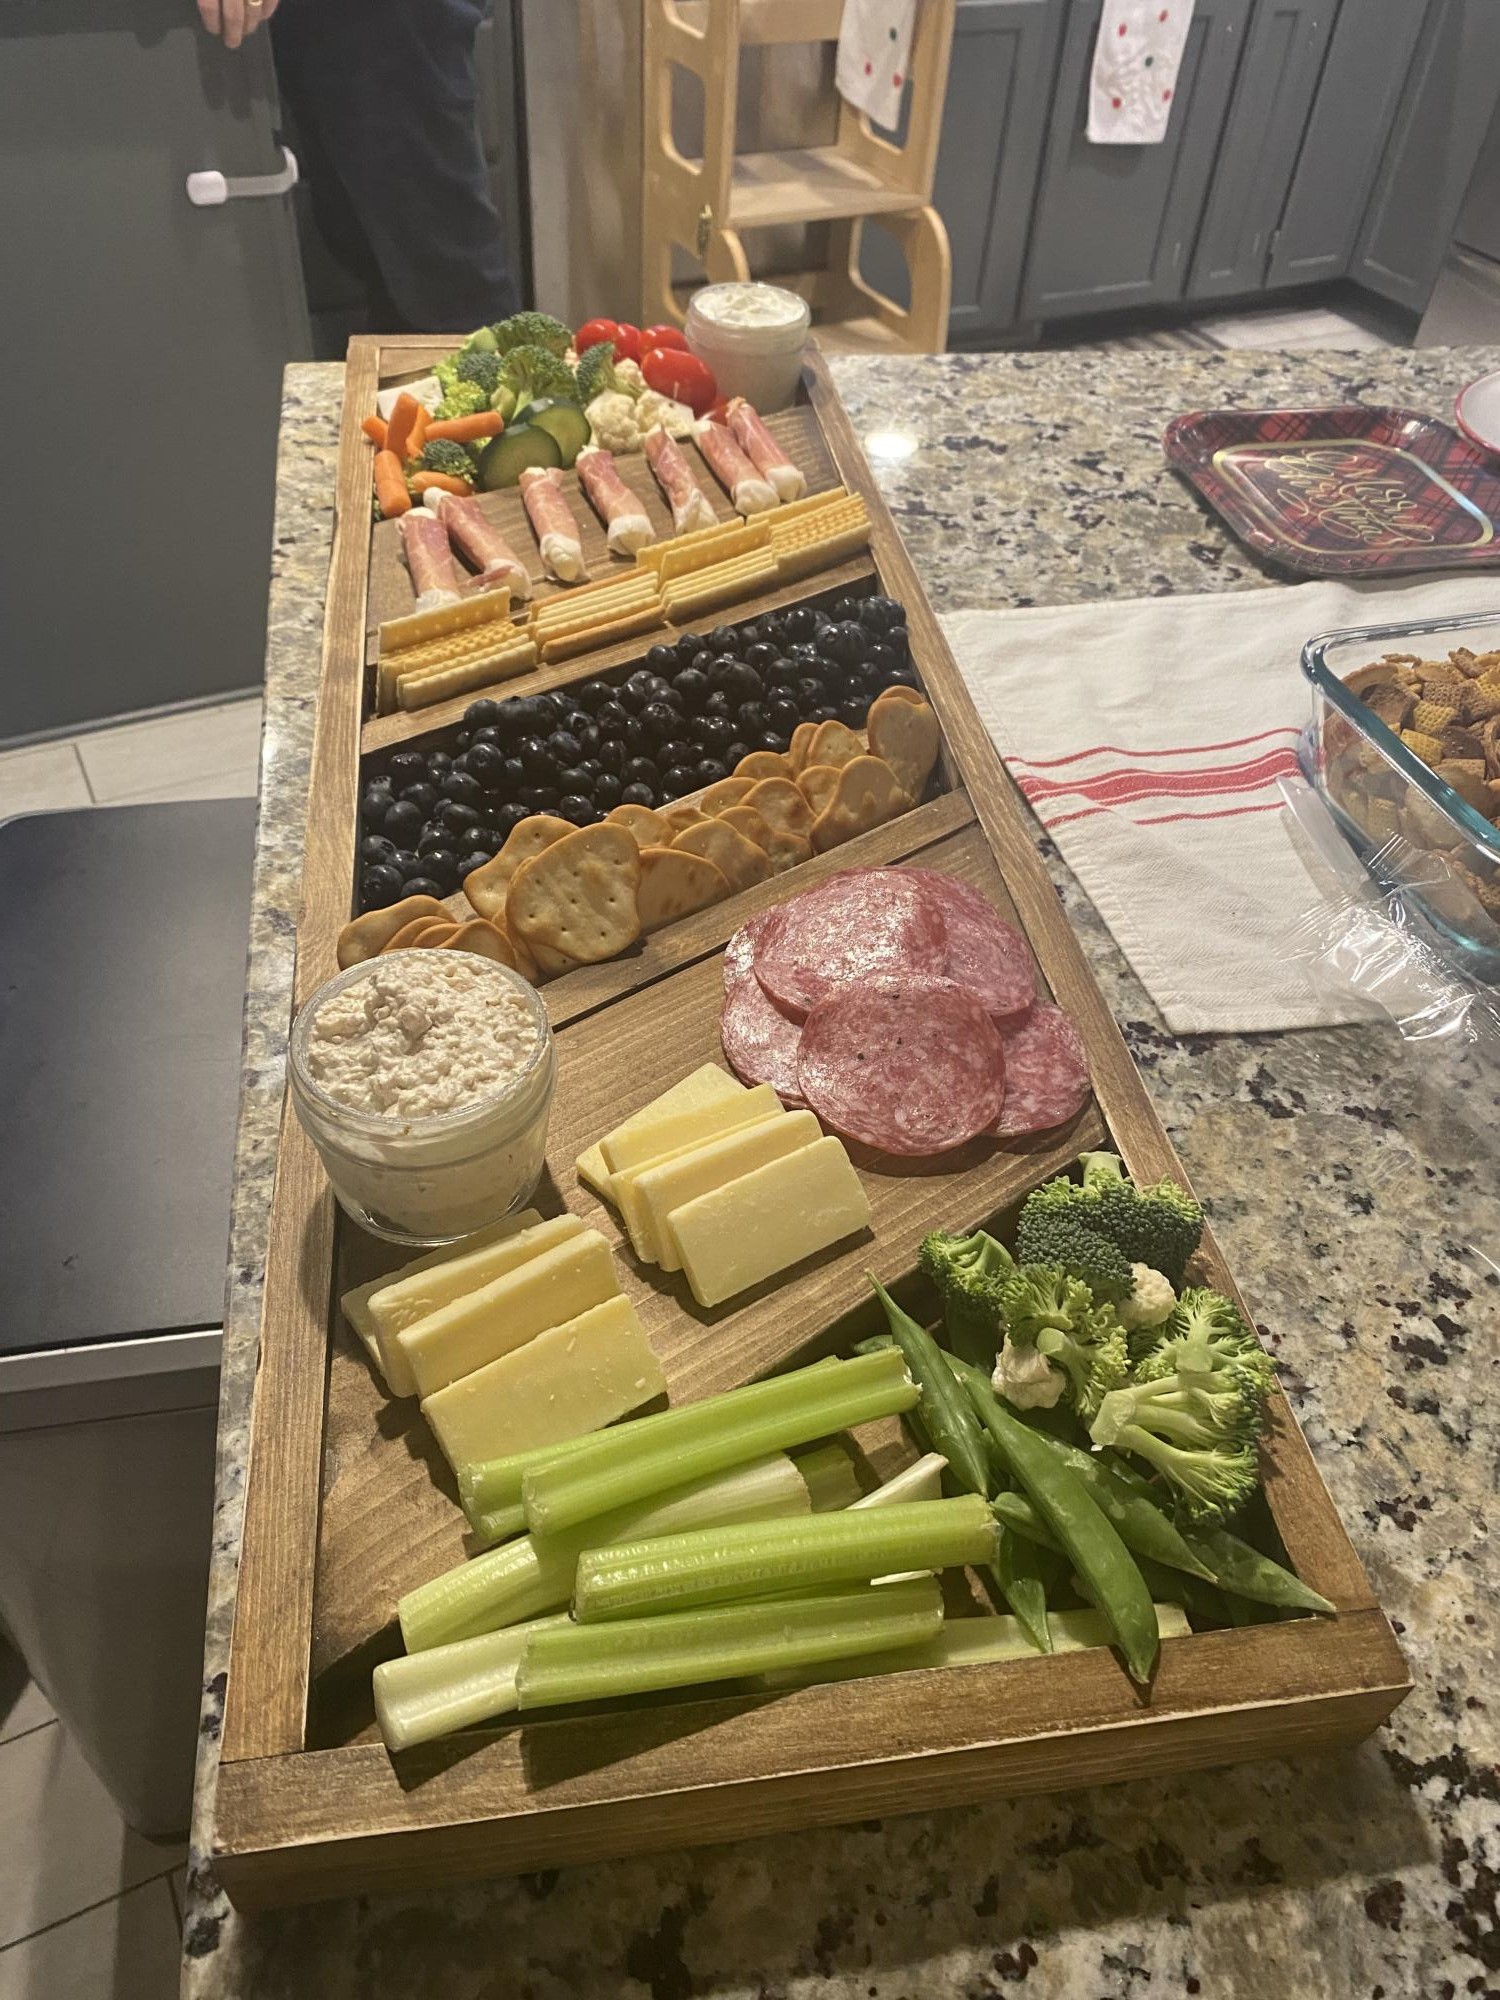
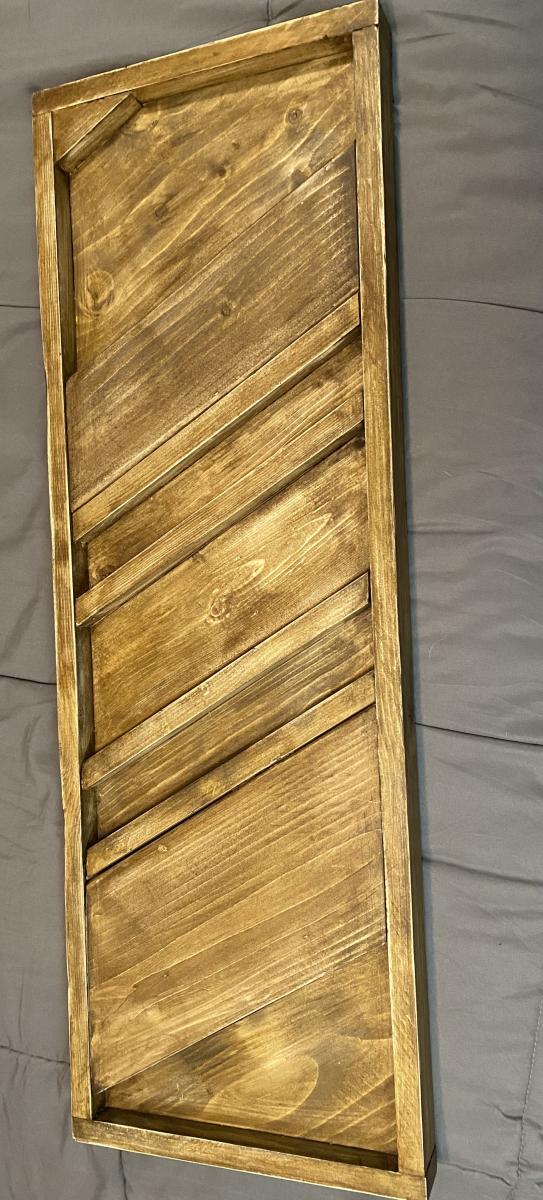
Charcuterie Board

Submitted by Anonymous (not verified) on Wed, 12/28/2022 - 15:27

Made a this for my step-daughter and her husband for Christmas. Love your projects, and am learning to do everything on my own which is so empowering thank you for sharing and encouraging all us girls we can do it!

Comments

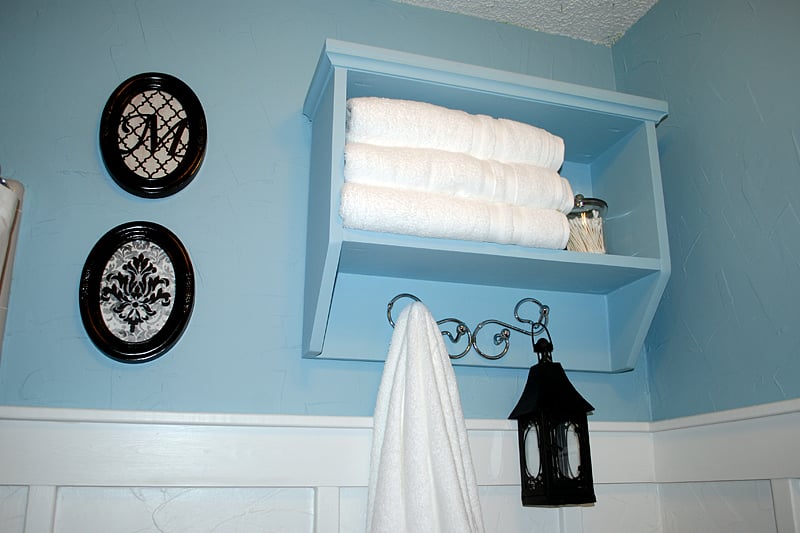
Pretty AND Functional Wall Shelf

To finish off my bathroom remodel I built the Martina wall shelf. I reused the metal hook that was previously on my wall before the board and batten treatment. It fit perfectly in the space under the shelf meant for hooks. I wish I had measured out my towels and storage needs. I could have actually stored more if I had adjusted the plans to make the shelf a little deeper and a couple inches wider. Overall, I'm very pleased! The Kreg Jig is a fun little tool, too!

Estimated Time Investment
Day Project (6-9 Hours)
Finish Used
primer/sealer (1 coat)
Valspar High Noon in Flat Enamel finish (2 coats)
Recommended Skill Level
Beginner

Comments

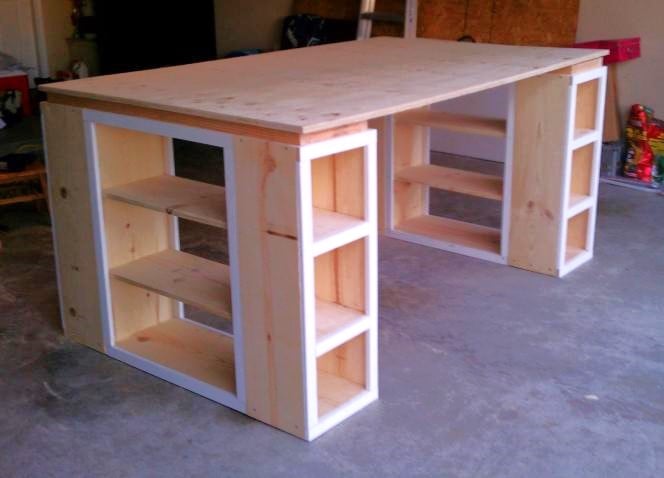
Modern Craft Table *tweaked*

Completed Modern Craft Table! We tweaked the plans a bit because I was looking for a larger table top. The top now measures 48" x 76". We simply did this by adding an extra set of cubbies to the other side of the shelves. Absolutely LOVE how this turned out! All I need now is 4 counter height stools built and lots of shelves to complete my craft room! Will be sure to post those once they are completed!

Built from Plan(s)
Estimated Time Investment
Weekend Project (10-20 Hours)
Finish Used
Ultra White Latex Paint
Recommended Skill Level
Beginner

Comments

Ana White

Thu, 11/17/2011 - 01:10

Darn I was so excited to see you craft table! I apologize that your brag post did not show images. If you can send me images at knockoffwood(at)gmail.com I'd be happy to post. Thanks so much for submitting a brag post. Ana

Guest (not verified)

Sun, 03/04/2012 - 07:31

I LOVE LOVE LOVE your craft table. I want one! Looks like my husband wil have to get busy! Thanks for sharing!
Kristina
Houston, TX

Kimmy (not verified)

Tue, 03/20/2012 - 17:51

Is this the pic of the one you did ?? I am wanting a bigger table top too. I have waited years for just the right table and this is it.

Kimmy (not verified)

Tue, 03/20/2012 - 17:51

Is this the pic of the one you did ?? I am wanting a bigger table top too. I have waited years for just the right table and this is it.

Kimmy (not verified)

Tue, 03/20/2012 - 17:54

Is this the one you made ? I want a bigger table top as well. But I don't see the extra cubbies.

Kimmy (not verified)

Tue, 03/20/2012 - 17:54

Is this the one you made ? I want a bigger table top as well. But I don't see the extra cubbies.

naildoctors

Tue, 05/29/2012 - 00:05

This is great!! I am planning something similar, but what is your idea or the plan you used for the middle support to keep it from sagging over time? My idea is to run another cubby in the middle from side to side. What do you think?

Laura Mulholland (not verified)

Mon, 01/21/2013 - 09:54

I love the modern craft table, just what I have been looking for, do you share instructions, dimensions, etc.? thanks, Laura

HapETexanGal

Thu, 05/12/2016 - 15:14

I'm loving this and would love to have FIL build it for me but the plans look like its for the regular modern craft table but not the tweaked?  Also is there support for the middle?  Can you send me a link for the tweaked supply list please, can't seem to find it.  Love what you do!

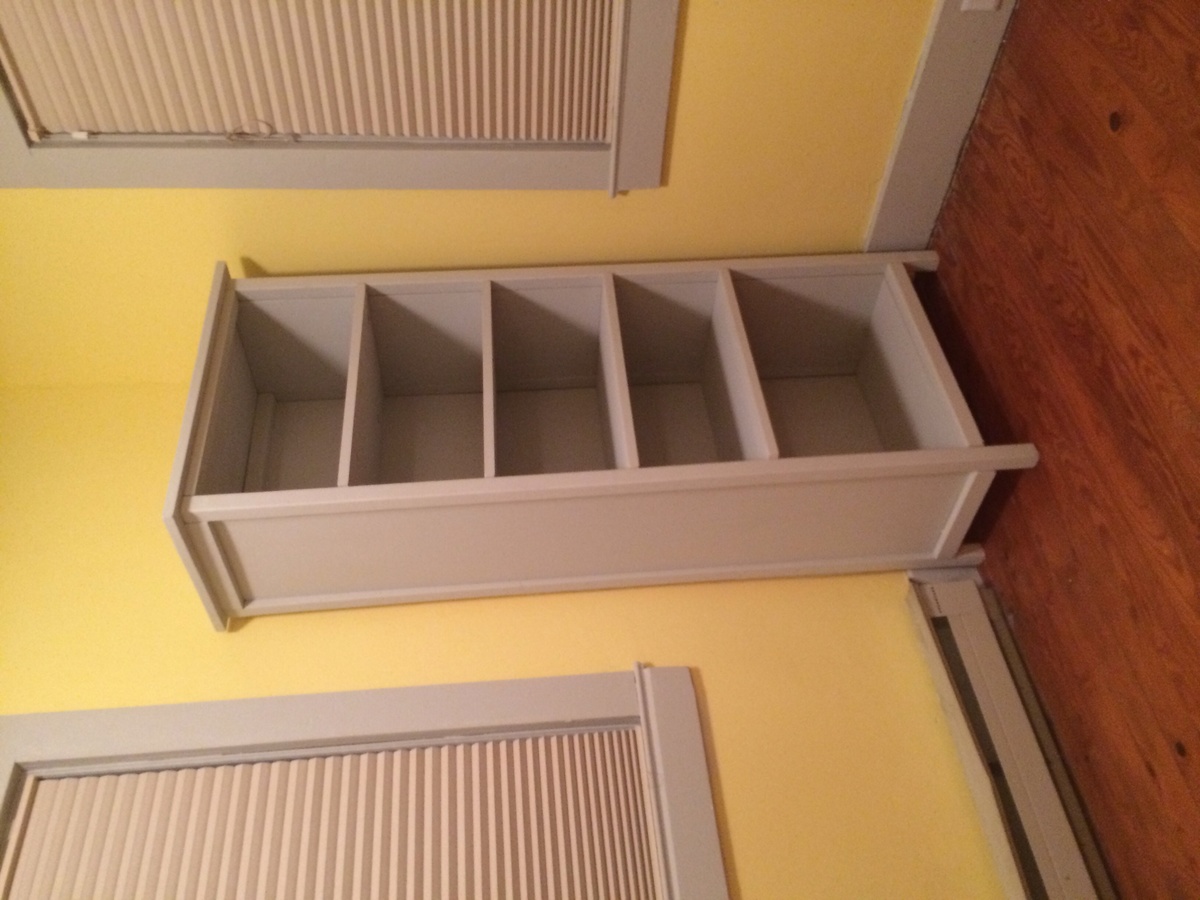
Bookshelf for our nursey based on your terrific Channing plan

Submitted by Astern on Tue, 12/24/2013 - 14:24

Great, simple bookshelf for our nursery

Built from Plan(s)
Estimated Cost
$150 for wood, $150 for paint and tools I needed
Estimated Time Investment
Weekend Project (10-20 Hours)
Finish Used
Flat wall paint -- the same we used for the trim in the room.
Recommended Skill Level
Beginner

Comments

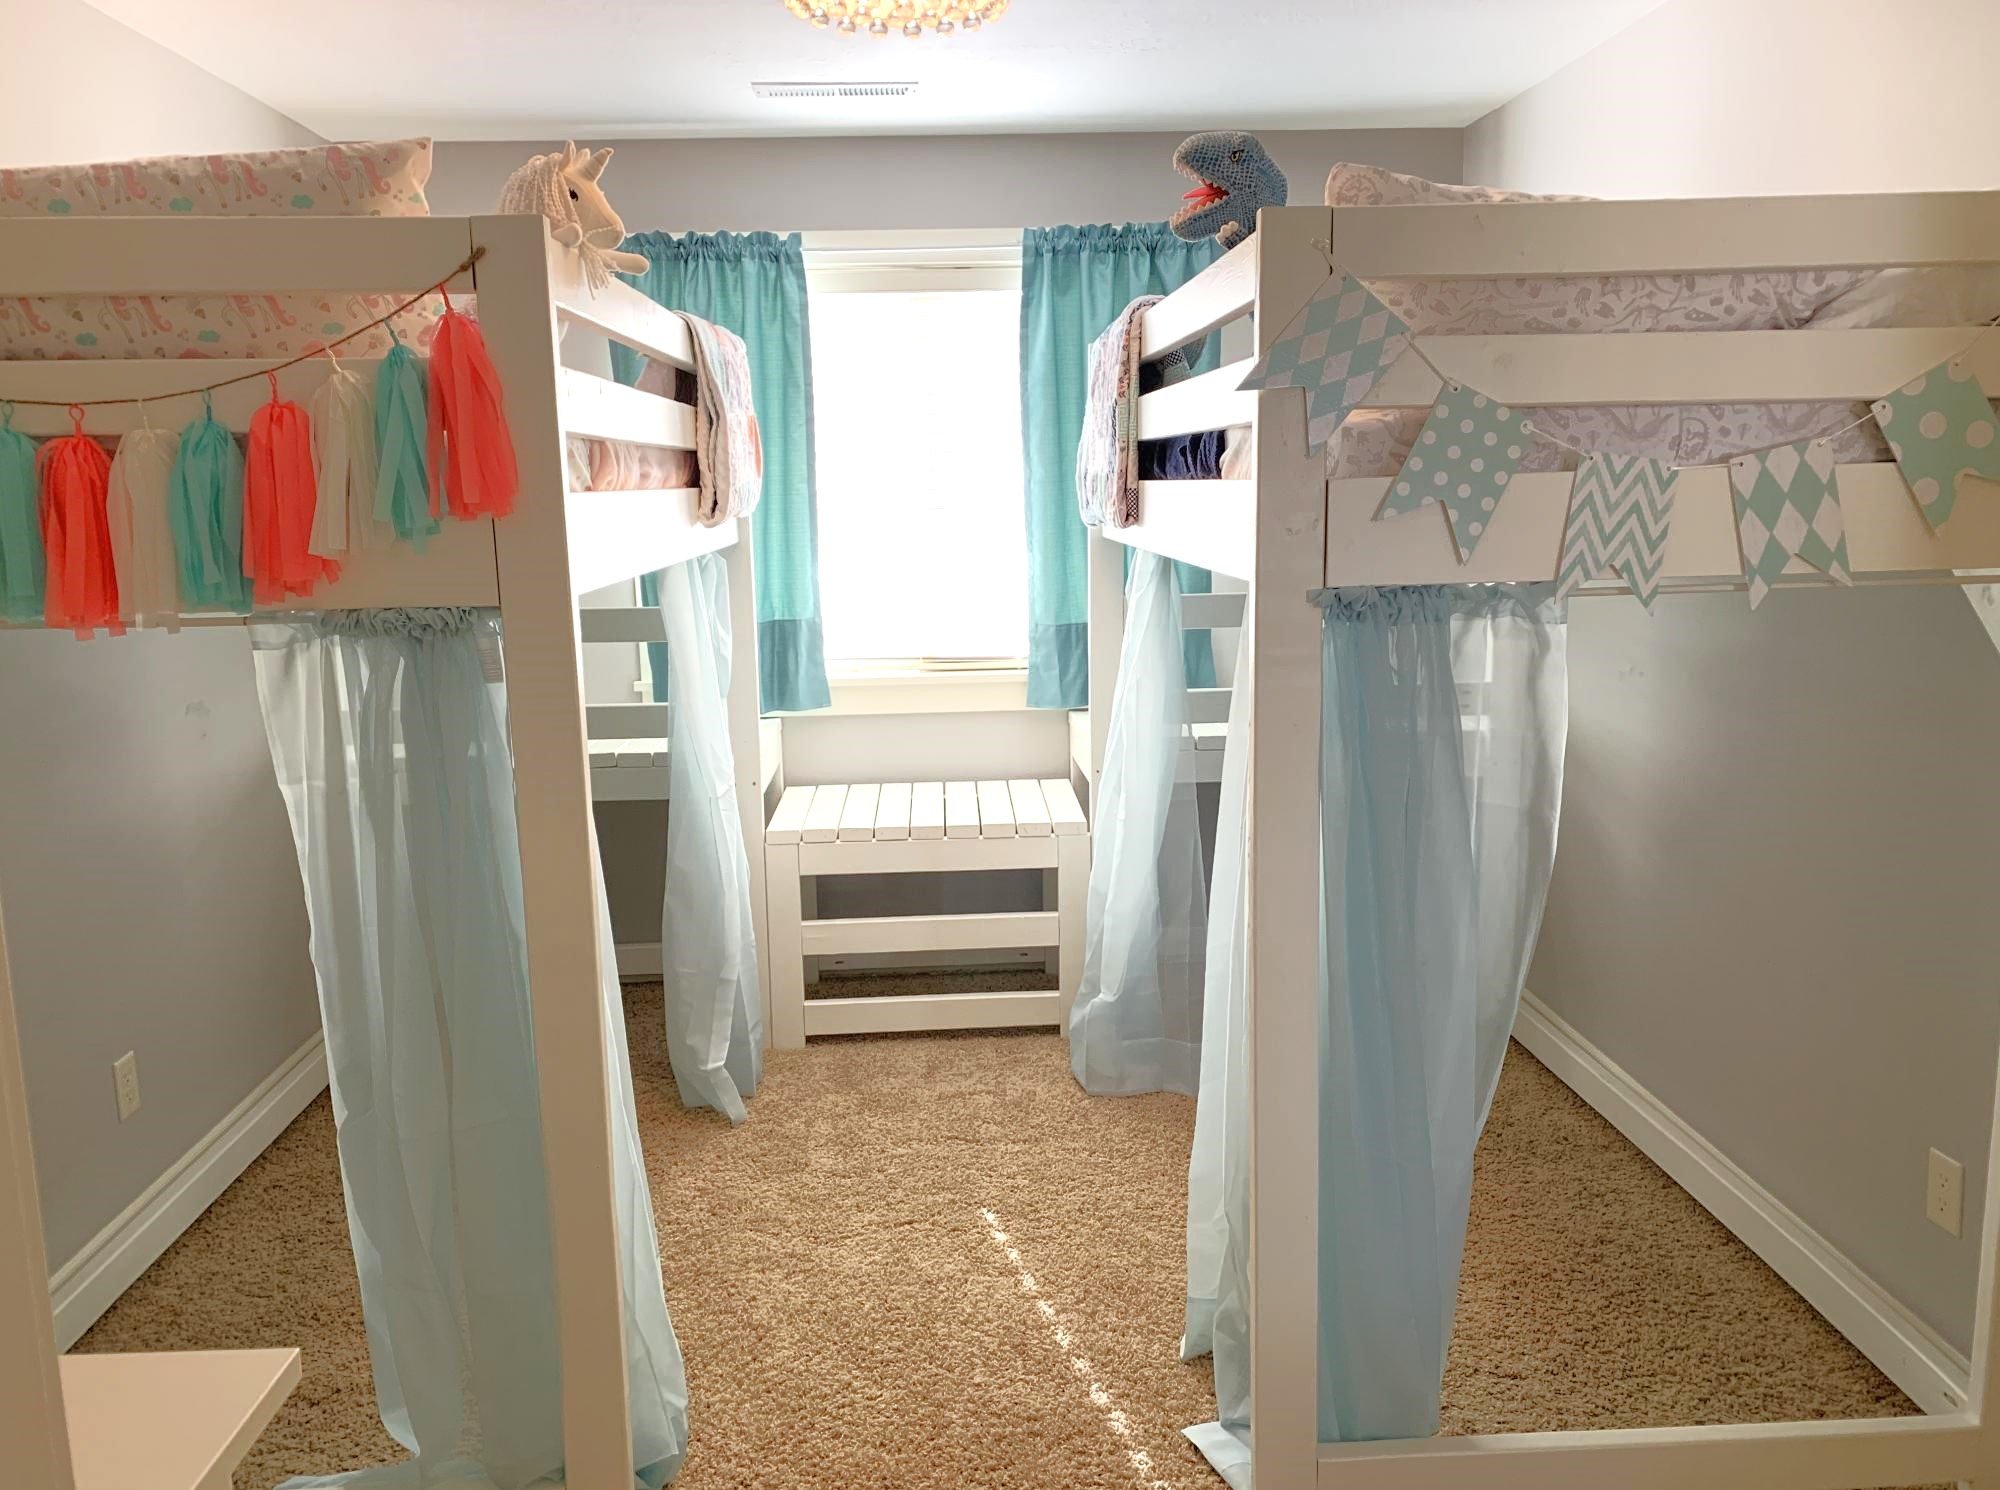
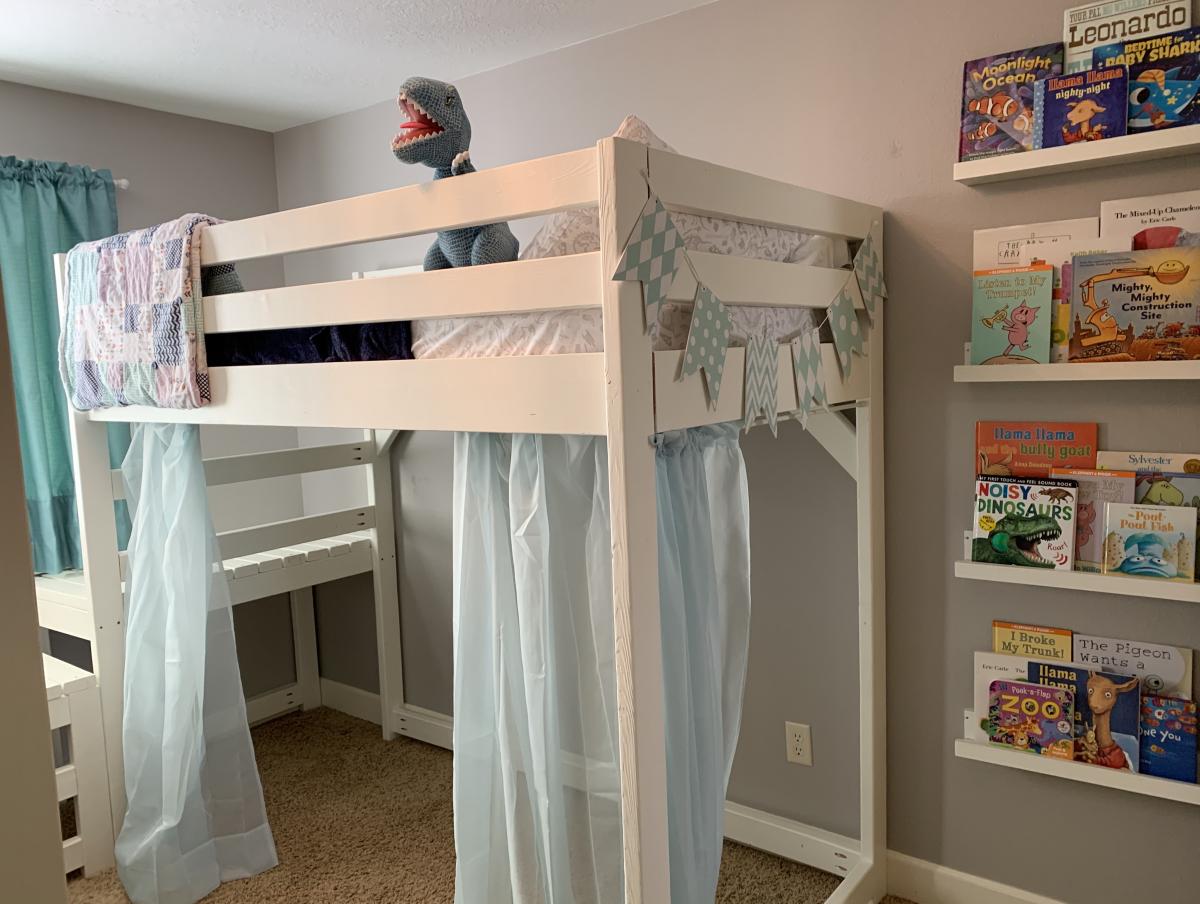
Twin Loft Beds for Twins

Submitted by annierey on Thu, 10/31/2019 - 16:33

My twins just turned four and were still sleeping in their toddler beds, so it was time for an upgrade.  They still want to share a room so we knew we needed to maximize space and open up some room for them to play.  We chose the Camp Loft Bed but raised the height to 72" (with 53" of headspace) so we might be able to add a desk underneath when they get older. 

Essentially, we made two loft beds with the platforms but omitted the stairs.  Then we built a slightly lower platform to put between the two beds, which acts as a step down.  Then instead of making stairs that jut out into the room, we added two 2x4s as ladder rungs to the lower platform.  This also acts as a tunnel for the twins to crawl under to go between each other's play spaces.   This also makes it so the beds can be easily separated if we ever need to put them in separate rooms. 

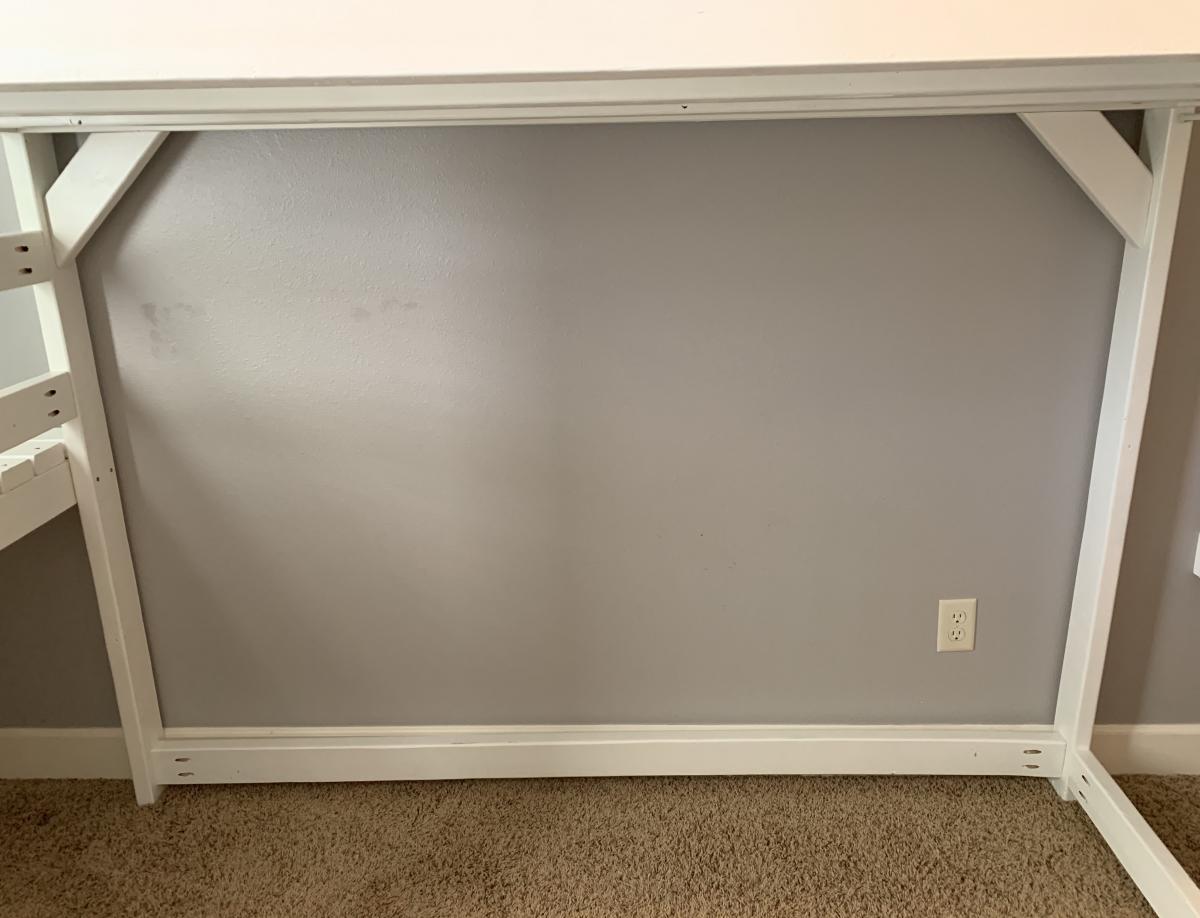
When it was complete we noticed one of the beds was a little wobbly, so we added diagonal braces in the corners and another 2x4 across the length of the bottom to help stabilize it.  We also chose to use 1x4 pieces of pine as the slats for the mattress to lay across, but they didn't feel like they would support our weight if we wanted to read to them in bed.  So we added two more 2x4s underneath the slats the entire length of the bed, which has added a ton of support. 

We stopped keeping track of exactly how much it cost, but it was close to $400 for both beds combined.  And it took most of my husband's free time for two weeks, but most of that was painting two coats of paint on every piece before assembling.  First he cut all the pieces to size, drilled the holes with a Kreg Jig, and then painted.  To make the painting more efficient, he put a bunch of screws into boards so he could paint all the exposed sides of the lumber, flip, and leave them to dry.  Then we assembled the beds in their room. 

The twins love their new beds, and we love how much more space they have to play in their room!  We were worried the room would feel too crowded but with the openness of the plan and the space that was opened up underneath, we think it turned out great!  Now we can move in a bunch of their toys and reclaim some of our house!  Thanks for the great plans!
Estimated Cost
$400
Estimated Time Investment
Week Long Project (20 Hours or More)
Finish Used
Two coats of white paint/primer
Recommended Skill Level
Beginner

TWINNING!
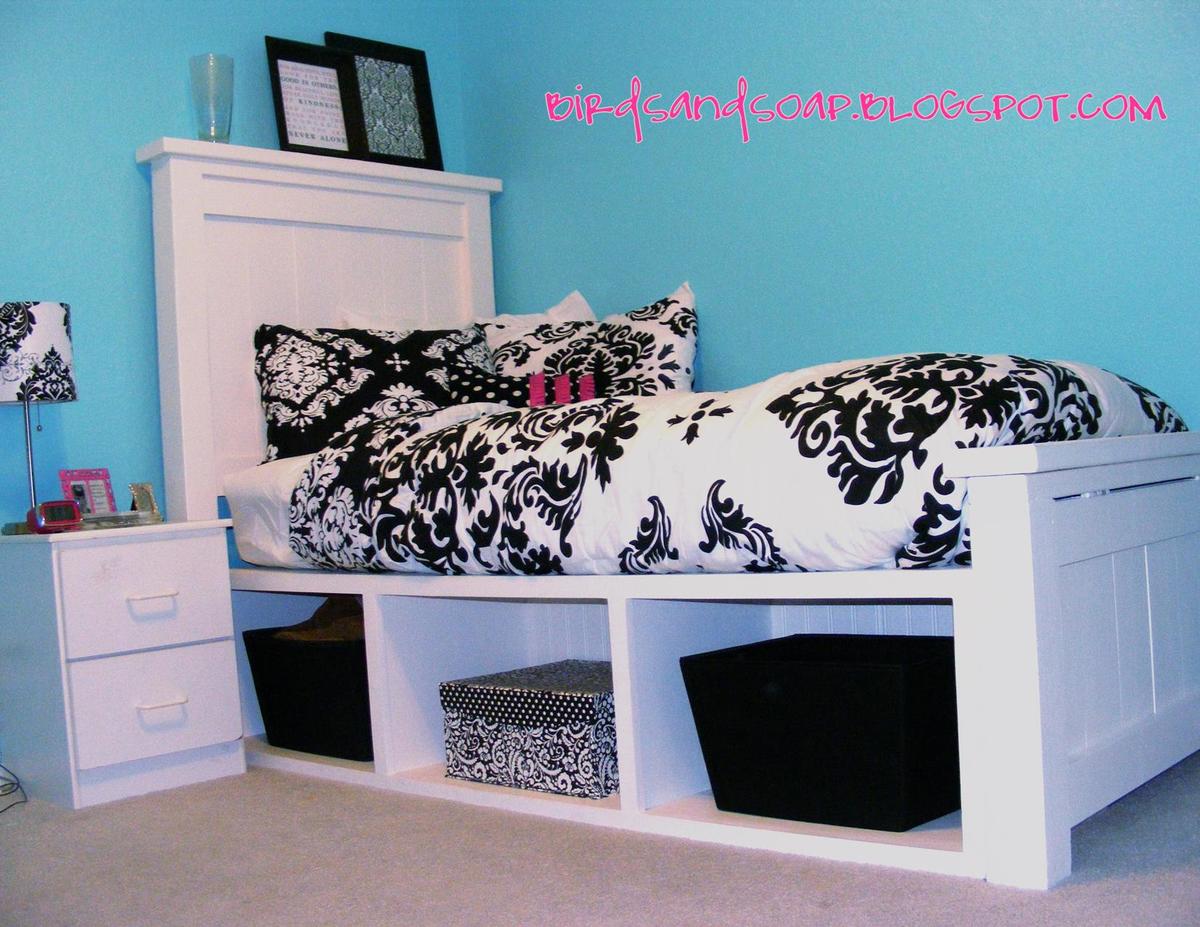
Twin Farmhouse Storage Bed With Hinged Footboard.
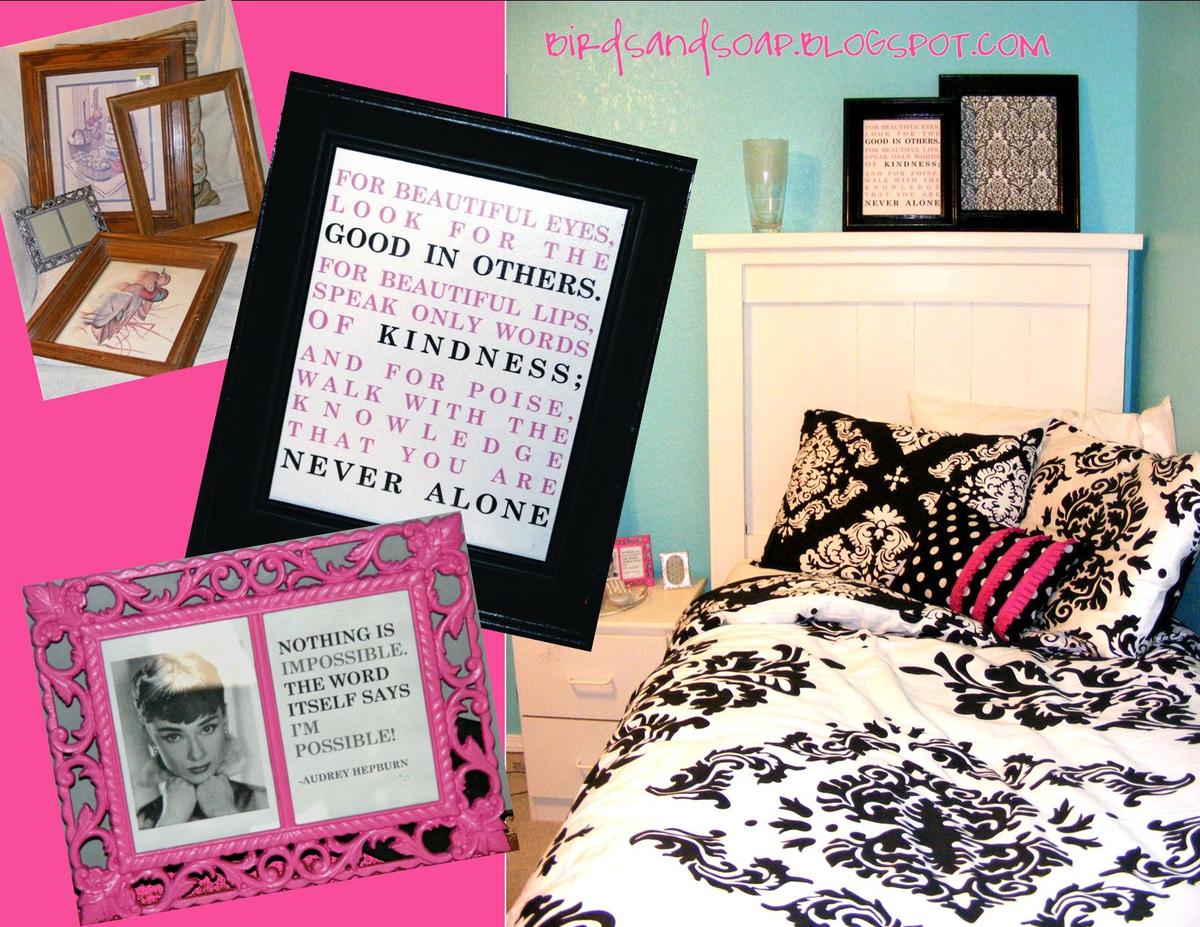
After making a queen-size for myself, I built this twin-sized version for my niece. Along with a "Breakfast at Tiffany's inspired" theme, she got a new bed and a new bedroom for her 15th birthday.
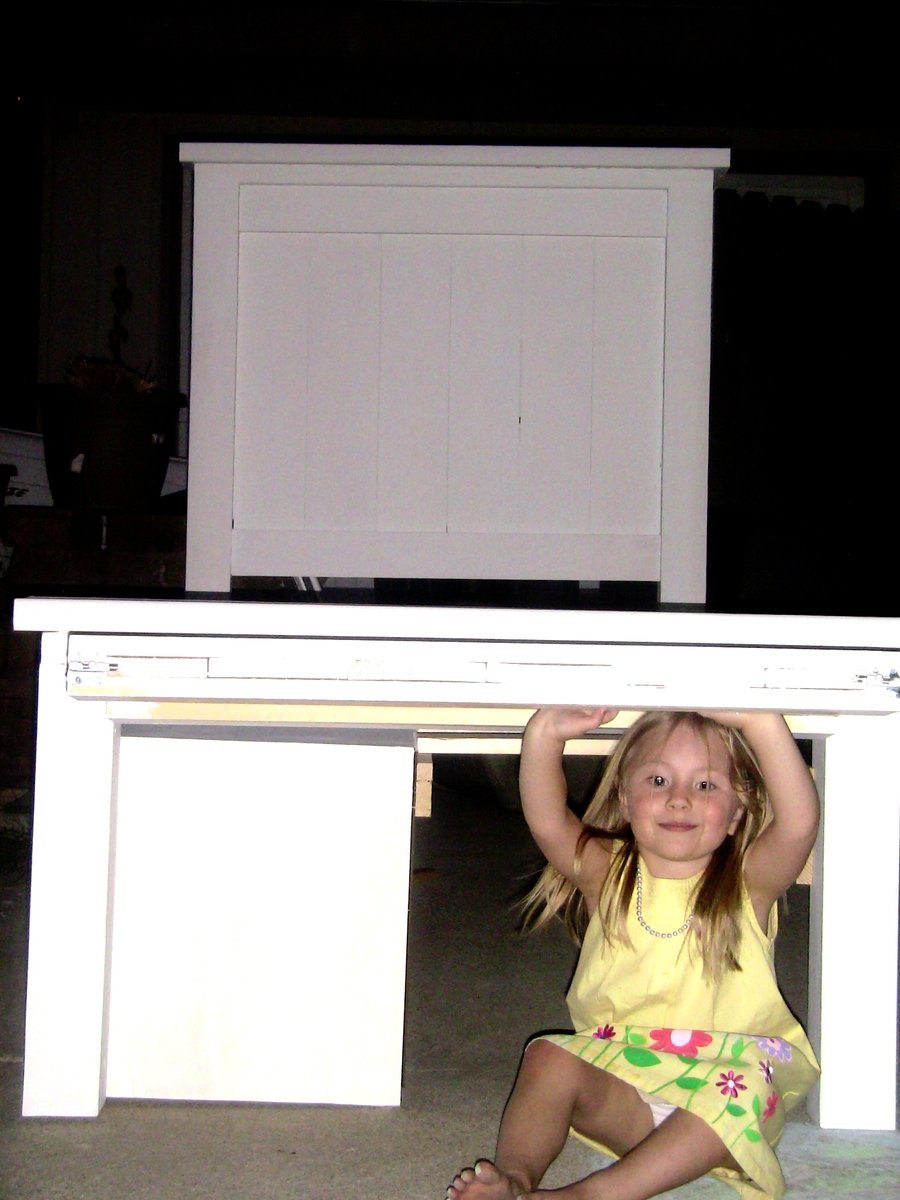
For this version of the bed, I made just one storage cubby because it sits against a wall. With the addition of the hinged footboard, she has a secret vault for storing her Super Secret Teen items (or shoes or snowboards). I followed the traditional farmhouse bed design, omitting one 1x6 in the head/footboard panels. This way, it is not as wide and the storage cubby meets the bedpost on center.
(Again, my daughter modeling the hinging action).

Estimated Cost
$150
Estimated Time Investment
Weekend Project (10-20 Hours)
Finish Used
Primed and painted with Olympic Heirloom Lace in Satin.
Recommended Skill Level
Beginner

Comments

kad050209 (not verified)

Tue, 09/11/2012 - 20:43

I'm wanted to make my daughter a bed simple to this... Was wondering, since you took one 1x6 piece out on each end... How many inches is the gap from the wall to bed? I want to have my DD's bed against the wall but, since she is only 3 I don't want a big gap for her to fall into! I hope you understand what I mean. Thanks.

In reply to by kad050209 (not verified)

birdsandsoap

Tue, 09/11/2012 - 21:53

The gap is actually determined by the widest part of the bed, which is the cap piece on the head and footboards. At most, your gap would be around 3 inches, but you can shove a foam pool noodle from the dollar store in that gap if you are concerned she will get stuck.

And just to be clear, I only removed (1) 1x6 from the headboard and (1) 1x6 from the footboard to match; not two boards from each panel. Wasn't sure if you understood.

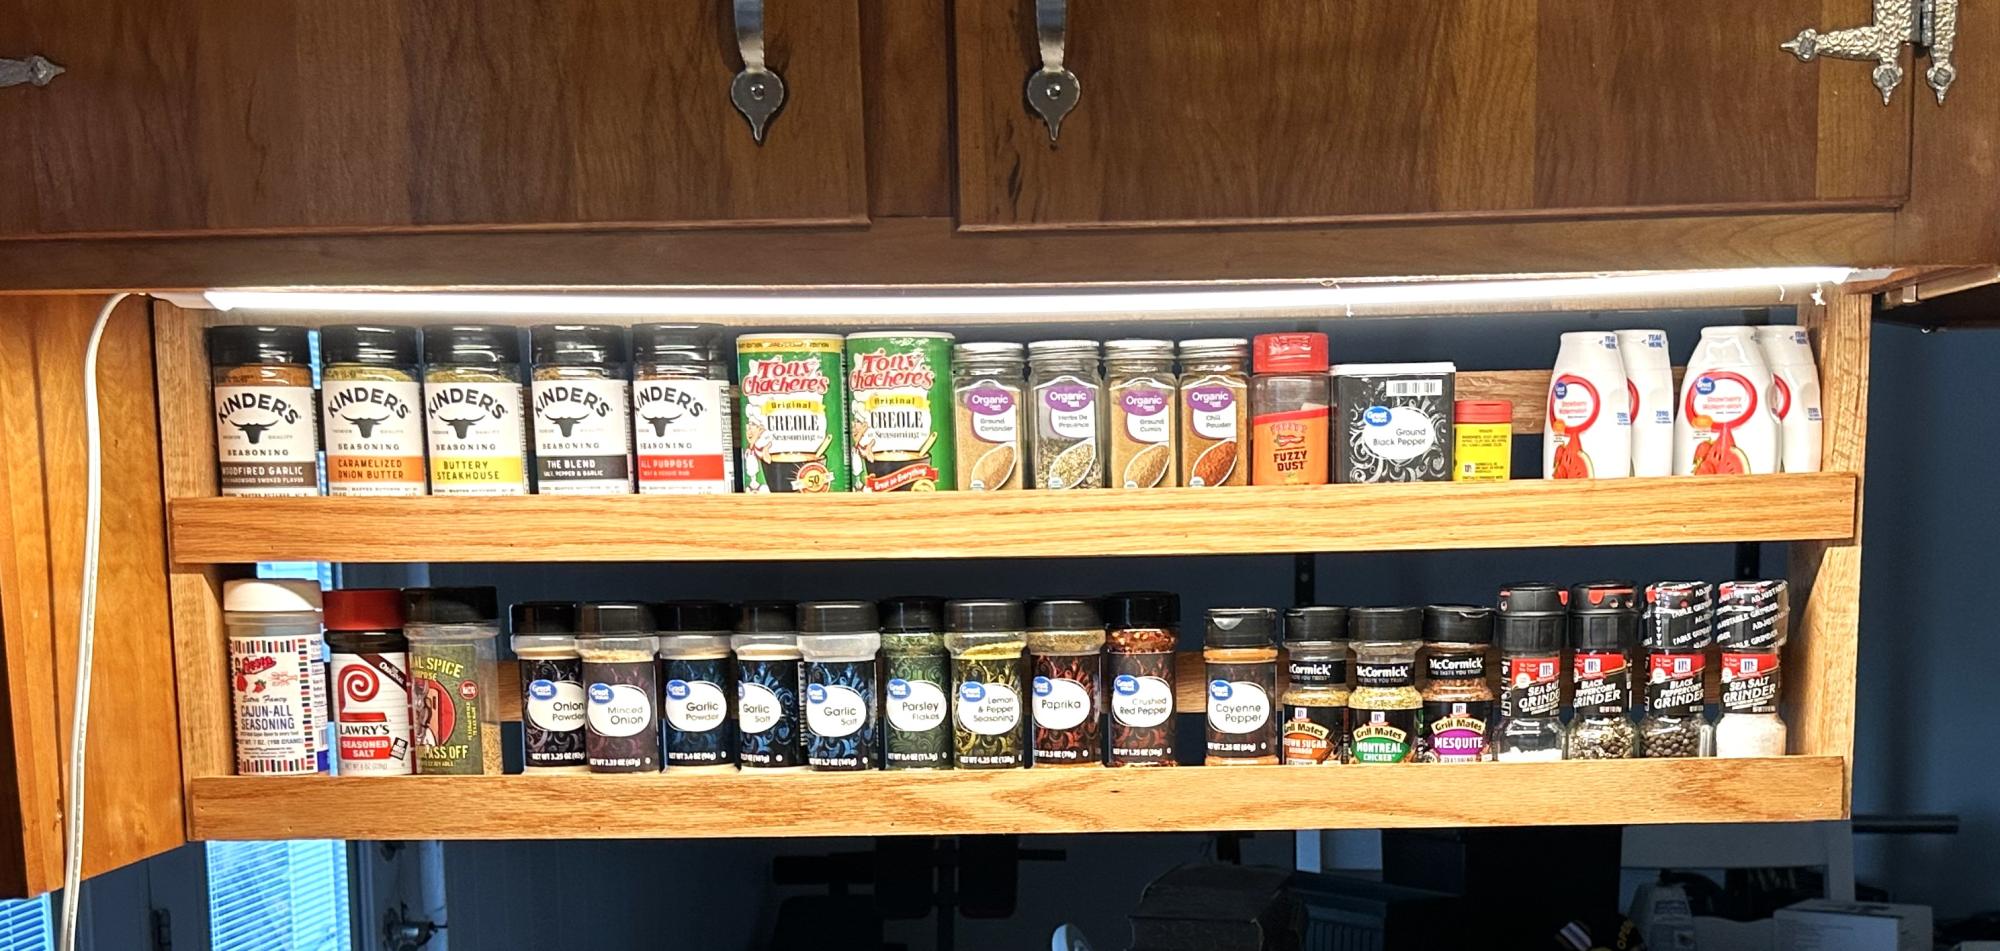
Under Cabinet Spice Rack

Submitted by Anonymous (not verified) on Mon, 09/11/2023 - 13:06

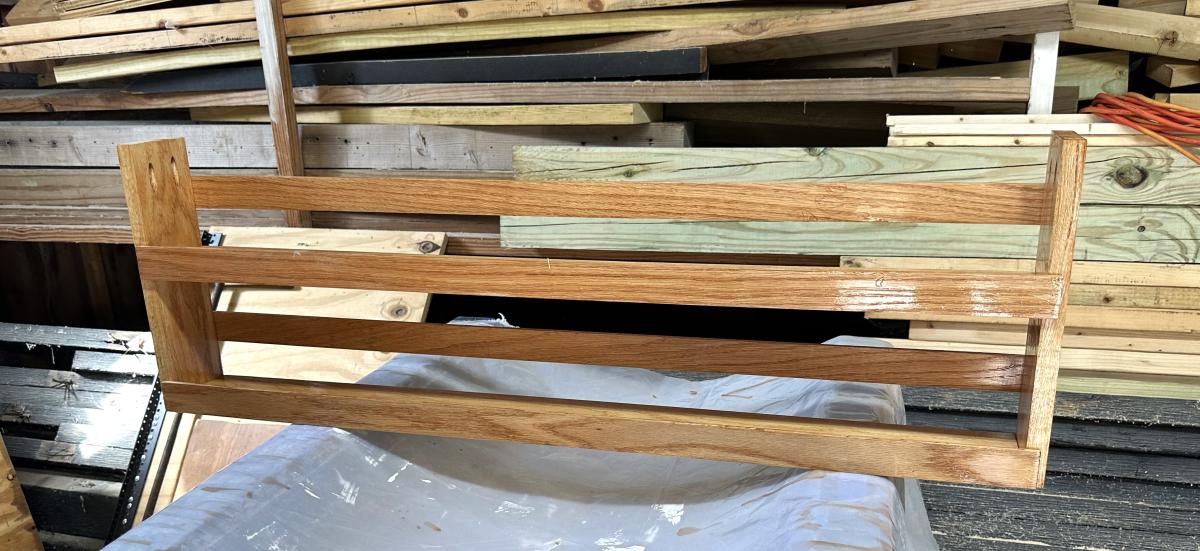
I needed to clear out a shelf in my cabinet and add a spice rack so I could actually see everything. This came out perfect! Made of Oak and stained with classic oak. Very simple to build and hung with pocket screws

James Breadbox

Built from Plan(s)

Small Balustrade Coffee Table

Submitted by mmadden20 on Sat, 02/22/2020 - 12:33

This might be my favorite build yet! We made some minor modifications to the plan since we only needed a 2’ x 3’ table. The legs were ordered from Osborne Wood - delivery was super quick and they make the table! The plan was easy to follow. I still can’t get over how much I love the final product!

Built from Plan(s)
Estimated Cost
$200
Estimated Time Investment
Day Project (6-9 Hours)
Finish Used
1 coat of special walnut and 1 coat of weathered grey. I used a wipe on poly for the legs and water based triple thick satin finish poly for the surfaces.
Recommended Skill Level
Intermediate

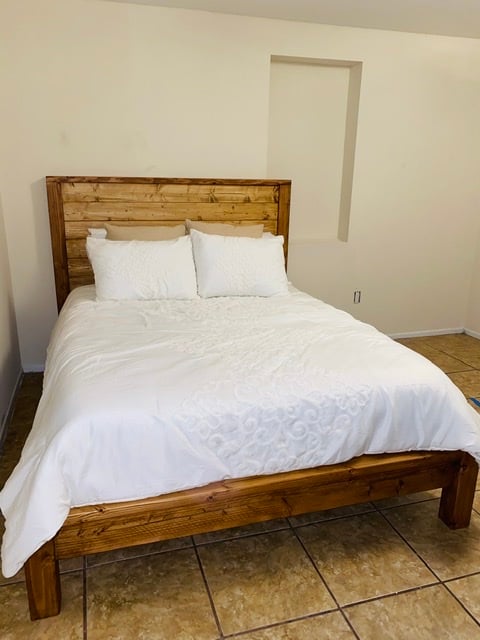
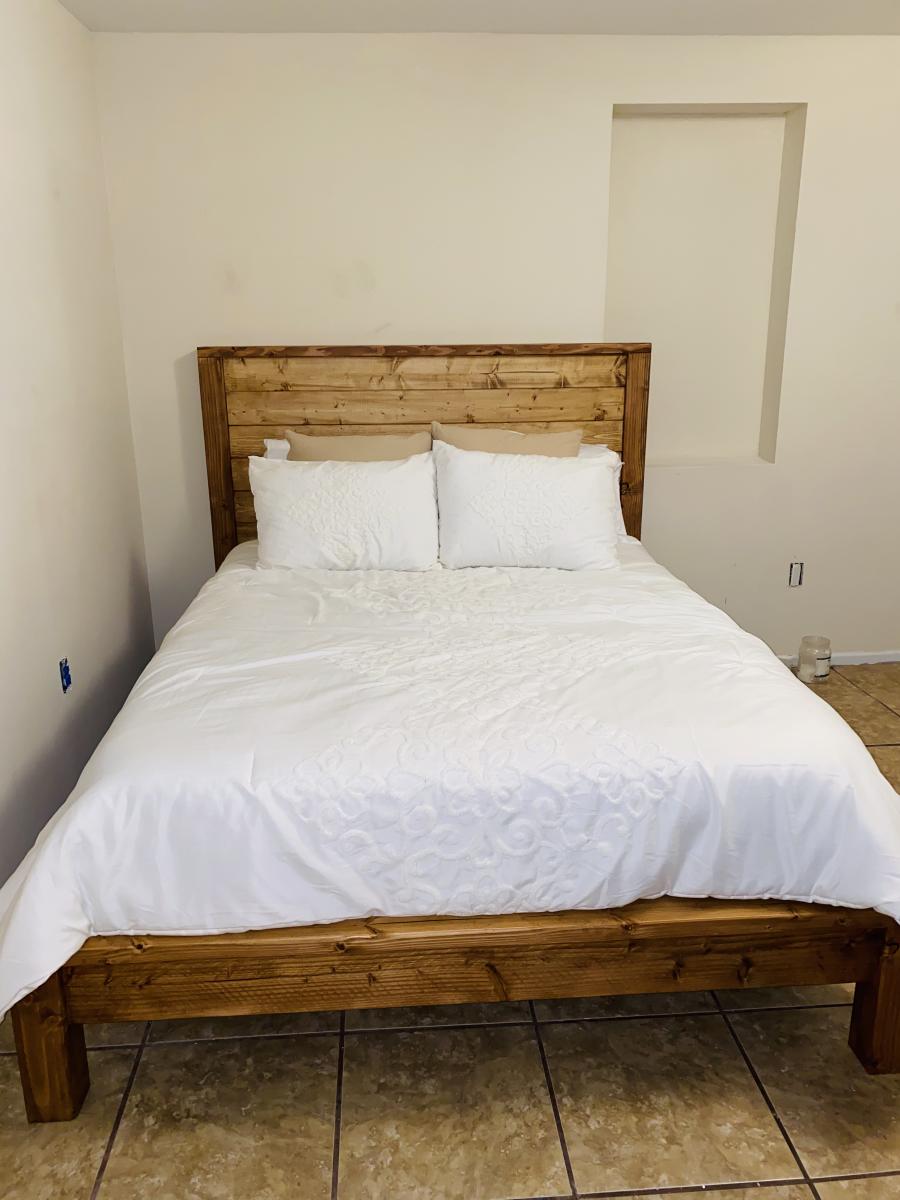
Modern farm house bed

Submitted by Anonymous (not verified) on Thu, 03/19/2020 - 00:11

Project was quick and easy

Built from Plan(s)
Estimated Cost
150
Estimated Time Investment
Day Project (6-9 Hours)
Finish Used
Golden oak
Recommended Skill Level
Starter Project
Back