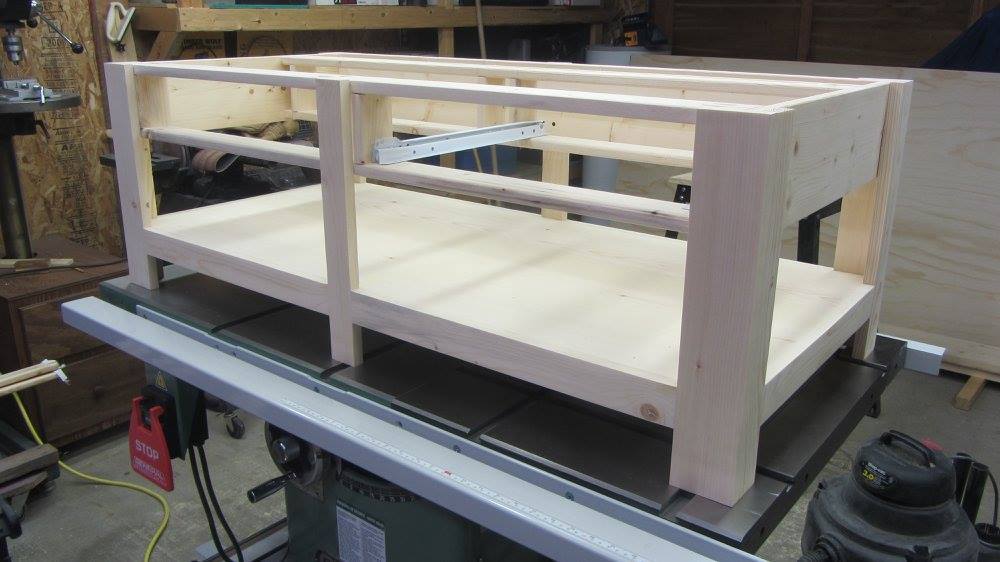
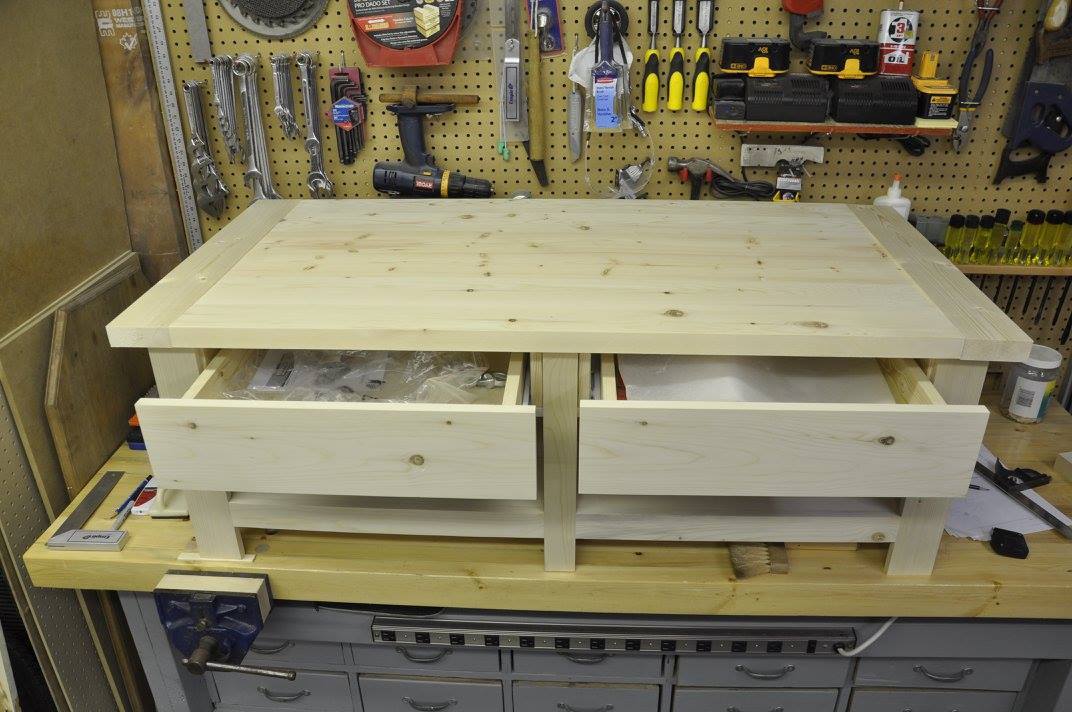
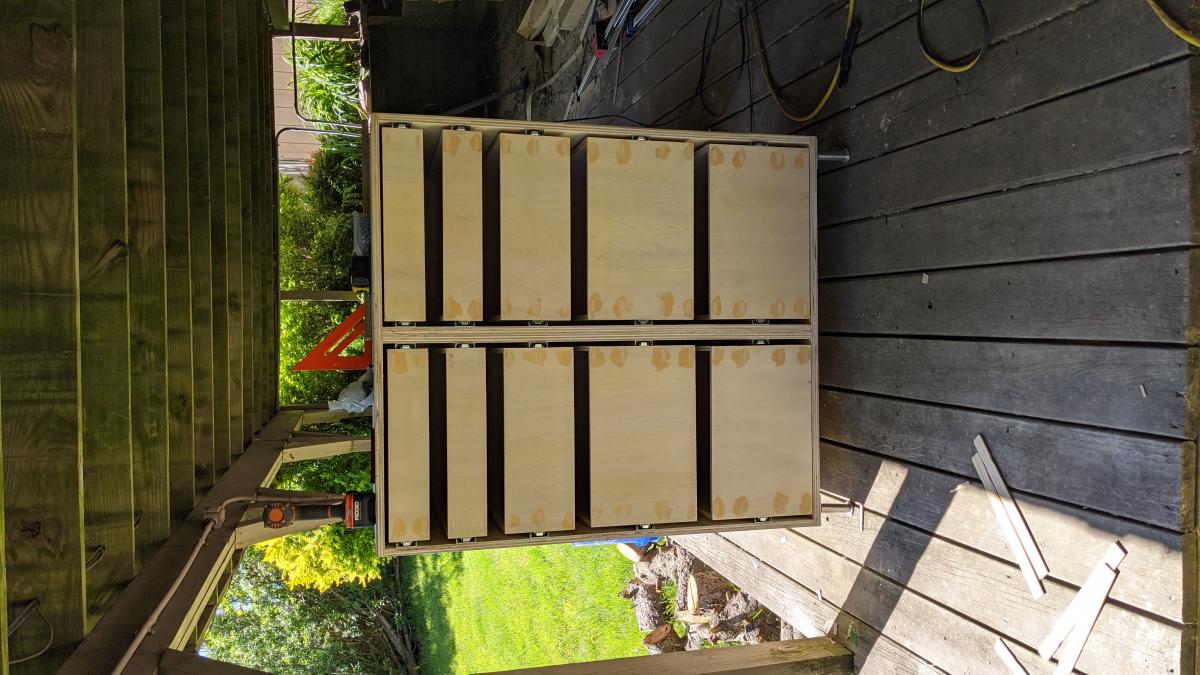
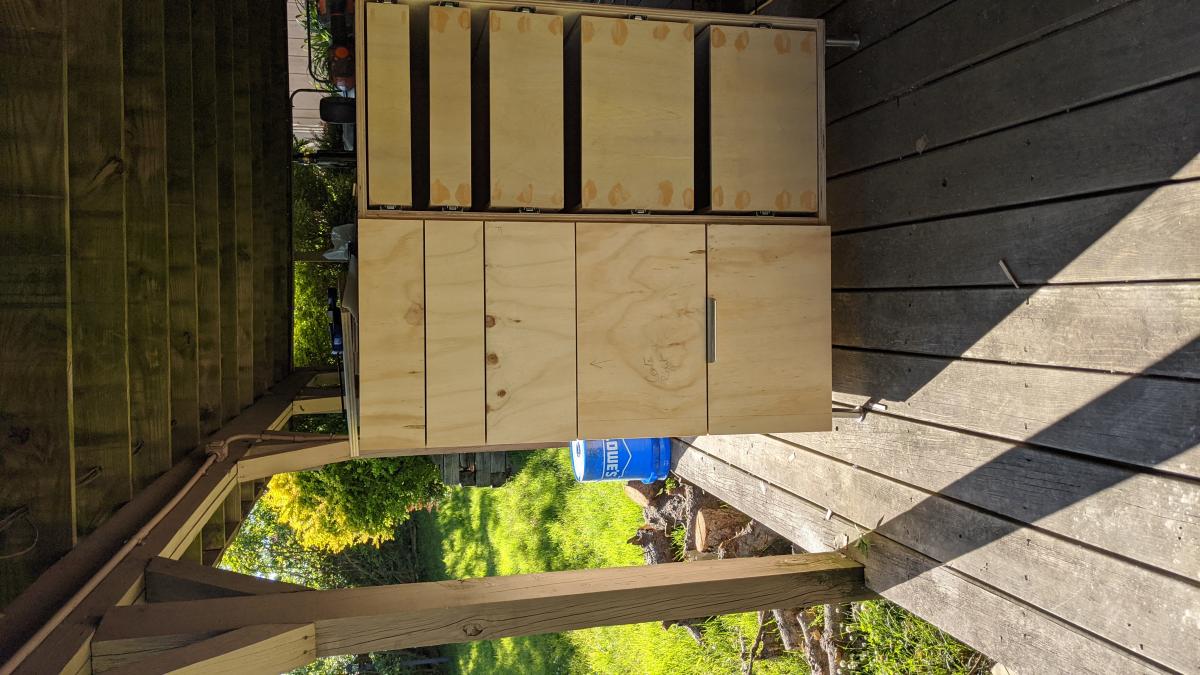
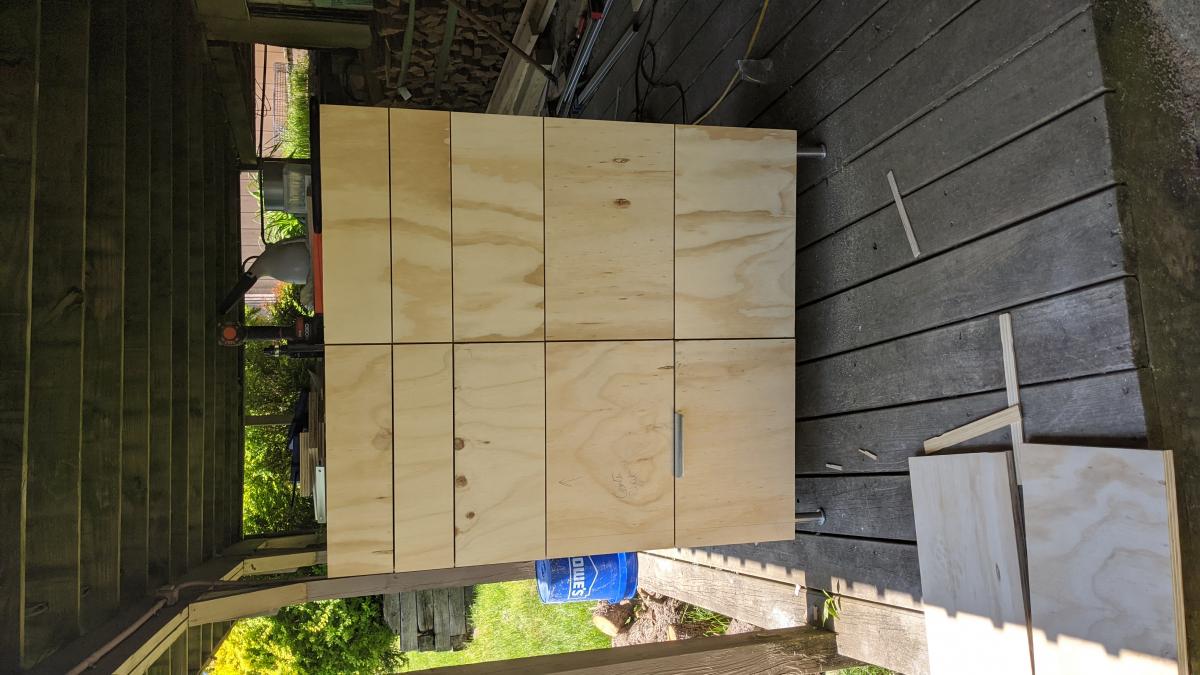
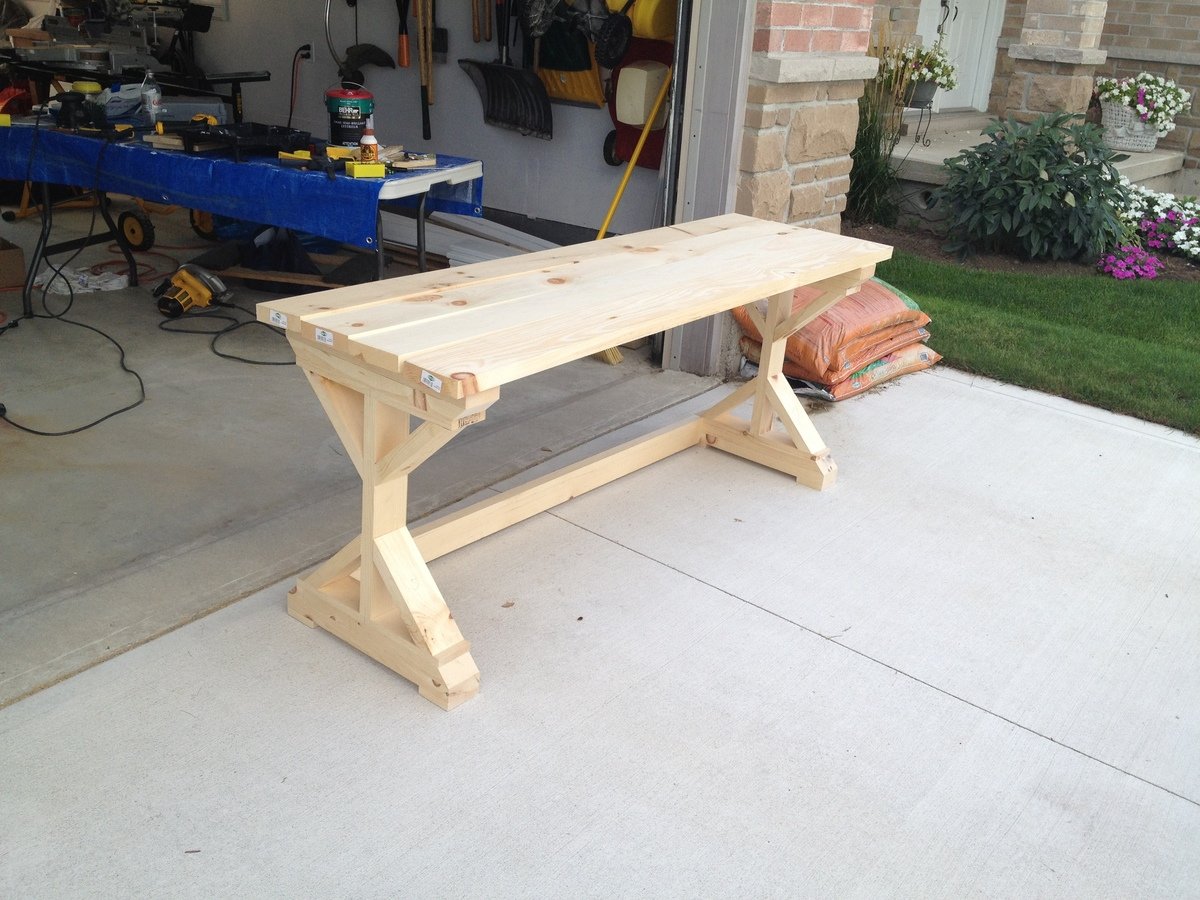
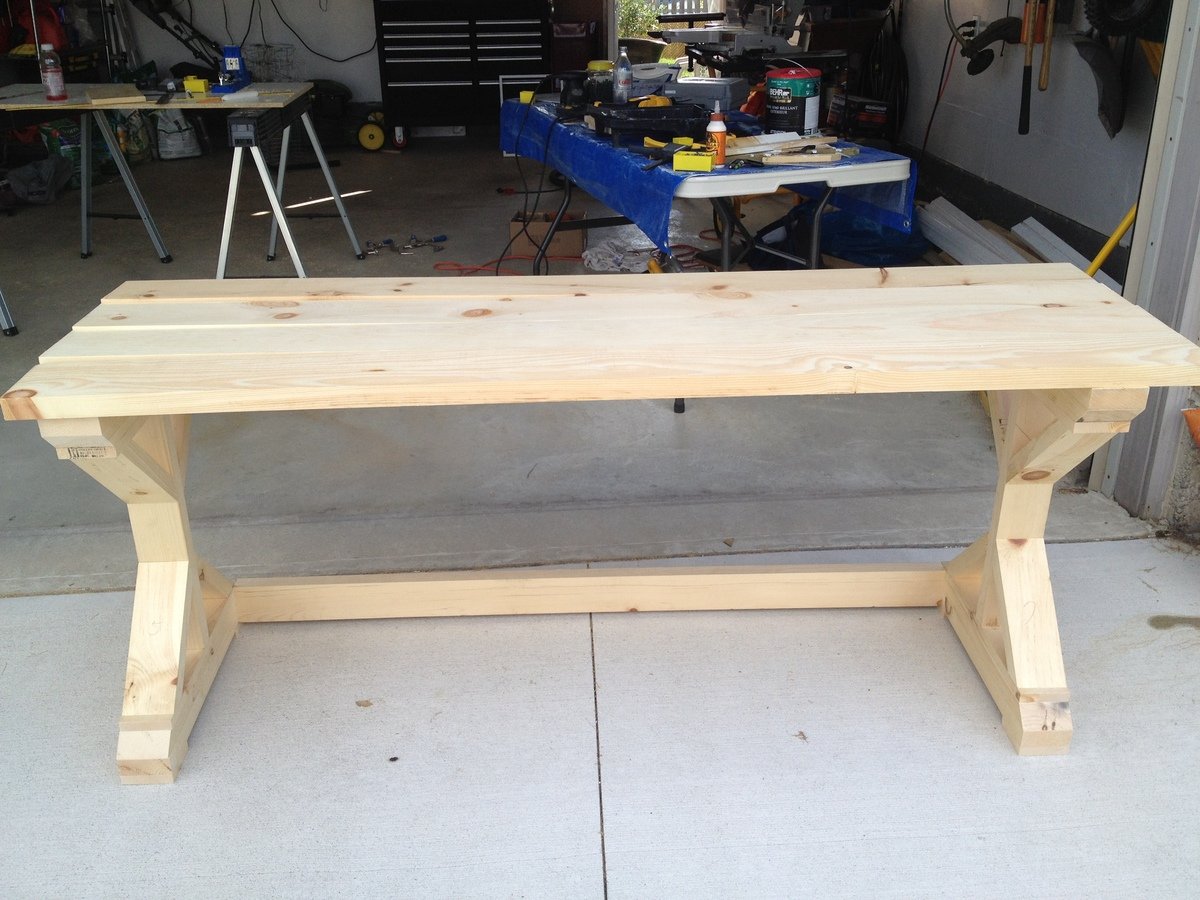
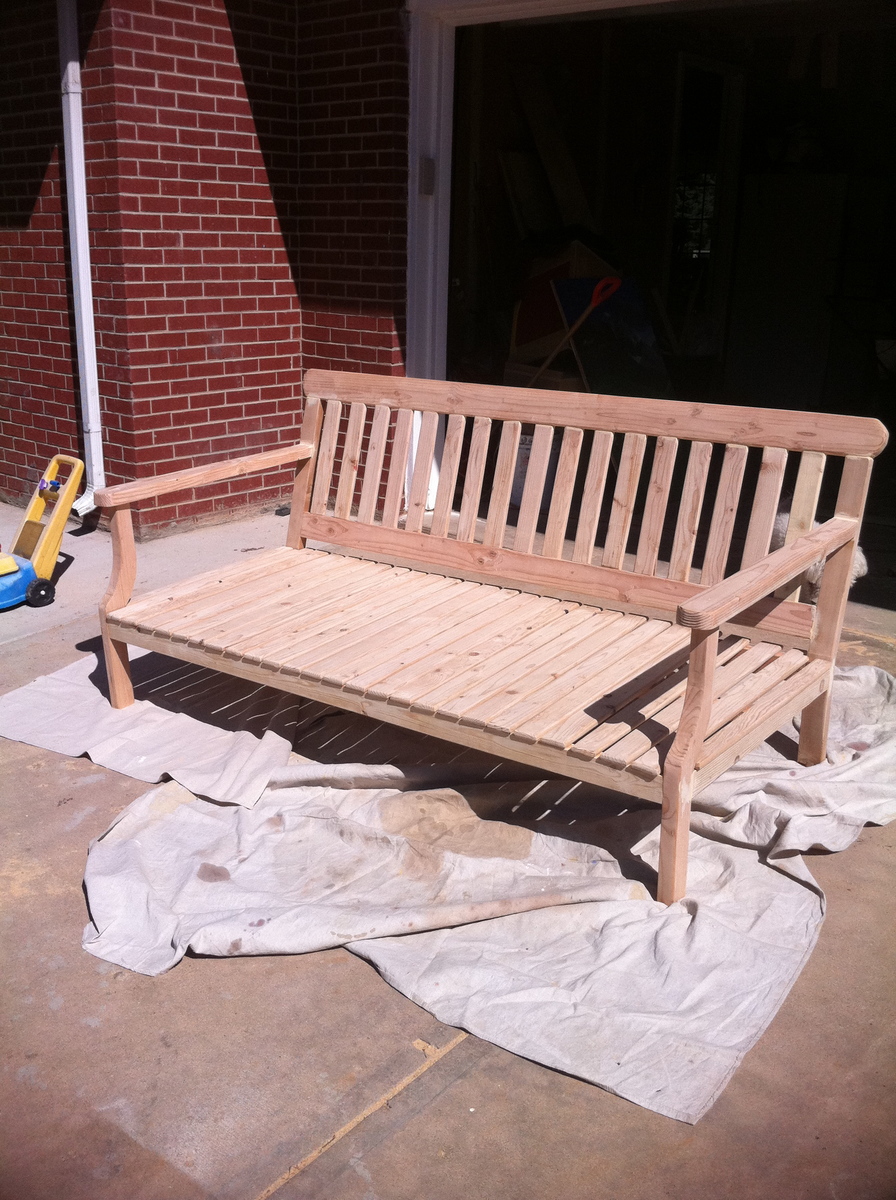
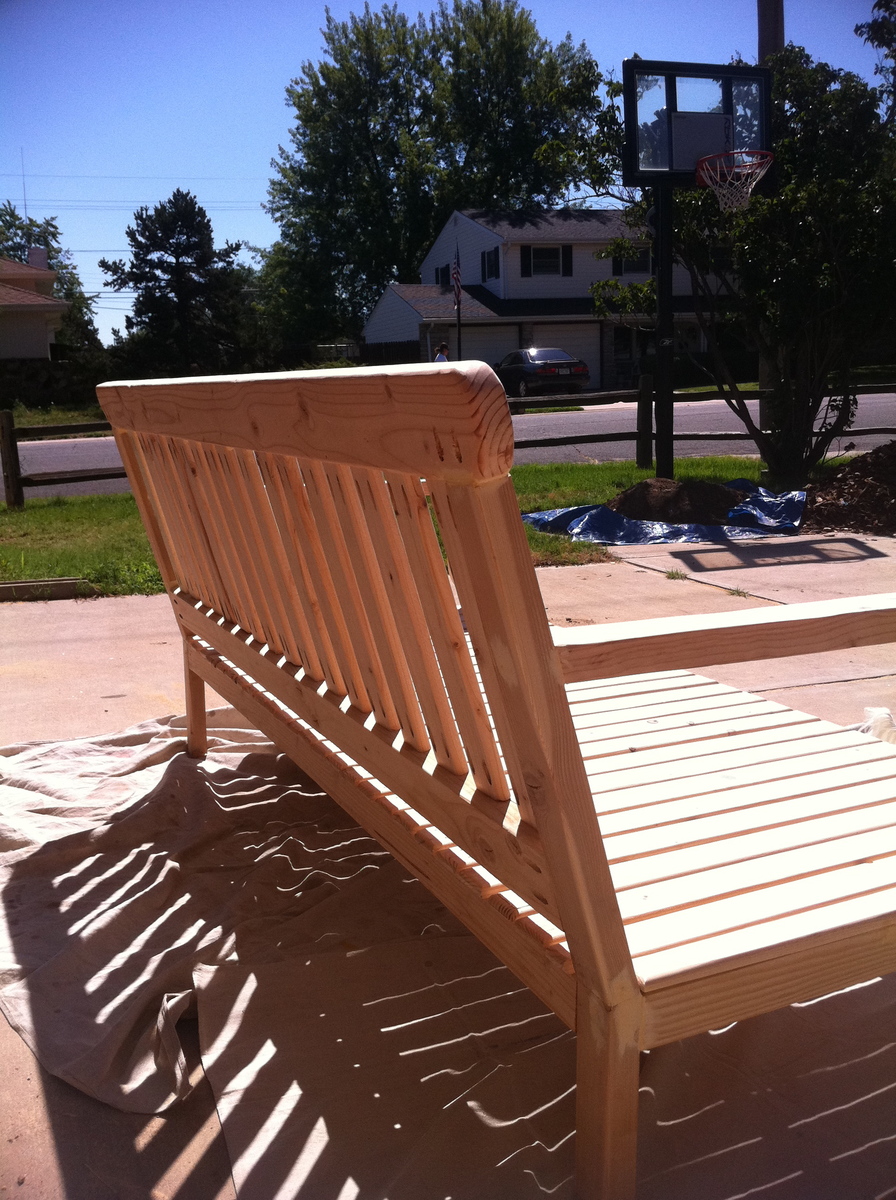
These are the shots from my dry-fitting assembly. I have yet to instal the back supports and to secure the top 2x6s but that will be done shortly.
I did run short of 2x4, I needed 1 more probably because of my inexperience with maximizing my cuts and minimizing waste. I plan on testing out my cuts in SketchUp for future projects and see if that helps. I find it much easier when the cut plan is already worked out before I get to the saw.
I cut and dry-fit the whole thing in 1 day although it would have been faster if I worked out the regional dimensions first. Again, SketchUp to the rescue!
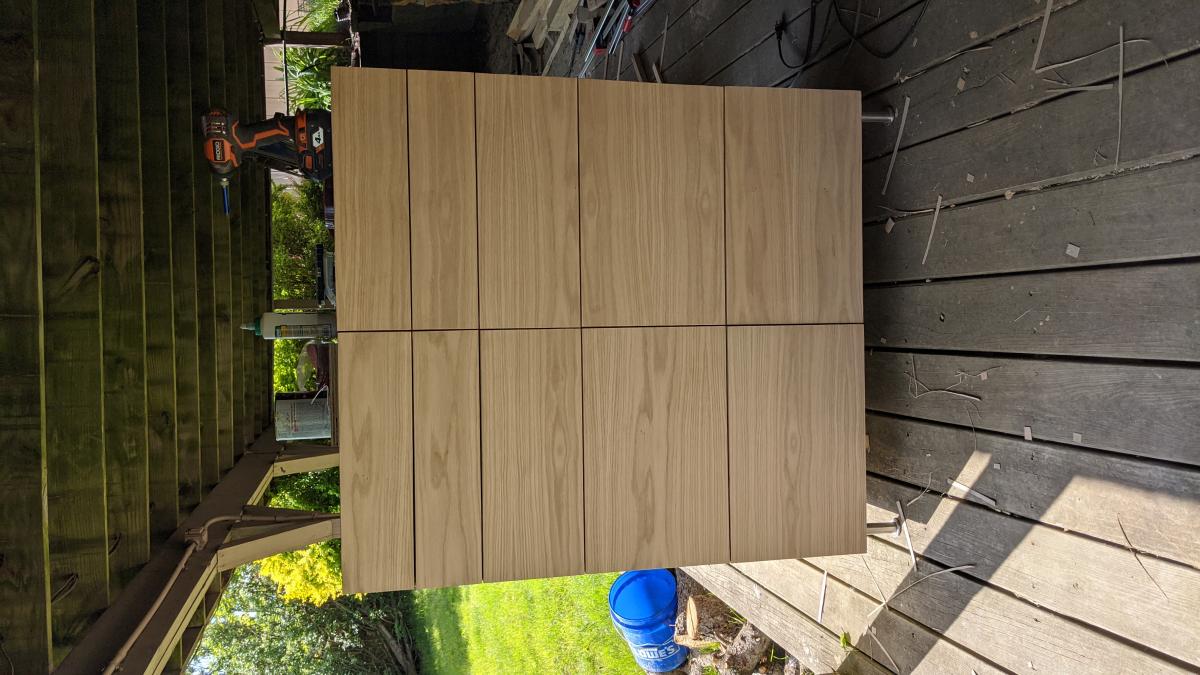
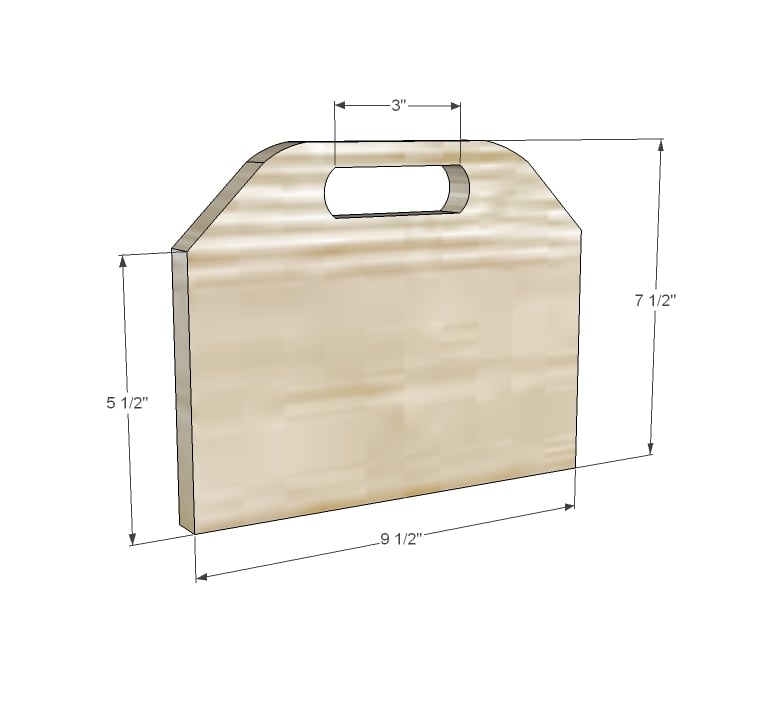
I plan on adding pocket holes in the inside top piece of the leg assembly as well as the tabletop supports to secure the table top assembly.
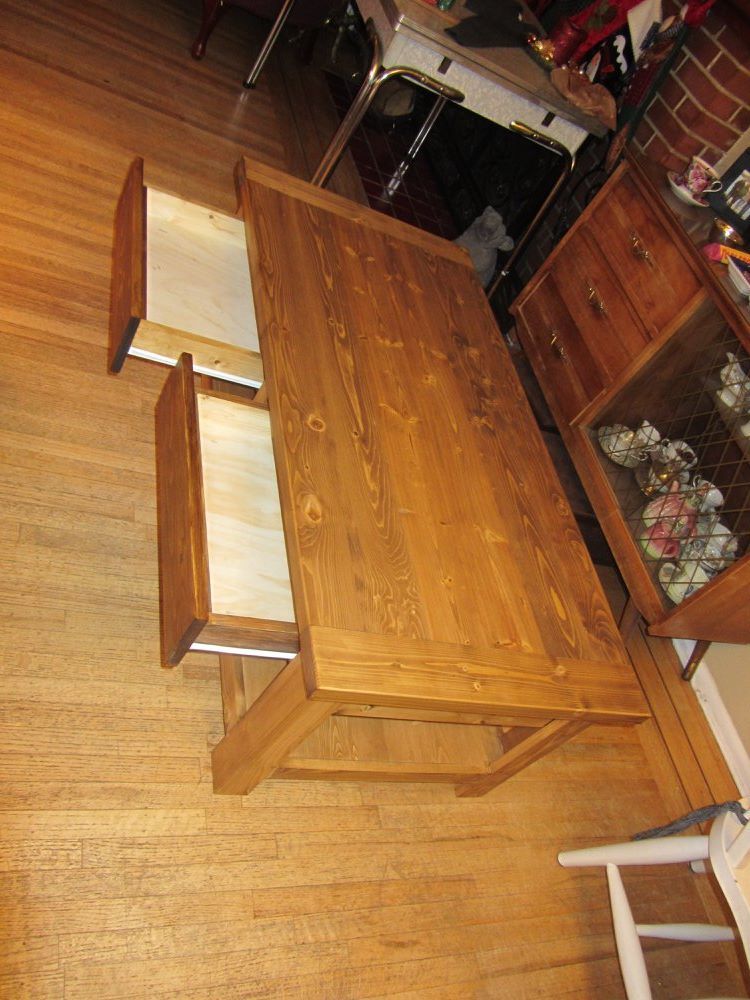
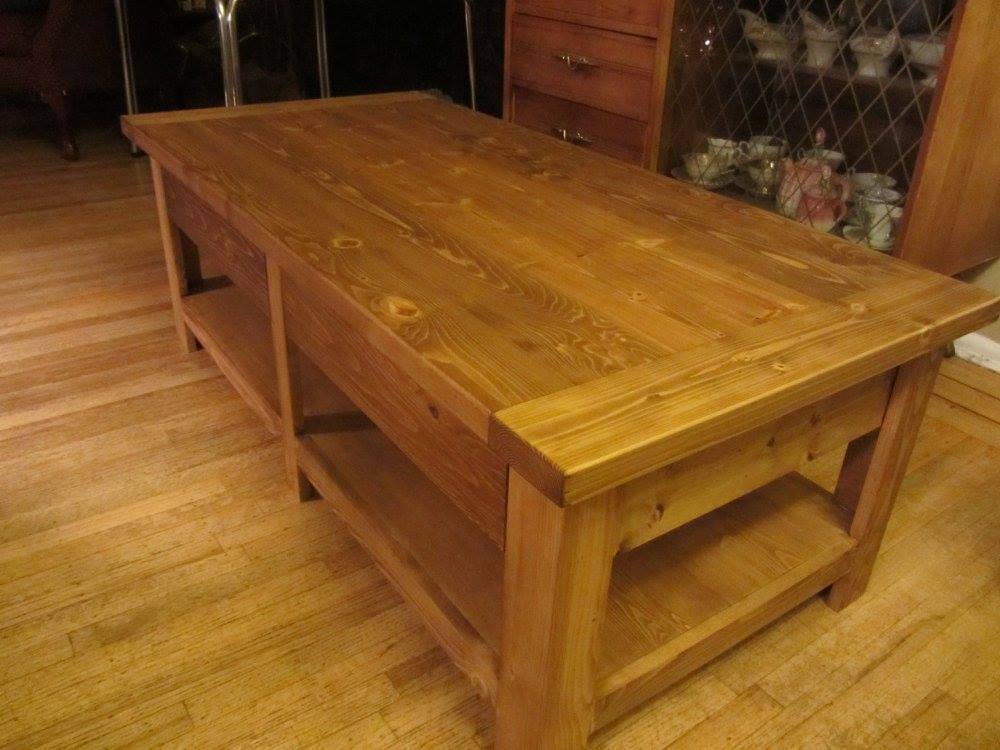
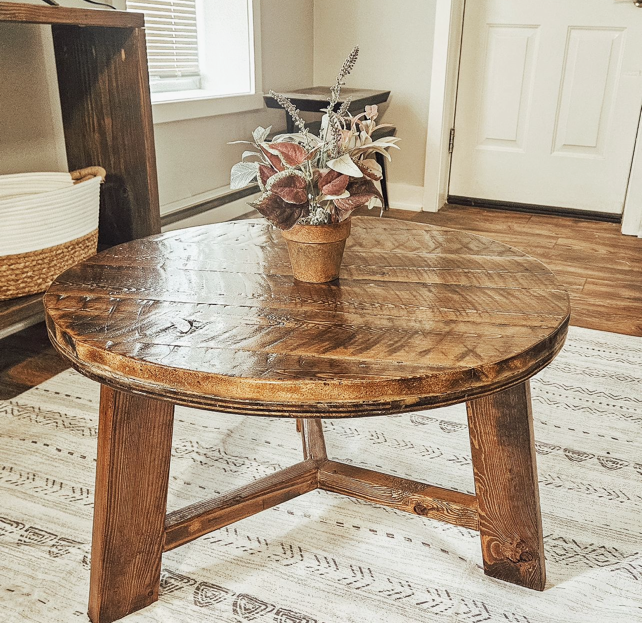
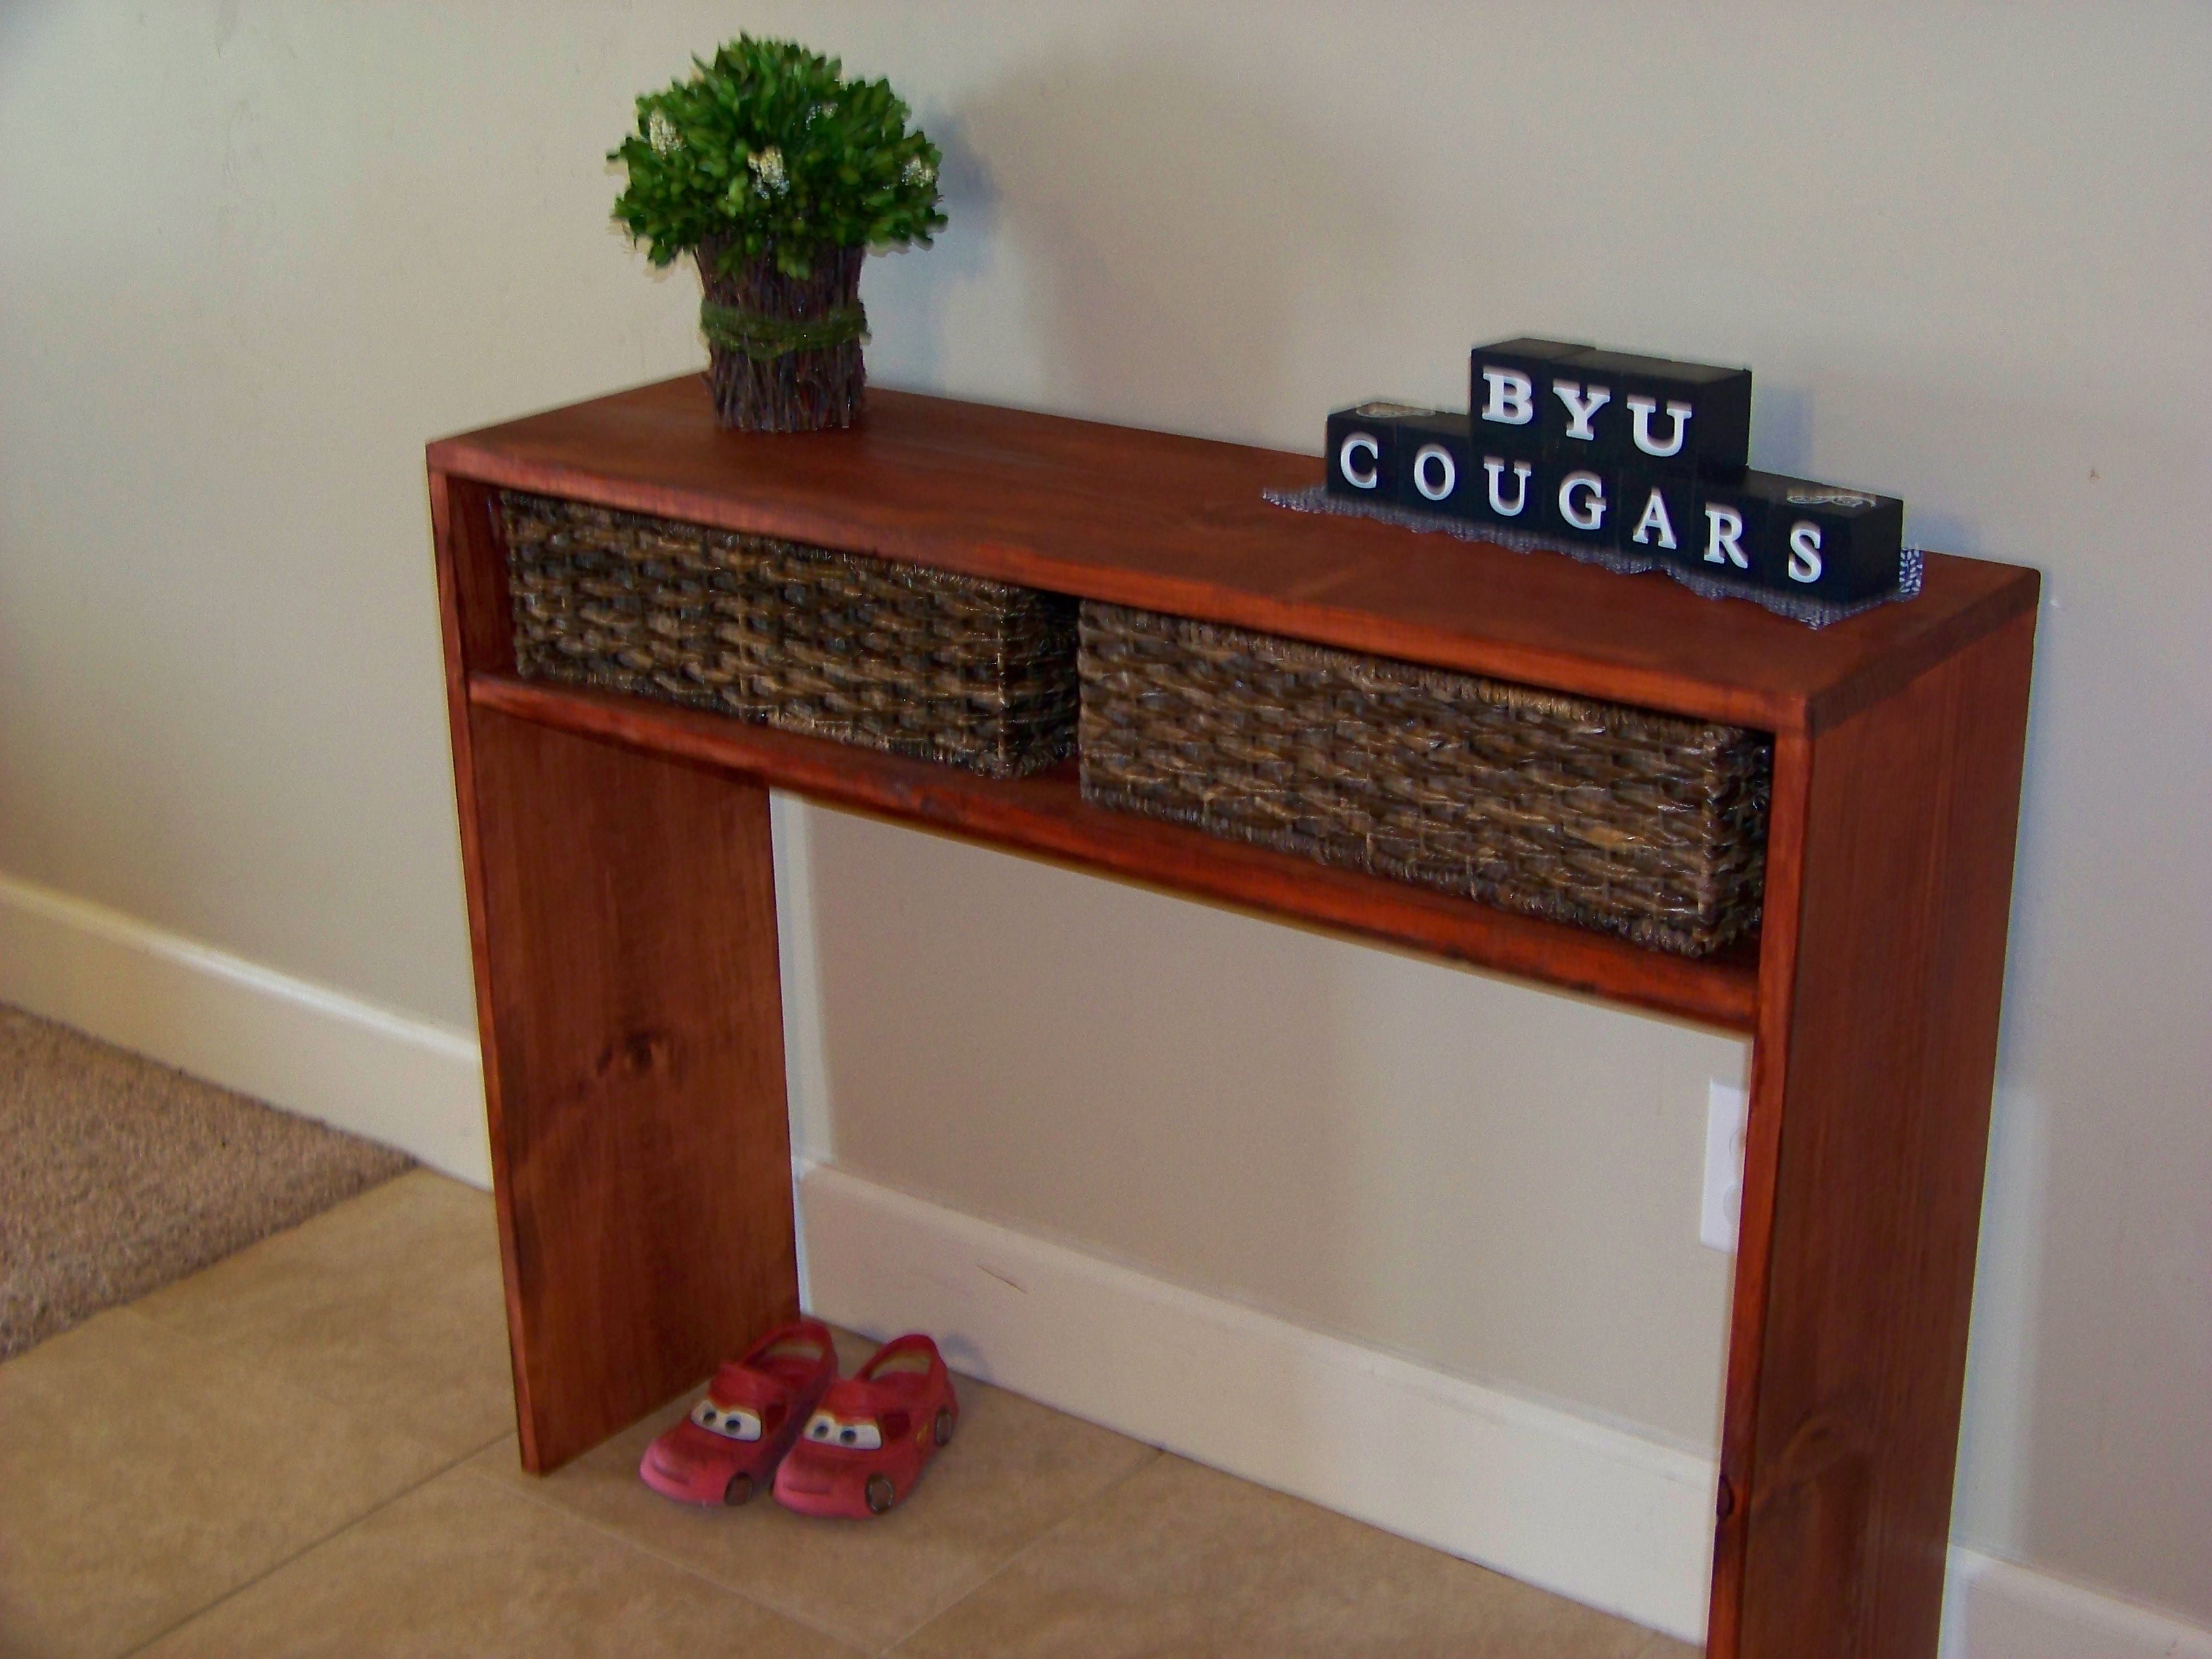
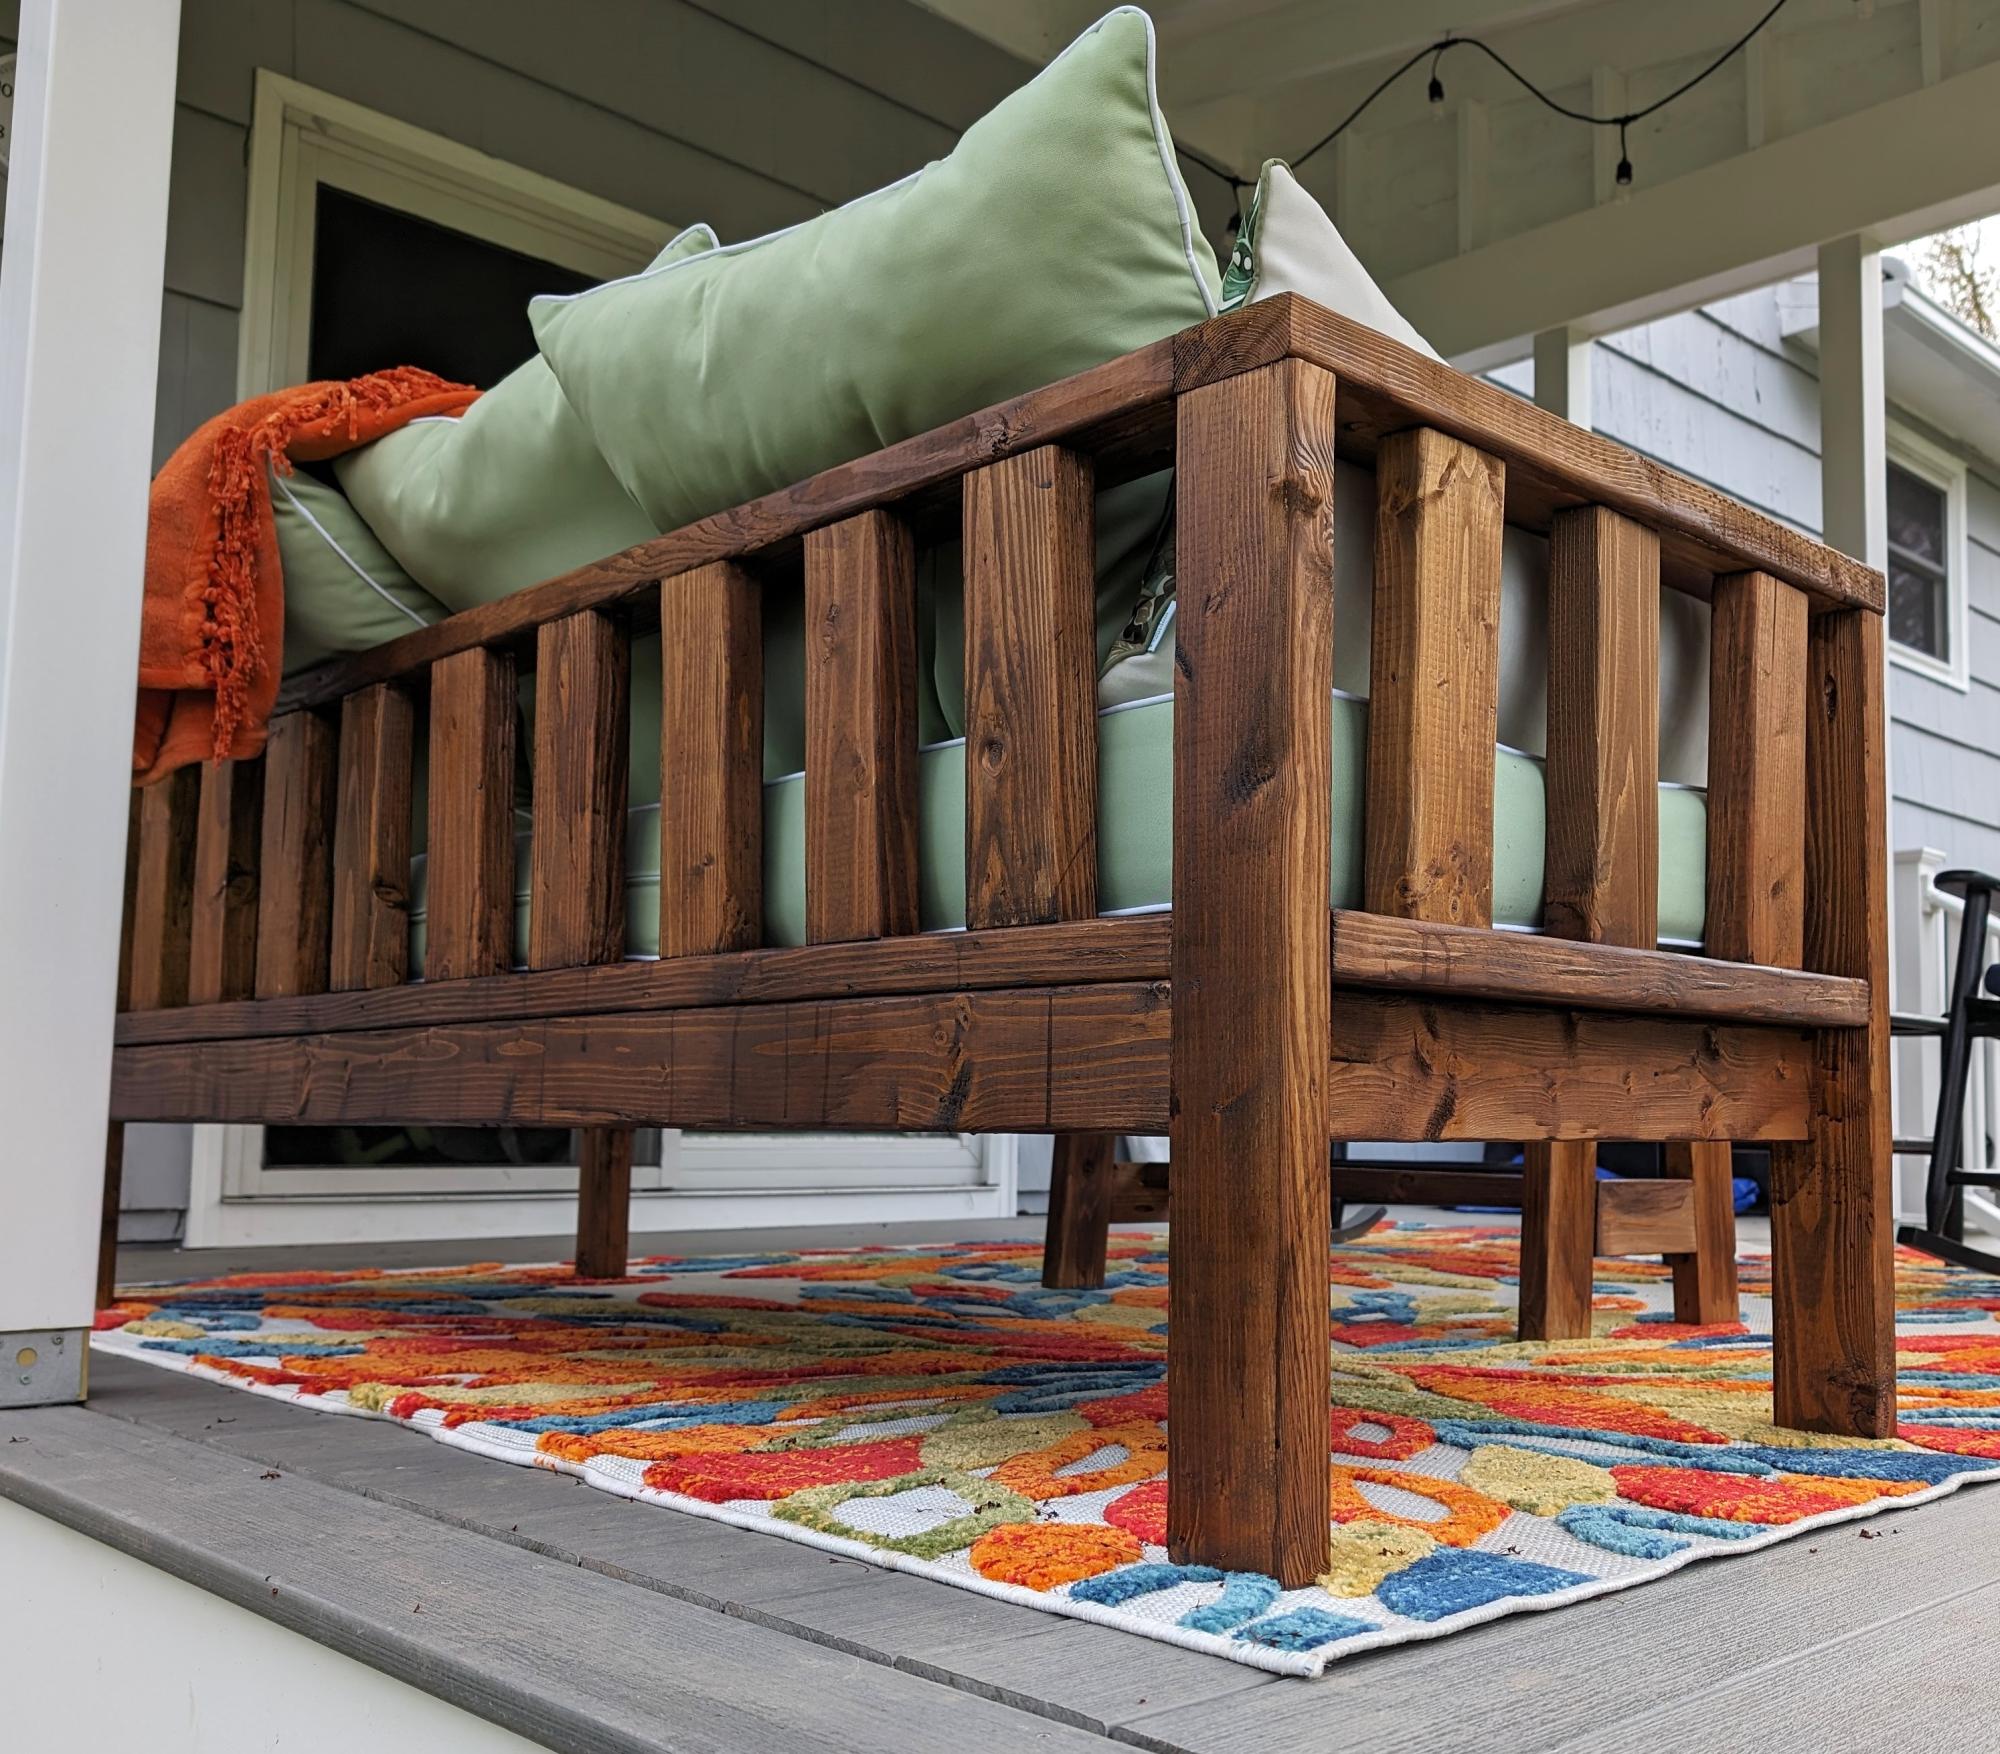
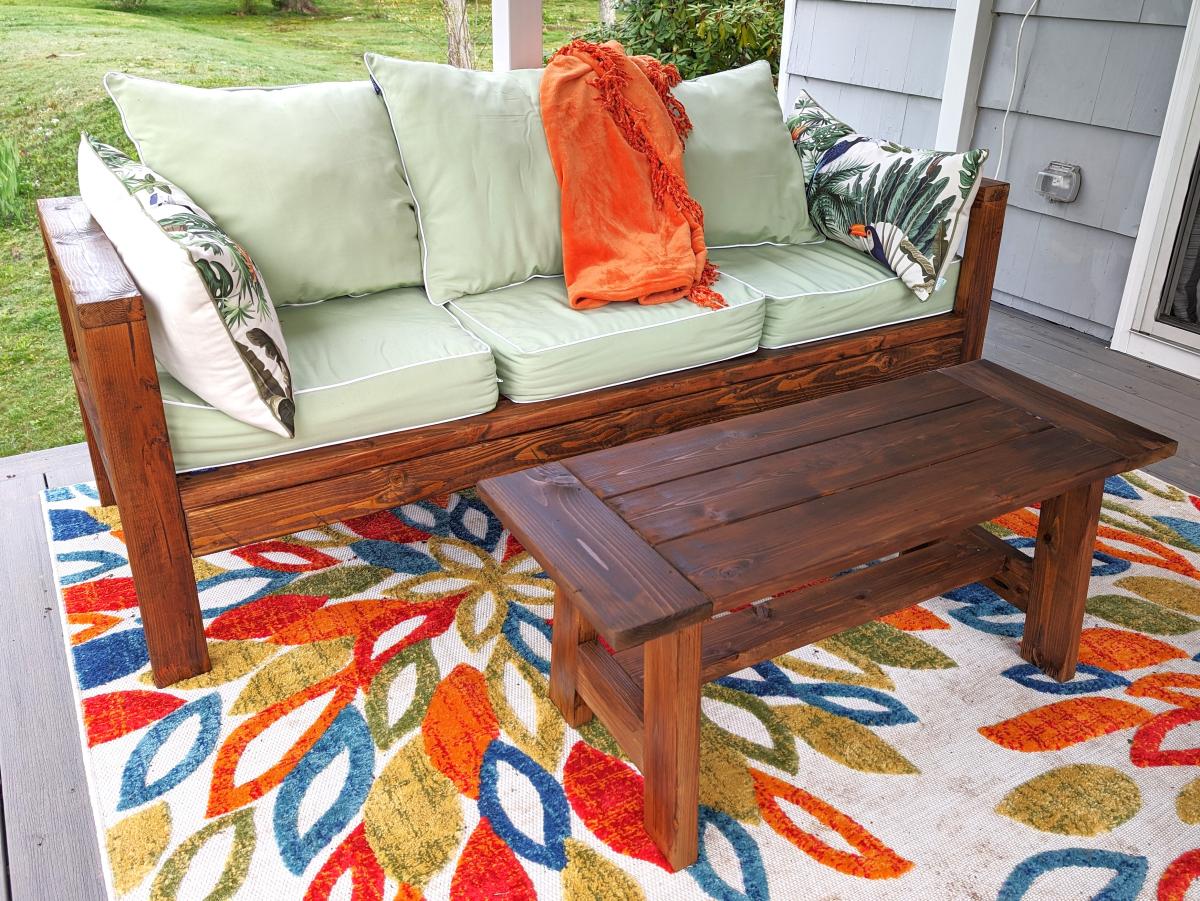
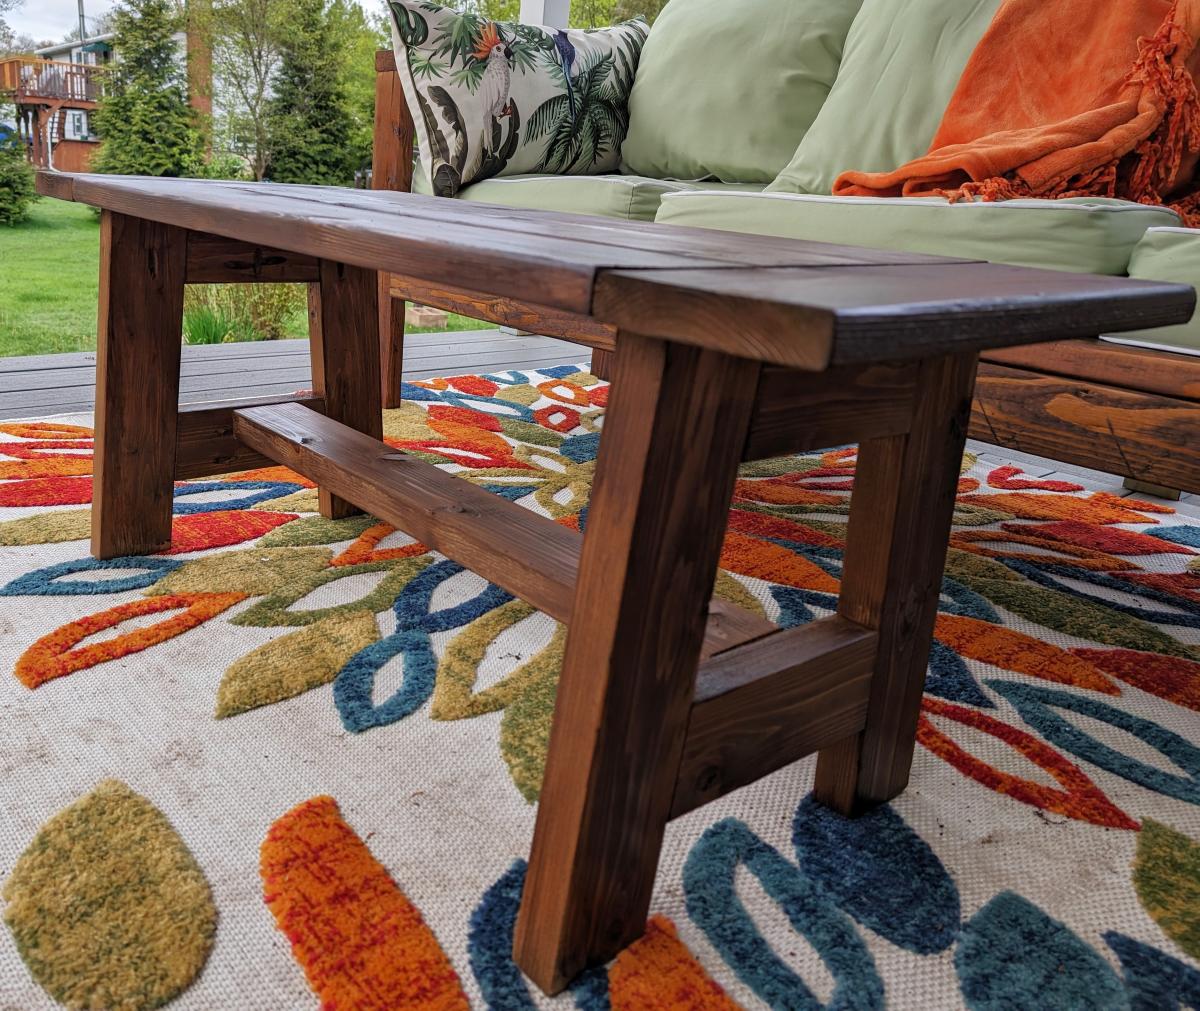
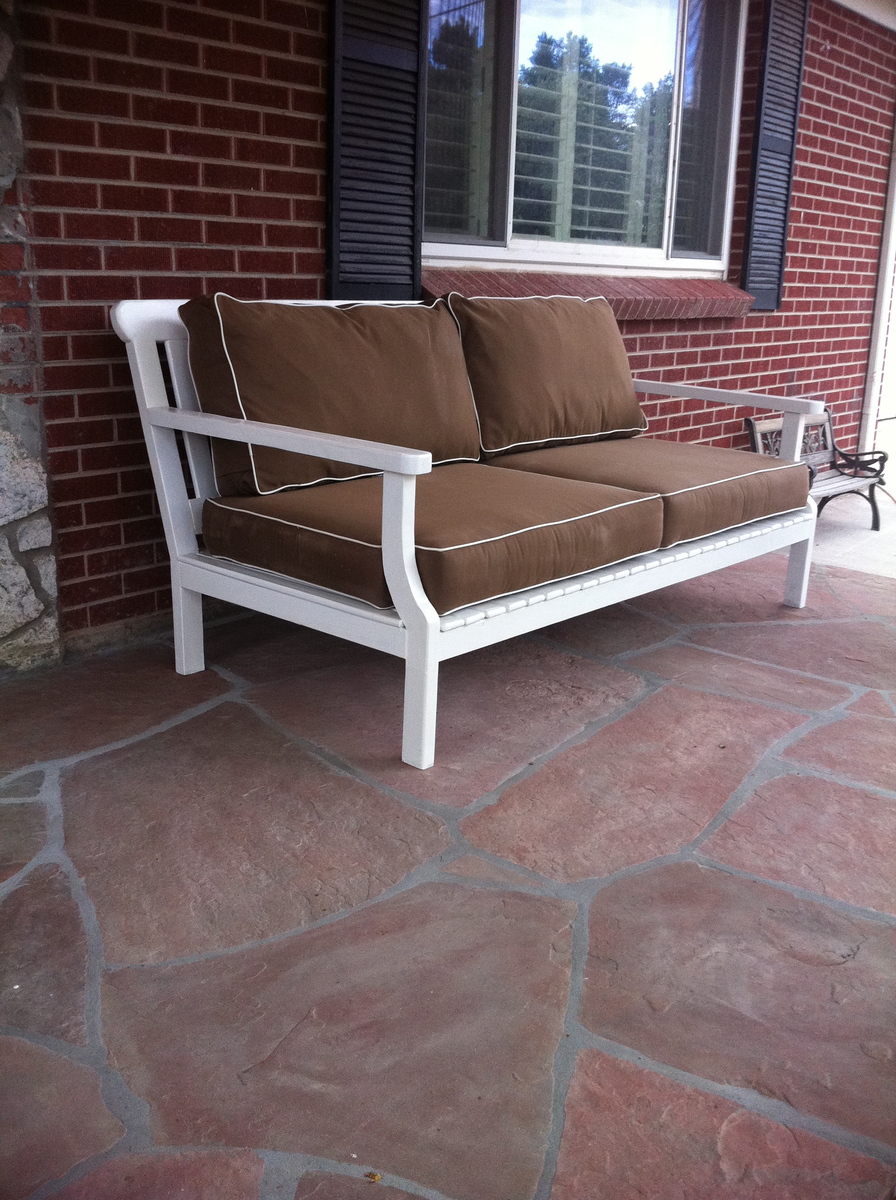
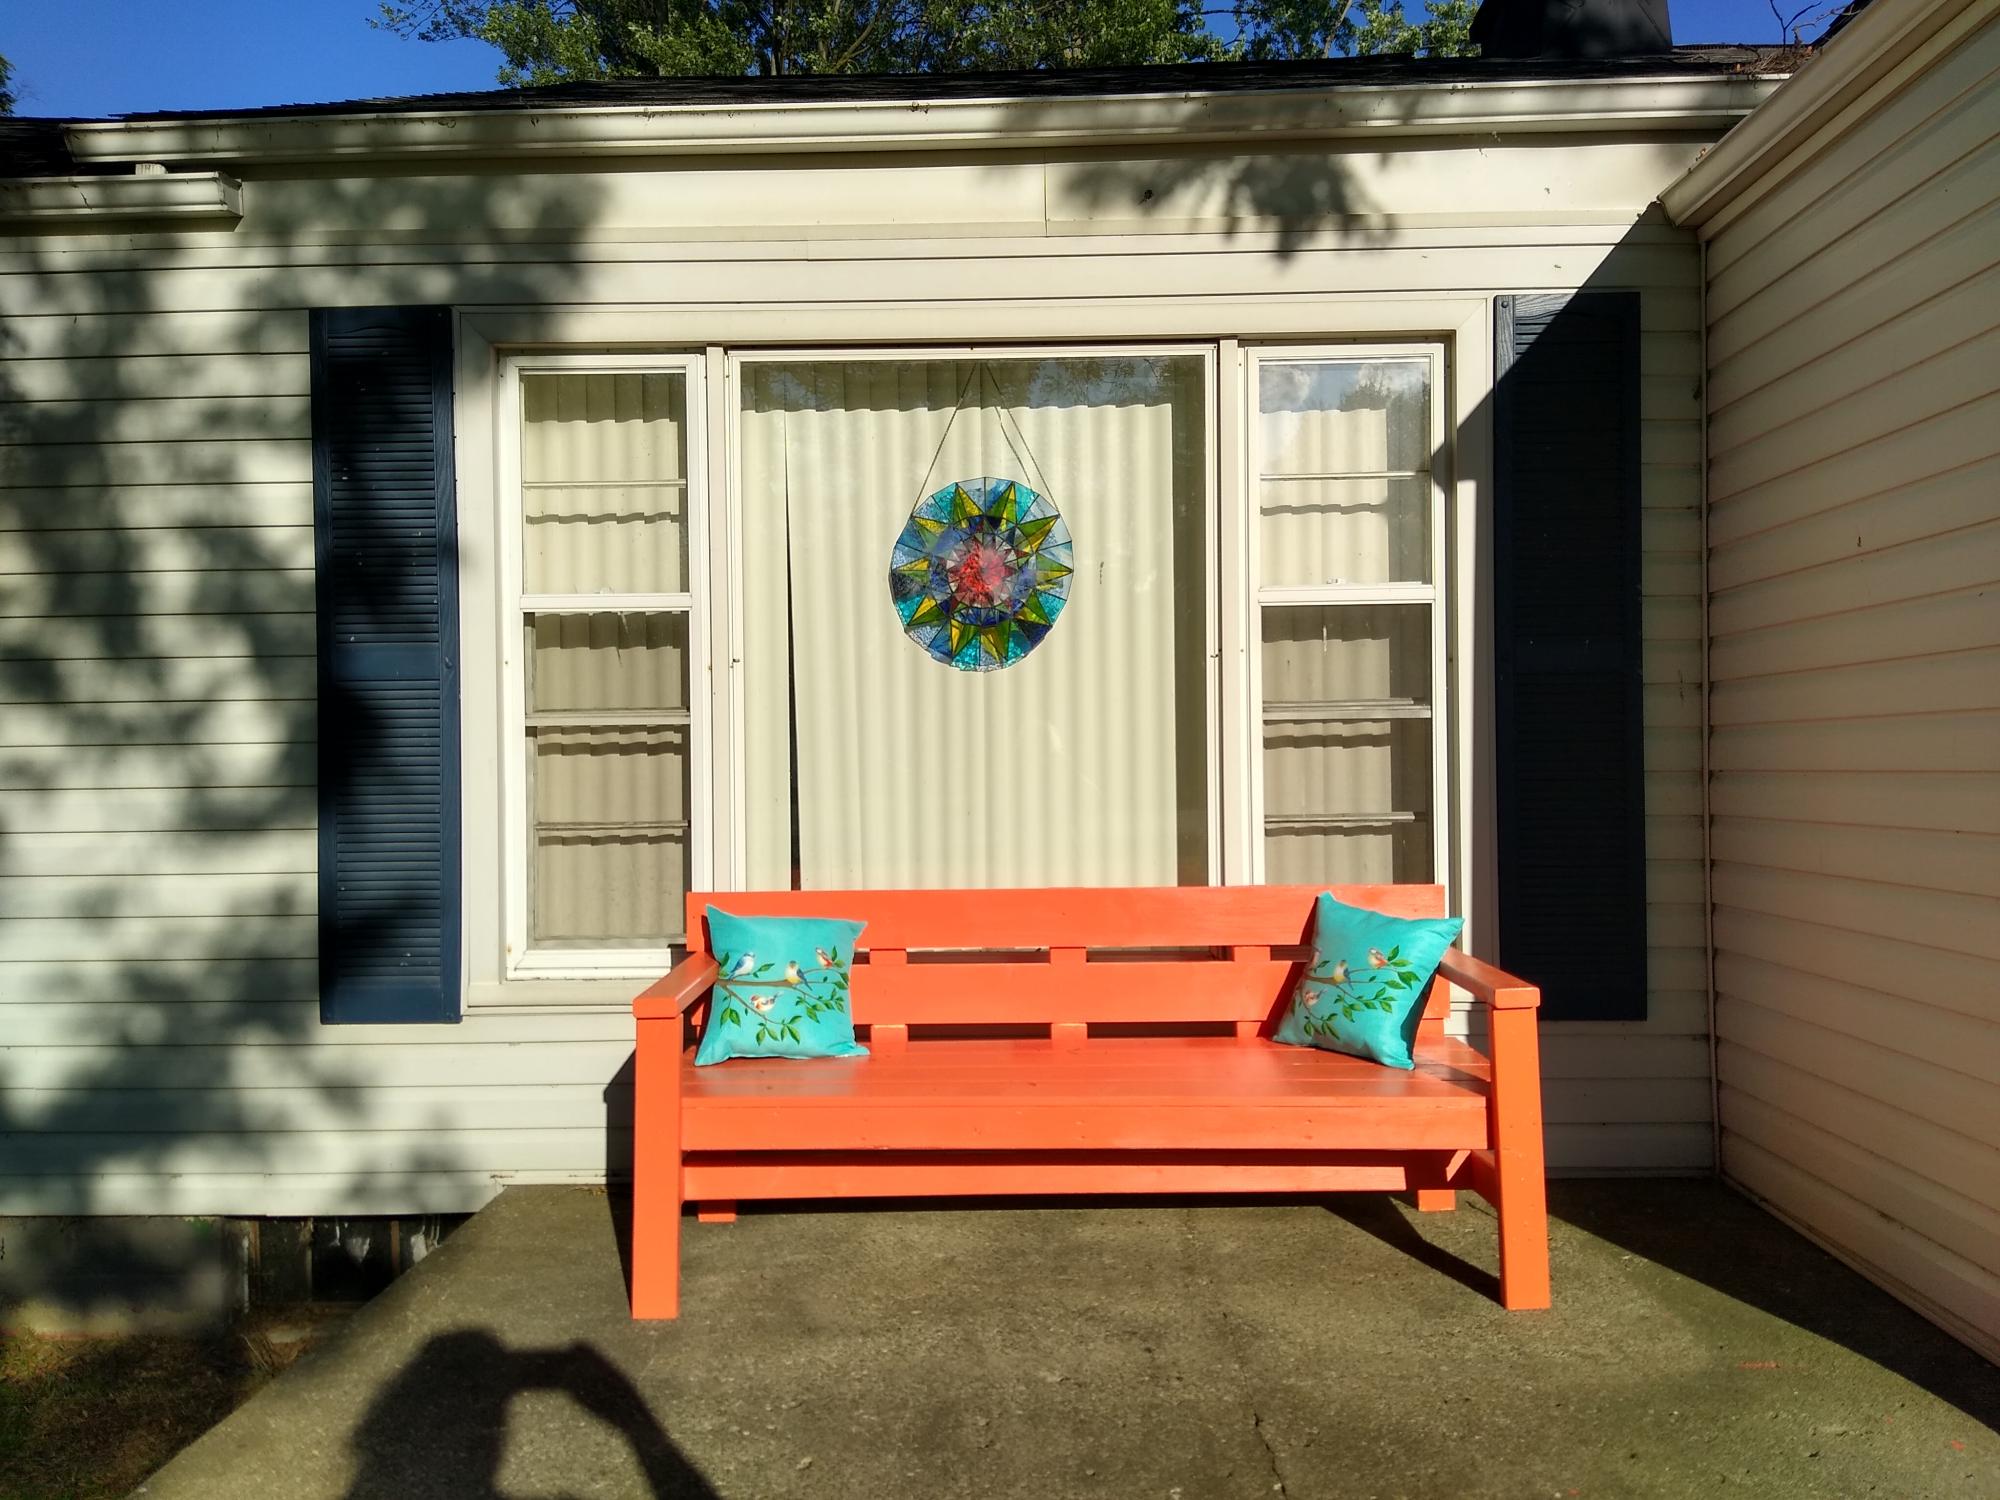
This was a great build, I built it for my husband as a 25th anniversary present and he absolutely loves it.
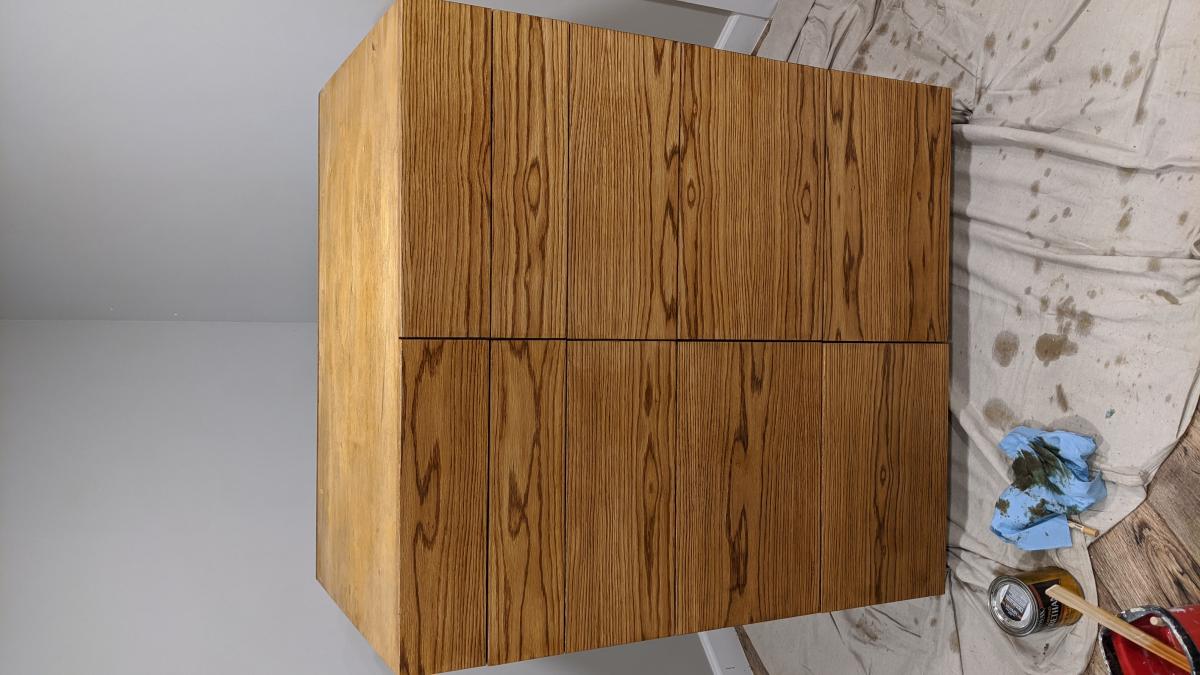
I used knotty pine S4S and we plan to stain it to show off all those pretty knots.
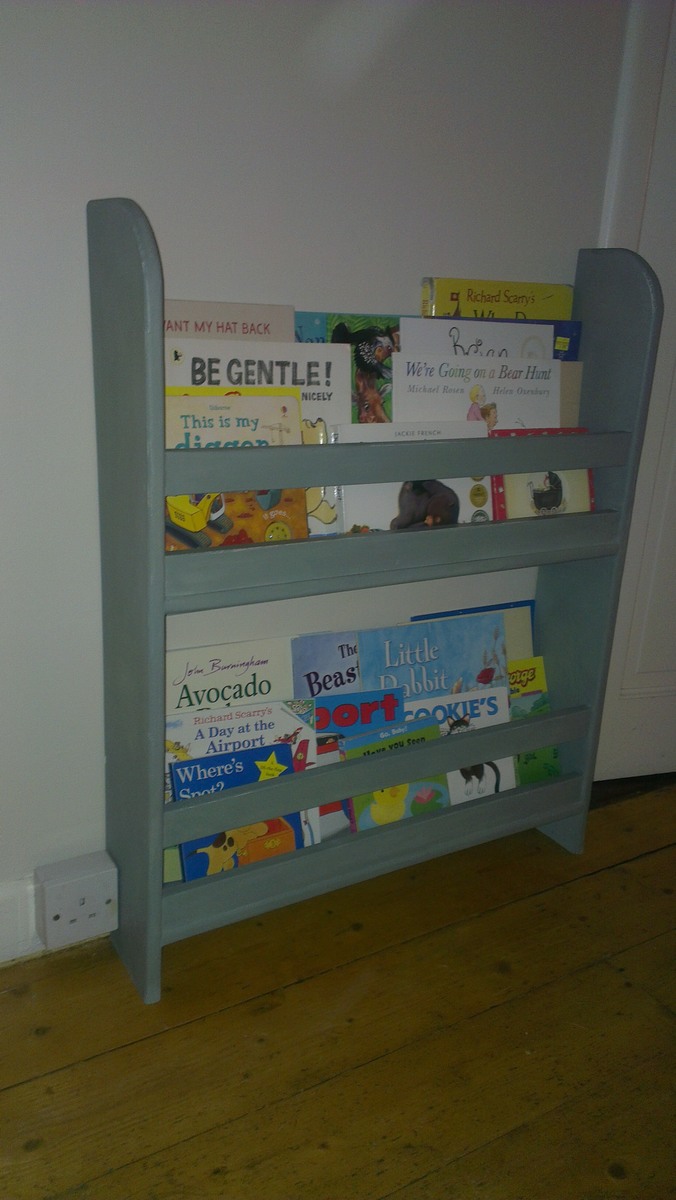
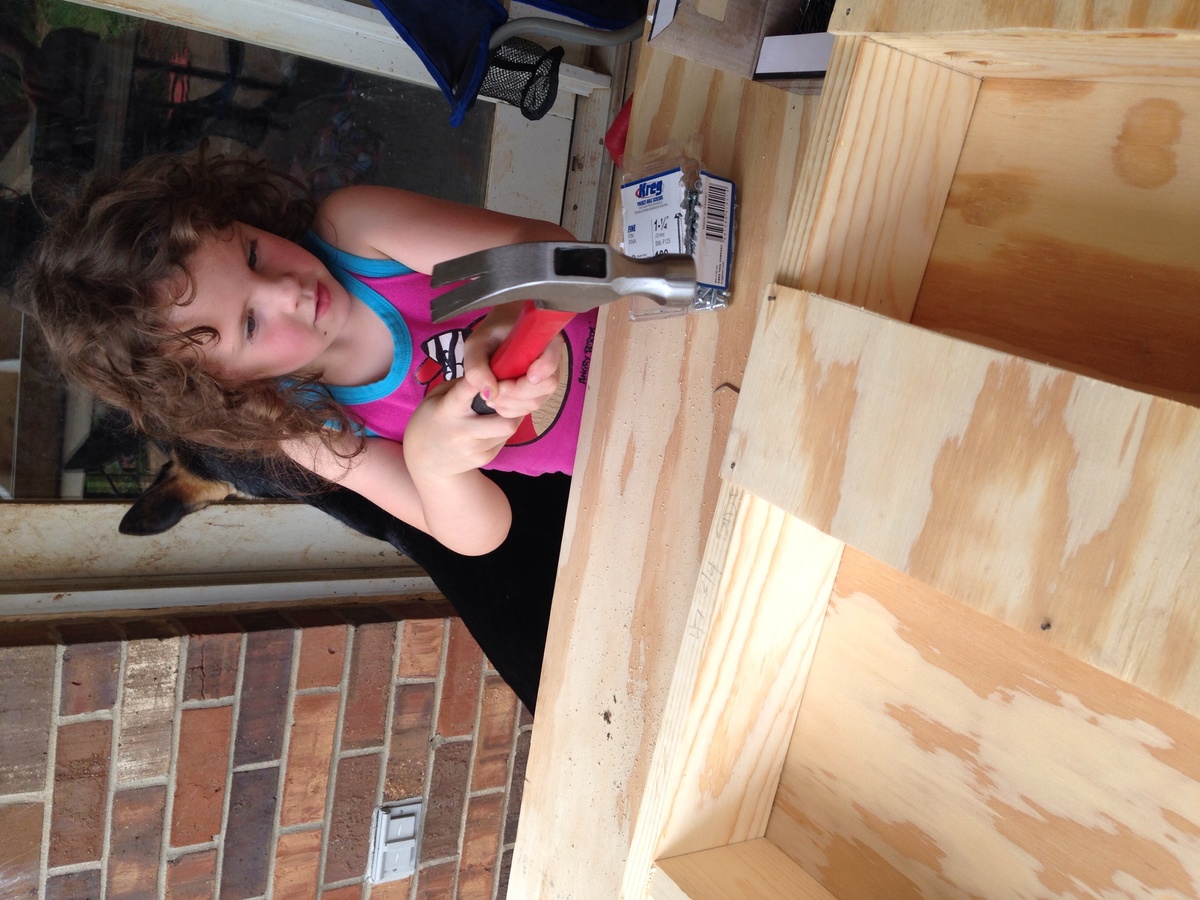
This is only my 4th build, if I can make this anyone can!


Comments
Ana White
Wed, 09/21/2016 - 15:08
Awesome!
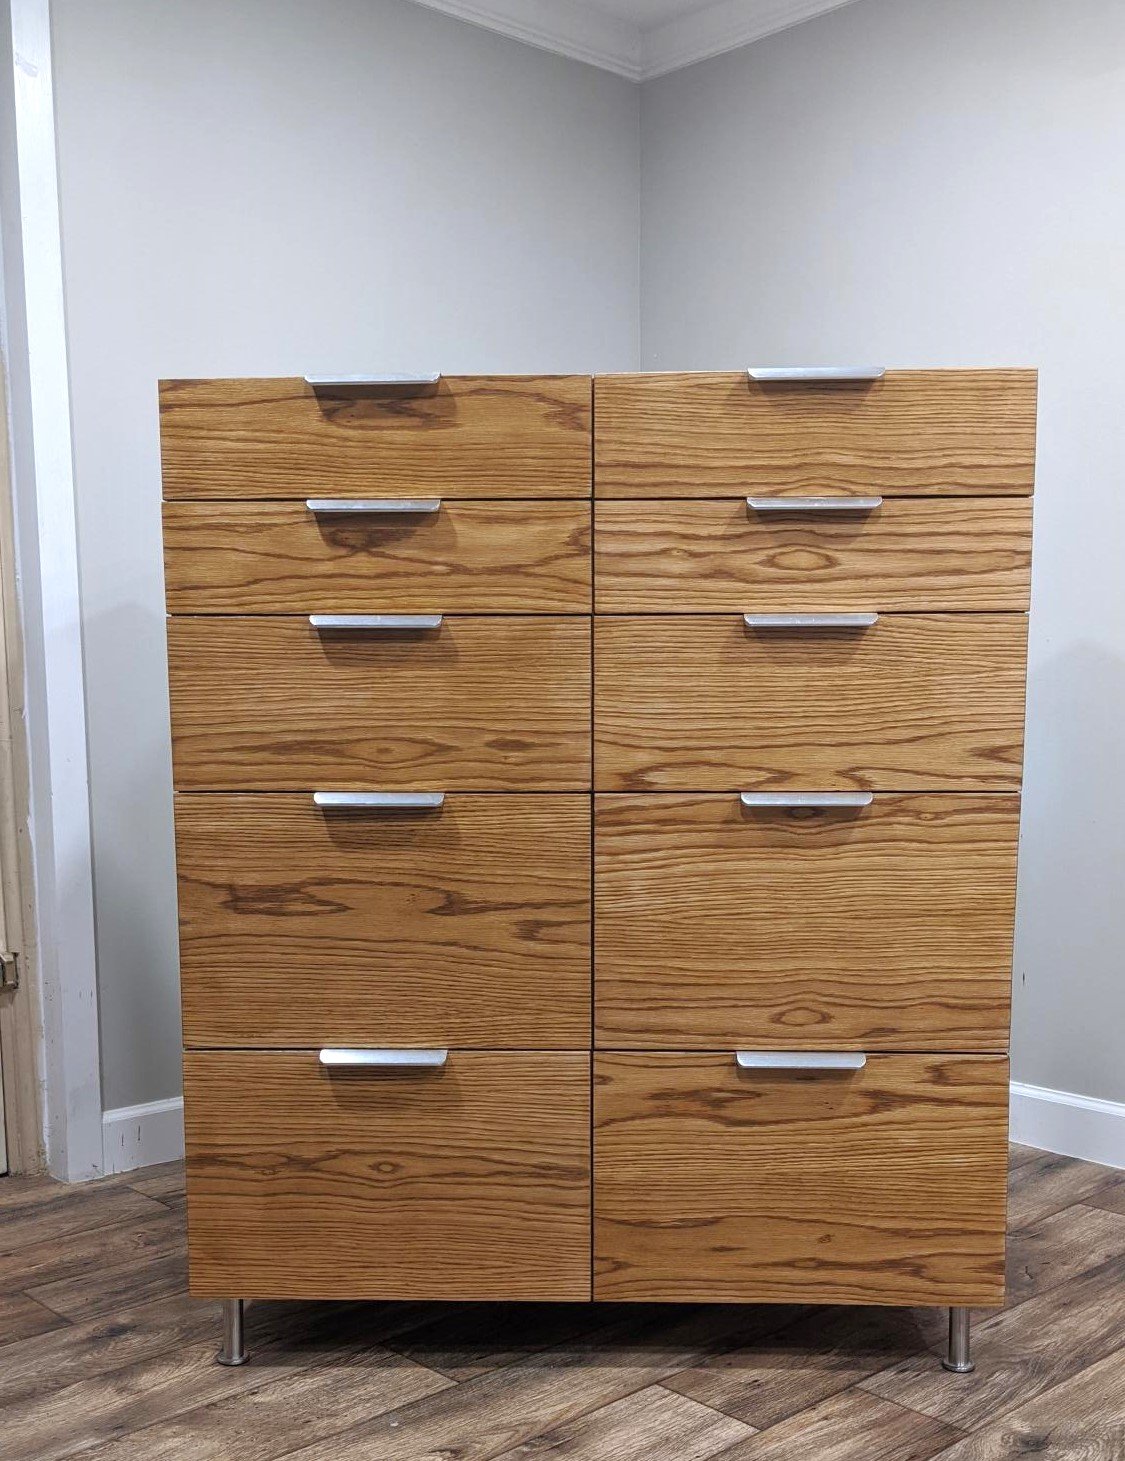
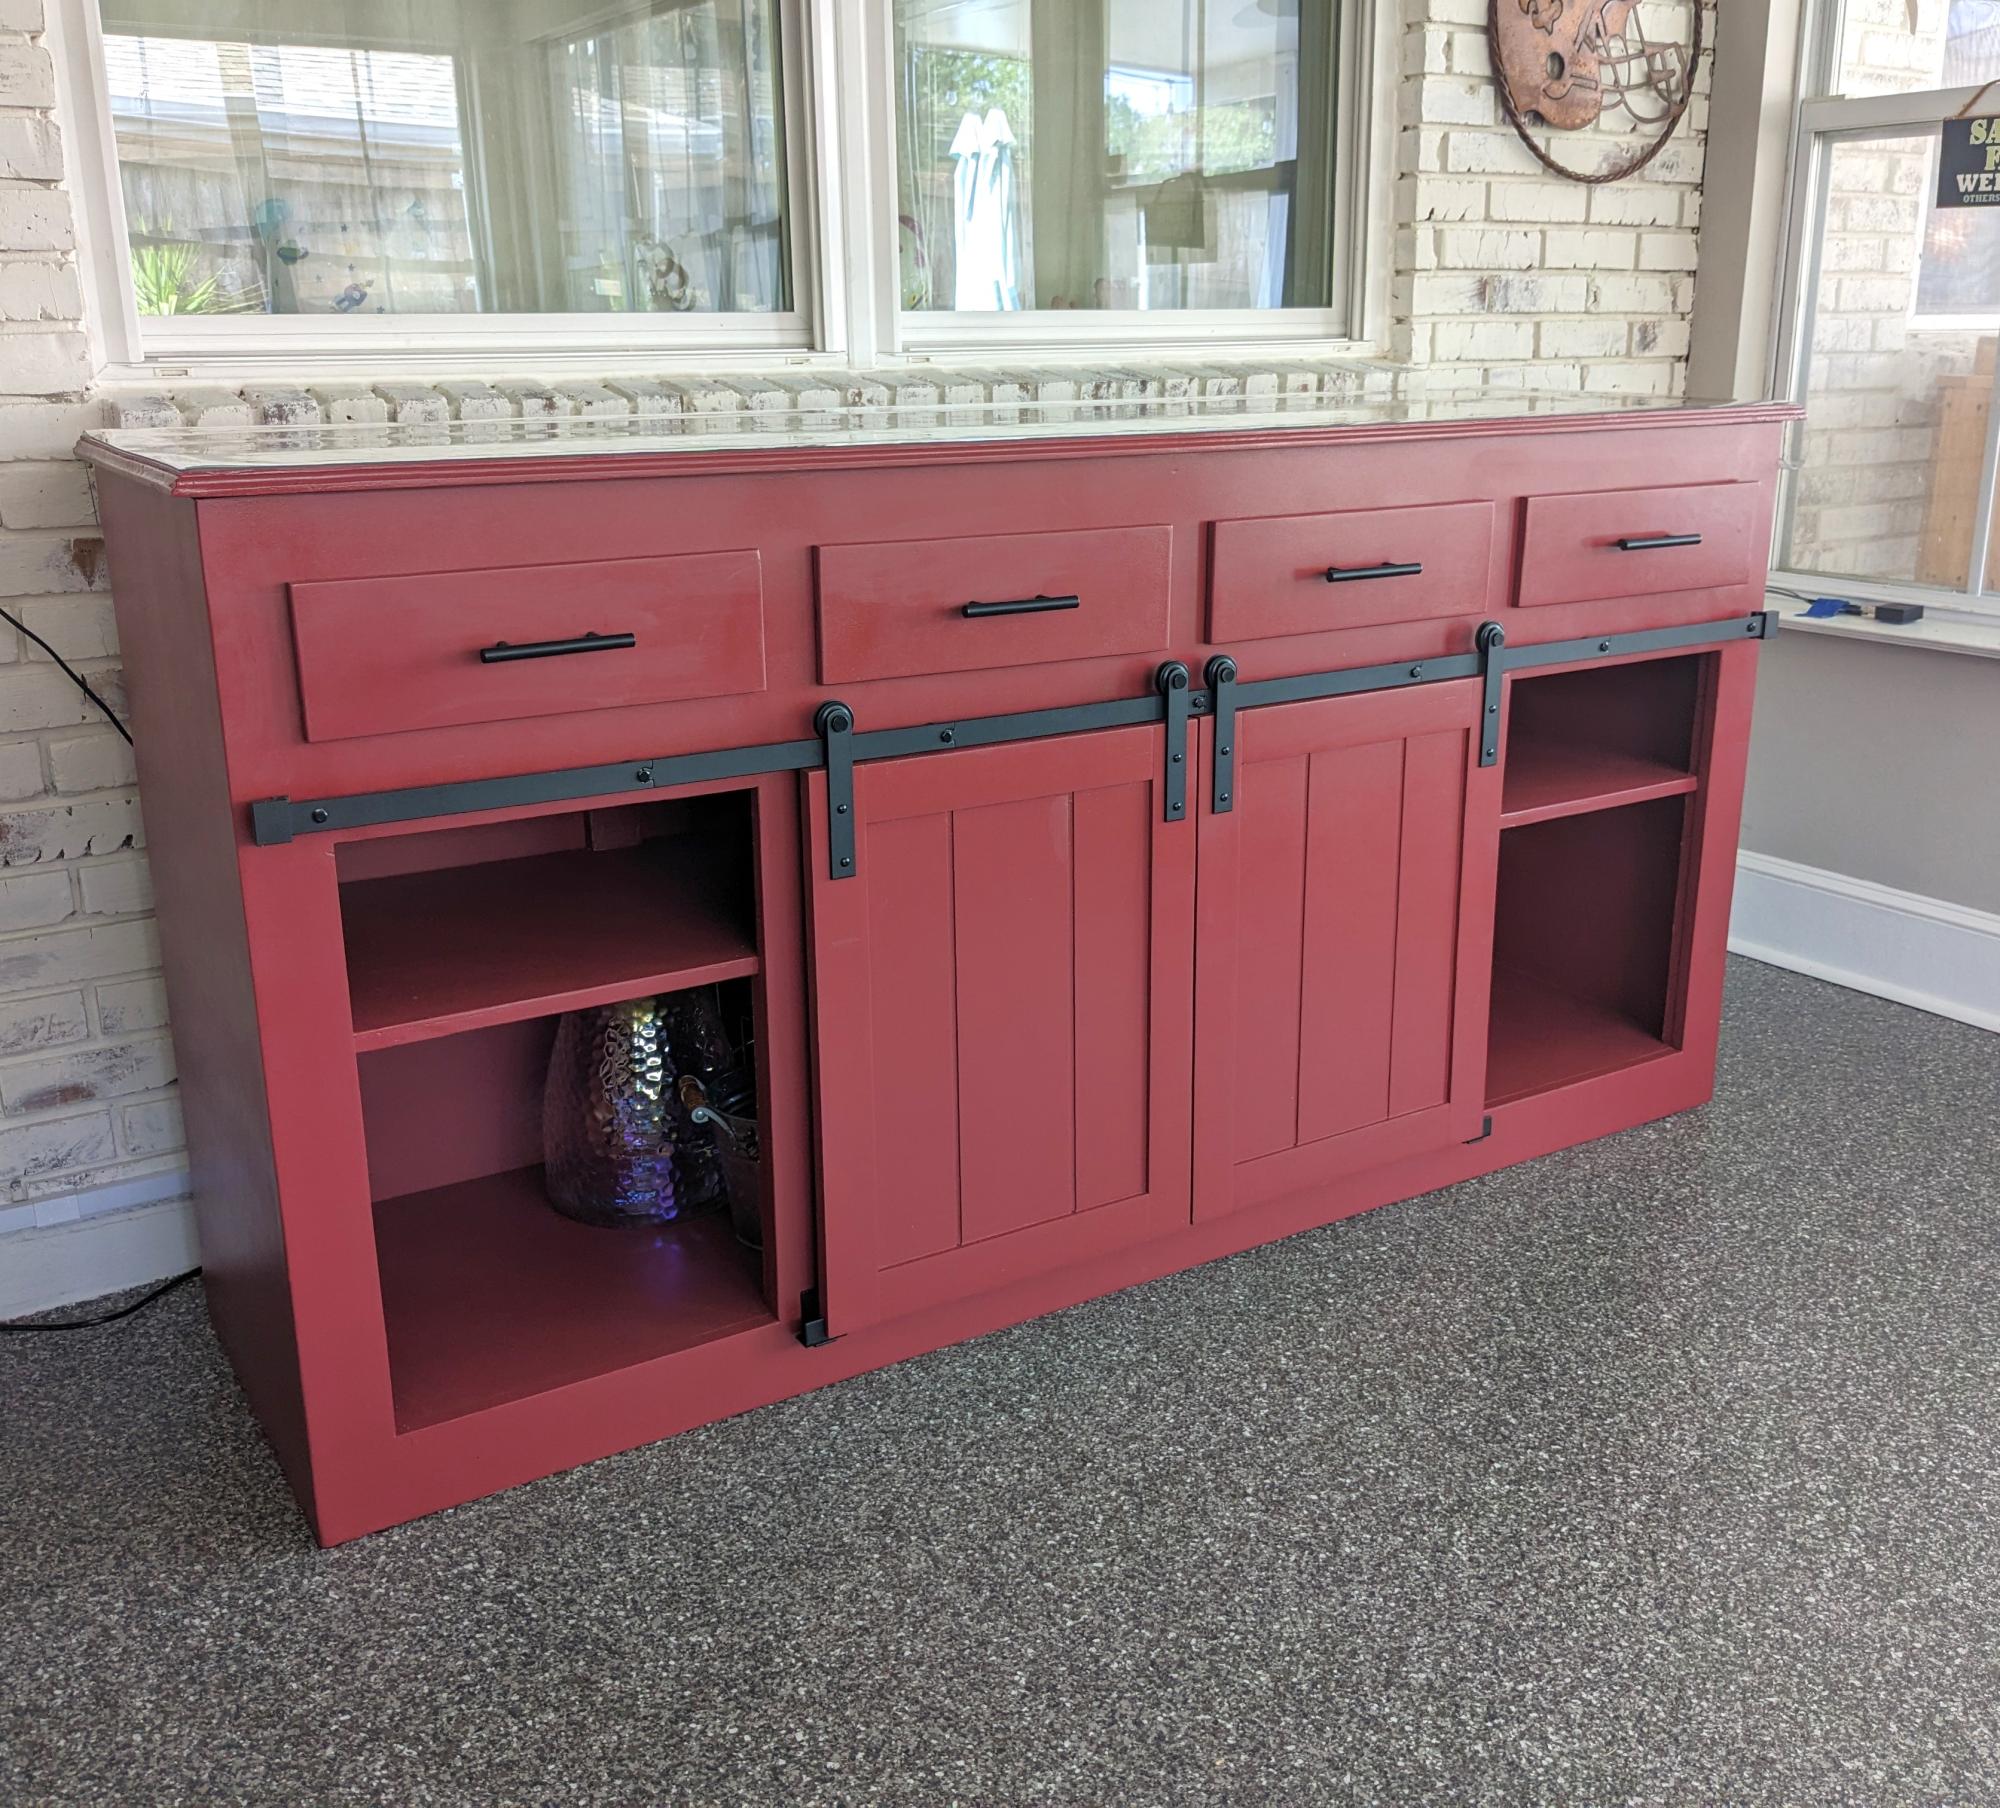
Amazing first project - drawers can be tough but looks like you mastered them!