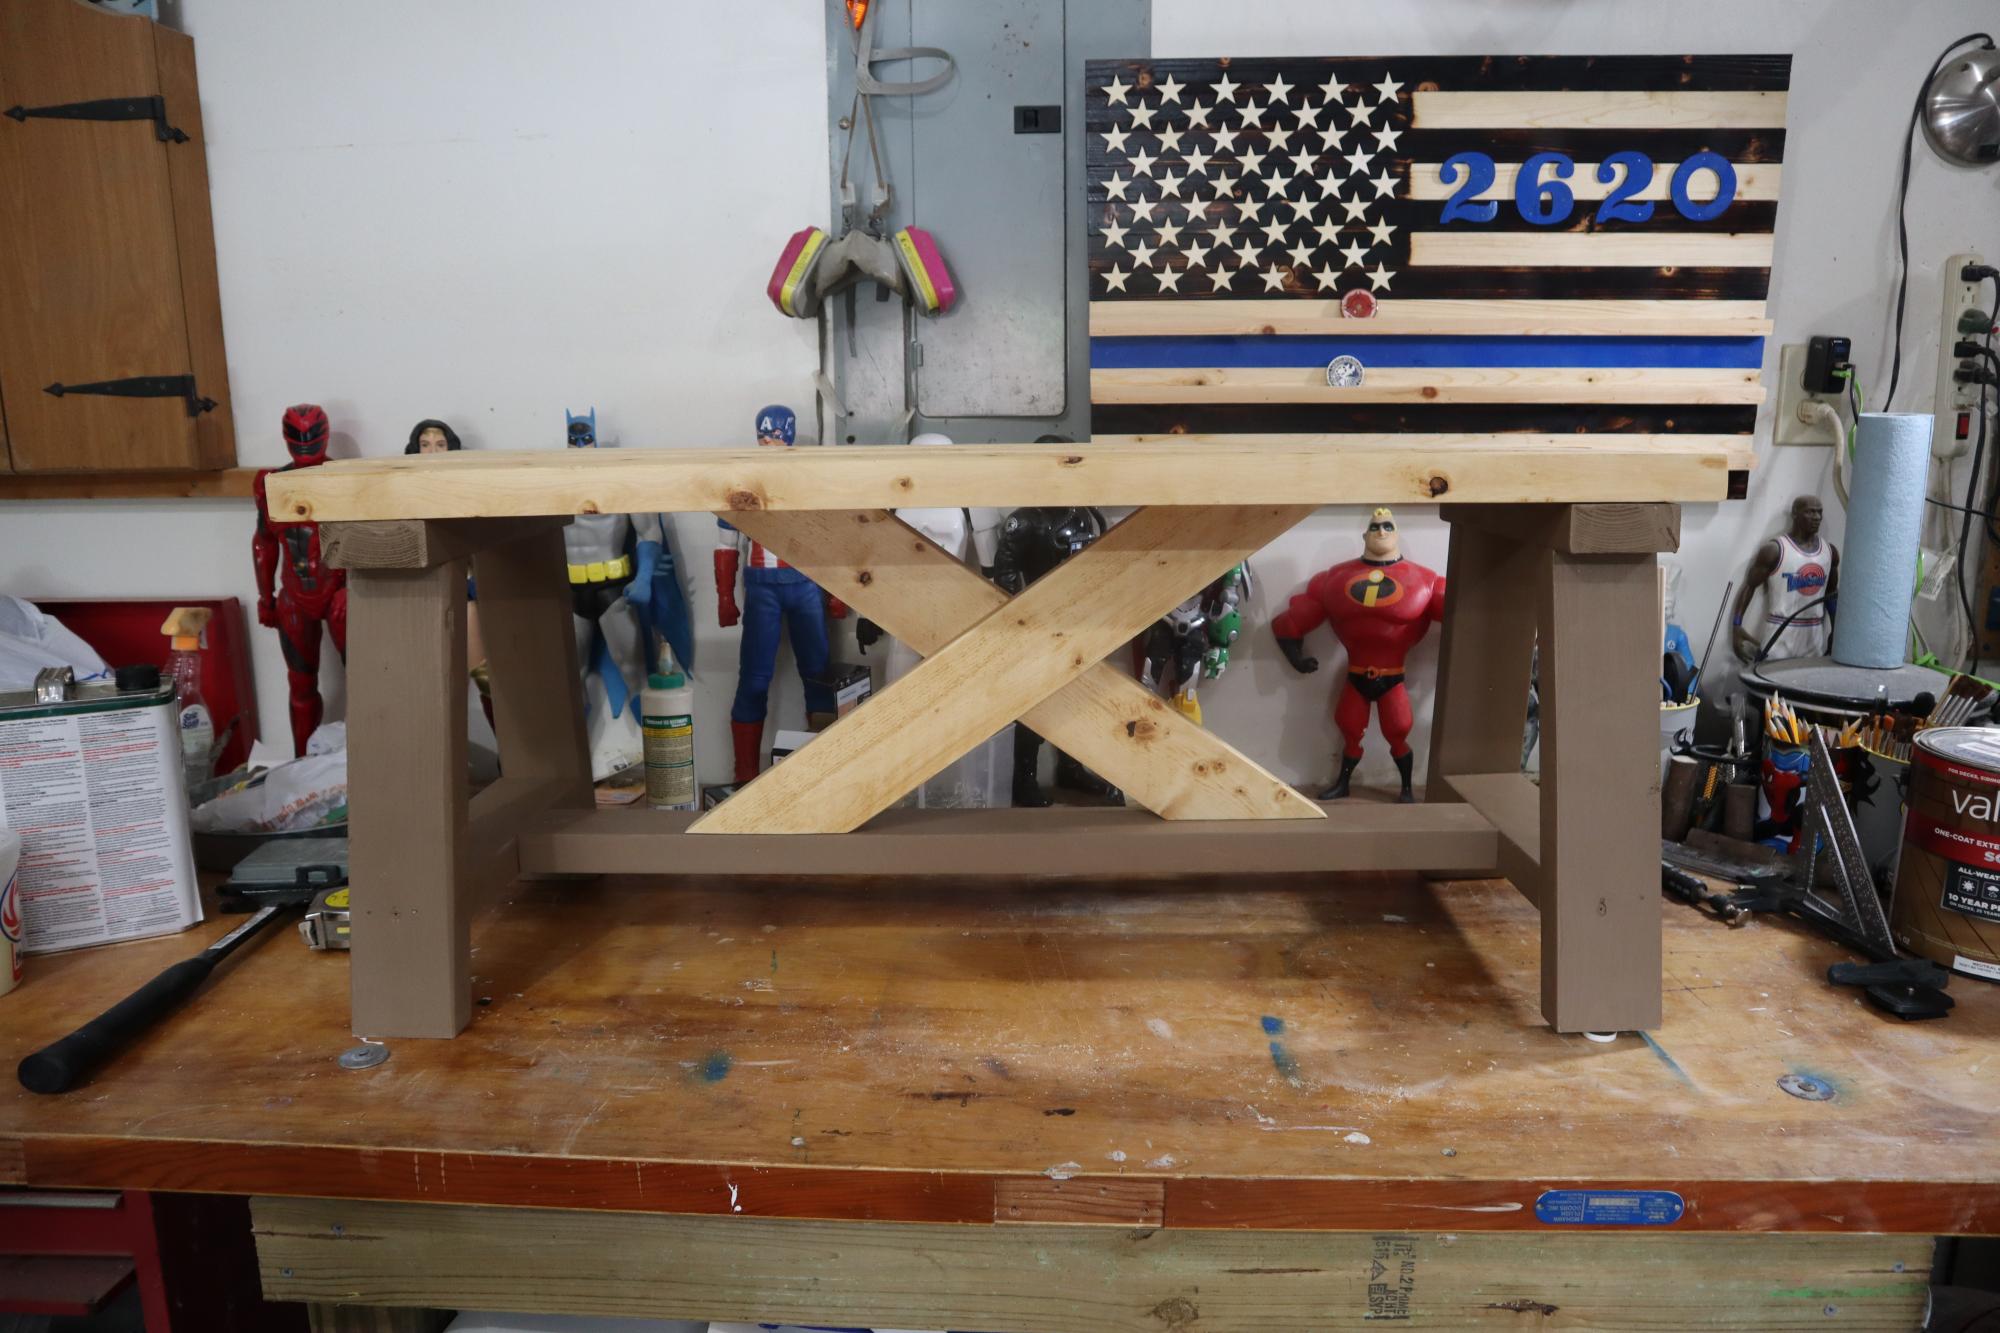
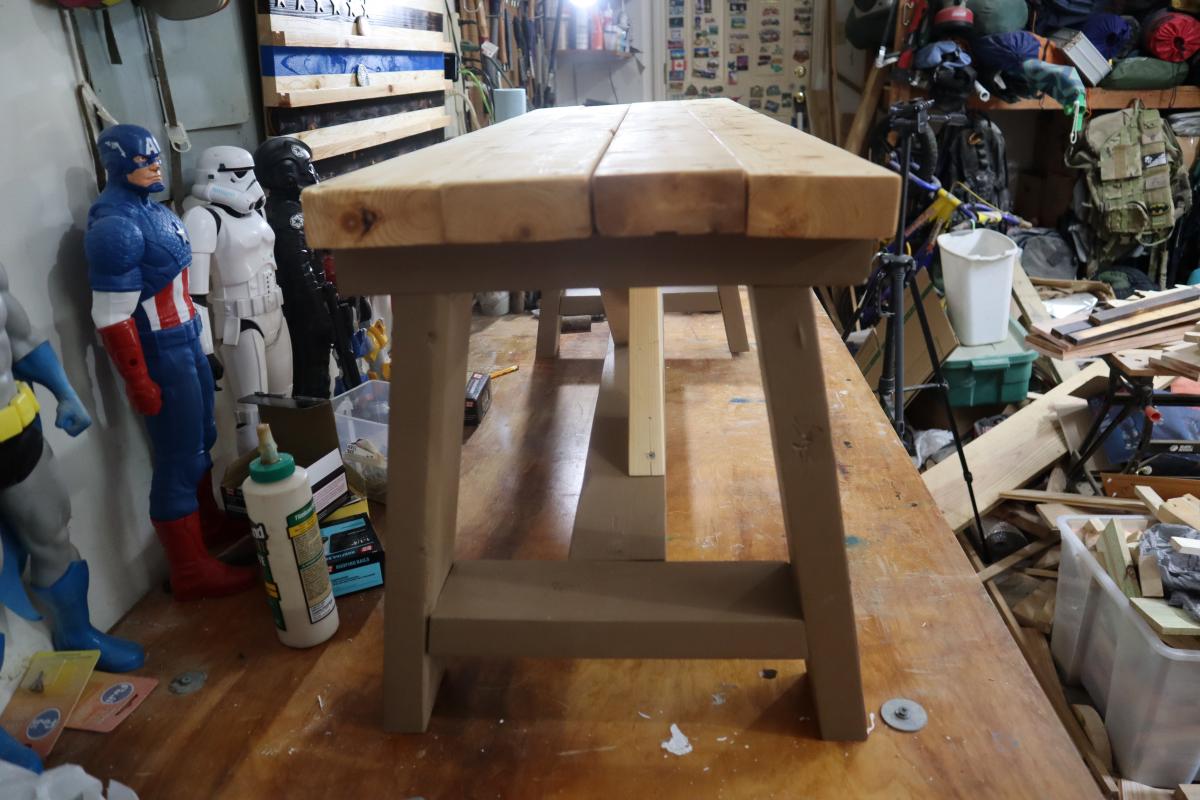
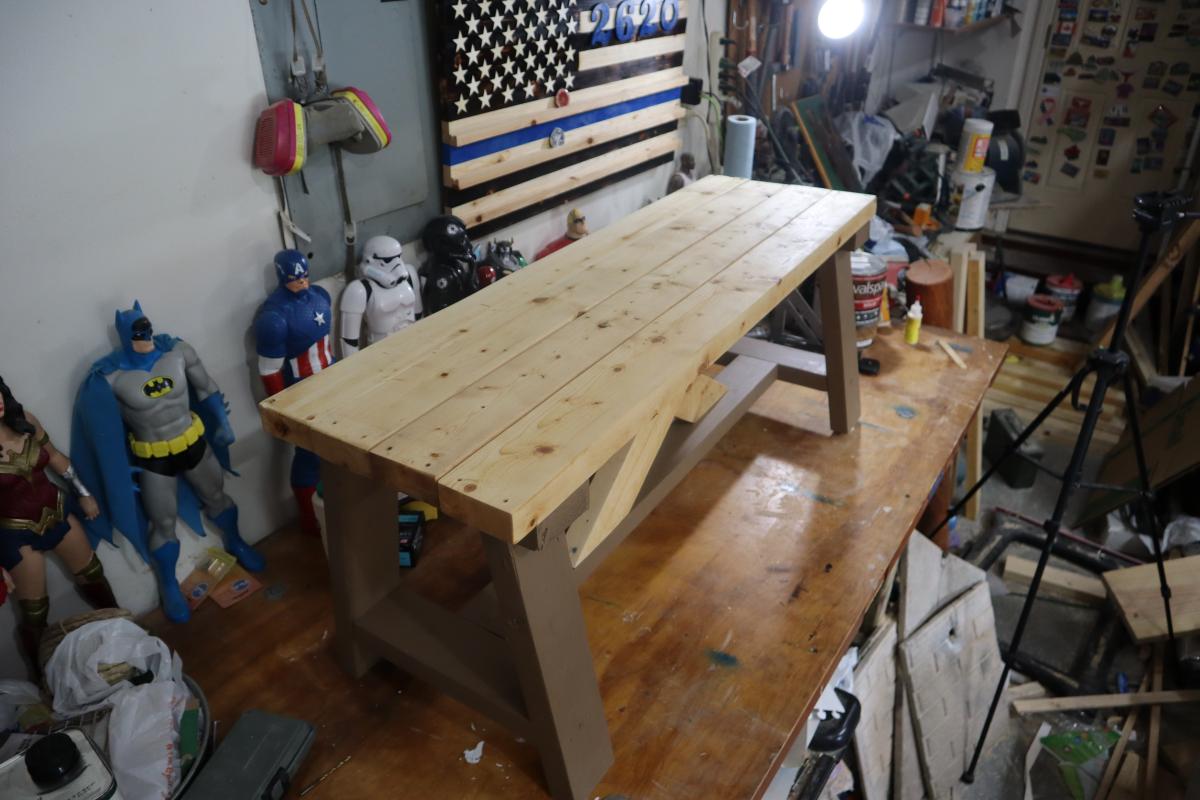
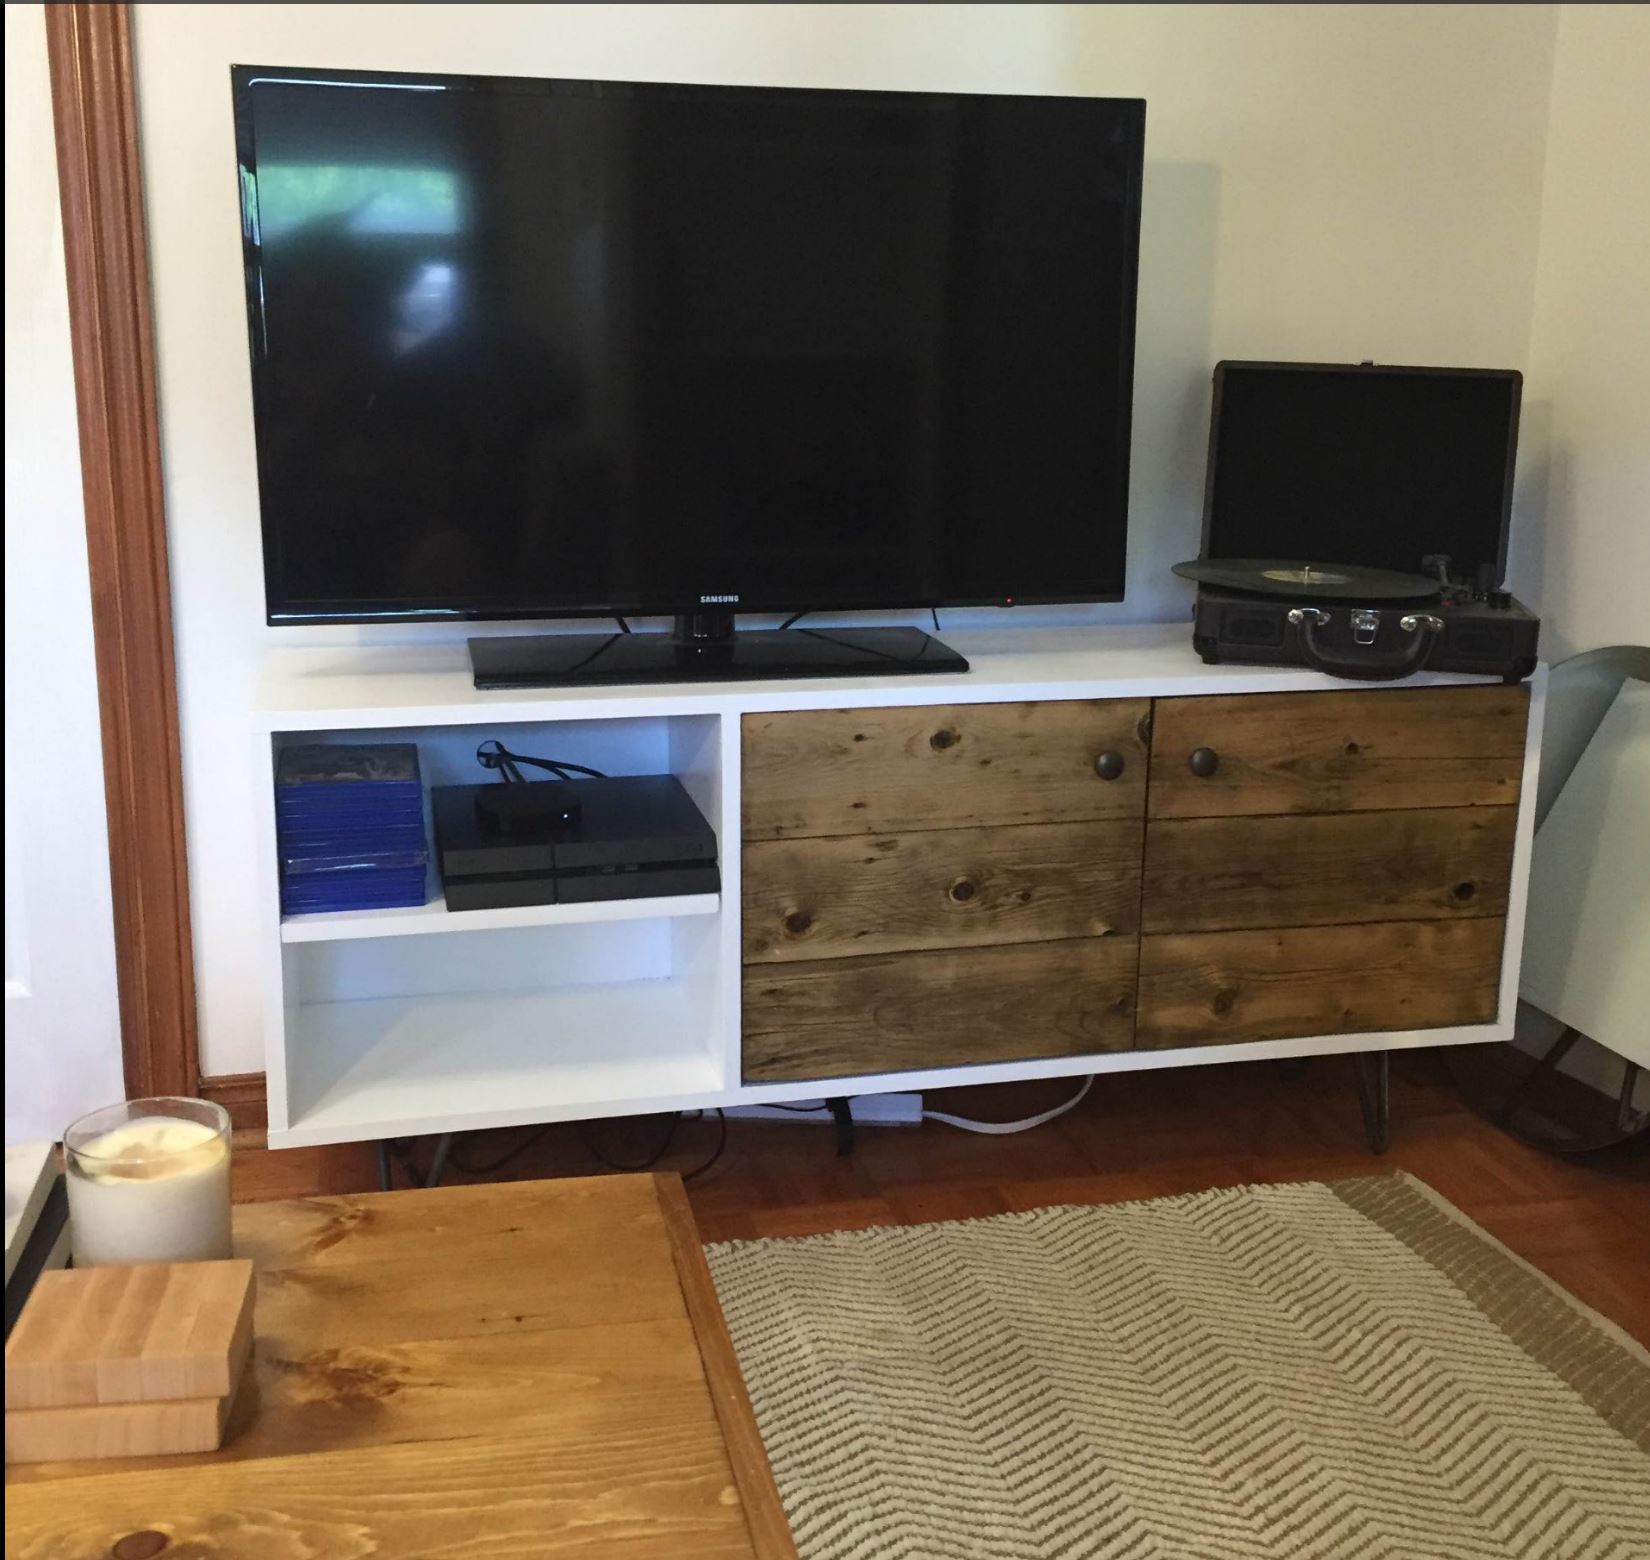
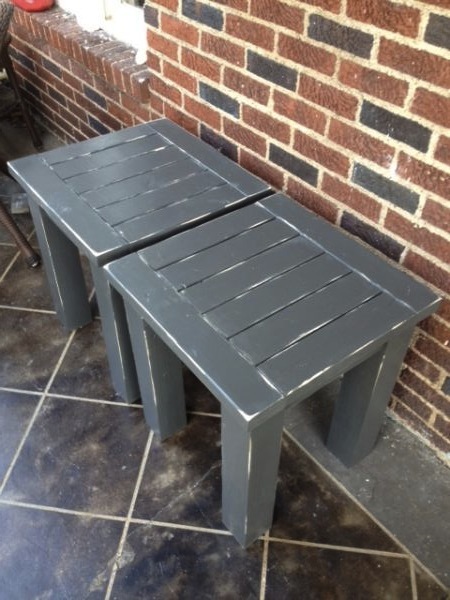
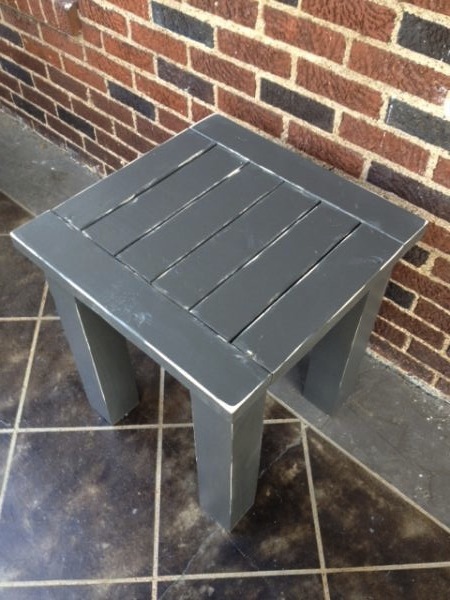
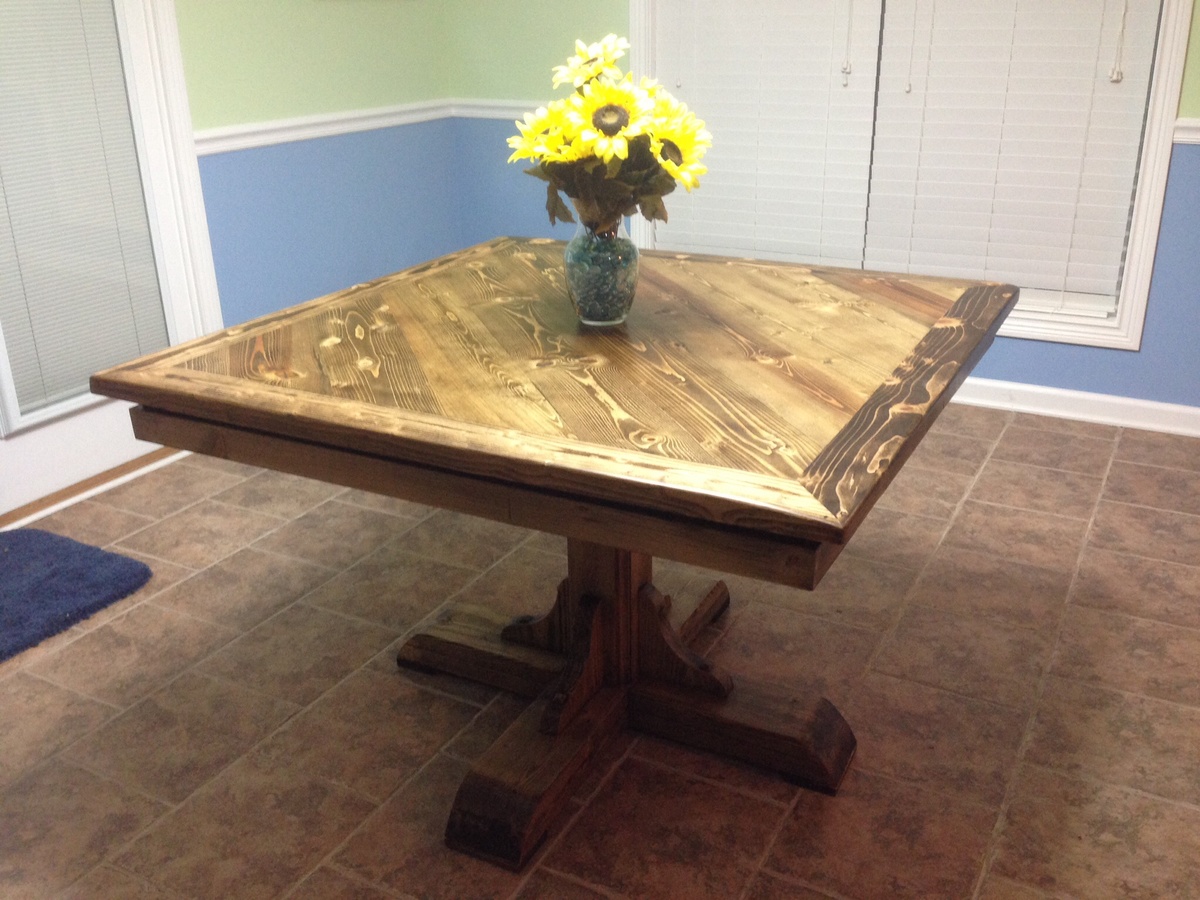
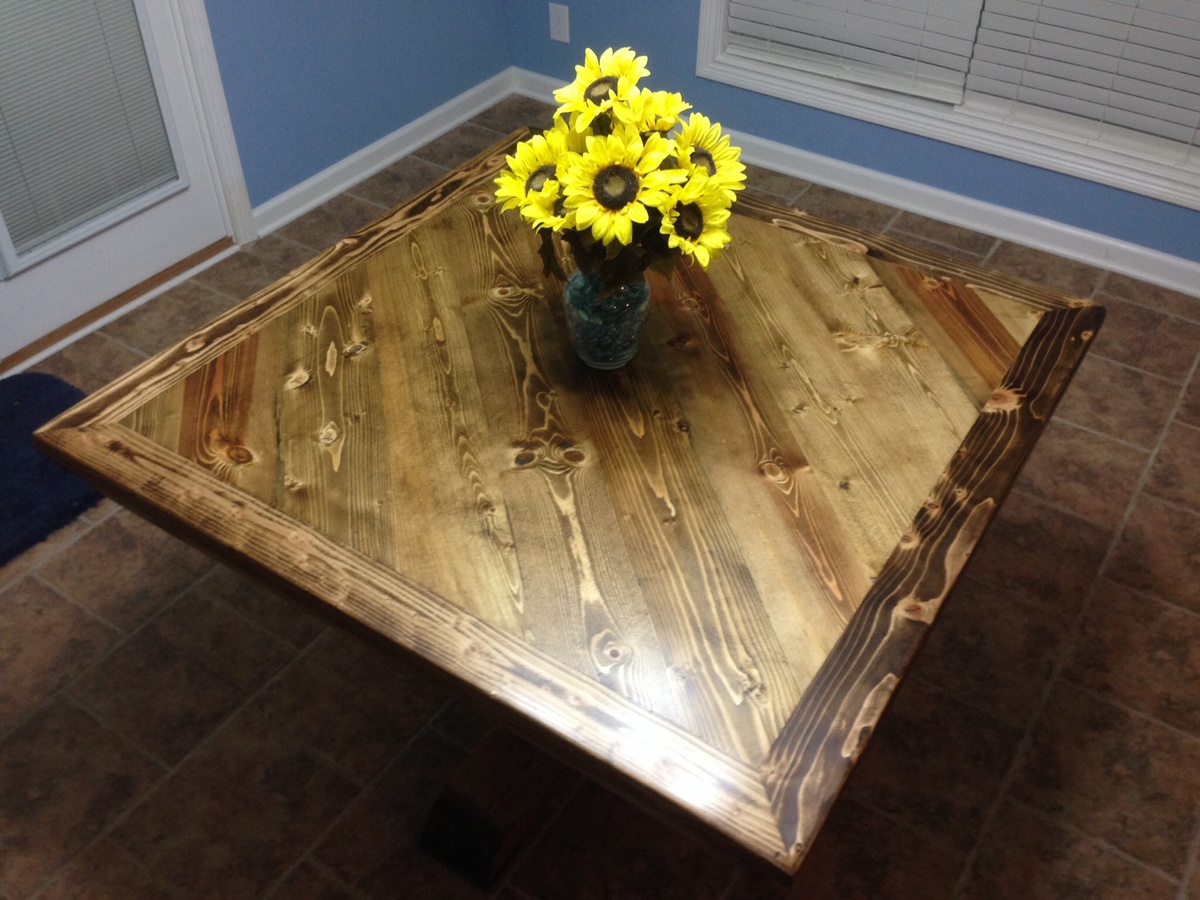
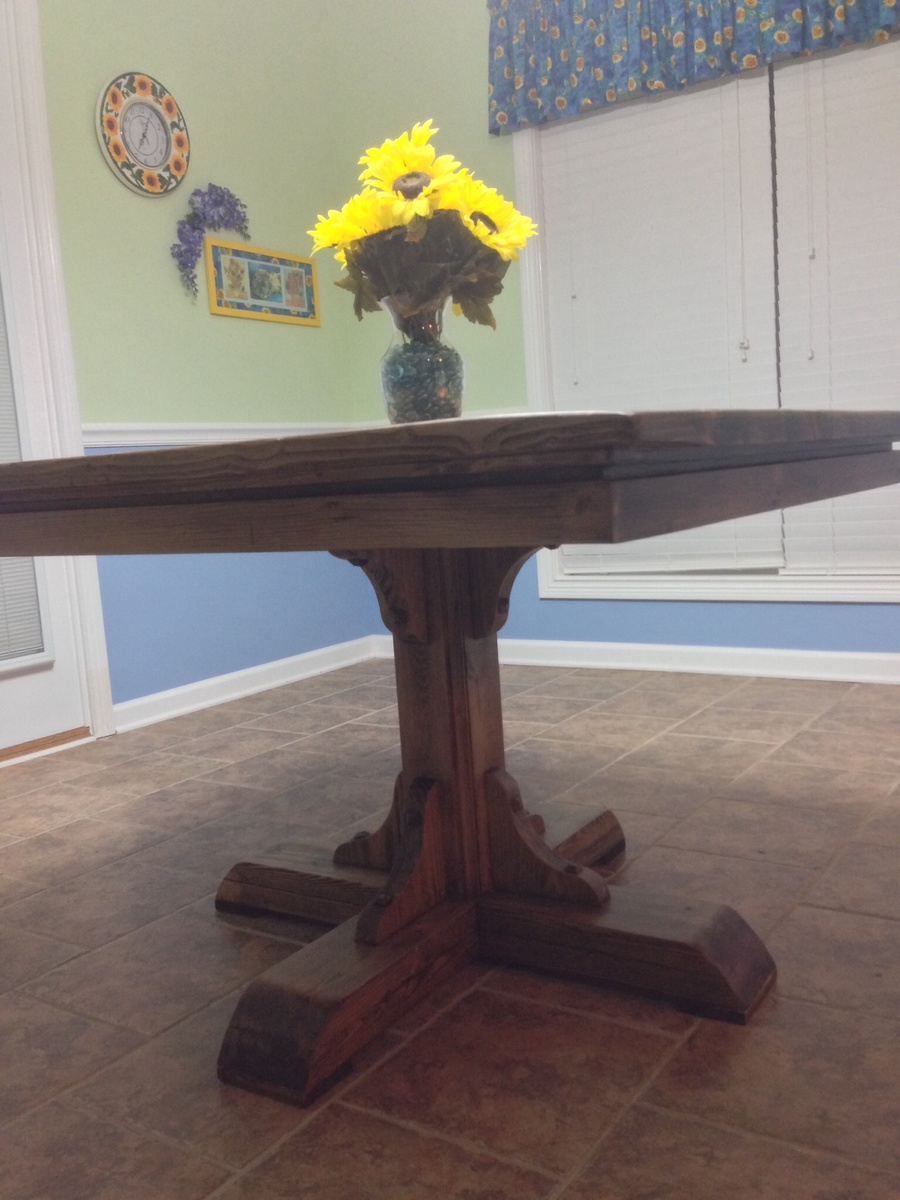
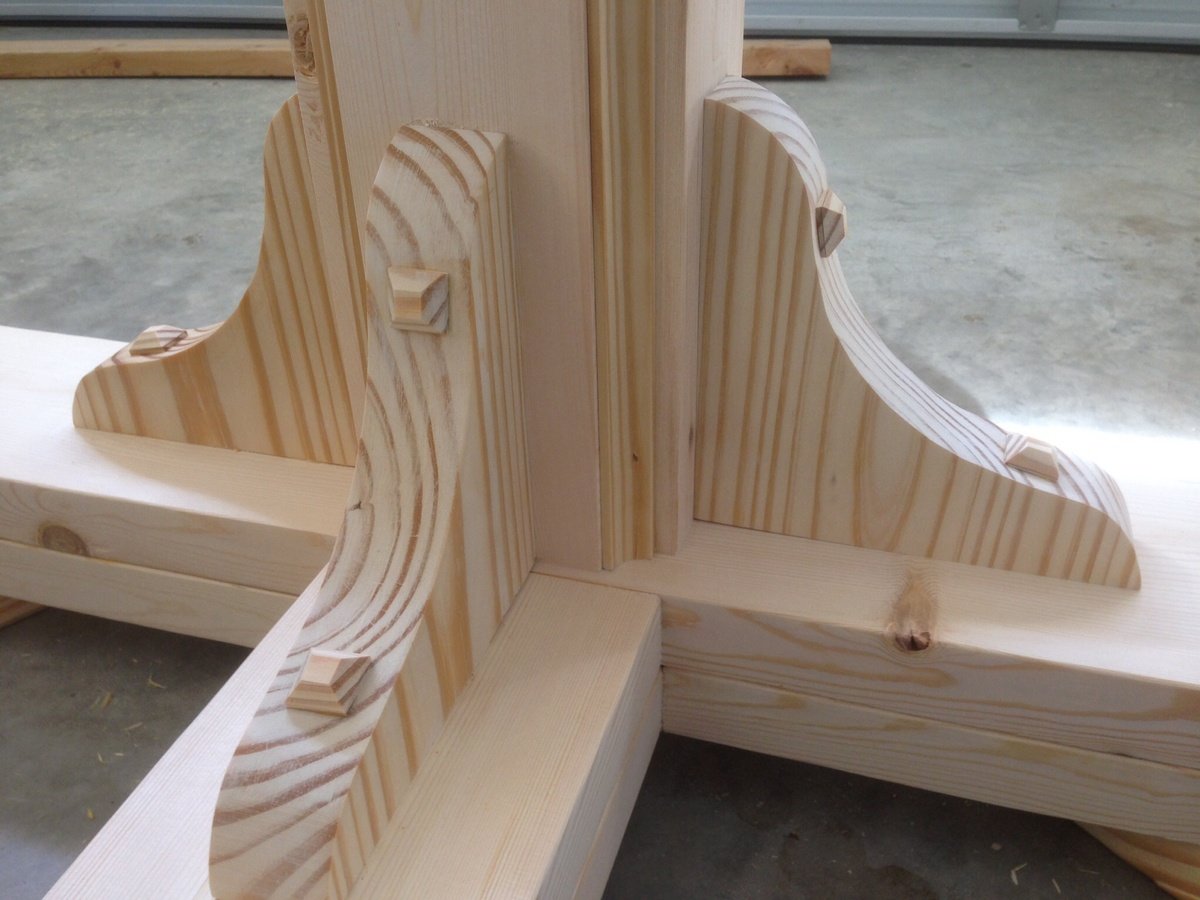
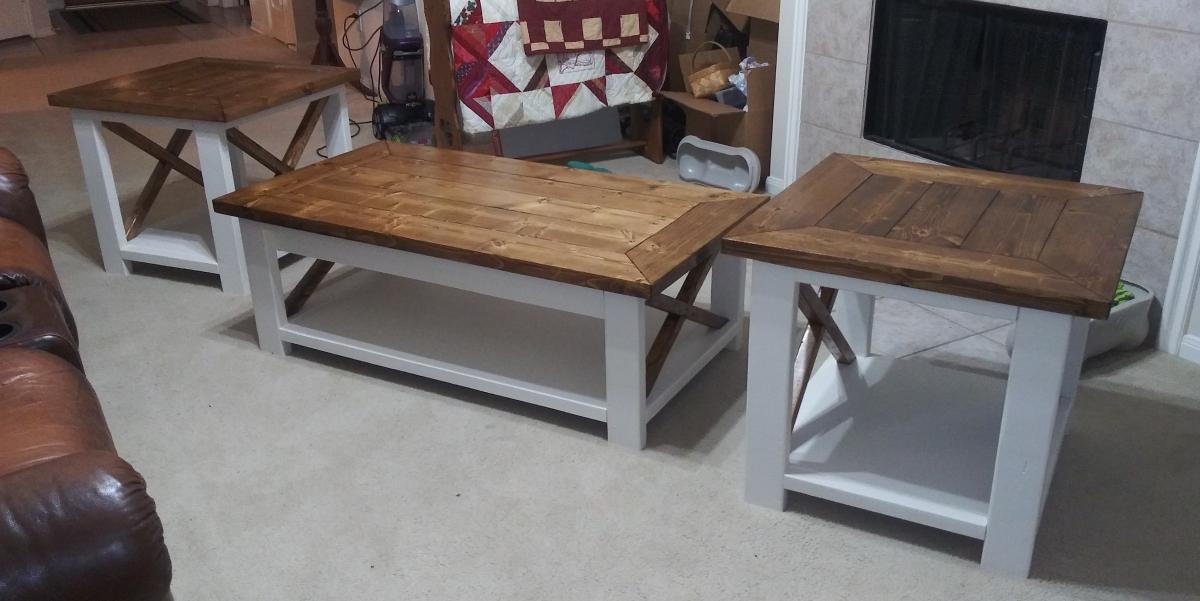
Rustic X Coffee Table
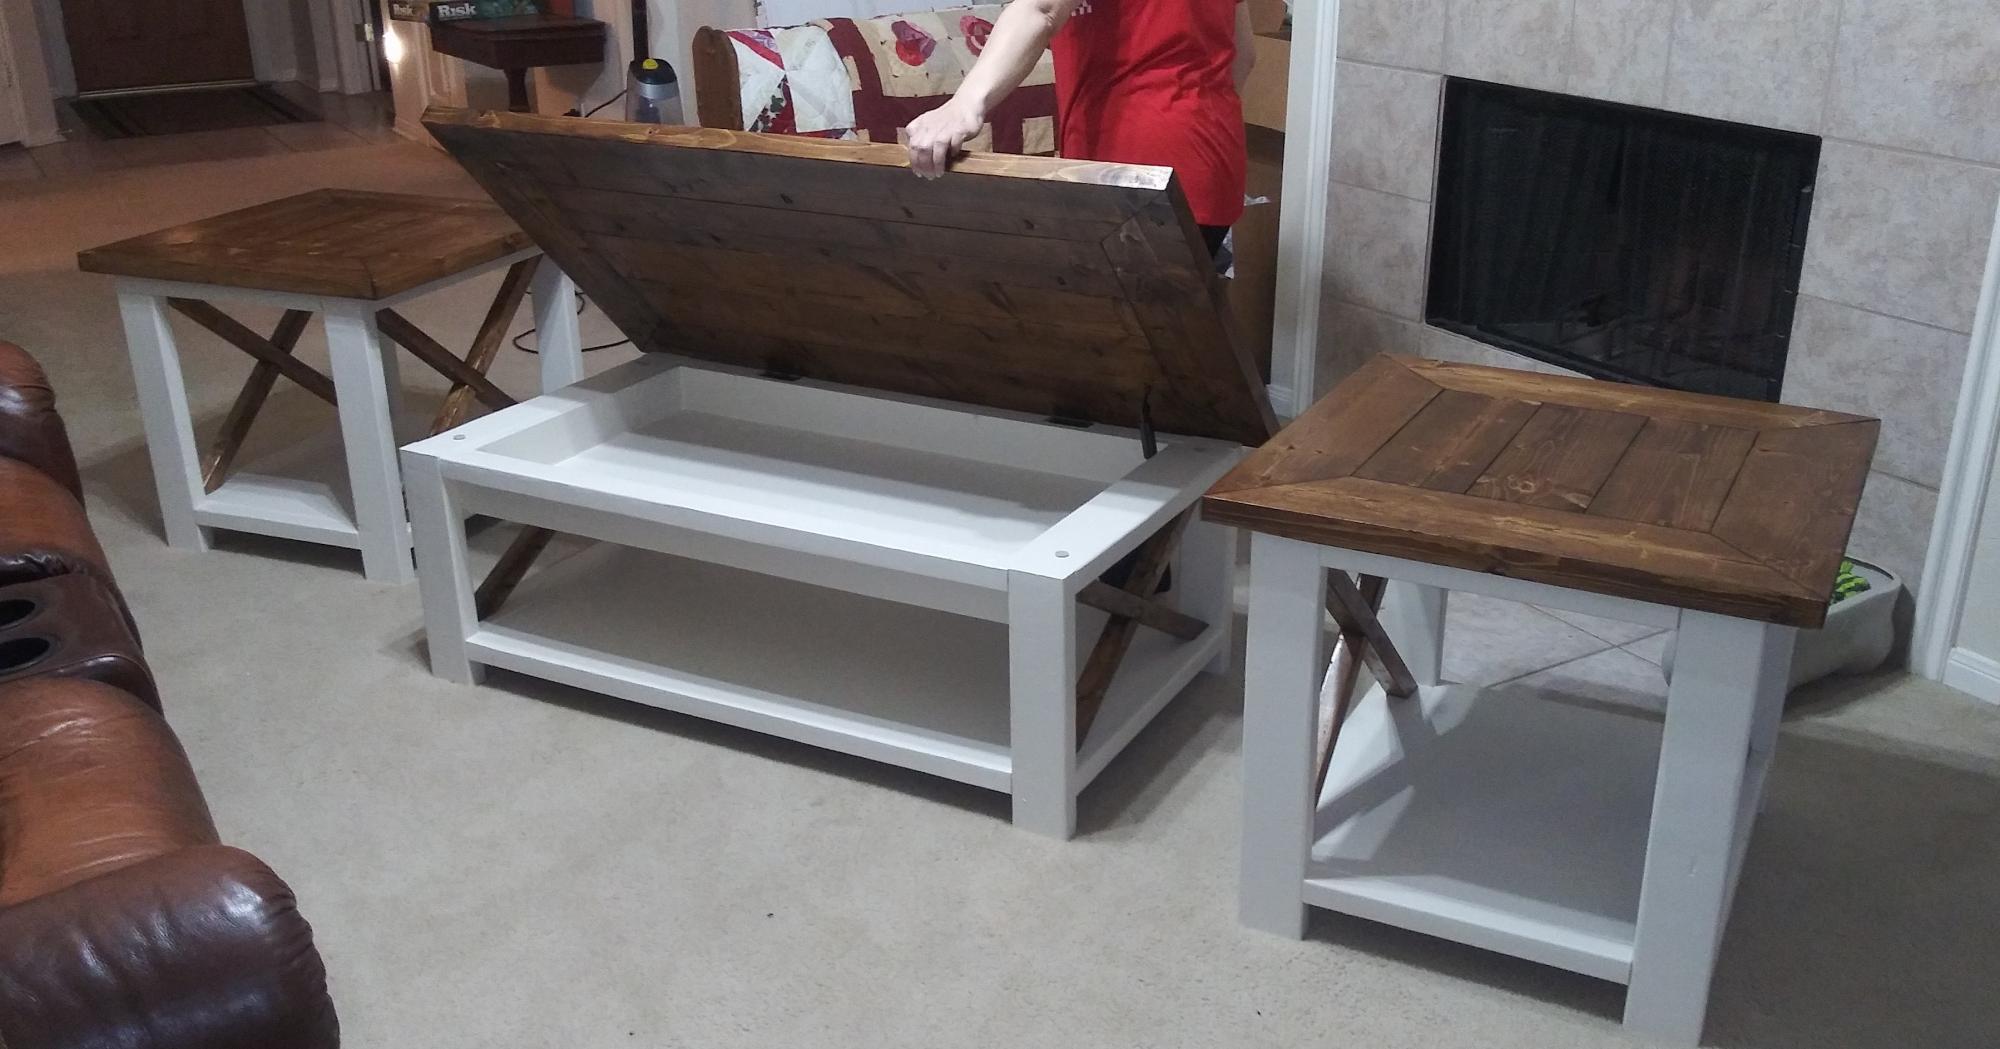
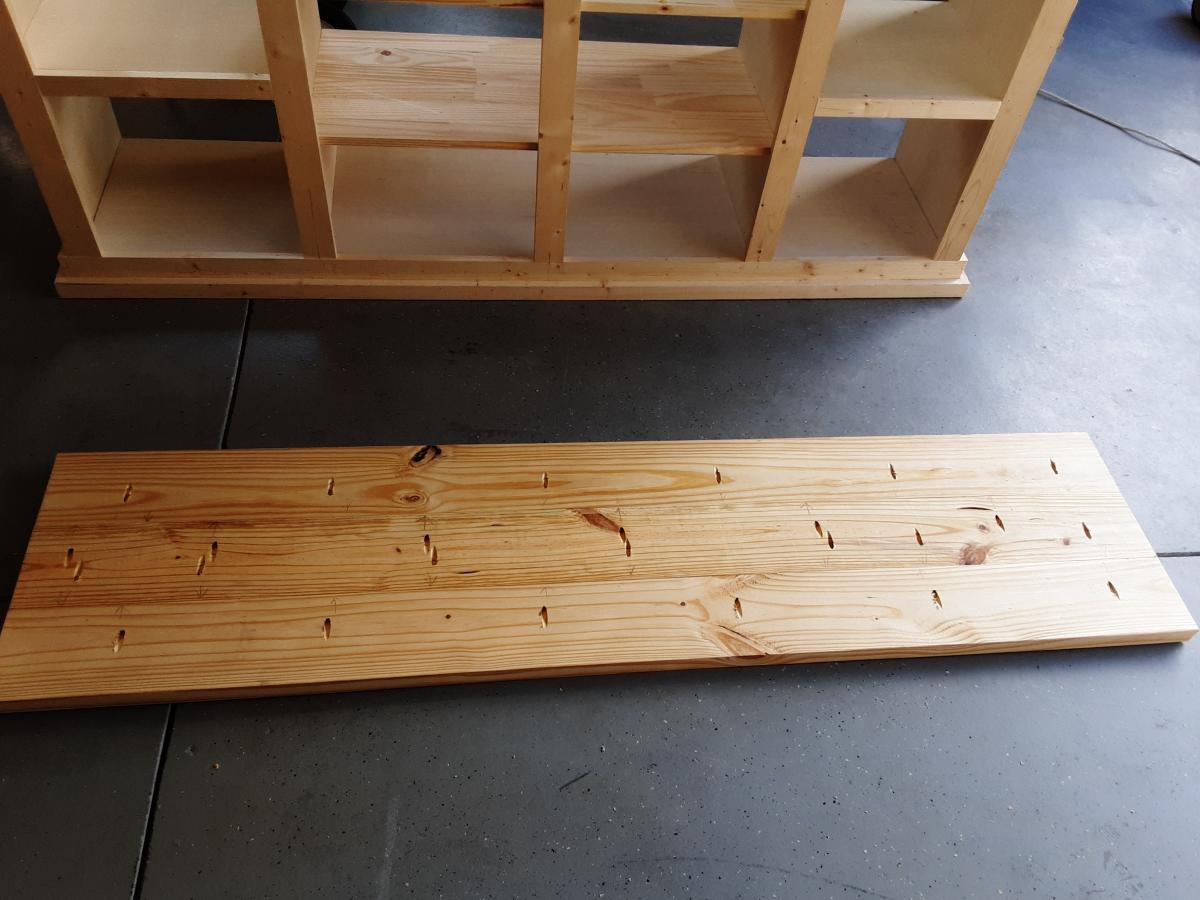
I used the Rustic X Coffee Table plan to make a living room set. I added a 3.5" deep lift top storage area out of plywood, and also used plywood on the bottom of the table as well instead of 1" by 12".
Built from Plan(s)
Estimated Cost
$50
Estimated Time Investment
Weekend Project (10-20 Hours)
Finish Used
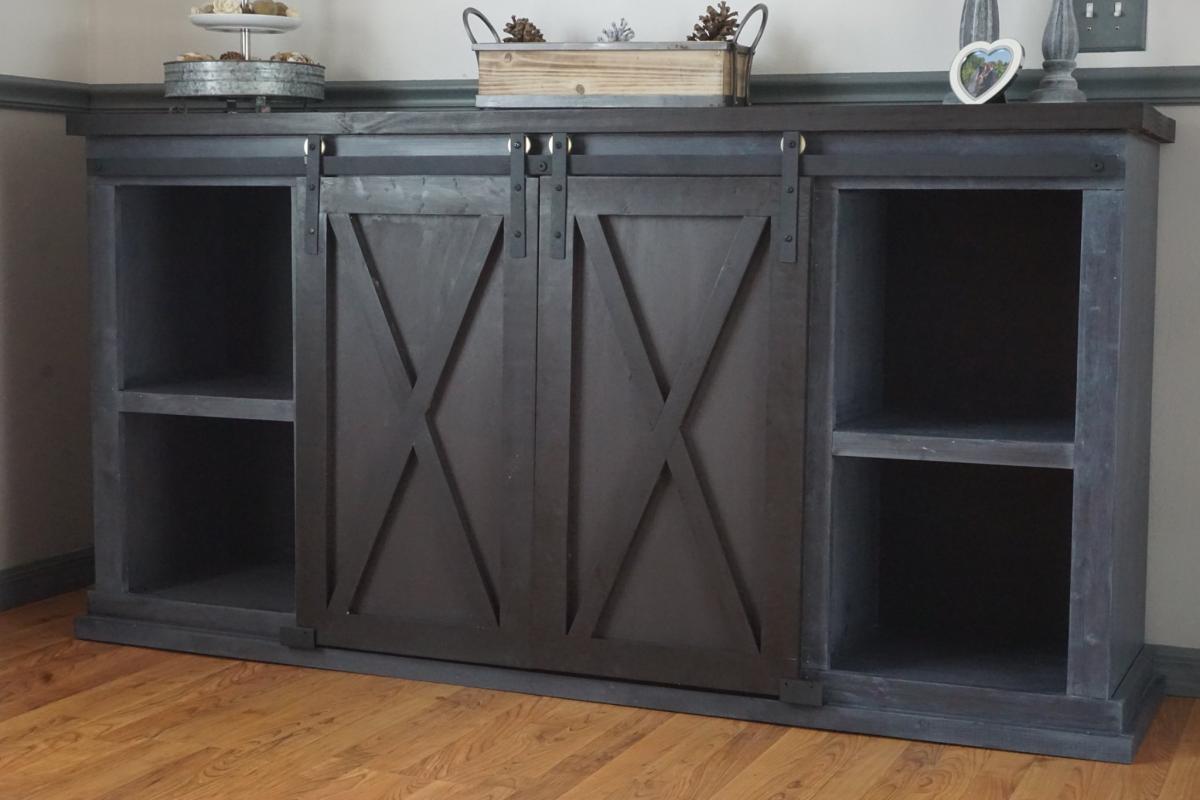
I used an eggshell antique white for the paint. I used a minwax pre-stain, one coat of minwax honey stain, and two coats of minwax polyurethane.
Recommended Skill Level
Intermediate