Community Brag Posts

Wishing Well Planter

Submitted by RobKelly3 on Sat, 03/16/2013 - 16:57

This is a wishing well I made for my sister for her wedding. It will be used during the wedding for people to drop "wish you well" cards into and afterward she can use it as a planter in her yard.
I followed ideas from multiple plans here on Ana-White.com, but I didn't follow any specific plan. Mostly I followed tips and instructions for cutting angles, drilling pocket holes and some finishing tips. This is the first "big" project I've done and I"m quite proud of it.

With everything, it measures 44.5 inches high. The well measures 21 inches across and 15 inches high. The roof measures 22.75 inches by 23.75 inches.

I hope y'all like it. I worked hard on this! :)

Thank you, Ana and everyone who contributes to this site. It's been so much fun and I've got lots of ideas for more stuff. If I was any good at all at Google Sketchup I'd put up the plans but I'm not. If anyone could help me with that, that would great. :)

Have a great day!

Estimated Cost
about $100
Estimated Time Investment
Weekend Project (10-20 Hours)
Finish Used
Olympic Maximum Stain and Sealant in One, Semi-Transparent, in Oxford Brown. Use 2inch stain brush. Used 100, 150, and 220 grit sandpaper before staining.
Recommended Skill Level
Intermediate

Comments

bellows86

Mon, 07/21/2014 - 20:04

Anyway you can please tell me the angle for the boards ont the walls. I reallly like your well, and would like to build this for my wife but im not sure on what angles to use thank you

Octagonal Picnic Table

Submitted by frmoody on Fri, 05/28/2021 - 15:08

To say this was a complicated build is an understatement. Lots of pieces, lots of different angles and lots of screwing it together. It was really tough to keep everything perfectly square but in the end it turned out well. It is a very heavy table. I want to get it outside on a sunny day for some photos.

Estimated Cost
The price of lumber is ridiculous right now. Last summer this would have cost me about $200 in materials but I spent about $450 on wood, finish and screws. 2 x 4 x 8's right now are about $10.40 CAD$ and 2 x 4 x 6's are about $15.00
Estimated Time Investment
Weekend Project (10-20 Hours)
Finish Used
I first painted all black parts with Wood Shield Oil Deck & Siding solid stain. I used two coats. I painted most of the boards prior to cutting to save time. The top and seats were stained with MinWax Gunstock Stain. Once everything was together I put on two coats of Helmsman outdoor polyurethane.
Recommended Skill Level
Advanced

Comments

Shanty Sideboard

Submitted by Anonymous (not verified) on Sat, 07/17/2021 - 04:47

Wife fell in love with these plans from Ana White. Took longer than I want to admit to finish, but looks amazing! Thank you for the plans Ana!

This was my first major project for my wife with a set of new tools to start into woodworking.

Built from Plan(s)
Estimated Cost
Around $200 in lumbar and hardware
$500 or so in tools and mistakes learned along the way!
Estimated Time Investment
Week Long Project (20 Hours or More)
Finish Used
Valspar ultra white
Minwax Jacobean (three coats)
Minwax clear semi gloss polyurethane (three coats)
Recommended Skill Level
Intermediate

Comments

Pergola

Submitted by benfsu00 on Fri, 04/19/2013 - 01:30

I have wanted a pergola for years and since we moved into our new construction in Dec. '12, I decided to finally go for it and add it to our new backyard plans. When I stumbled onto the plan on ana-white.com, I couldn't be more thrilled to see how simple of a project it was. I do not mean that it was an easy build by any means. I wanted a "beefier" look to it so I used 2x6 and 2x4's. The 4x4 posts are 10ft long (I was going to use 12 ft until I realized just how tall they were!). I stole the steel anchor post idea from the Popular Mechanics site and the "look" of the pergola from the Weatherly plan. I decided not to notch each beam due to time constraints and I just didn't think I need to. I did use zinc L brackets to secure the 2x6s to the support beams (also 2x6s). The top is stiff as can be but the bottom has a slight give to it since it is only four 4x4s sitting on post anchor brackets. I am planning on adding about 6 inches of concrete around the base of the posts (after my HOA "approves" the pergola) to stiffing the structure and then trim around the base for a more "custom" look to it. It will be similar style to the Weatherly except wider around the base so that I can set drinks on it. It took about 8 hours total and about an hour of that was setting the steel anchor posts (measuring and installing 2 1/4" red head screws into the 4" concrete slab patio).
I will stain it with a semi-transparent (BEHR brand) redwood-ish color in a few months after the PT pine dries.

Built from Plan(s)
Estimated Cost
$400
Estimated Time Investment
Weekend Project (10-20 Hours)
Recommended Skill Level
Intermediate

outdoor sofa from reclaimed wood

Using Ana's plan as a guide, I built two of these sofas to fit an outdoor cushion I already had. I used wood from our old deck -- a great way to re-use and save money, too!

Estimated Cost
$110/sofa (lumber was free)
Estimated Time Investment
Weekend Project (10-20 Hours)
Finish Used
None, although eventually I will probably seal it with outdoor PolyWhey by Vermont Natural Coatings.
Recommended Skill Level
Intermediate

Blue Farmhouse Table

Submitted by ktrodger on Fri, 03/25/2011 - 20:16

I wanted a kitchen table that was bigger than the one we had from Ikea, but the Farmhouse Table was too long. So we modified the length, left off the stretcher, and painted it a bright blue! The major lesson learned in this project was to be sure to store boards carefully. We bought the lumber, cut the boards, and then didn't work on the project for a couple of months. Even though the wood was in our garage, some of the boards warped a bit, leaving us with bends and curves to deal with once we started to build. Luckily, things came together, but there are many more imperfections in this table than would have been there if we'd built it sooner. But we still love it! 

Estimated Cost
$60
Estimated Time Investment
Weekend Project (10-20 Hours)
Finish Used
Blue semi-gloss paint.
Recommended Skill Level
Beginner

Bookcase wall unit

Submitted by kwhitt on Tue, 05/12/2015 - 08:38

This is the project that inspired me to start woodworking. I'm a bookaholic and have always used cheap, particle board bookcases from Walmart for storage. They're fine for the price, but over time the shelves bow and they NEVER survive a move. When I outgrew the three units I had, I balked at buying a fourth, which I didn't really have room for anyway. Enter Ana White! This is actually based off a brag project under the IKEA Lack Inspired Bookcase. What I love best about building my own is that I can customize to suit my needs. I was able to put almost twice as much shelving into about the same area. And if I outgrow these, I can just build another!

Built from Plan(s)
Estimated Cost
about $175
Estimated Time Investment
Week Long Project (20 Hours or More)
Finish Used
Miniwax Espresso Stain, Varathane Satin Triple Thick Polyurethane
Recommended Skill Level
Beginner

Comments

3 hook coat rack

Submitted by Anonymous (not verified) on Wed, 11/03/2021 - 12:40

Thank you for this - I just made it slightly longer.

Comments

Modified Farmhouse Bed

Submitted by Liz H. on Wed, 03/30/2011 - 13:04

This was our first project.  My husband and I took the Farmhouse bed plans and modified them to look more like the Hudson Bed from Pottery Barn.  This is a King size bed with removable side rails and under bed supports so that it can easily be collapsed for moving.

Estimated Cost
$600
Estimated Time Investment
Day Project (6-9 Hours)
Finish Used
I had to dye the wood using a mahogany dye to unify the woods and then applied three coats of mahogany and english chestnut stains mixed together and then mixed with lacquer and lacquer thinner. The drying in between was long. Next time I would paint poplar or use a different wood.
Recommended Skill Level
Intermediate

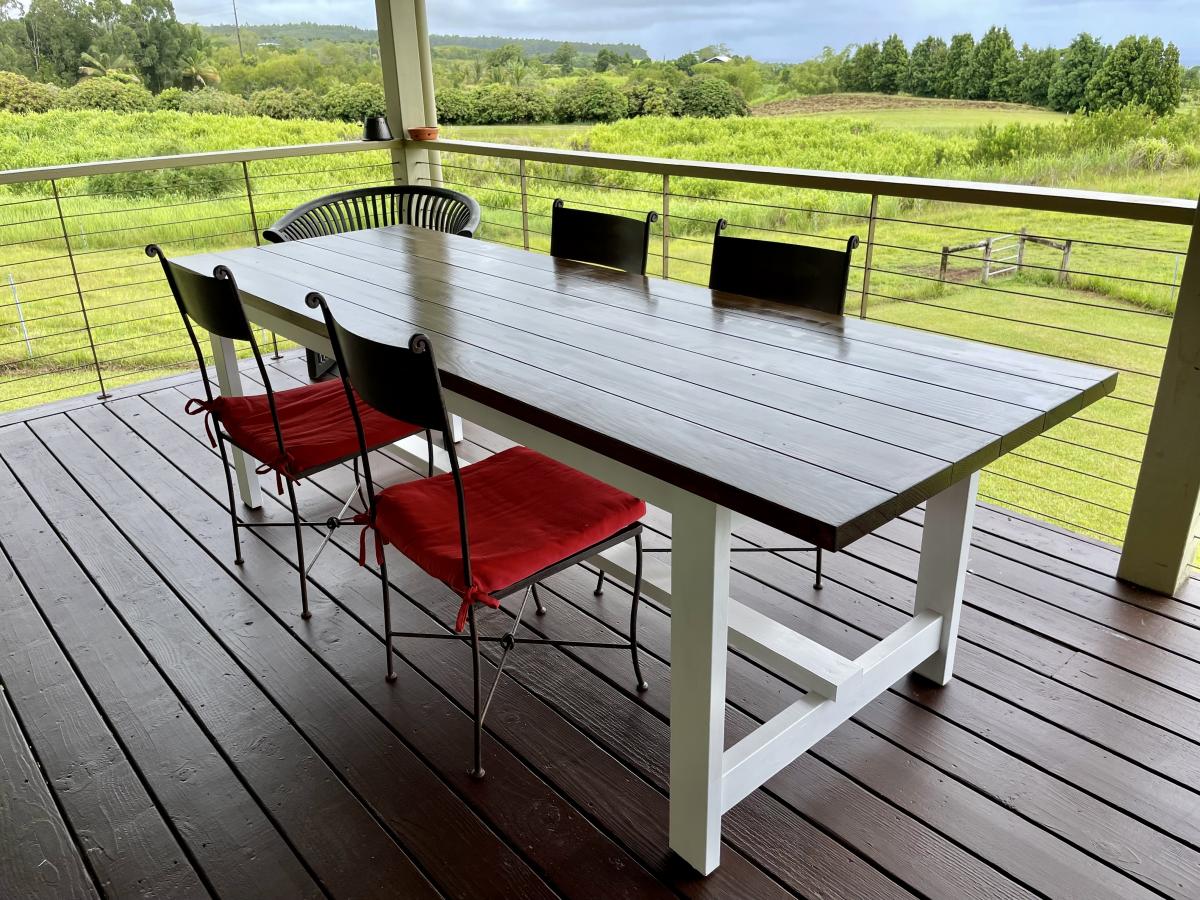
My version of the Simple Outdoor Dining Table

Submitted by cchalifour on Wed, 11/24/2021 - 19:48

My version of the Simple Outdoor Dining Table
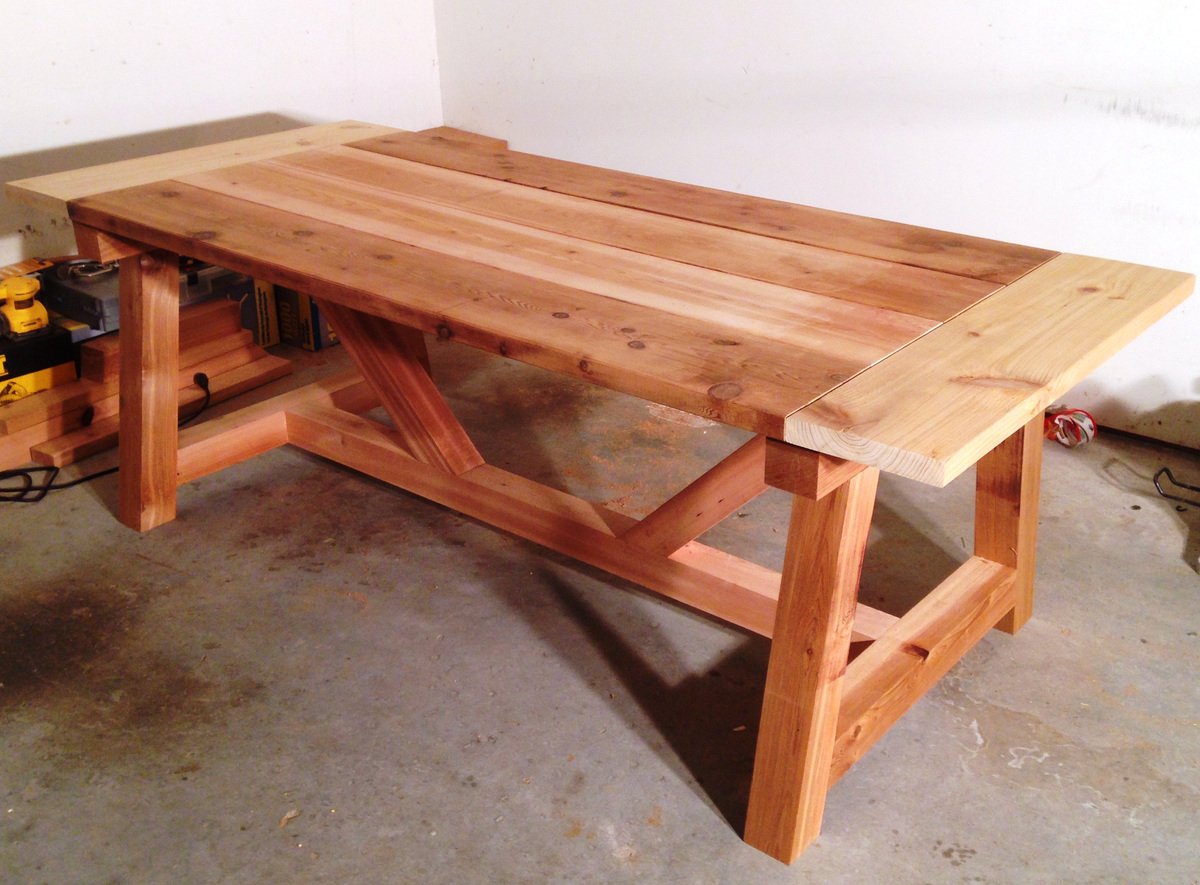
- All Cedar

Built from Plan(s)

Comments

AllGardenBenches.com Farmhouse Table

Made this for my wife for our anniversary!
Check out a video of the project here: http://www.youtube.com/watch?v=3eyroIH517A
Check out more great furniture through All Garden Benches: http://www.AllGardenBenches.com

Thanks for the plans!!!

Estimated Cost
200
Estimated Time Investment
Weekend Project (10-20 Hours)
Finish Used
I used a basic oil based wood stain - dark - it was called Moorish Teak. One coat was sufficient. Lastly, I added a clear gloss finish - two coats.
Recommended Skill Level
Intermediate

Farmhouse Inspired Table

My husband and I used Ana's plans to create this BEAUTIFUL farmhouse inspired table for our dining room. The project was straightforward and we are EXTREMELY happy with the results. We added a touch of modern to the table by purchasing metal chairs from overstock.com. The table is perfect for family get togethers and even more important...family game nights!!

Estimated Cost
$100
Estimated Time Investment
Weekend Project (10-20 Hours)
Finish Used
Minwax Polyshades in Dark Walniut-we also applied a few coats of wipe on poly to the finished project. We wanted our table to look rustic so we did "bang it up" a bit before staining and finishing.
Recommended Skill Level
Beginner

Comments

wjc129

Fri, 06/28/2013 - 08:26

Looks great! Did you just use the cheap pine at Lowes/HD? Any tricks to getting the table top flat and level?
In reply to by wjc129

amandaherlache

Mon, 07/01/2013 - 06:15

We used the "select" pine boards from Home Depot..which are a bit nicer than just the ordinary ones. To make the table top level we used a level to be sure that there weren't any major bumps...then once we had the top secured we sanded it to make the boards flush to each other. Hope that helps! Thanks for you comments!
Channing Bookcase

Submitted by FrankJr on Sun, 06/28/2015 - 13:42

We needed a bookcase to fill a void in our living room and this was it. I altered the dimensions to increase the height to 72.5". I also added crown molding to the top which turned out nice. I used the same Bombay mahogany stain suggested by a previous post.

Built from Plan(s)
Estimated Cost
$150
Estimated Time Investment
Weekend Project (10-20 Hours)
Recommended Skill Level
Beginner

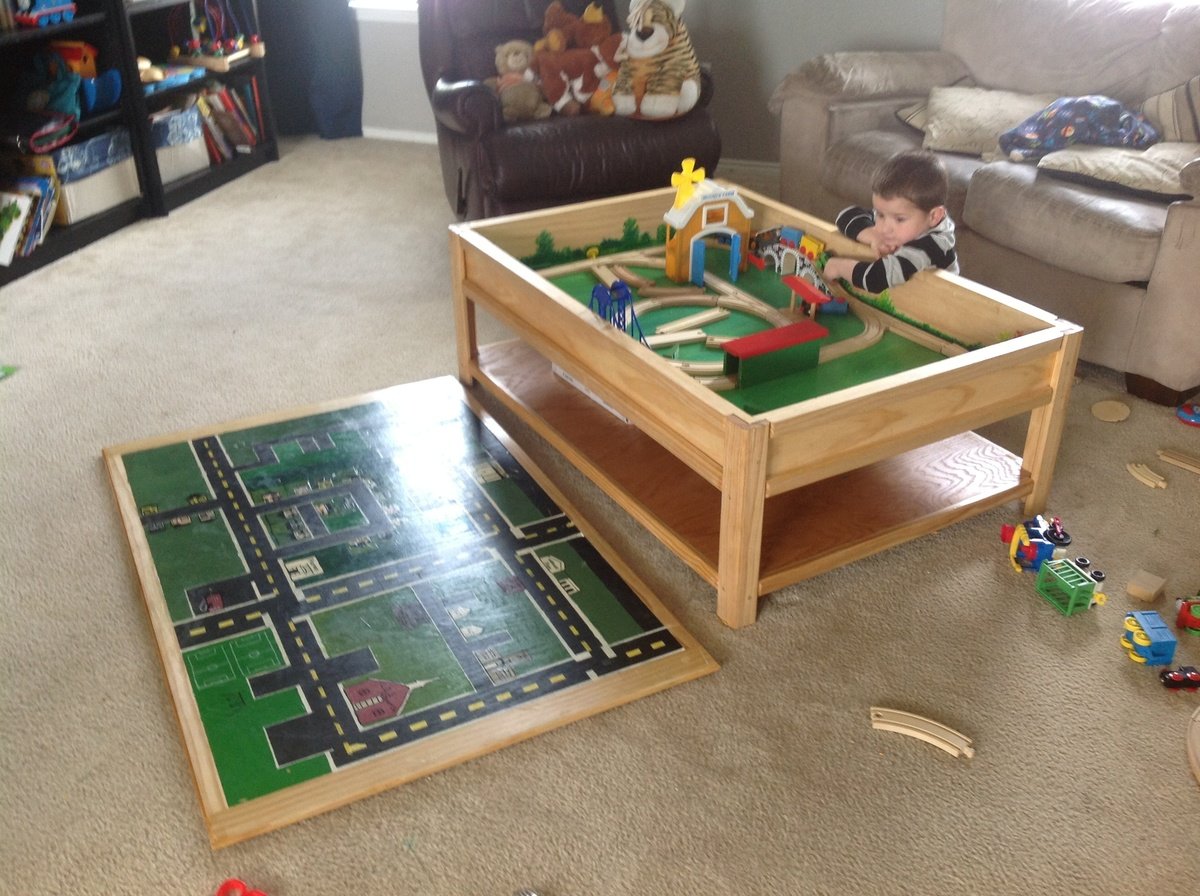
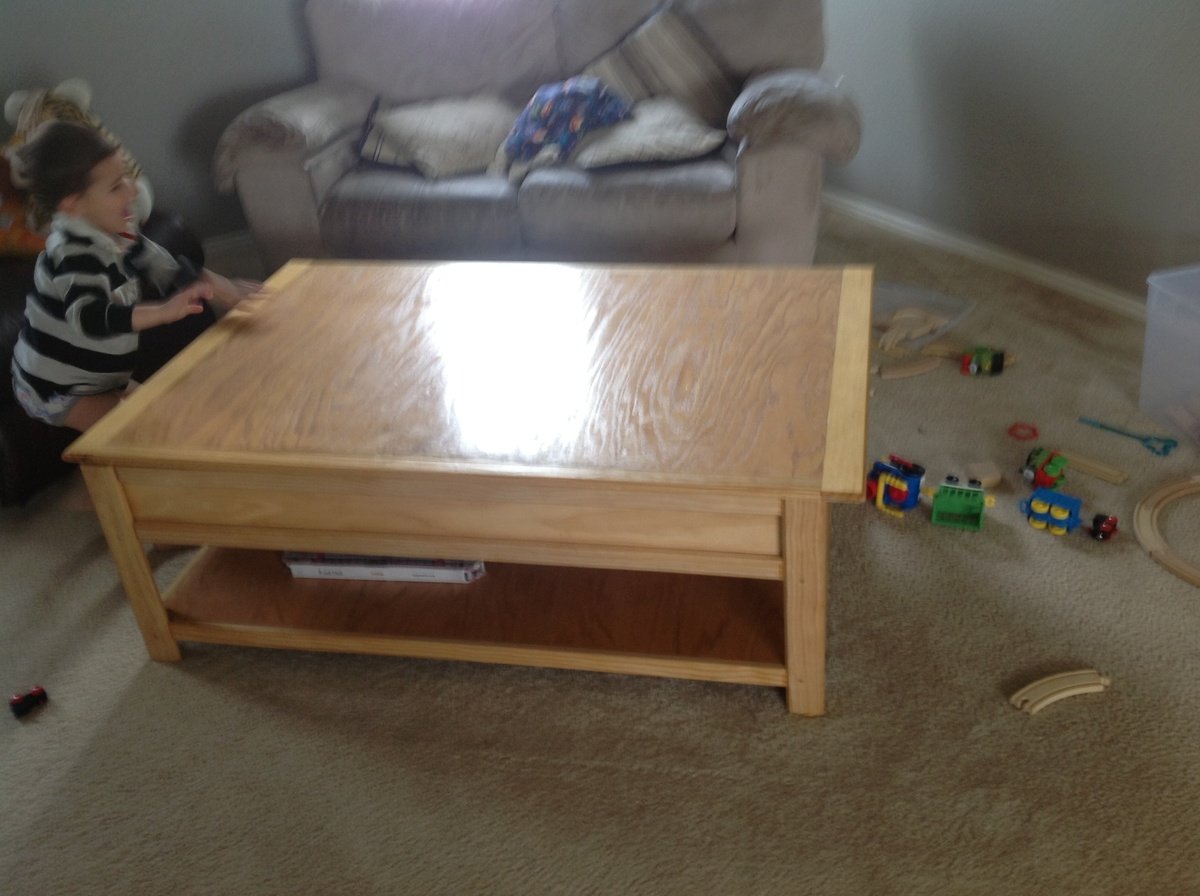
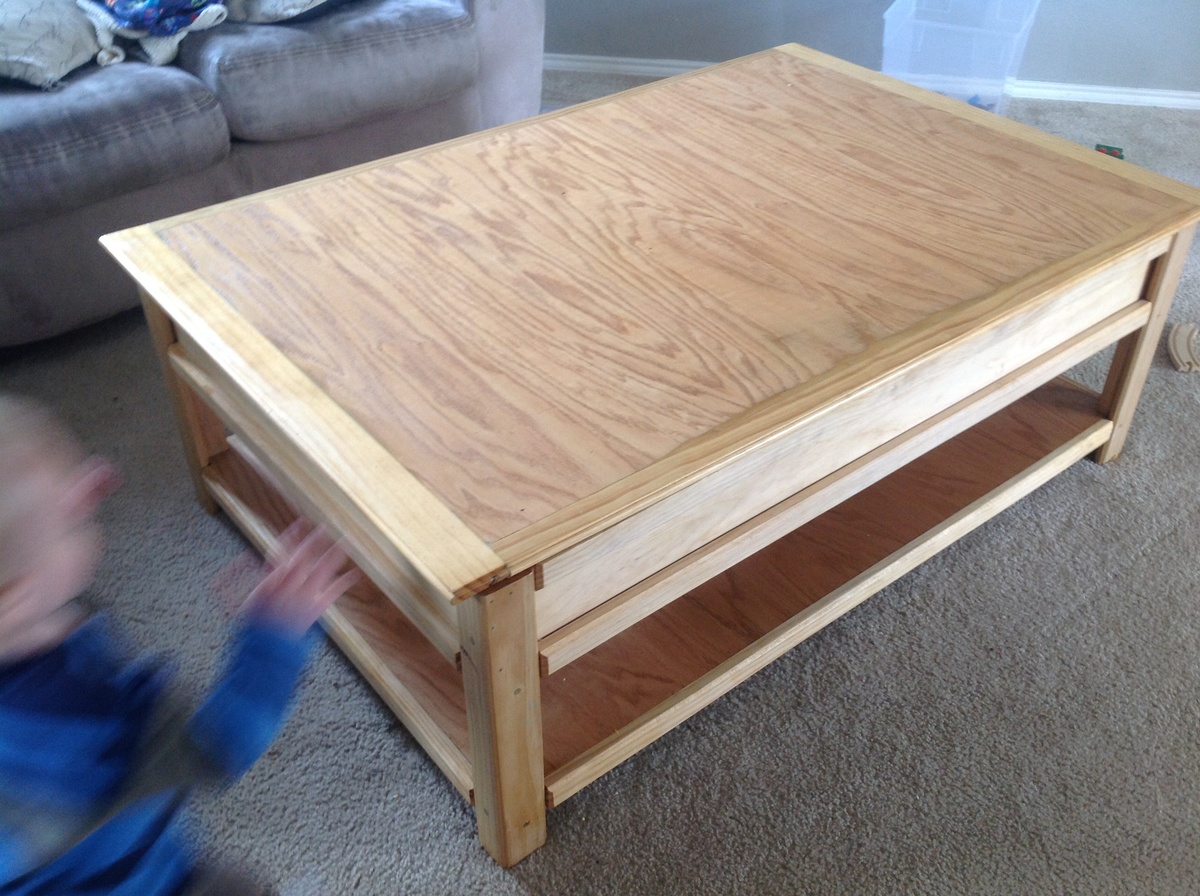
Joss & Emit's Train Table :)

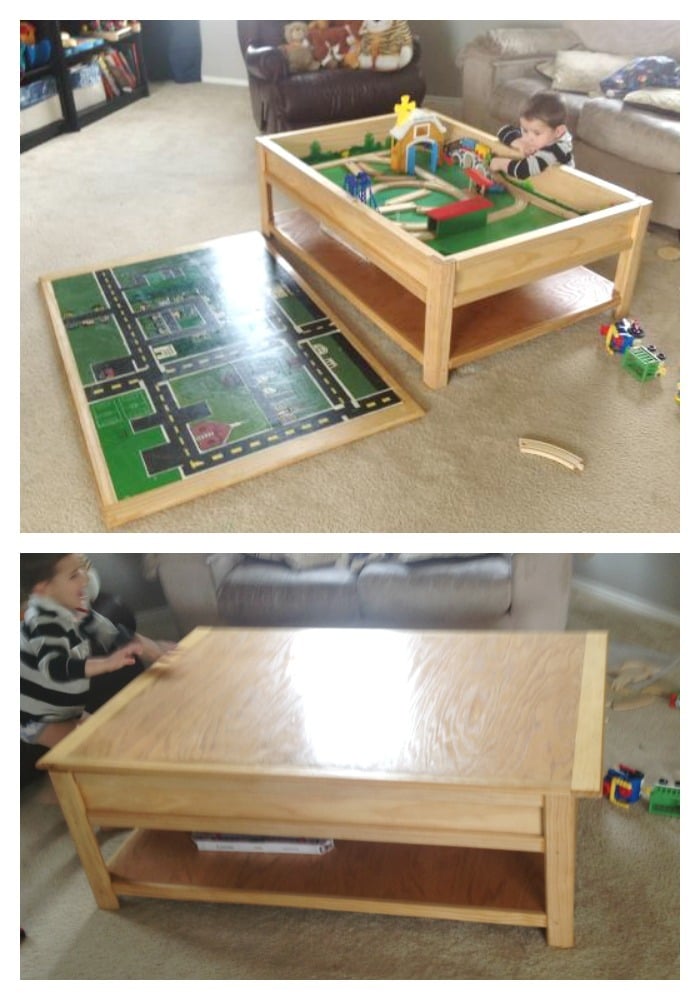
This was my very first "Ana project"! It was a special Christmas treat for my boys and their expanding train collection. This table has had many, many hours of entertainment and enjoyment. It is a great beginner project and has very easy plans to follow! I didn't do the storage carts at the time. I may go back and do them later though...for now they like playing under the table as well. My obsession began :)

Estimated Cost
$50 (island living cost more)
Estimated Time Investment
Day Project (6-9 Hours)
Finish Used
Flat interior paint (2 coats) with two coats of poly.
Recommended Skill Level
Starter Project

Loft bed for son

I've built a few bookshelves and cubbies before, but nothing on this scale.  I built this in my basement this past December as a Christmas present for my three-year-old son.  The plans were easy to follow.  I believe I spent about $150 on lumber.  The bed is very sturdy.  My kids love it!  Now the the other kids want their own special daddy-made bed :)

Built from Plan(s)
Estimated Cost
$150 on lumber. $50 on wood putty, stain, sand paper, etc. Way better than the $1100+ similar model at the local furniture store!
Estimated Time Investment
Weekend Project (10-20 Hours)
Finish Used
min-wax water based stain protected with water-based polycrilic. It all dried way too fast and didn't give me time to correct errors. Next time I will use oil based.
Recommended Skill Level
Intermediate

Comments

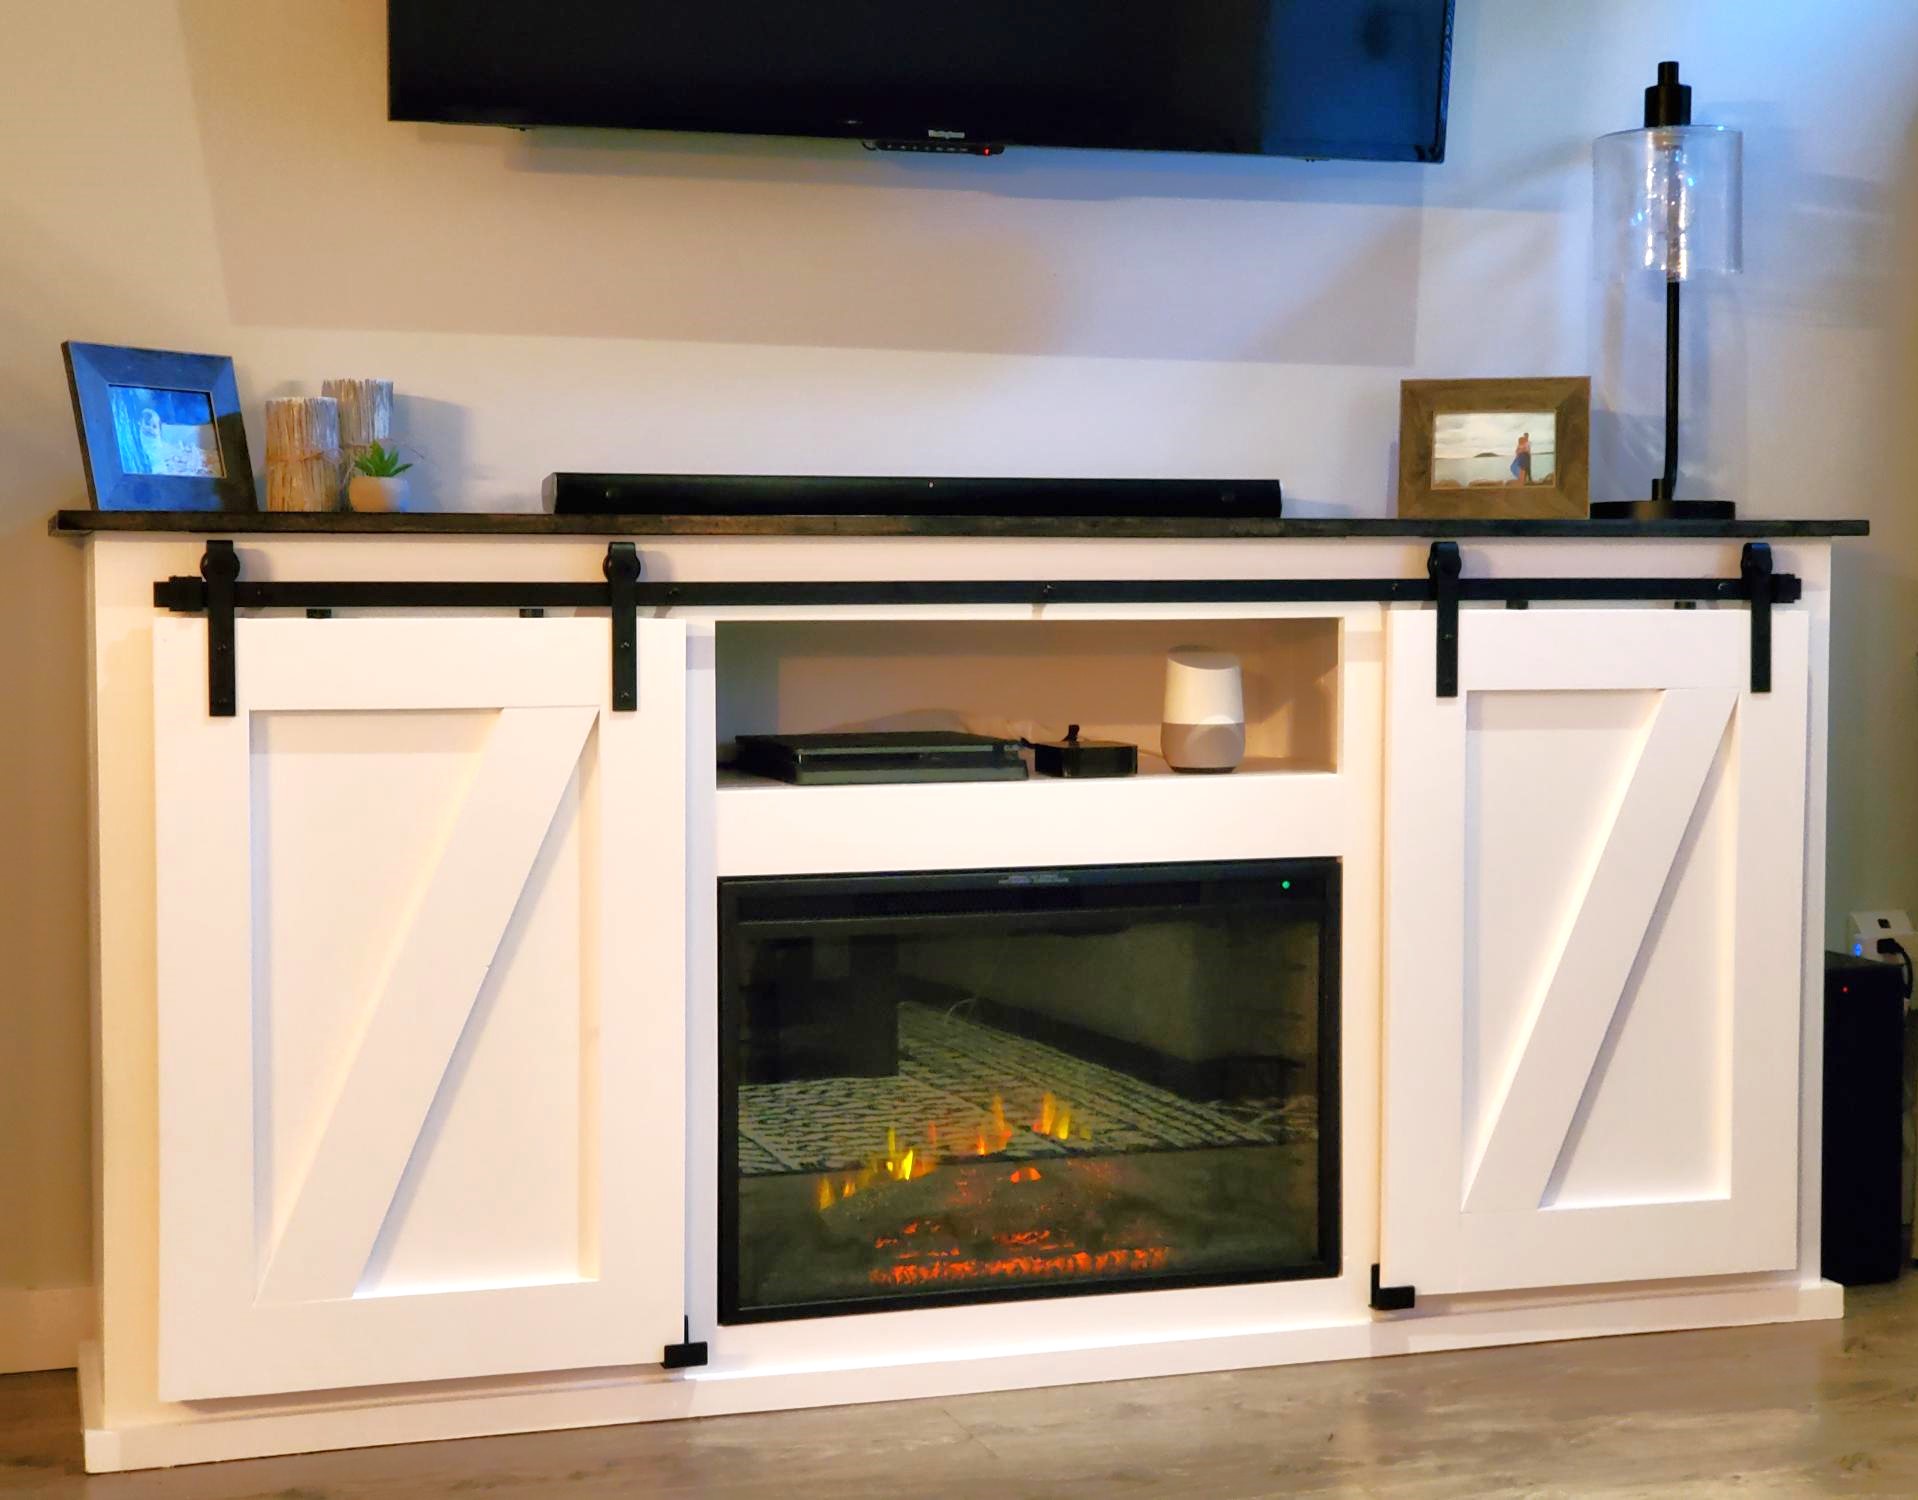
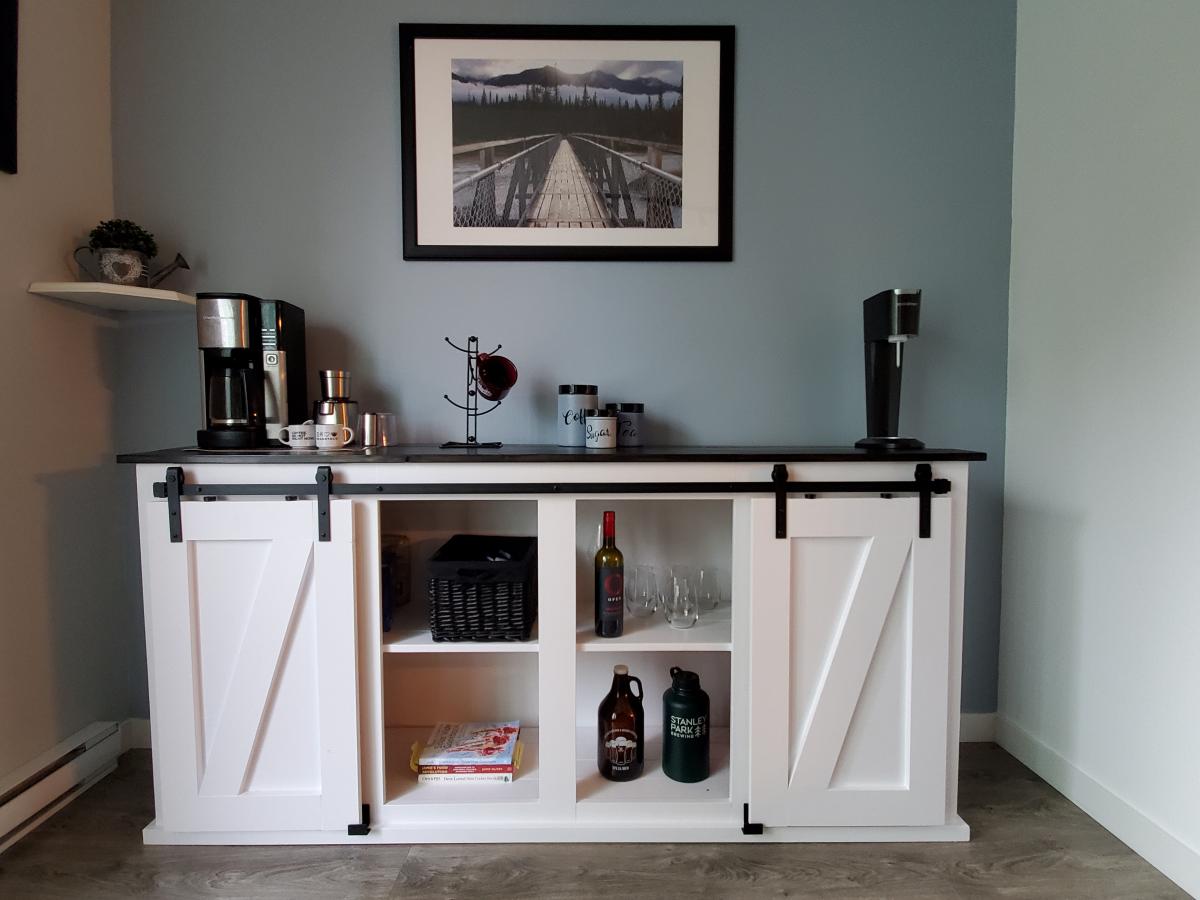
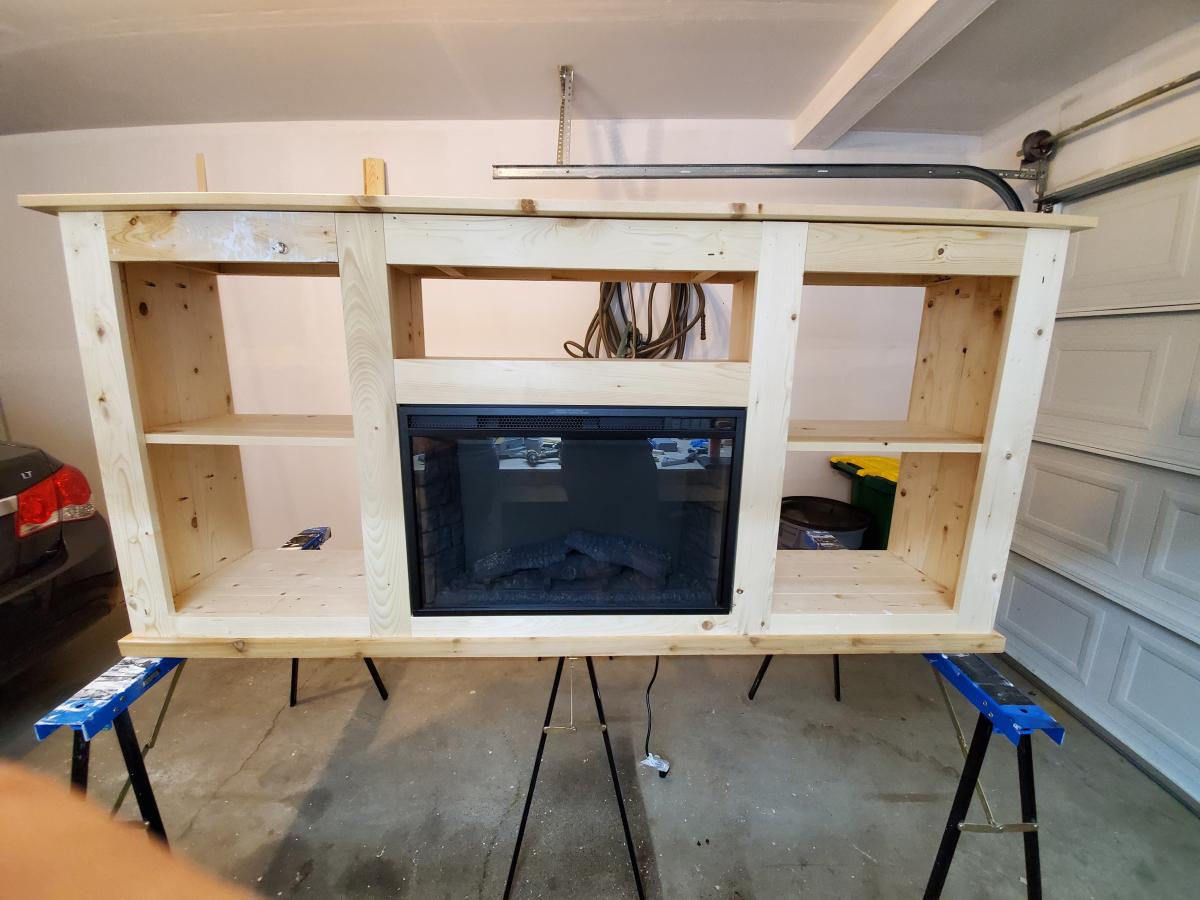
Farmhouse Media Center

Submitted by Rkh81989 on Tue, 04/03/2018 - 16:45

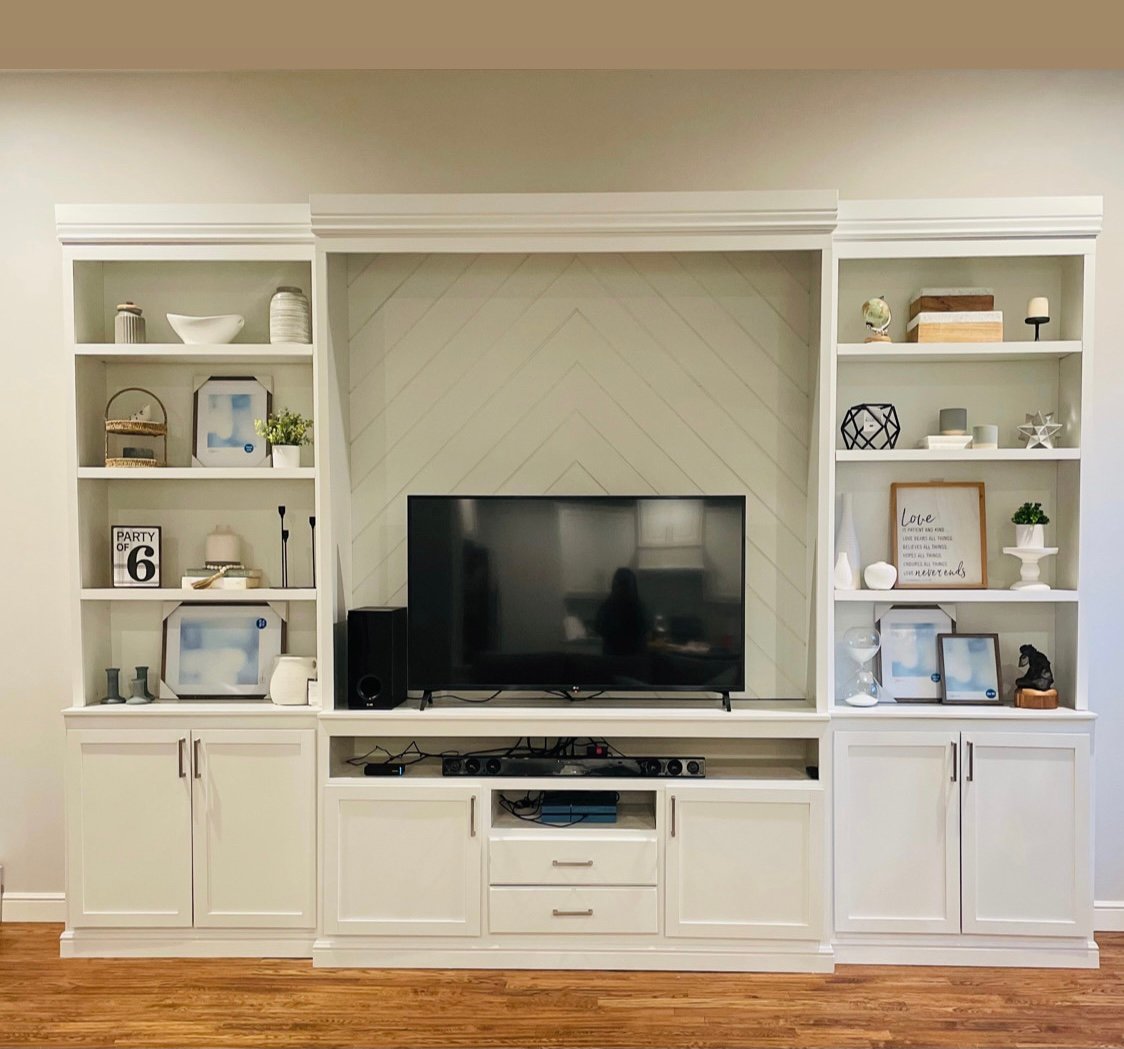
Farmhouse Media Center

Estimated Time Investment
Week Long Project (20 Hours or More)
Recommended Skill Level
Intermediate

Our Flare!

Submitted by bfinnemore on Mon, 09/28/2015 - 11:56

Hi Anna, I really had fun making our version of your sliding mirror project! Thought you might enjoy the photos!  I made it into a jewelry cabinet.

Recommended Skill Level
Intermediate

Comments

Reclaimed beauty

Submitted by mkrgolf on Fri, 10/23/2015 - 07:13

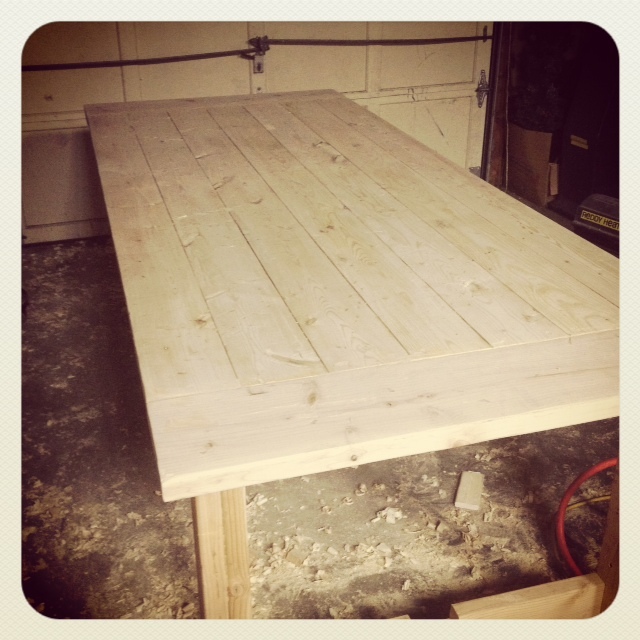
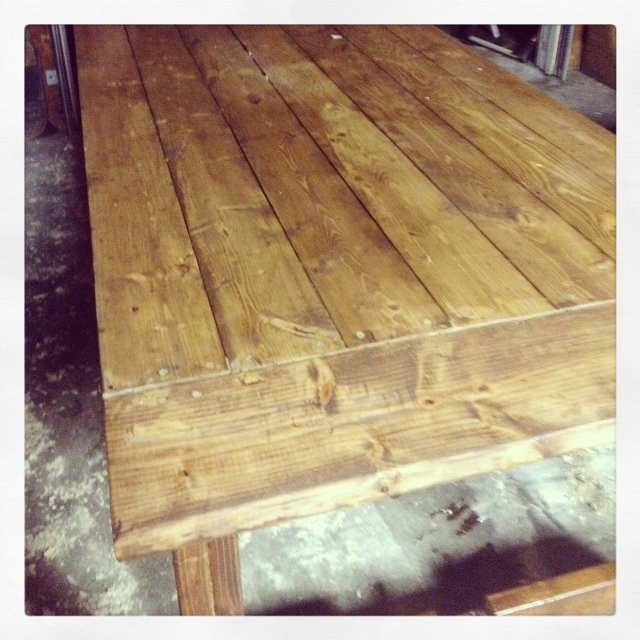
I started the project on a Monday and moved the table into the house on Thursday afternoon. All wood used was reclaimed. I shortened the length of the table by 9 inches due to the length of the reclaimed boards. The dimensions are 87 x 38.5 x 30. I used a colonial maple stain brushed on then rubbed in with a cloth. Then I applied several coats of Polycrylic clear satin. The stain was $1.50 from the Habitat store and the poly was found in the house we recently moved into. I spent about $15 on wood screws.


Estimated Cost
$20
Estimated Time Investment
Weekend Project (10-20 Hours)
Finish Used
Colonial maple and Polycrylic clear satin.
Recommended Skill Level
Beginner