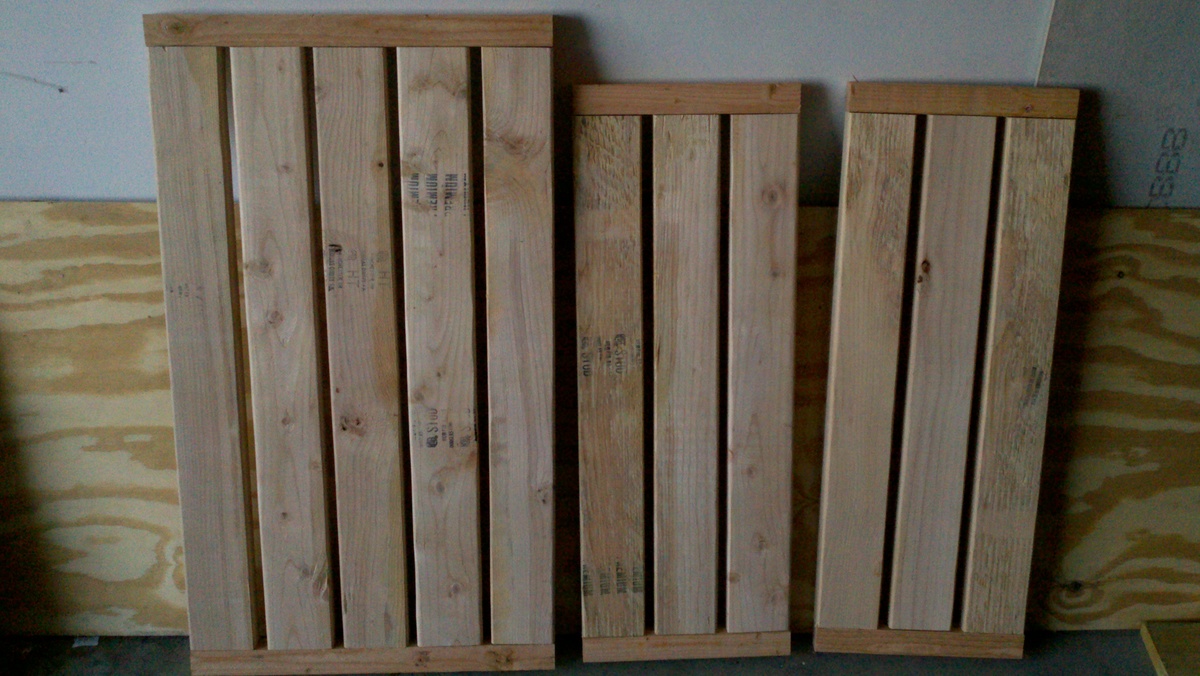
Outdoor Sectional
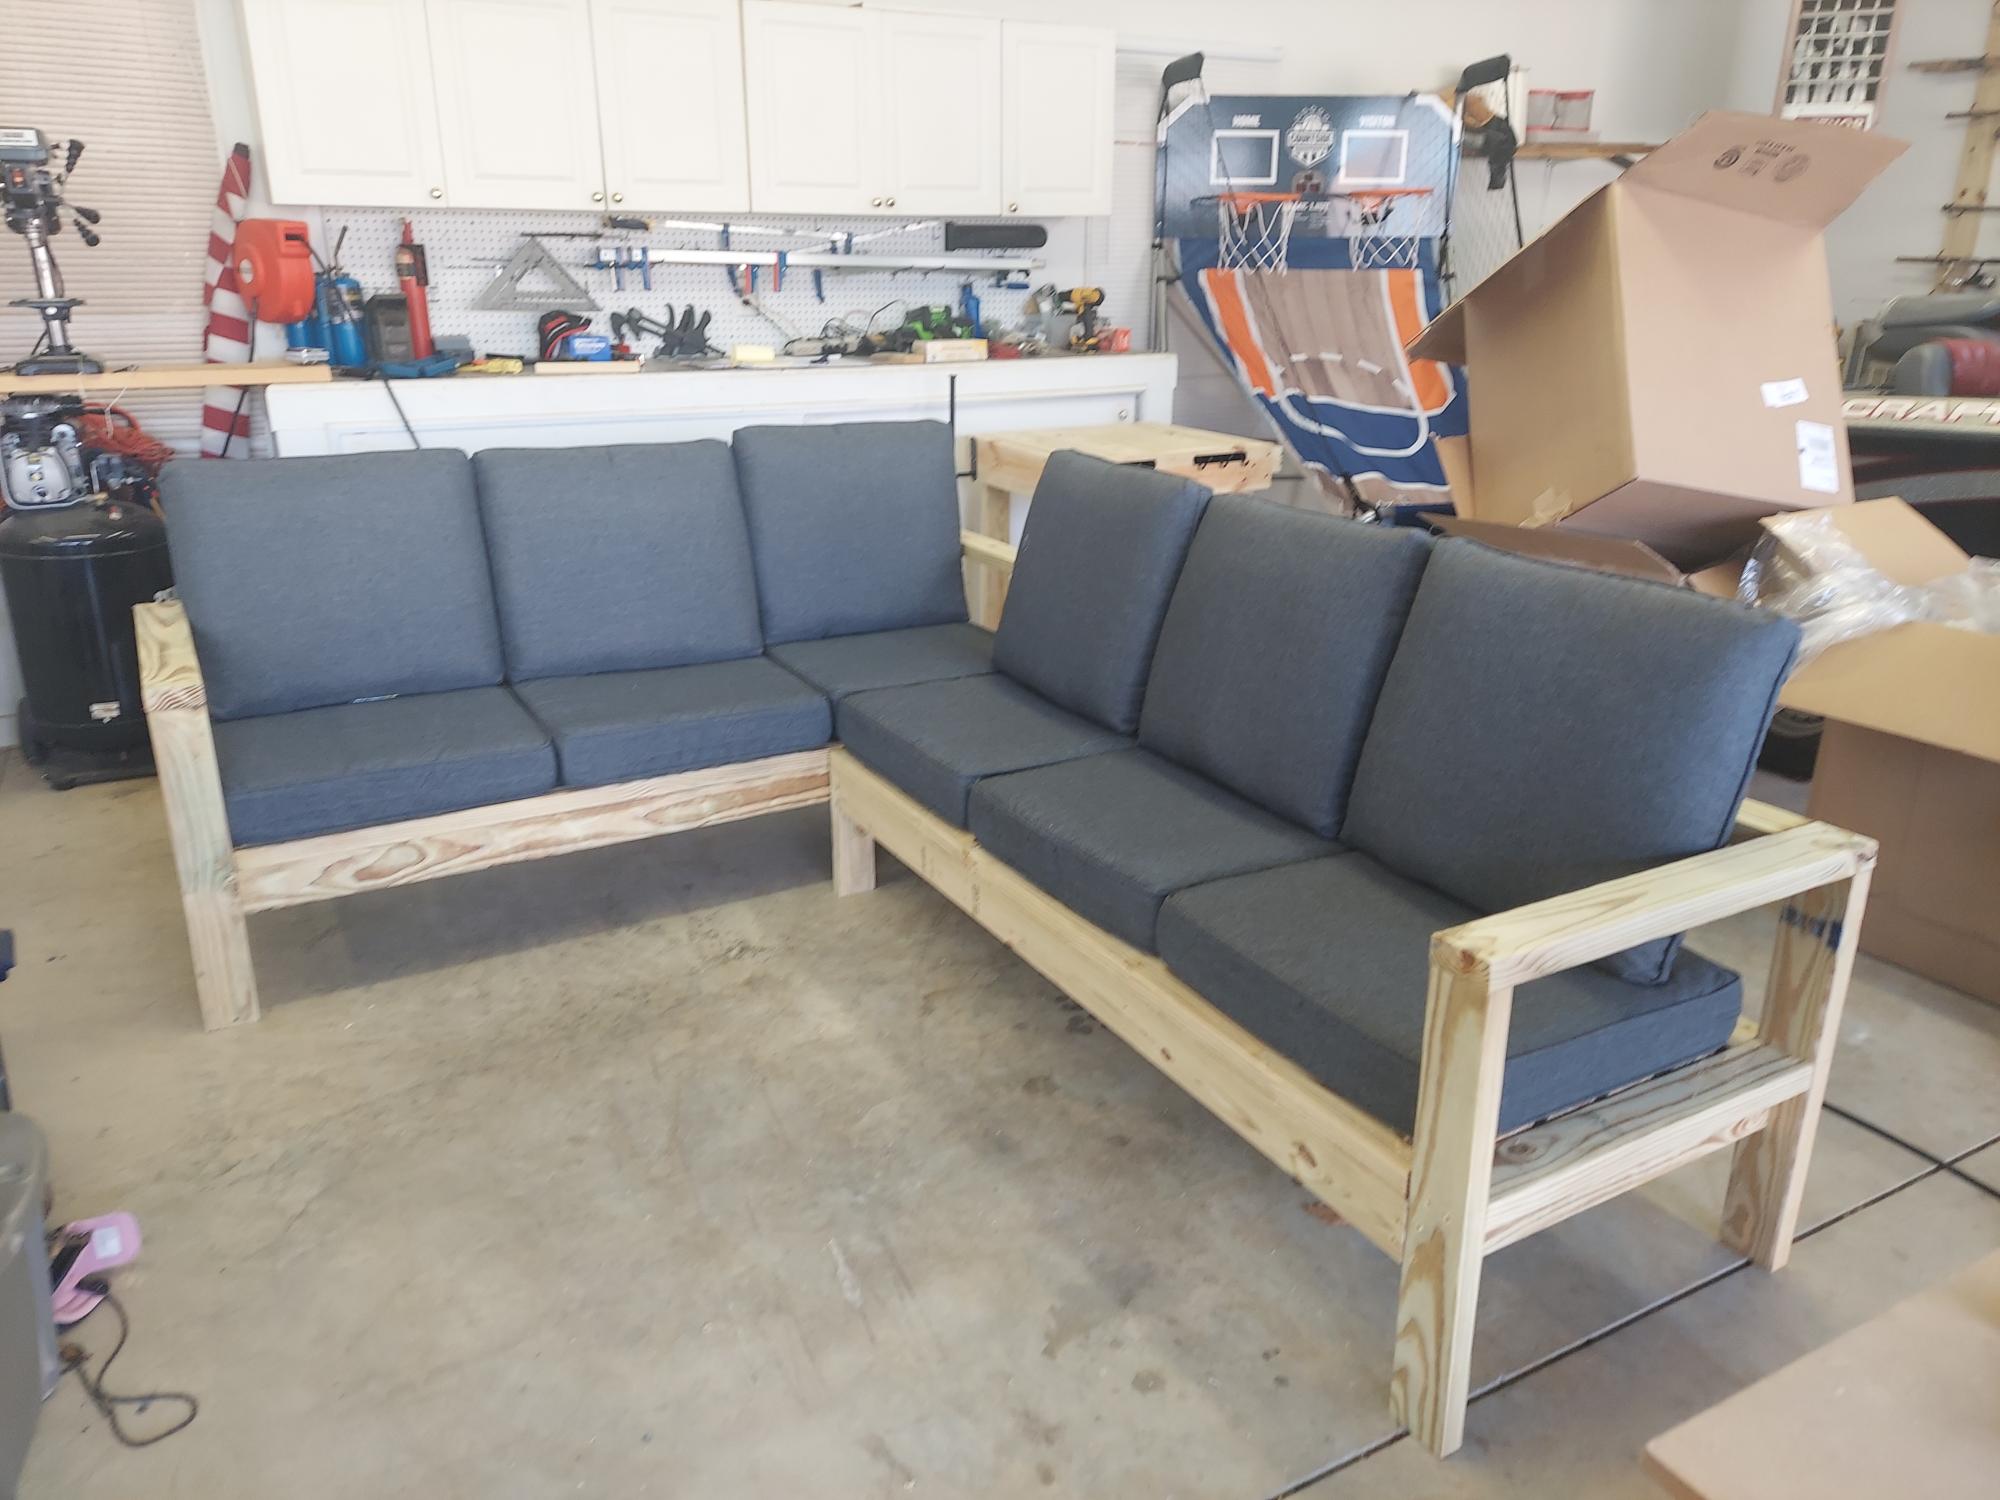
Built this for my daughter in law for Christmas. Turned out awesome. Plans and directions were great!
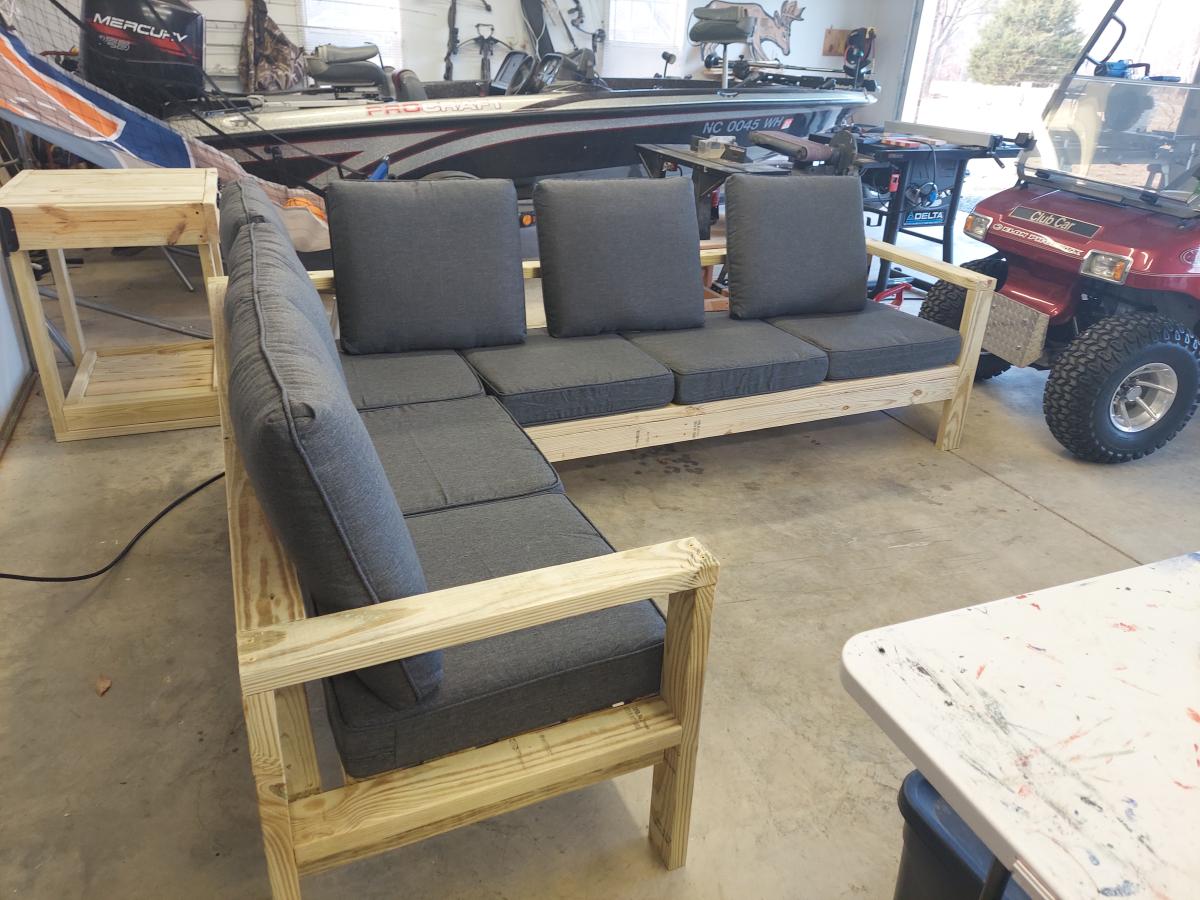
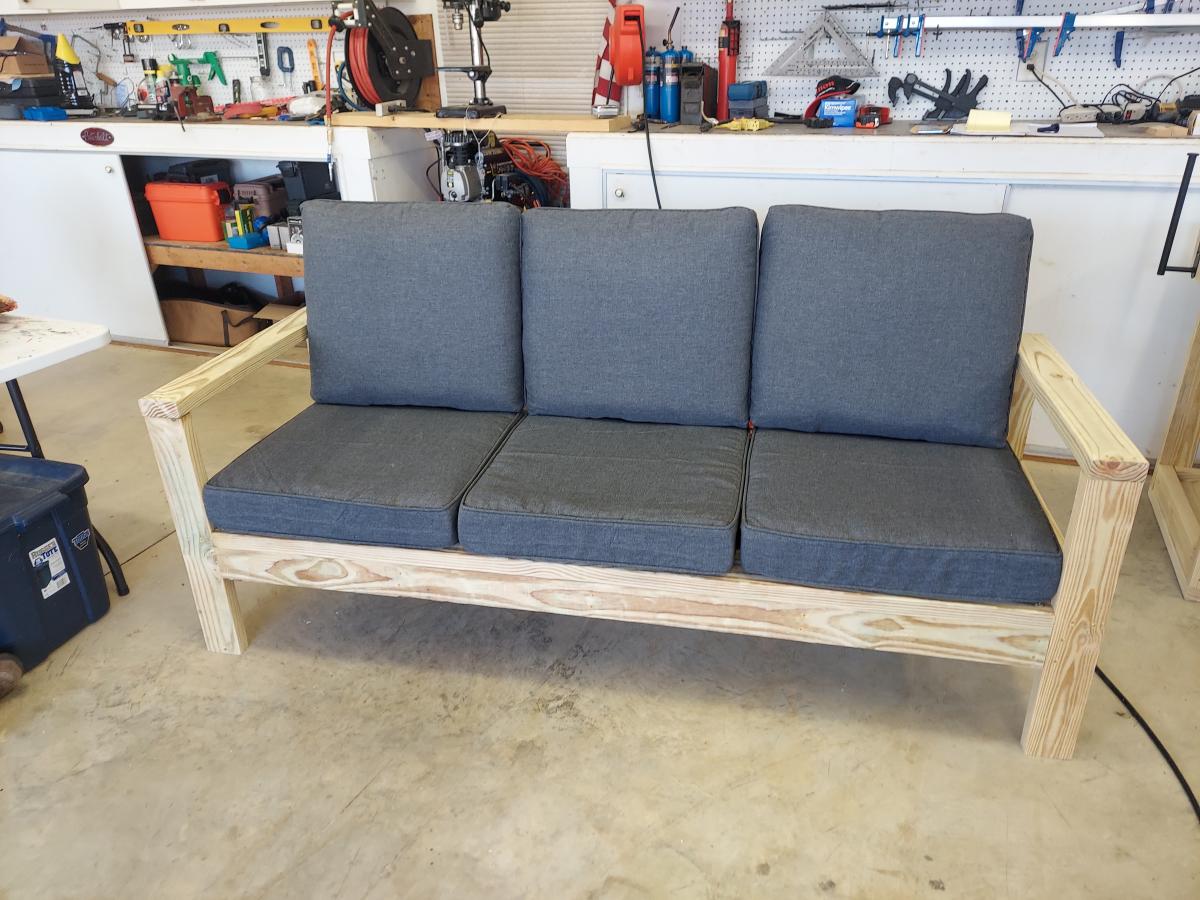
Built from Plan(s)
Built this for my daughter in law for Christmas. Turned out awesome. Plans and directions were great!
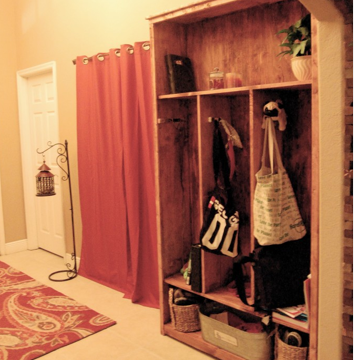
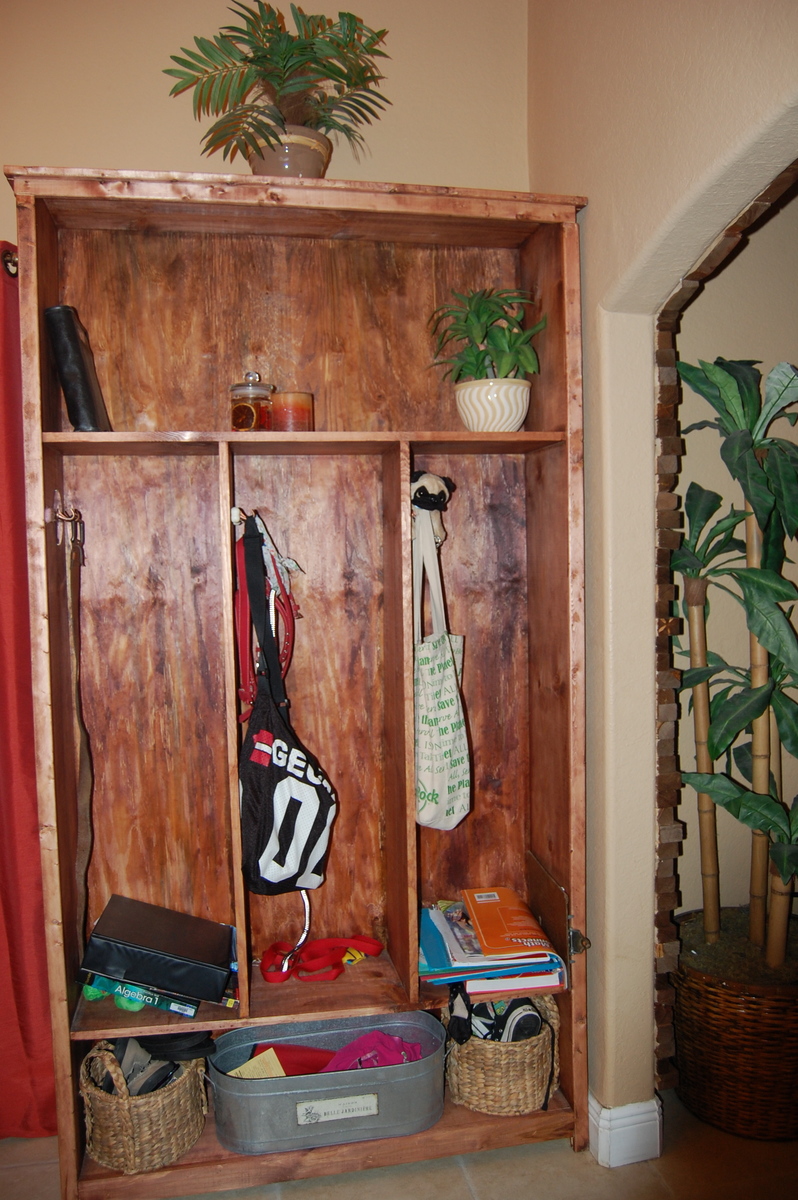
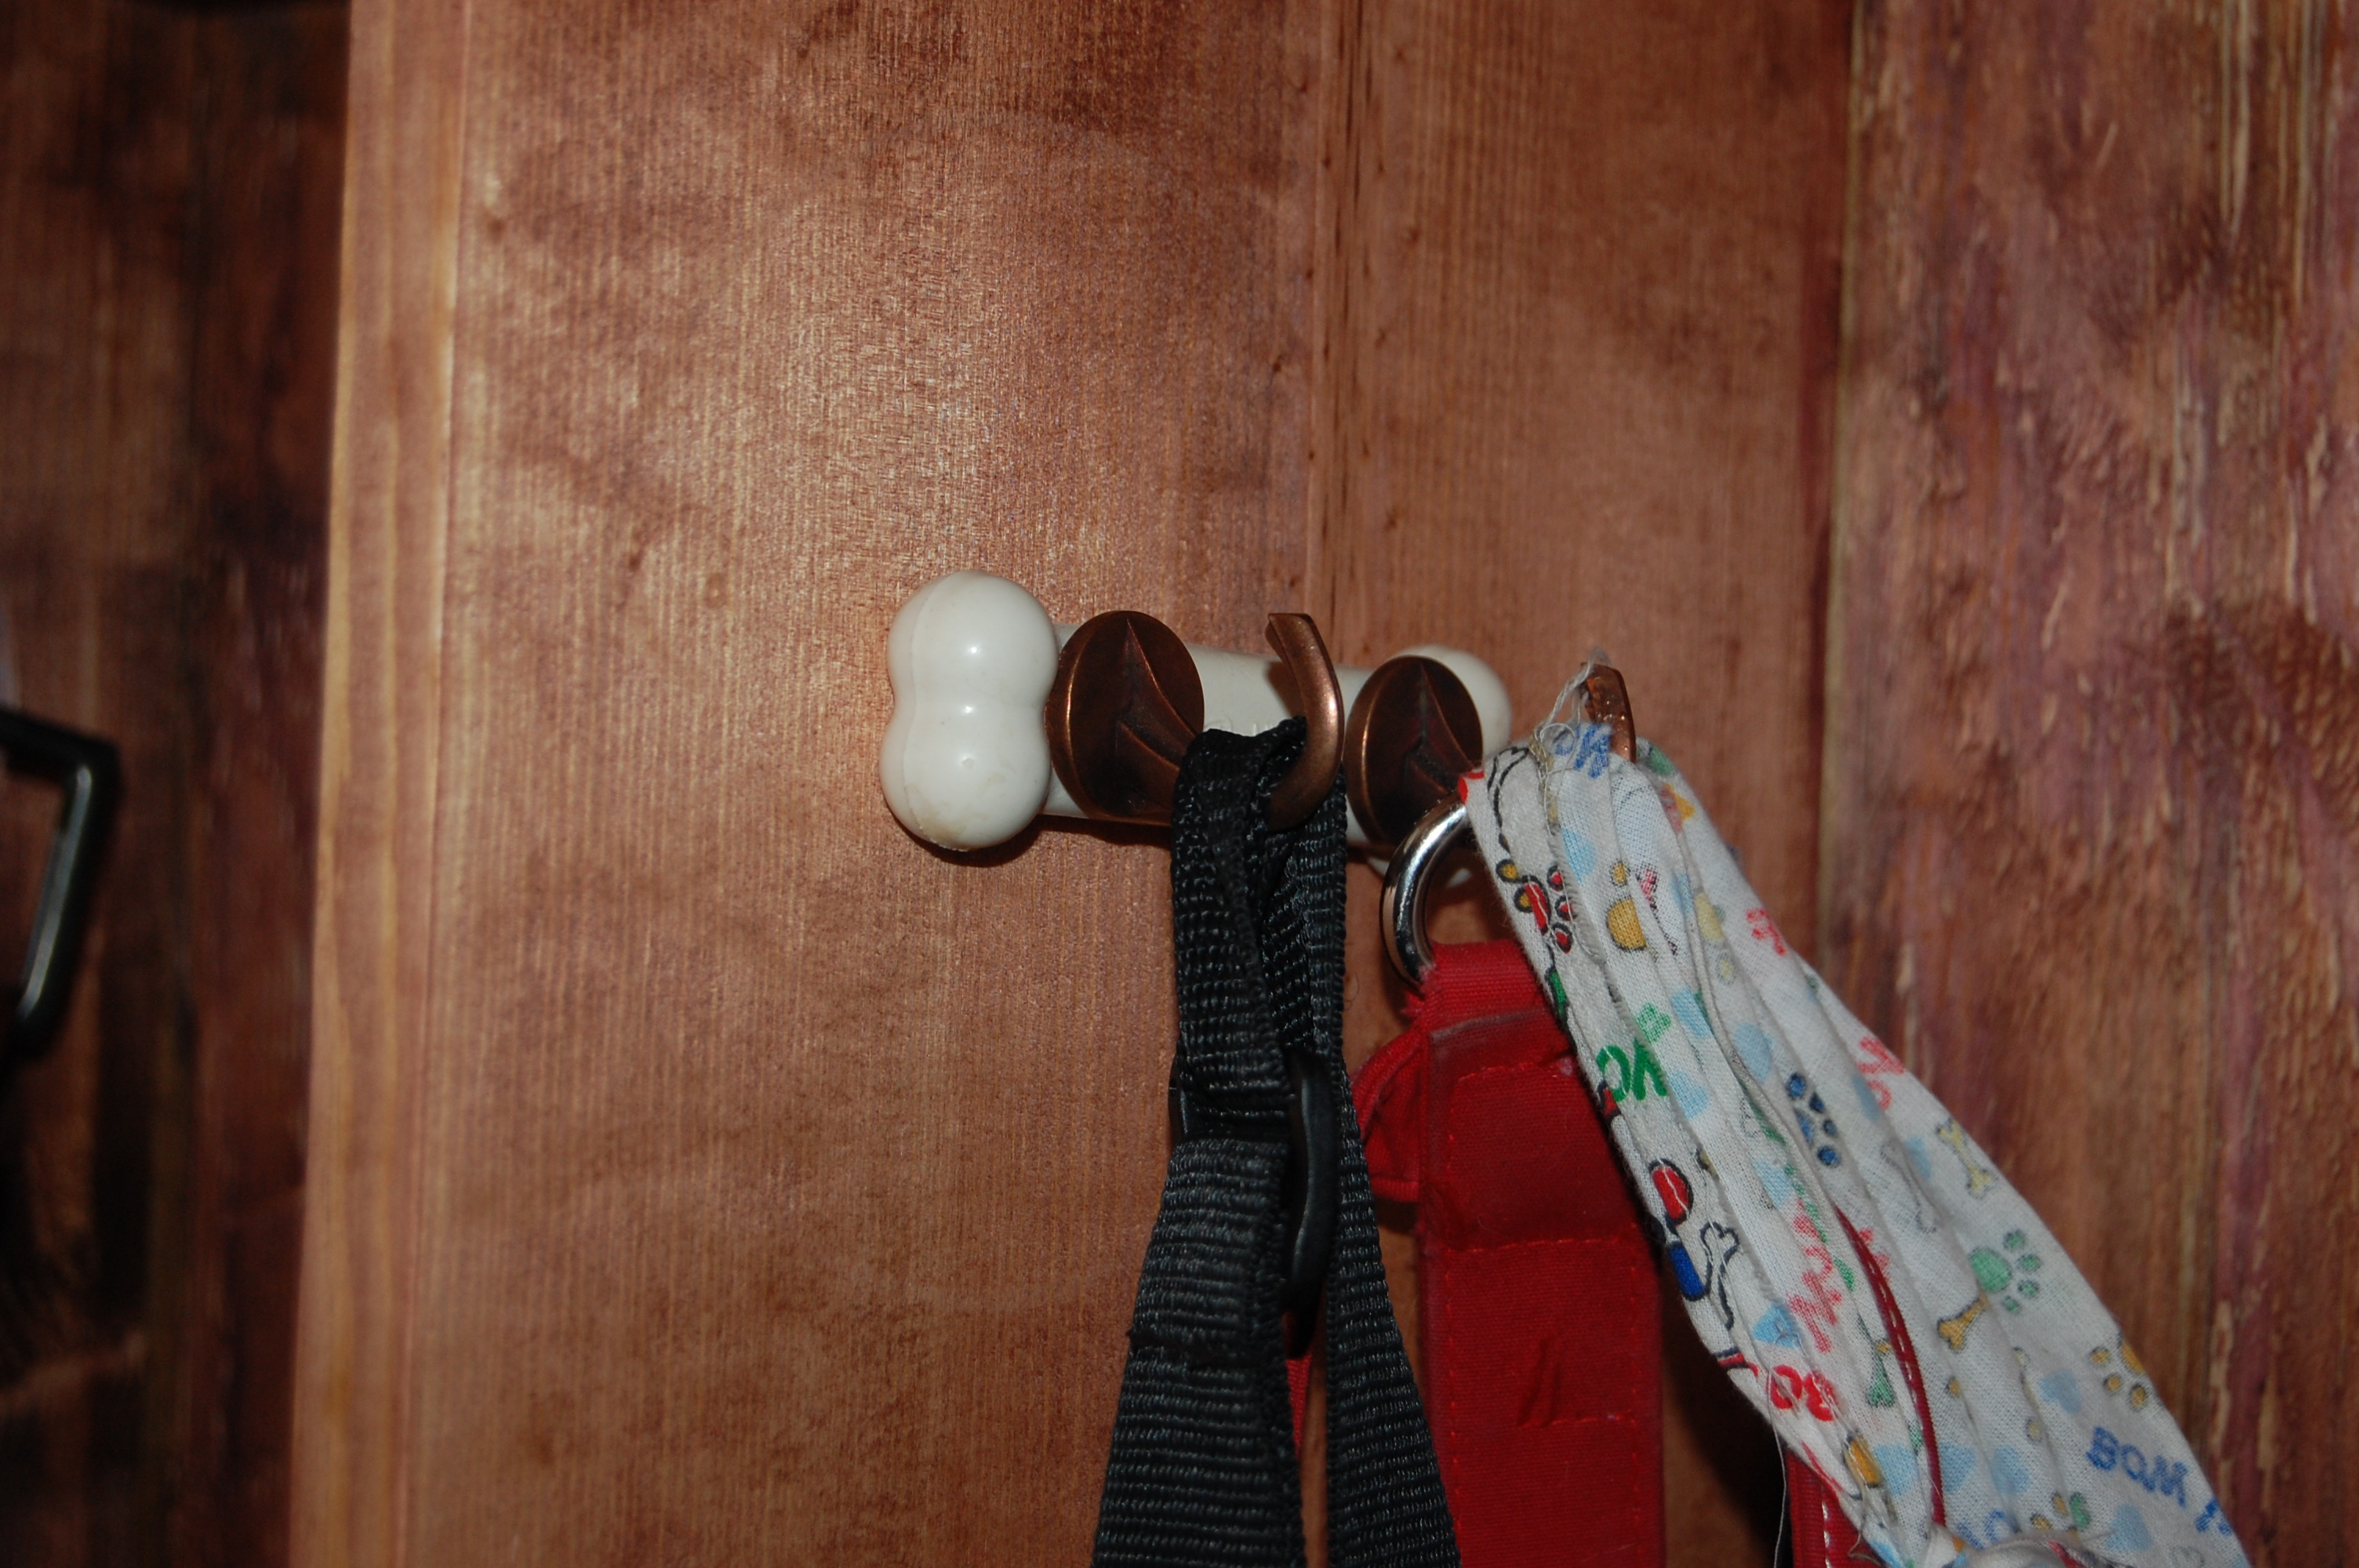
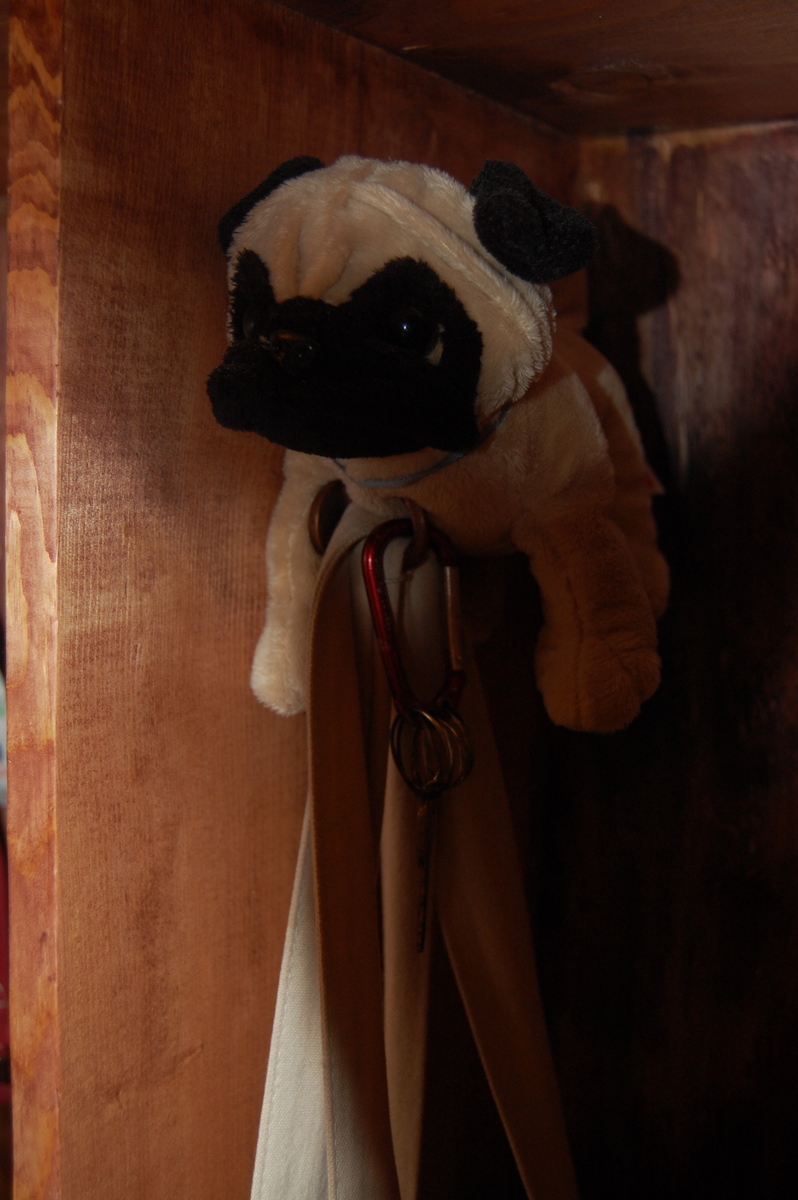
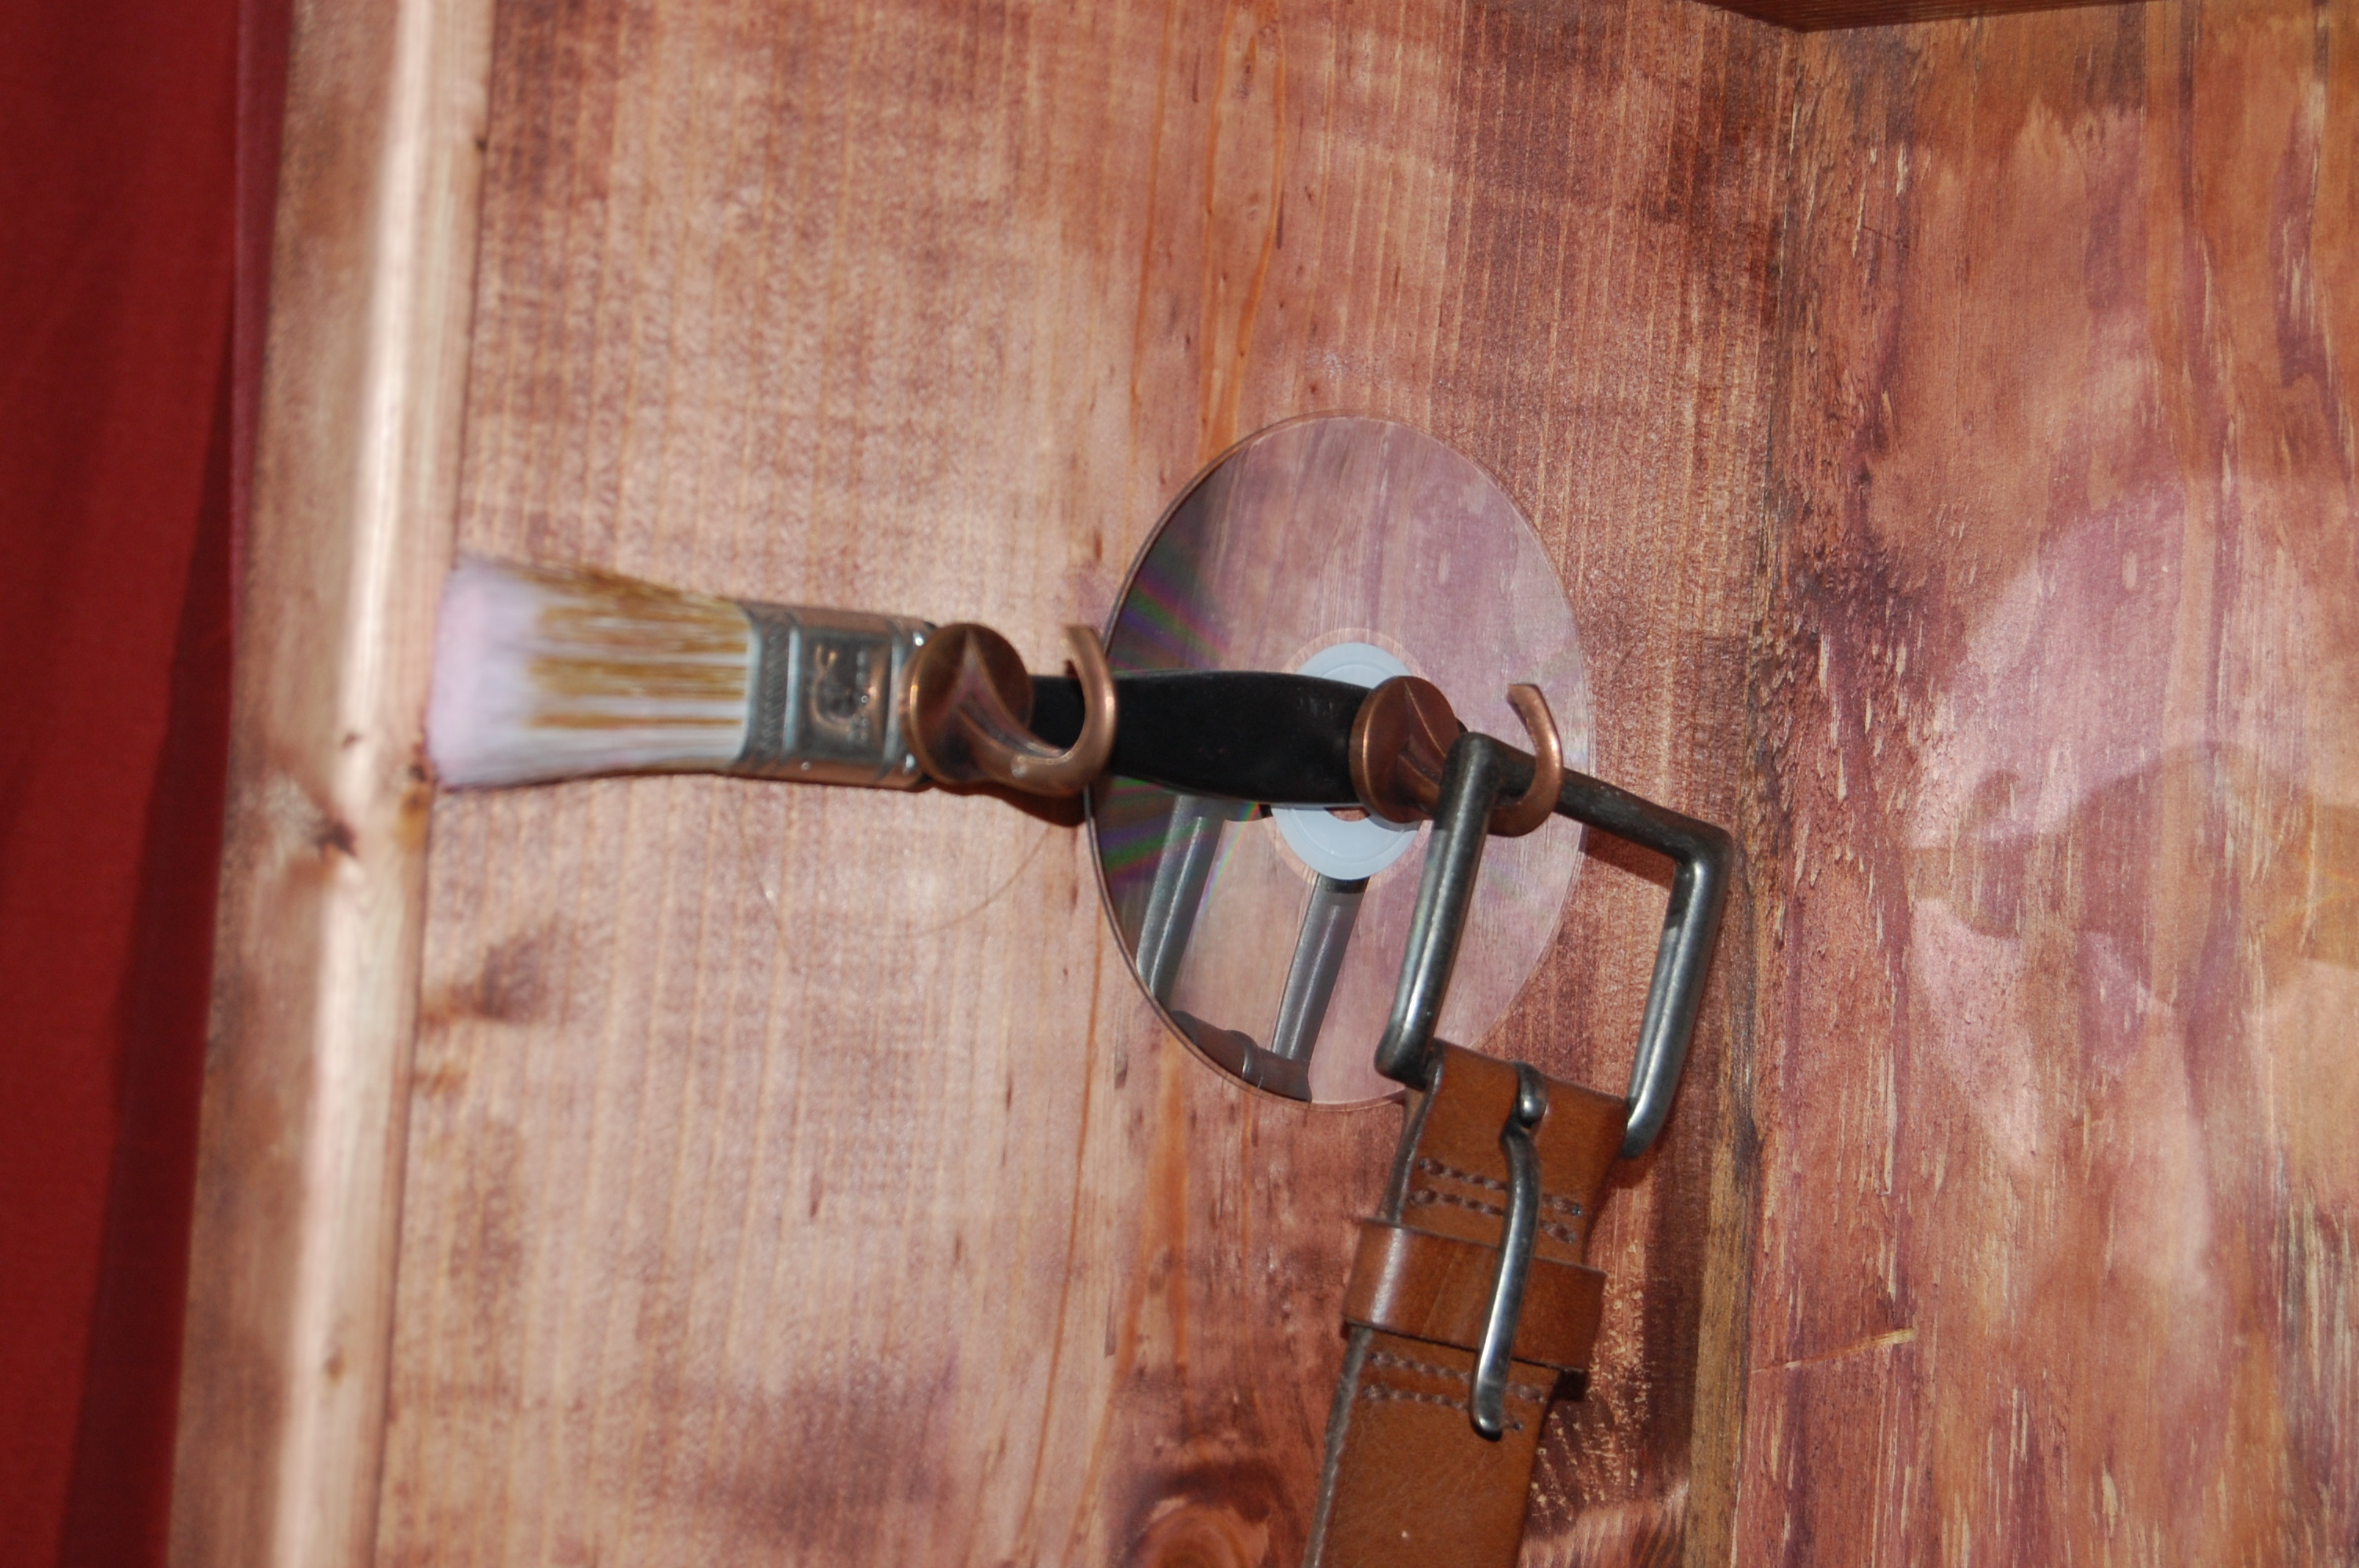
I built this locker system with a twist. I personalized the lockers by drilling the hooks into a cd and paint brush for my son because he is so artistic, a bone holds two hooks for my doggies' cubby, and my daughter has two hooks in a stuffed animal which represents her love for animals.
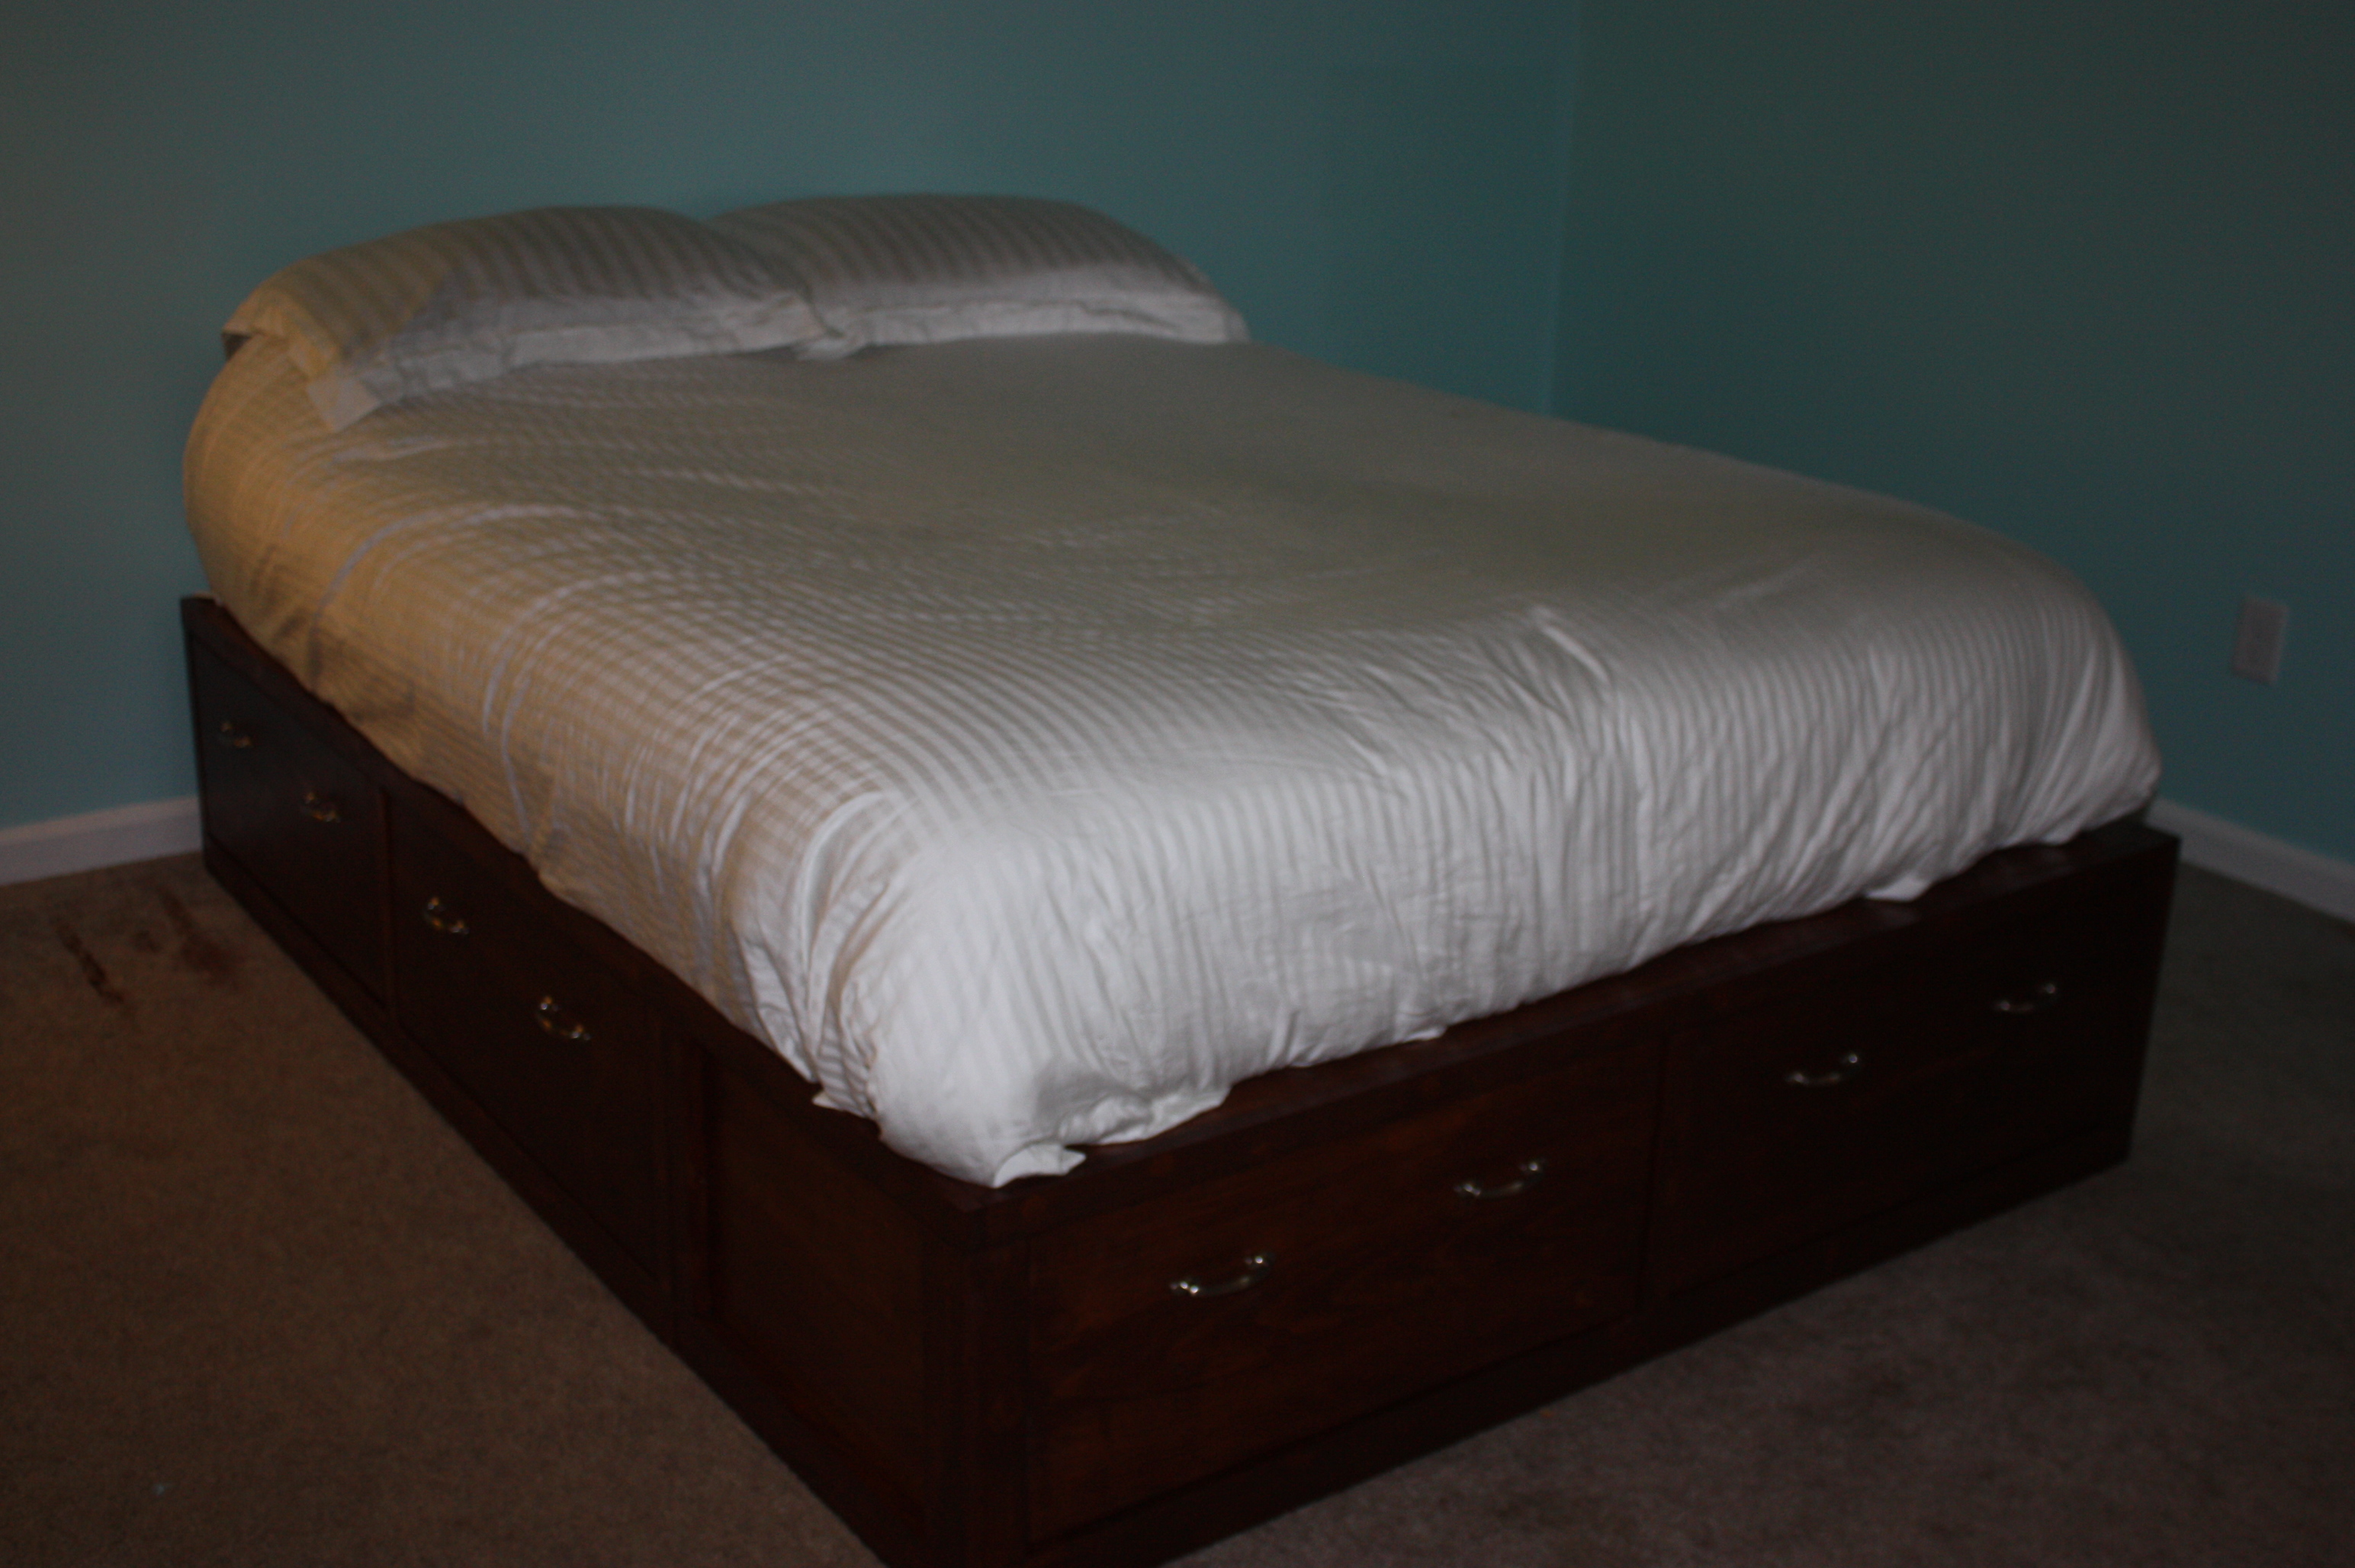
(I don't know why my picture is horizontal, it shows up fine on my computer).
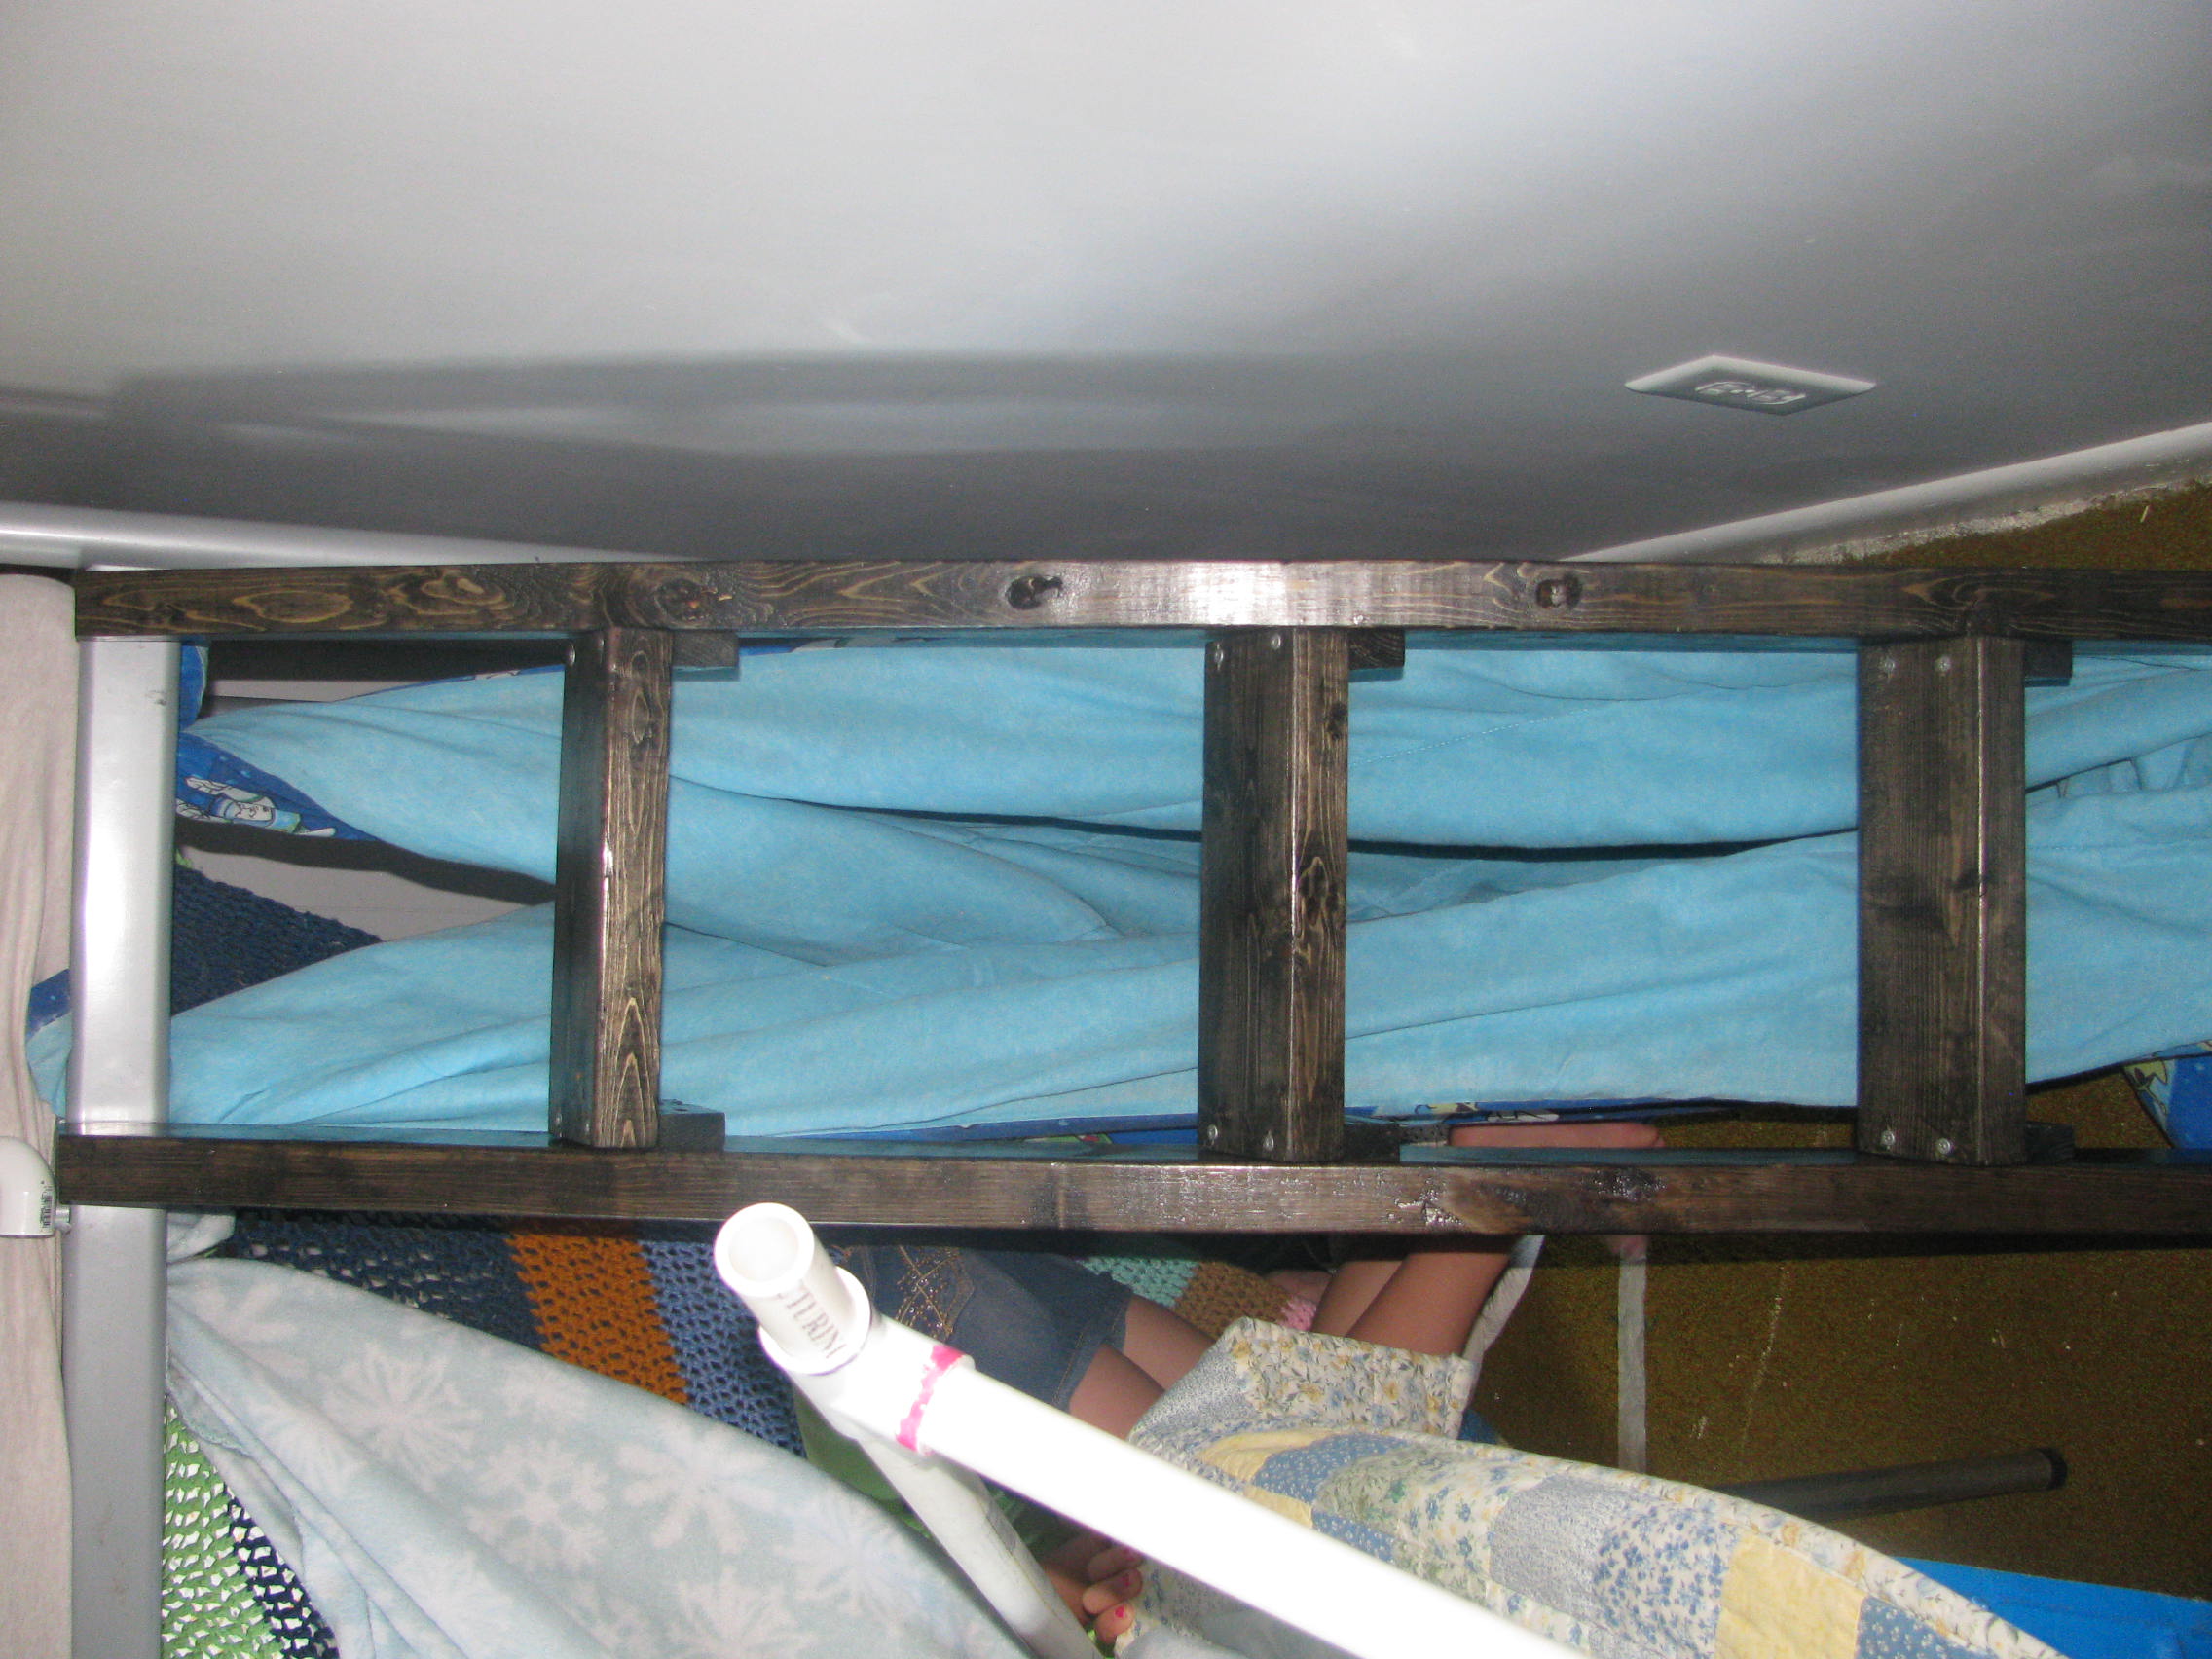
In redecorating my oldest son's room, we needed him to have a loft bed, but all the commercial loft beds are too tall for his bedroom. So then, we thought we would re-work his current bunkbed. In order to use it as a loft bed we had to remove the bottom support rails and that meant we needed a new solution for a ladder (because it was part of the support system). After looking through the site, I decided that this ladder was the best for our needs. The ladder went together smoothly. We had to modify the directions just a bit to make it the right size. We put a set of U-brackets on the end of the ladder to put over the bunk bed. We also drilled through the bed frame and into the ladder for additional support.
Wed, 10/30/2013 - 12:14
Hi there! I'd like to rework my daughter's bunk bed like you did, but struggling to figure out how to raise it. I also need to build a new ladder. Can you offer any guidance on this? Thanks!

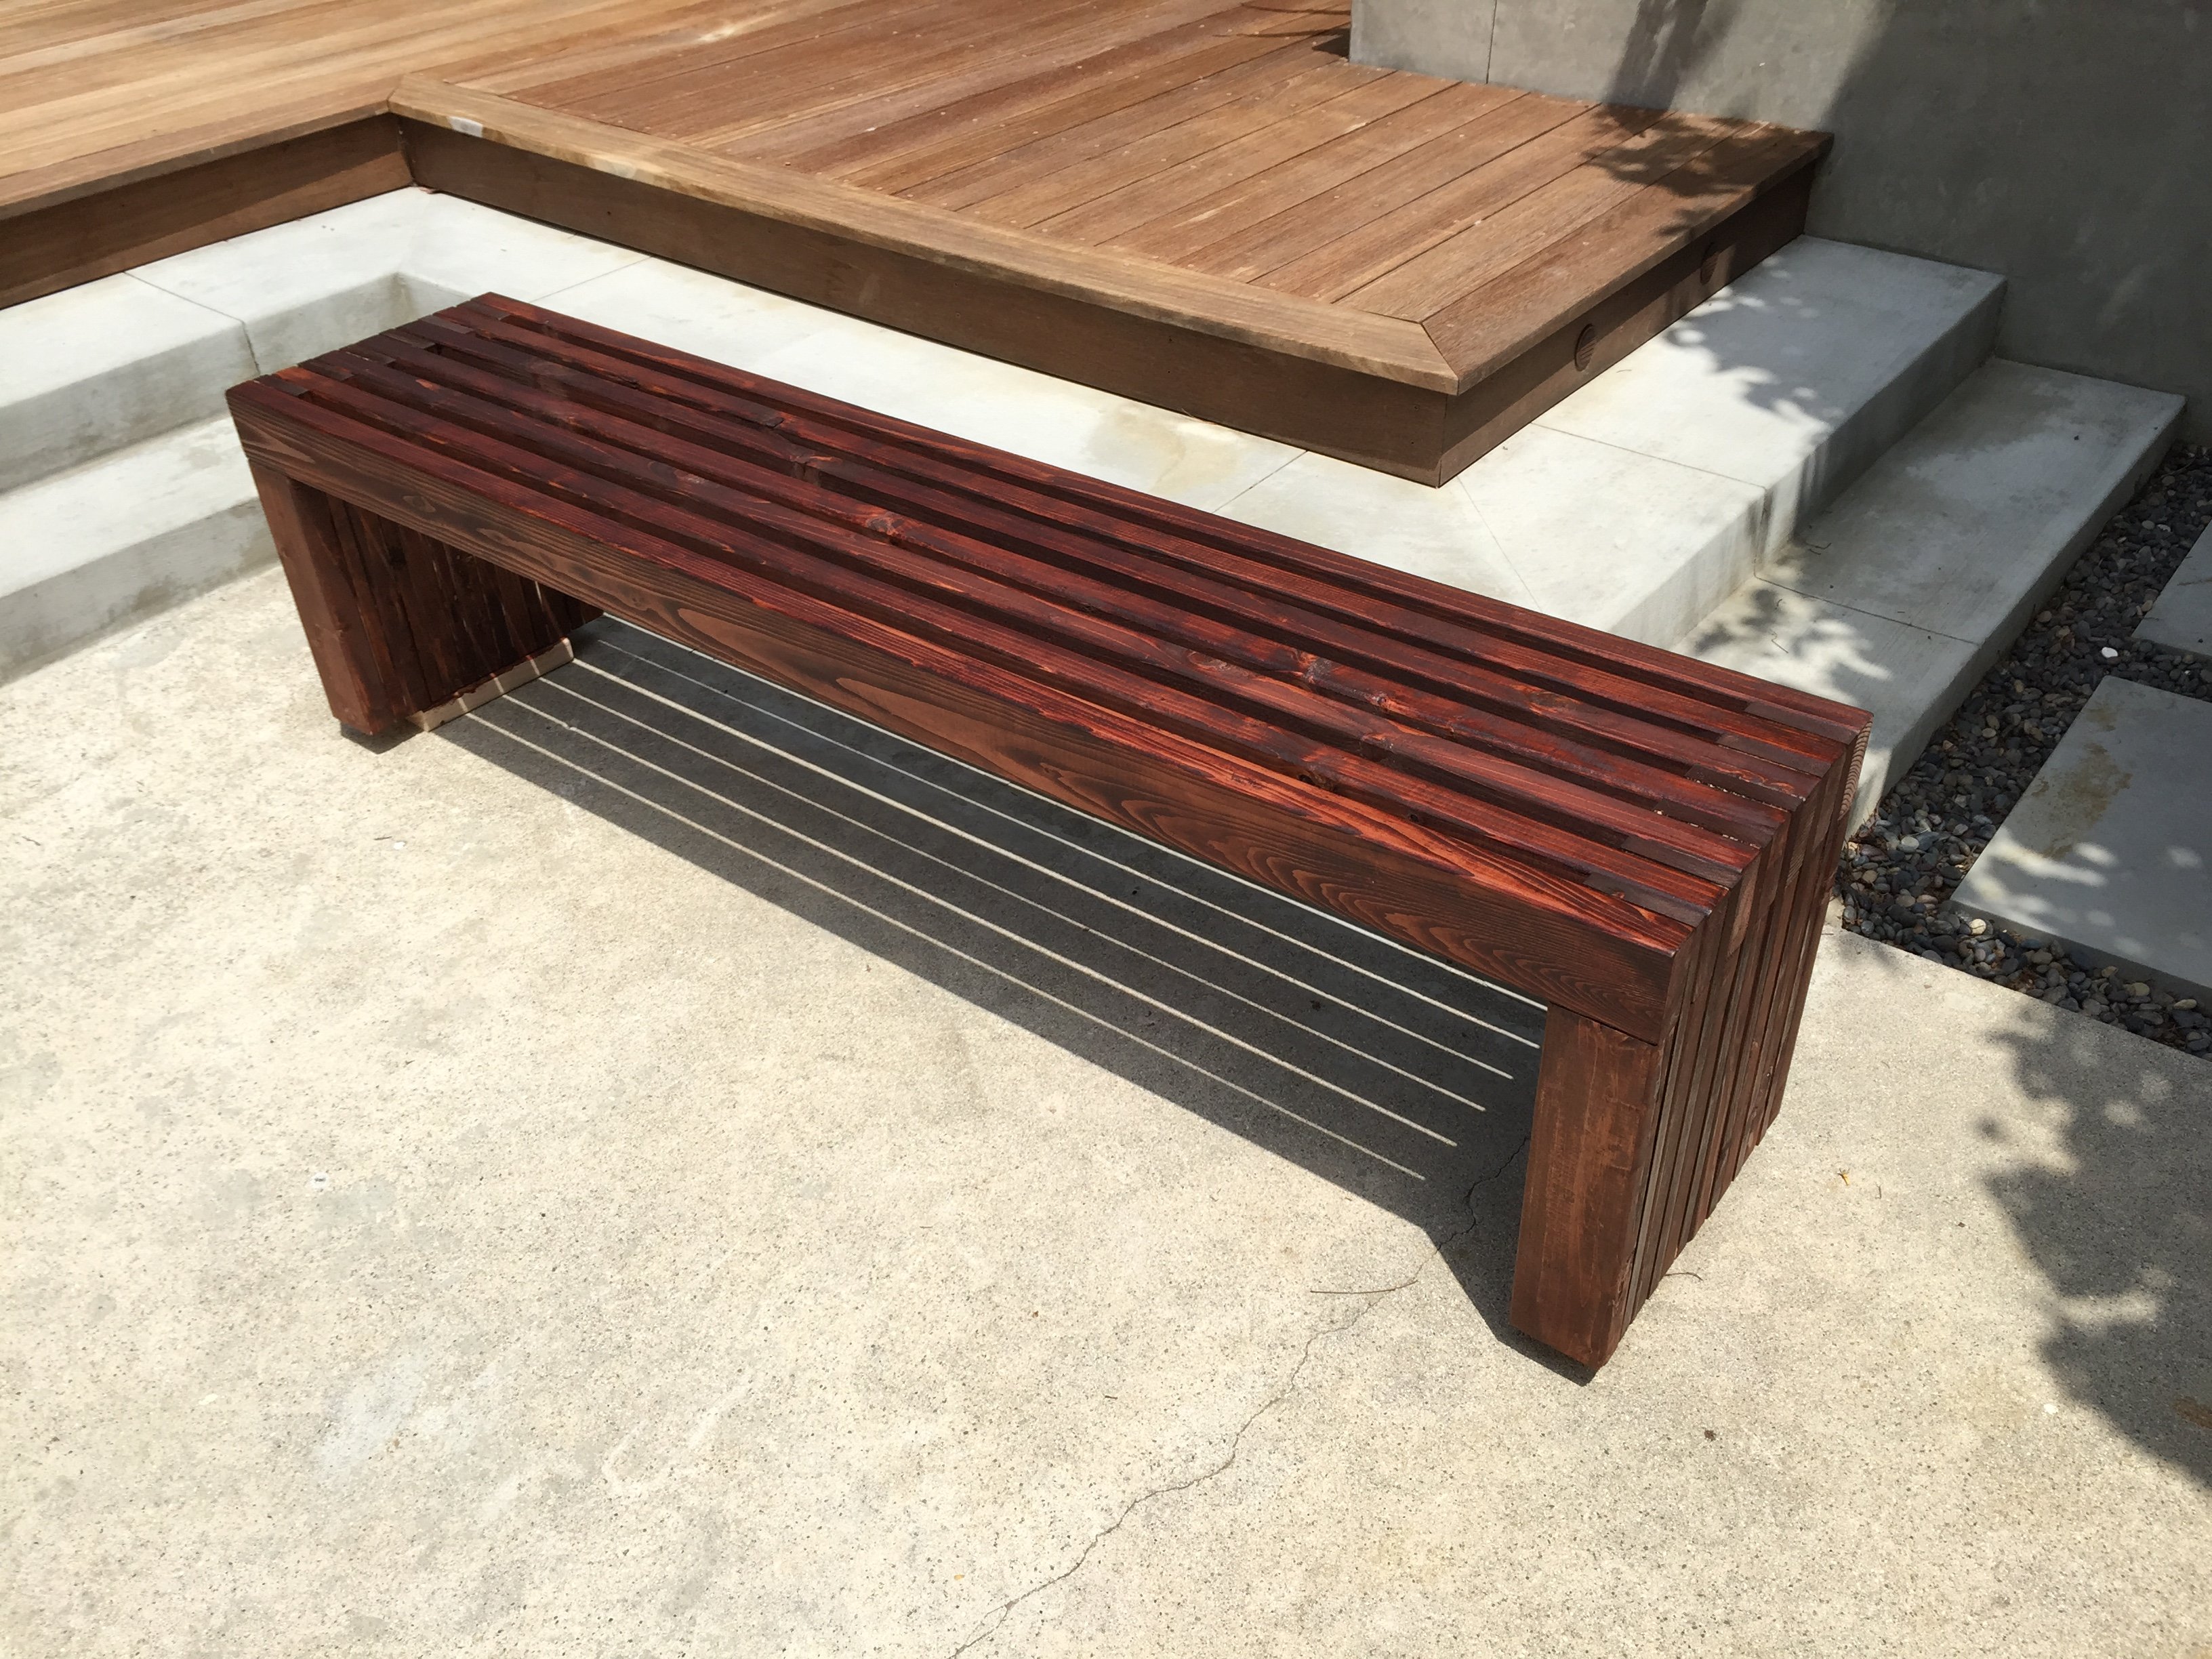
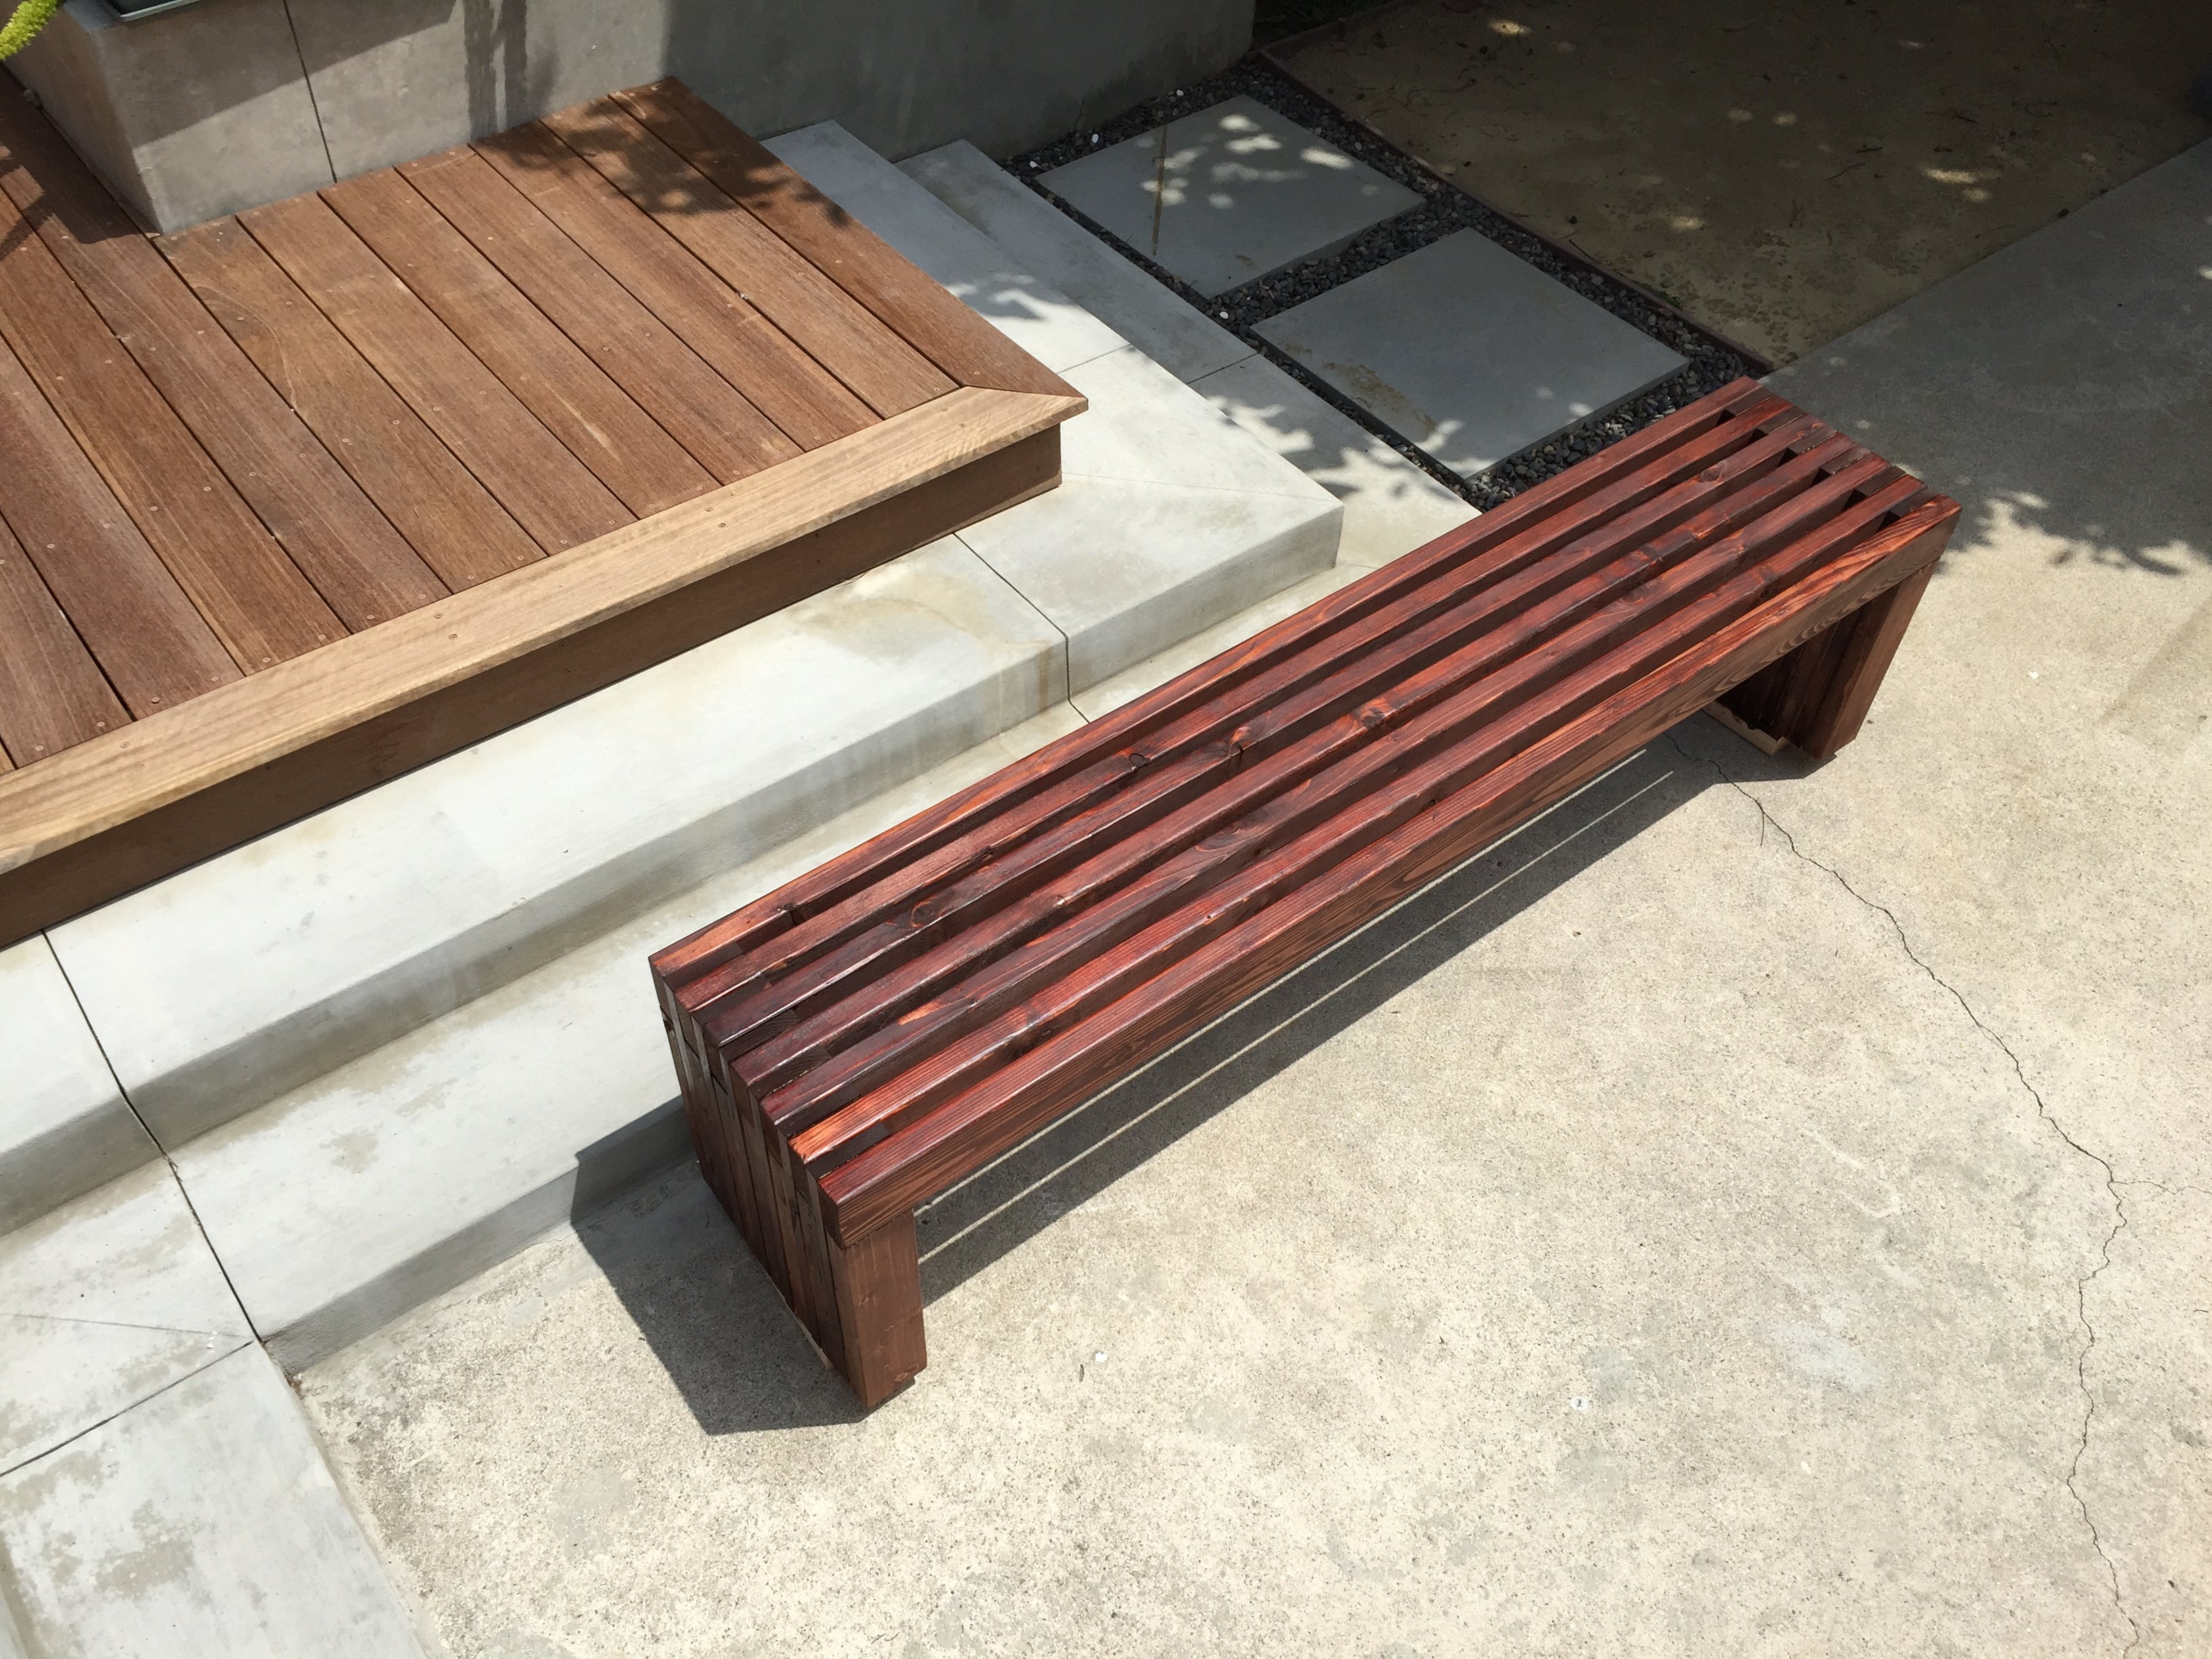
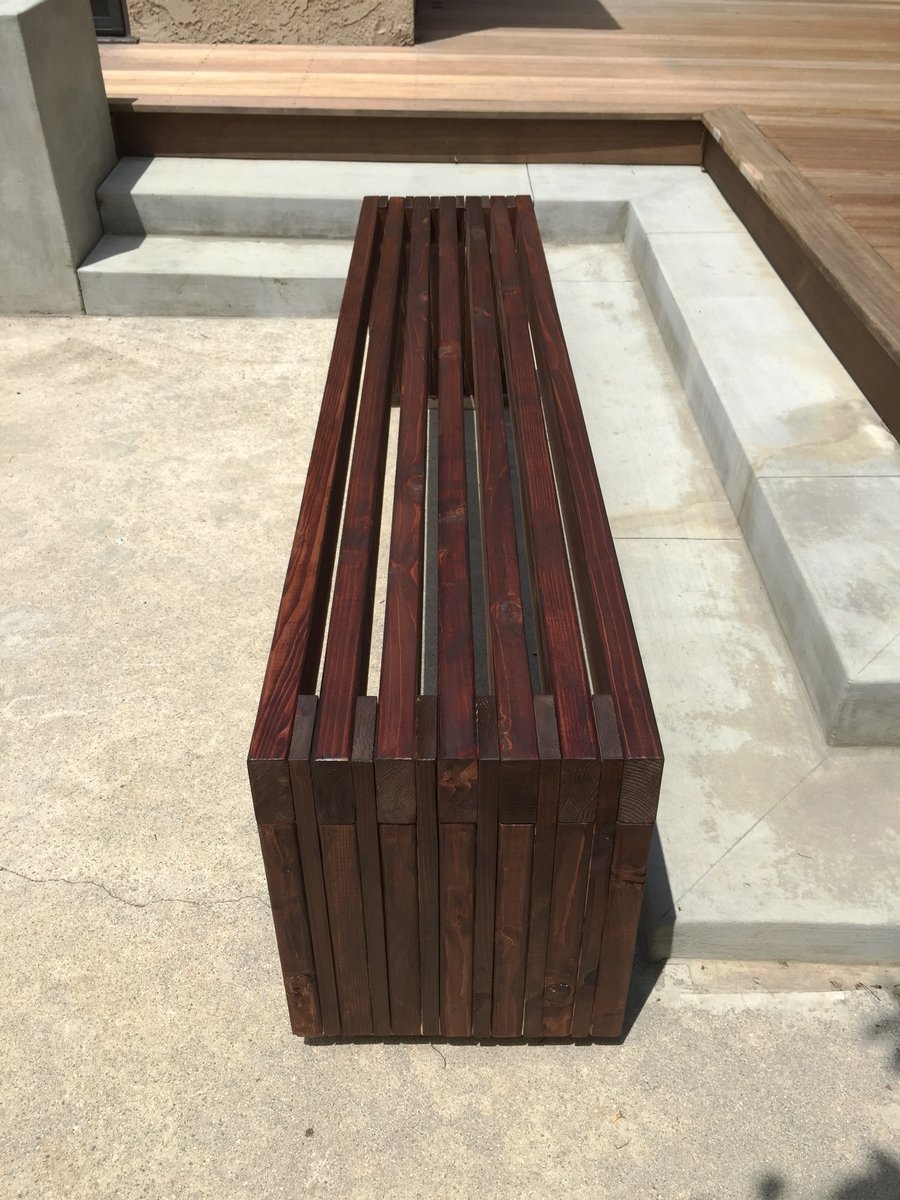
This took about 6 hours from beginning to end, but next bench should take about 4-5 hours. Most of the time was spent on sanding the wood and waiting for the stain to dry.
Main lesson learned: Drill pilot holes throughout. I used no-drill construction screws, but it didn't pull the wood tight enough against each other. Also, stain all the wood pieces before assembling (as opposed to just the top slats as suggested in the plan). Remember that the leg pieces will not need stain on the flat surfaces, just the sides that will be exposed. Use a square tool to stay as close to 90 degrees as possible.
This project was really pretty easy. The hardest part was holding the pieces just right so they ended up where we wanted once the kreg jig hole screws went in. Also, we had to be sure not to overtighten the screws and cause splitting.
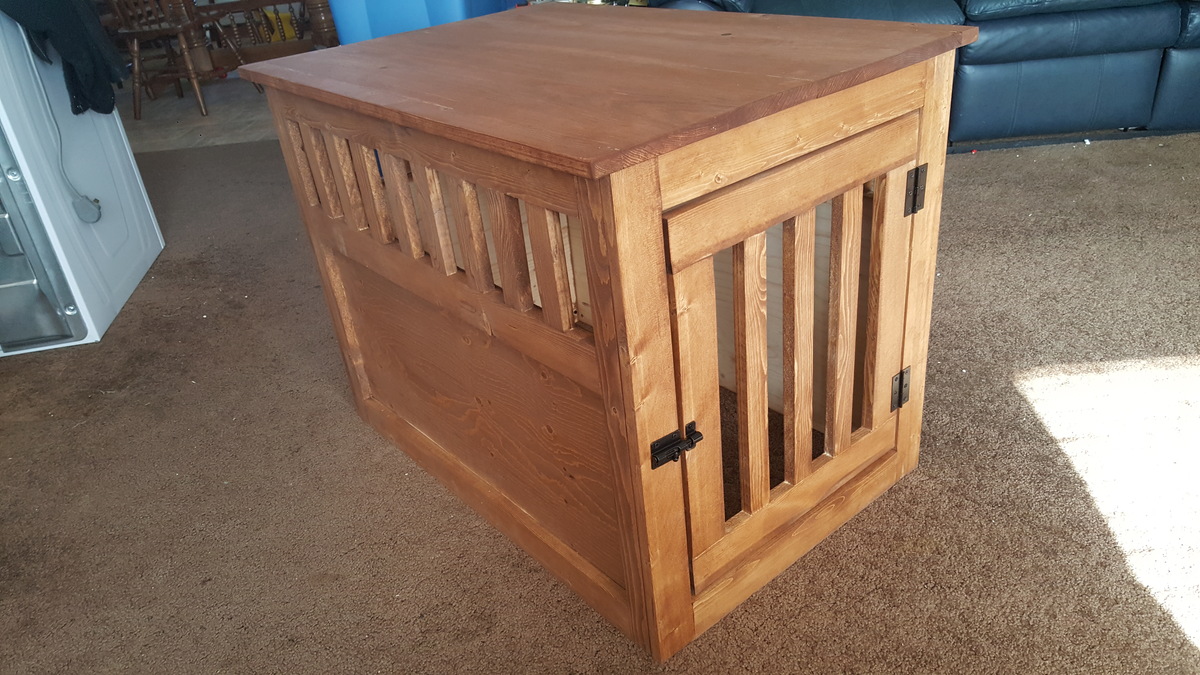
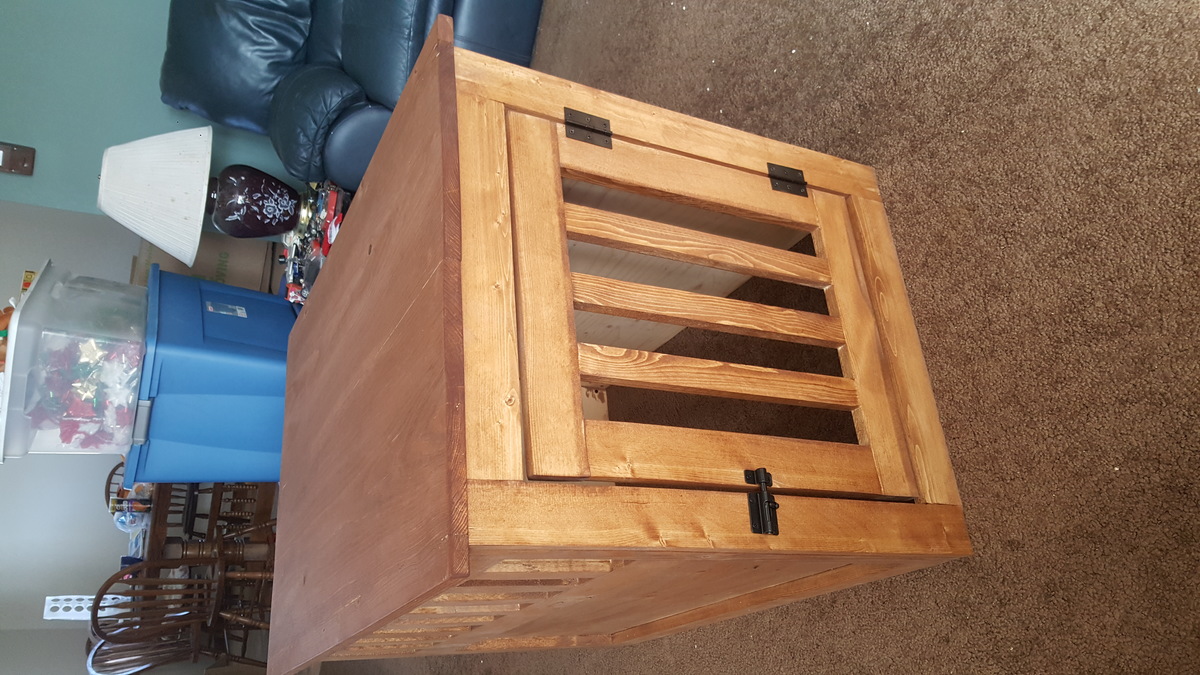
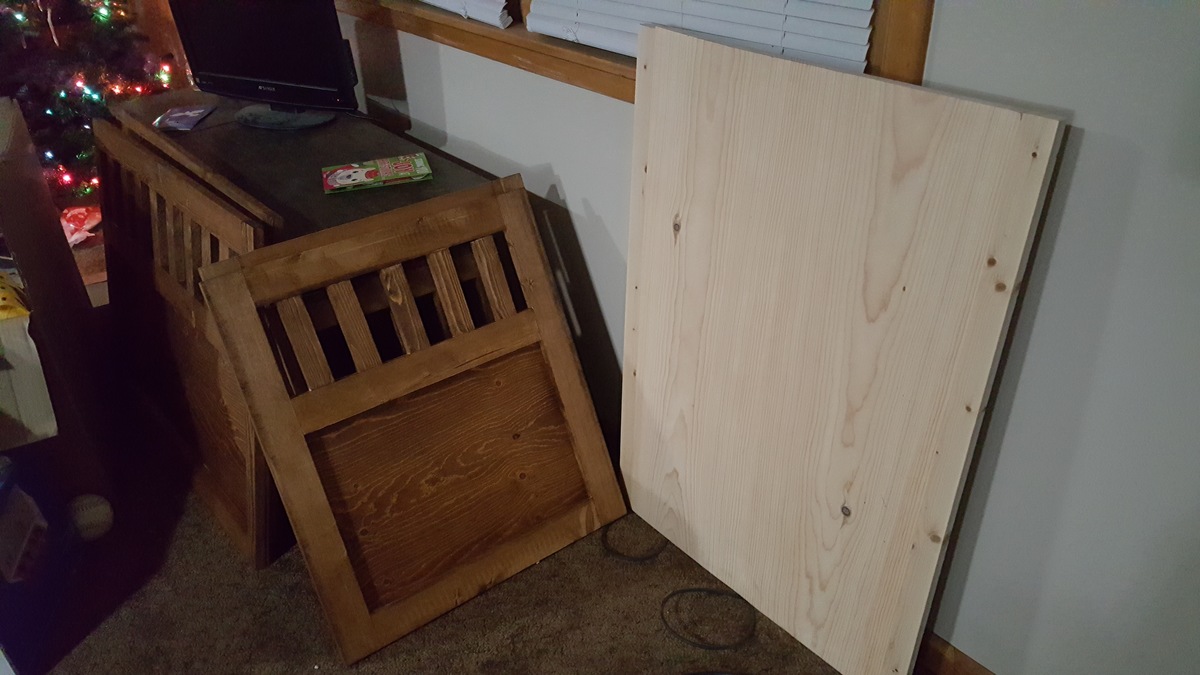
We did have to make two adjustments to the plans. I think the first was a typo...where it says 2 - 1x2 @ 15 3/4" (door sides) they should actually be 1x3 based on the images.
The second adjustment was the plywood for the back 17 3/4" x 21" ended up too wide for the end to fit on, so we made it 17 3/4" x 20"
Sun, 12/24/2017 - 17:17
This was my first wood working Project! I learned alot about what to do and not to do for future projects. We are excited about how it turned out!
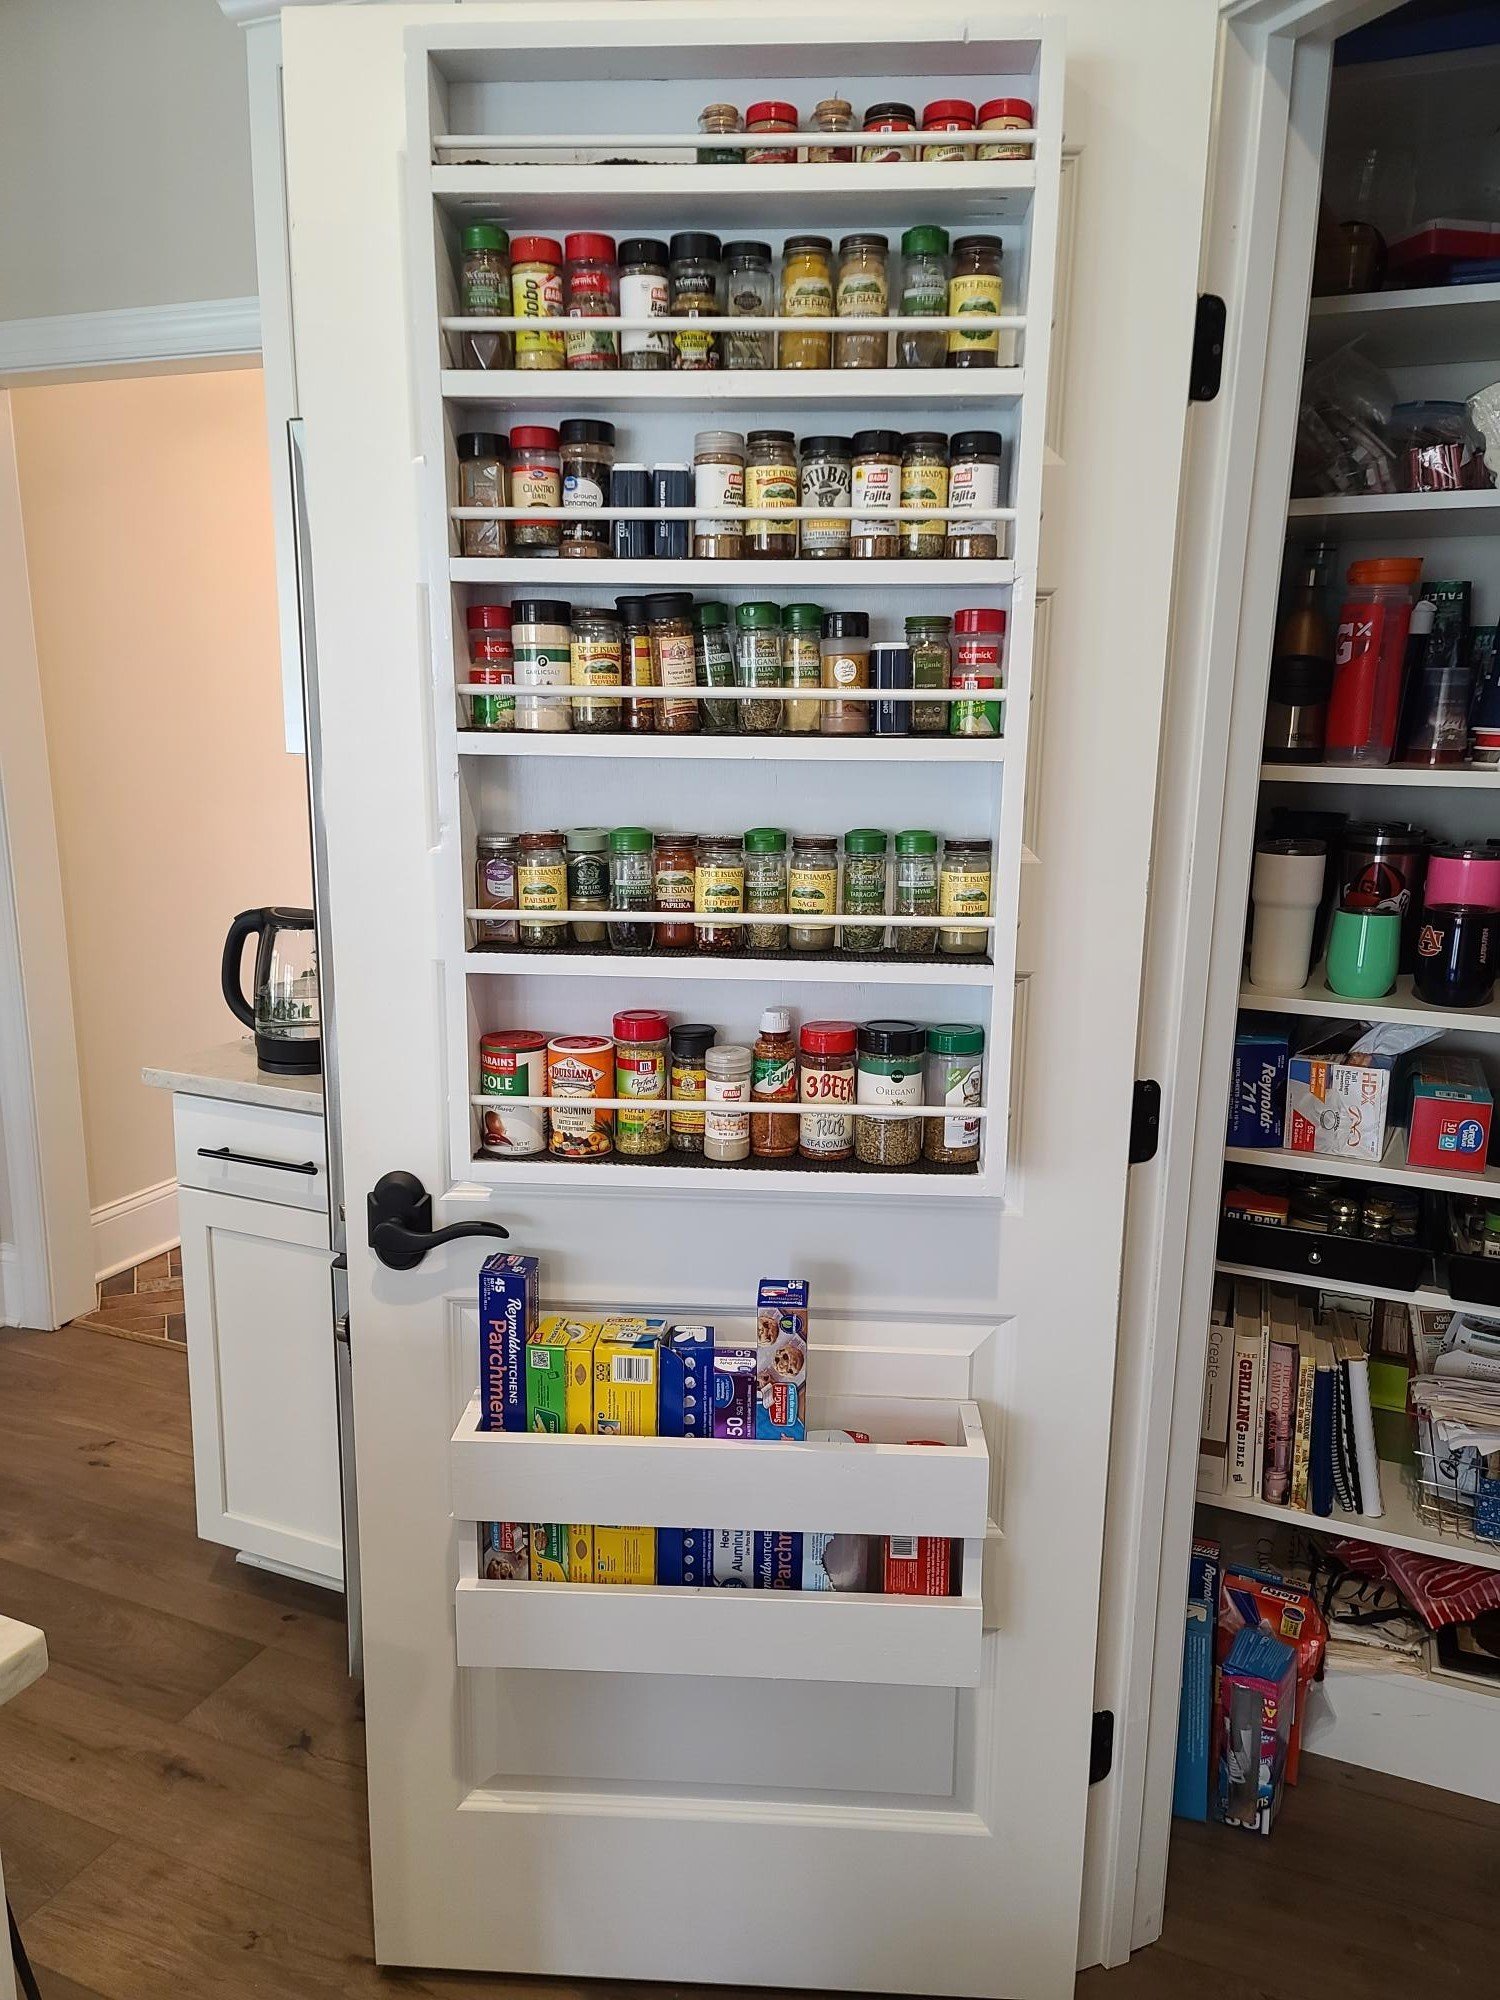
Love to cook, didn't have enough space in the pantry for all my spices. Used the spice cabinet plan and it was perfect.
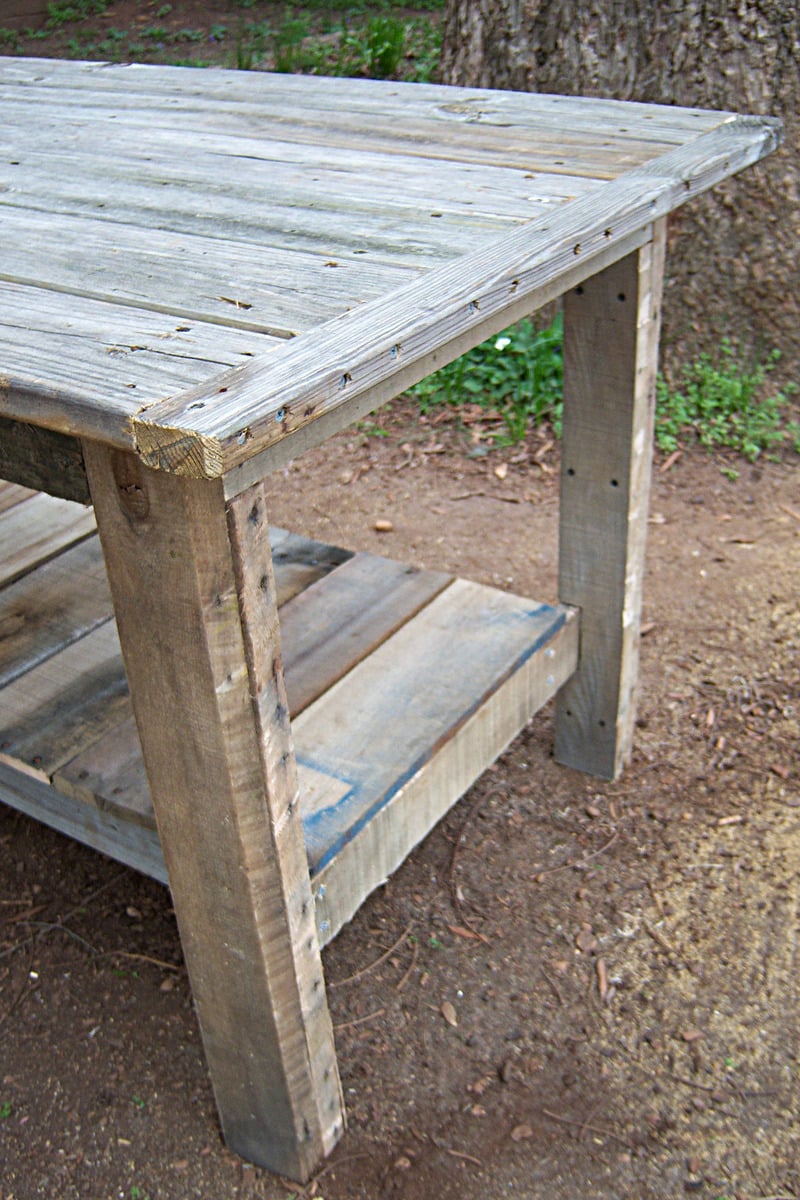
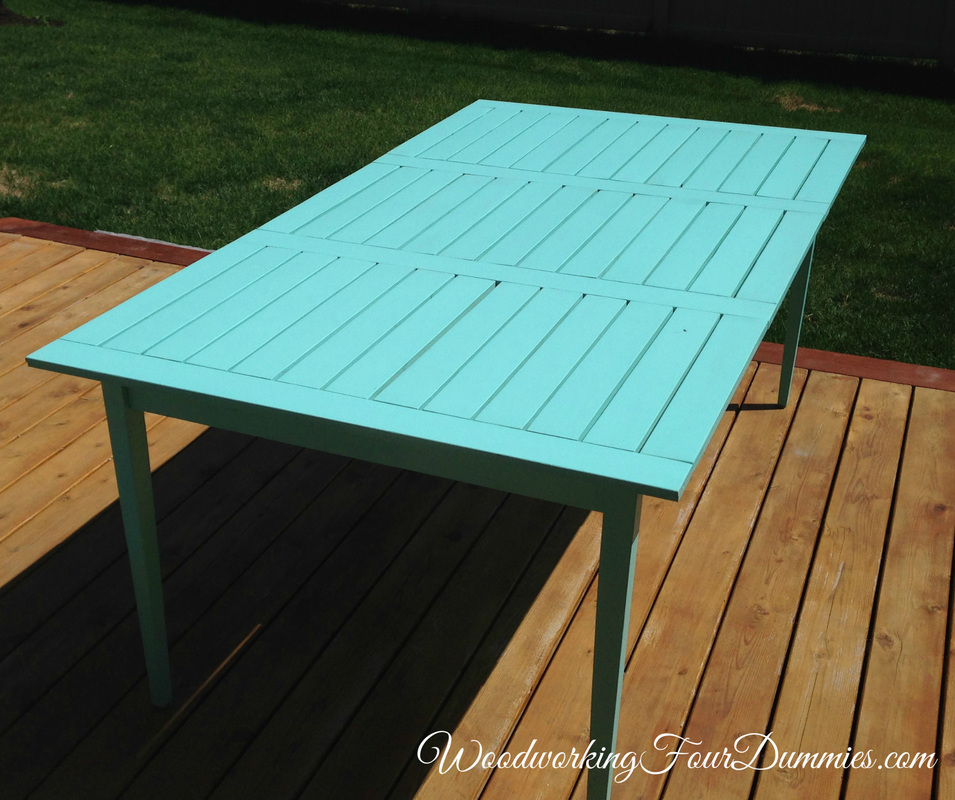
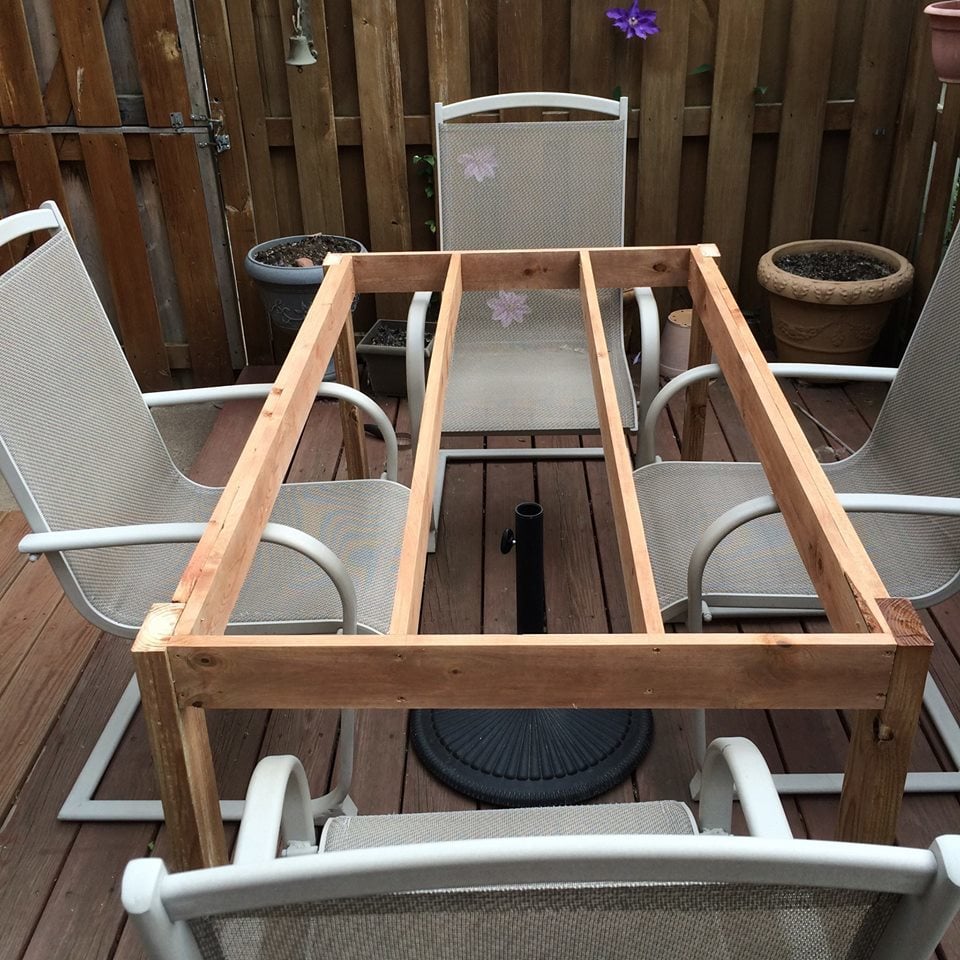
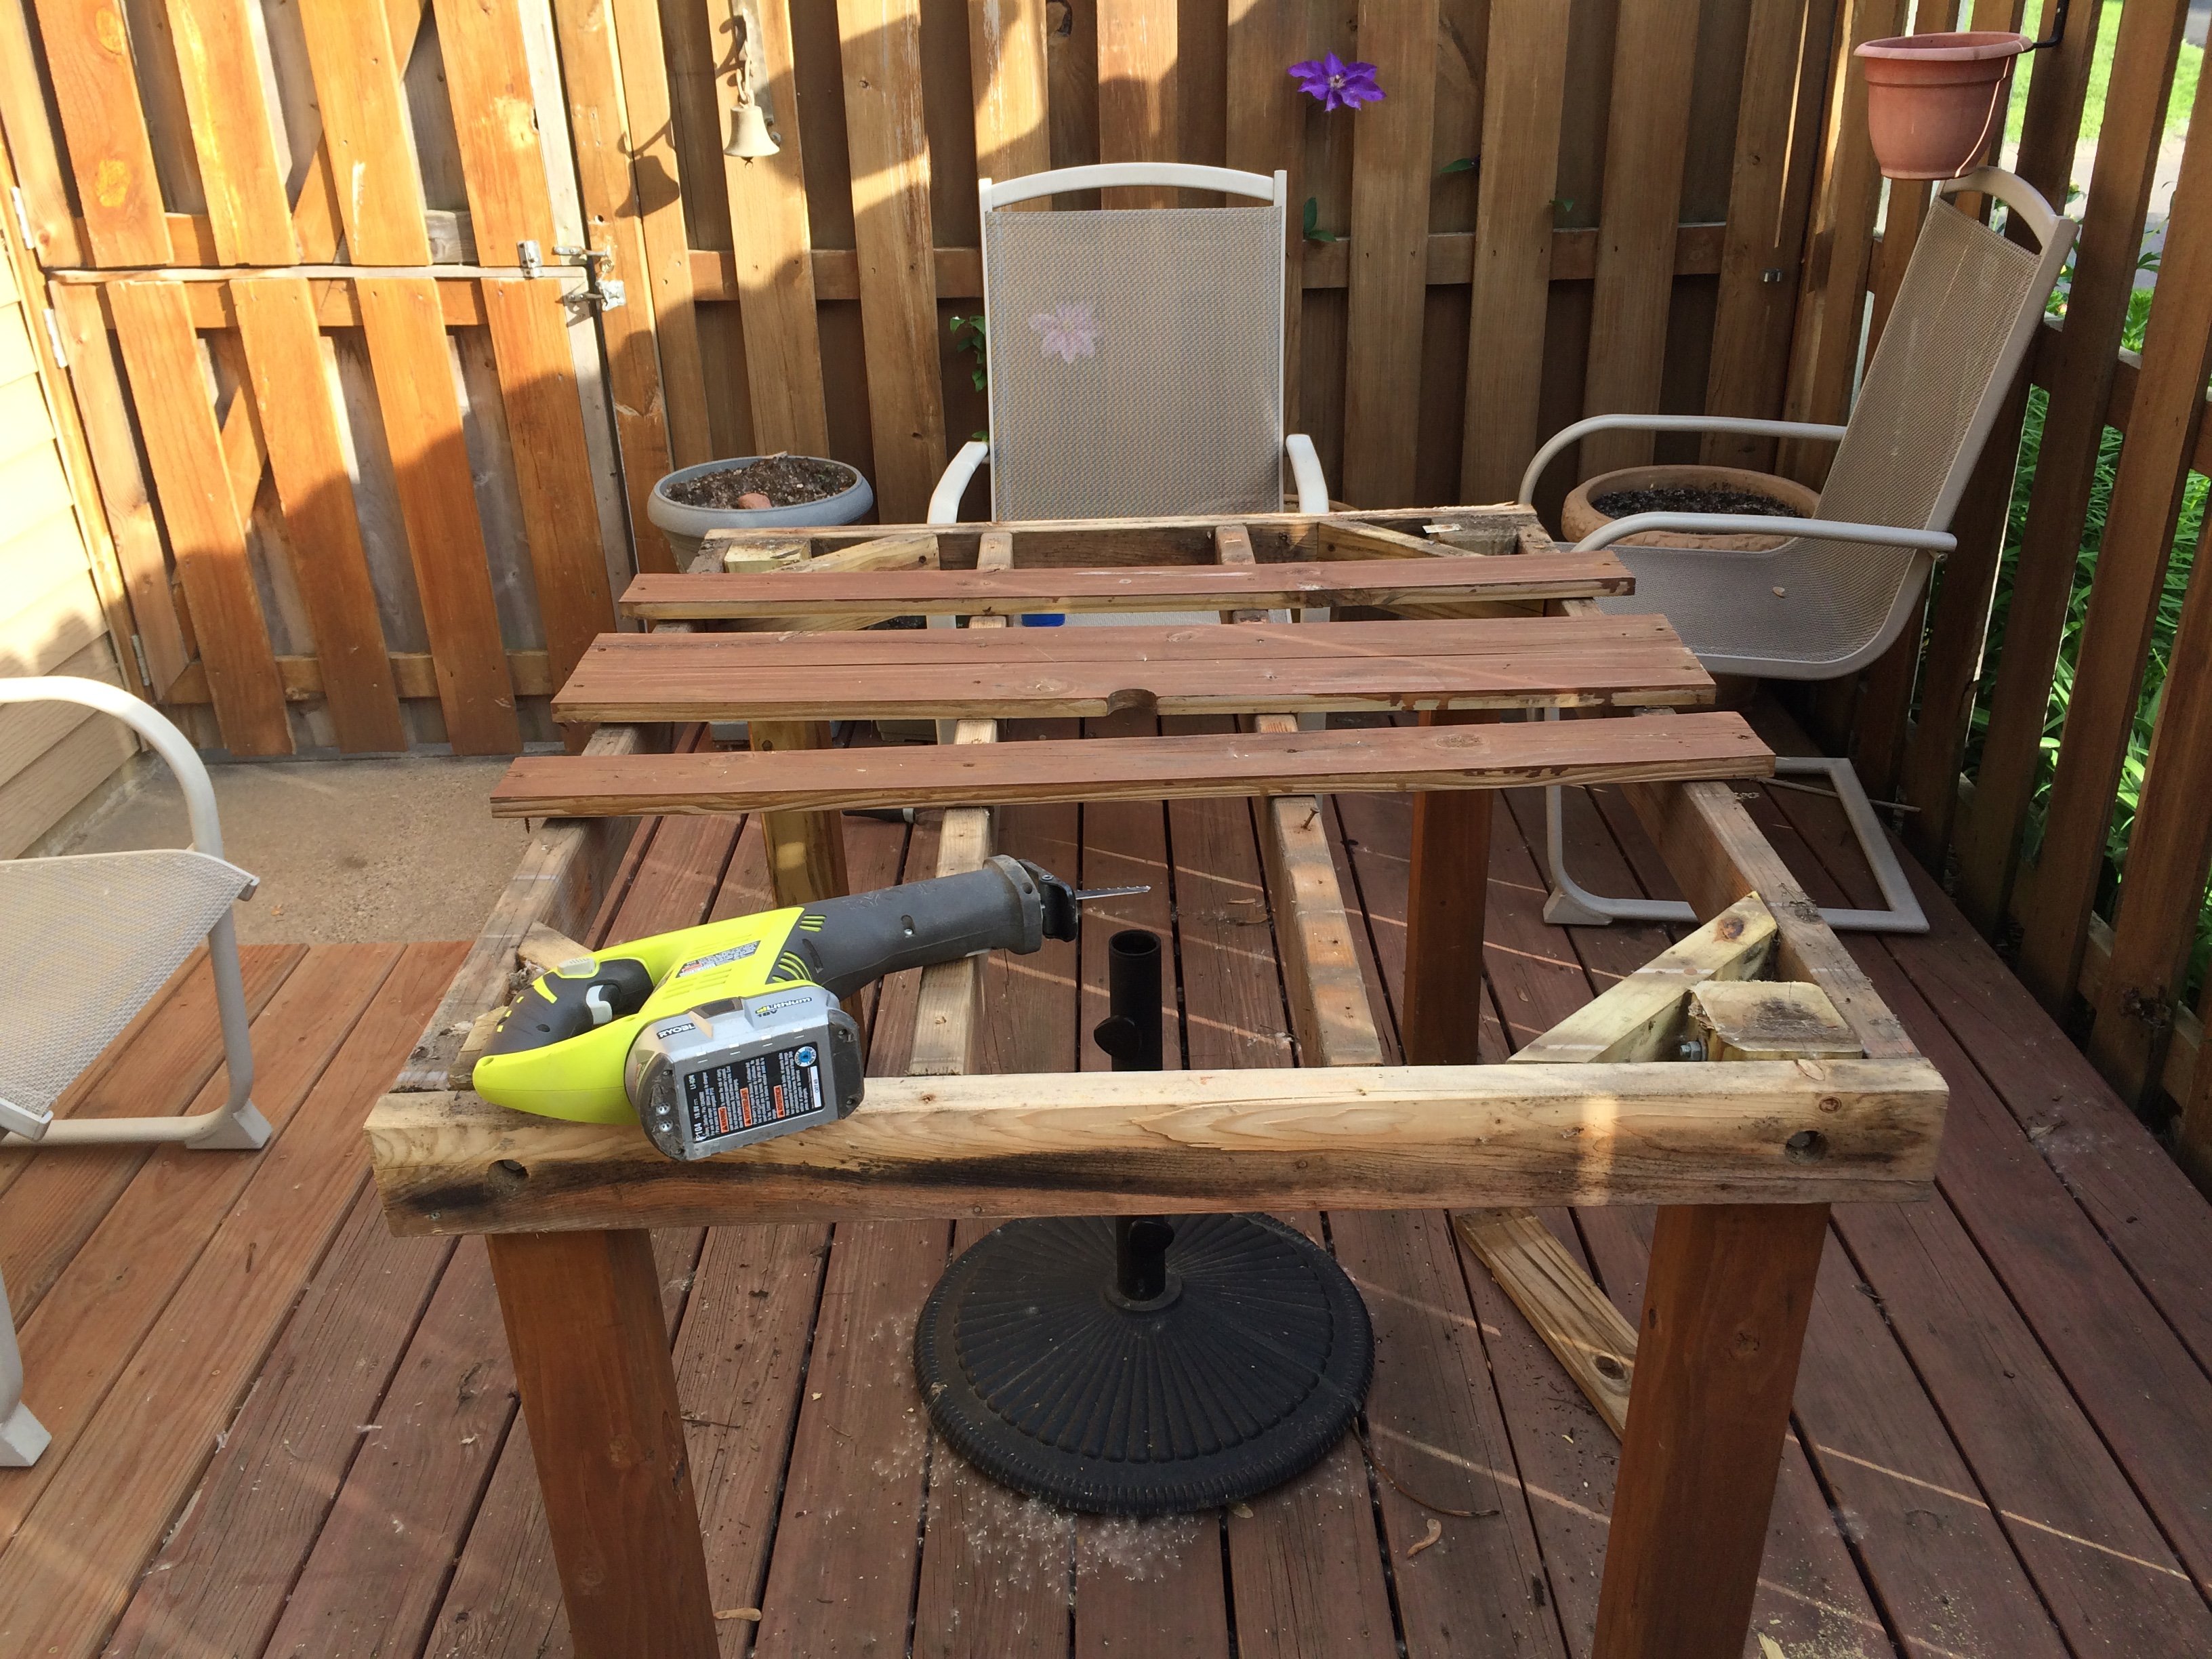
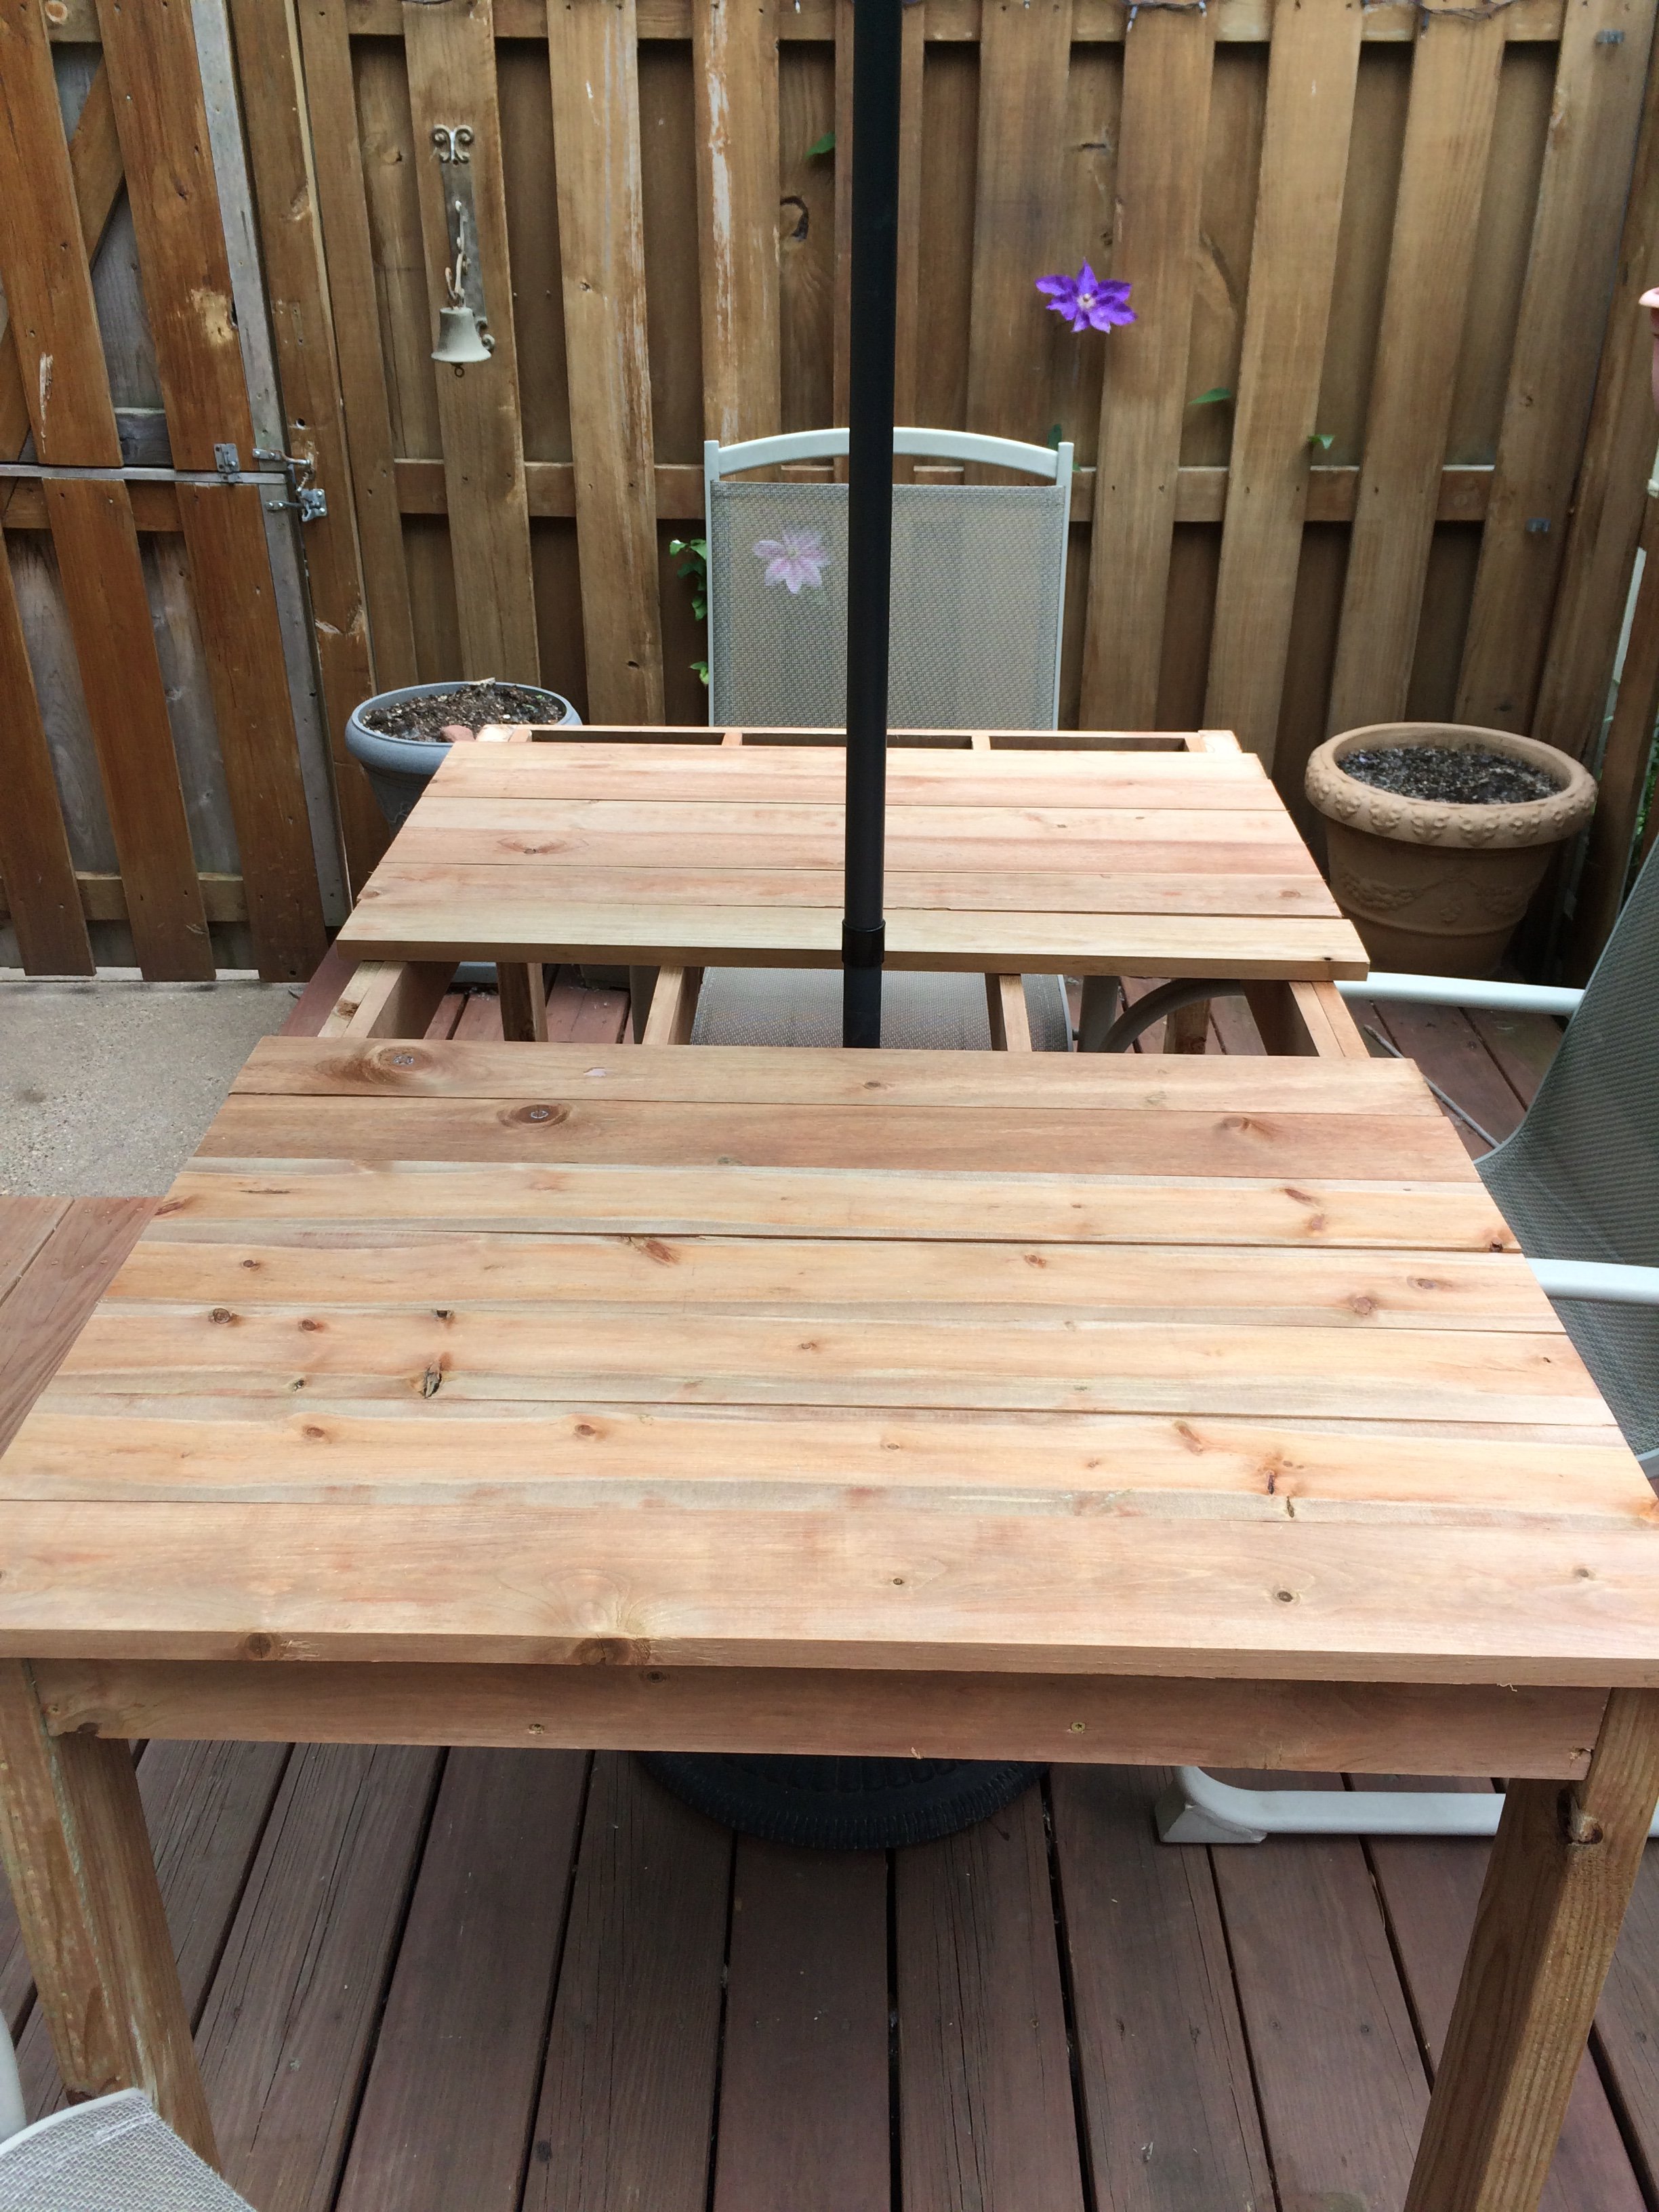
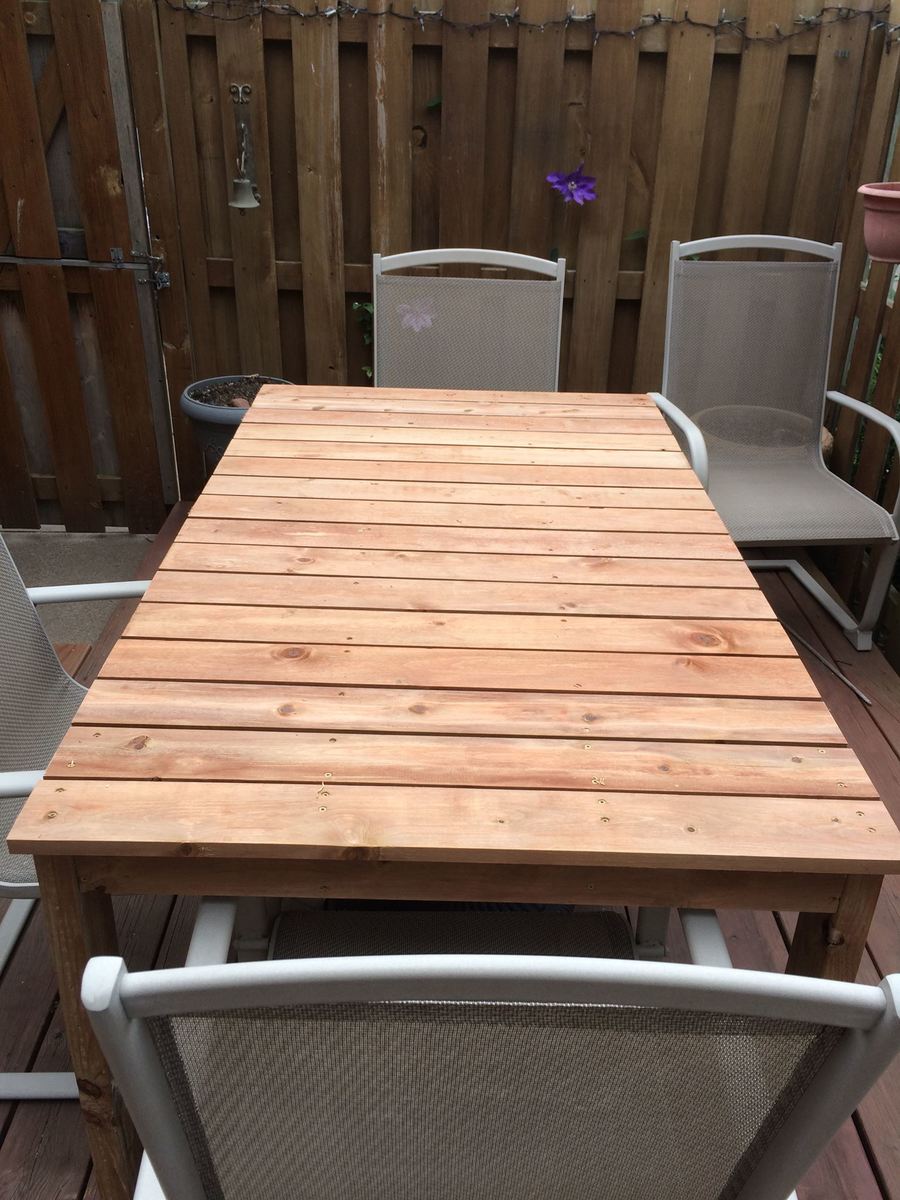
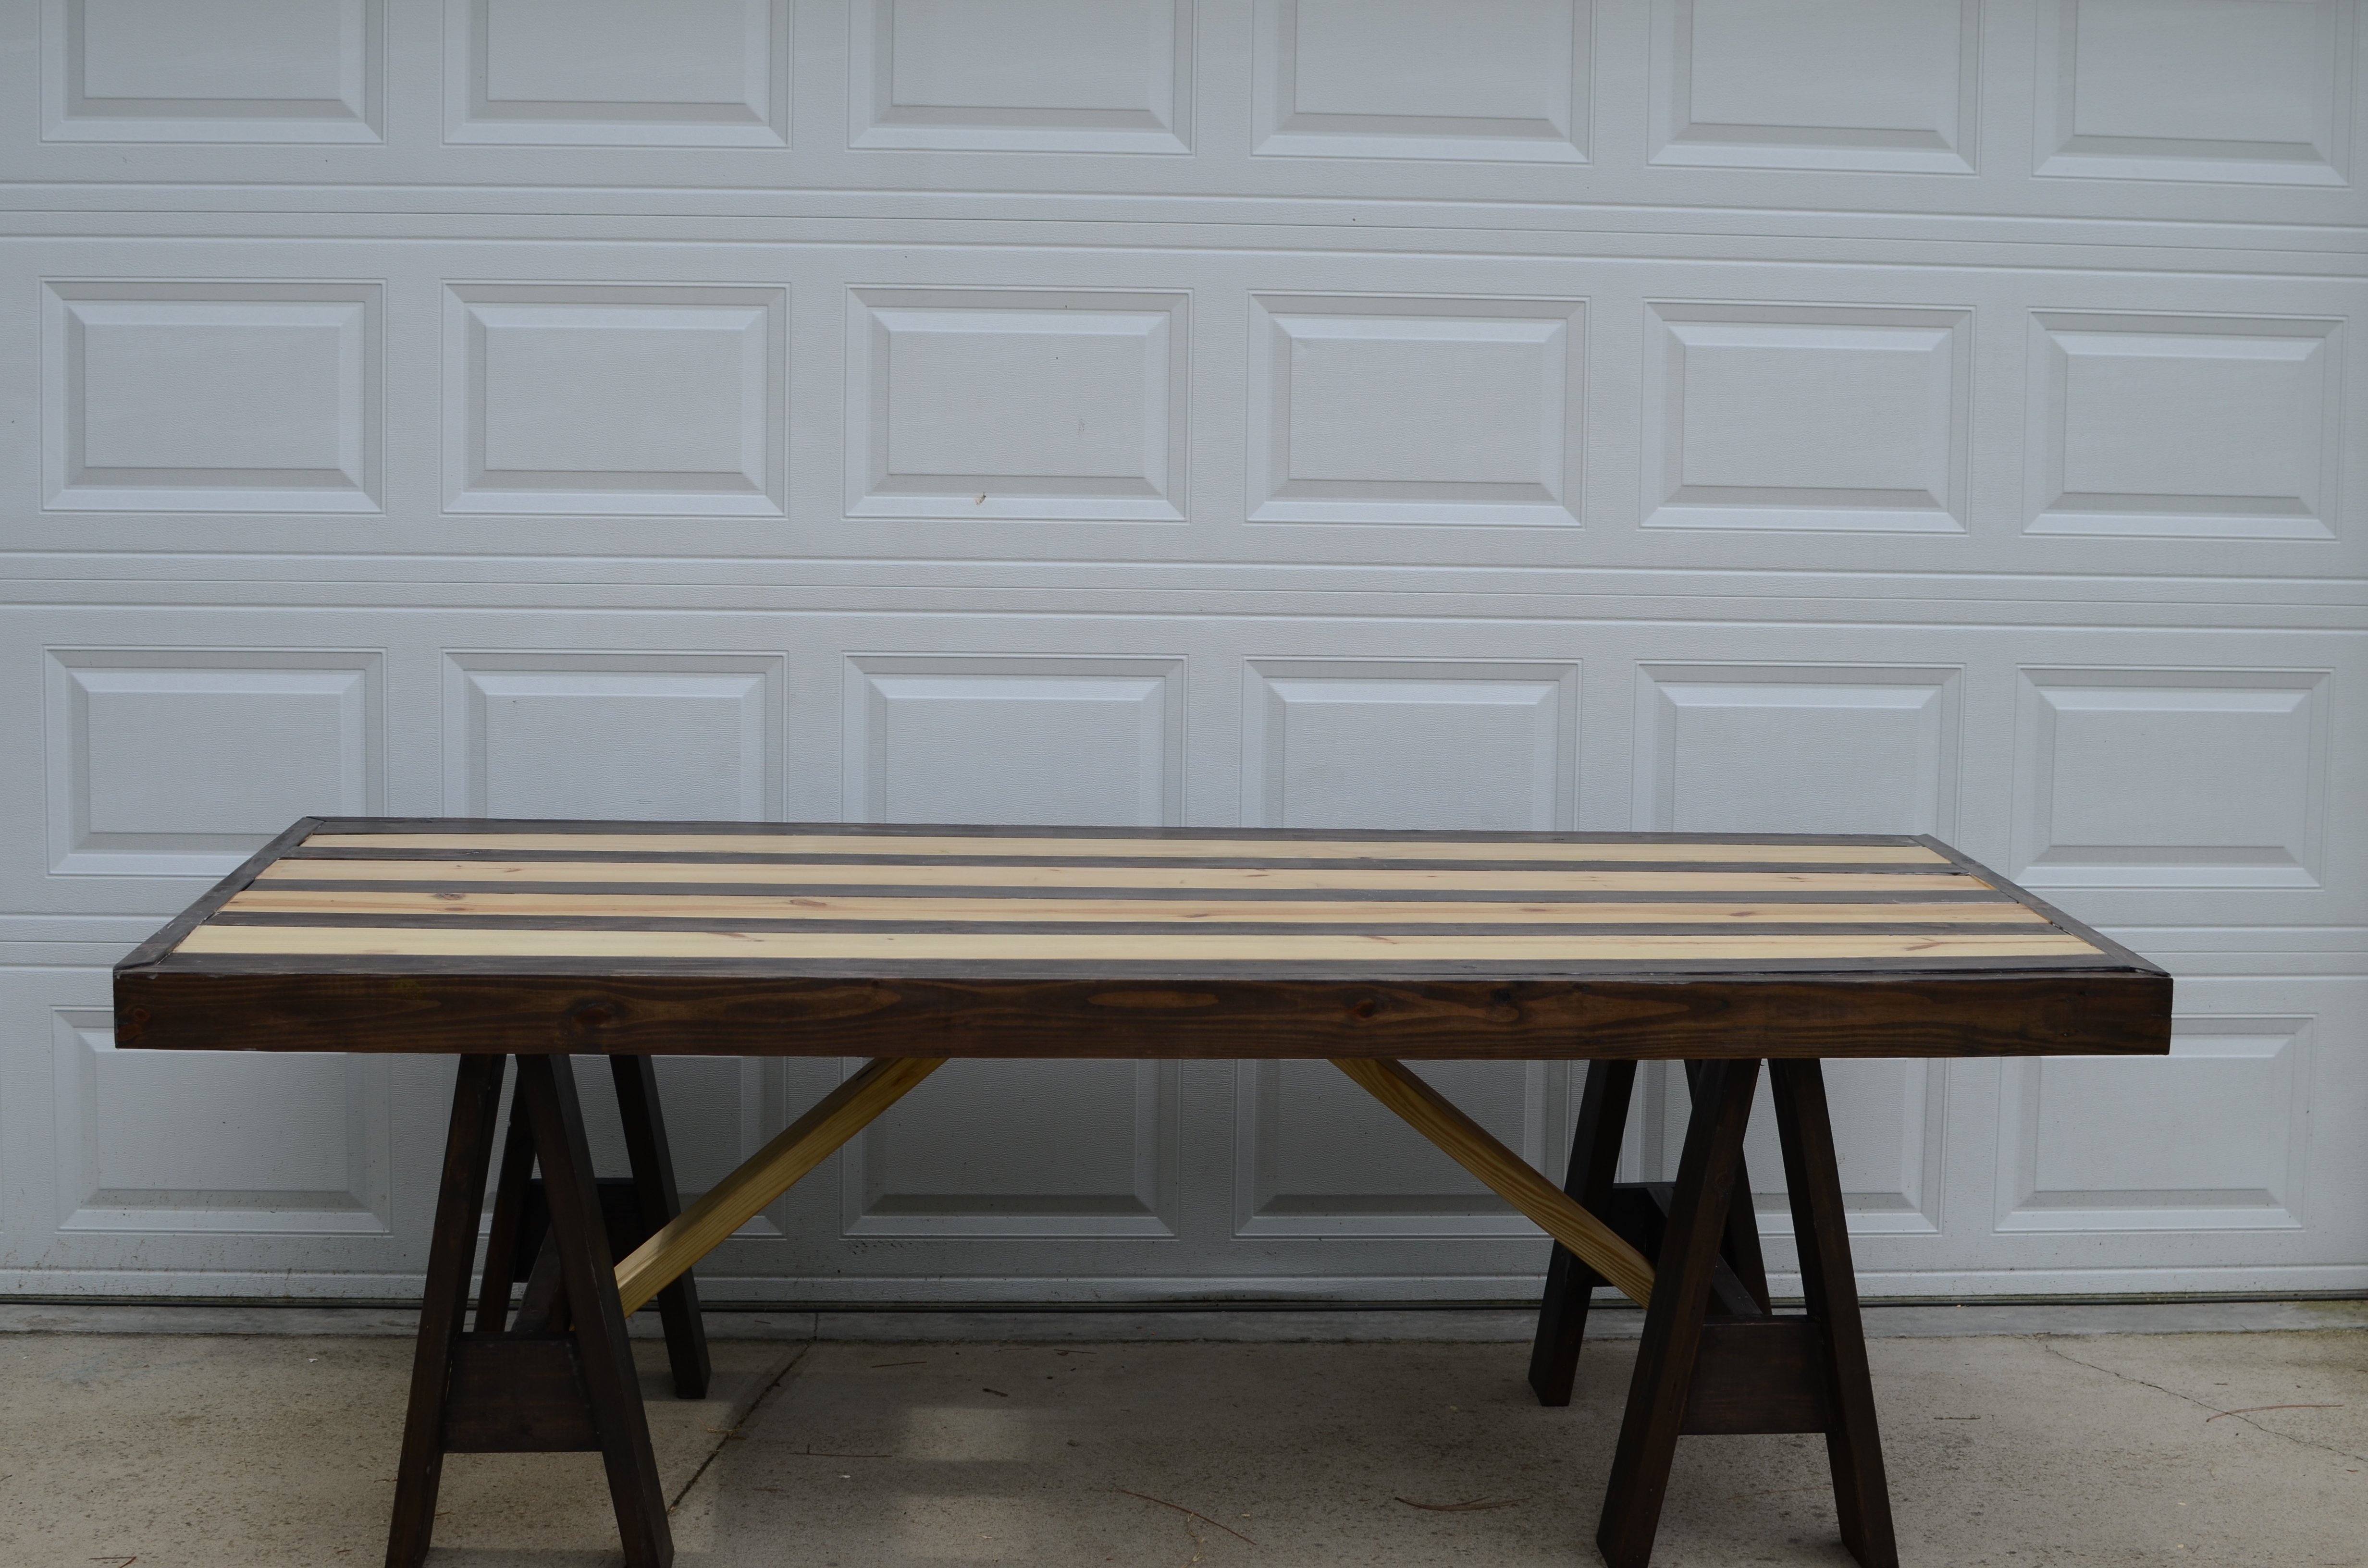
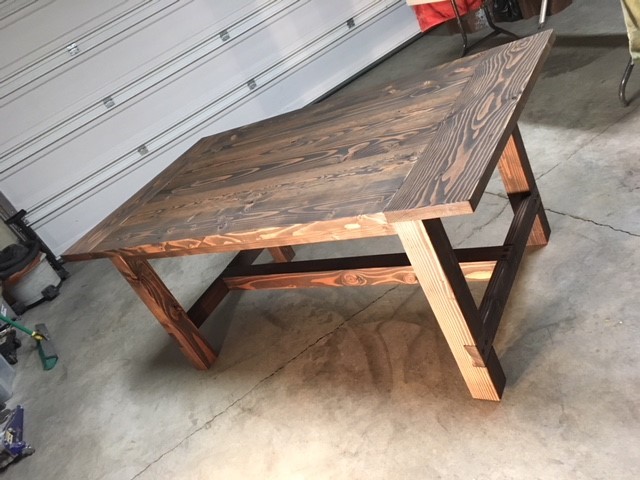
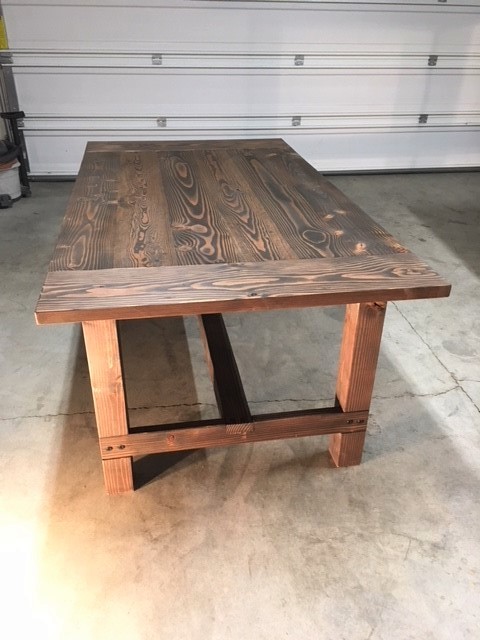
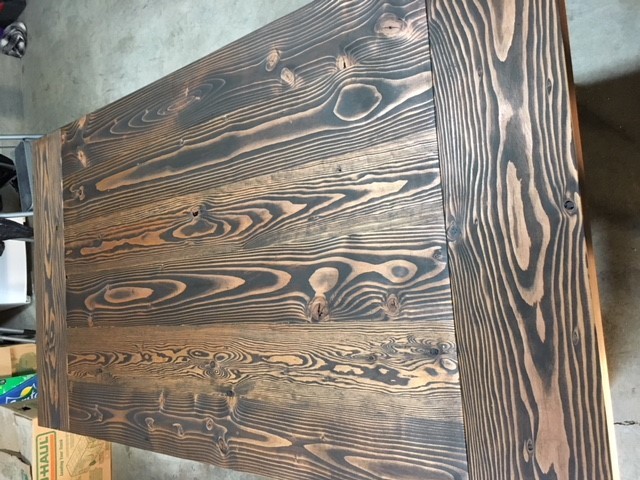
I am starting to work on more and more projects and I'm limited with space. I needed a worktable that could double as a backyard dining table (should the occasion arise). We have been planning to build the farmhouse table for a while now, so this was a great opportunity to build a prototype. I did some repair work for a friends deck and she gave me the leftover decking material. This became my table top. I purchased 4 2x4's at our local Habitat for Humanity ReStore for 50 cents each (this was the only money spent on this project). While I was at the ReStore I also picked up 4 pallets (they are free). After cutting them apart, the 2x4s from the pallets became the table legs and the 1x4's & 1x5's from the pallets became the shelf underneath. The shelf has been great for holding extra tools while I'm working on projects. My daughter likes to stack her toys on it too! This was a super quick and easy build. My wife even suggested we just refinish it and bring this one inside!
As always, I have to give thanks to Ana for such great plans!

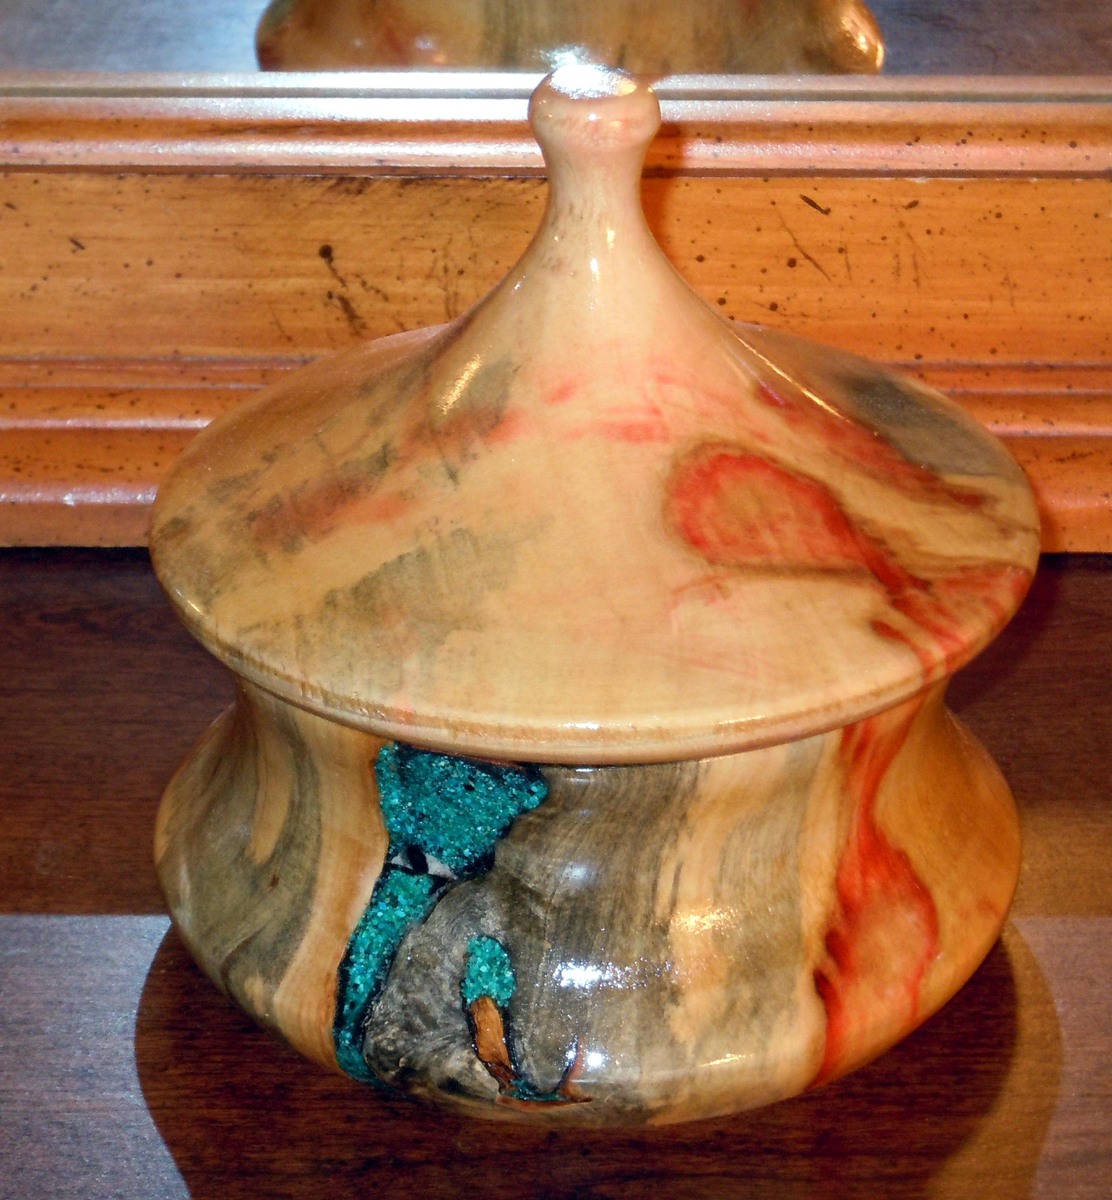
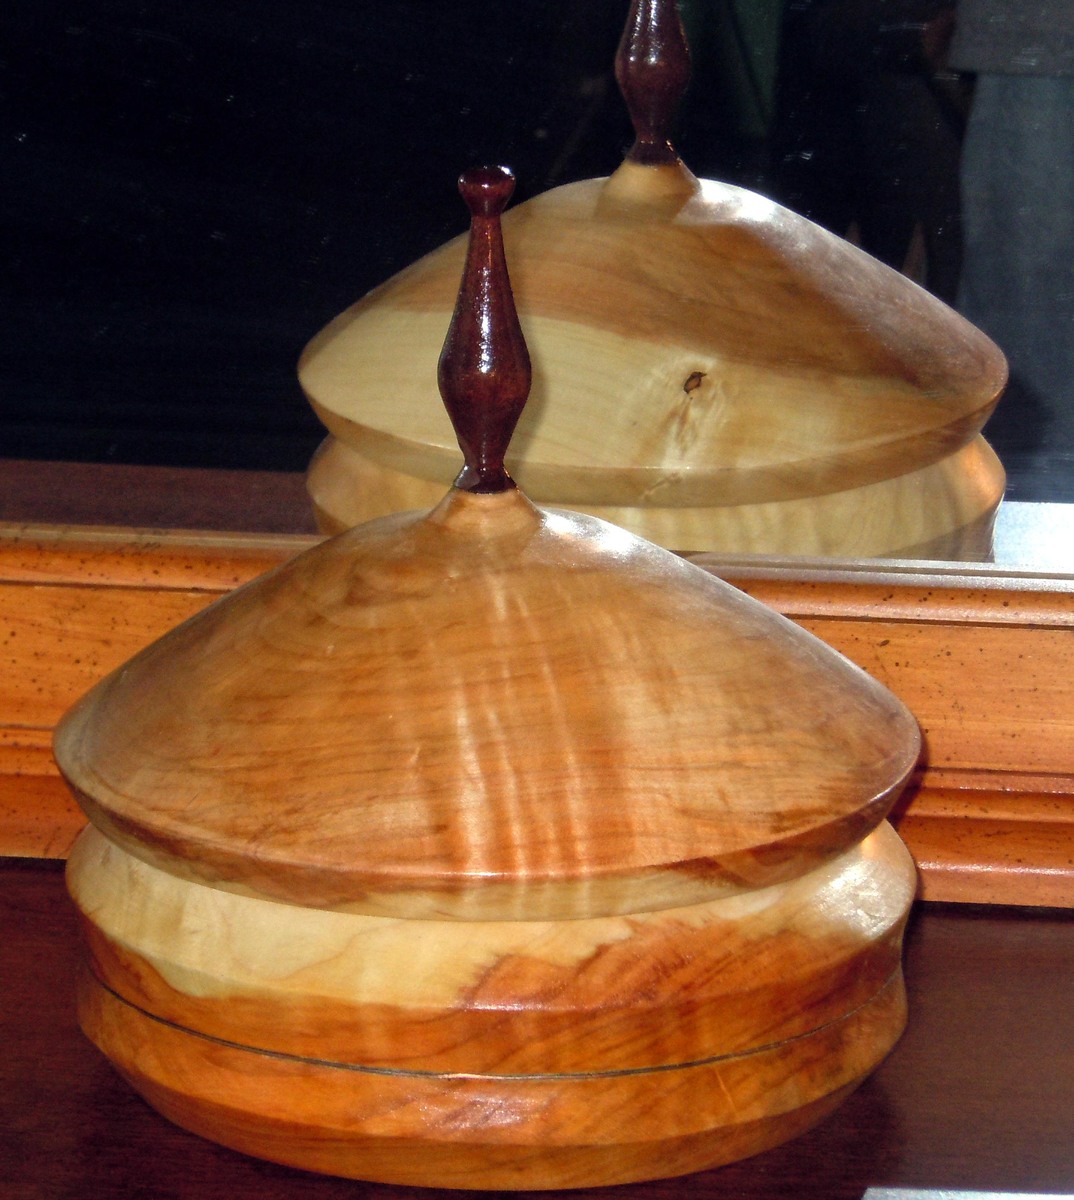
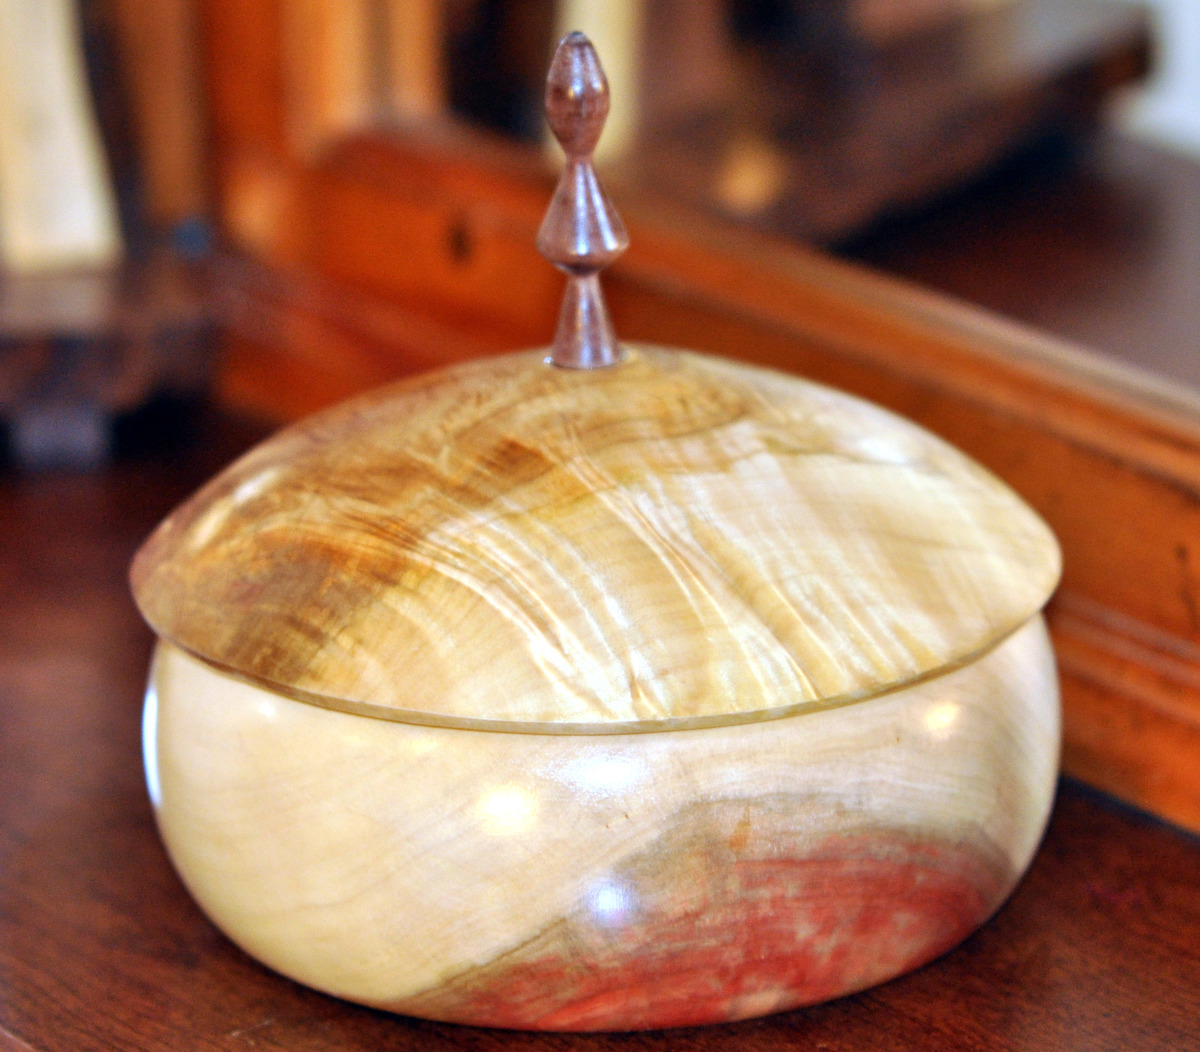
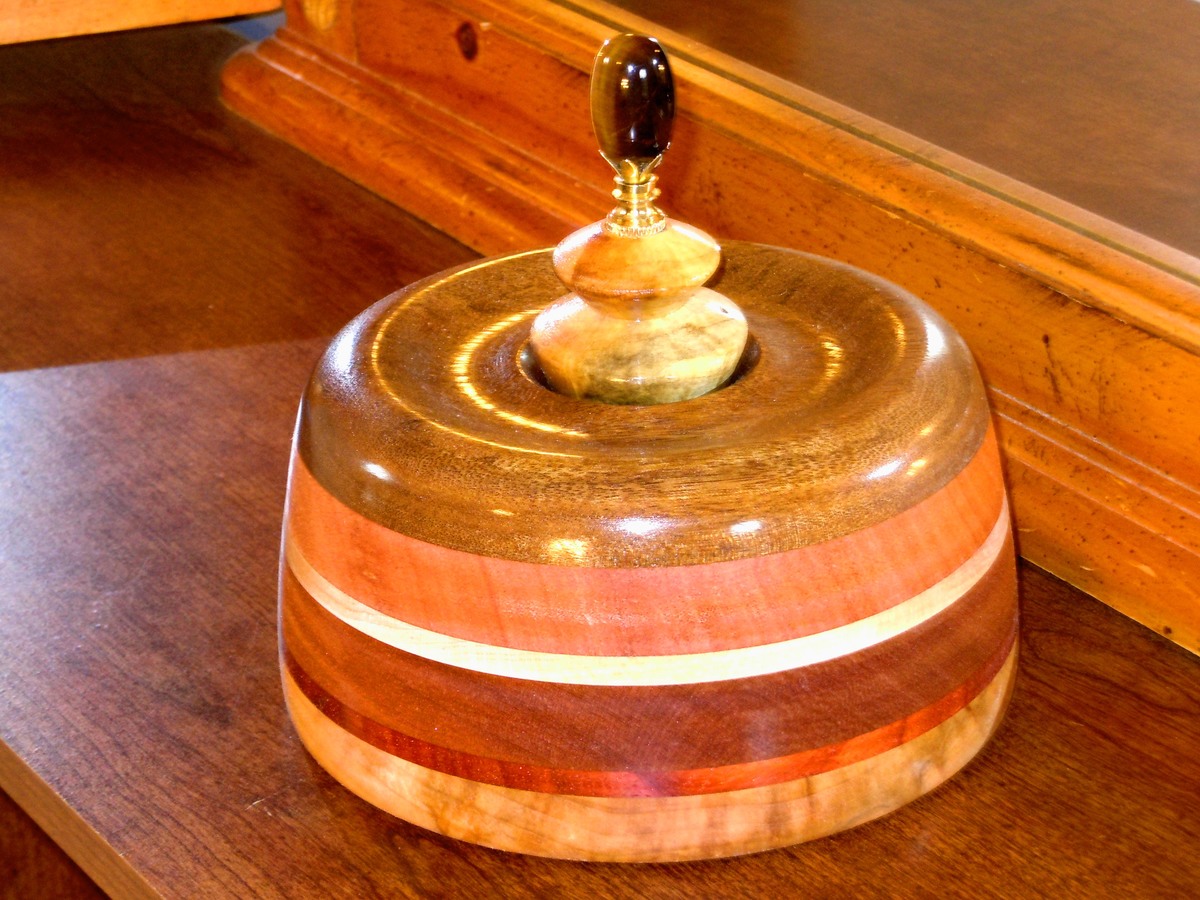
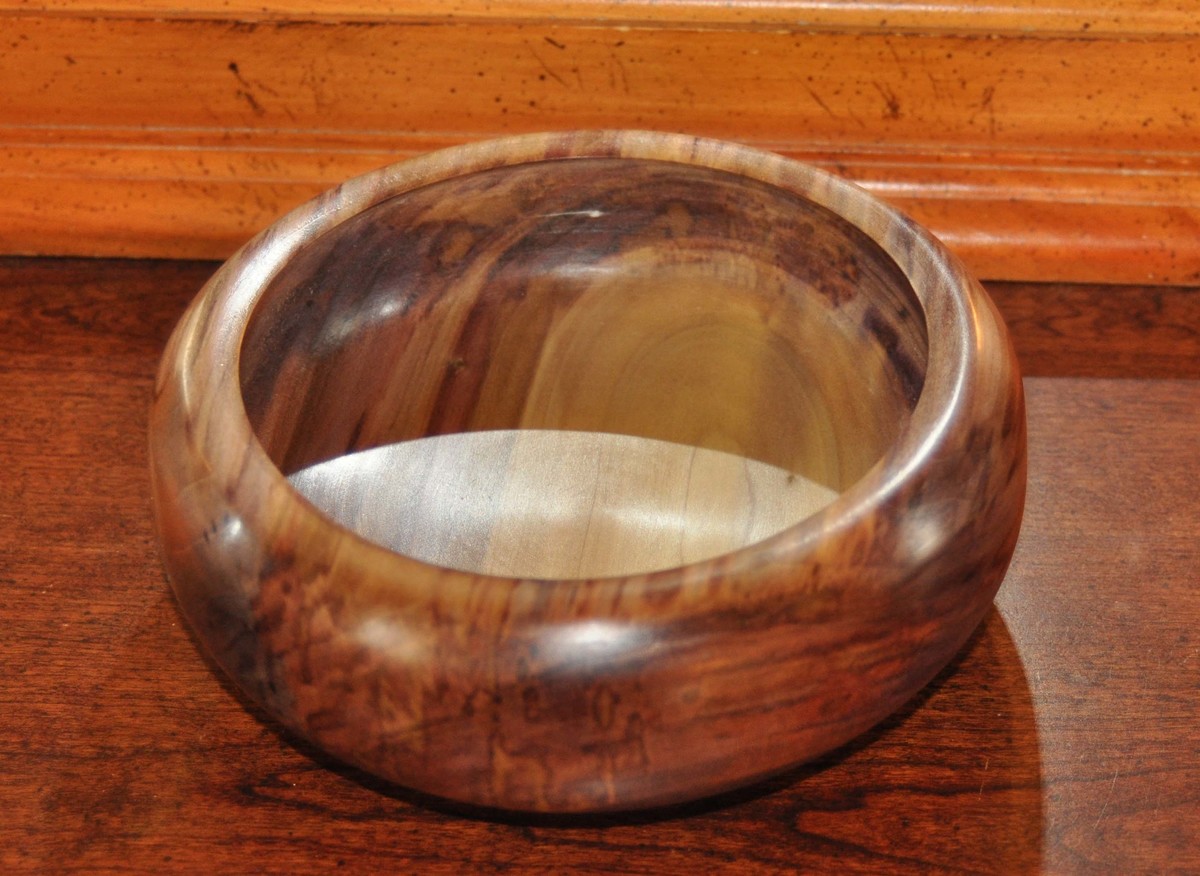
These are a few of my turnings. They are available for sale. Message or comment for price and shipping.

I looked around to buy a patio and found they were often quite expensive or they were poorly made out of metal that would rust. I had some scrap pine and some table legs from an old table I wasn't using so decided to make a patio table myself.
For more details, check out my blog:
http://www.woodworkingfourdummies.com/blog/patio-table
Cheers,
Ian

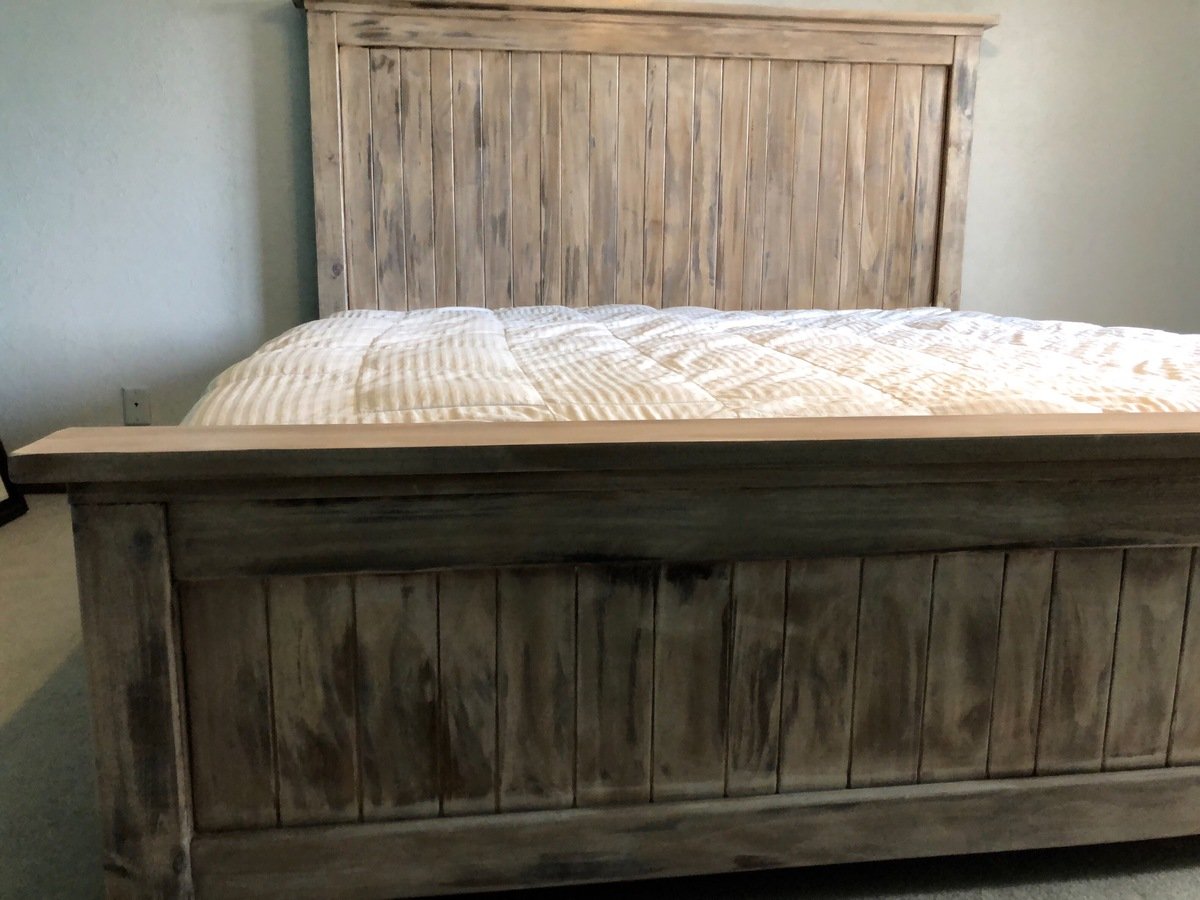
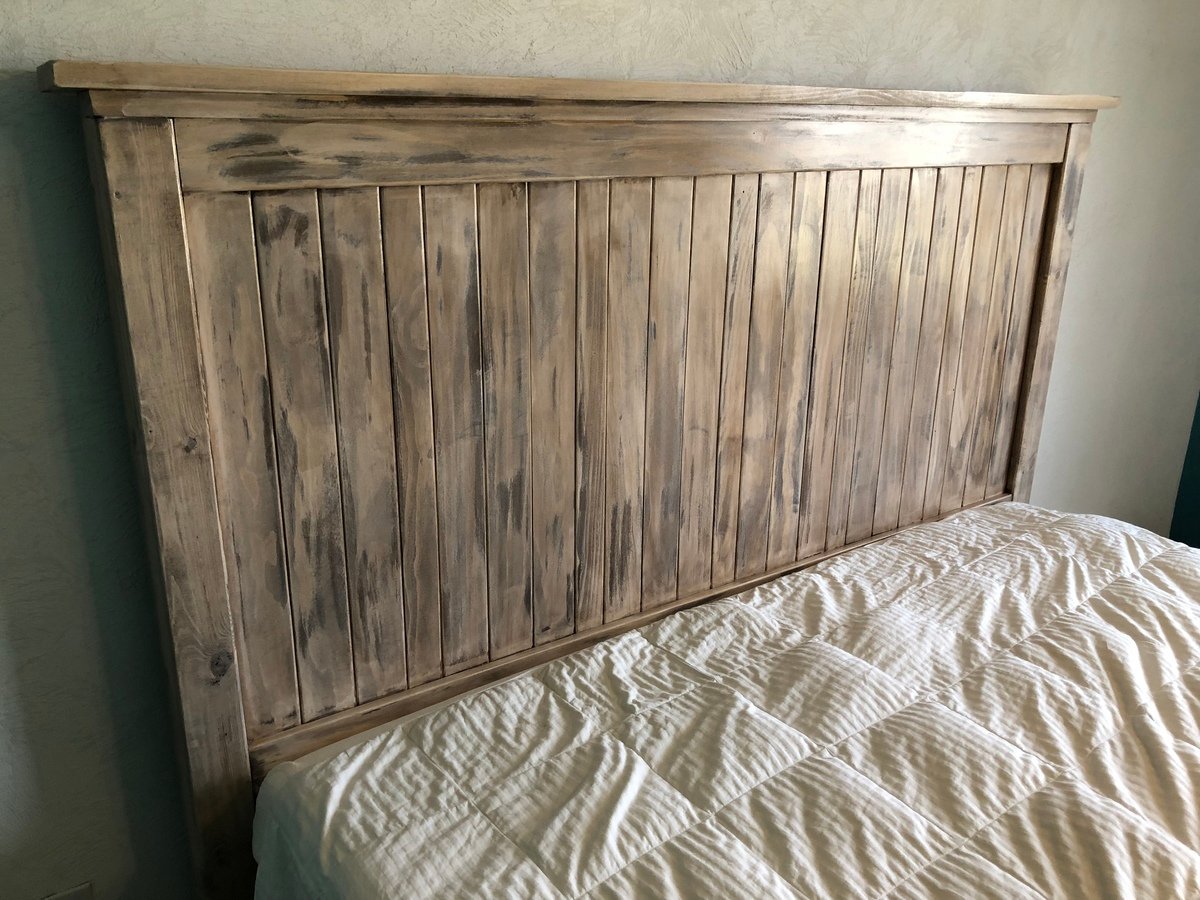
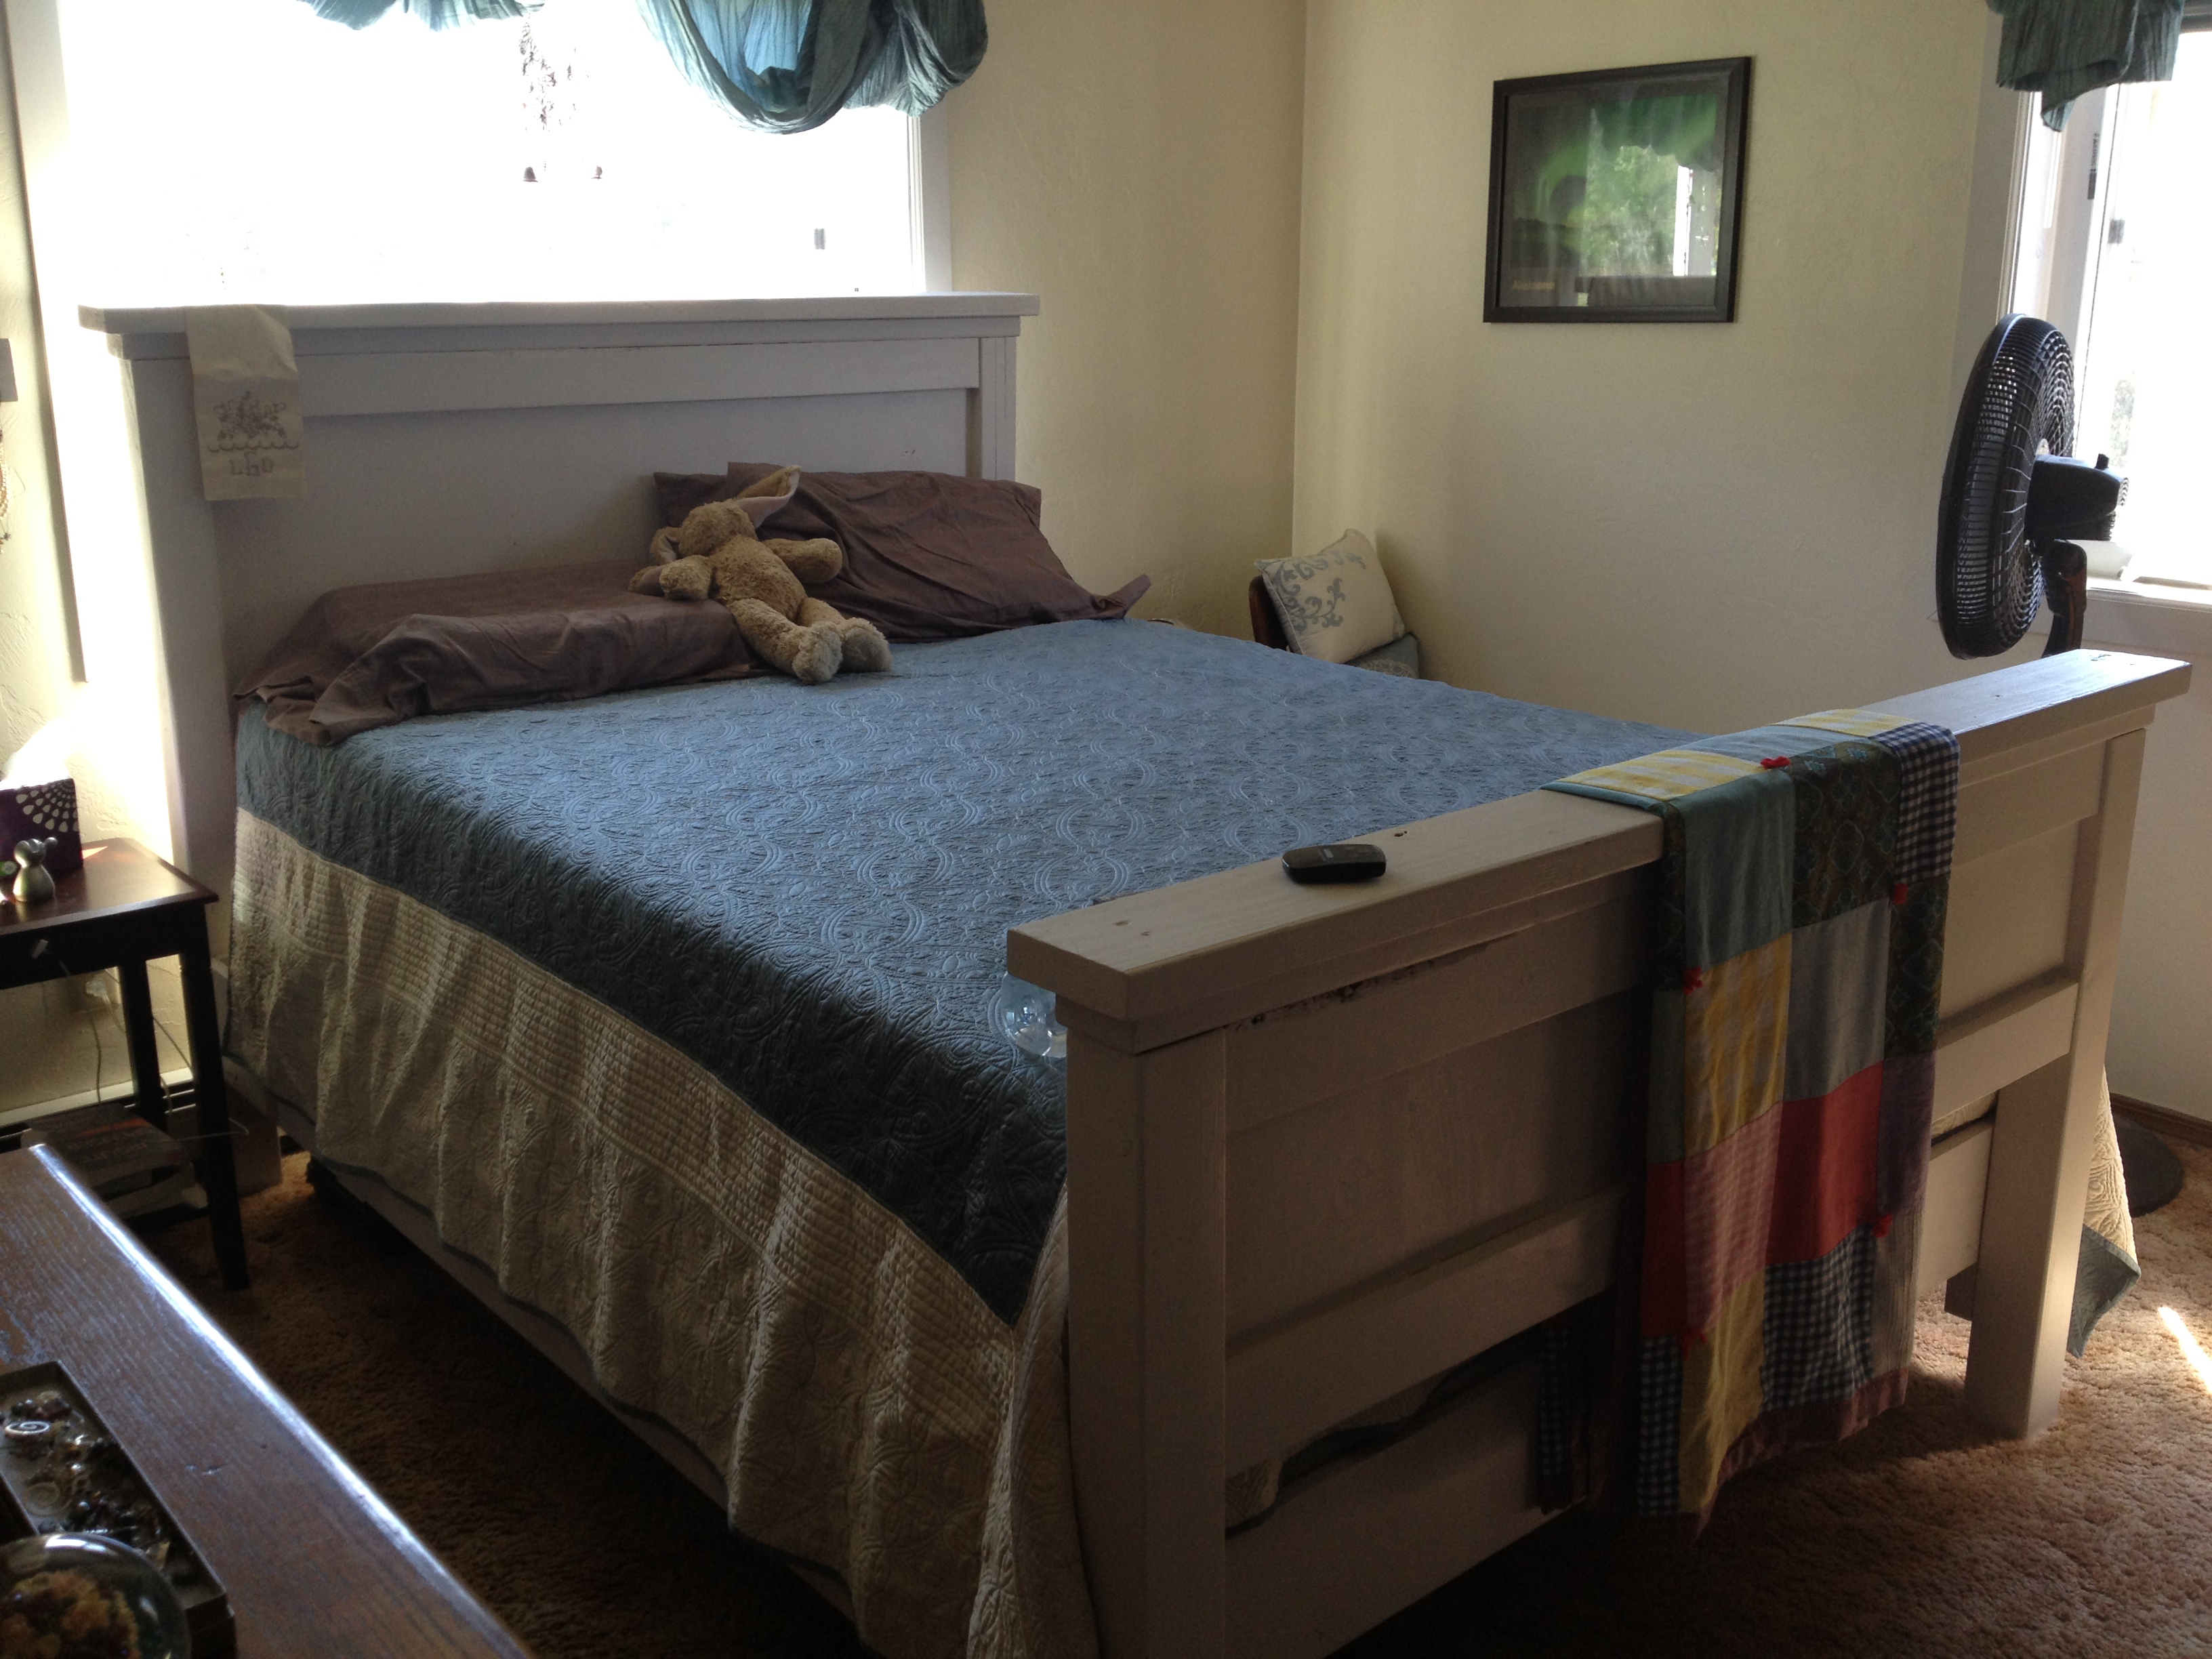
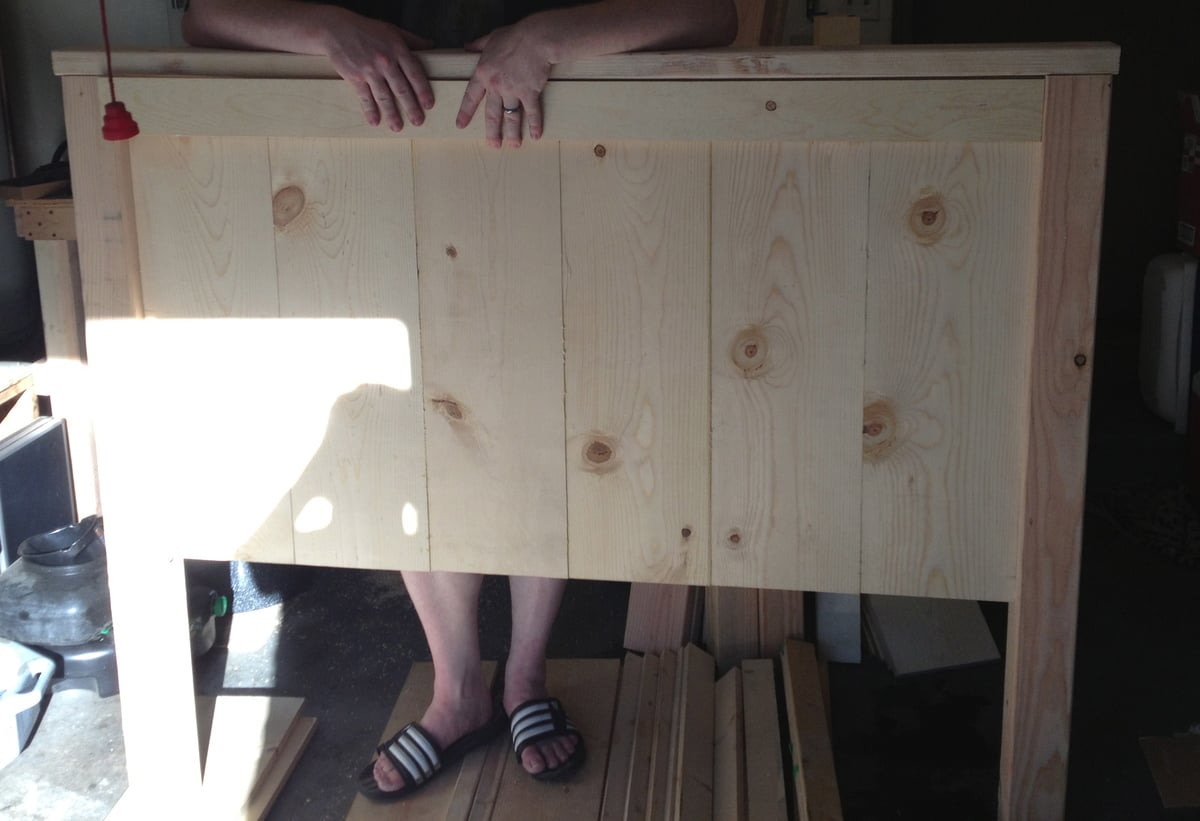
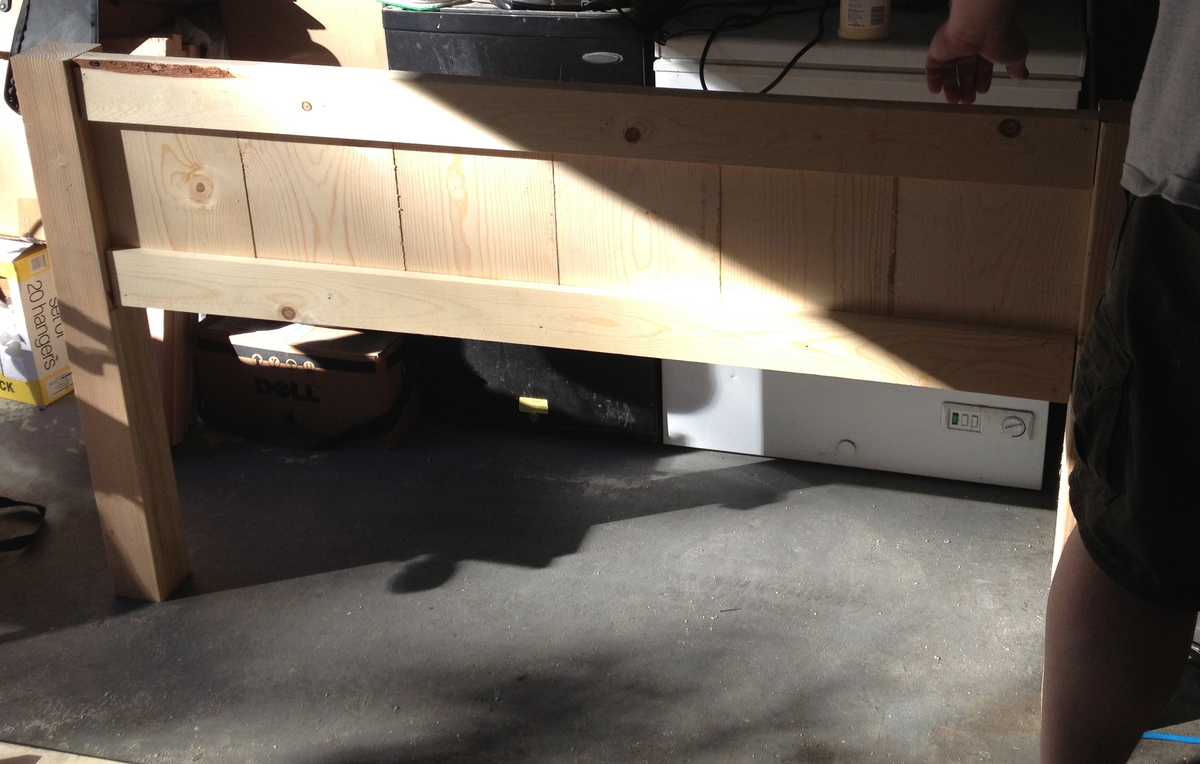
Modified the standard farmhouse king plan a bit. Made the headboard 4" taller and utilized 1x4's and 1x3's to fill in the headboard instead of 1x8's. I used 2x8 from front to back for the runners and horizonal 2x6's just under the lip of the 2x8 for the matress to sit on. It turned out great and we get lots of compliments.

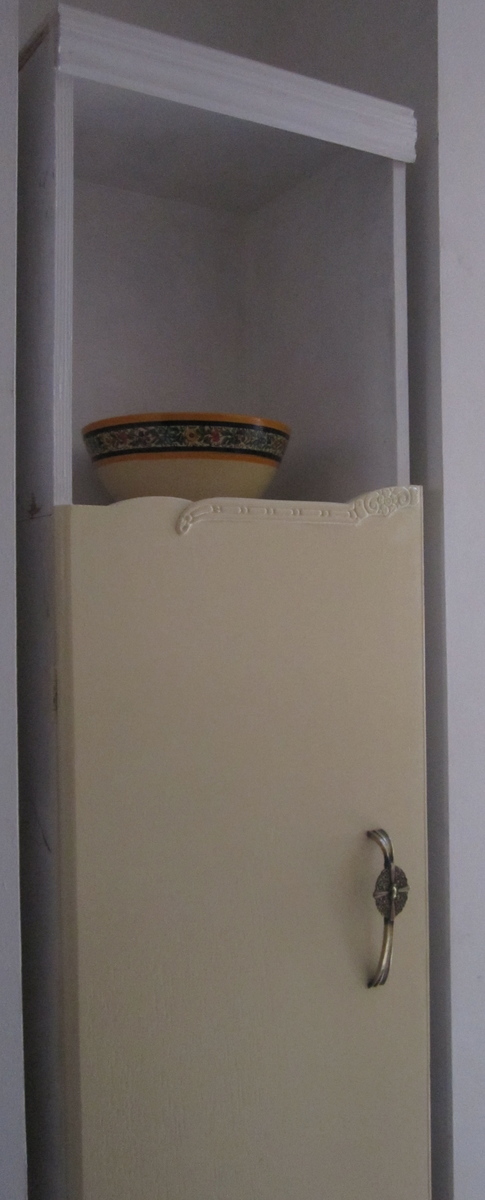
We have a funny alcove in our kitchen that is narrow but very high. I didn't want the space to go to waste, but because of the odd shape I couldn't find anything that would work. I modified the Single Locker Cabinet plans to design a tall cabinet and reclaimed a door from an old wardrobe we found on the street.
This was our first project & we worked on it together. My husband melded the Farmhouse plan with the Chunky Leg bed box. The box is reinforced & has 13 slats. We didn't sand out areas that had bark, but left them for the texture. We worked on it a few hours each night & then painted on Saturday & puit it together on Sunday. Design-wise we raised the bed so that the bottom of the frame sits at 12 inches. We also raised the footboard above the mattress level. These changes were just our preference, but we really love how it turned out. It is sturdy, substantial & beautiful!
Great project, super easy to follow instructions and really easy to modify with some simple math.
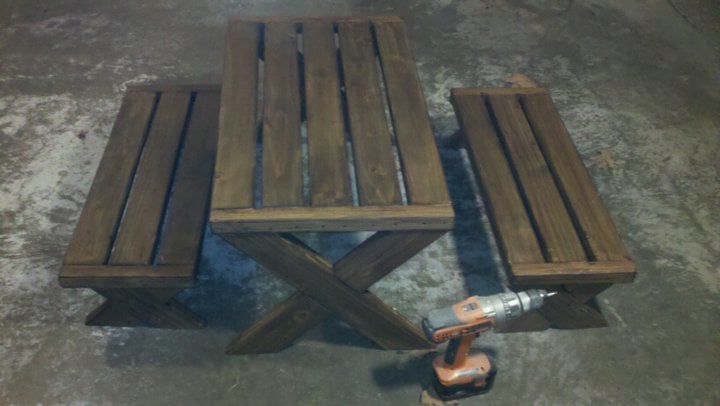
Perfect weekend project, started the table around 1pm on Saturday, finished the bench and had the garage cleaned up and sitting at the new table by 330pm on Sunday!
Thanks for posting the plans, they were very easy to follow!
I live in an apartment, so I had everything cut for me at the nearby hardware store except the trimming. I scaled it so that it fits in my living room. It was my first woodworking project since high school, but I’m happy with how it tuned out. Thank you so much for the easy to understand instructions!!
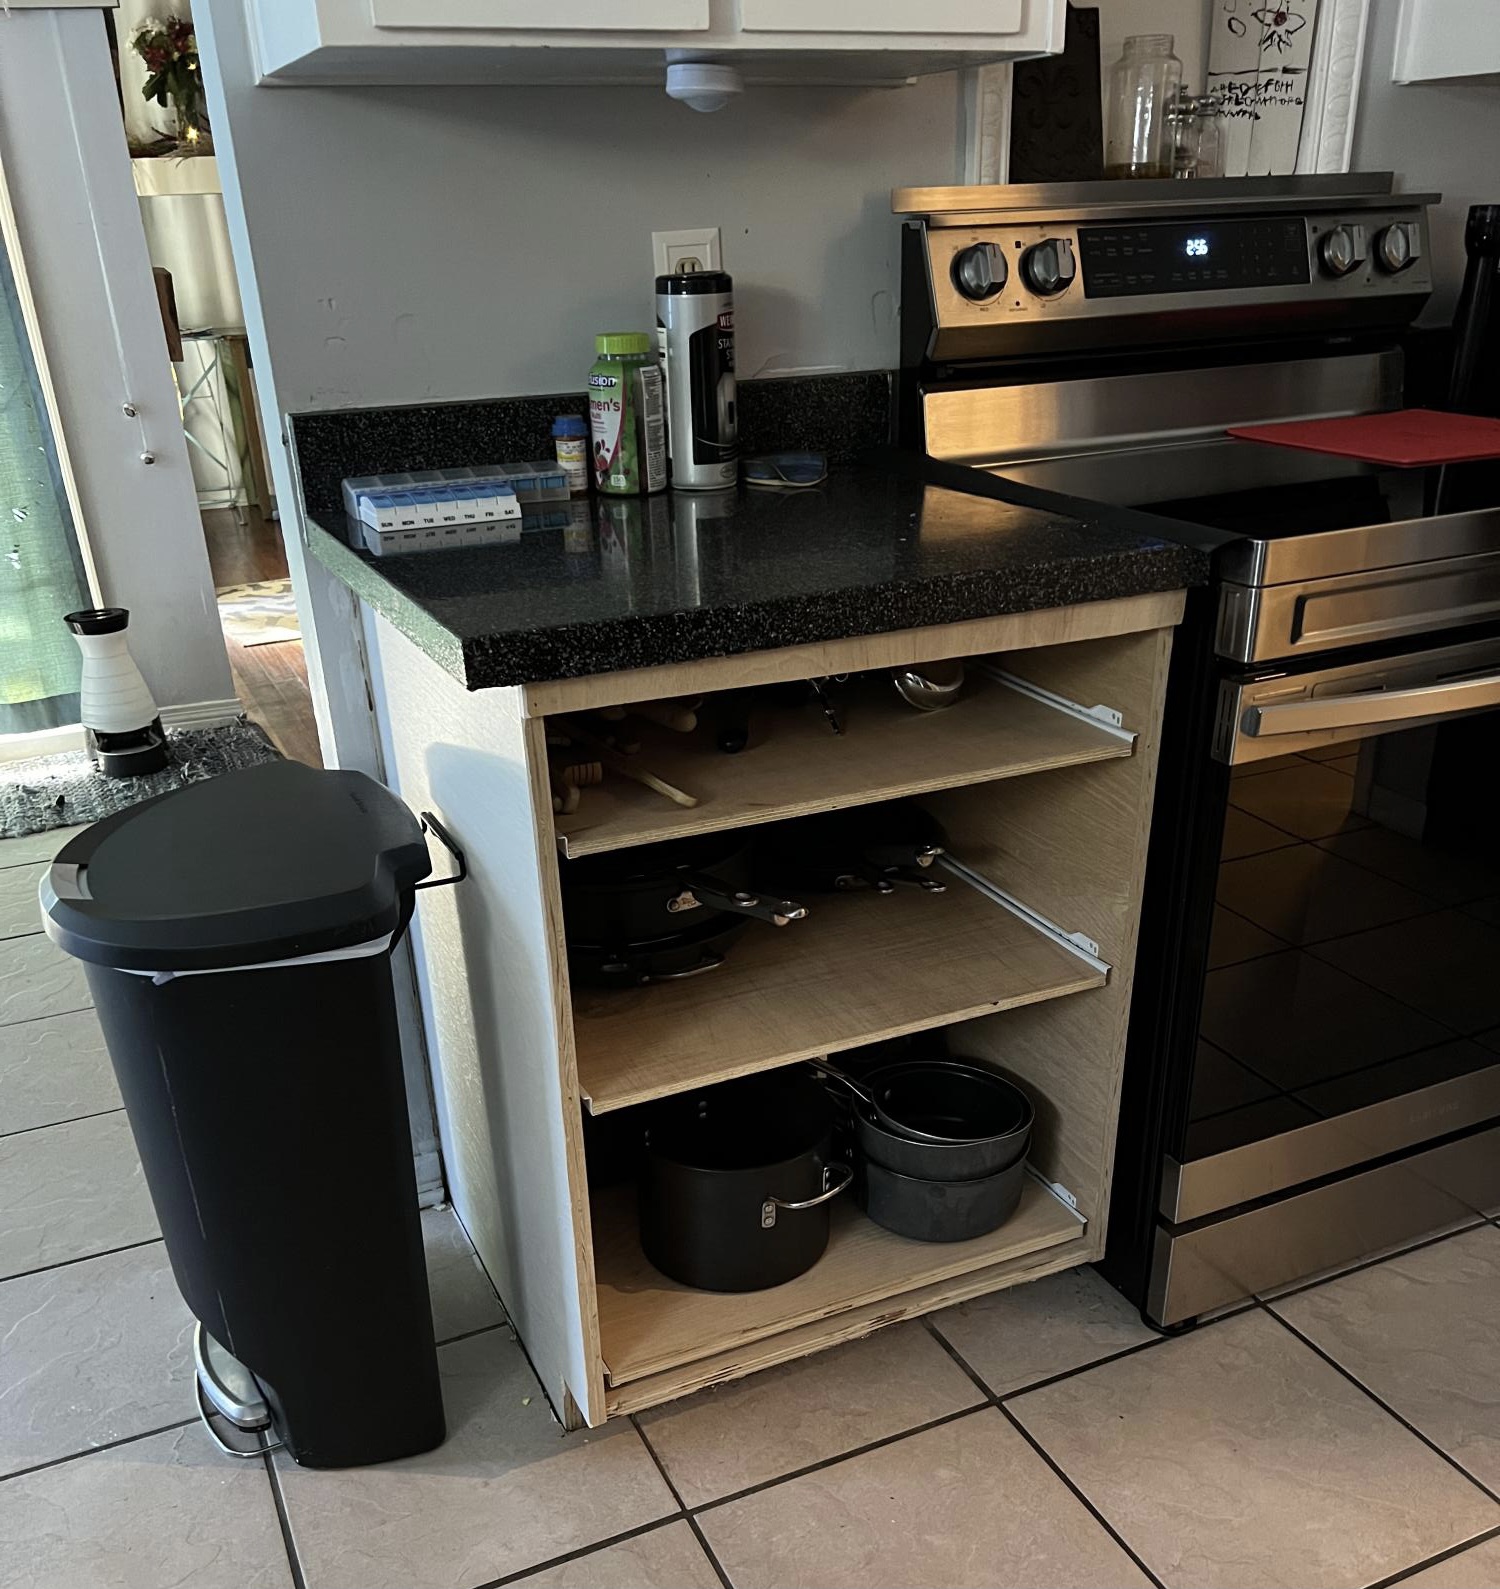
We are in the beginning stages of our kitchen redo. Three sliding drawers; not sure how we are finishing the front yet though.
This is a great weekend project I would add supports to the table to make it a bit studier. I found out that any flat surface will be inviting for adults to want to sit on during a BBQ
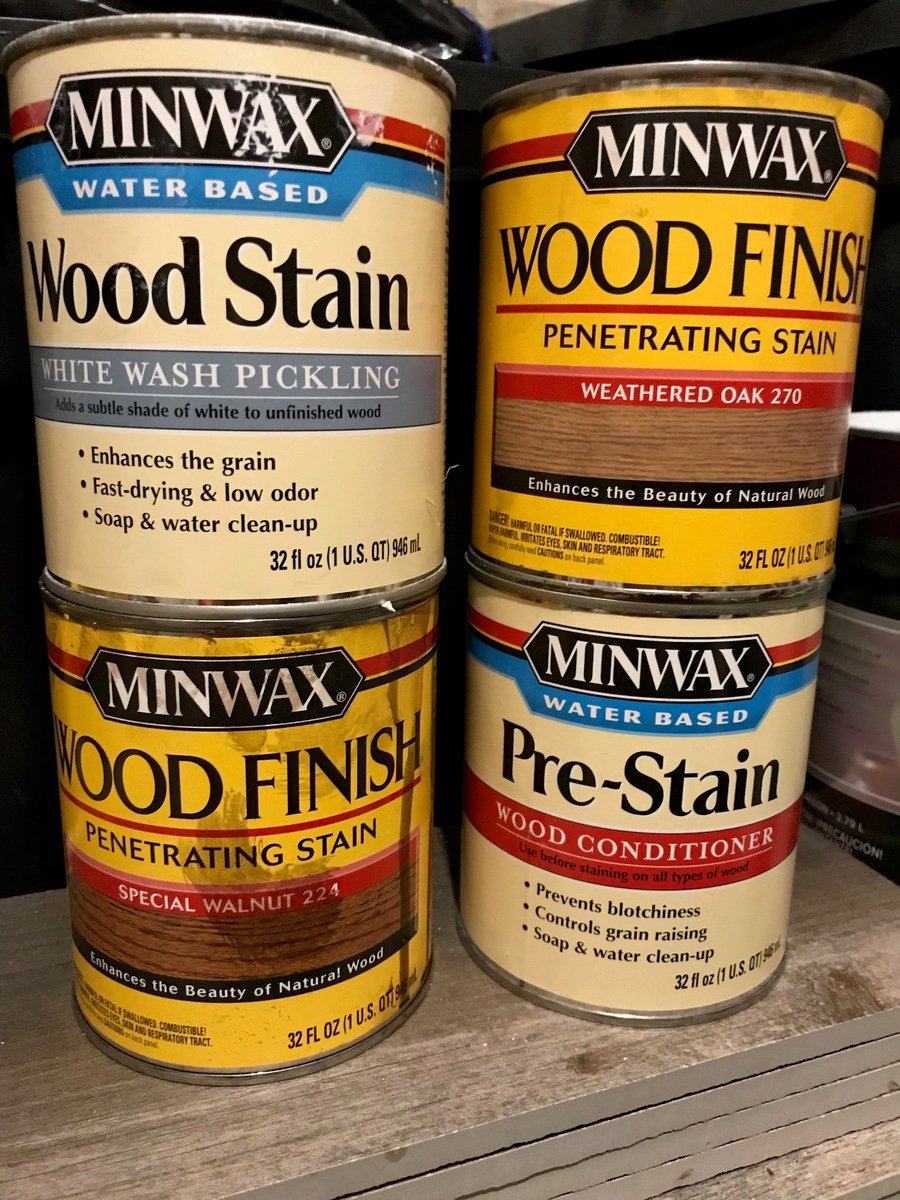
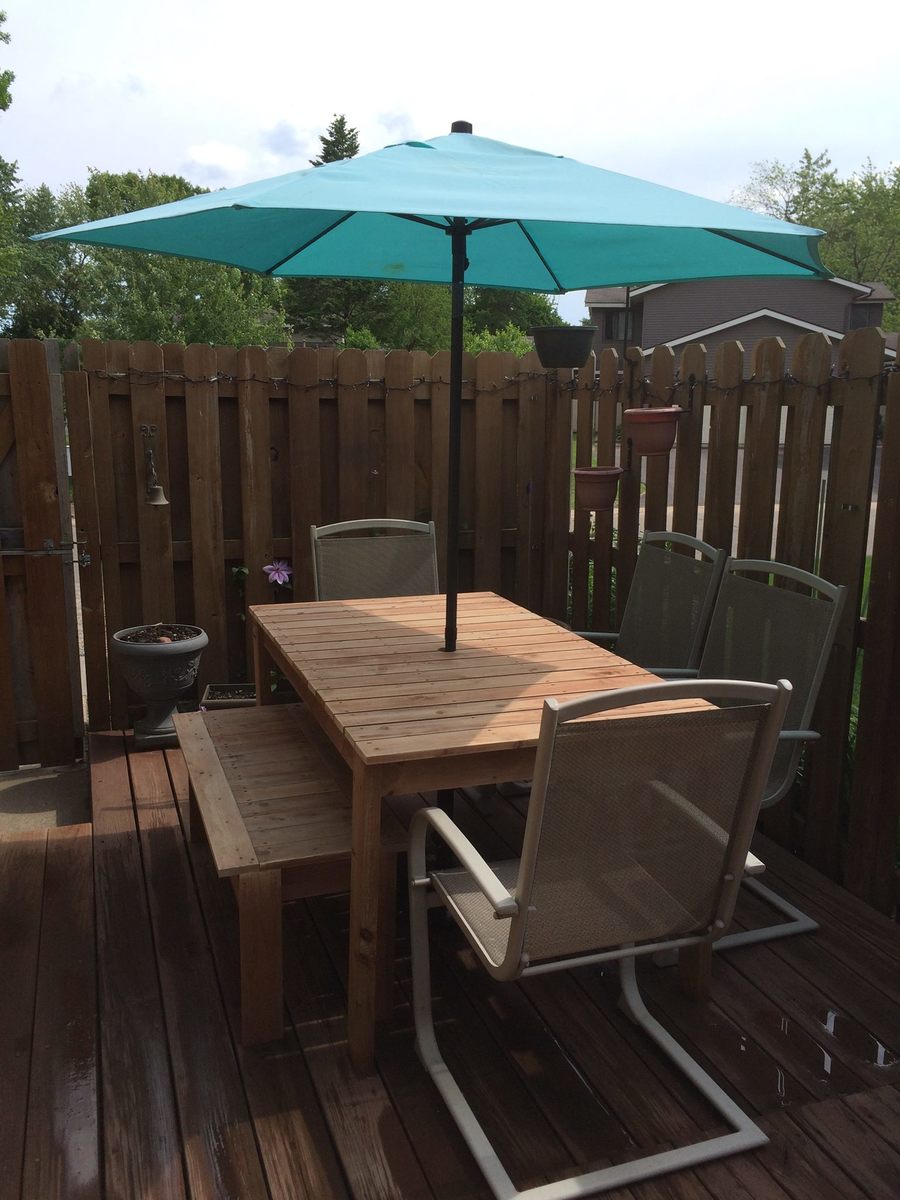
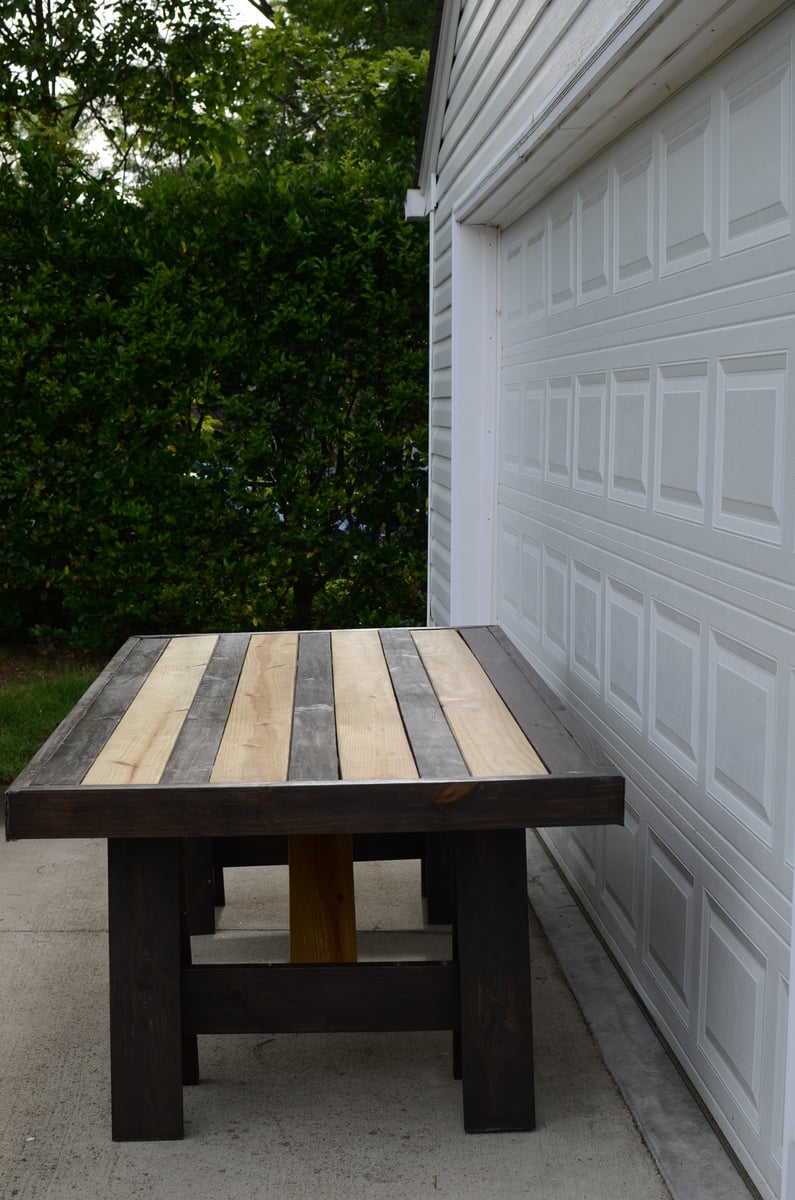
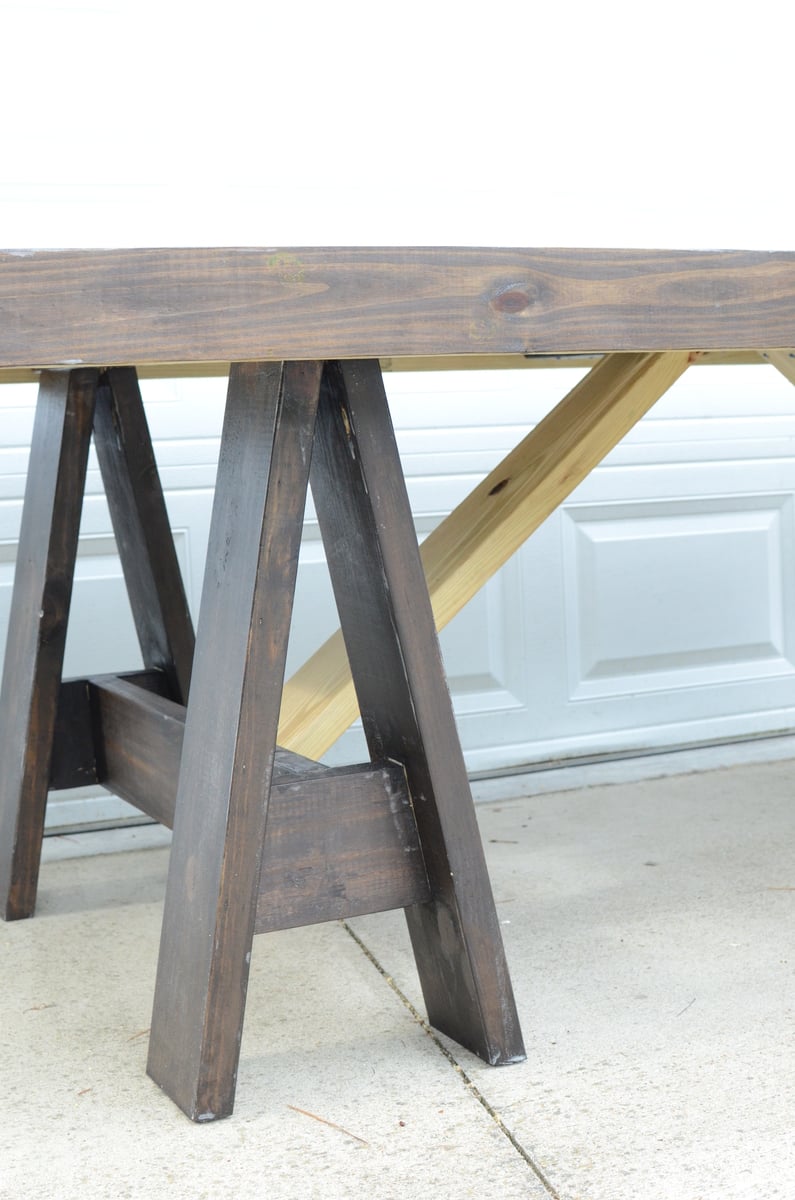
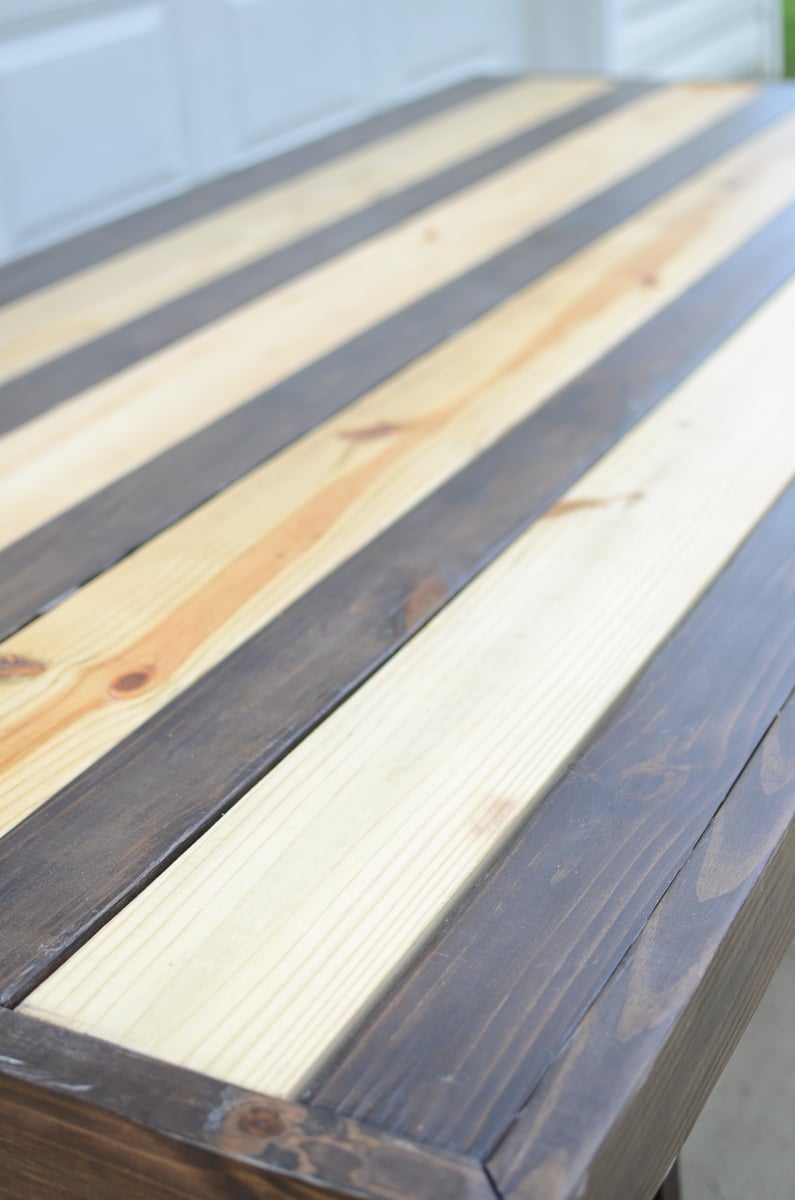
New table for our patio space. This was a fun, relatively easy project. The weather was my only hiccup in the building. Spent an afternoon making cuts, the next day sanding and staining and then assembly. Hubby saw the pieces laid out before staining was complete and loved the two tone look, so I went with it. I used minwax Kona for the stained area and covered everything with Spar Varnish.
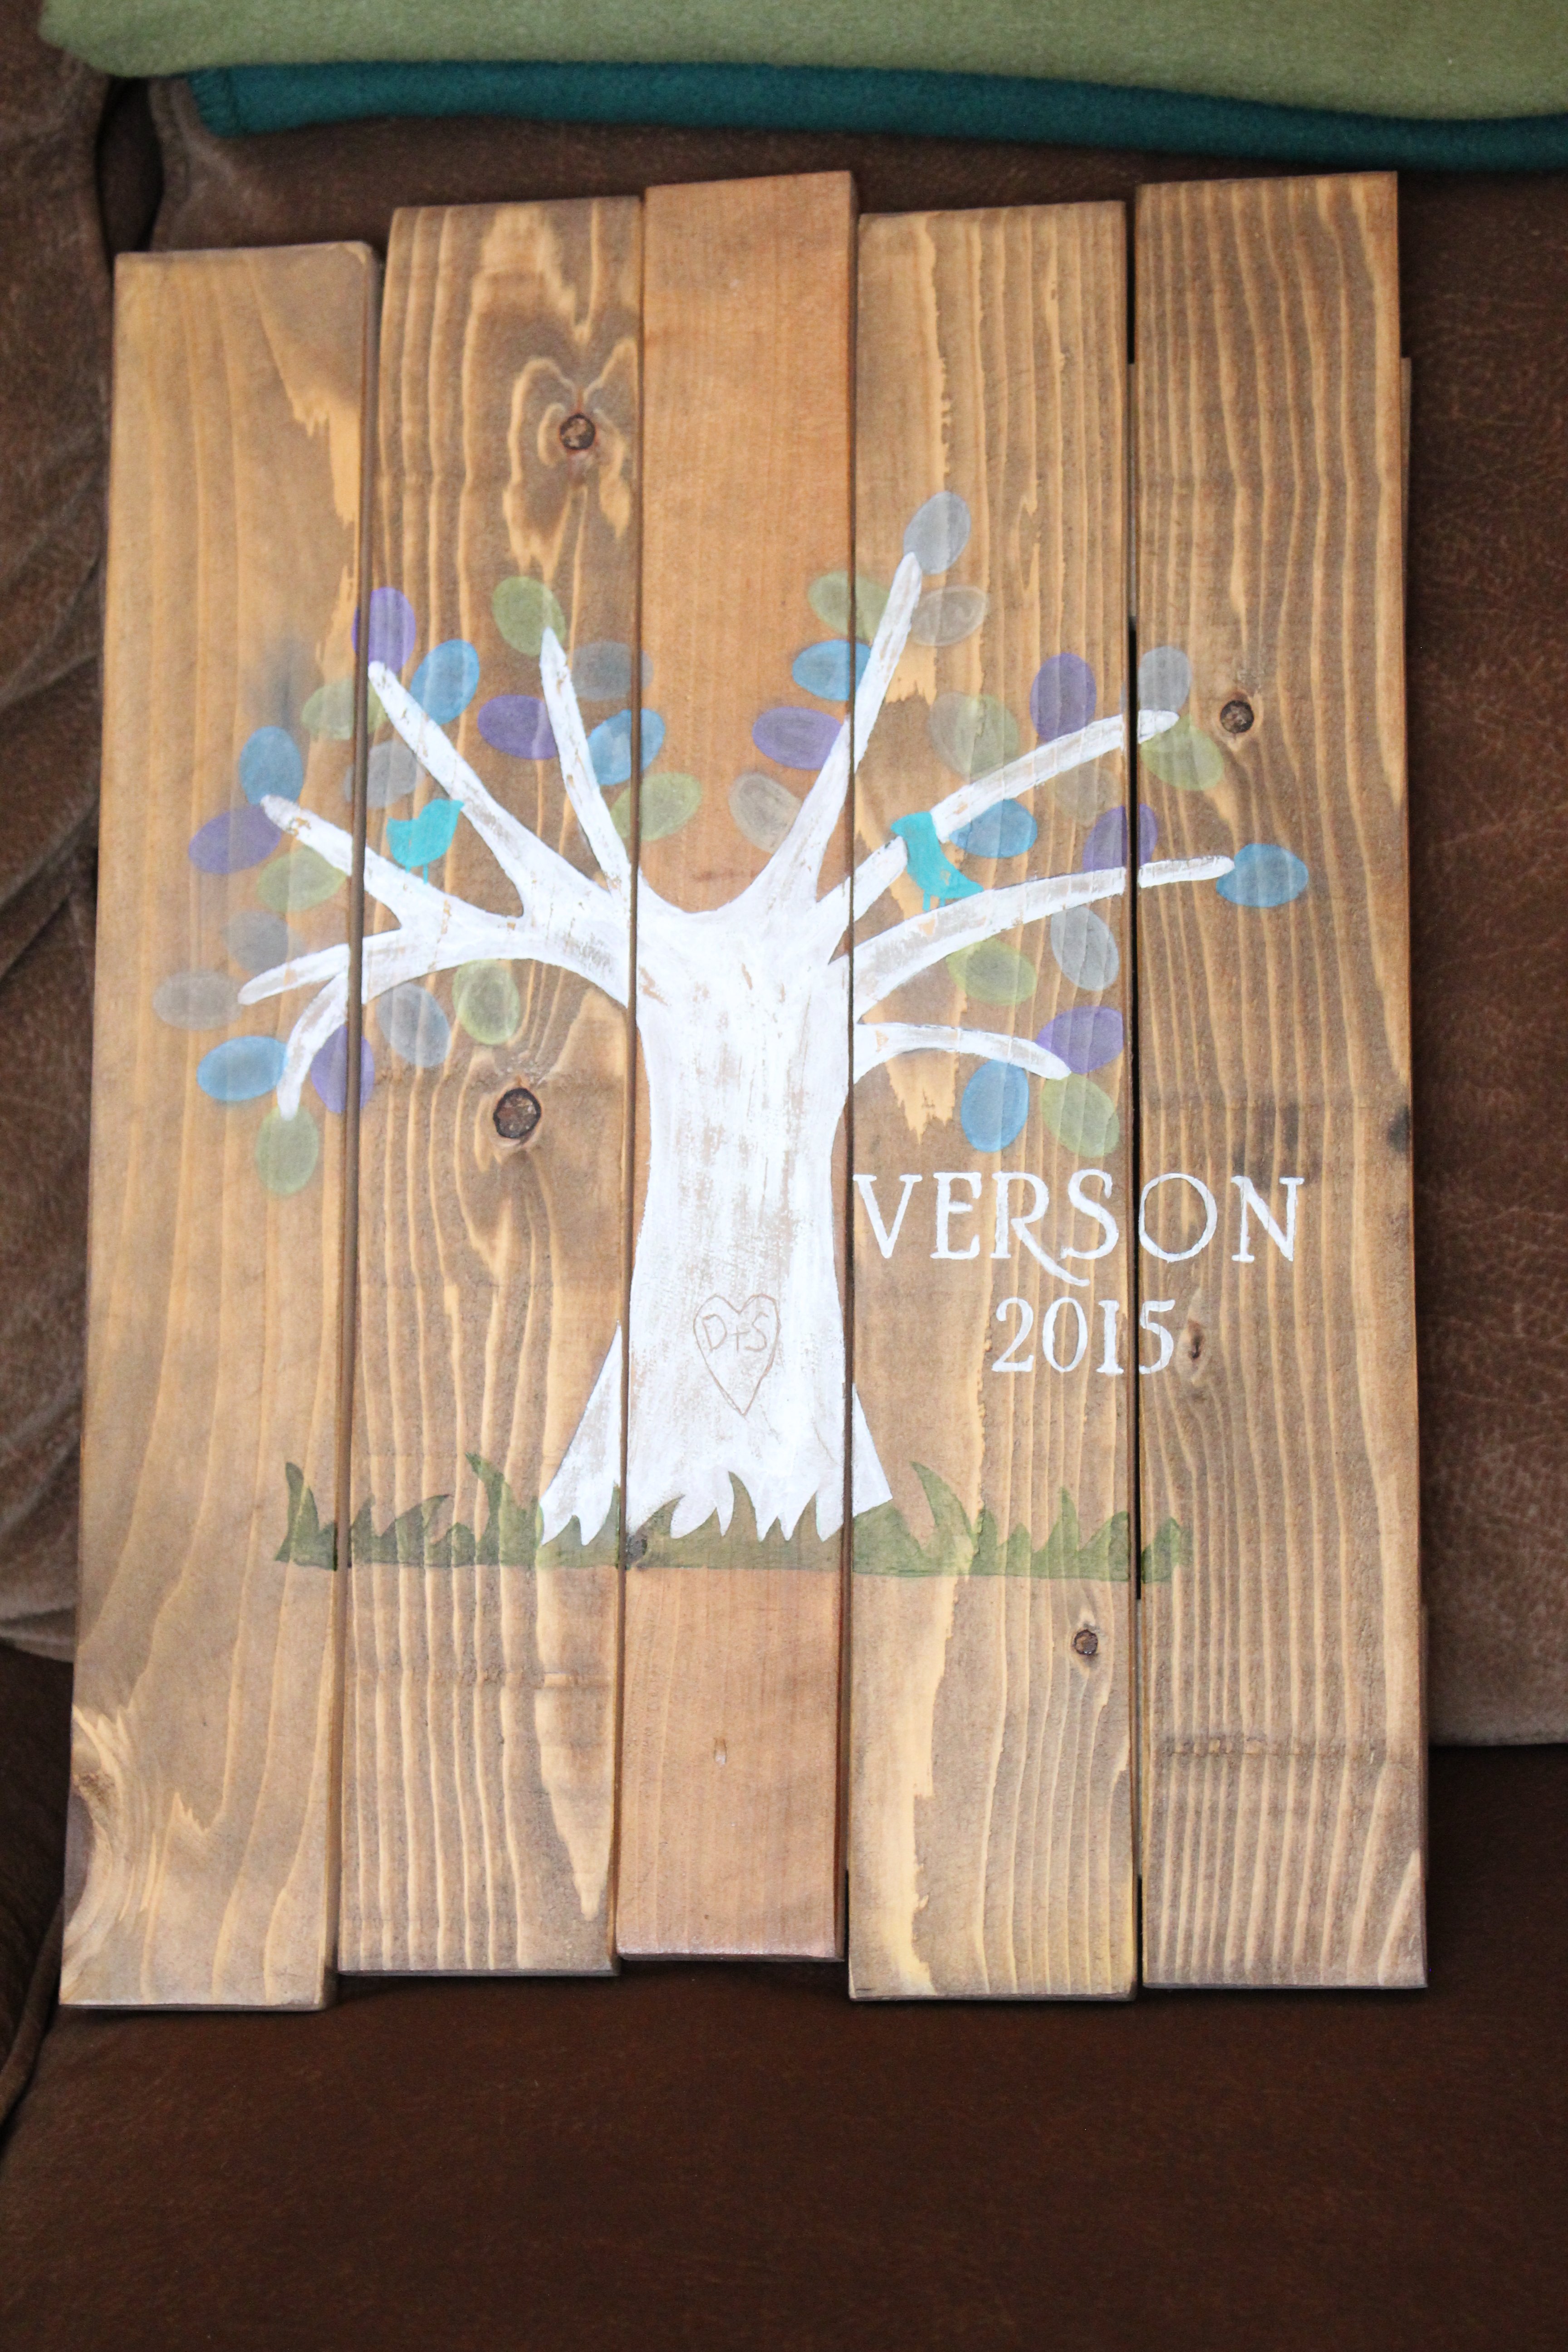
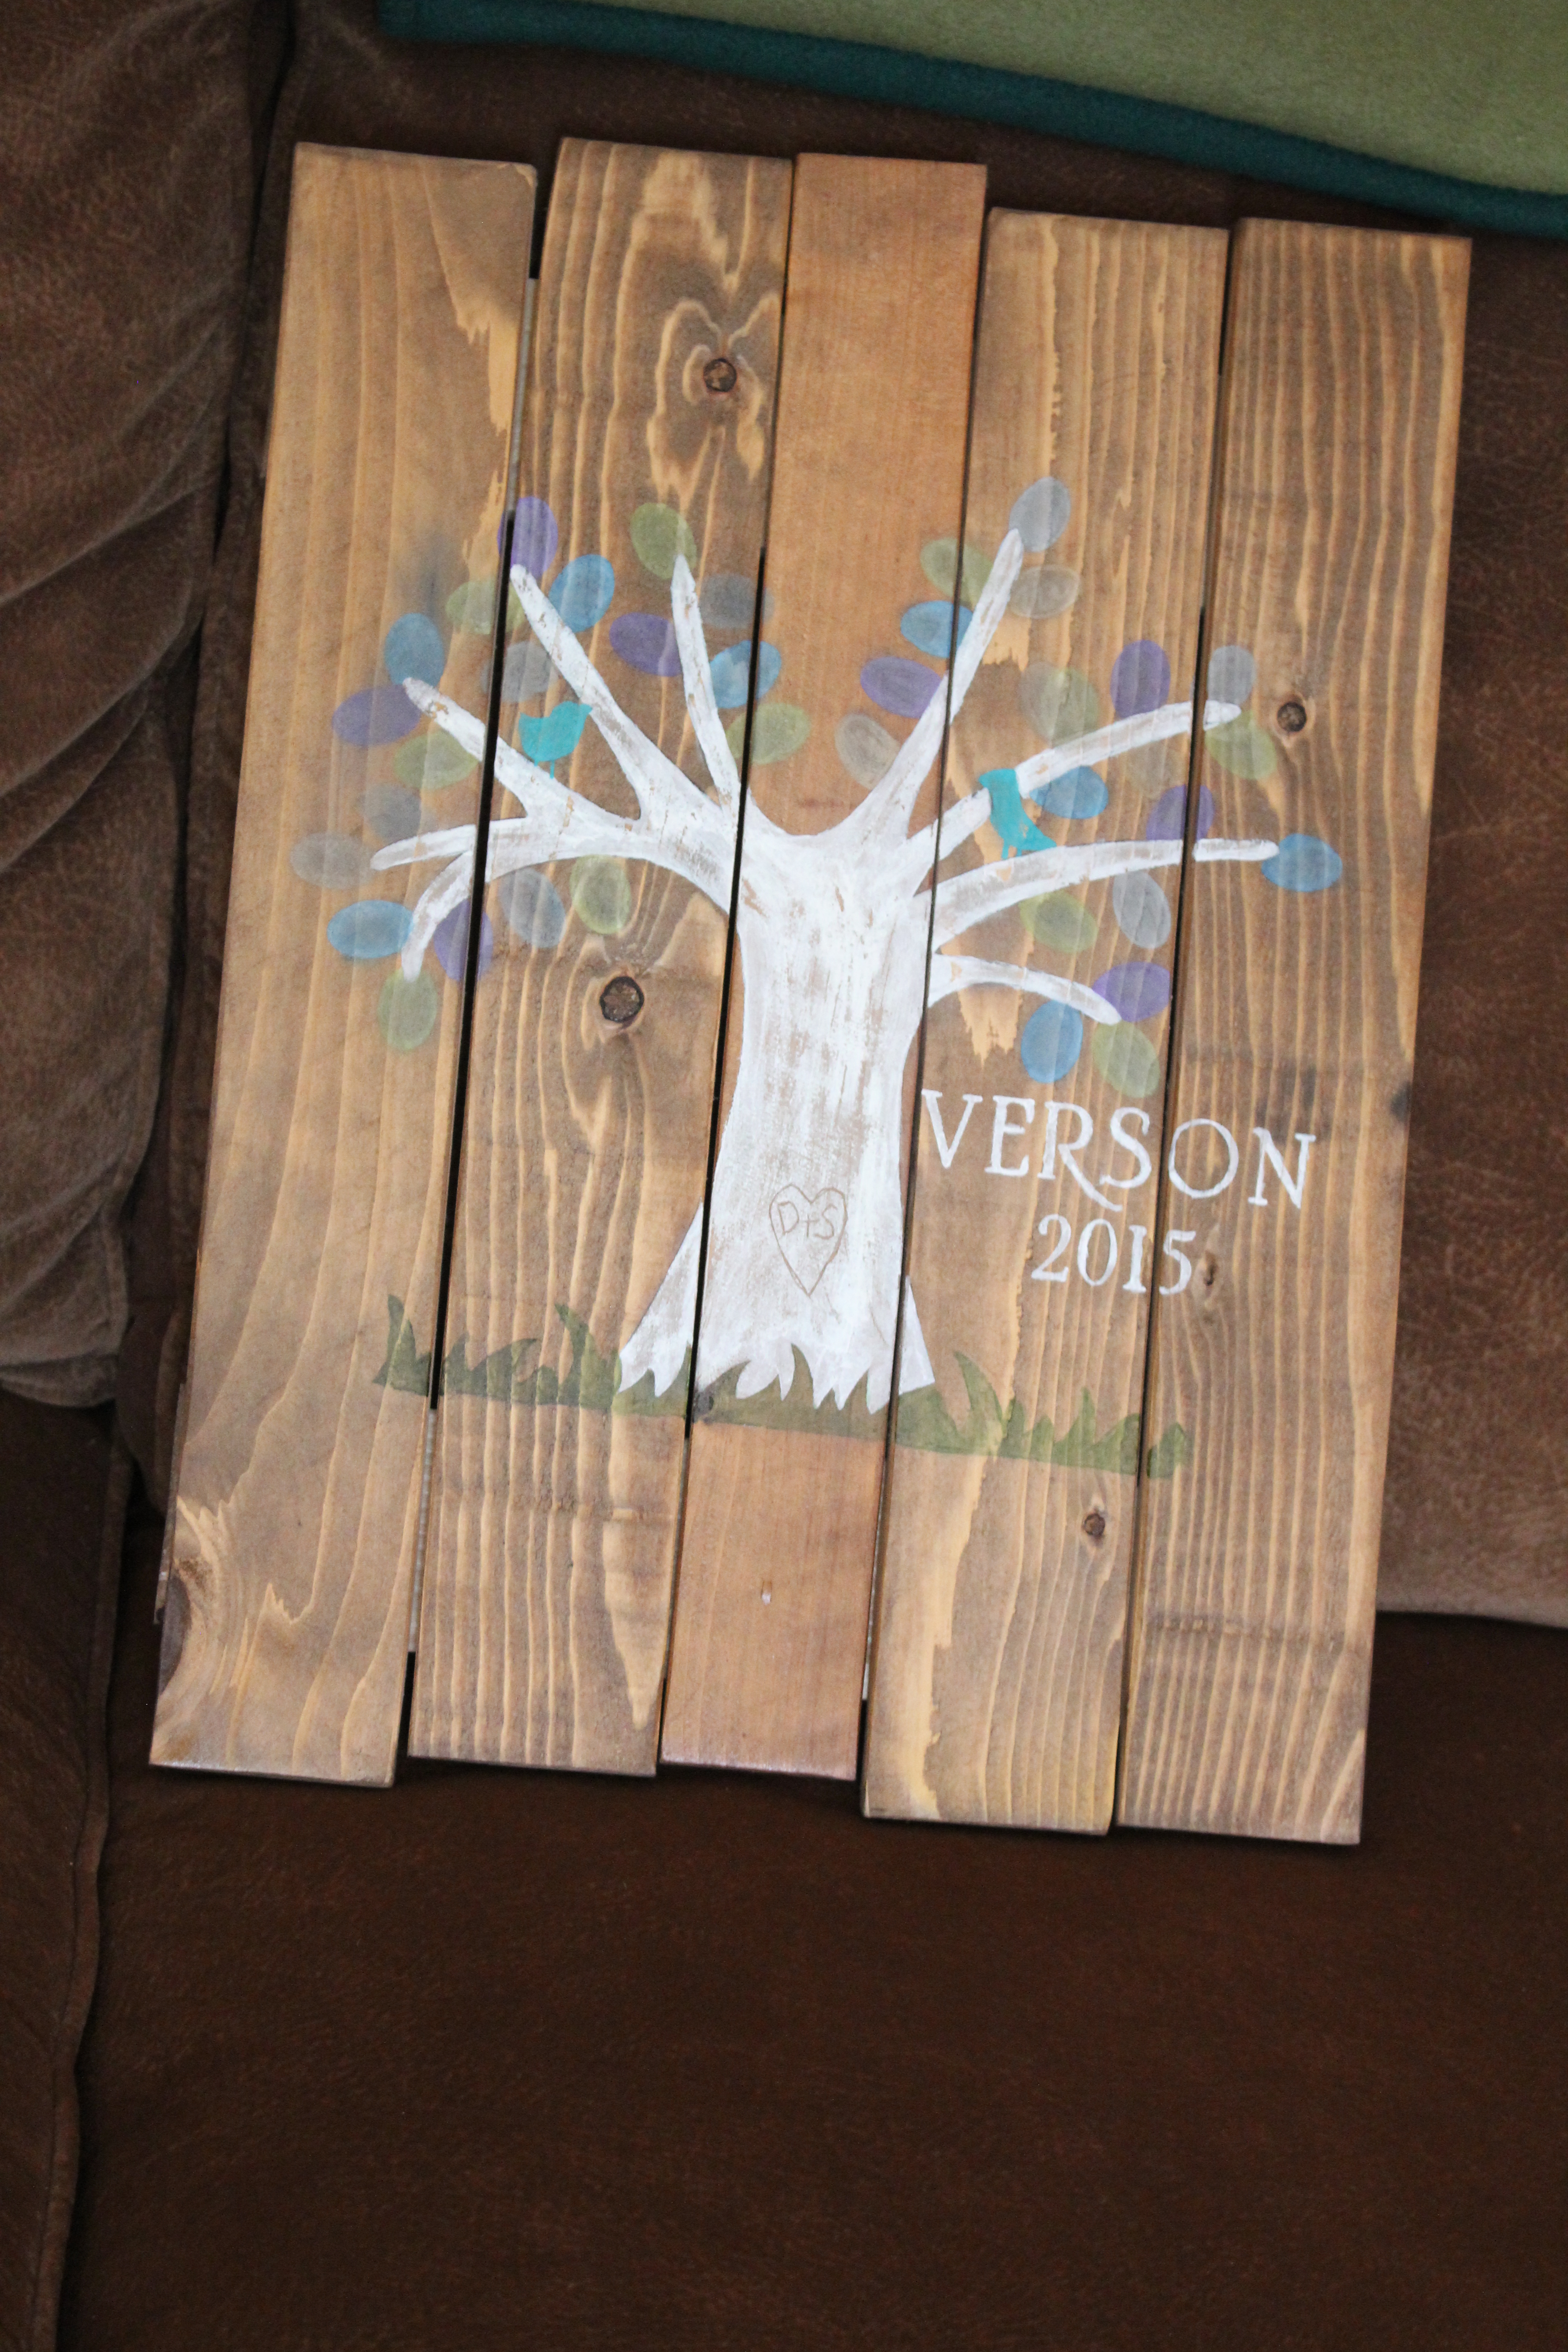
So glad to finally make this beautiful panel wall art for a friend for her wedding. The last name is Iverson, so the tree stood in for the I. I made it on cedar pickets ripped in half and sanded, kona stain, then designed my tree/lettering/birds in Cricut, cut it out, and painted. Can't wait to give it to her!
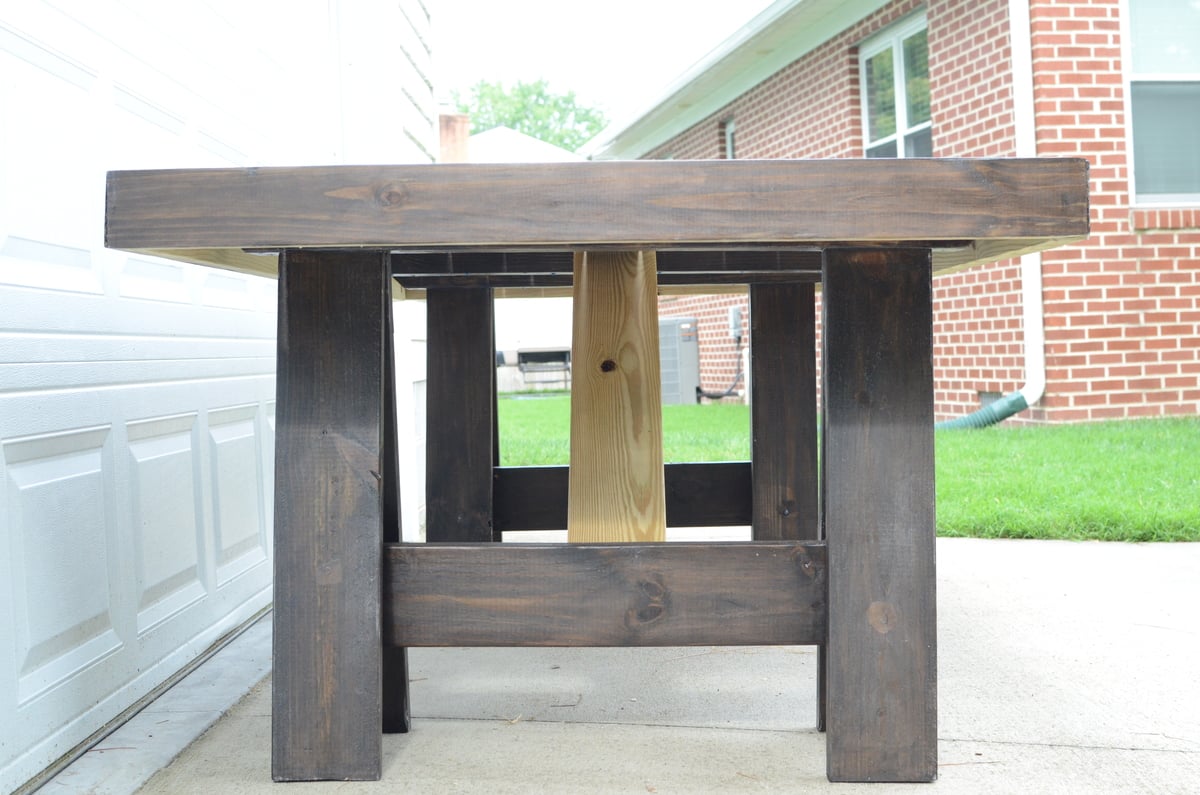
I did a few thing different than the plan calles for. I used kiln dried douglas fir 2x8's and ripped them to remove the rounded mill edge. For the stretcher I used 4x4 rather than the 2x4. Where the bread board is attached I put a very small bevel at the joining edges of the bread board and table to create a visual distinction.

Smaller version of yours but works really well in our foyer.
This was our third major building project (I've built some frames and small shelves in my free time but our other two big projects were the bunk beds and the tryde coffee table).
This was our first time cutting plywood boards and it was a huge chore at first, until we got the hang of it and built a good circular saw guide that cut our cutting time by more than half.
We couldn't find the type of drawer slides we needed so we decided to forget them and built our own wood slides. They basically are just L-shaped brackets made of 1x3 (on the bottom) and 1x2 (on the top), adjusted to the right spot to hold the drawers in place. A little candle wax (a trick learned from my husband's grandfather) is all you need to make them slide nicely. All in all, we built drawer slides out of wood for the about $20 total. Huge savings and honestly I think I like it better that way.
Things I learned during this project:
Plywood is a lot heavier than I ever imagined.
Cutting plywood is not fun.
I will never complain again about cutting boards with the miter saw!
Stainable wood putty is a joke. You can clearly see every spot I puttied. From now on we buy the colored stuff that already matches the stain!
Building drawers isn't scary--I thought it would be. I actually built all the drawers by myself in one morning, when hubby wasn't even around to help.
90-degree gripper things are a must have. And the more you have, the better.
Elmer's wood glue is really stronger than nails. We glued something and didn't like it and were unable to break it off so we had to nail it as it was!
This project took us nearly a month, but to be fair, I was out of town for two weeks of that time and this is definitely a project for four hands, not two.
Overall, it was a great experience and I'm so excited for the extra storage--our house is small but we don't want to move so we are trying to make use of every inch of space, without the house LOOKING like we are making use of every inch of space.
Next up: new bedside tables to match the bed.
Comments
Ana White Admin
Thu, 12/16/2021 - 16:07
Awesome gift!
WOW, that is amazing, thank you for sharing!