Community Brag Posts

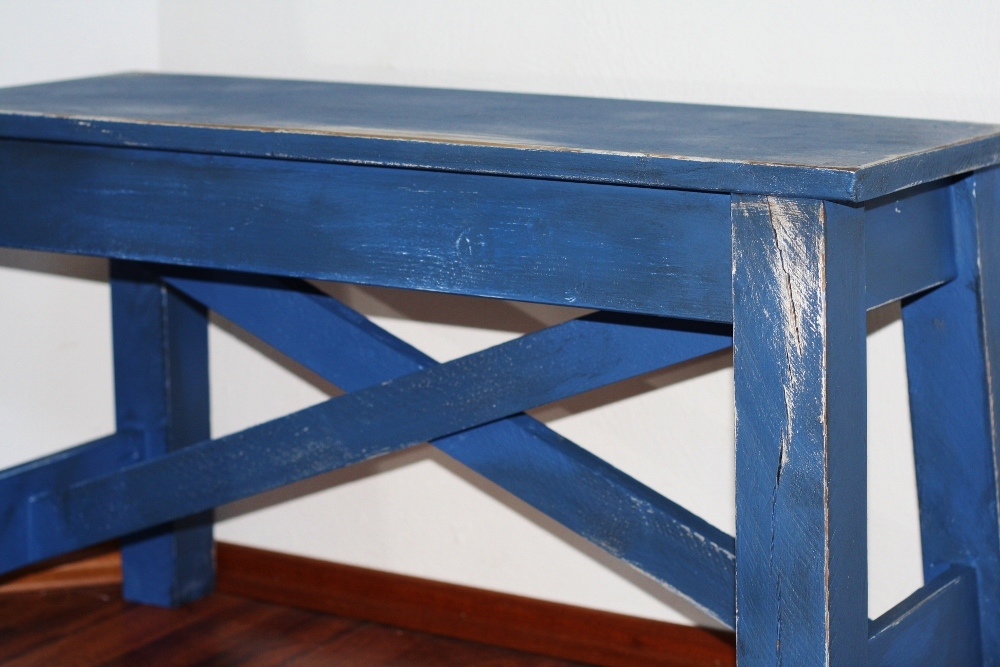
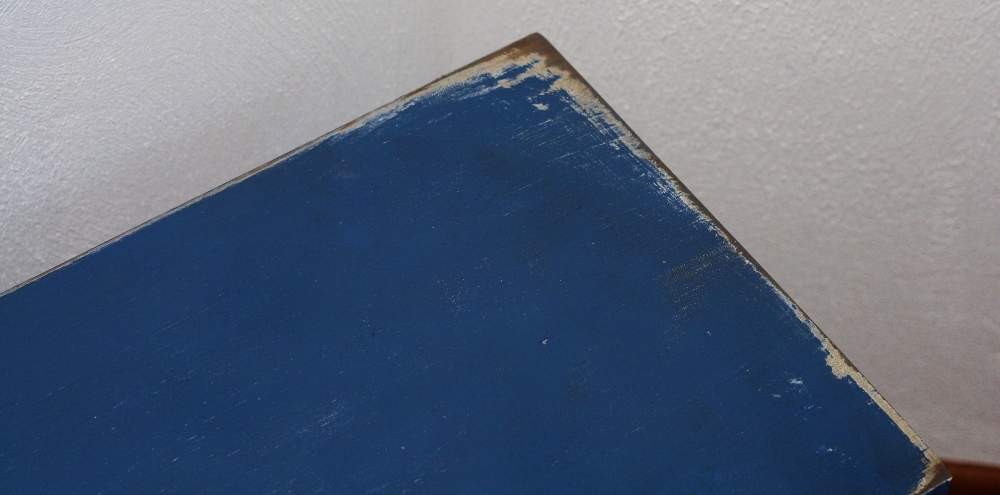
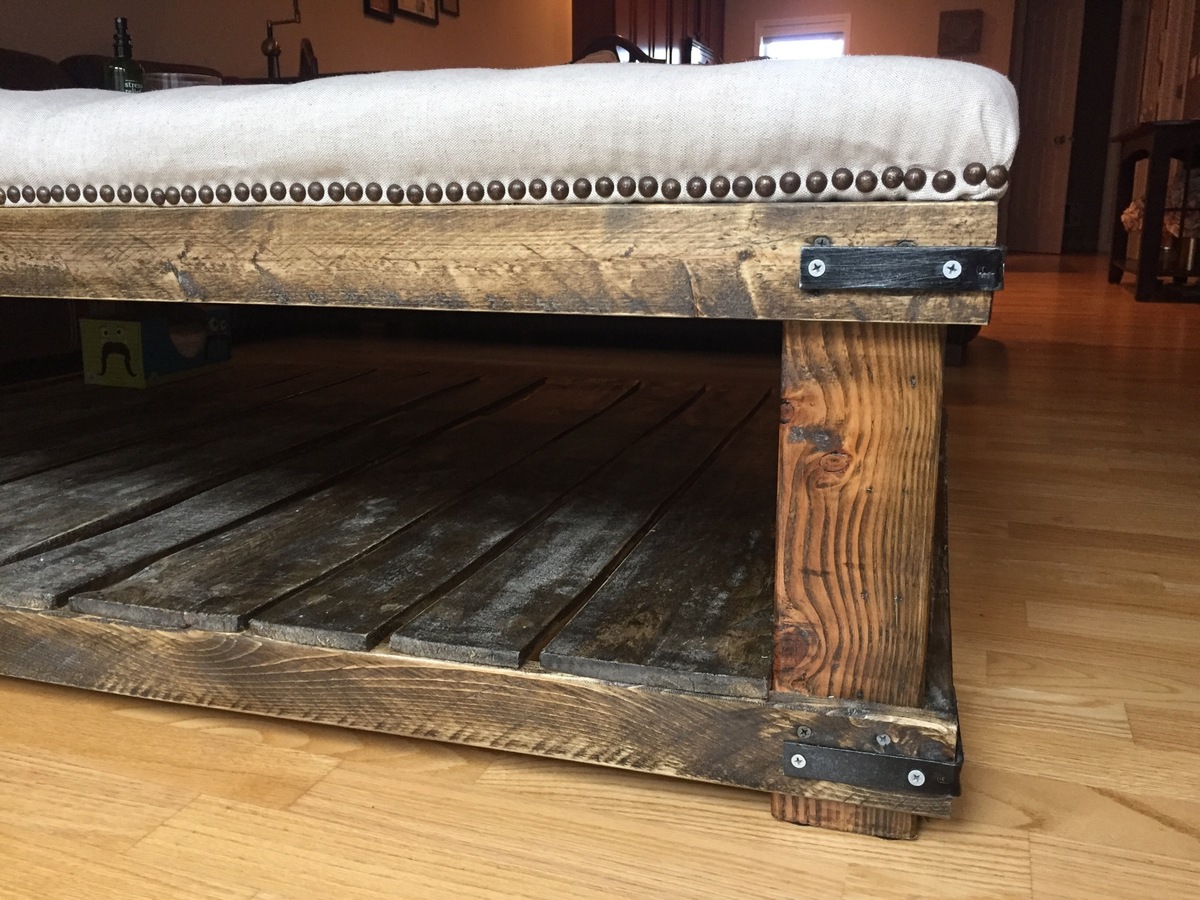
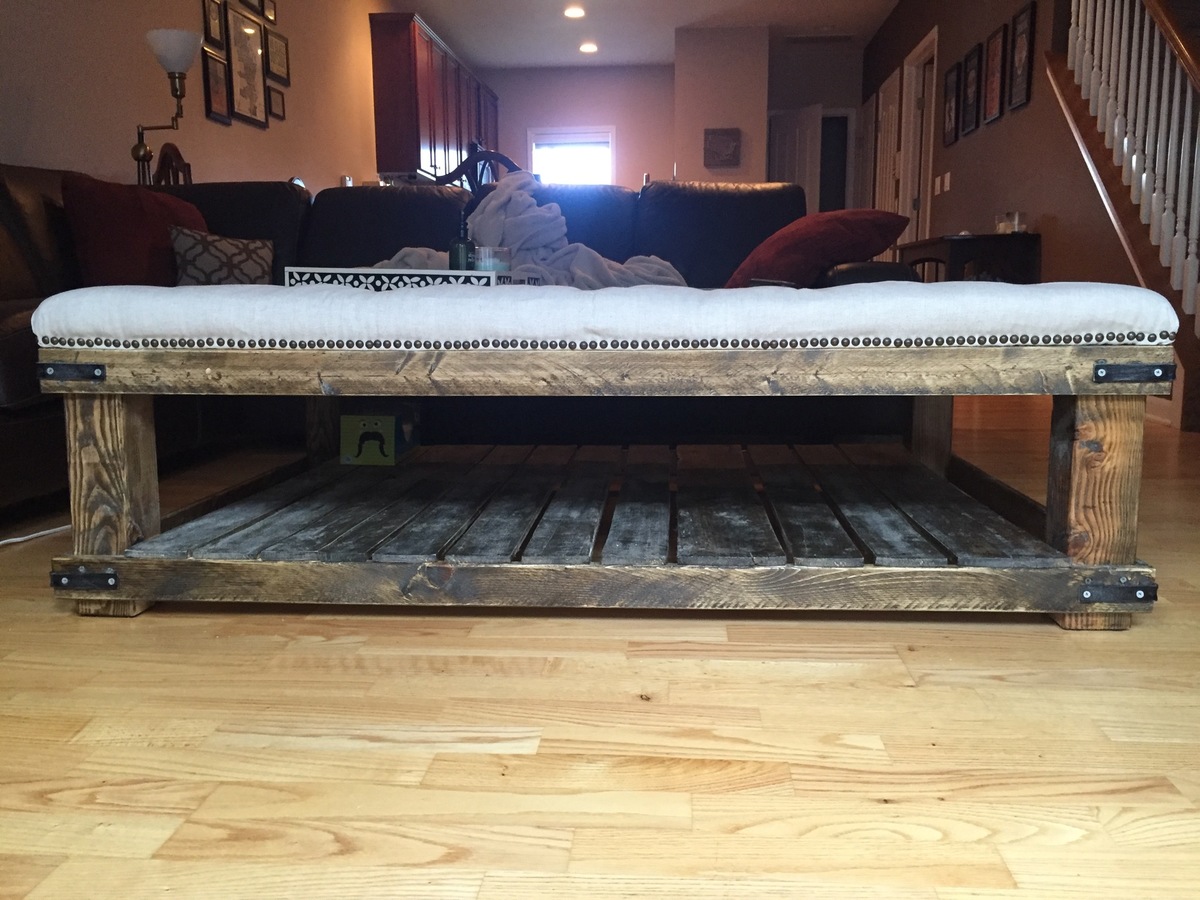
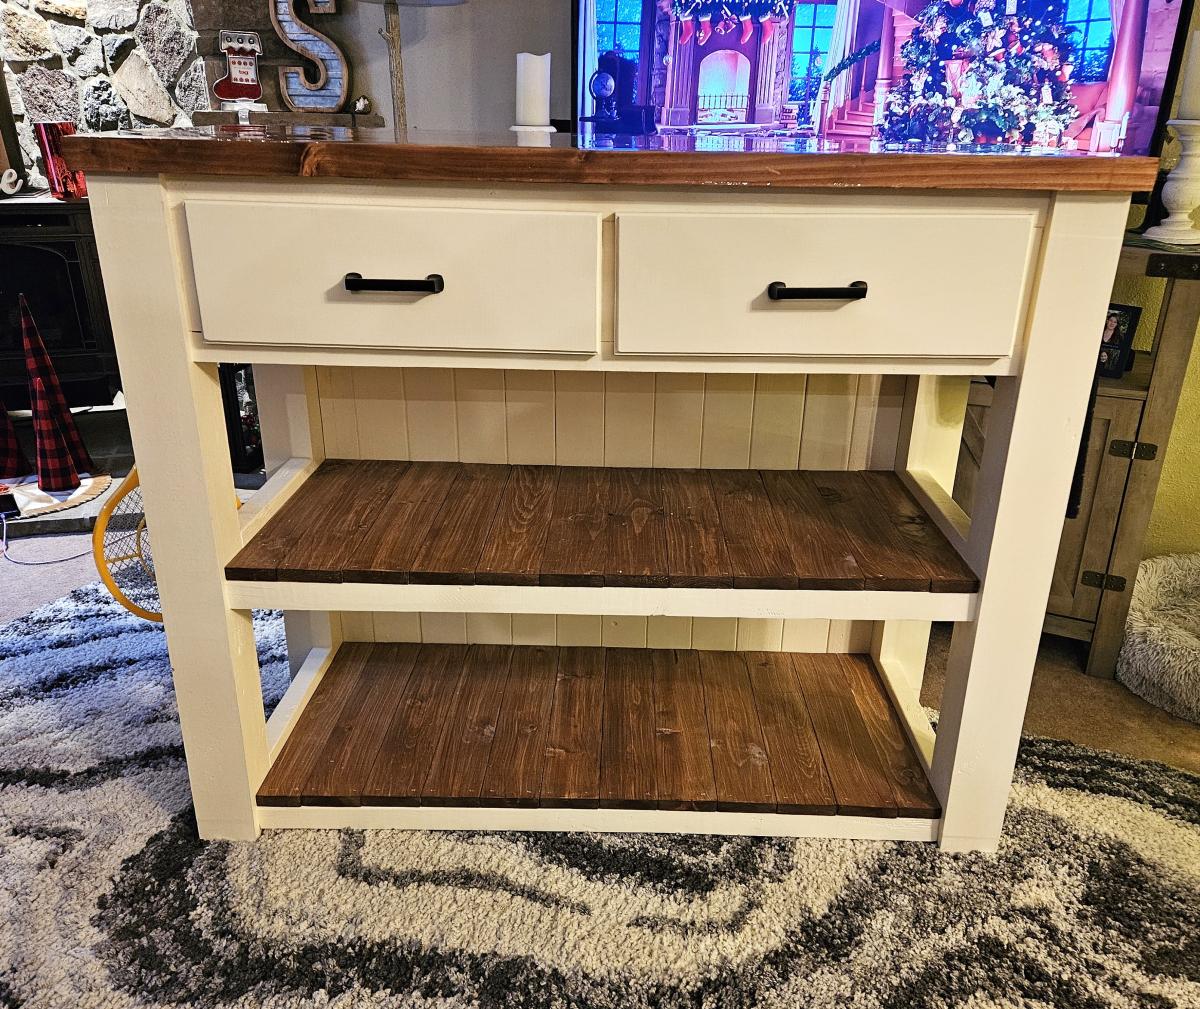
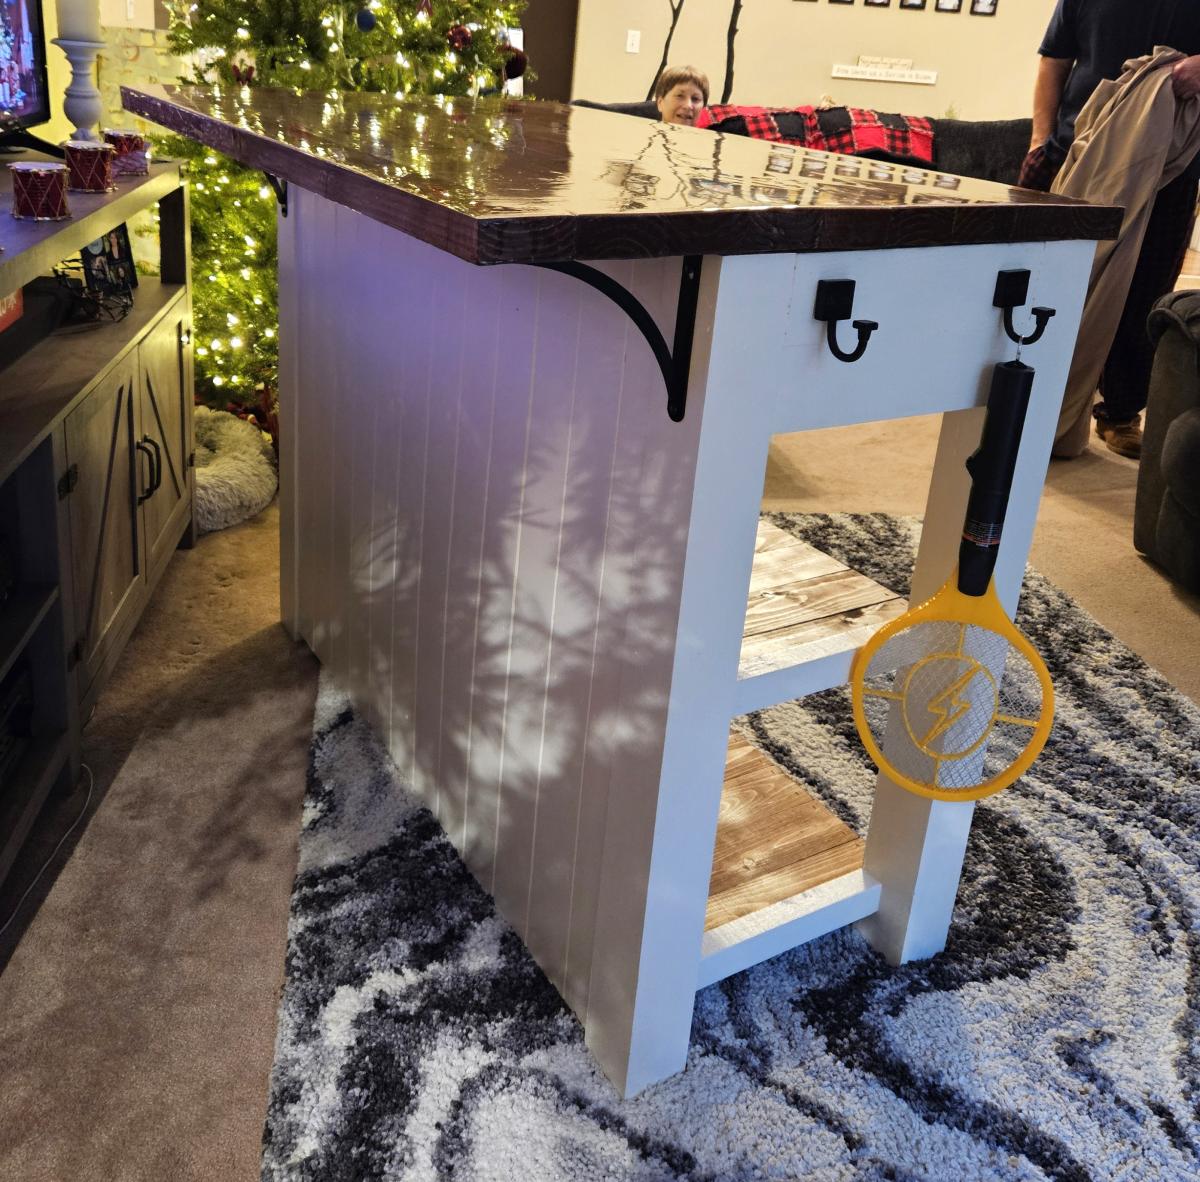
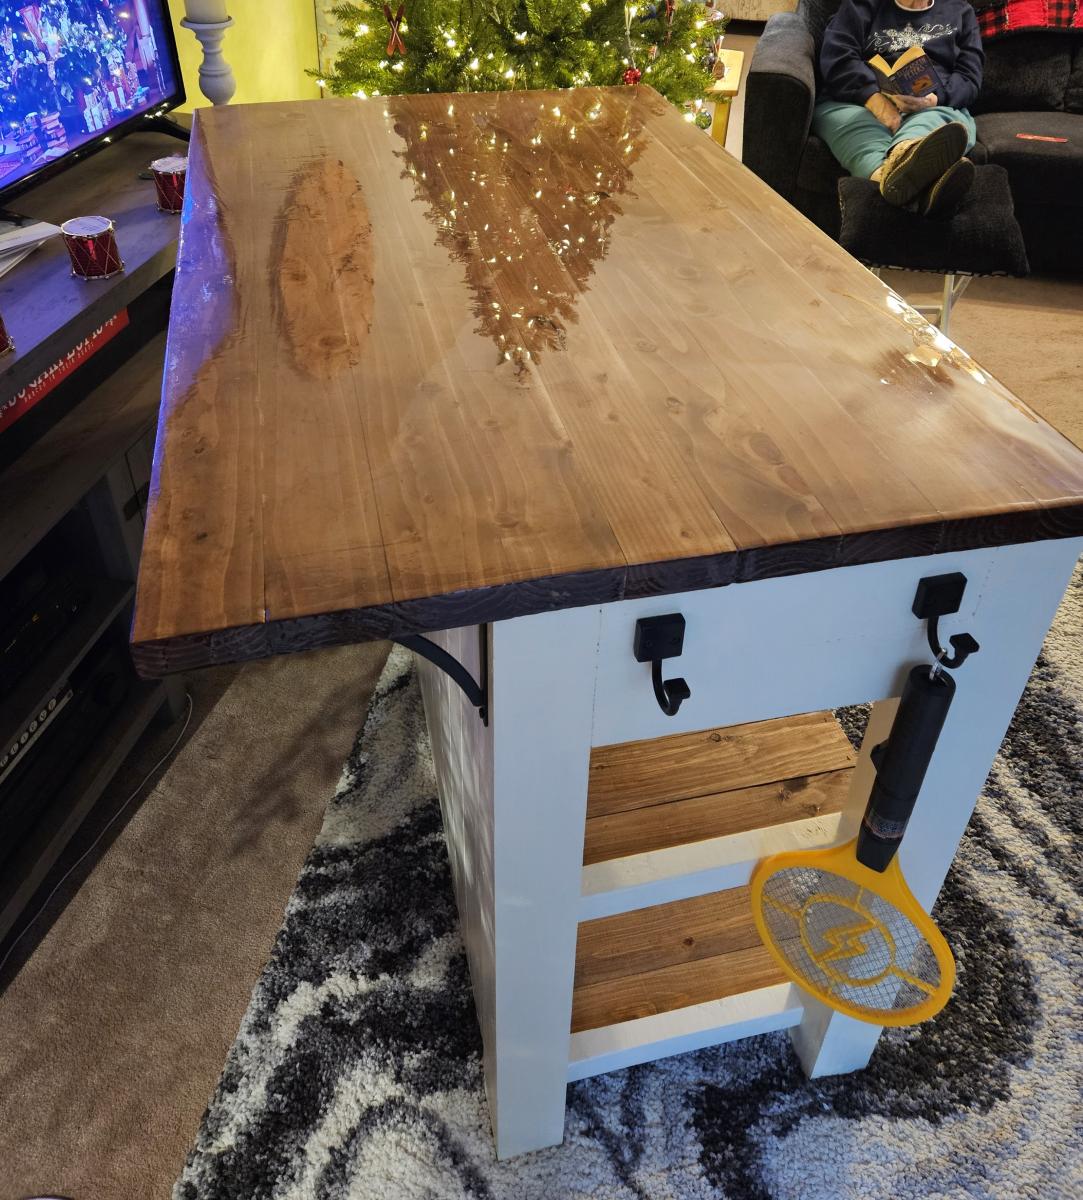
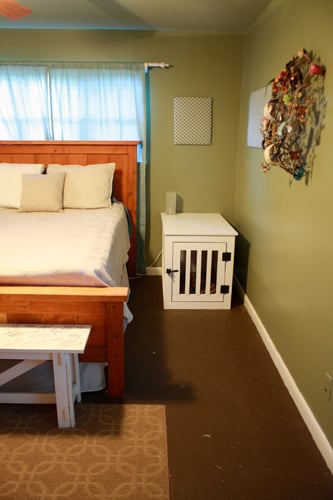
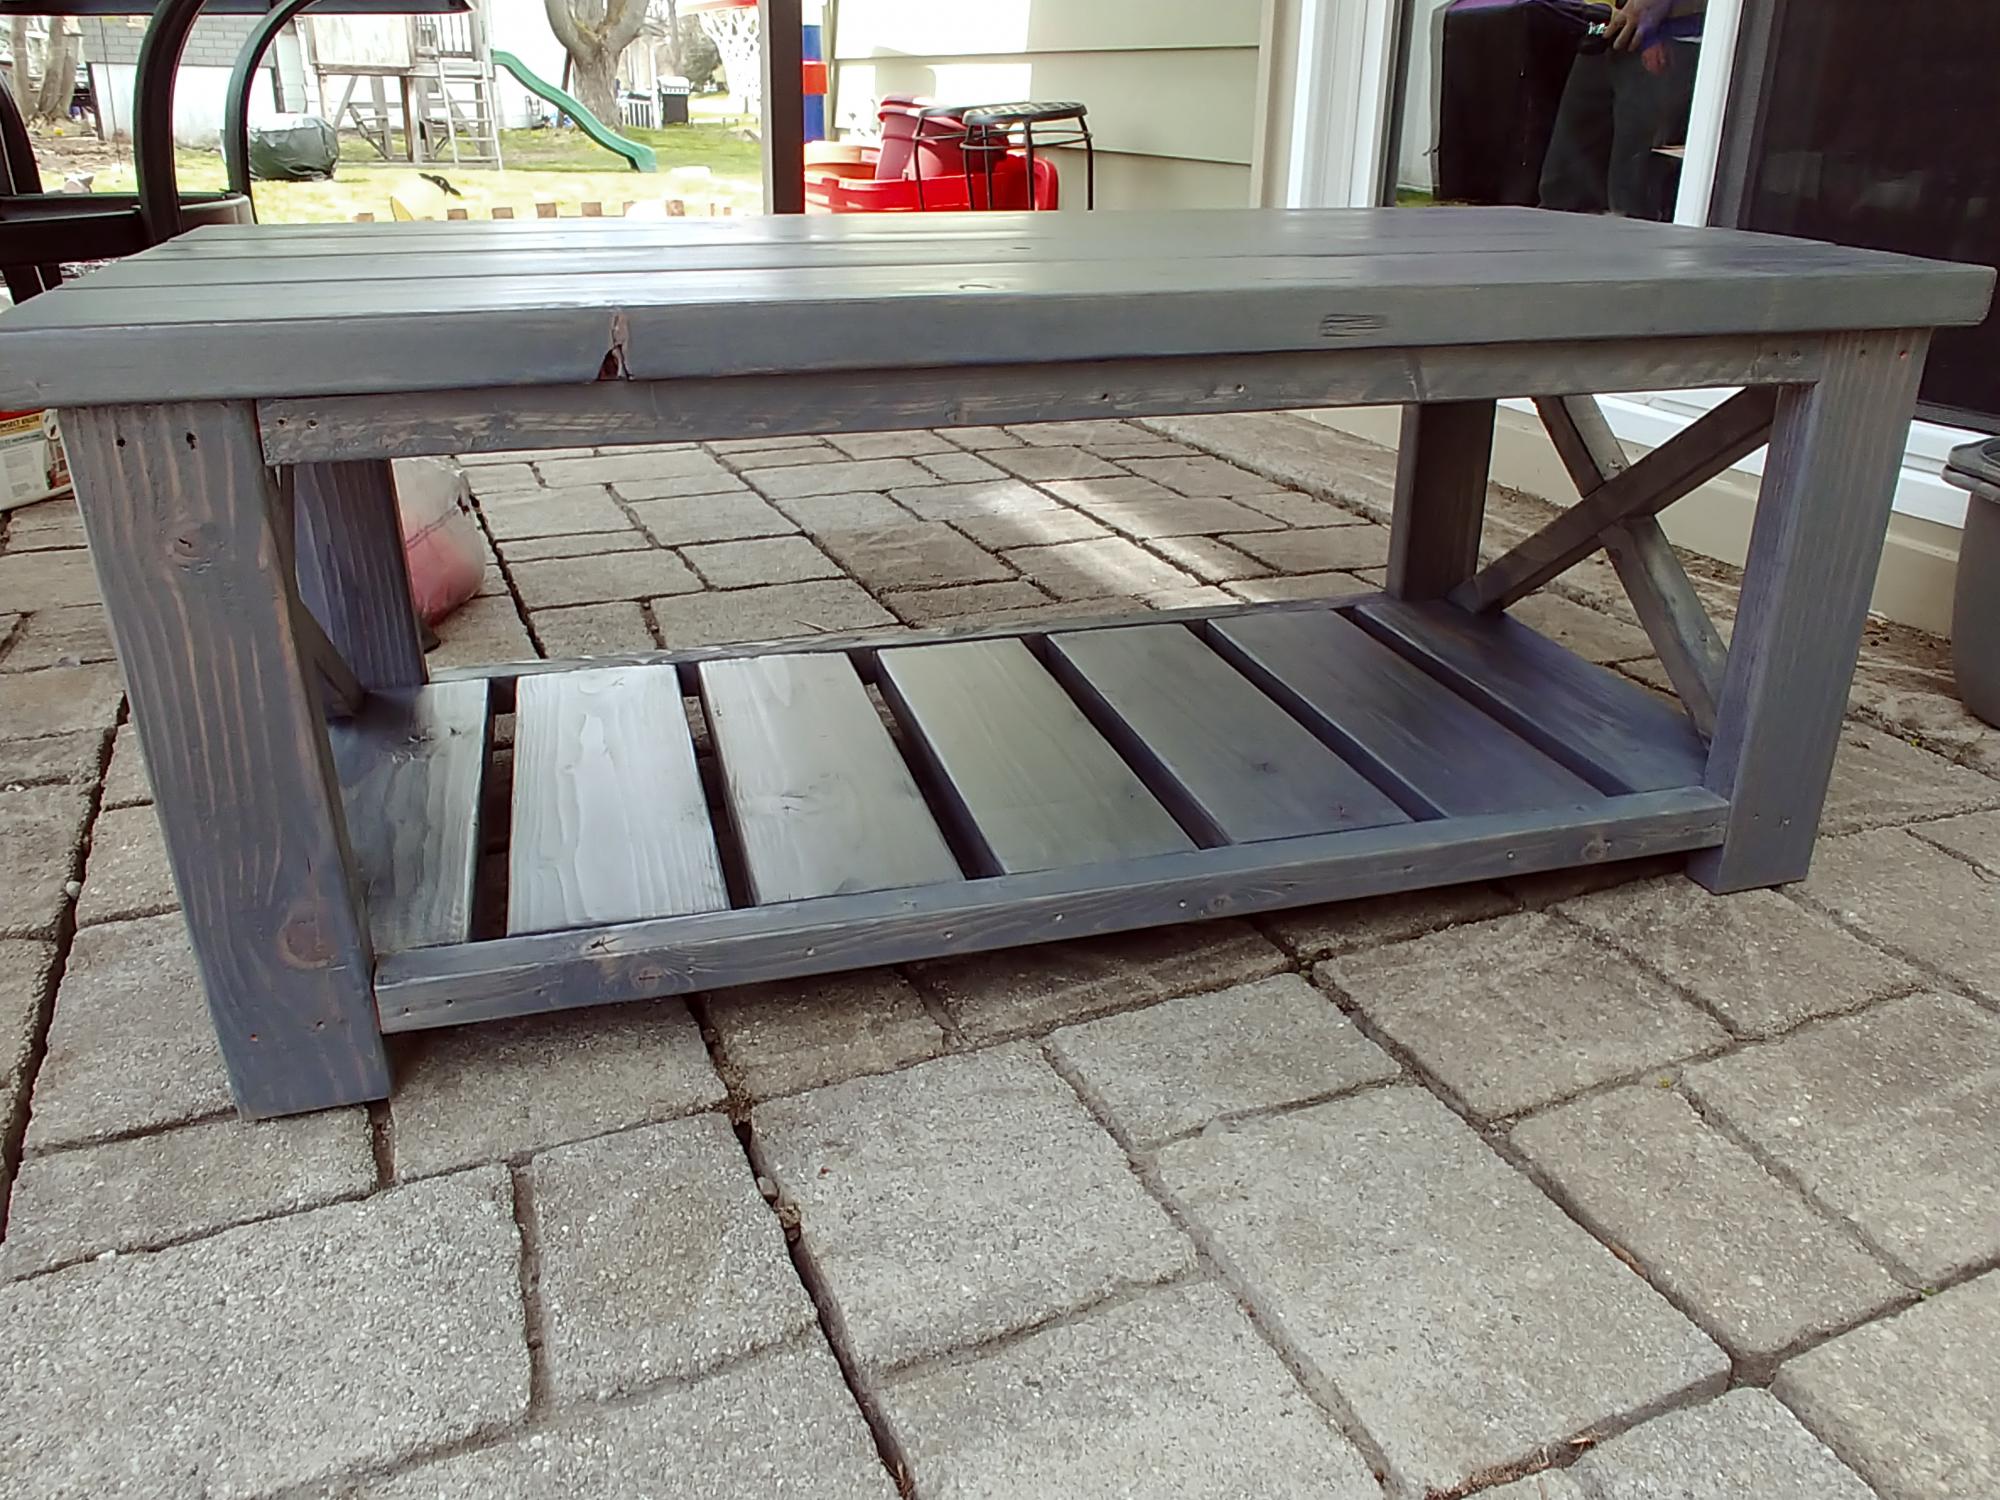
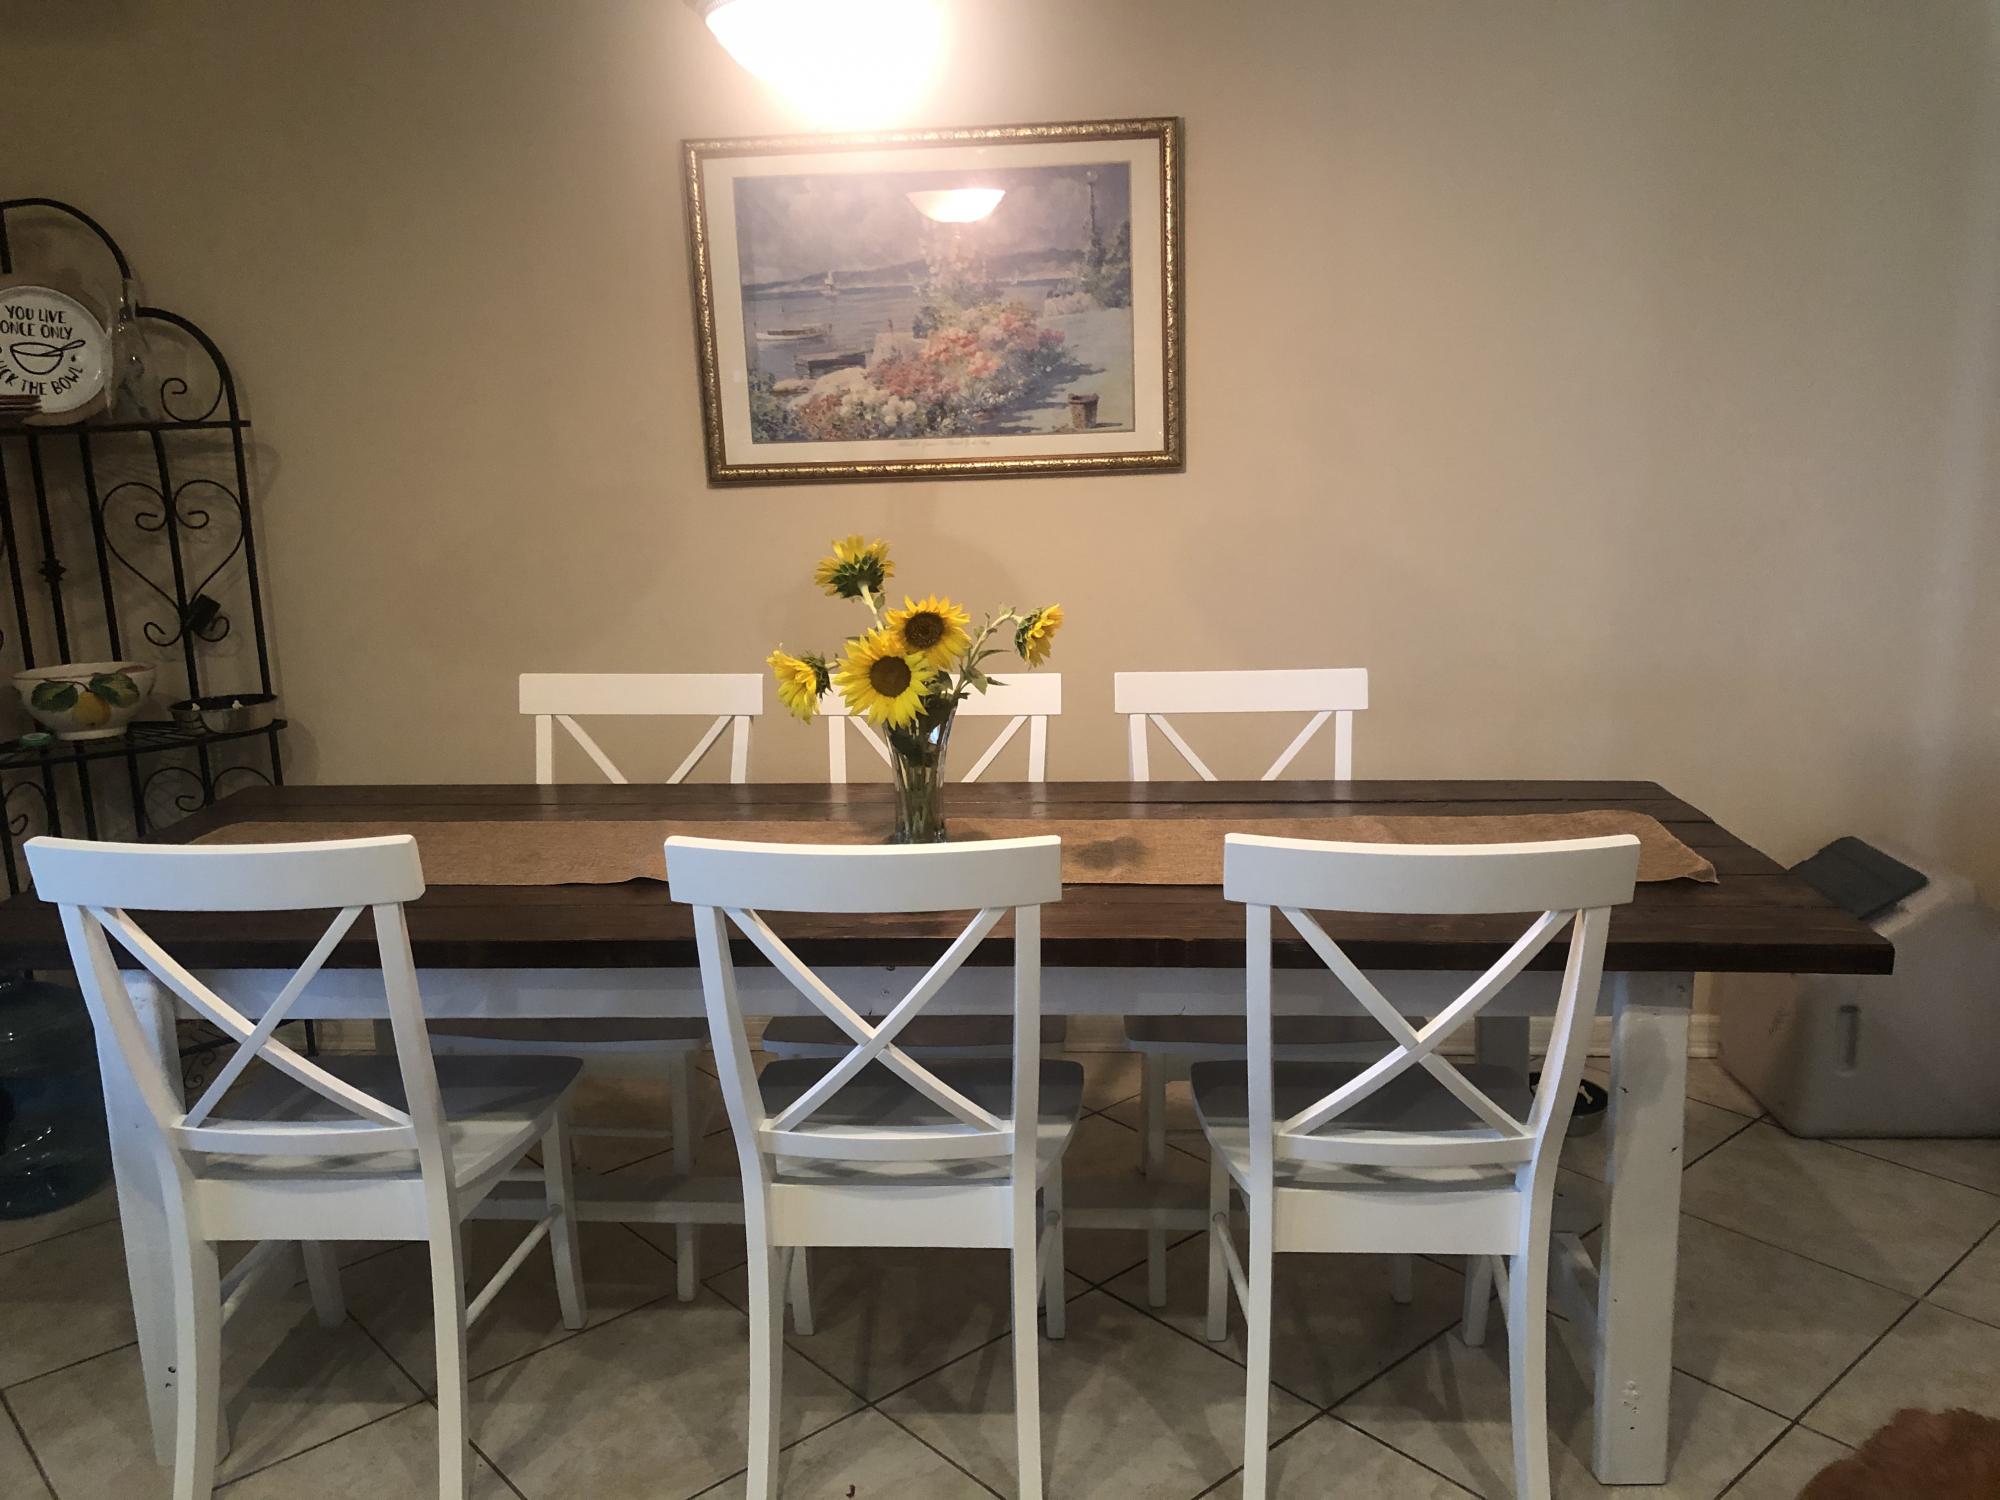
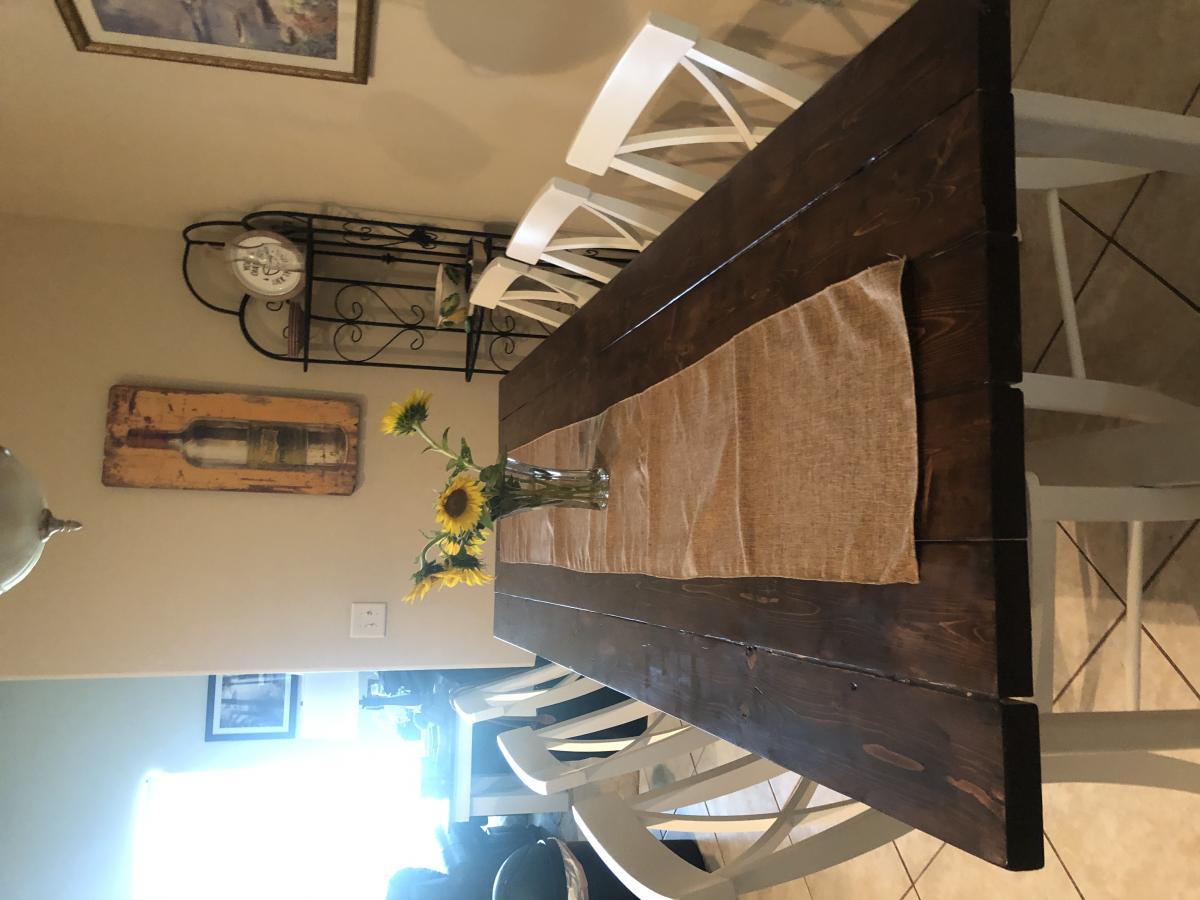
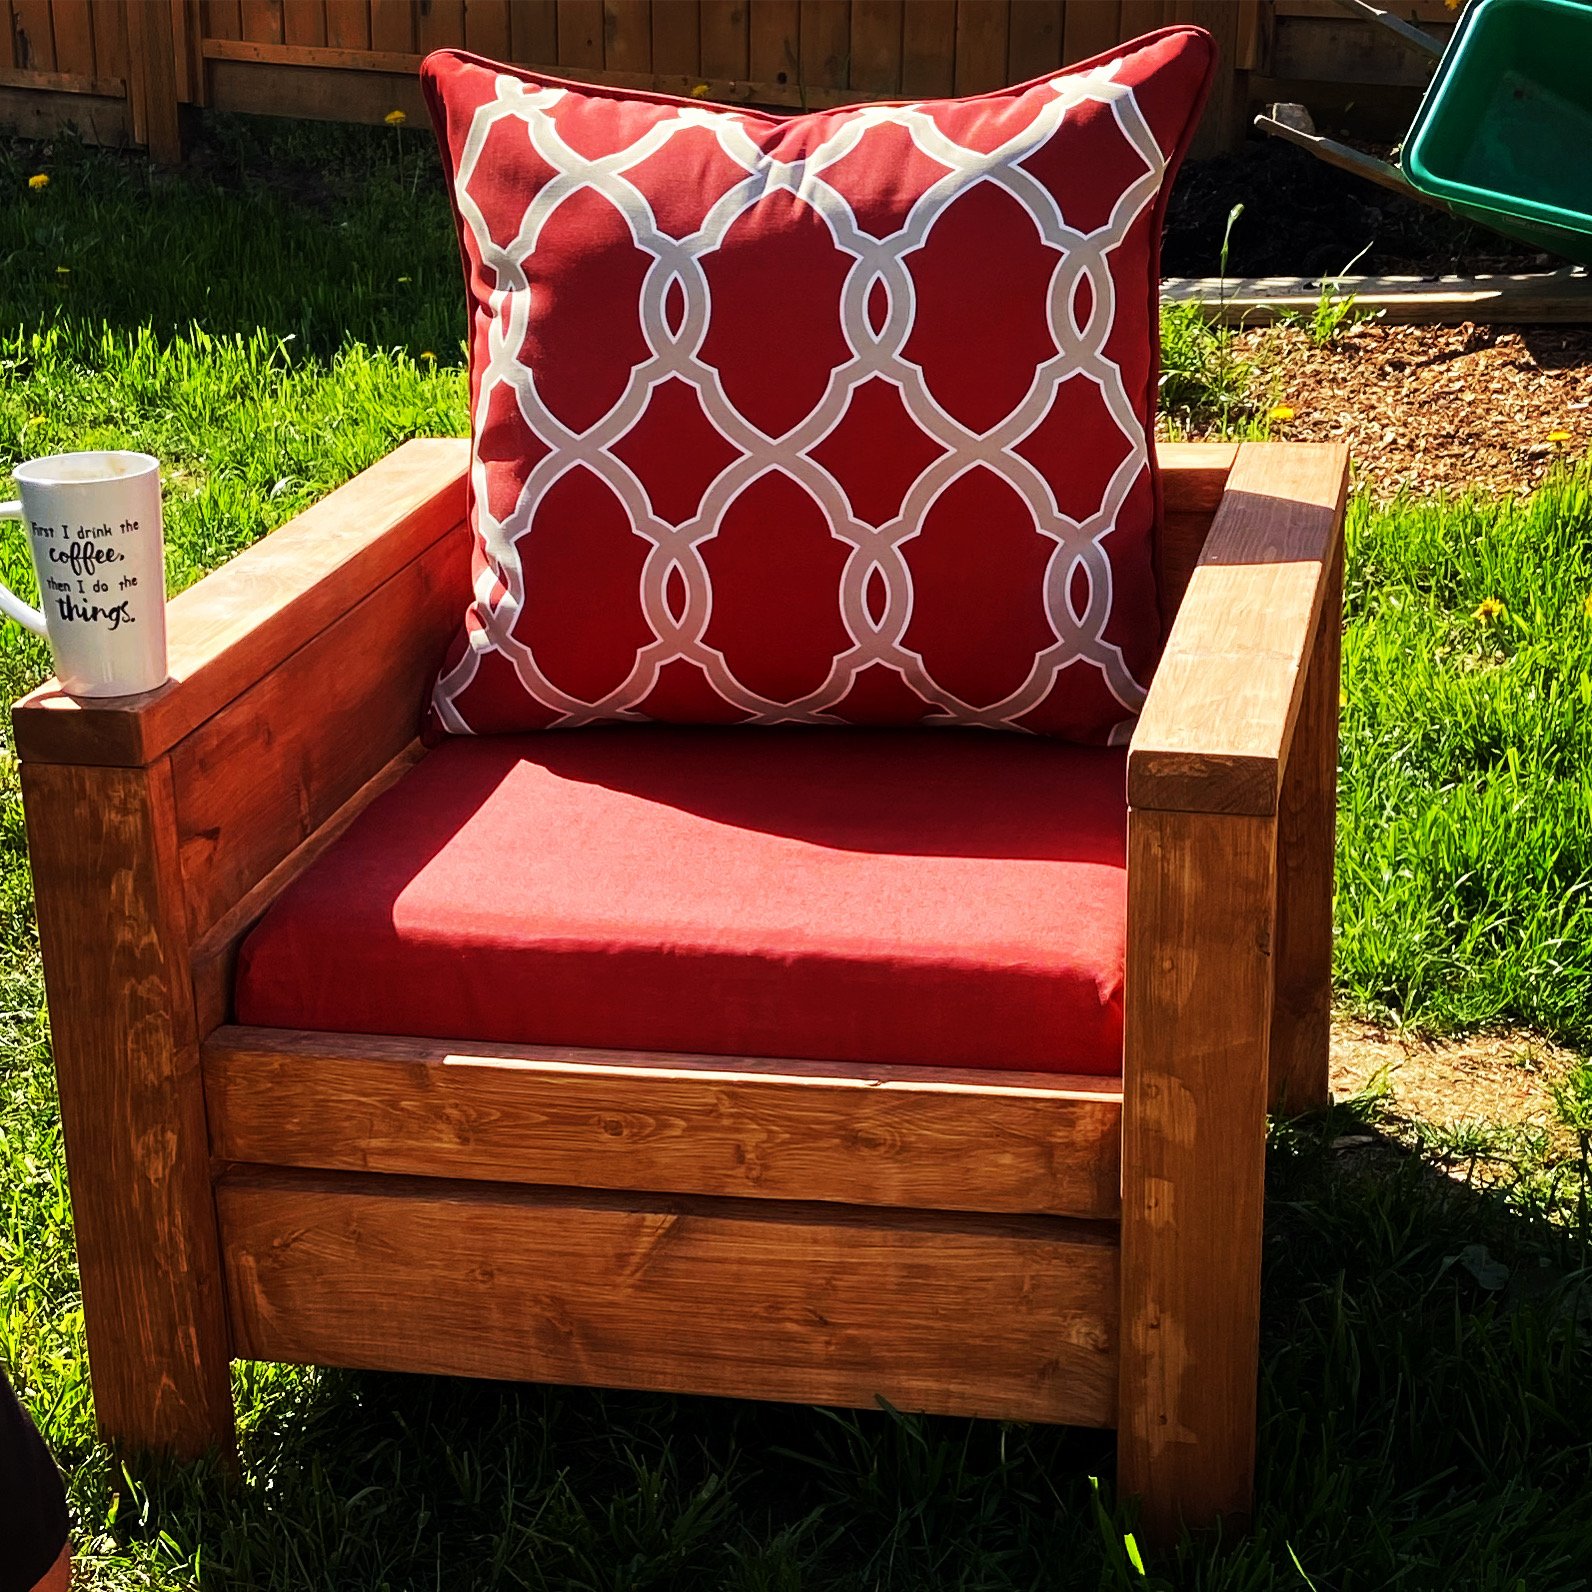
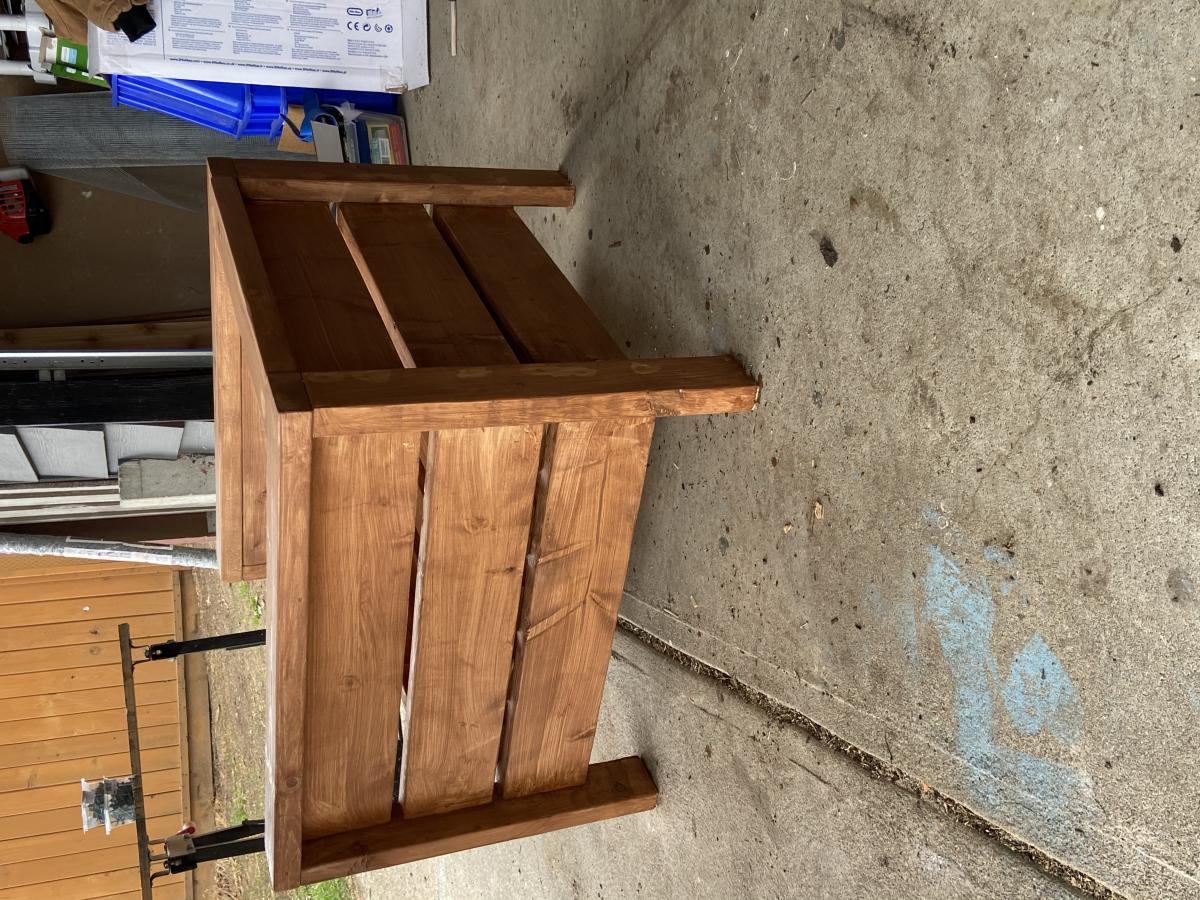
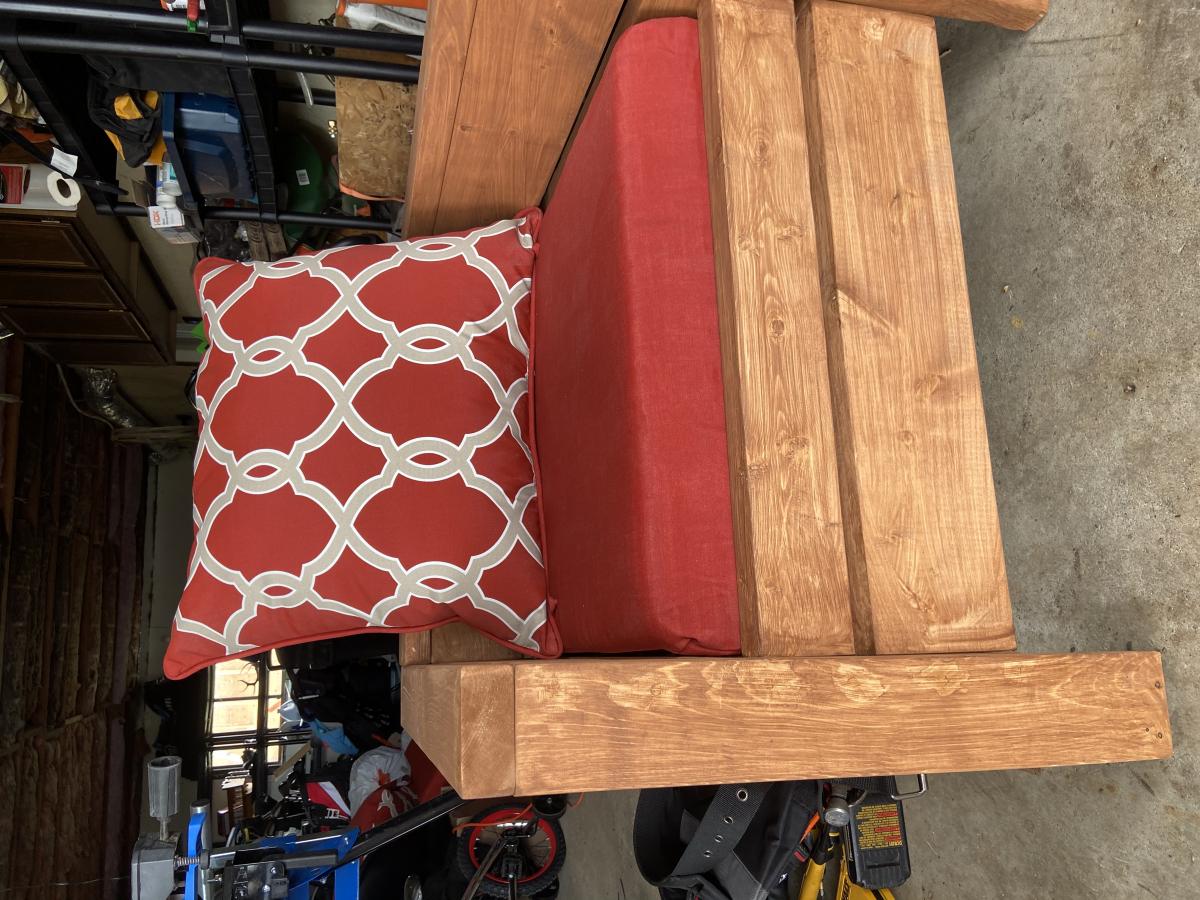
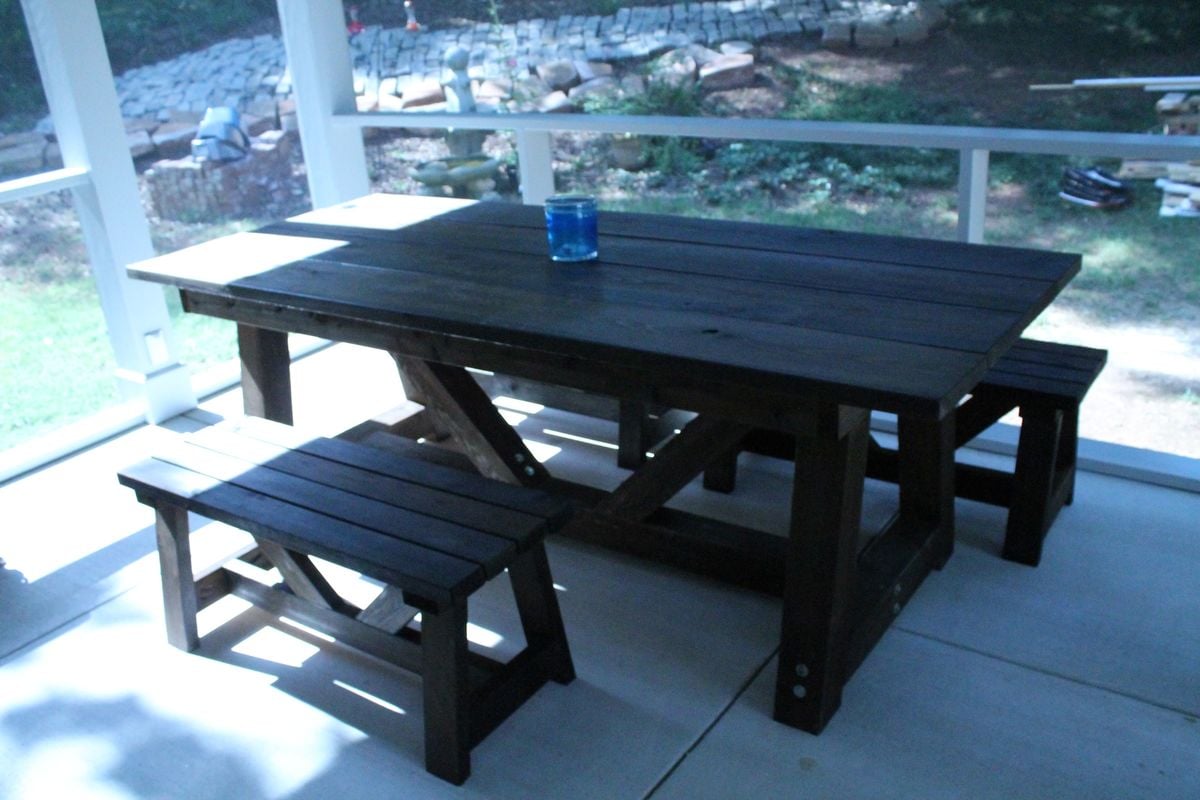
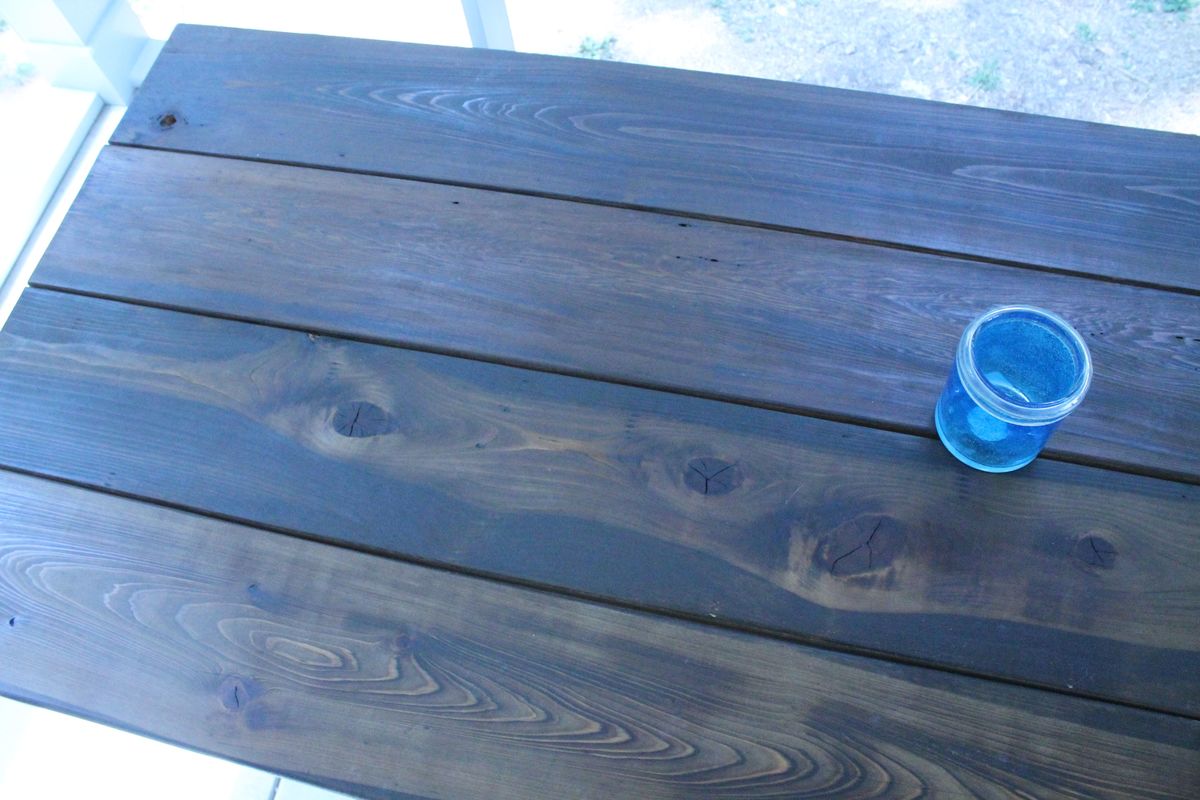
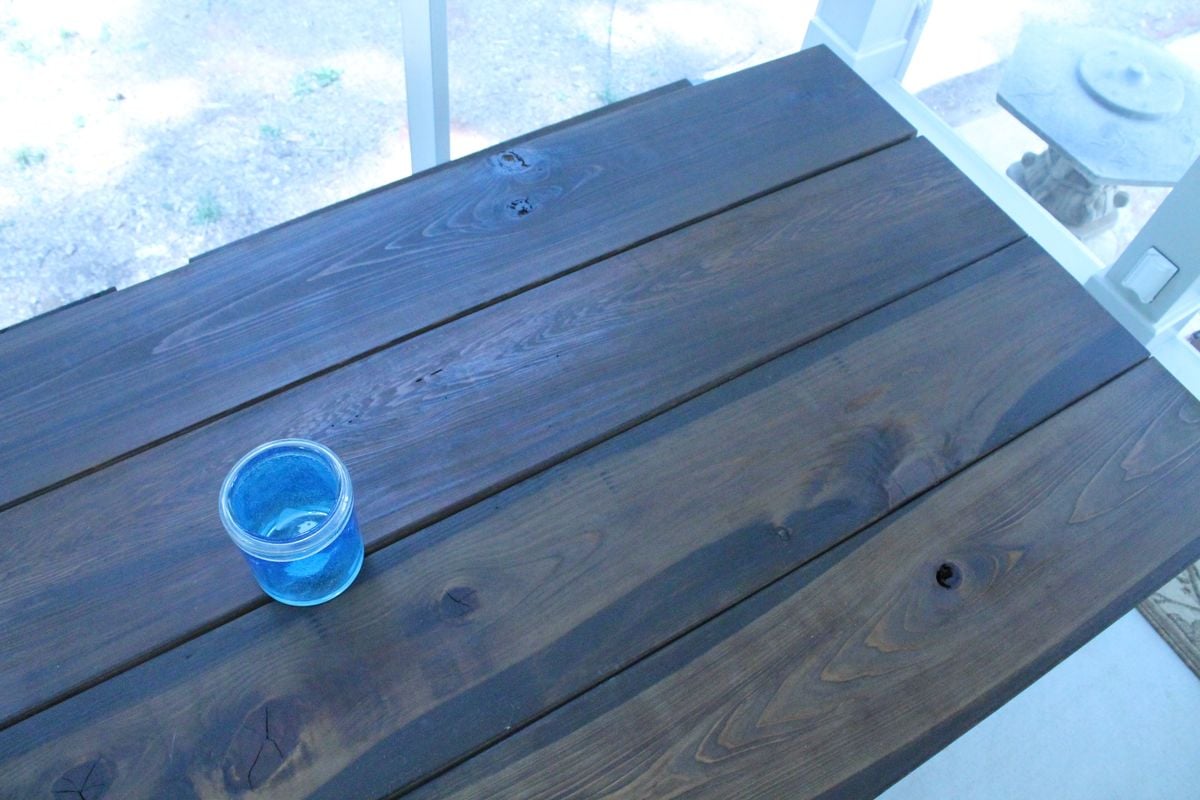
Love our Small Easy Rustic X-Bench!

Submitted by afine1 on Mon, 06/18/2012 - 02:12

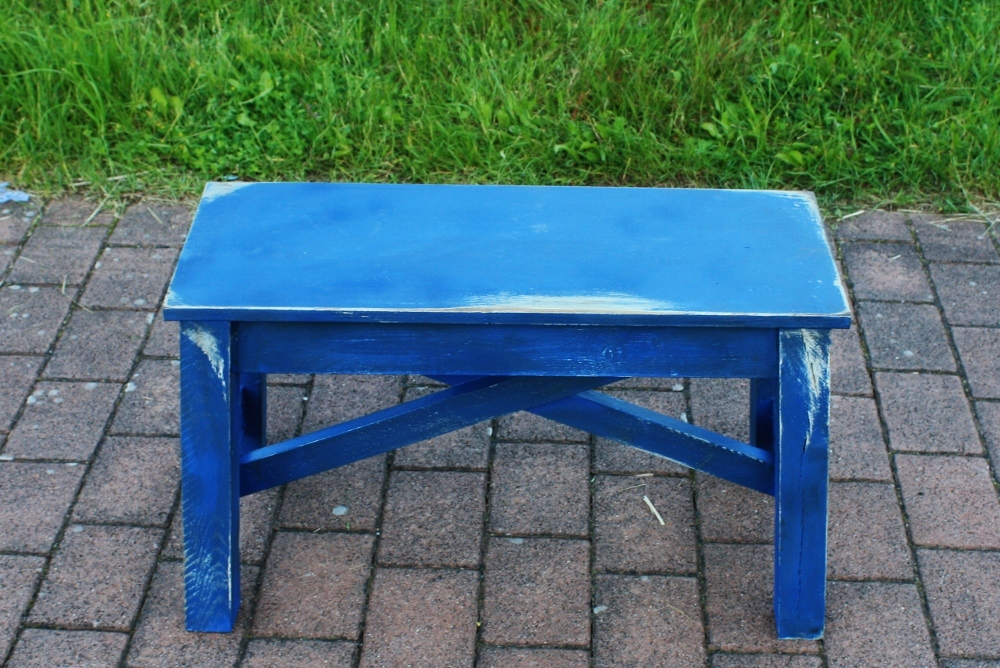
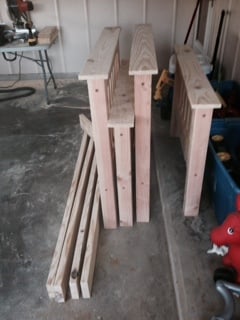
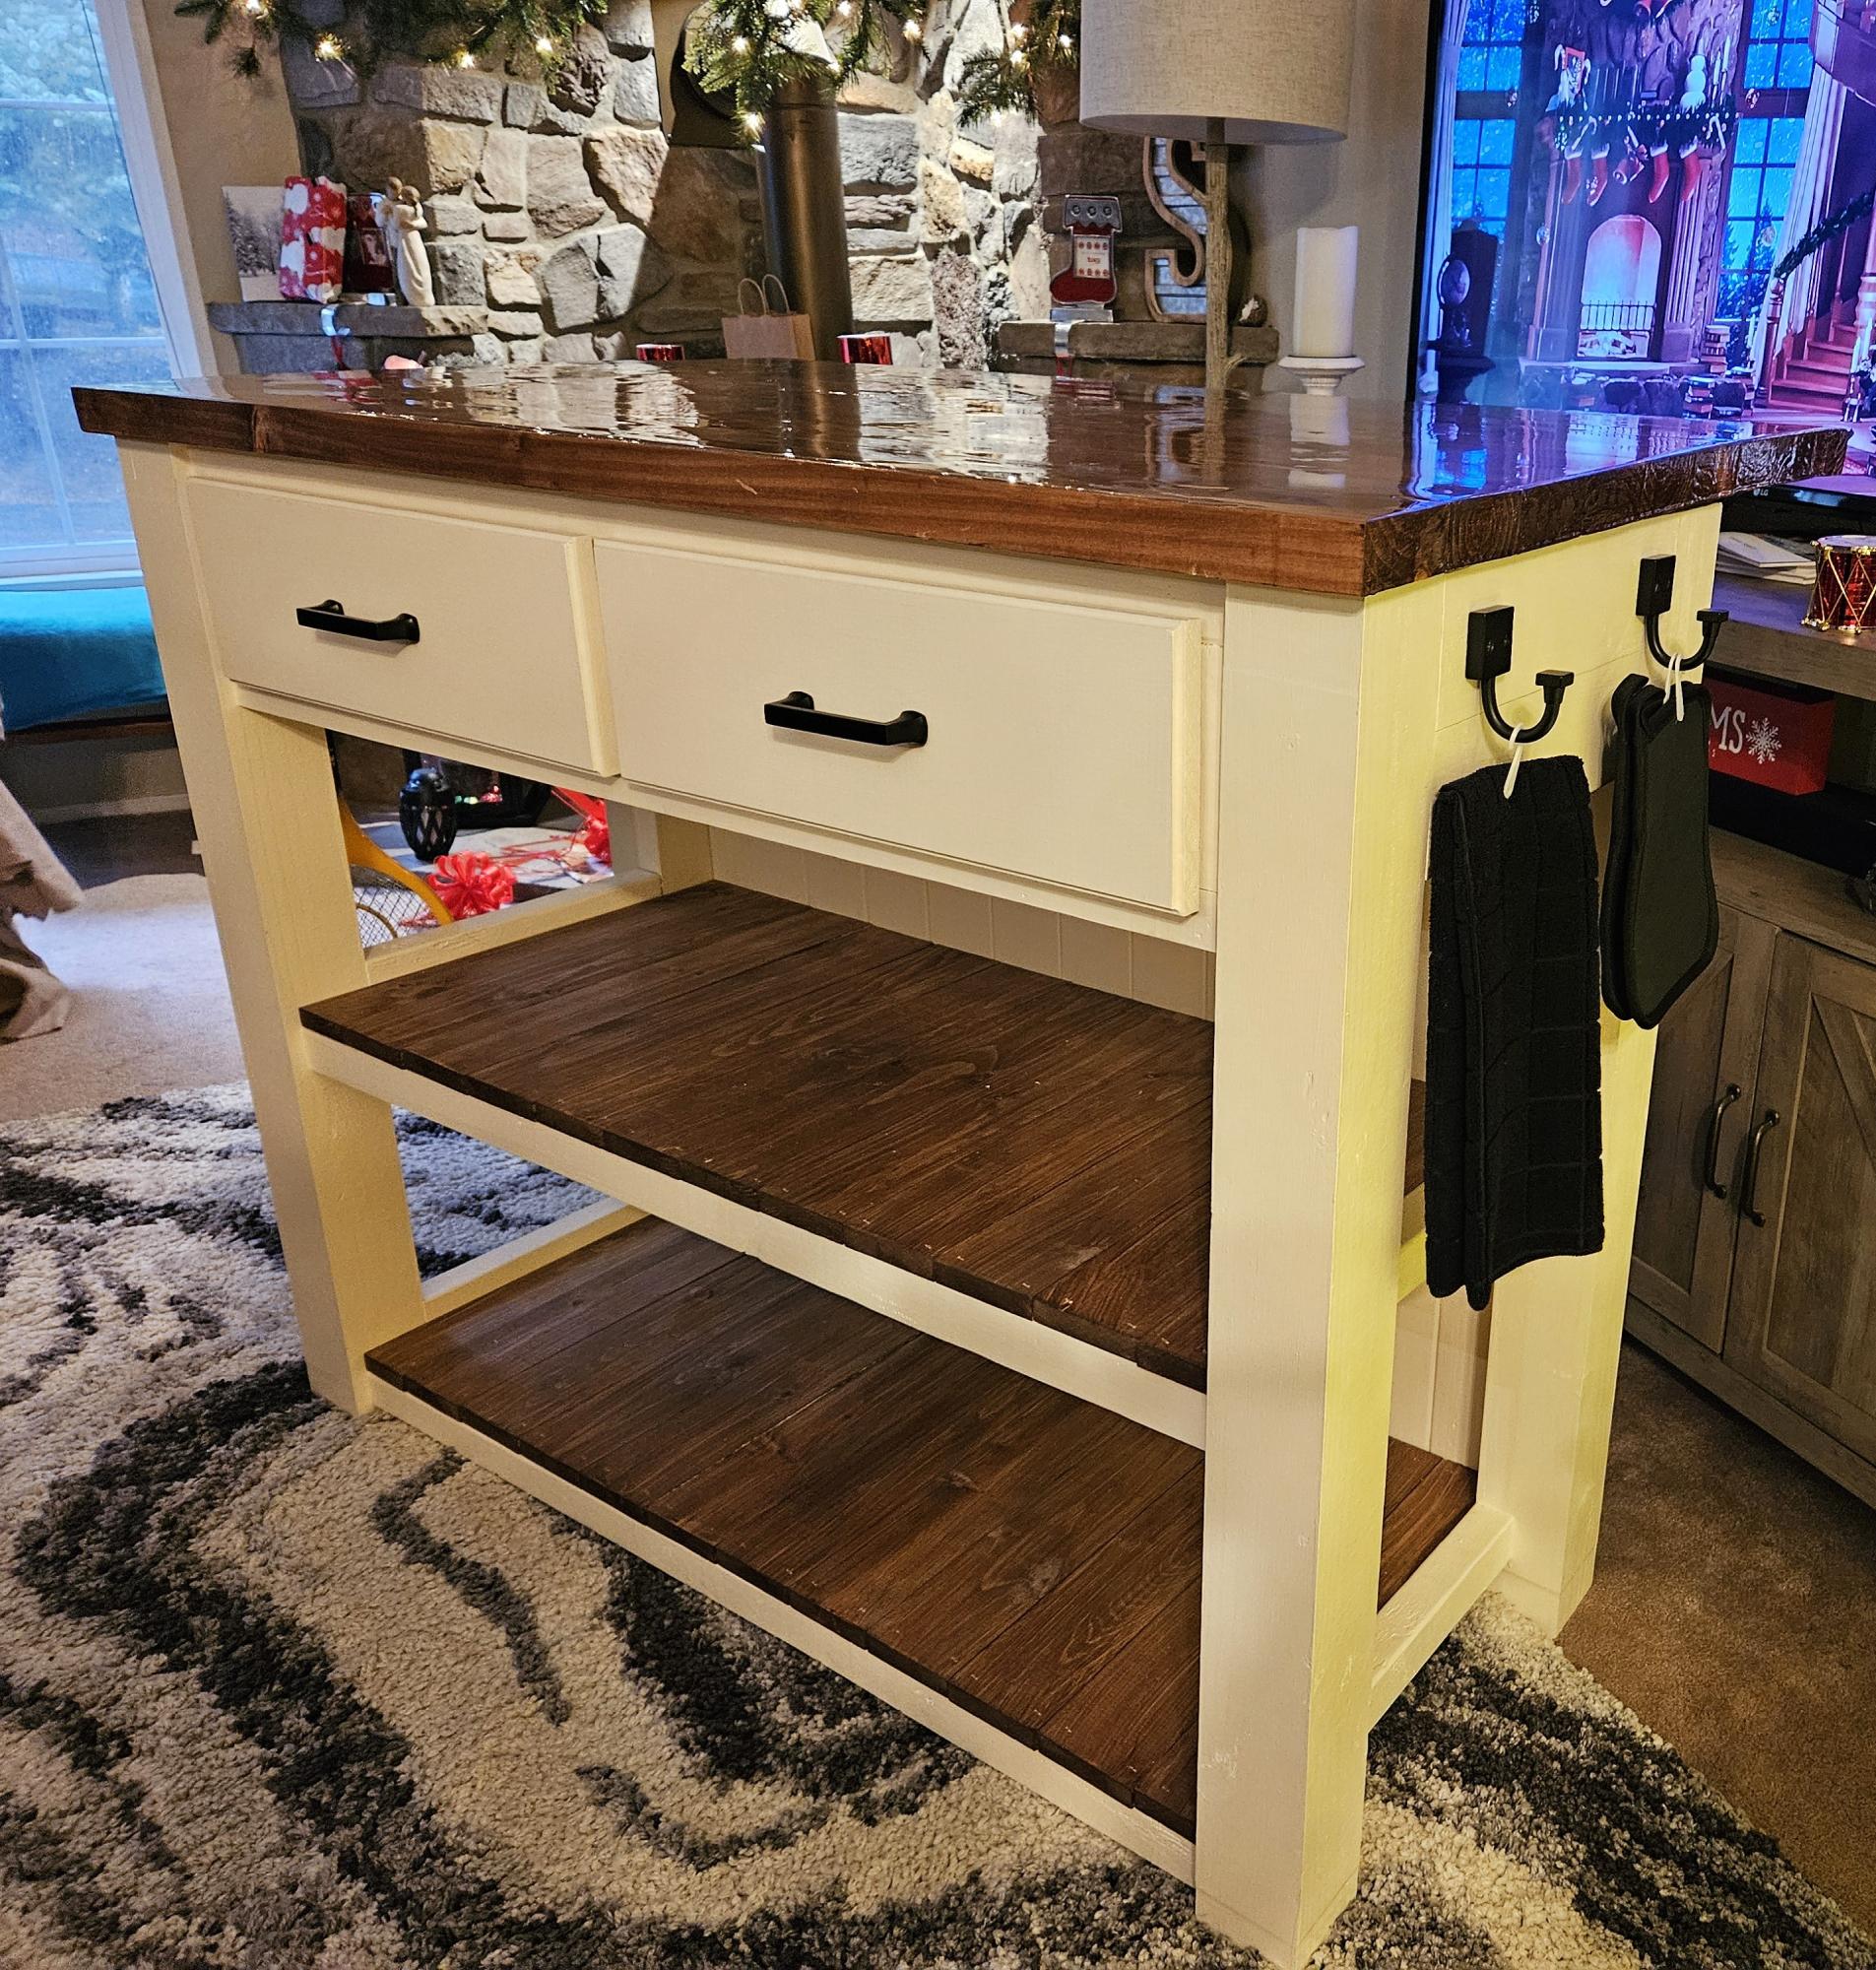
I have been redoing furniture for quite some time, but had never actually thought of making my own furniture, until I ran across Ana's blog. Now I am so addicted! My husband is very handy with his tools and can follow plans fairly easily (unlike me) so I definitely had to enlist his help with this project. We are stationed overseas in Germany so our project costs us a bit more than it would have if we were stateside, but still quite a bit cheaper than purchasing the similar one at Pottery Barn.Since it was our first project it did take us a bit longer than normal, but still easy enough to do. I absolutely love how this turned out and now my husband and I are ready for our next project of a rustic console table that we made our own plans for.

Built from Plan(s)
Estimated Cost
With the paint around $40
Estimated Time Investment
Day Project (6-9 Hours)
Finish Used
I first primed it and then painted it. Not sure what the actual paint color was because it was in German, but I would call it a country blue. I then distressed it and added some stain.
Recommended Skill Level
Beginner

Build the Simple Bed

I have boys that share a room and we needed some sturdy twin beds. My wife looked online and found some on potterybarn.com or crateandbarrel.com for $425 each and that's before shipping. I told her I could make them for half that. The plans were pretty straight forward. The finishing (sanding, sanding and more sanding - then painting) was the hardest and longest part. I would recommend an electric palm or disc sander. It will be your best friend. I used 100 grit and then moved to 120 to sand all of the wood. I did this after I made all of the cuts and before I assembled. Seemed to make it easier. We decided to paint them to go with the colors in the room. The bed is very heavy and sturdy. I made both beds at the same time, which cost me right at $300. Clock hours was about 20-22 from beginning to end and it took me a little longer than a weekend since I was working around weekend soccer games and birthday parties.

Built from Plan(s)
Estimated Cost
$300
Estimated Time Investment
Weekend Project (10-20 Hours)
Finish Used
Latex paint - flat
Recommended Skill Level
Intermediate

Oversized Tufted Ottoman

Submitted by Kegusho on Fri, 07/08/2016 - 09:53

This project was inspired by the featured Diamond Tufted Ottoman plan. I combined the top with a customized plan inspired by the Cameron Coffee Table from World Market and Ana White's tutorial on how to create a weathered stain look like Restoration Hardware. 


Built from Plan(s)
Estimated Cost
$250
Estimated Time Investment
Week Long Project (20 Hours or More)
Finish Used
Combination of Minwax Special Oak and Weathered Oak, followed by two thin coats of polyurethane (lightly sanded afterward for smooth finish).
Recommended Skill Level
Beginner

Comments

Custom Kitchen Island

Submitted by Anonymous (not verified) on Wed, 12/27/2023 - 12:15

Our daughter lives in a small attic apartment that doesn't have much counter space or cupboard space in the kitchen. So my husband and I designed and build her a kitchen island for more usable space and a place on the back she can put stools and she can use it as an eating bar as well. It took us almost 2 weeks because we were trying to build it in the garage below her apartment when she wasn't home. Her reaction was perfection! It turned out so great!!!

Rob and Jen Smith

Bunk Bed

My girls wanted a bunk bed badly! I was shocked to see the prices shopping around at local furniture stores. So I made one :)

Bed is constructed with all pine wood and stained with Kona color stain. I added a few fun things like a window and a tent on top. These were really simple. Email me if you have any questions.

Built from Plan(s)
Estimated Cost
250.00
Estimated Time Investment
Week Long Project (20 Hours or More)
Finish Used
Stain color: Kona

Stain was sprayed on and a Matte finish poly for protection
Recommended Skill Level
Beginner

Comments

fkowalec

Sat, 05/18/2013 - 13:40

This is really cute i love the tent portion would love to know how you did it

Simple Potting Bench, customized!

Submitted by Jilljb on Mon, 04/14/2014 - 05:32

These potting benches were so fun to make! The plans are well-written and easy to follow. My friend and I had a blast!

Built from Plan(s)
Estimated Cost
$75
Estimated Time Investment
Afternoon Project (3-6 Hours)
Finish Used
No finish plied as of yet, but probably will use a chalk paint in a bright fun color!
Recommended Skill Level
Intermediate

My Weatherly variation

Submitted by nest1212 on Mon, 07/11/2016 - 14:09

My wife loved the x-pattern of the eatherly sofa and also wants an L couch for our deck. Still have to sand and paint but that is her job :)

Estimated Cost
$120
Estimated Time Investment
Weekend Project (10-20 Hours)
Finish Used
Will be white outdoor paint
Recommended Skill Level
Beginner

Farmhouse Coffee Table

My First Build!!

Estimated Cost
$60
Estimated Time Investment
Weekend Project (10-20 Hours)
Finish Used
Minwax Classic Grey Stain
Minwax Polyurethane
Recommended Skill Level
Beginner

Comments

4x4 table with tiled top

Submitted by tomekg35 on Thu, 06/28/2012 - 06:18

Wanted a nice big table, but couldn't find one in local stores. Decided to build one after seeing a small tiled table at Home Depot. This is my first project like this. I am a network engineer not a carpenter, but the table turned out great.

Estimated Cost
$400-$500
Estimated Time Investment
Week Long Project (20 Hours or More)
Finish Used
tiles and epoxy grout.
Recommended Skill Level
Intermediate

Comments

tomekg35

Fri, 06/29/2012 - 06:14

This is my first ever project like this... but I just found out that I like doing this kind of stuff.
Already have some more ideas in mind, and once the weather cools down from the upper 90's we are having right now, I will probably do many more projects.

rudy (not verified)

Mon, 10/15/2012 - 20:41

Great job!

Can you tell us more on how you built this table and provide additional photos from different angles?

I'm want to mimic your design and see how accurate I am to your original piece.

Thanks,

Rudy

tower shelf

I made it wider than the plan and use it in my bathroom for storage. Its pine and cedar.

Estimated Cost
100.00
Estimated Time Investment
Weekend Project (10-20 Hours)
Finish Used
Minwax golden oak, semi-gloss poly one coat.
Recommended Skill Level
Advanced

Slightly adjusted pocket hole plan

Submitted by Anonymous (not verified) on Thu, 07/14/2016 - 17:37

We decided to adjust this plan by removing the stretchers on the bottom. We knew we wanted to use the ends of the table for seating fairly regularly without adding a leaf on the end. The lack of support doesn't seem to have any effect on the sturdiness of the table. This was a super fun (and first woodworking) project! Can't wait to knock out the bench!

Estimated Cost
We spent around $85 total on materials. (This is not including tools I bought for the project.) I purchased a Kreg Jig for around $40 and a 6" Kreg clamp for $35. This was a great investment, not only for this project, but also more projects down the road.
Estimated Time Investment
Weekend Project (10-20 Hours)
Finish Used
The legs and apron were a painted with a Valspar Ultra White chalk paint. If you have the option to buy anything other than cedar 4x4's for you legs, DO IT!. Cedar soaked up so much paint and made it hard to get the clean, white look we were going for. The top is a stain color called Kona made by Rust-Oleum. We used about 3/4 of an 8oz can. We sealed it with Minwax Polycrylic Protective Finish.
Recommended Skill Level
Starter Project

Farmhouse table

Submitted by AngelaJB on Fri, 05/08/2020 - 14:41

Prior to making this table I had never used a power drill in my life, and I was scared to death. I was intimidated by the power and scared to death to mess up, and in making this table I messed up A LOT! It was a big undertaking but I was determined. It’s rustic and authentic and full of mistakes and I LOVE IT!! Thank you Ana for modeling how to make such wonderful things. Up next is the raised flower bed.

Estimated Cost
$60.00
Estimated Time Investment
Day Project (6-9 Hours)
Finish Used
Dark walnut
Recommended Skill Level
Beginner

Holiday Fence Picket Planters

Submitted by Anonymous (not verified) on Wed, 01/03/2024 - 07:36

I built these picket fence planters with my husband. They were very easy to build. I can use them all year around. I’ll add flowers in the spring and summer and mums in the fall and Christmas trees in the Winter. I’m definitely building more for my back porch. Happy building! - Celines

Seasonal And Holiday

Art Supplies Caddy

I built this caddy to celebrate a 4th birthday party for a sweet little girl. I used pine scraps, painted it with some leftover pink paint, and then created some name artwork and a little logo with her initial. I made the art on my computer (in Adobe Illustrator) held up a piece of notebook paper to the screen and traced it with a pencil. Then I held it on my caddy and used a mechanical pencil with the lead down to press the indent into the wood. Filled that in with a silver paint pen and traced it with a fine tip black sharpie. Then filled each cubby with a large mason jar from Walmart (about 50 cents each) and filled them with art supplies. It turned out so cute! And it's a great way to use up some scraps.

Built from Plan(s)
Estimated Cost
free, from scraps
Estimated Time Investment
An Hour or Two (0-2 Hours)
Finish Used
two coats of pink latex paint
Recommended Skill Level
Starter Project

Boys Bunk Bed

Submitted by Colby032 on Fri, 04/18/2014 - 11:08

This was my first building project, made possible by finding this wonderful website. The beds were made from the Classic Bunk Beds plan. Several months later I added a slide made out of melamine board and 2x3s - very sturdy and somewhat overbuilt to compensate for not using any plans for the slide).

I used Minwax polyshades for the finish - my first time finishing wood, and let's just charitably say that I learned a few lessons in doing so.

The steps are a repurposed solid pine Ikea Trofast unit - it worked very well for the kids (4 and 2 when the bed was built). However, it wasn't a great choice for getting my wife and I up to the top bunk - one of the top panels eventually broke... leading to a big bruise for my wife and strict instructions that I quickly build a new, more solid staircase option - to be shown in a future brag post.

All in all, I am very thankful for this website and its plentiful plans - more brag posts to come!

Built from Plan(s)
Estimated Time Investment
Weekend Project (10-20 Hours)
Finish Used
Minwax polyshades (don't remember which shade)
Recommended Skill Level
Beginner

King farmhouse storage bed

Submitted by Anonymous (not verified) on Sun, 07/17/2016 - 07:36

Modified plans for a king. 

Made of pine and cedar. 

Took about a week of evenings. 

Estimated Cost
500
Estimated Time Investment
Weekend Project (10-20 Hours)
Finish Used
Kona varathane and clear.
Recommended Skill Level
Intermediate

Comments

Modern Outdoor Chair

Submitted by msnook on Mon, 05/11/2020 - 09:10

This is my first project. I loved how easy it was and I loved my husband’s reaction to the completed project.

Estimated Cost
80
Estimated Time Investment
Afternoon Project (3-6 Hours)
Finish Used
Behr Semi Transparent Stain in Sable
Recommended Skill Level
Beginner

cypress providence table for screened porch

Provence table knockoff from restoration hardware (aka: providence) with 4x4s and providence benches

table modified to 90 inch length, benches to 42 inches

used lag bolts with a washer on 4x4's that show, kreg pocket screws everywhere else

note: the free-diy plans listed last have an issue with the table height. It came out 1 1/2" too high, so we made a change that I like better: we modified the table top to have a 2x4 skirt held together with kreg pocket screws that drops over the 2x4 frame above legs. we left about 3/8" gap between the skirt and framing so the framing would fit in easily. The top actually just sits on the frame so it is possible to move it in two pieces. It is so heavy and stable that we didn't worry about screwing it together.

we love it! perfect for 2 families to eat dinner together. my husband calls it Thor's table because it looks so tough.

Estimated Cost
330
Estimated Time Investment
Weekend Project (10-20 Hours)
Finish Used
I really wanted it to look old but hold up to my kids and the weather, so I used a chemical aging process followed by antiquing oil (from minwax)


Chemical aging solution is white vinegar (large plastic jug from the grocery store which cost $1.87) with a ball of steel wool shoved in it. Let it react for a couple days. Then drench the wood surface while you wear gloves (use paintbrush, roller, toothbrush or best: a sponge). It makes rust spots, so use a drop cloth and wear old clothes. The color shows up in a few minutes. Kind of like magic paint :) next day oiled it, one coat everywhere except table top which got 2 coats. rubbed surface with a cloth a few minutes after applying oil. Think linseed oil would work just a well.

It came out dark and old looking, kind of a grey/brown color with nice wood color showing through. The table top has beautiful knots. Our porch will get a little wet in blowing storms plus direct sun for a few hours each day, so I didn't want to put wax on it (would melt) or a stain (would make rings from water if sealer failed). Think we might have to reapply oil every couple years which is no big deal. The cypress should hold up nicely outside. So far it has not made any spots or rings since the surface is already pre-damaged with the aging solution. I don't think you can hurt this beast of a table.
Recommended Skill Level
Intermediate

Comments

spiceylg

Thu, 07/05/2012 - 11:35

This is gorgeous! I definitely prefer the chunkier leg you used and love the hardware showing as well. That was smart the way you made the top for easier moving, too. Great job! I think you should have added the link for the plans, this way your picture will always show up above the plans in order for everybody to see it each time. :)

Back