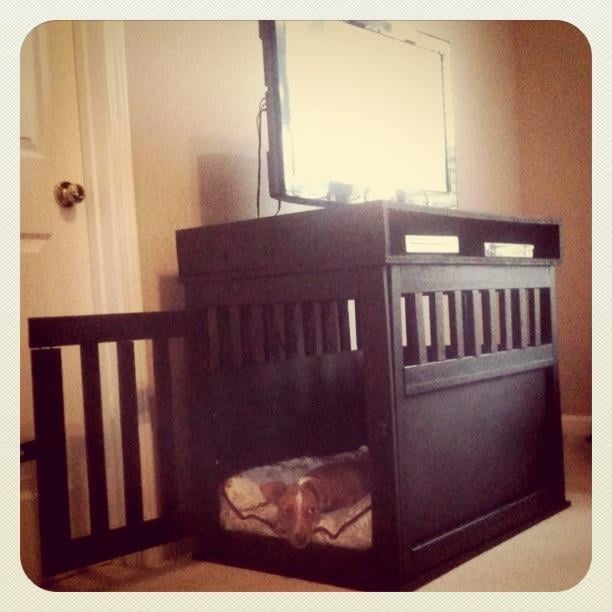
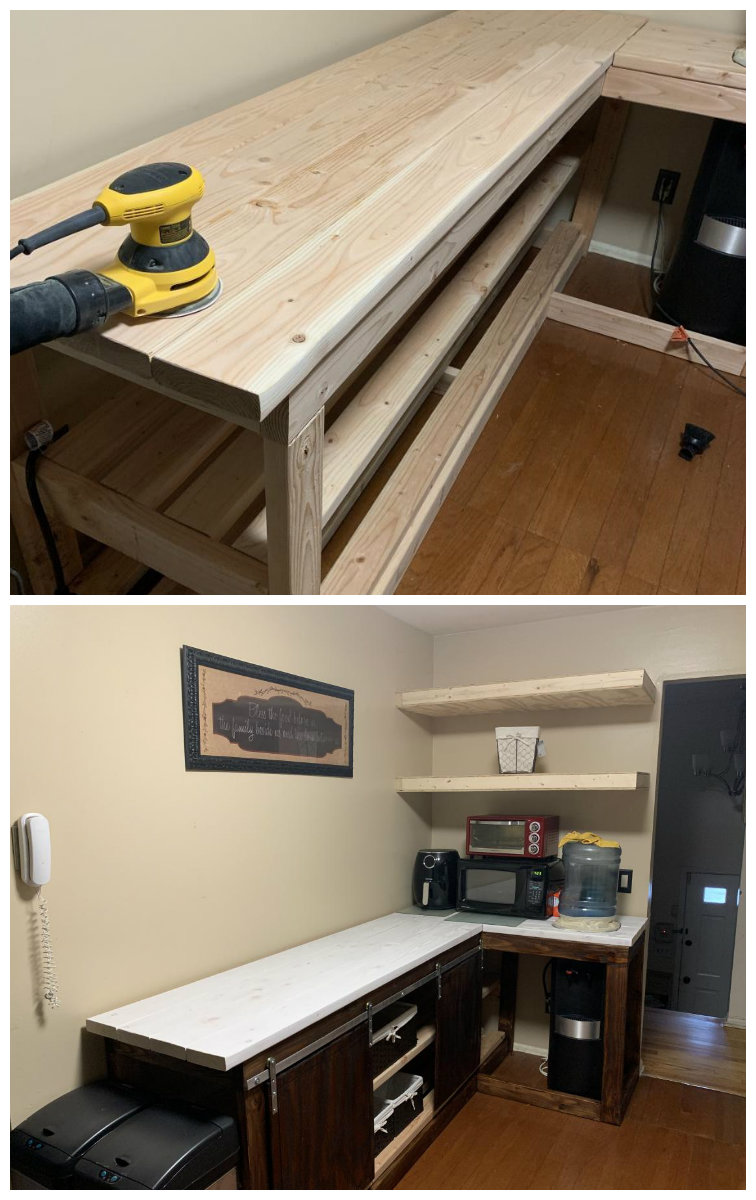
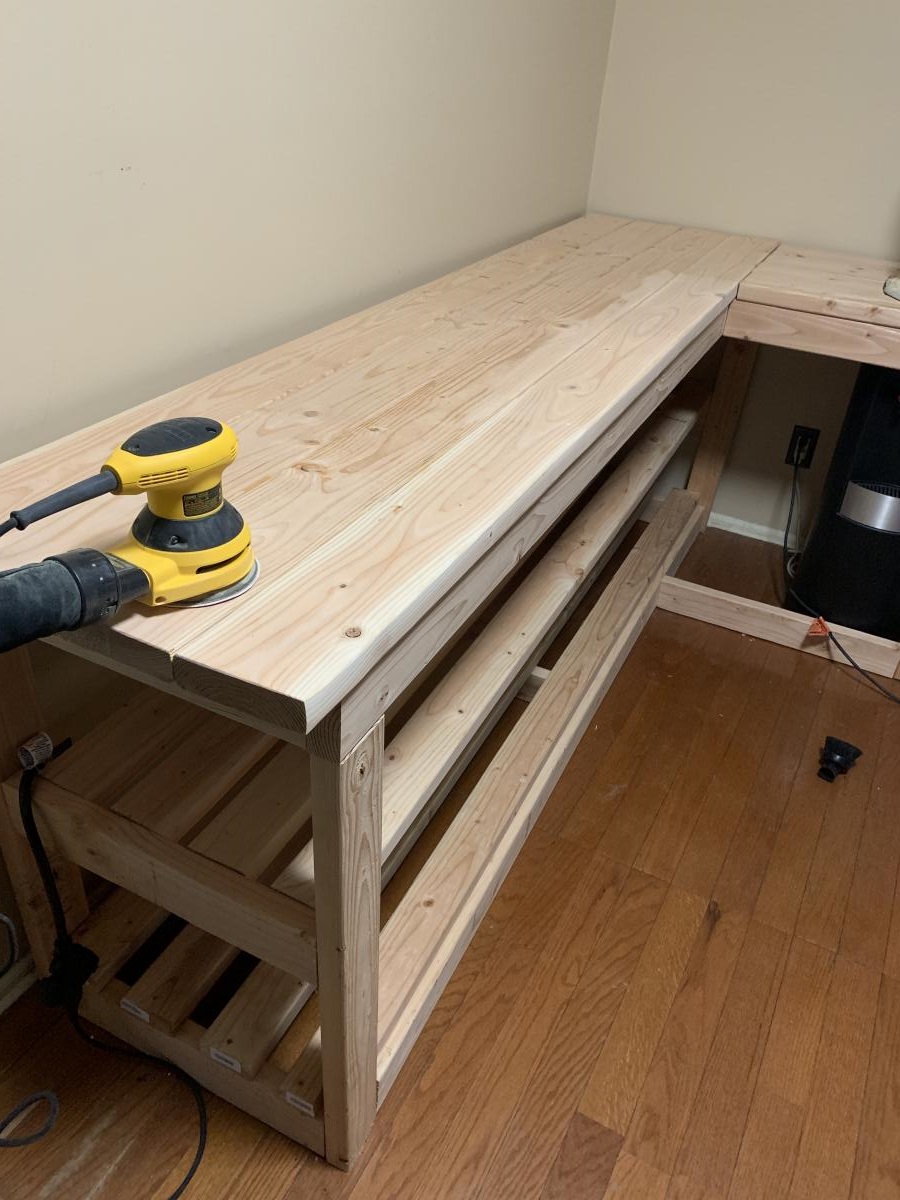
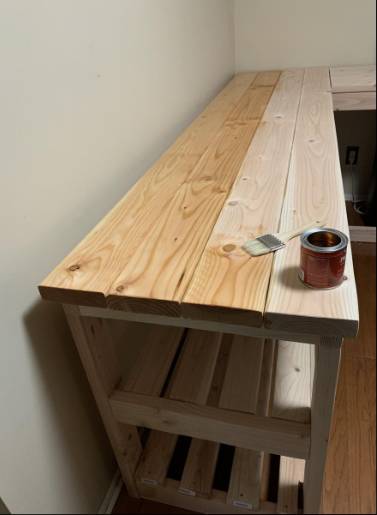
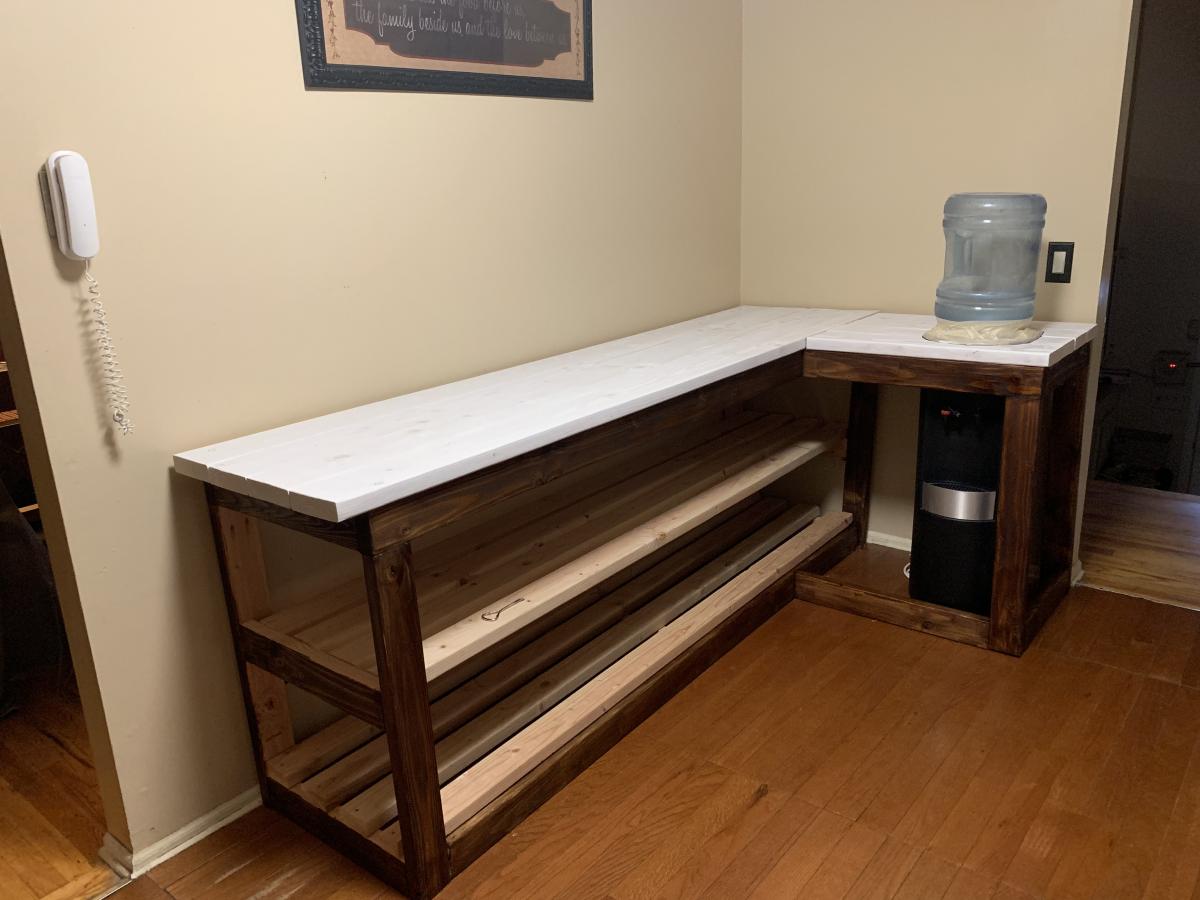
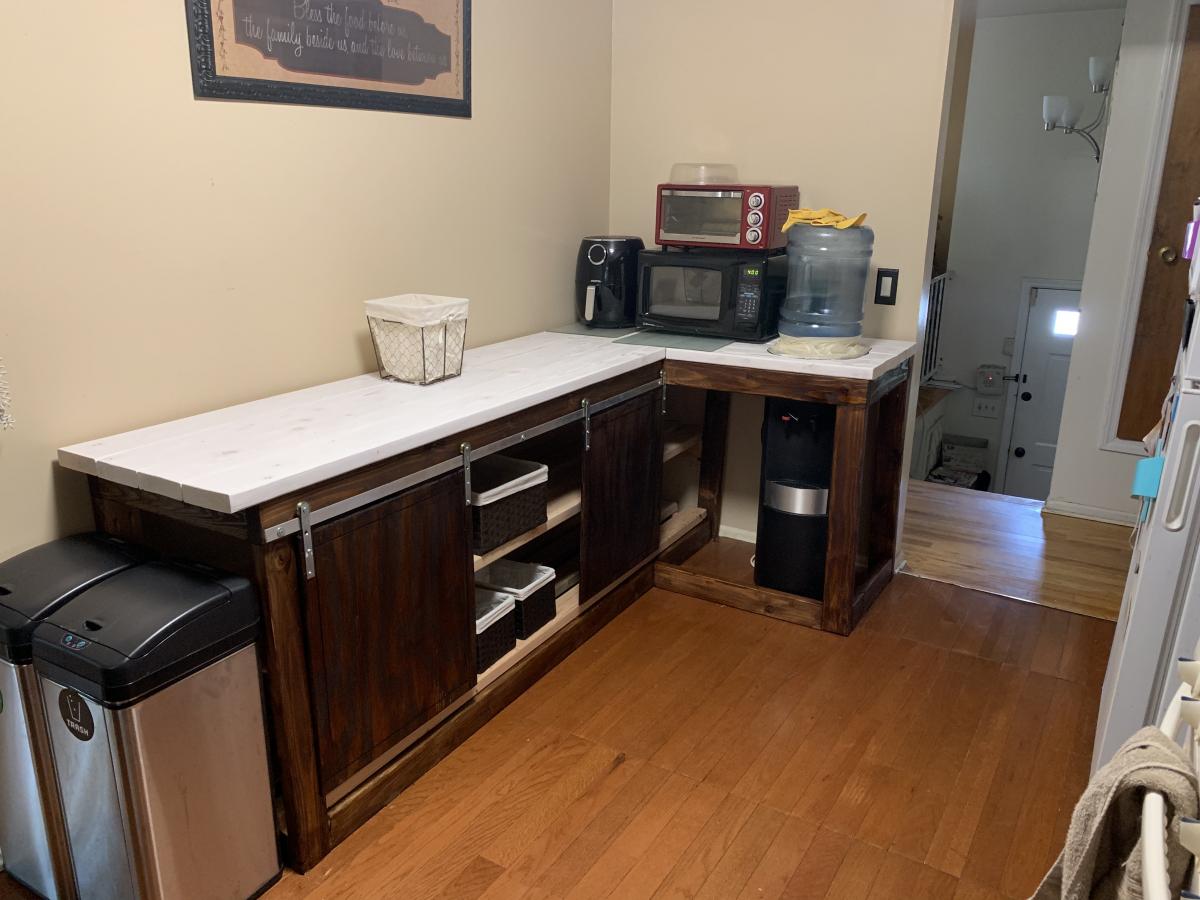
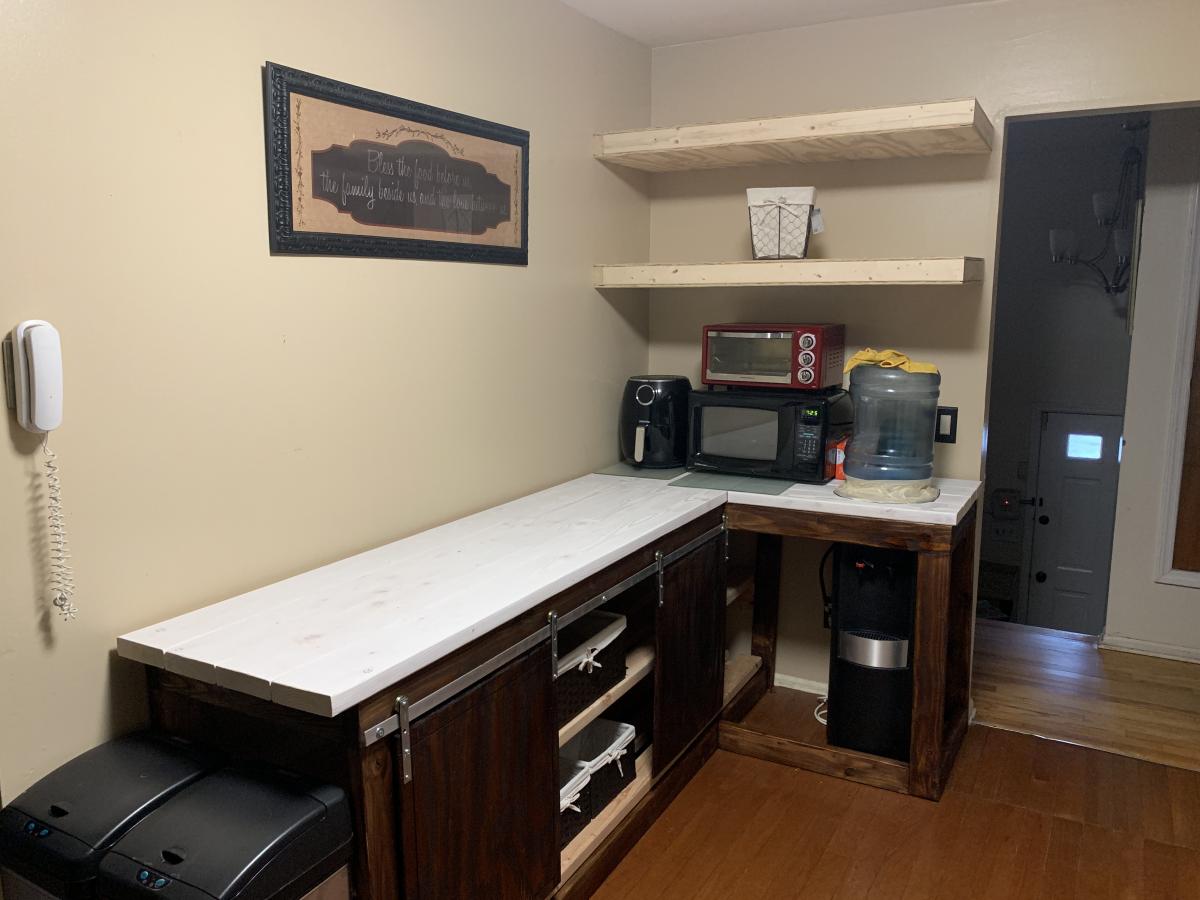
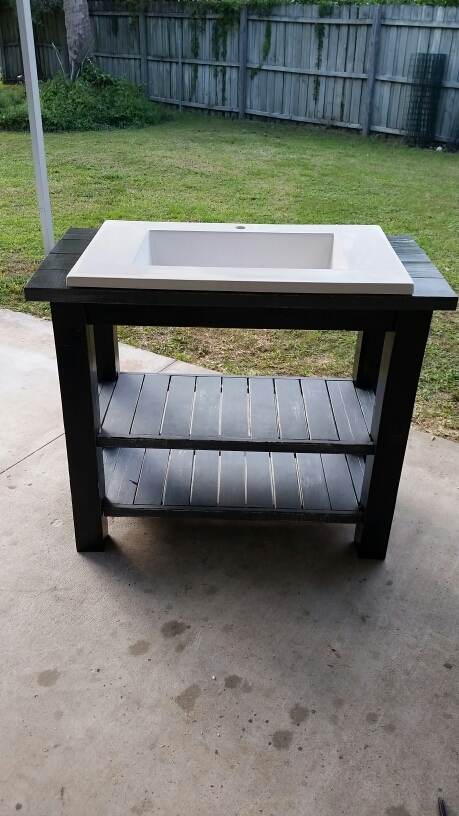
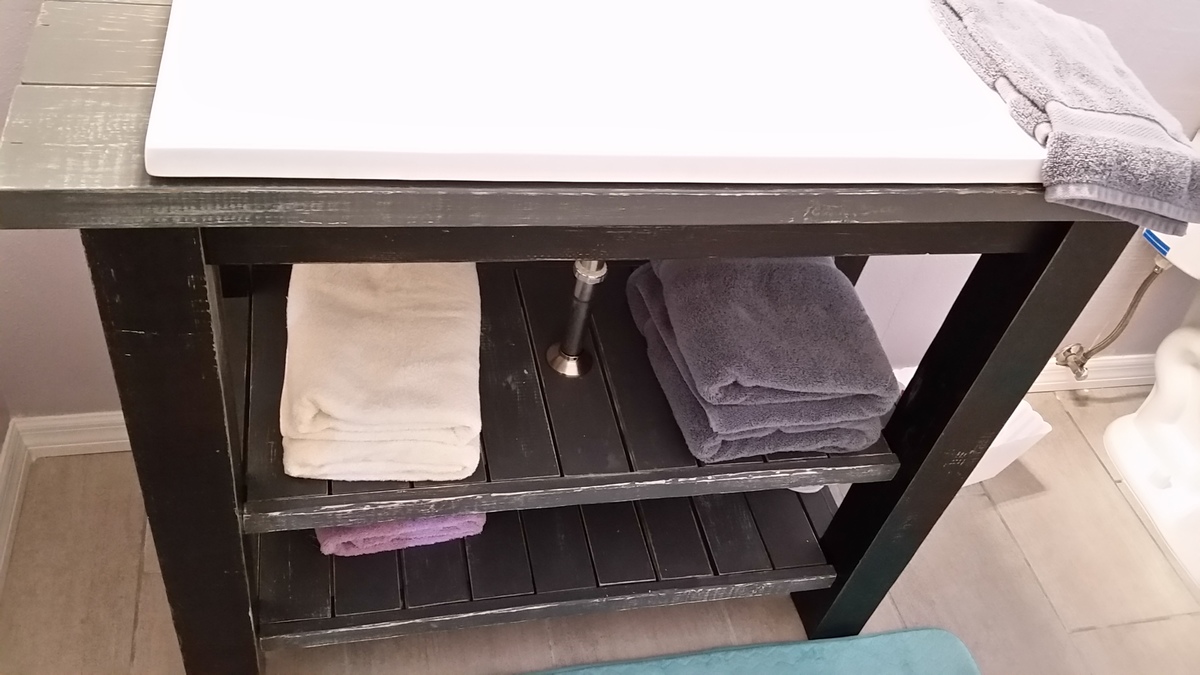
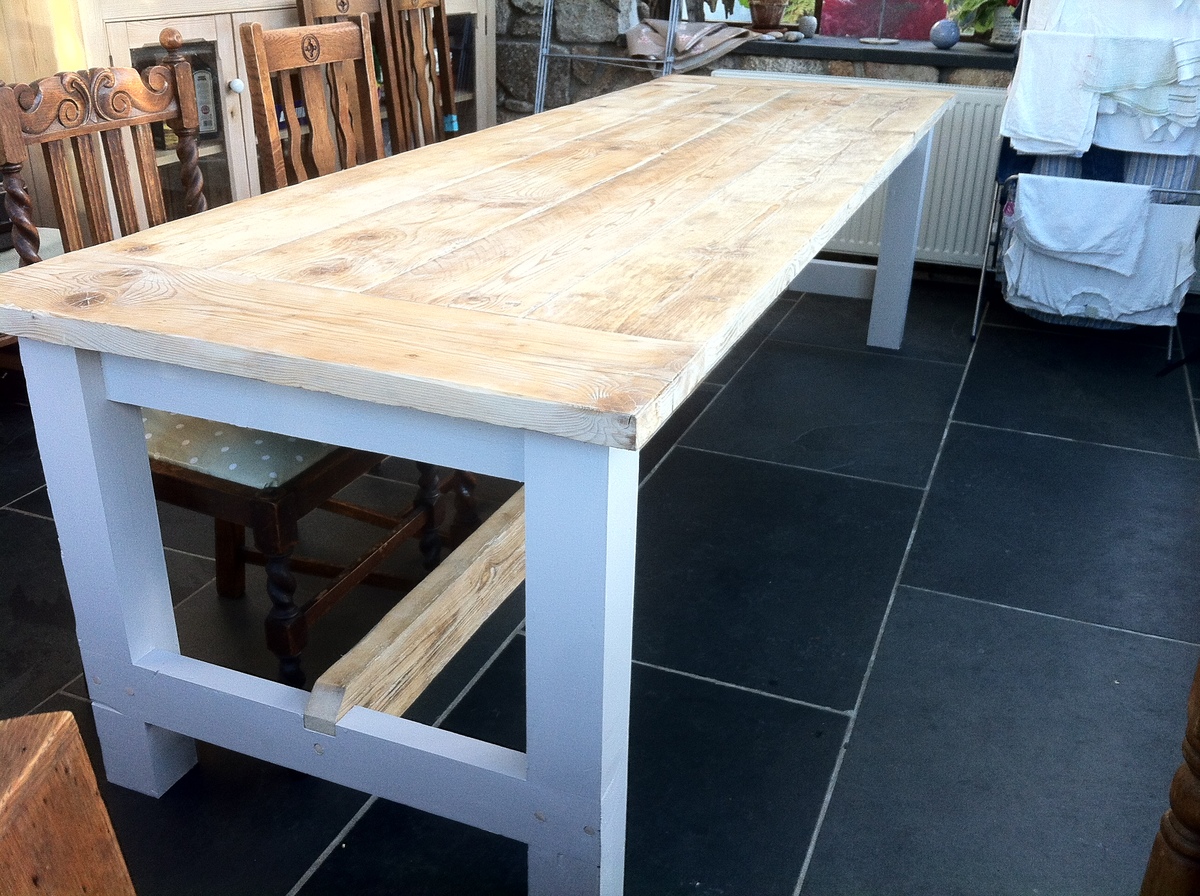
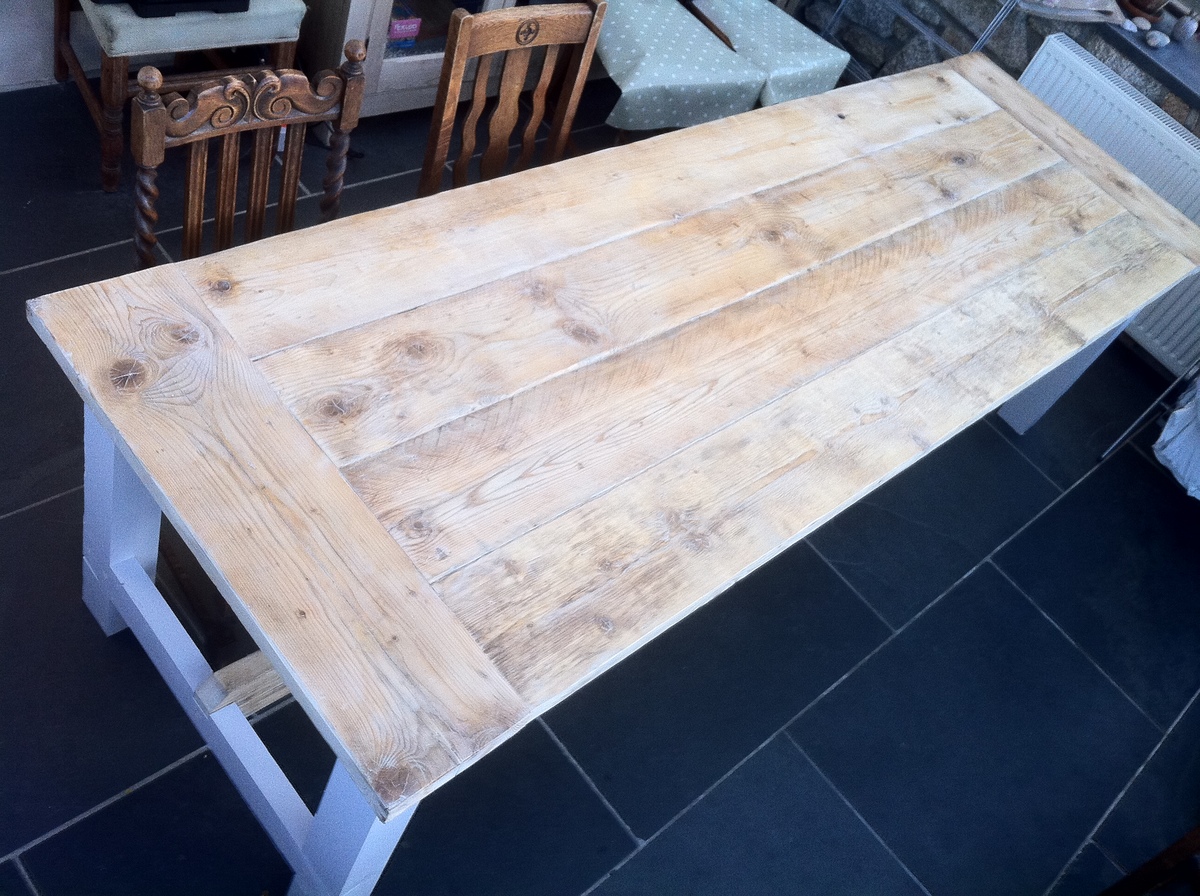
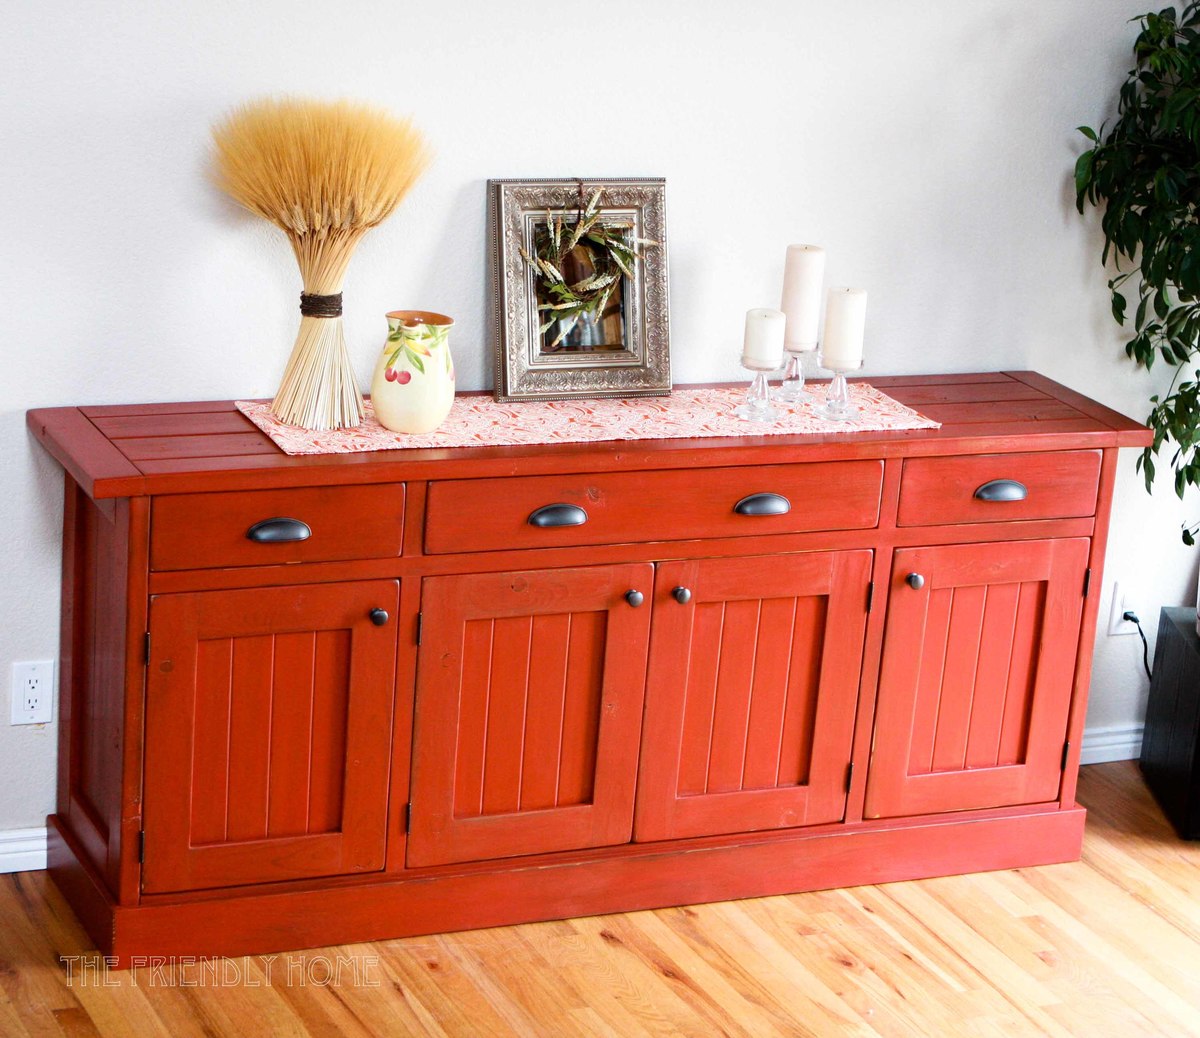
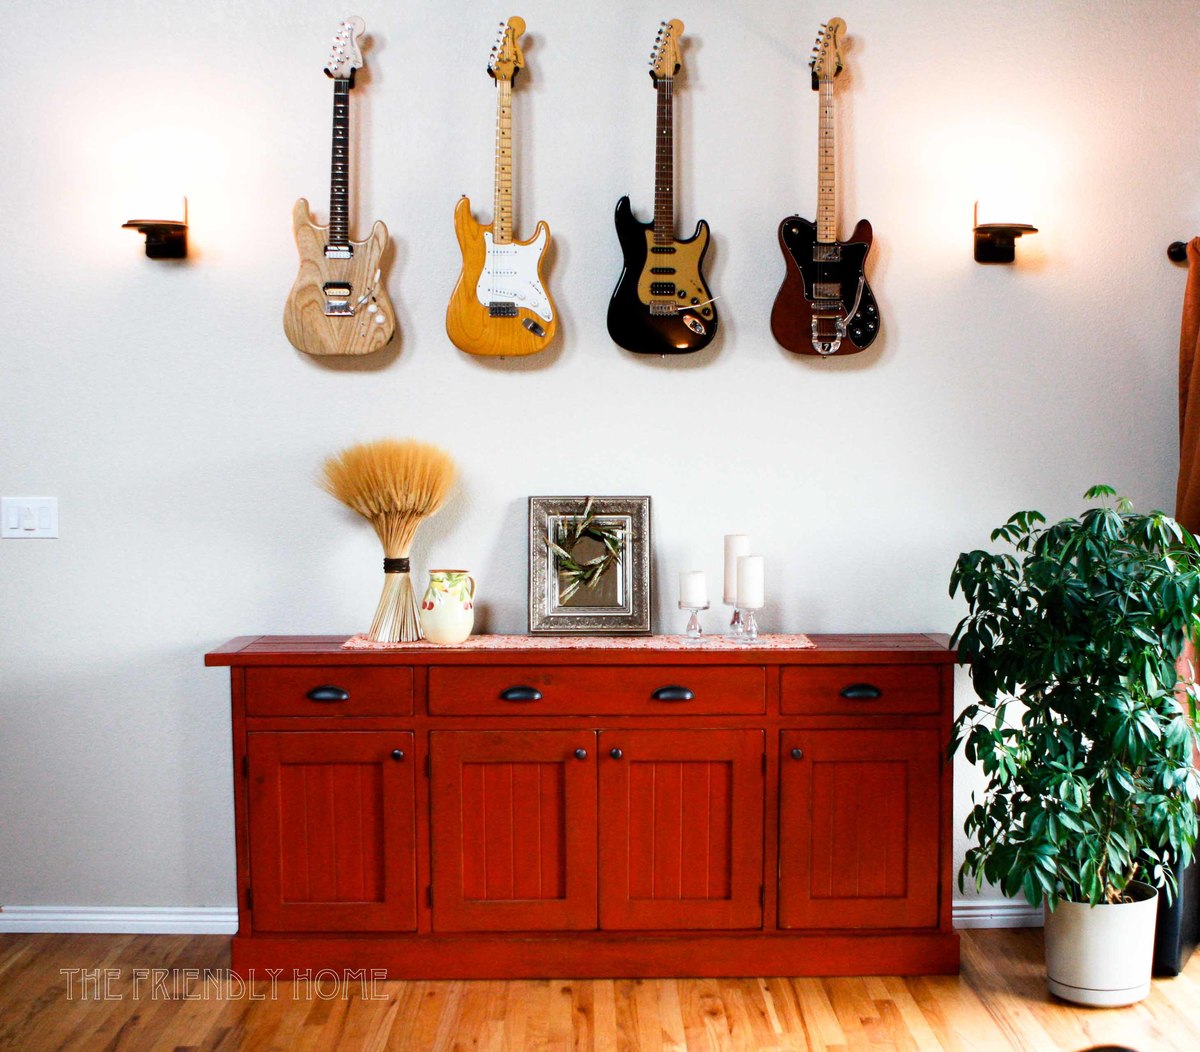
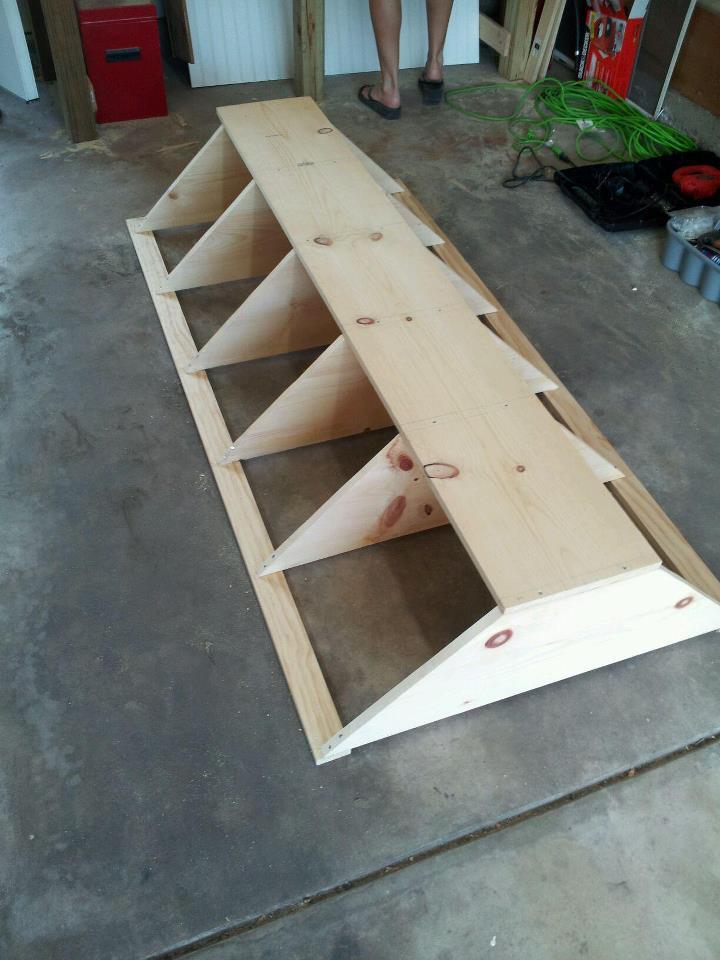
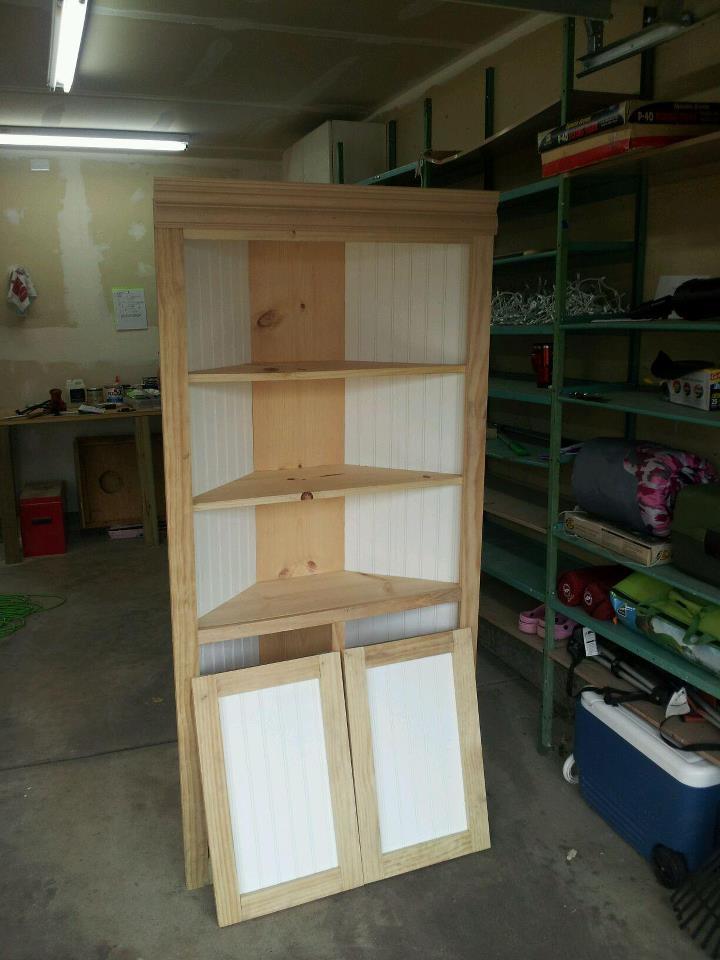
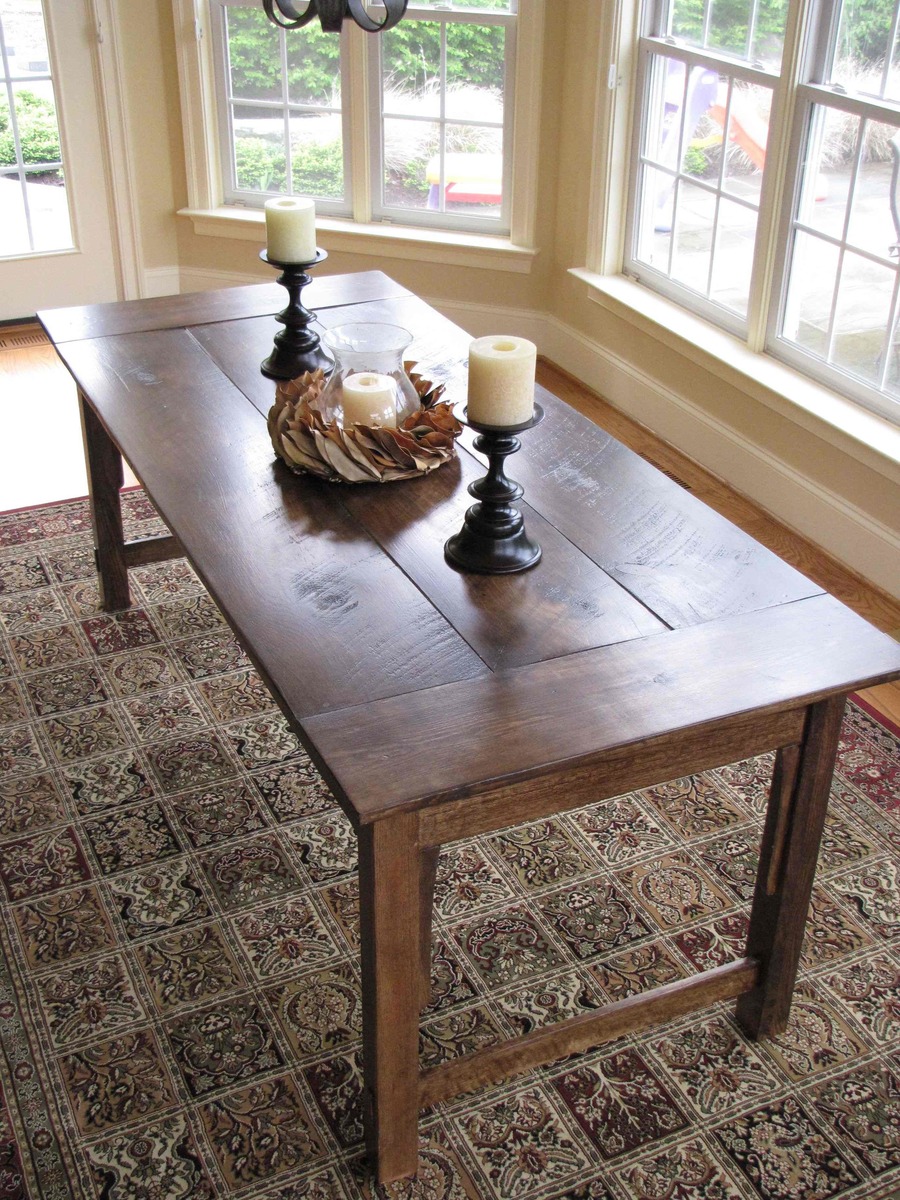
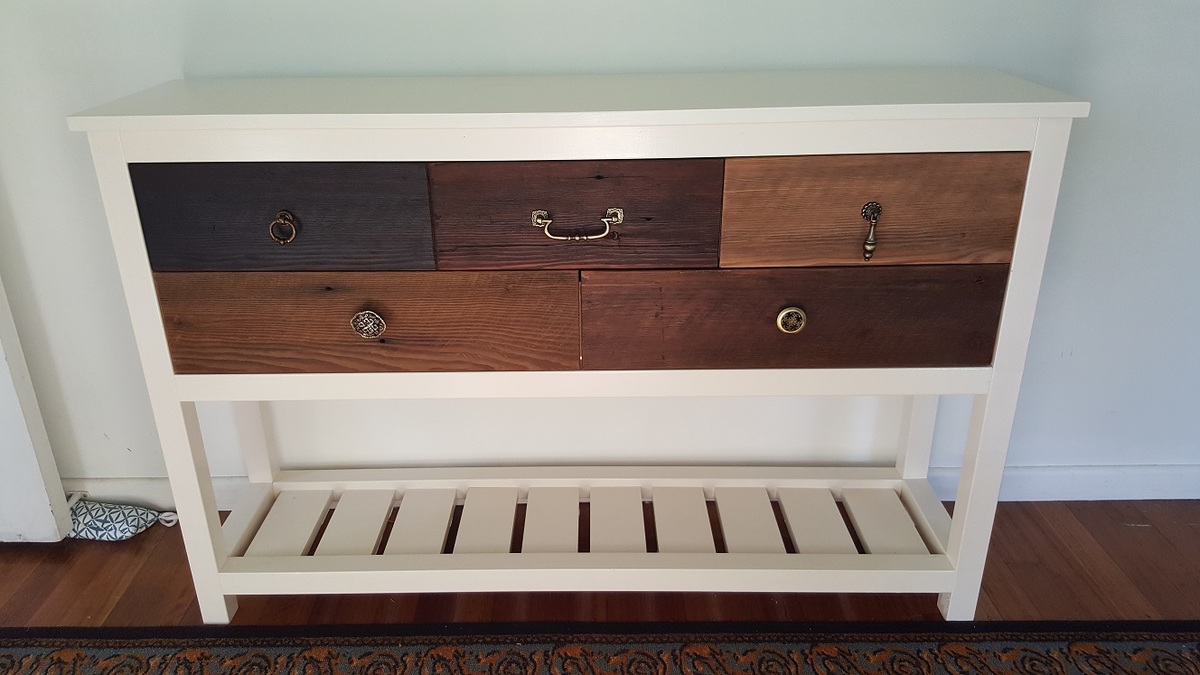
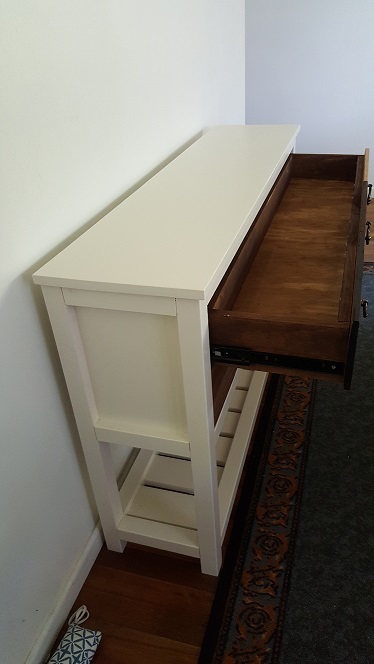
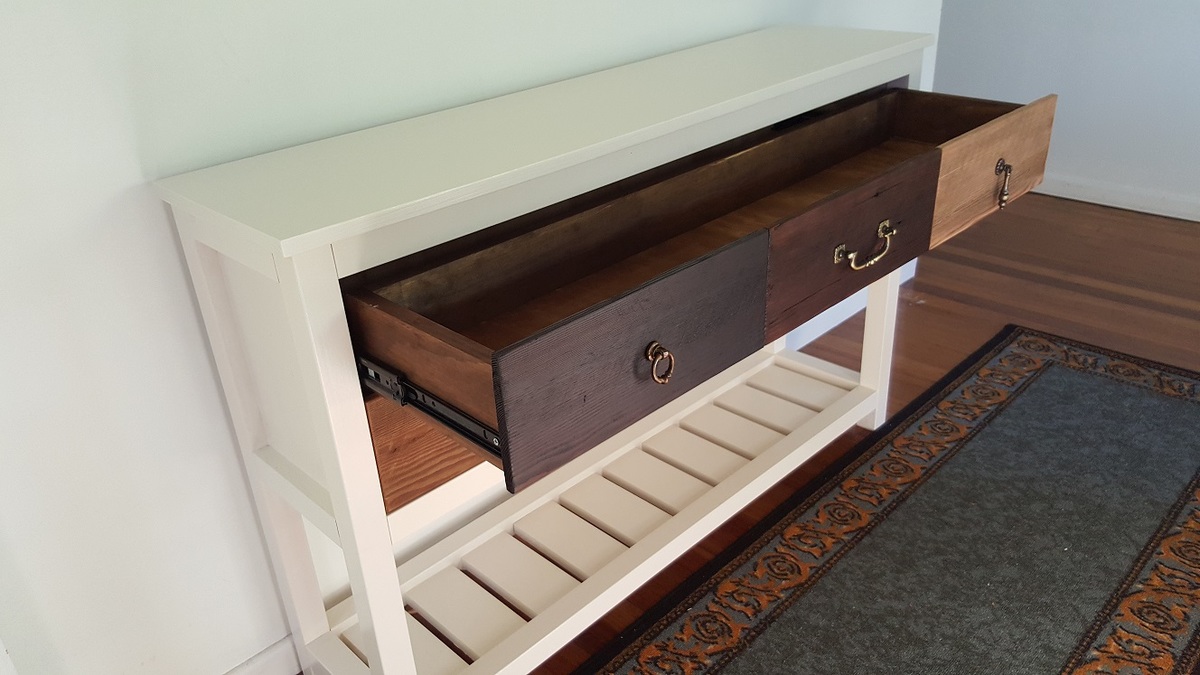
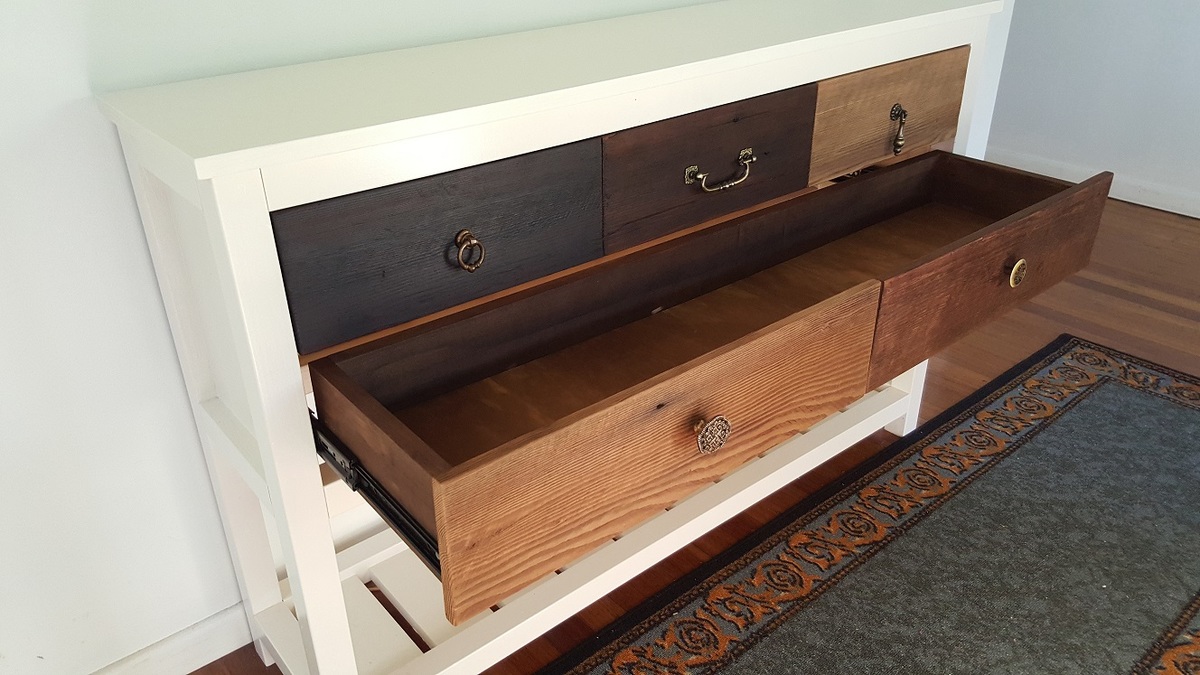
Pottery Barn Benchright Inspired Side Table
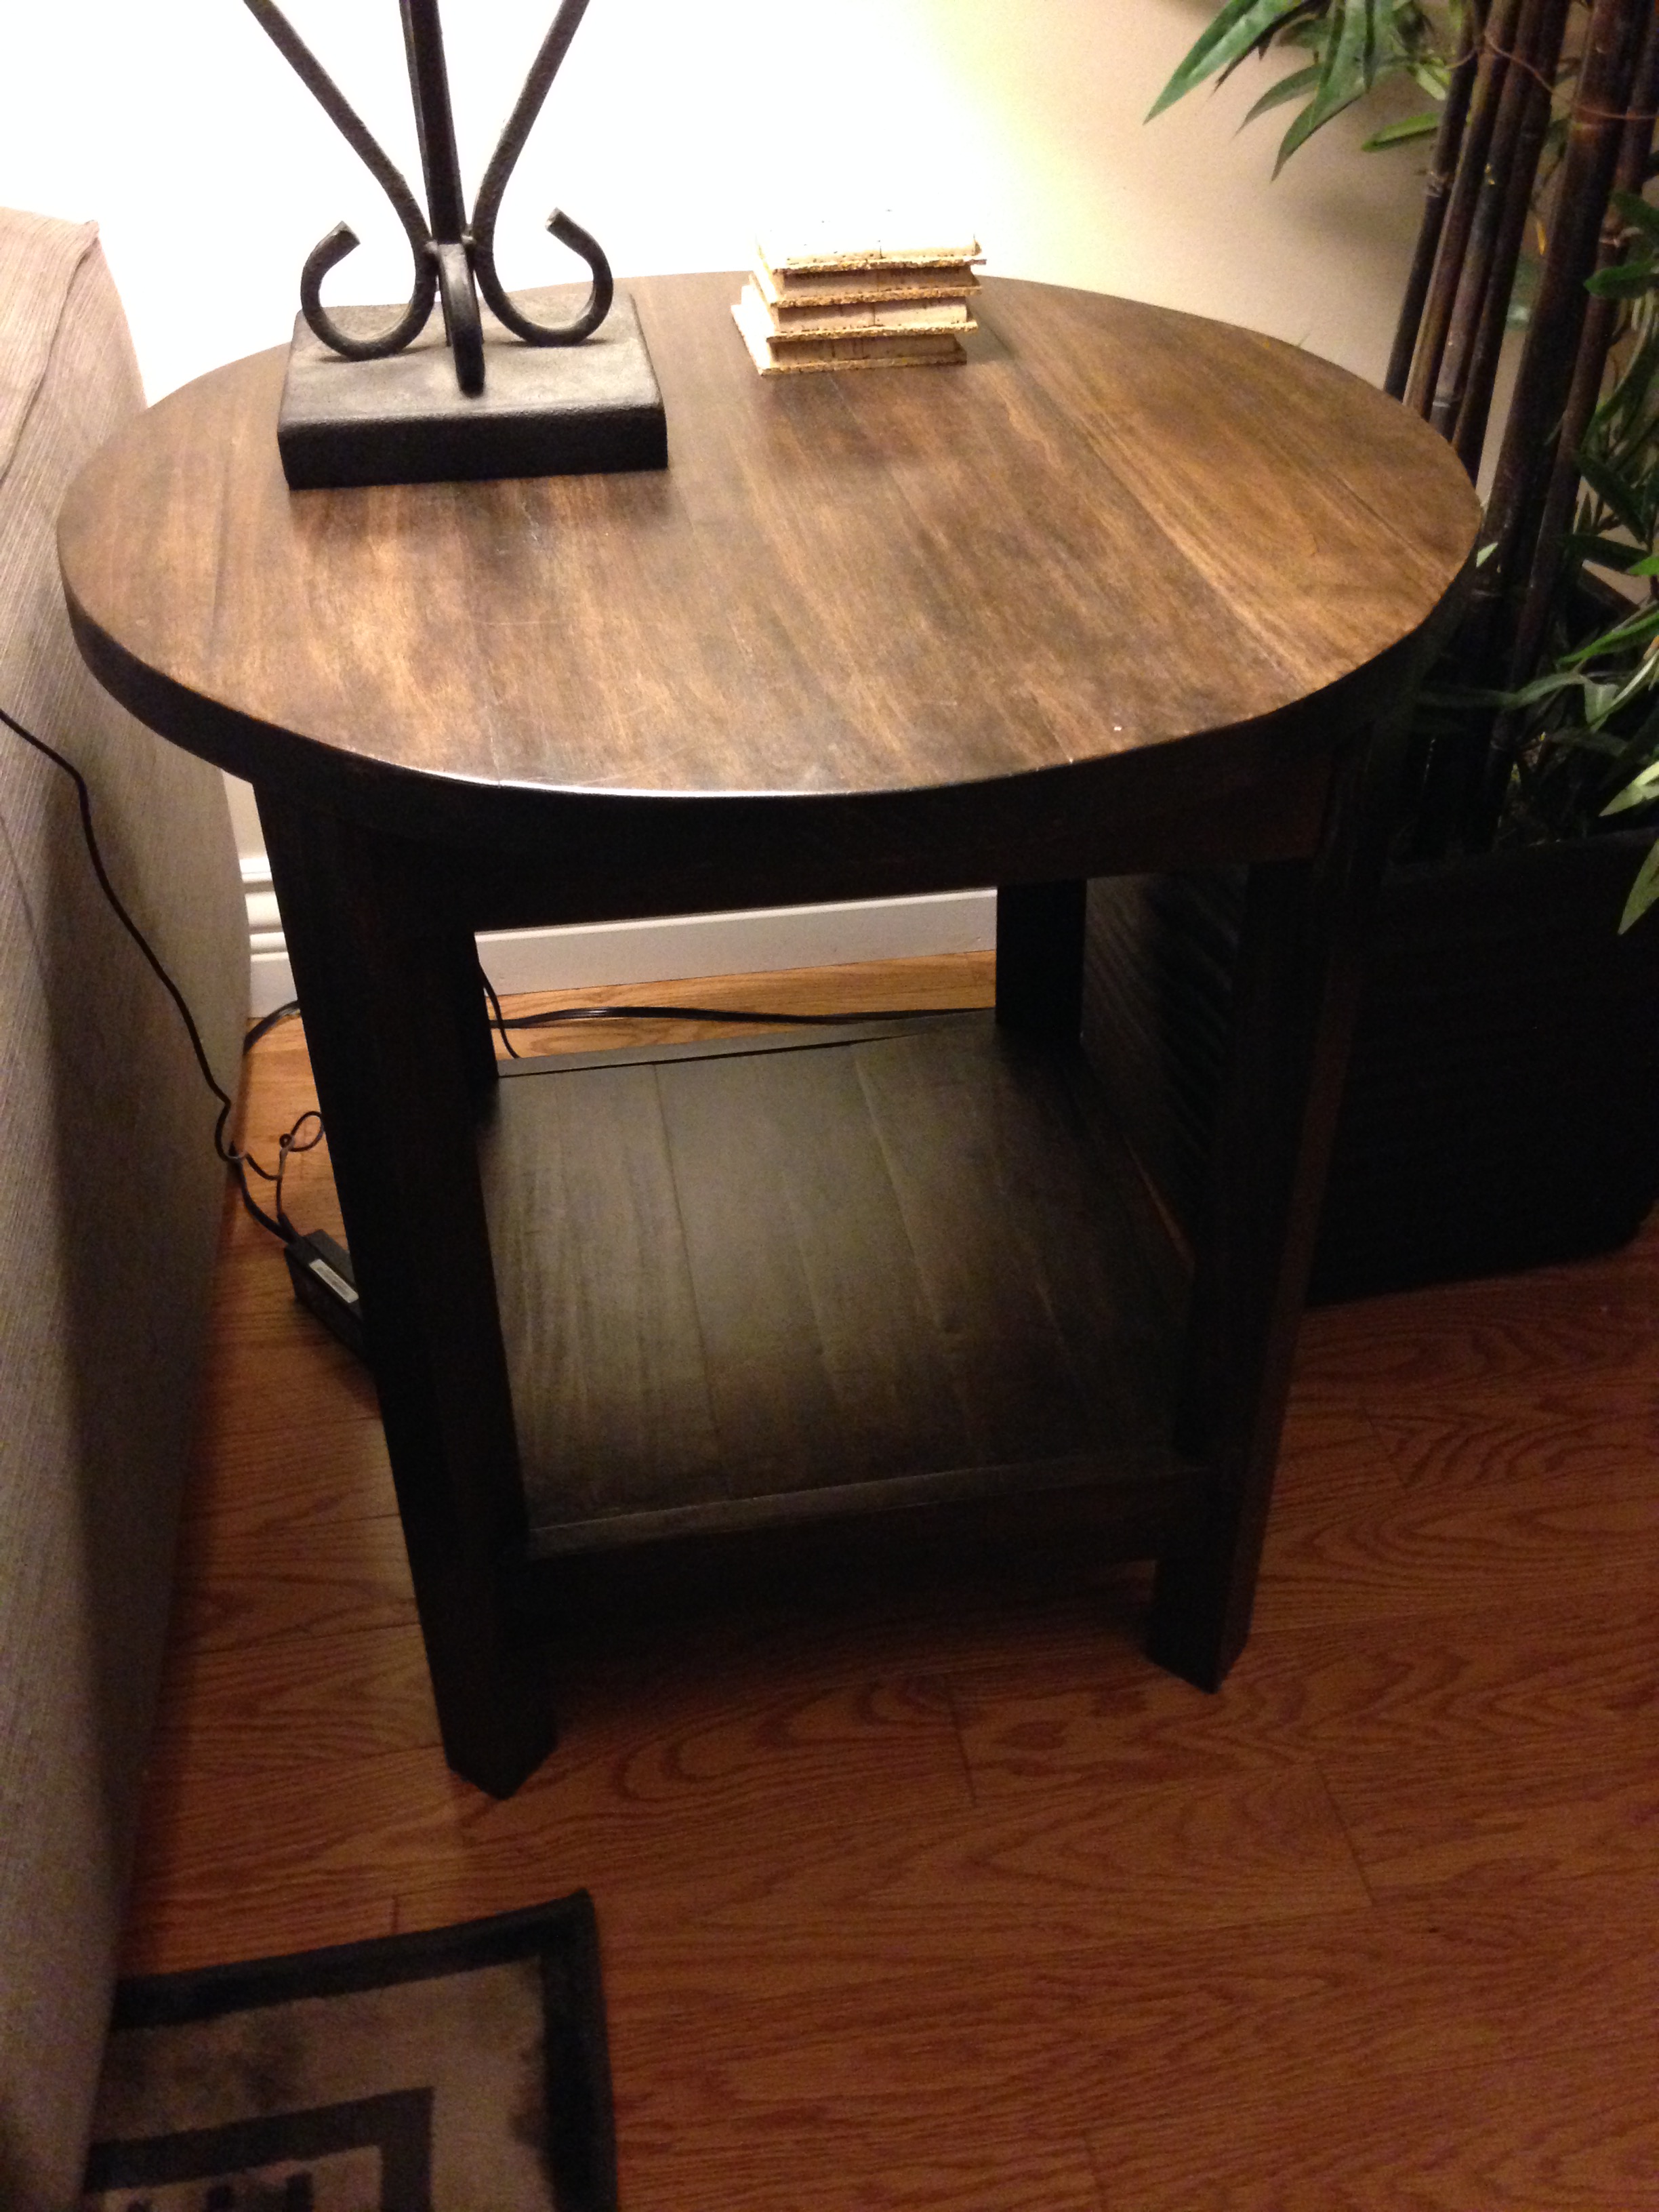
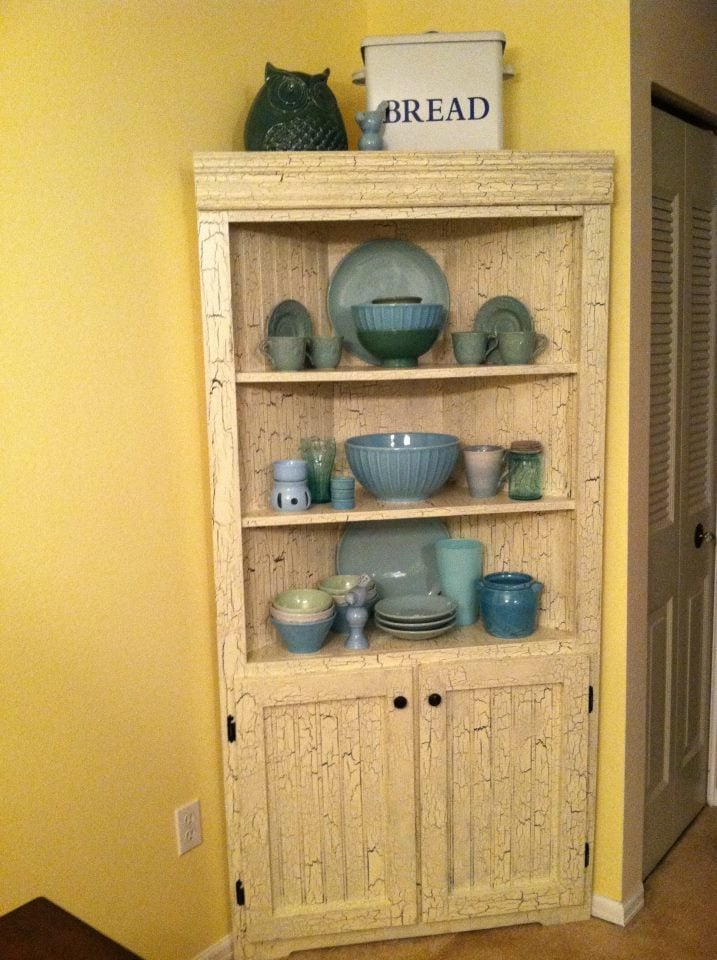
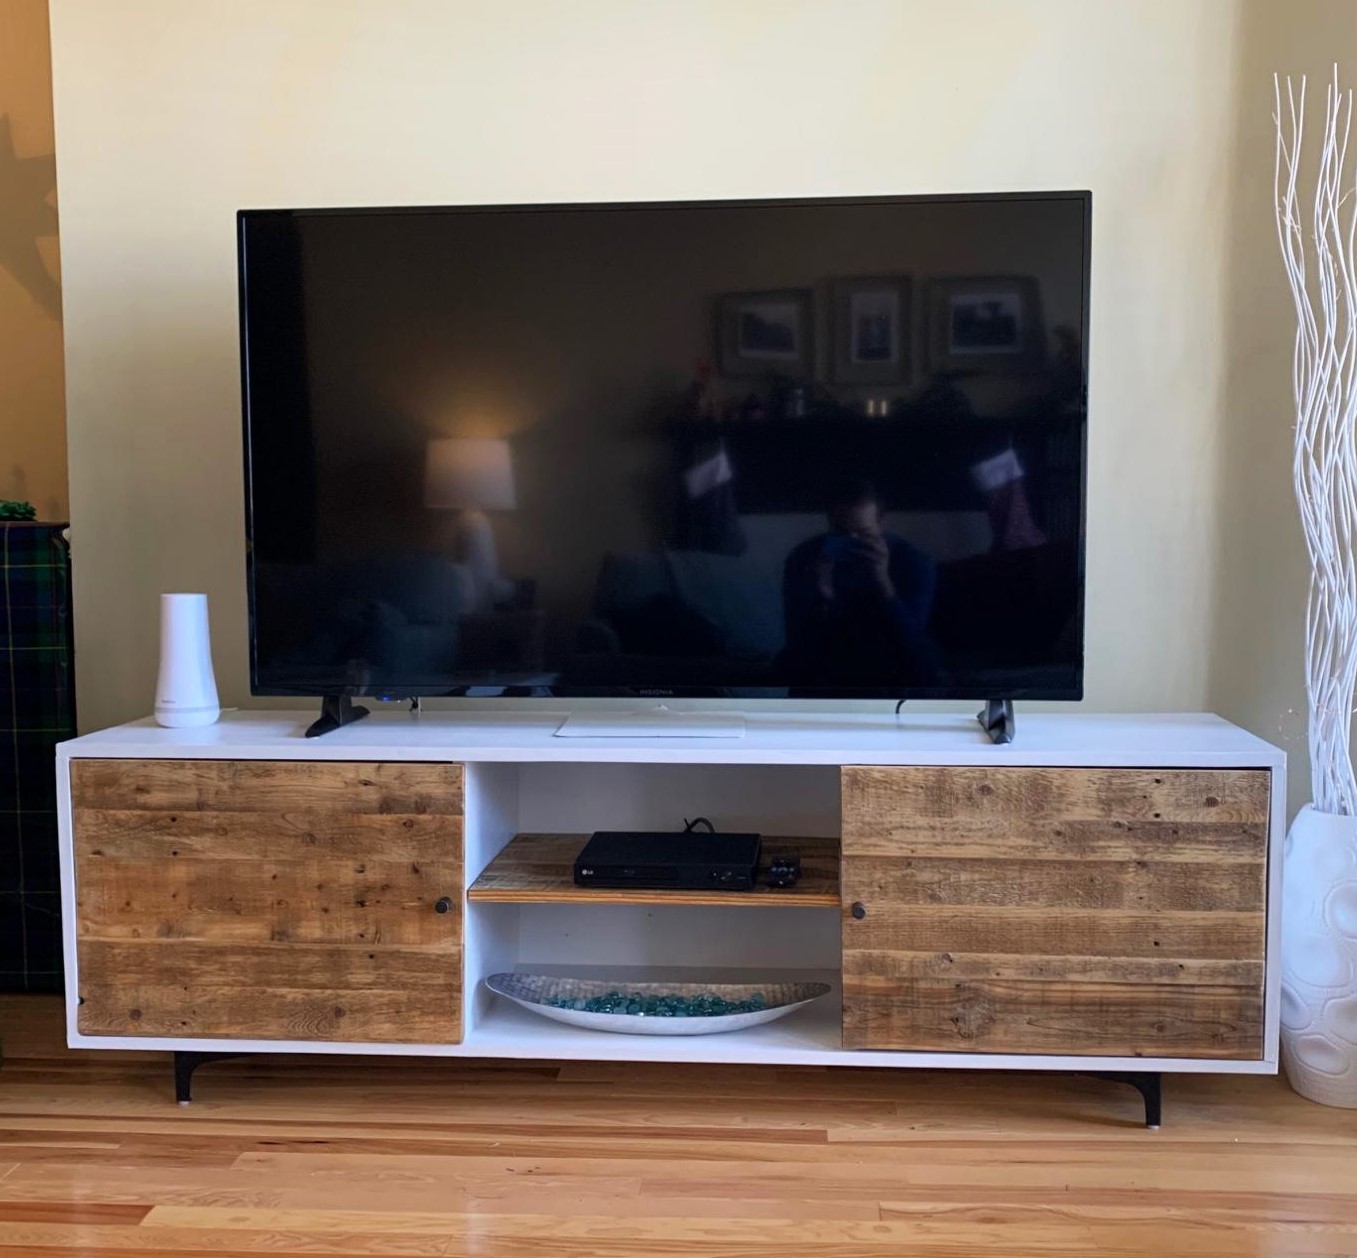
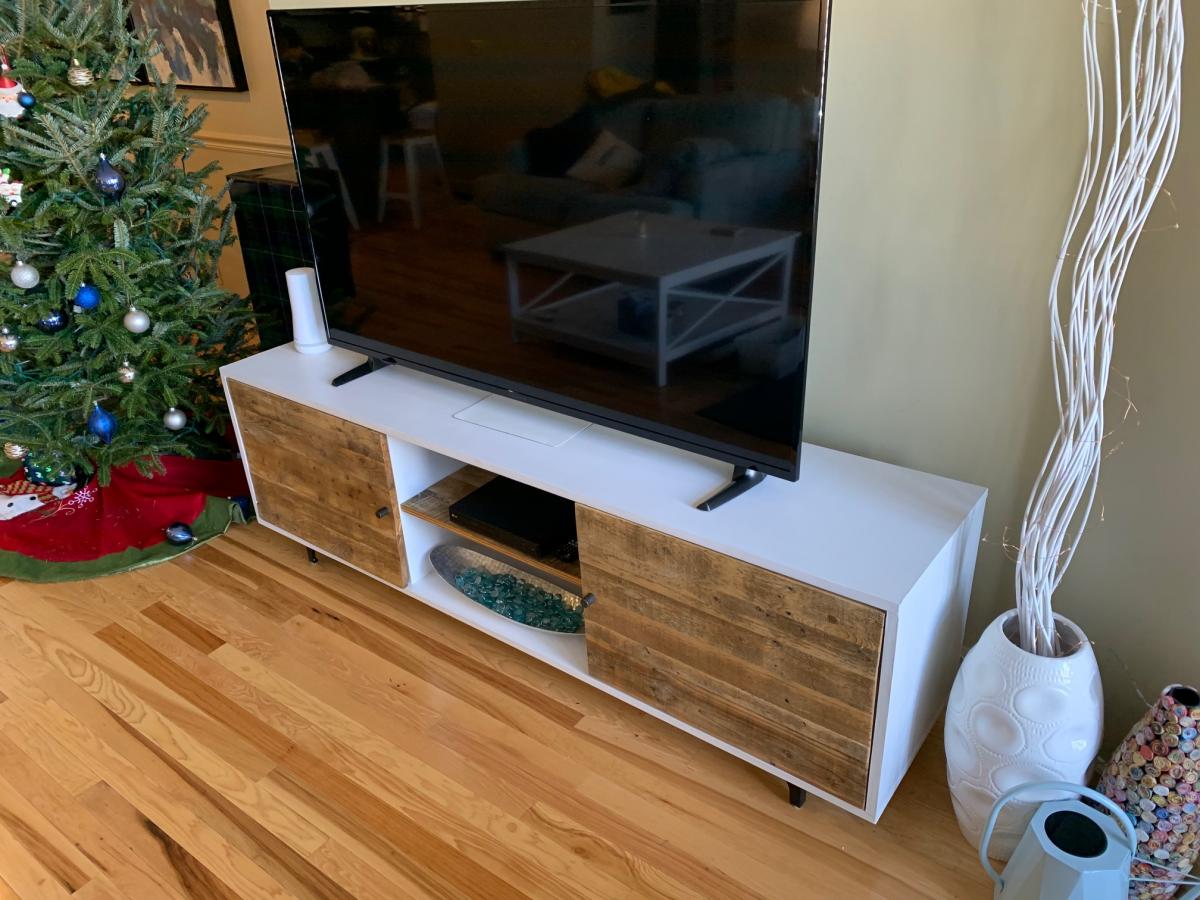
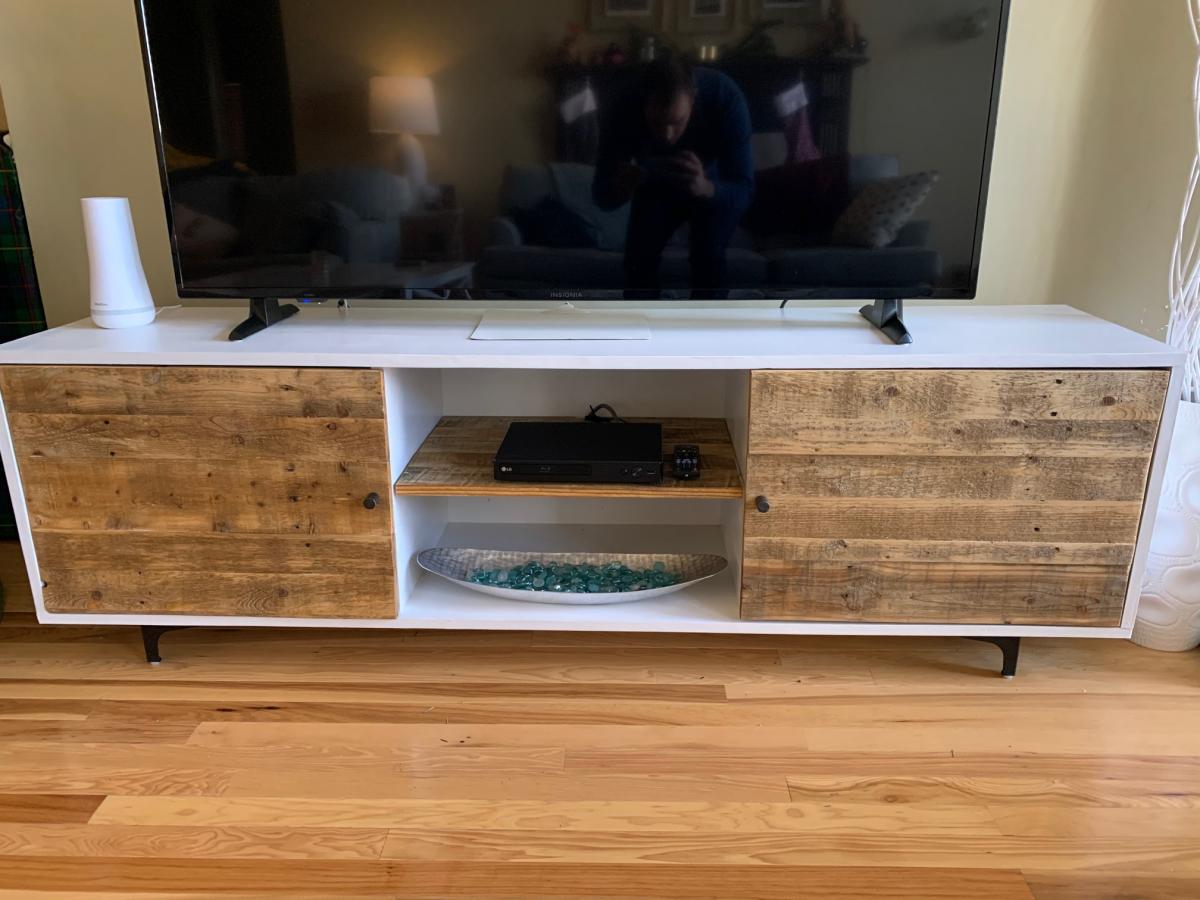
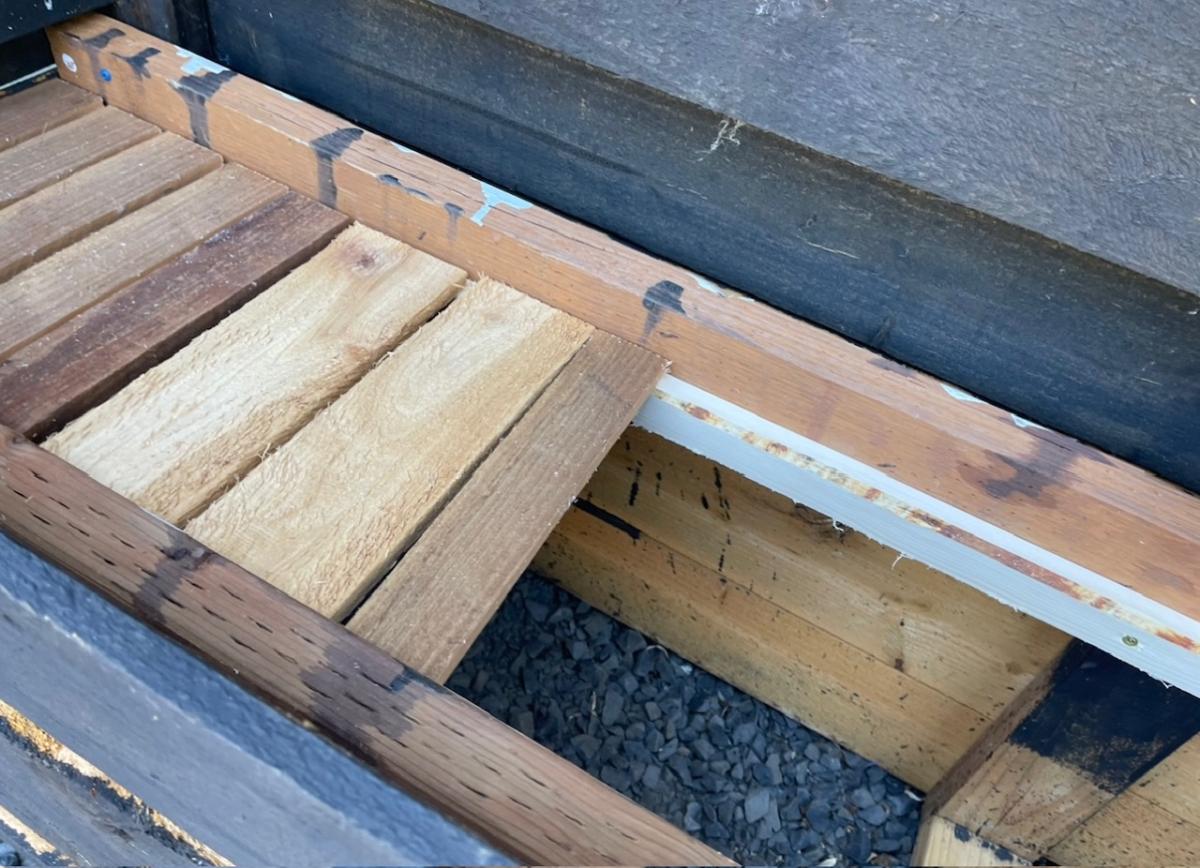
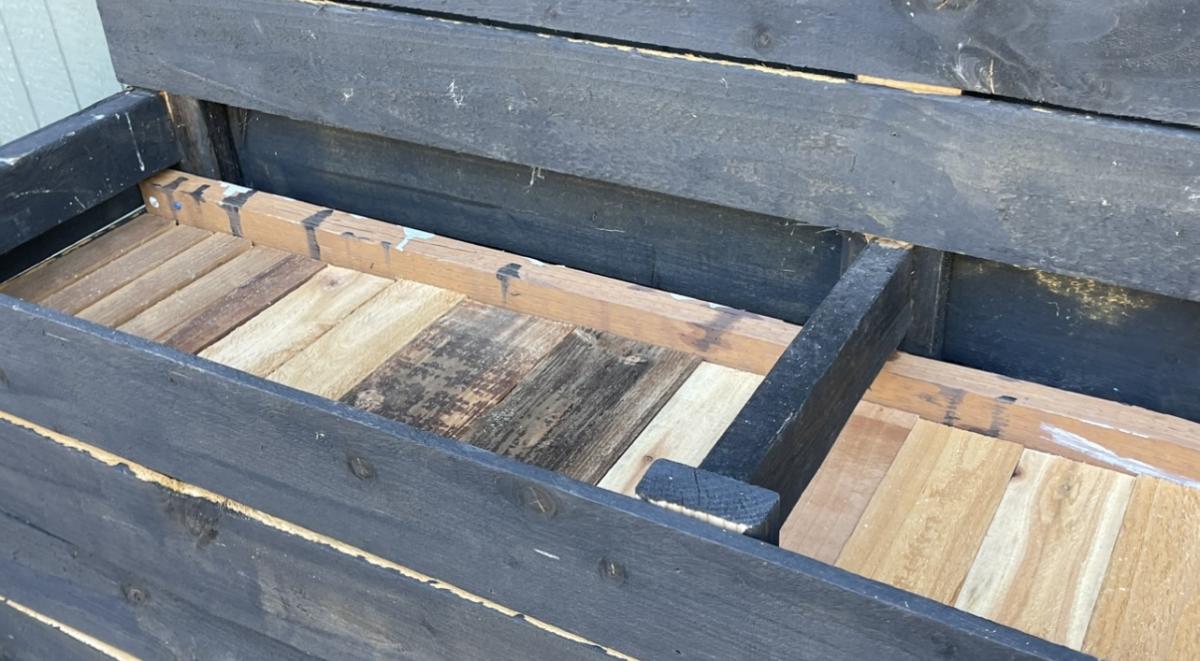
A great project!! I love how it turned out! I used Poplar wood because I wanted a larger top than 1 inch but smaller than 2 inch. Poplar had an in between size. I love how it turned out! Need to make another one now for my living room so that I have a matching set! Thanks Ana!!
Built from Plan(s)
Estimated Cost
$60 because poplar wood is expensive. I already had the stain and hardware.
Estimated Time Investment
Afternoon Project (3-6 Hours)
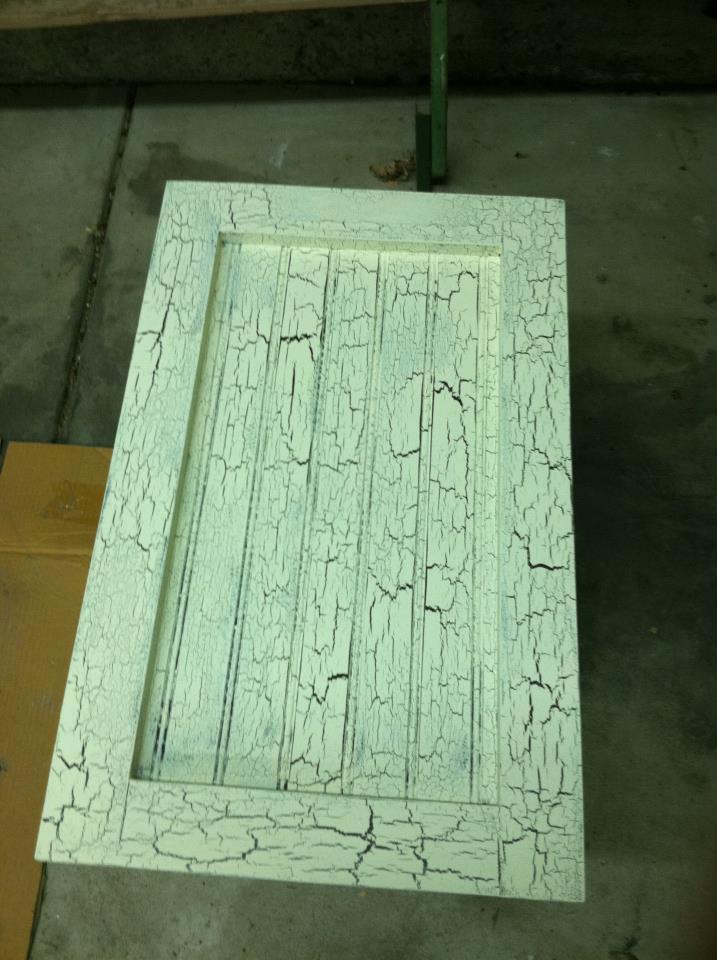
Finish Used
Dark Walnut followed by 3 coats of Satin Polyurathane. Sanded with 1000 grit sandpaper in between poly coats.
Recommended Skill Level
Intermediate