Community Brag Posts
Farm table for my sister
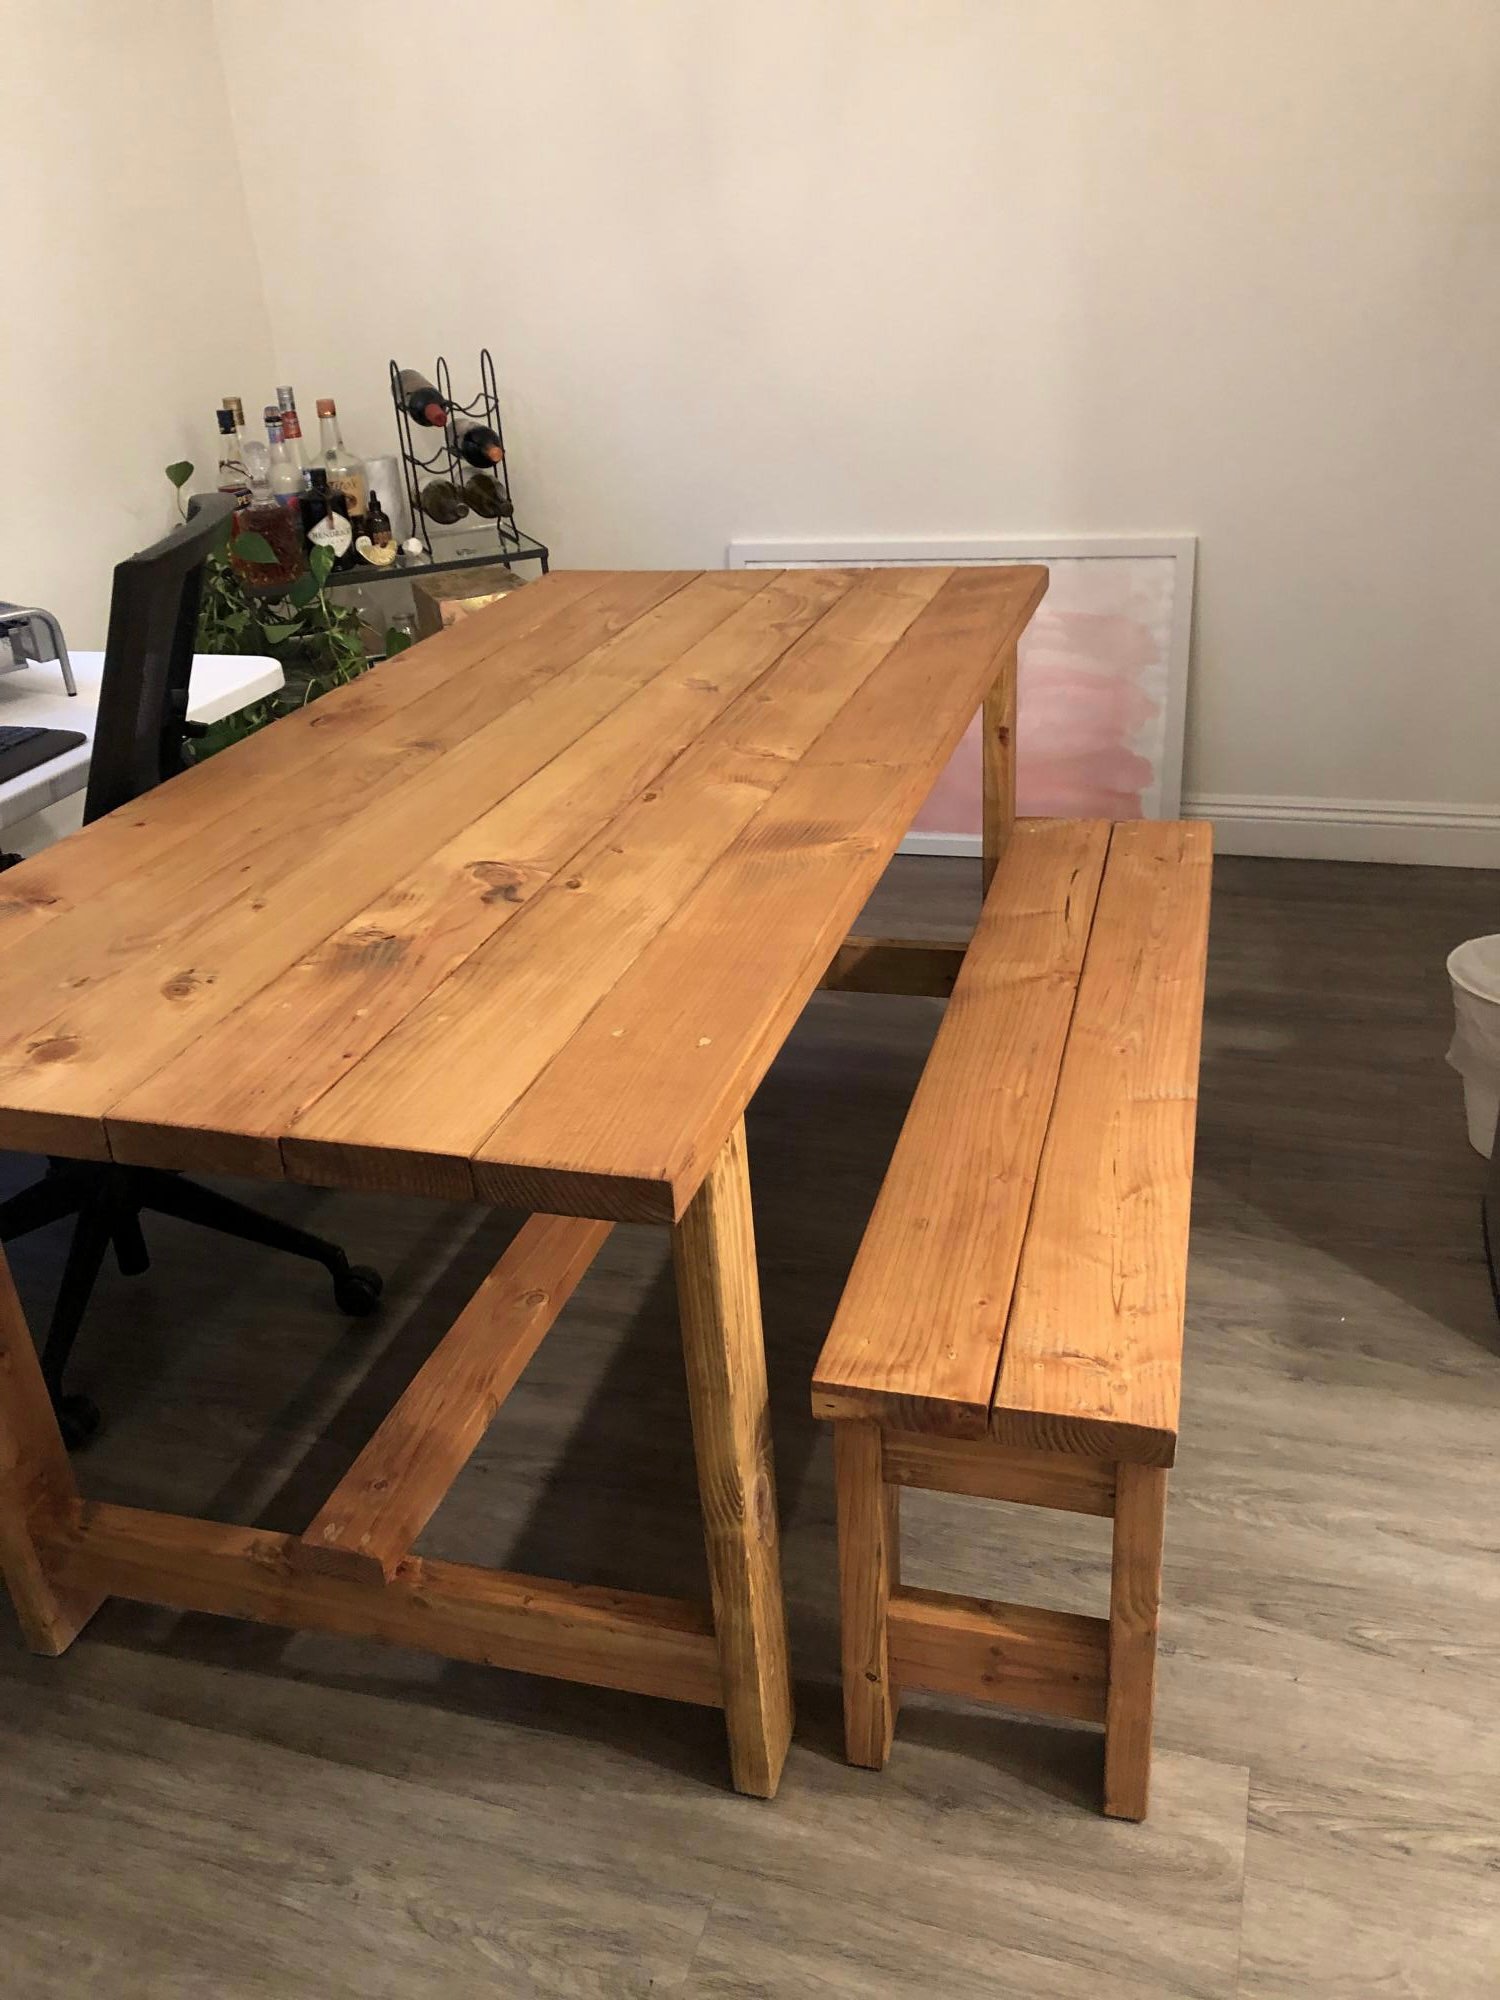
So my sister moved back to Southern California from New York. She found a great place but needed a table. I made one table and one bench. My sister then found two chairs for the other side. This is the second or third thing I have made/built from Ana’s site. Thank you for making me feel more manly with great instruction. I also built this pre Covid-19 when lumber was not so expensive.
Comments
Tue, 10/05/2021 - 09:55
Wonderful table!
Great housewarming gift, and very pretty too! Thanks for sharing!
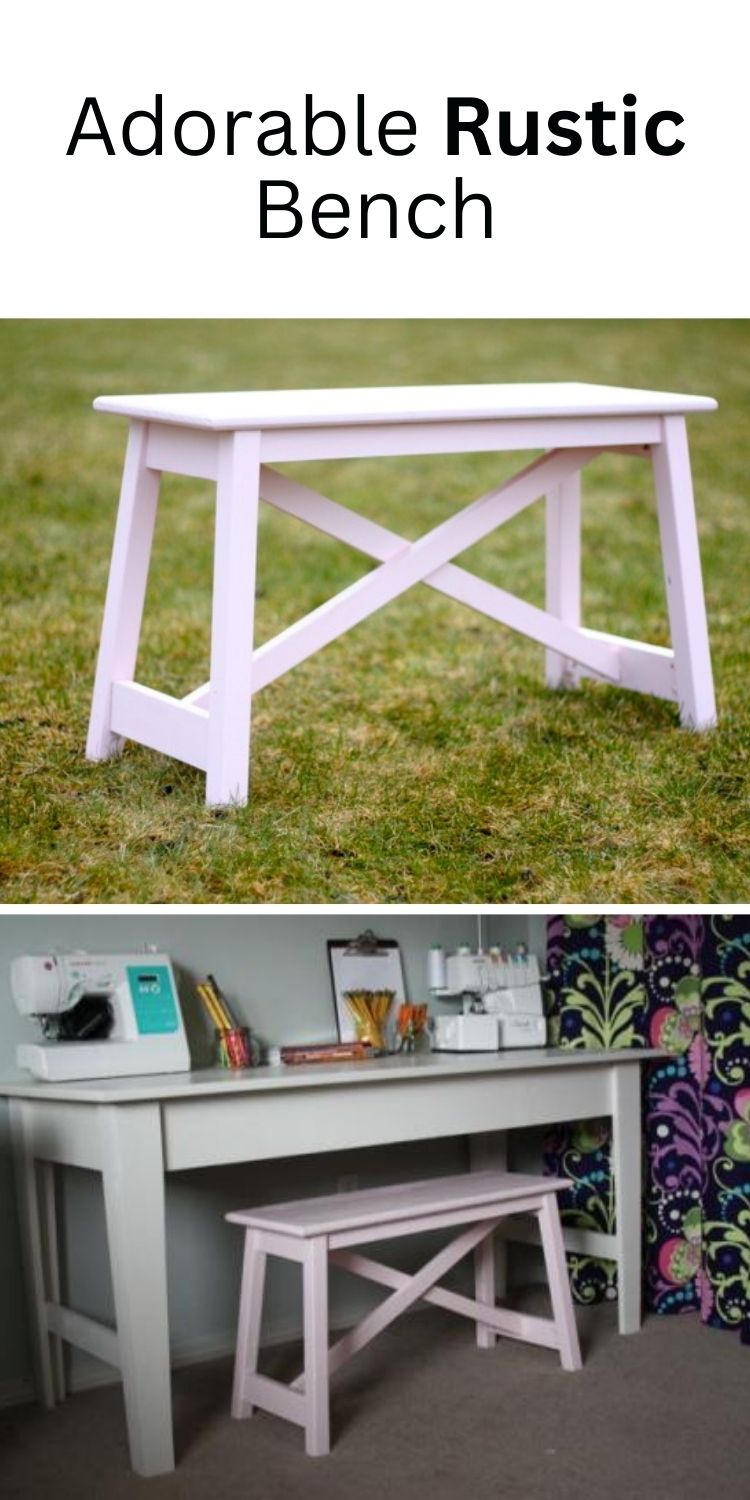
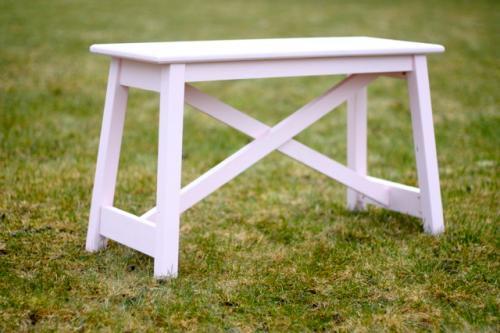
Adorable Rustic Bench

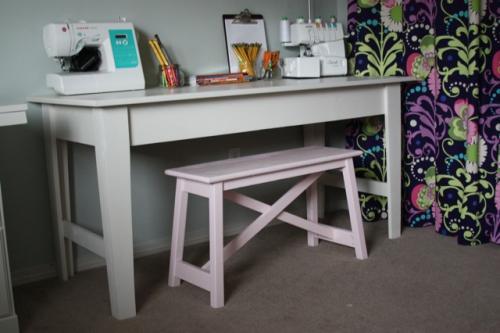
Love the rustic bench! This project took my husband about an hour or two to build and then a little primer and paint and it was ready to use. It was a pretty easy build and we didn’t modify the plans at all. We liked the bench so much that we made another one! My biggest tip is to always read the comments on the plans because people leave great feedback about their experience as well as any tips that they used. It cost us less than $30 to build two benches. Sanded really well and then filled screw holes with wood fill. Primed and painted with Behr’s powdered blush.
Pin For Later!
Built from Plan(s)
Estimated Cost
$15-20
Estimated Time Investment
An Hour or Two (0-2 Hours)
Finish Used
A coat of primer followed by a coat of Behr's Powdered Blush.
Recommended Skill Level
Beginner
Upholstered Bench w/ Slatted Shelf
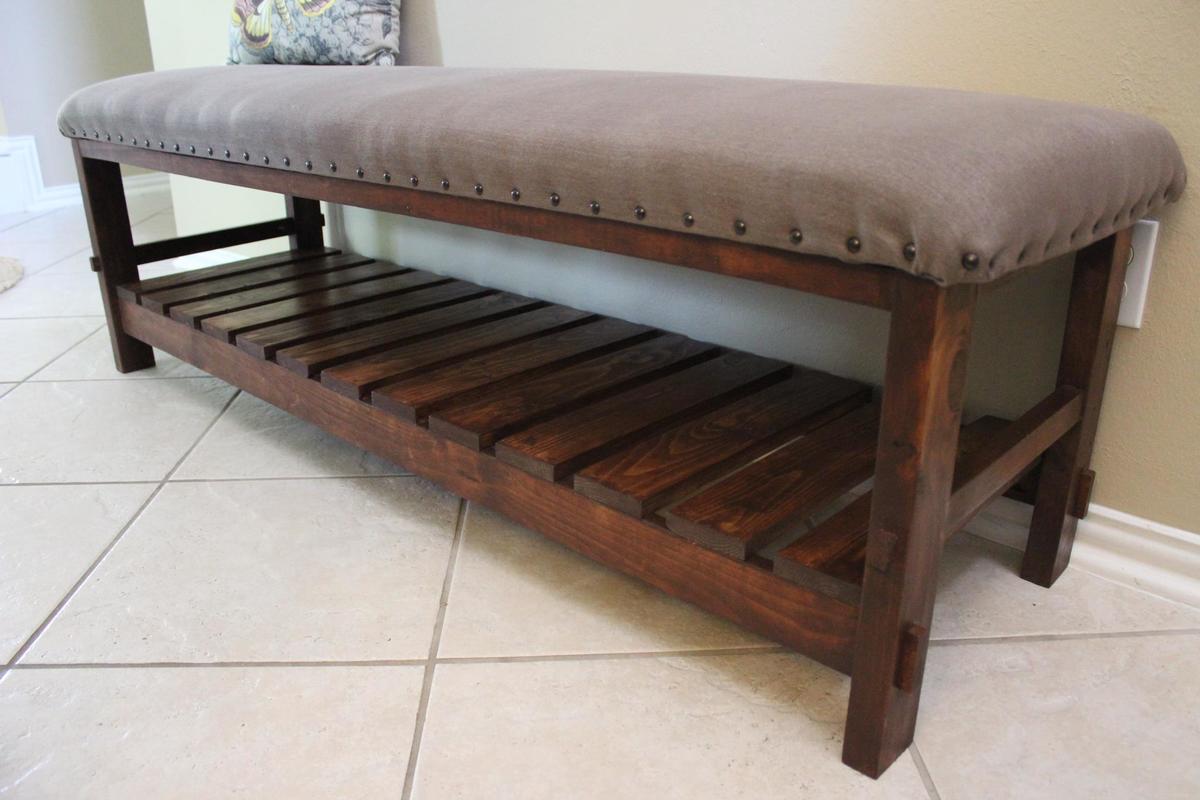
I had a client who requested a bench like the Caden Leather Bench by Pottery Barn, except she wanted it longer. I didn't bevel the legs because I used 2x3's instead of 2x2's and wanted to make it as sturdy as possible to accommodate the additional length. Needless to say, she was VERY happy with the bench and I am getting ready to work on one for our home now!
Built from Plan(s)
Estimated Cost
Client provided the fabric and most wood was re-purposed, so biggest expense was foam and batting.
Estimated Time Investment
Afternoon Project (3-6 Hours)
Finish Used
special walnut stain, then finished with a clear paste wax
Recommended Skill Level
Intermediate
Comments
Sun, 01/26/2014 - 17:57
Wonderful -- plans?
Do you have plans for how you built this, and if, so are you willing to share them?
Would love to give this a try!
Molly
Sun, 01/26/2014 - 17:57
Wonderful -- plans?
Do you have plans for how you built this, and if, so are you willing to share them?
Would love to give this a try!
Molly
Sun, 01/26/2014 - 17:57
Wonderful -- plans?
Do you have plans for how you built this, and if, so are you willing to share them?
Would love to give this a try!
Molly
Thu, 02/06/2014 - 17:35
Plans
Sorry - didn't have plans for this one and I really stink at using the software Ana uses to make plans. I did loosely follow the Cayden Nailhead Stool plans, but, of course, modified in my attempt to duplicate the Pottery Barn bench the client wanted to match. I would be happy to help in any way I can, but you definitely need to be comfortable to work without plans. I used my Kreg jig quite a bit for this project and the little piece of wood that protrudes from the legs is faux - just cut a 1/2" piece and glued and nailed with my brad nailer.
Train and Activity table
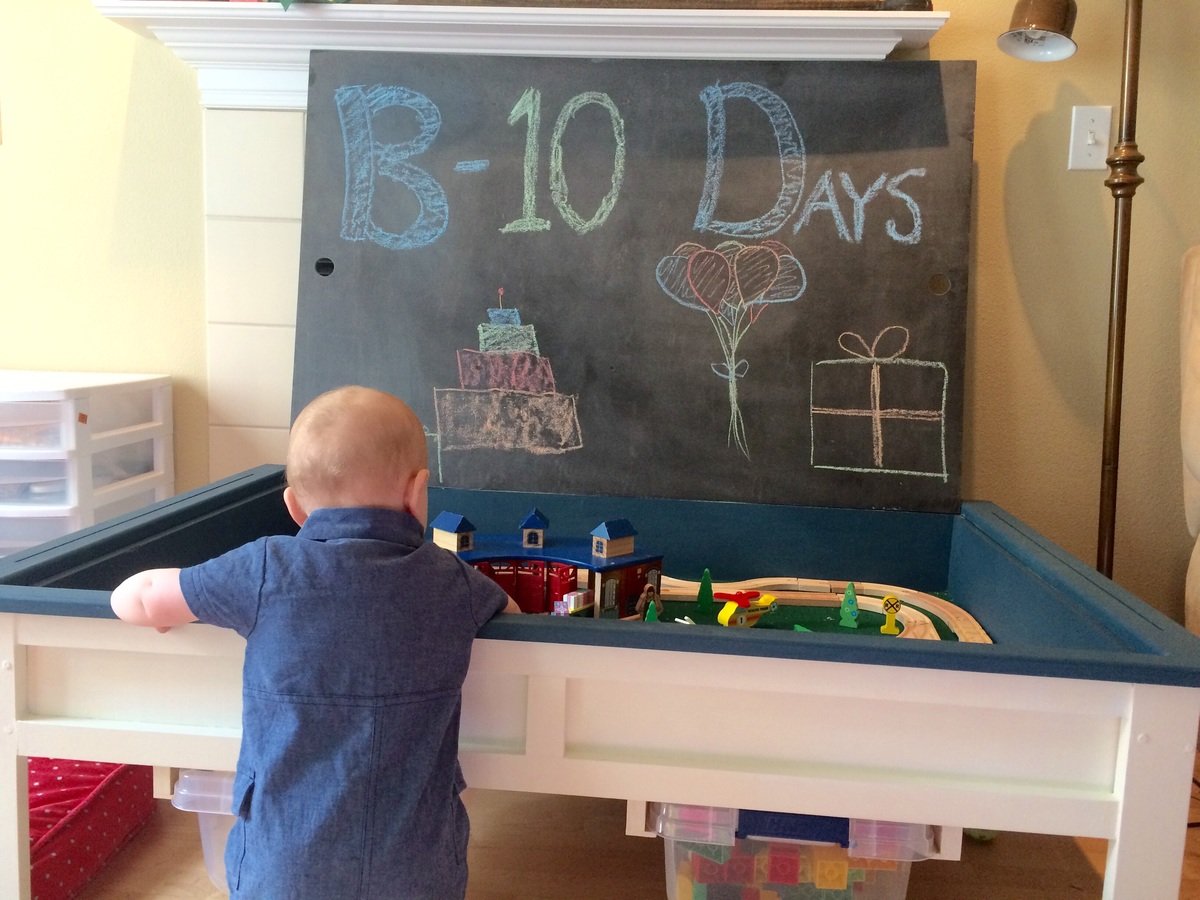
With a few modifications, I made this table into an actovity table for my son.
I made the lid out of 1/4" plywood so it would be lighter, painted one side in chalkboard paint and glued down lego base plates to the other.
Instead of a shelf underneath, I added sliders to hold storage bins.
I also mounted a curtain rod on one end to hold a roll of art paper and cut slots in the end trim pieces to feed it through.
Built from Plan(s)
Estimated Time Investment
Weekend Project (10-20 Hours)
Finish Used
Chalk paint with furniture wax for the main body. Chalkboard paint on the lid. Felt lining the inner train area.
Recommended Skill Level
Intermediate
Comments

Sun, 04/05/2015 - 17:55
I love this! I love the two
I love this! I love the two colors too. I'd like to build something like this for my little guy too :)

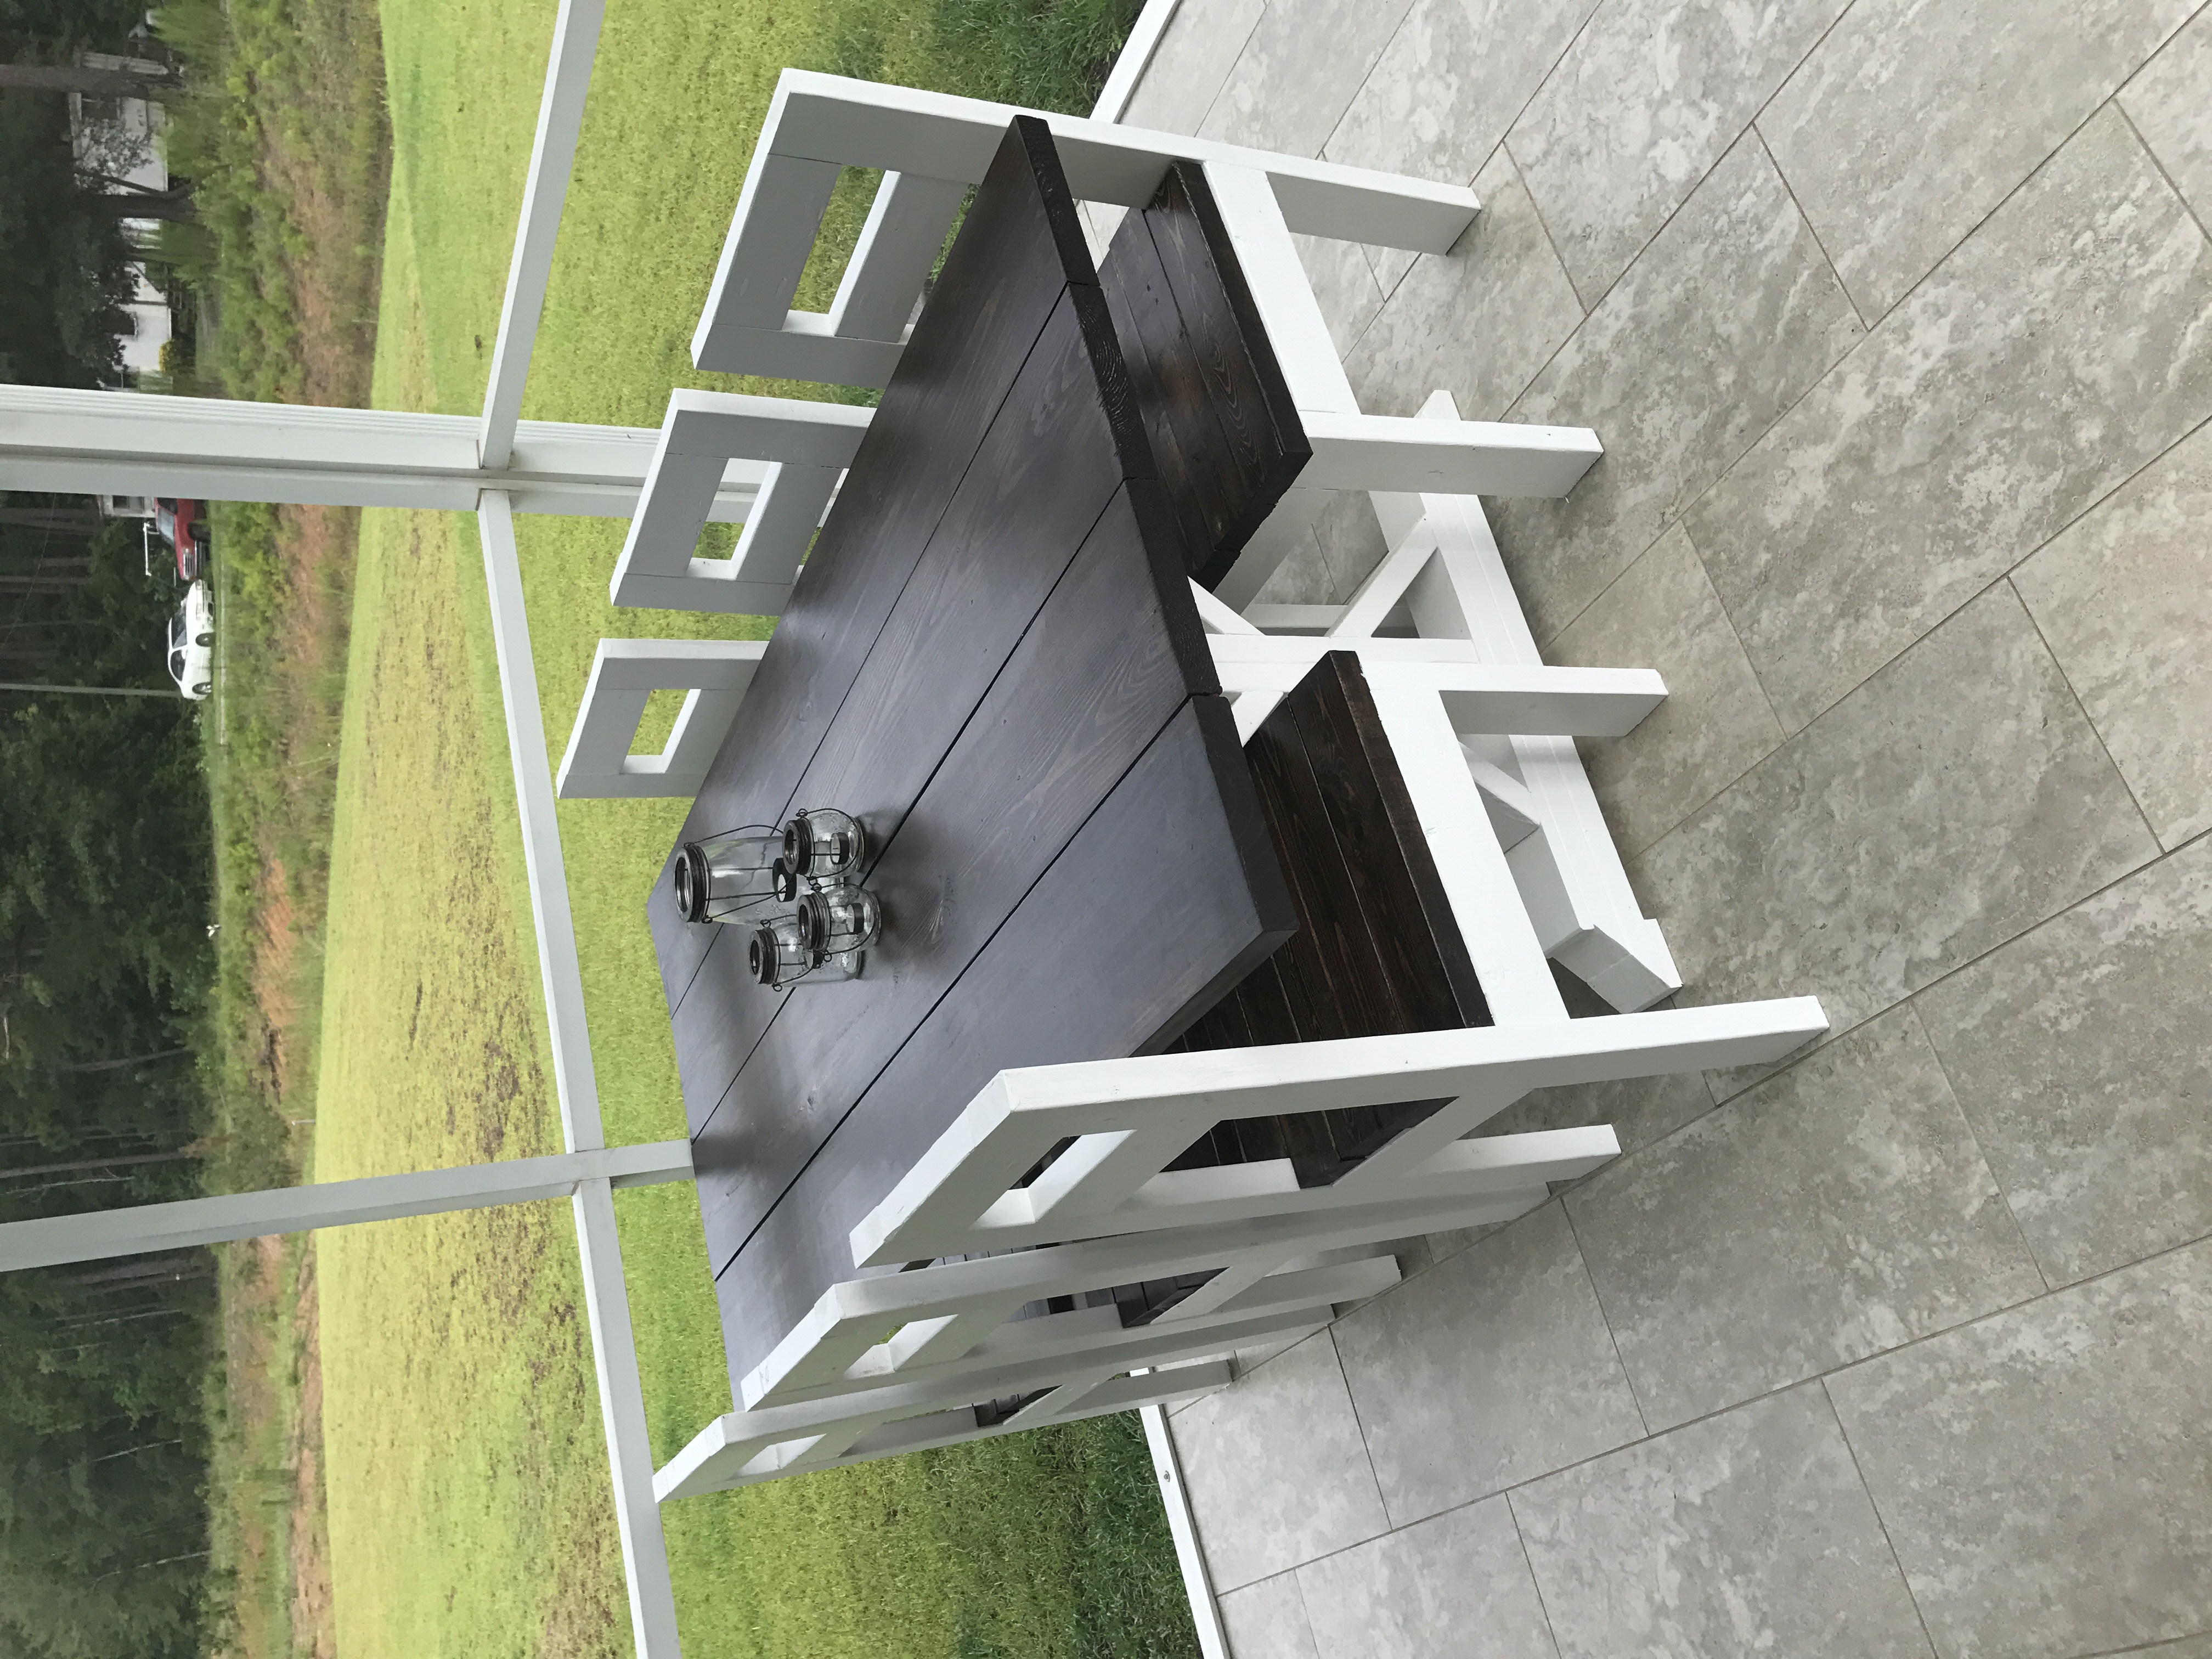
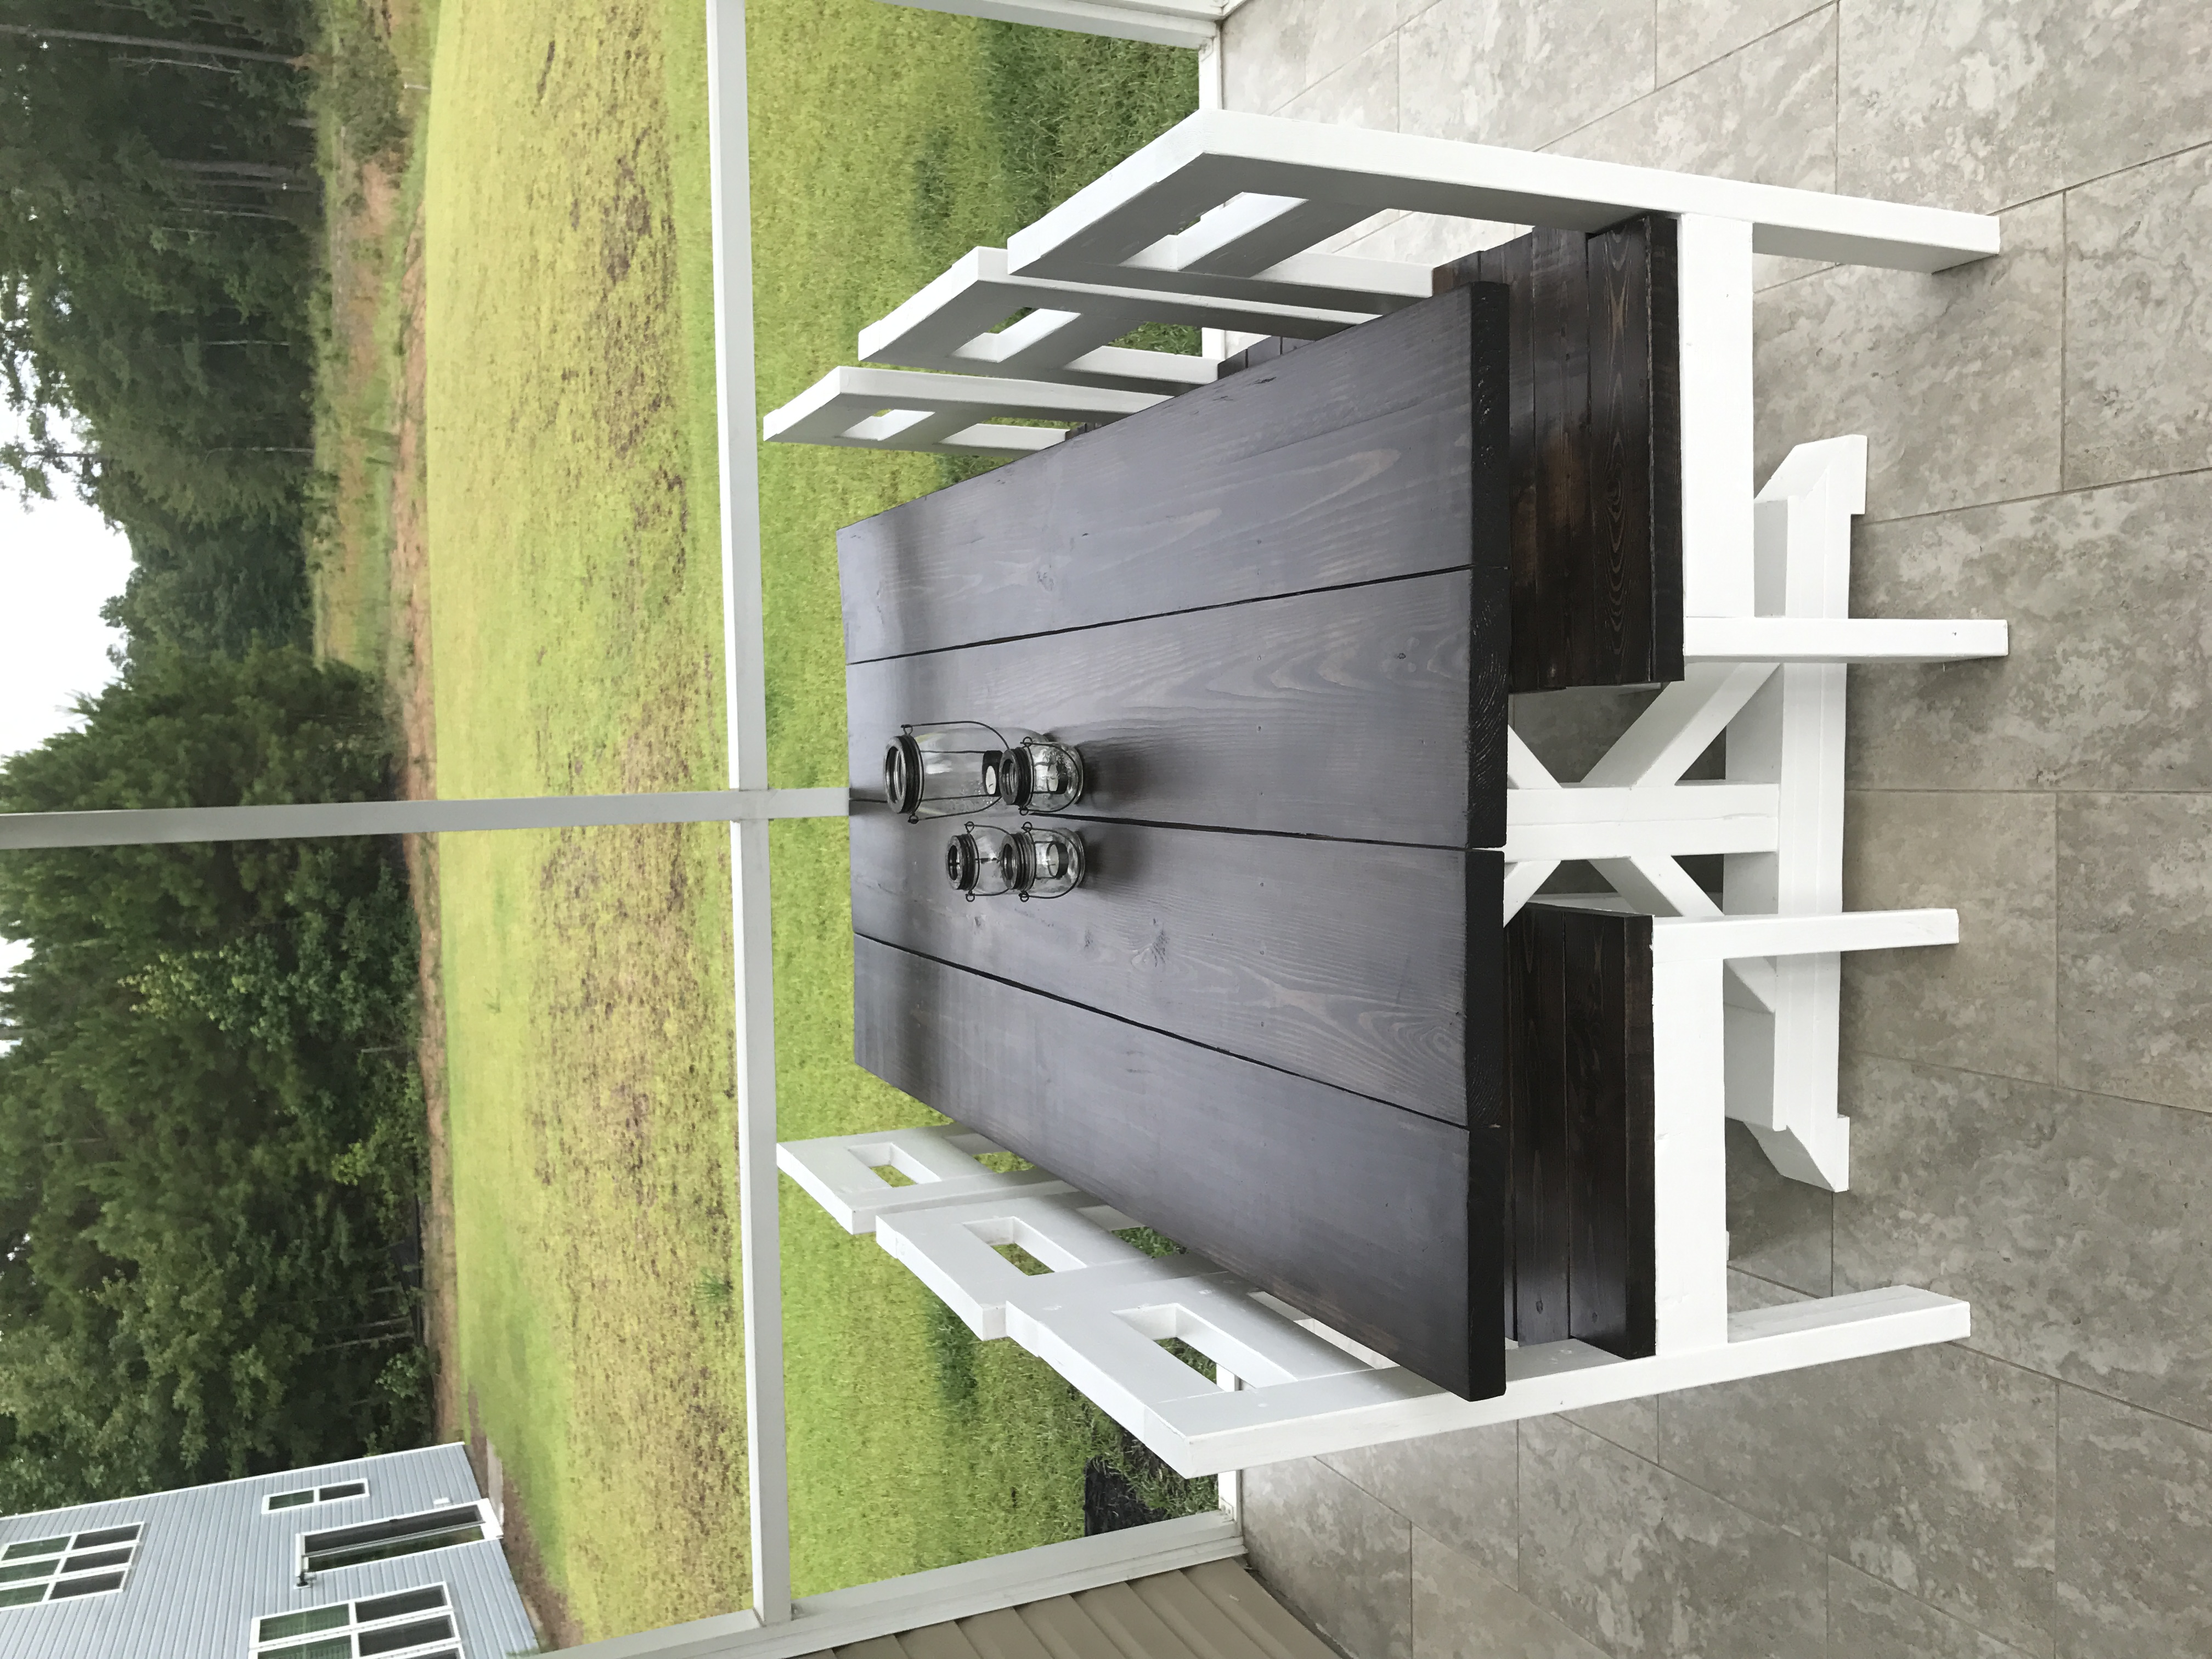
Fancy X table
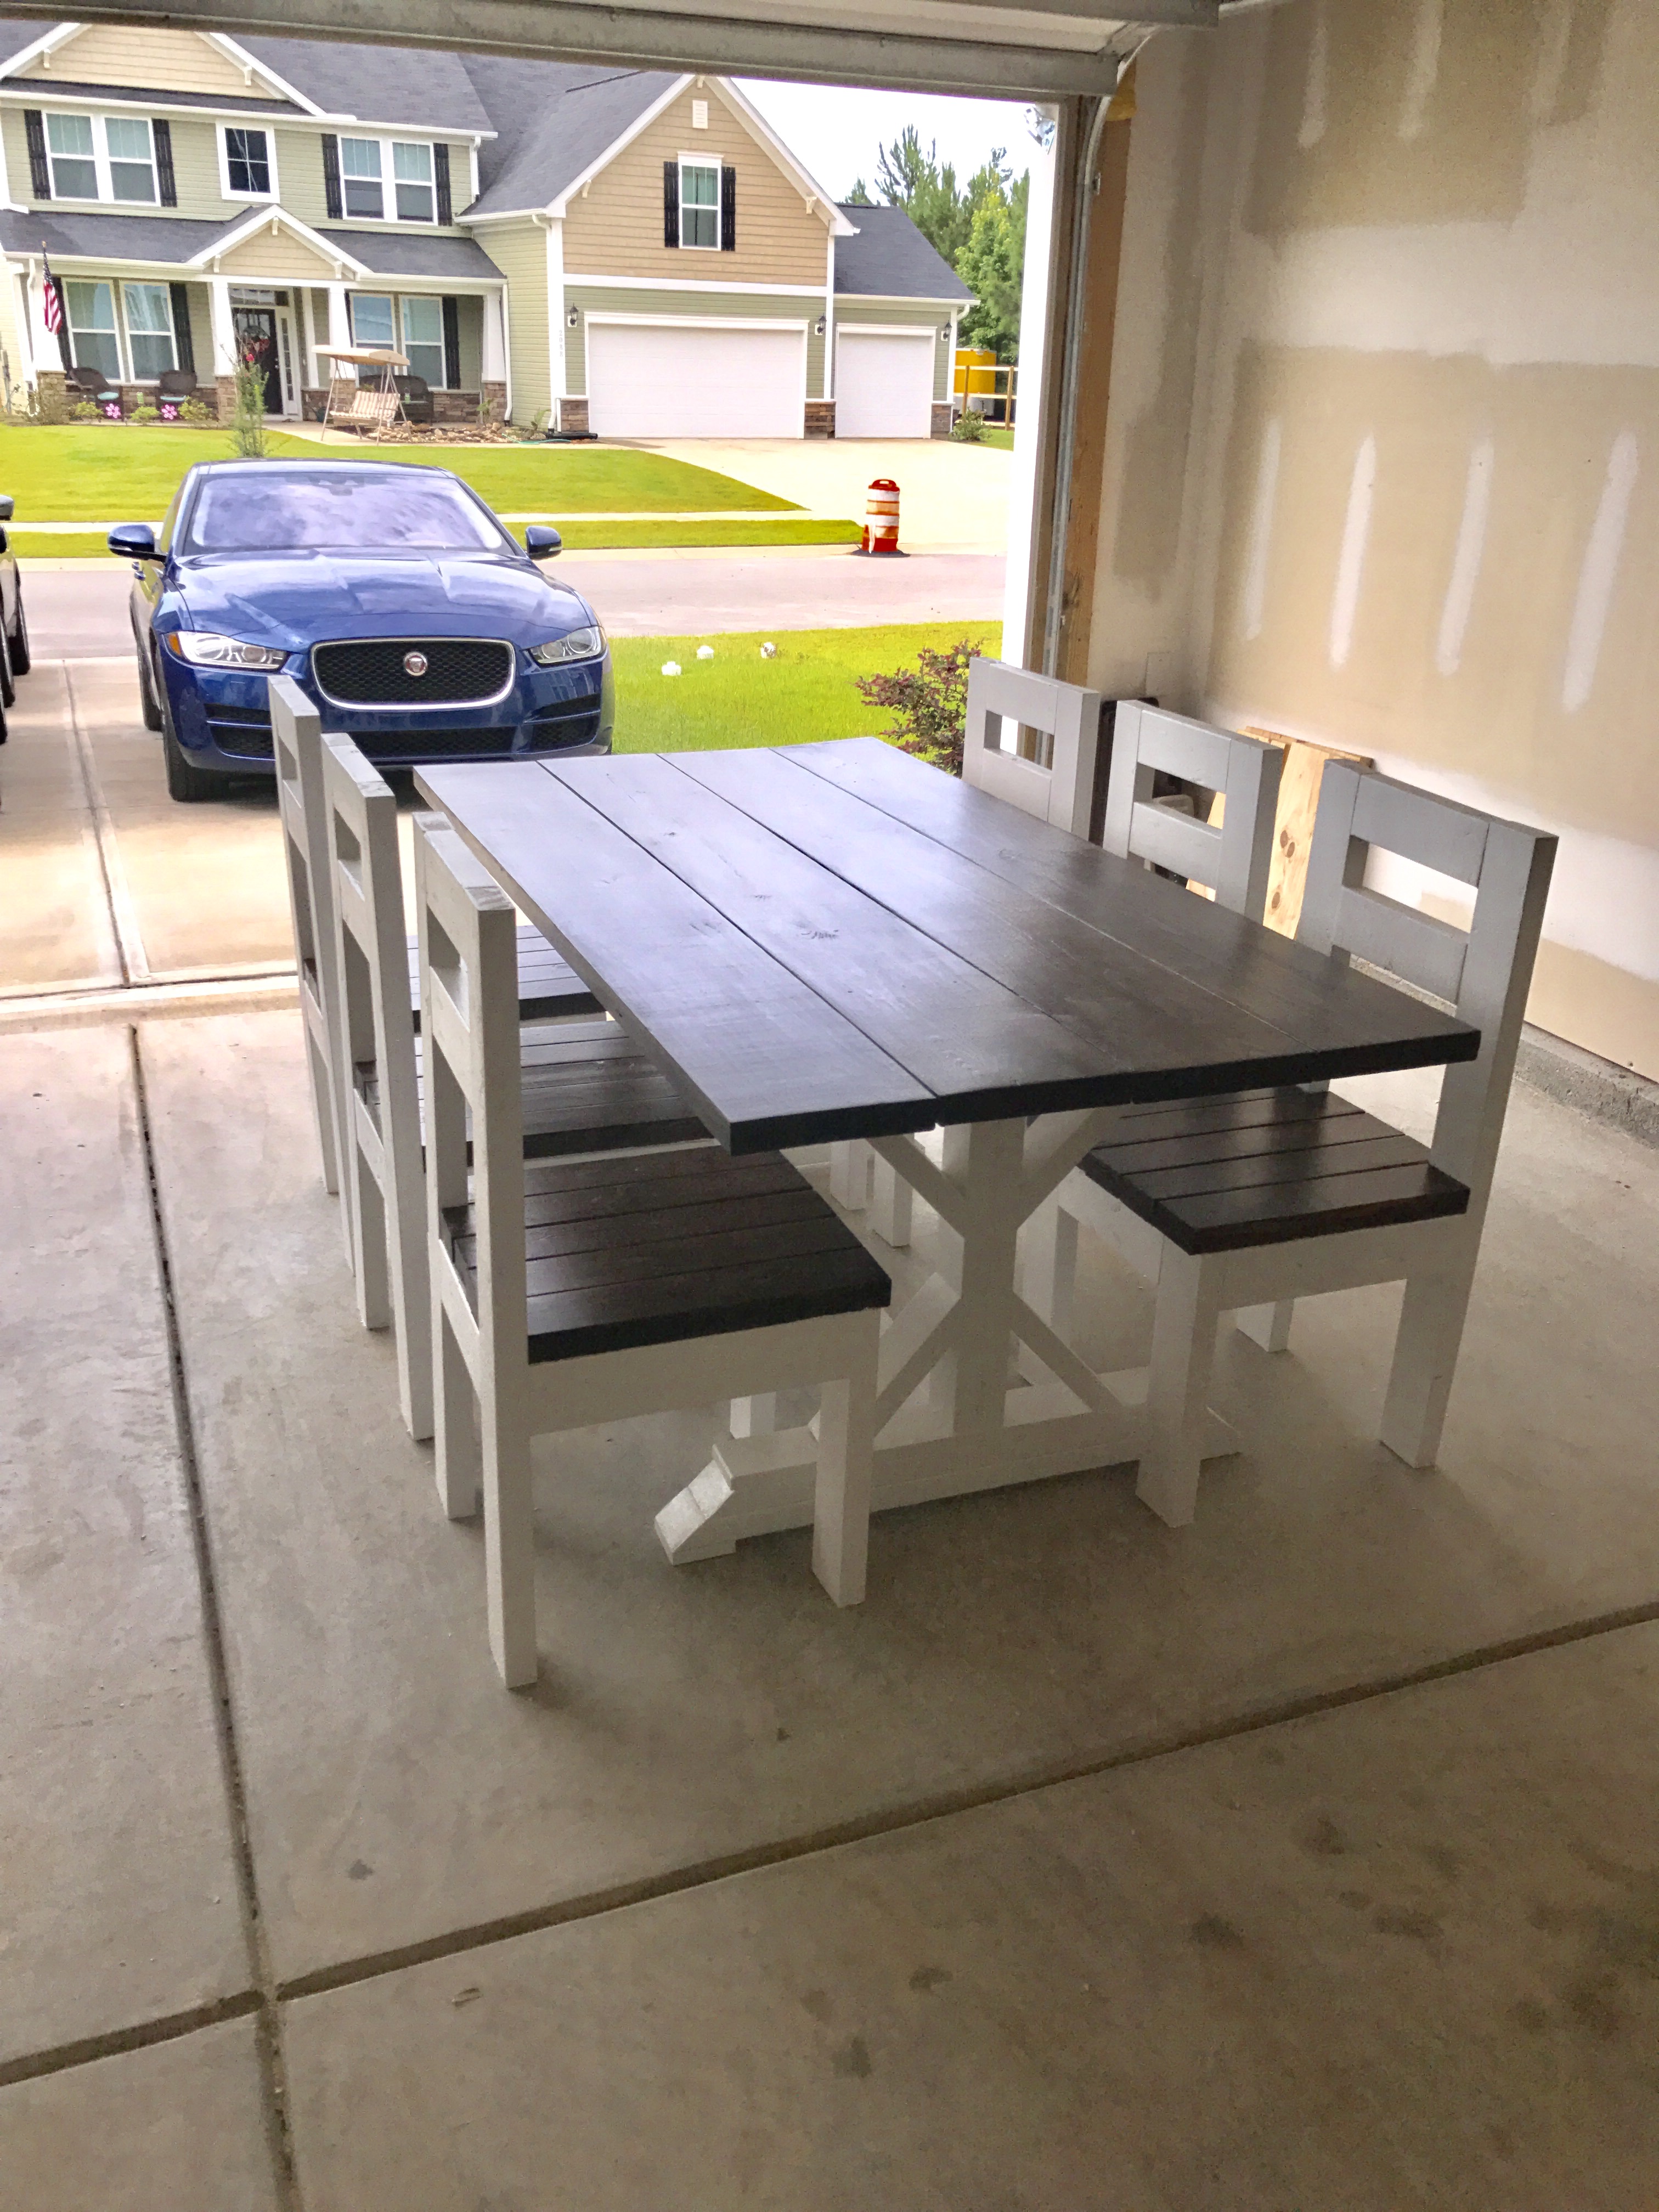
Great table and easy to follow plans/ directions! First time trying something like this and couldn't be happier. Kept debating if I should by the Kreg pocket hole jig, couldn't have done this project without it. What a difference it make! Can't wait to start the next build.
Estimated Cost
Under $200 to build both the table and 6 chairs. Including all lumber, screws, paint/ stains ect.
Estimated Time Investment
Weekend Project (10-20 Hours)
Finish Used
Minwax Pro Series multi-surface wiping stain and Minwax Spar urethane. Paint is HGTV by Sherwin-Williams weathershield
Recommended Skill Level
Beginner
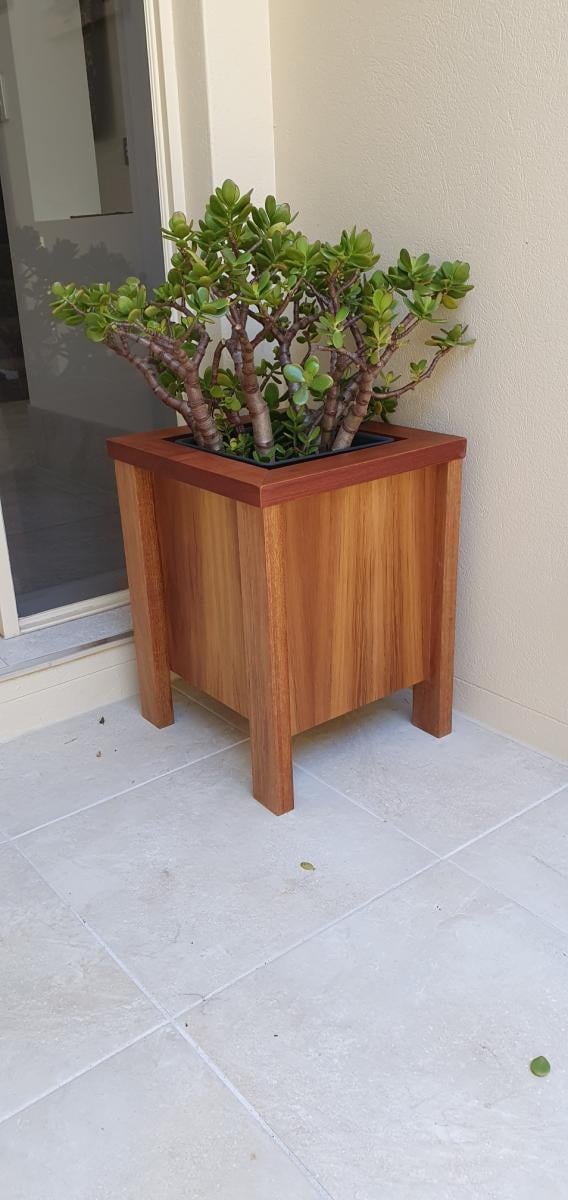
Planter Boxes
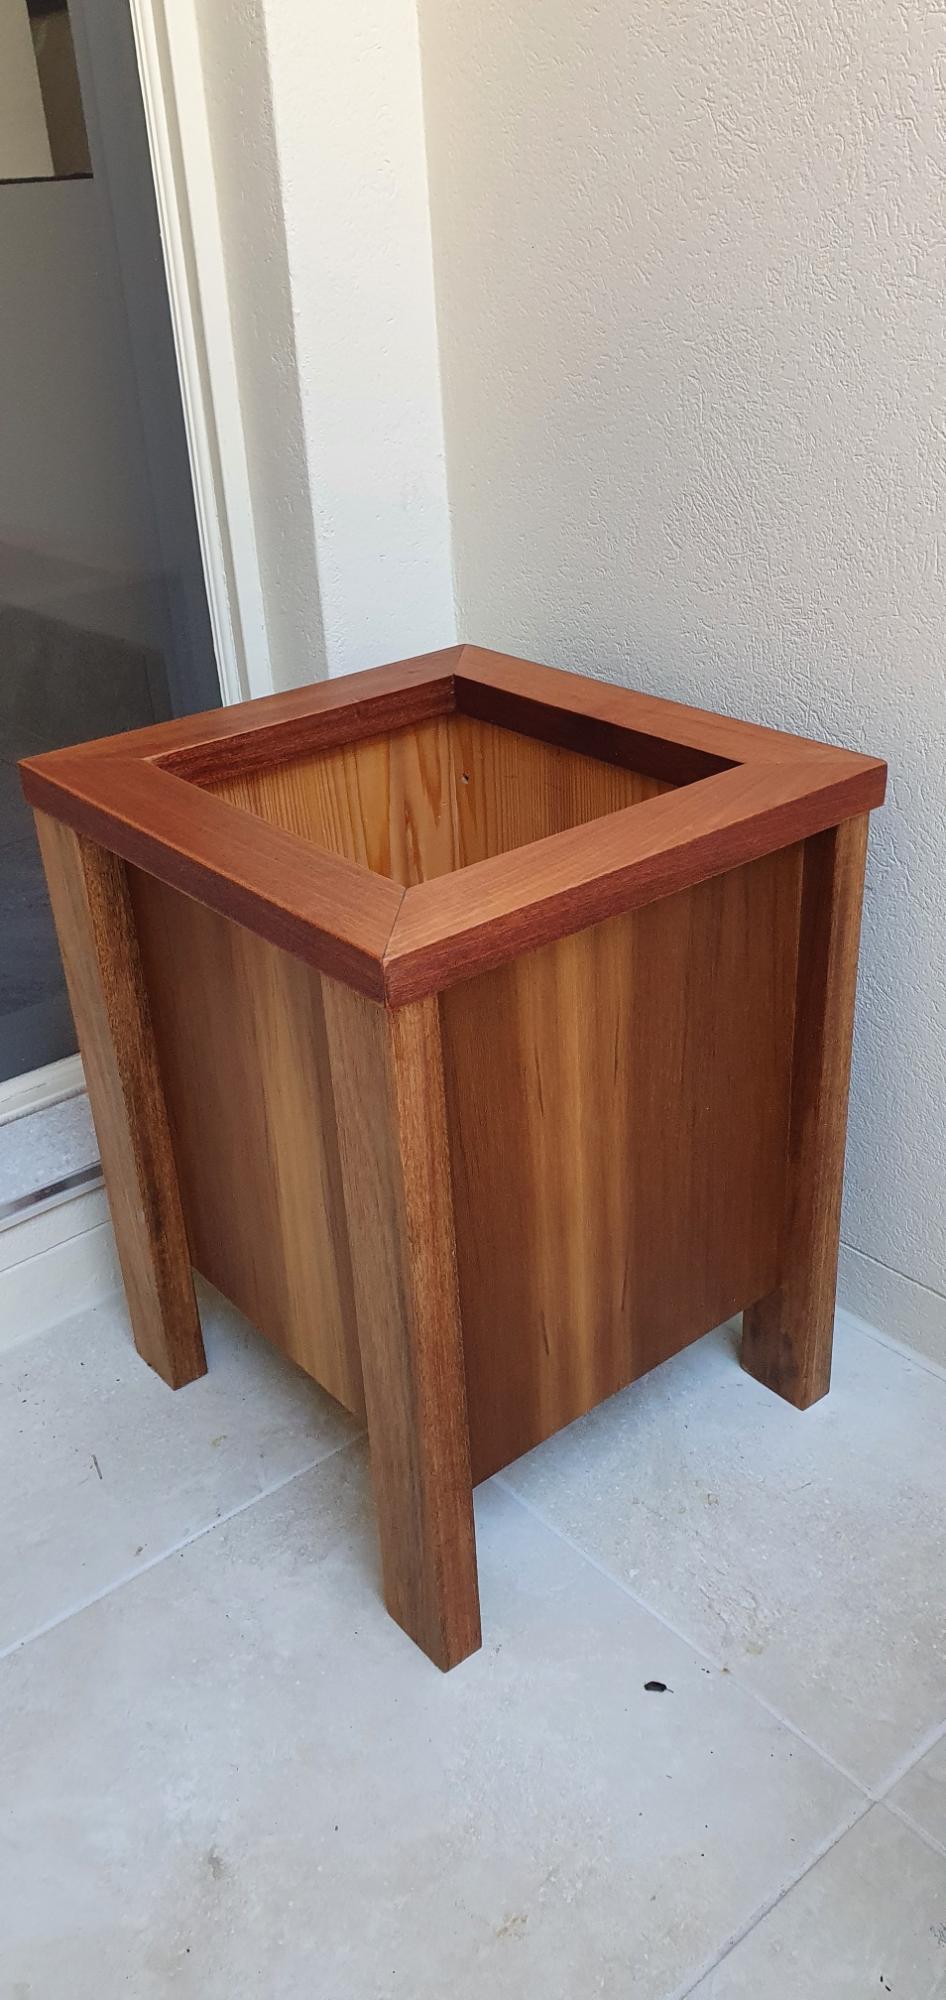
I wanted to build a planter box by our front door, which is not exposed to the weather. I based the design on the video I saw on YouTube for the “Easy Build DIY Planter Box” made from cedar and painted white.. Being based in Australia I amended the dimensions to metric, and used plywood rather than cedar. I am delighted with the finished product. So many thanks, Ana, for your part in making this planter box on the other side of the world.
Cheers Noel
Comments
Tue, 10/05/2021 - 09:33
So pretty!
Thank you for sharing from across the world, that is absolutely gorgeous!
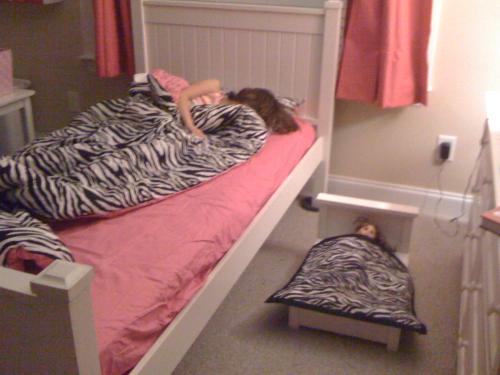
Farmhouse doll bed
I am in the process of making my own queen size farmhouse bed but this one came along a lot quicker and my daughter loves it. :) She recently got zebra and hot pink bedding so we made a blanket to match.
Built from Plan(s)
Estimated Cost
Less than $10
Estimated Time Investment
Afternoon Project (3-6 Hours)
Finish Used
White paint
Recommended Skill Level
Beginner
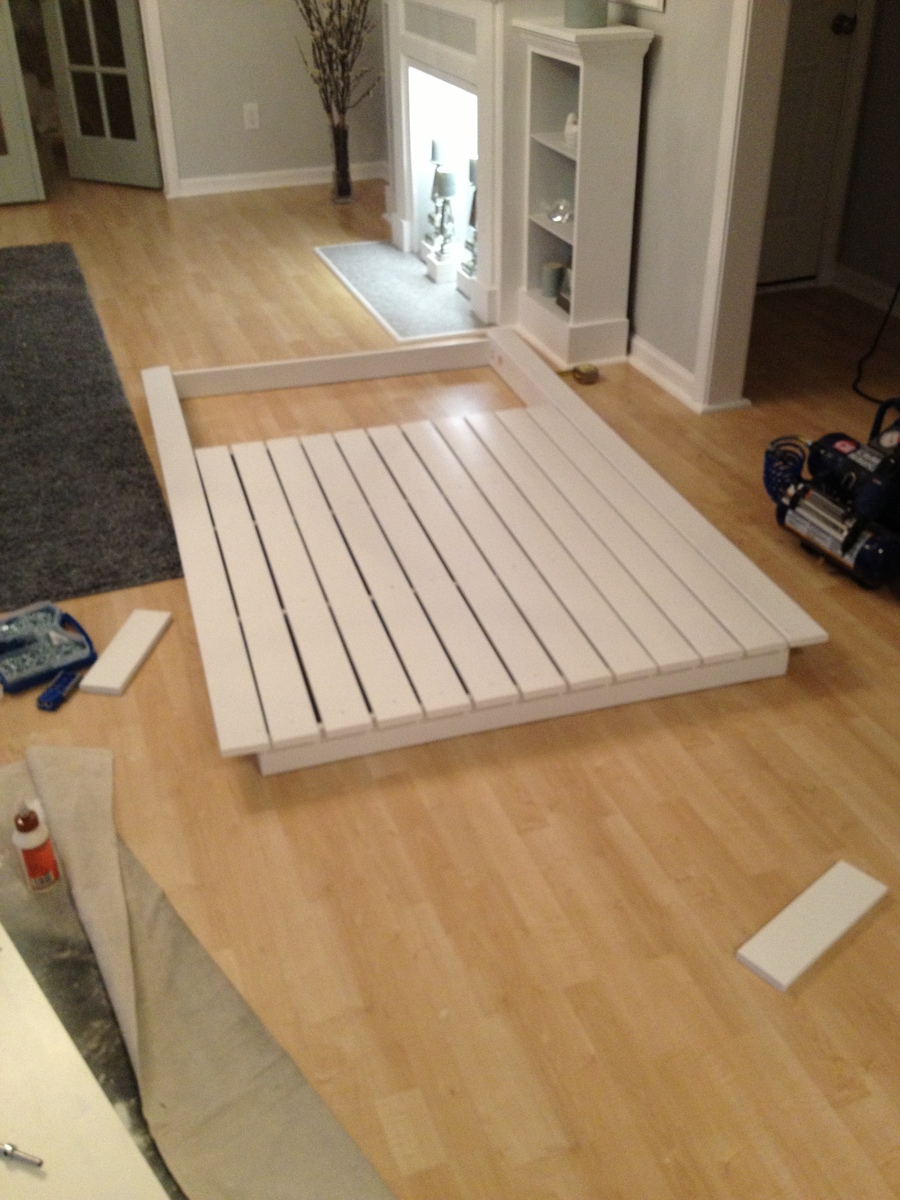
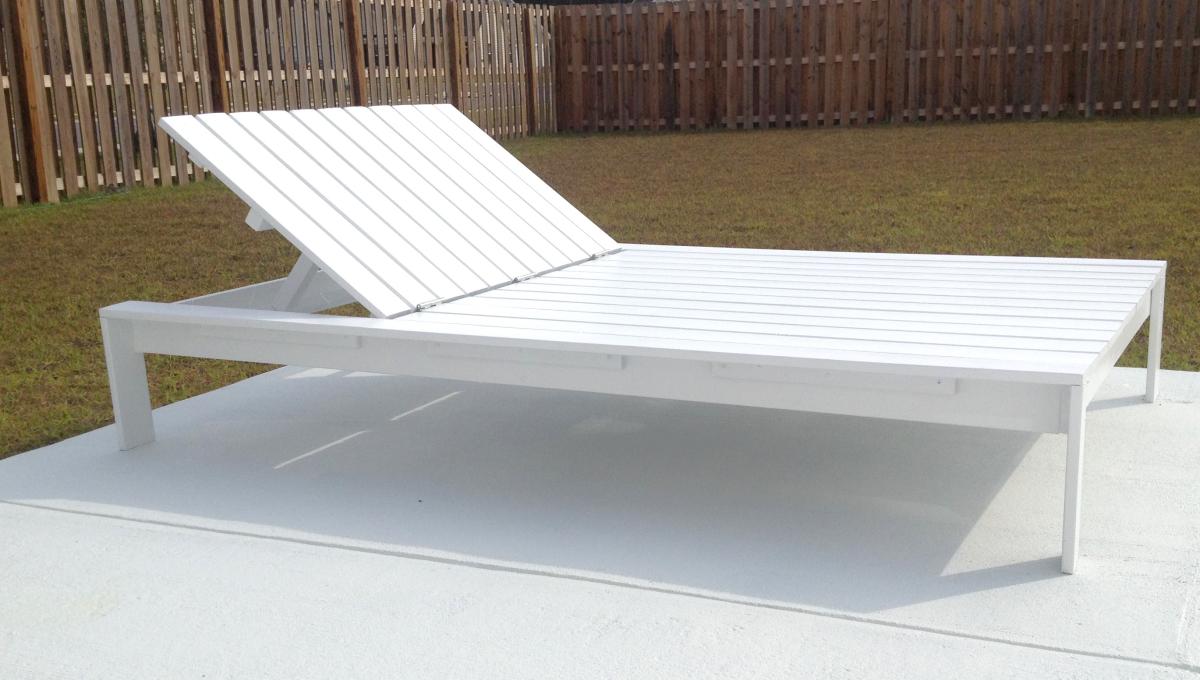
Double Lounger
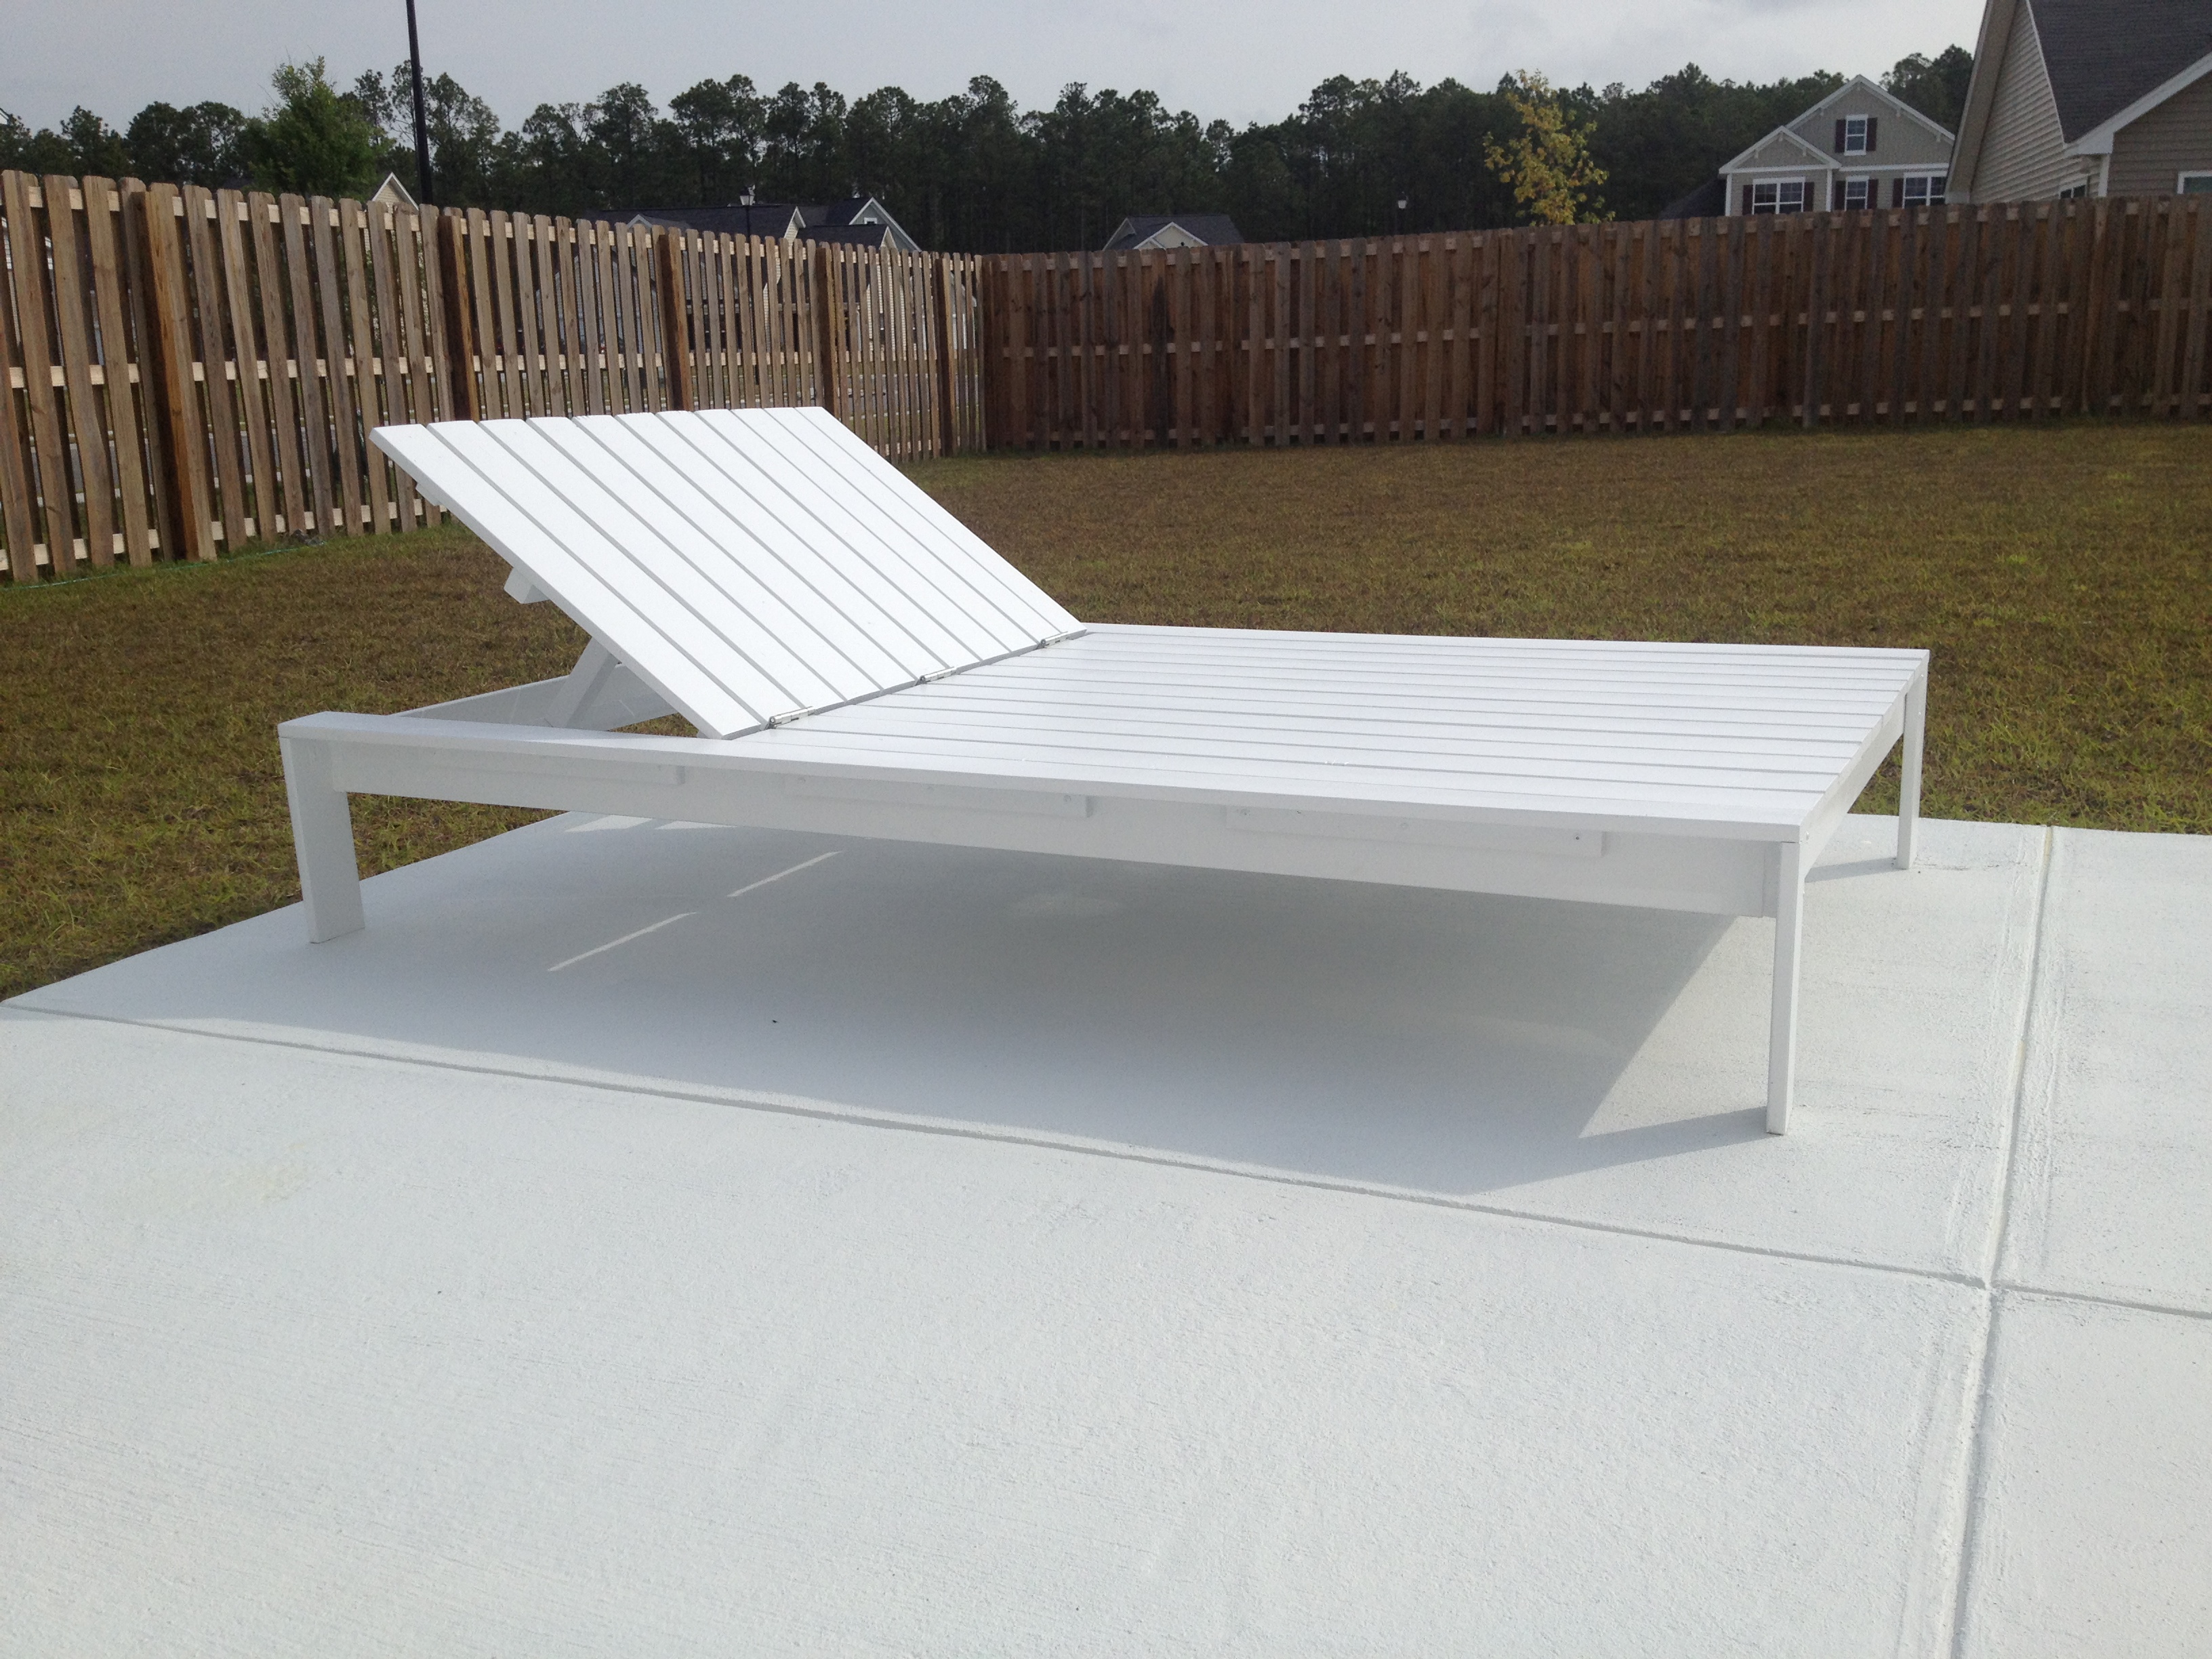
Super easy project! Love it and made it in a weekend (taking breaks of course). Did paint all the pieces before assembly to make it easier, and added little pieces to the sides to make it resemble the West Elm Double lounger. Total cost for the wood and hinges was $50! Compared to buying it at $549... Im in love with what I made! Thanks again Ana for an amazing plan. Now to work on the cushion <3
Built from Plan(s)
Estimated Time Investment
Day Project (6-9 Hours)
Finish Used
Valspar Outdoor White Paint
Recommended Skill Level
Beginner
Comments
Tue, 05/21/2013 - 16:19
I thought so too! But its
I thought so too! But its really solid. Looking at the West Elm version it has the same size legs. I might beef them up though just to give me more piece of mind! But so far so good.

Wed, 05/22/2013 - 03:17
Thank you
Cool, but then I thought the West Elm version's looked so thin, too, lol! When we built the outdoor sectional, we used 2x4s because several people we know, well let's just say extra support was needed! Be sure to post the pics of it with the cushion. Will you be making it?
Wed, 05/22/2013 - 17:49
Yeah
Ill be making the cushion here soon, I found its really not hard at all and then you can get exactly what you want. I plan on using the same fabric will all of my DIY outdoor furniture. Will post once its done ;)
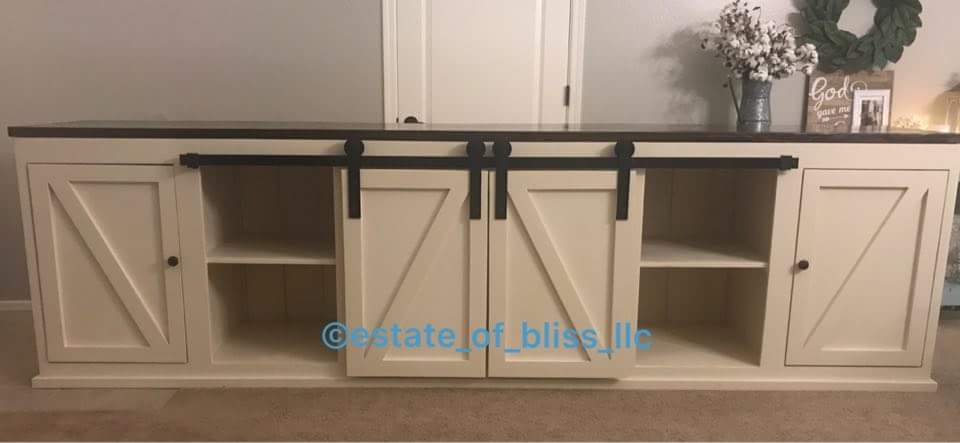
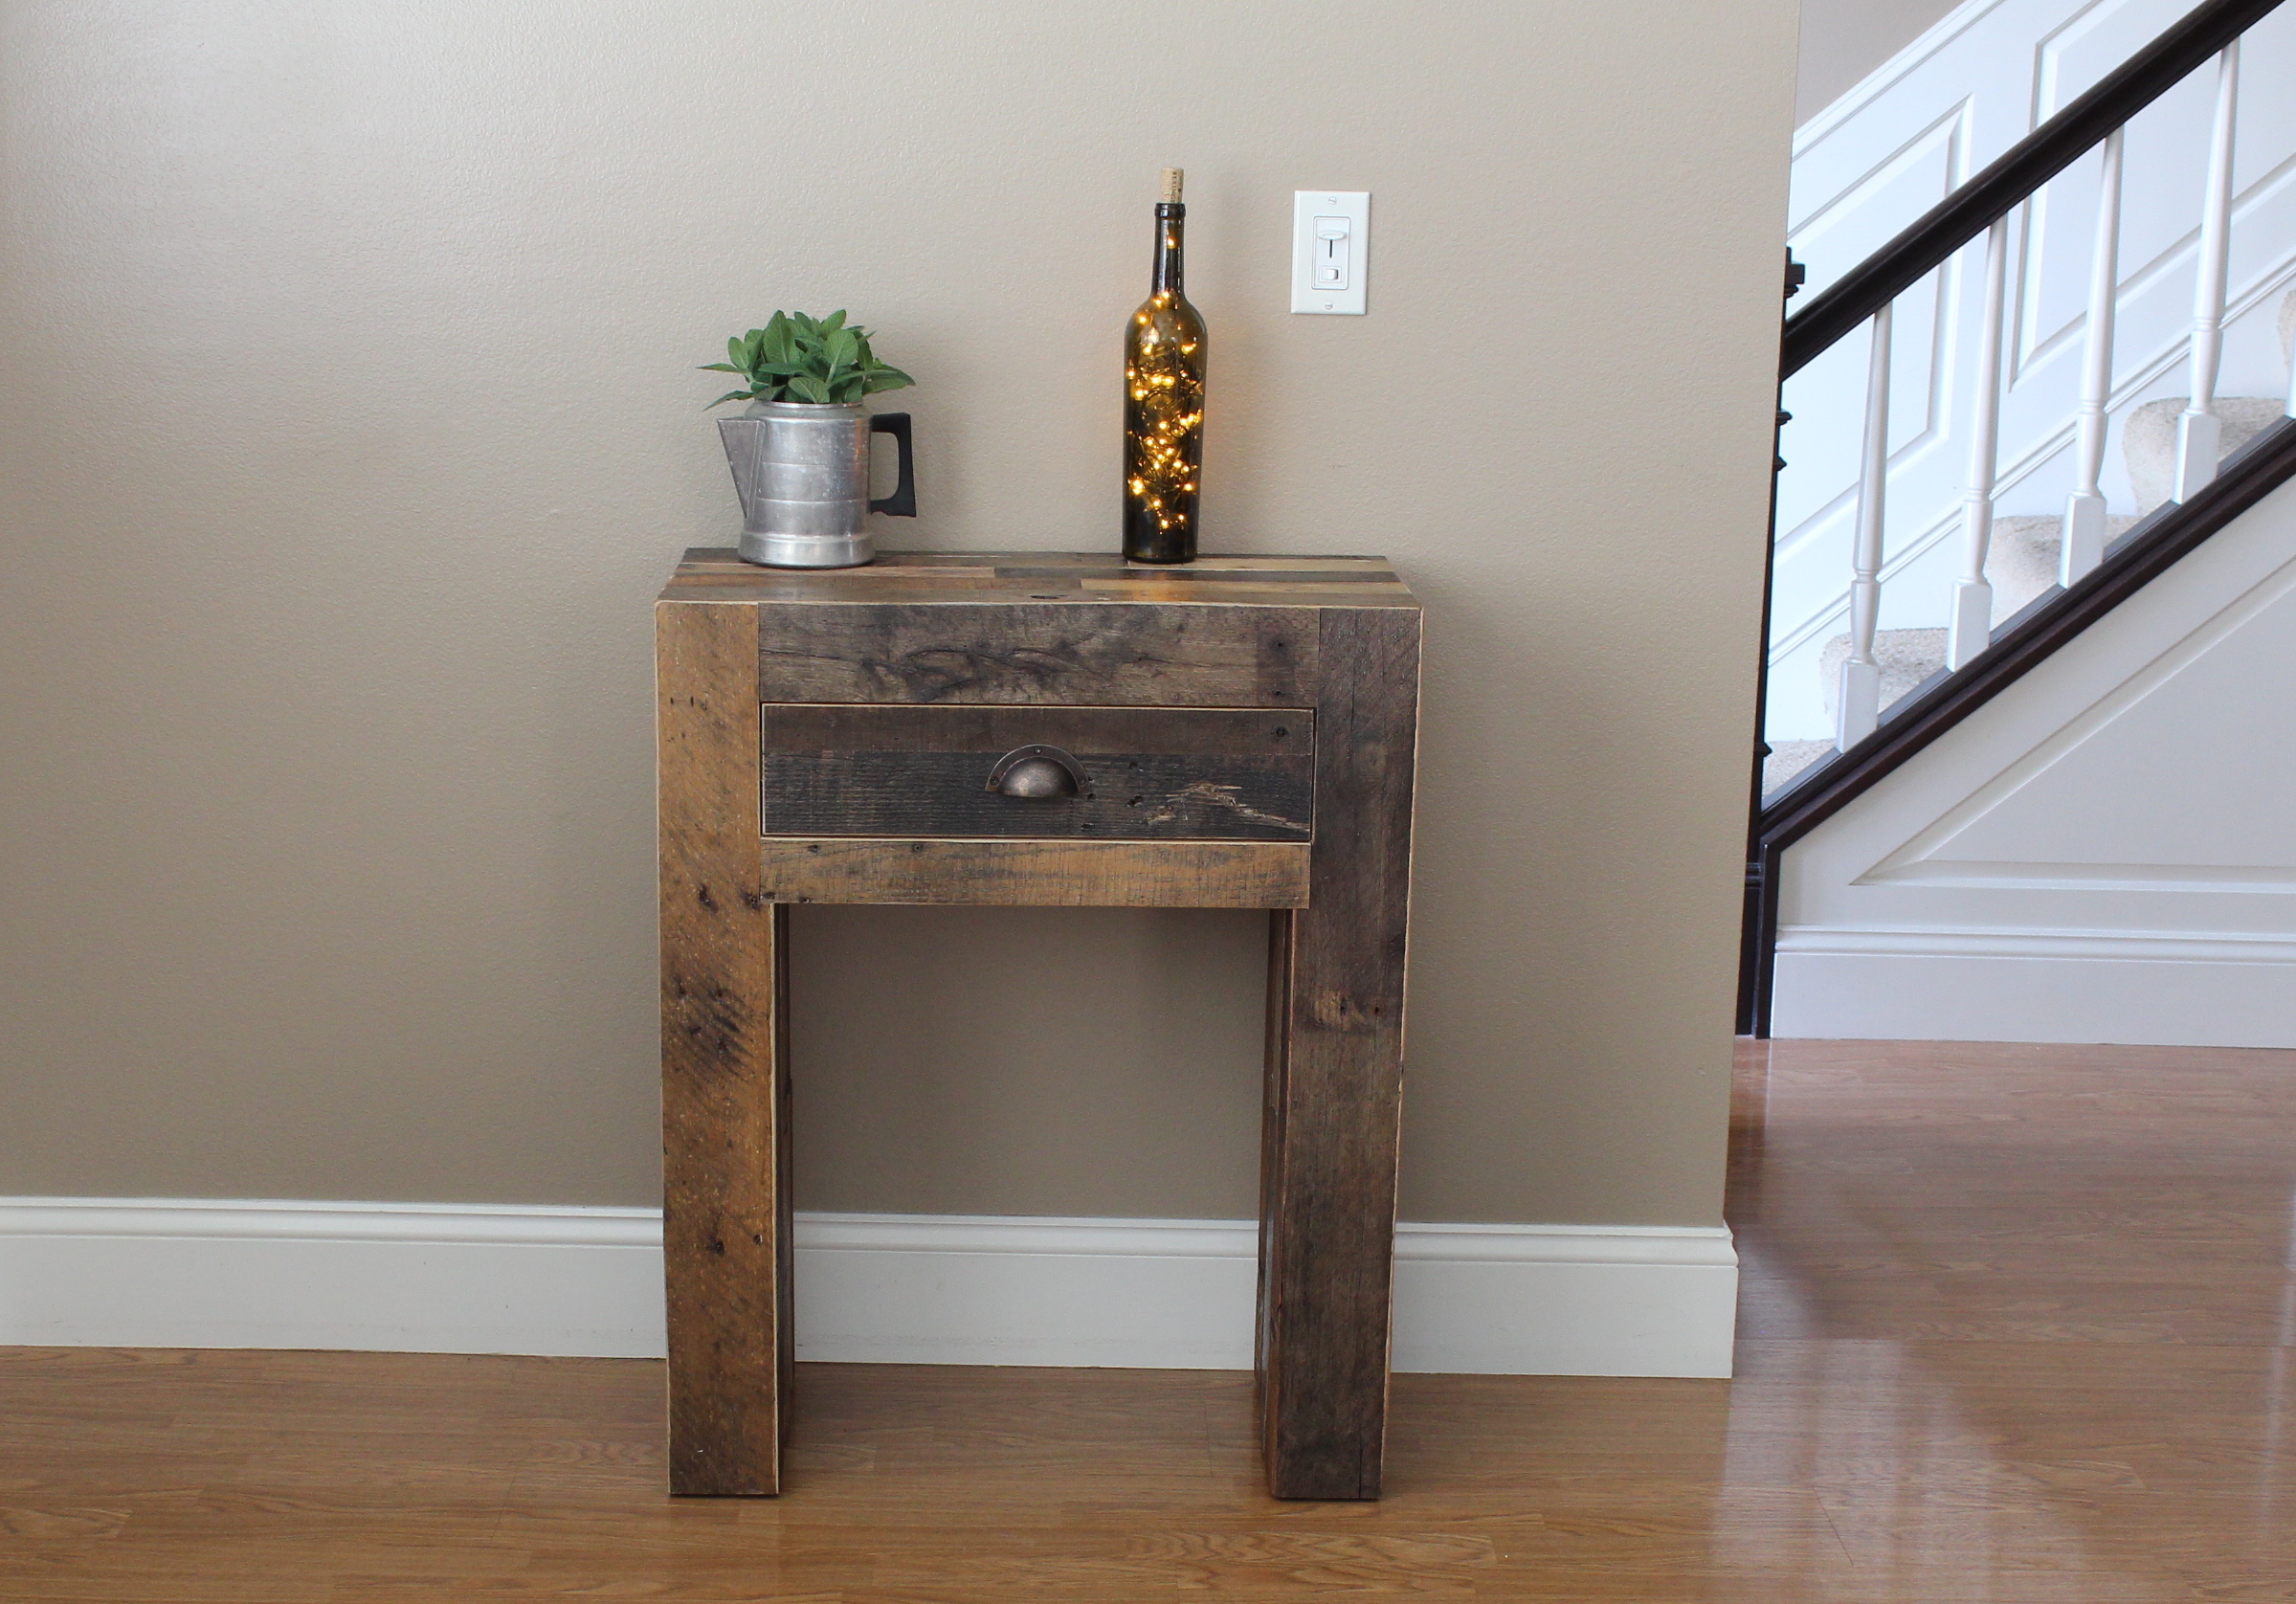
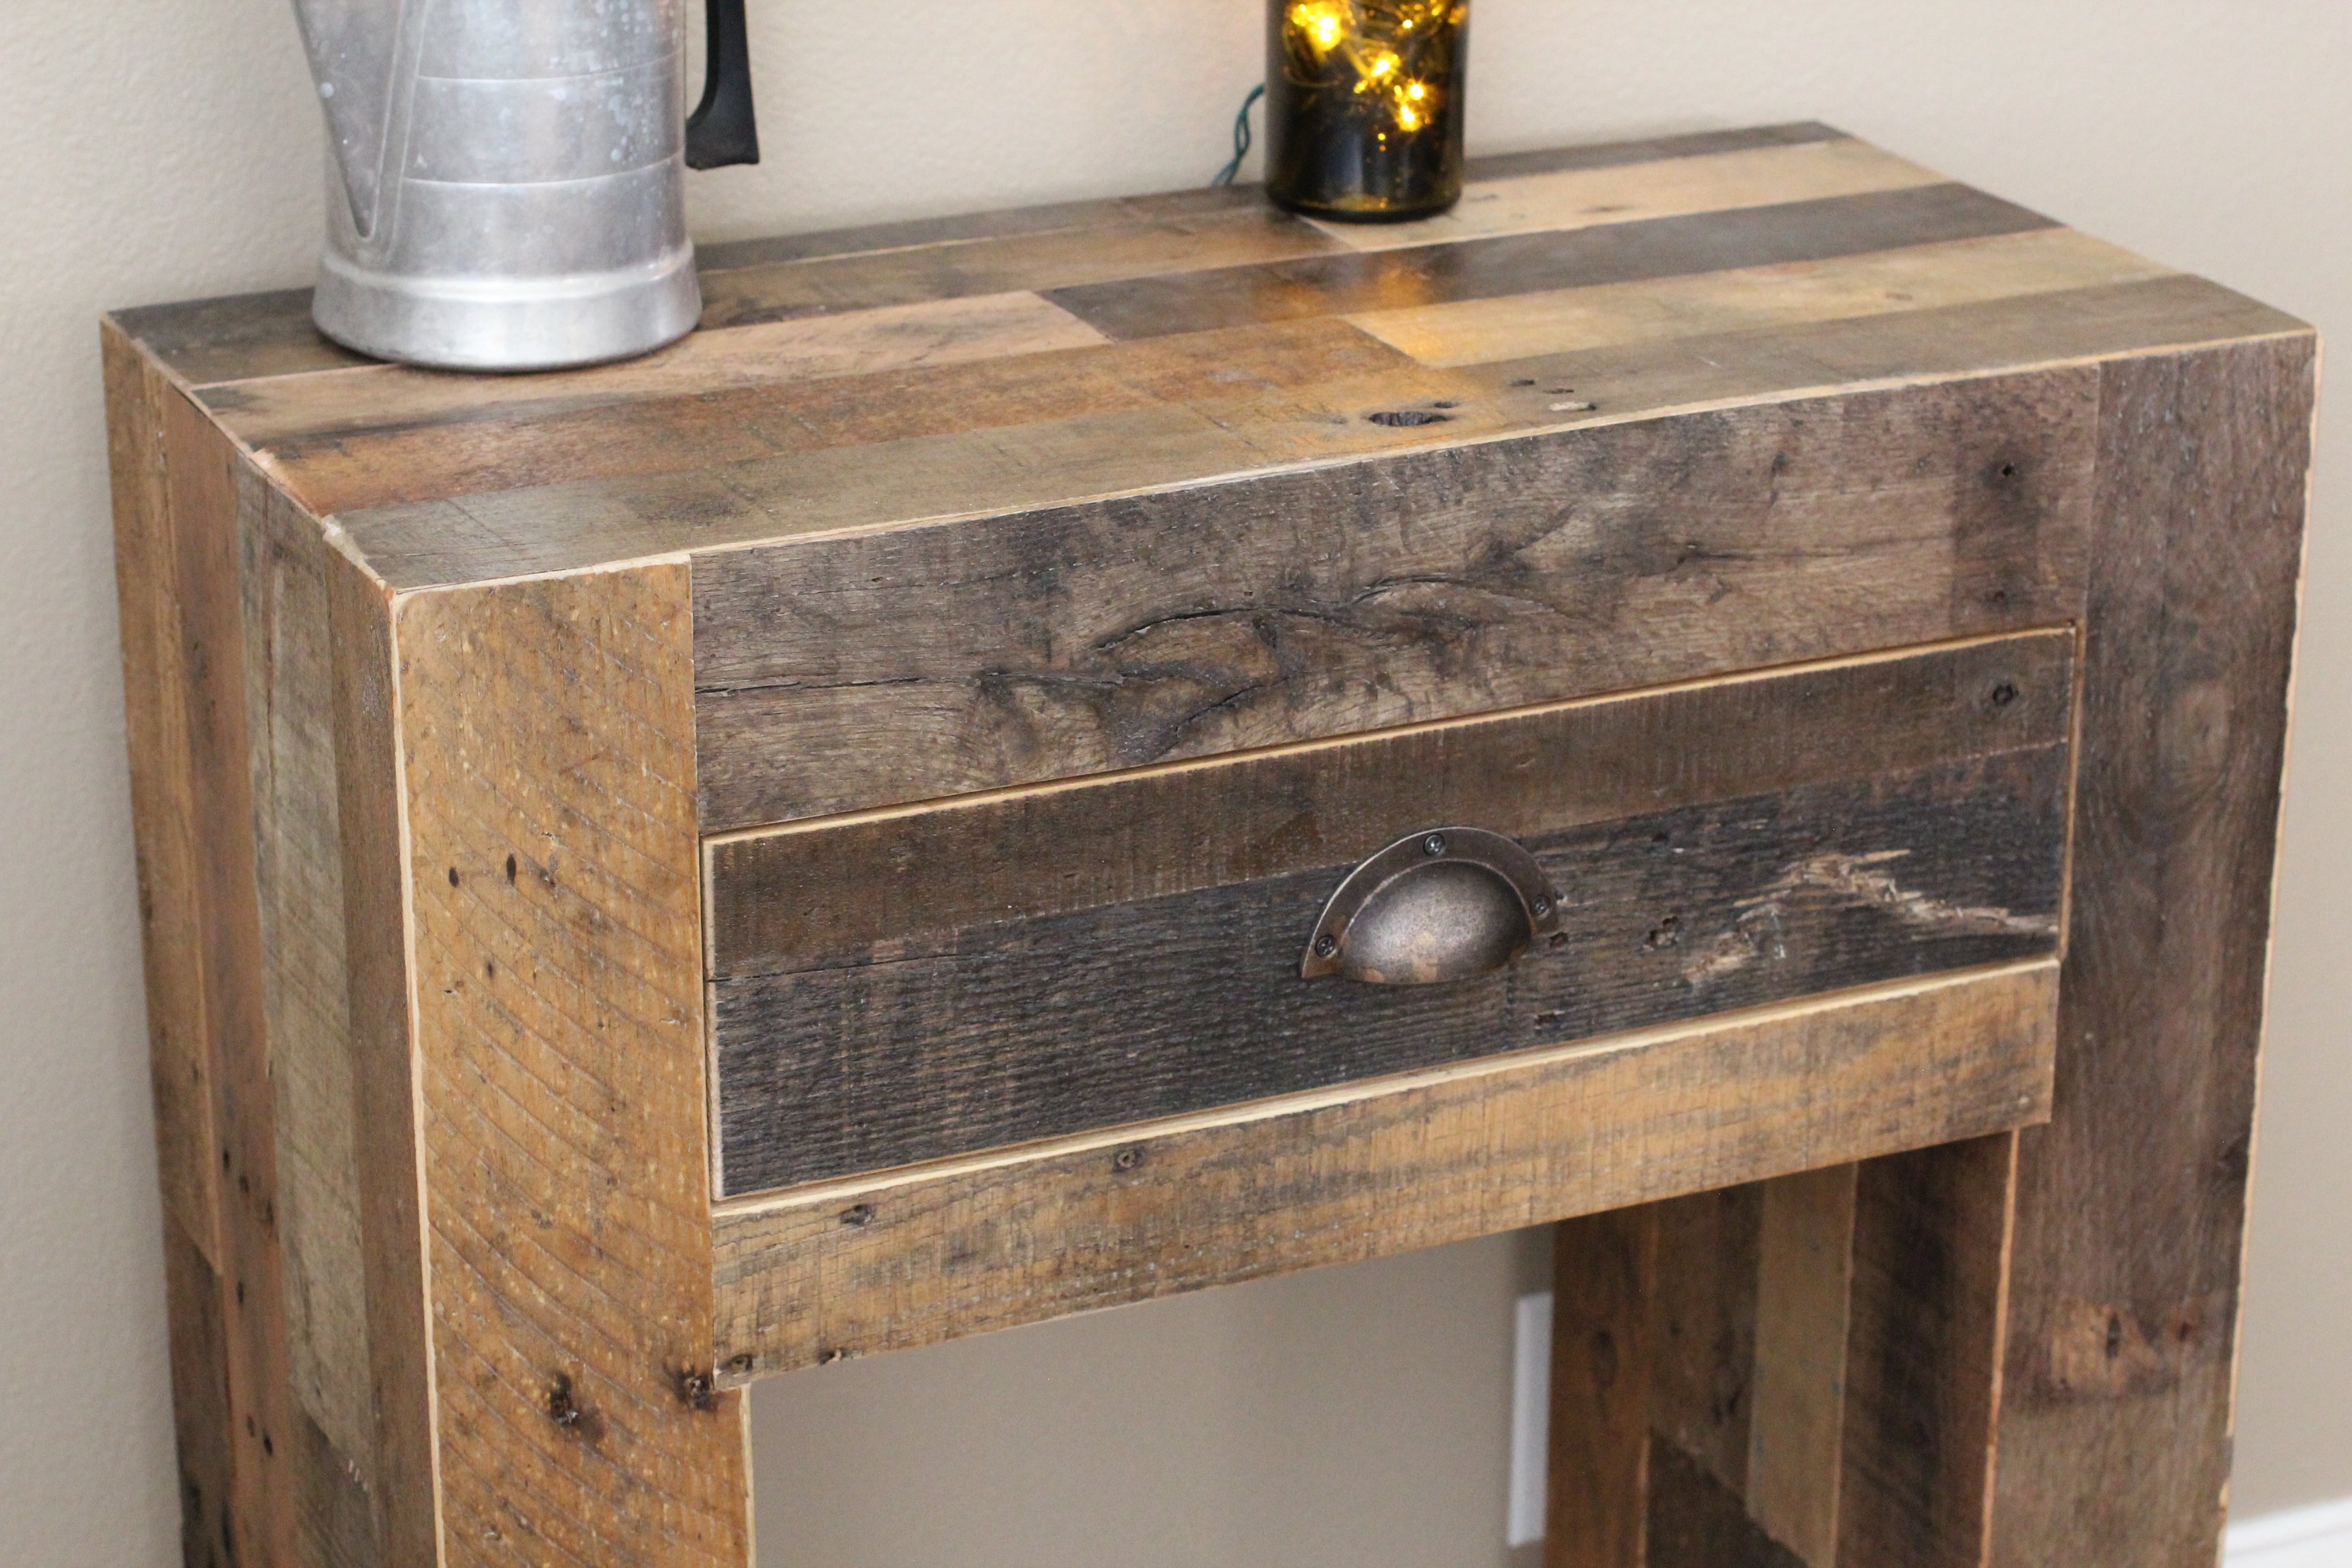
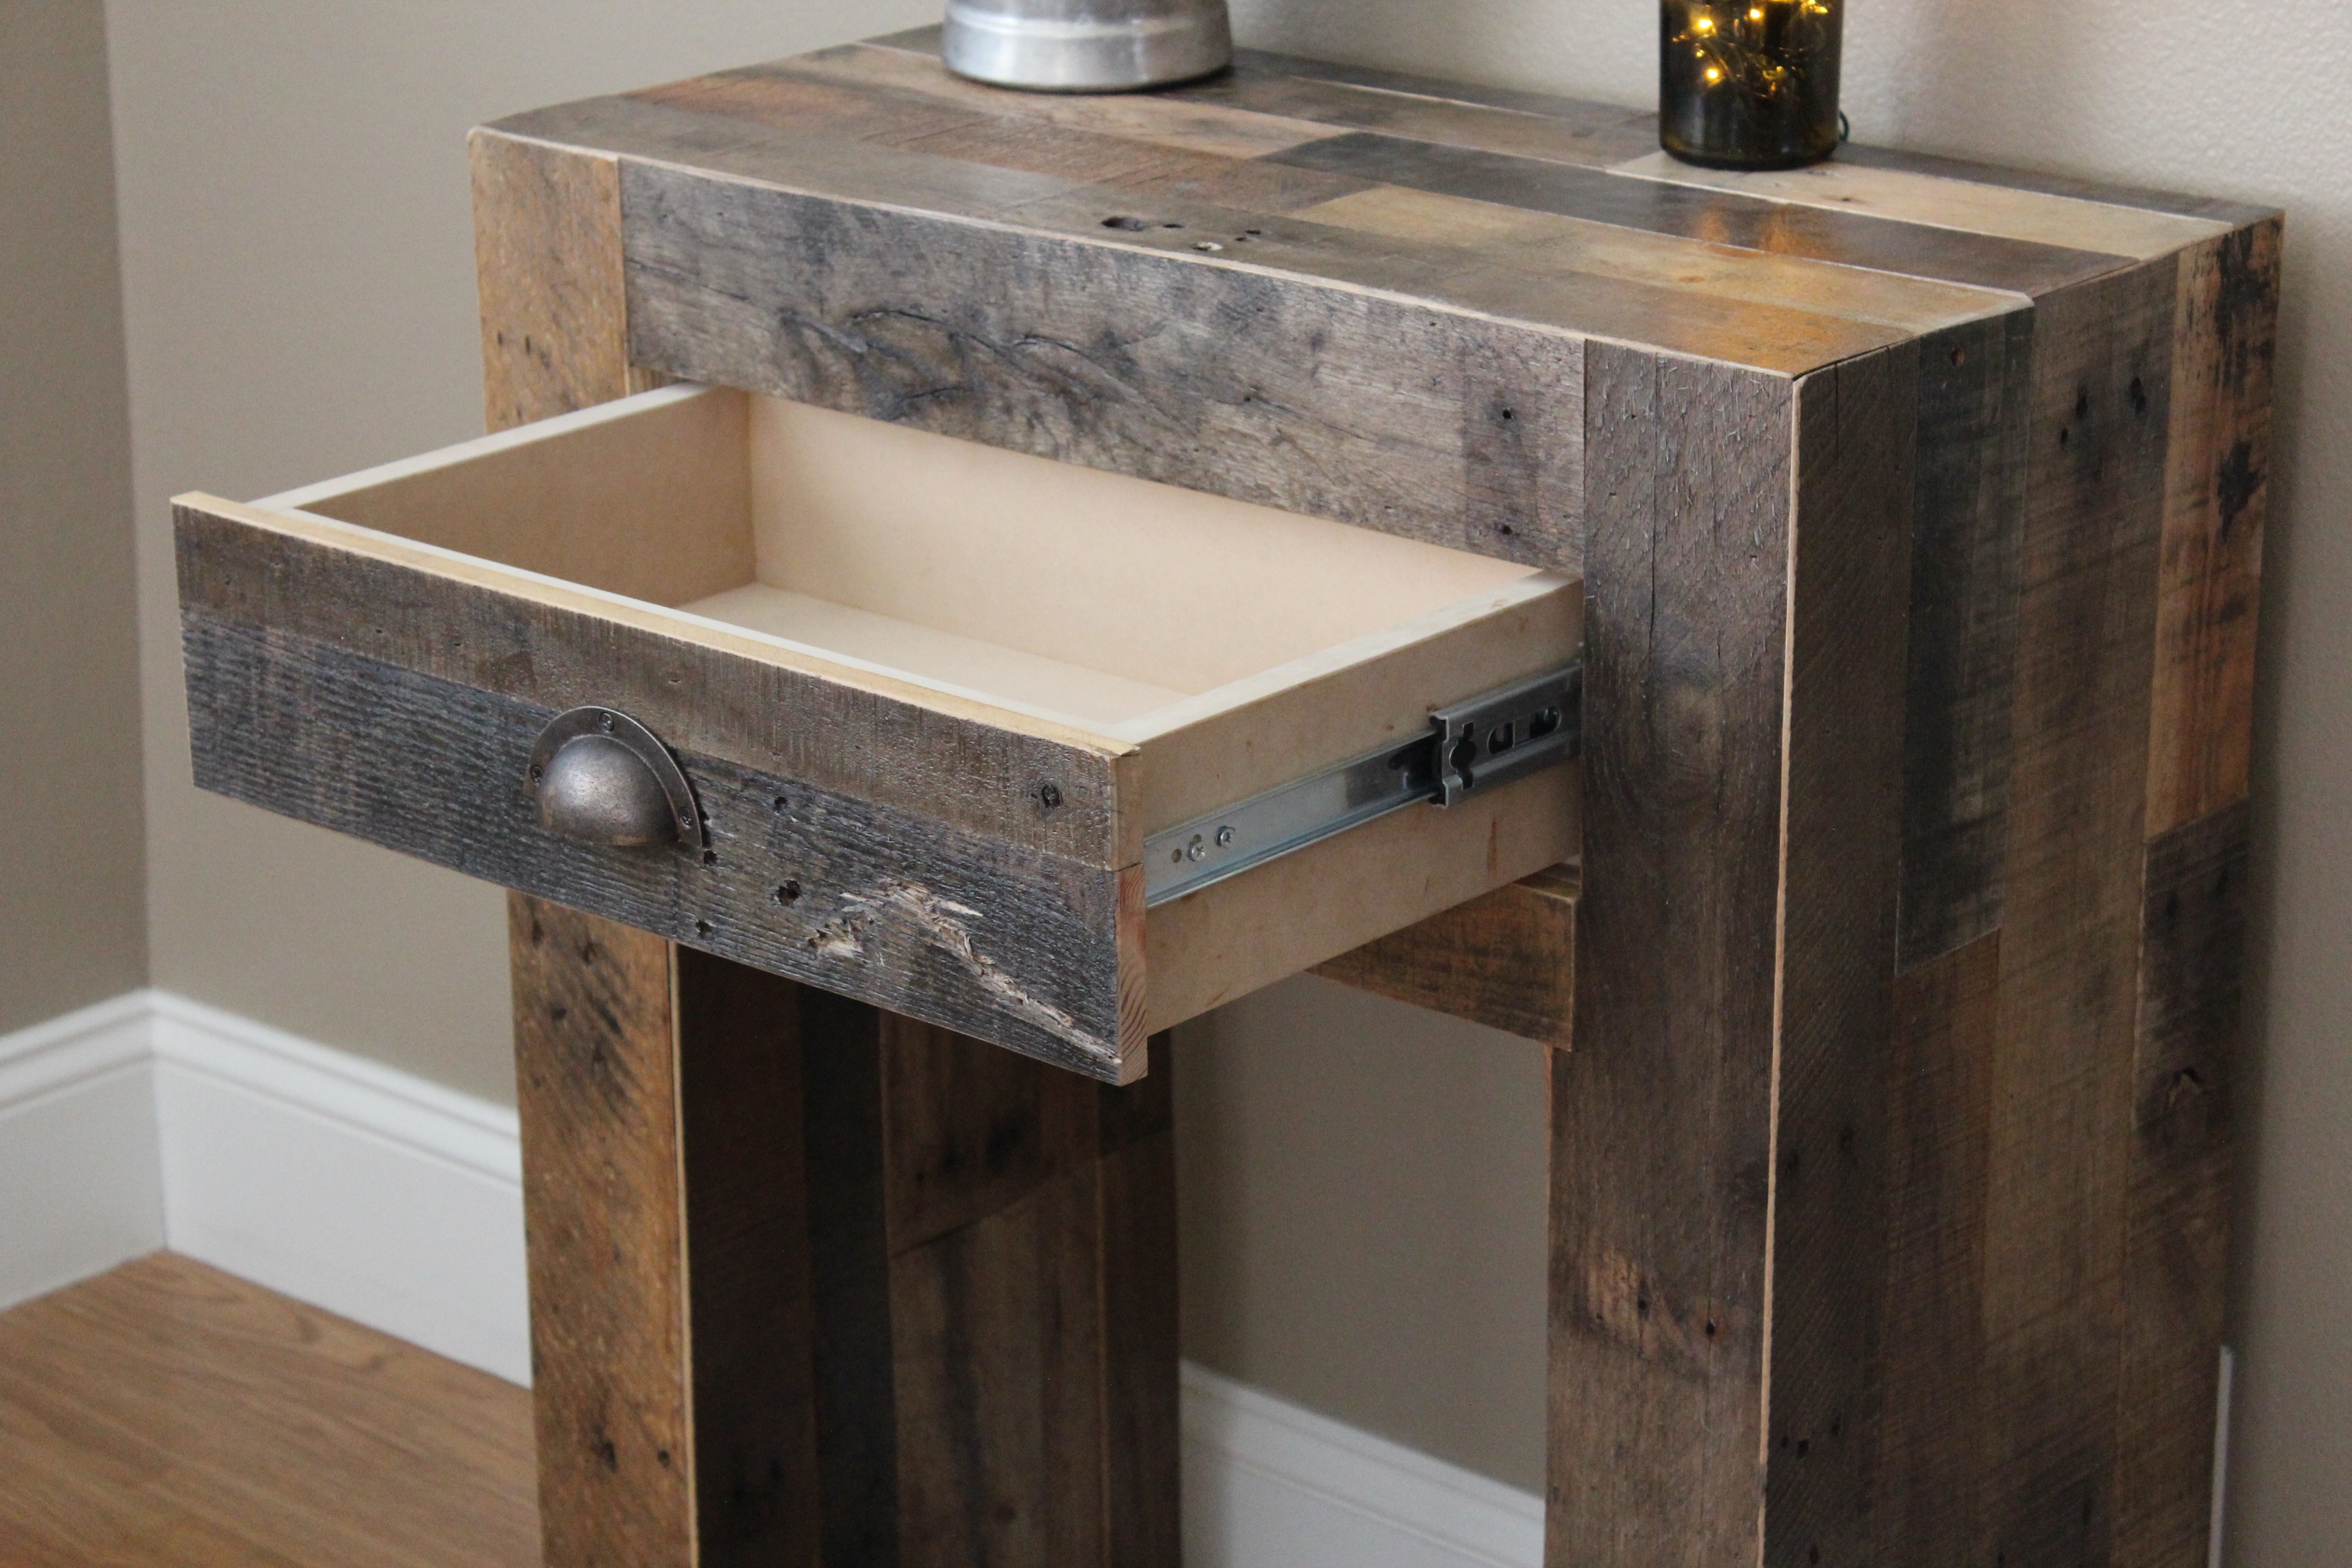
Reclaimed console table
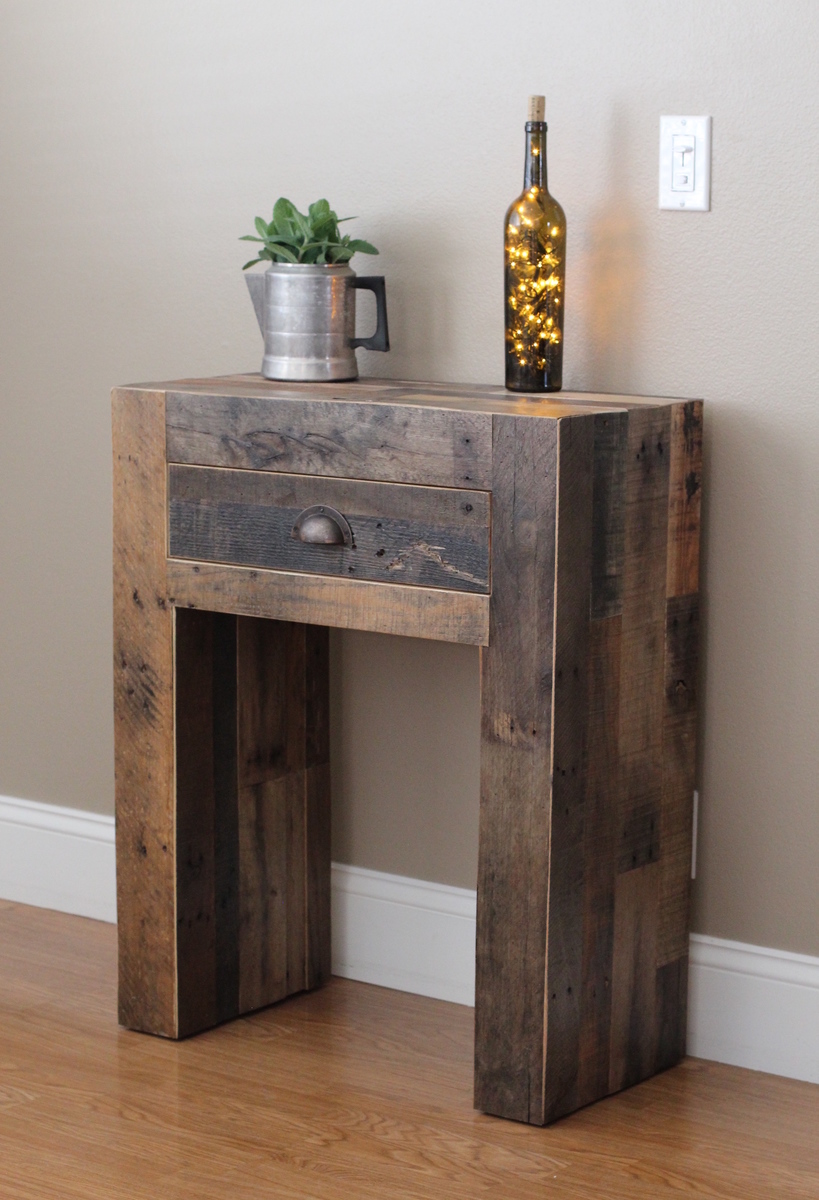
This reclaimed console was not build from one of Ana's plan but I did want to share it to inspire others to work with reclaimed wood. I used reclaimed pallet wood for this build, except for the drawer, I used MDF. For the finish I used an oil based poly.
Estimated Cost
$0.00
Estimated Time Investment
Afternoon Project (3-6 Hours)
Recommended Skill Level
Beginner
Comments
In reply to Love it! by tracygator
Wed, 04/08/2015 - 15:43
Hi Tracy. Everywhere there
Hi Tracy. Everywhere there is a joint or seam, I cut each reclaimed plank on a 45 degree angle to hide the exposed raw wood after being cut.

Wed, 04/08/2015 - 19:38
Thank you!
It looks just like west elm. Did you lay the boards on plywood first? It looks like there are a few pieces per row on the side if that makes sense. Seriously I love this
In reply to Thank you! by tracygator
Wed, 04/08/2015 - 21:11
You are correct, I build a
You are correct, I build a plywood box basically with a face frame. I rip down all the reclaimed pallet to 1/2" thickness and then nail it to the plywood. The pallet wood is basically a veneer.
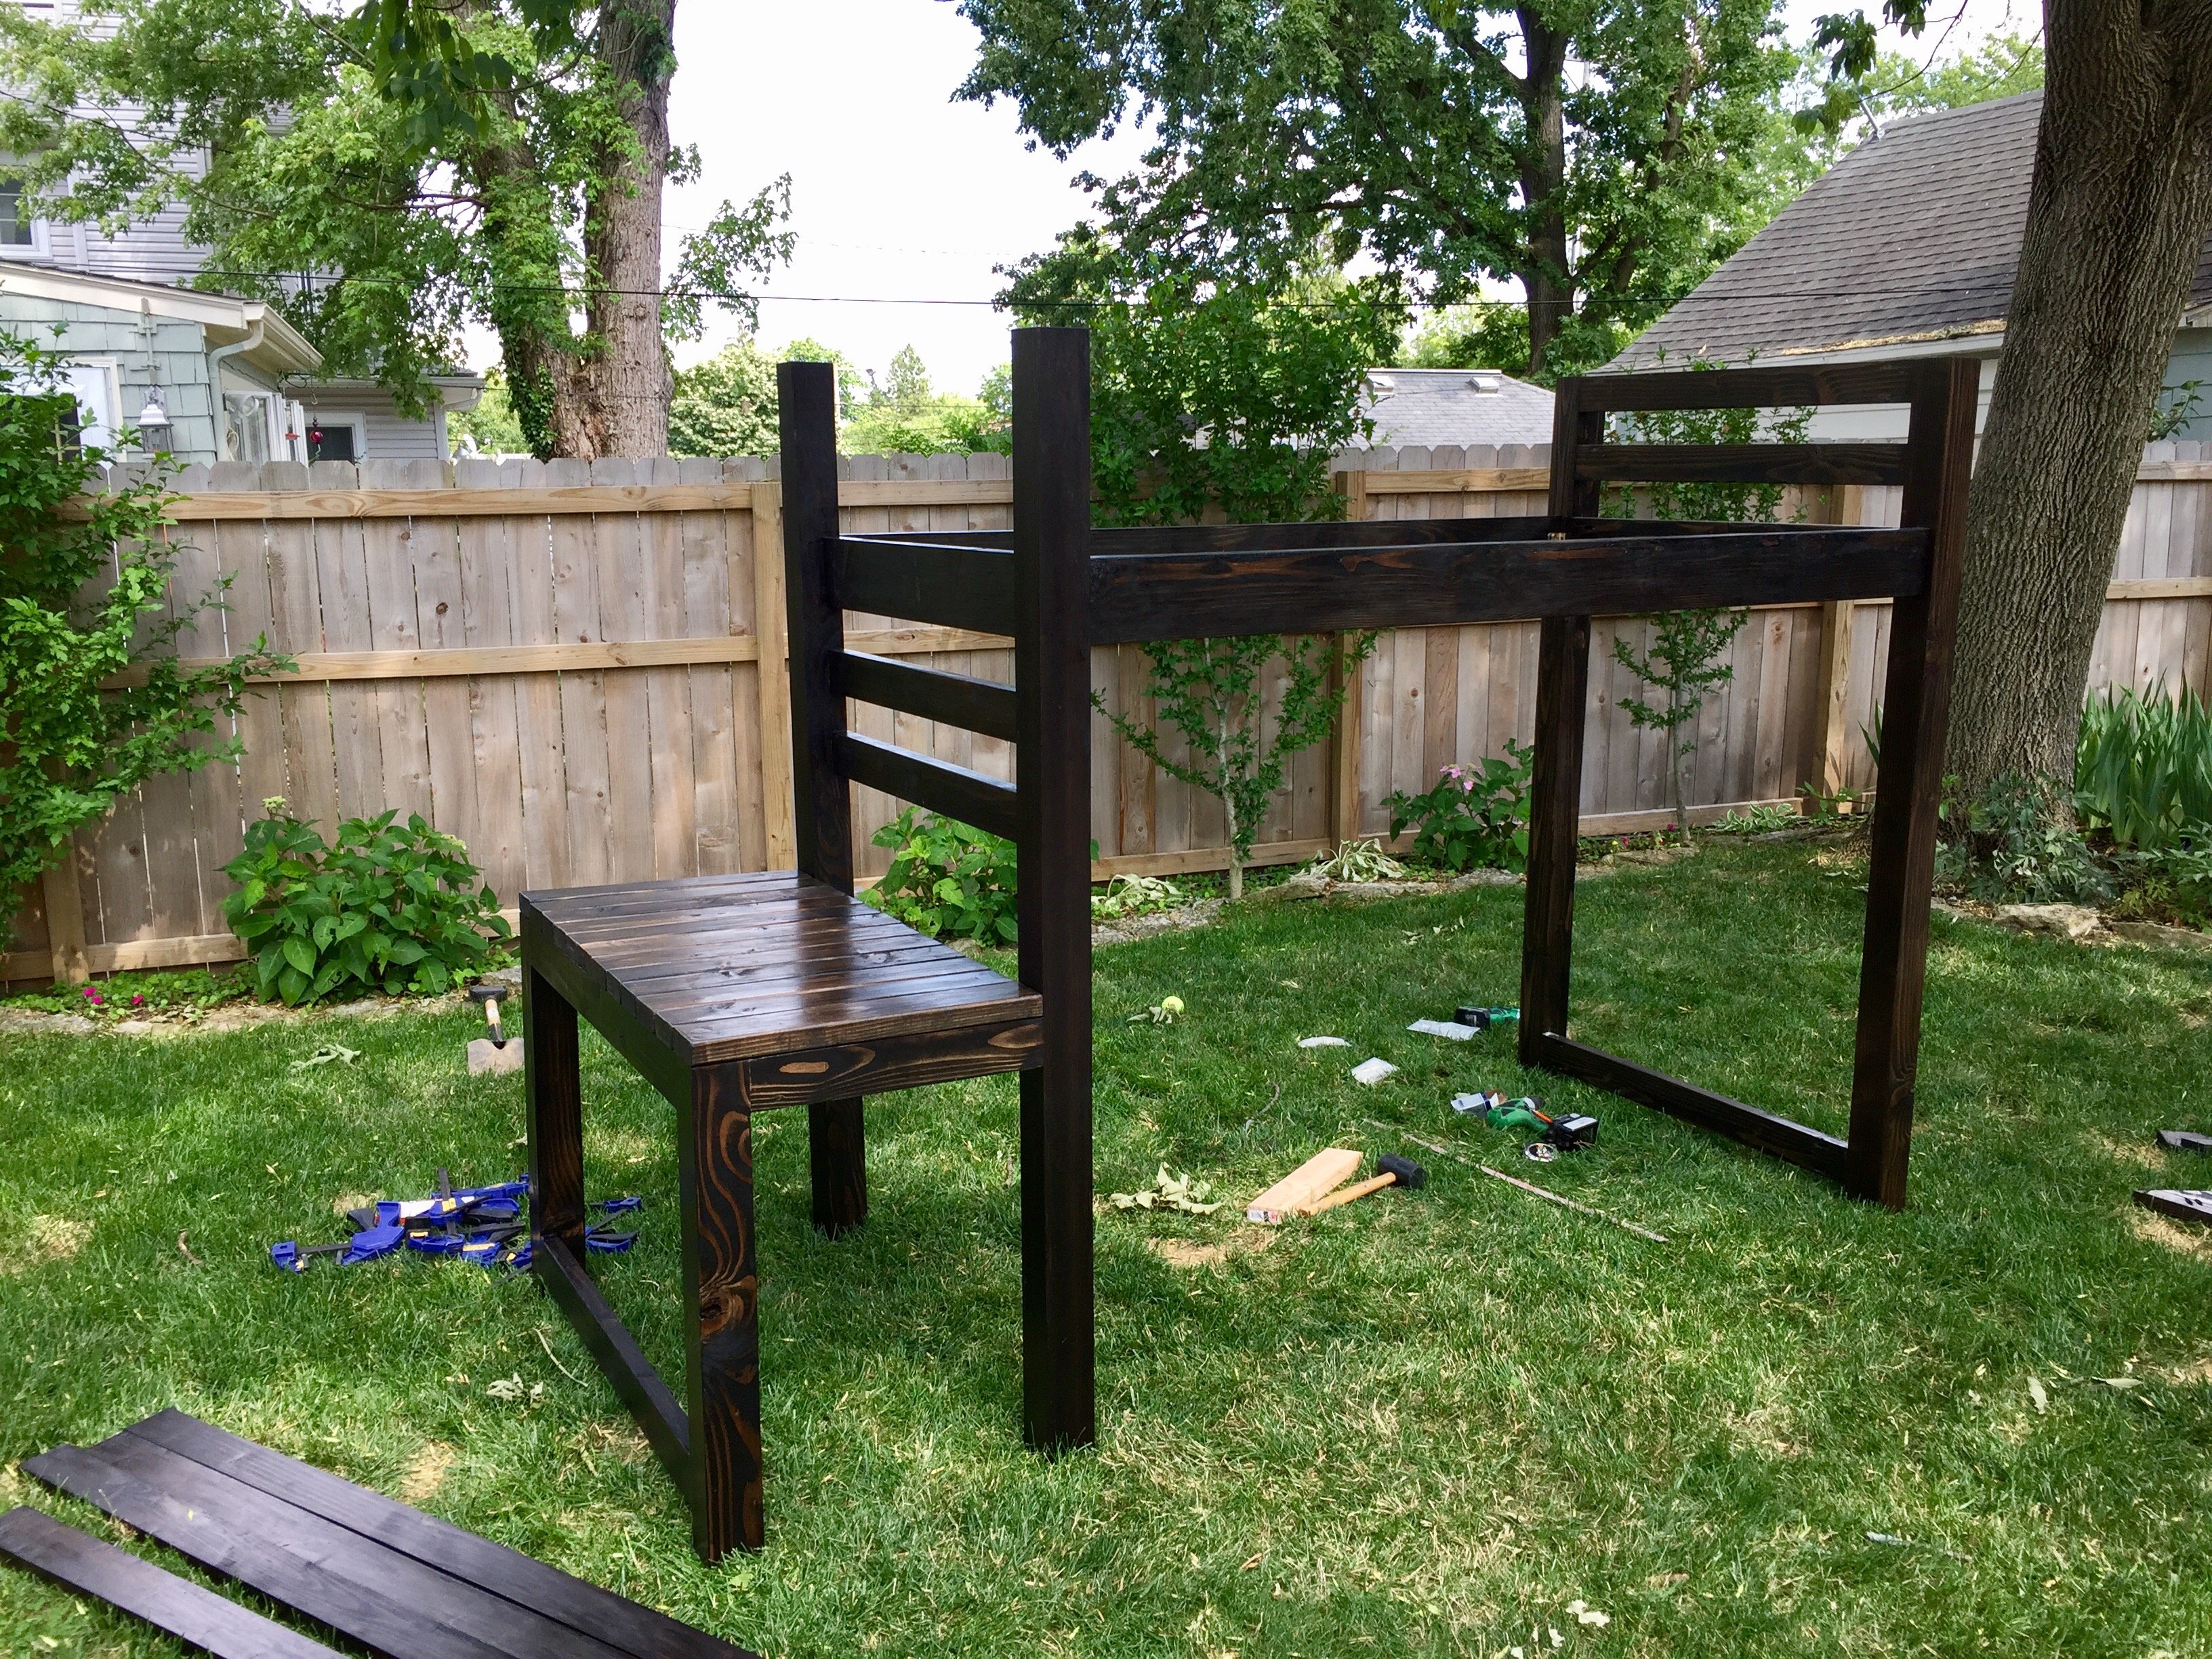
Modified junior loft bed
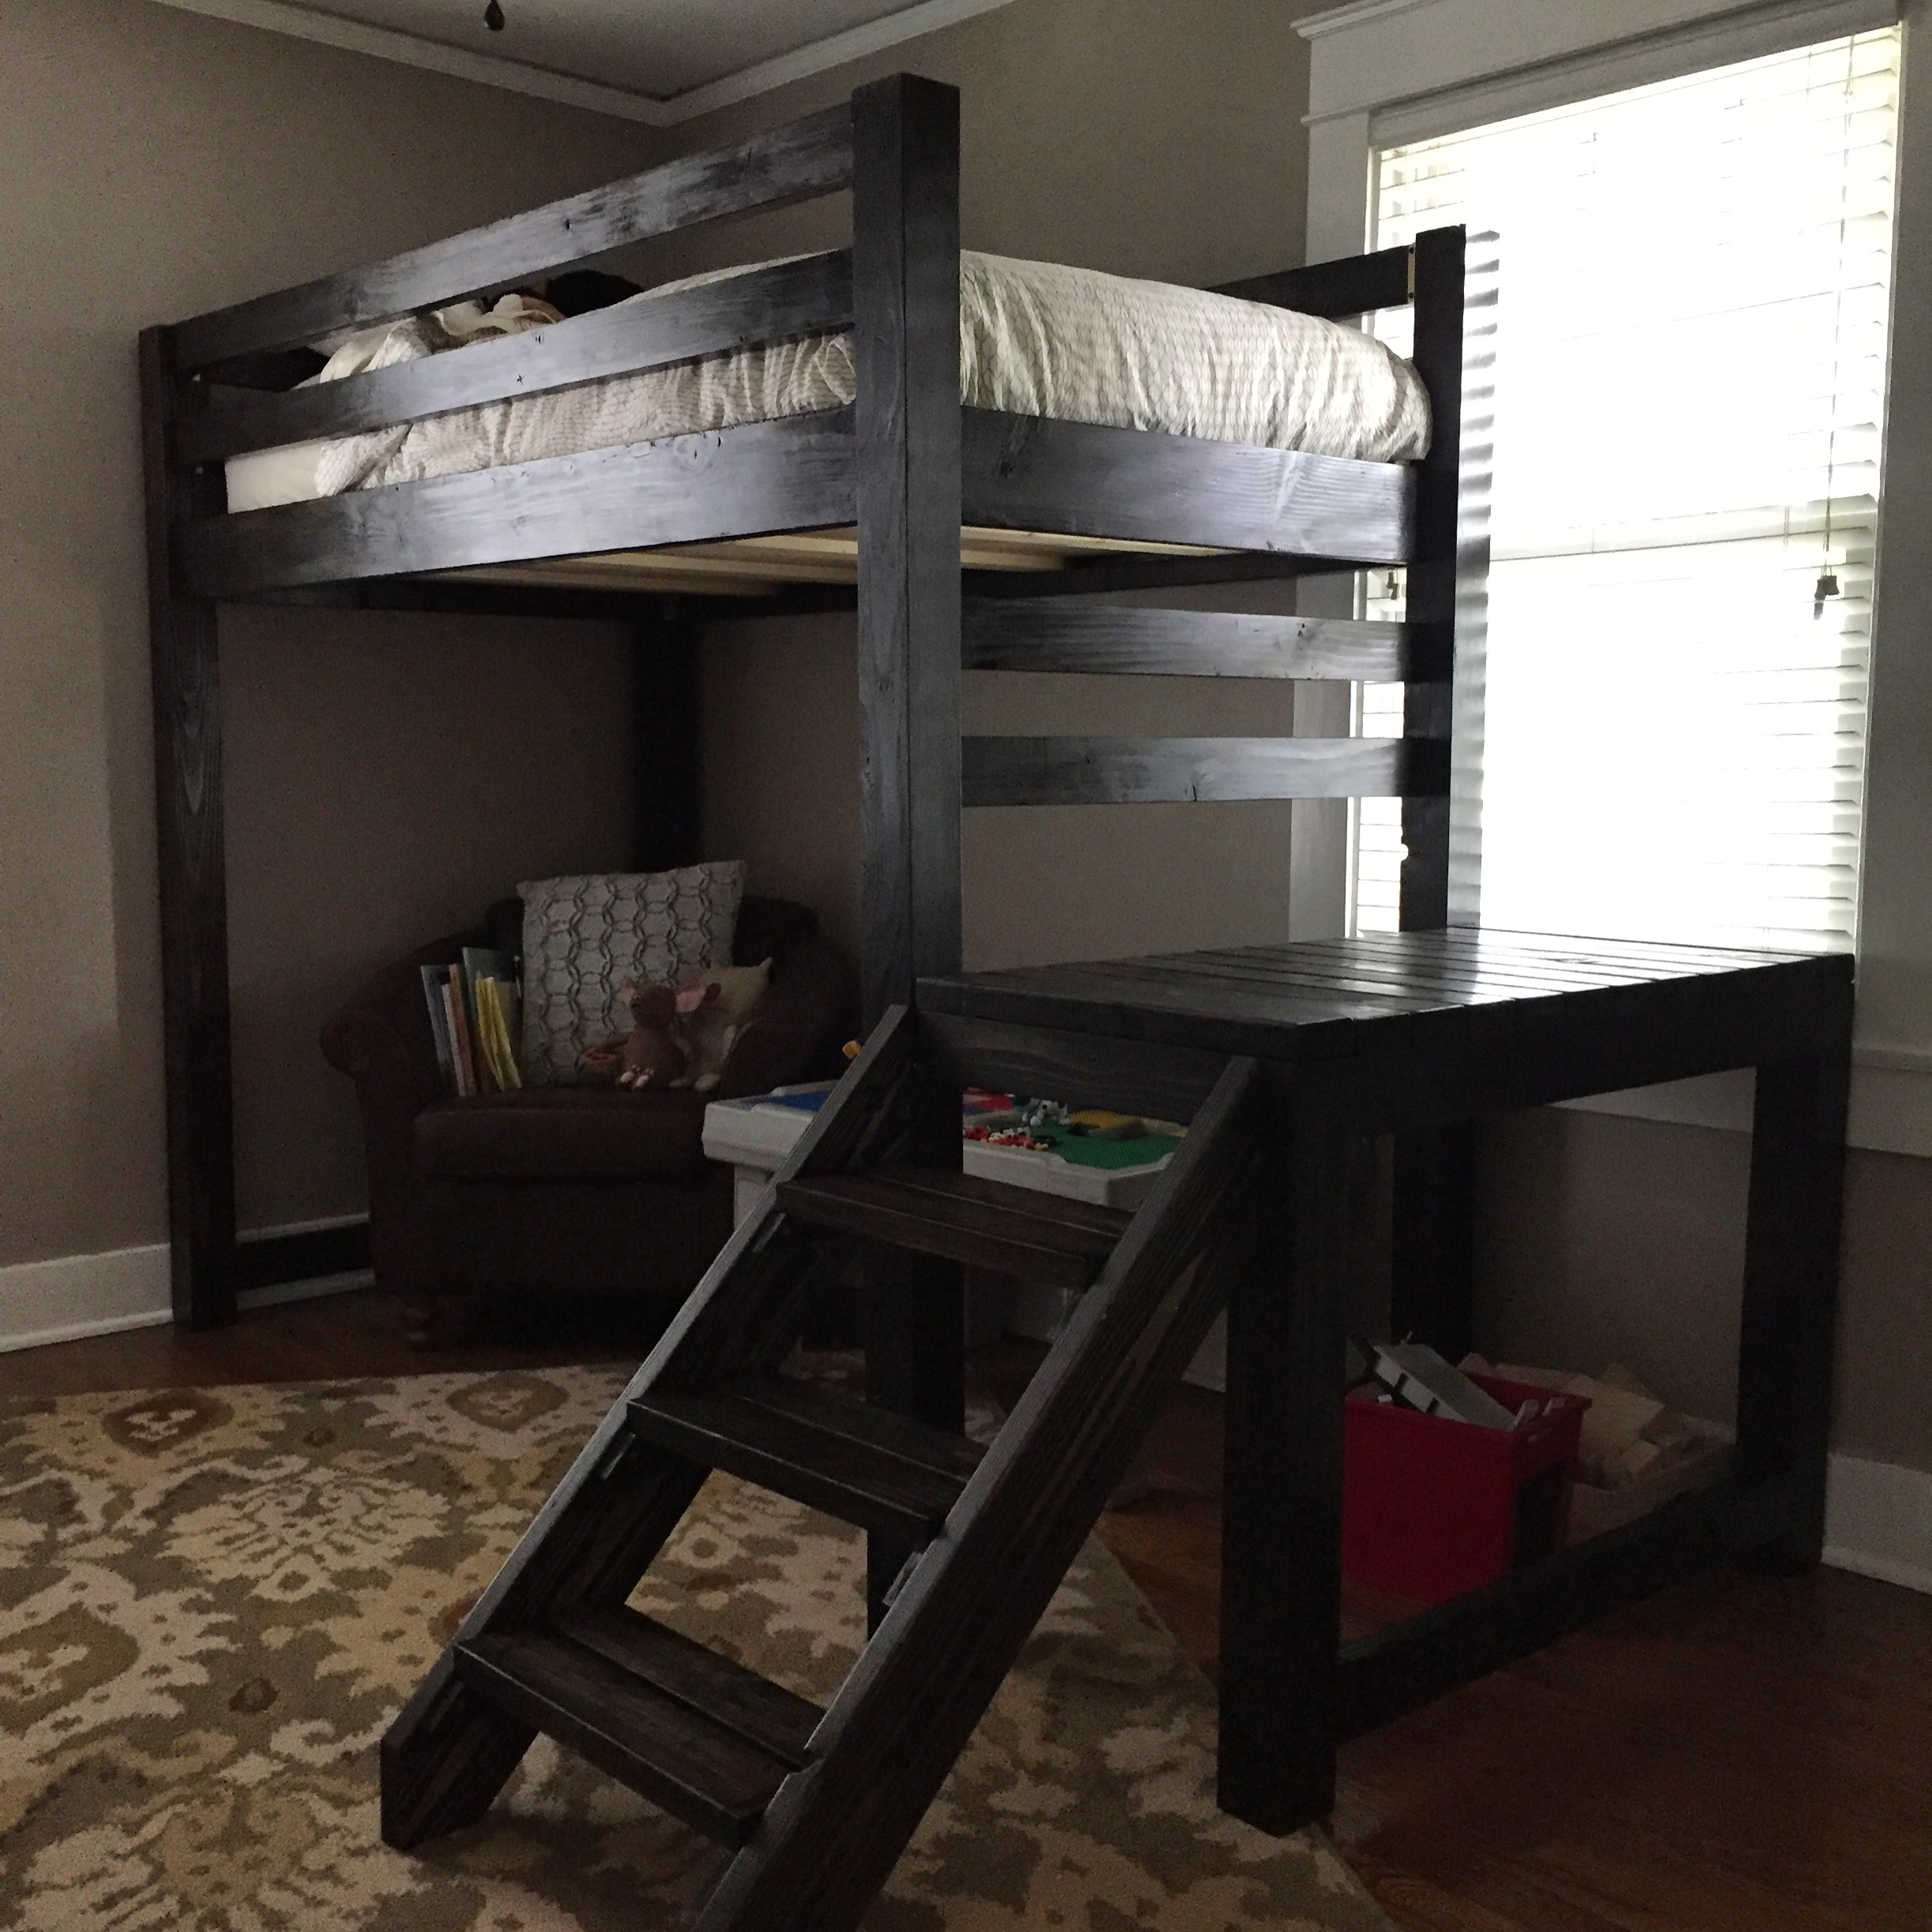
Modifications to Ana's original plan:
- 4x4 posts instead of 2x4.
- Crossbars attached to 4x4s with biscuits and pocket holes for added strength.
- Modular build for easy disassembly, moving, and reassembly: 2x6 and 2x4 rails attached to end assemblies with knock-down bed hardware. Deck hung on 4x4 posts with angle iron. Bed breaks down easily into separate components (stairs, deck, 2 large end assemblies, 6 rails, slats and plywood mattress support).
Built from Plan(s)
Estimated Time Investment
Week Long Project (20 Hours or More)
Finish Used
Minwax espresso stain and 3 coats of satin wipe-on polyurethane
Recommended Skill Level
Intermediate
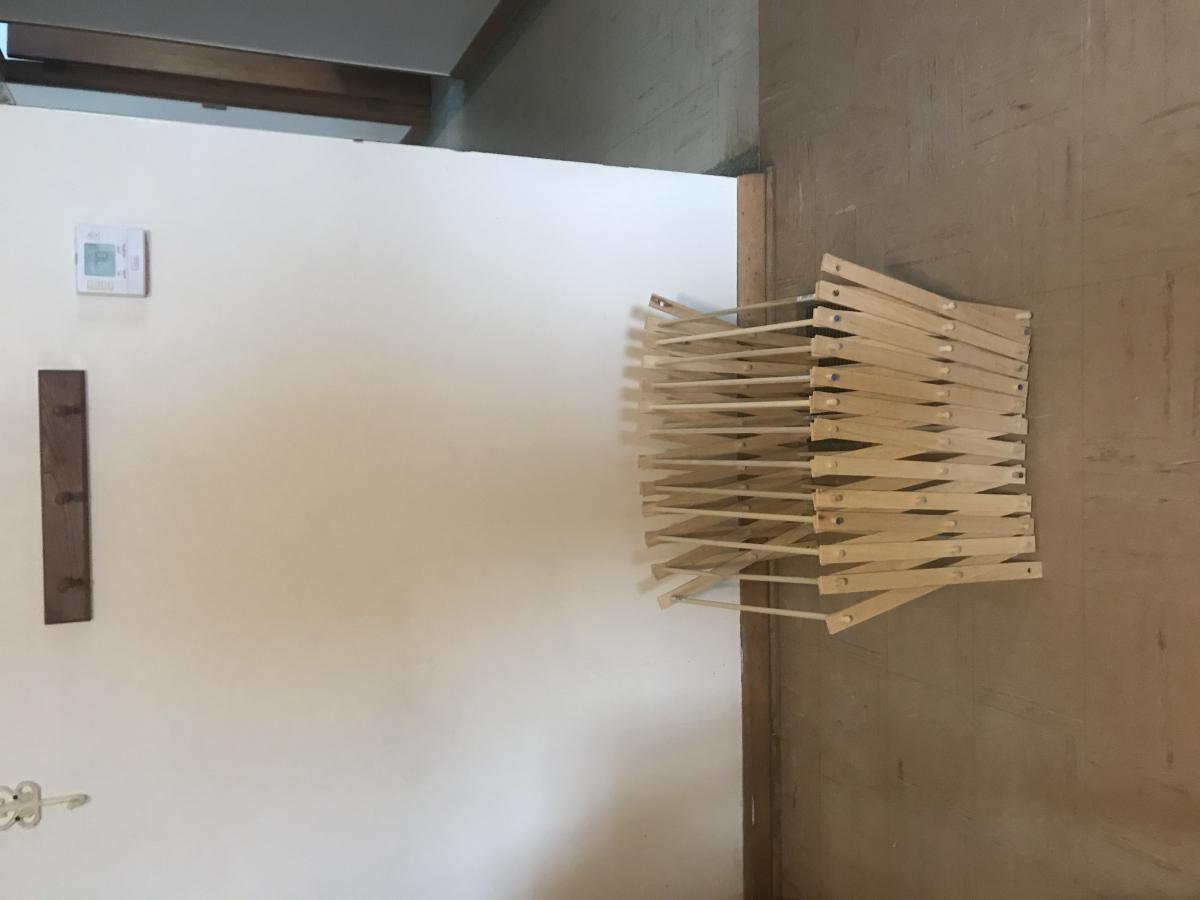
Clothes rack
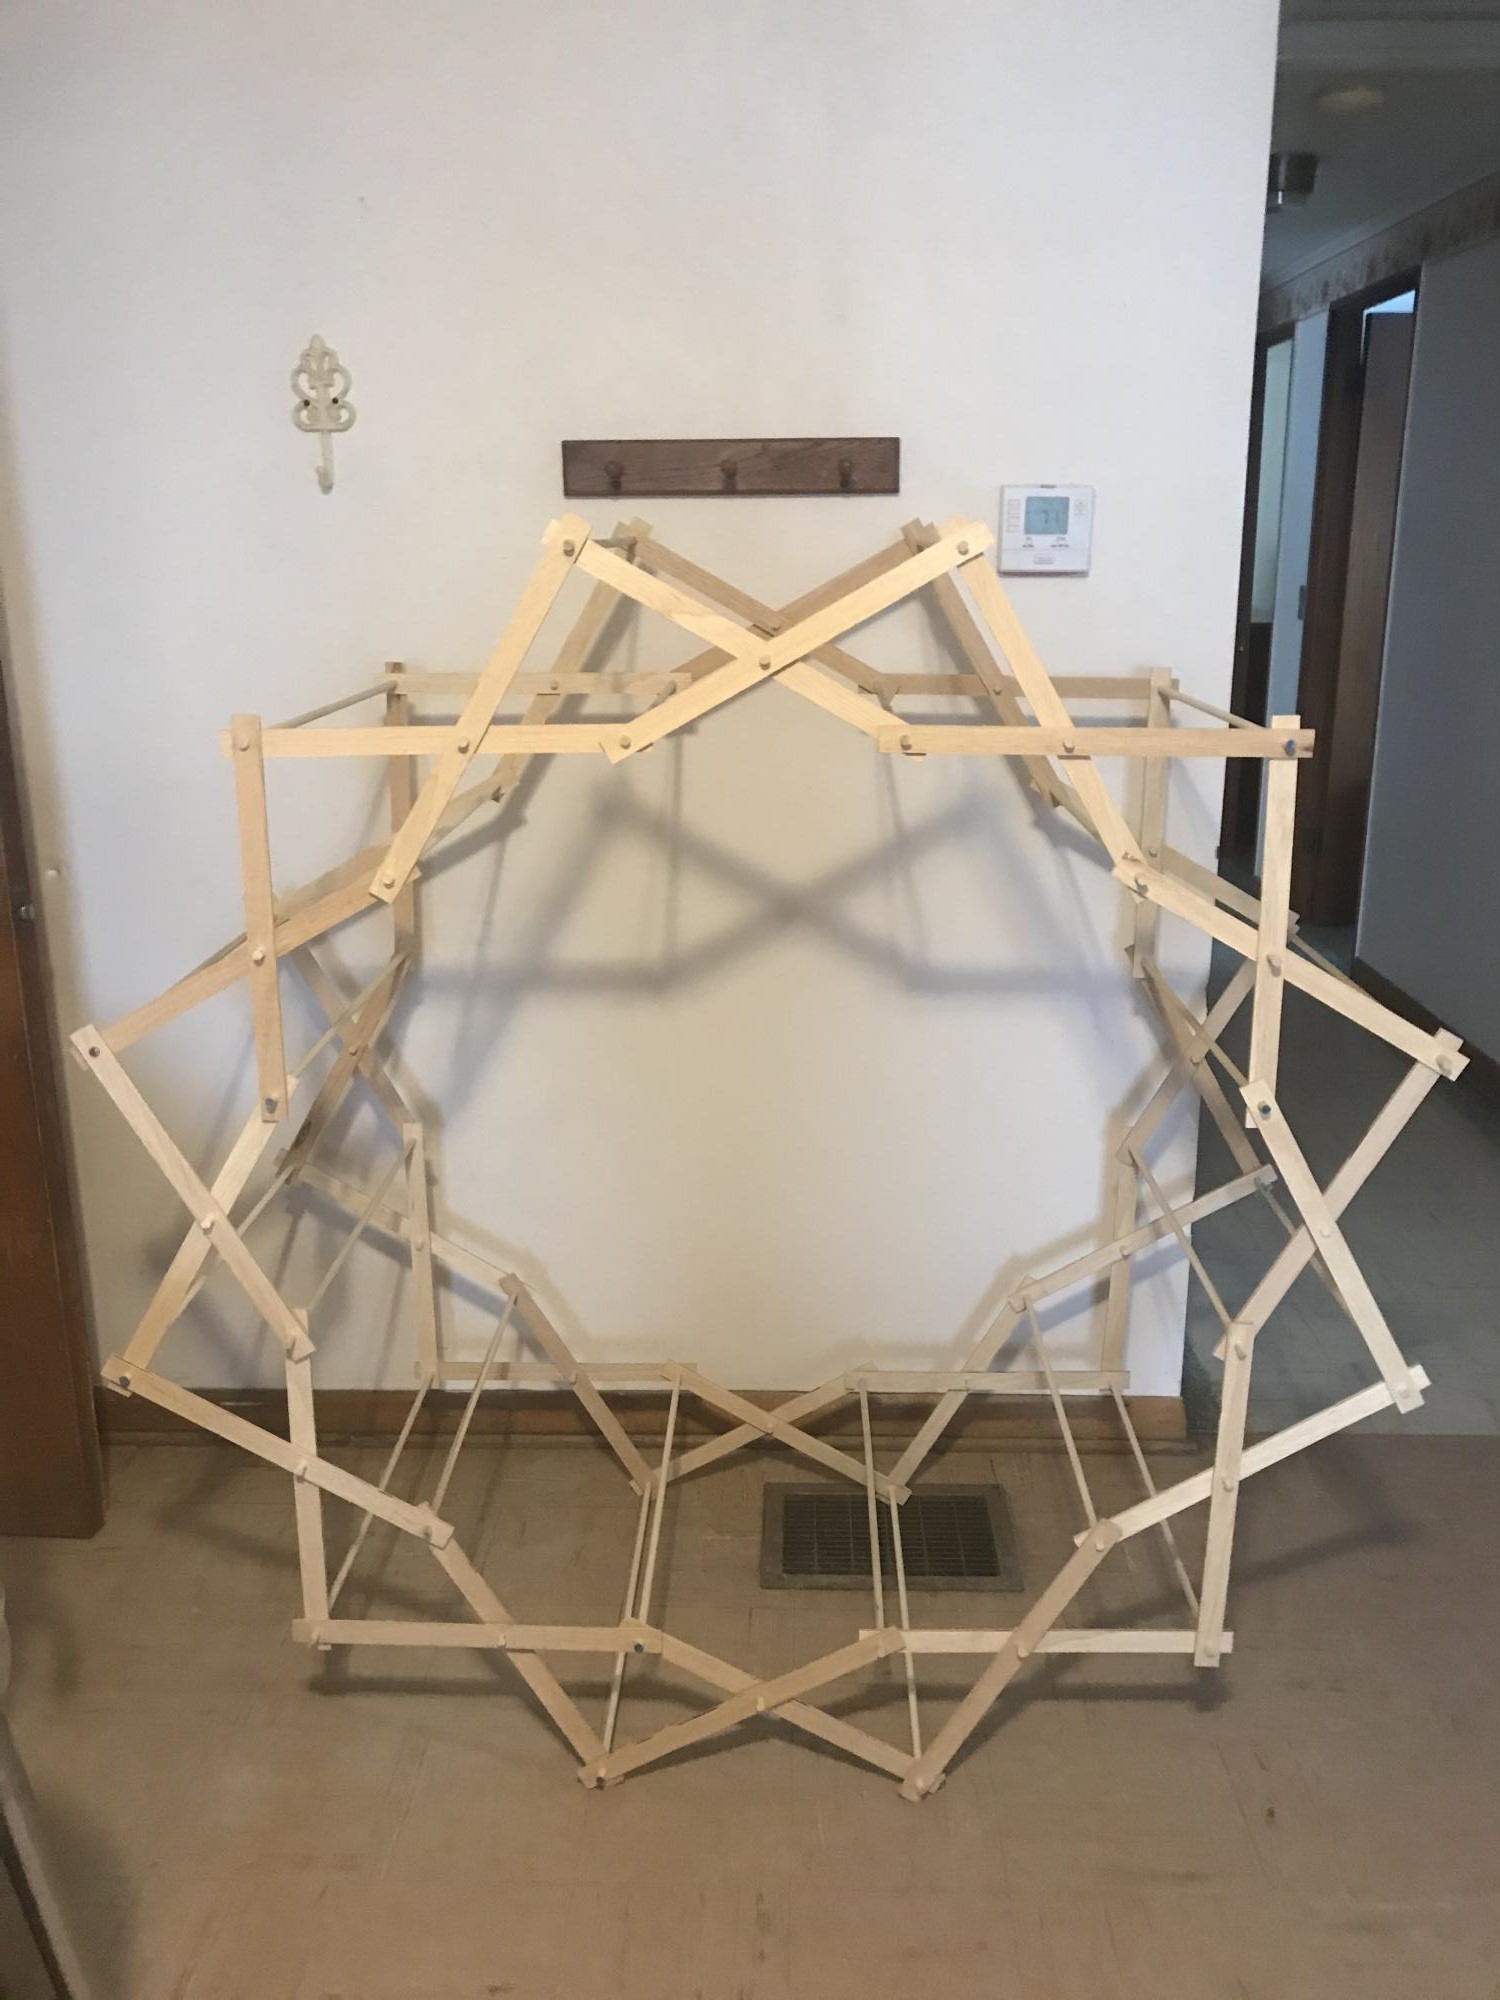
Simple beginner project. Would have preferred a more durable wood, but still a fun and quick project.
Comments
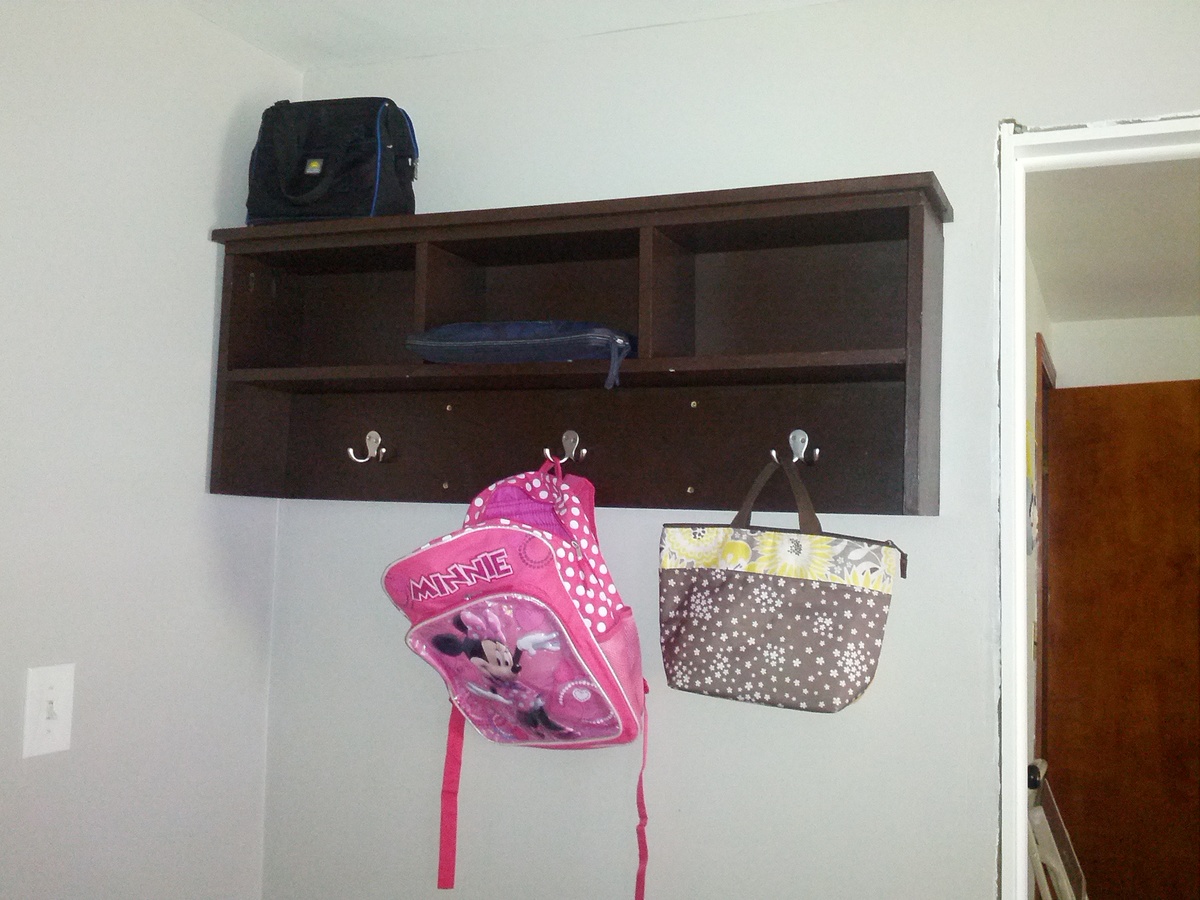
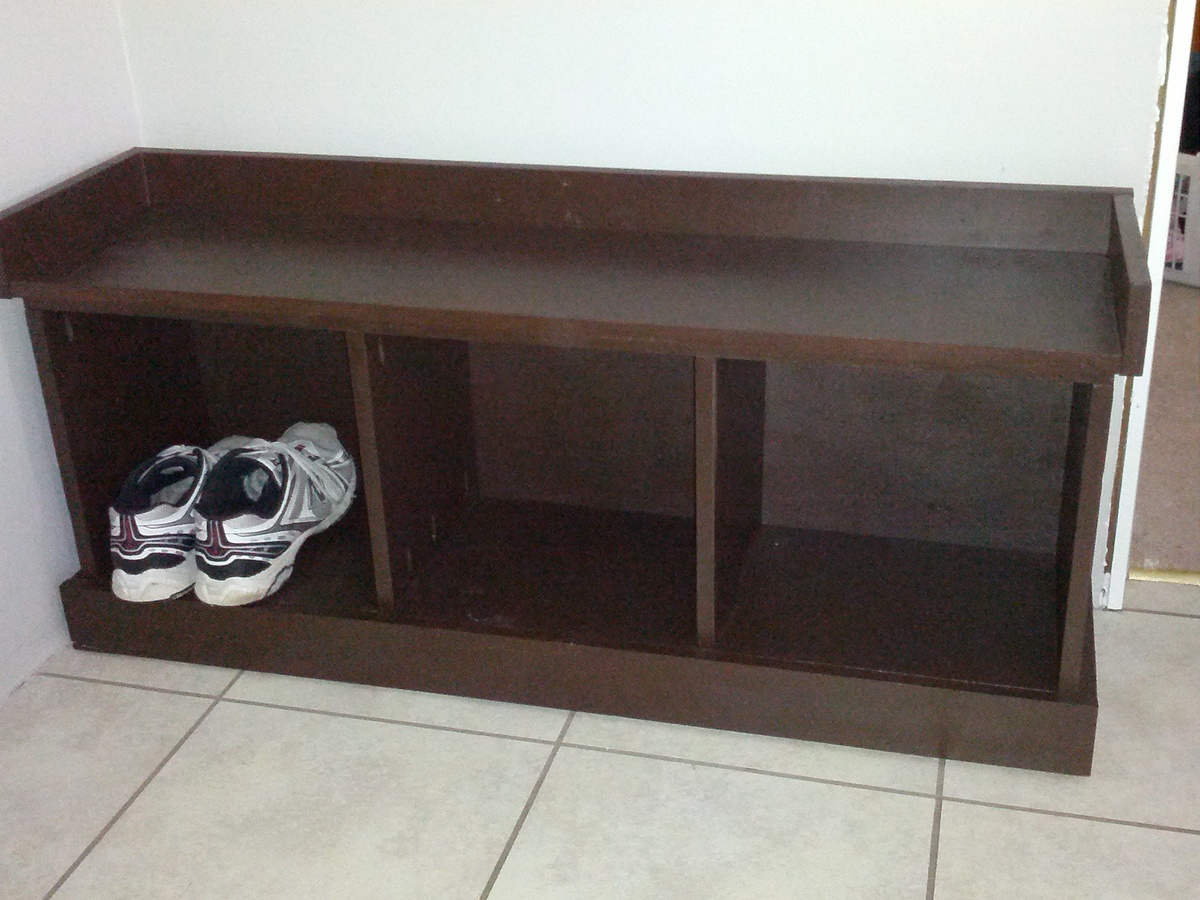
entryway bench and shelf
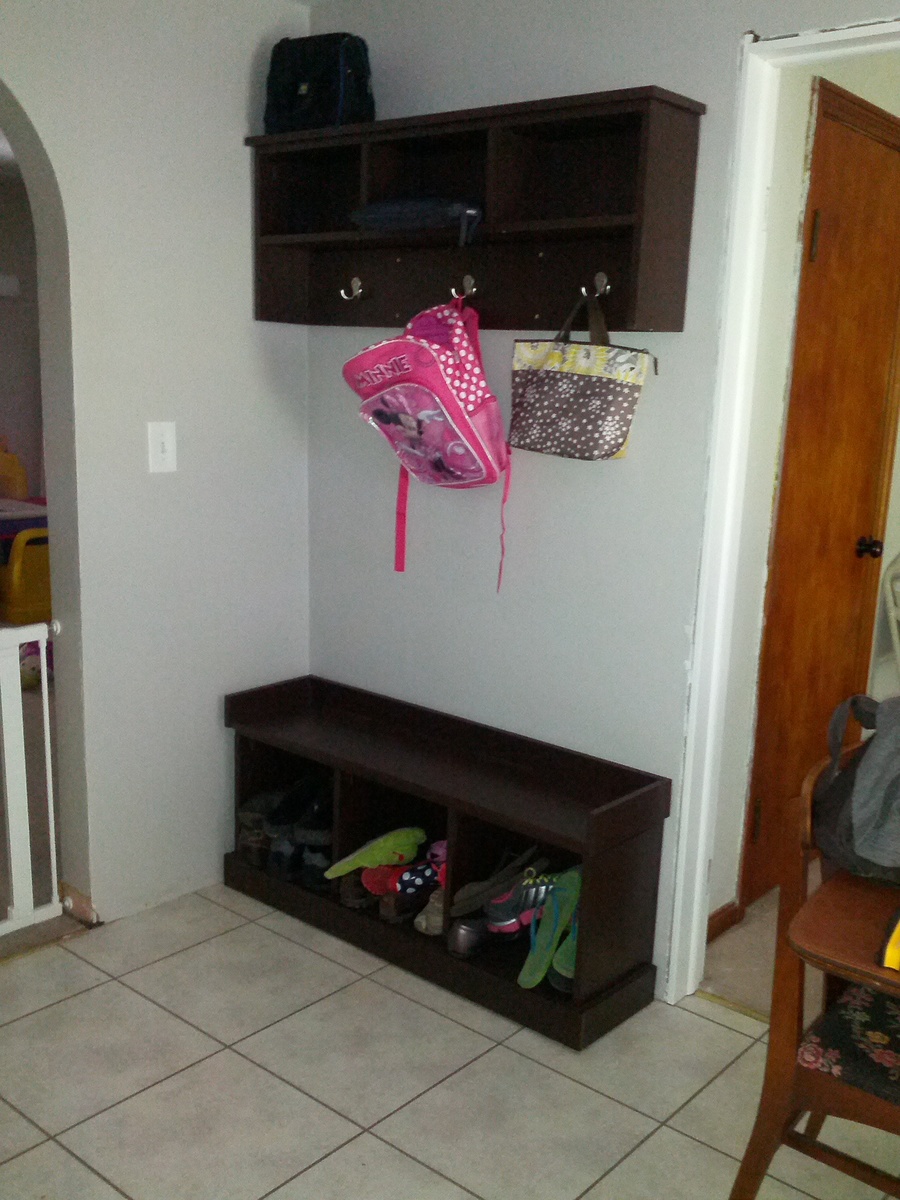
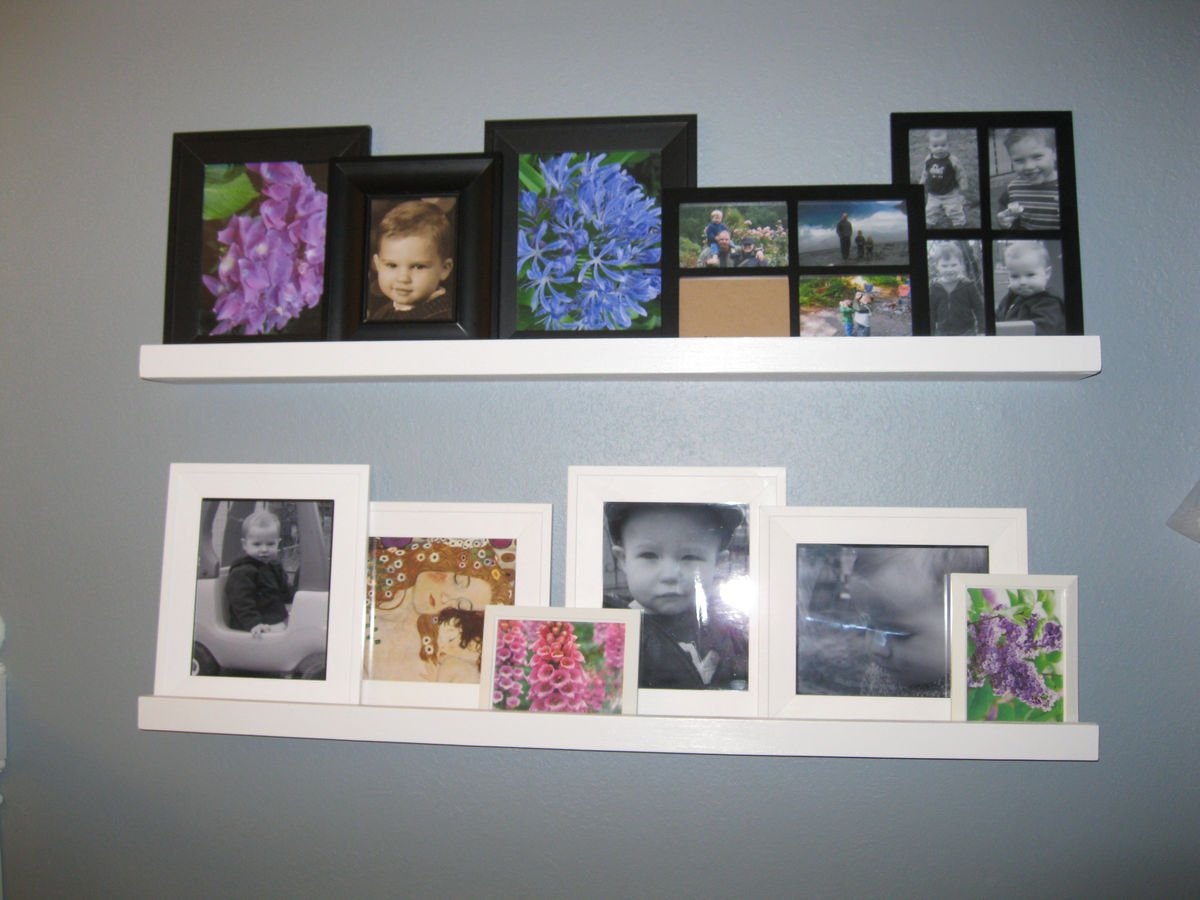
This was a little more difficult than we anticipated but totally worth it. We shortened the width to fit our space, and kept the sides straight instead of angled, just for simplicity's sake. The Kreg jig really came in handy here. We anchored the shelf with cabinet screws and will be adding small L brackets at the top into the studs. With a tall toddler at home we are being extra careful.
Estimated Cost
~$125
Estimated Time Investment
Weekend Project (10-20 Hours)
Finish Used
Rustoleum Kona Brown (not spray) in semigloss, rolled with foam roller. Used a white primer underneath-not sure if really necessary.
Recommended Skill Level
Beginner
Brookstone King Size Headboard
I built this headboard to coordinate with the nightstand, tv console and blanket ladder I had previously built. We recently purchased a King size bed and found ourselves in desparate need of a furniture makeover. I modified the plans to fit our bed, and wanted a beefier look so I used a combination of twelve 1x6s and three 1x4s as opposed to only using 1x4s for the panel back. I also used 1x6s for the trim as well. Legs were made of 1x4s, doubled up at the bottom for additional support. I built it so that the legs could bolt to the bedframe using lag bolts. I also wanted it to be a bit taller so I increased the height to 56" tall.
Built from Plan(s)
Estimated Cost
$150
Estimated Time Investment
Weekend Project (10-20 Hours)
Finish Used
I stained the headboard with Minwax Special Walnut and then hand painted 3 coats of Pittsburgh Paint, which is very thick. I let everything dry and then antiqued it using a combination of 120 grit sandpaper and steel wool pads.
Recommended Skill Level
Intermediate
Comments
Fri, 04/10/2015 - 23:19
I also wanted it to be a bit
I also wanted it to be a bit taller http://wp.me/p5ZUhY-1S
http://ref.li/paYsW
http://bit.ly/1NdOcoW
http://wp.me/p5ZUhY-1P
http://wp.me/p5ZUhY-1D
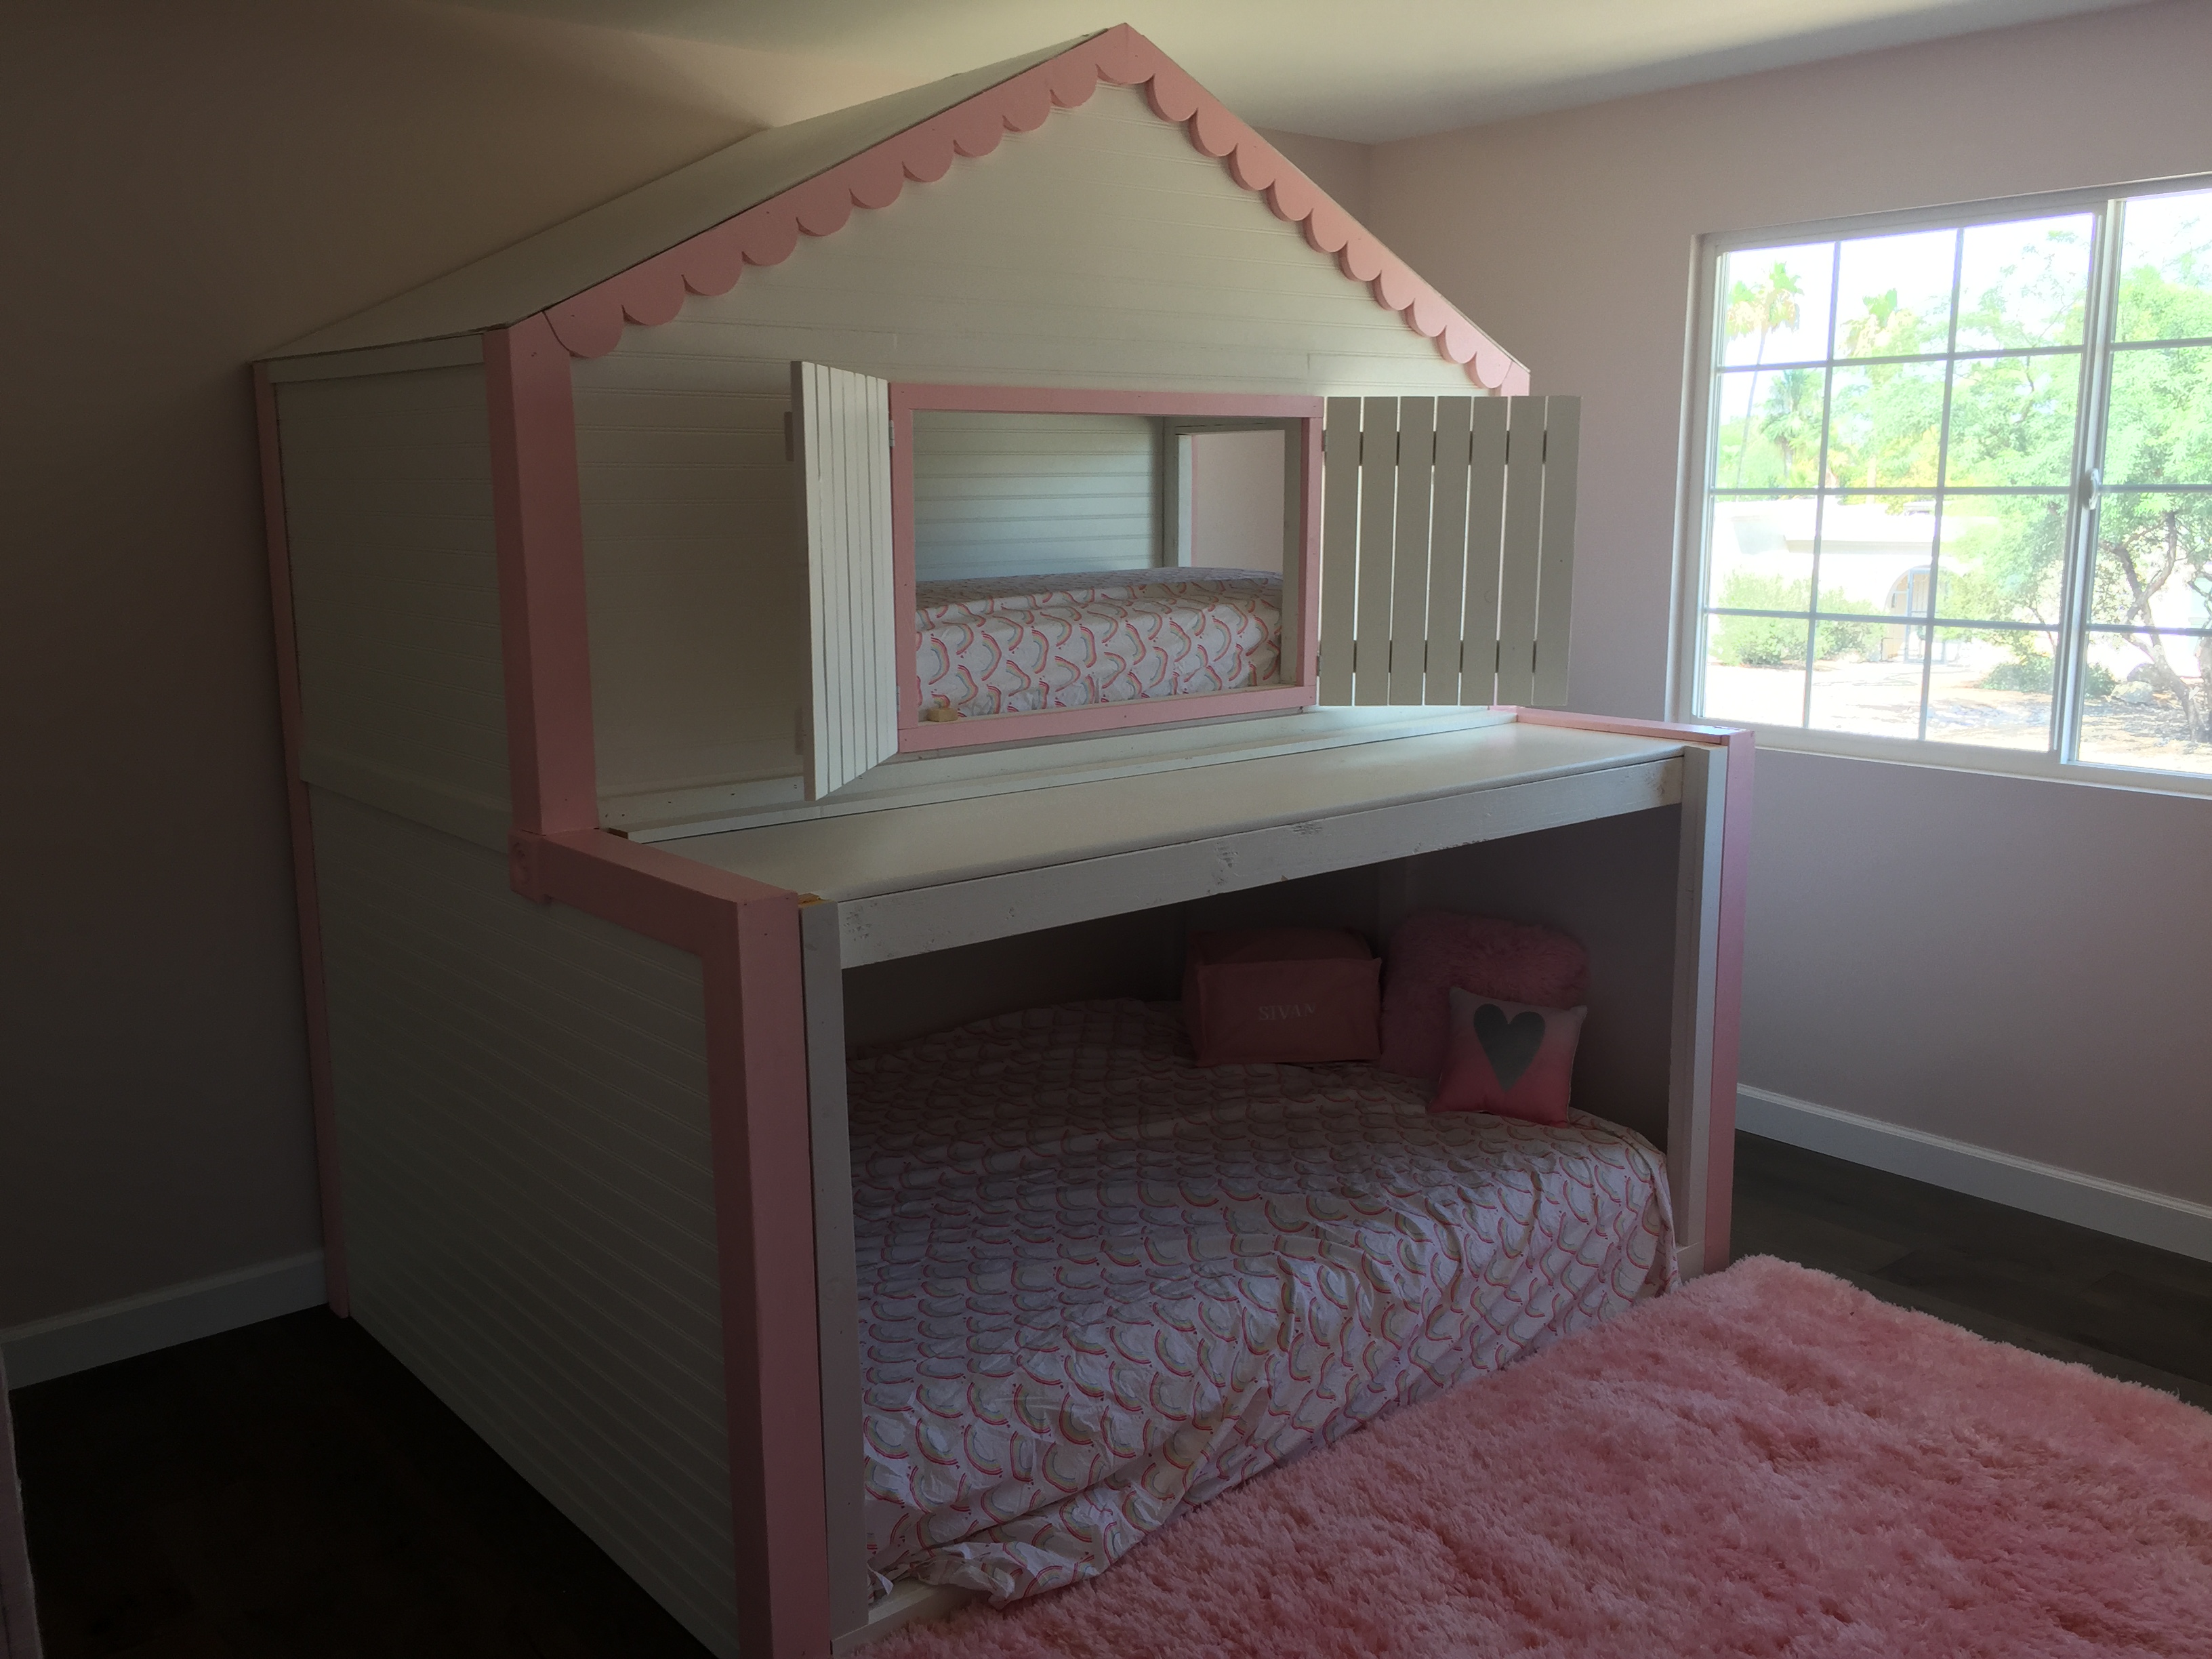
Custom Dollhouse Bed
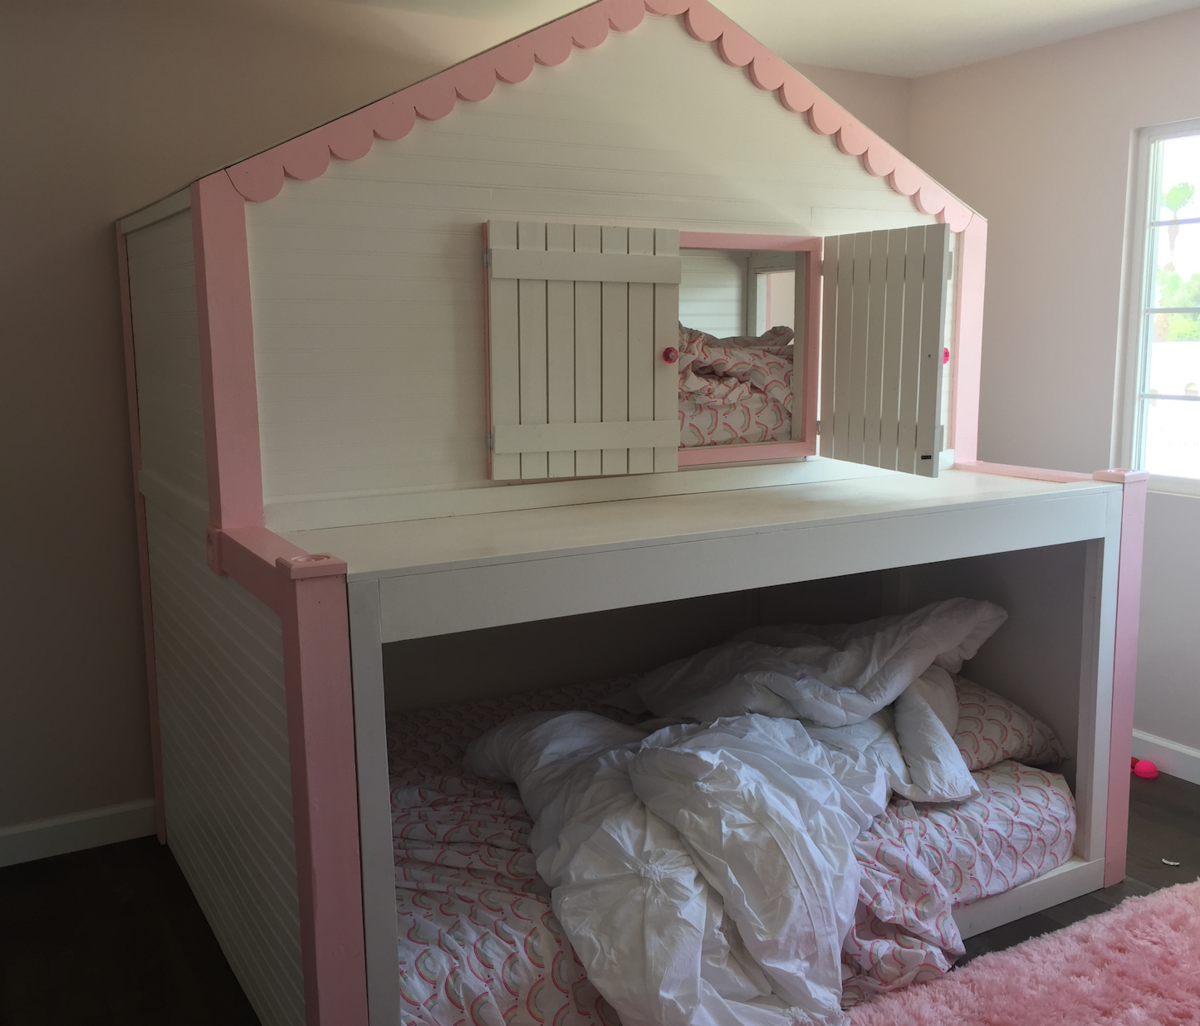
This was a custom build for one of my clients. It is a full over queen bunk bed. Scalloped trim on the top, and a balcony/platform from the top bunk. Access to the top via ladder and window! The pic with the messy bed is the FINAL finished product after I added a few more trim pieces to the front.
Estimated Time Investment
Weekend Project (10-20 Hours)
Finish Used
Used my Graco Airless sprayer.
Recommended Skill Level
Intermediate
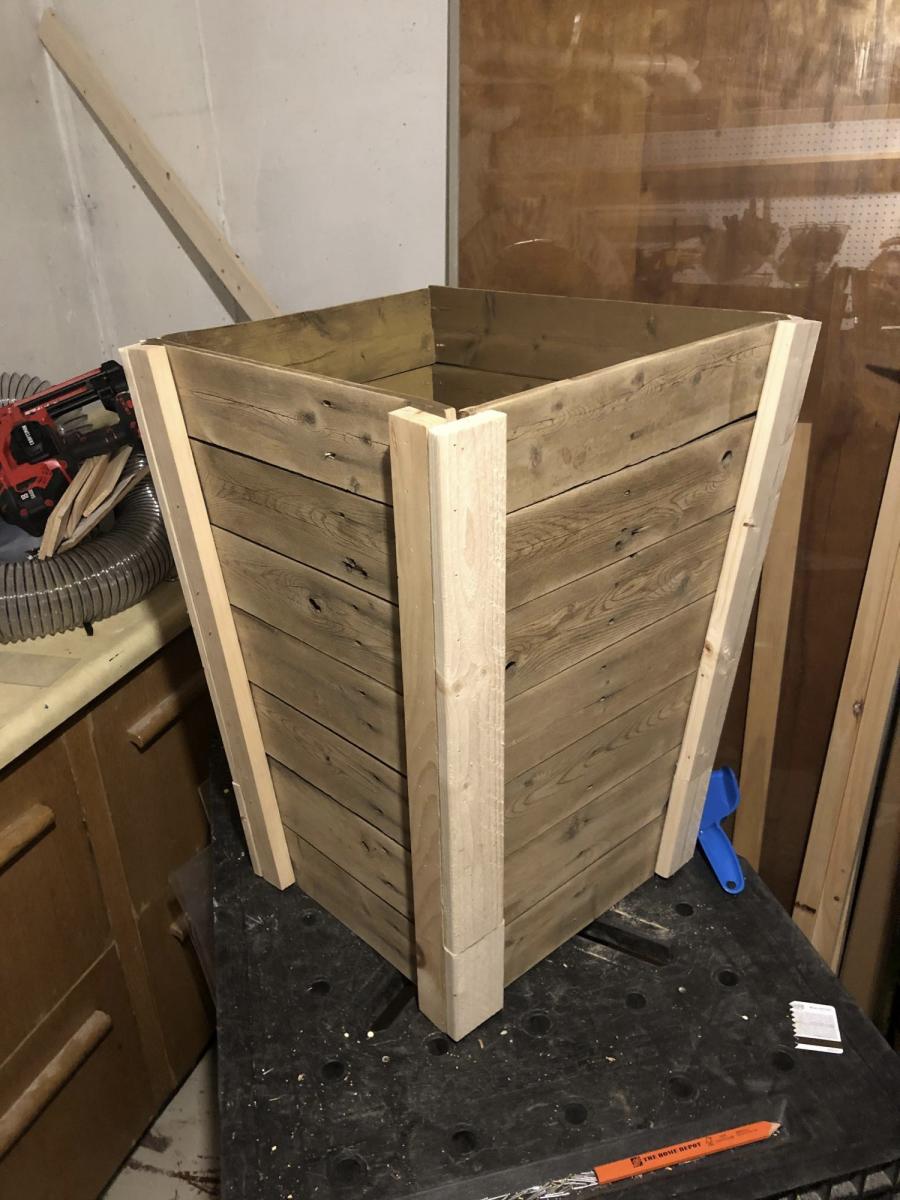
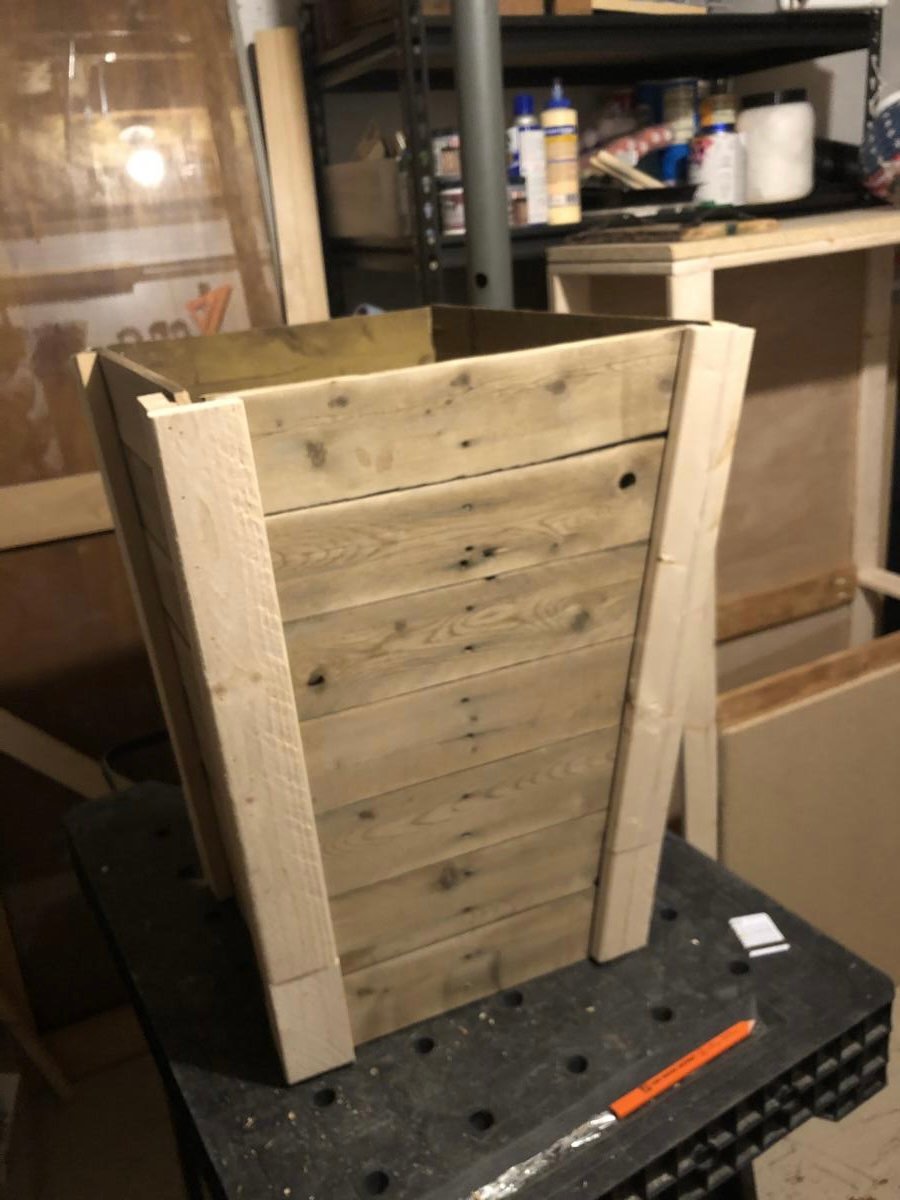
Tapered plant box
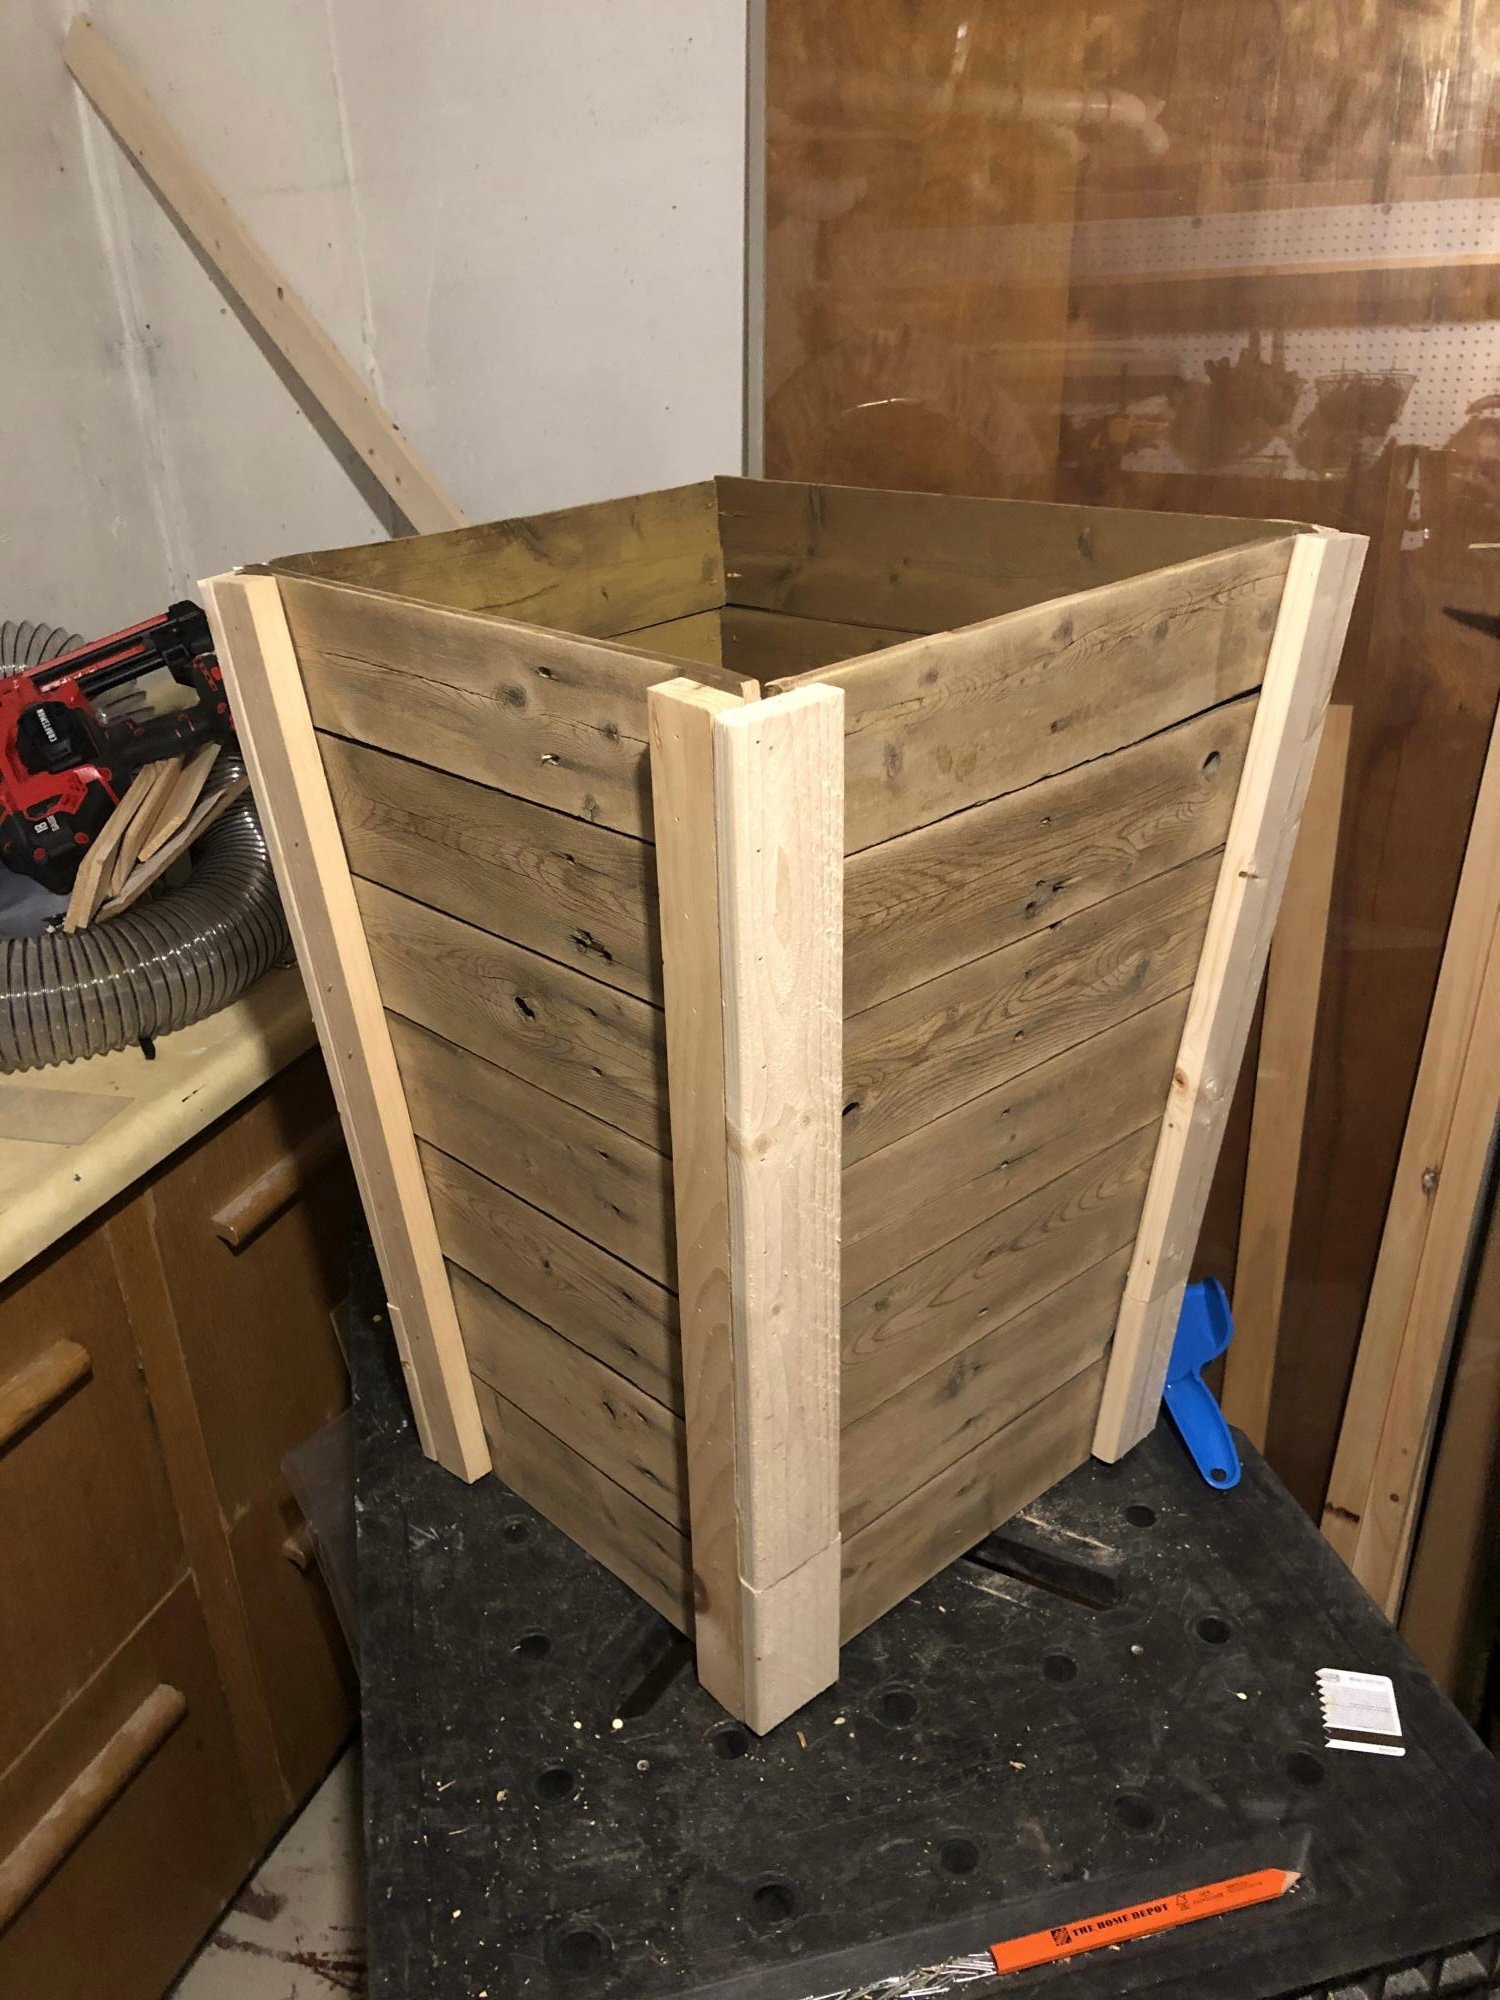
I was looking for an inexpensive way to dress up my deck and when I saw your tapered plant boxes I knew that was the gem I needed. I used pickets from a fence we took down and some 1 inch wood strips. I am planning on making more to line the new fence.
Built from Plan(s)
Comments
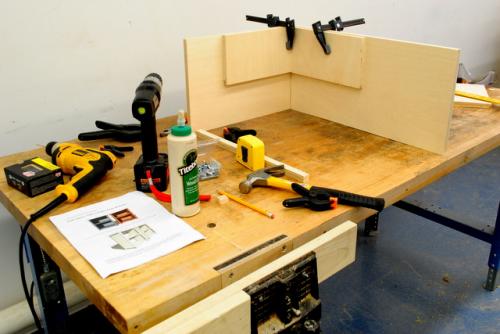
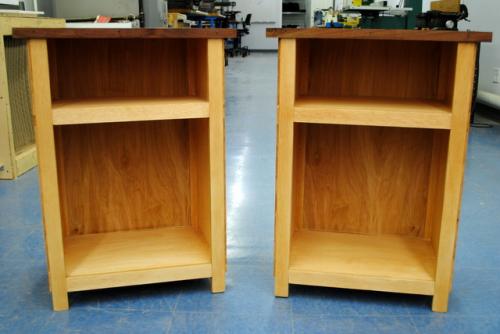
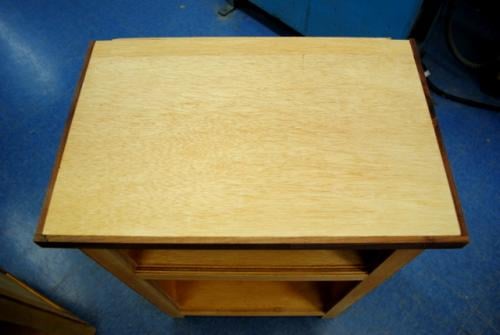
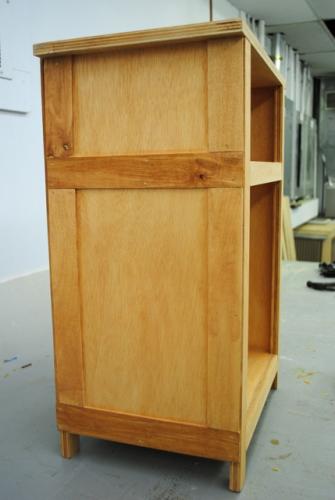
Nightstands for Christmas
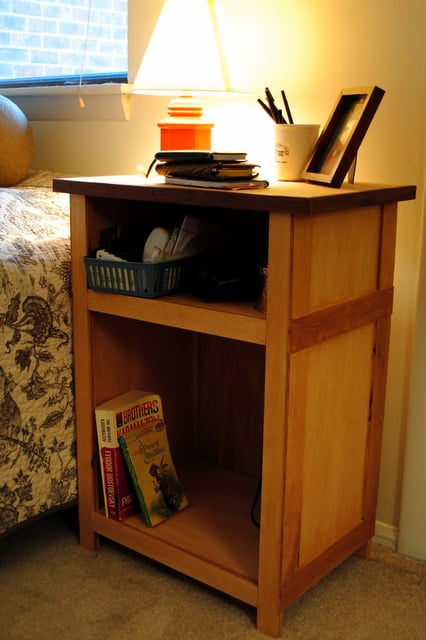
I made this pair of nightstands as Christmas gifts for my husband in 2010. They were my first project and I'm pleased with how they turned out!
Built from Plan(s)
Estimated Cost
$80
Estimated Time Investment
Weekend Project (10-20 Hours)
Finish Used
Minwax stain plus Tung Oil
Recommended Skill Level
Starter Project
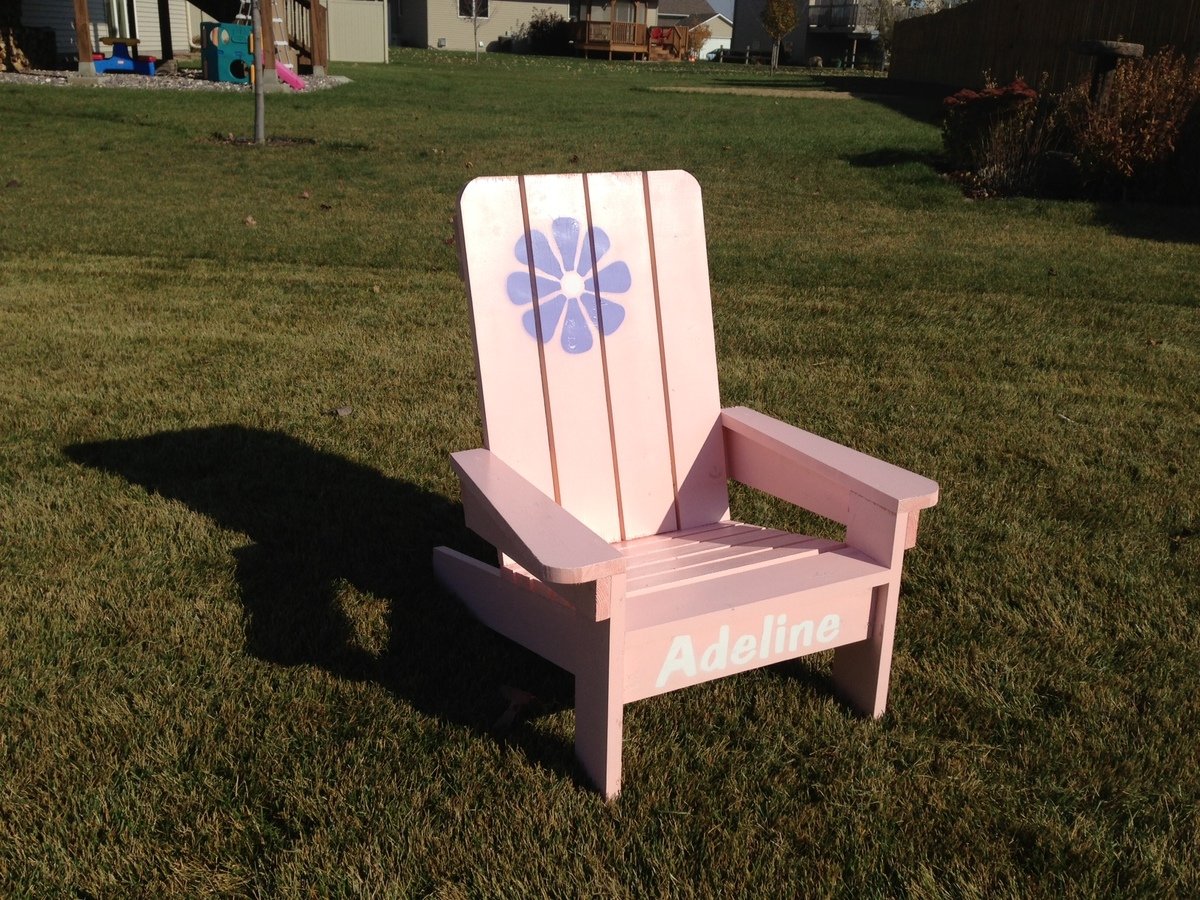
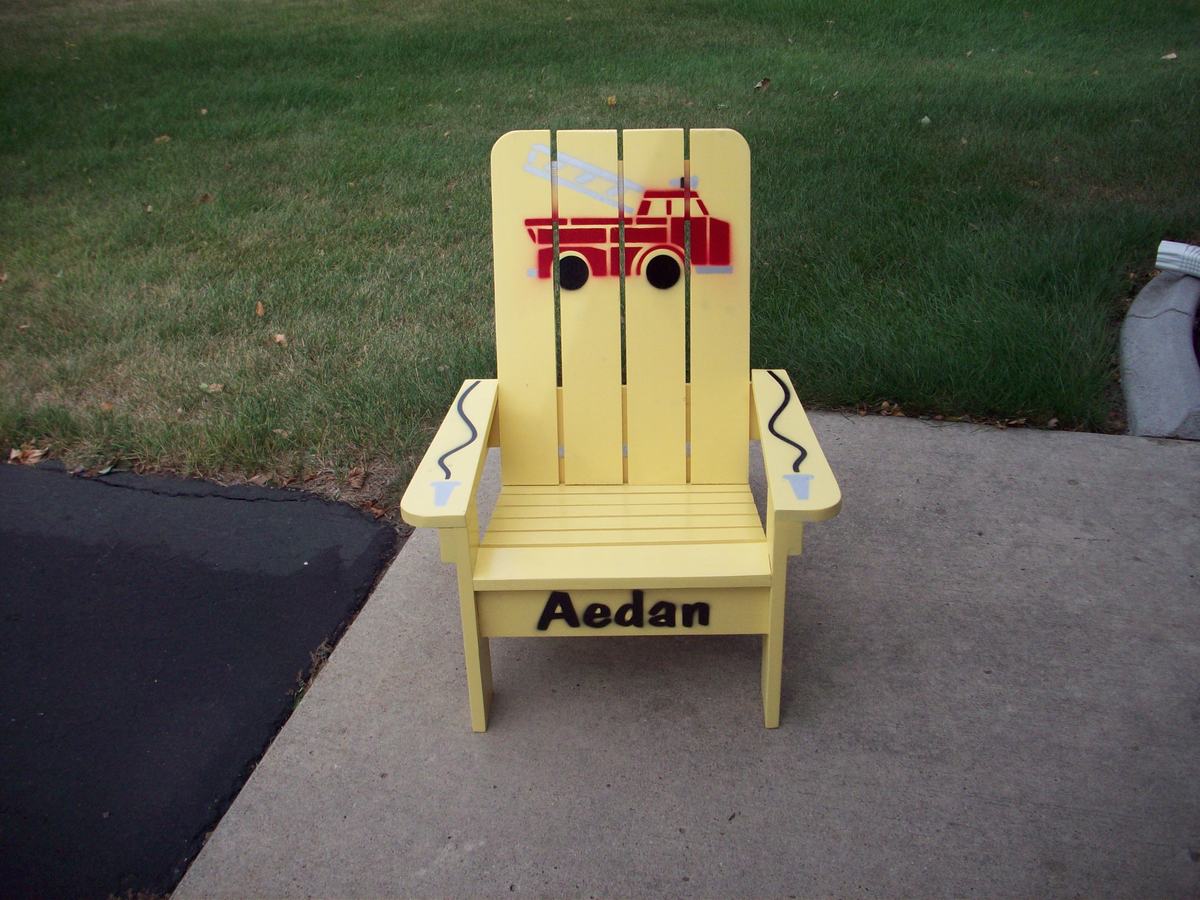
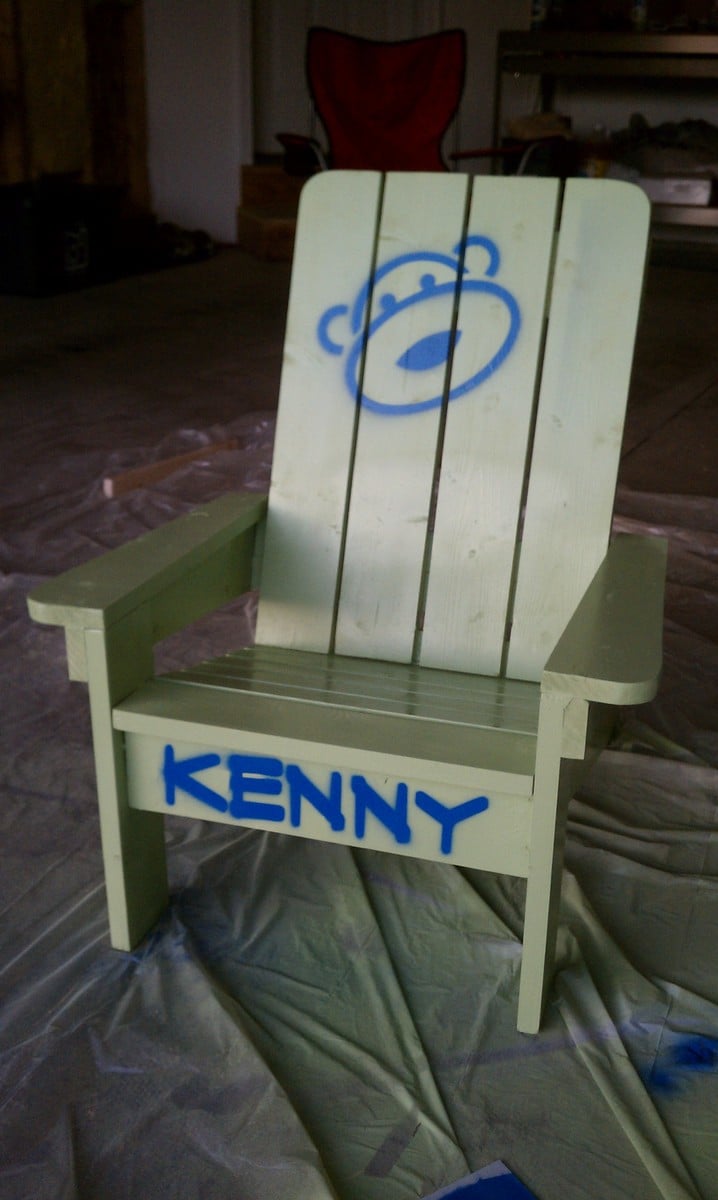
Kids Adirondack Chair!
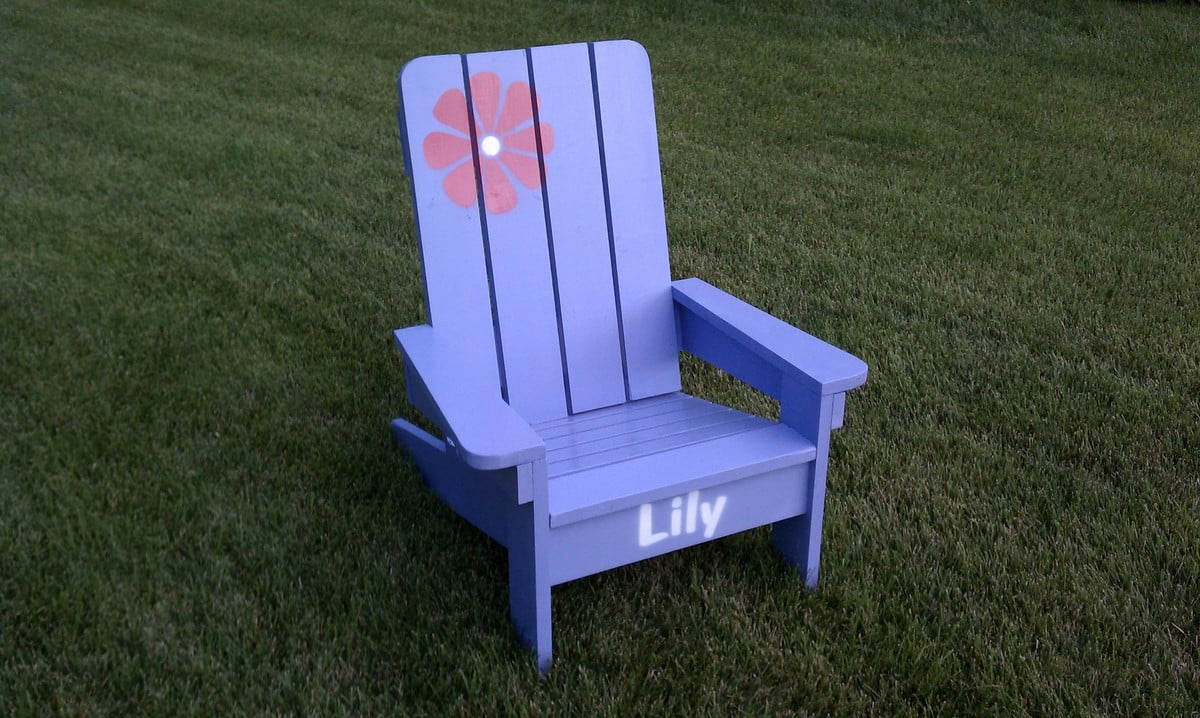
Over the last couple of summers I was attending a lot of my friend’s kid’s birthday parties. As a way to make something more personal I started making these chairs that I found on Ana’s website. They were a huge hit and pretty soon people were asking me to make more.
Built from Plan(s)
Estimated Cost
30
Estimated Time Investment
Afternoon Project (3-6 Hours)
Finish Used
Spray Paint
Recommended Skill Level
Beginner
Outdoor bar
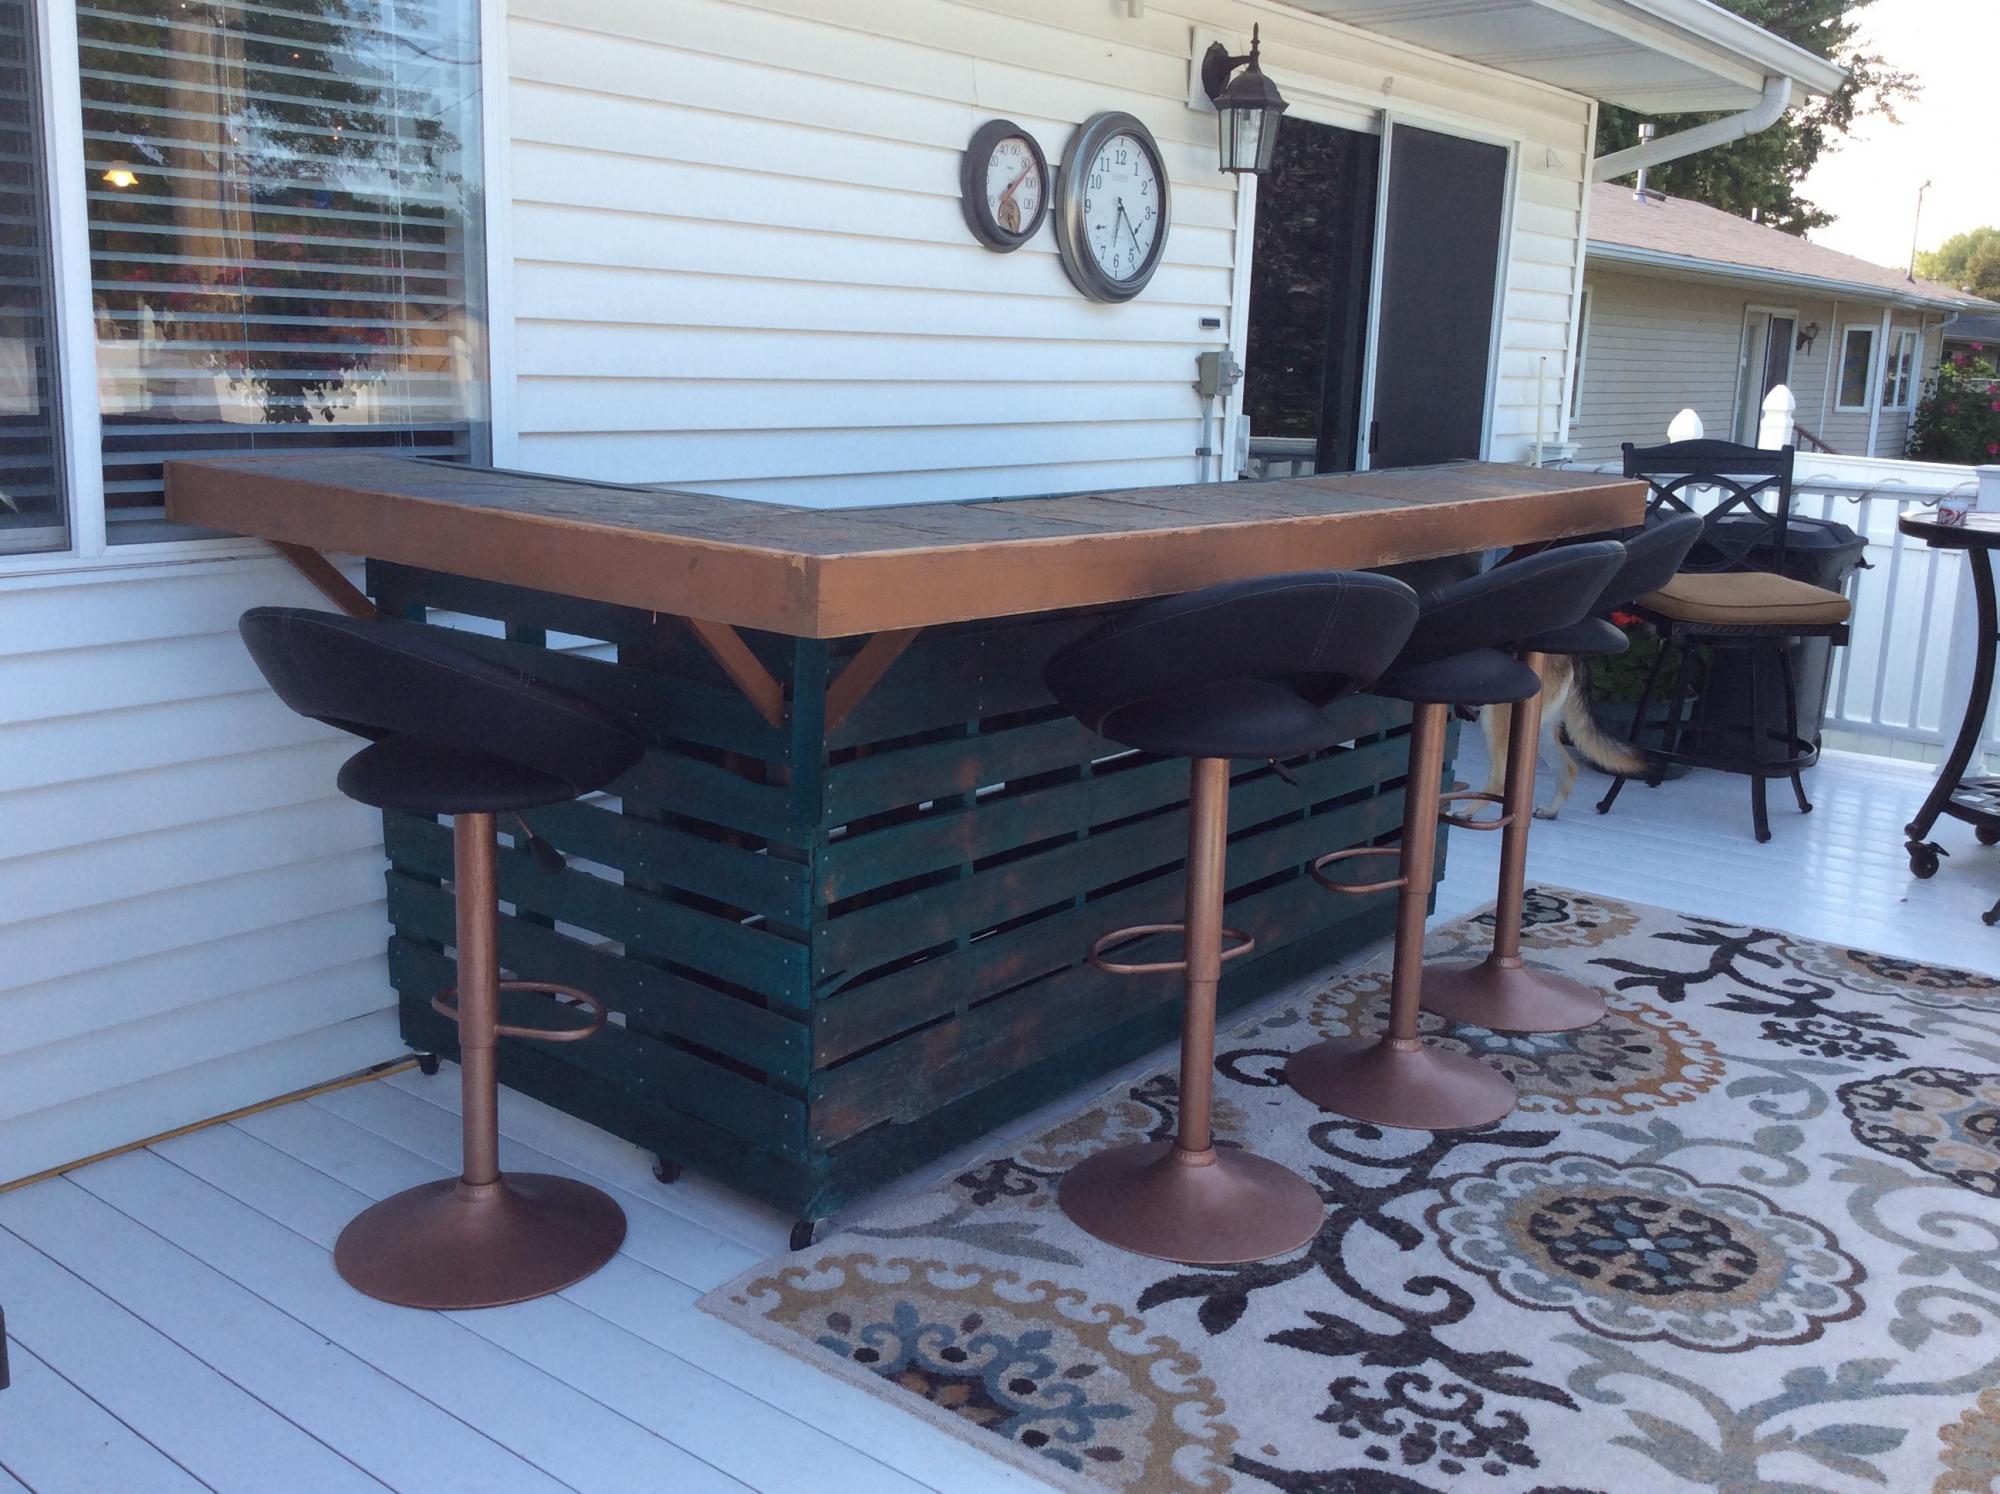
Outdoor pallet bar with sink I found in the garage. Just a dumping sink under cabinet,not hooked up to plumbing.
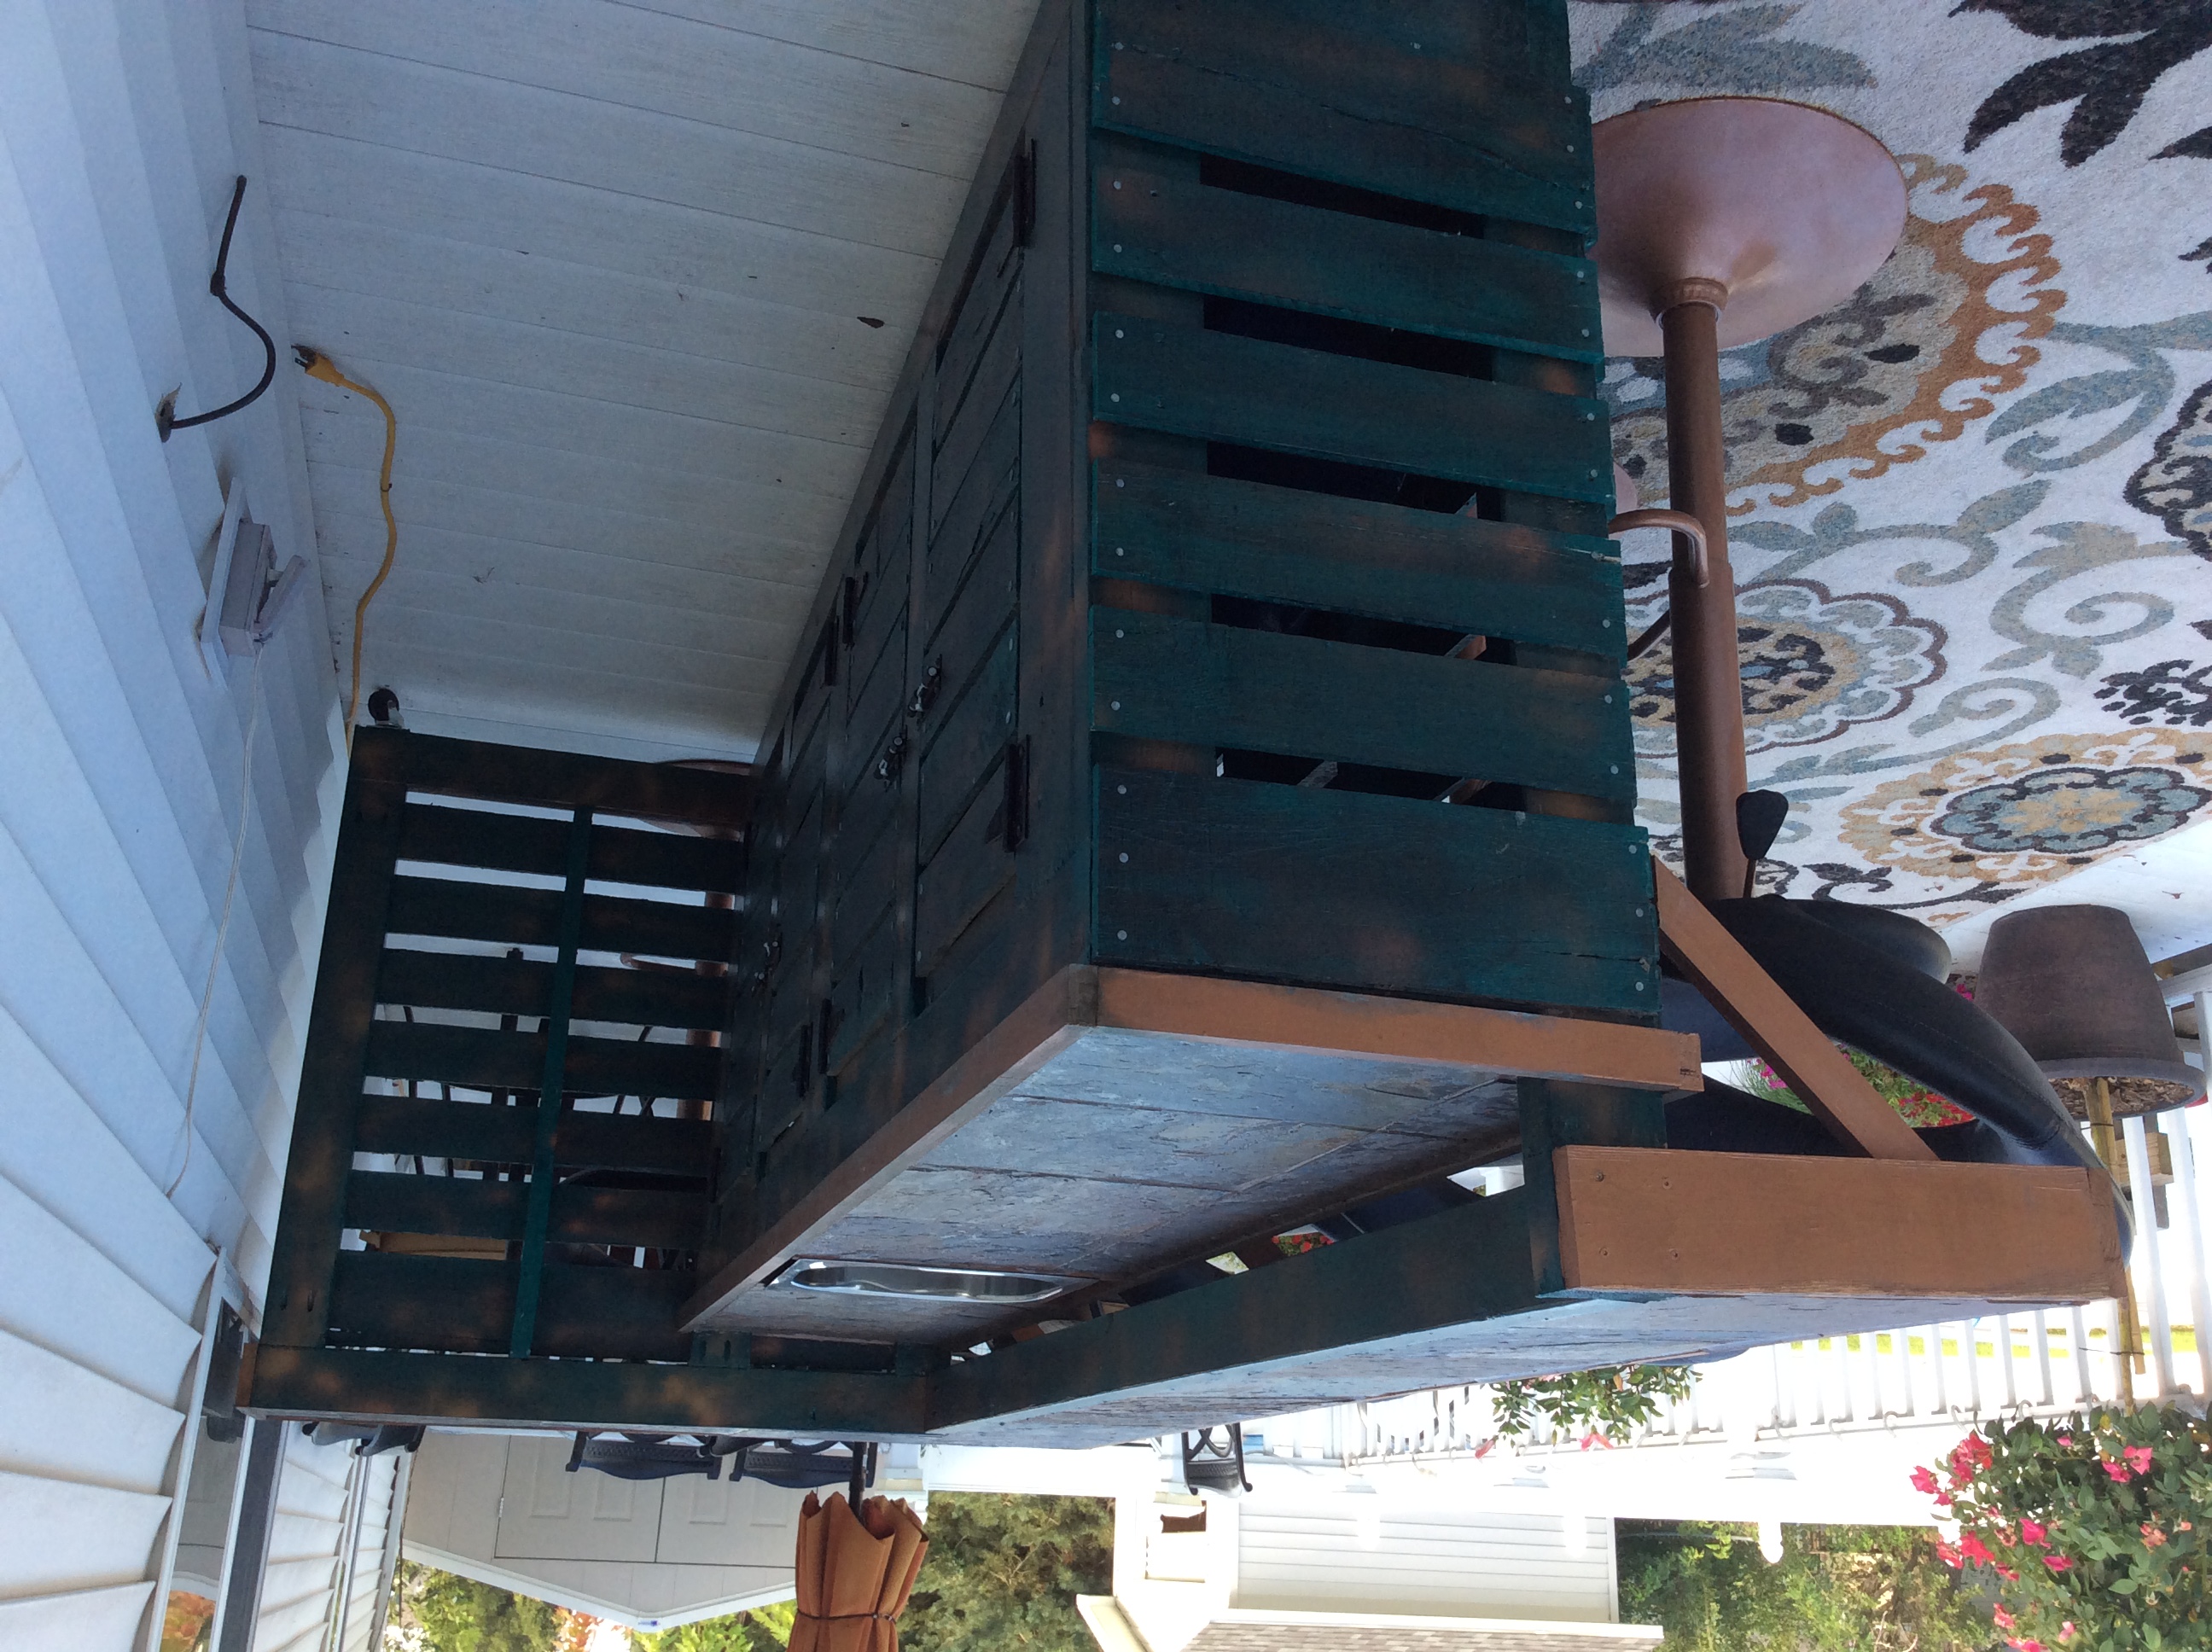
Estimated Cost
$200
Estimated Time Investment
Weekend Project (10-20 Hours)
Finish Used
Paint, stain over paint,poly, slate tile sealer
Recommended Skill Level
Intermediate
Comments
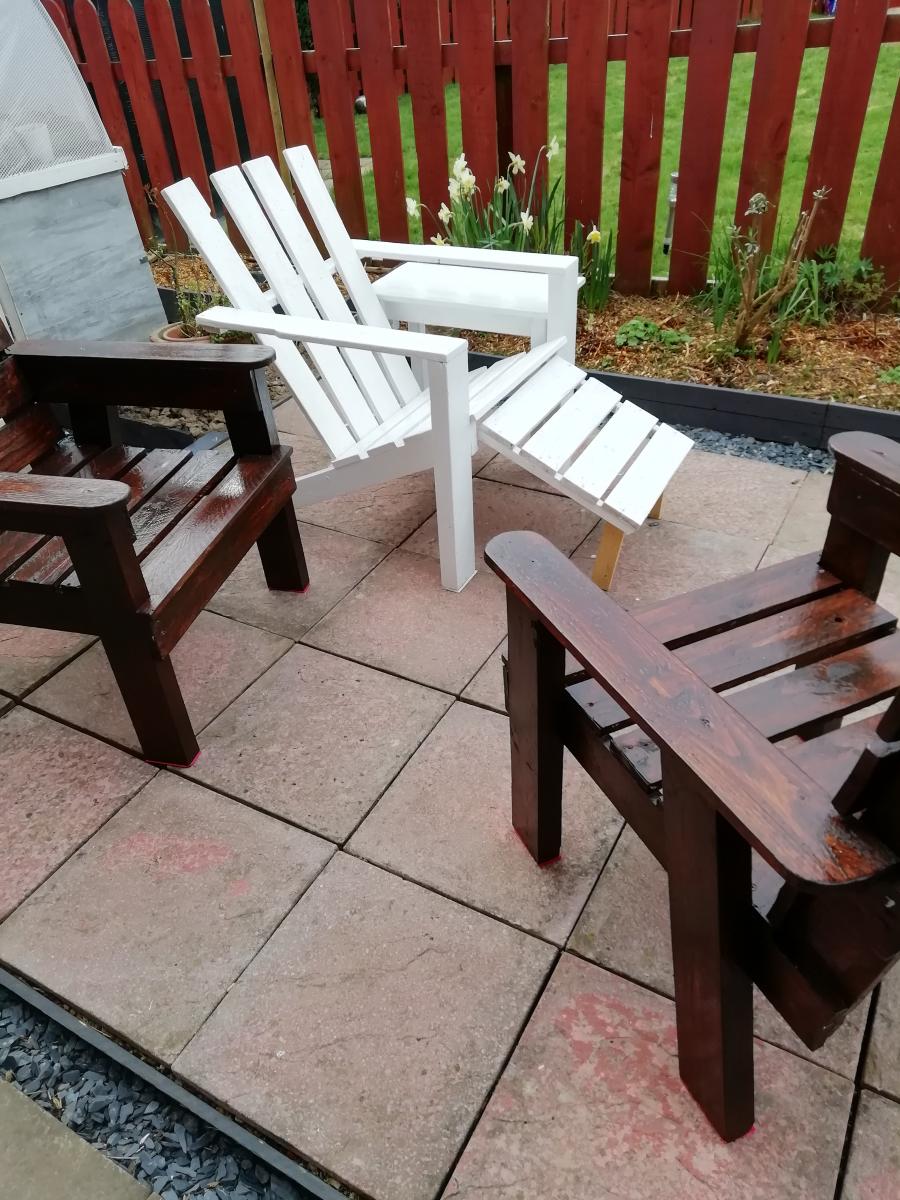
Lawn Chairs
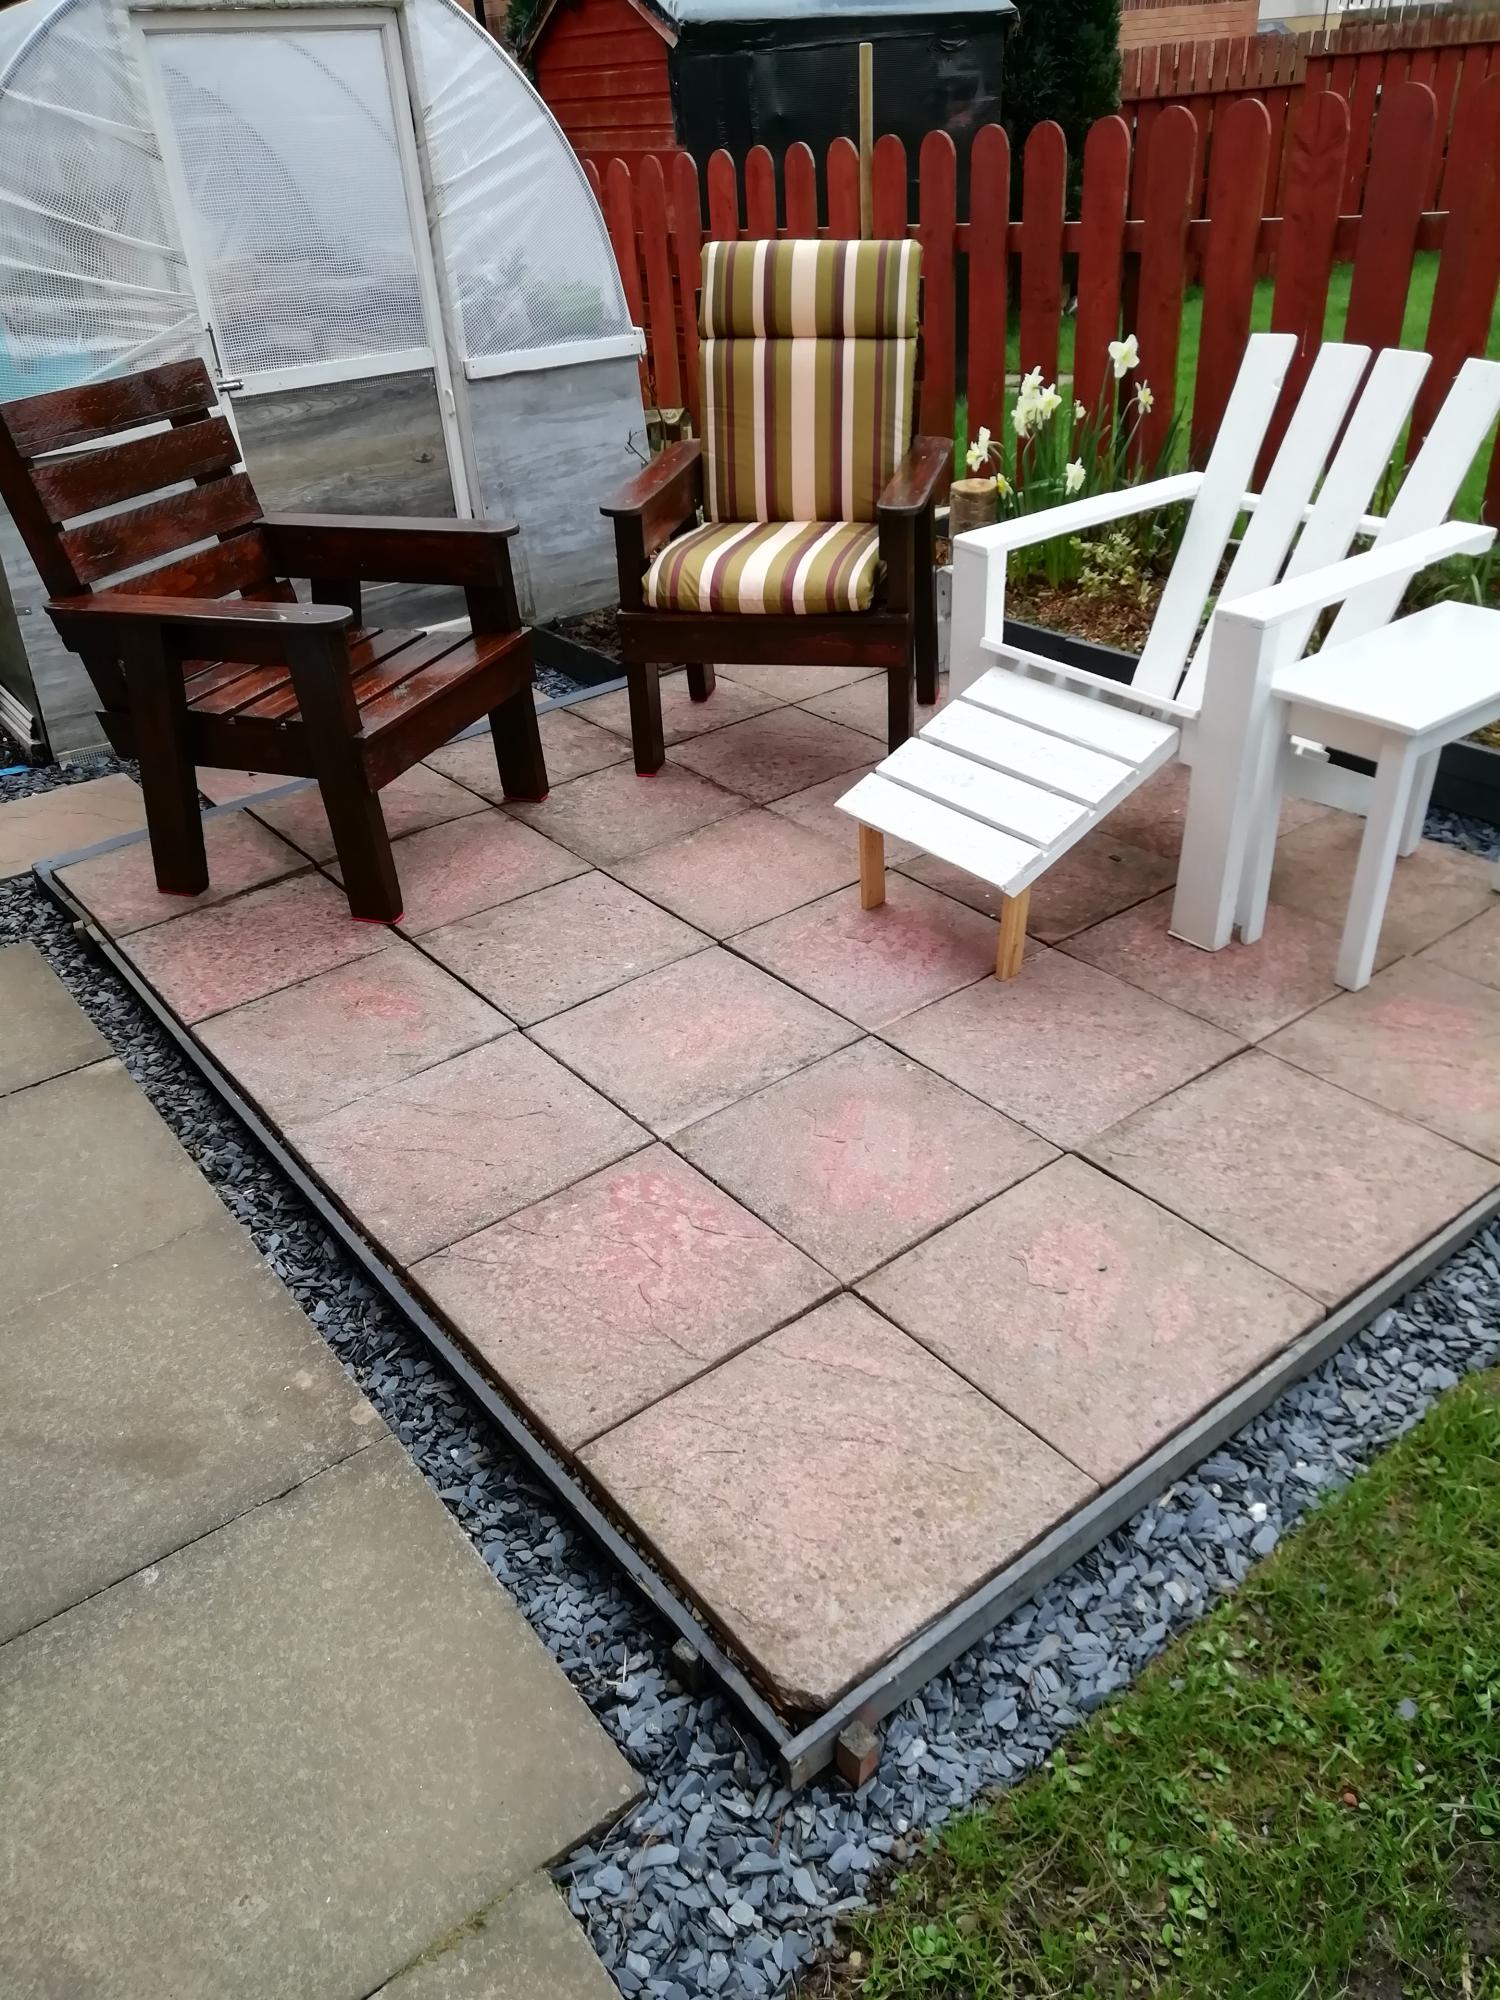
All made from an 8 foot packing crate.
Built from Plan(s)
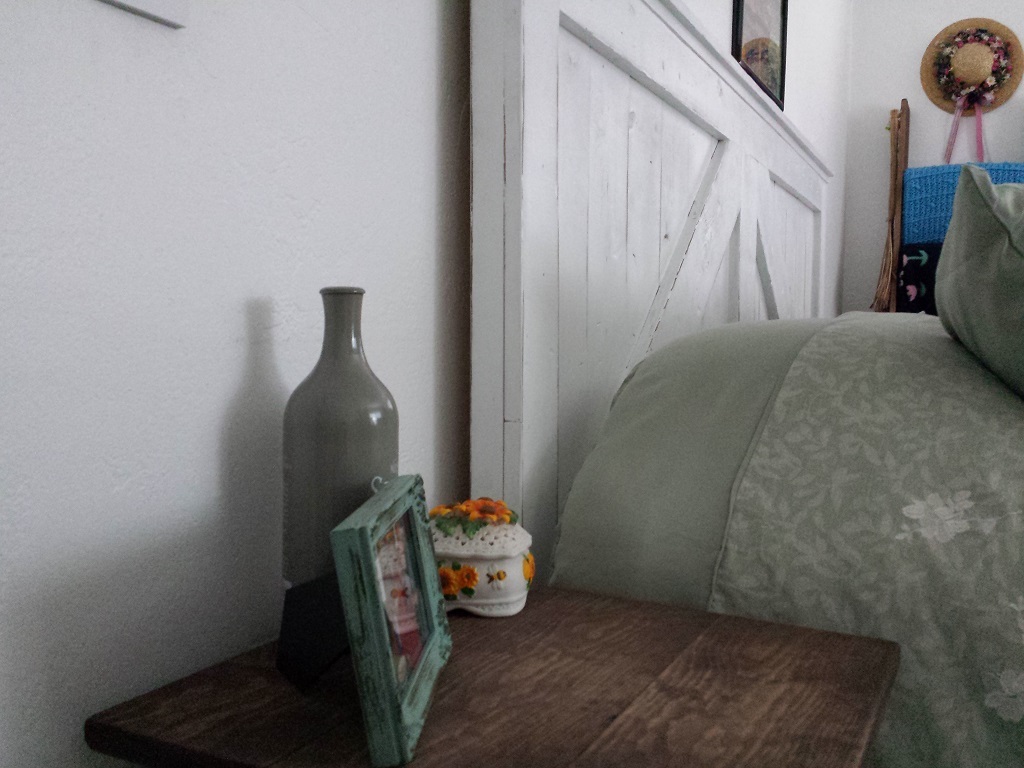
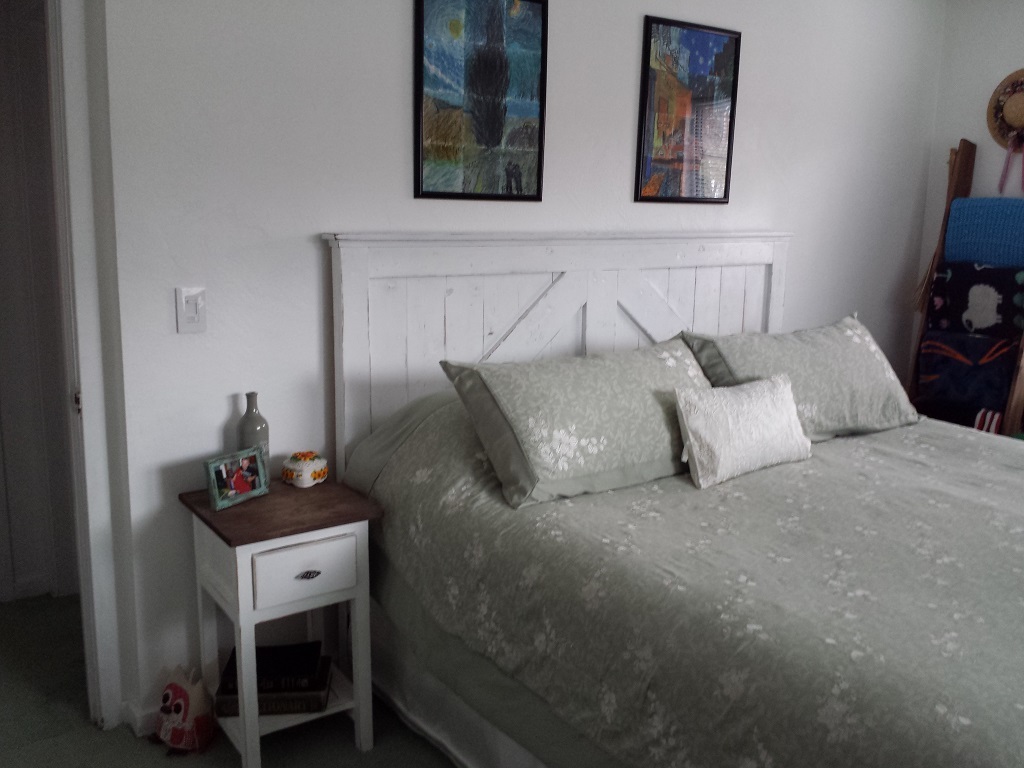
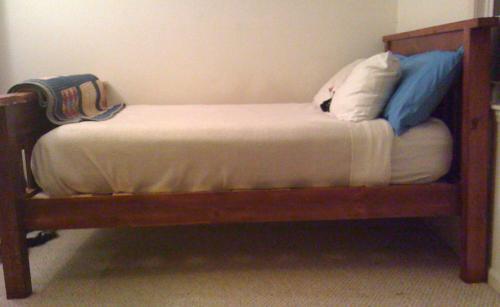
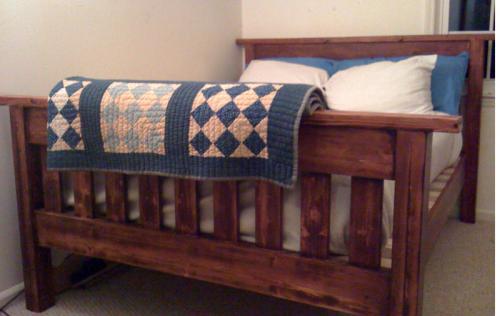
Who's Afraid of the Simple Bed?
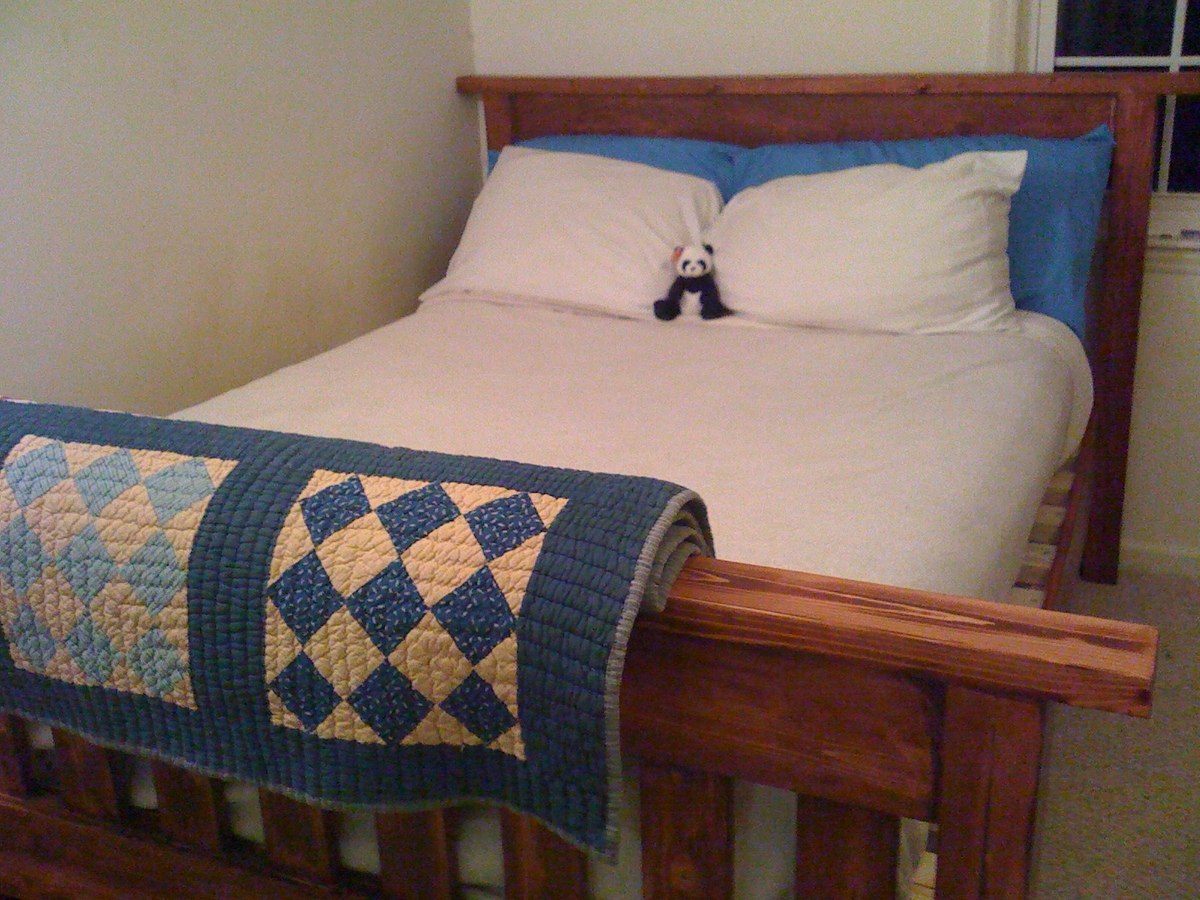
Building Ana’s farmhouse doll bed went so well that I felt ready to take on a full-sized bed.
Each project seems to come with its own set of lessons. I learned the hard way about the “Measure twice, cut once” rule with a couple of “oops” cuts that sent me back on another trip to the Blue store.
Sourcing untreated 4×4′s was also an issue. I ended up gluing and screwing 2×4′s together to use as the headboard and footboard legs.
The biggest issue, though, was my own fear. Sure I hit some stumbling blocks during the build, but resolved them and got the headboard and footboard all put together… and then choked. Who the heck makes her own bed? Is this really going to work? I delayed and delayed the final steps of screwing the siderails to the legs and attaching slats until I finally had to give myself a stern talking-to and a self-imposed deadline! Has anyone else ever been scared to push through to the final steps?
OK, here goes! I wasn’t sure that I understood the step about toenailing lagbolts through the end of the cleats into the legs until I got out the drill and tried it. Yup, it worked just fine! Next came the slats, and then when I hoisted the mattress on and saw that I had built a bed…. Well, I don’t even know how to describe that feeling of success and empowerment. Wow!
Ana, I wish I could thank you for all that you do.
Built from Plan(s)
Estimated Cost
$100
Estimated Time Investment
Week Long Project (20 Hours or More)
Finish Used
Paint or Stain Color/Type:Minwax American Chestnut
Finishing Technique: Was stuck in indecisive mode for a while and sanded and stained and sanded and stained, which resulted in a kind of weathered looking finish. Not what I thought I was going for, but now I count this as a success story and I love it!
Finishing Technique: Was stuck in indecisive mode for a while and sanded and stained and sanded and stained, which resulted in a kind of weathered looking finish. Not what I thought I was going for, but now I count this as a success story and I love it!
Recommended Skill Level
Intermediate