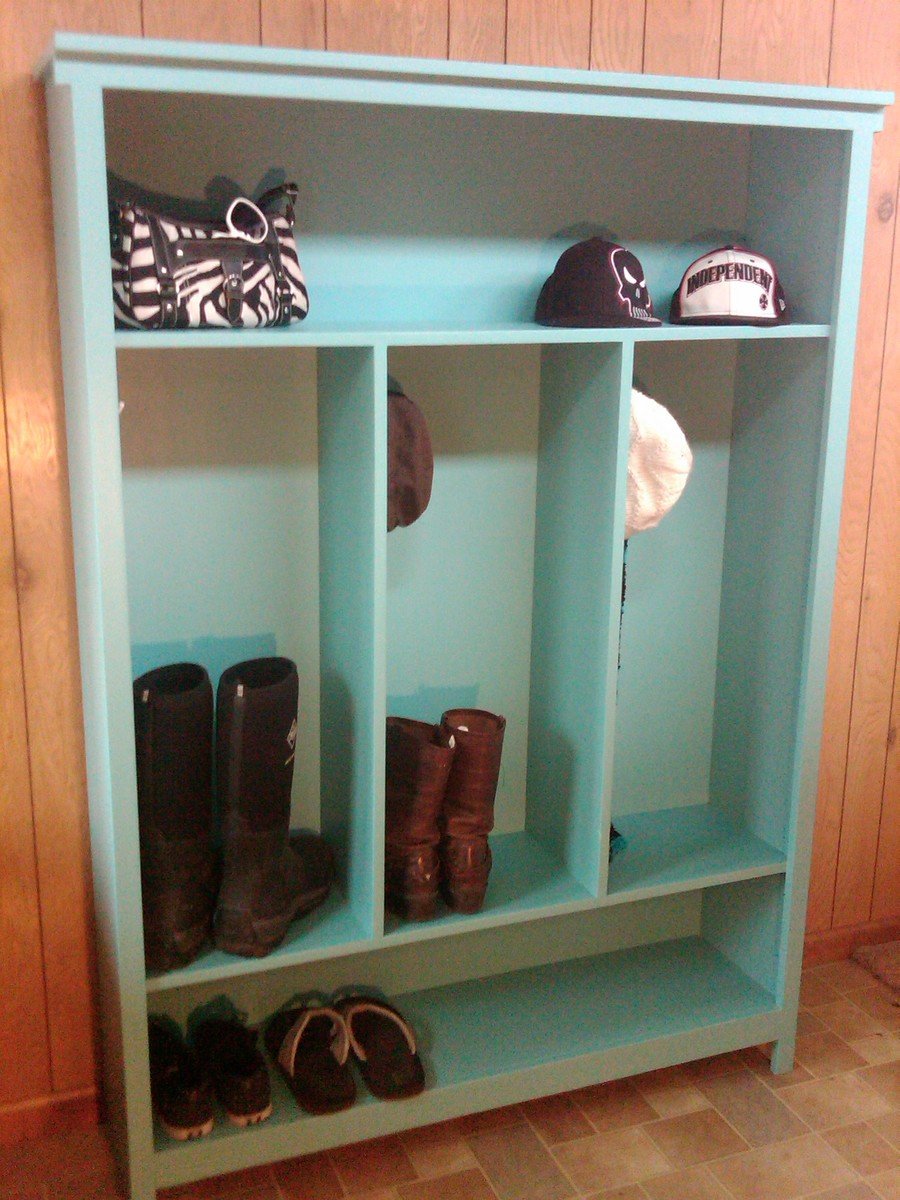
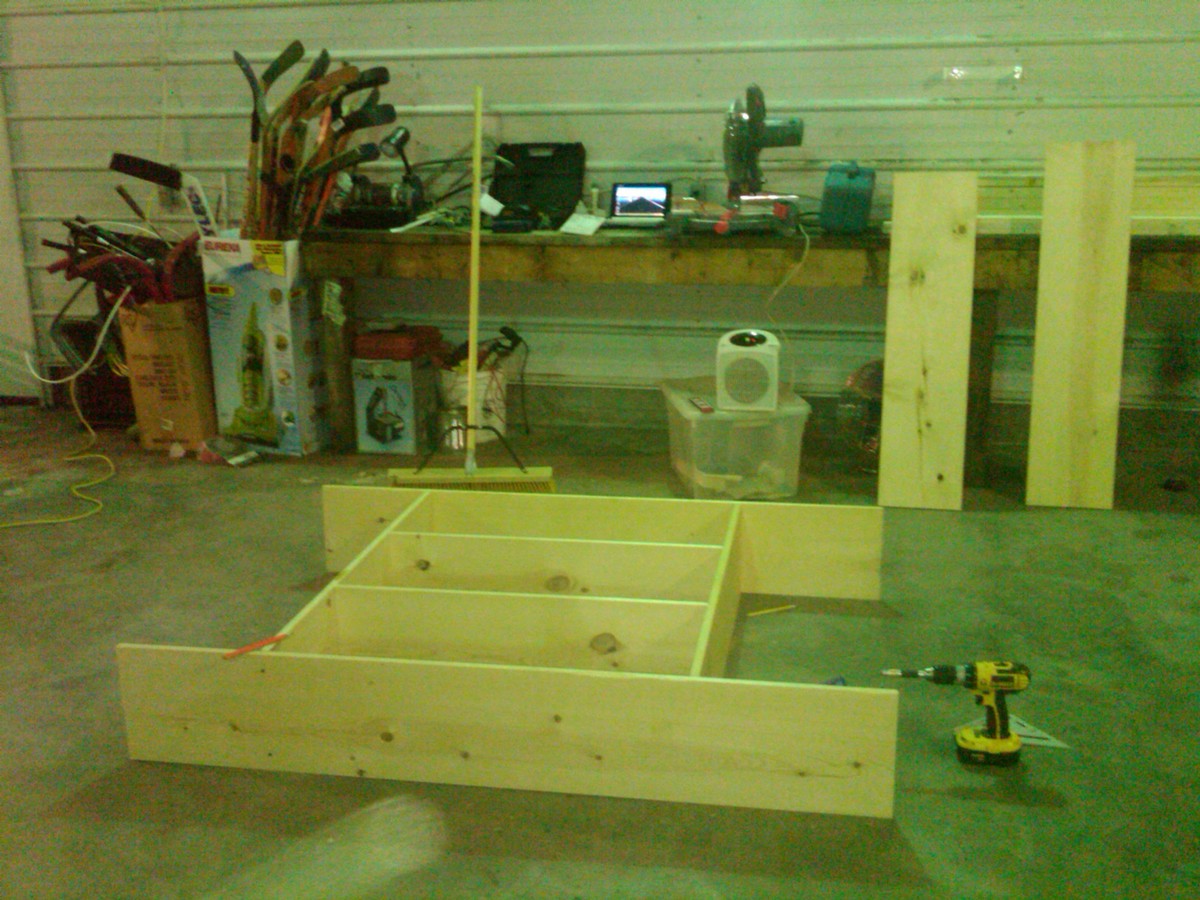
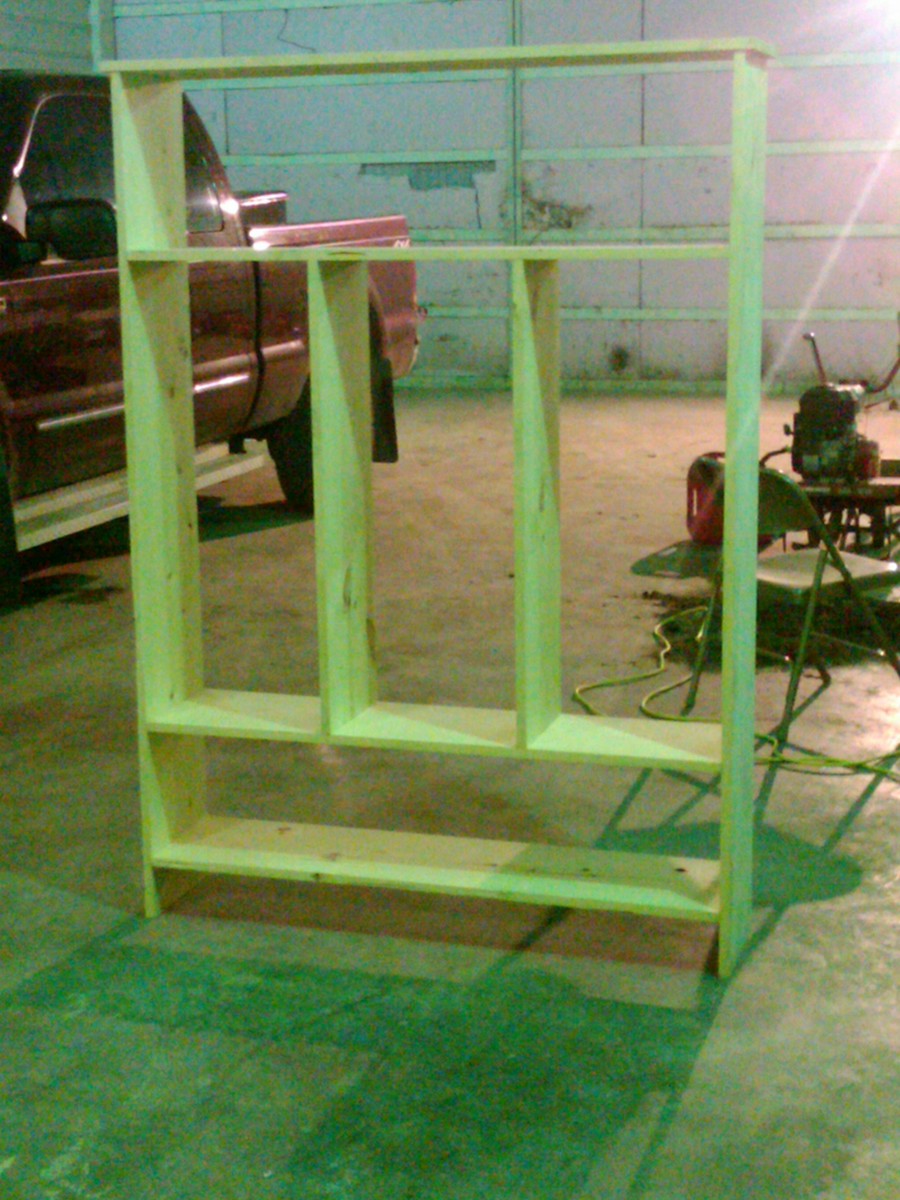
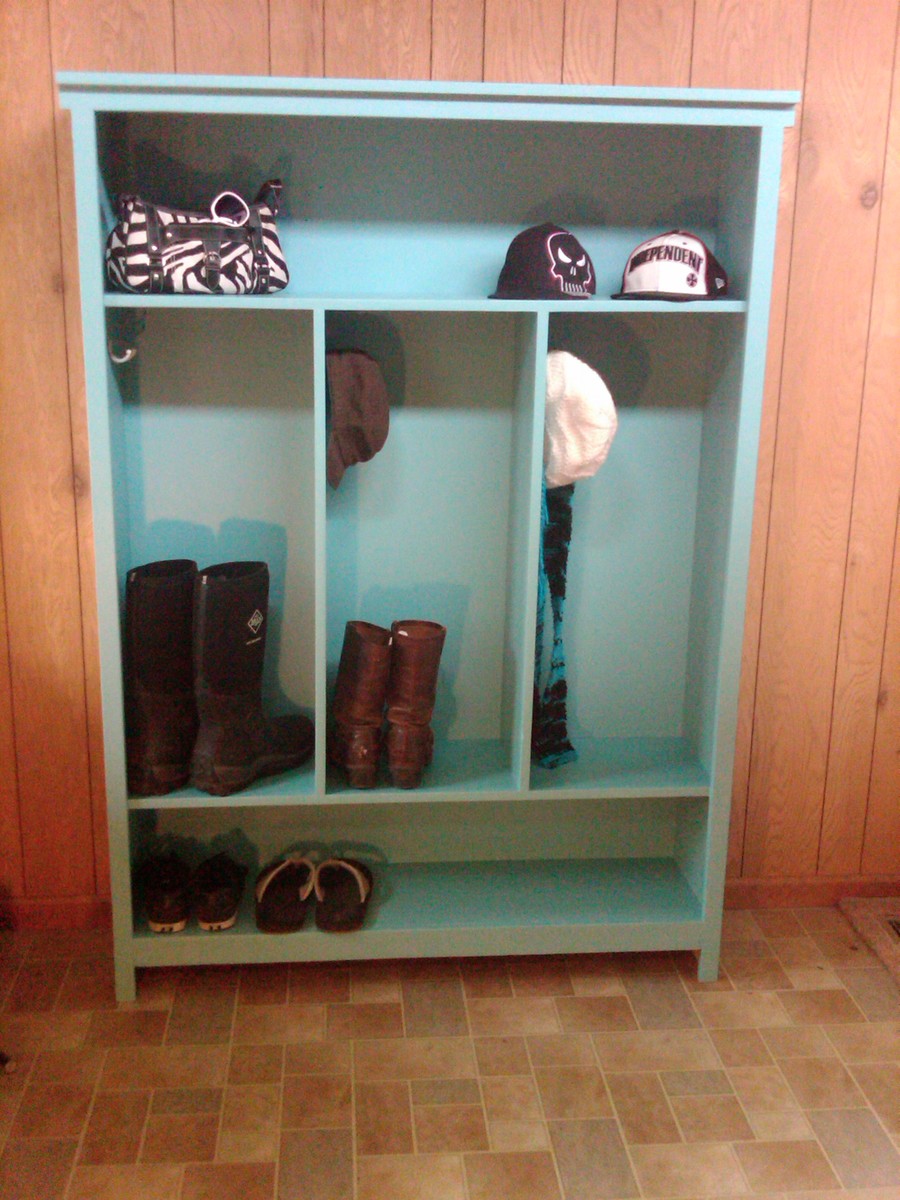
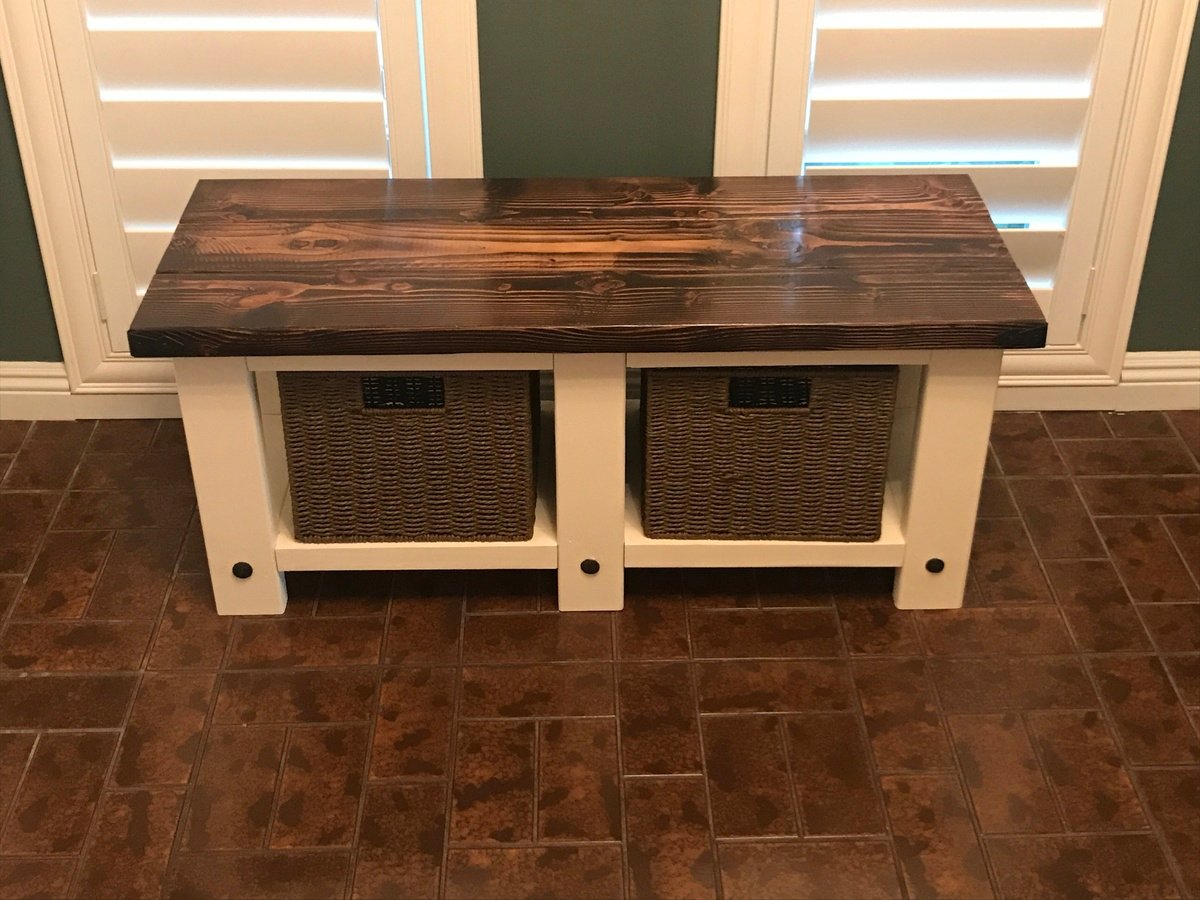
My entry way bench in Hickory
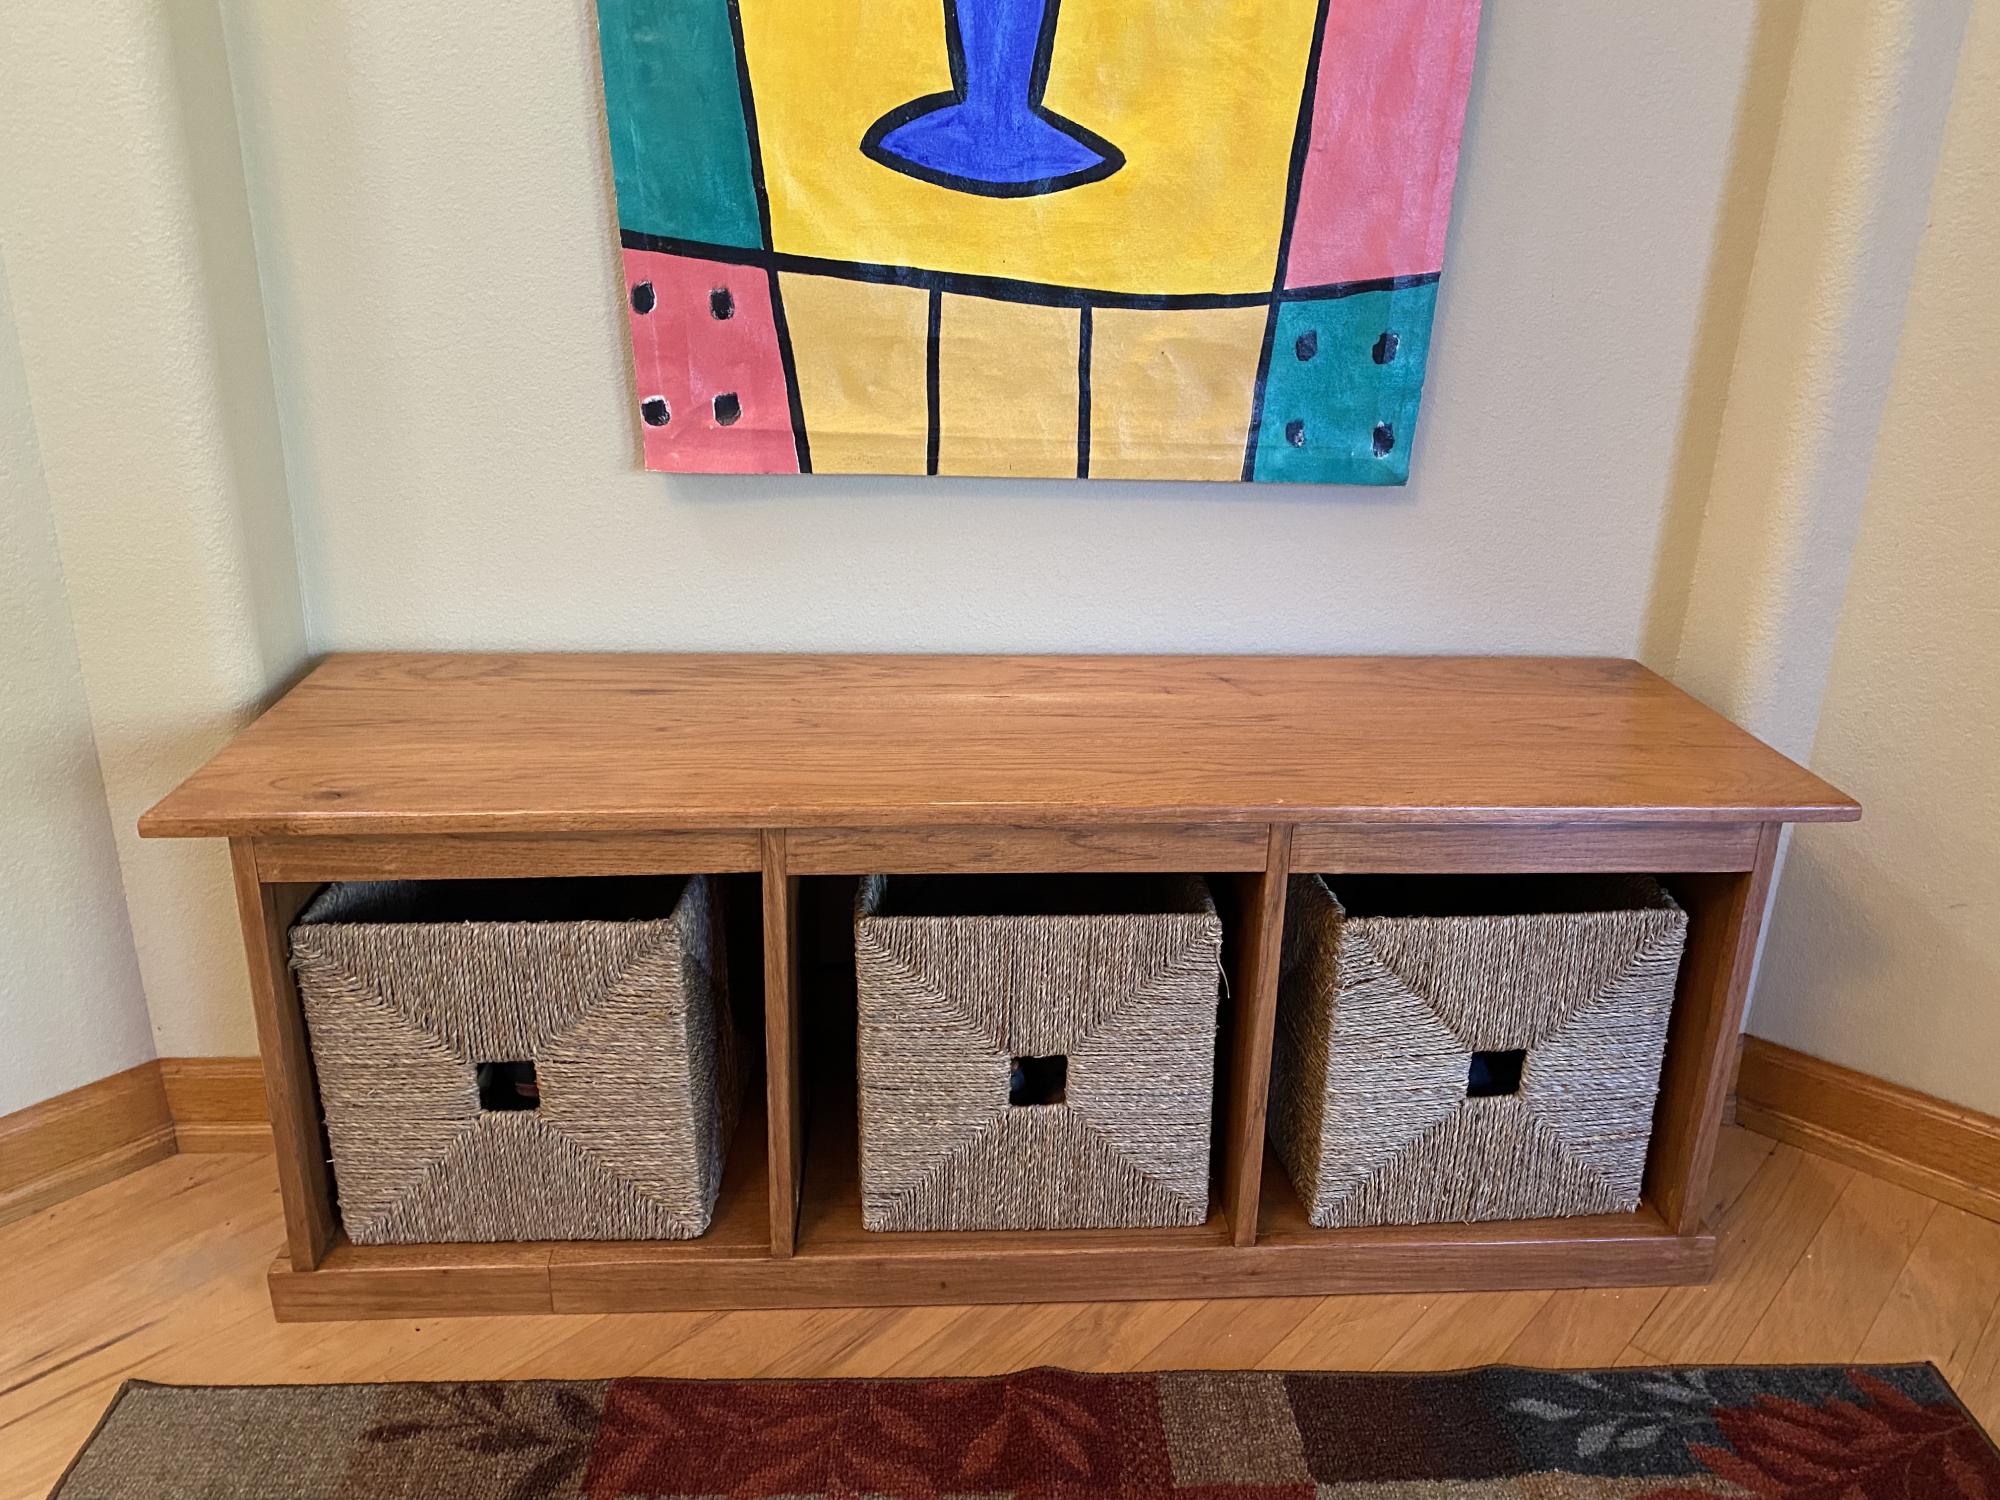
The Shelf Help app helped me customize this to my space, the plans were excellent. Thank you!
Built from Plan(s)
The Shelf Help app helped me customize this to my space, the plans were excellent. Thank you!
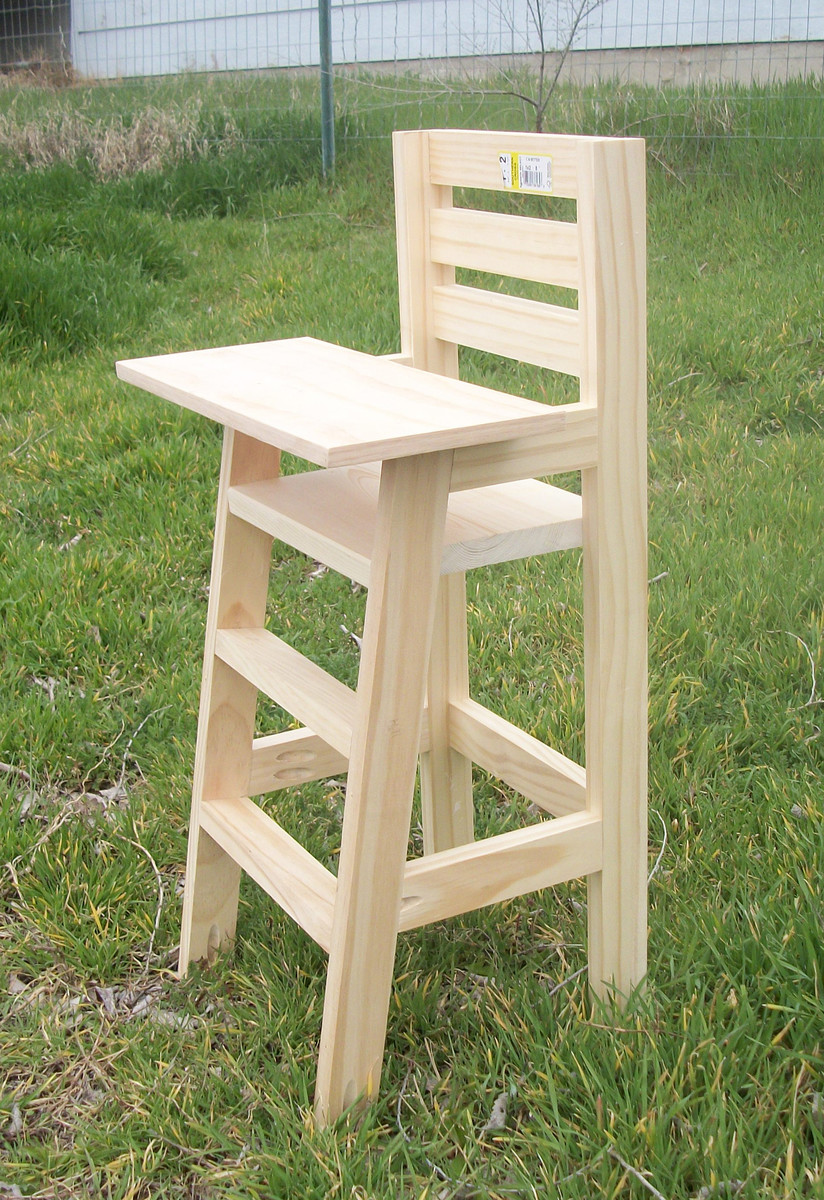
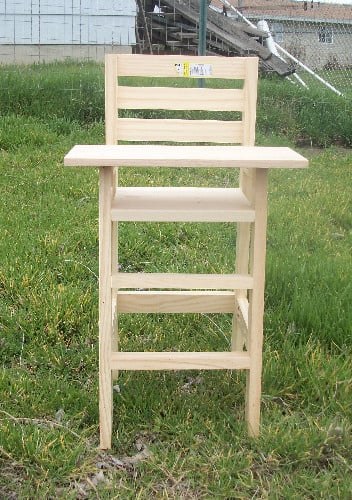
My neighbors grand-daughter is about to turn 3 and I thought this would make a great present for her.. plus, when she saw it online while visiting me (I was checking the website as usual), she said "Oh, I NEED one of those!". I laughed and then that night went out and checked my scrap pile to see if I had everything I needed to build it.

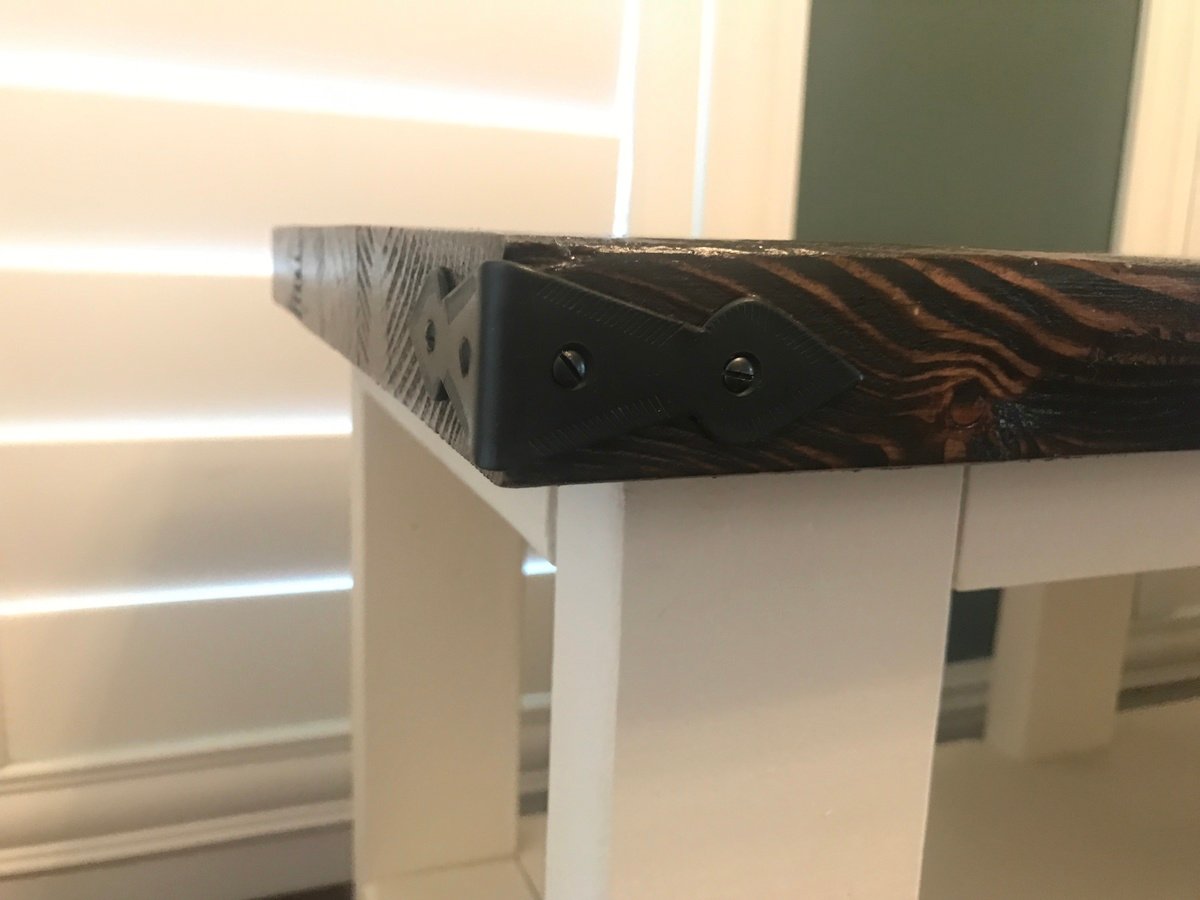
Hubby and I built this as our first build! It's a modified version of your farmhouse table. We spliced together your farmhouse table plans and a plan for a desk with "x" legs. We modified the dimensions to fit our formal dining room. We just hosted our first ever Thanksgiving dinner at our new home, and fed my whole family on this table. Everyone loved it! Thanks for the inspiration!

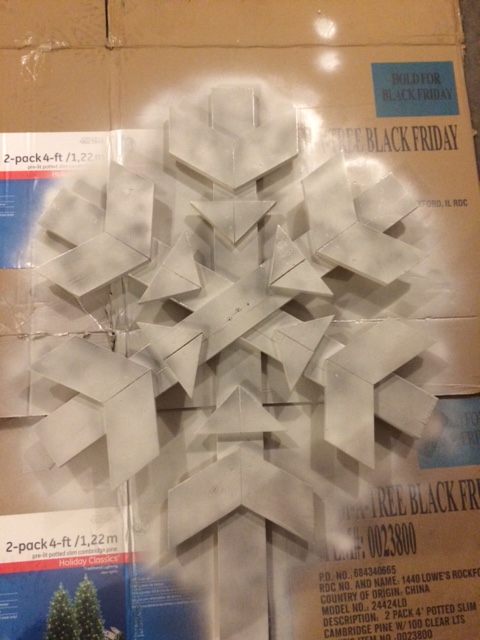
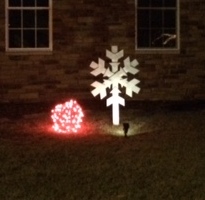
Great plan from Ana White! I changed a few things with the size of the snowflake and I added a long stake to put it in the ground outside!

Submitted by Valeria Green -
My husband built this table and bench for my son and his wife. He is presently building another by request for a young couple.
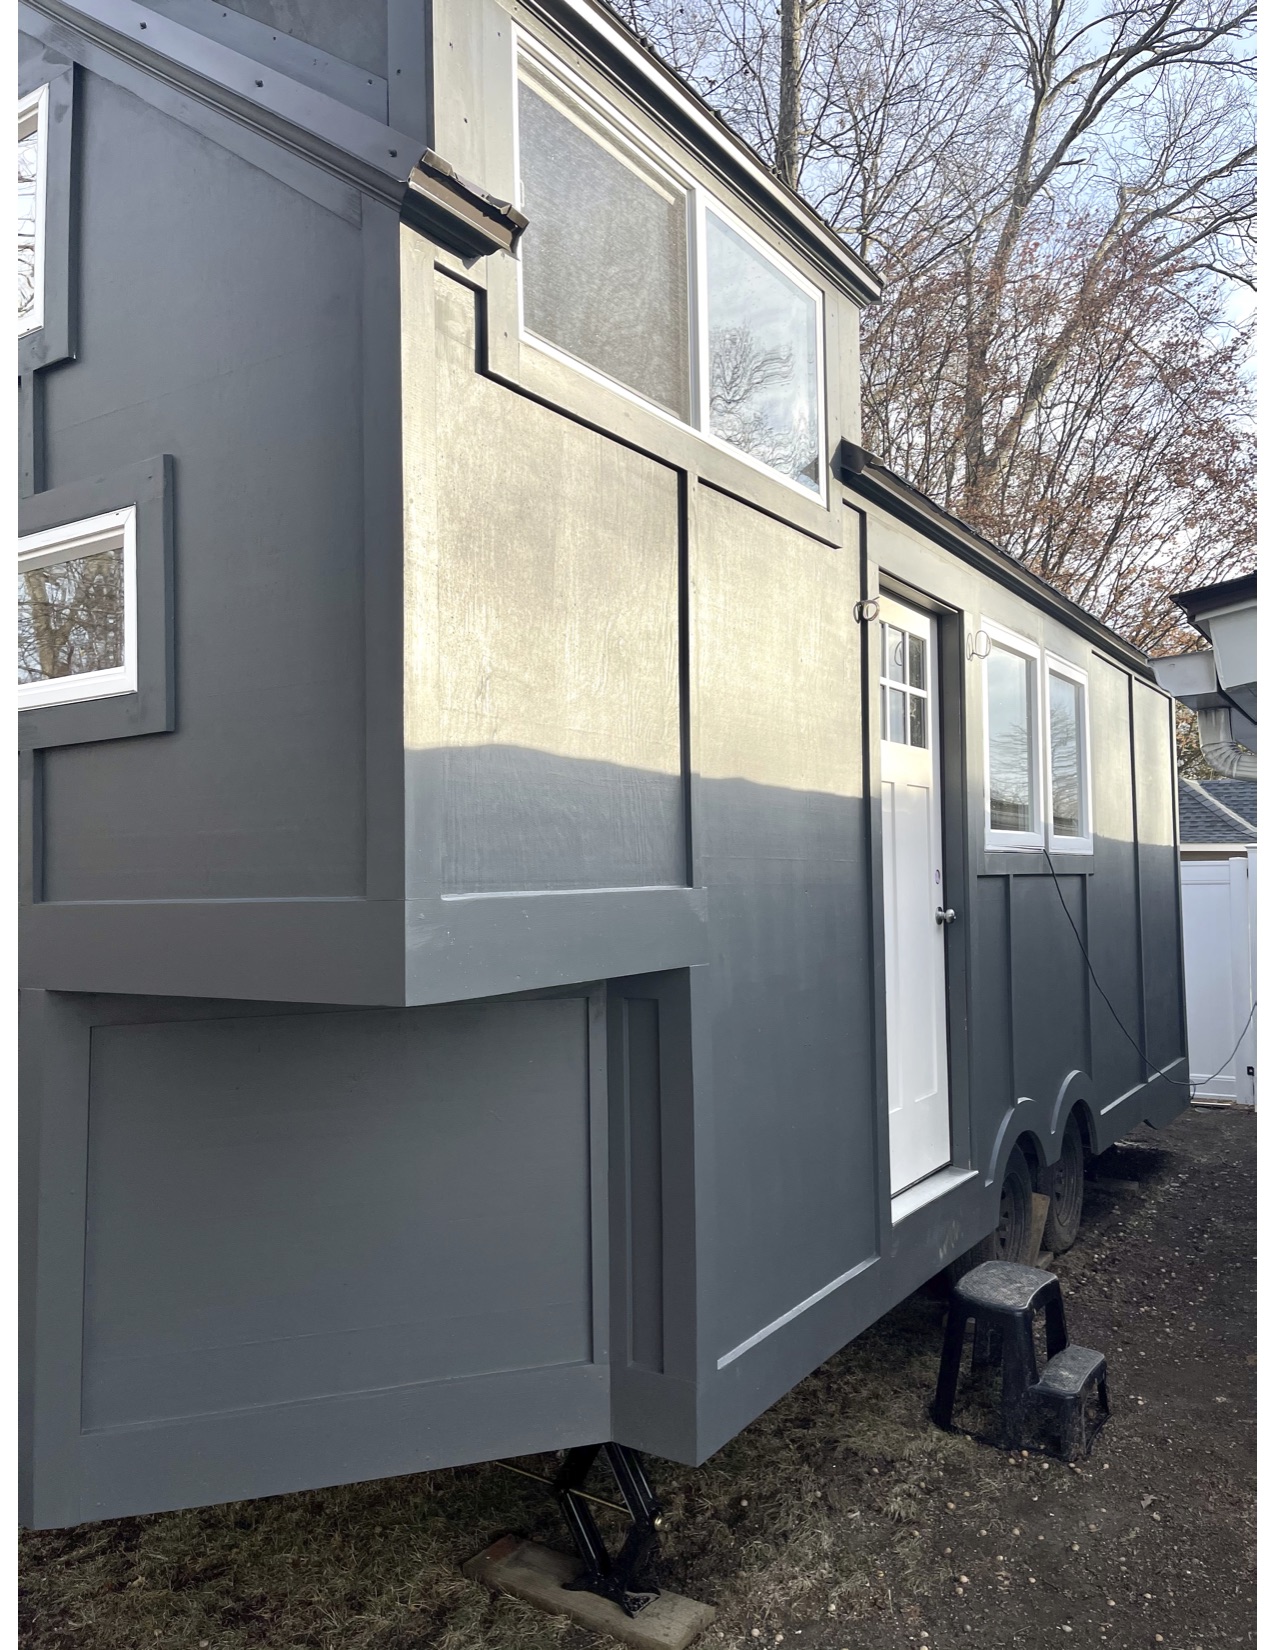
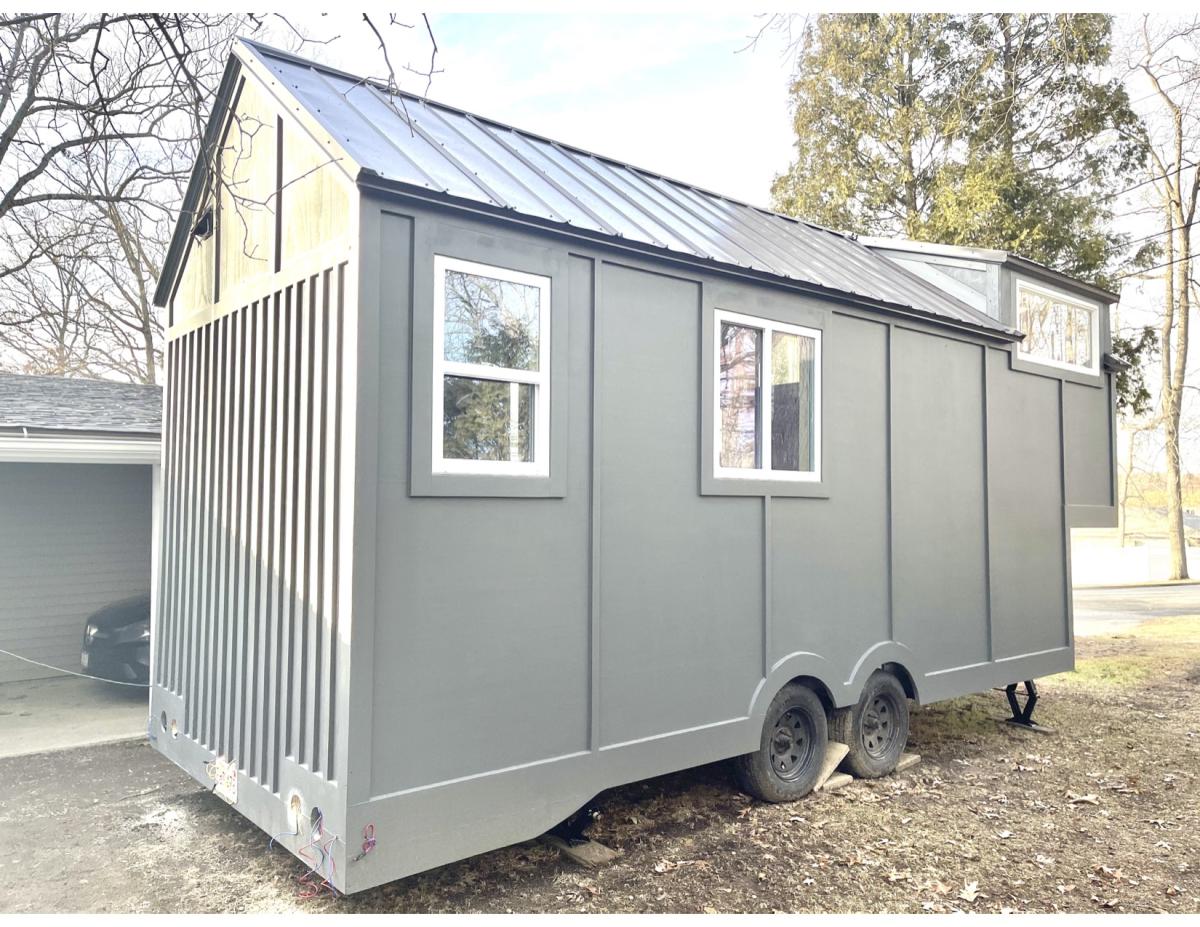
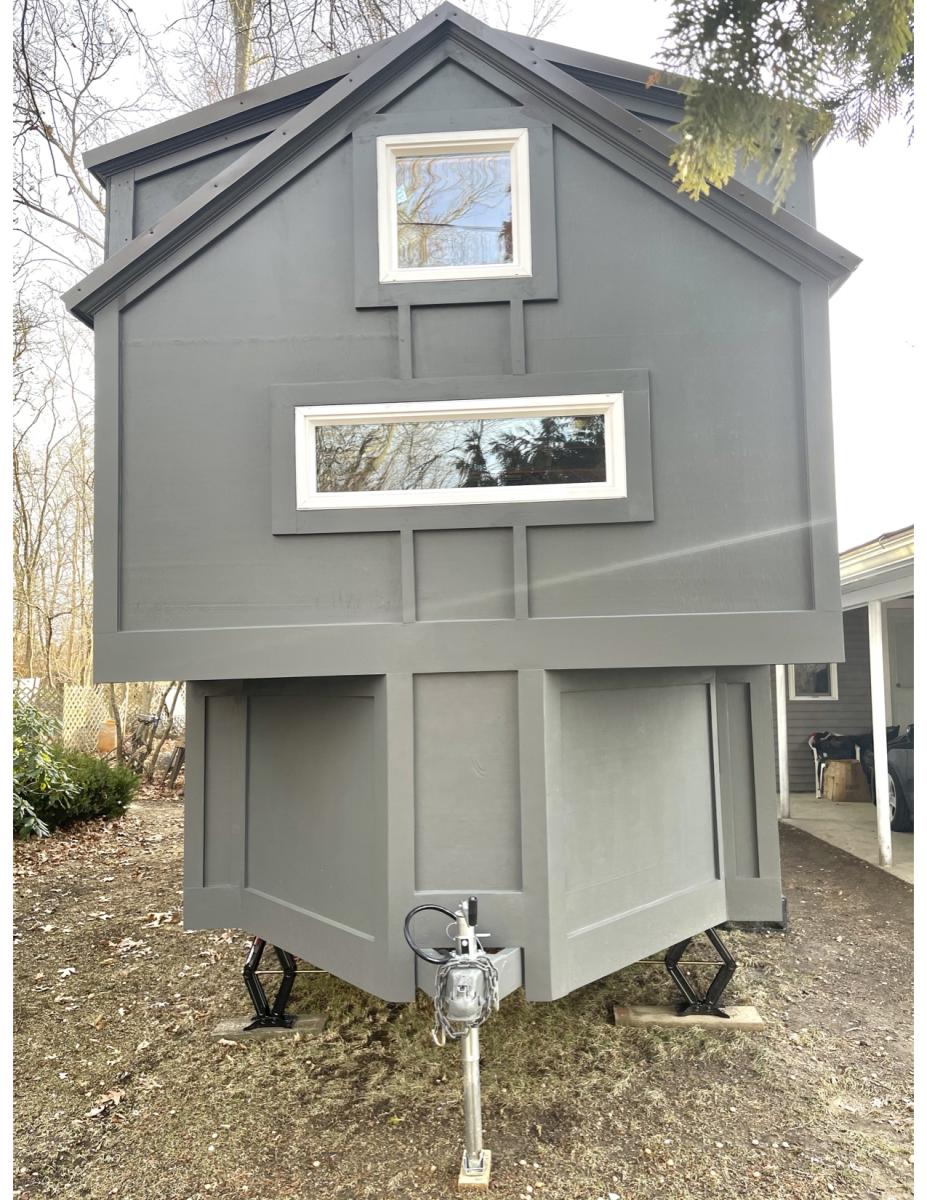
After watching your tiny home builds we decided to build our own. It's almost complete:)
Sat, 11/06/2021 - 17:46
That looks beautiful, we'd love to see the inside when it's all done!
This was such a fun and easy build! I love, love, love it! I work at a lumber yard, so I was able to have my awesome lumber guy get me some good straight boards. Straight boards are a must! I had my husband help get the first peices screwed together, but after that, it was easy enough to do myself.I don't have a cool nail gun, but I do have a rockin' hammer drill that did the job. I also don't have a kreg jig (birthday wish!) but using stainable/paintable wood putty, the finish came out great.I used the screws I had on hand, 2 1/2 drywall screws, and 1 1/2 finish nails for the frame.I used 1/4 Lauan for the backing, I painted it before nailing it on.
Super fun easy build. It feels nice to build my own stuff, and my husband it totally diggin' me using the power tools:)
Kyli
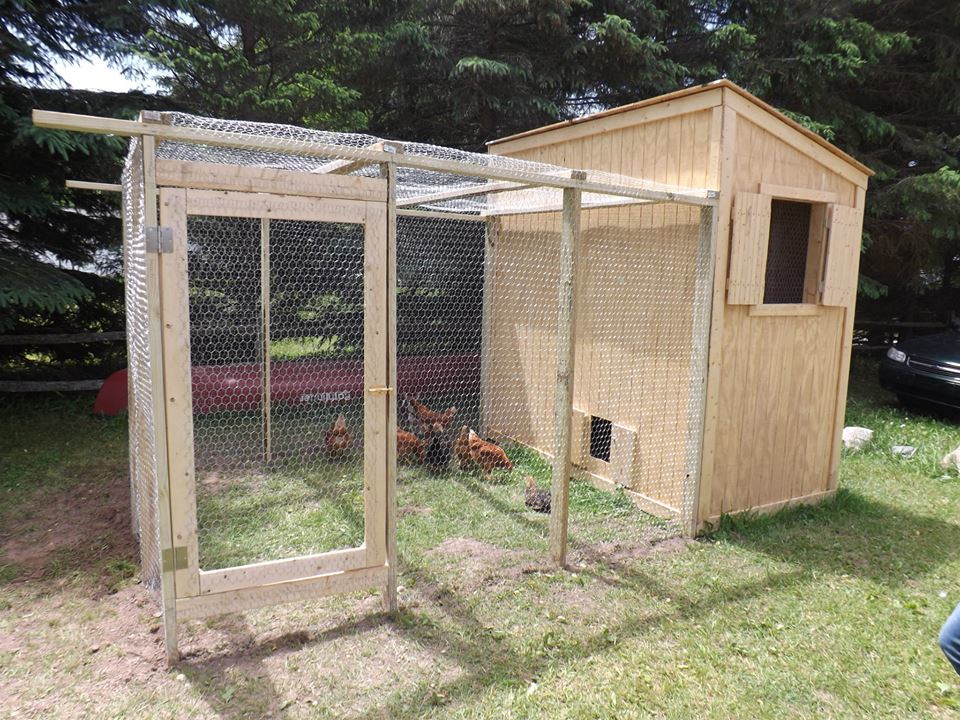
This was my first attempt at building anything....ever. It was so incredibly fun and I certainly learned a lot. My 8 little chickens are loving their new home and I can't wait to build my next project!
Wed, 06/19/2013 - 11:51
Hello! Could you repost the picture / info on your chicken run? I keep getting "page not available" and I've been trying for days :O) I think I want to build that chicken shed (too big for 3 hens?? It's just so cute!) and a run like that to go with it! Thanks! Have a great day!

We recently got a new puppy and the toys were all over the house. I decided to make a simple yet practical box for his toys....I'm sure the box will be chewed up soon :)
Wood type: Pine
Finish: Water based polyurethane, Minwax walnut stain, white acrylic paint.
Cut List: Only one 1" x 6" x 8' board was needed for this box.
Full detail instructions on my blog:
http://www.woodworkingfourdummies.com/blog/rustic-whitewash-box
Cheers,
Ian


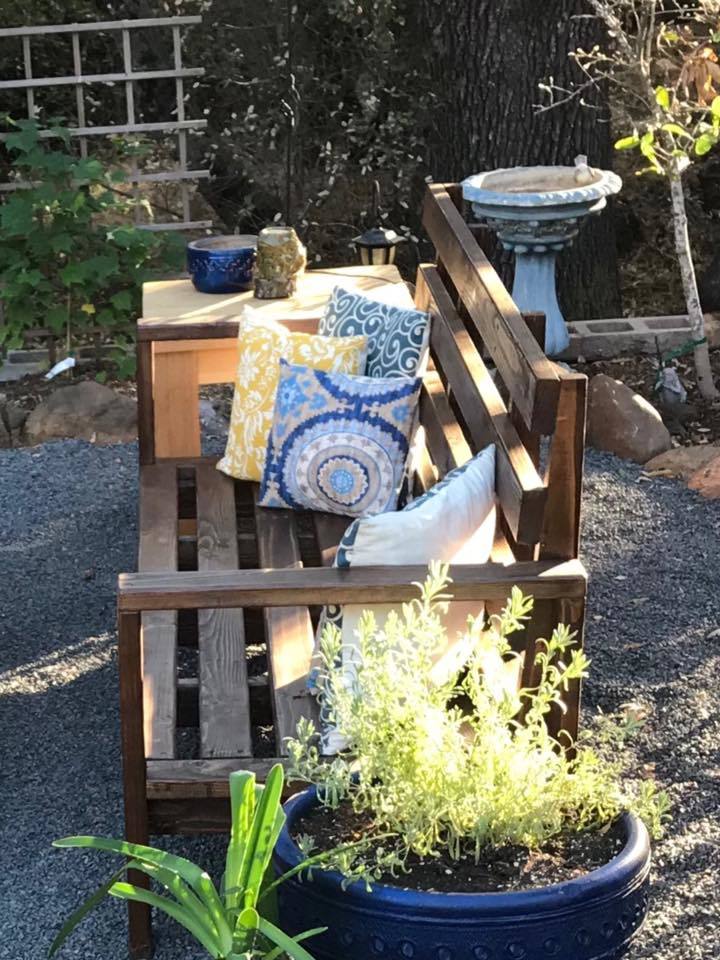
Submitted by Carla Santiago on Facebook -
We did a bench, I got your plans off Pinterest. We just put a slight slant to the back and we love it. Thanks for the great plans.
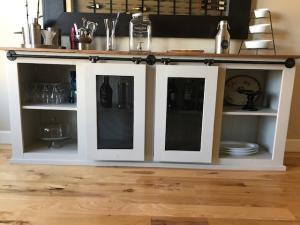
I absolutely love this kitchen island/trash storage/prep station. I had so much fun building this with my father in law who is a professional carpenter. I had built several other projects, but with this project and his help, I feel that I can finally say I am an "advanced" builder :)
I had so much fun with this, and I can't believe how it turned out.
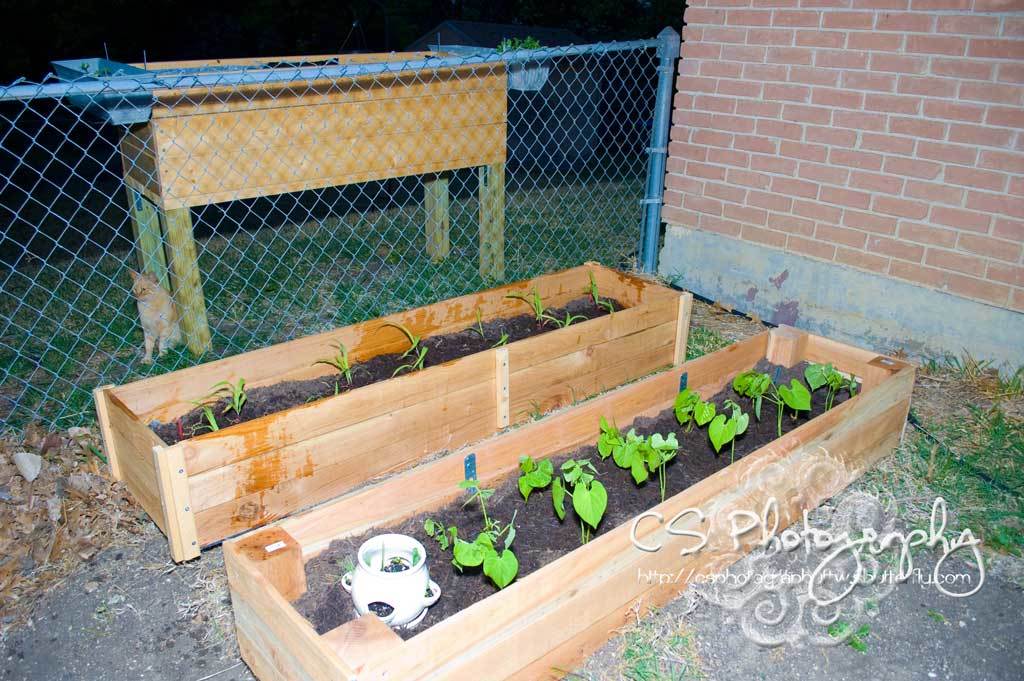
Our 1x6 cedar fence posts were like $2.39 each, but the 1x4's were $1.17 each, so $9.36 for the cedar plus about $2.50 for the trim. But on the 2nd bed, we opted to use 4x4 @ 8' cedar that I got for half off (@$8) because there were 3 "beat up" pieces left. So our total was @ $13 each.
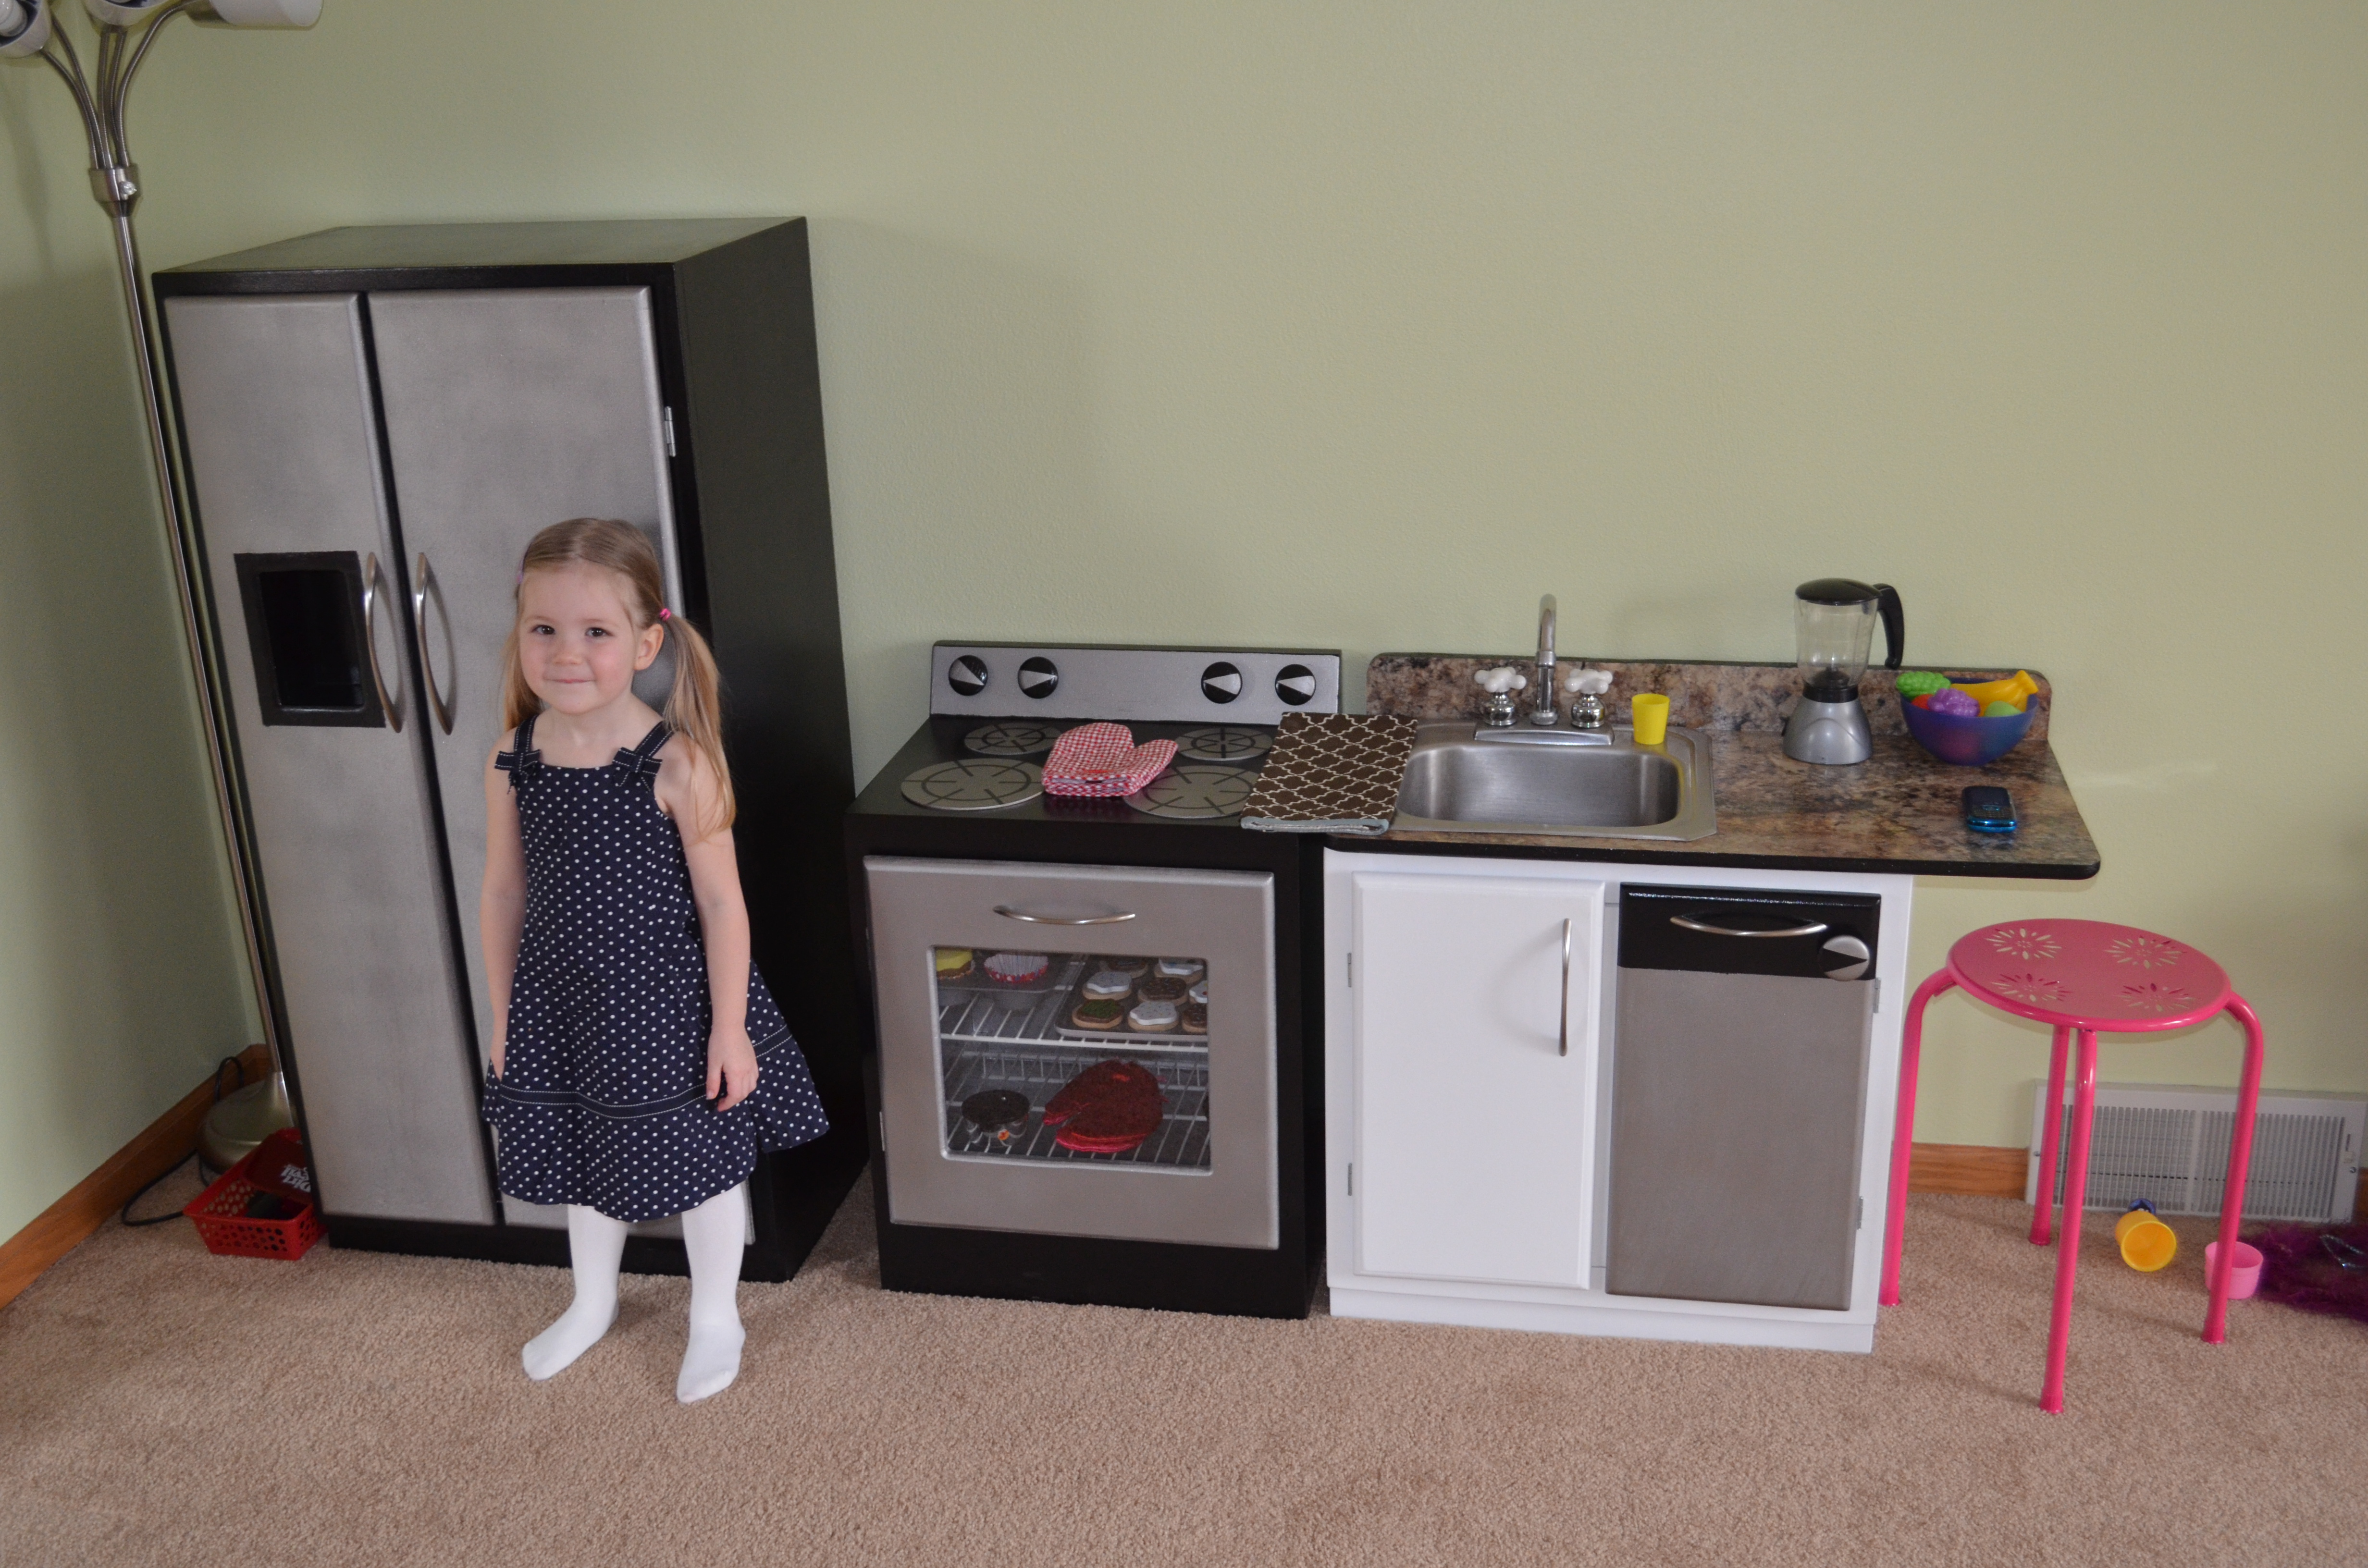
My wife and I were perplexed about what to get my 2nd daughter for her 3rd birthday. We were also tired of all the plastic around the house. I was browsing and saw your kitchen plans.
Interestingly, one year ago we remodeled our main kitchen when my wife was 8 months pregnant. So we used our kitchen as the model and built a smaller scale version for my daughter. Complete with stainless appliances and accessories. The counter/backsplash was the sink punch out from our main kitchen counters that I kept after I installed them.
My daughter was thrilled with the way it turned out!
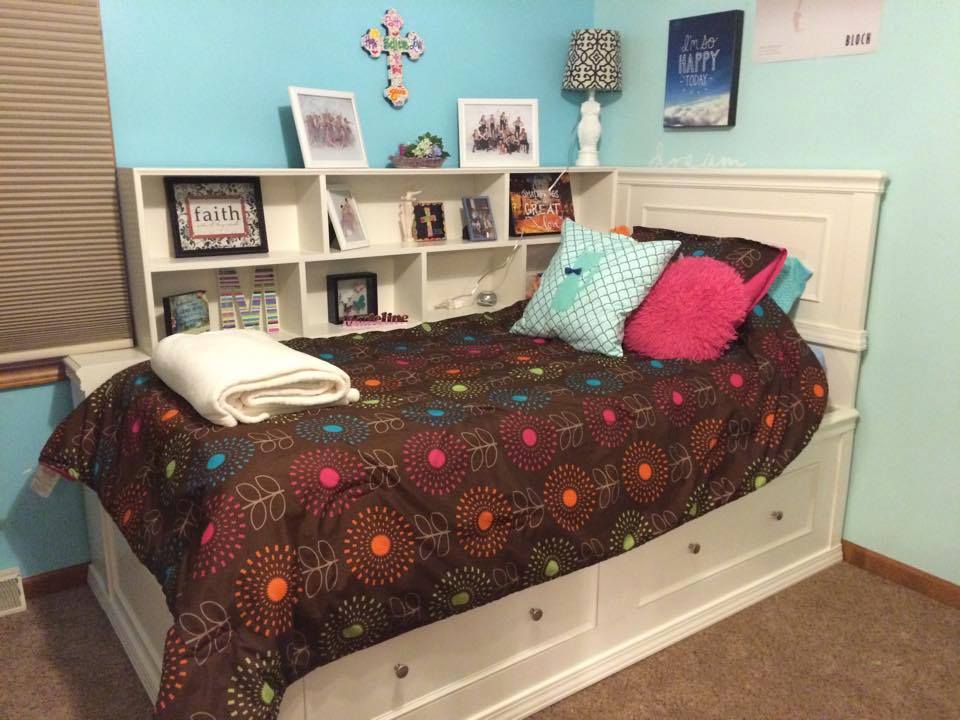
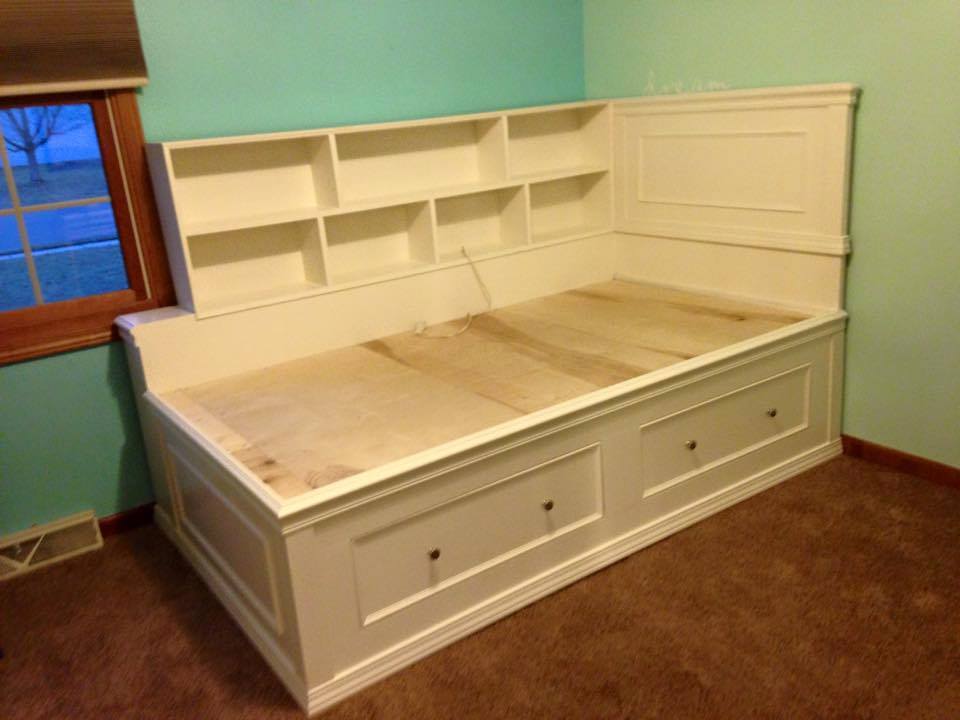
This bed was built custom for the girl who ordered it. She wanted both a bookcase headboard on the long side and a traditional headboard. The bookcase headboard could not block the window and needed to have access to the outlet behind the bed. The bed was designed to match a dresser that had already been purchased. The drawers below give additional storage.
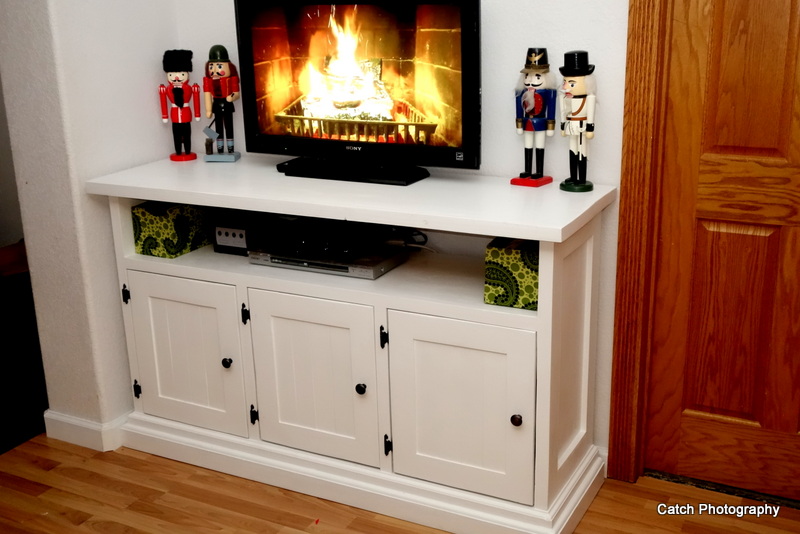
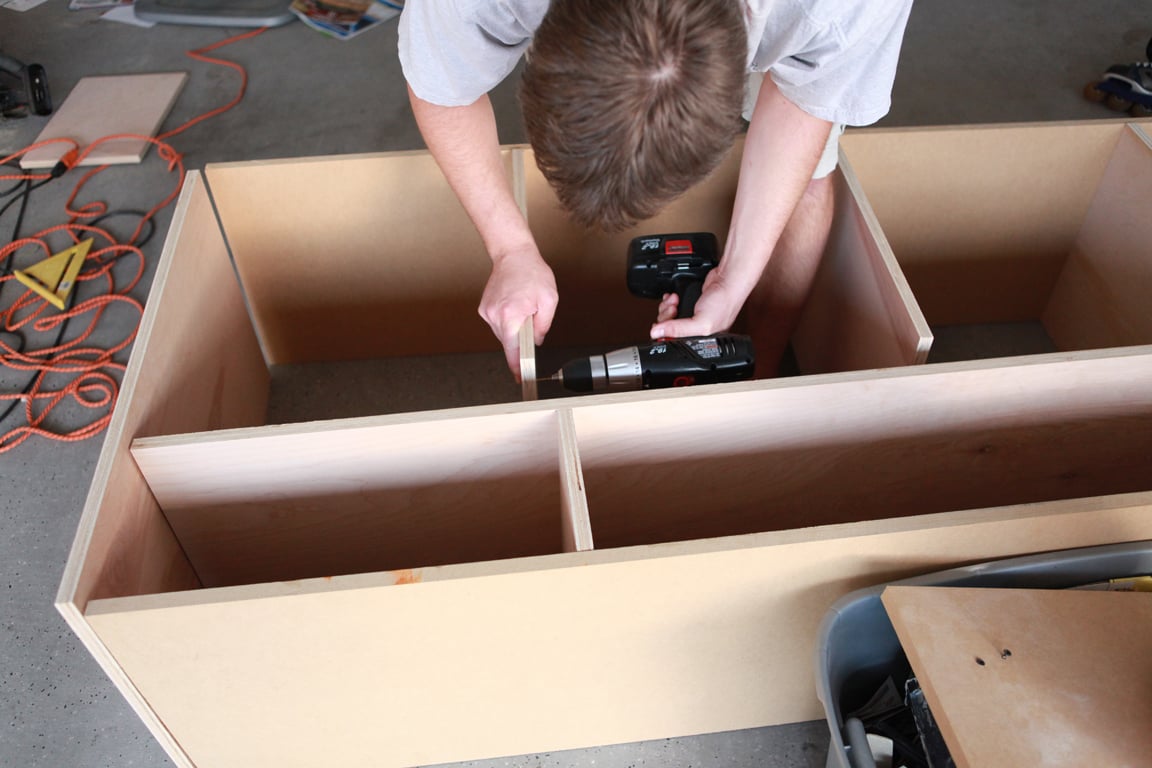
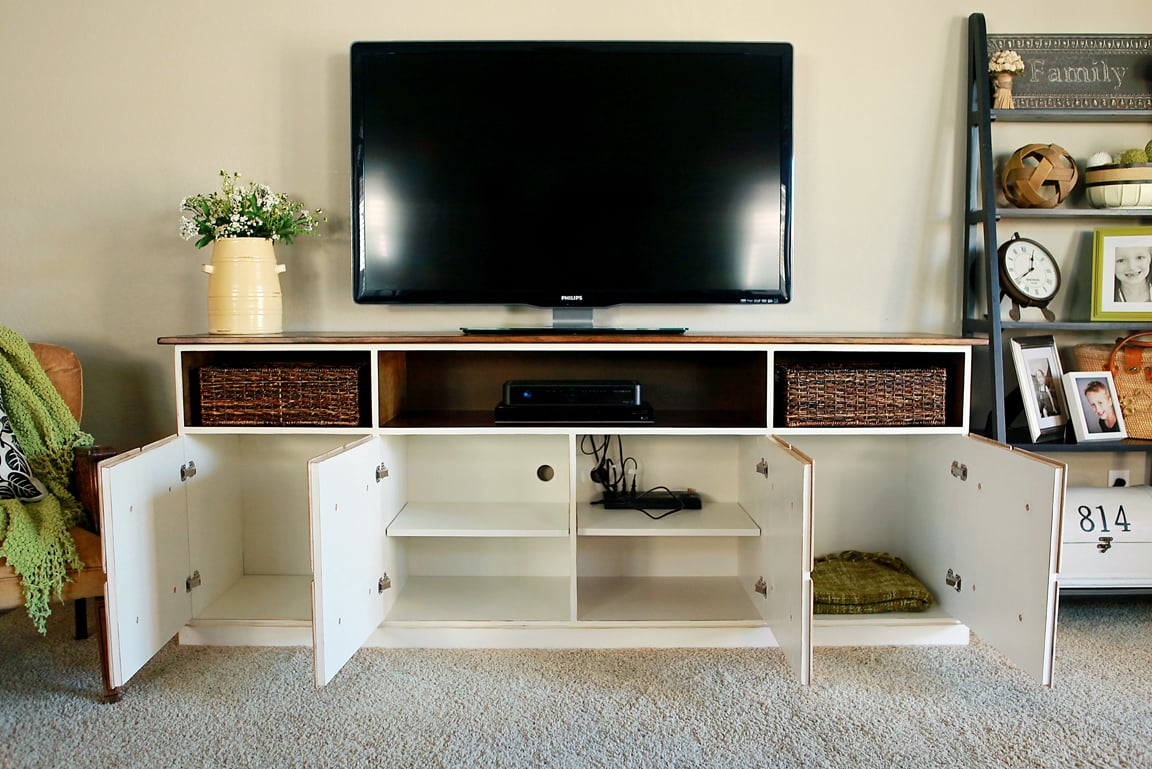
This was loosely based on one of the media cabinets on this site. I built it to fit this spot exactly and used many of the same design elements as in the Leighton media Suite I built several years ago. One thing I want to mention I did with this design that is a FABULOUS idea in all media units. Inset the back of your lower section. I hate not being able to run the top of my "counter" flush with the wall because the back of my unit or bookcase is running into all the plugs in the outlet. I left a little larger of an overhang than I normally wood to clear the baseboards and I inset the backing of this peice about and inch inward to leave lots of room for all the chords to just hang there but be hidden. They are much more accessible and now the top of my unit is flush to the wall.

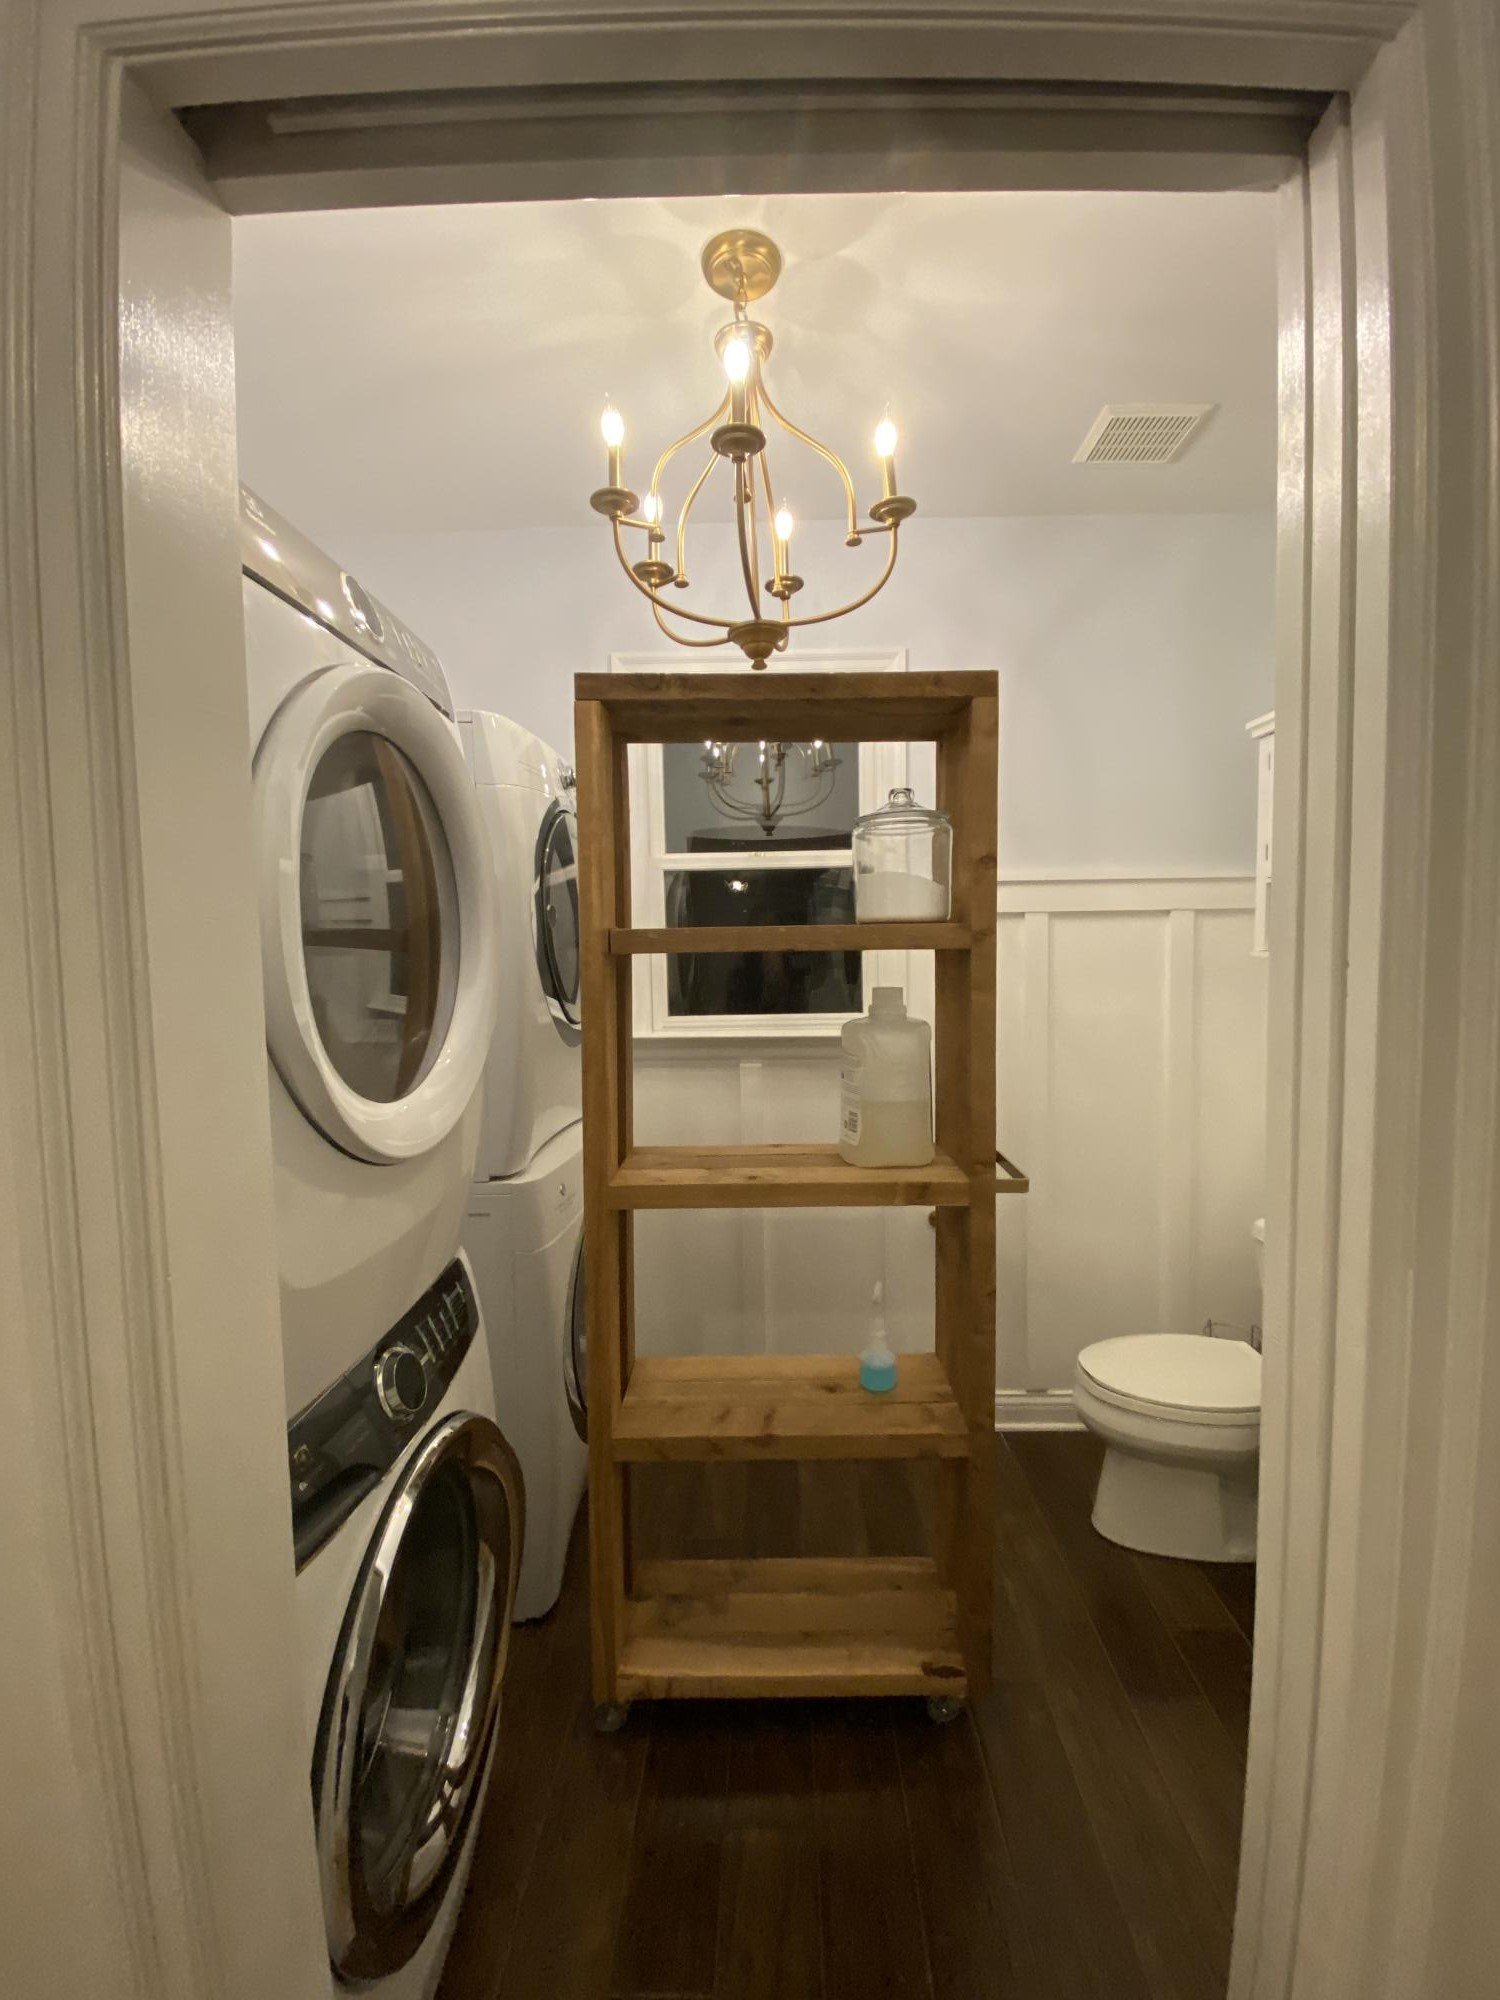
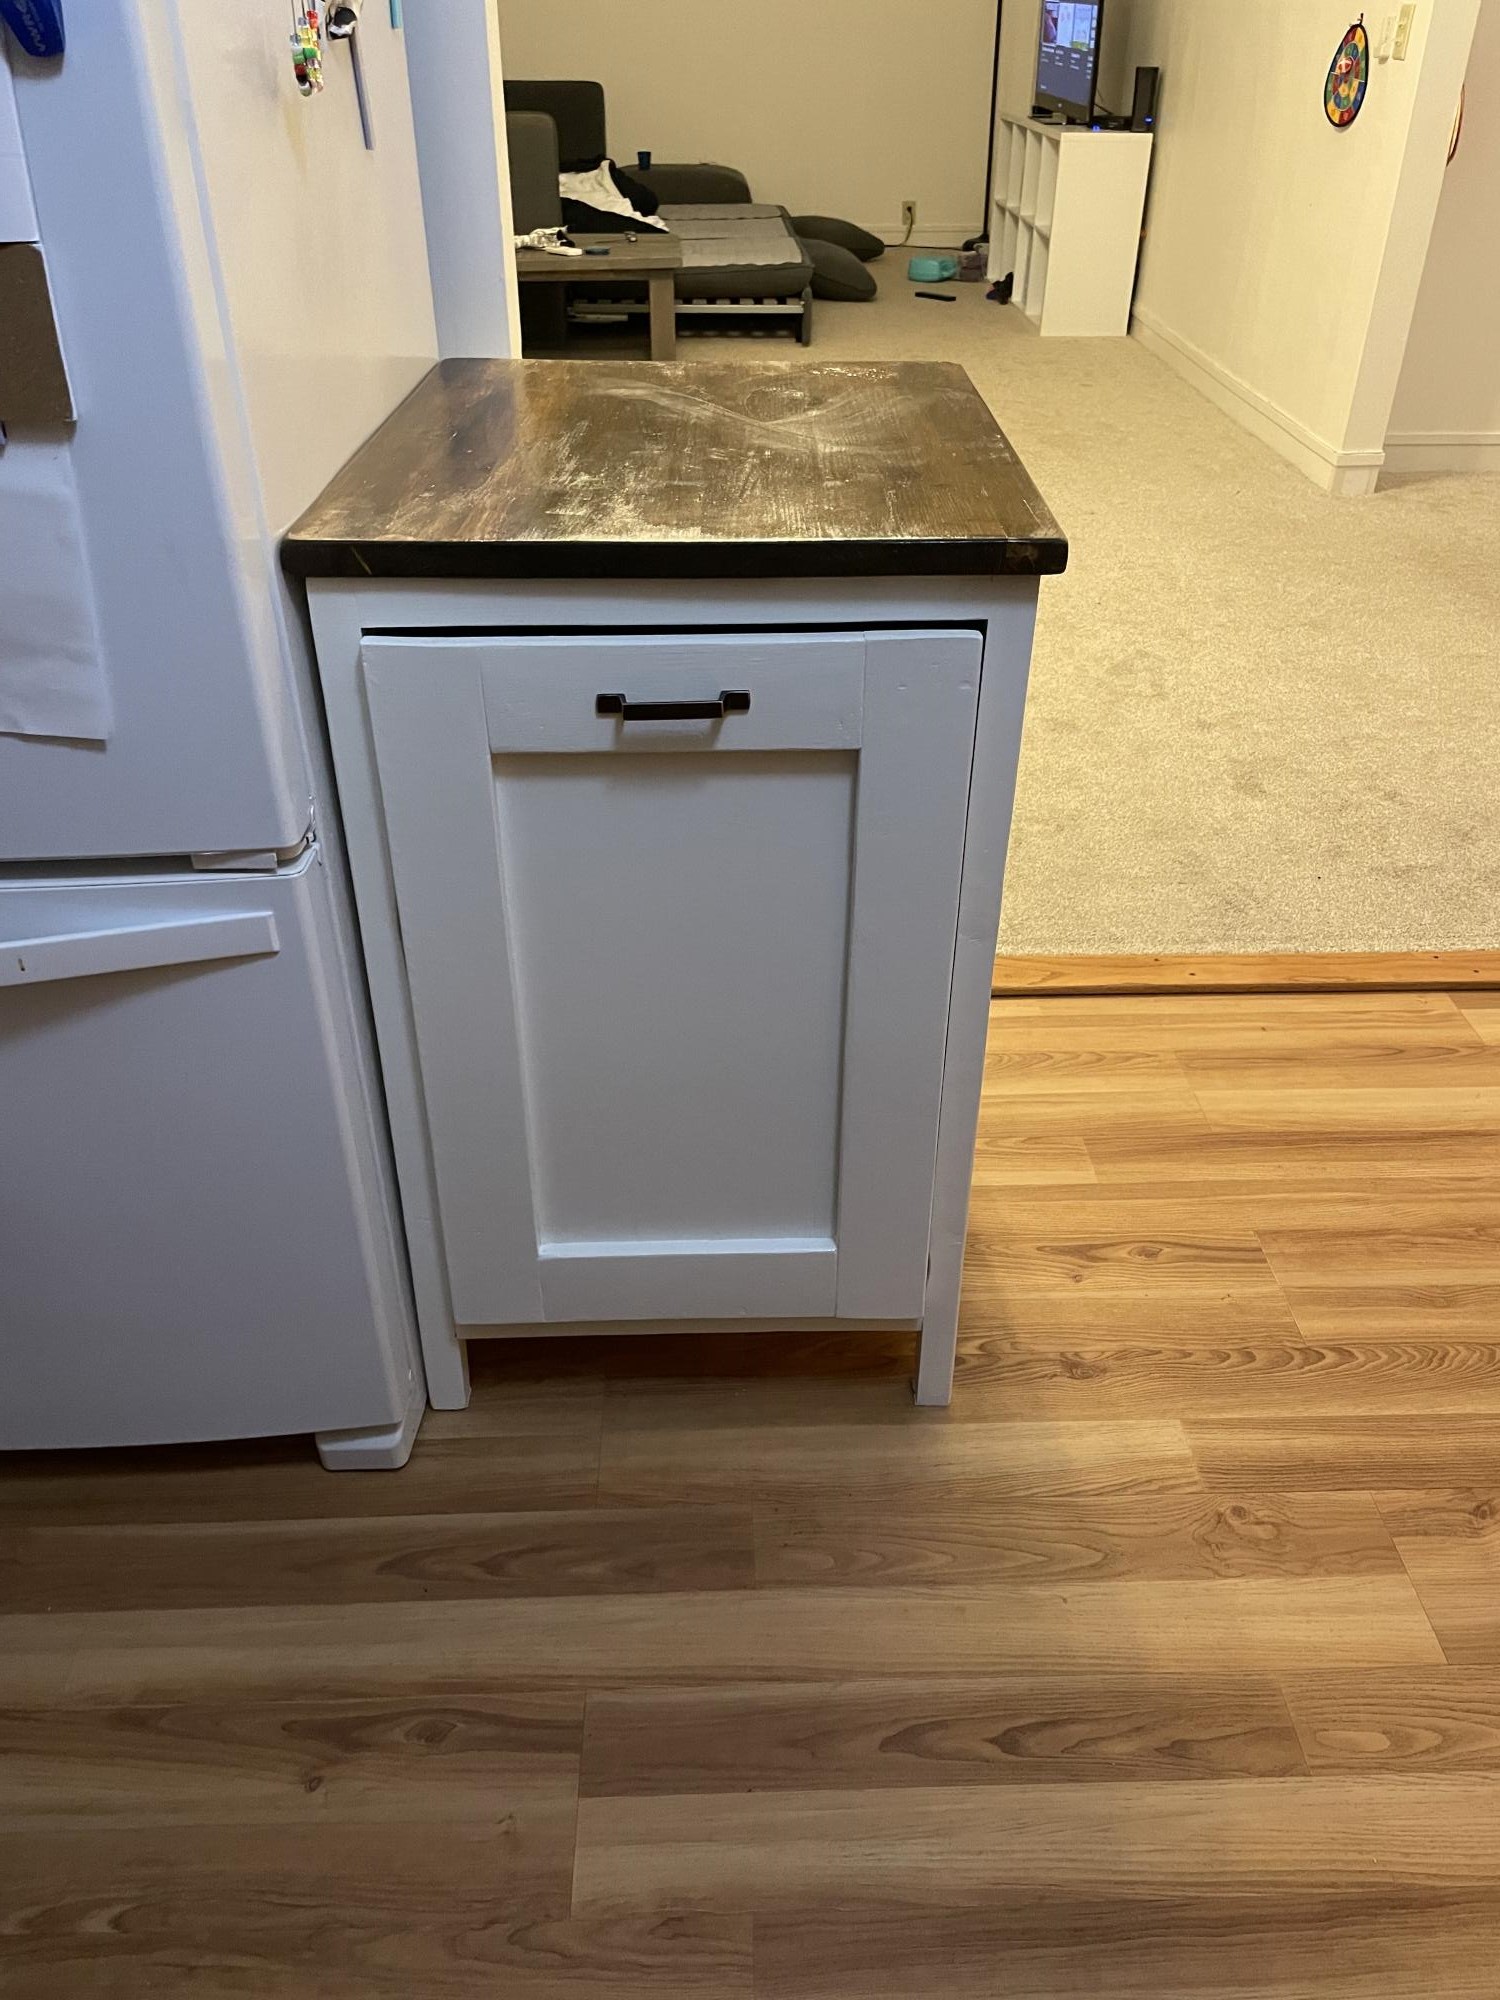
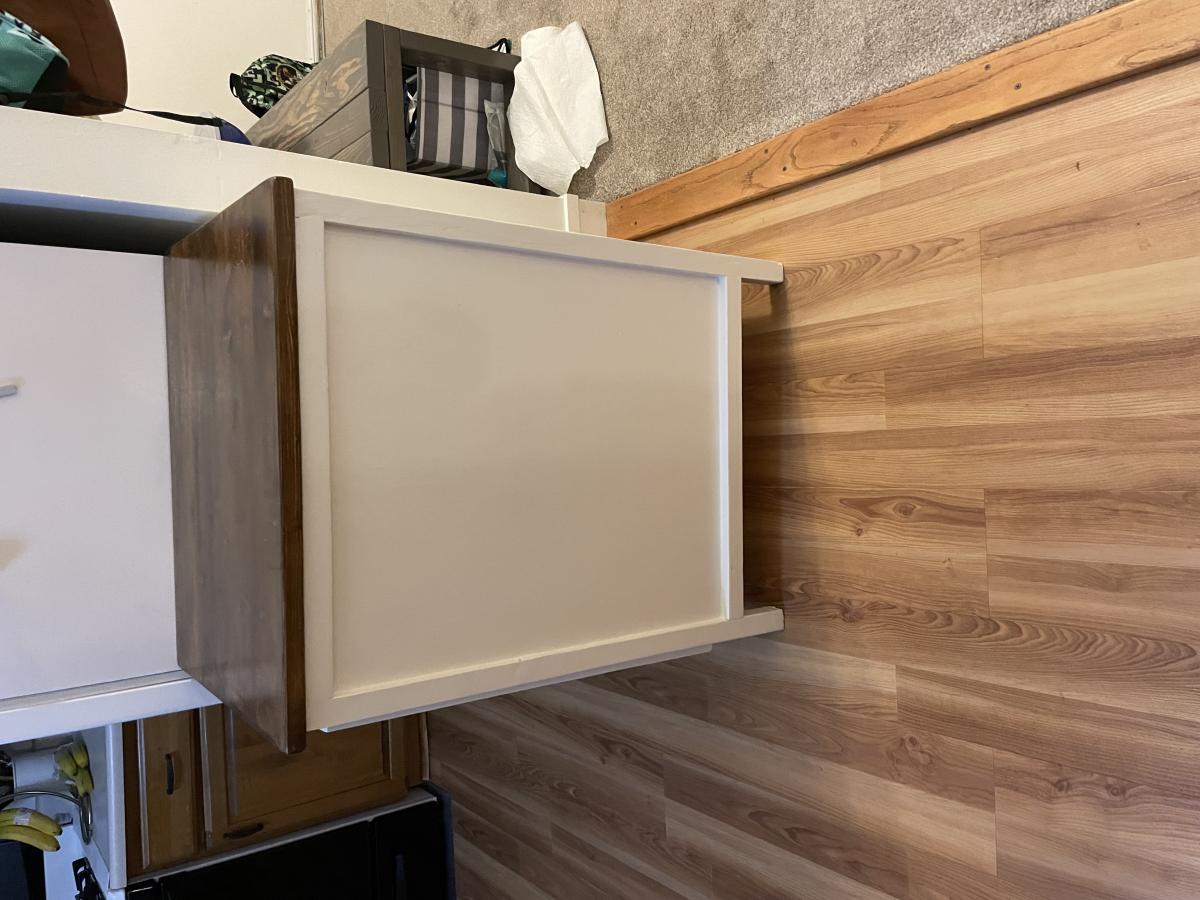
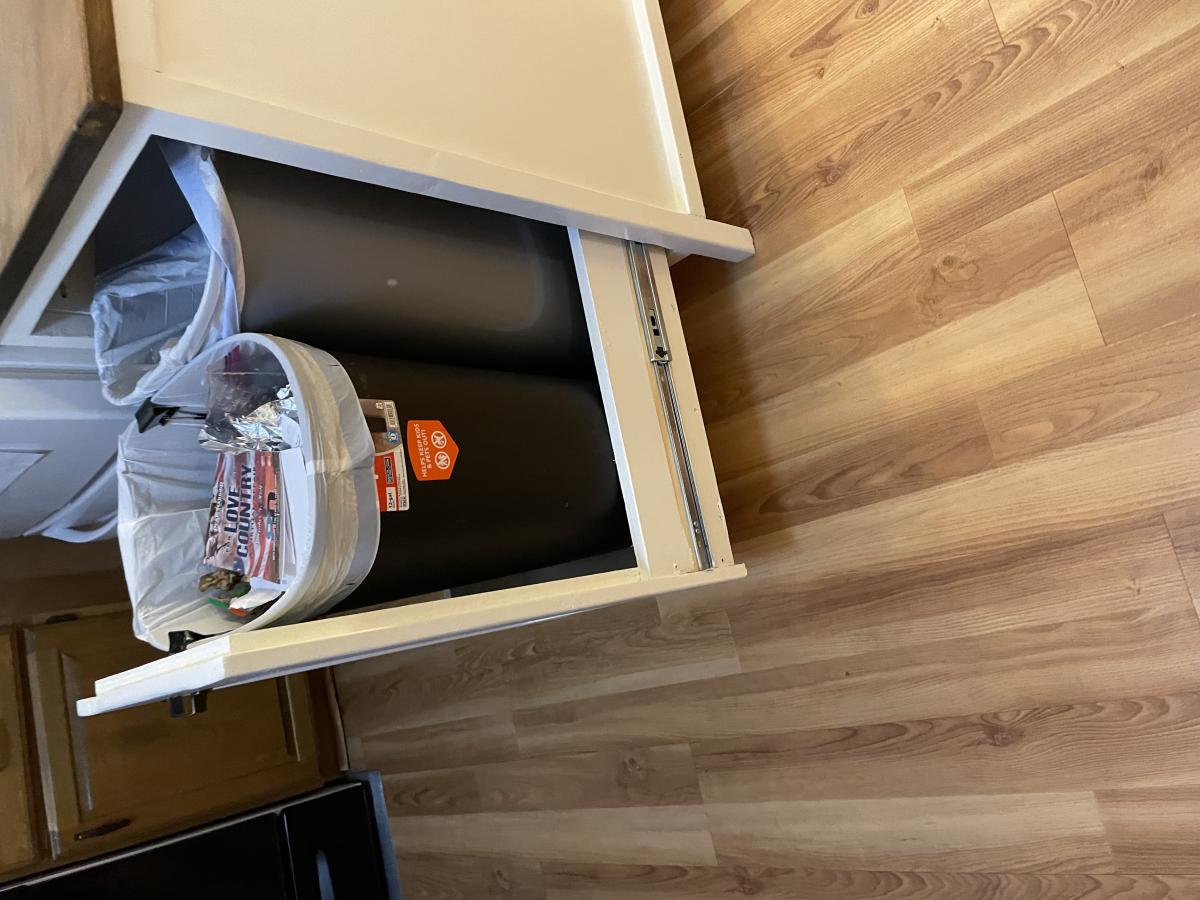
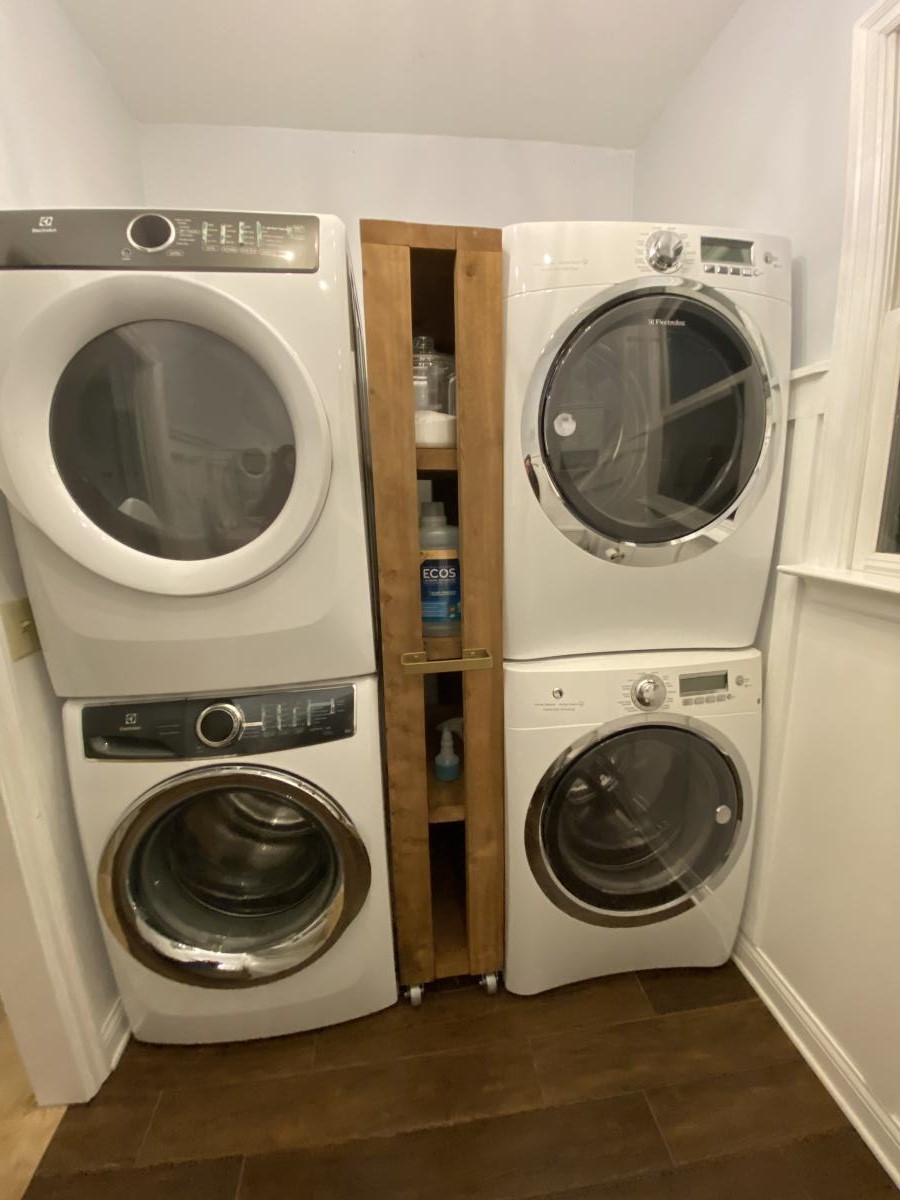
This is my first build! It came together really easily. I modified the dimensions to fit my space. I didn’t add the black pipes, simply because I couldn’t find all the pieces, or the corner brackets, and I think it looks great without them. I added a handle (a towel bar I found on Etsy) to pull it in and out. I used rough cut cedar, and have not finished it. I’m not sure if I will. I wanted to spray paint the wheels, but the person that helped me attach them (a.k.a. my dad) was ready to to help me before I had them painted! But I love it, and it really adds functionality and stoage to this little gap between our washers and dryers.

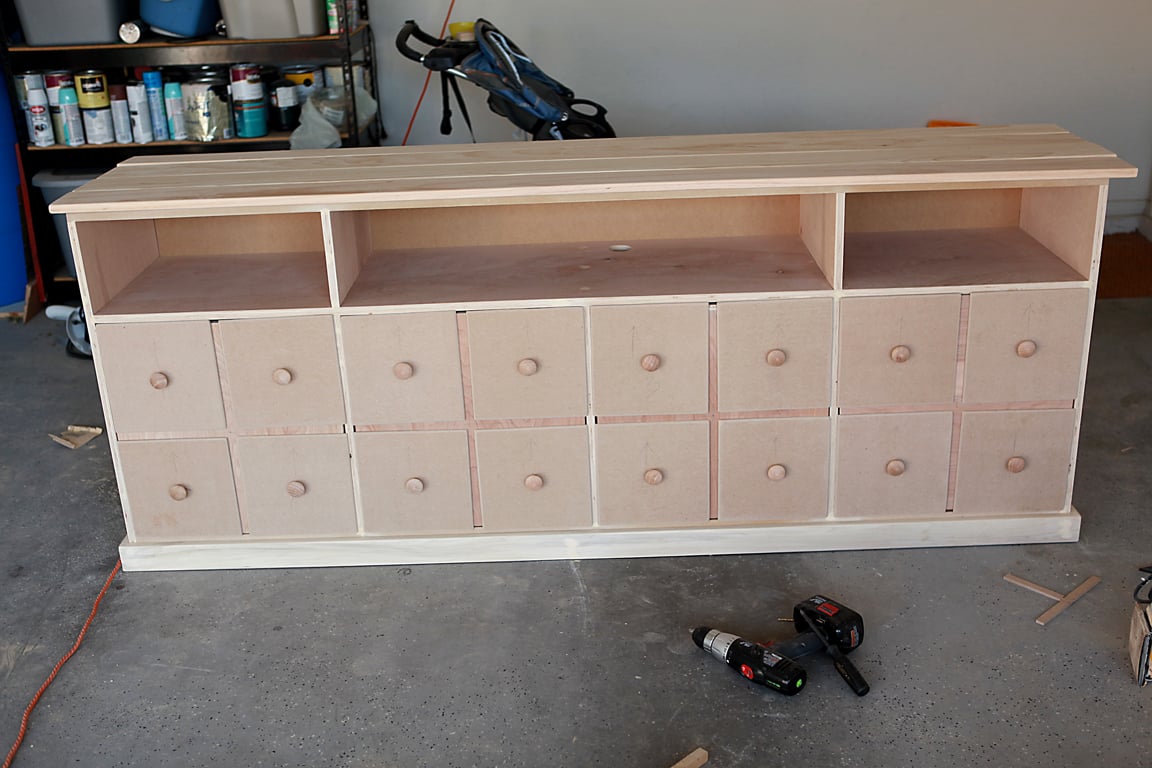
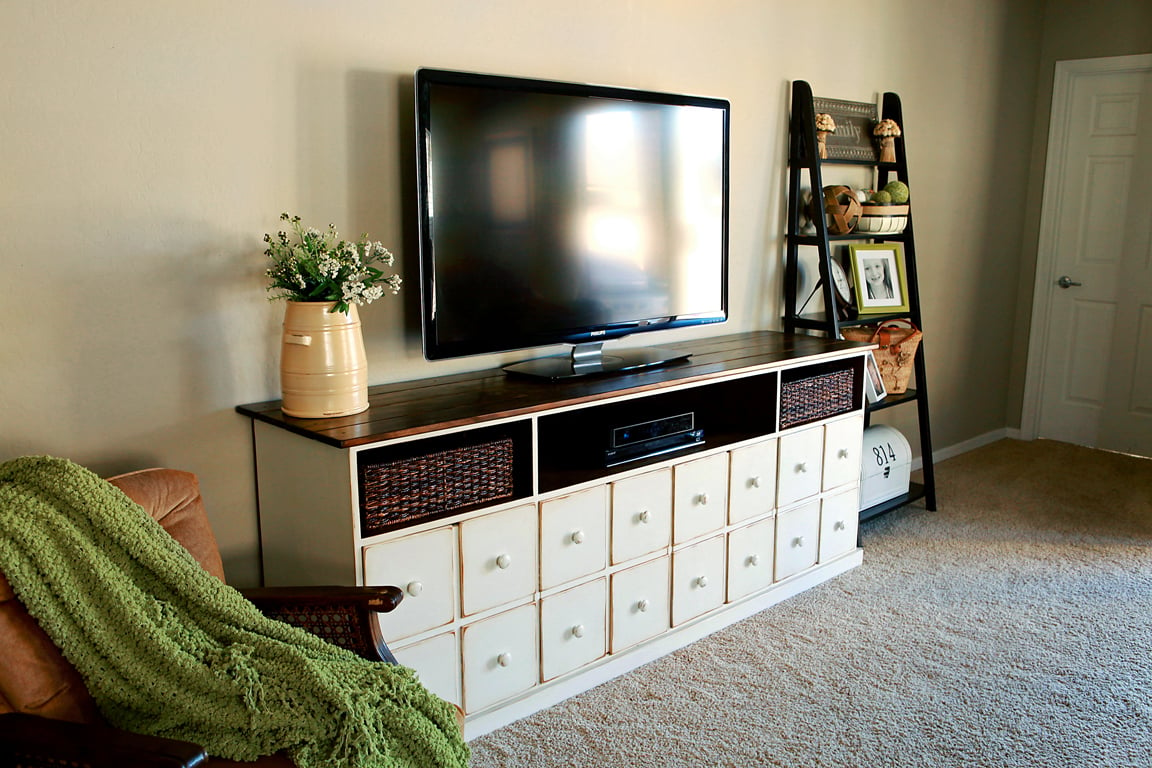
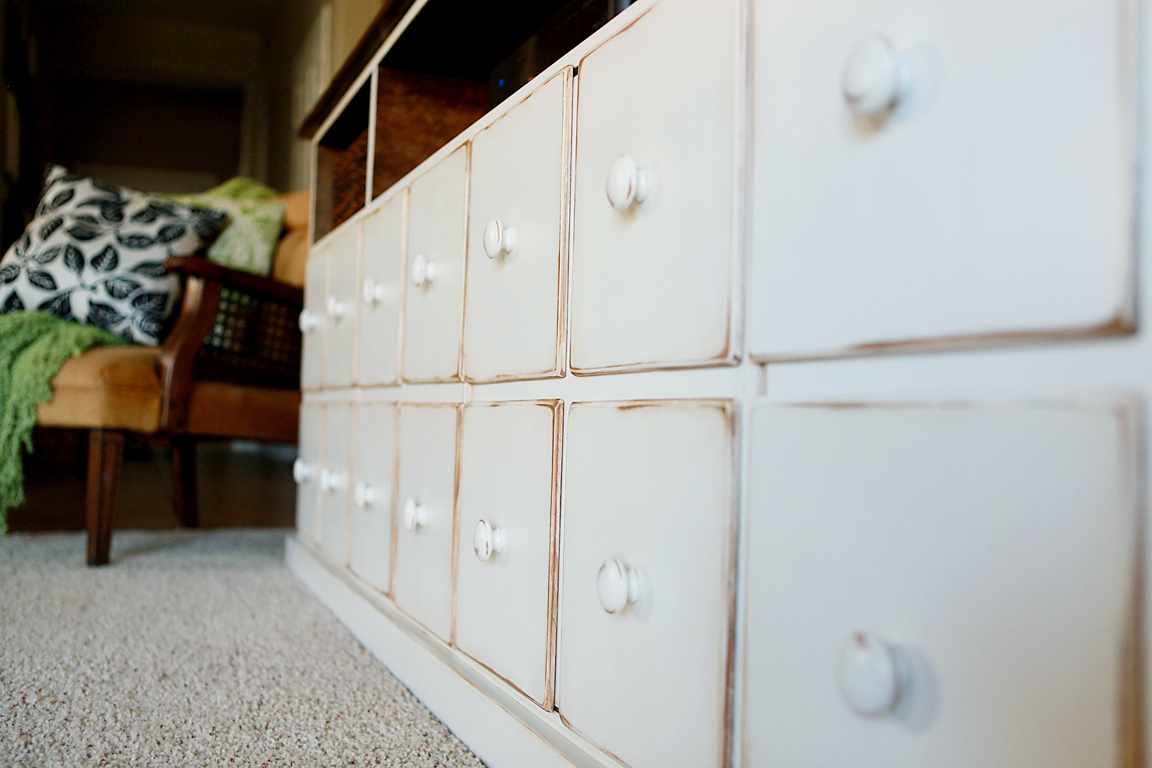
My husband and I worked on this in the evenings. It took us about a month, just because we didn't have the time to devote all at once. We modified Ana's plans for the Apothecary Media Console to accomodate a surround sound bar in the center and to custom fit our baskets. We went with 4 cupboards to keep a uniform look. The faceplates were painted before we permanantly attached them with gorilla glue. . . one of the last steps. The finished cabinet is approximately 86 inches wide by 33 1/2 inches tall by 18 1/2 inches deep.
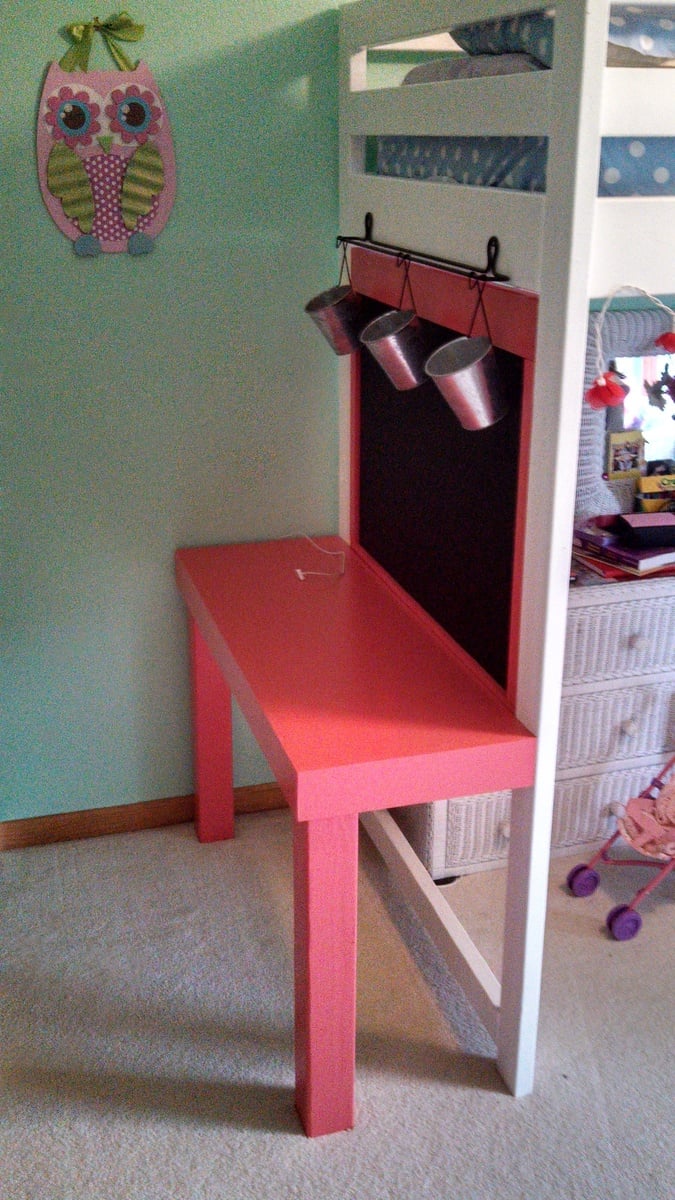
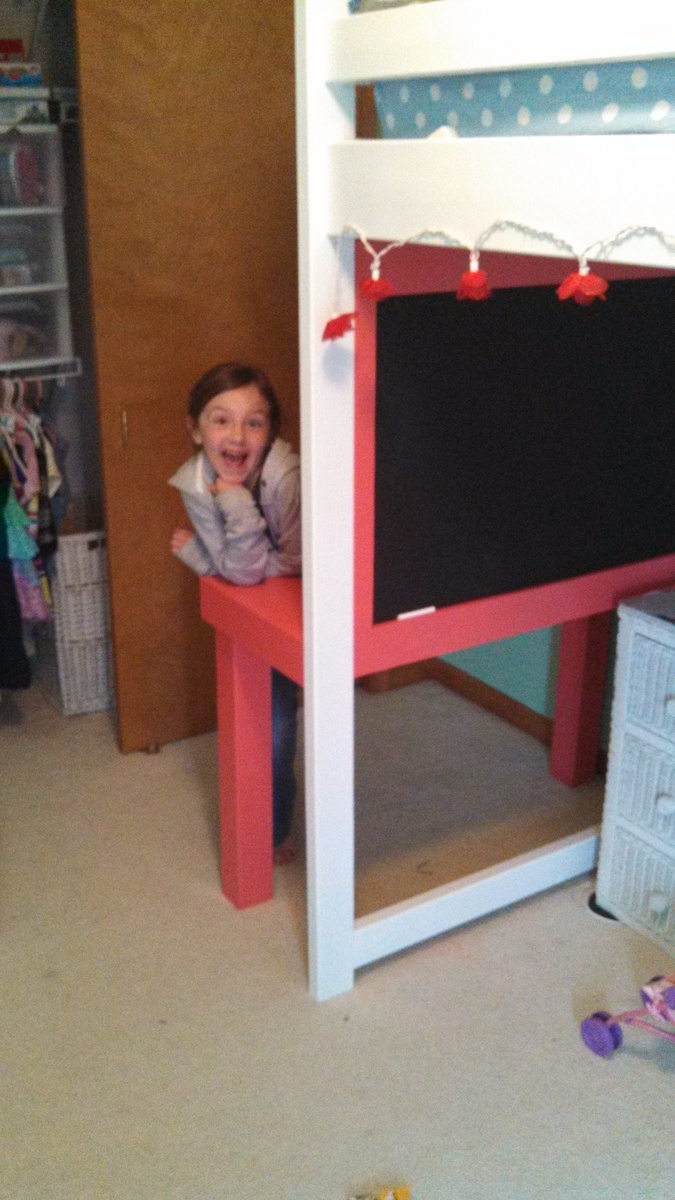
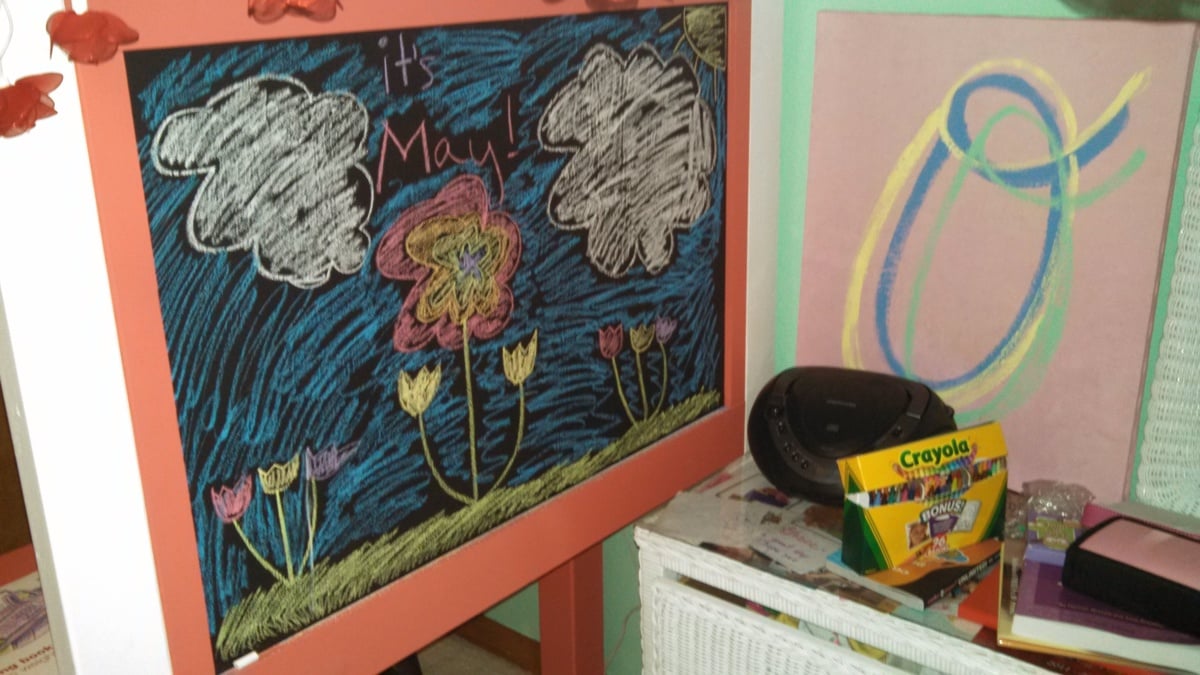
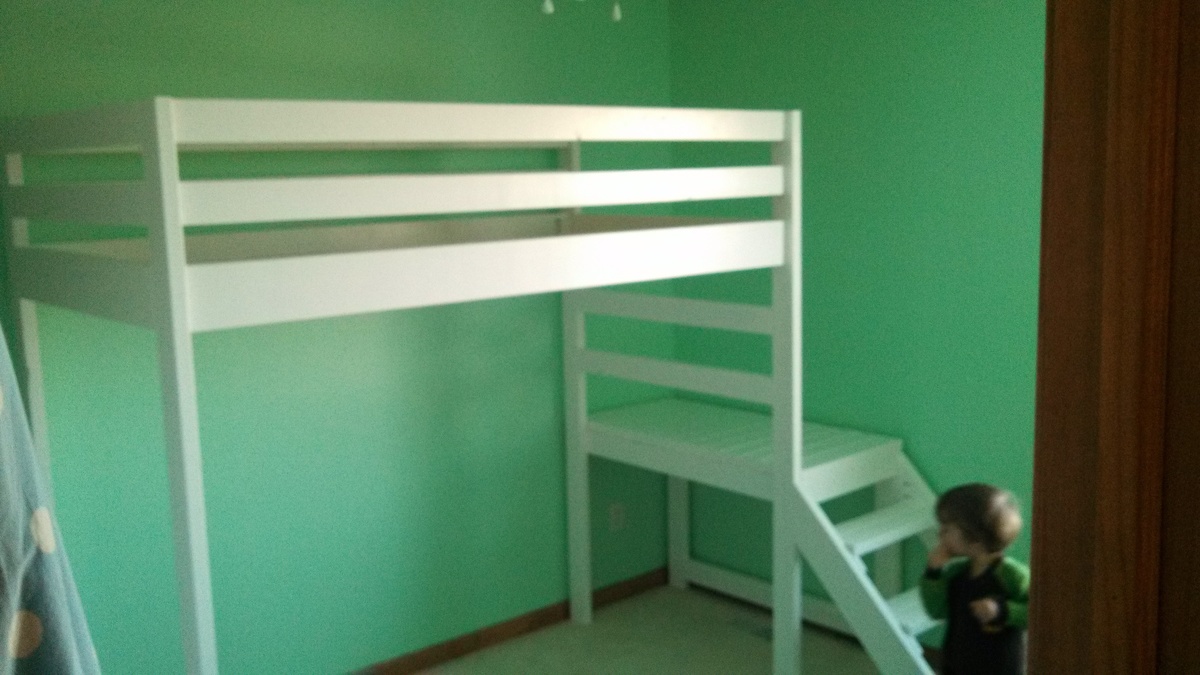
I added a small attached desk to the Camp Loft bed plans and framed a 1/2 inch sheet of scrap plywood painted with chalkboard paint. i then Reused an old "hanging herbs" fixture bought from IKEA for art supplies. My daughter calls it her "Art Studio"!!

Fri, 06/28/2013 - 13:35
I love that your daughter calls it her art studio. Adorable! and the color is perfect!
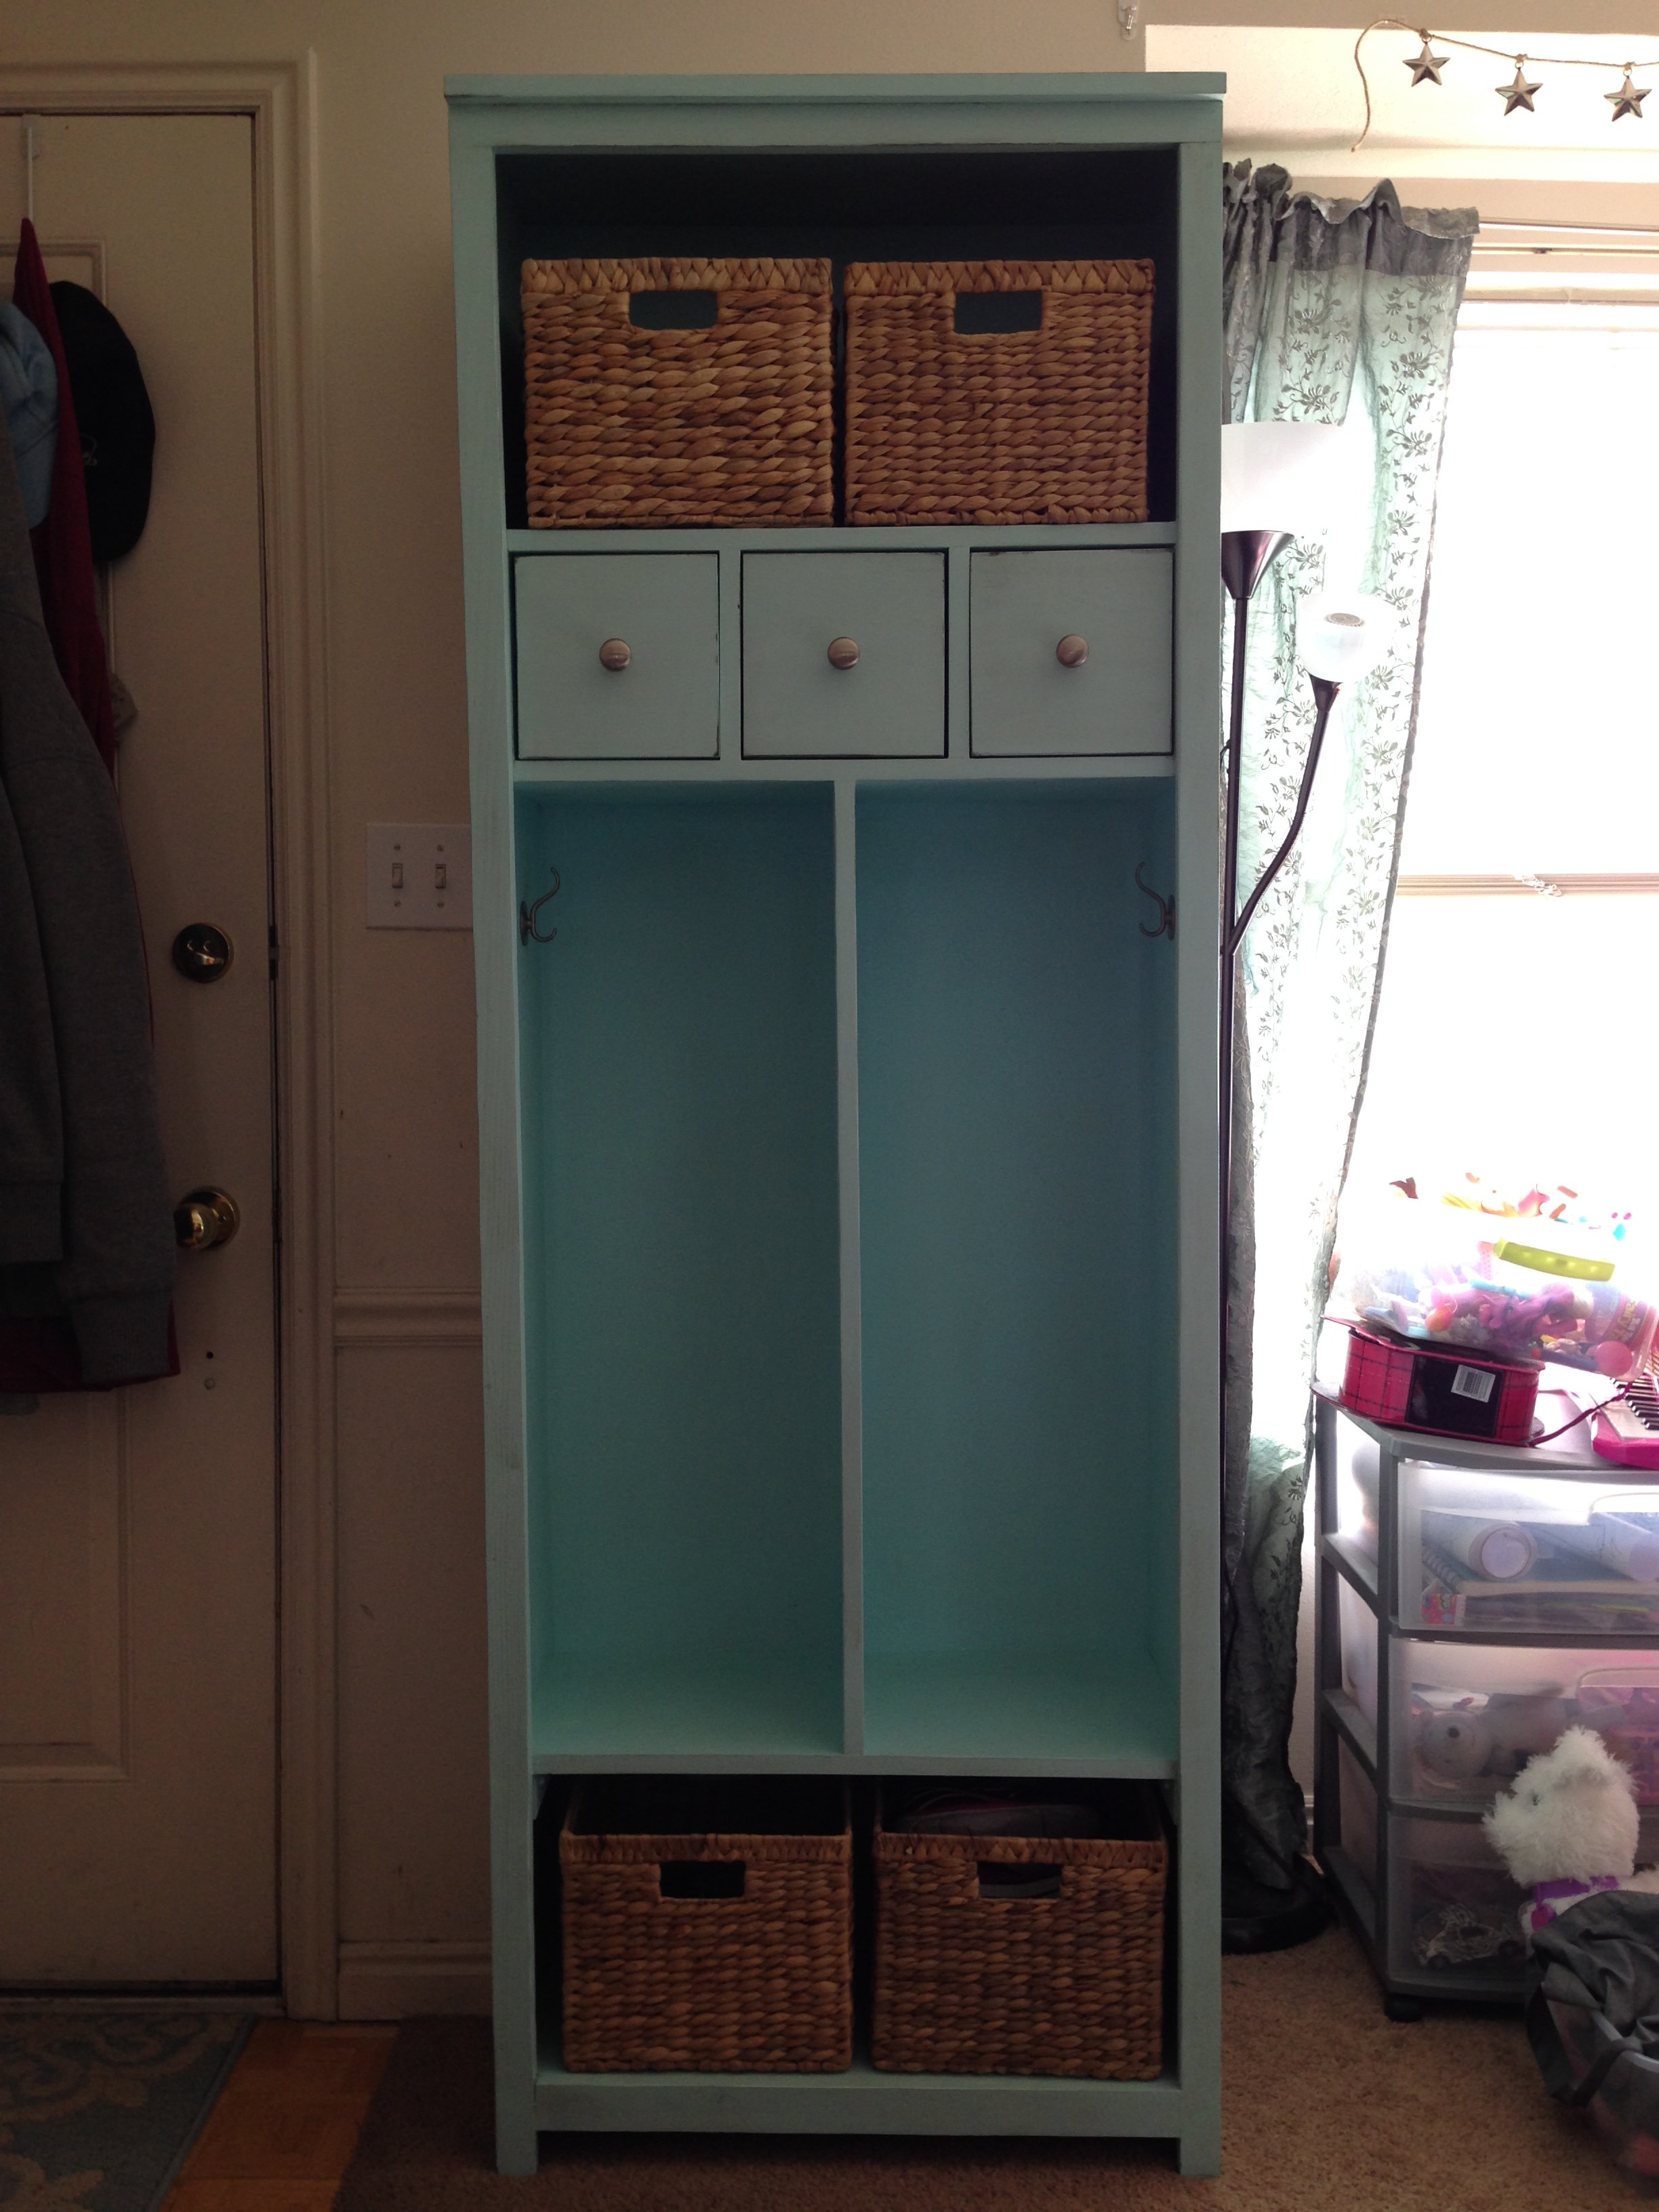
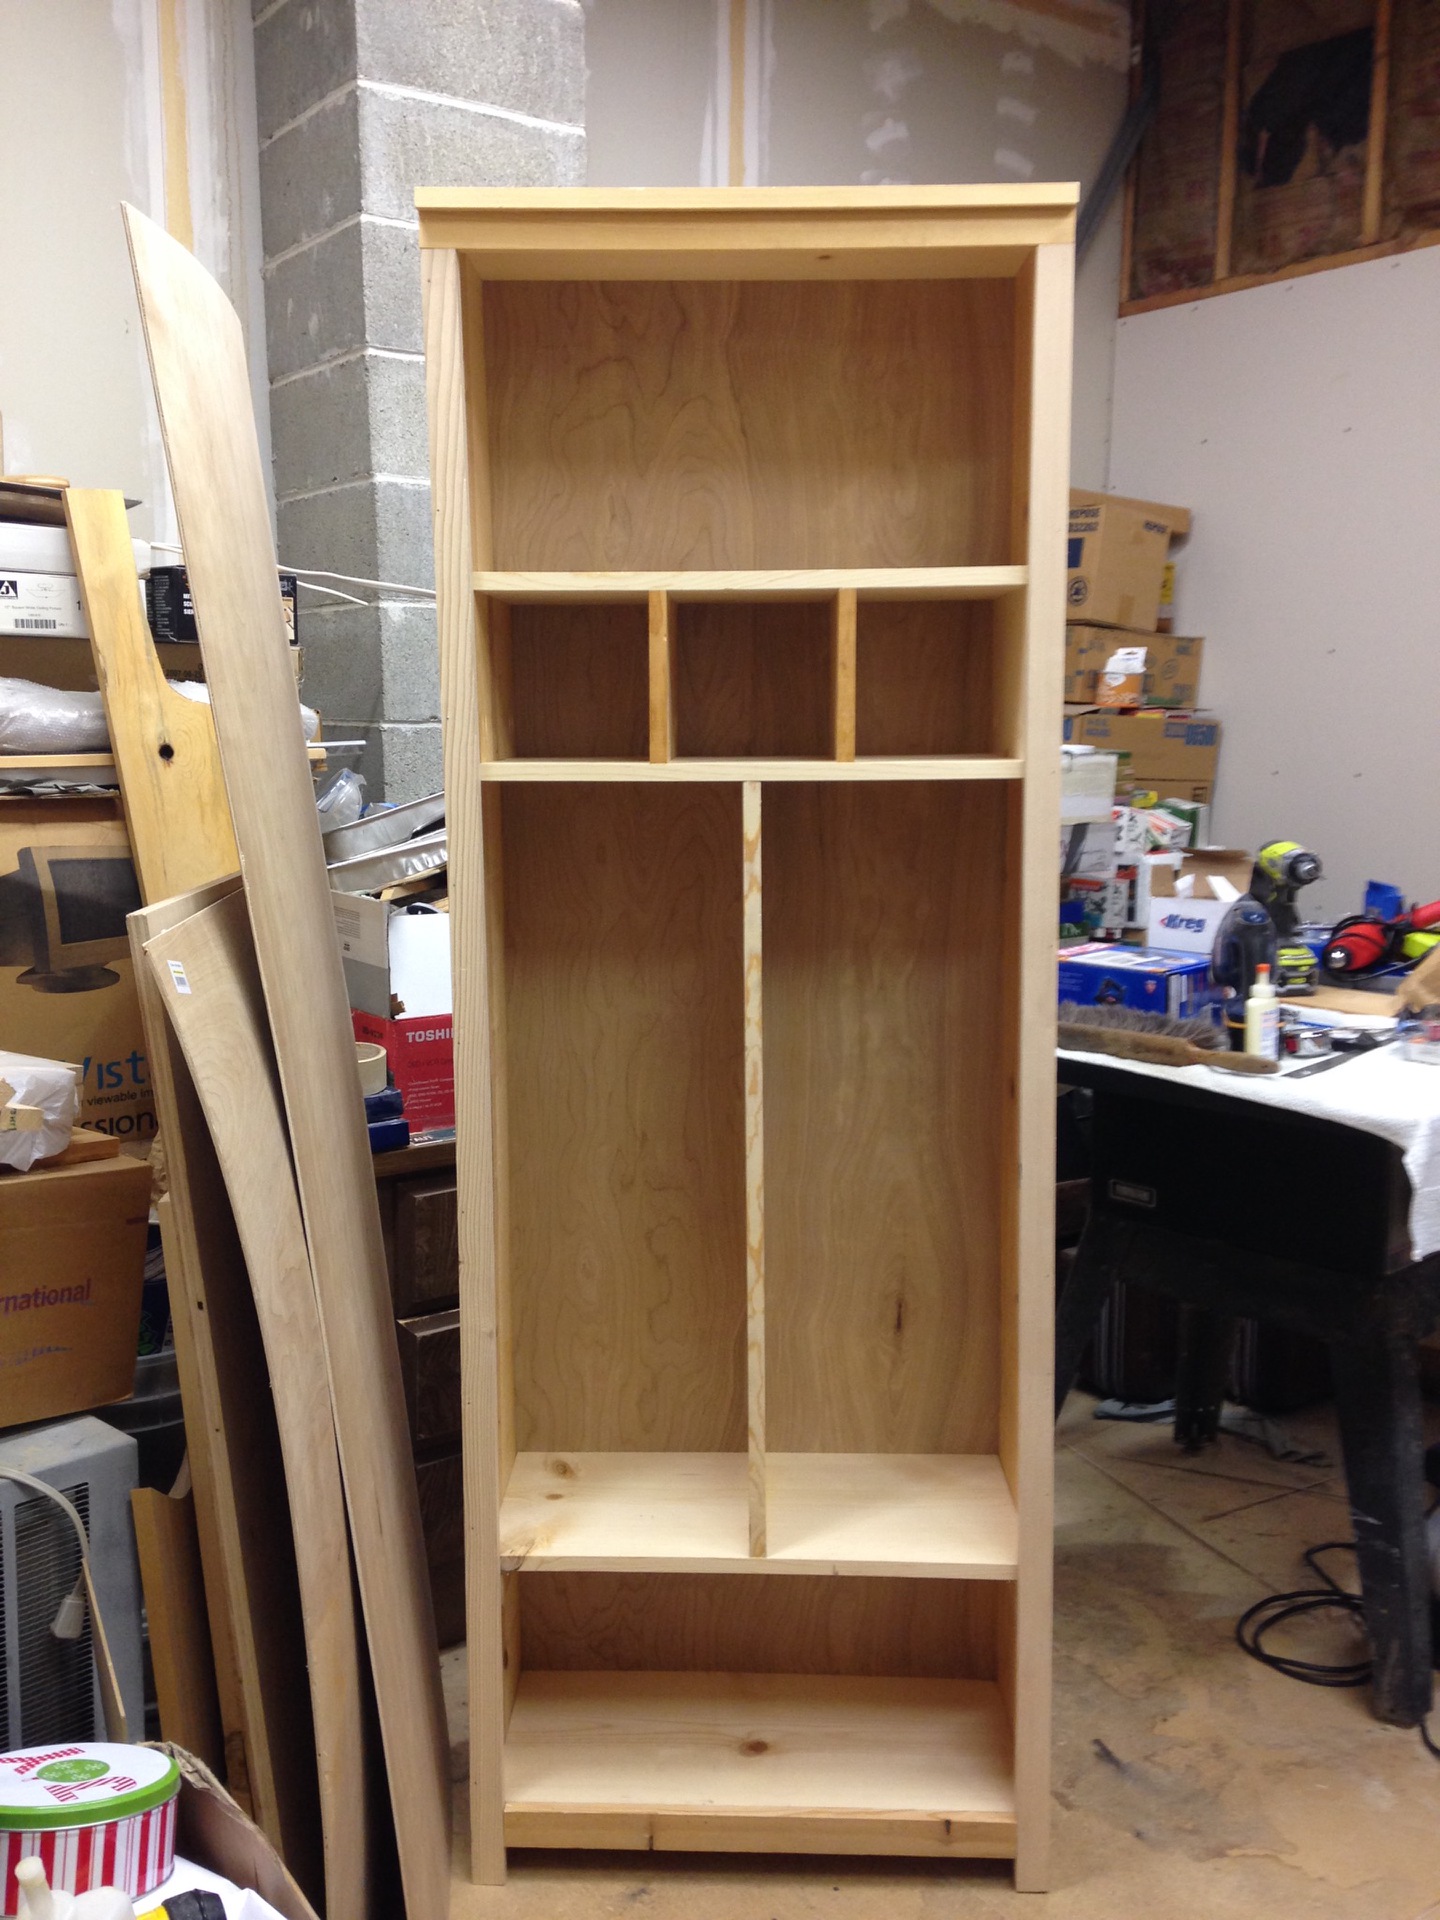
We built this entryway locker using Hillarys plans. It turned out amazing and it gets more use than any piece of furniture in our house at the moment.
I needed a place for my kids to put their shoes so I shrunk the plan for the X Console and made it fit my entry way. I love it!
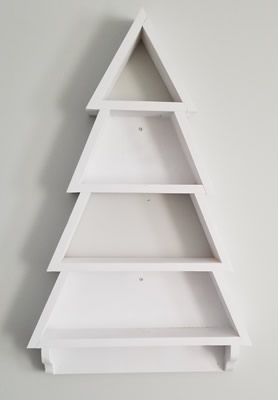
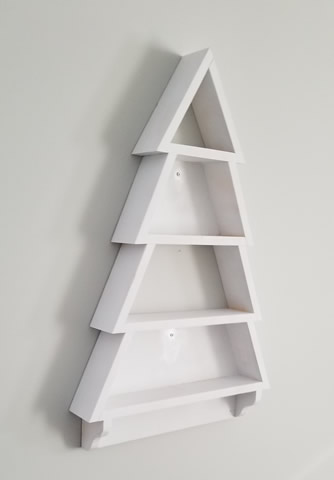
After watching Ana's video I decided to try to build the Christmas tree shelf this year in time for the season. It worked out alright. The build is straight forward. Doesn't take long and it's a fun seasonal project. Now I just have to figure out what to put on it.
Comments
Ana White Admin
Sat, 10/23/2021 - 17:14
Thank you for sharing!
We are so happy you tried out Shelf Help! It looks amazing~