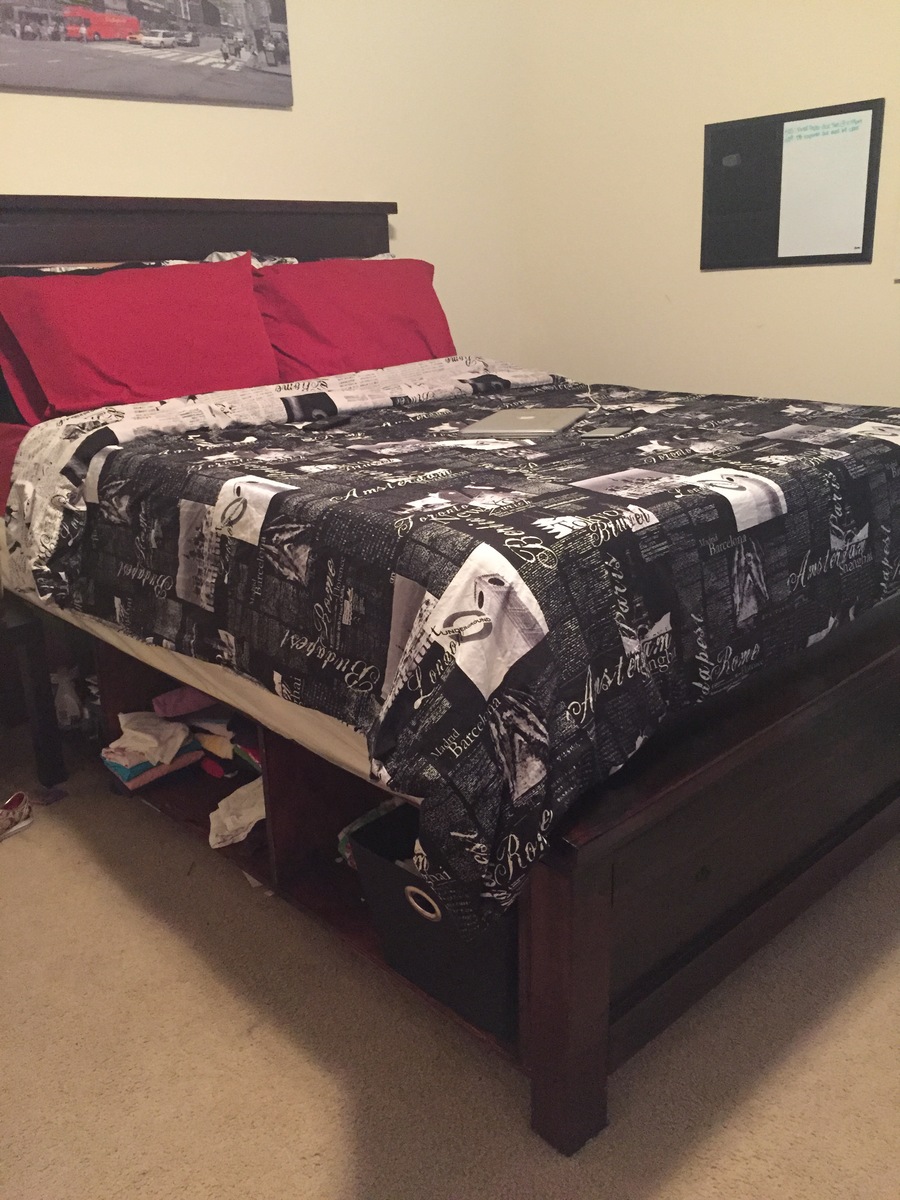
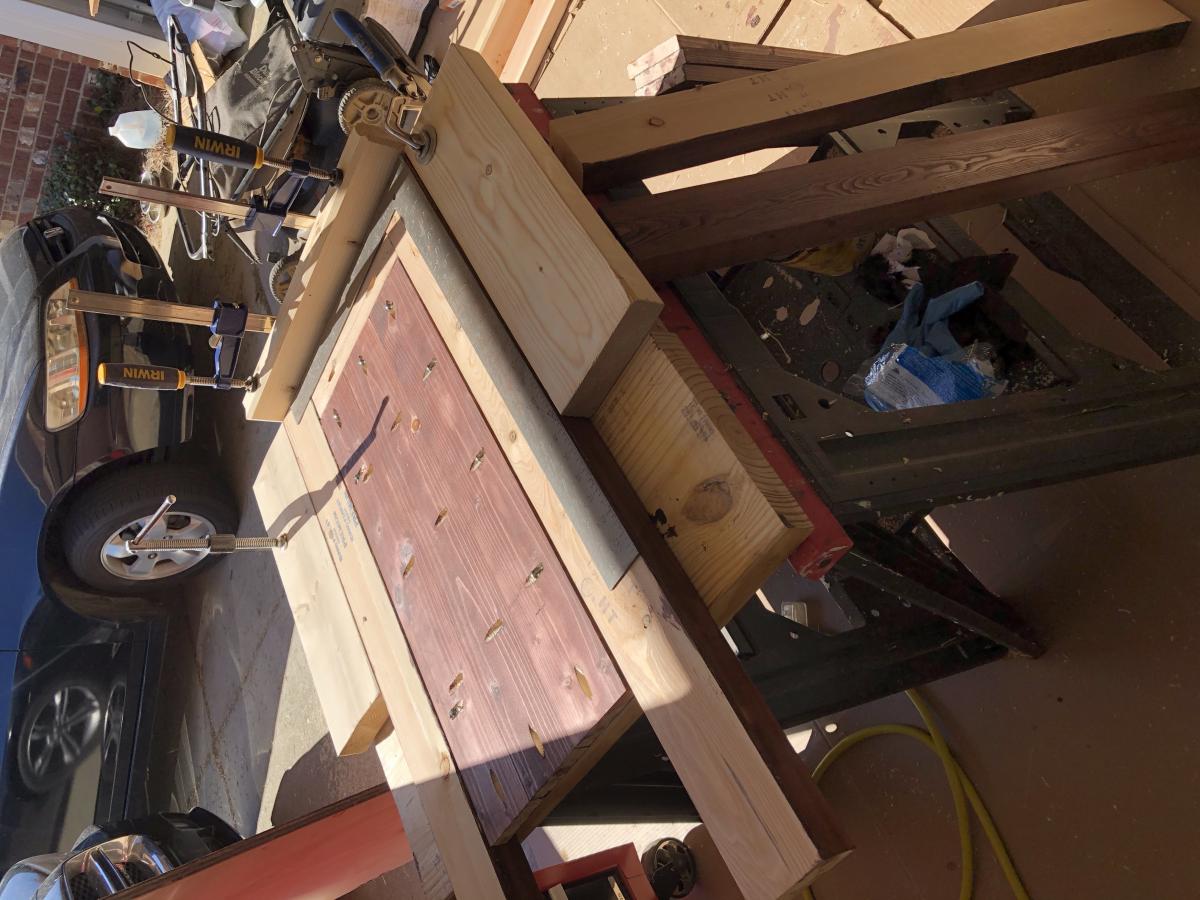
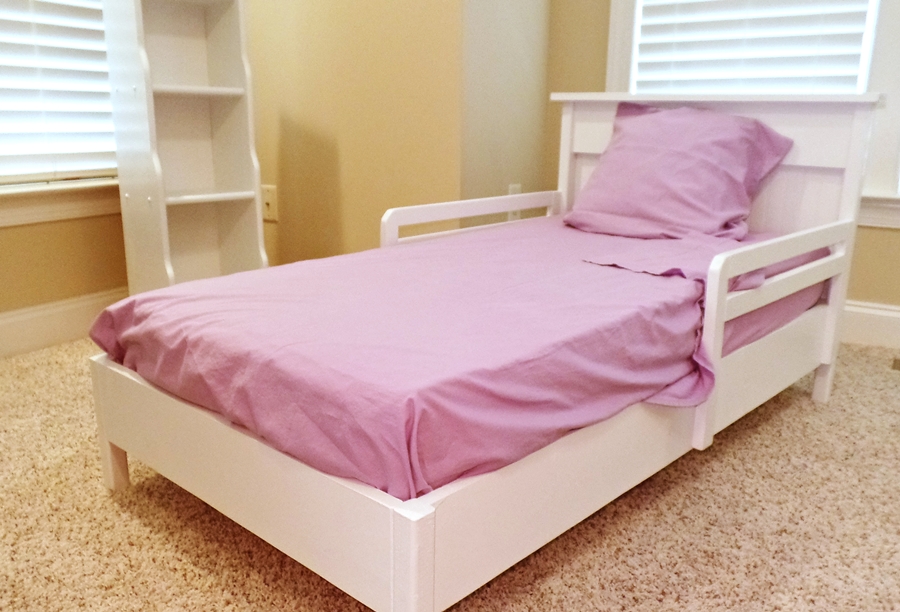
This was my second project from Ana White's plans. I felt confident in my new woodworking skills once I learned how to use the kreg jig for pocket holes. The child's table and chair I made came out so good, I decided why not try a toddler bed for my 4 yr old granddaughter. She loves her new bed. And I love how easy and fun it was to make.
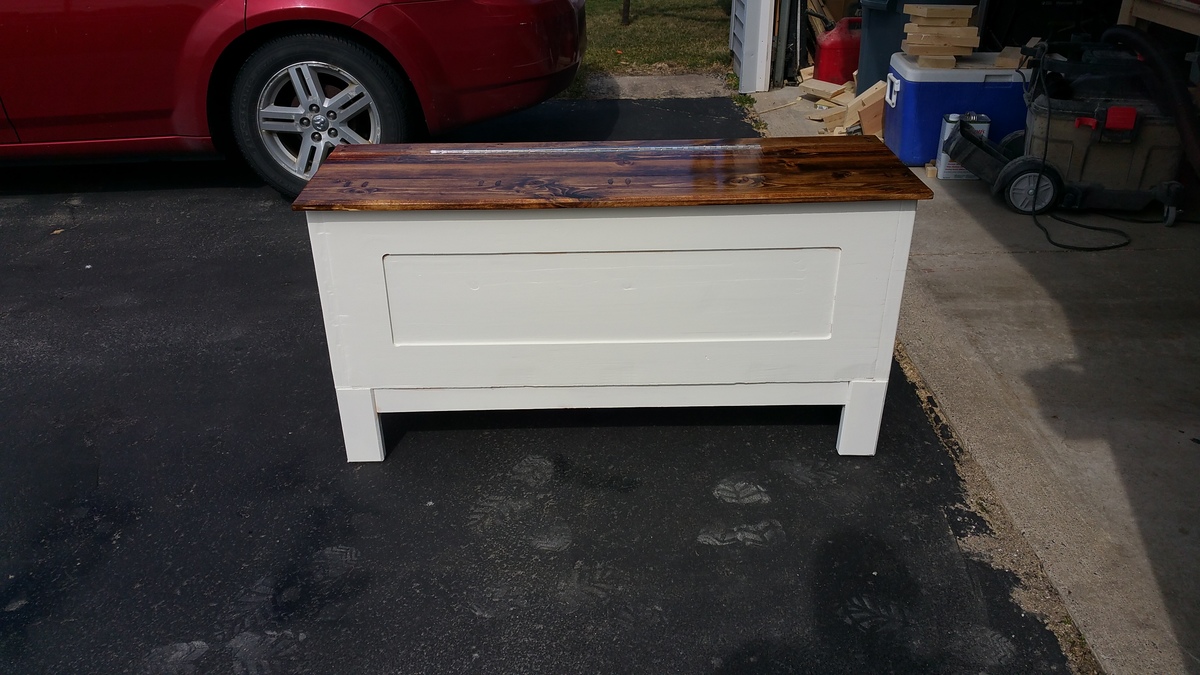
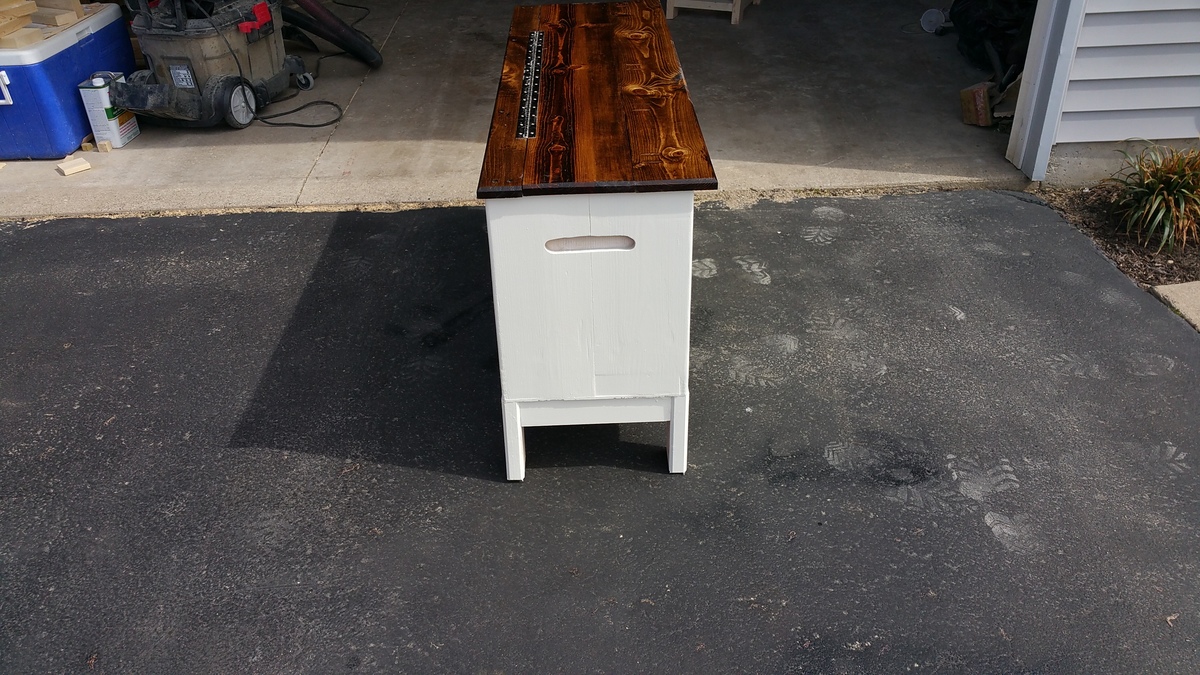
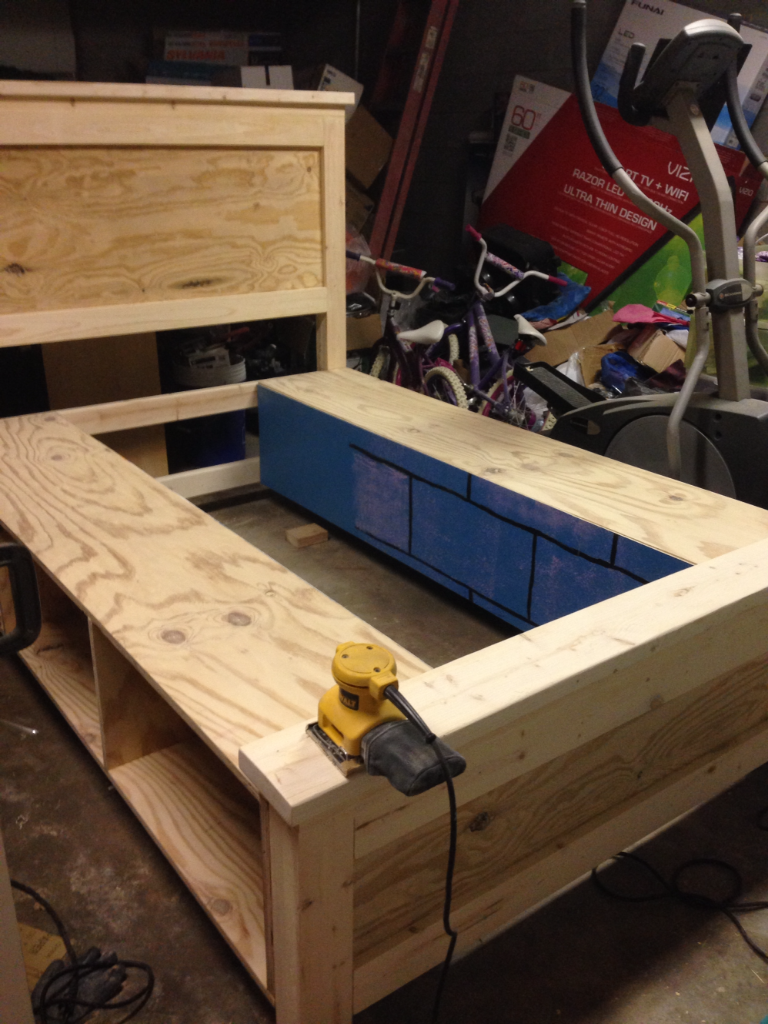
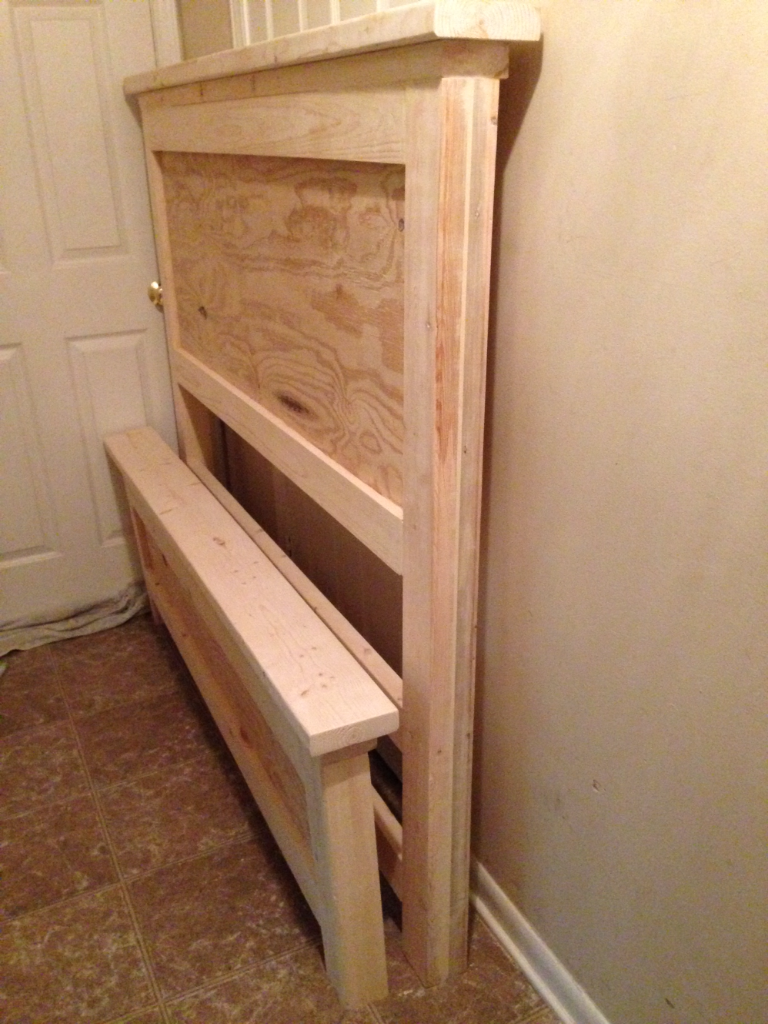
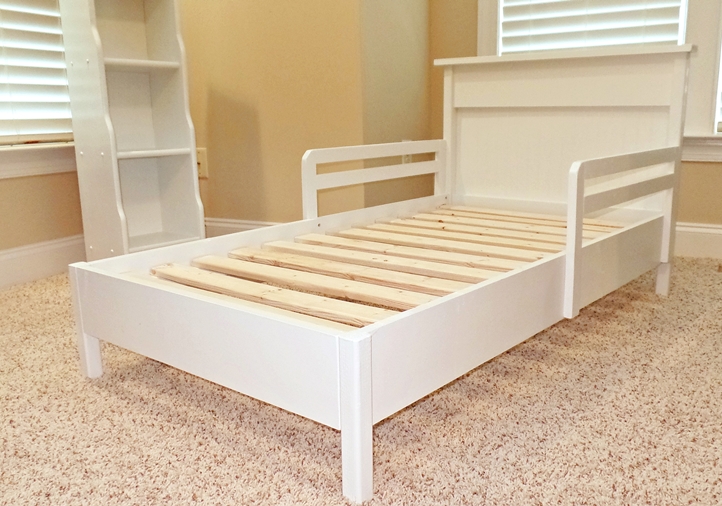
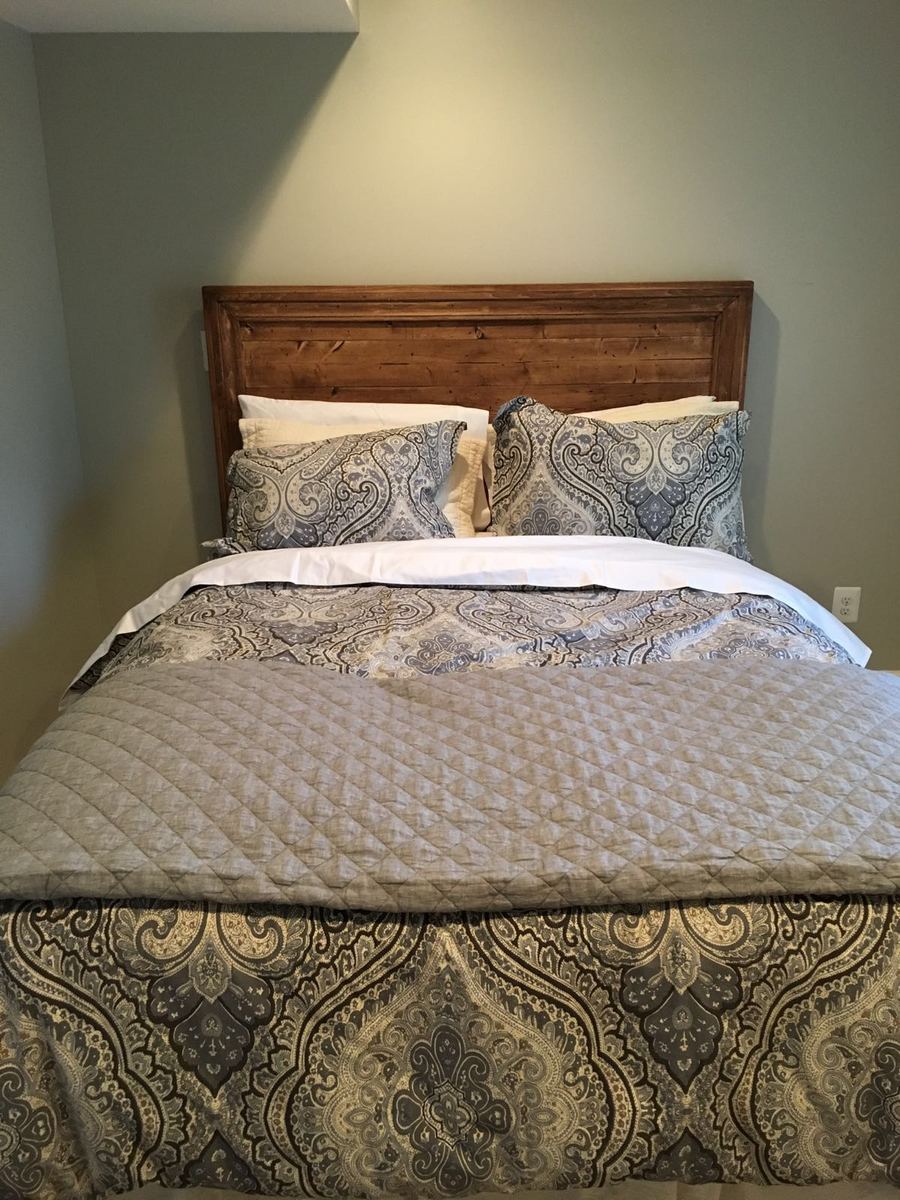
I only had to make minor adjustments to the size to accomodate her mattress. I brought the footboard out to the edge of the legs because I needed to add an inch to the length, but the sides are set in like the plans. I also added a couple inches to the rail height since her mattress is 6 inches deep and I wanted it to be above the mattress.
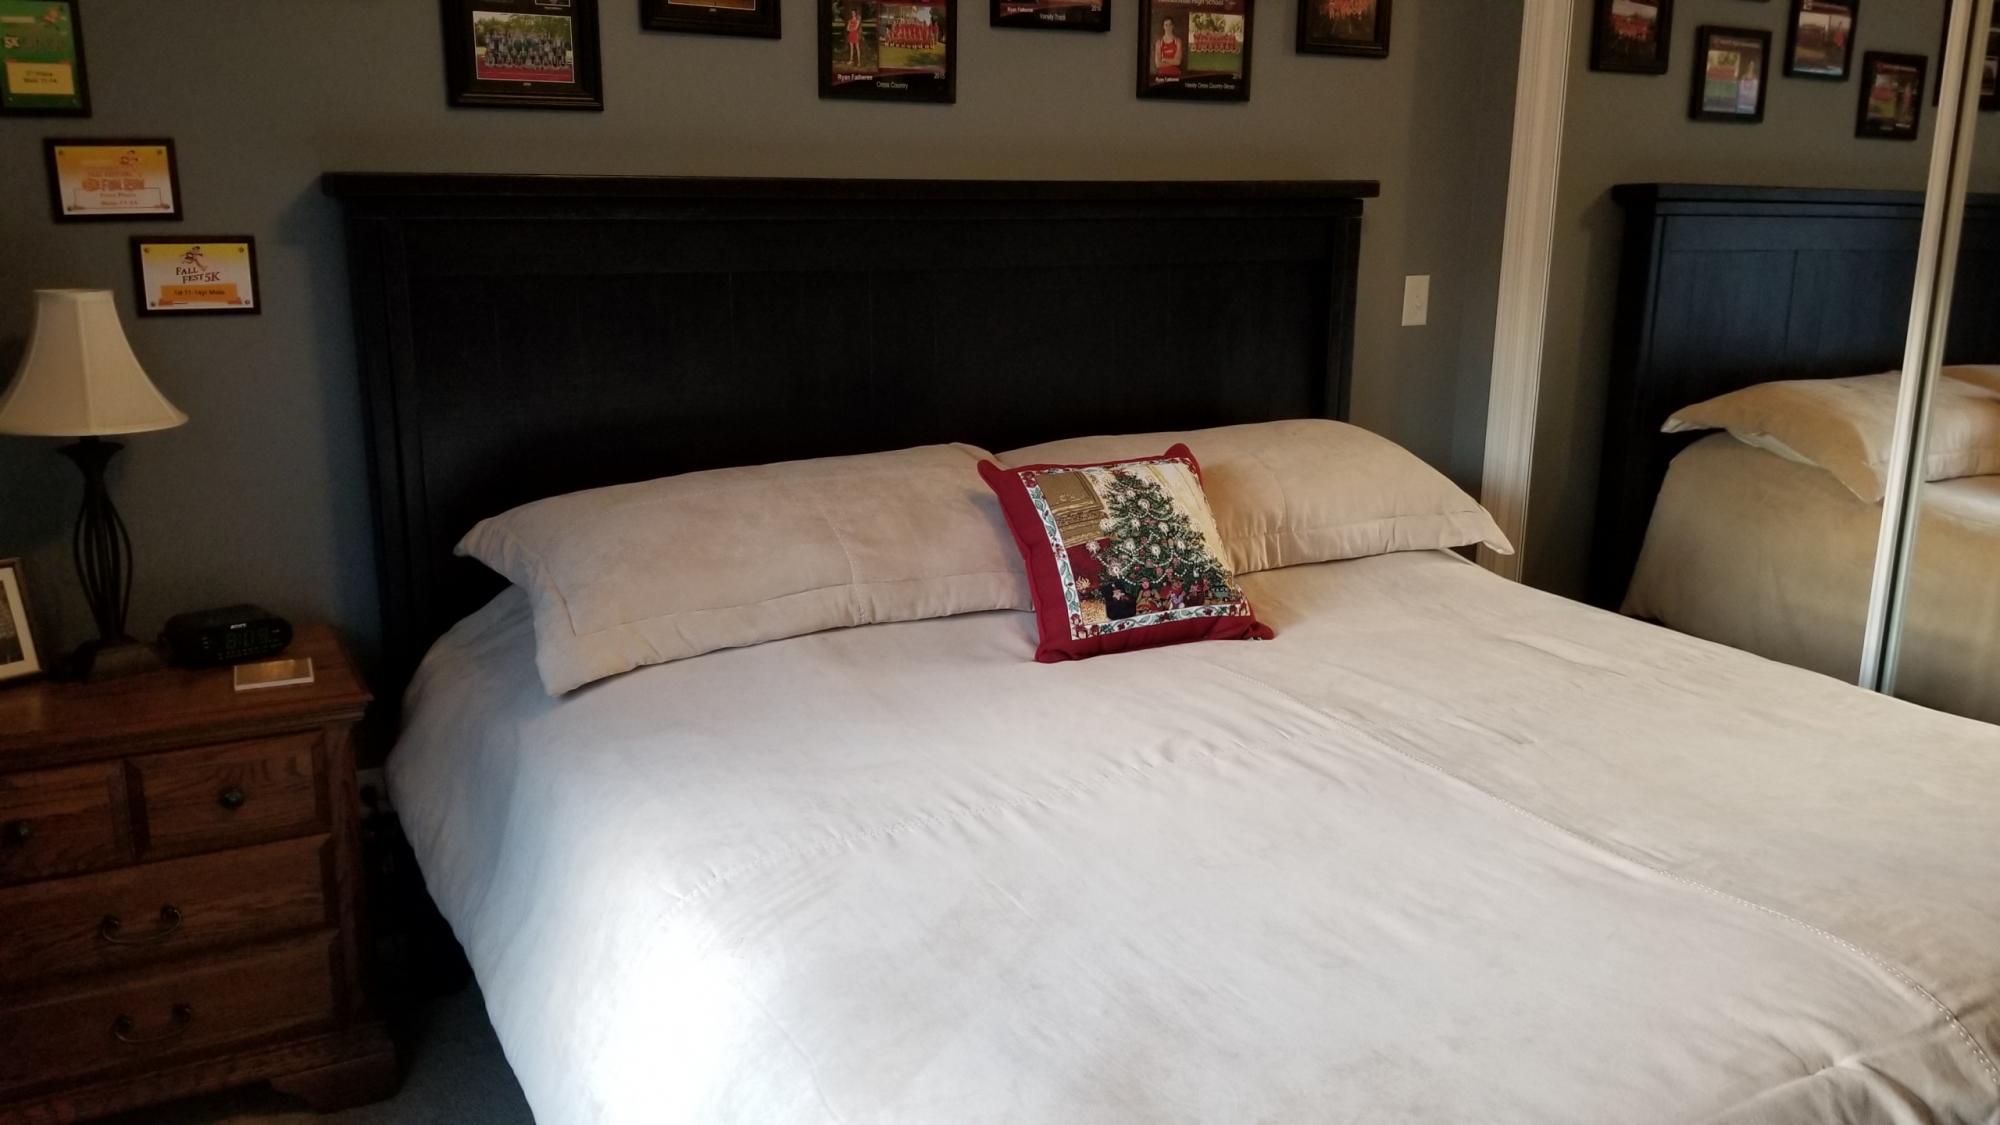
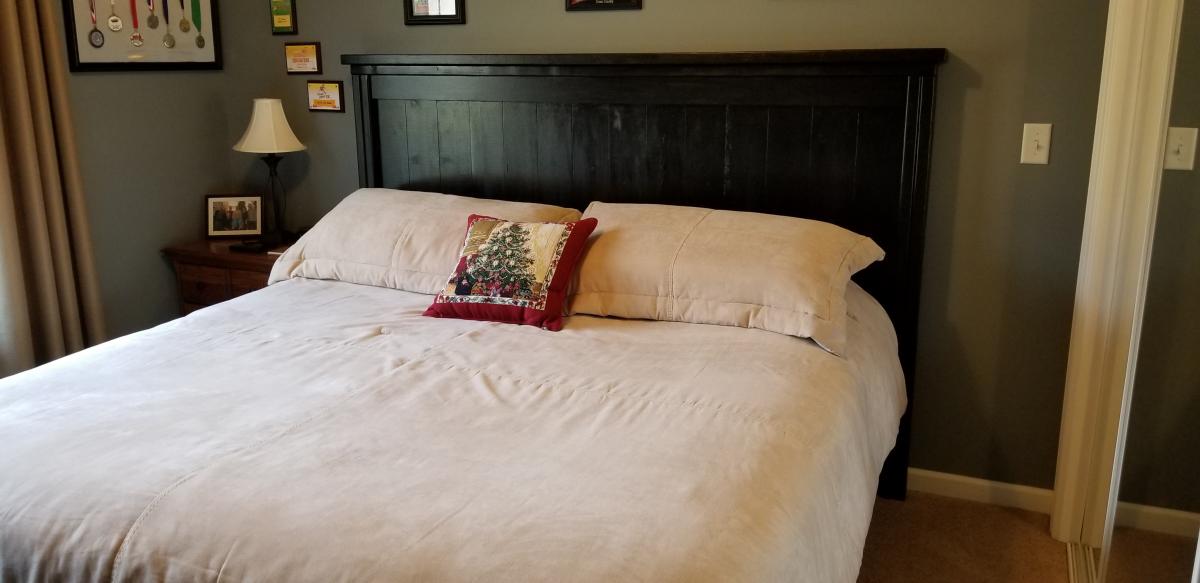
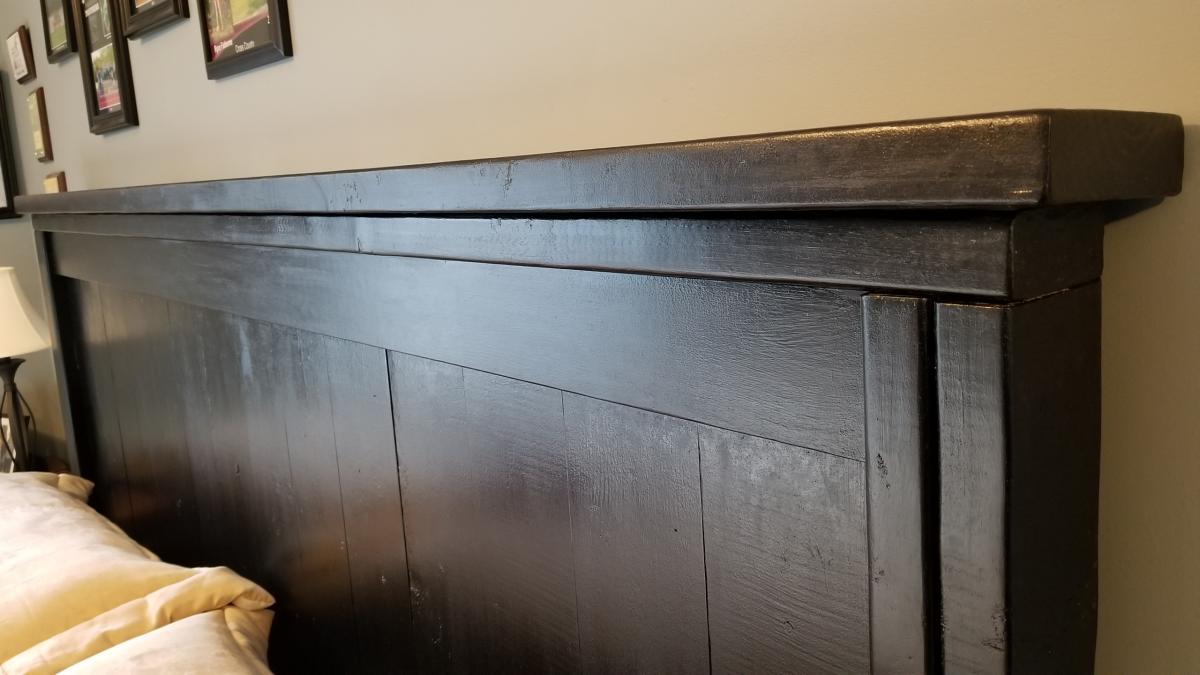
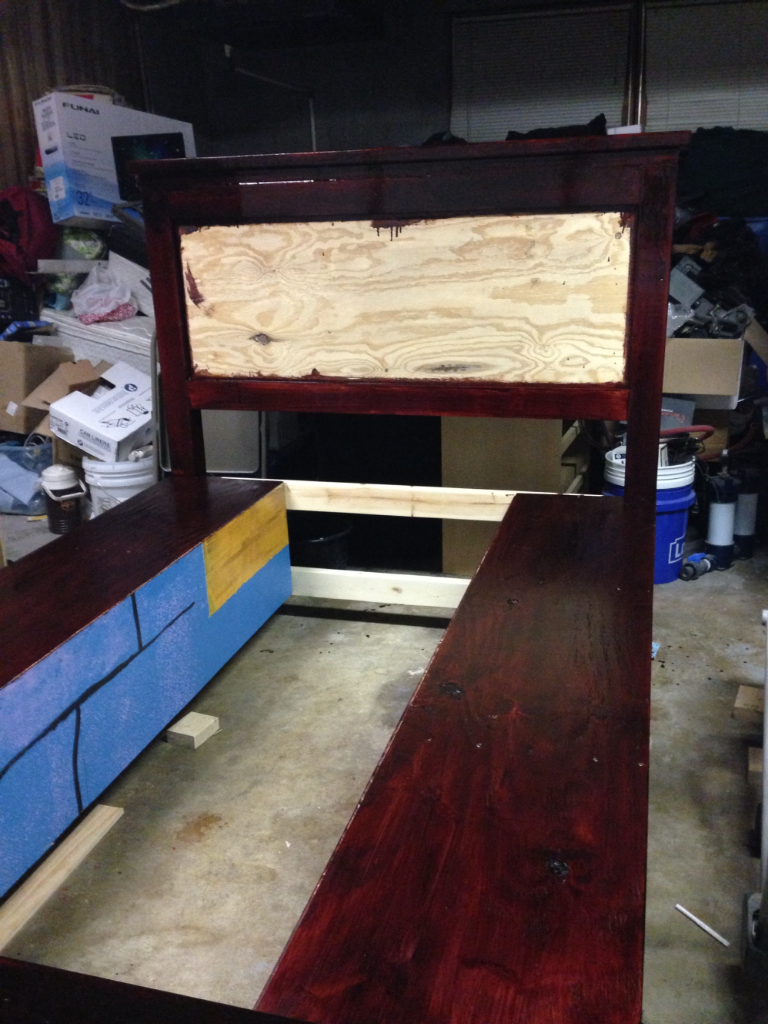
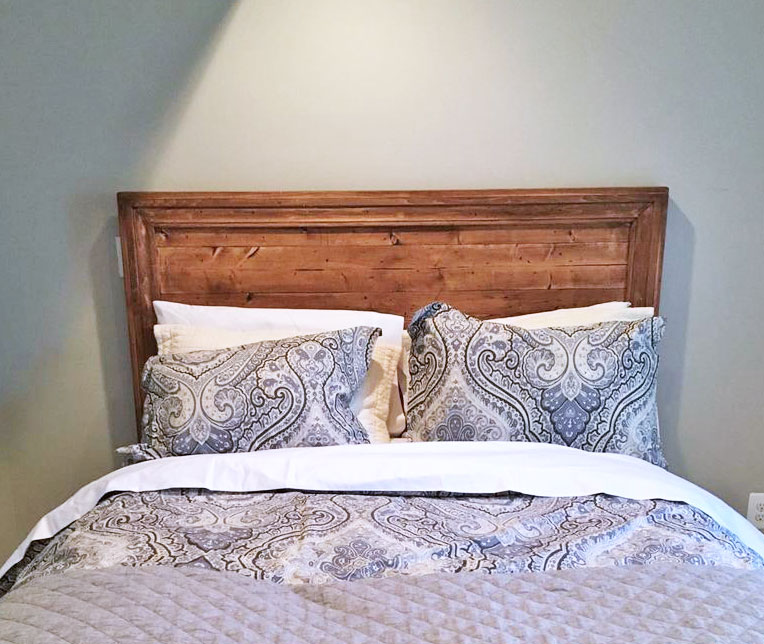
I was afraid I couldn't get the rounded headboard neat, so I used the whole 6 inch board, adding to the height of the headboard a few inches. I also added the top board on the headboard because it just made it look cleaner on top. You might not be able to tell from the photo, but I did use the beadboard - I had a scrap the perfect size.