First plan,,first table. I made two of these.
I was retired from my job and needed a new chore.
The plan seemed easy, and not being a real good carpenter, I required easy, and the plan was exactly that.
Thanks Ana.
Built from Plan(s)
I was retired from my job and needed a new chore.
The plan seemed easy, and not being a real good carpenter, I required easy, and the plan was exactly that.
Thanks Ana.
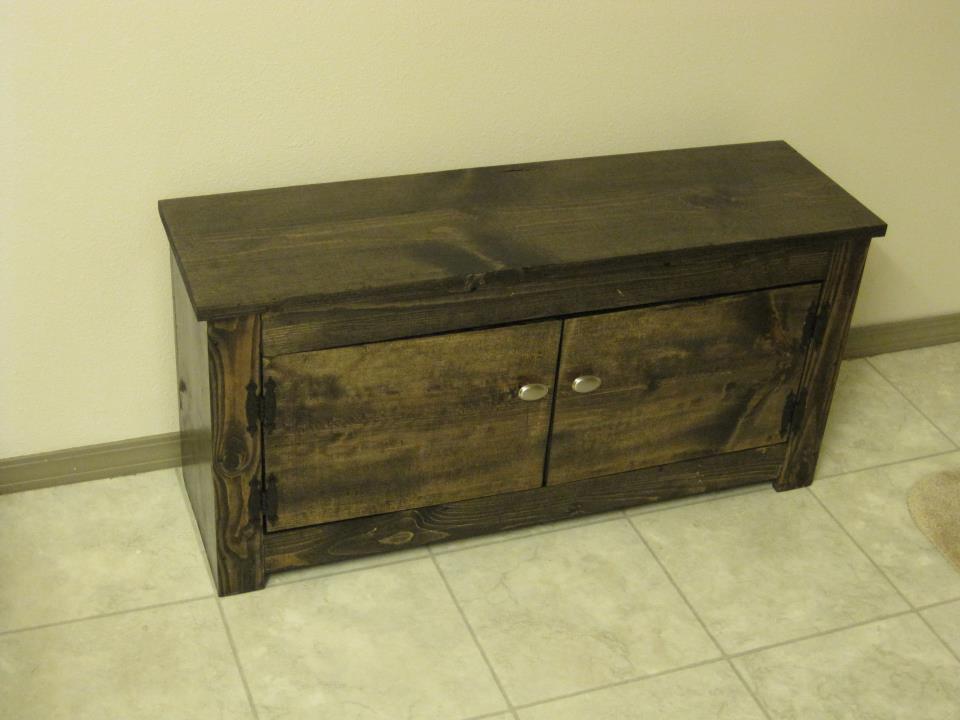
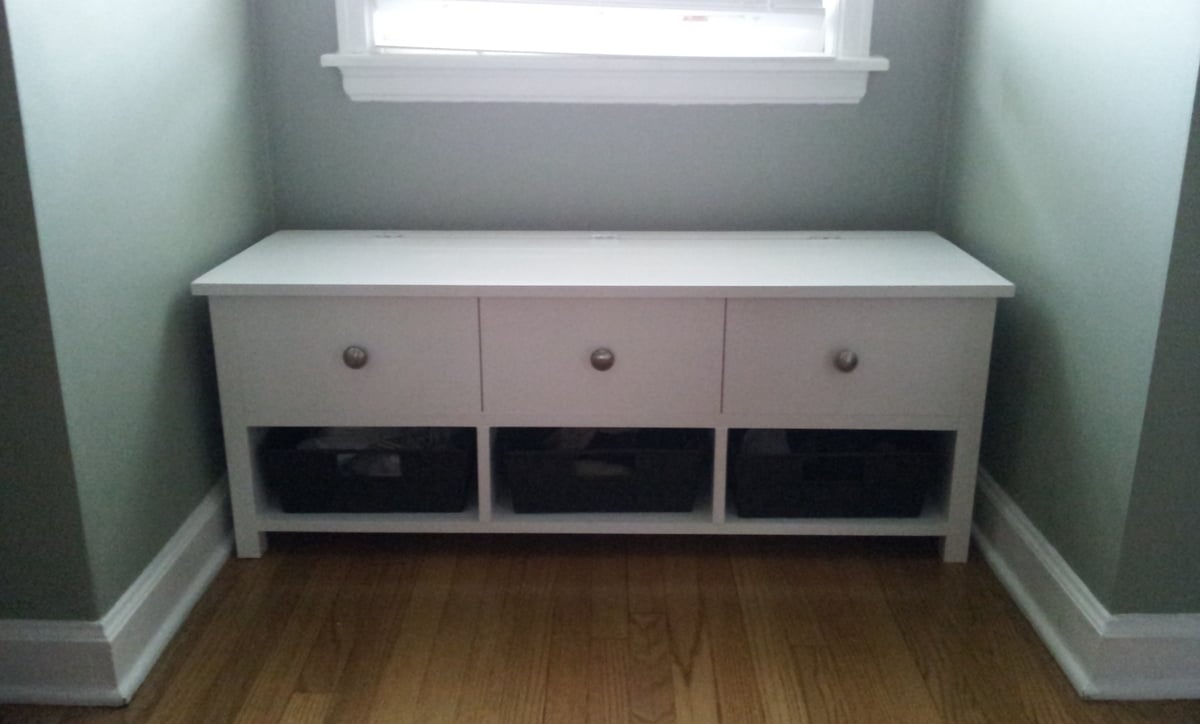
My first Ana project- took the spa bench and added doors. Thanks for the easy-to-use plans, Ana. Still learning, though- I ended up buying three sets of hinges before I was happy!
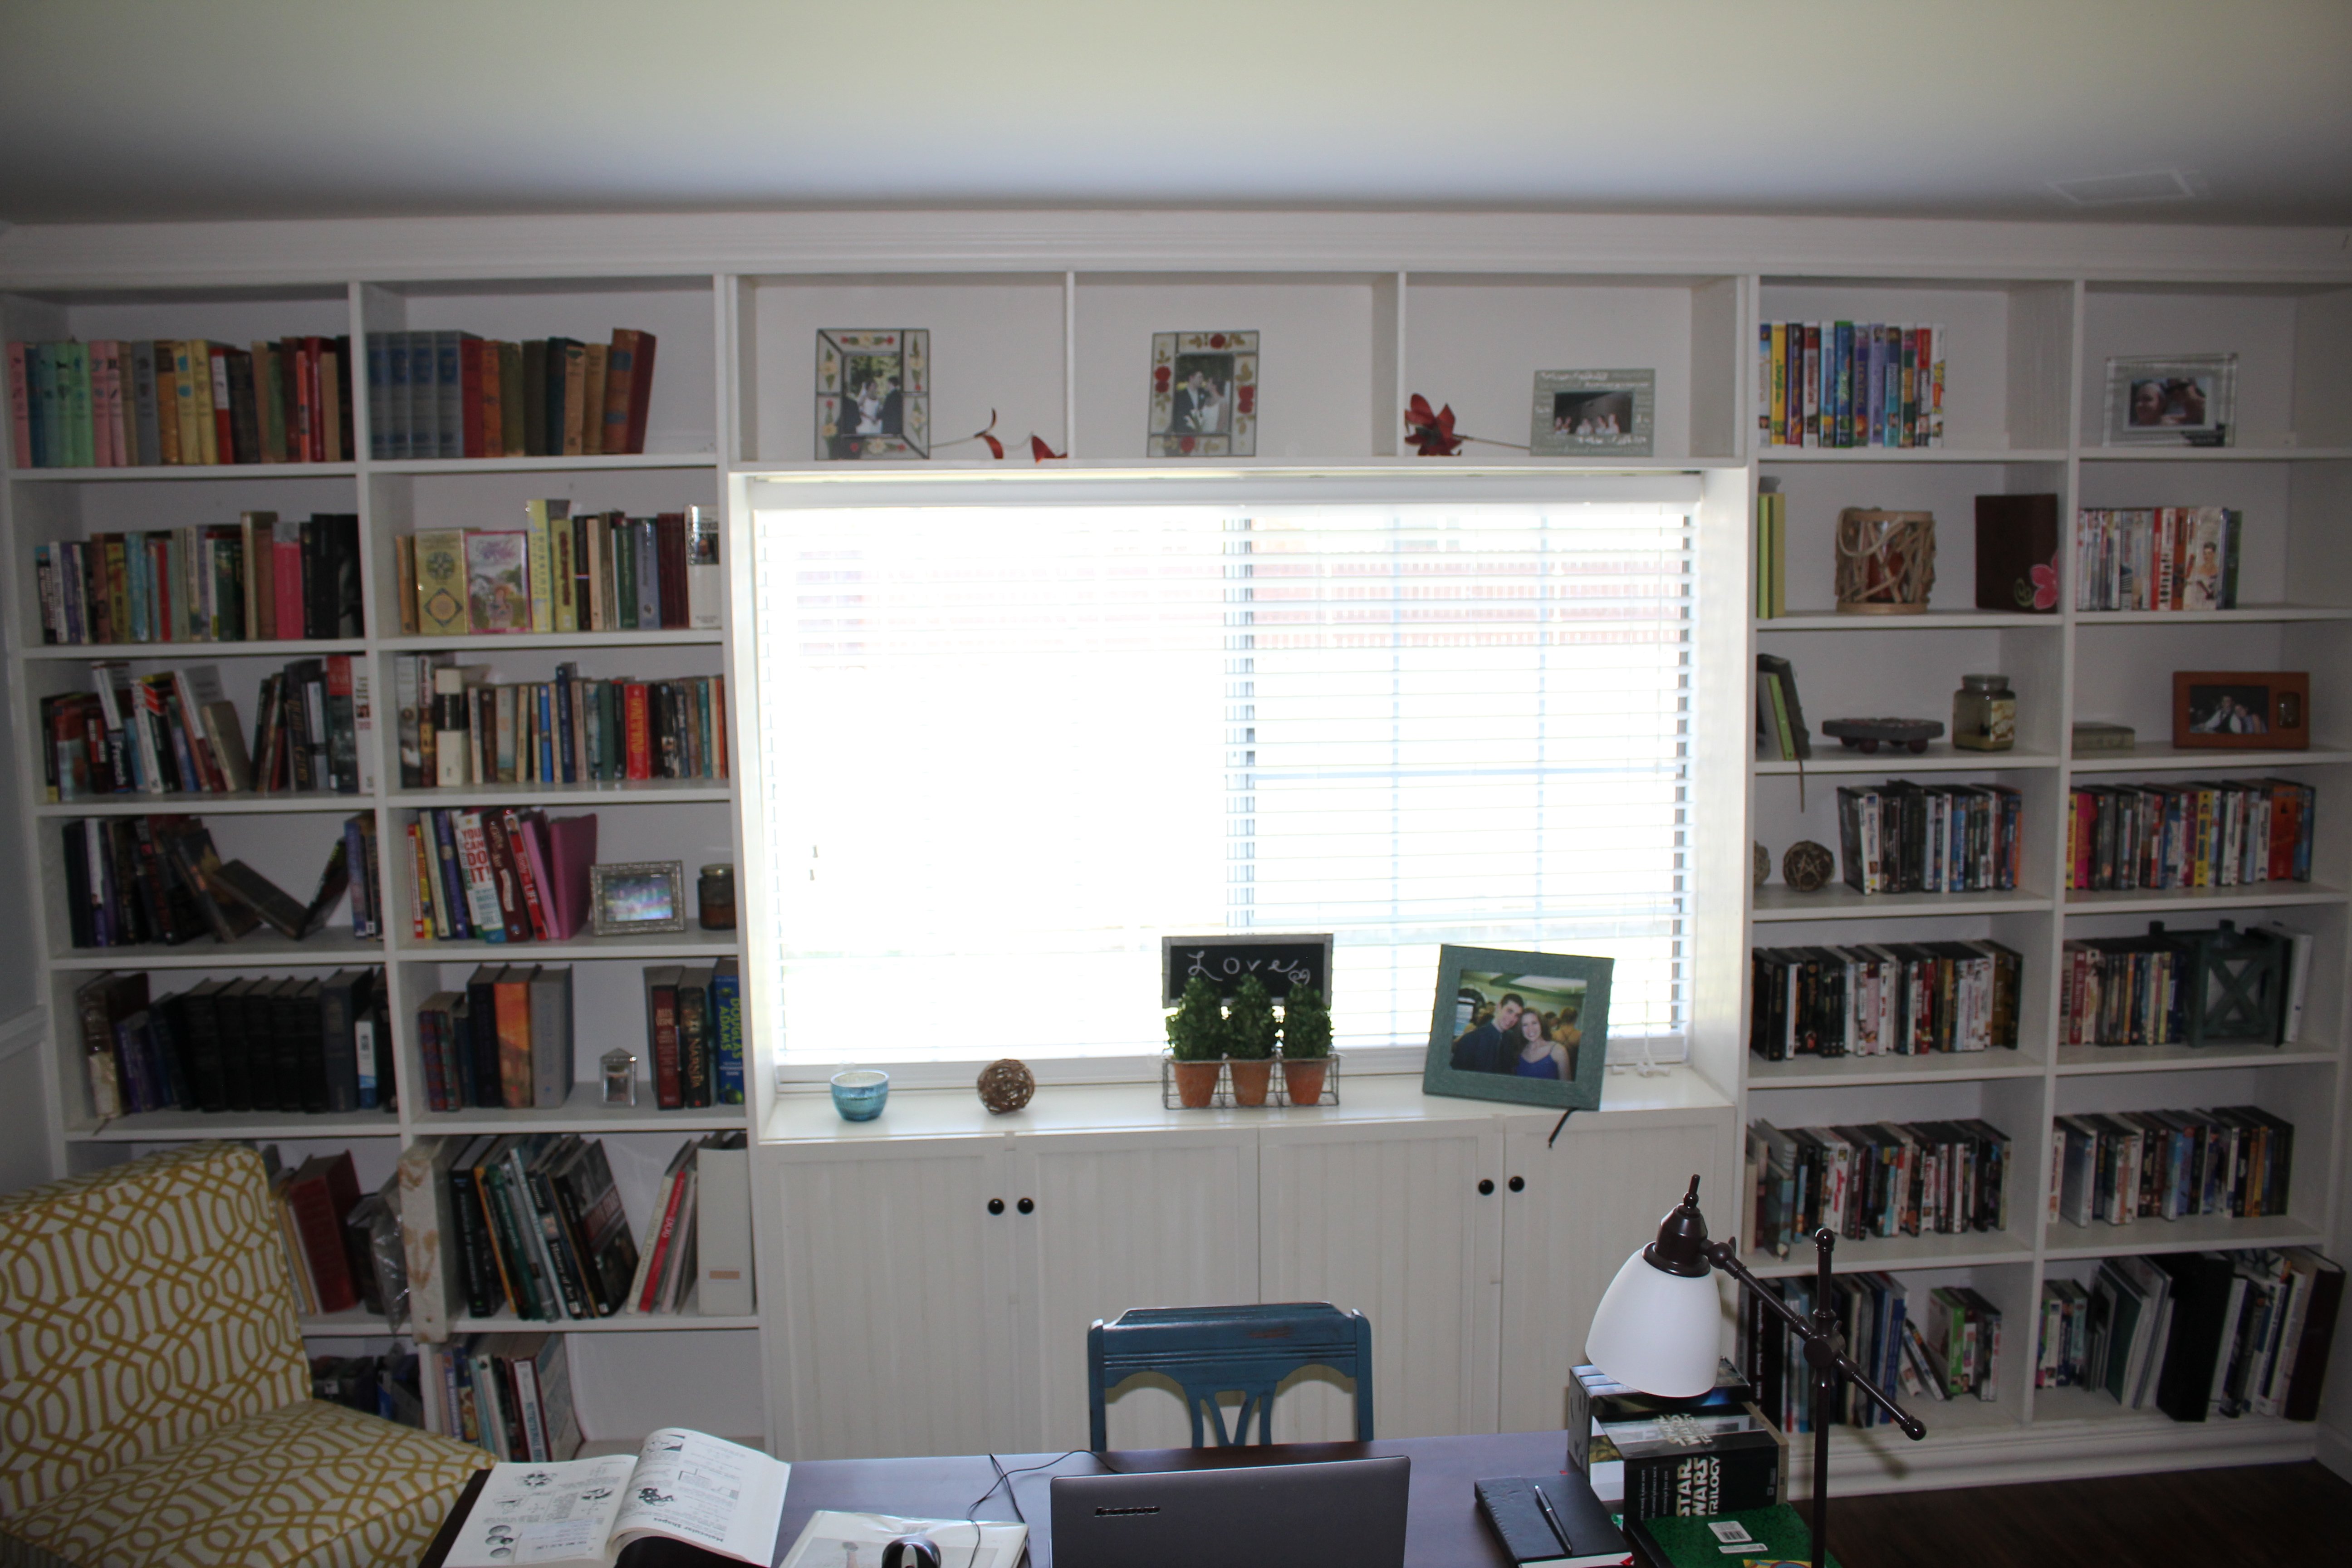
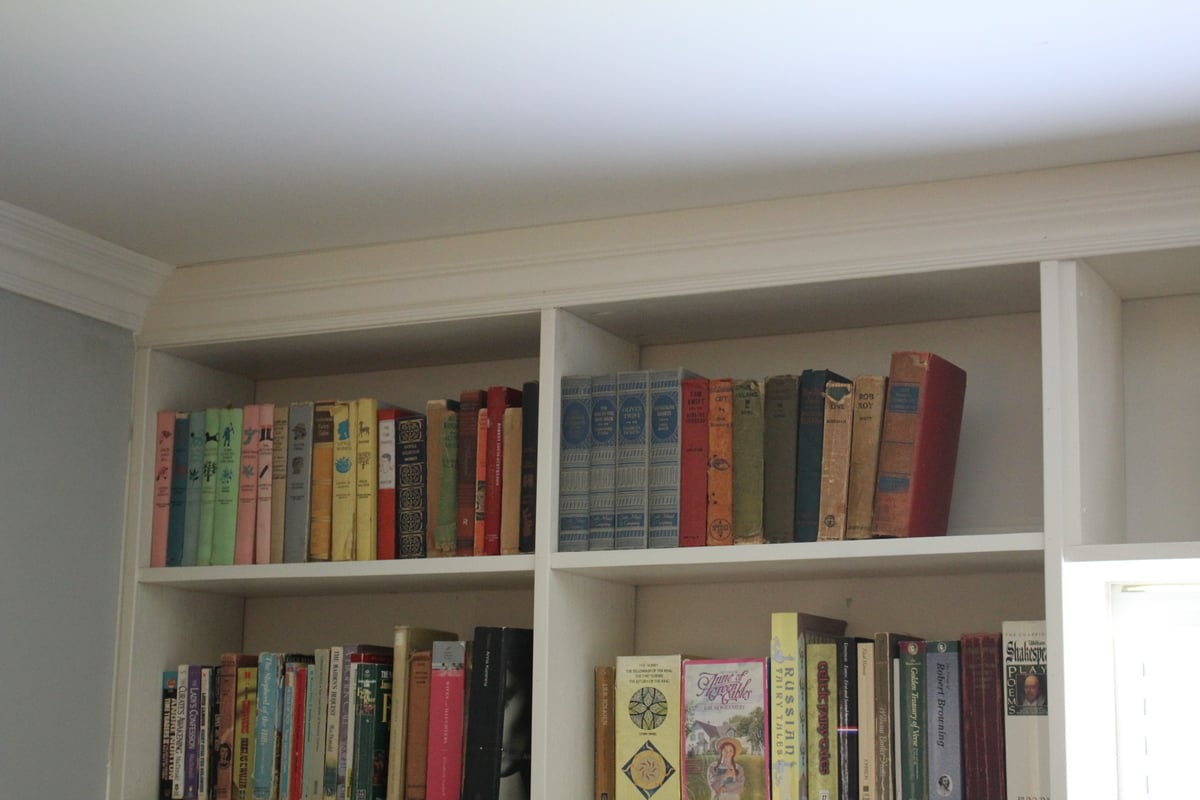
My summer-long project (admittedly, I was lazy about getting it done) was to make built-in bookshelves for our huge family room. For the bookshelves themselves I cobbled together plans from different sites, and modified them all to fit our space/needs, and the cabinets are built after Ana's cabinet plans, modified to be as thin in depth as the bookshelves. Doors on the cabinets were a pain, but they are also my favorite part of the whole shebang with their beadboard inserts. Moulding at top and bottom finishes out the look, and caulking in all the gaps helps give it cohesion.
I could not be happier with my built-ins. I feel like I have a library now, and it got all of our books out of boxes and onto shelves. Yay!
This entire project cost around $80-$100 because I acquired quite a bit of free wood off Craigslist. I also got wood from the scrap bin at Home Depot for great discounts. Since this would've likely cost near 1k to buy, I am quite pleased.
Anytime you are making projects without real plans, it take quite a bit longer and more mistakes are made. But, to have something completely customized to your needs and space is better than any price tag/time you can put on it!
Tools used: drill, kreg mini pocket hole jig, orbital sander, countersink bit, miter saw, jig saw, HPLV paint sprayer, clamps, circular saw
Mon, 11/04/2013 - 16:20
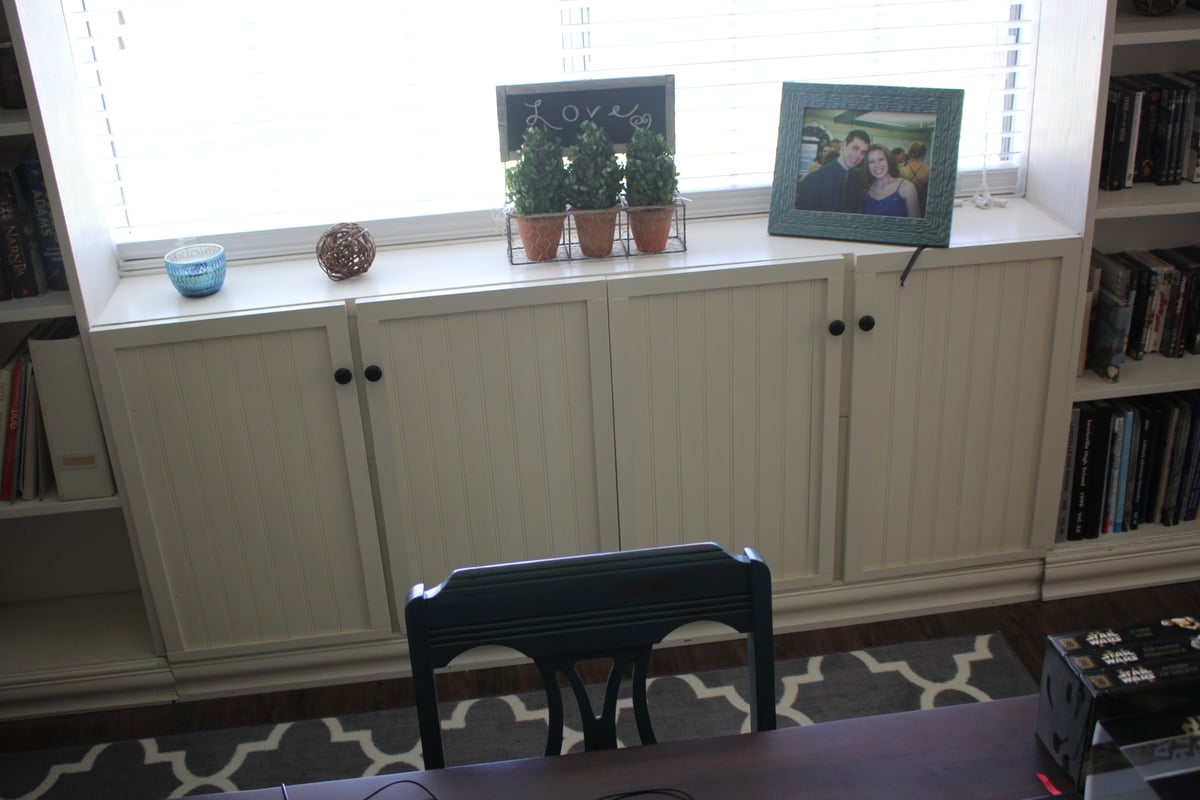
You did a wonderful job! That is beautiful! I think roman shades on the window would look awesome ;)

In reply to You did a wonderful job! That by Mrswhetstone
Mon, 11/04/2013 - 16:23
Thanks, Lindsey! Great idea! We hate the current blinds, so those will definitely get replaced when we get around to it (these were free off Craigslist : ) )

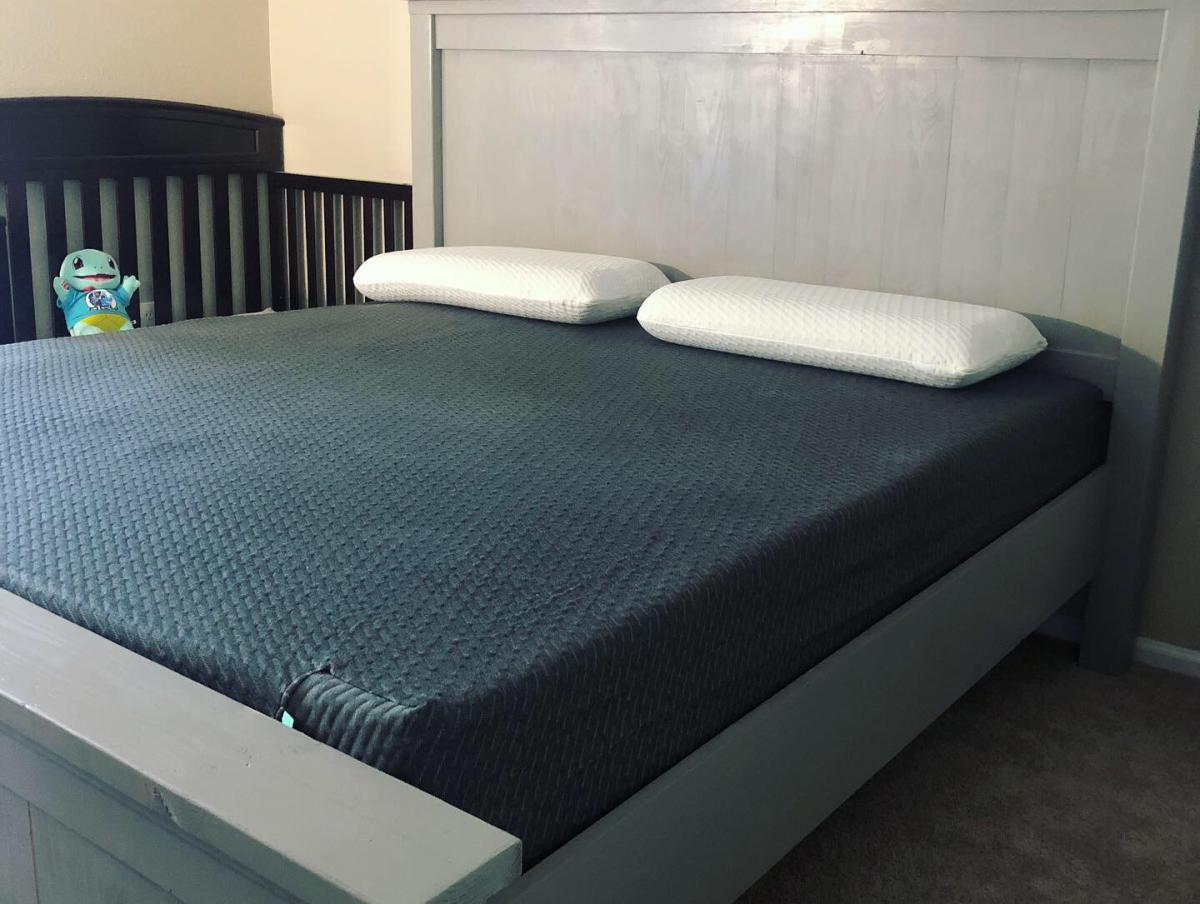
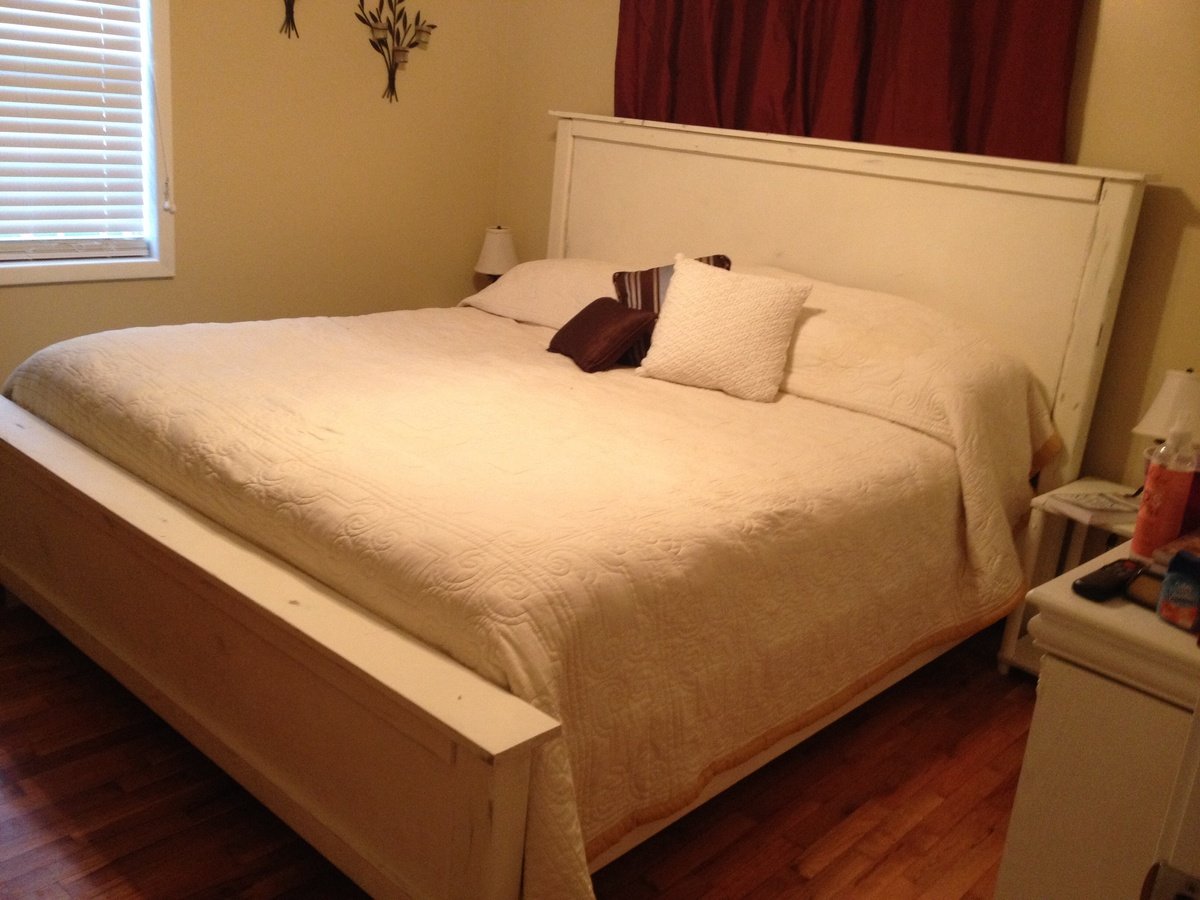
I made this bed to house the new standard king mattress that my husband bought. The hardest part is probably picking the straightest lumber possible. Straight lumber would eliminate having to wrestle with the boards to line up/square and minimize power tools used. I had to ask my husband help with the screwing bowed boards together, but other than that I did everything by myself.
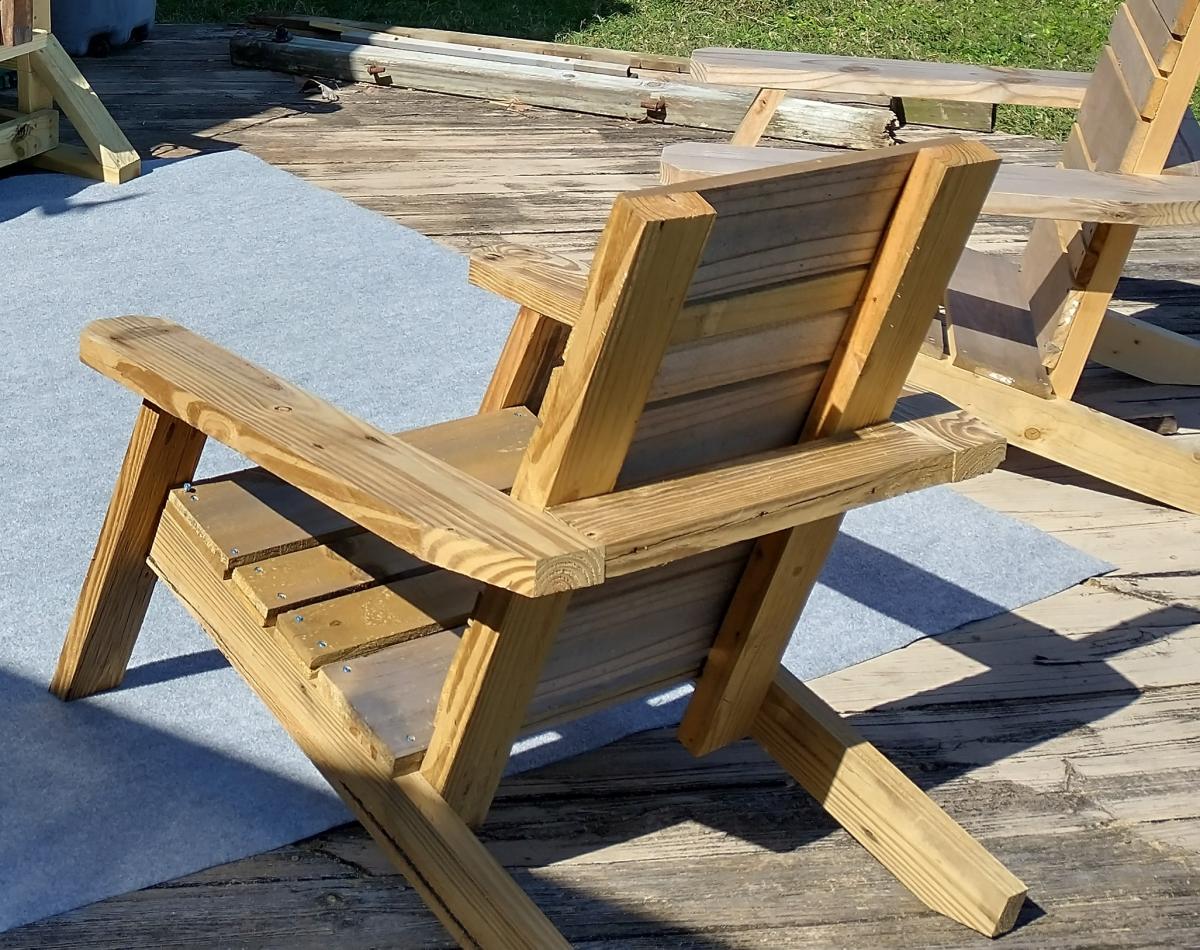
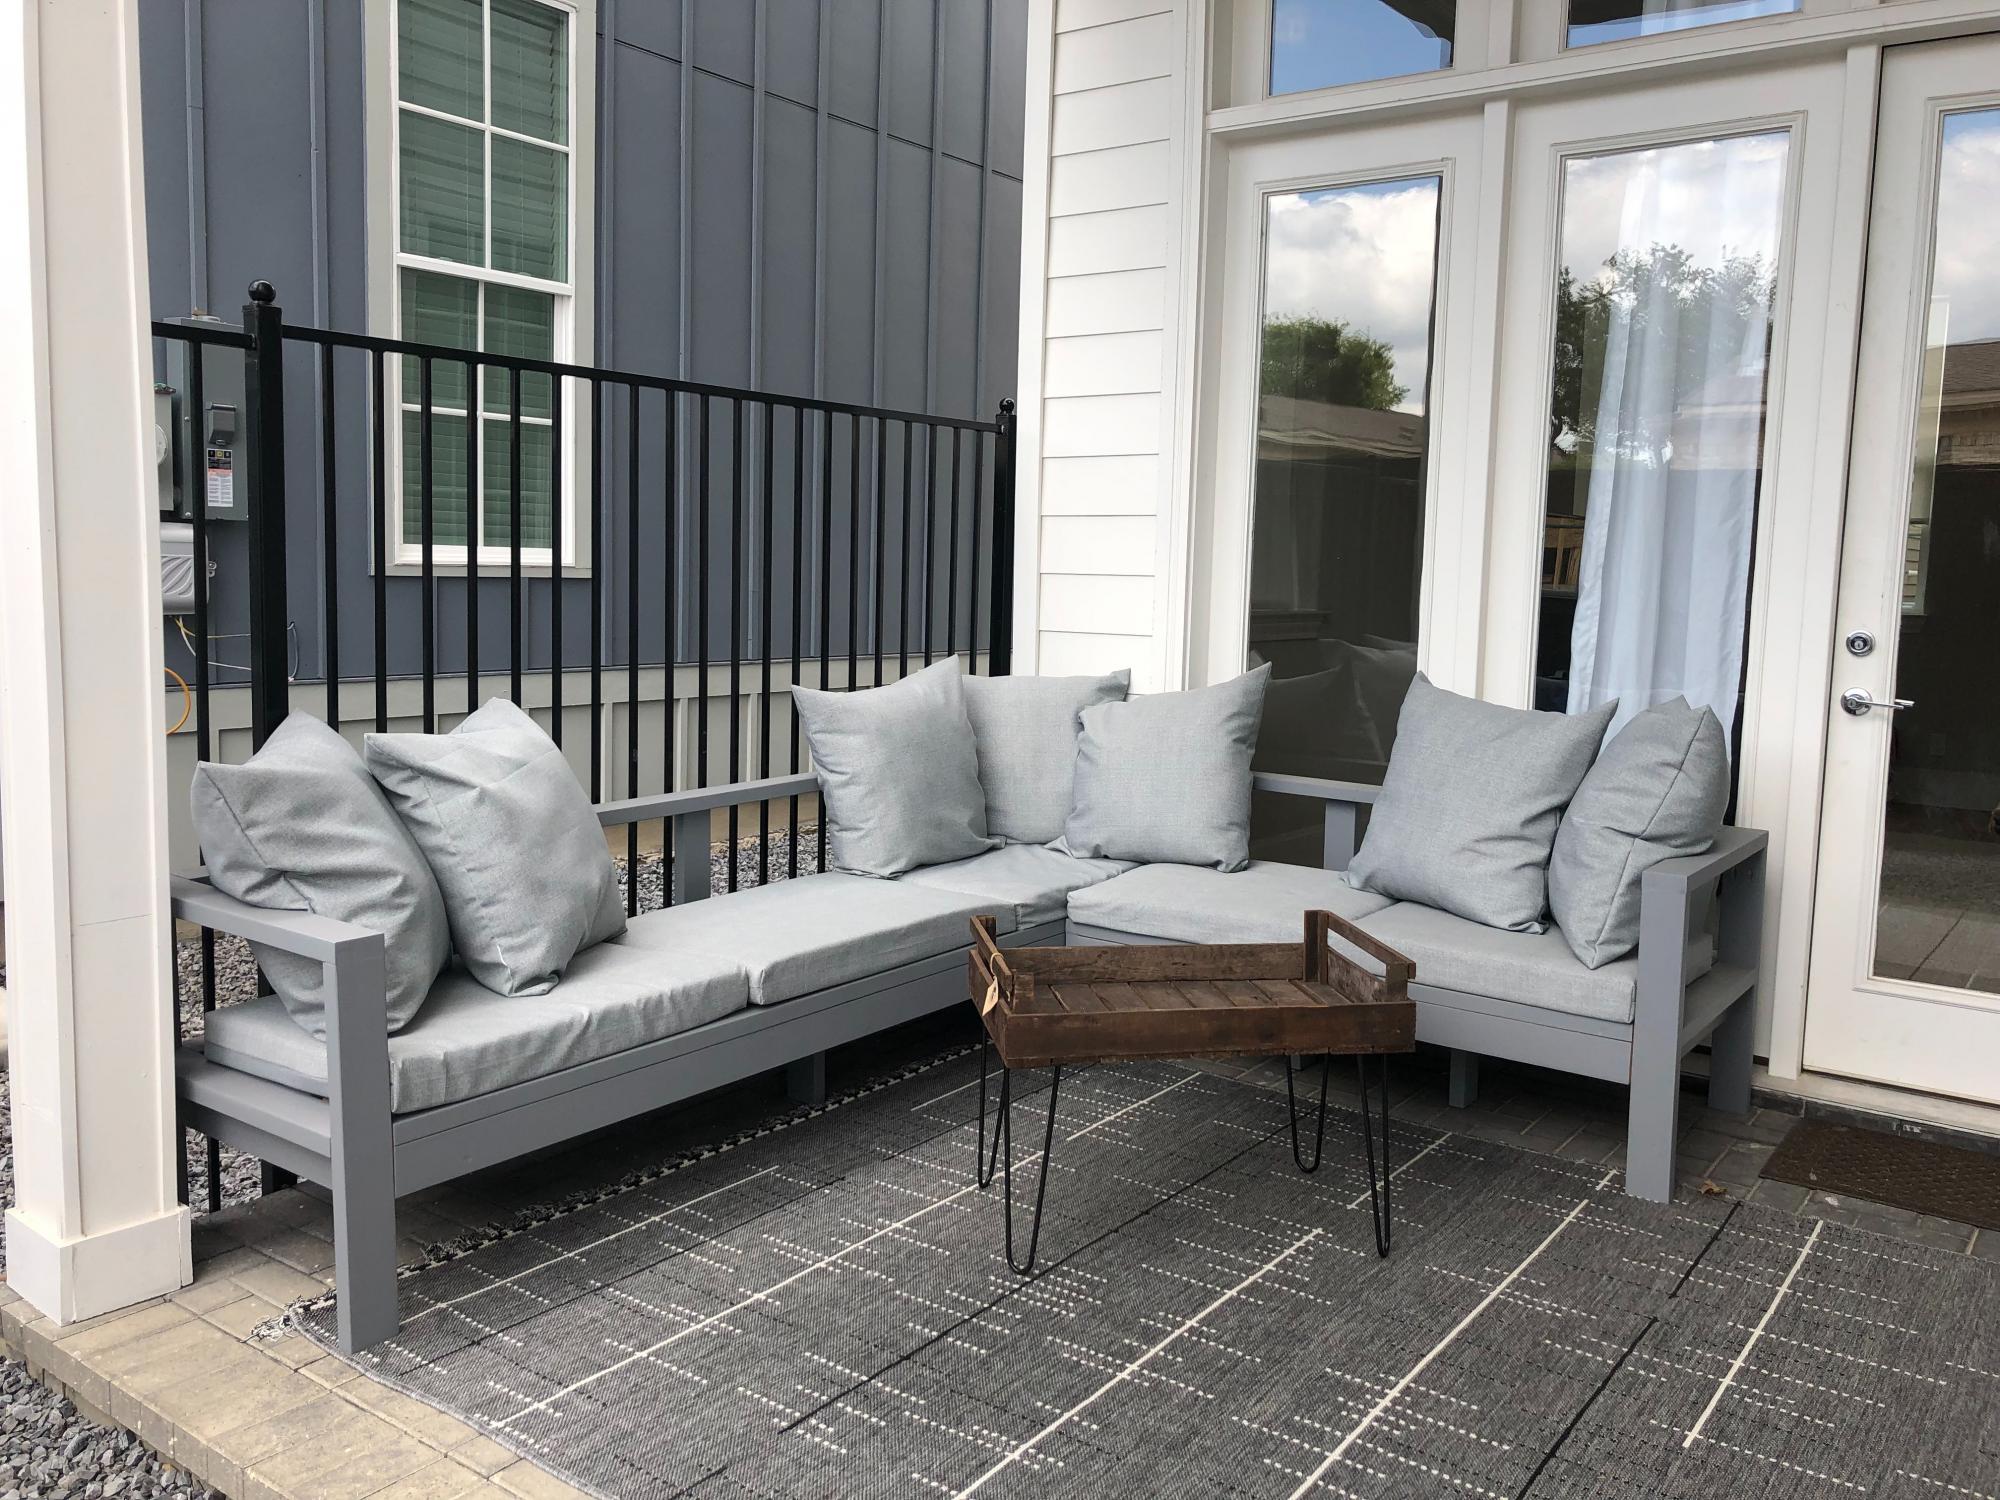
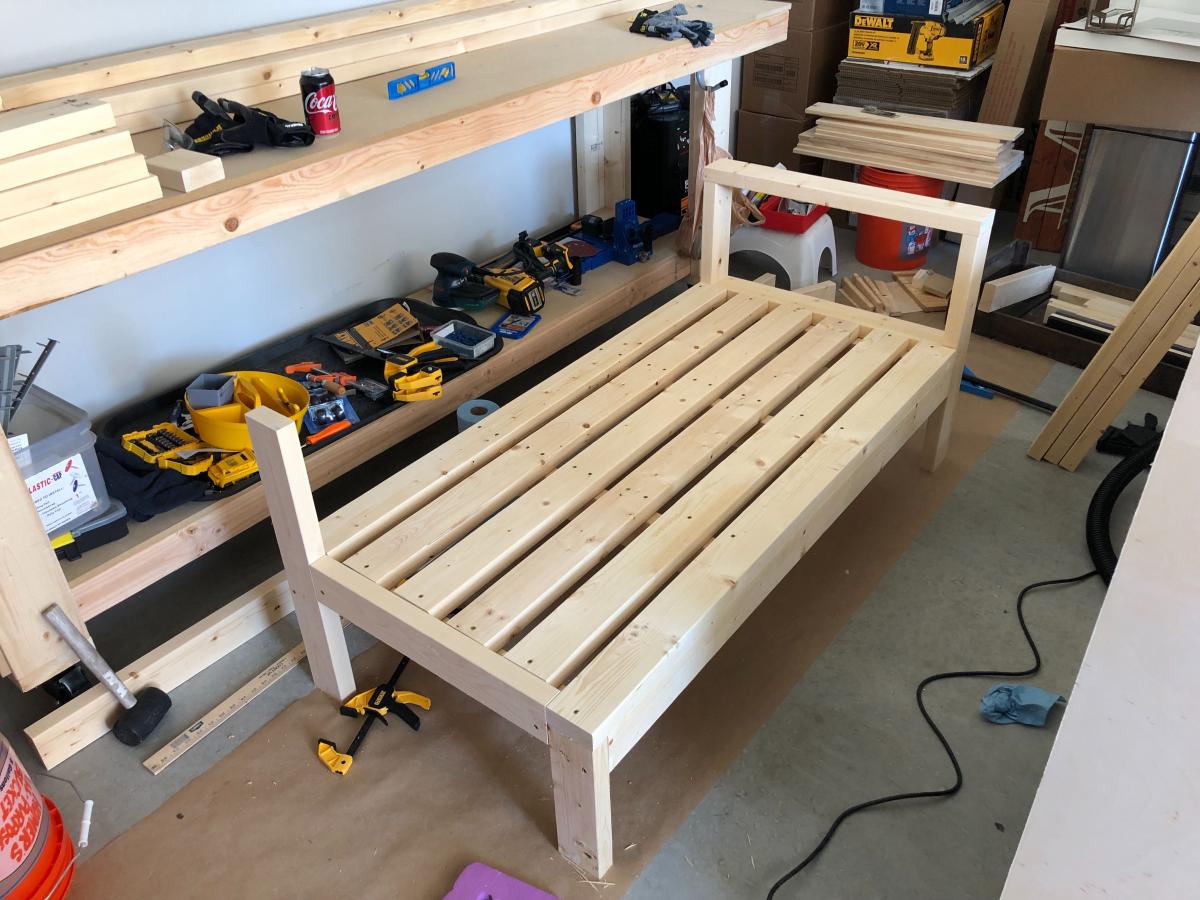
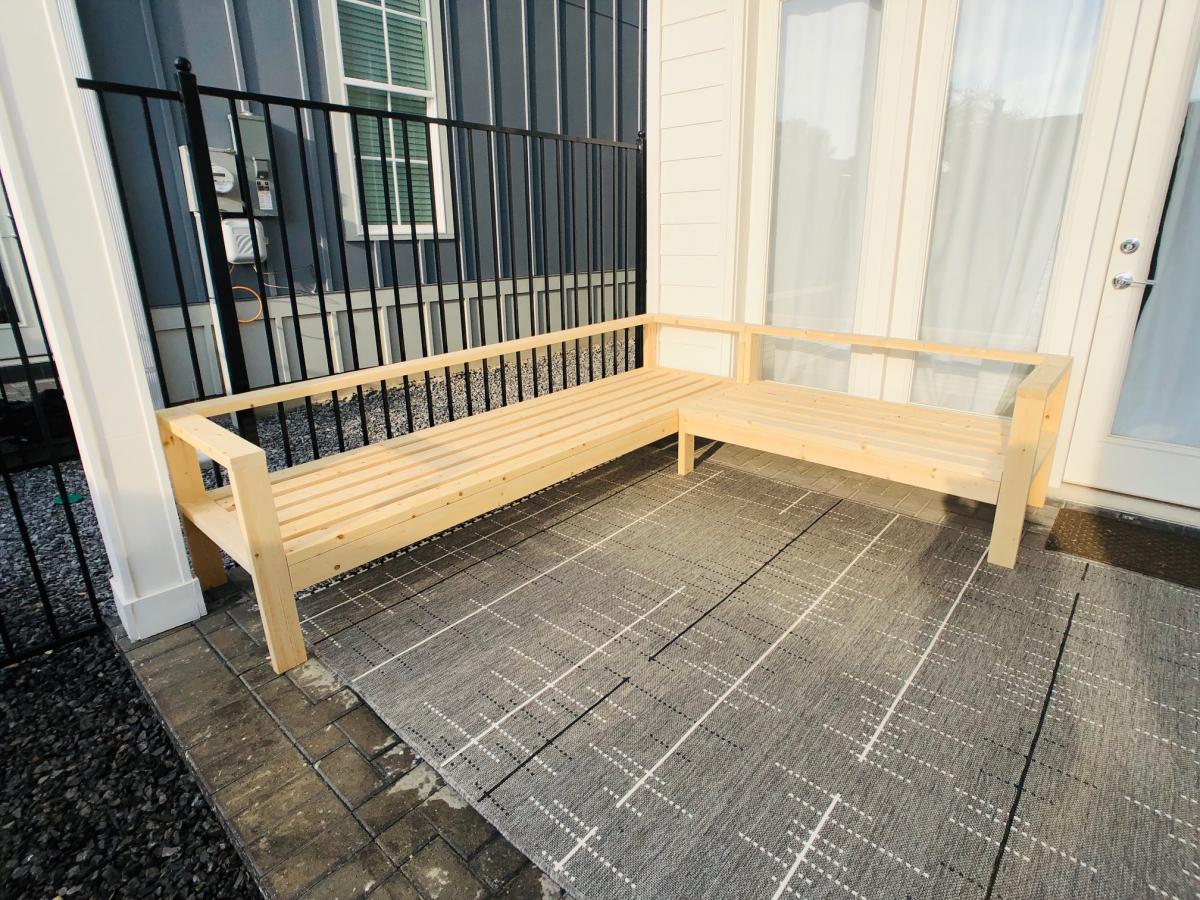
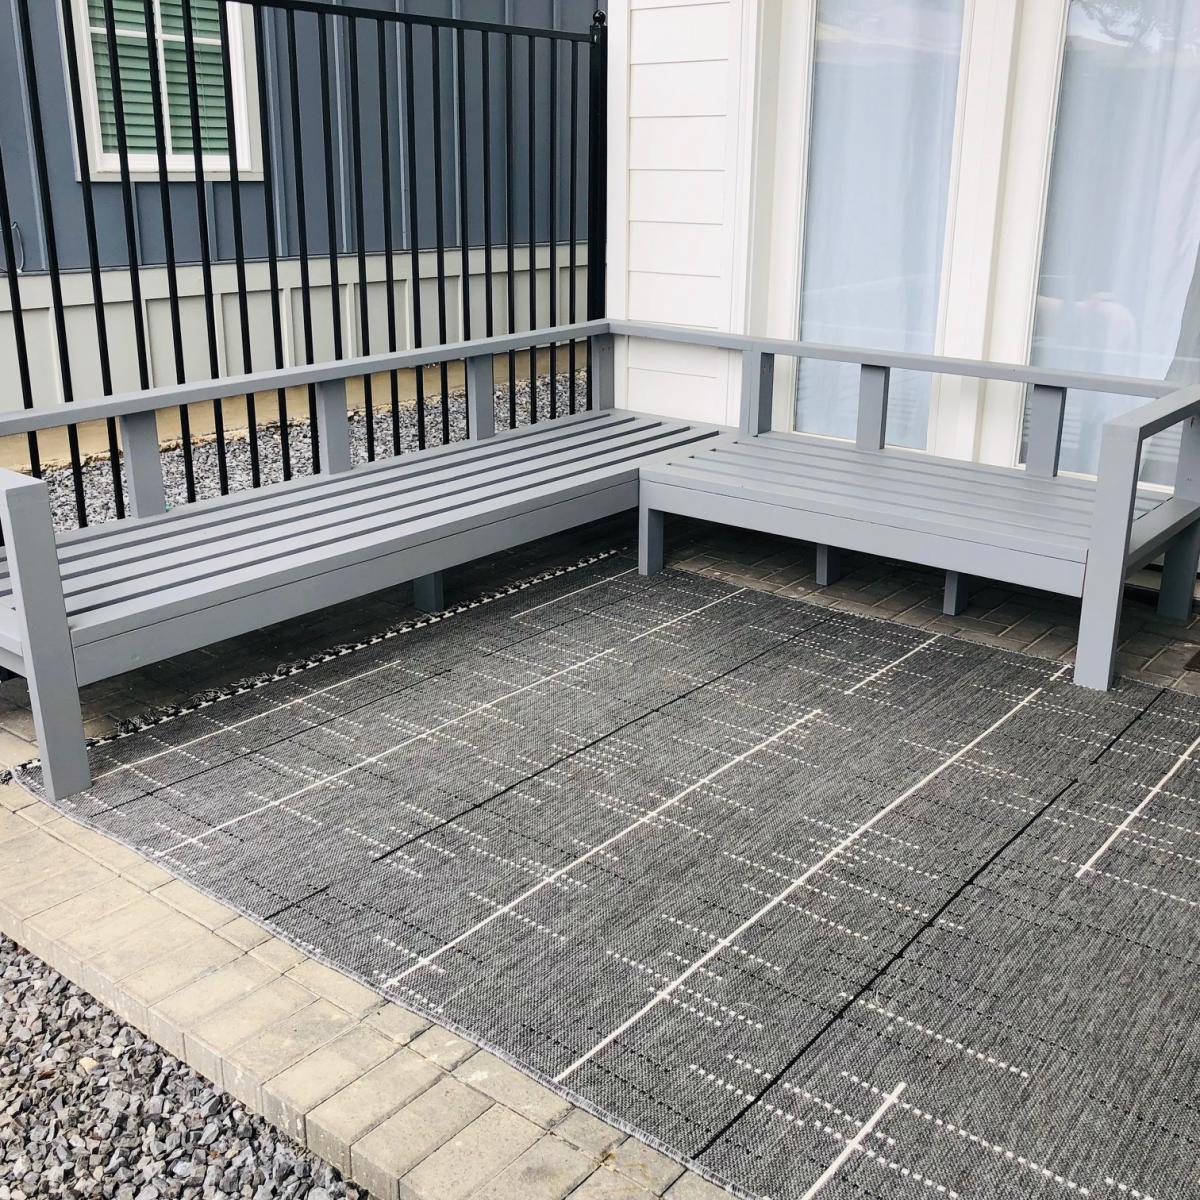
had some fun with the back and seat slat design and did an angle rather than a 90 degree where the arms meet the front support. also used a 2x6 for a larger arm rest. i think it turned out well. thanks Ana

Thu, 03/30/2023 - 10:13
Thanks for sharing, it looks awesome and I love the wider arm!
We've recently moved into a new house and I've wanted a bench for the mudroom entrance from the garage. This bench is perfect.
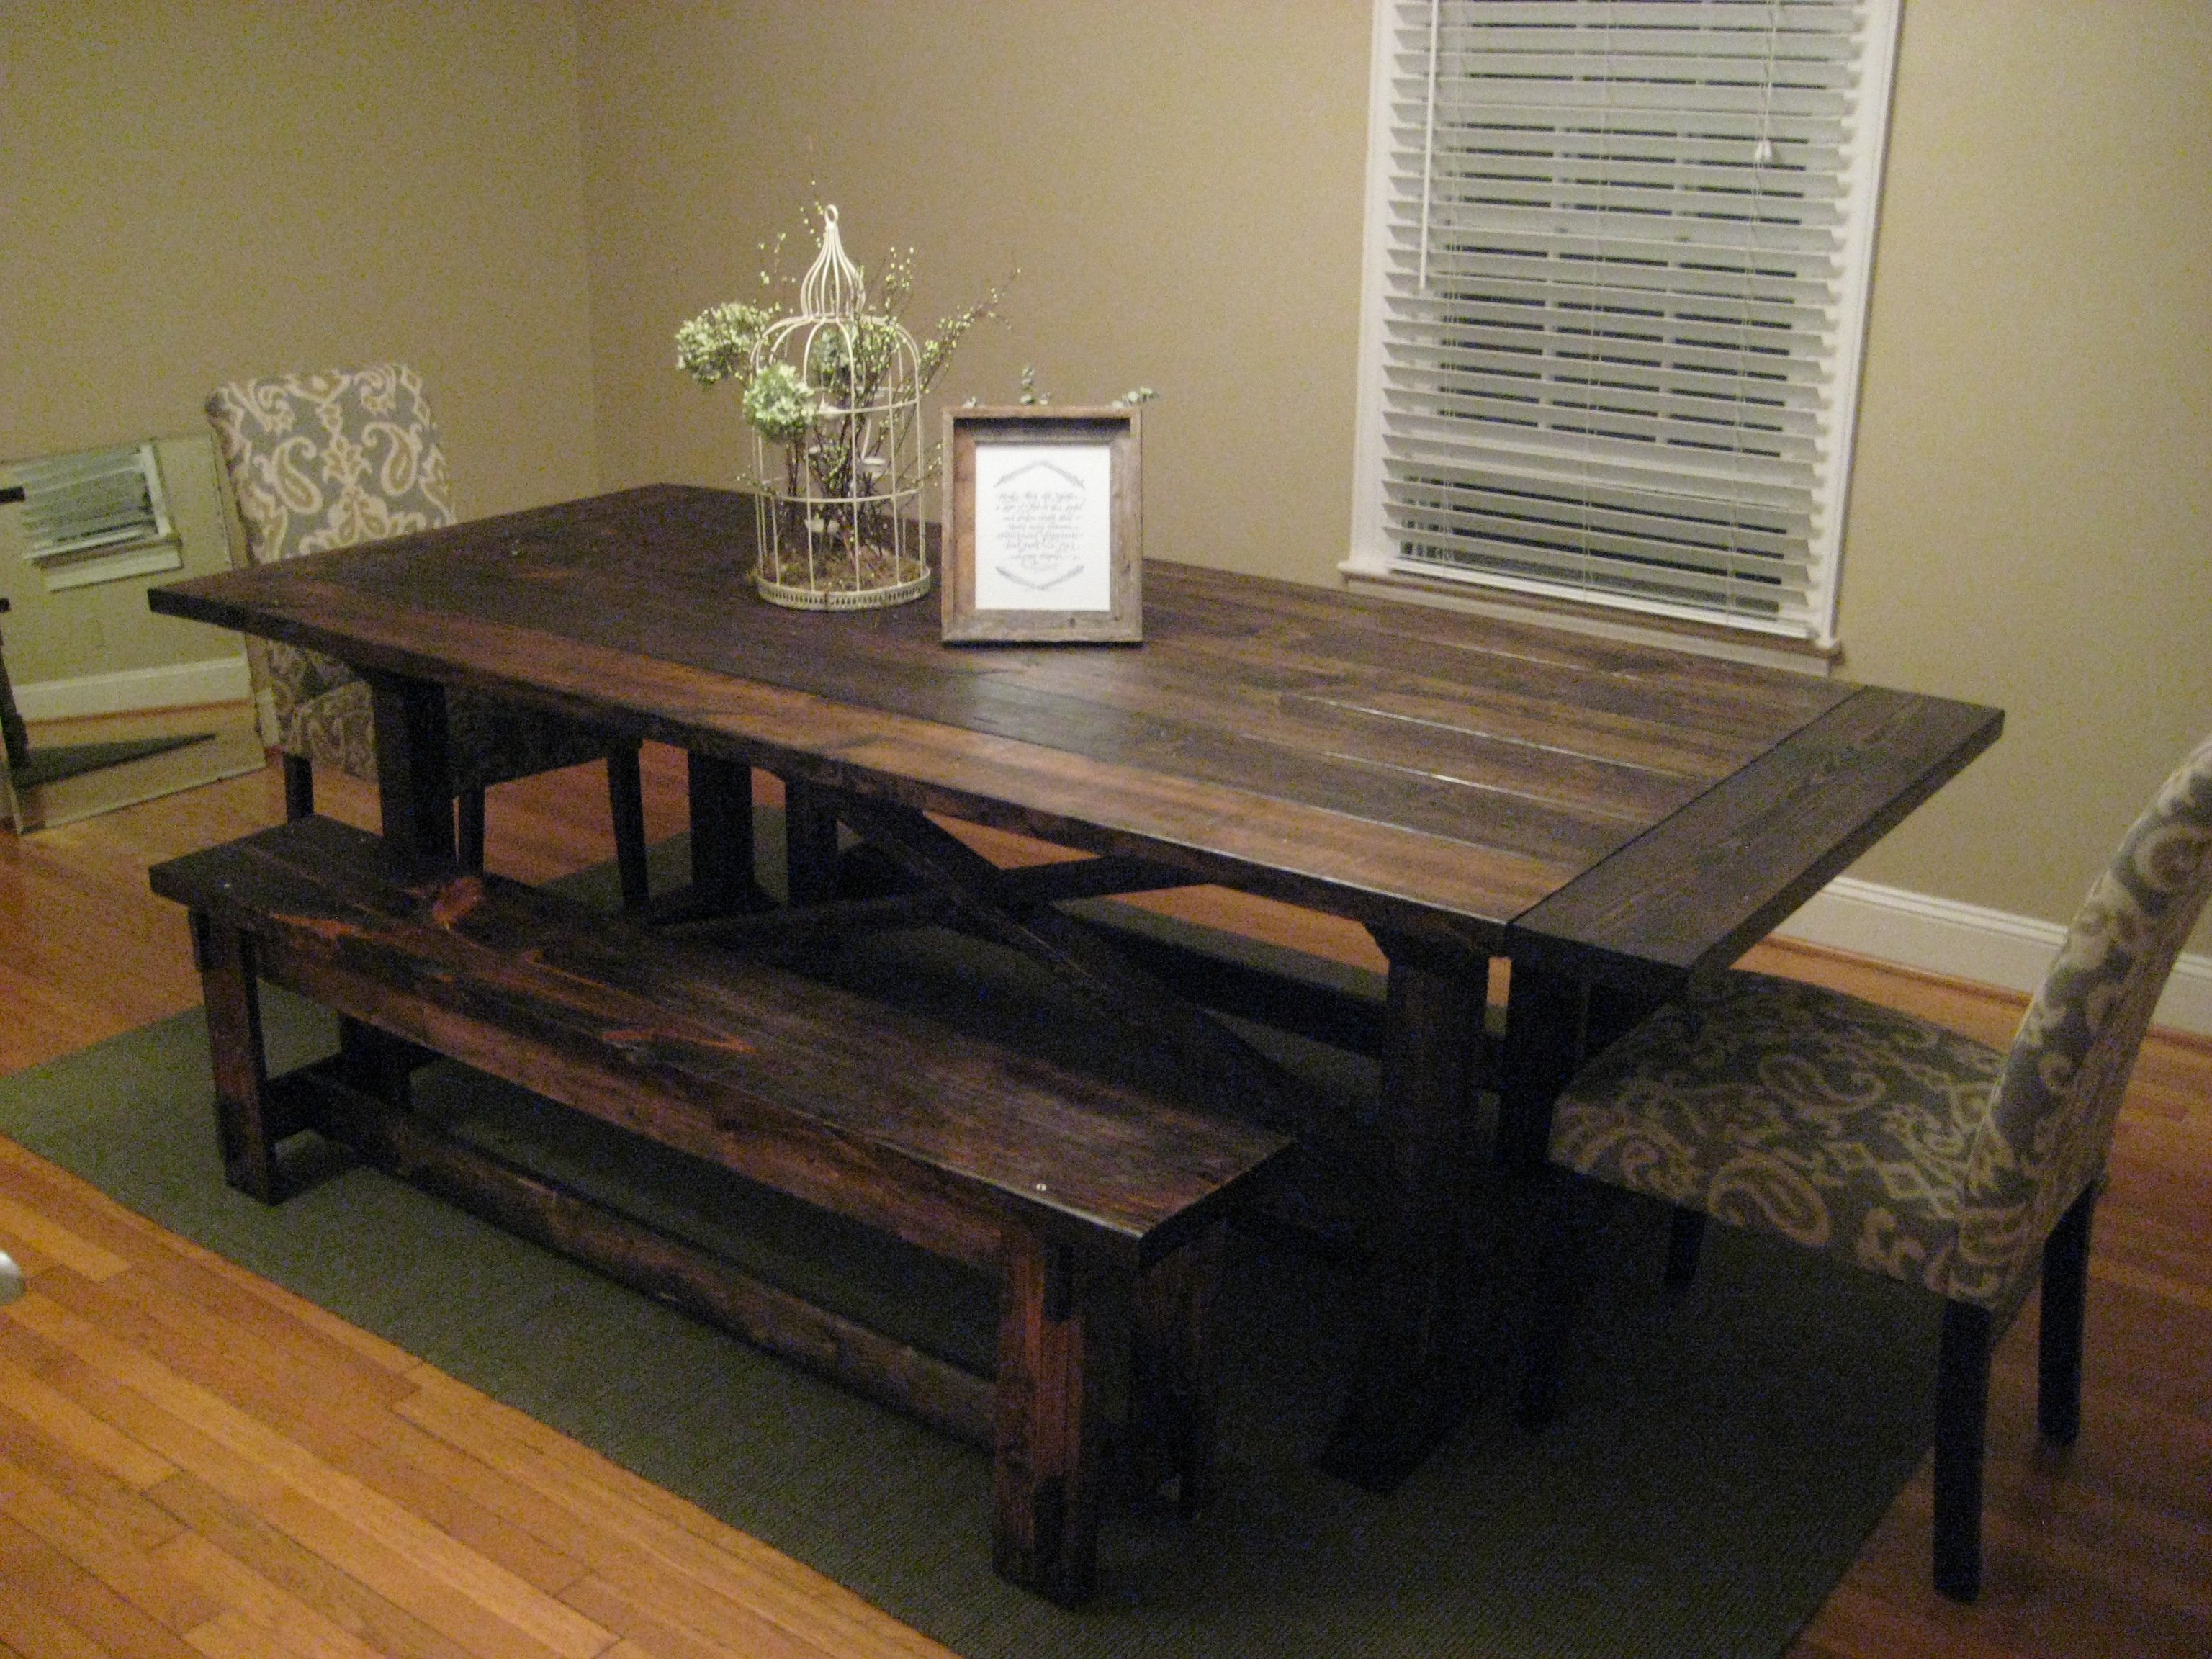
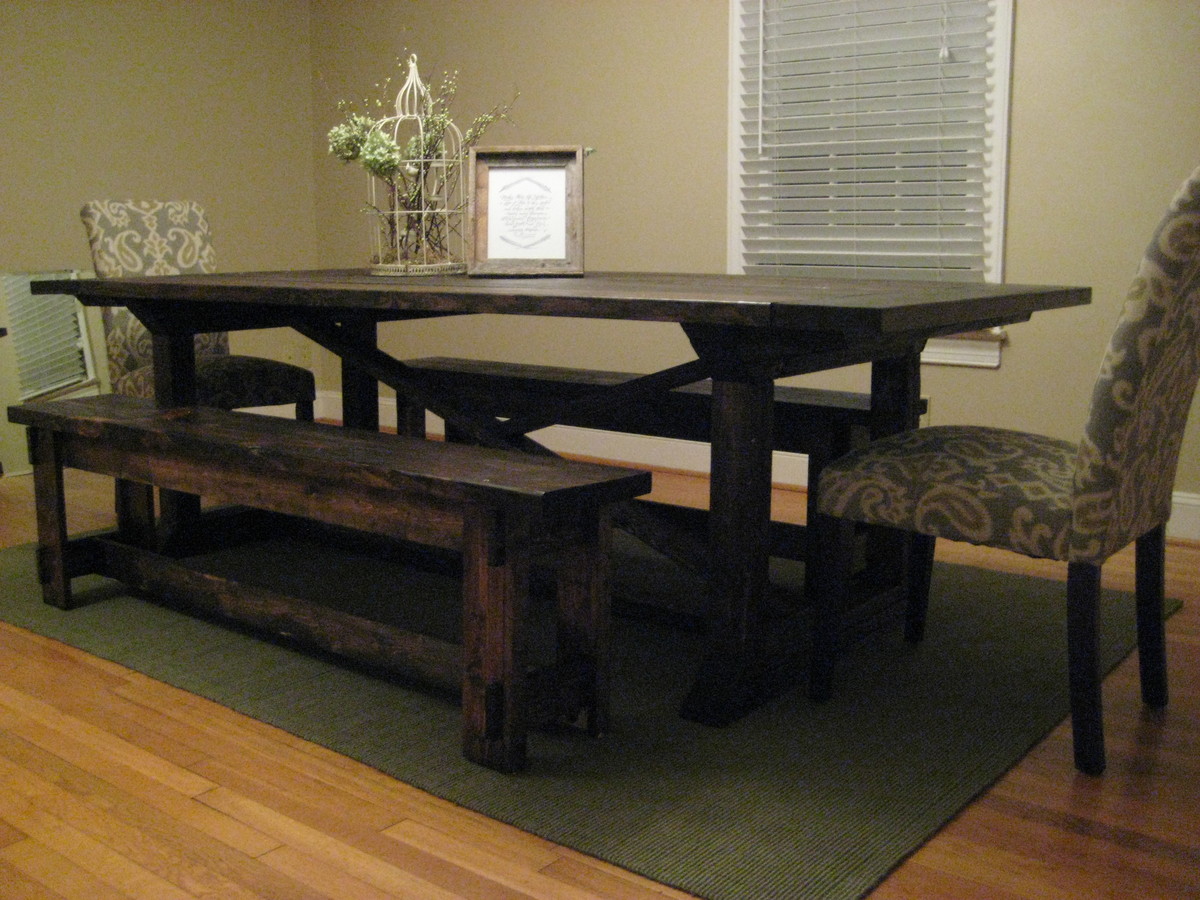
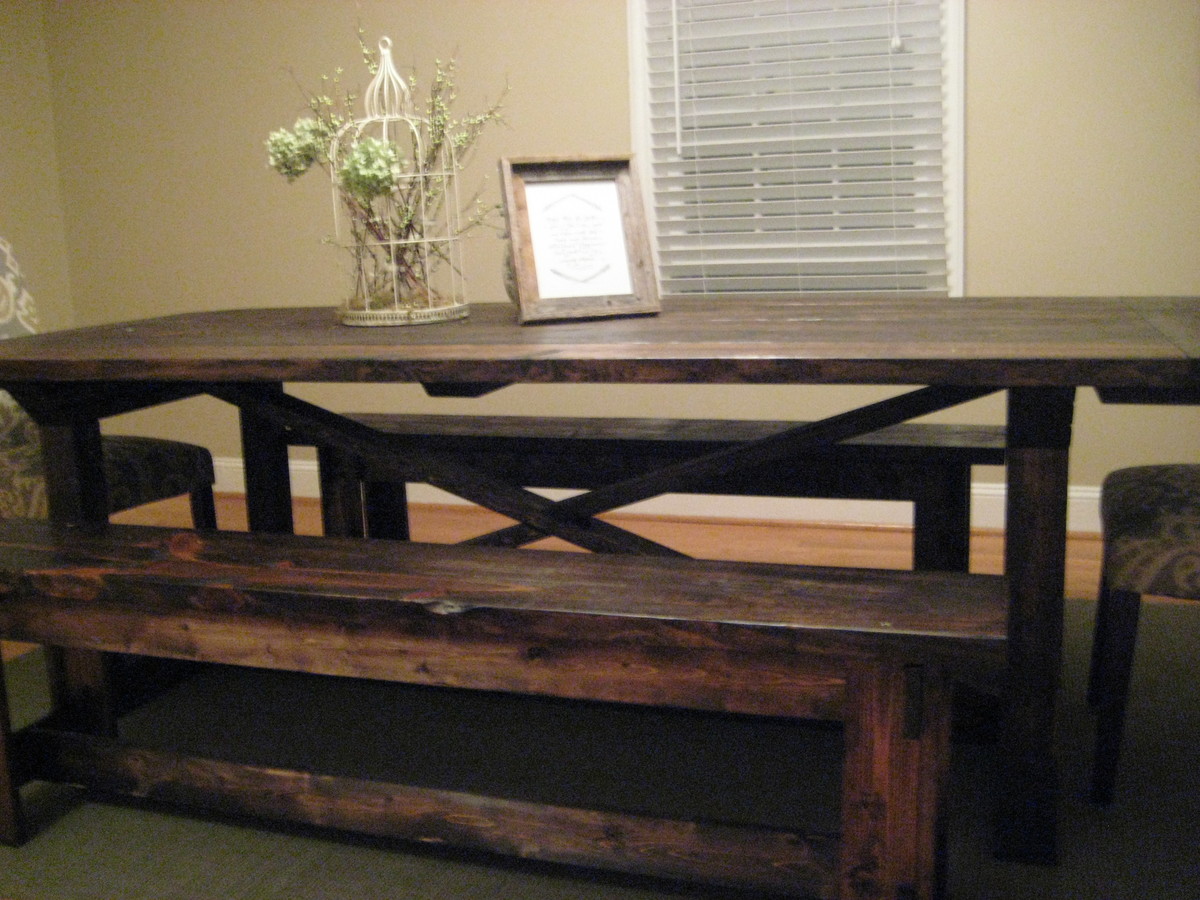
We made this table using the Rekourt Farmouse table plan. We used wider boards for the table top and simplified the angles on the legs a bit. We also built benches for each side of the table and dressed the ends with formal dining chairs. Used Dark Walnut Minwax stain and a clear satin epoxy to coat the top and bench seats. Had issues attaching the breadboards even with a Kreg Jig, Would probably do better if we did it all over again but totally happy with how it turned out.
Mon, 07/20/2015 - 07:53
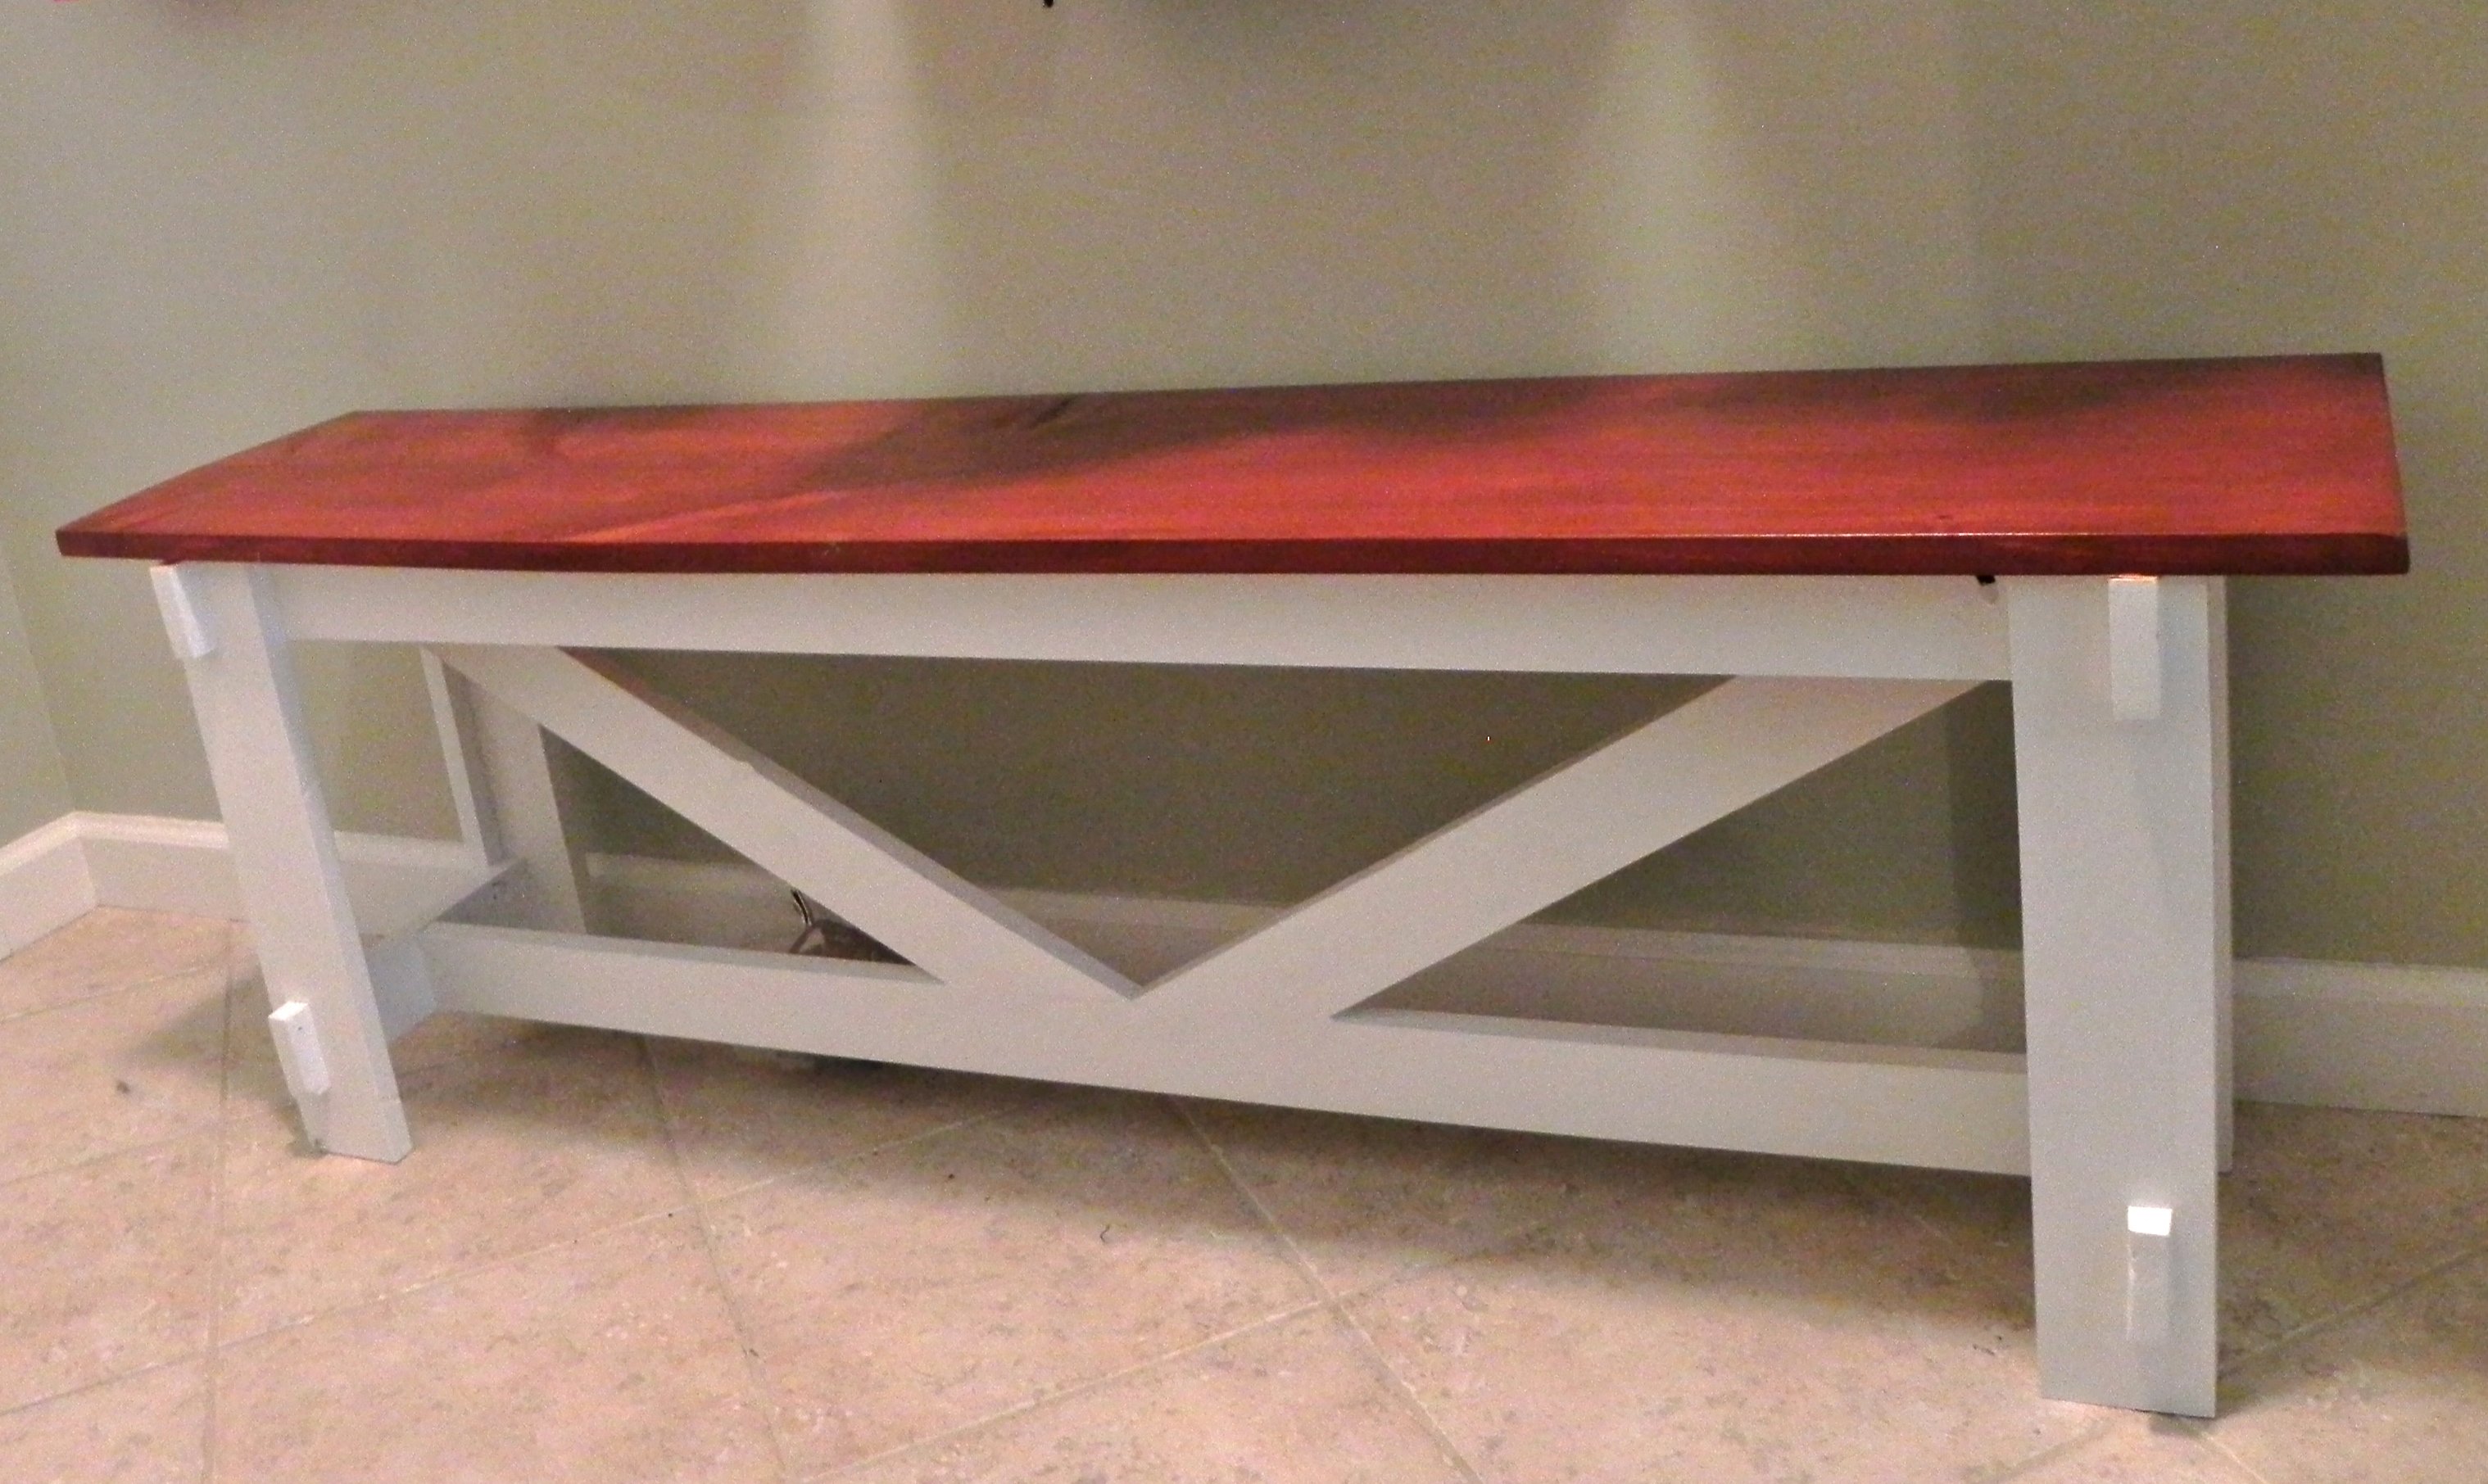
I modified Ana's plan of this bench
http://ana-white.com/2010/01/plans-rustic-bench-pottery-barn.html.
I didn't use the diagonal support beams. 1x12 for the top of the bench.
Mon, 07/20/2015 - 07:54
I modified Ana's plan of this bench
http://ana-white.com/2010/01/plans-rustic-bench-pottery-barn.html.
I didn't use the diagonal support beams. 1x12 for the top of the bench. Adjusted the length to make sure it fit right under the table in between the legs. Extremely sturdy without the diagonal supports.

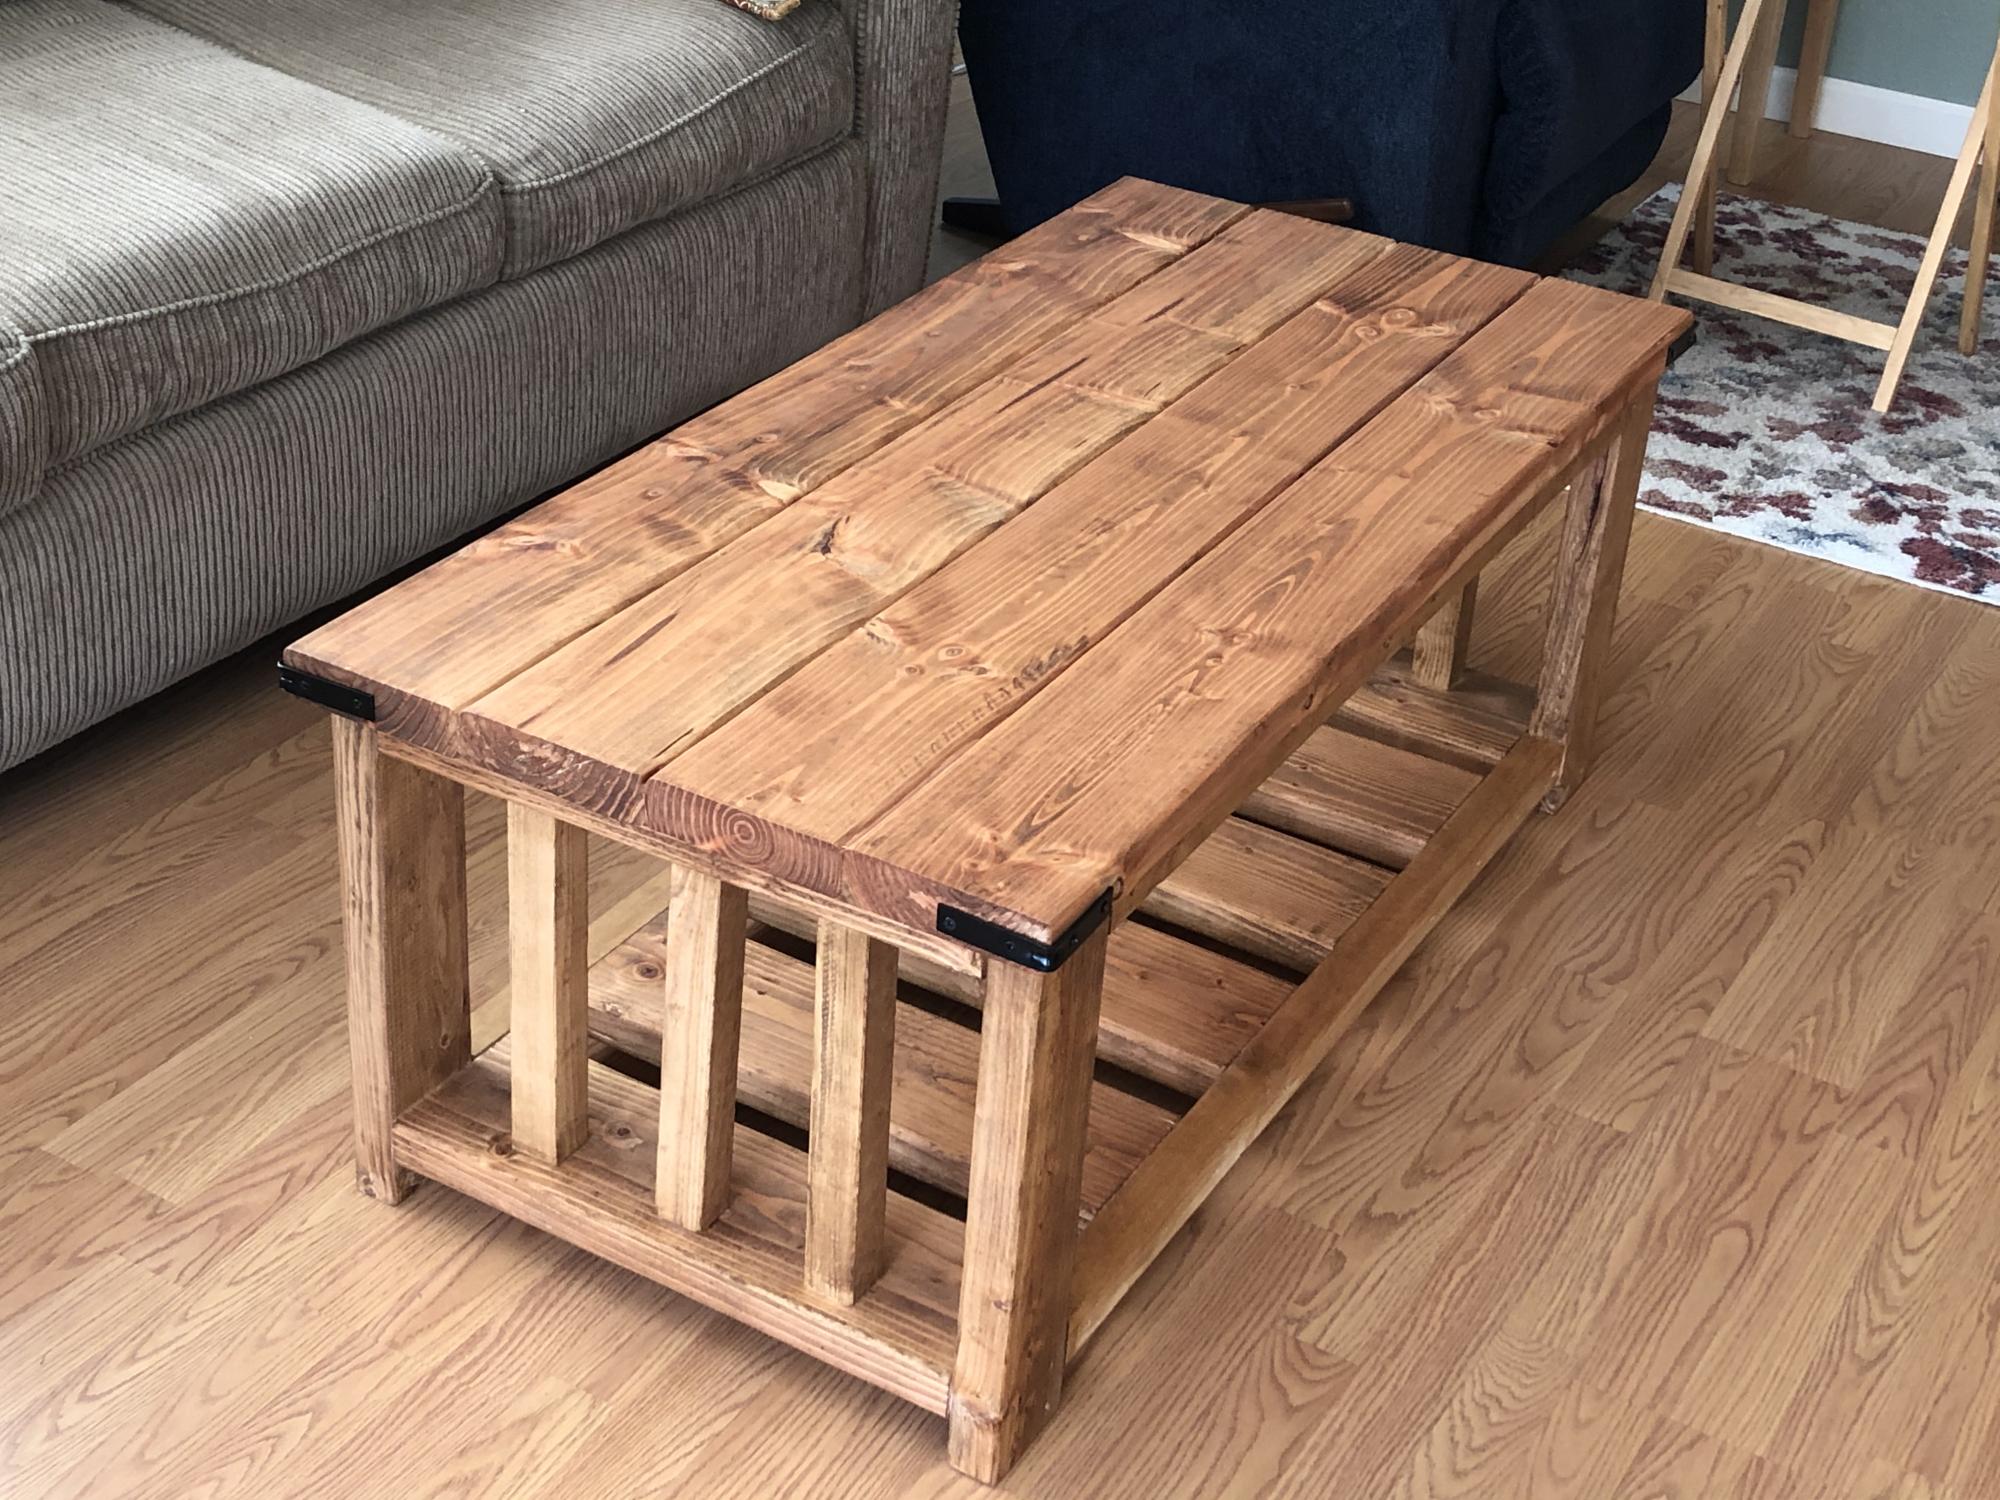
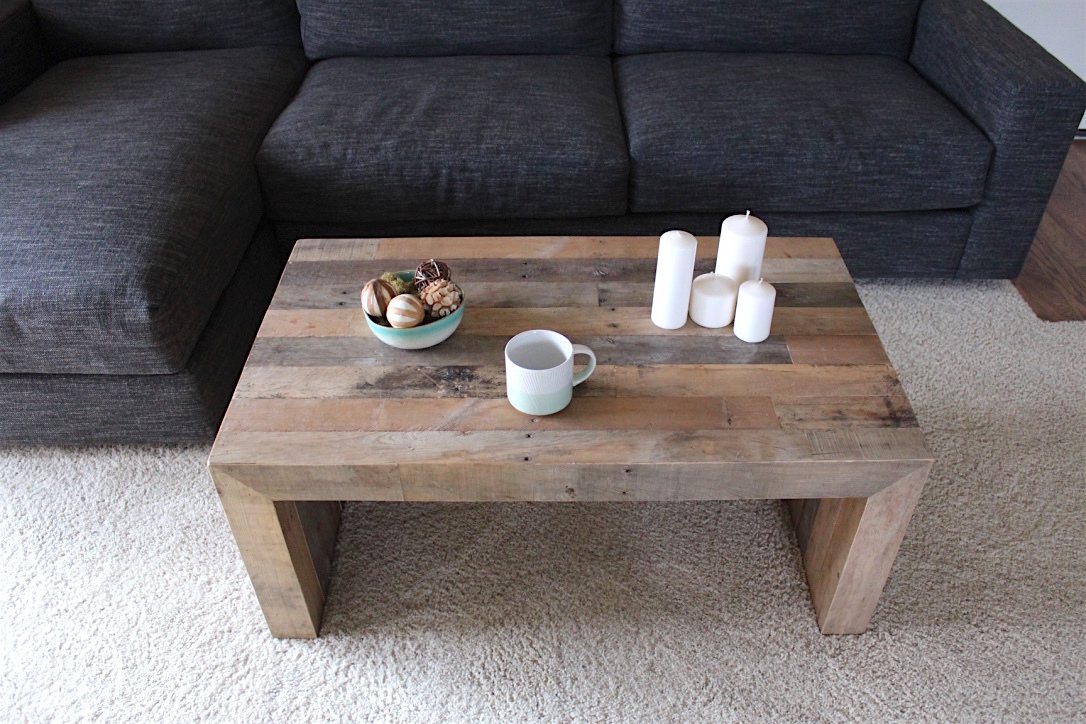
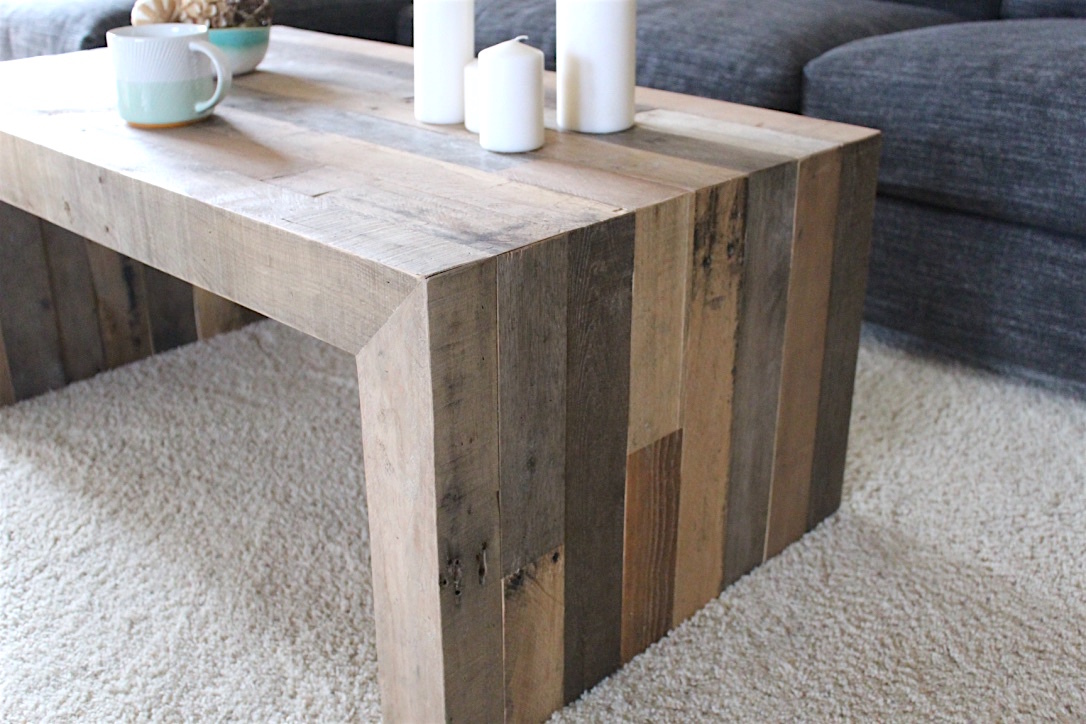
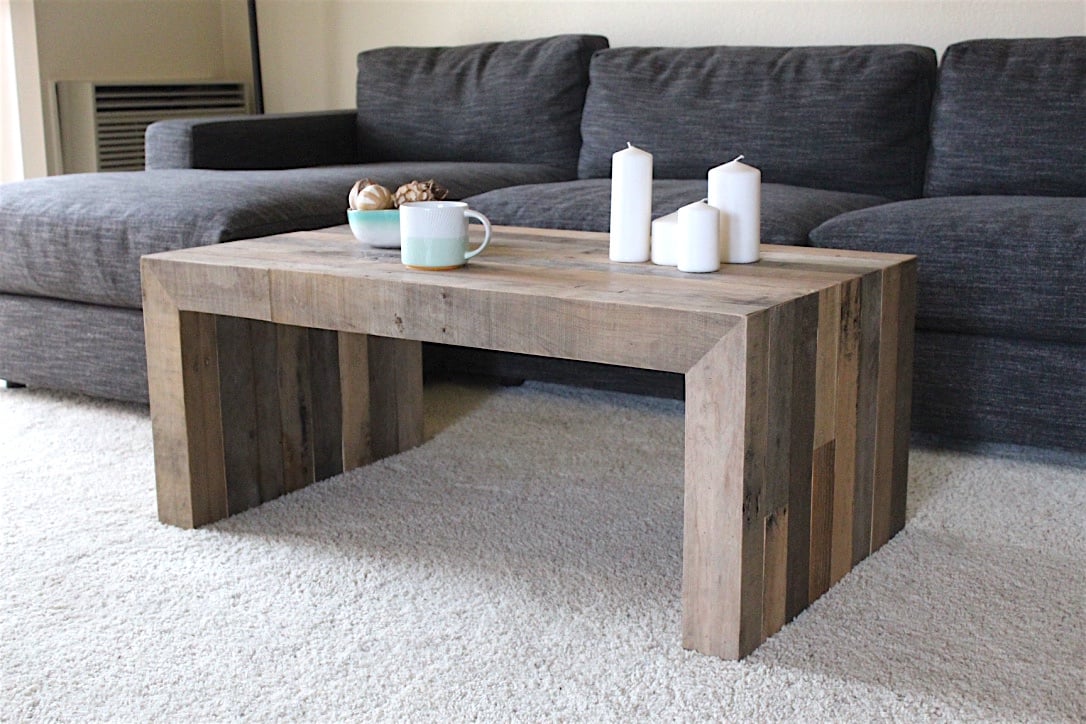
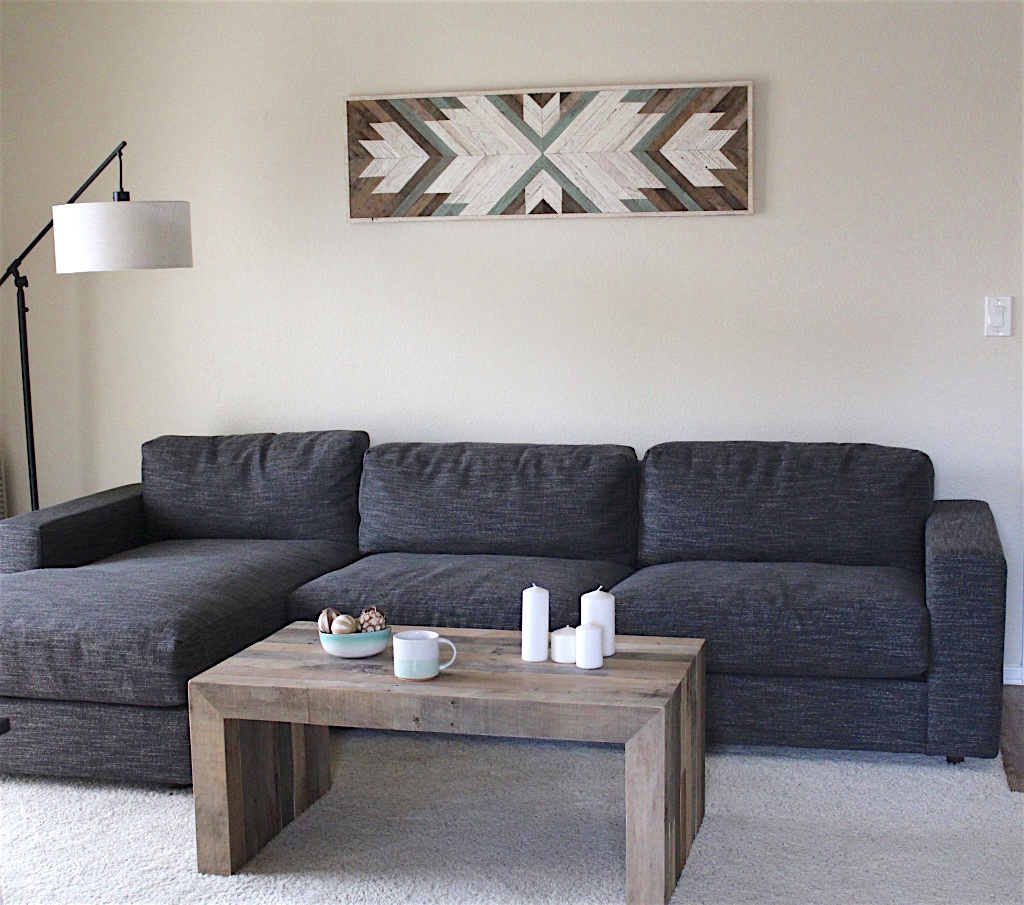
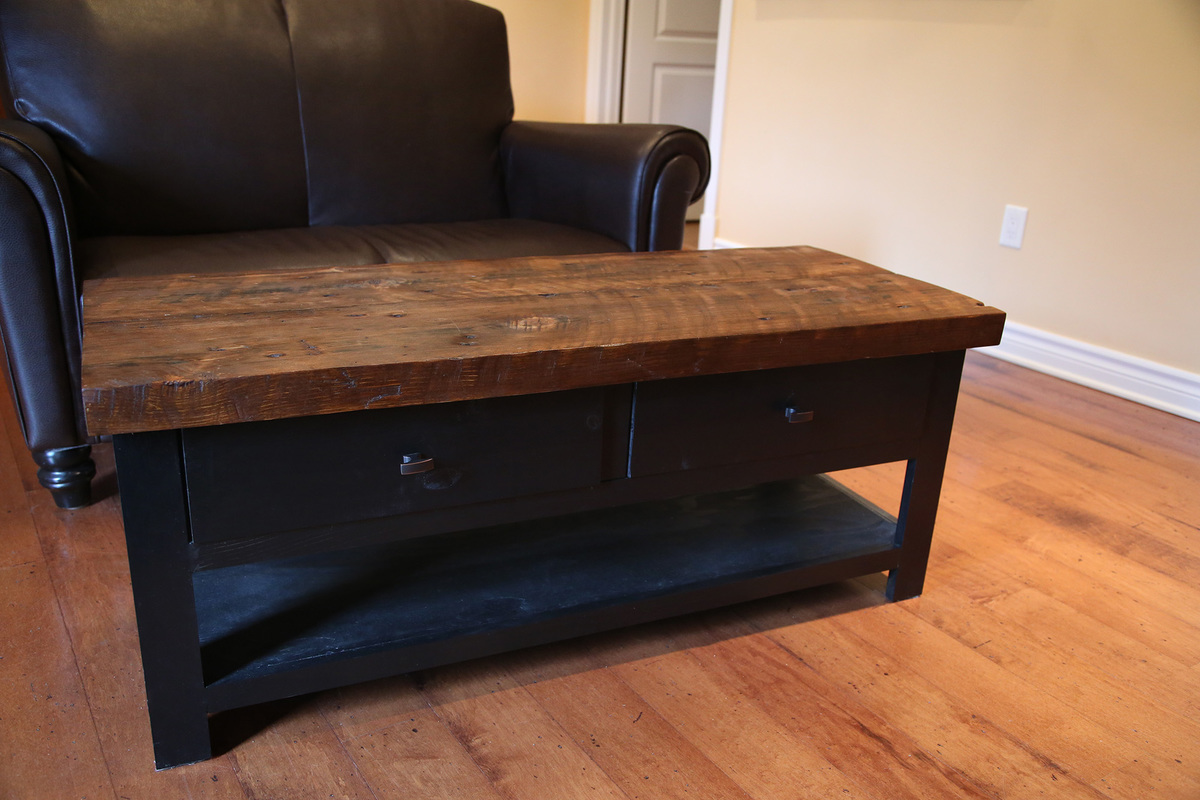
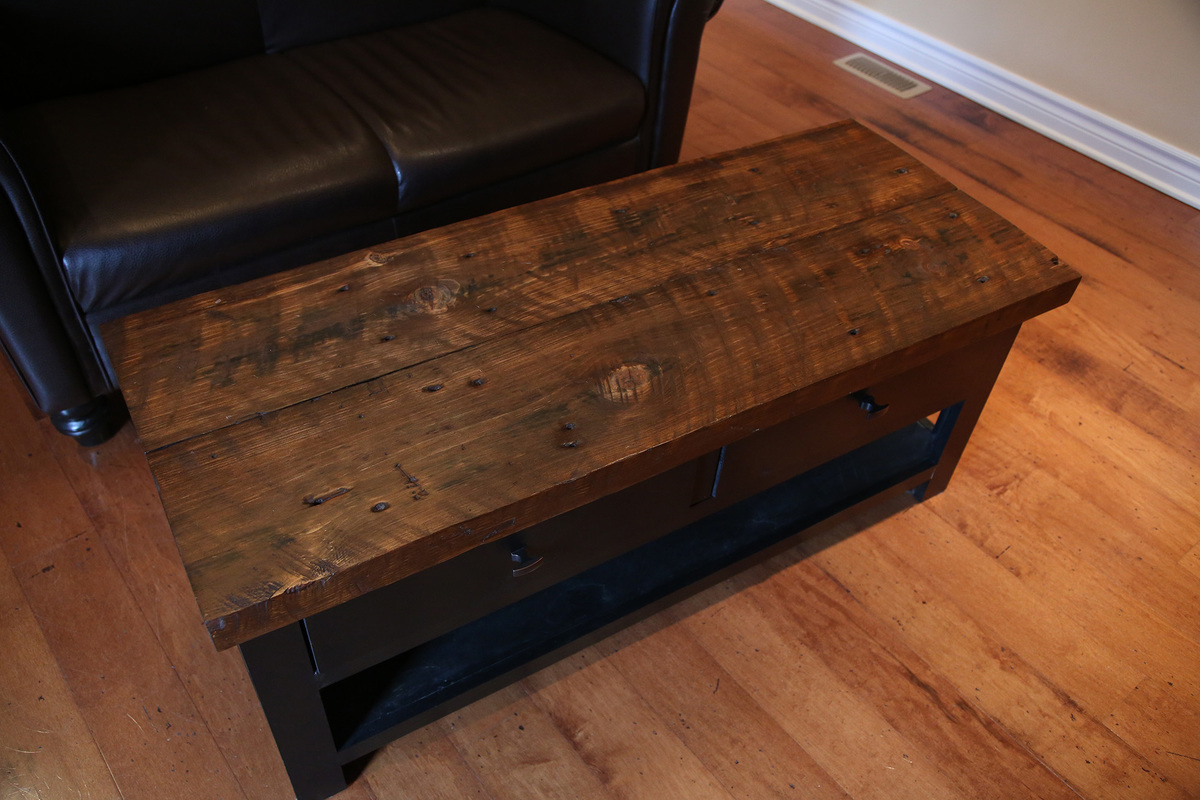
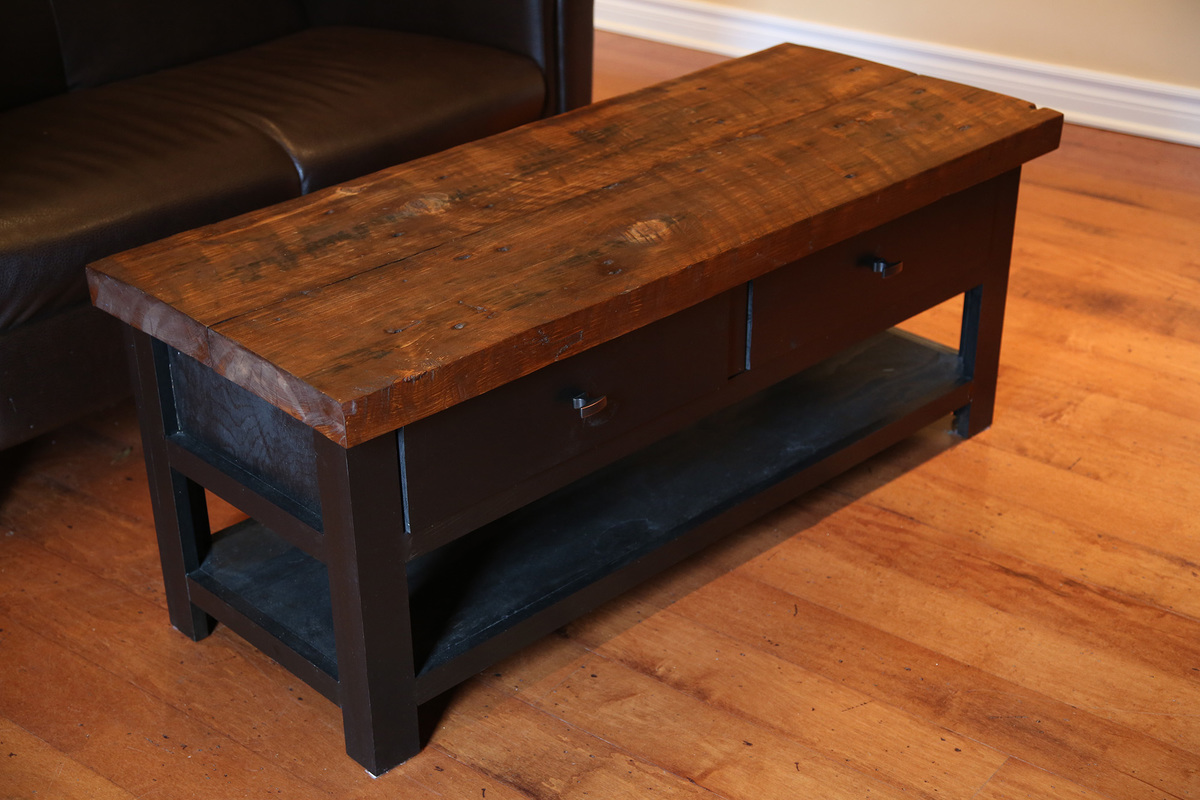
I built this coffee table from reclaimed pallet. The design is based off of the West Elm Emmerson line.
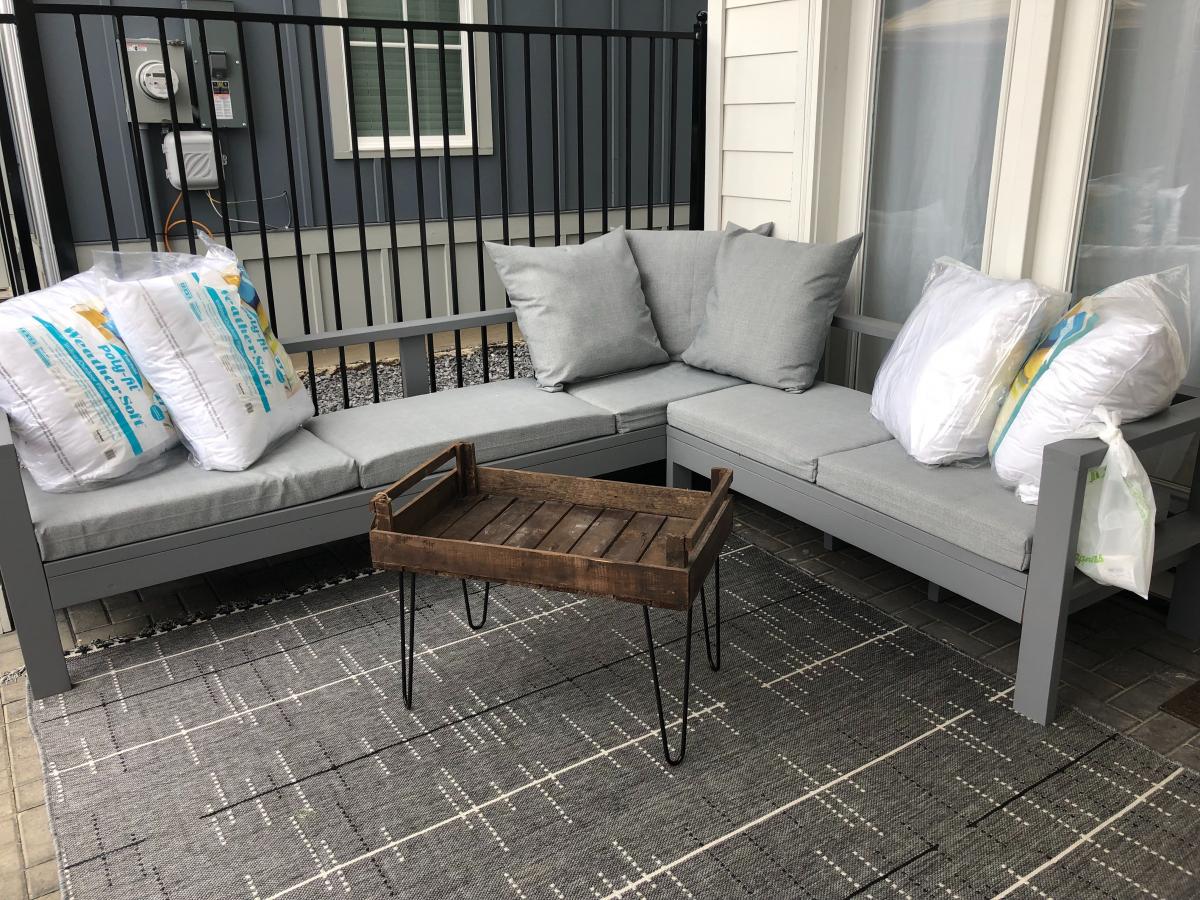


Wed, 07/03/2019 - 19:47
So modern and crisp and clean! Love it! Thanks so much for sharing a photo!

We needed a new entertainment console for the living room but didn’t want to spend $$$for something everyone else has. I found plans on your site and tweaked them to fit our needs.
This is 70”x31”x24” live edge Maple top and doors have a black epoxy filling the voids. The shelving, sides and trim are ambrosia maple. The fireplace insert has a heat/no heat option. I trimmed it the back with 1/4” maple plywood with ventilation for the fireplace. The top and doors maple is from a tree we cut, slabbed and dried. I finished it with Odies Woods Wax.
All-in-all, $550 in materials. The best part, my husband loves it!


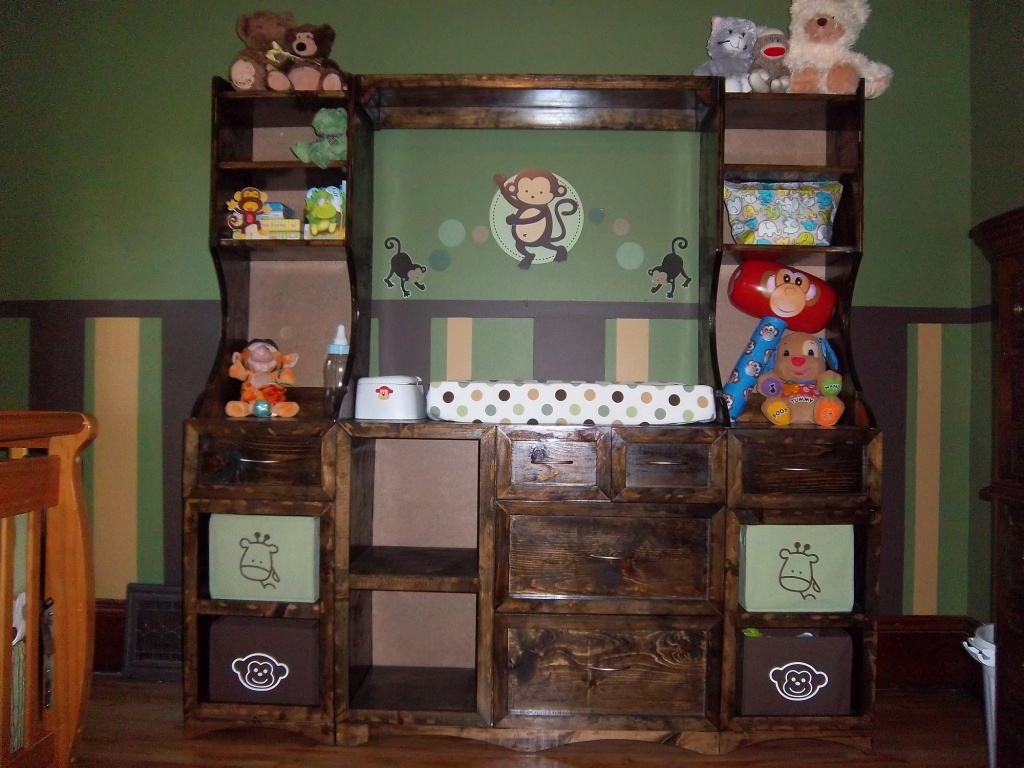
My husband and I built this changing table for our sons room. We made a few modifications, but overall, I think it looks great! This was the first of many projects to come from this website!

Sat, 09/22/2012 - 05:02
This looks fantastic! We're headed out to buy wood for this project today!
Fri, 11/09/2012 - 12:13
Hi! This looks great! Was wondering if you had the plans for the side hutch? I tried to use the link but it keeps telling me the link is unavaliable.
Thanks so much!
Distressed chalk paint
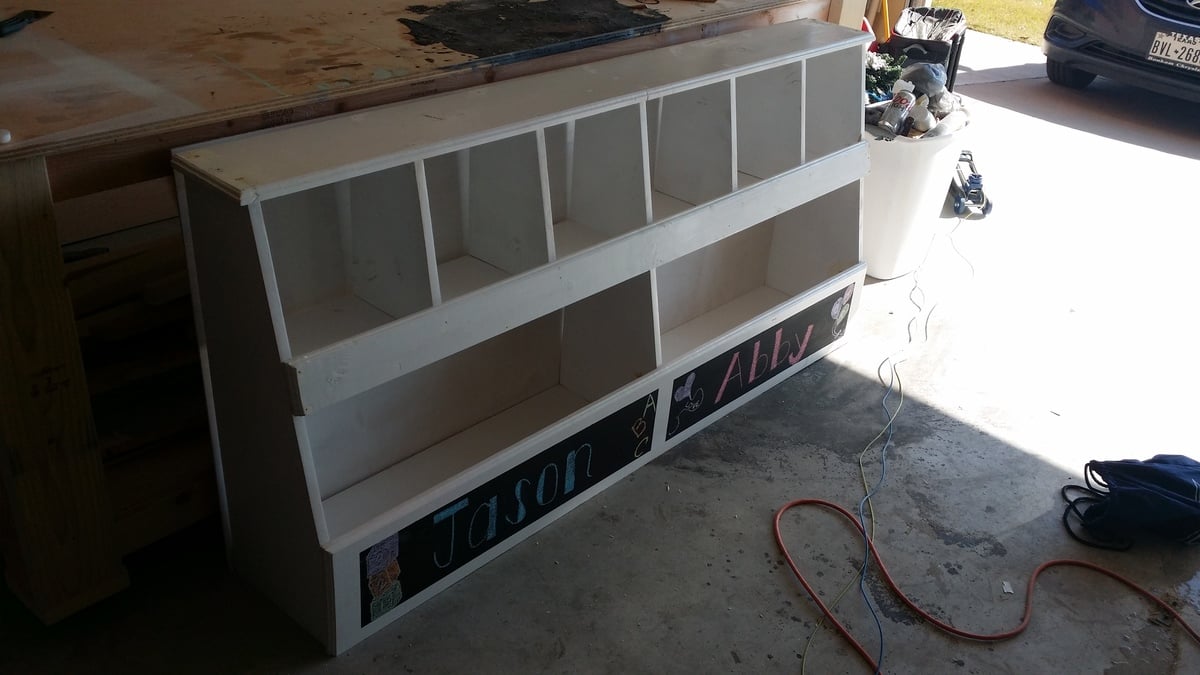
Doubled the size of Ana's toy storage to accommodate my niece and nephew.
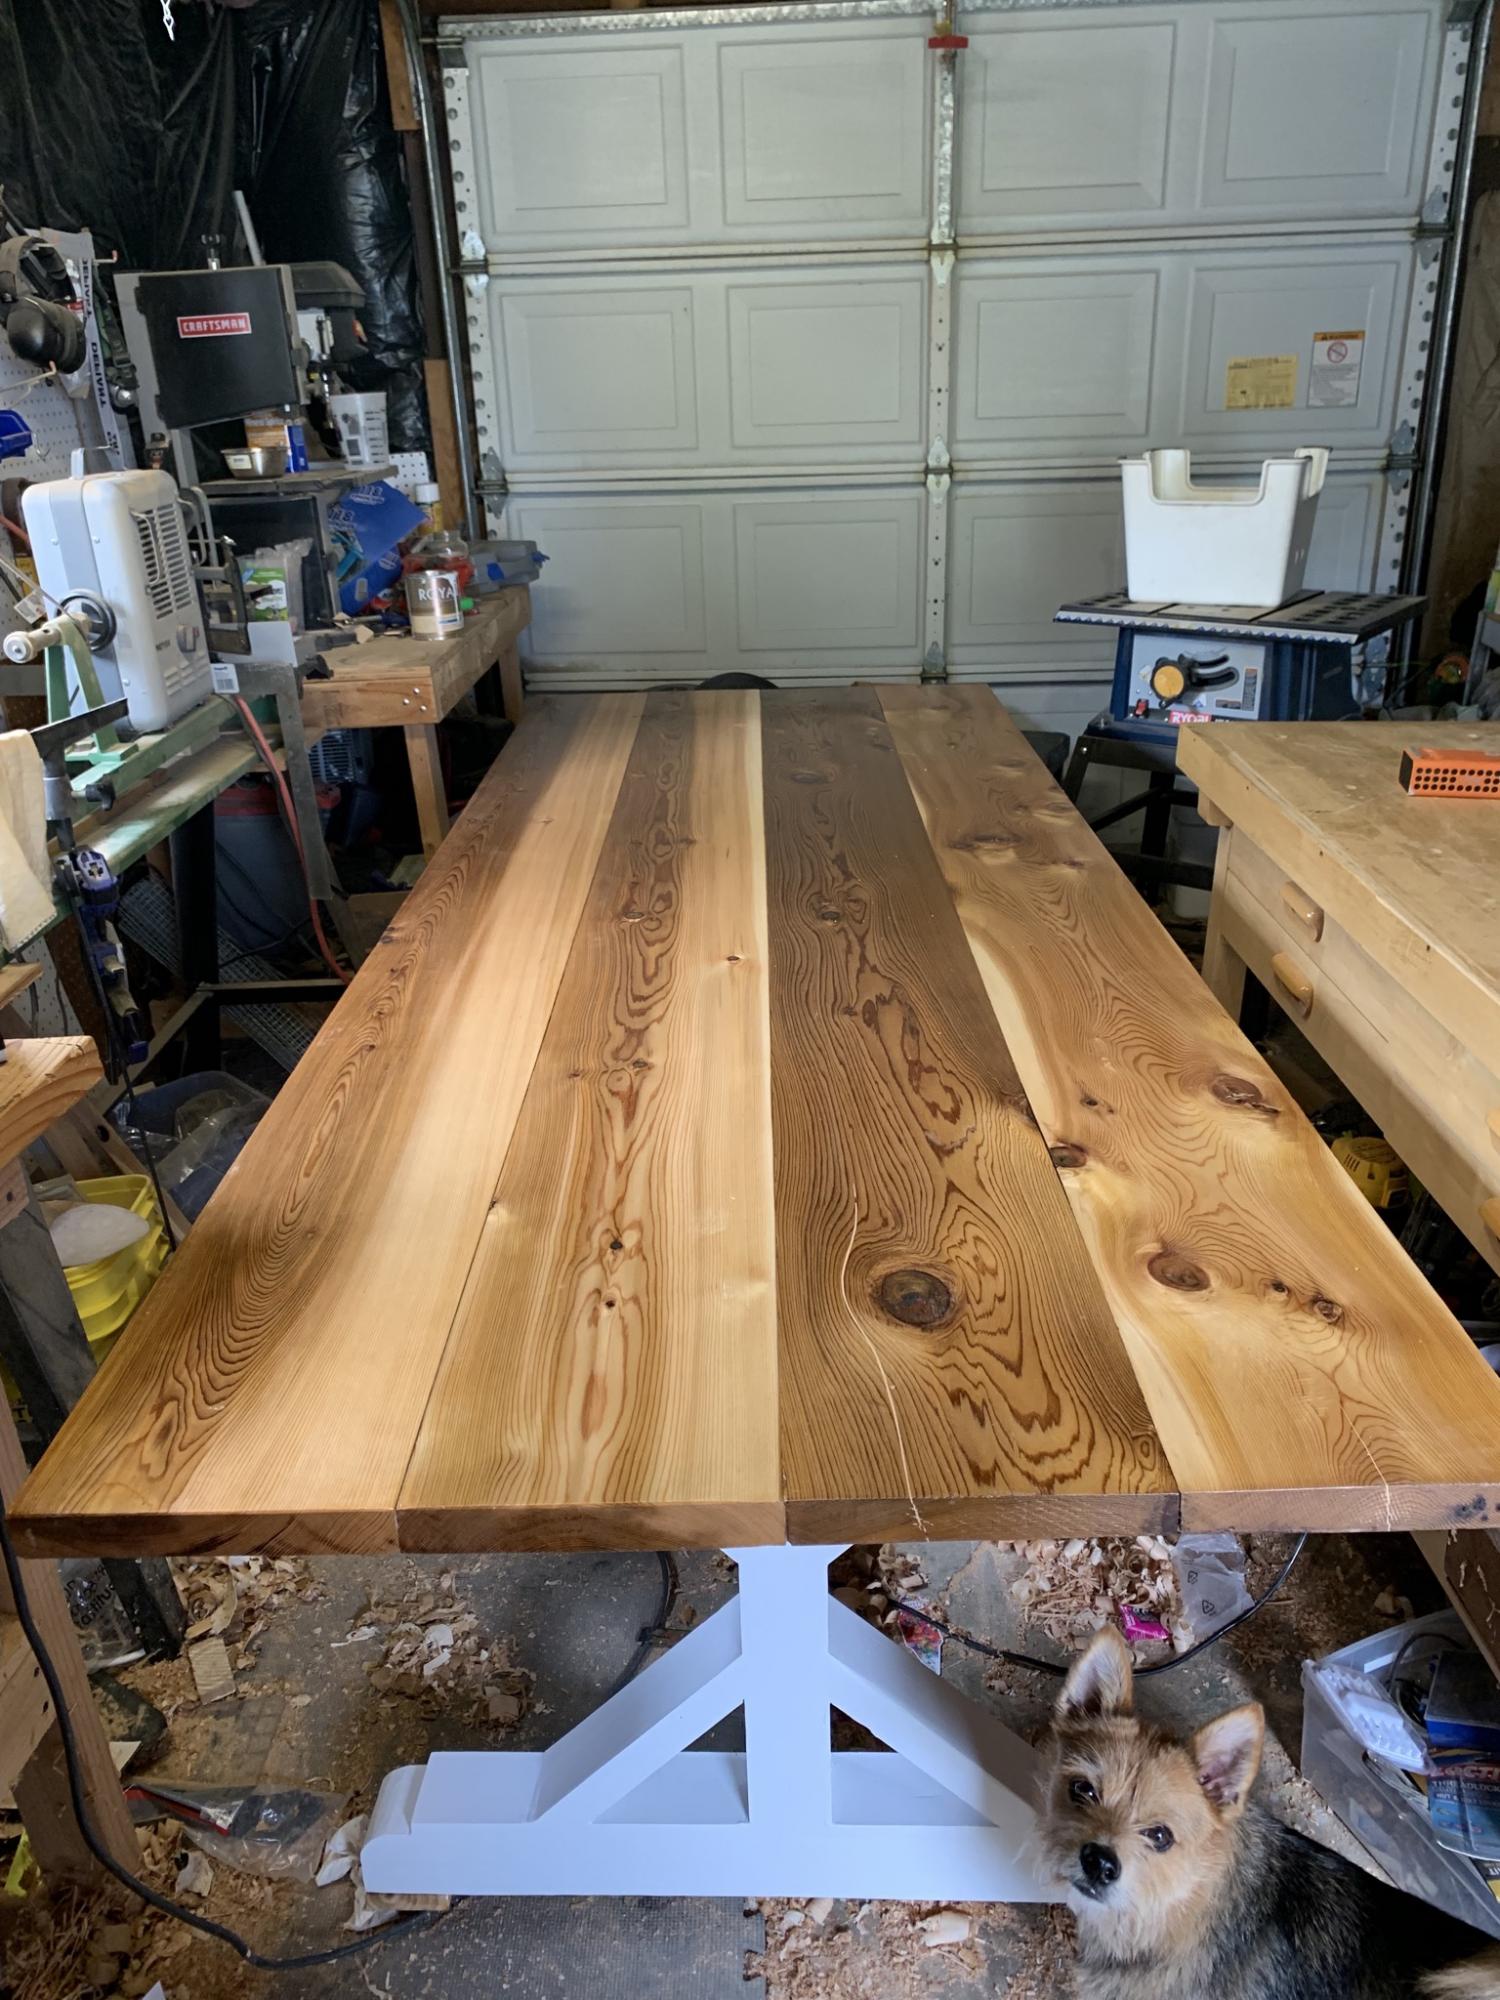
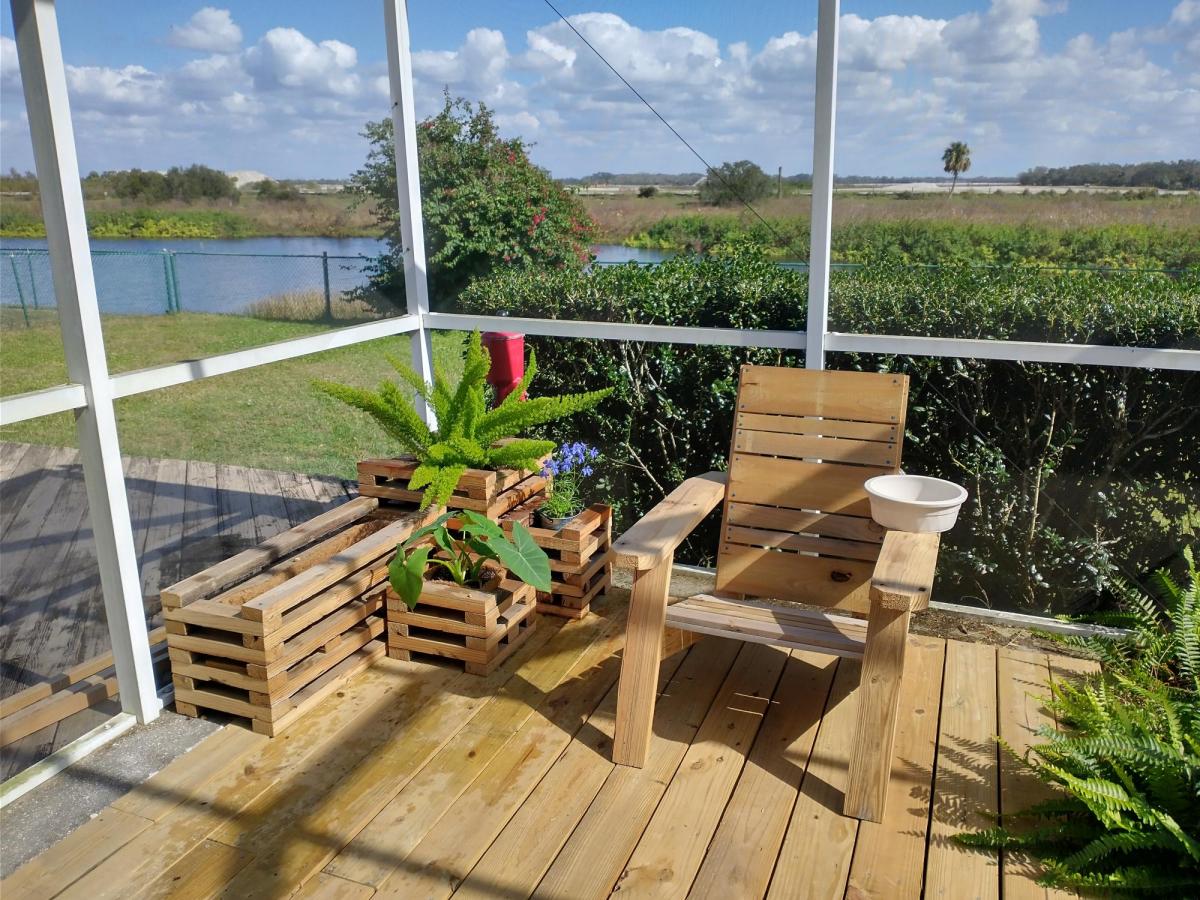
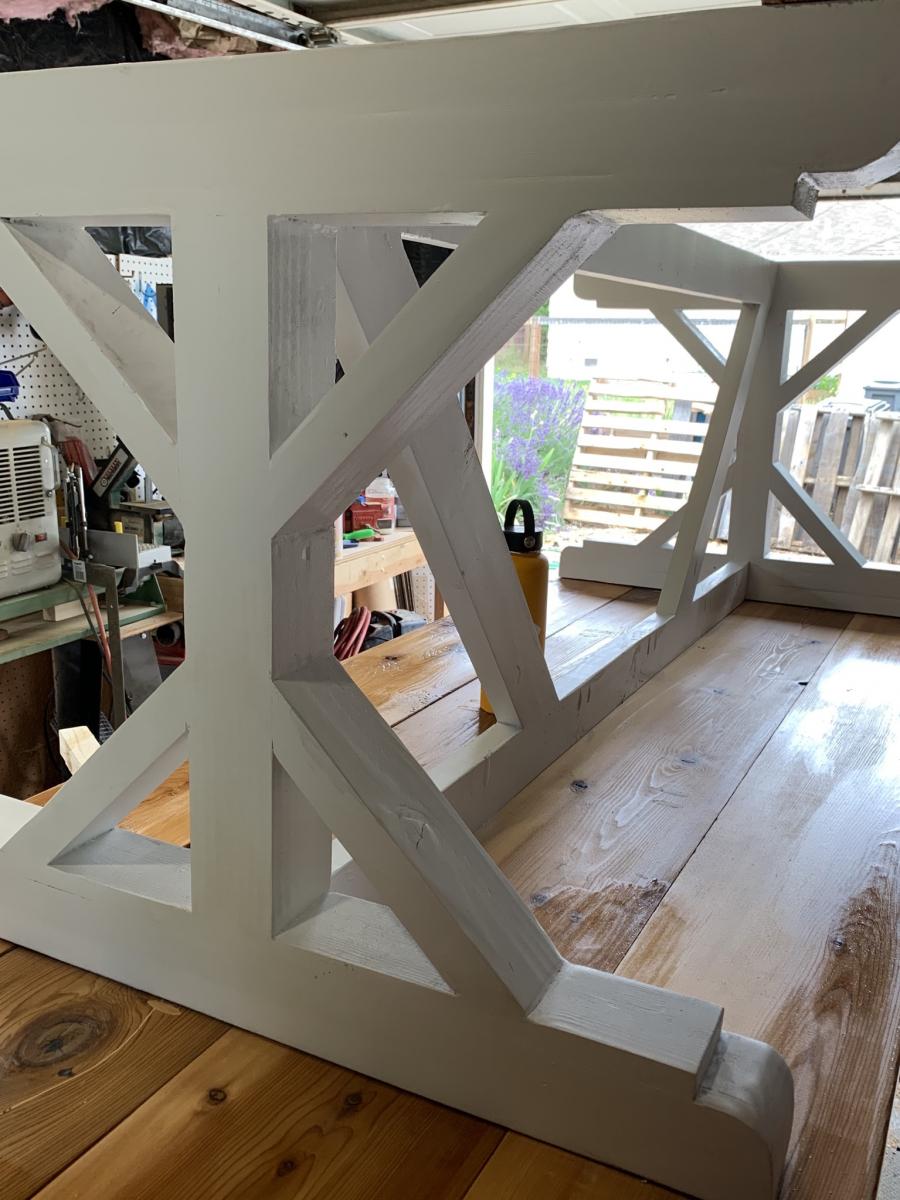
Table top is tight knot cedar, sealed with ship n shore, 7 coats spar urethane.
Base is fir, sealed and painted in latex outdoor paint:
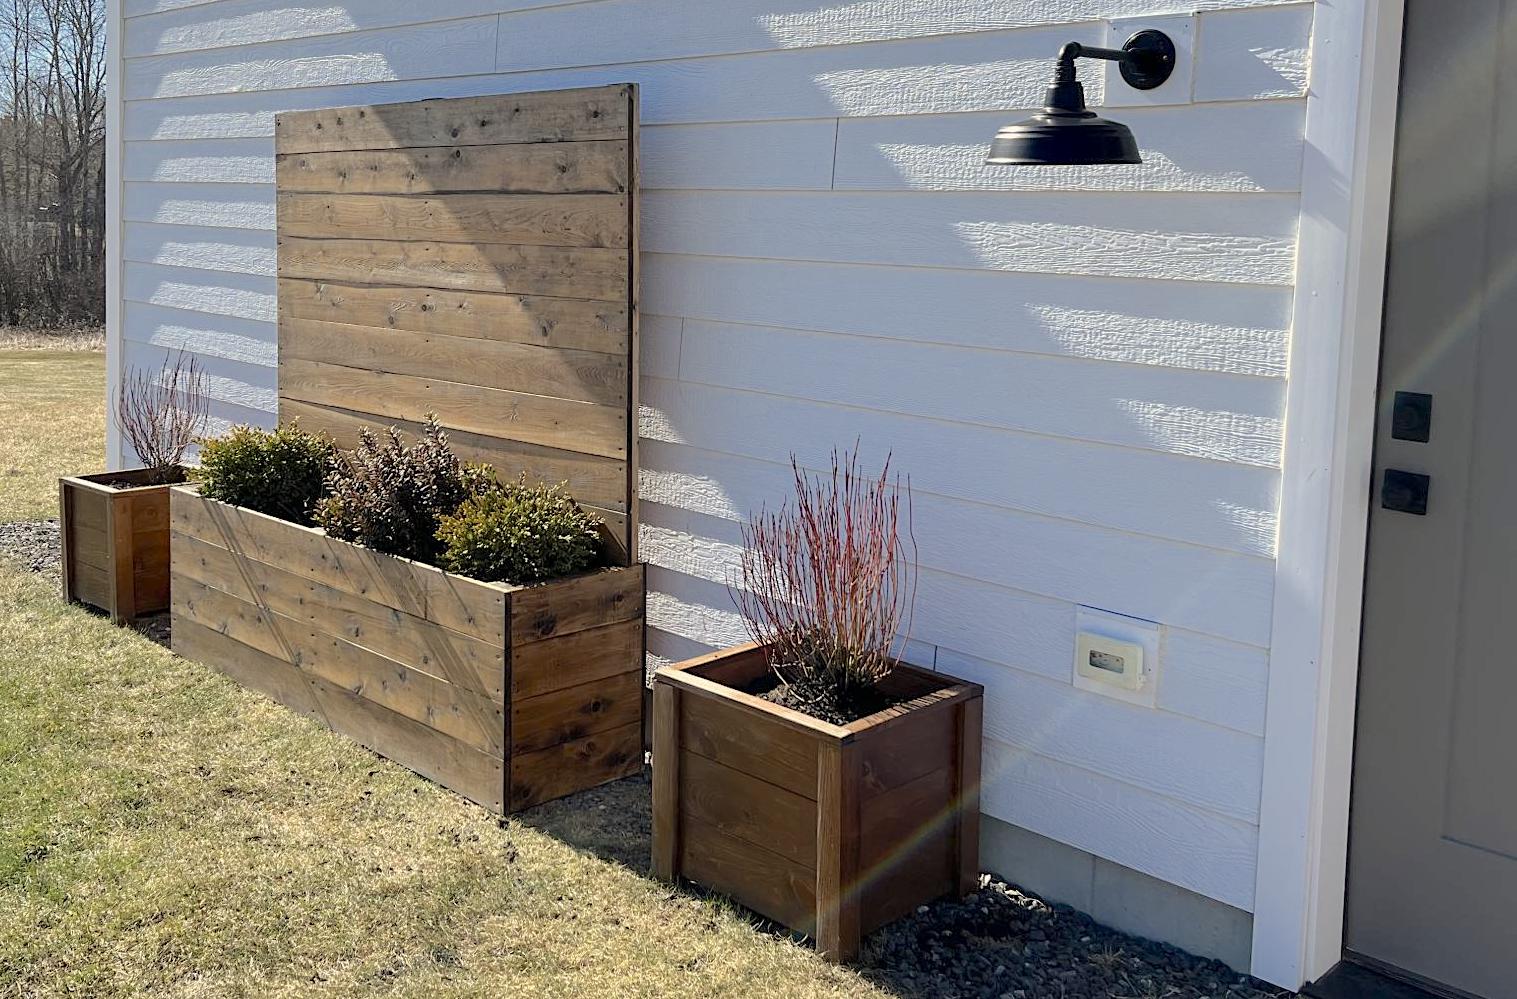
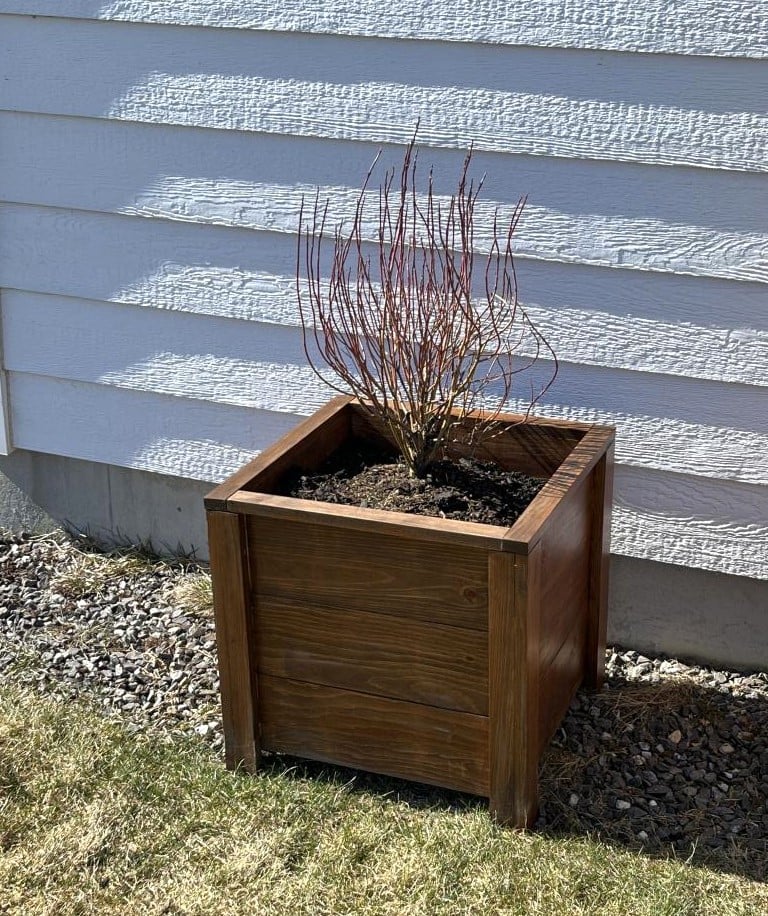
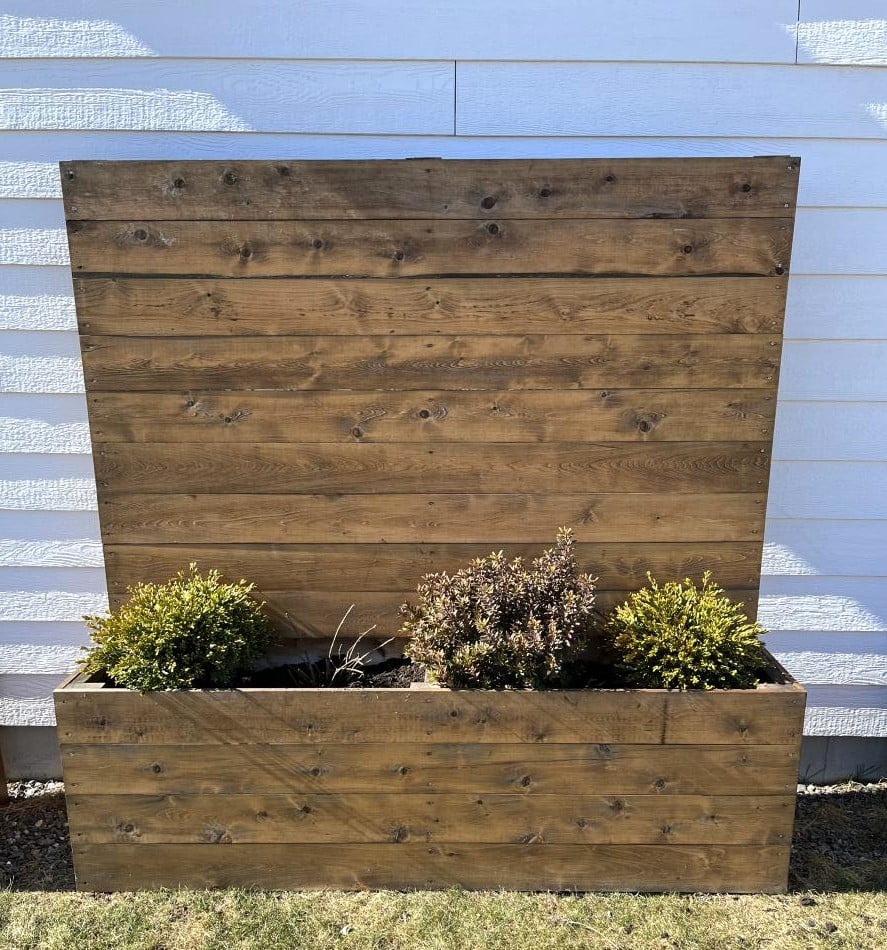
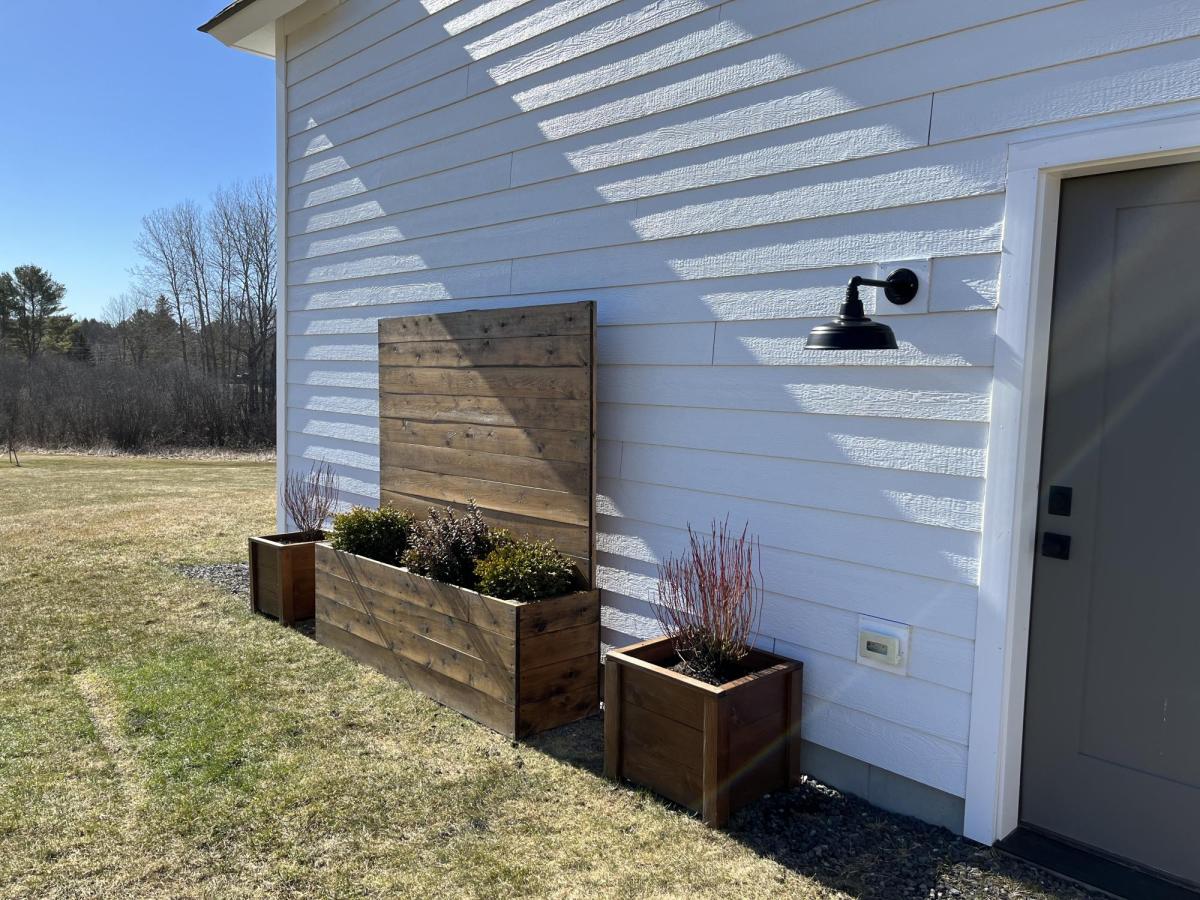
These planters are exactly what we needed to warm up this blank siding! The smaller planters are made from pine, the larger from cedar.
I tweaked the console plans to work best for my space, and to work with the reclaimed barn threshing floor boards that I used for the top.
I love how it turned out and it works wonderfully in my space.
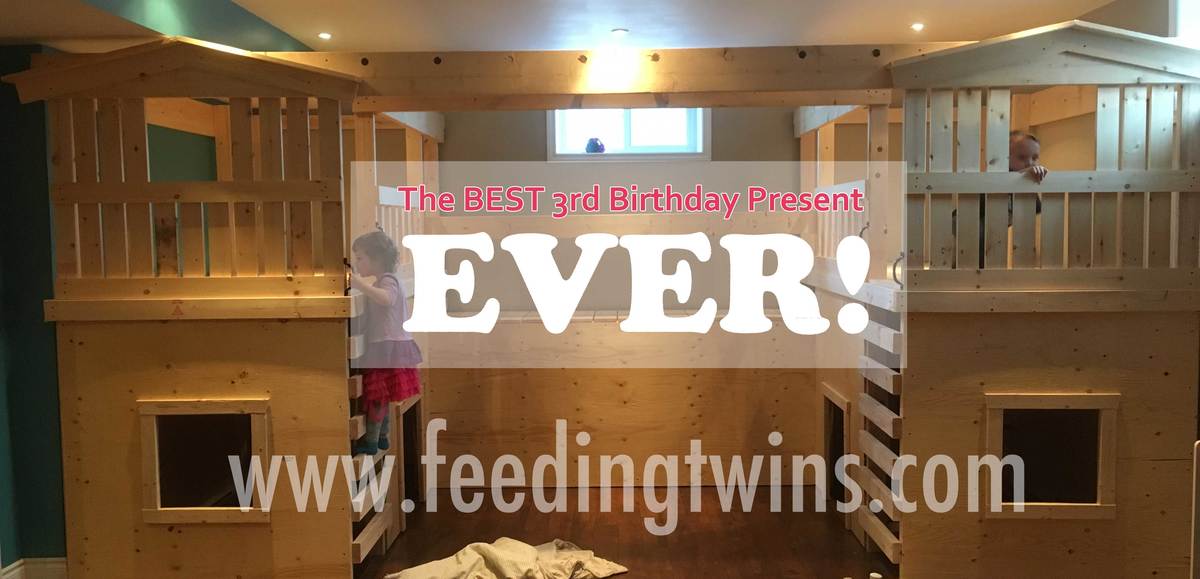
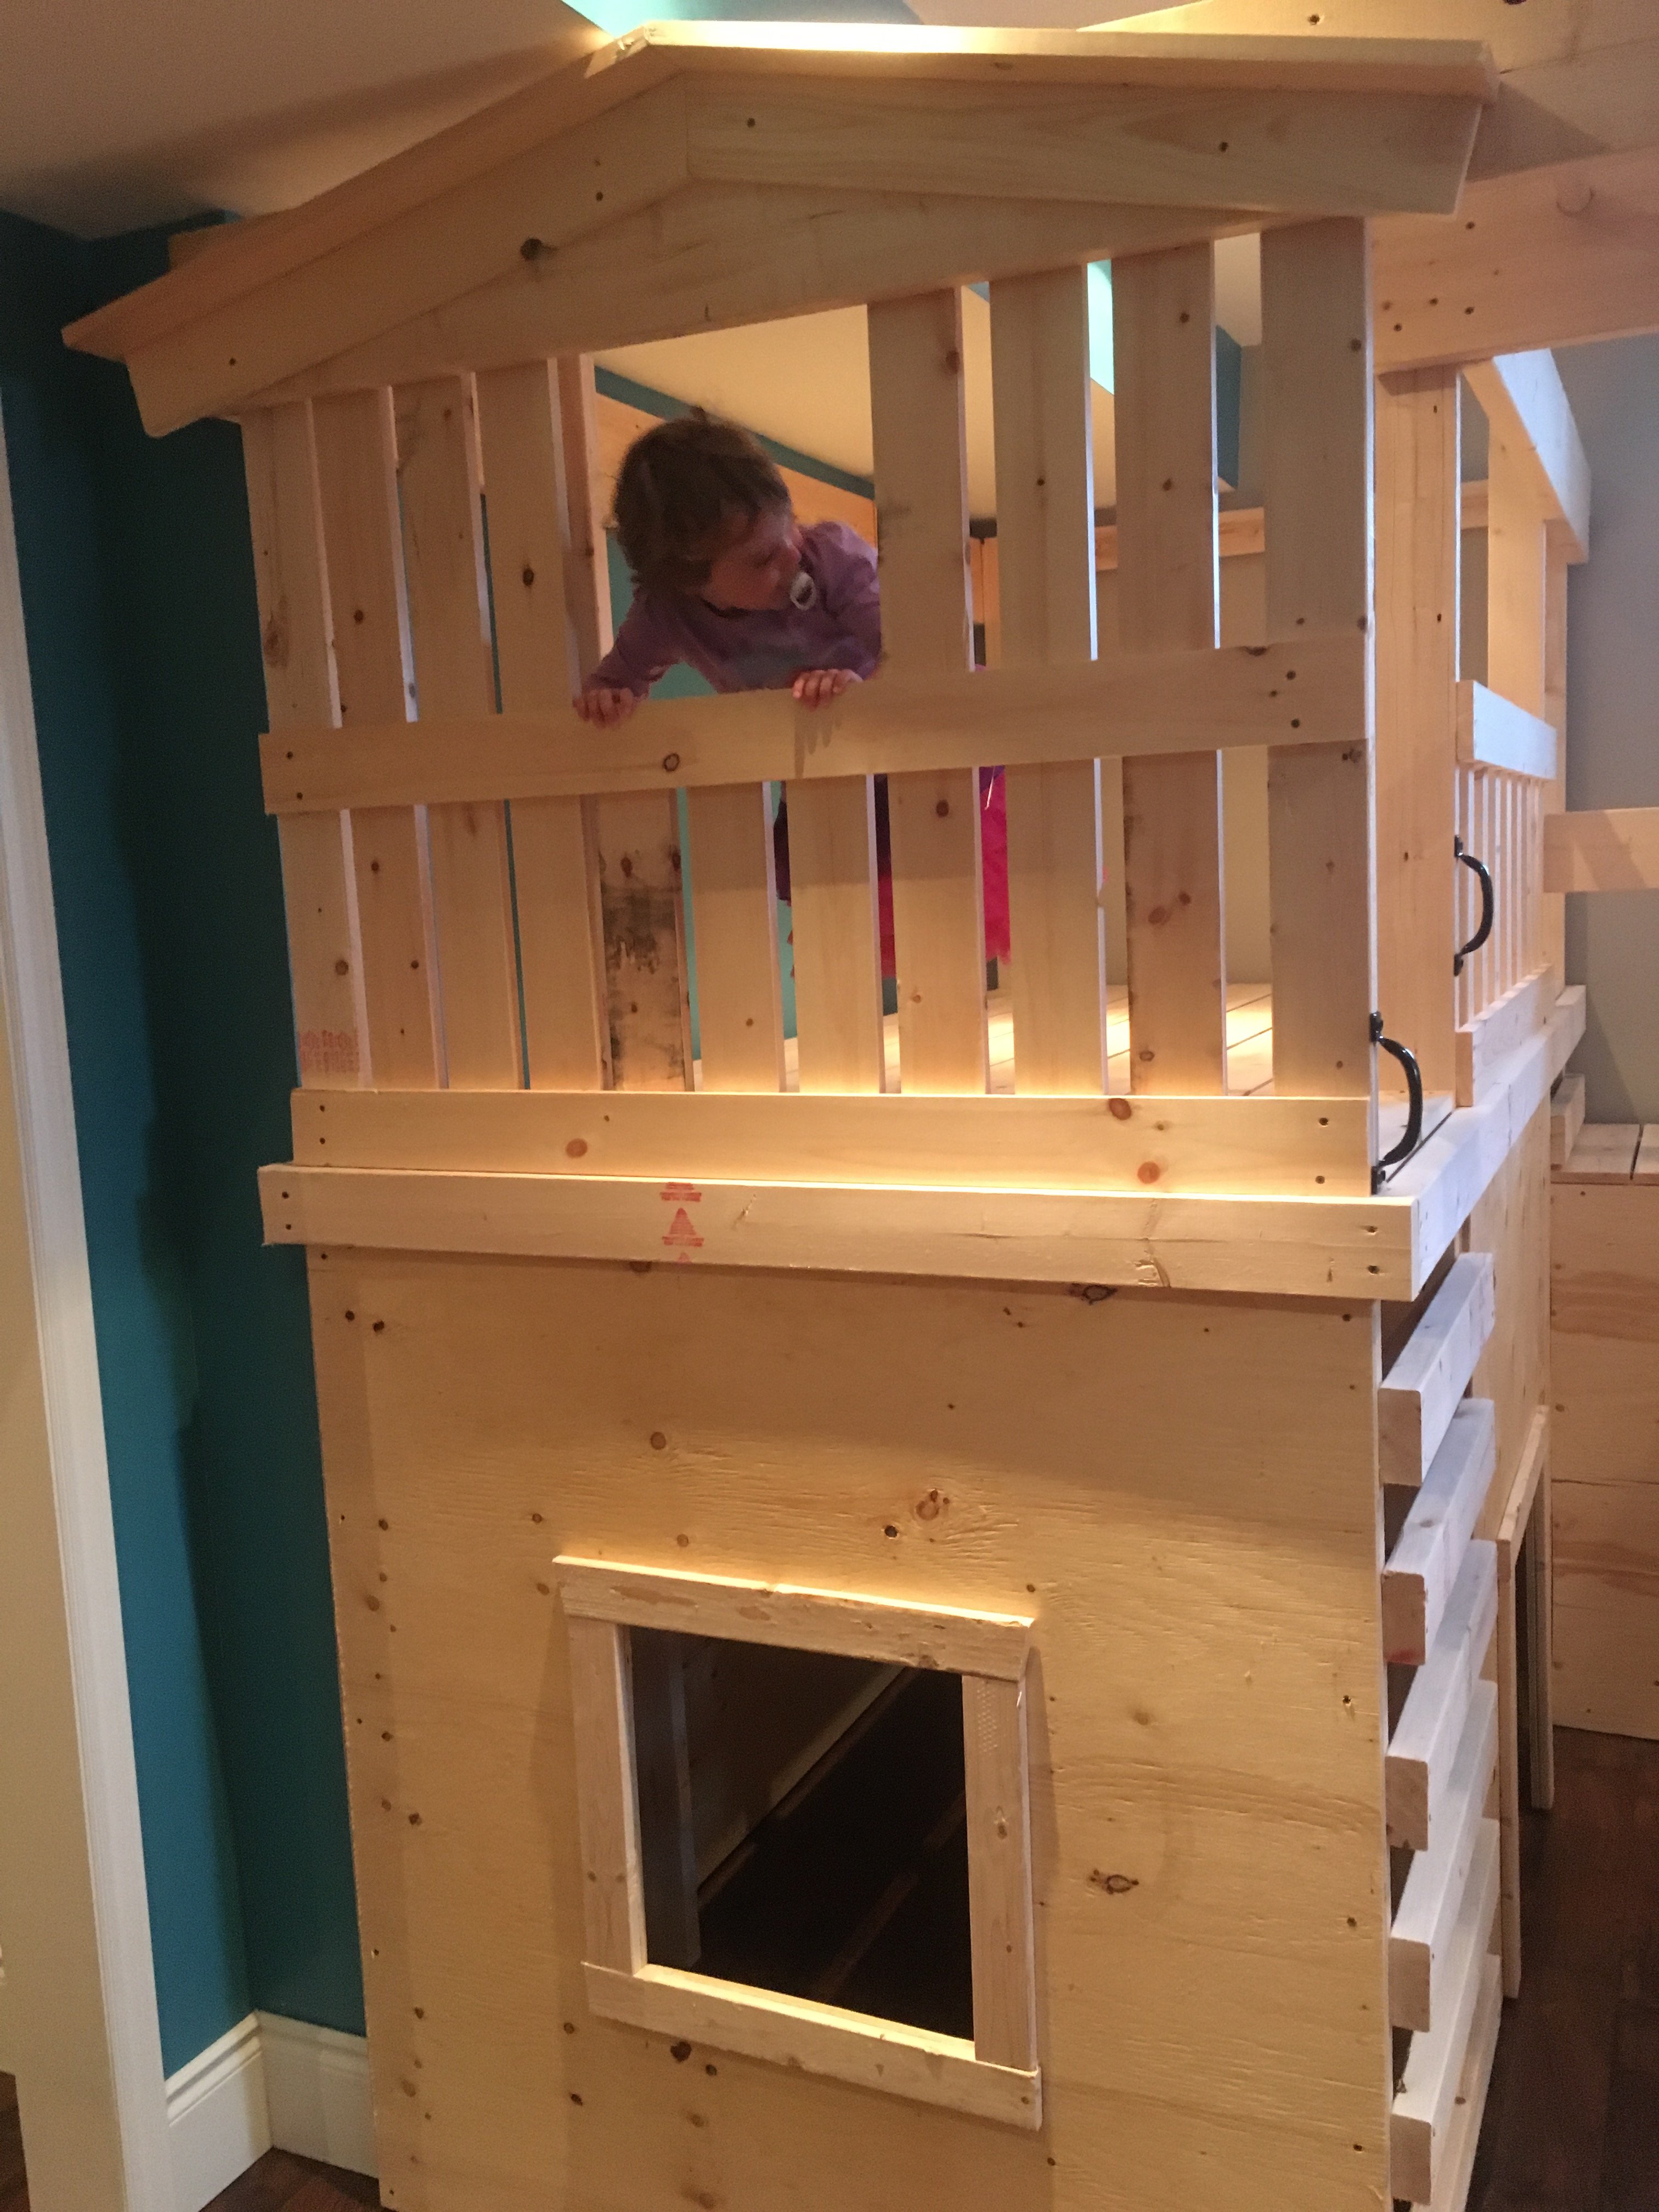
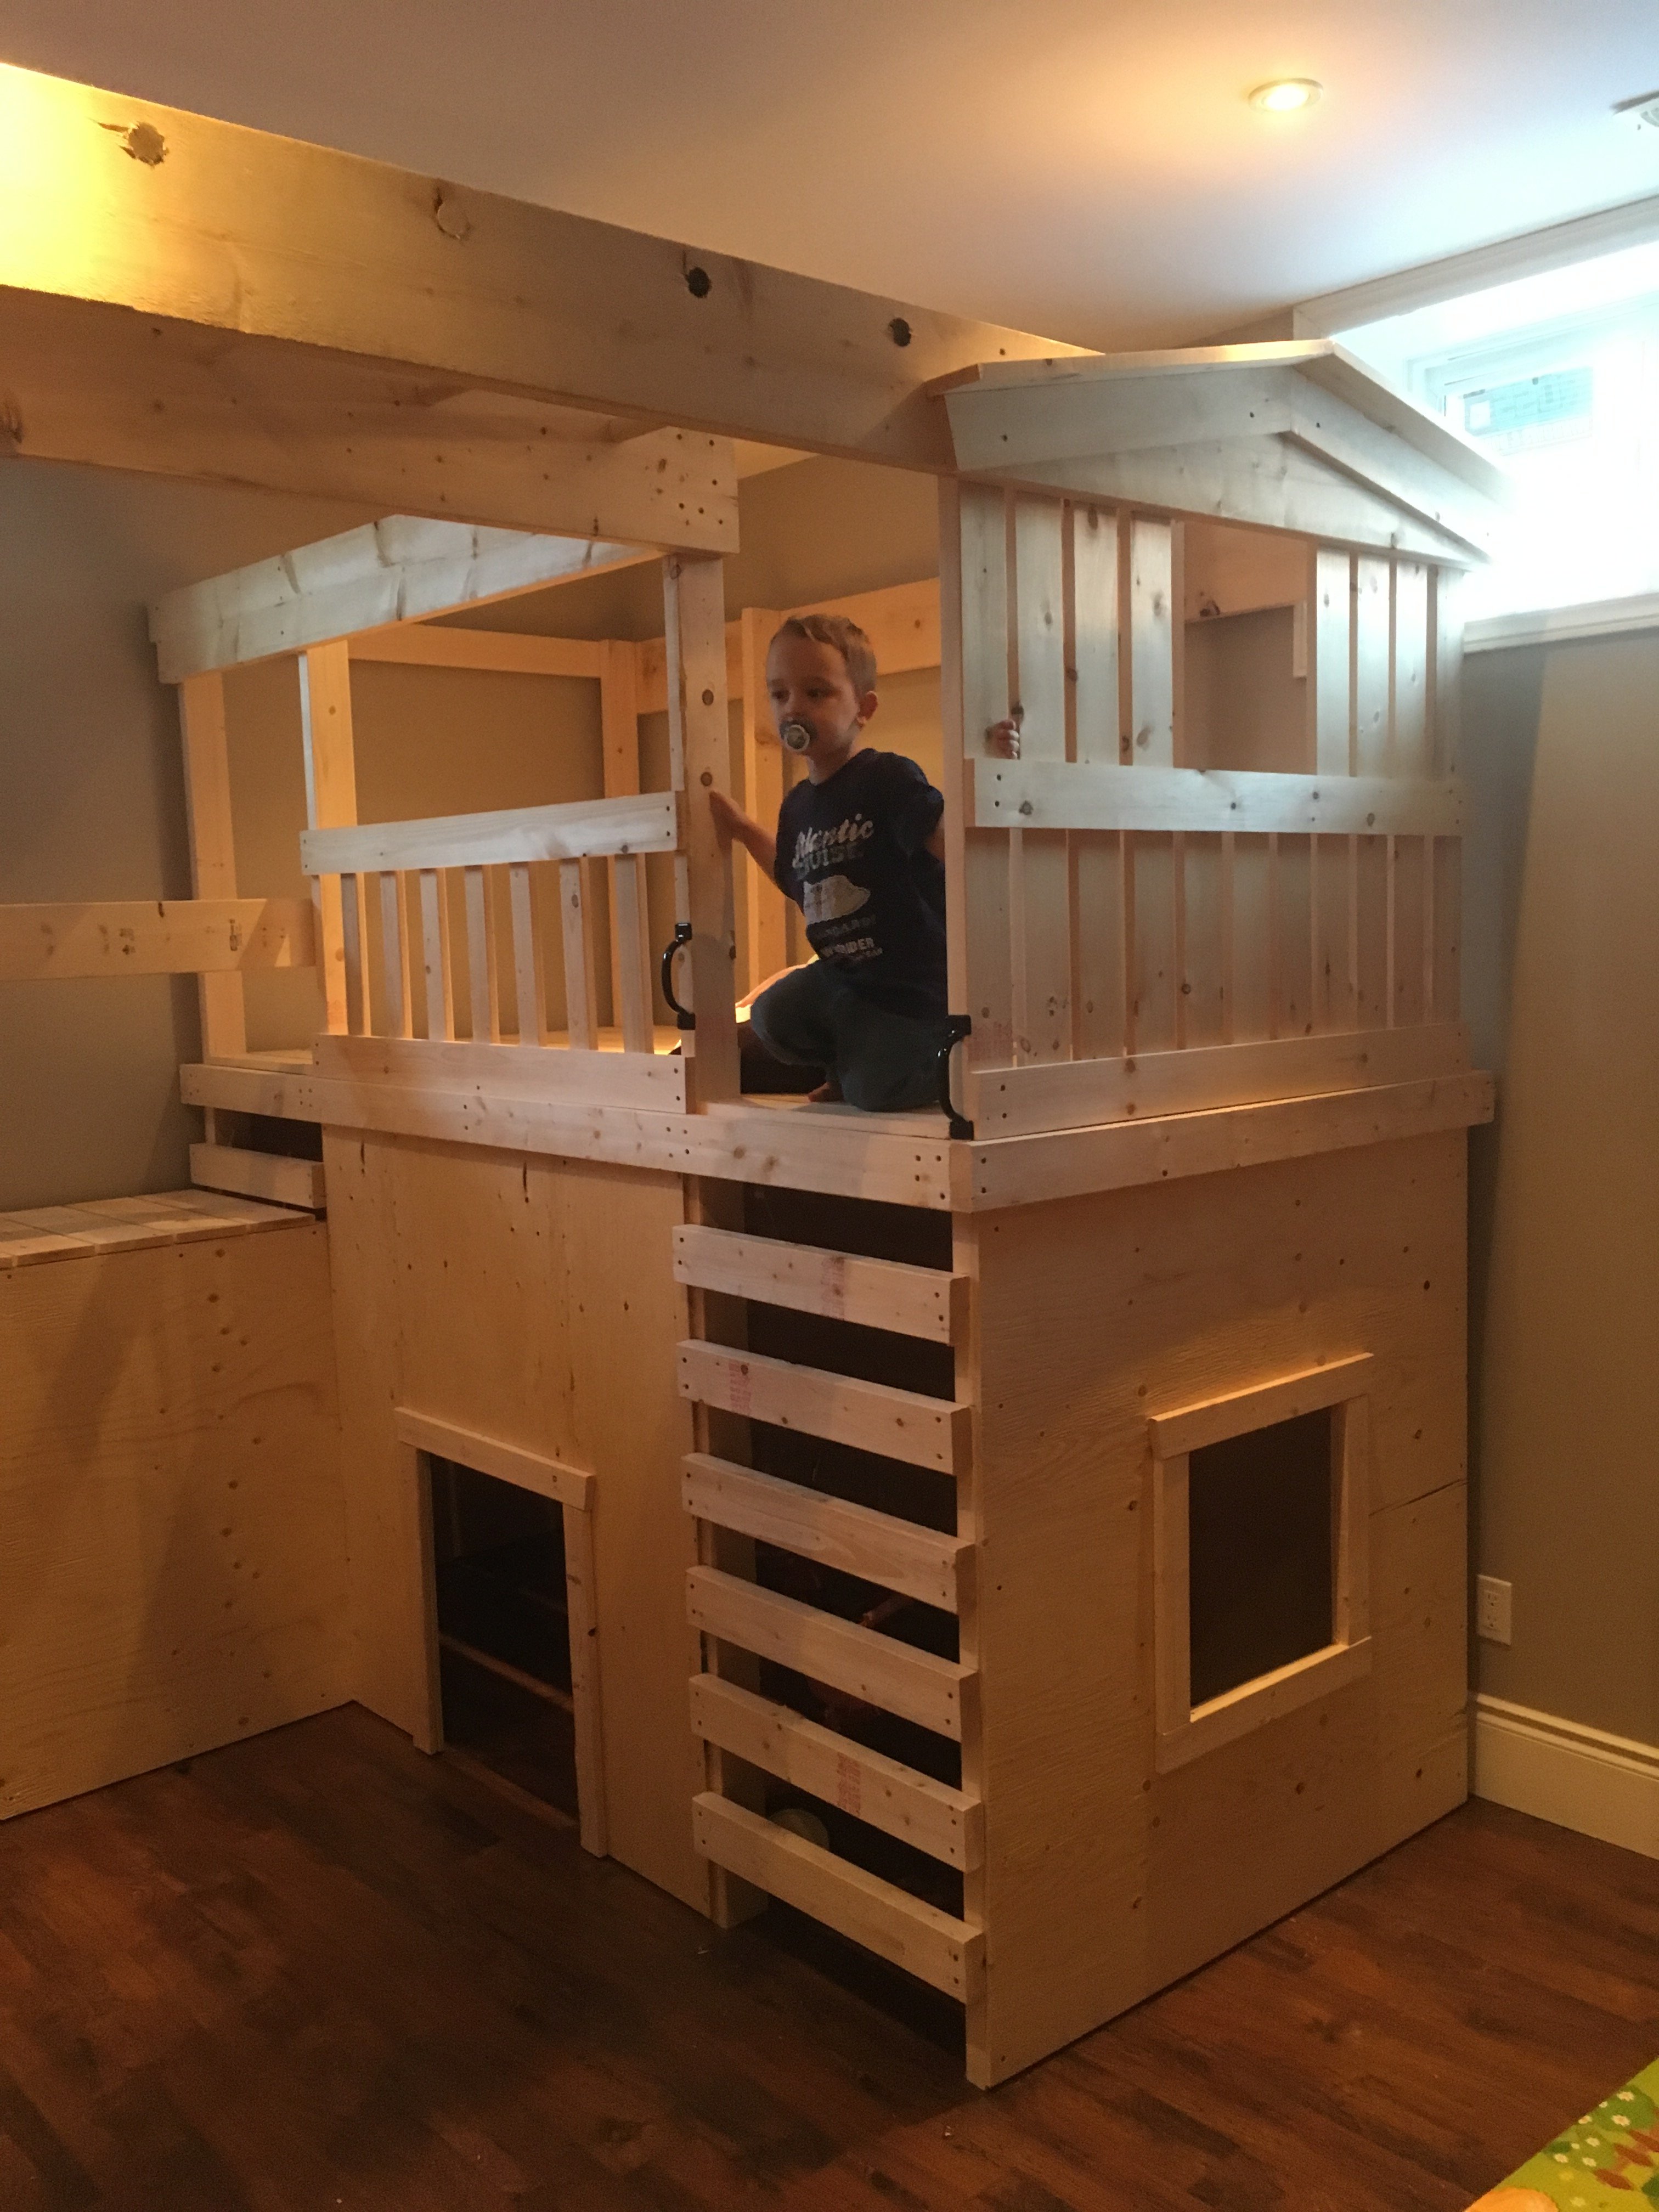
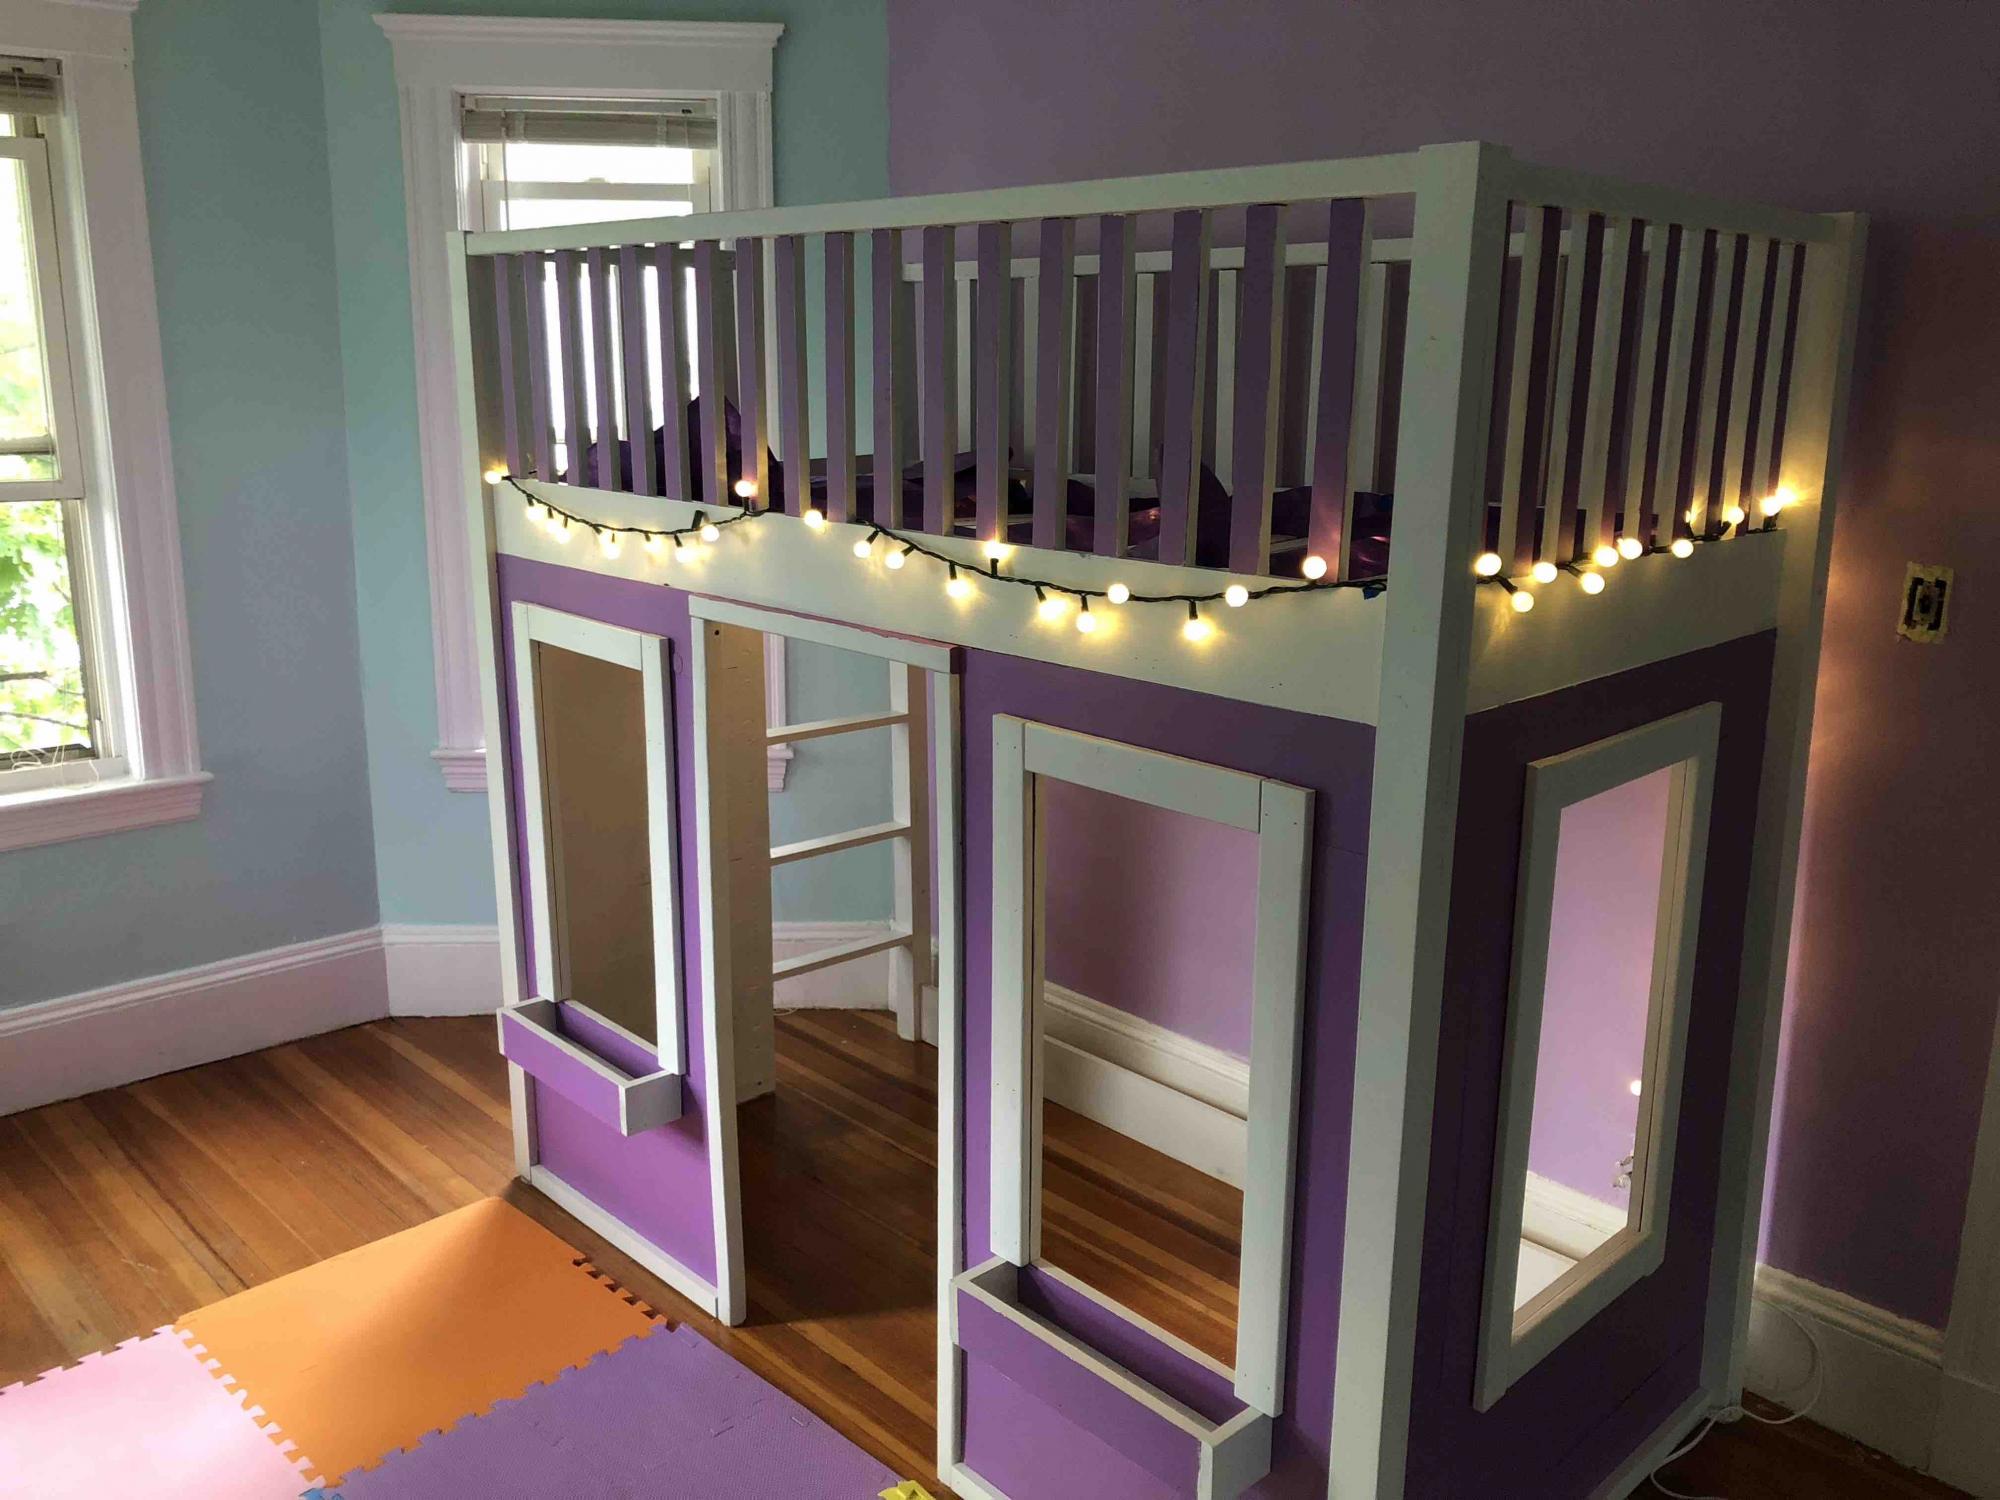
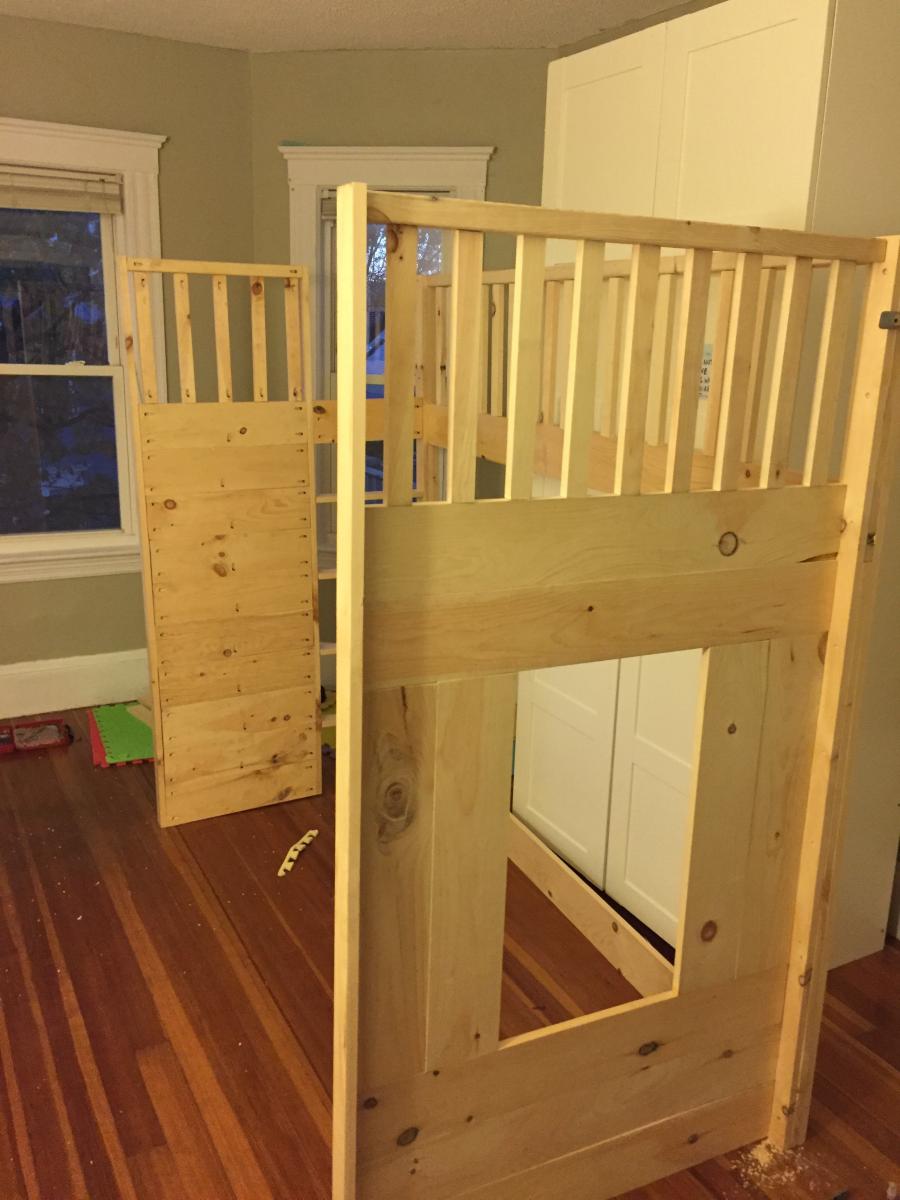
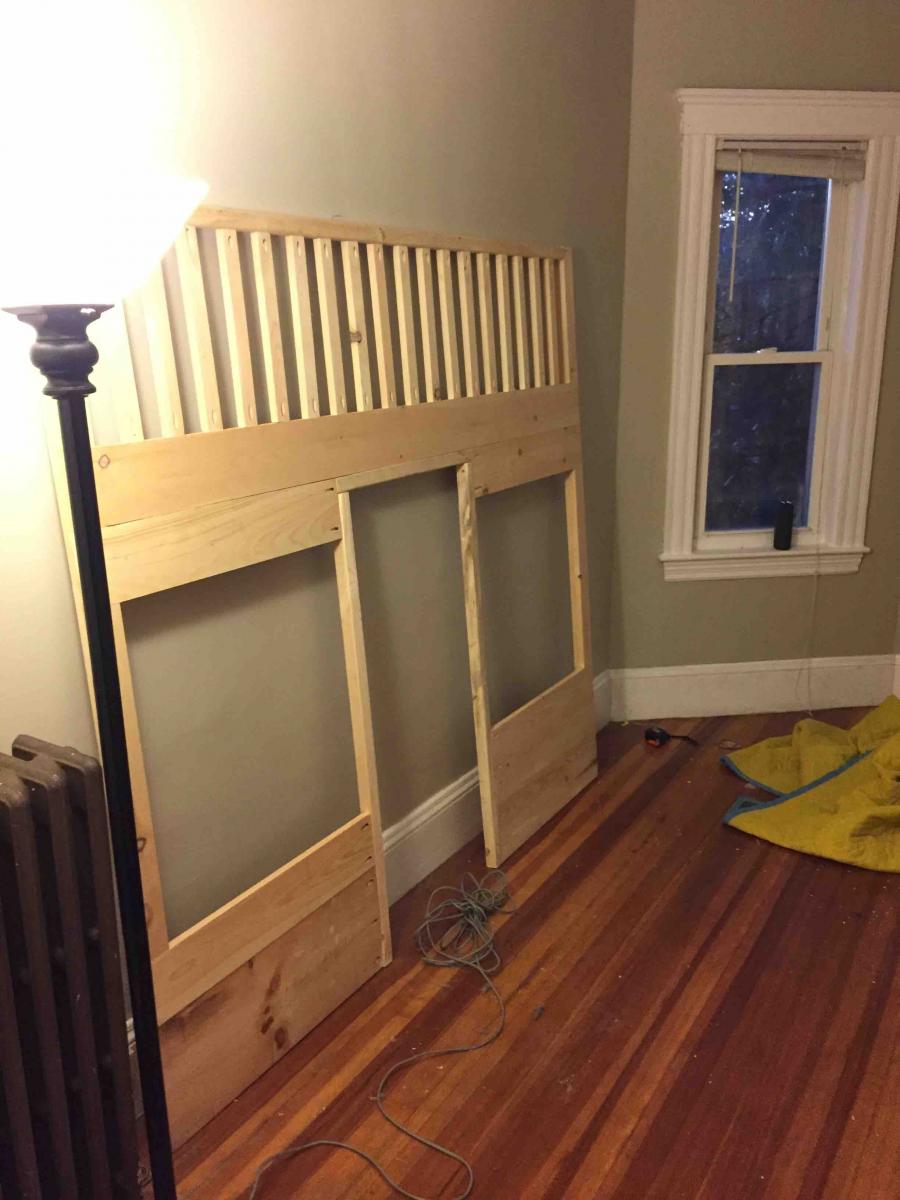
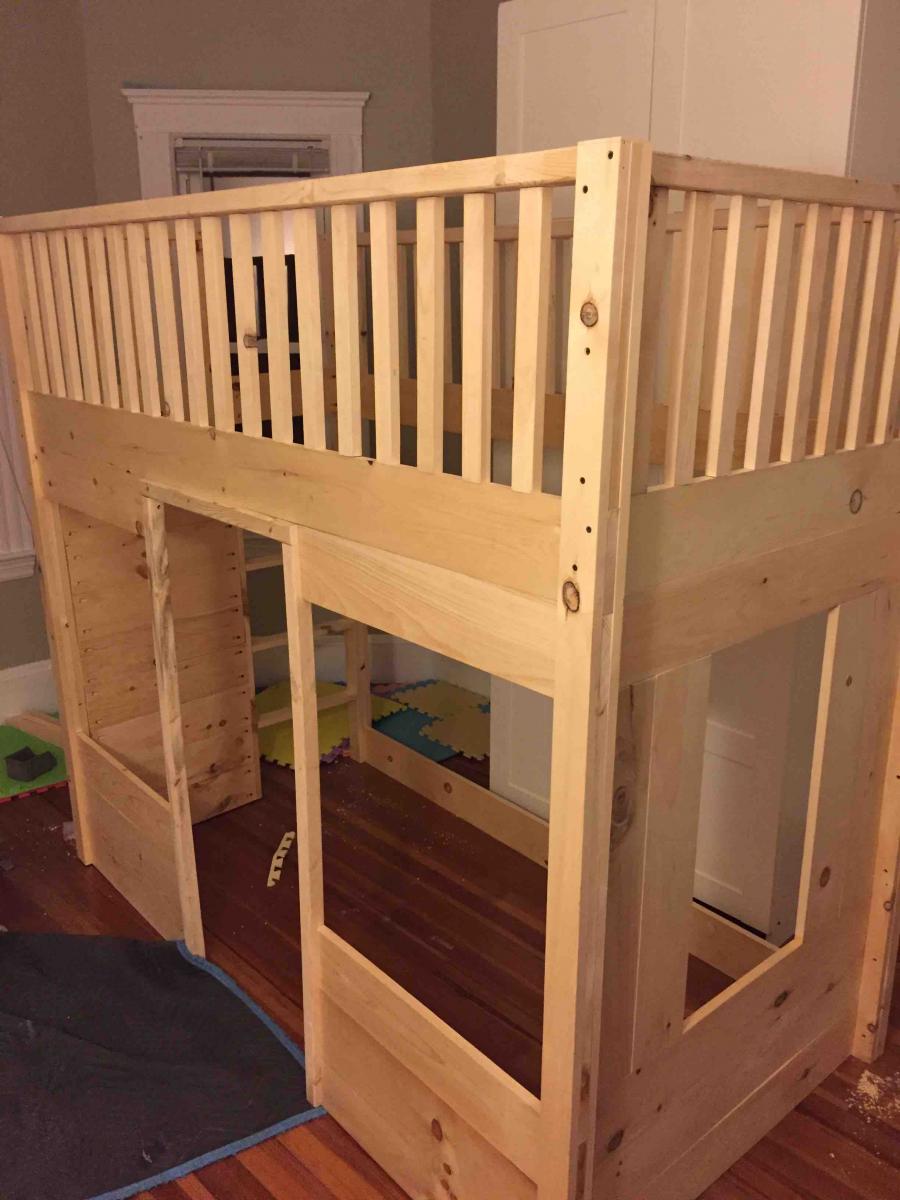
Hi Ana! Thank-you for the detailed instructions on how to build the indoor playground! We had our contractor build this for our twins' 3rd birthday present. The kids absolutely LOVE the playground and use it every day. I'm planning to paint it, reinforce and install a rock climbing wall up to the bridge, and install some easels in the bottoms of the playhouses. You can see more pictures of the kids playing and the construction here: http://feedingtwins.com/body/the-best-3rd-birthday-present/ Thanks again! Julie
My daughter absolutely loves this bed, and everyone who comes over can't help but to compliment it. I was able to build it in 4 pieces in the basement then carry them up to our apartment and put them all together. It was not an easy build especially since I kept making little mistakes and had to go back and fix them. For example I did not use wood glue at first for the bars so after I screwed them all into place i relaxed they wobbled and twisted so I had to unscrew all of them, add glue and screw them all back in. But overall the instructions were pretty simple to follow and I am very happy with the way it came out.
Wed, 07/17/2019 - 10:15
Love this bed! The color is great! Thank you for submitting your brag posts, we appreciate it!

Took me maybe 30 minutes to put this together. Used 1-5/8 spacing, every other row is a little tight, but they work.
Well, this was my first ever wood build. I have made plenty of sewing projects and many other things, but haven't ever done a wood build.....and I have to say - I'm ADDICTED! I can not wait to do my next wood build. Actually, already making plans to take the beach hut bed and modify it to be a bunk bed for my two girls!
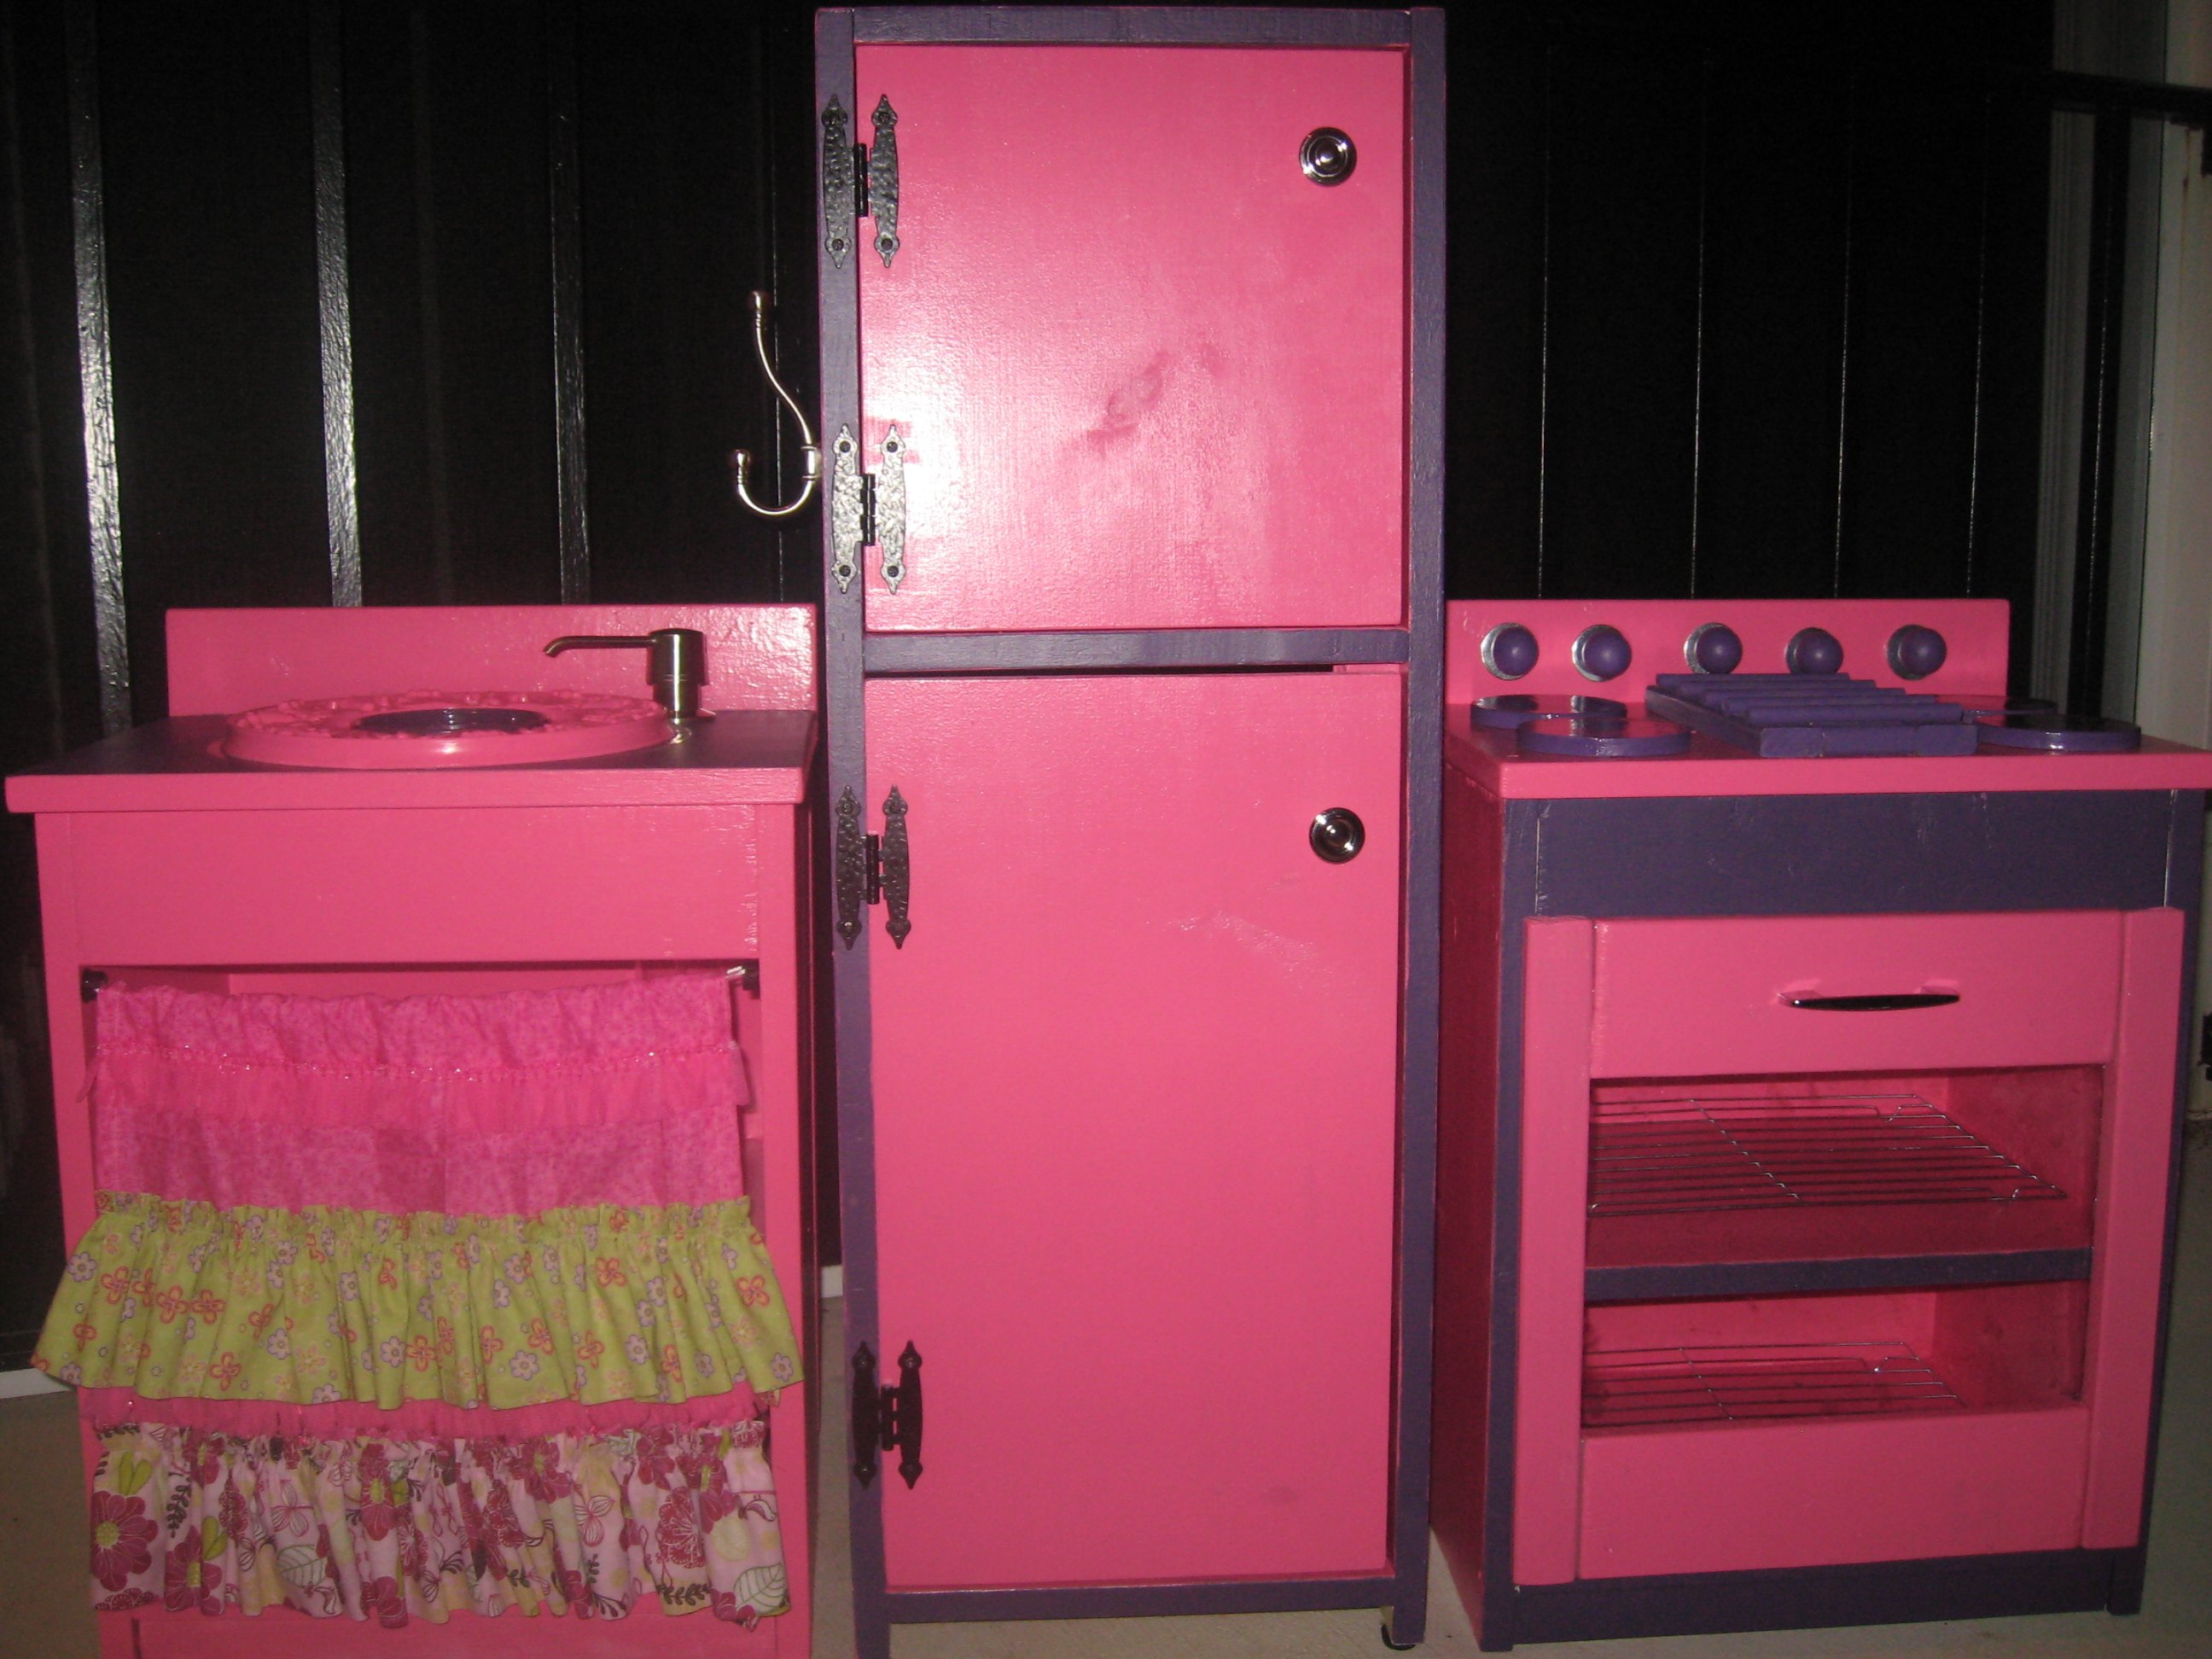
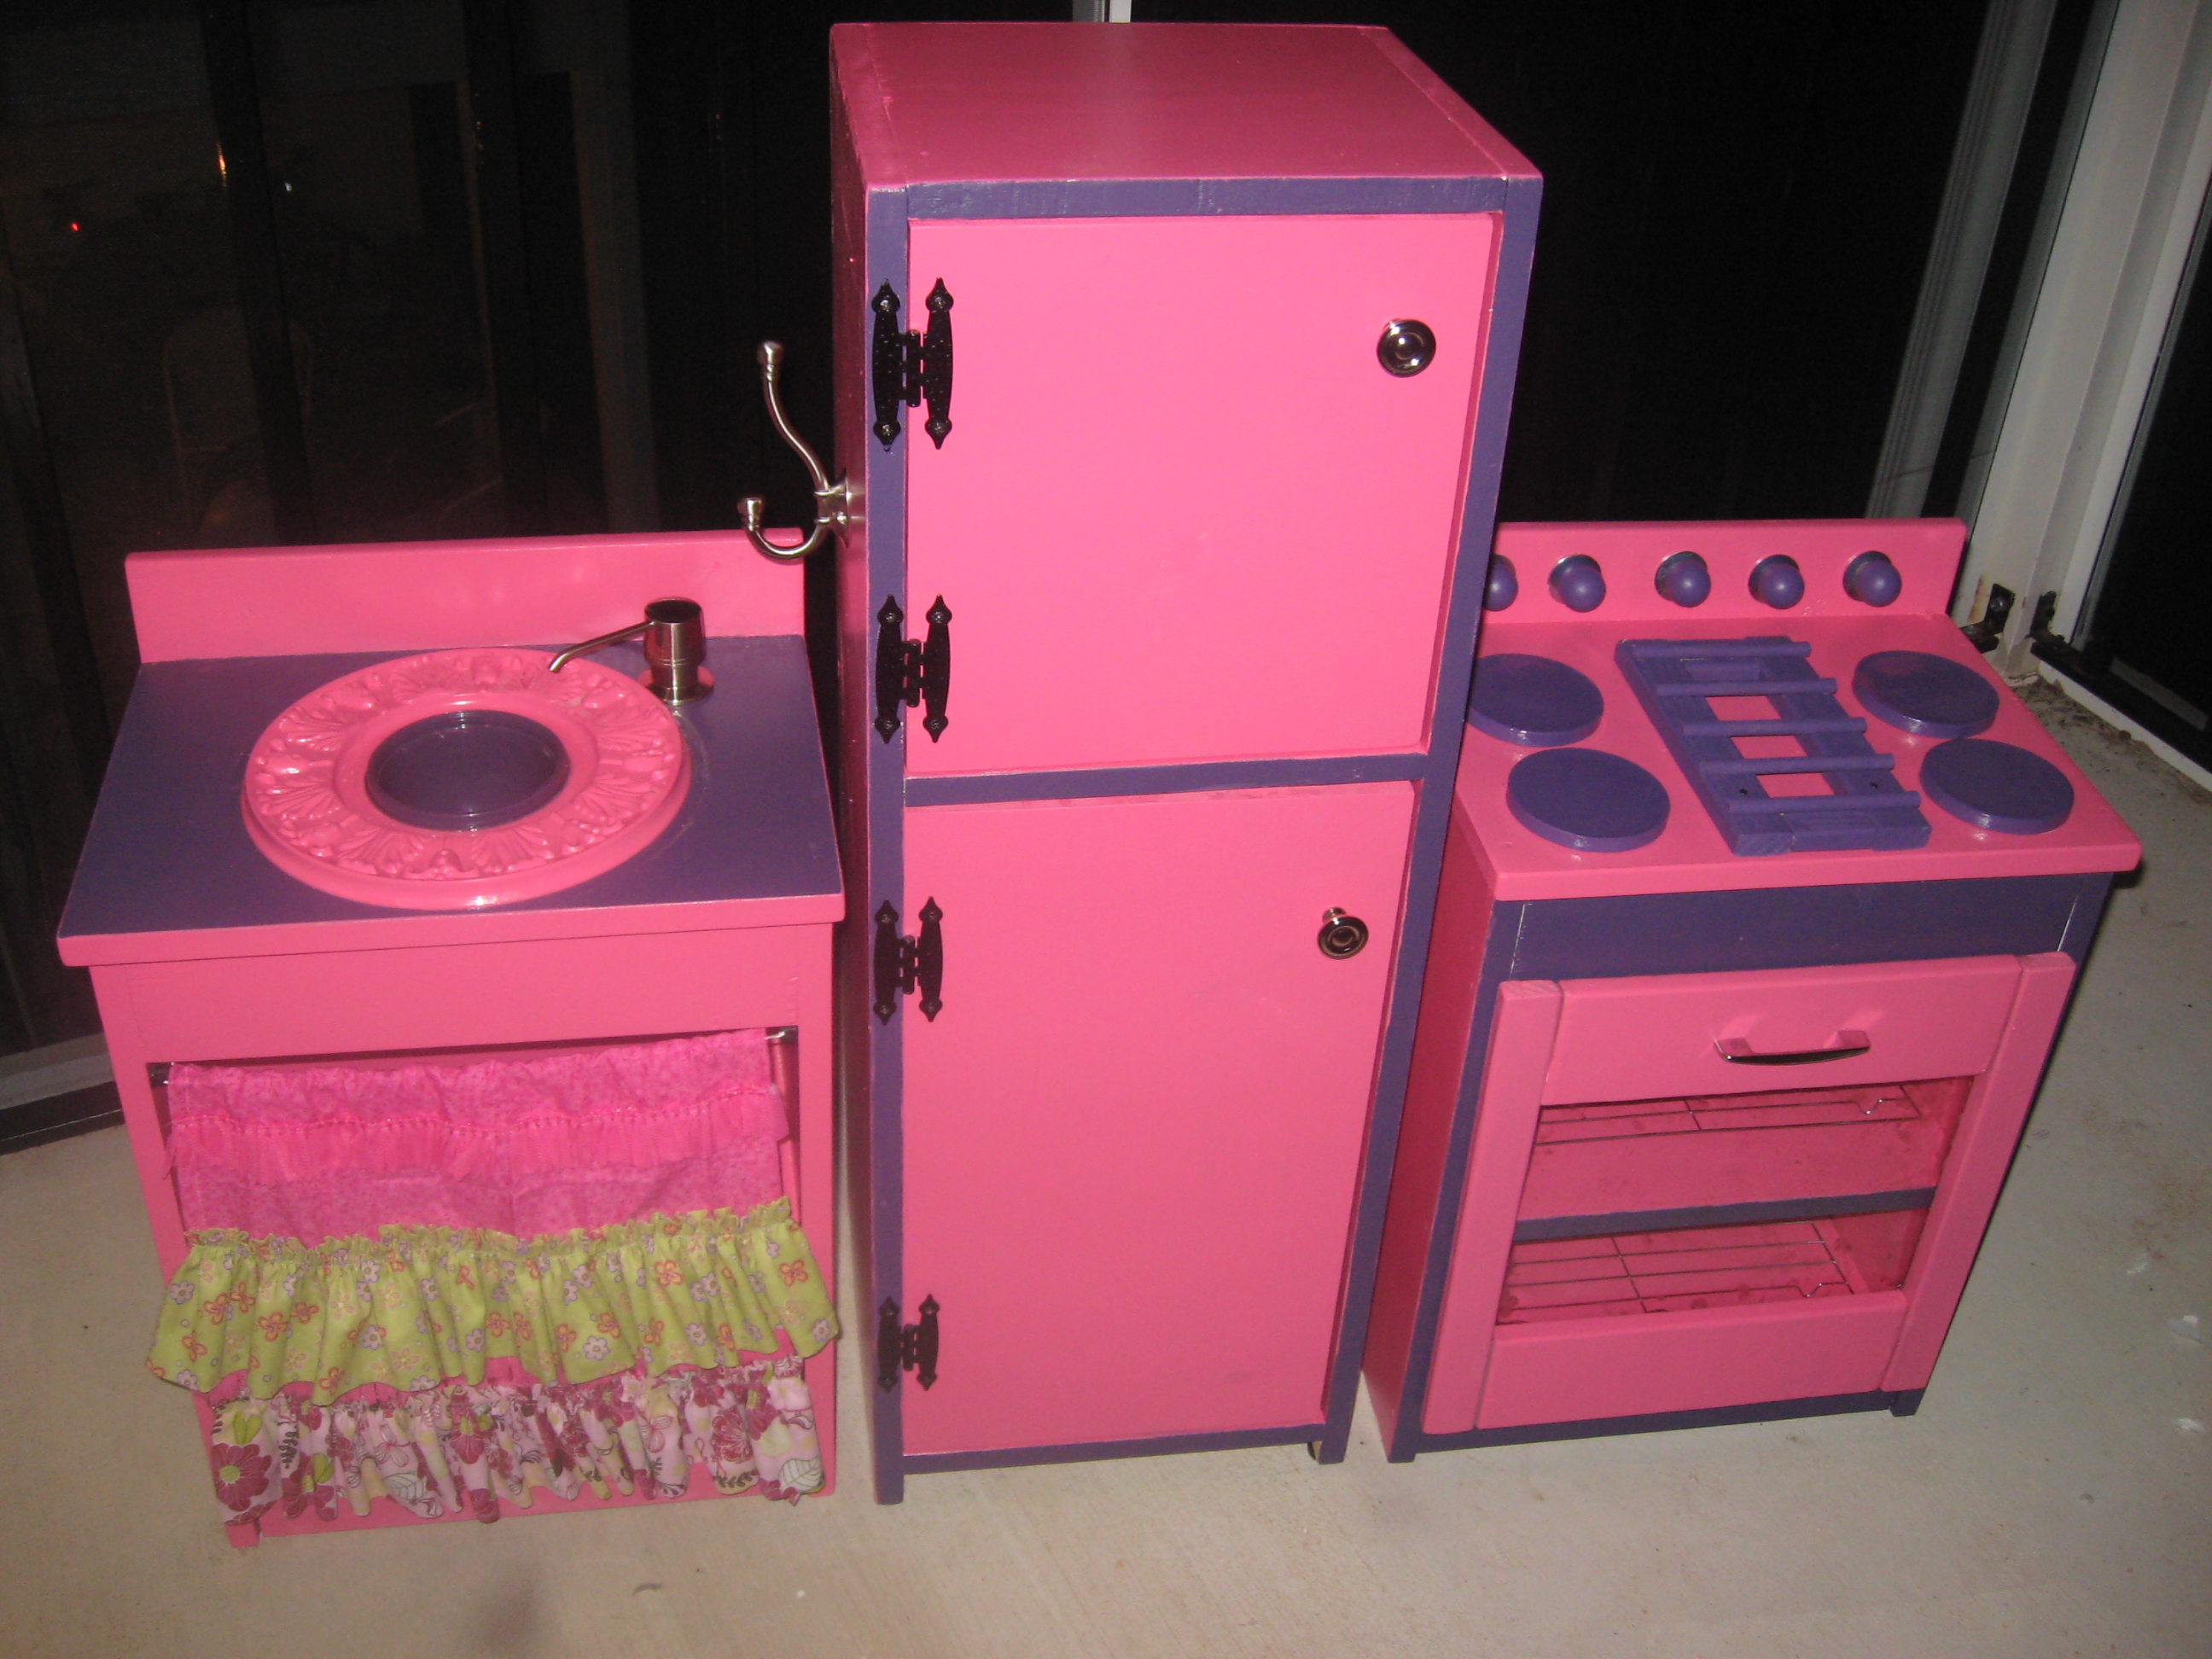
Modifications I made to the kitchen center are as follows:
Fridge: I installed magnetic clips inside the door area so it would stay closed and not go in to far when she closed it. I used basic exterior hinges due to the ackwardness of the size of the boards and placement, but it actually looked better. I installed hooks on the left side for her apron and hot pads and hooks on the right side for her cooking utensils to hang up.
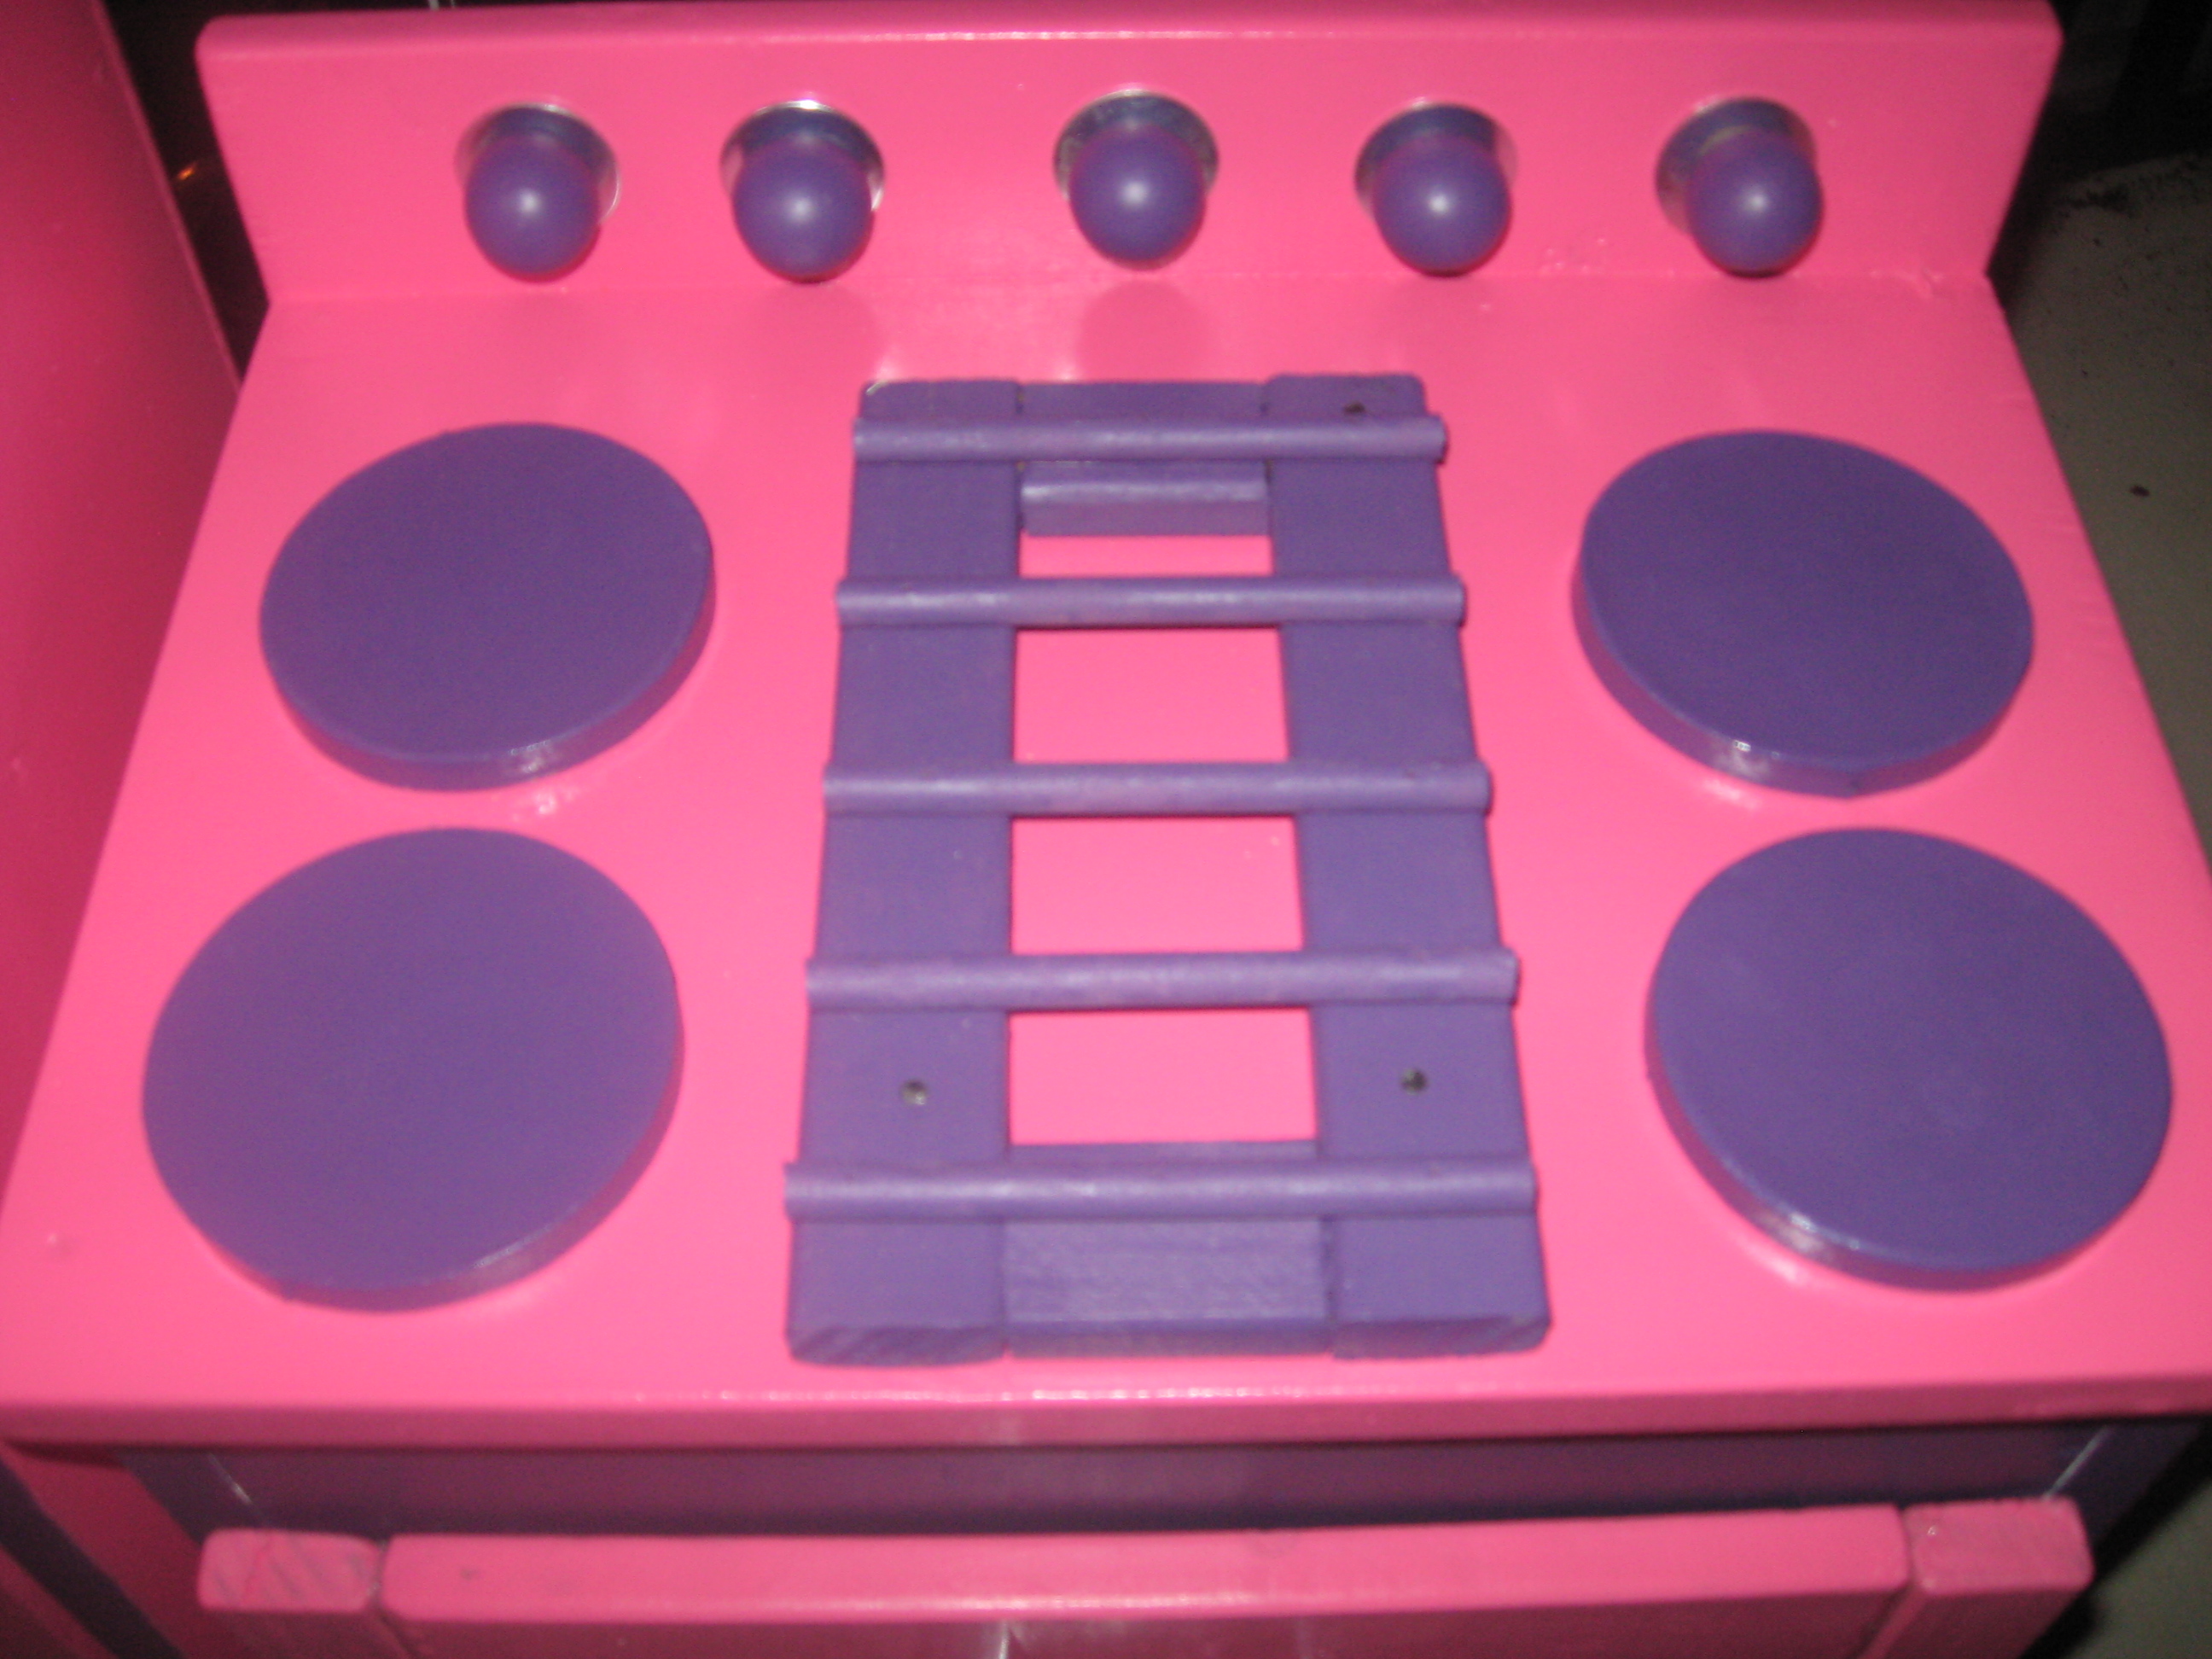
Stove: I made the knobs to the stove able to turn and pull out a little to imitate an actual knob on a stove so she feels as though she is able to turn on the stove and cook. I made the top have four electric burners on the sides and a gas grill plate in the middle....she loves this for her "burgers" lol. I found some cookie cooling racks at dollar tree and they sit perfectly on the shelves inside the stove. I also mounted a tap light on the inside of the stove so it has an "oven light" in it.
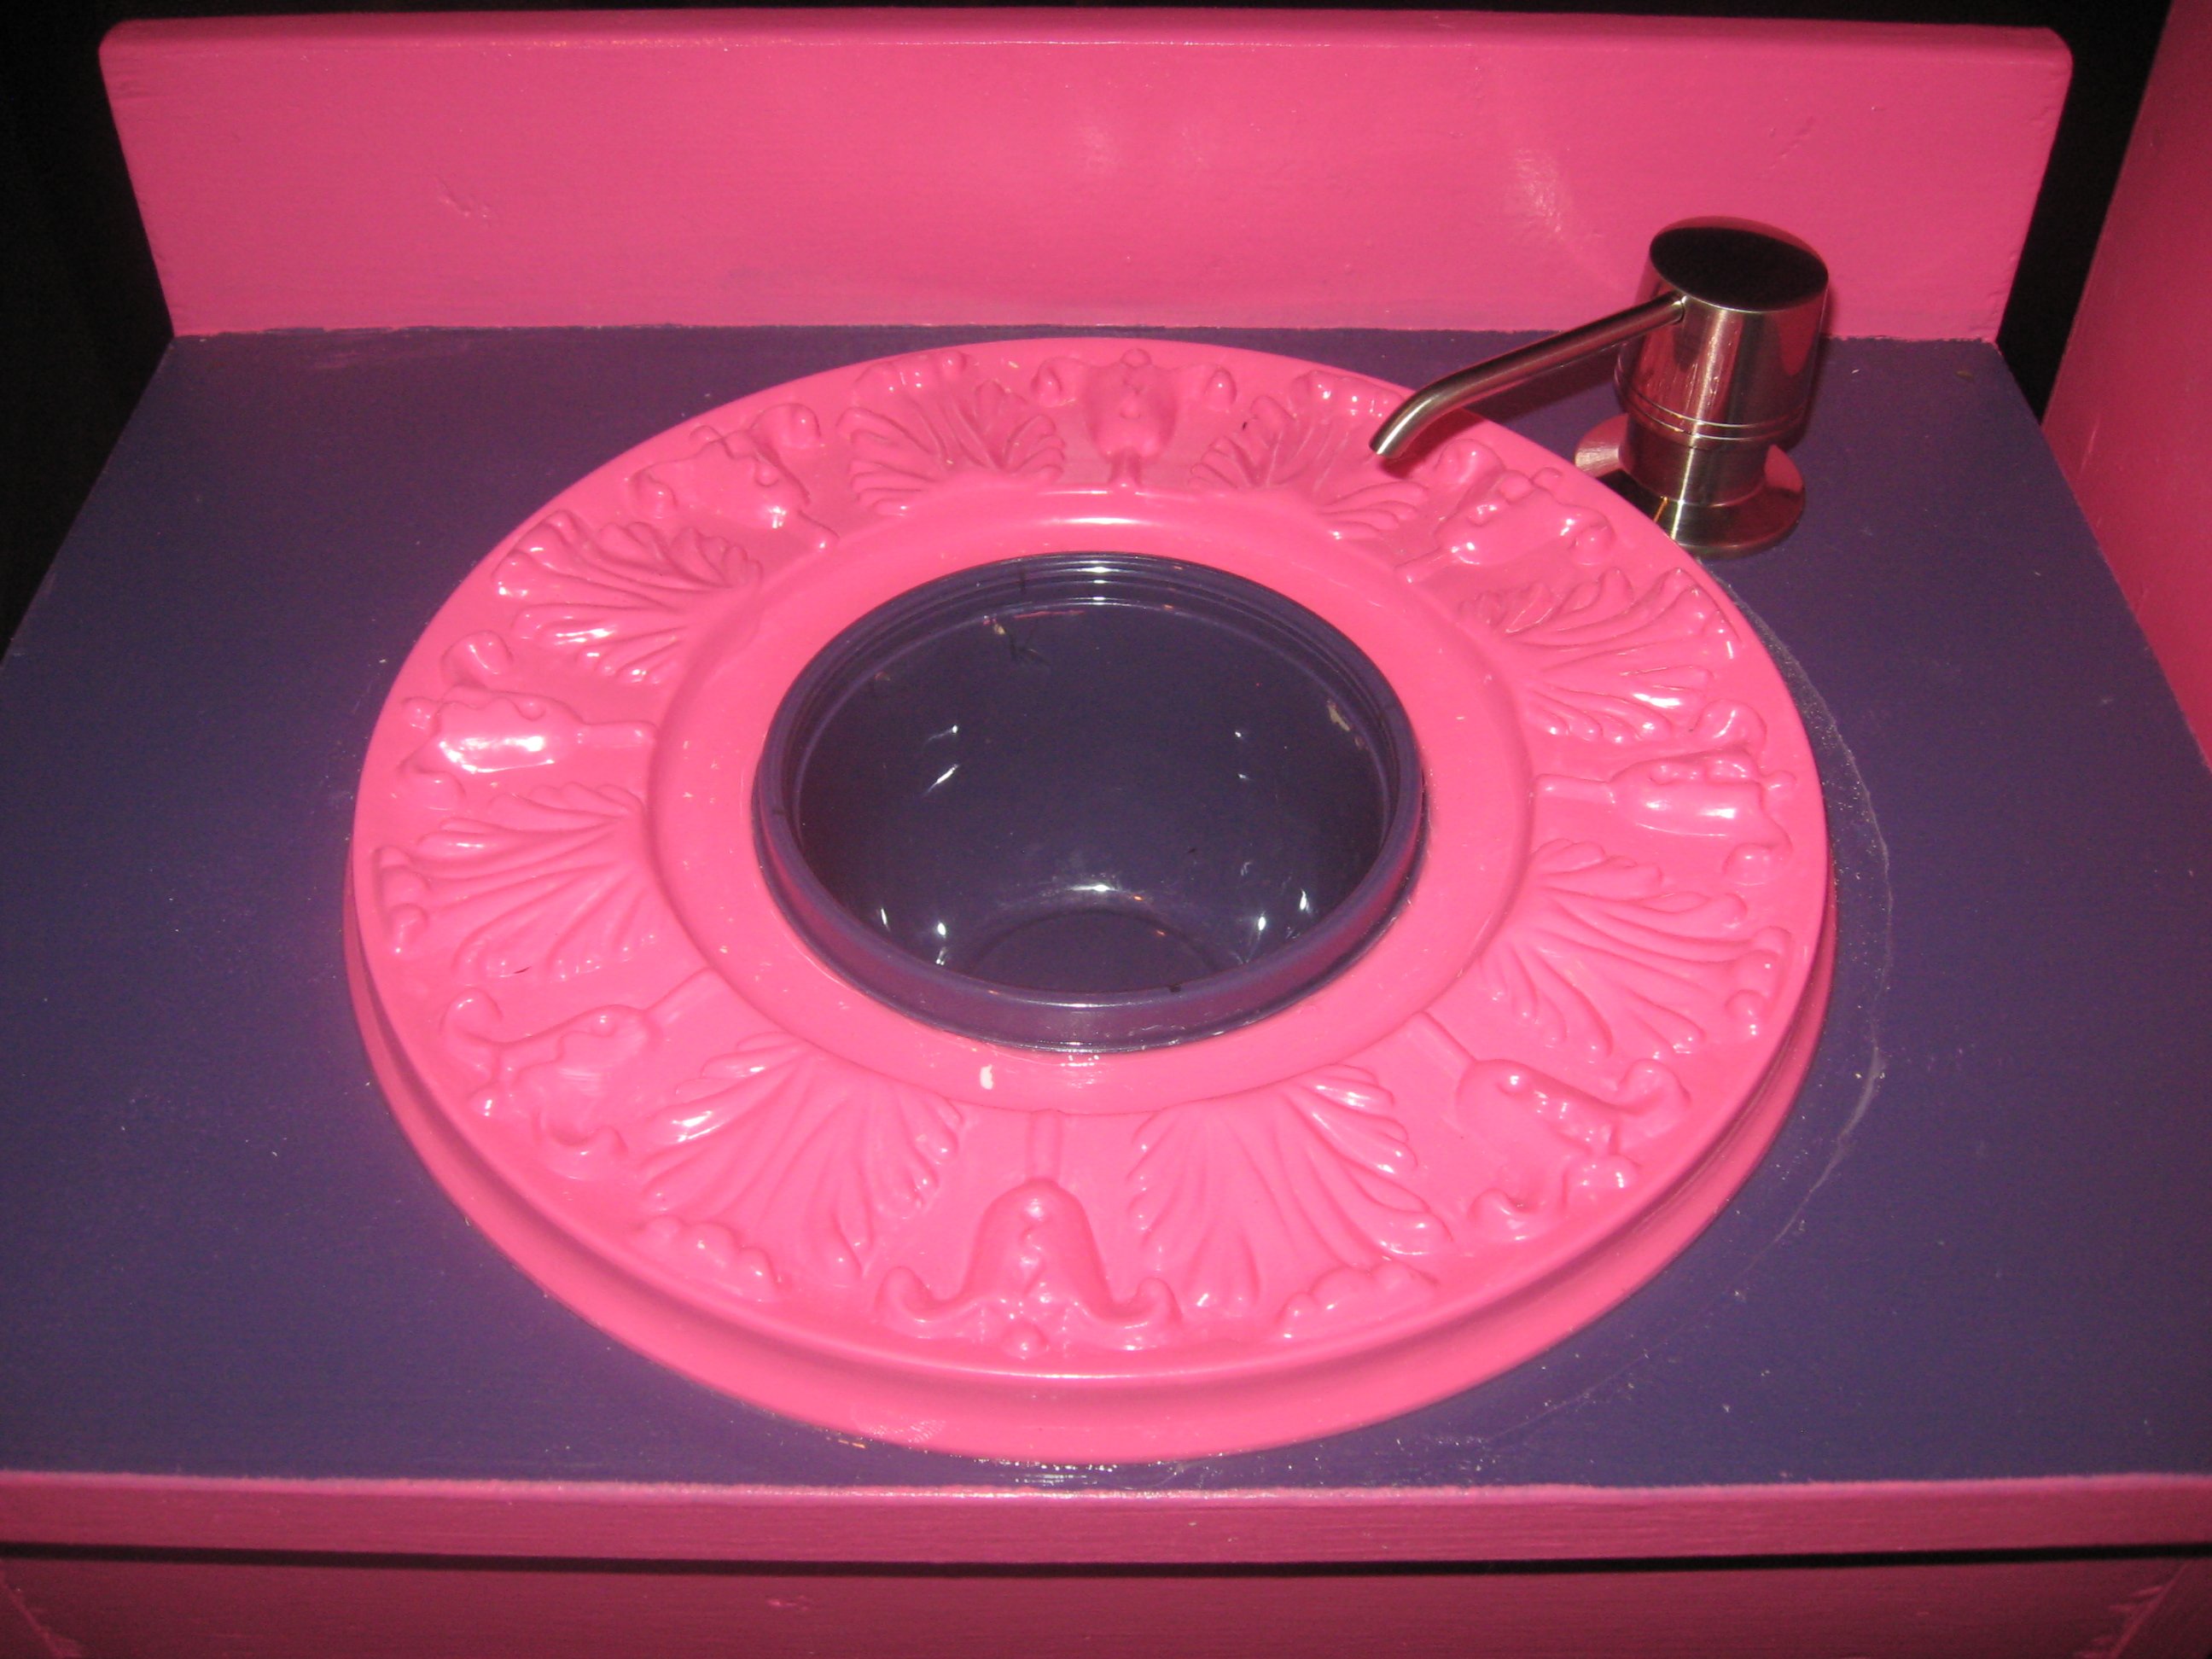
Sink: I painted a ceiling medallion to match the set colors and have that as her decorative sink border...the actual sink is a purple tupperware bowl. The faucet is actually a sink mounted soap dispenser I purchased. It has a bottle that attaches under the sink that I can fill with water so that when she is playing she can pump the faucet and actually get water! I made sure to use kitchen and bath grade silicone sealant on the sink and used paint that is ok in a kitchen/bath area.
I painted her set Disney Tink Pink lol.....her favorite color! She is loving this set and I am so thankful I found this site so I could make it!

Sun, 01/01/2012 - 09:47
Congrats on your first build! You did a super job! So cute. Love the creative elements like the turning knobs, grill and the 'running' water. Your sink bowl and trim colors are a great touch too. :)
I followed the plans and everything went really well. Th bench was built to match a Farmhouse Bed and nightstand that I built. I added fake drawers and knobs to make it match the nightstand. The top of the bench is made from boards screwed together rather than plywood, to add a little character.


Comments
Ana White Admin
Sat, 03/25/2023 - 09:19
Great coffee table!
Thanks for sharing, very pretty finish and the mods looks great!