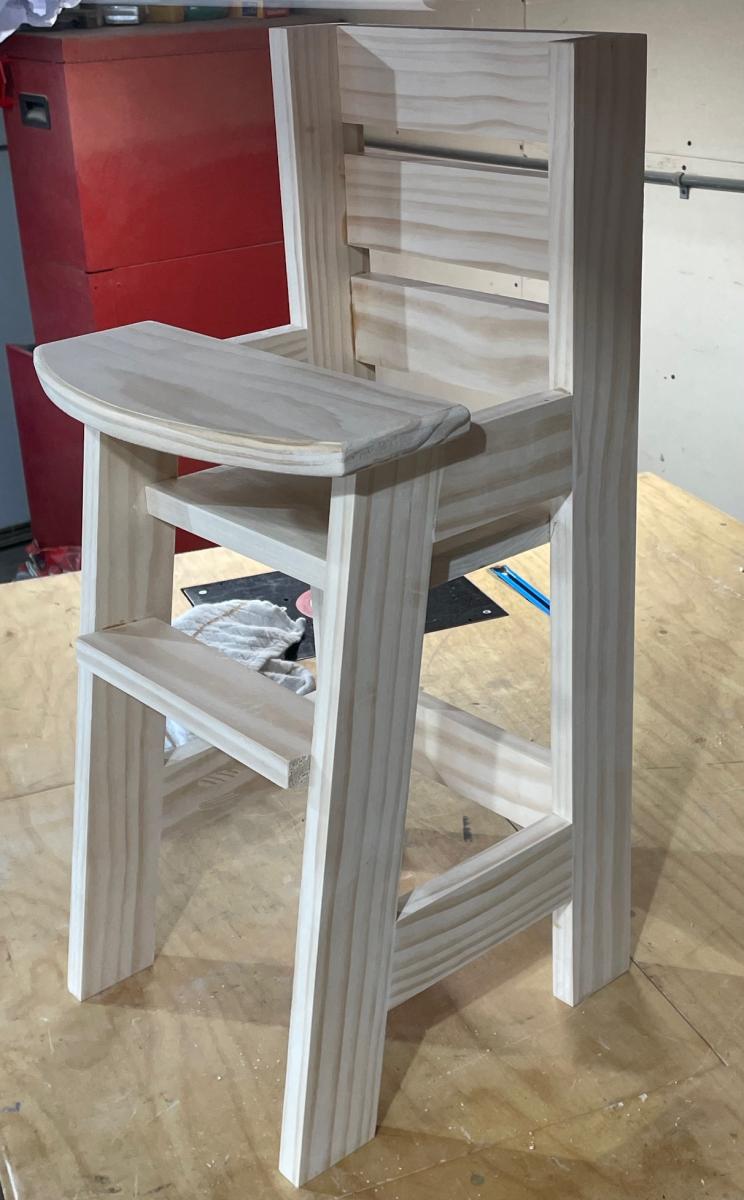
Chairs for grandkids
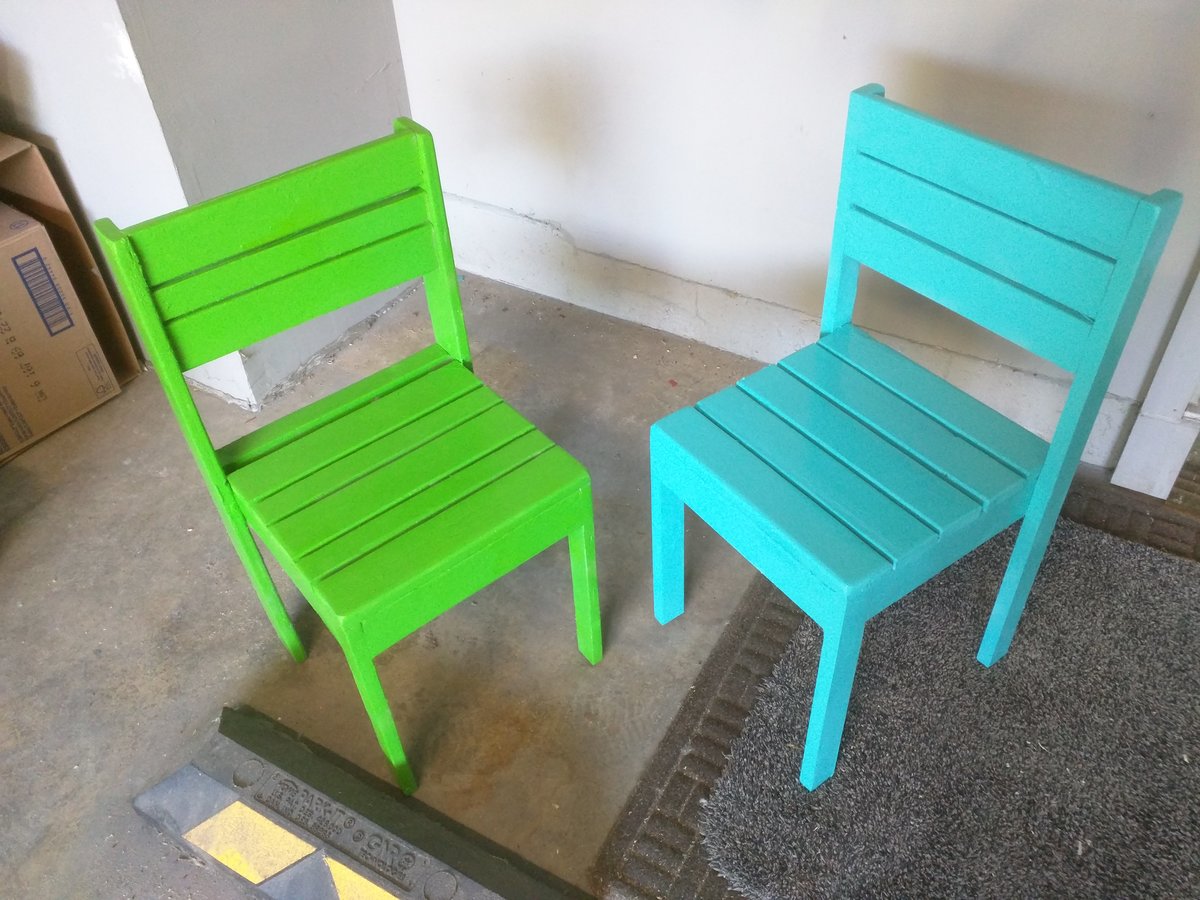
Chairs for grandkids. They picked it their colors.
Built from Plan(s)
Estimated Time Investment
Afternoon Project (3-6 Hours)
Recommended Skill Level
Beginner
Chairs for grandkids. They picked it their colors.
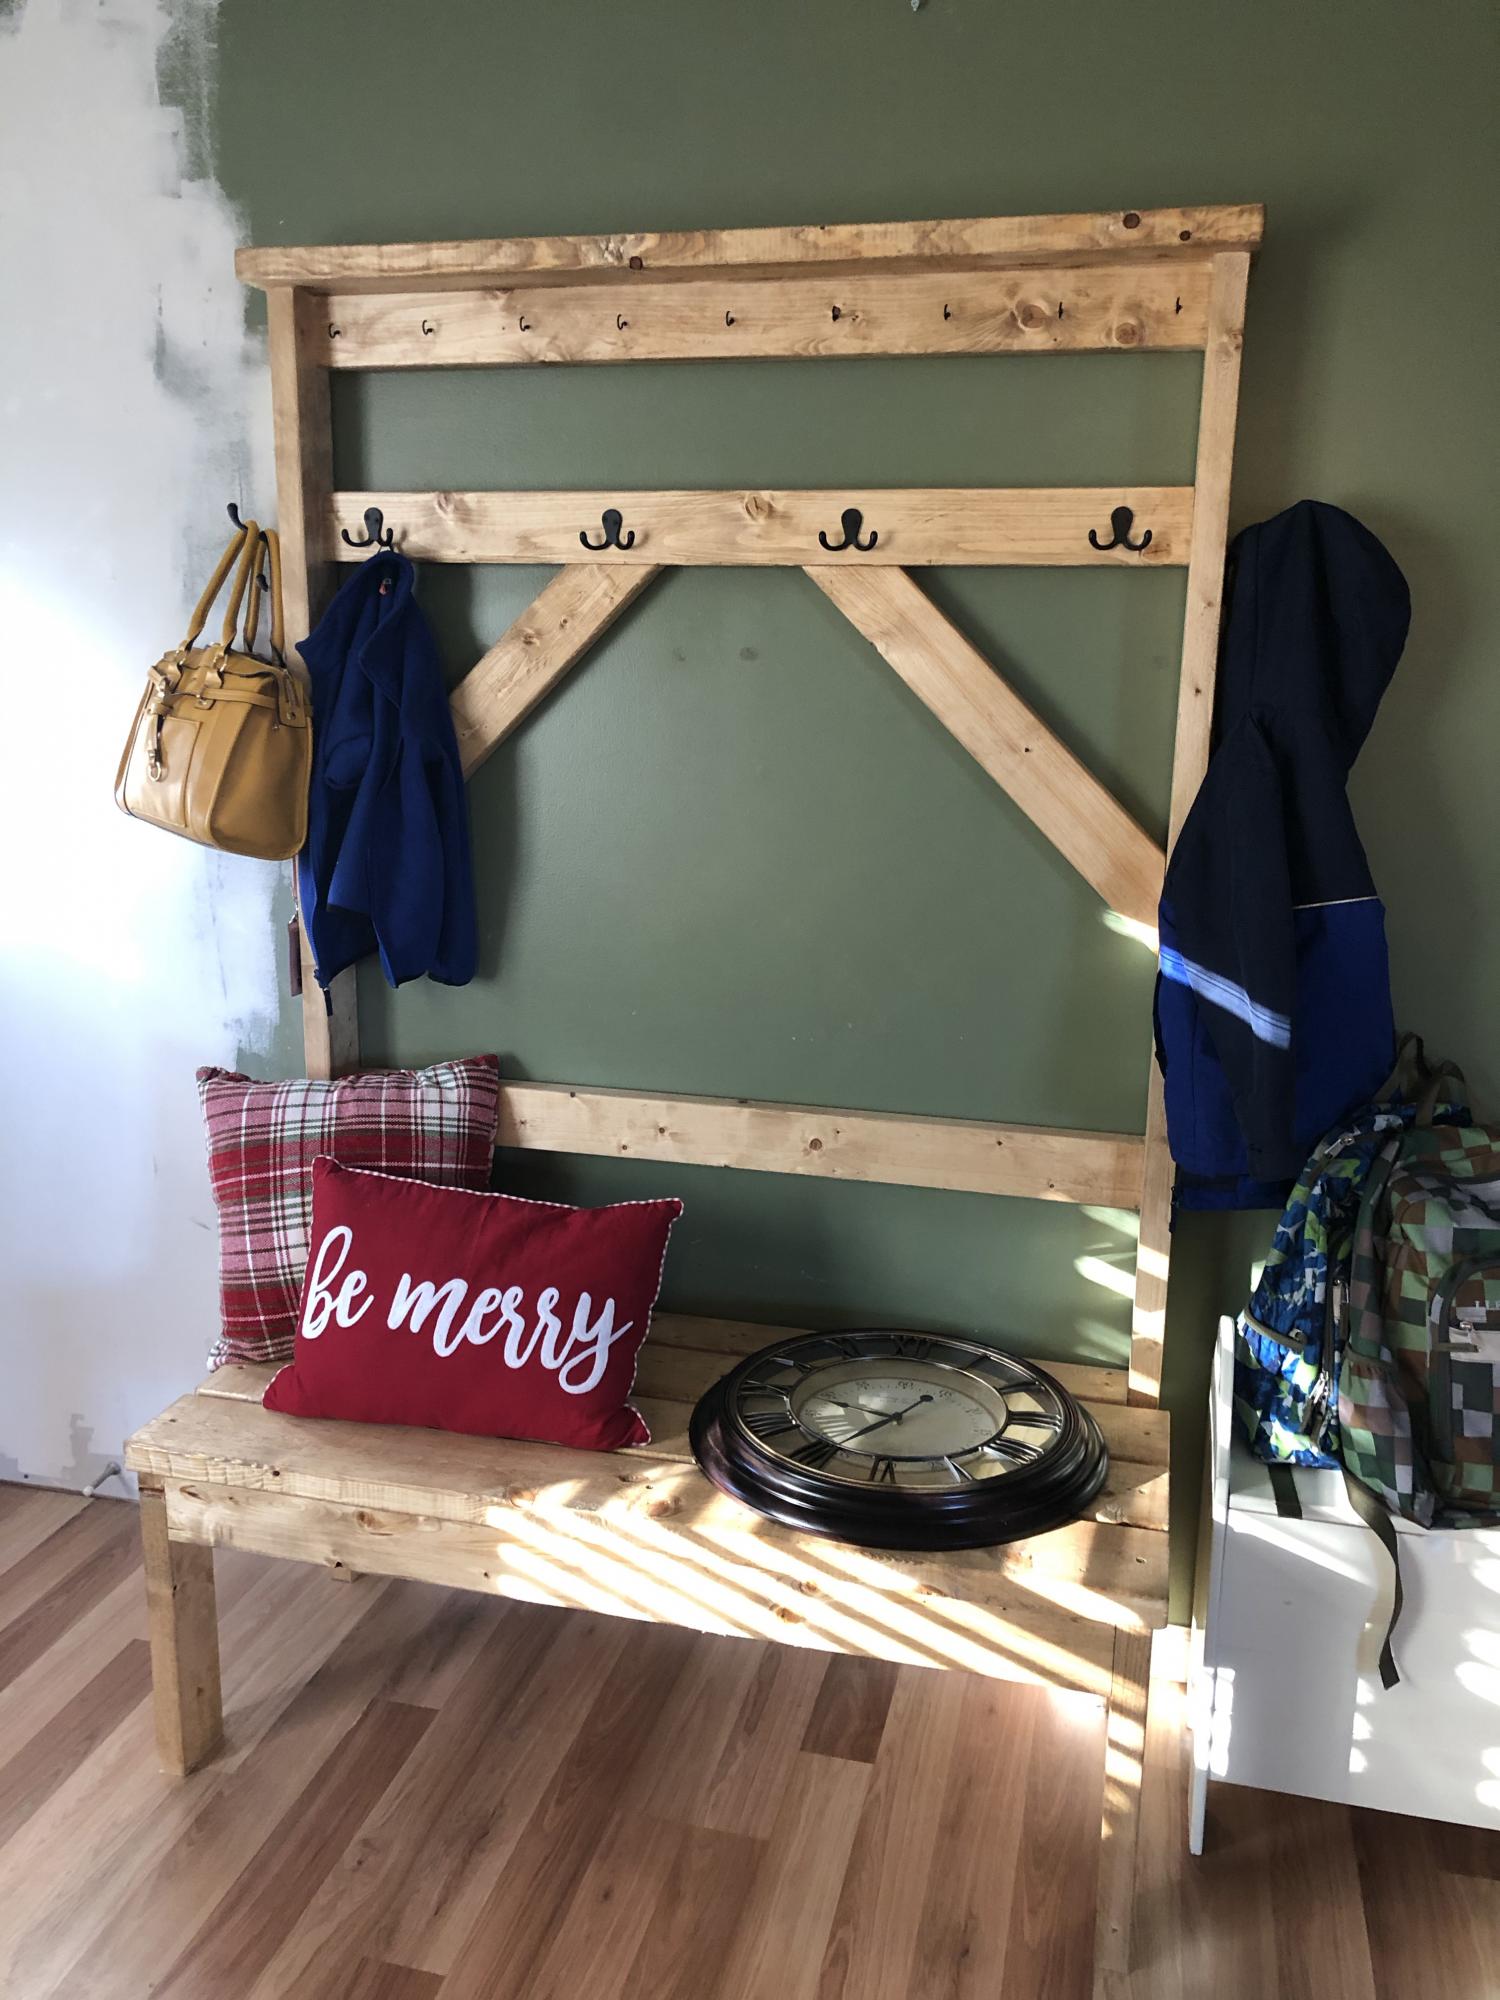
My family was all coming over for Christmas and we were going to have about 30 people at my house. I only had my mudroom hooks but no other place to store people's keys, coats, etc. When I saw these plans they looked quick enough to build in one night (the night before the party lol). So I did! And man did it get use. I wish I would've taken a picture with all the coats and purses and keys on it.
I have built several furniture pieces in my home several coming from you.
I have done quite a bit of wood working never being great at any of them . But I truly love furniture building.
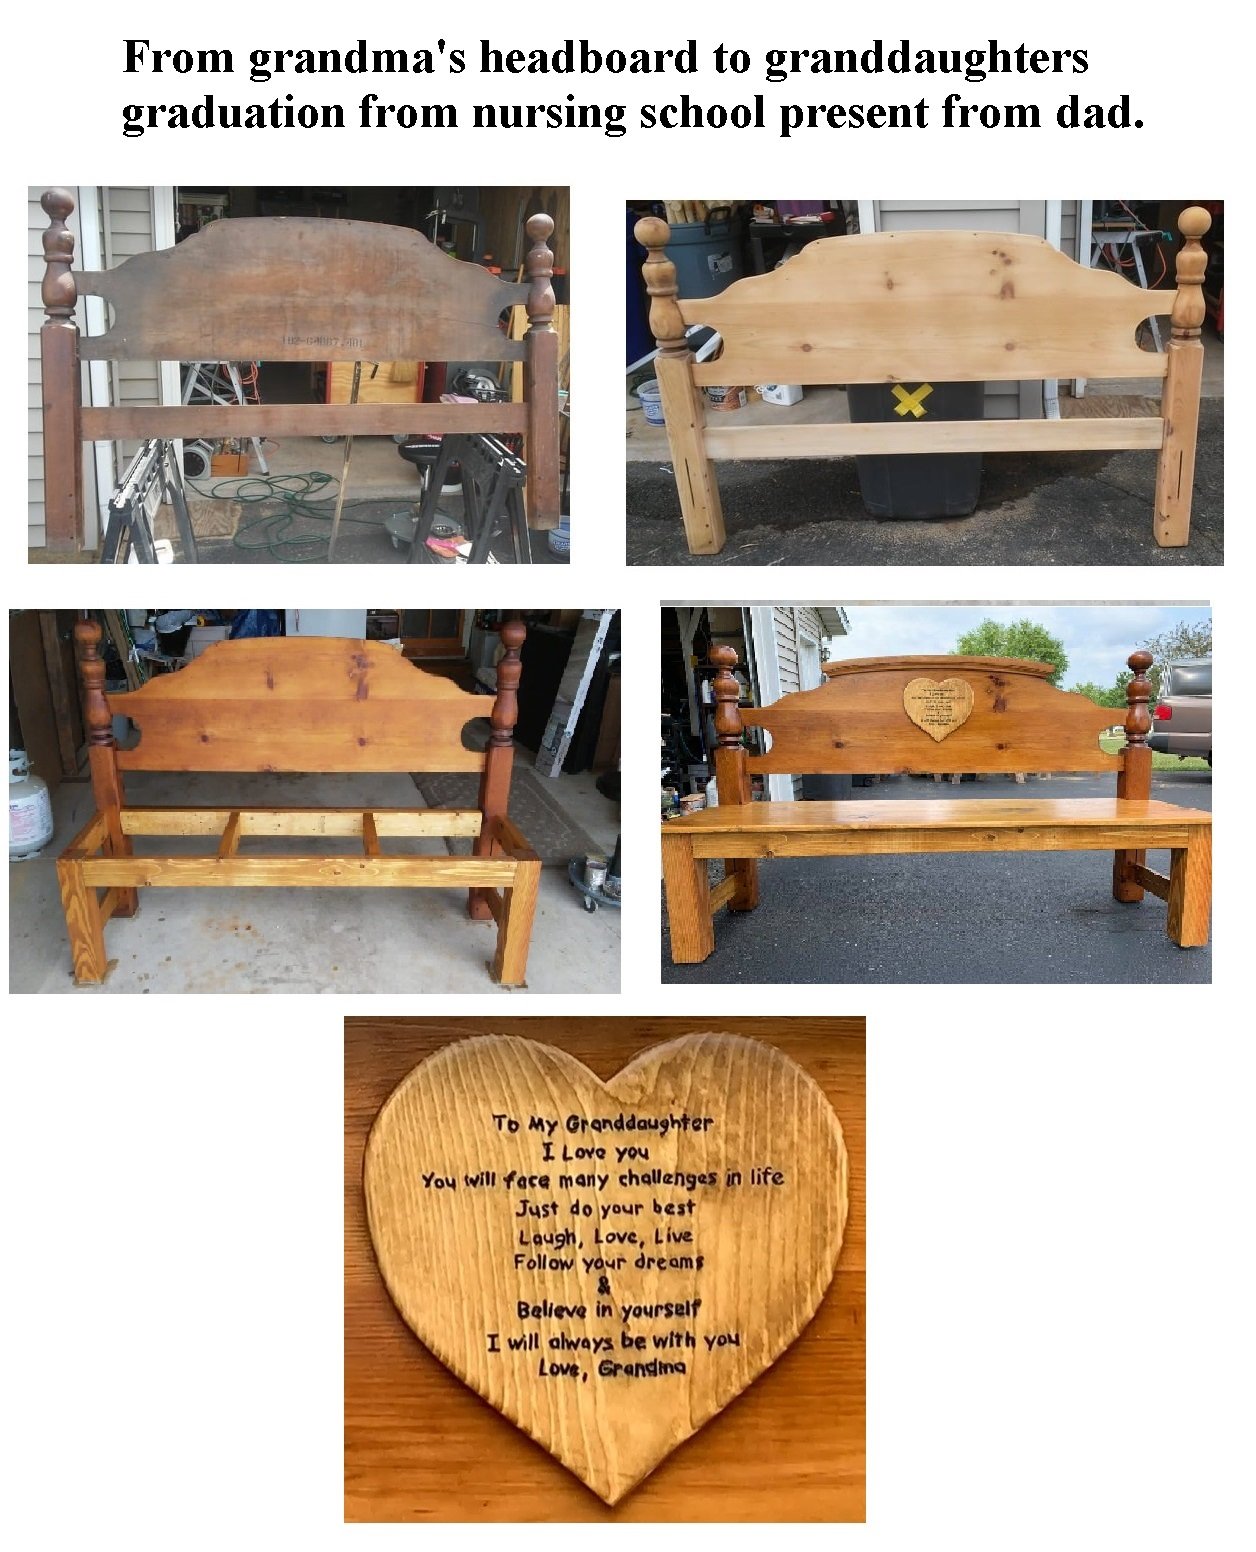
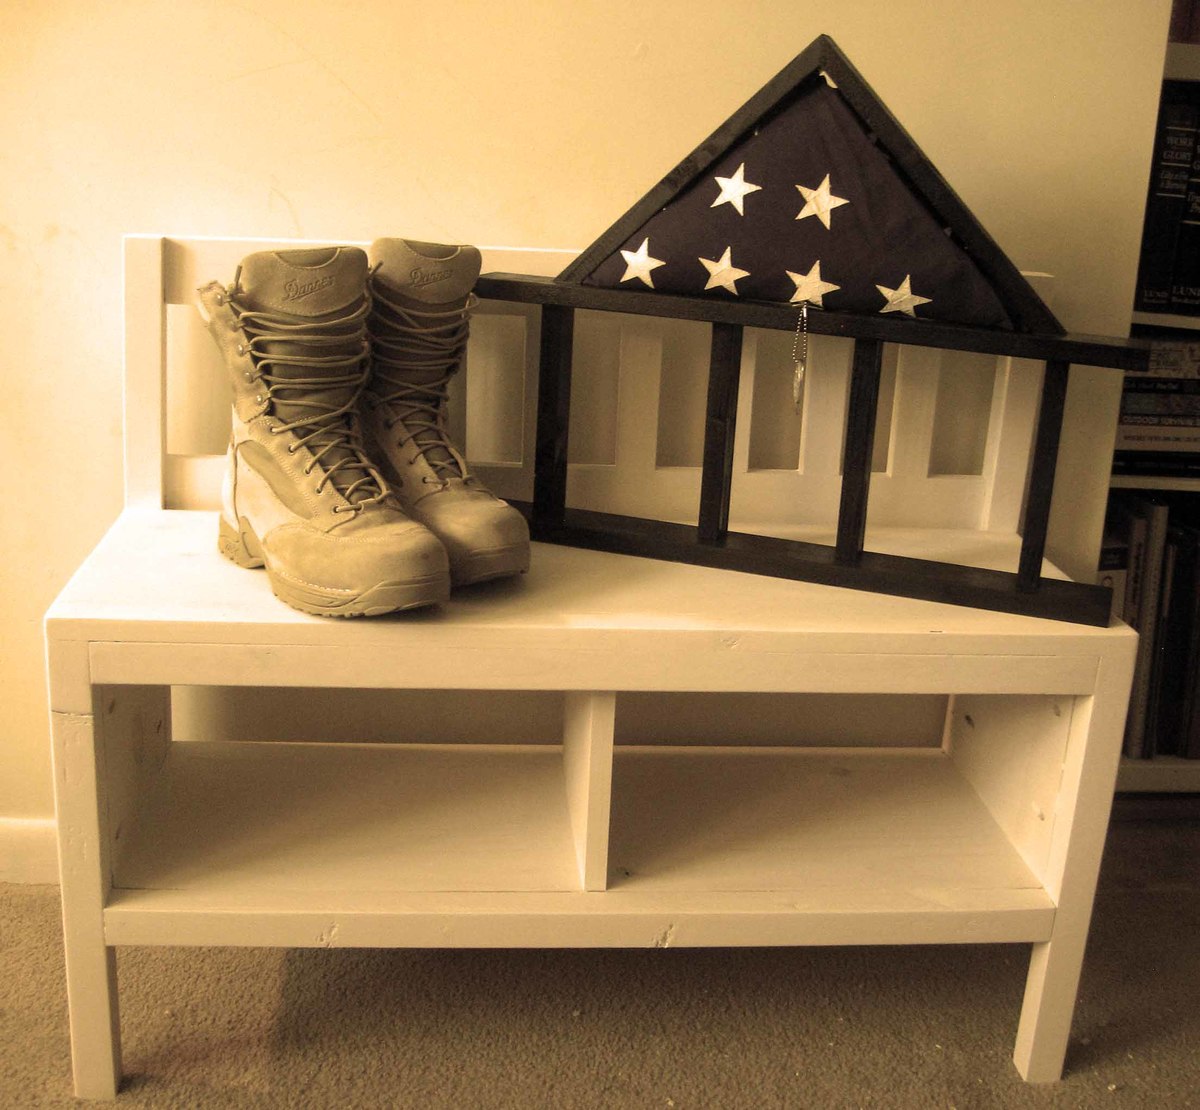
Saw this bench and loved it. Since its Memorial weekend I thought I would add some personal belongings to it.

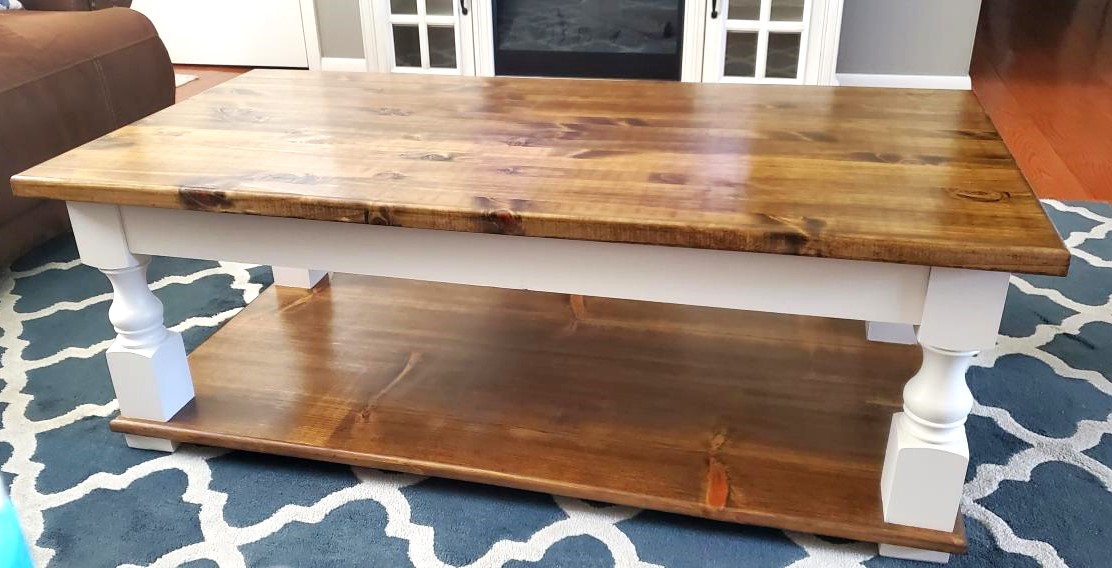
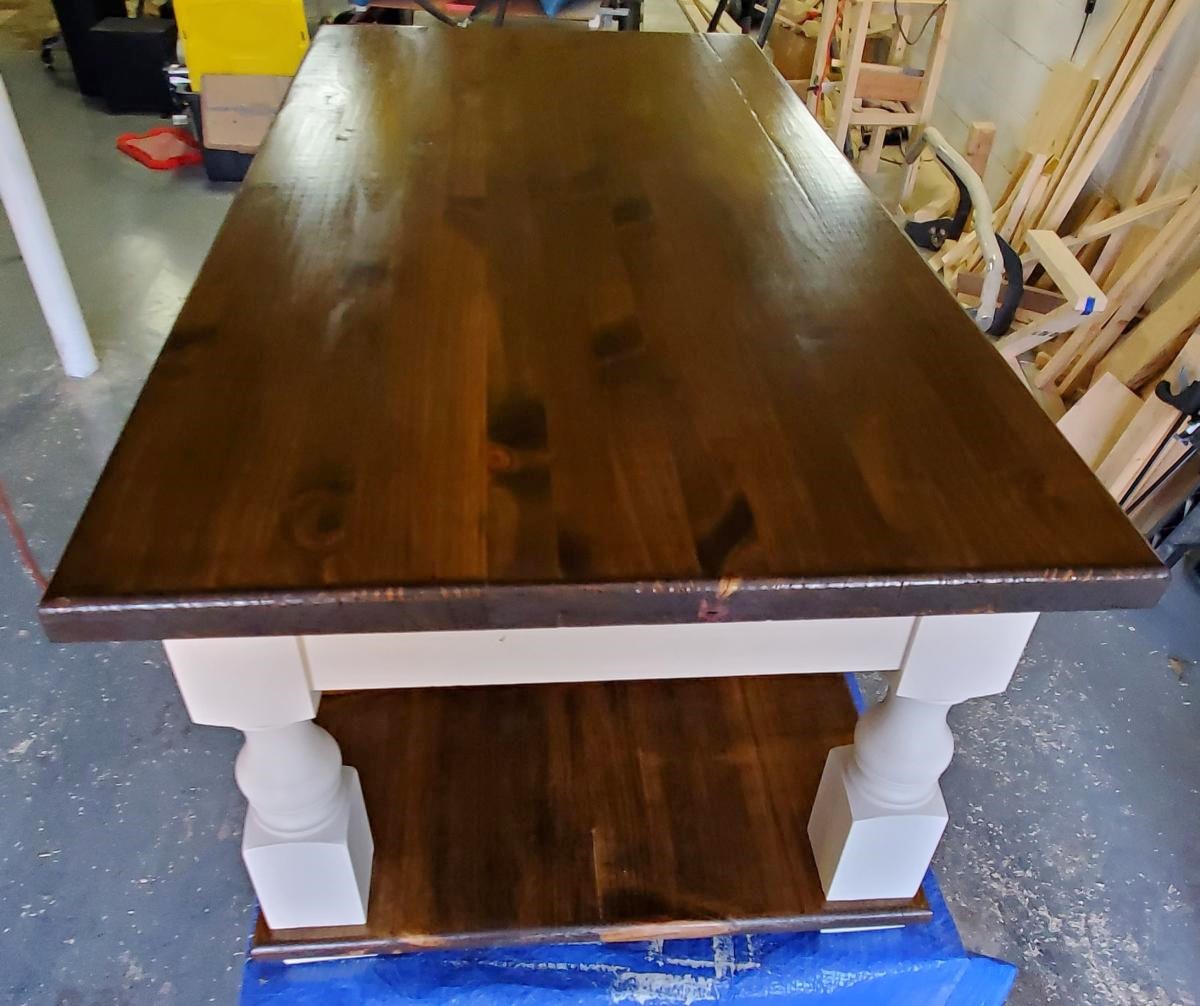
My wife wanted a new table for our dining room in our new house. I have been eyeing this project for a couple of years and finally convinced my wife that I could do it since we had the space. The plans on this site were easy to follow and I was able to really put it together. As far as the color of the stain, that is all my wife as she has the eye for colors and matching. Overall, this was a fun project and I can't wait to put the bench together next.
There is 1x10 on the shopping list! This was the first cut to make and I realized no where does it say to grab a 1x10 board. Other than that, the plans were great. Definitely made some mistakes along the way but overall I am very pleased. Thanks for the plans!
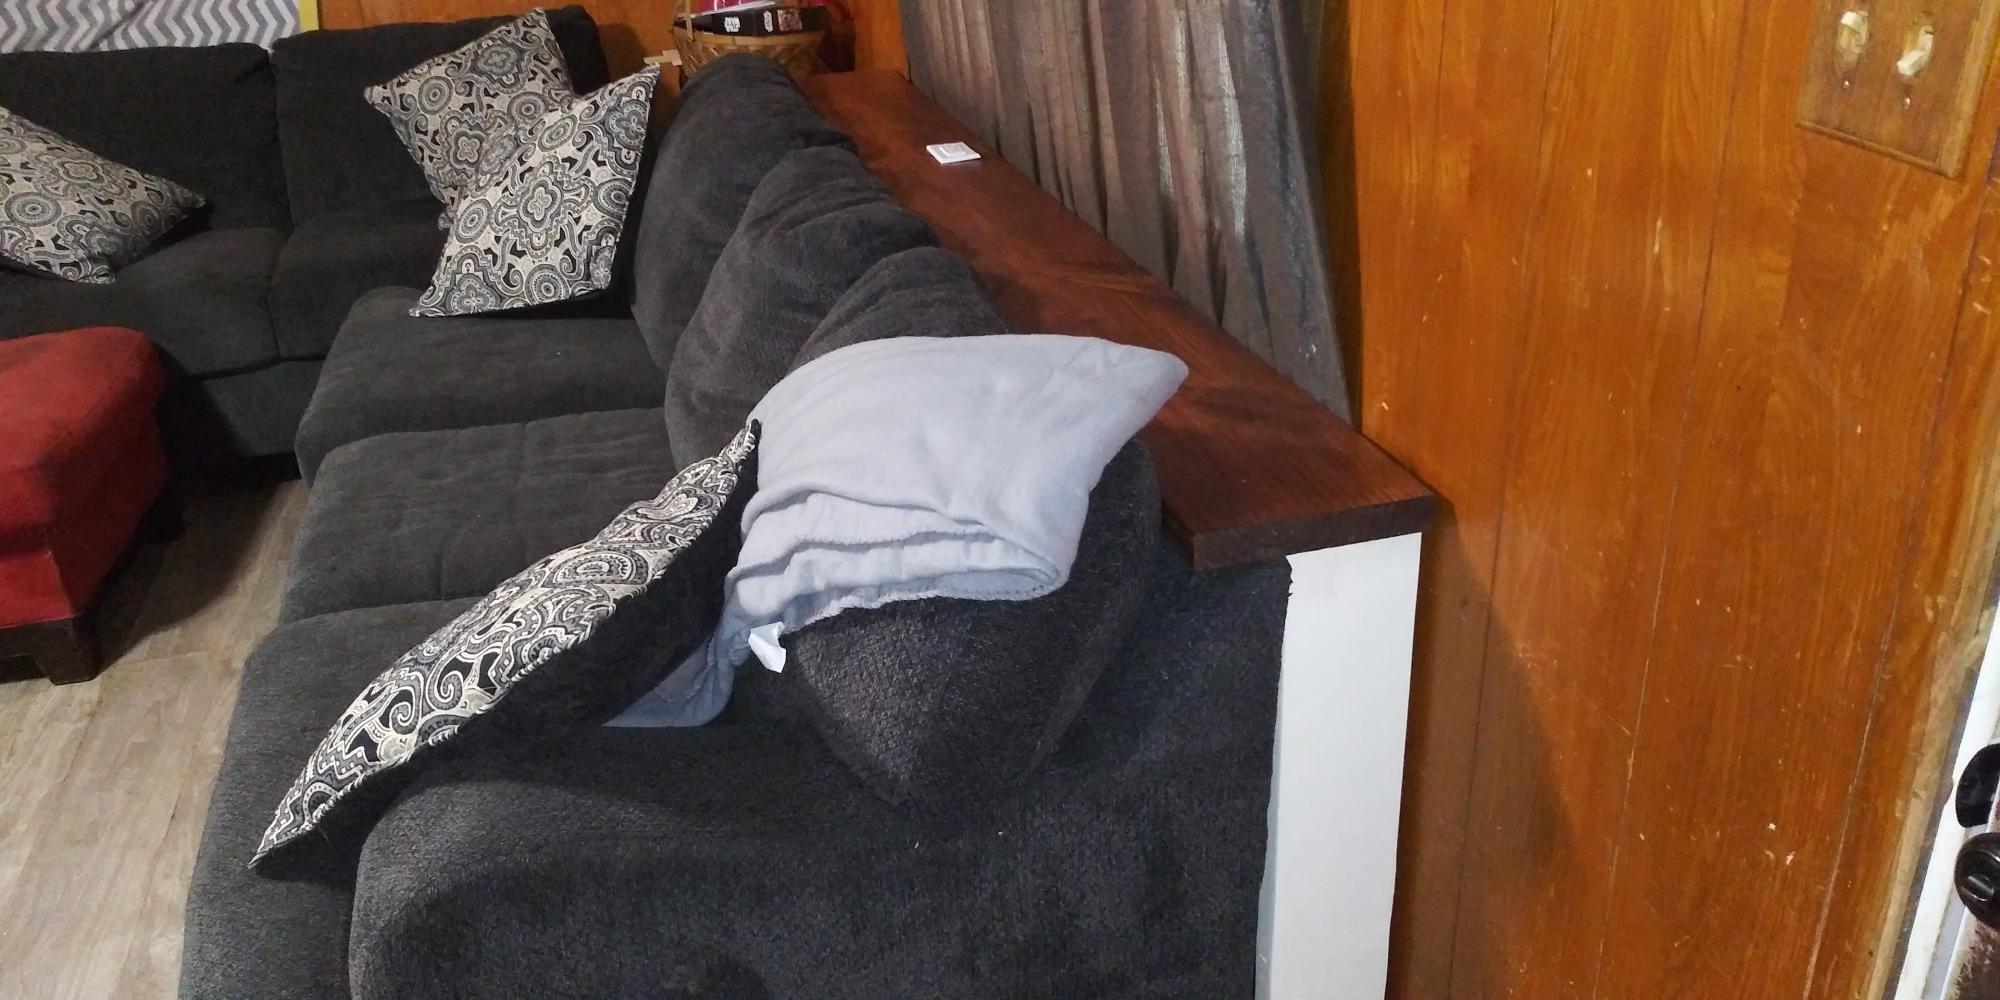
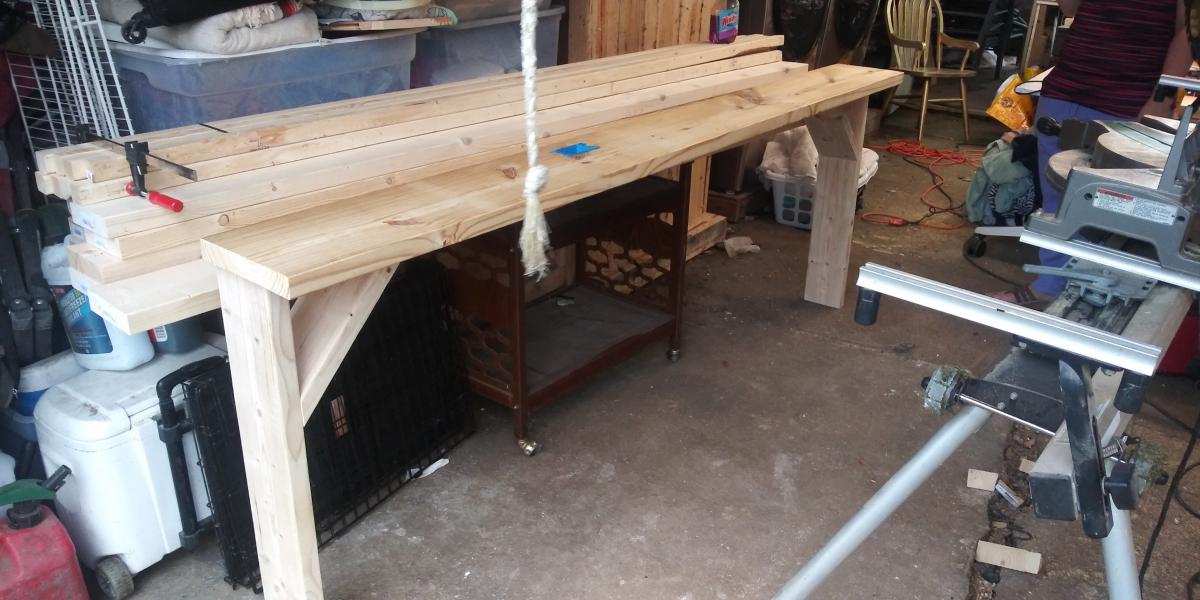
I created a sofa table and also one for the loveseat but I don't have it pictured. I used a 2" x 10" for the top and 2" x 6" boards for the legs as well as braces. Added a two outlet and two USB port socket to the table top which was wired to plug into the outlet that would be covered up. Made it so that the legs we're up against the wall allowing for the top to extend just over the back of the couch, and it allowed the two legs to keep the pets from going behind the couch.
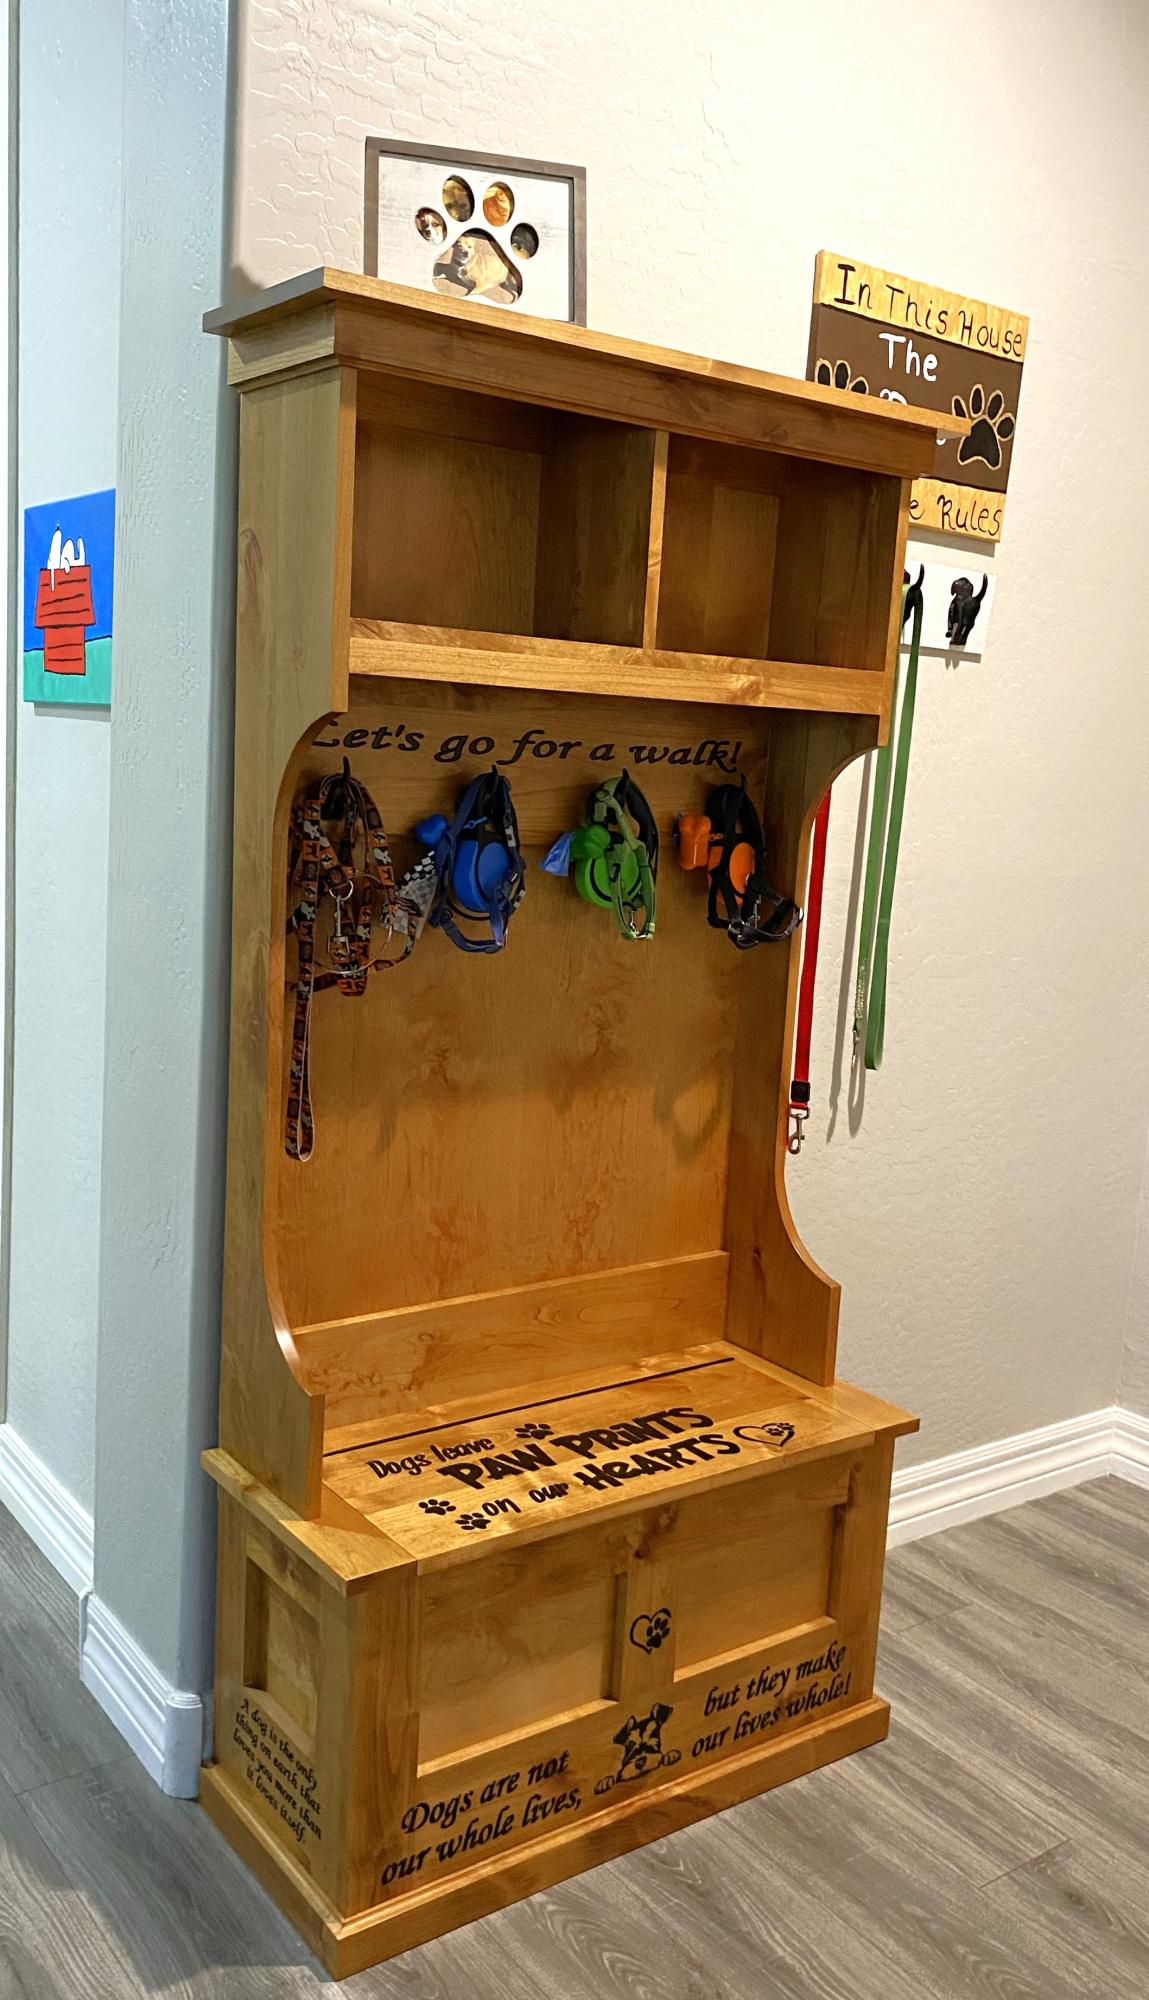
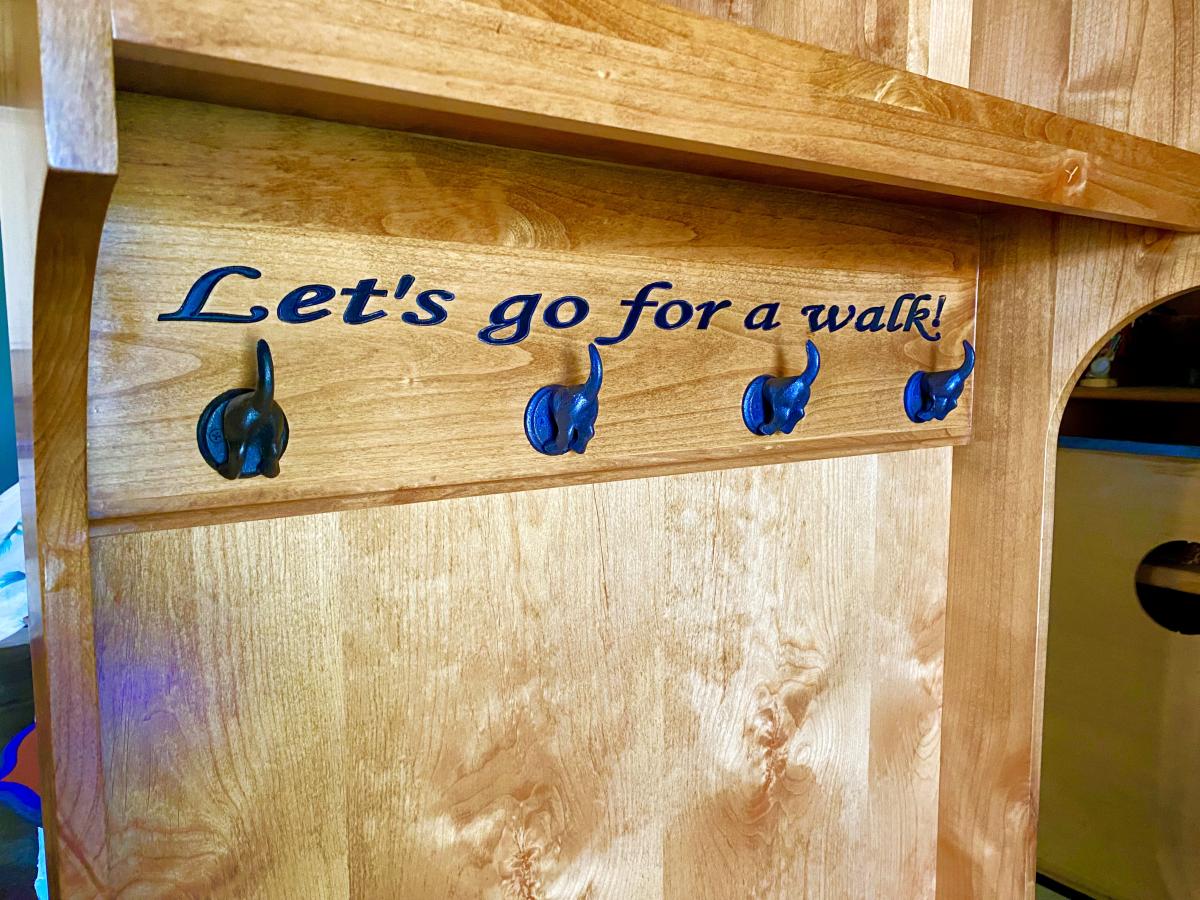
I made this for some friends who are fellow dog lovers. I used the Mimi’s hall tee and storage bench plans. They were very happy with it. This is the second time I’ve used these plans. It’s a very fun project to build.
M. Wold
Sat, 11/18/2023 - 12:48
Love this, such a great storage solution for a pet walking station!
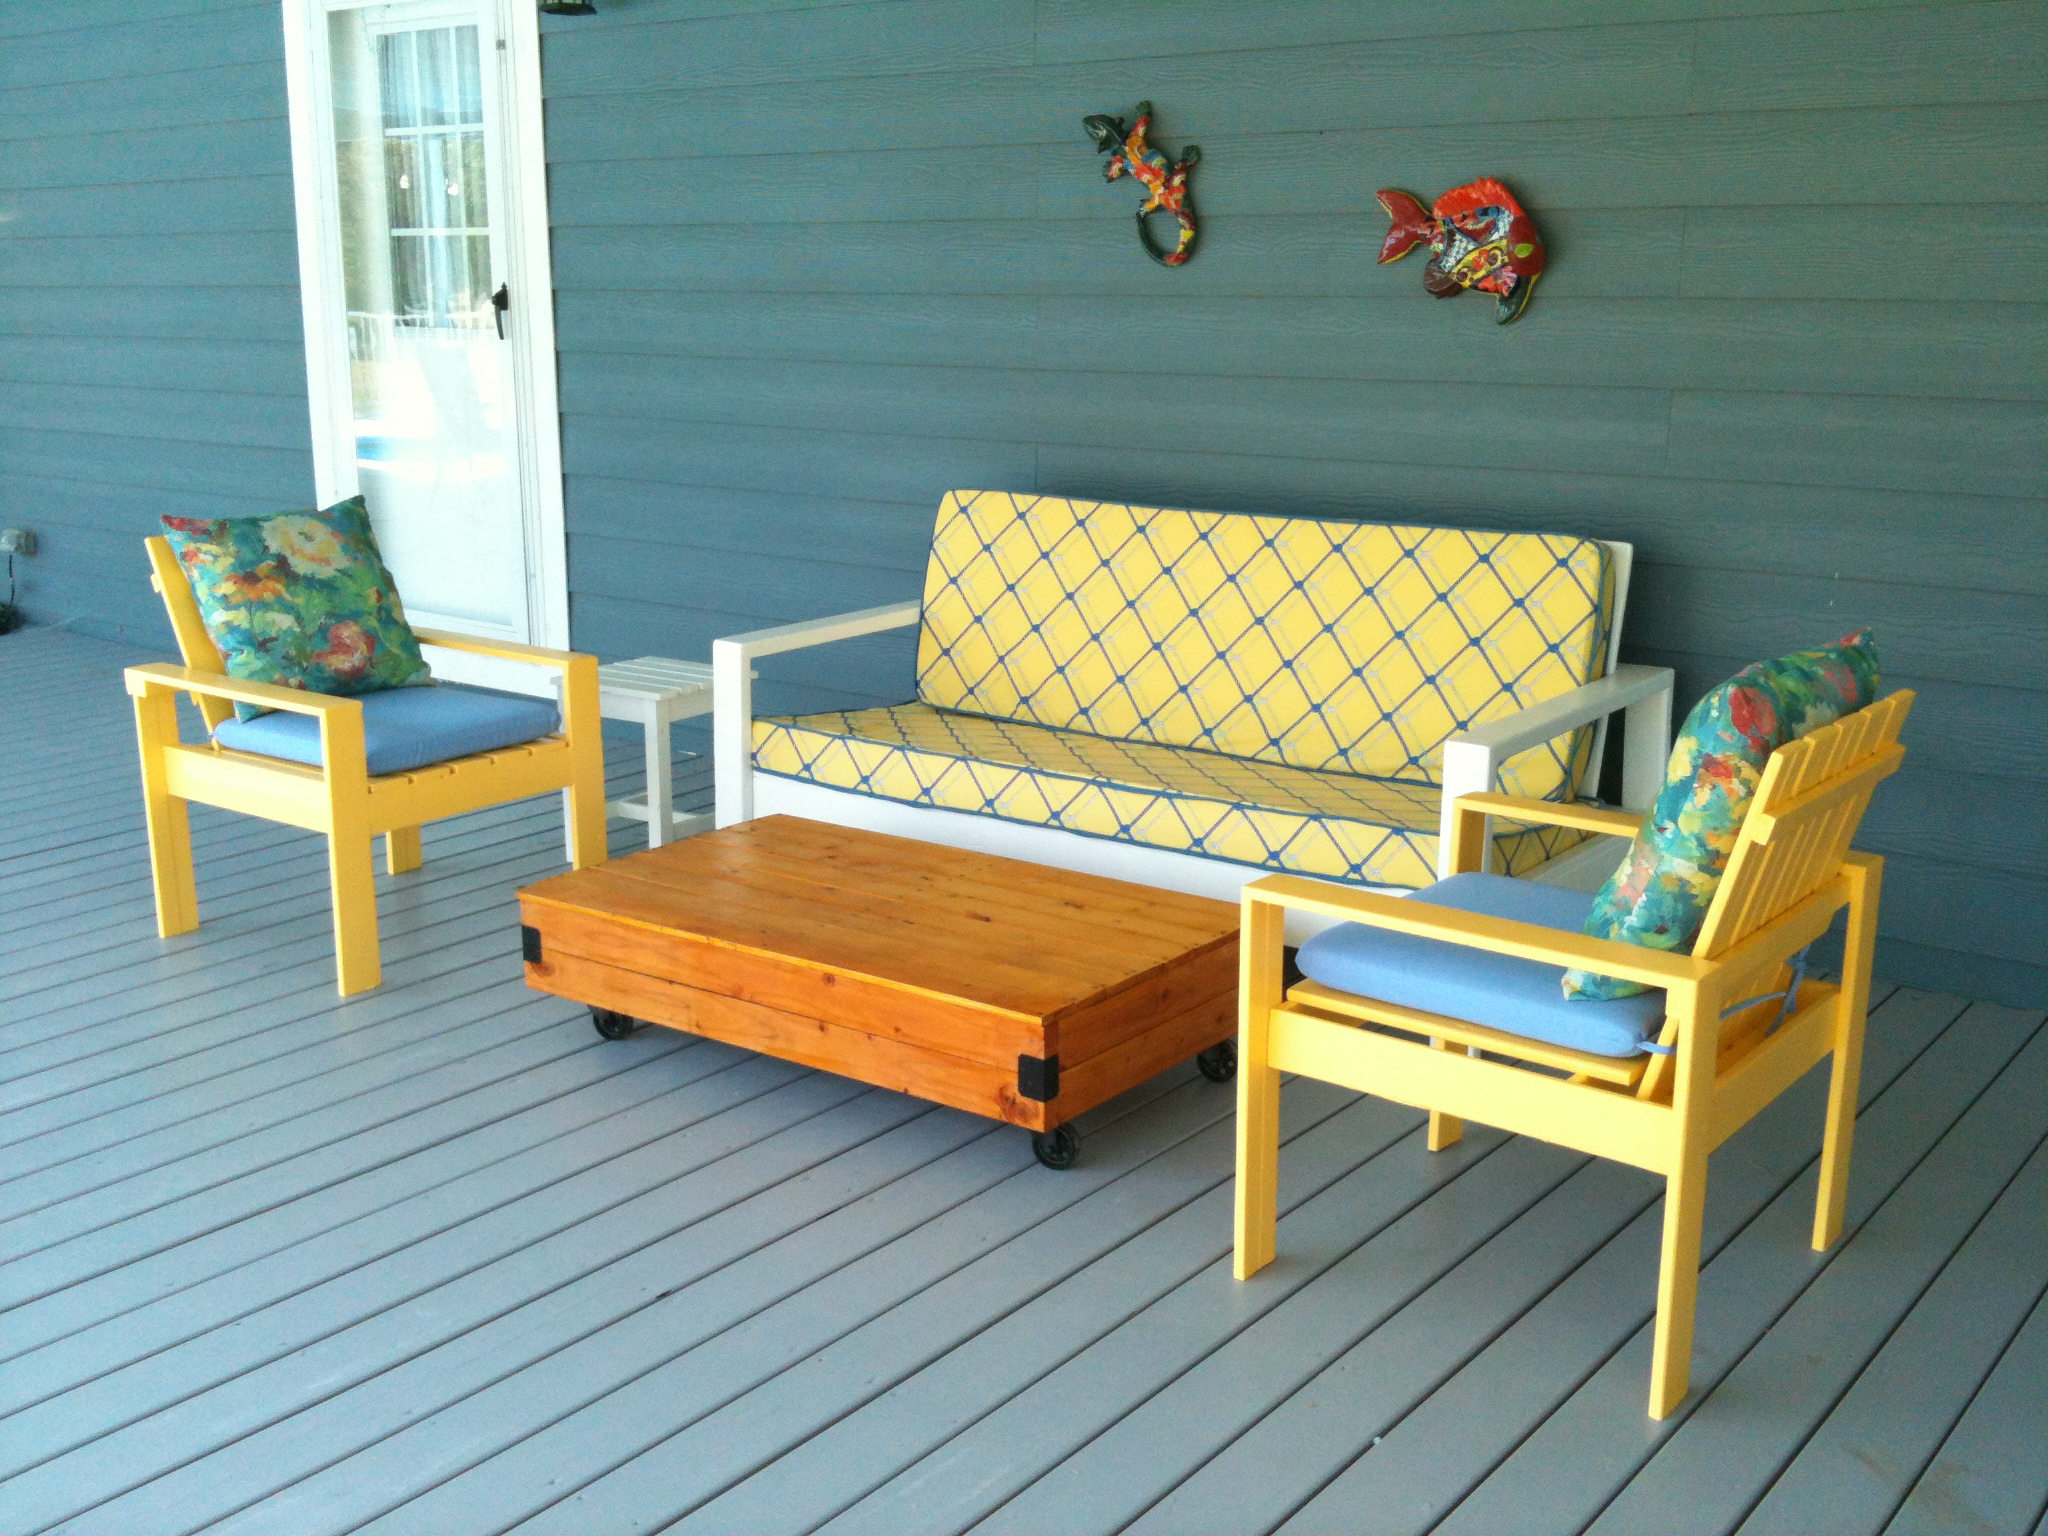
I started with the simple white outdoor sofa, then the factory cart table, adirondack stool, and 2 simple outdoor lounge chairs. Wow! This was my first adventure making furniture. All in all it took me about a month to make everything in my spare time. I made a few mistakes along the way, all part of the learning curve. But definitely learned so much from this site. I am forever grateful to you, Ana.
Thu, 05/31/2012 - 05:53
You did an amazing job and I just love the happy colors you chose:-)
Thu, 05/31/2012 - 06:00
Thank you bhoppy! I wanted colors that contrasted with all the blue-grey on the deck. It was so much fun.
Mon, 06/04/2012 - 07:10
Yes, for the factory cart I painted angle brackets black. I also painted the caster wheels that I got from Tractor Supply.
Sat, 05/25/2013 - 10:22
What width foam did you use for your cushions? I've been wanting to make some outdoor furniture, but the price of foam is holding me back. I've found 3" for a reasonable price, I just don't know if that will be thick enough.
Sat, 05/25/2013 - 12:17
I used a 4" foam, but I think you could easily use 3". I know foam is not cheap. I shopped online for foam suppliers and found a pretty good deal... much cheaper than local fabric stores.
Sat, 07/13/2013 - 16:19
This is beautiful! I'm planning to make the chairs and I'm wondering if you changed the plans at all, especially any dimensions? Maybe it is just the angle, but the arms look a little lower, which I love. If you can let us know what you did, I would really appreciate it!
Thanks!
My Dad and I built this for my daughter's third birthday. It's been a big hit! I'm really happy with how it turned out.
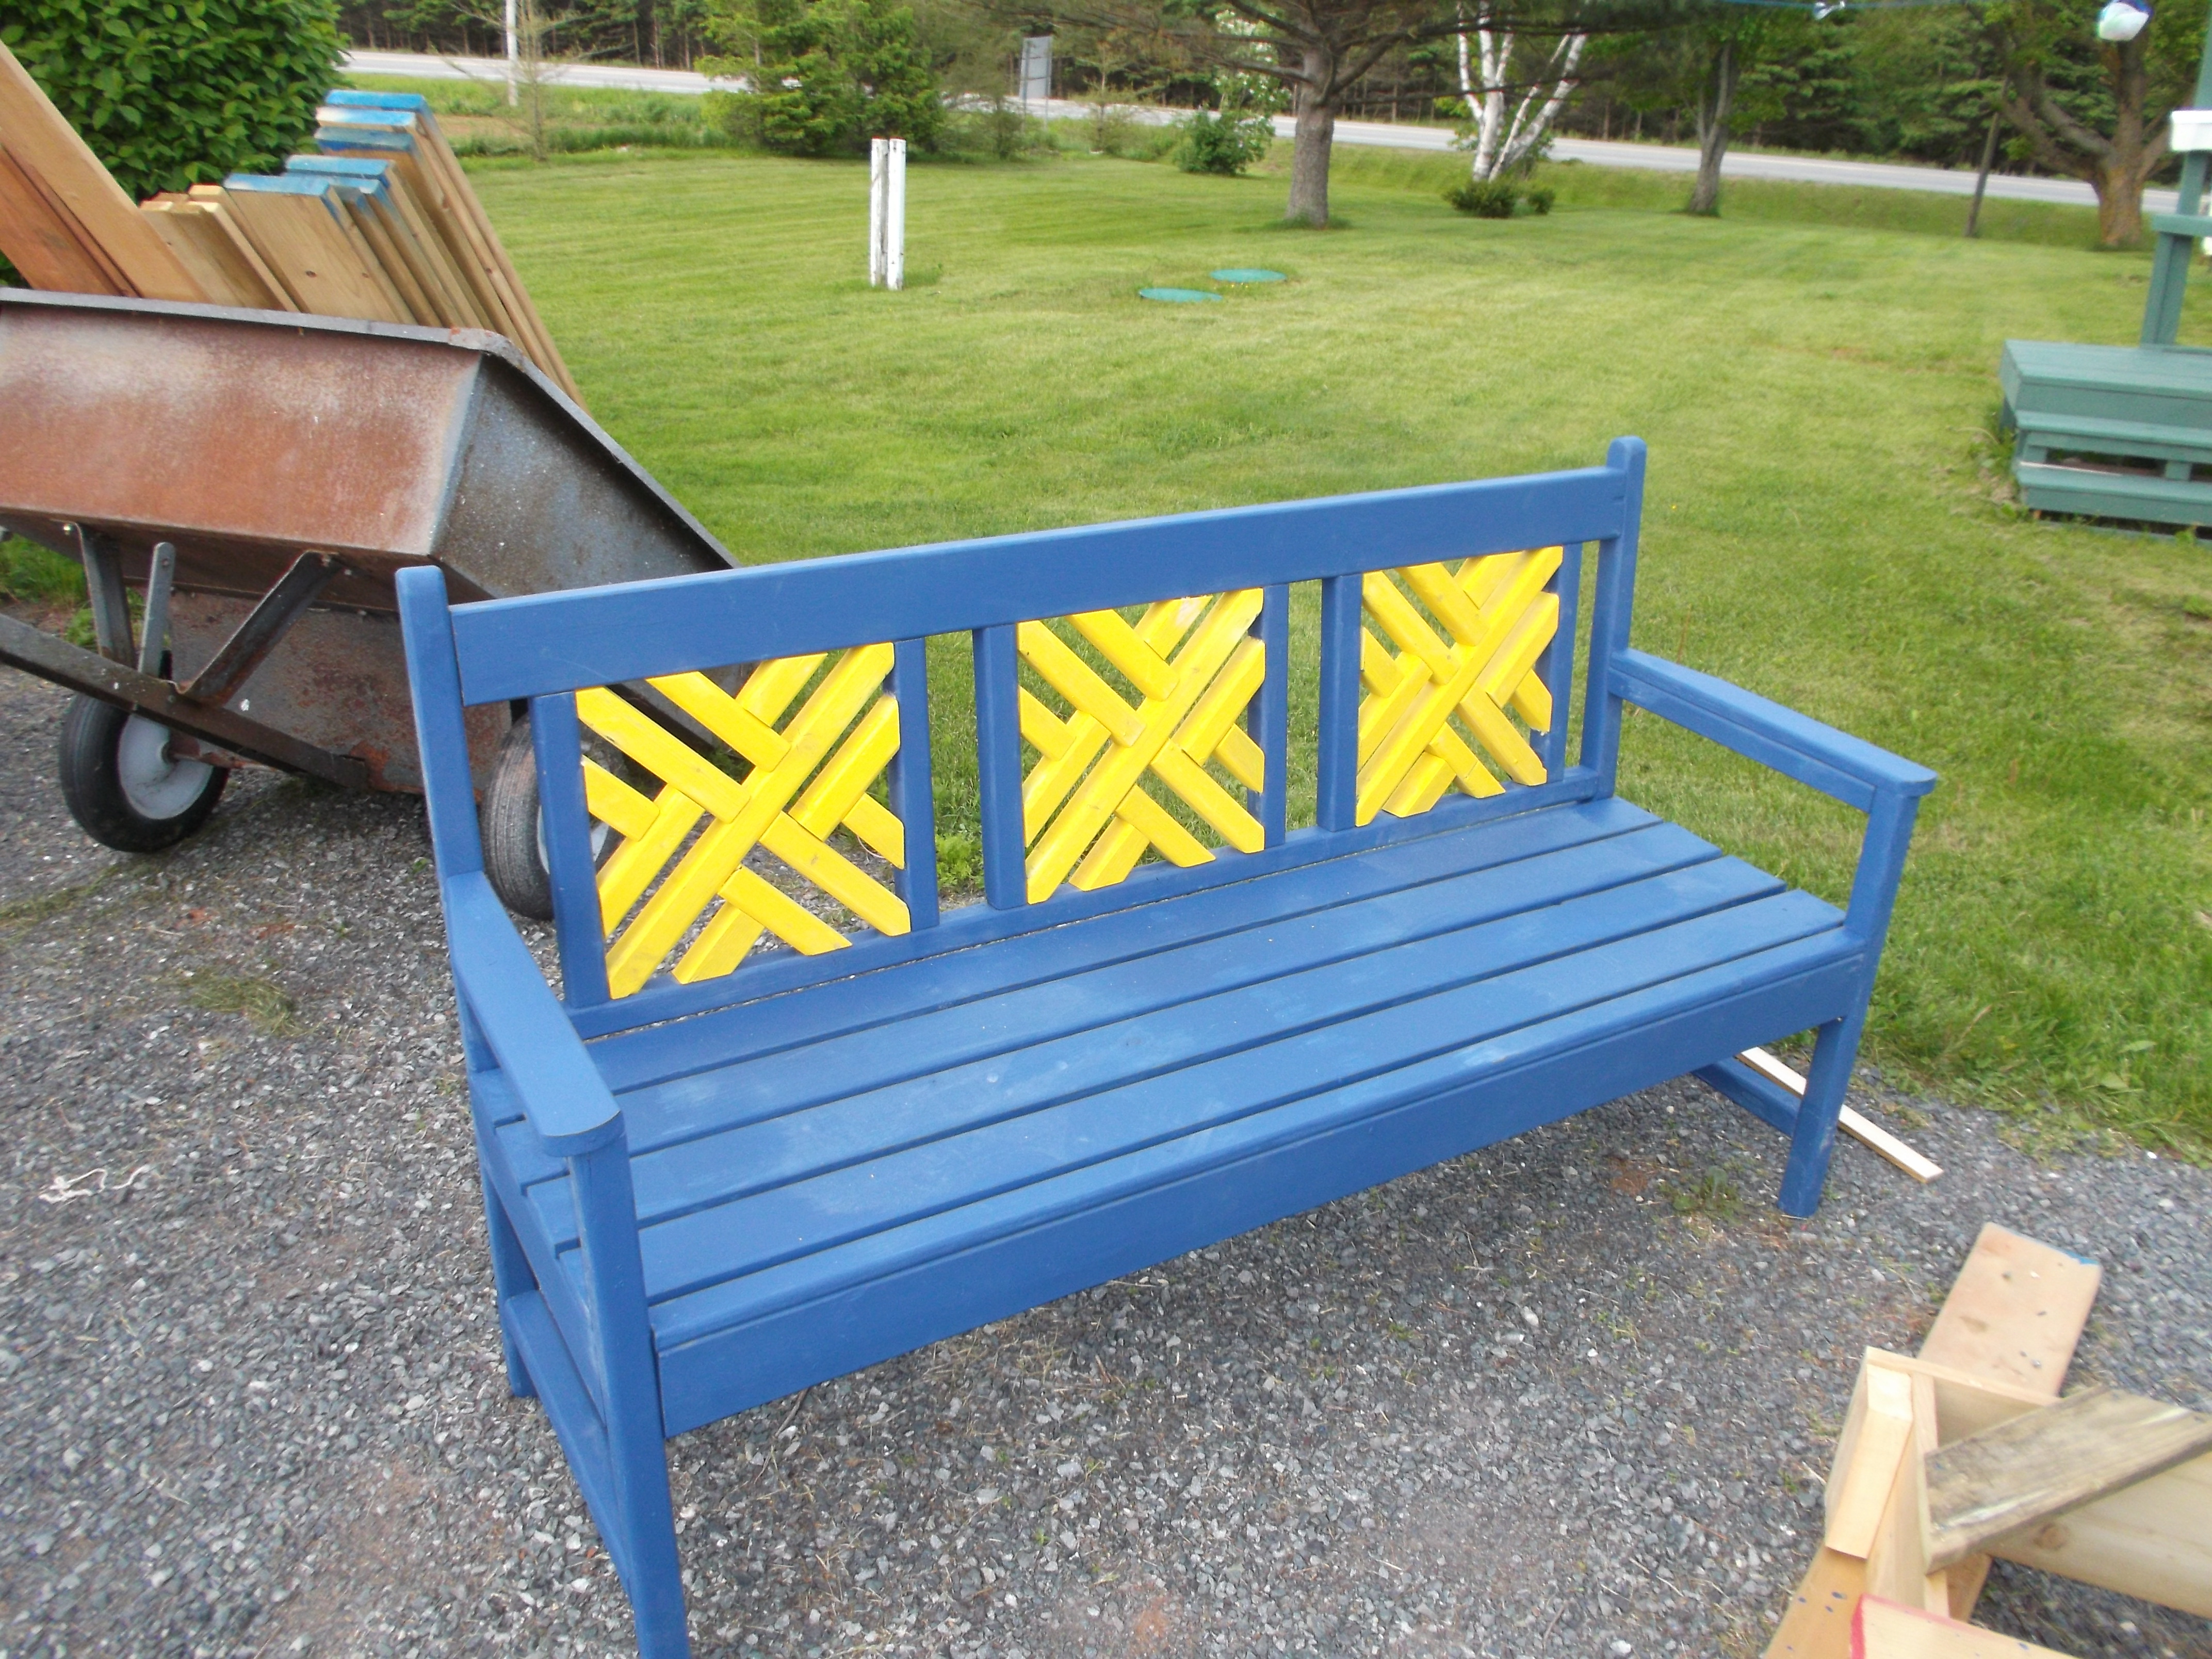
I followed plan but added 20 extra inches and an extra woven insert plus an extra brace in center of seat.
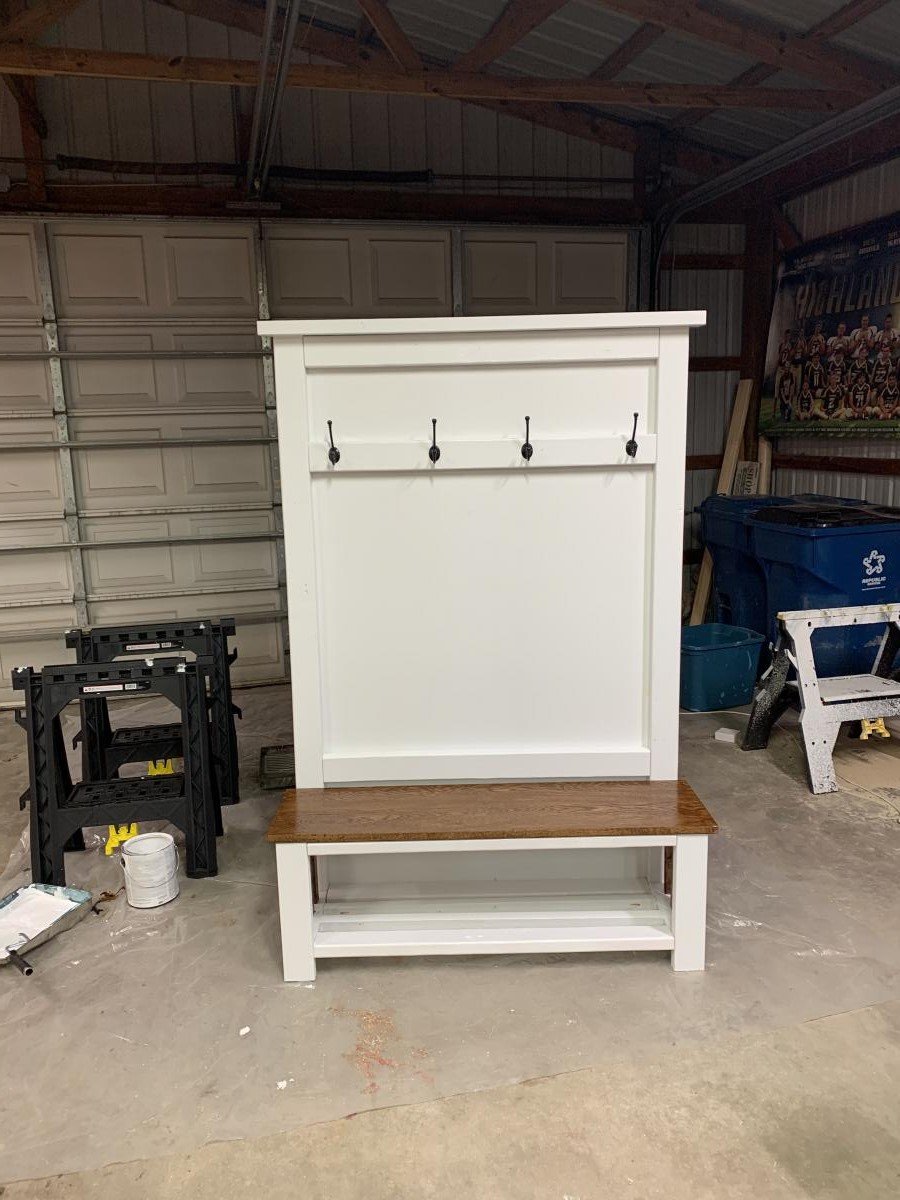
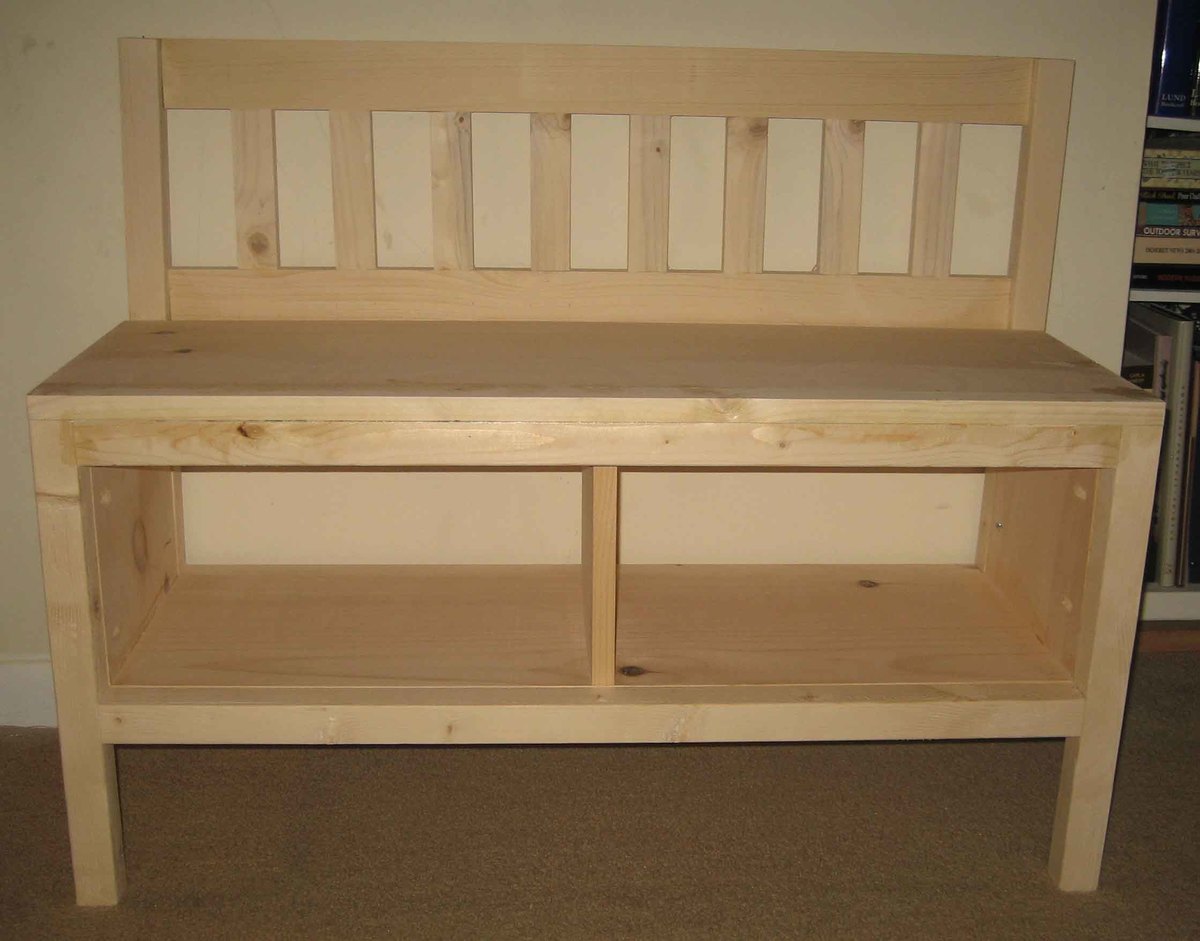
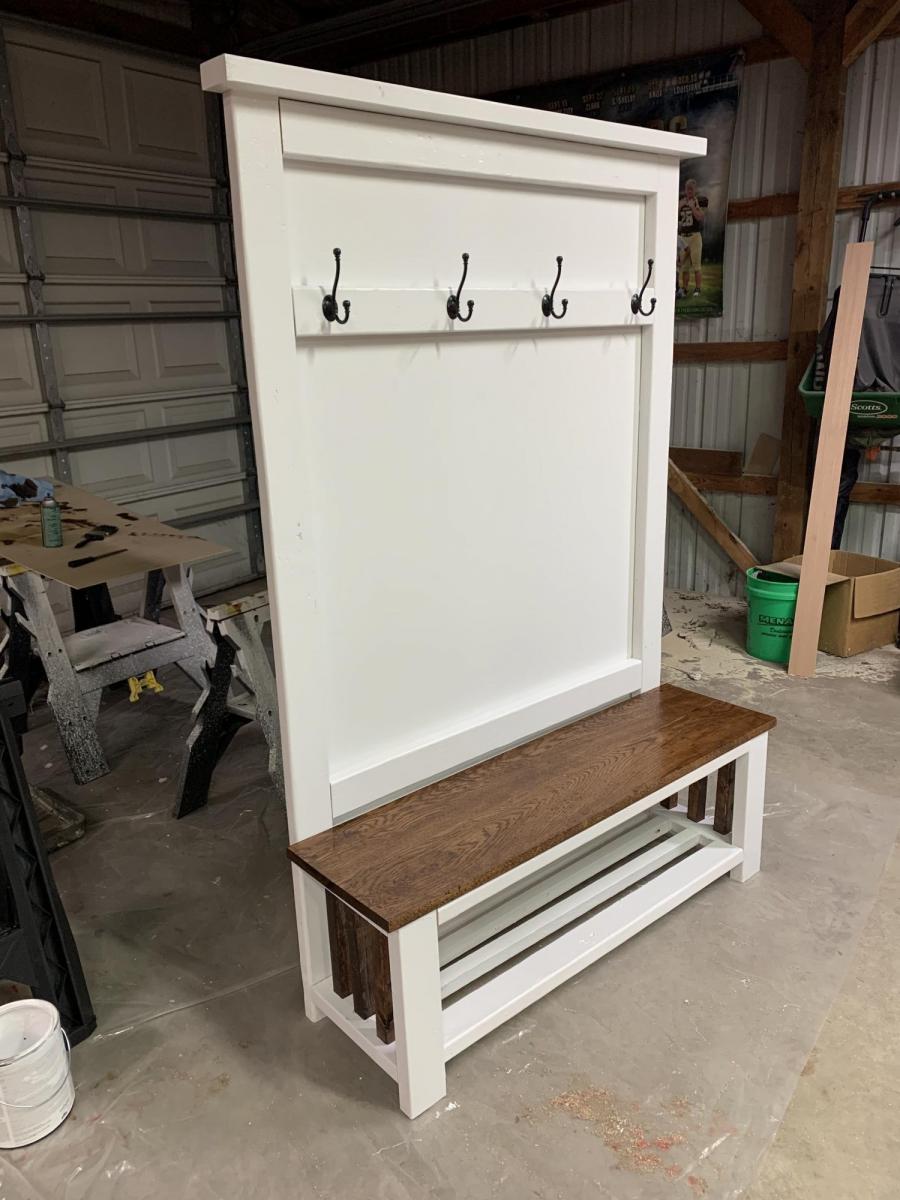
I followed the Rustic X Hall Tree plans almost entirely. I chose to replace the “X” with vertical posts, though I may use the X in a future project. The bench top is two 1” thick oak boards milled at my farm. Love the contrast of the white and stained oak. The plans were perfect!
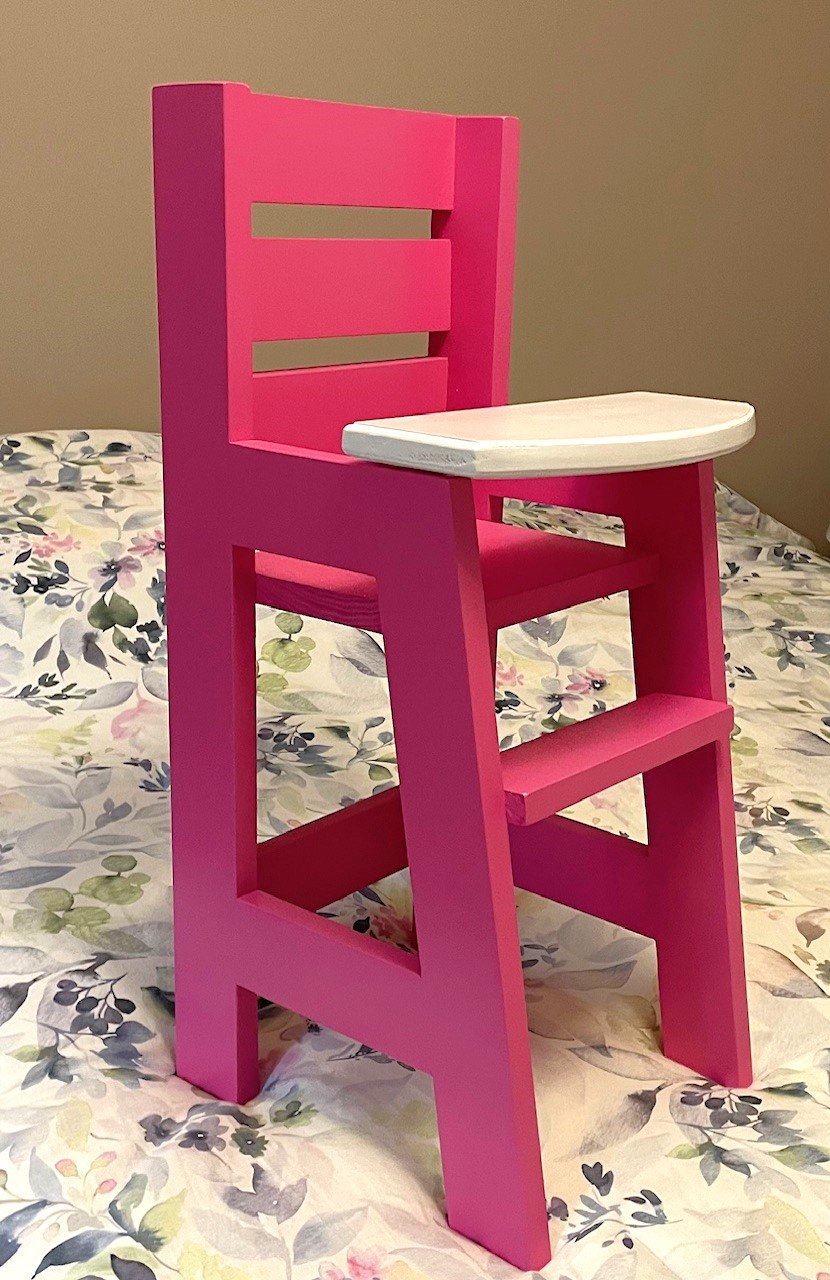
Used Ana's doll high chair plans. Modified the tray with a curved hinged tray. Painted in her favorited color!

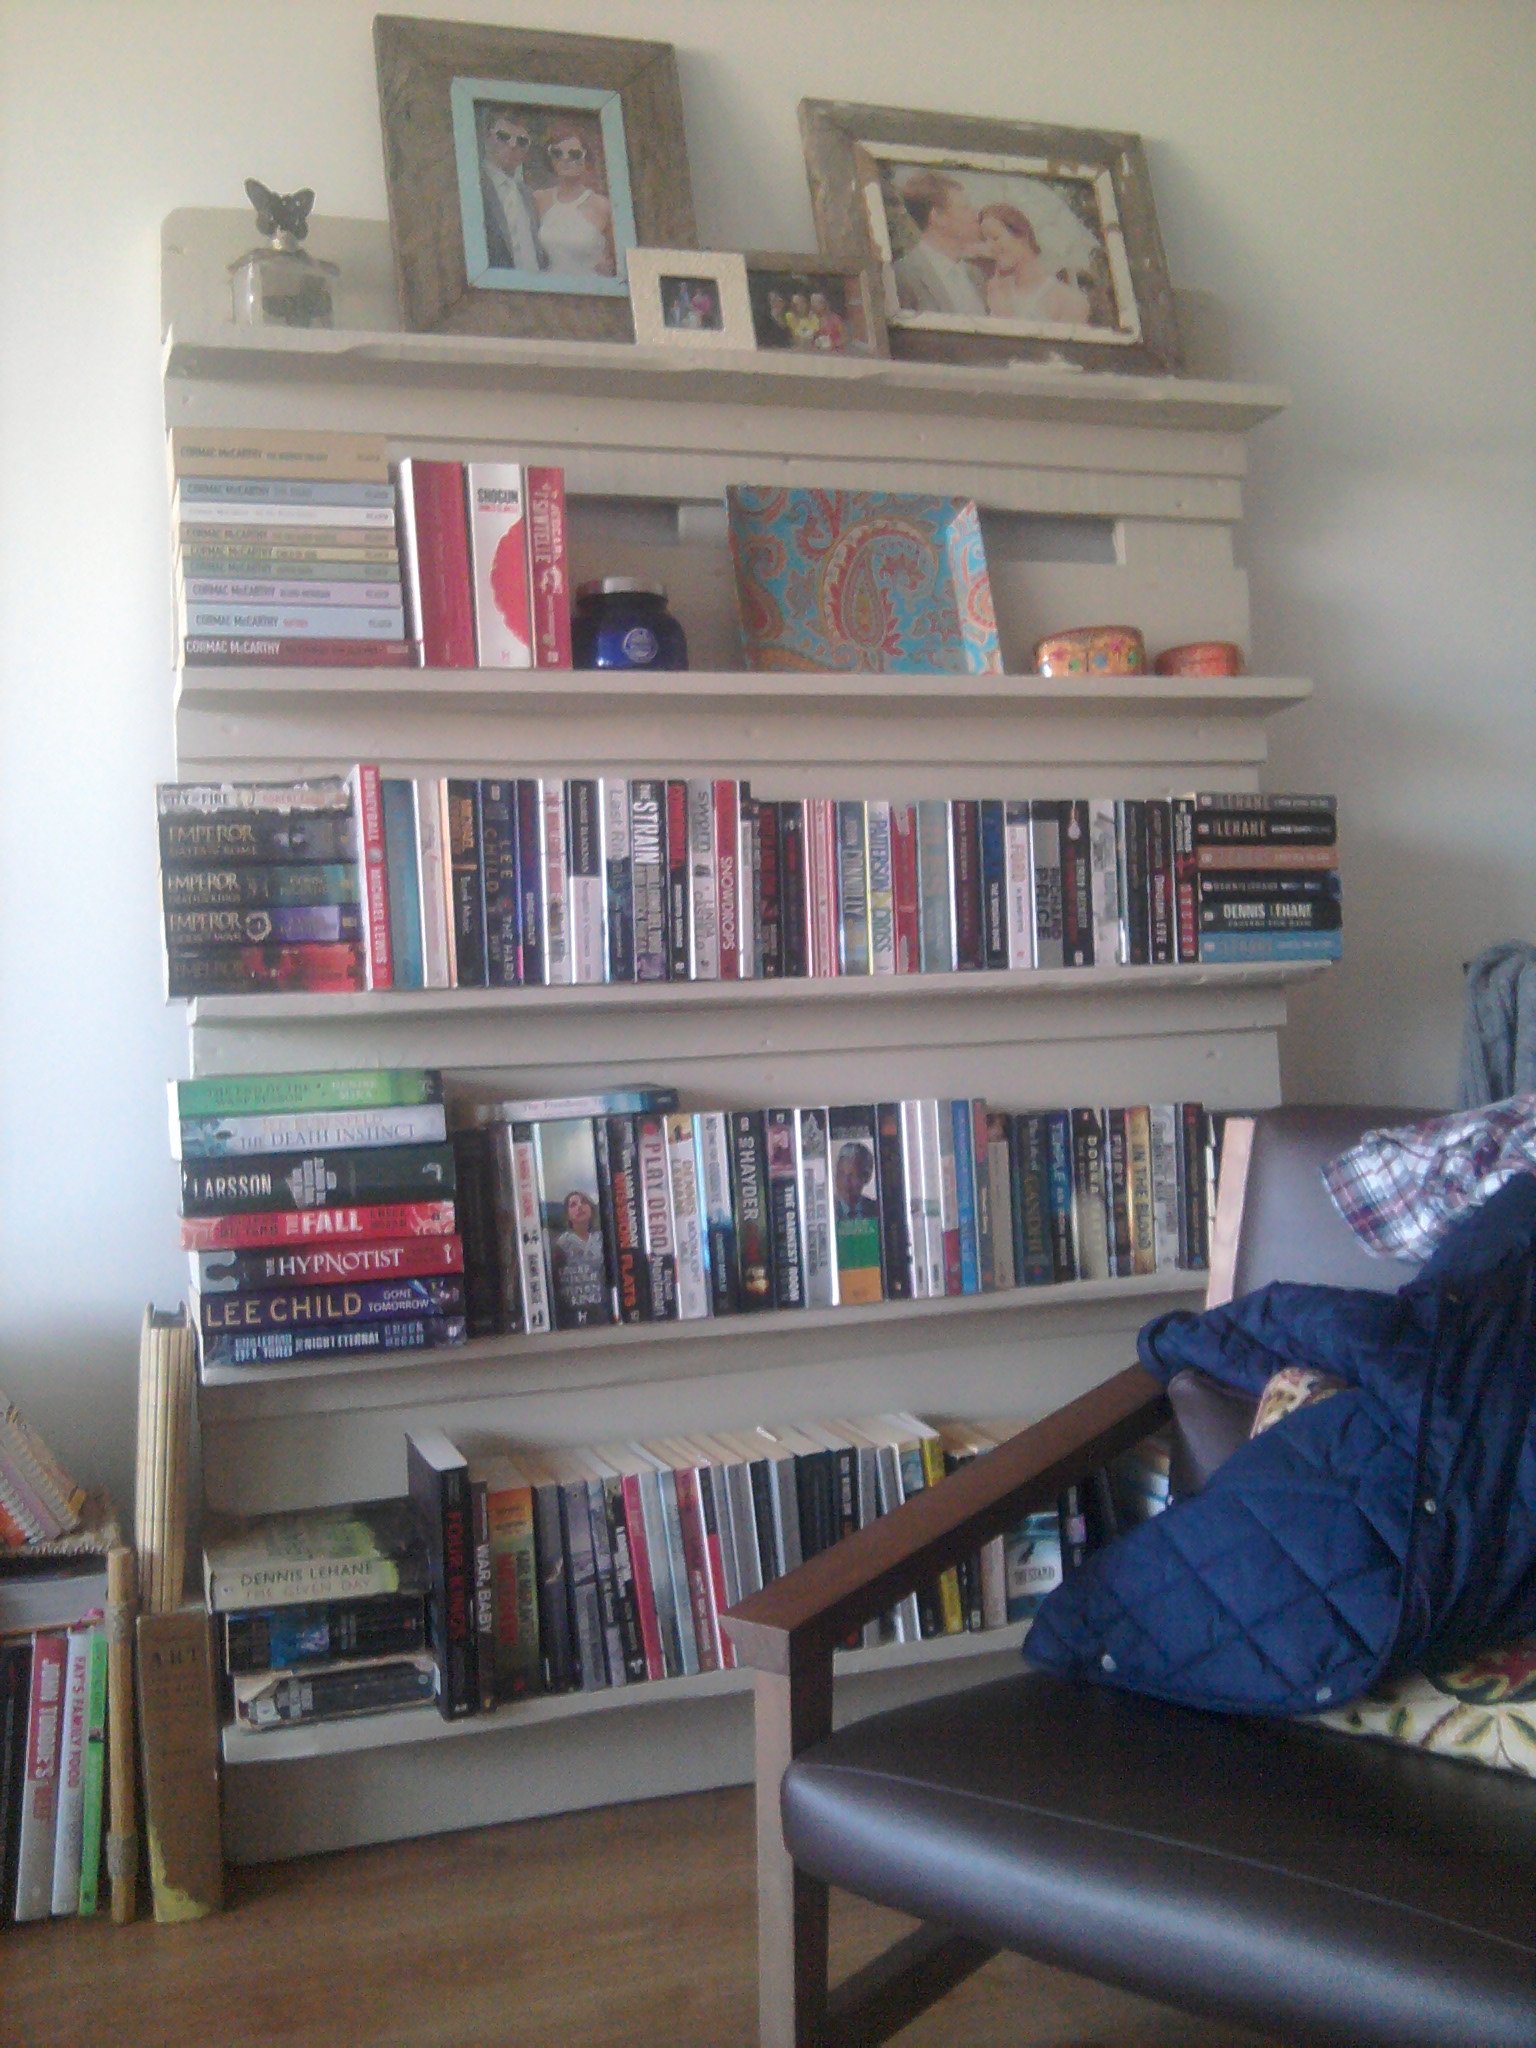
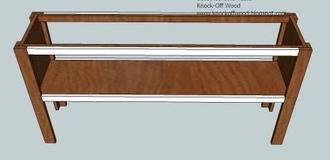
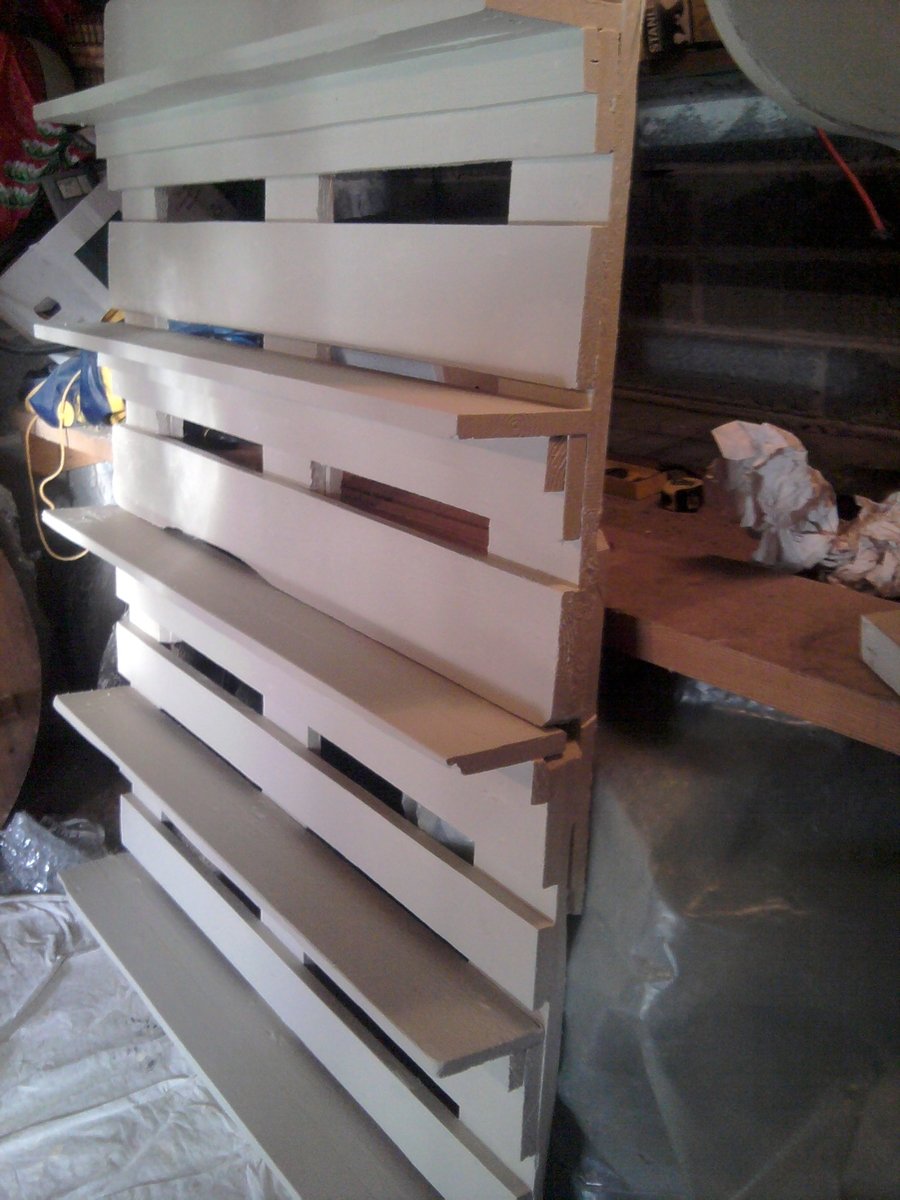
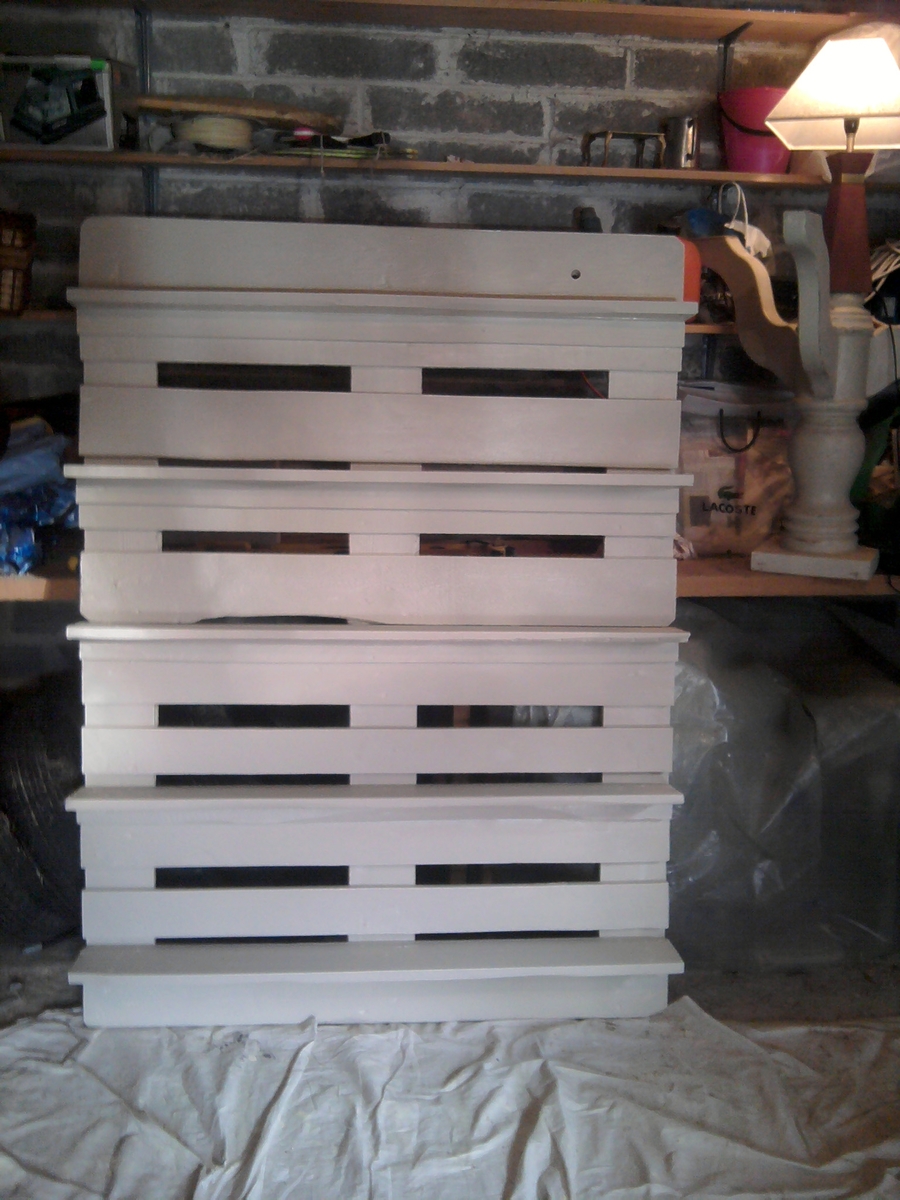
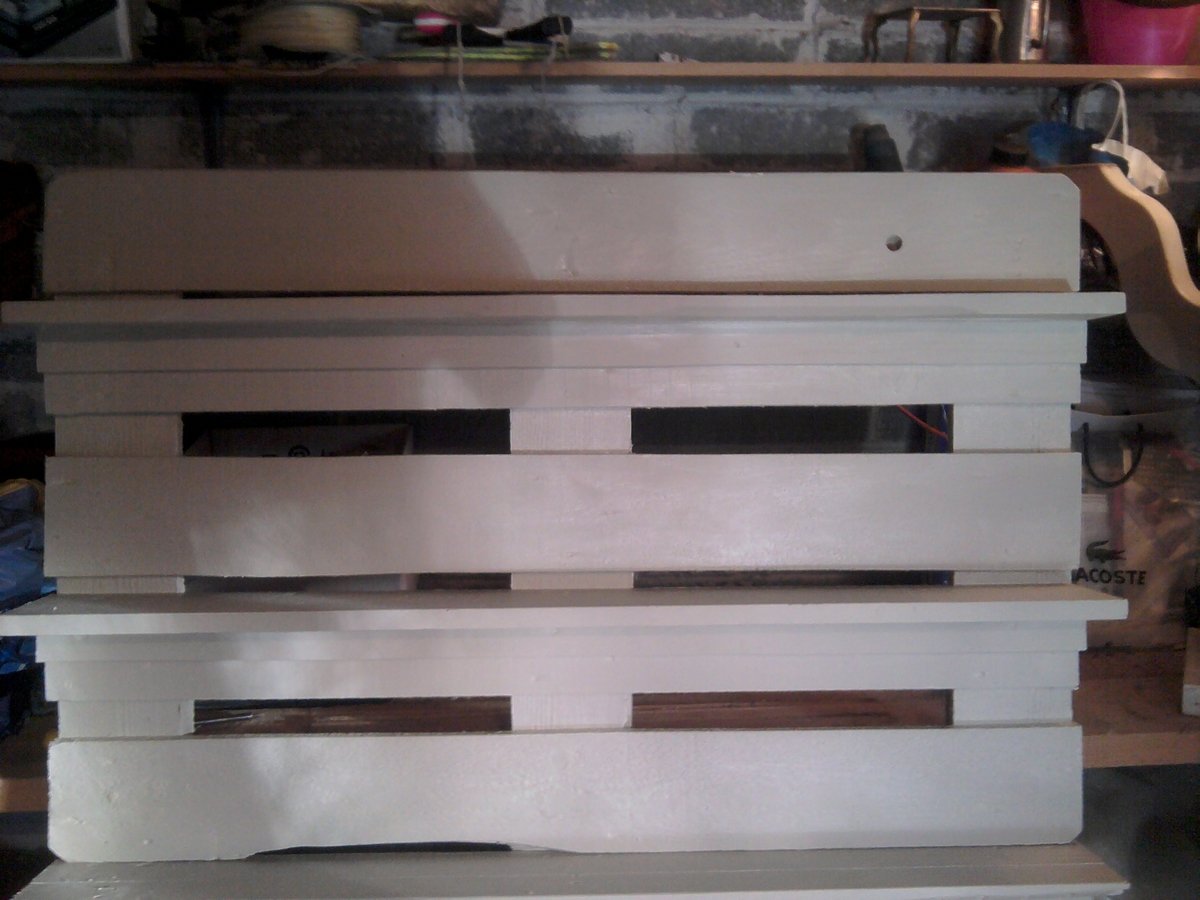
Pallet Bookshelf.
A great project turning old pallets into a funky bookcase.
My bookcase is slightly different than the plans that dan-k put up but that is mainly because of the type of pallet i used - there may be a difference between US and european pallets?
I recommend getting 3 pallets, all of the same size, and all in pretty good condition - which is trickier than I expected.
The wood from the 3rd pallet is used as the shelves and the supports underneath the shelves.
I really enjoyed making this, and love how it turned out.
Hopefully the photos inspire others to give it a go!


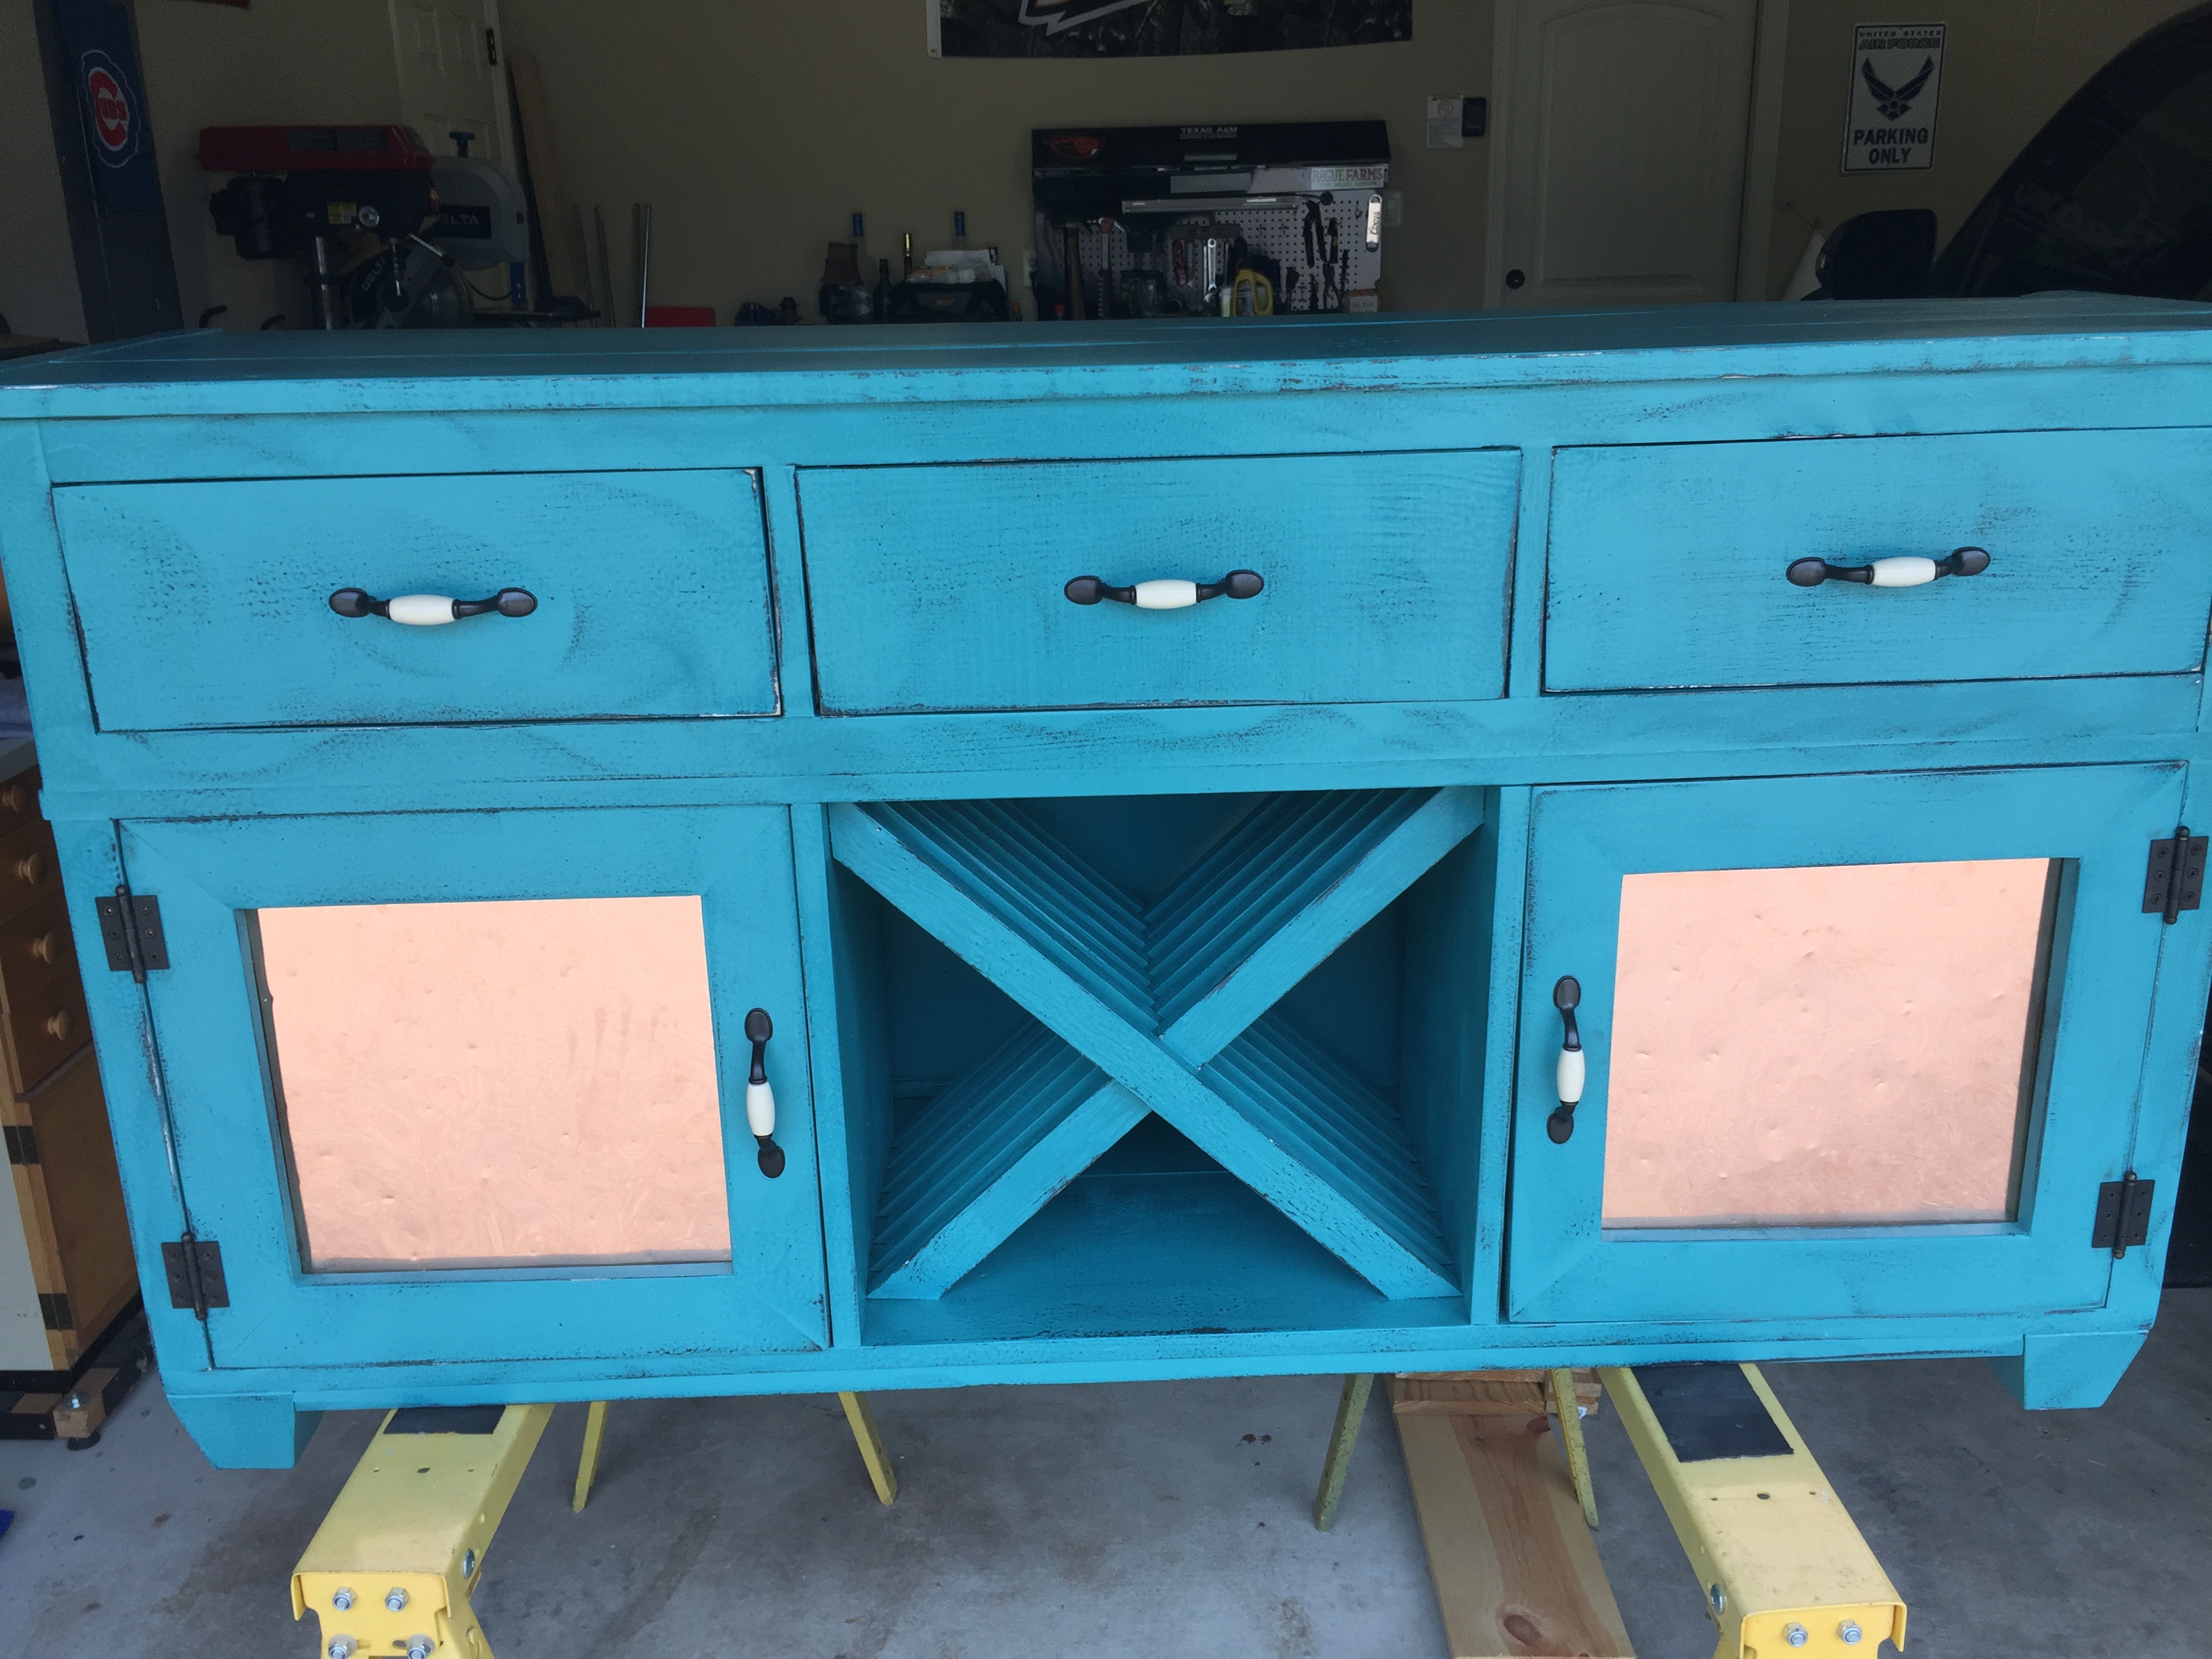
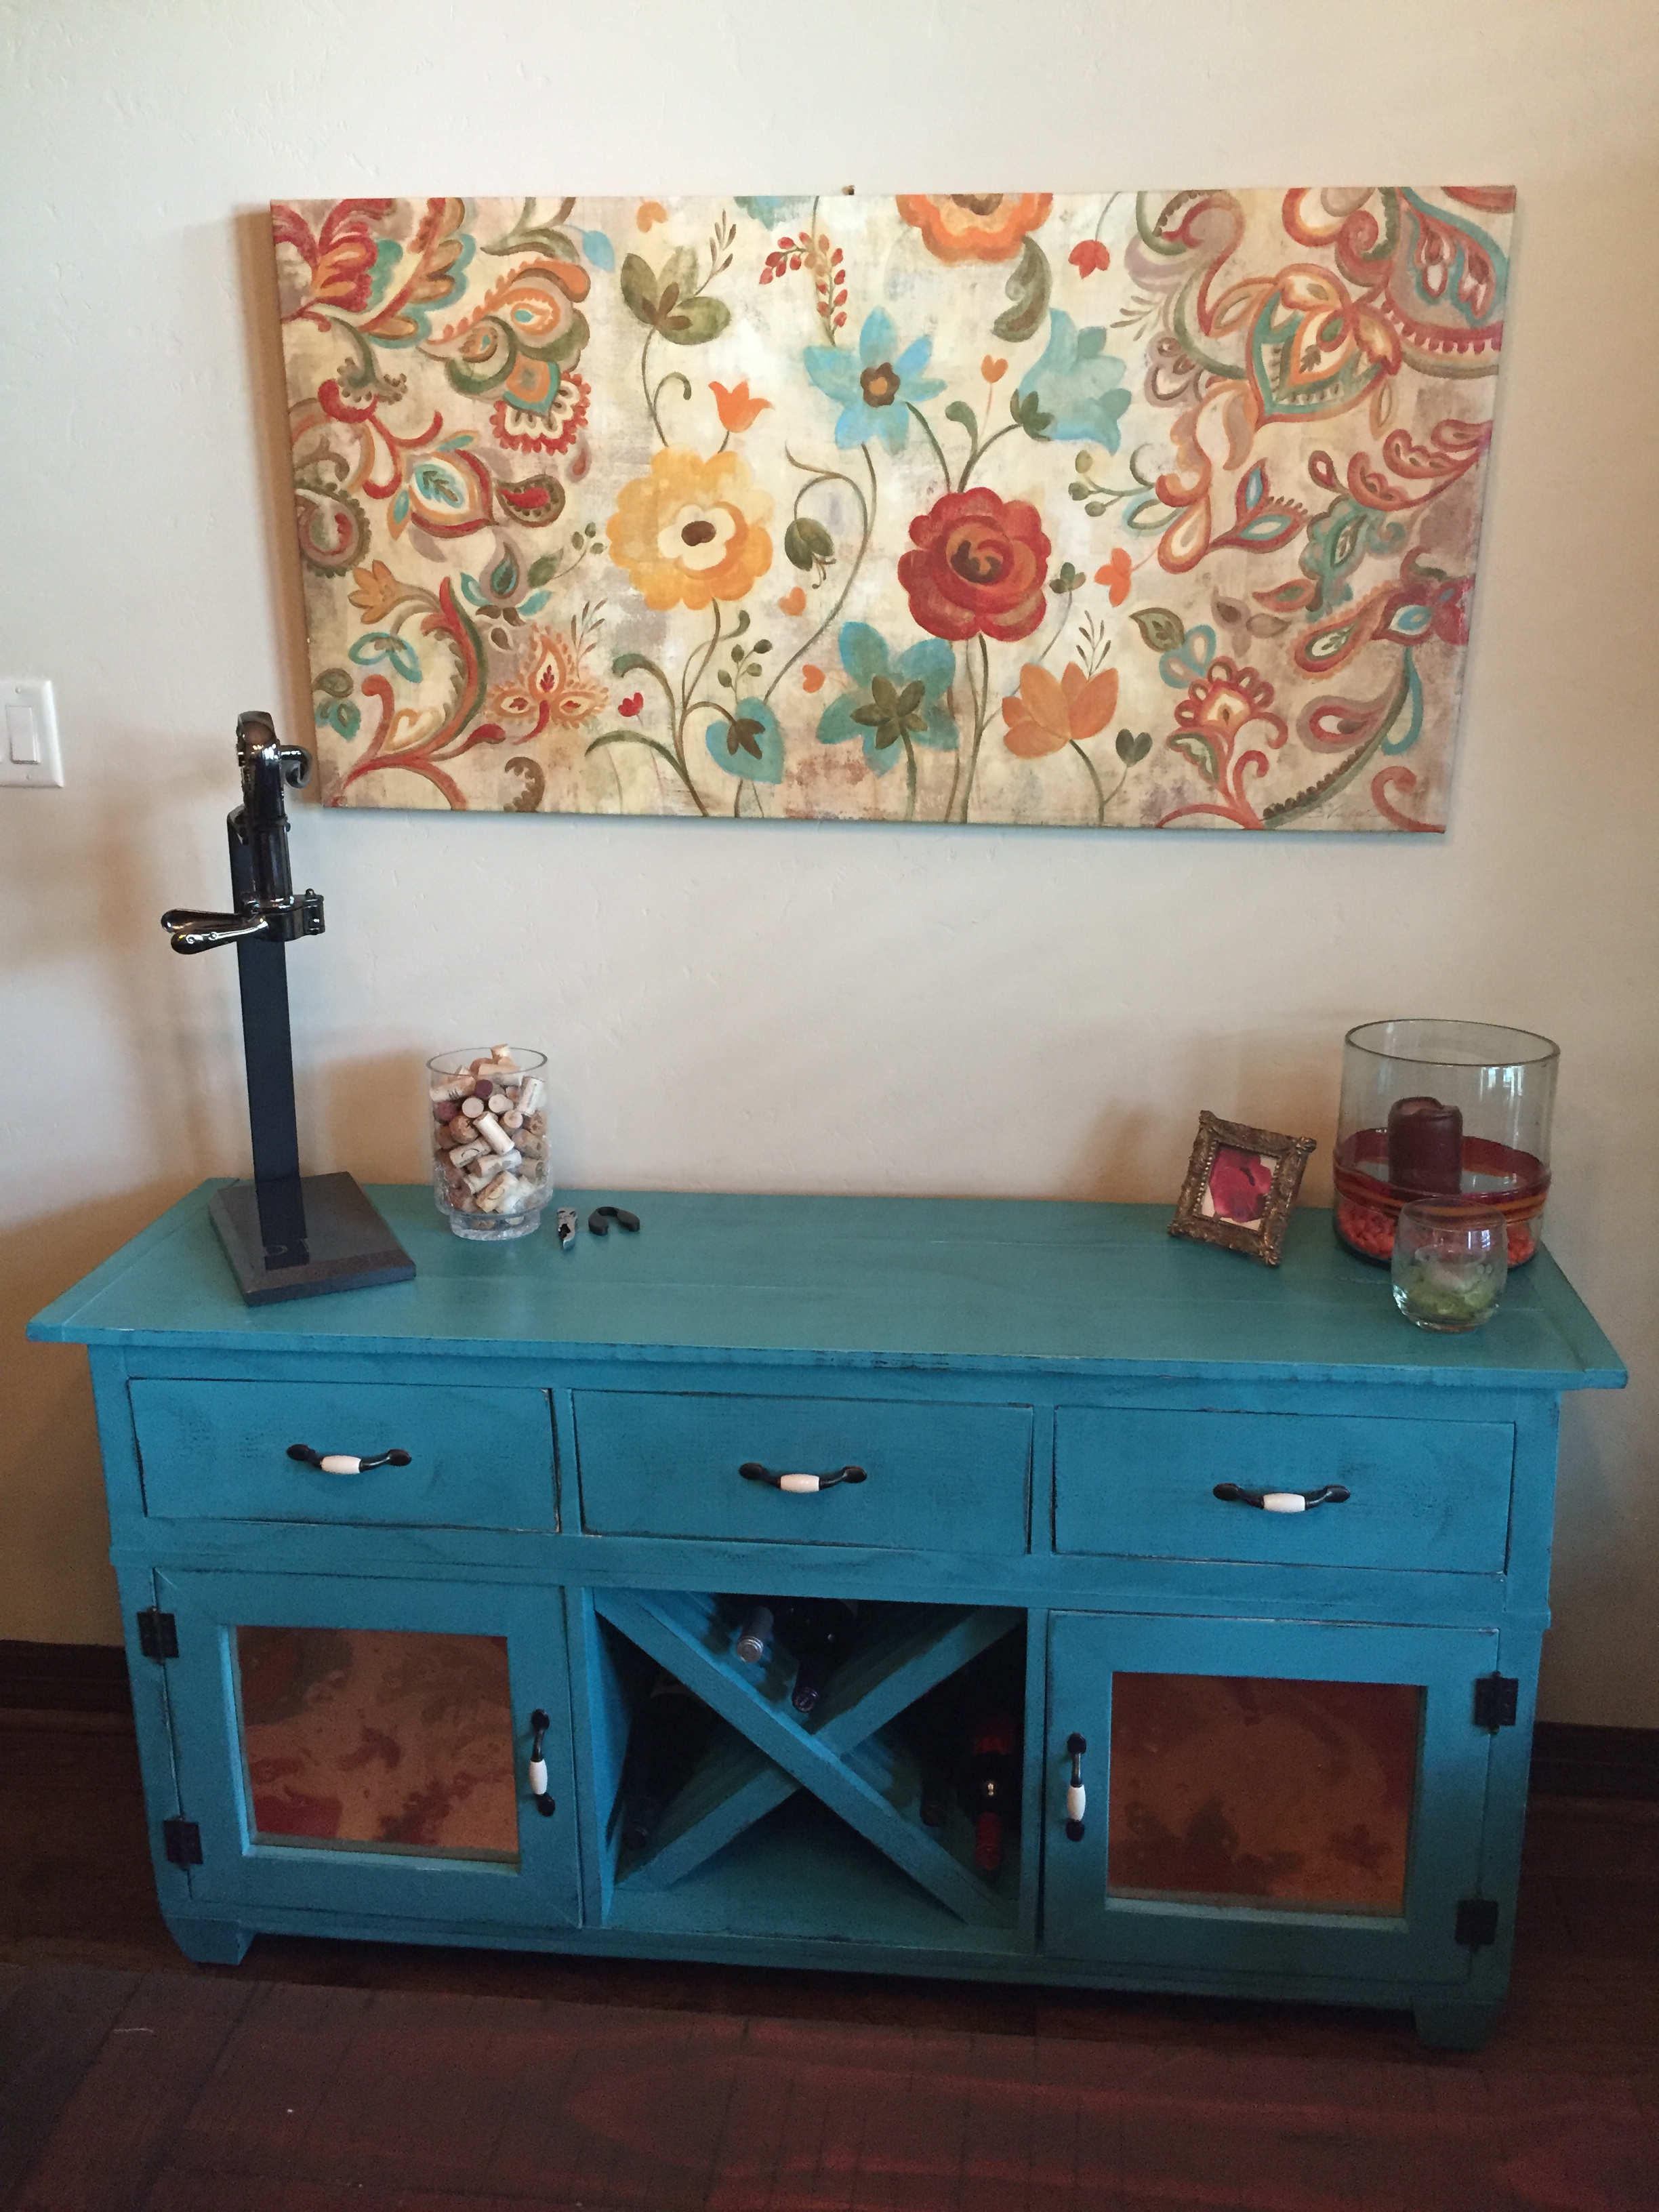
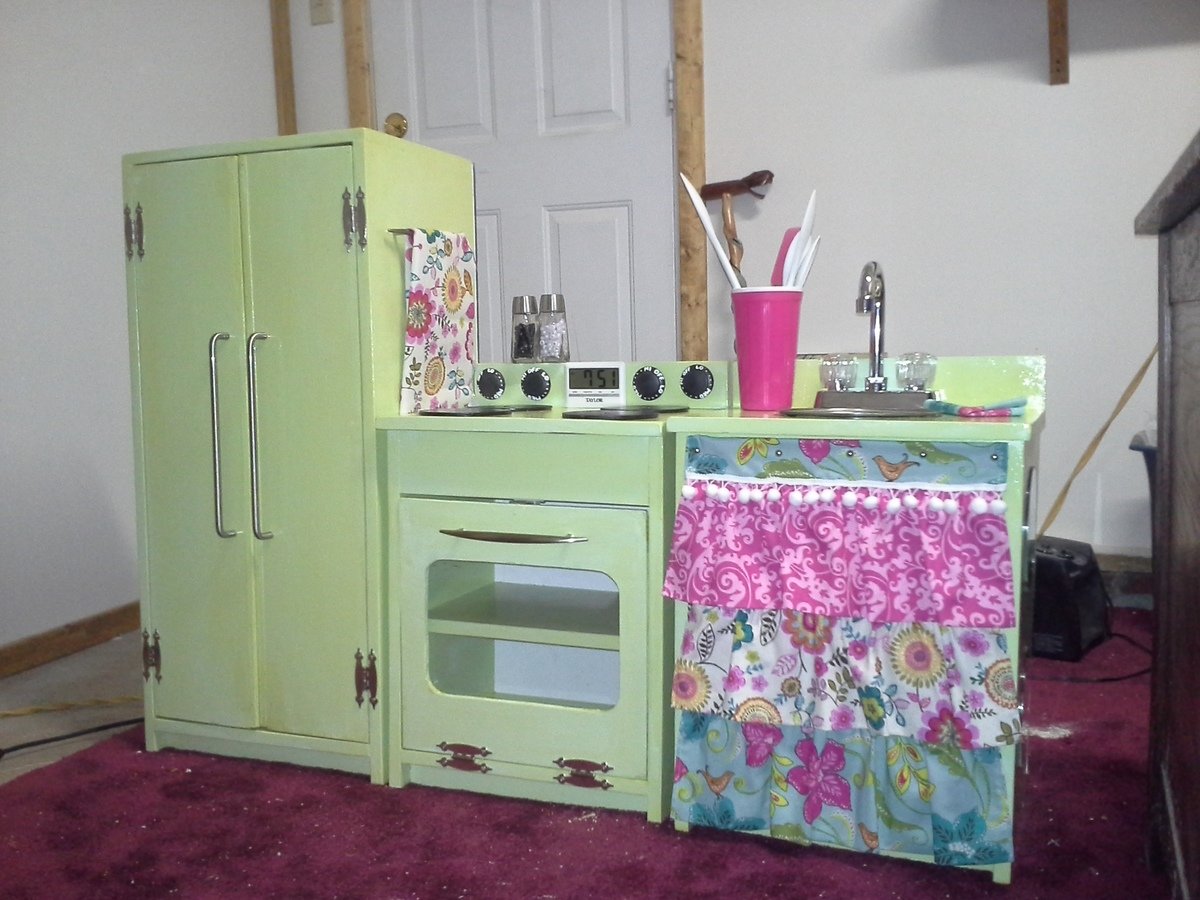
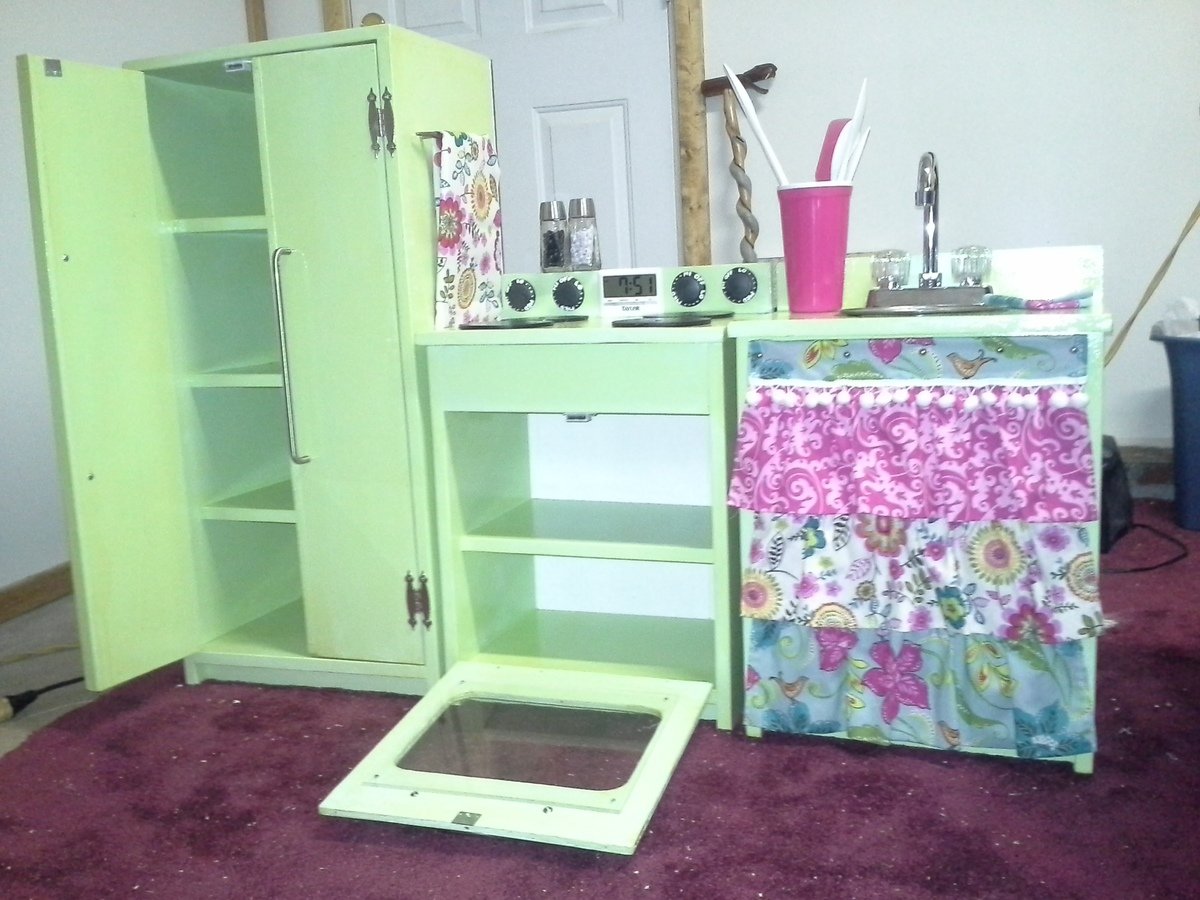
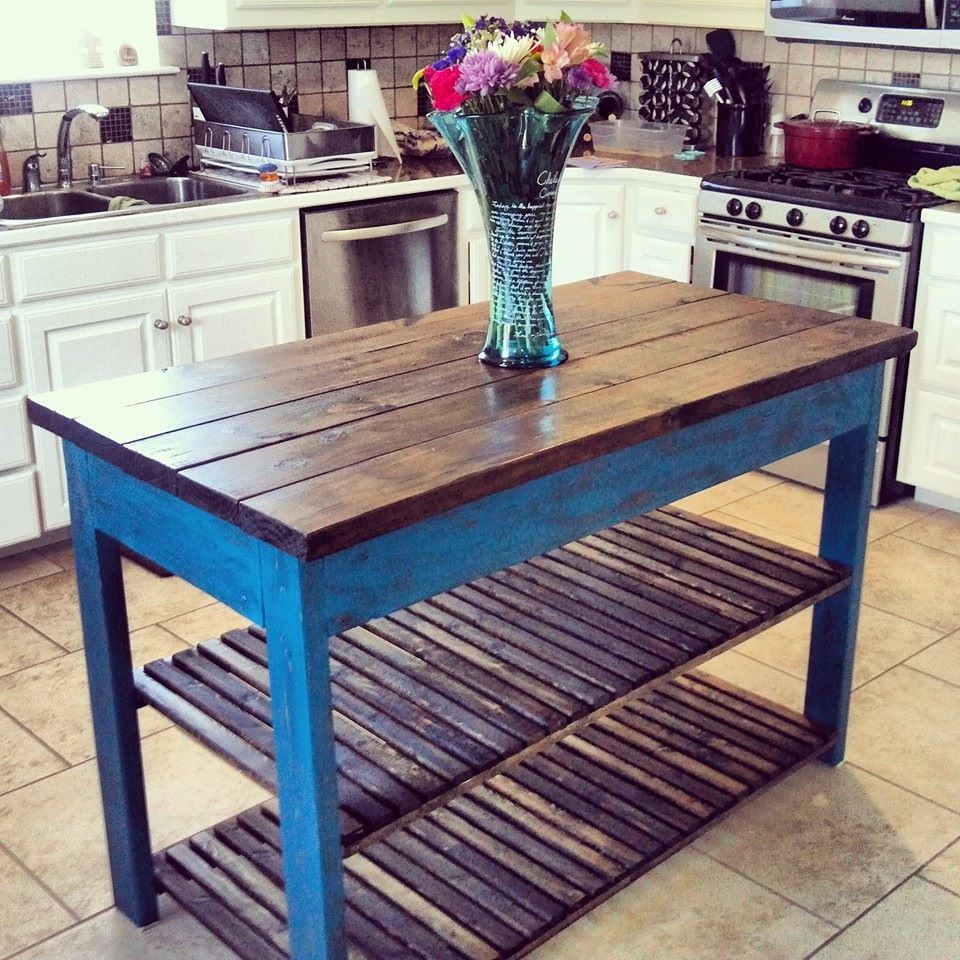
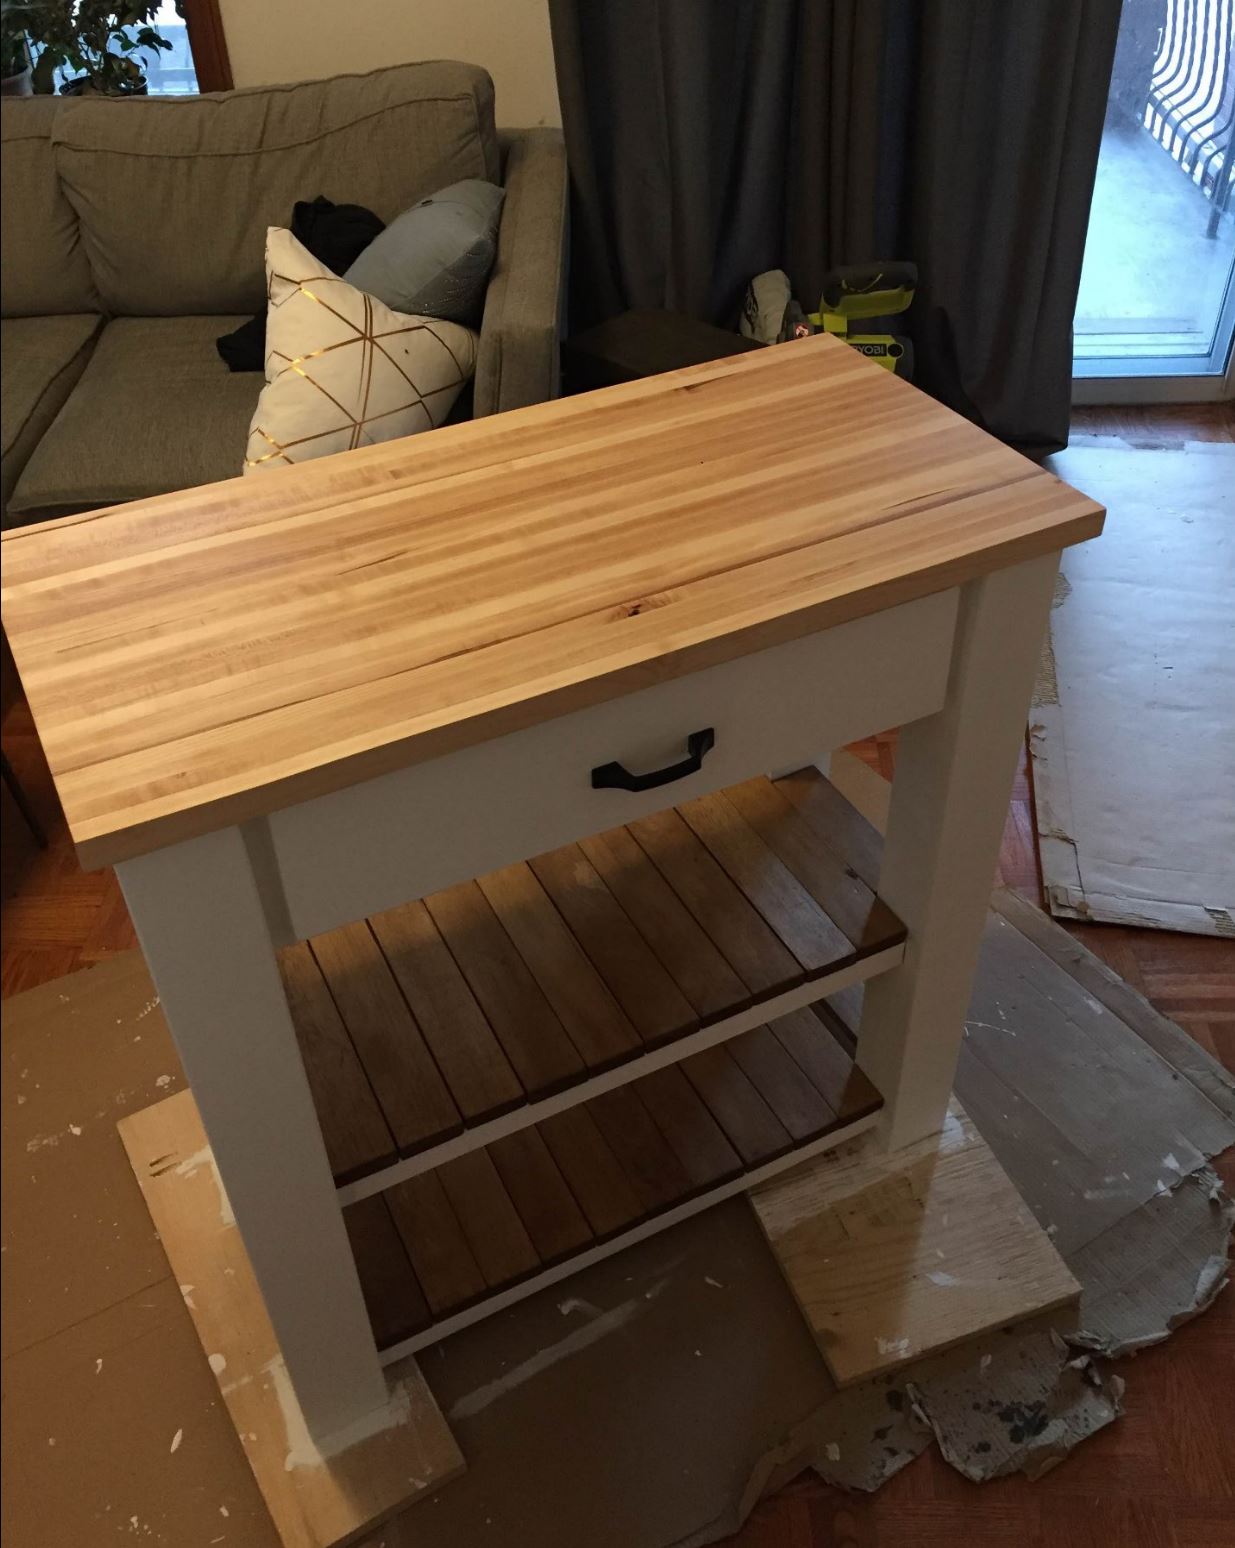
This is the Kitchen Island I built for my wife. I painted it in my wife's favorite color and gave it a distressed look that matched the stained wood counter top. This was also my very first Ana White project... The plans were easy to follow and I had a lot of fun building it.
Fri, 11/21/2014 - 23:38
Hi there! This kitchen island is beautiful!! Can you tell me what paint and color you used, as well as what finish and how you distressed it?? I love it!!
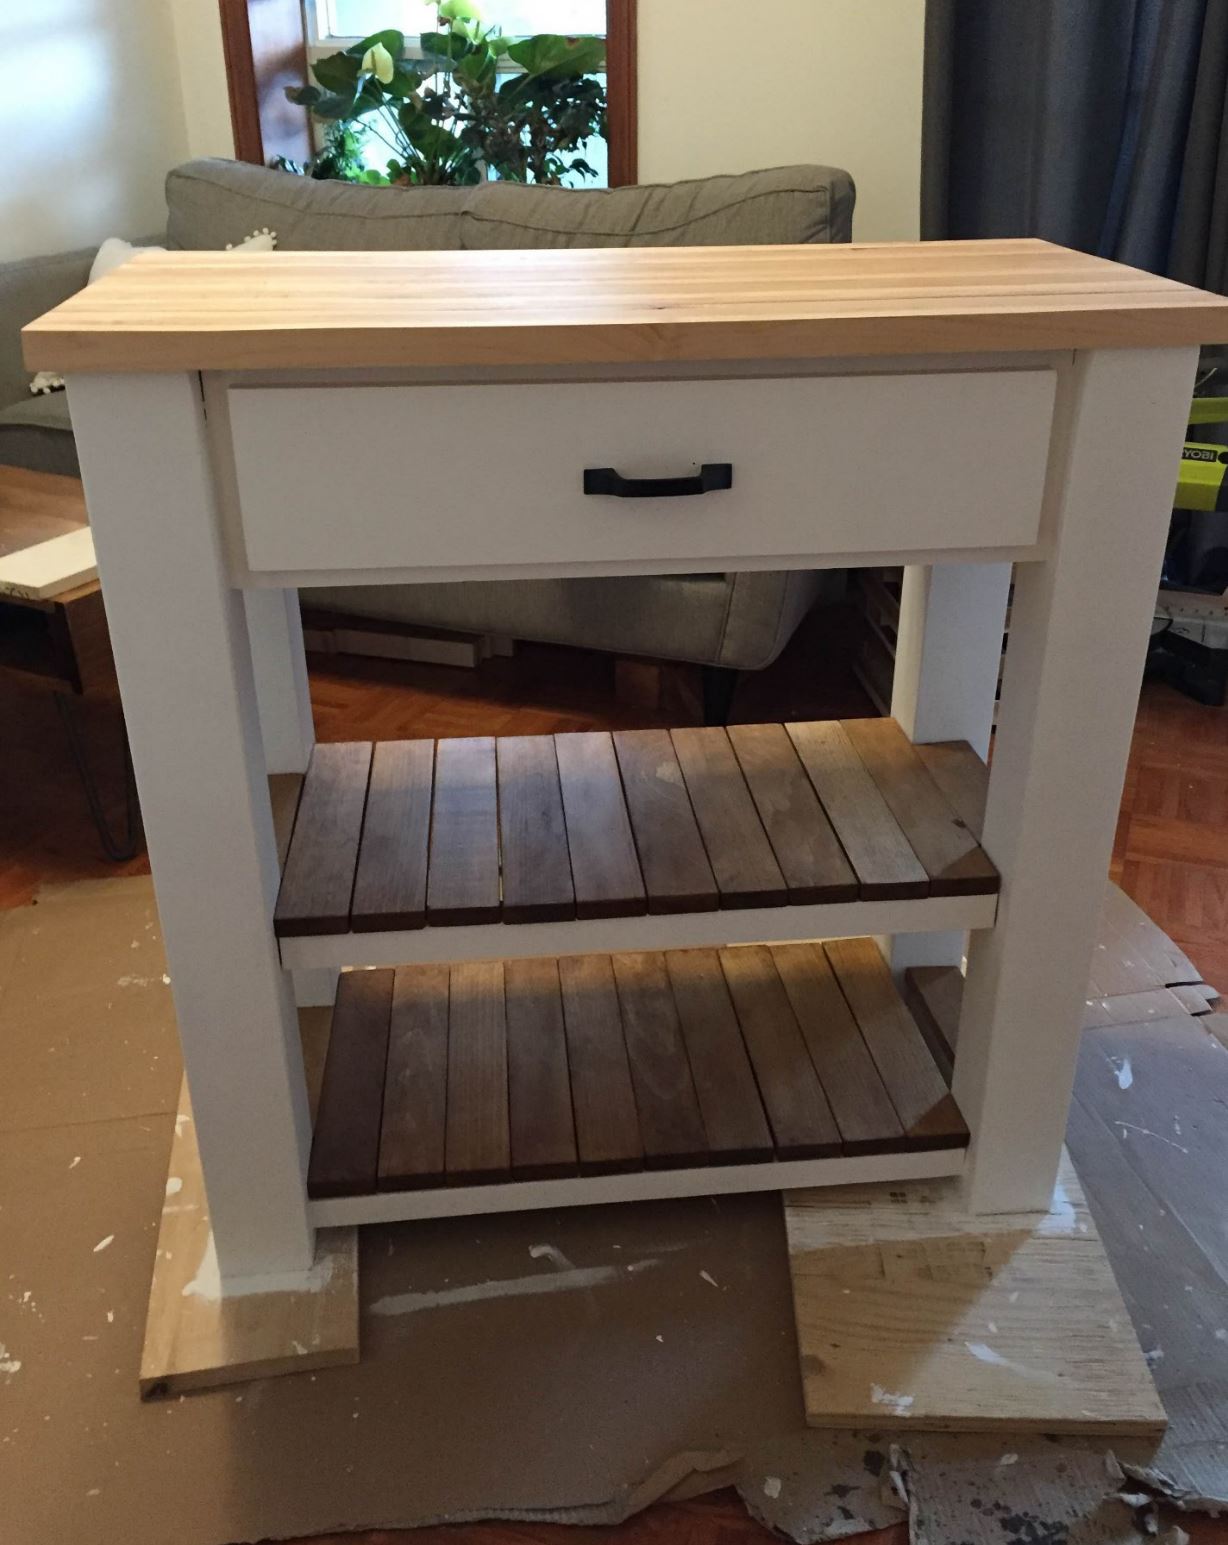
Used ana's plan as more so a guidance. The top is made out of 3/4inch hard maple planks glued/clamped together. The harder part was then planing the top down to ensure the top was relatively flat. All the other wood was pine.
The slats were stained golden oak and incurred 1 coat of polyurathane. Really love this piece.
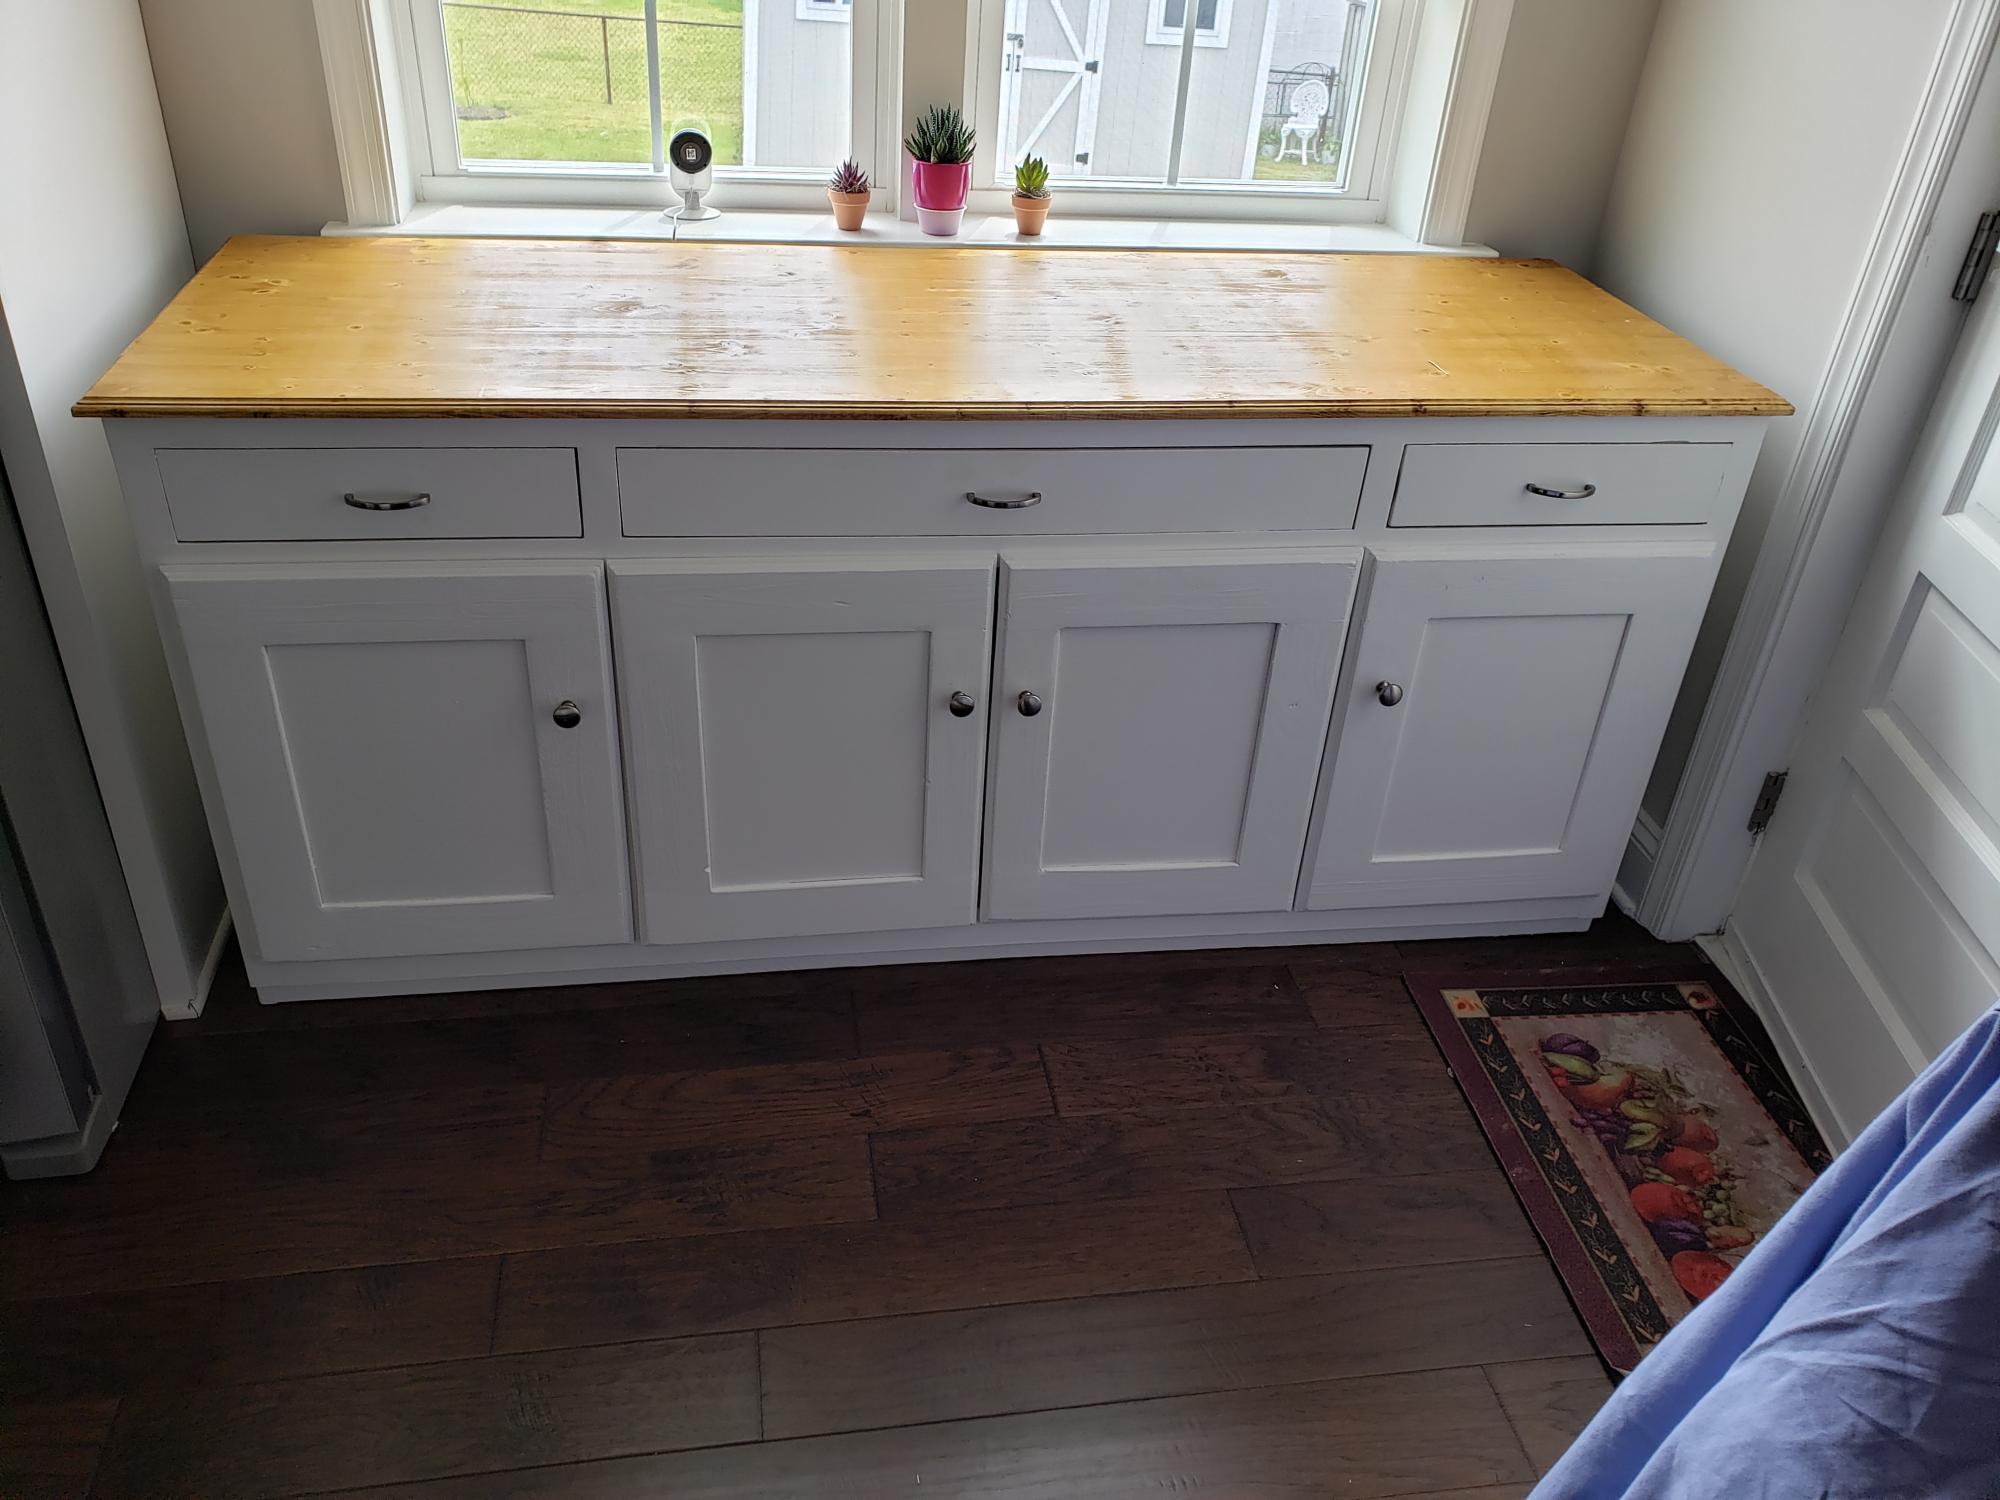
Based my cabinet on the planked wood sideboard but moved away from using the tens of pocket screws the project called for. I also used hidden hinges so my doors do not enter into the cabinet. I cut and glued multiple boards to make my top after using my planer. But soft close drawers and hinges on the unit. Also installed baskets with soft close for the bottom of the 2 side cabinets. Turned out pretty good. Super heavy though which well built items will be. Routed my door and table top edges for style. Wife loves it.
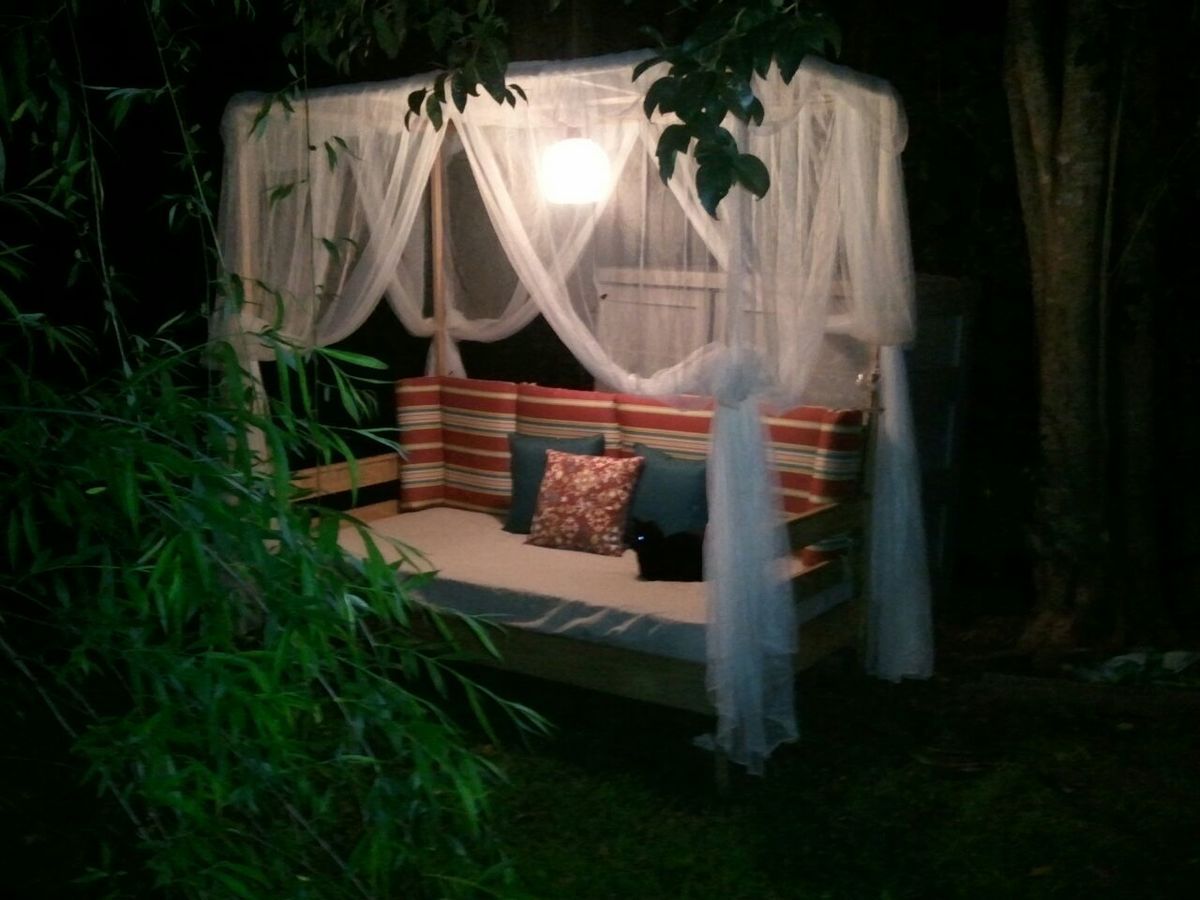
I asked for labor on Mother's Day and my two sons and I built the daybed in about 6 hours. I used treated wood. They did not have treated 1x3s so we used 1x4s instead. Waiting on it to cure before staining. It was a great Mother's Day!
Update: I added a crossbar and put a light up. Now I can use it anytime of day! So excited because there are so many options. Can't wait to build even more. Great plans!

Wed, 06/06/2012 - 00:01
Looks like you had a great mother's day and now you have a beautiful retreat for every day! The mosquito netting makes it look so neat.

First project from own design and wanted to share as pretty pleased with how it turned out. Sides are 4 by 2s with a routed 45 degree grove on each edge to give some detail. Wanted to make the drawers stand out so I added the edging detail.
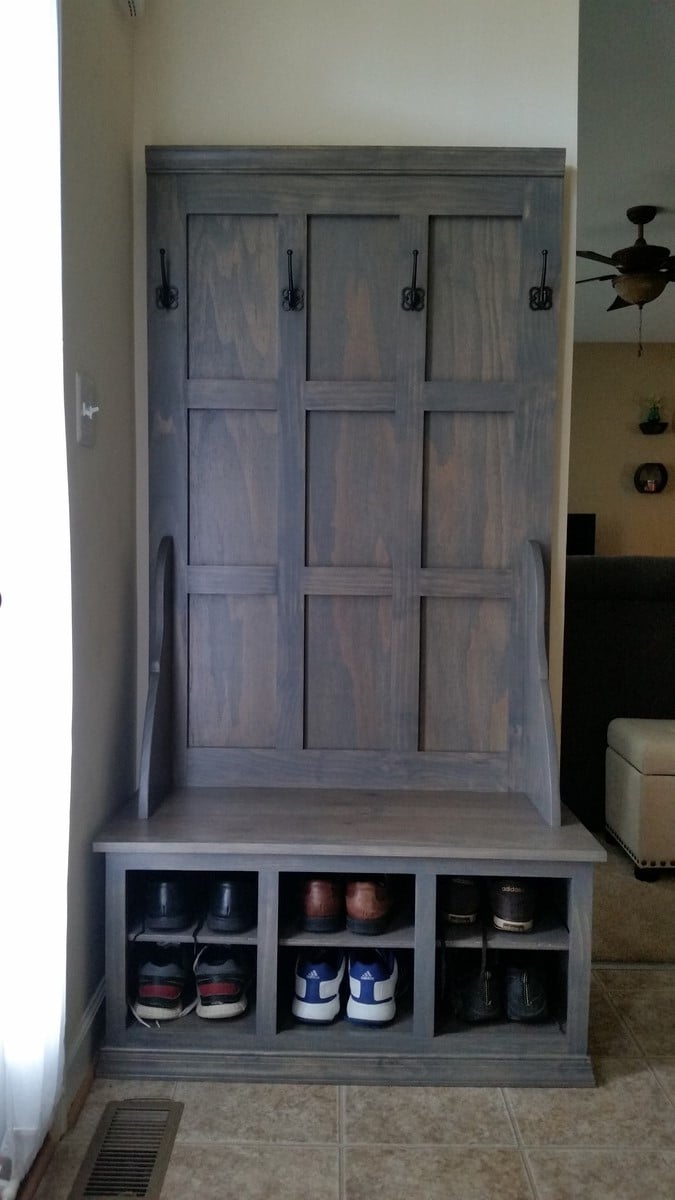
I scaled down the fancy hall tree plans to 39" wide to fit along our entry way wall. I also added shelves for shoes. It was a great birthday present for my wife, thanks Ana!