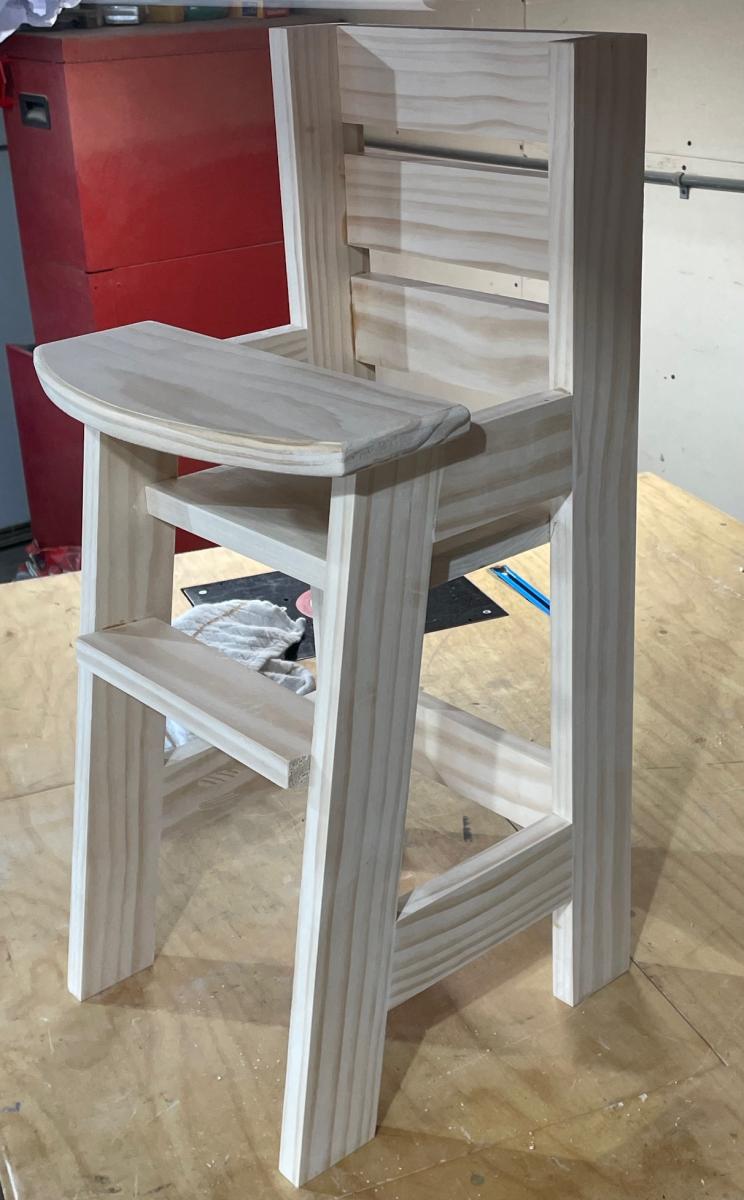
DIY Doll High Chair
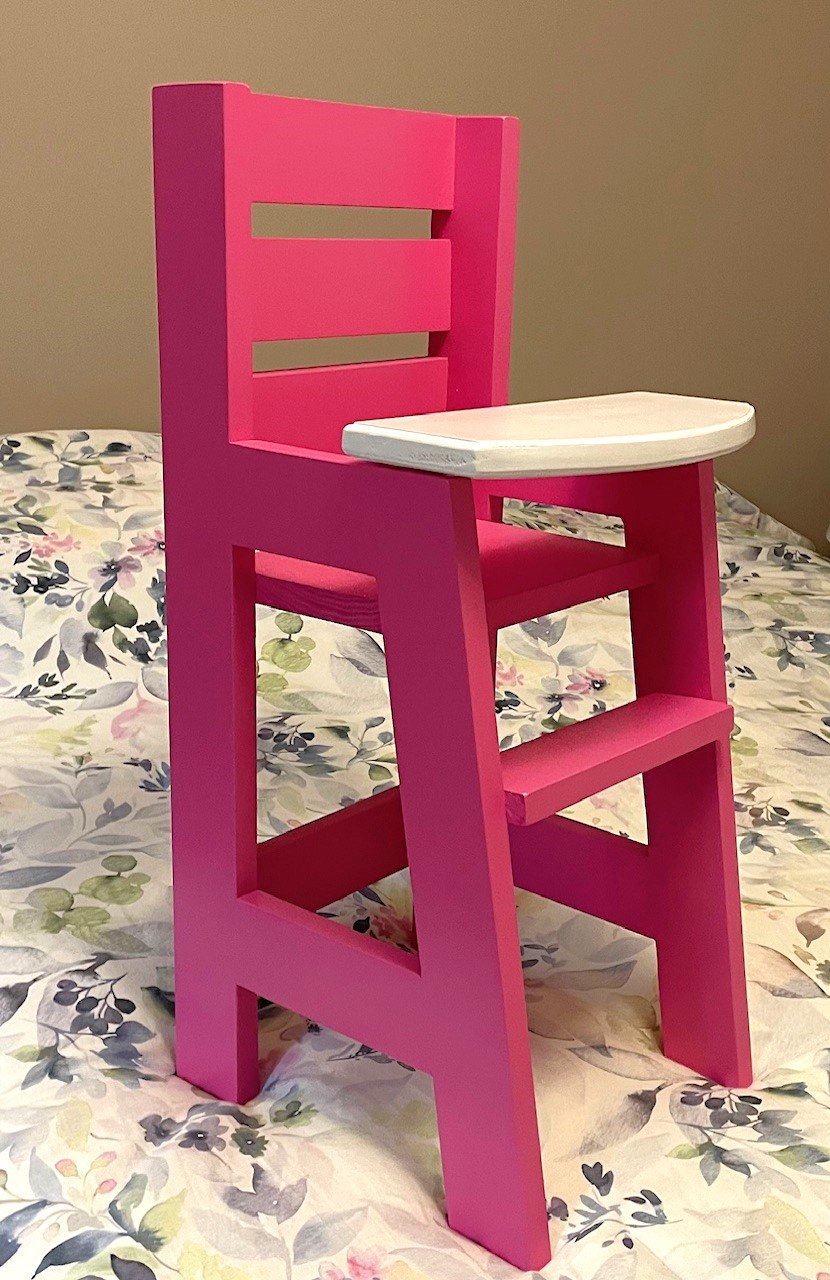
Used Ana's doll high chair plans. Modified the tray with a curved hinged tray. Painted in her favorited color!

Built from Plan(s)
Used Ana's doll high chair plans. Modified the tray with a curved hinged tray. Painted in her favorited color!
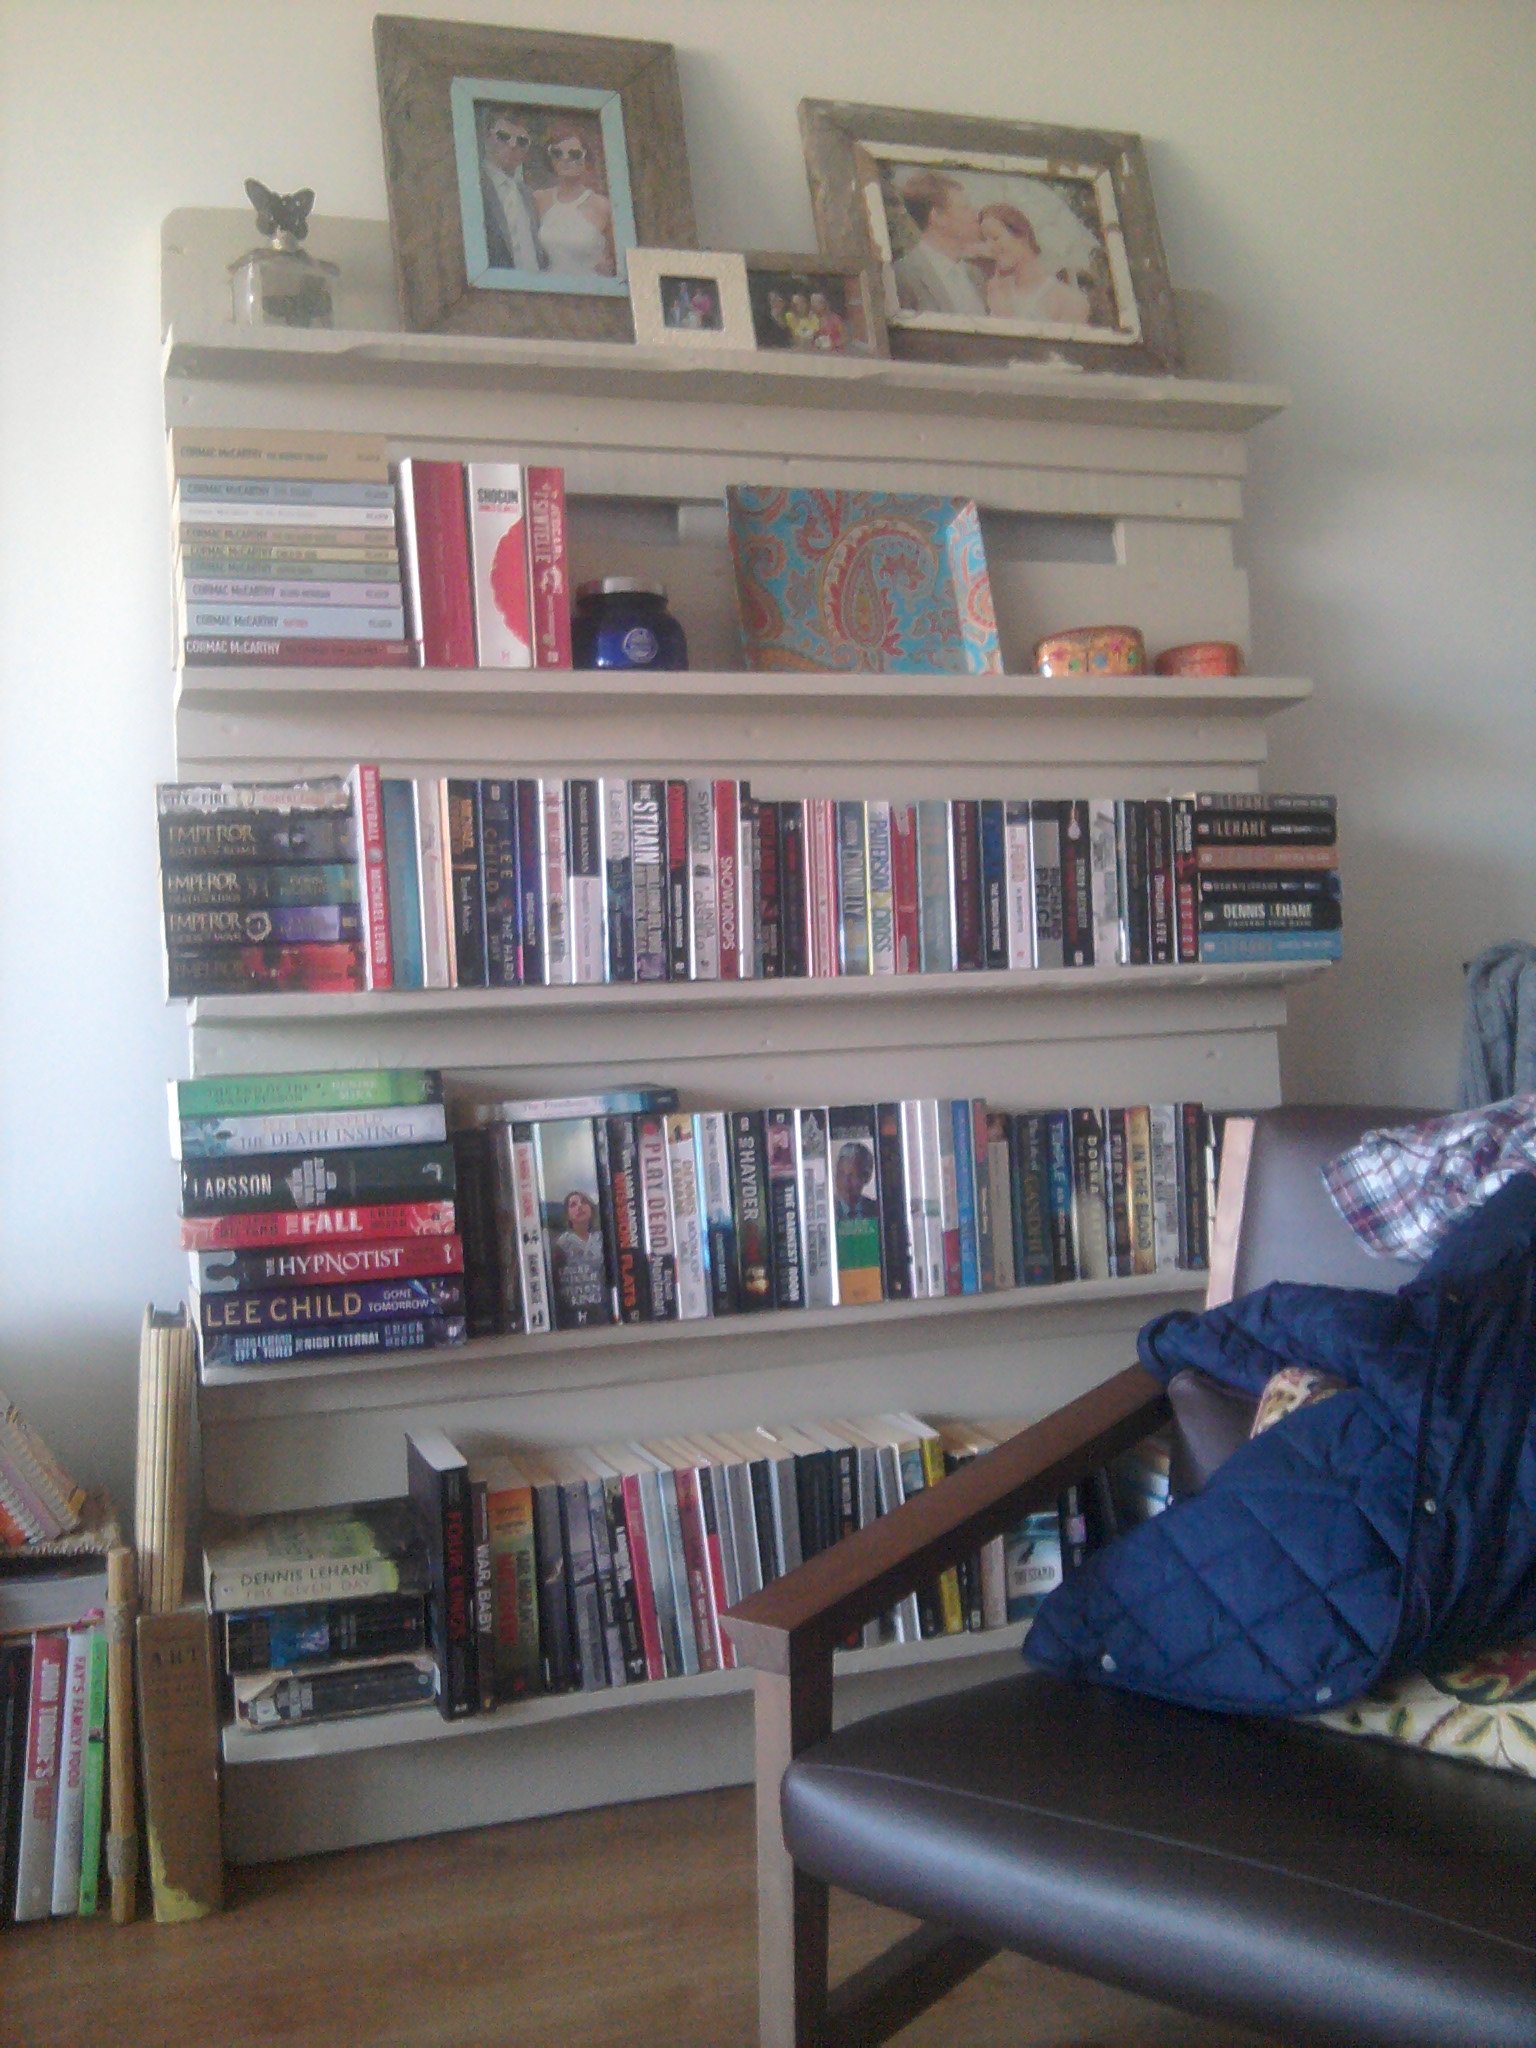
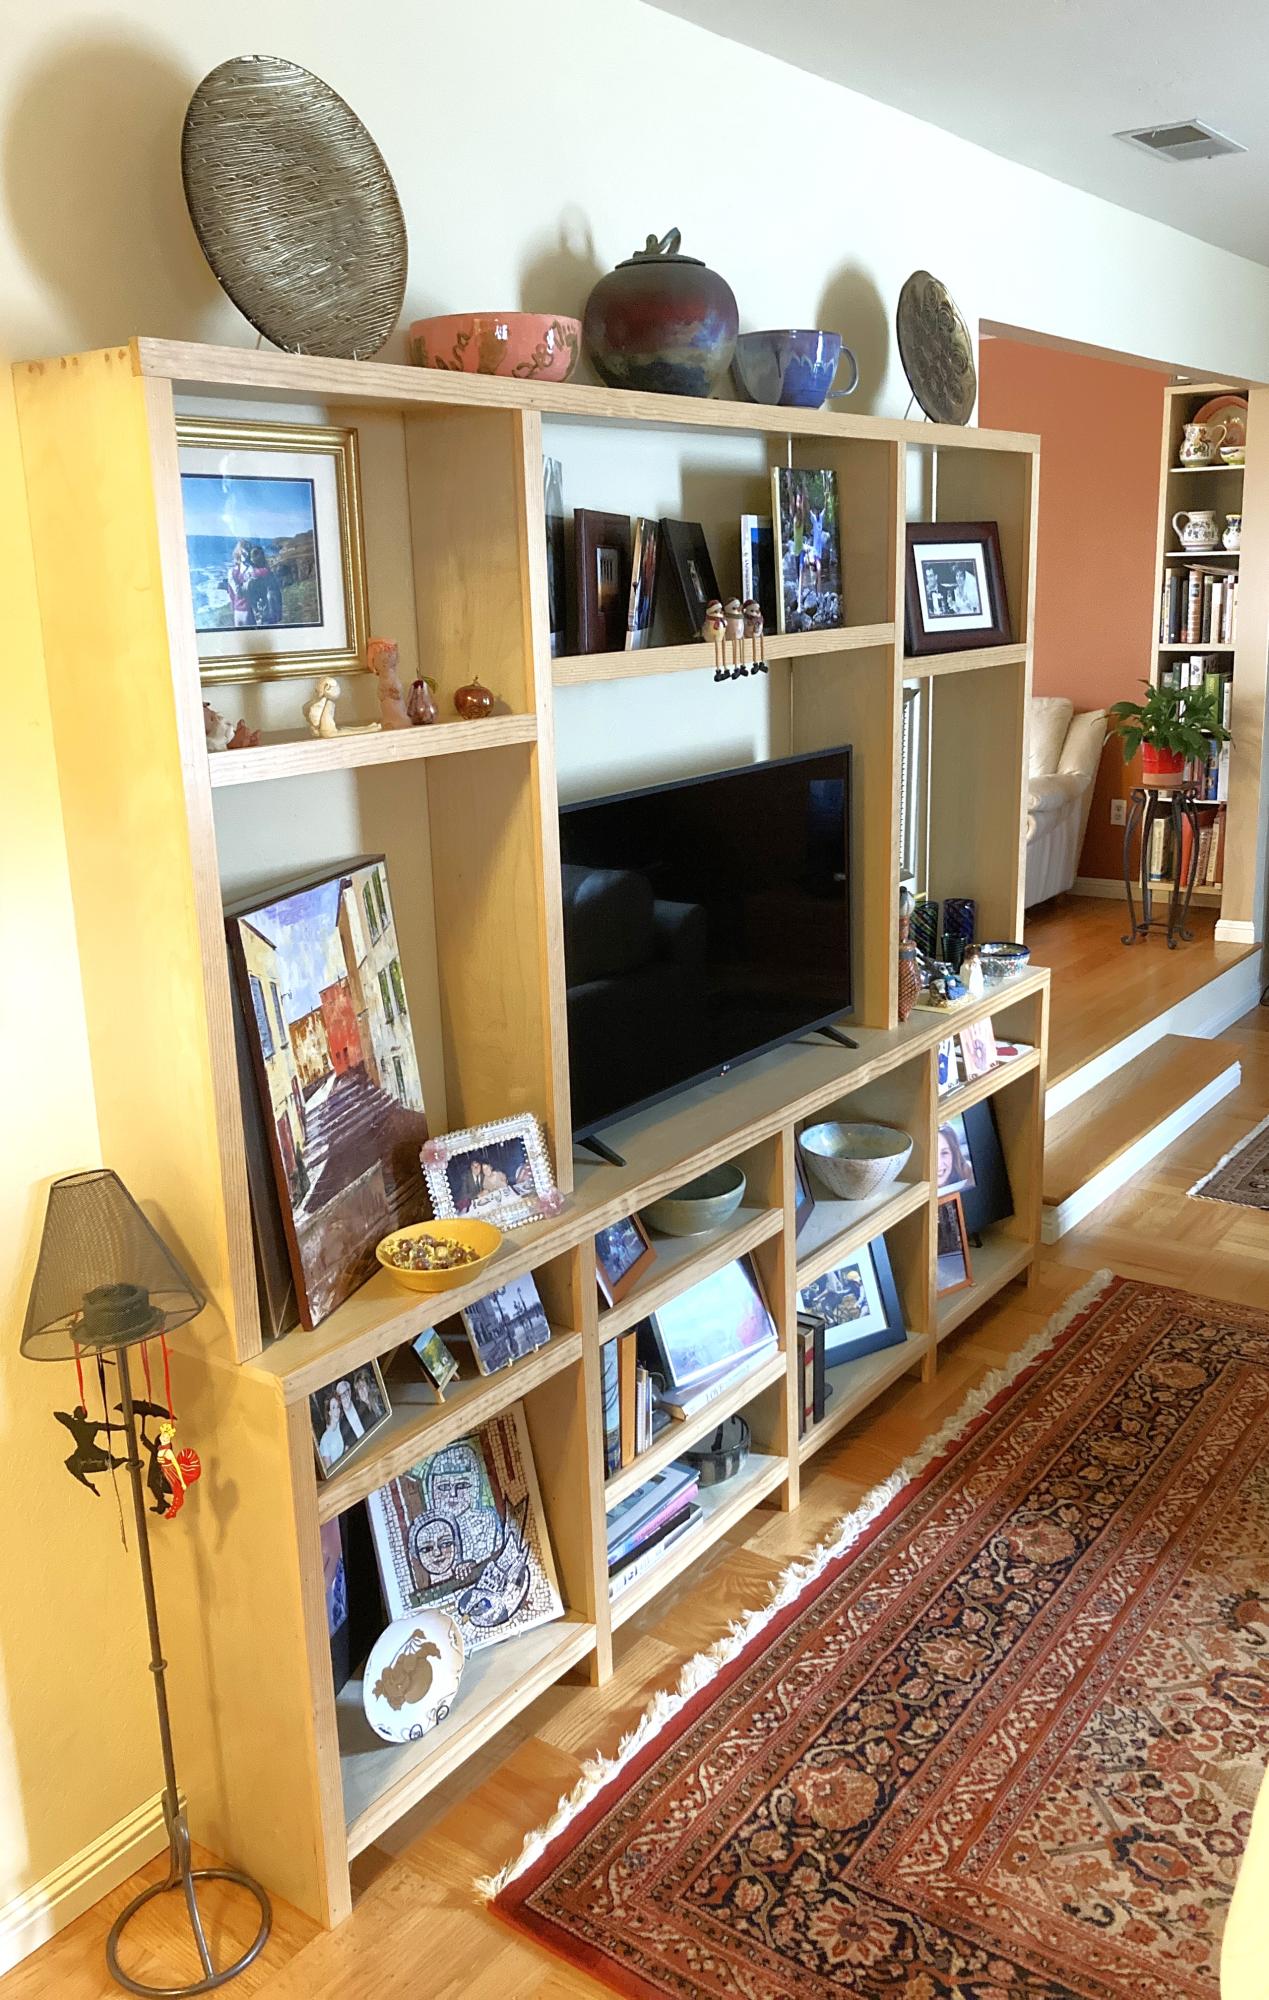
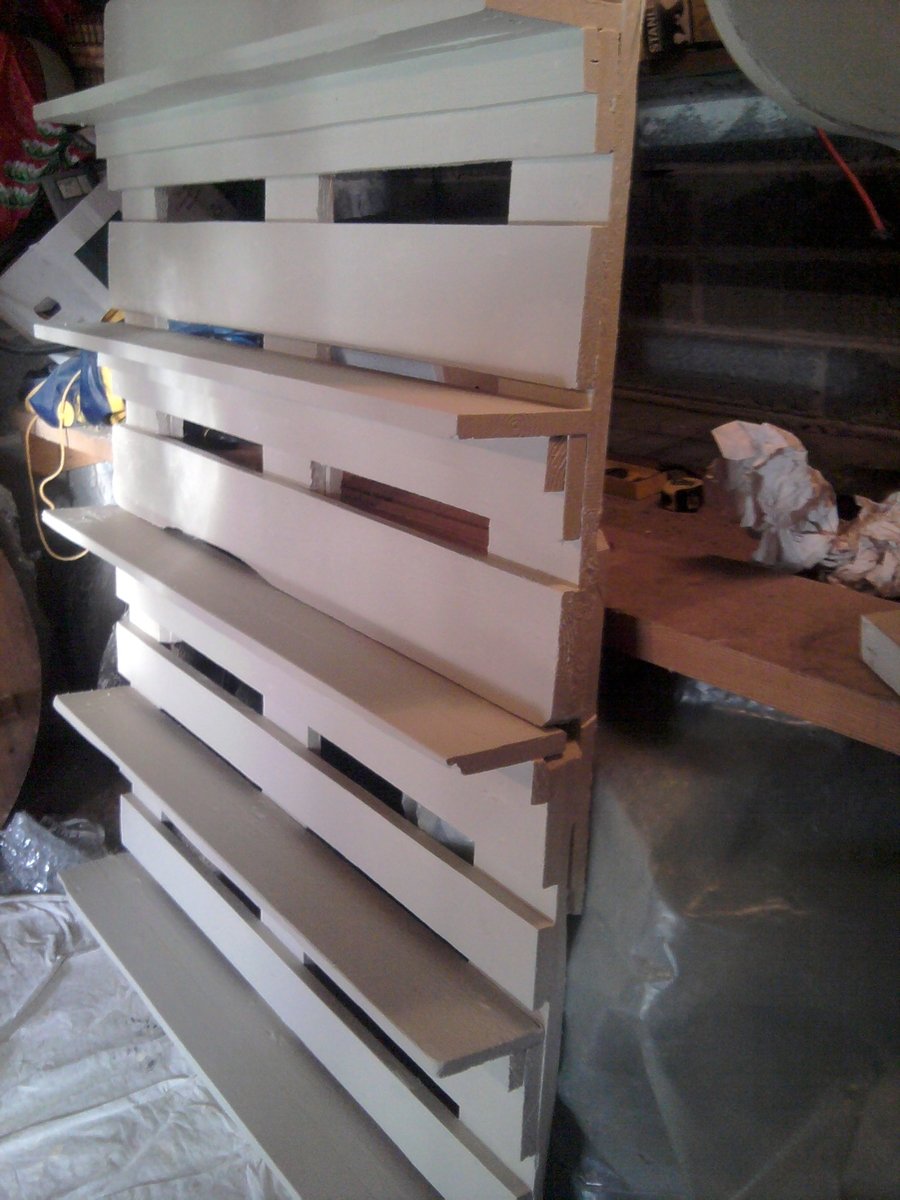
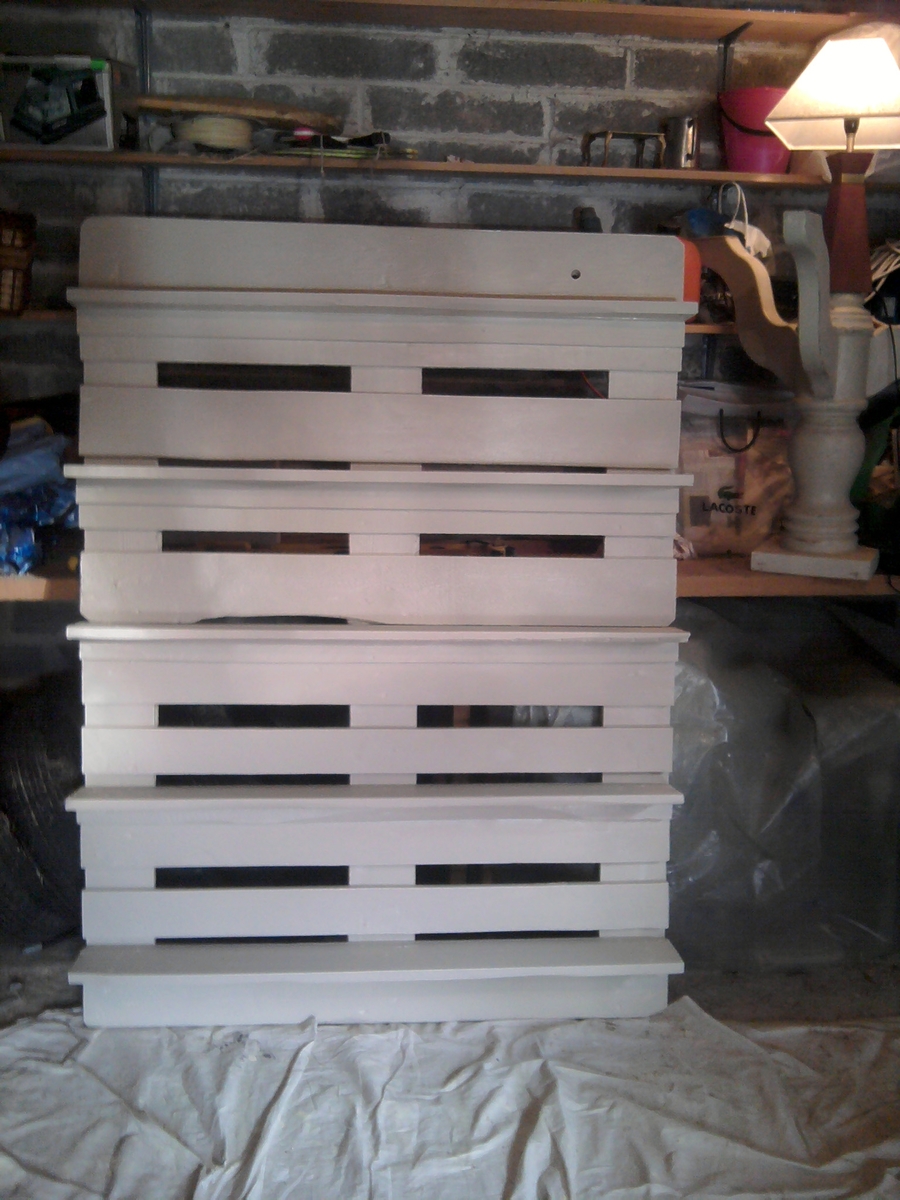
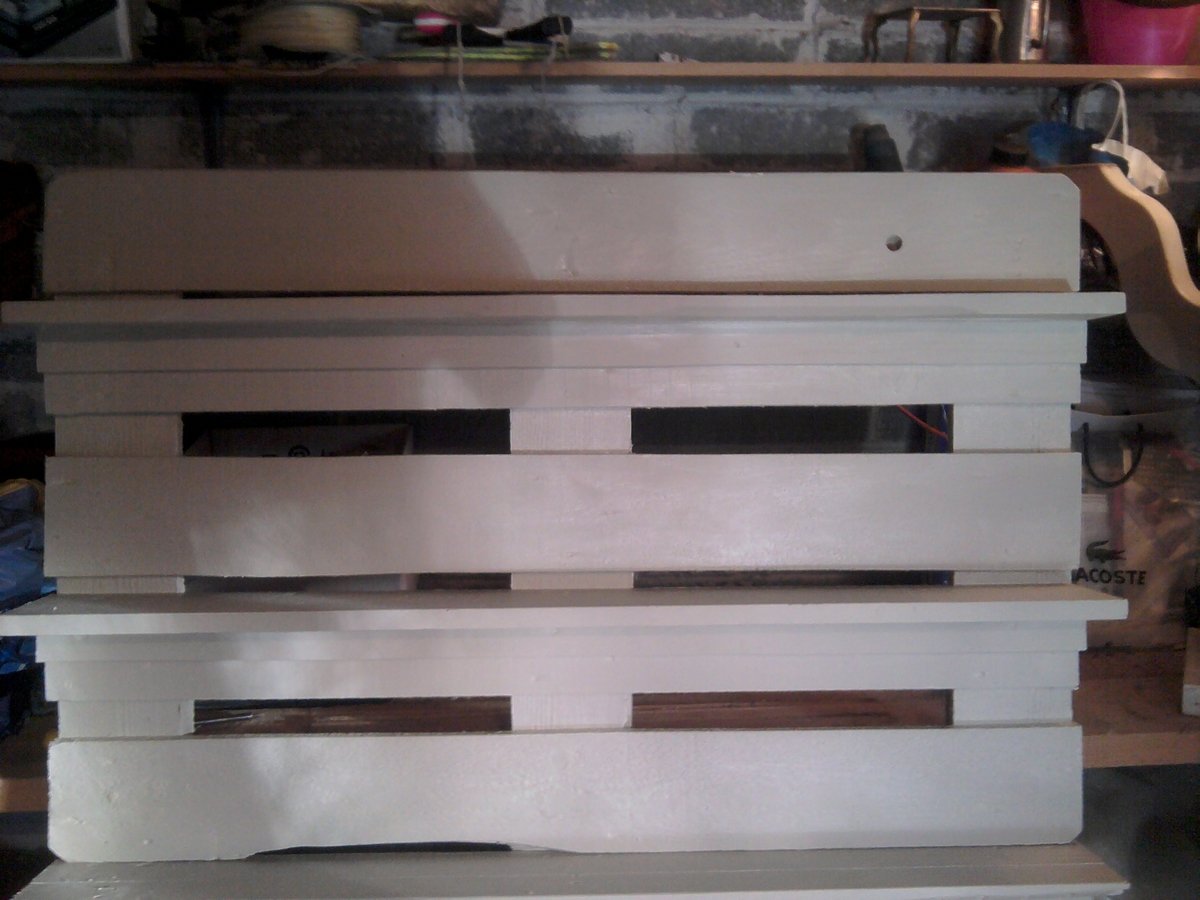
Pallet Bookshelf.
A great project turning old pallets into a funky bookcase.
My bookcase is slightly different than the plans that dan-k put up but that is mainly because of the type of pallet i used - there may be a difference between US and european pallets?
I recommend getting 3 pallets, all of the same size, and all in pretty good condition - which is trickier than I expected.
The wood from the 3rd pallet is used as the shelves and the supports underneath the shelves.
I really enjoyed making this, and love how it turned out.
Hopefully the photos inspire others to give it a go!


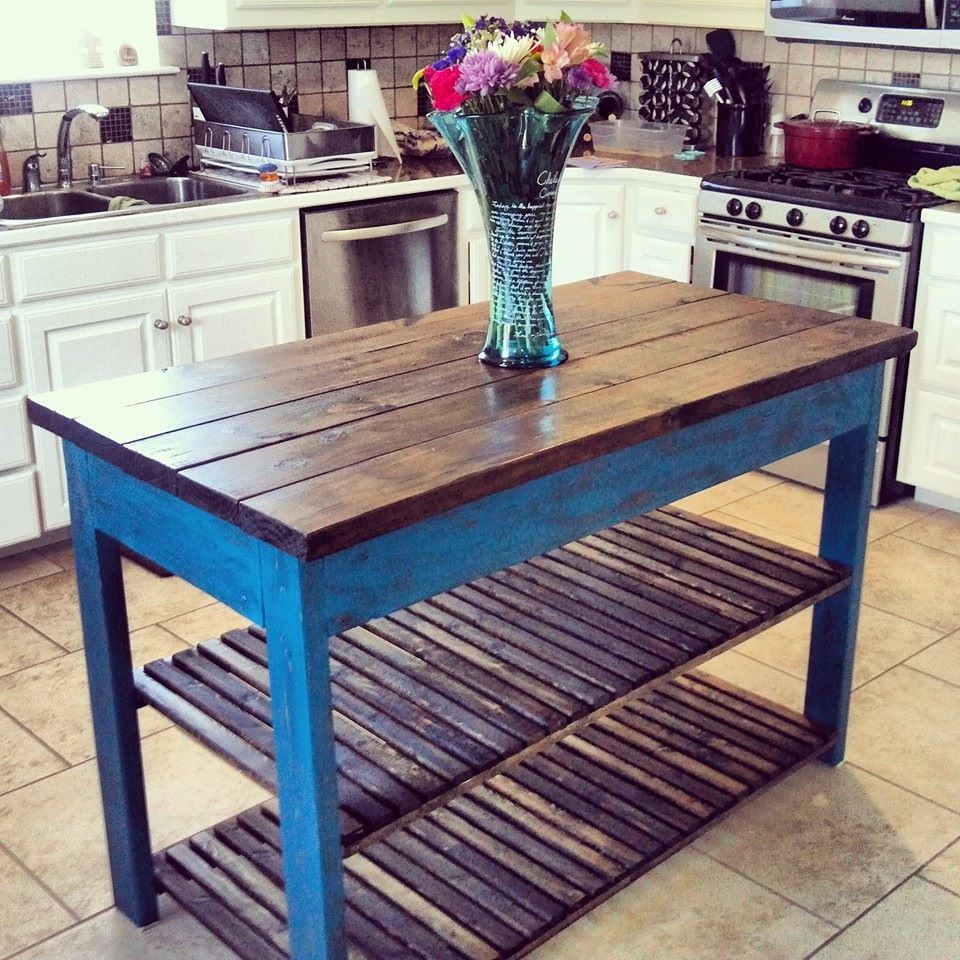
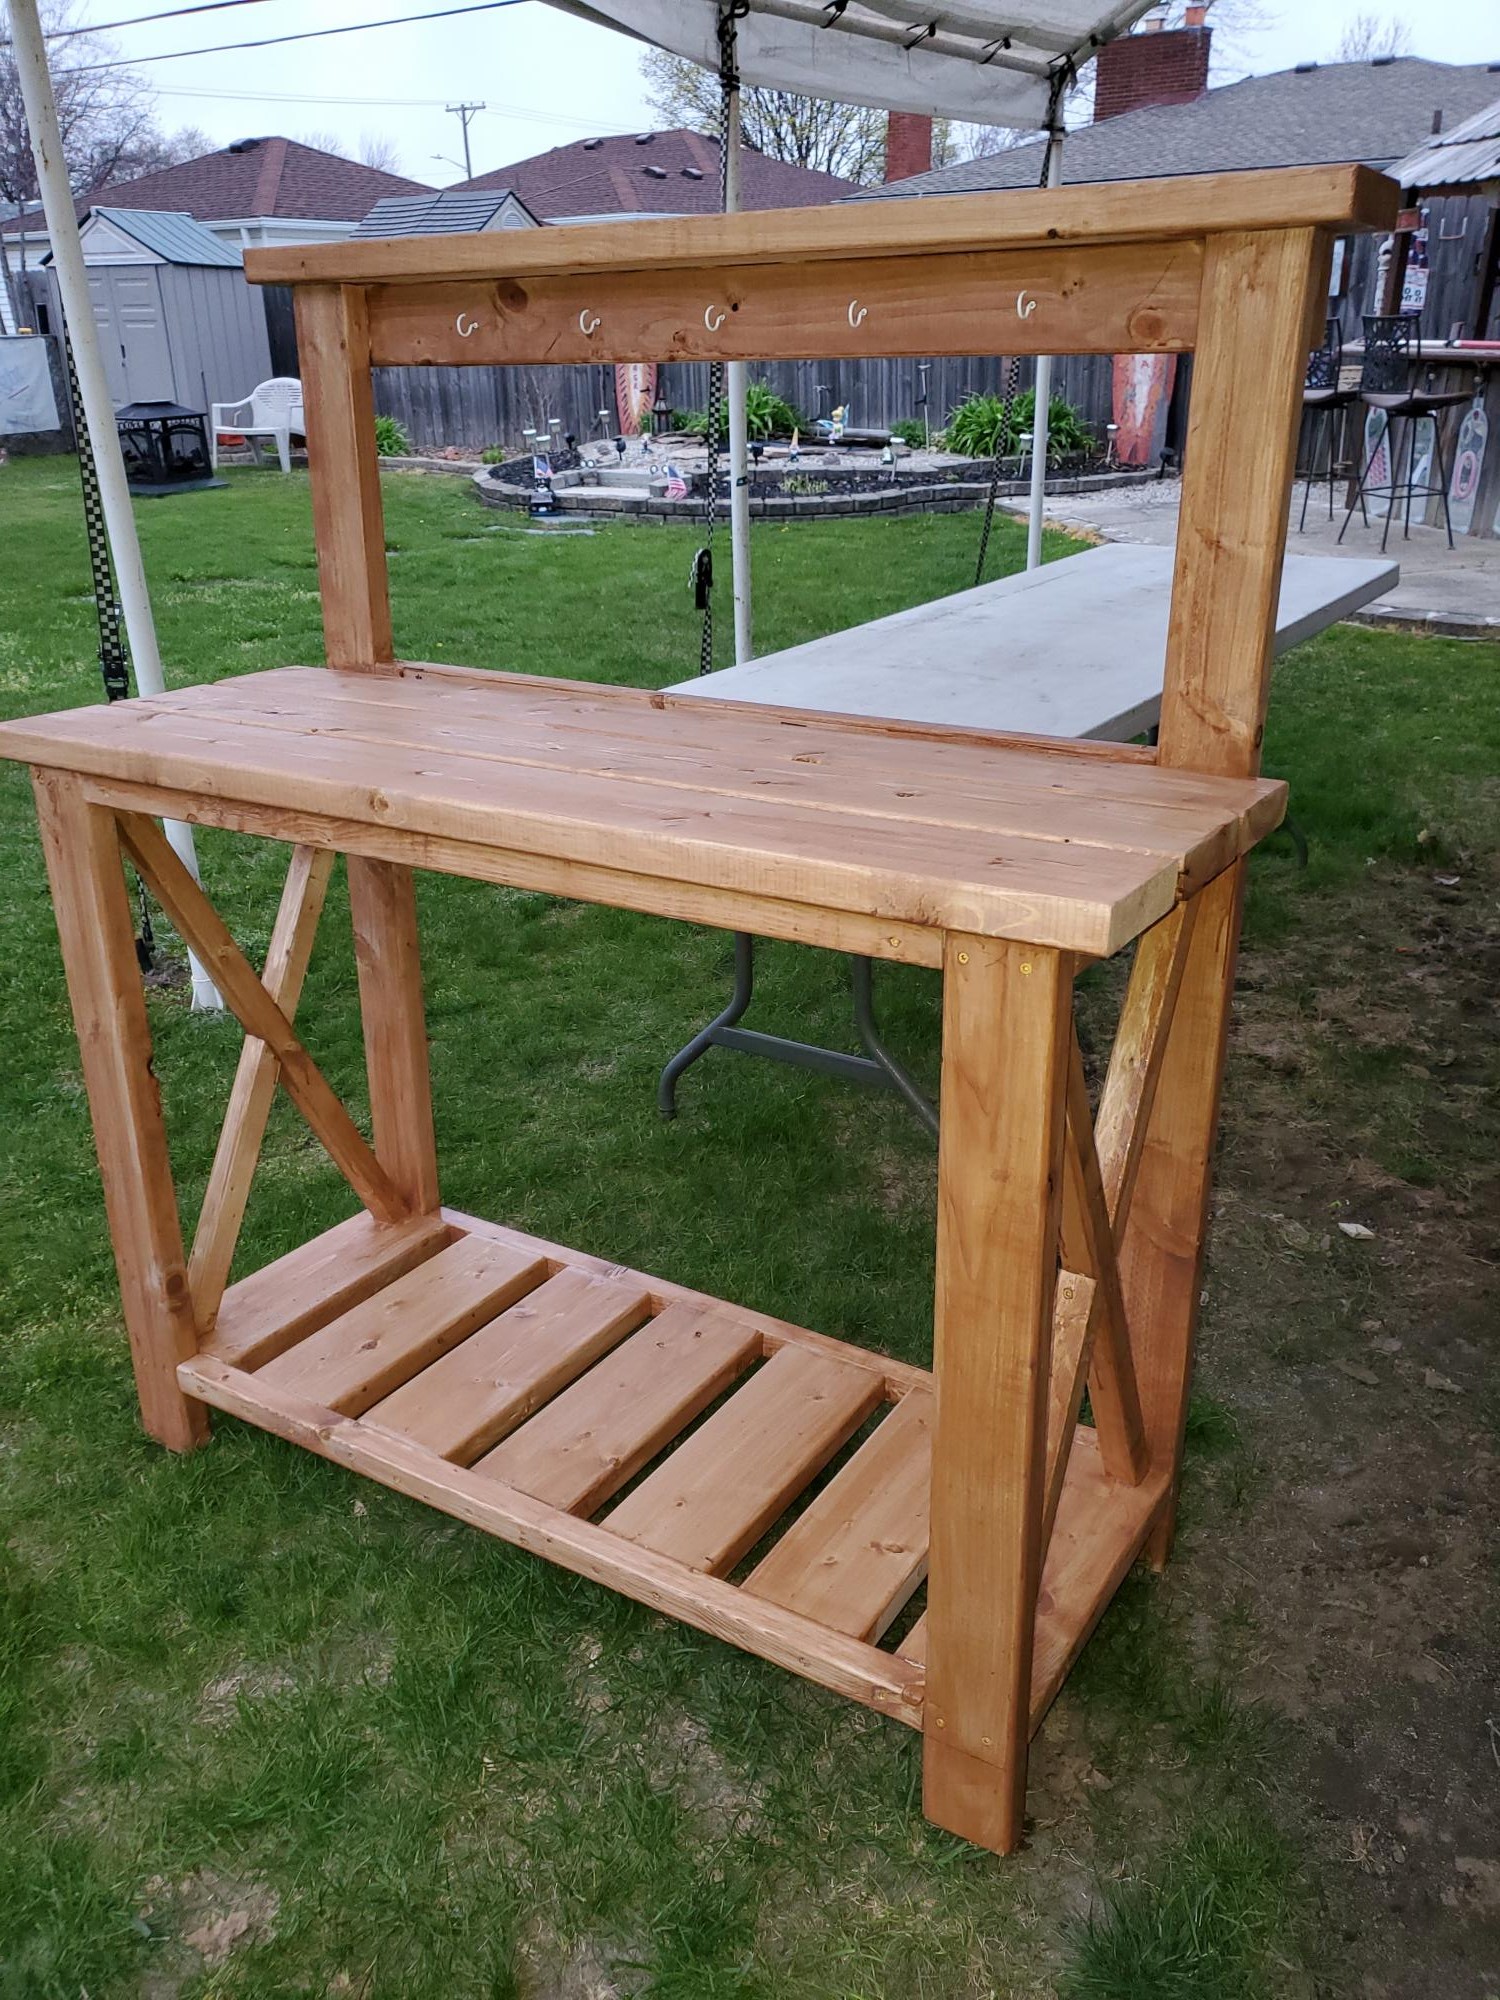
This is the Kitchen Island I built for my wife. I painted it in my wife's favorite color and gave it a distressed look that matched the stained wood counter top. This was also my very first Ana White project... The plans were easy to follow and I had a lot of fun building it.
Fri, 11/21/2014 - 23:38
Hi there! This kitchen island is beautiful!! Can you tell me what paint and color you used, as well as what finish and how you distressed it?? I love it!!
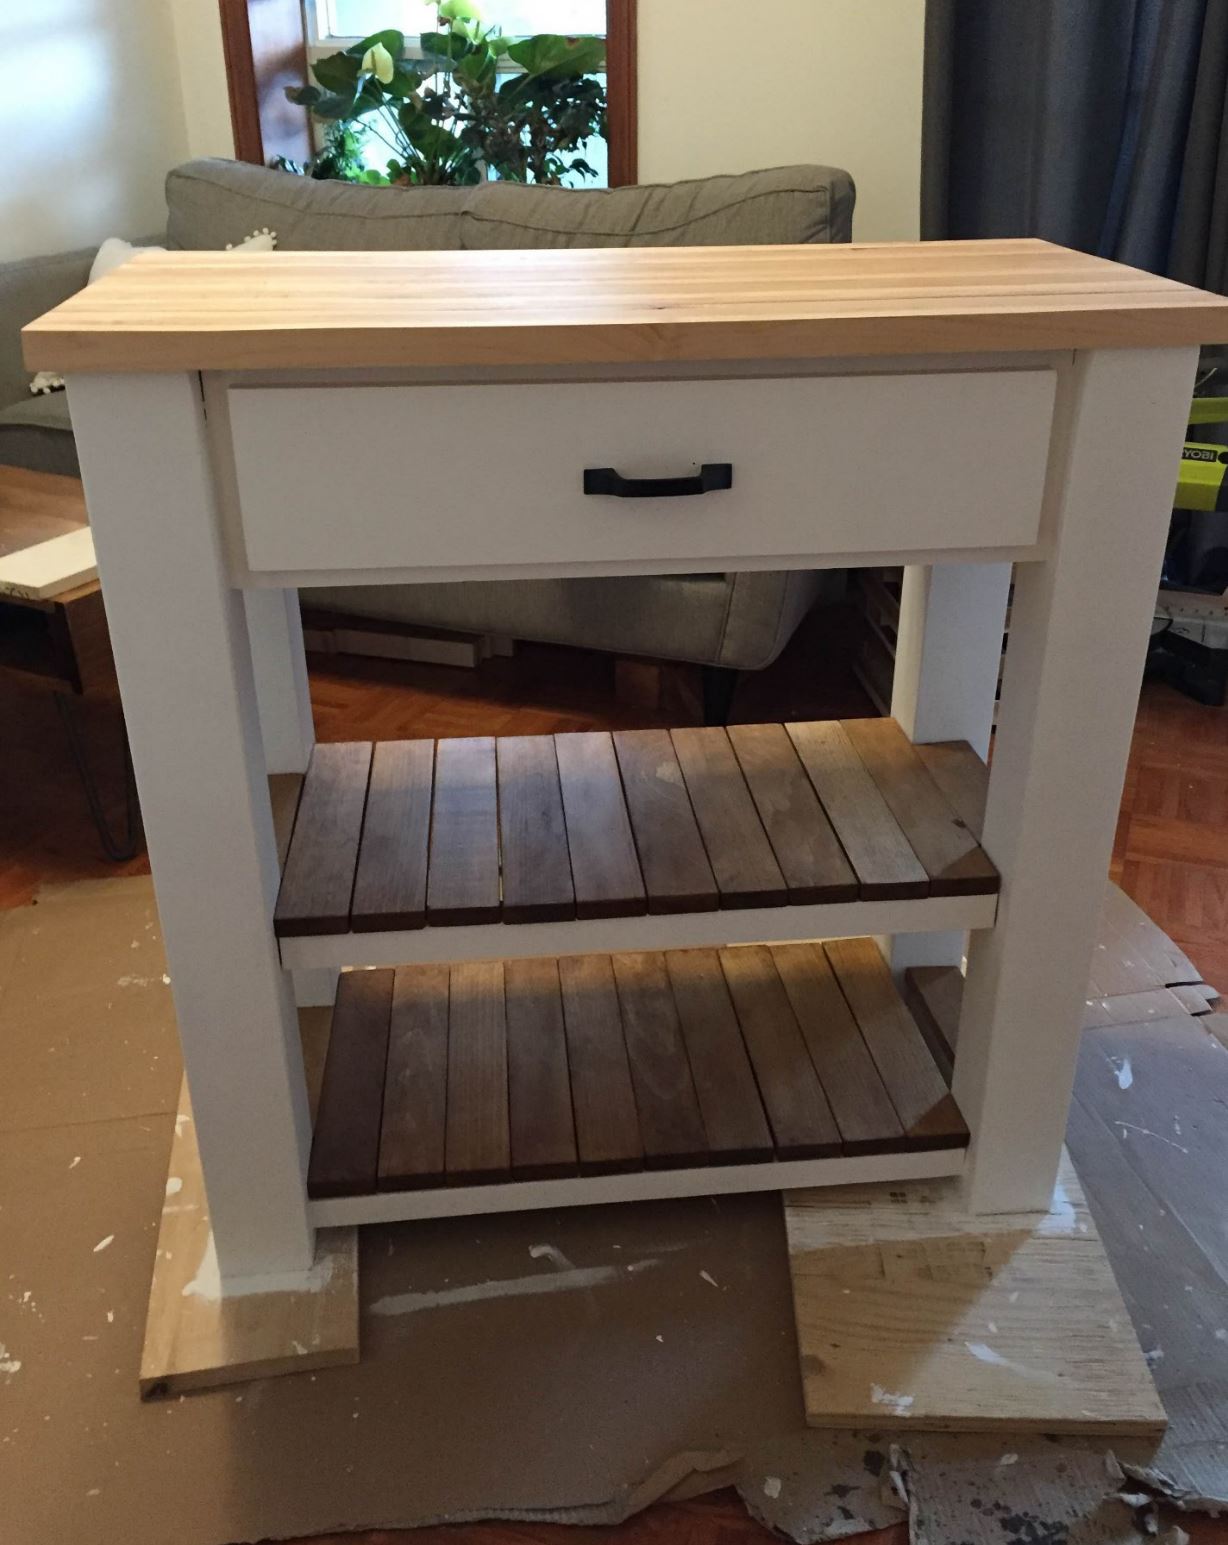
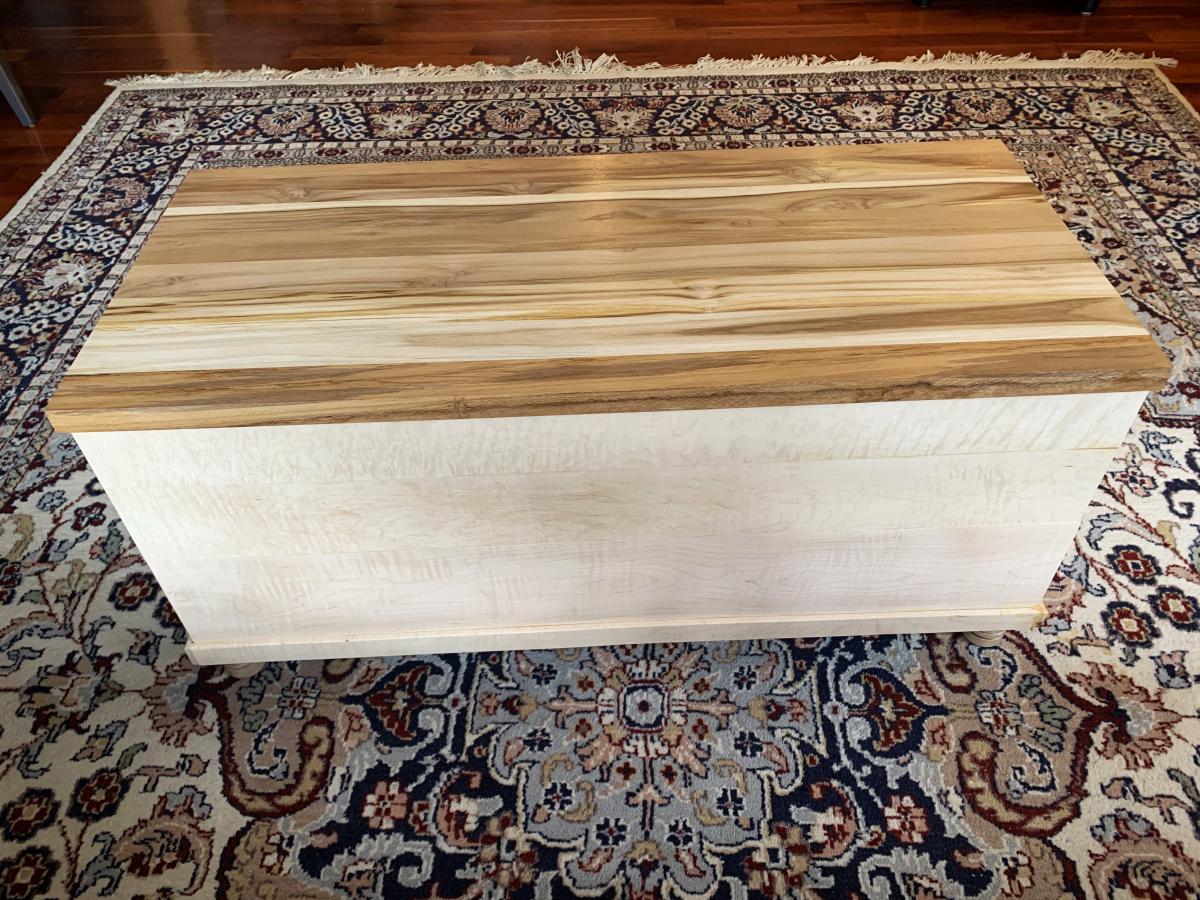
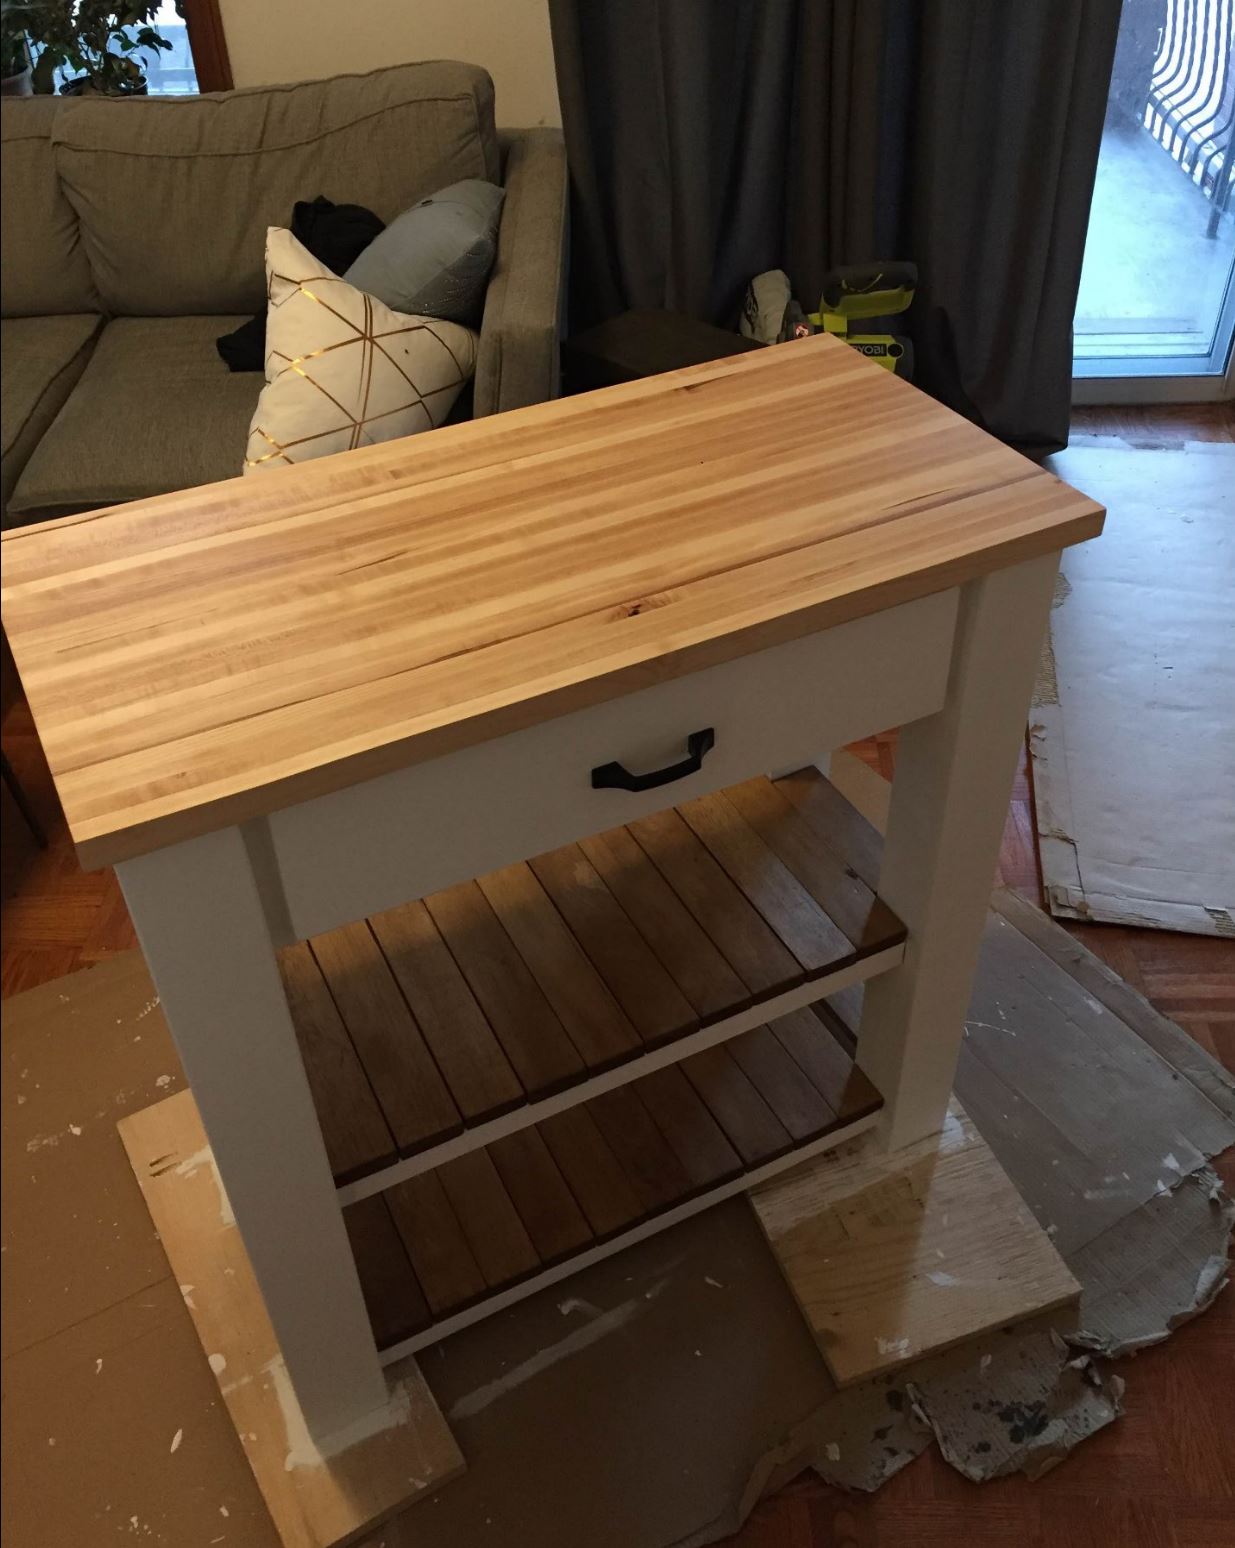
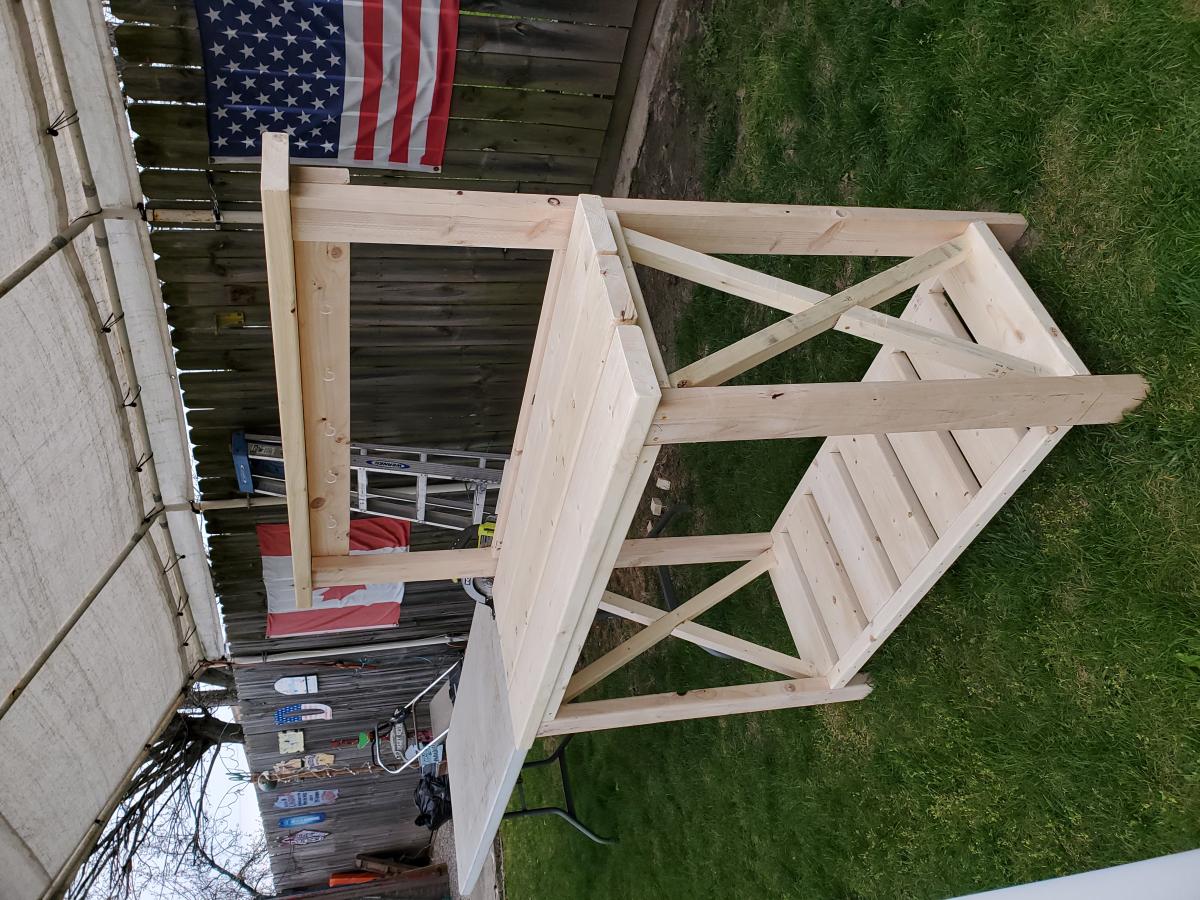
Used ana's plan as more so a guidance. The top is made out of 3/4inch hard maple planks glued/clamped together. The harder part was then planing the top down to ensure the top was relatively flat. All the other wood was pine.
The slats were stained golden oak and incurred 1 coat of polyurathane. Really love this piece.
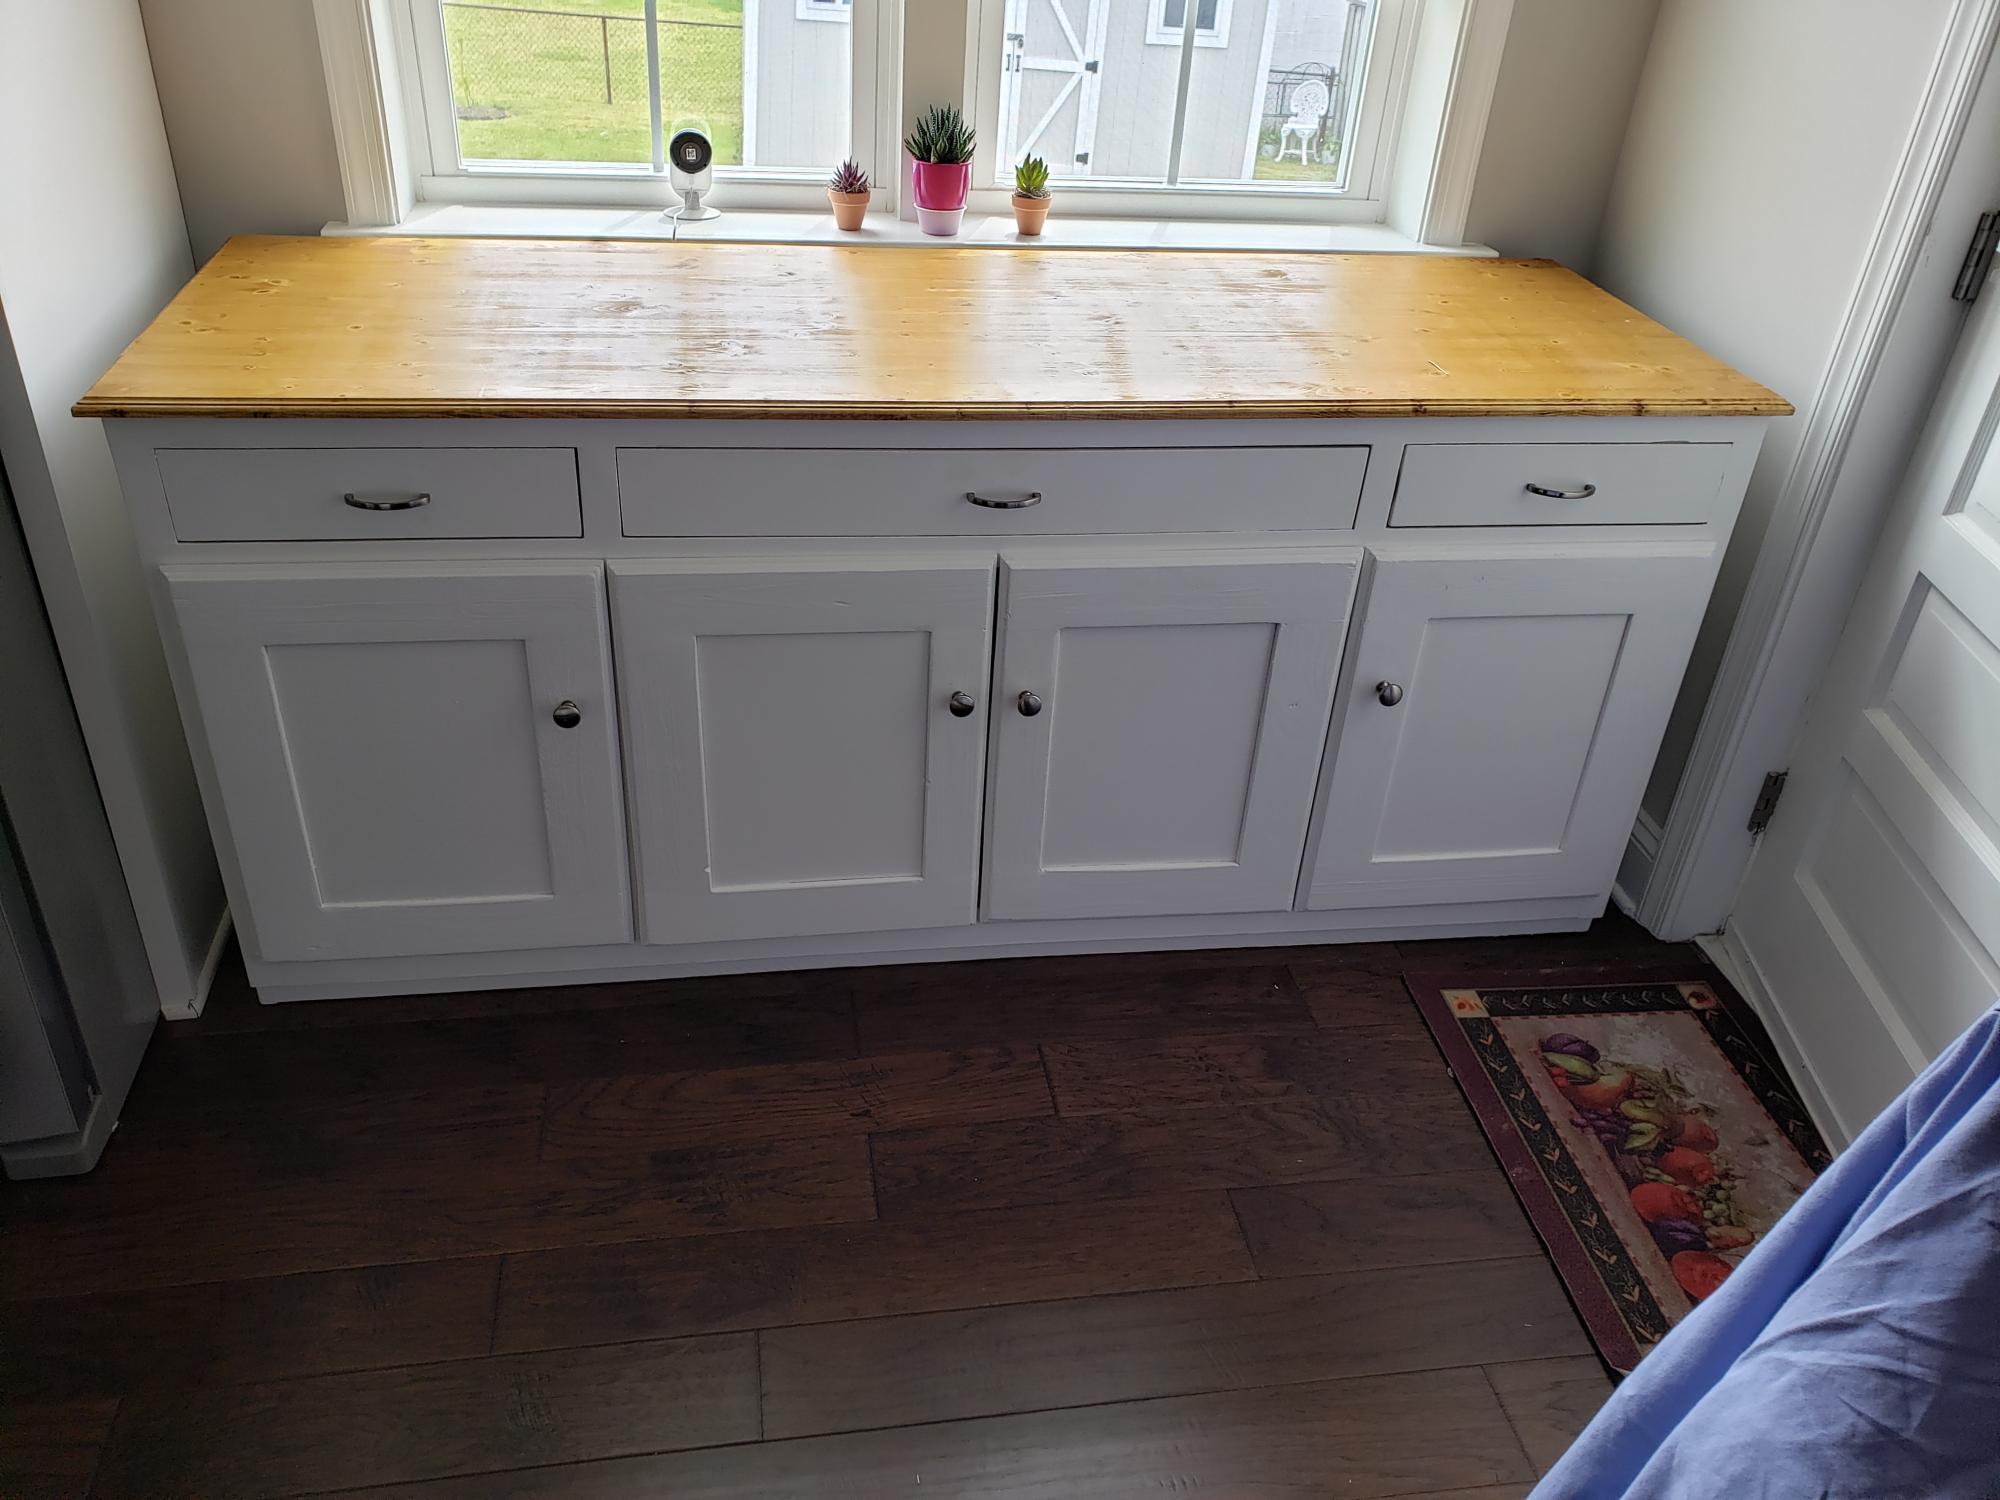
Based my cabinet on the planked wood sideboard but moved away from using the tens of pocket screws the project called for. I also used hidden hinges so my doors do not enter into the cabinet. I cut and glued multiple boards to make my top after using my planer. But soft close drawers and hinges on the unit. Also installed baskets with soft close for the bottom of the 2 side cabinets. Turned out pretty good. Super heavy though which well built items will be. Routed my door and table top edges for style. Wife loves it.
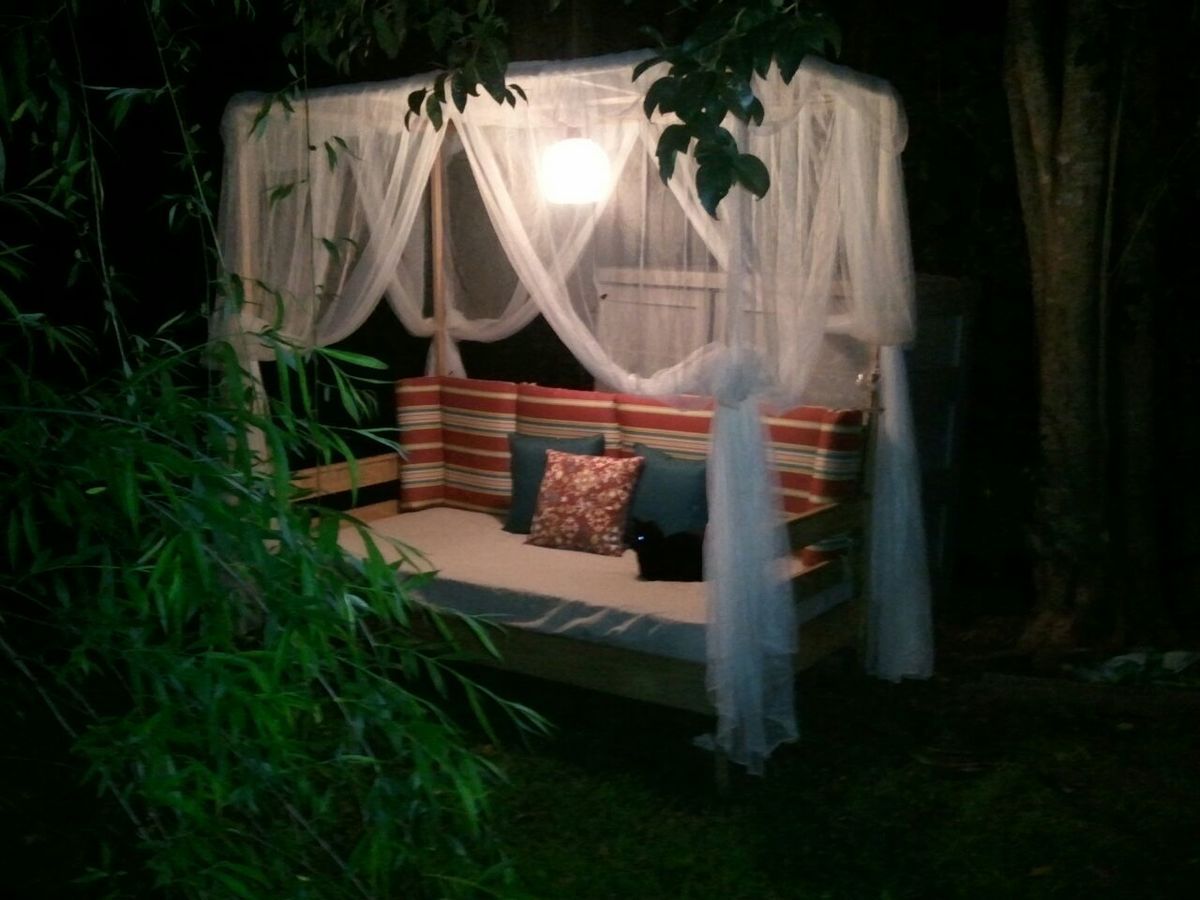
I asked for labor on Mother's Day and my two sons and I built the daybed in about 6 hours. I used treated wood. They did not have treated 1x3s so we used 1x4s instead. Waiting on it to cure before staining. It was a great Mother's Day!
Update: I added a crossbar and put a light up. Now I can use it anytime of day! So excited because there are so many options. Can't wait to build even more. Great plans!

Wed, 06/06/2012 - 00:01
Looks like you had a great mother's day and now you have a beautiful retreat for every day! The mosquito netting makes it look so neat.

First project from own design and wanted to share as pretty pleased with how it turned out. Sides are 4 by 2s with a routed 45 degree grove on each edge to give some detail. Wanted to make the drawers stand out so I added the edging detail.
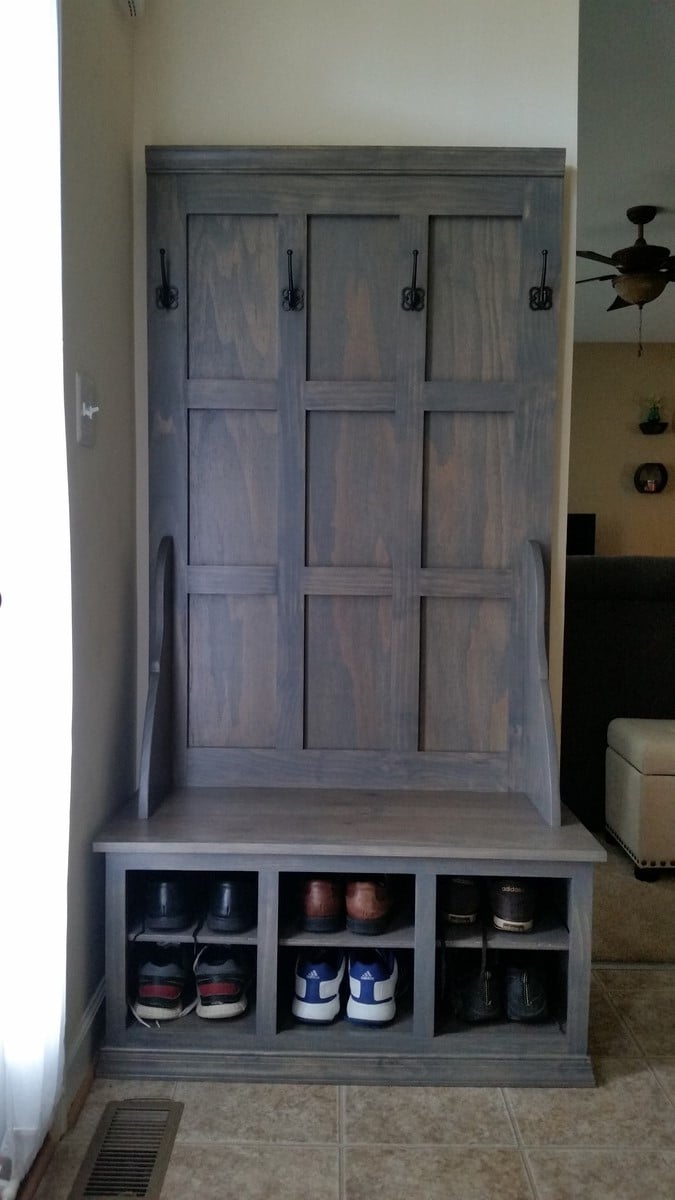
I scaled down the fancy hall tree plans to 39" wide to fit along our entry way wall. I also added shelves for shoes. It was a great birthday present for my wife, thanks Ana!
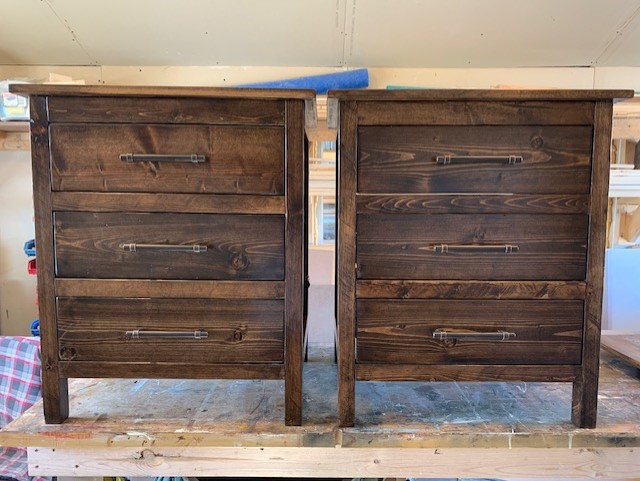
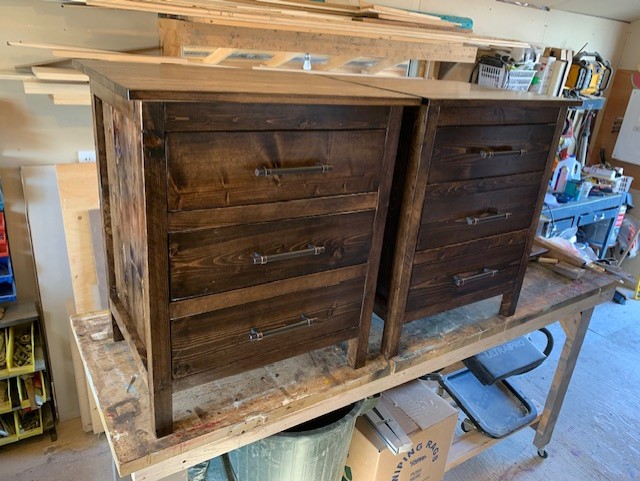
Made these rustic style bedside tables for my master bedroom. I used the Reclaimed Wood Bedside Tables plan, but modified it to make it a little wider- to 24" top width. I wished the plan had exact plans for the drawers, but I made do without them, and all in all, they turned out fantastic! I used pretty heavy duty 100 lb drawer slides, and used 1x6's for the entire drawer square (backer board for the bottoms). I wanted the slides to be able to handle the extra weight, plus all my books etc that will fill the drawers. I used standard spruce/pine from the store, but ripped my own 2x2's and 1x2's from 2x4's and 1x4's. I liked the crosscut look to stay, so I only sanded them minimally. The hardest part was putting on the top from underneath, as I didn't want my tops to have the nail holes in them, but my trusty brad-nailer came to my rescue!
It was a good day or two project by the time I got them built, stained (with Minwax Espresso), and sealed with (Minwax Poly-Acrylic).
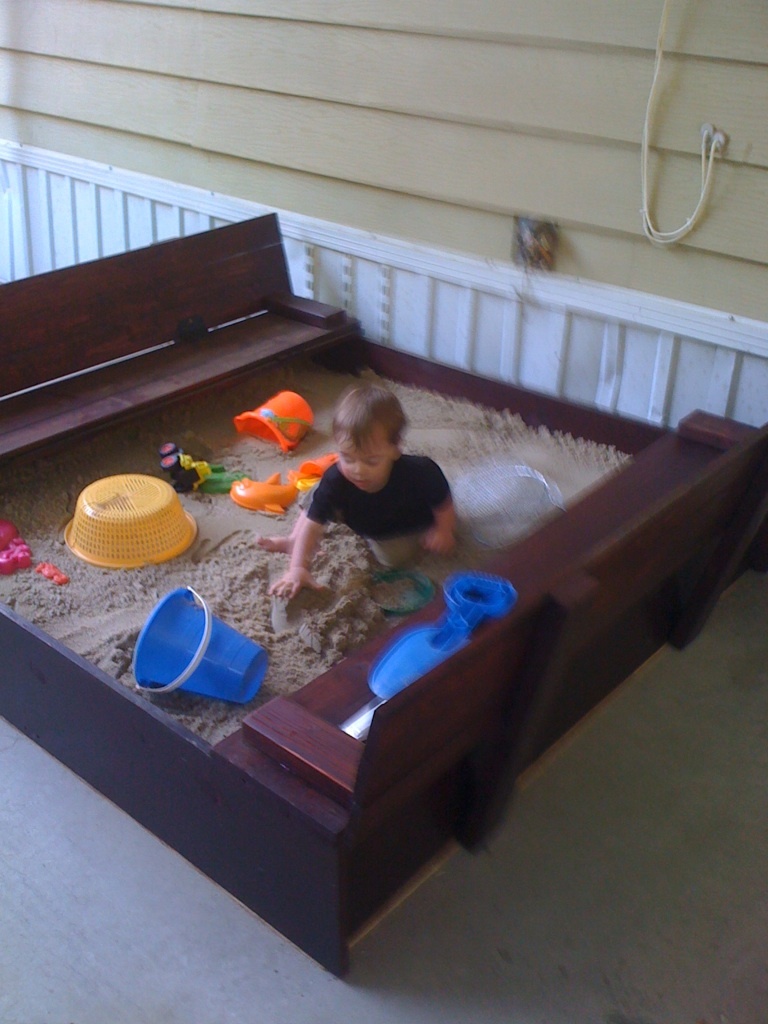
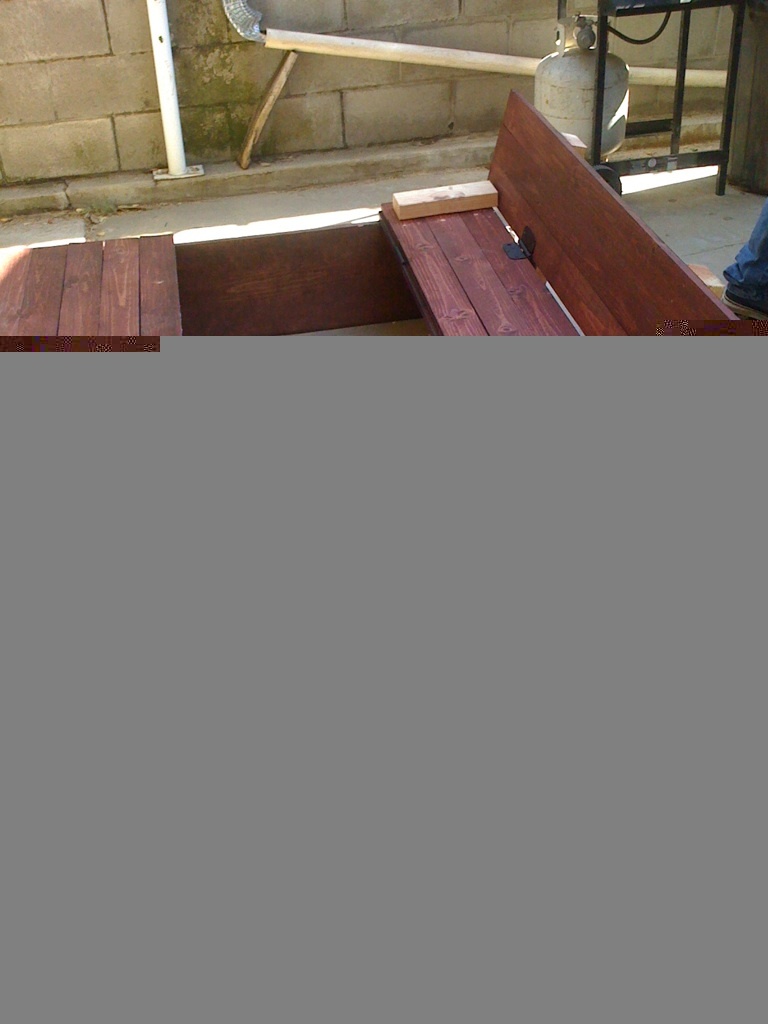
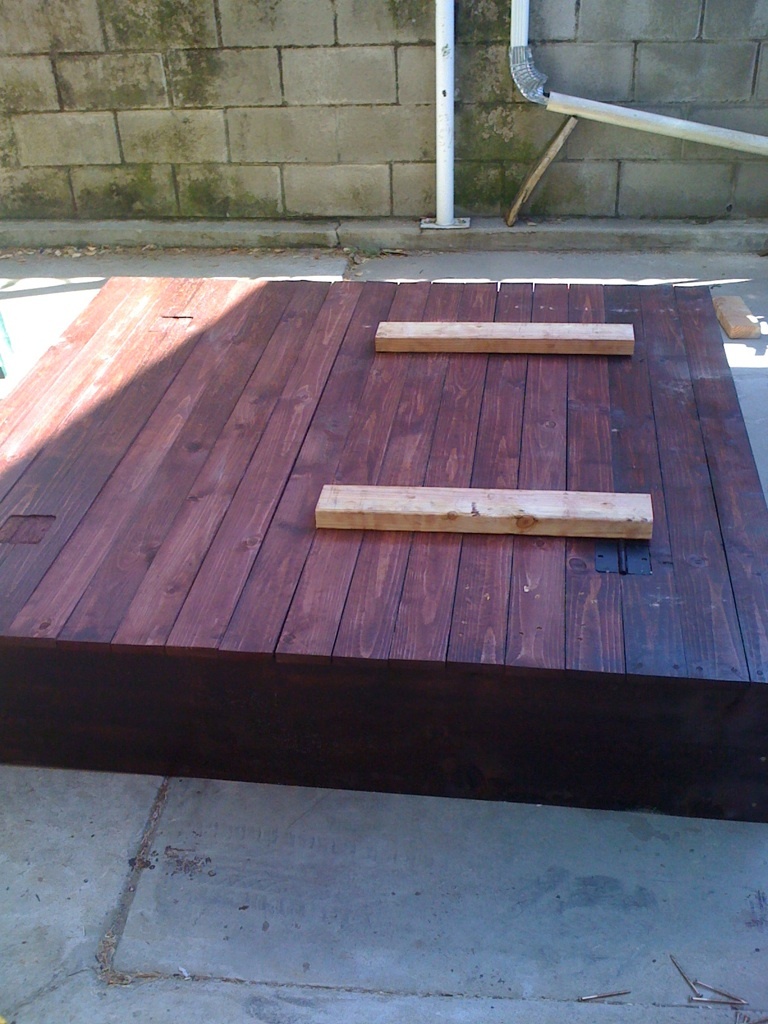
This sandbox is based off one on this website. We made ours 5ft x 5ft x 1ft and instead of spacing the boards out 1/2' we put them right next to each other and routered out the space for the hinges :) It looks amazing and such fun!
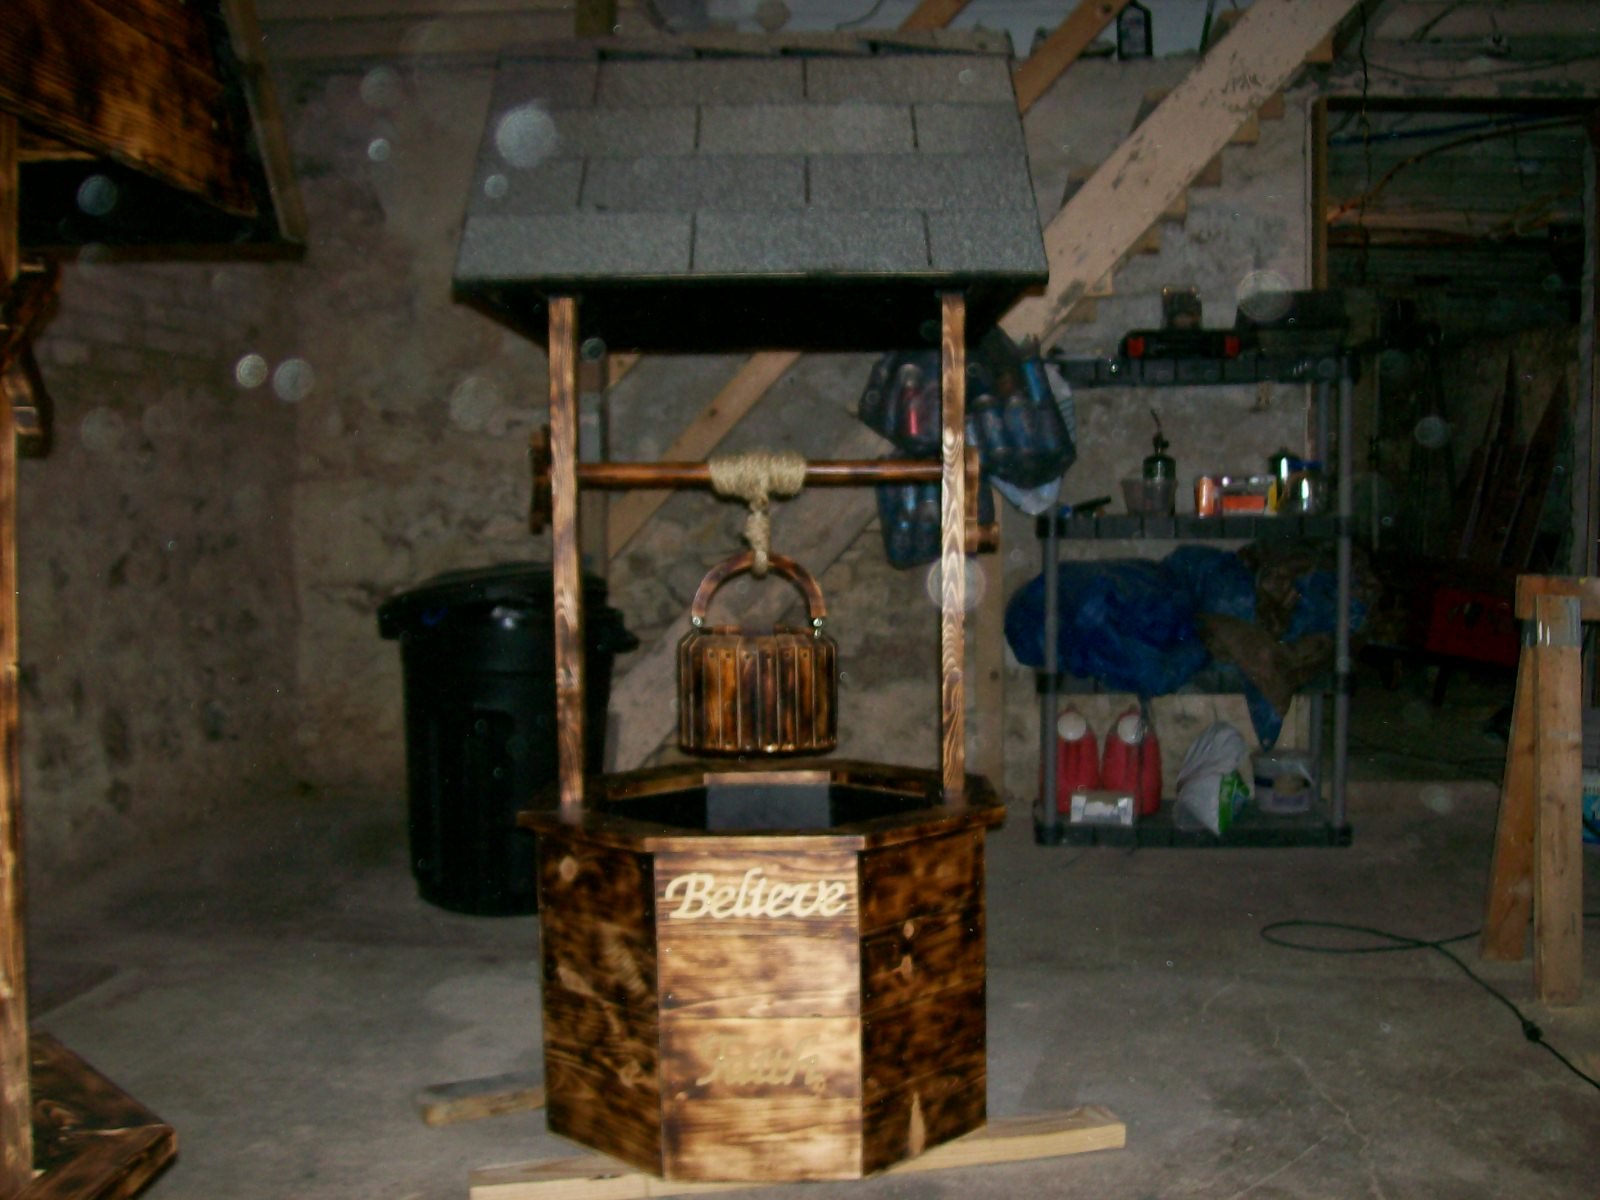
Started these wishing wells as only having fun and for family it seems now that it is going to be a little more than I thought now taking orders from family friends


In reply to Wishing wells by Jason48
Tue, 11/19/2019 - 07:33
I love the wishing wells, but I can;t find a plan. My mom has wanted one of these forever! She now has stage 4 squamous cell carcinoma Stage 4 and I would love to build her one before it is too late.
Fri, 04/04/2014 - 08:49
Good or bad? I can't imagine anyone would say anything bad! This is awesome! Looks great!
In reply to Good or bad? I can't imagine by stacynabby
Tue, 04/15/2014 - 07:23
Thank you for the compliment
Fri, 04/03/2020 - 17:24
Can I ask where you got this plan from.Would love to make one.
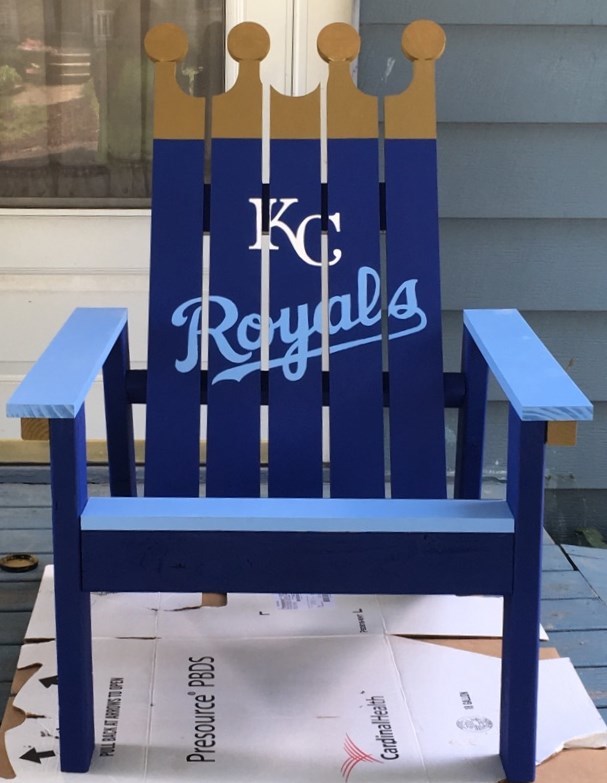
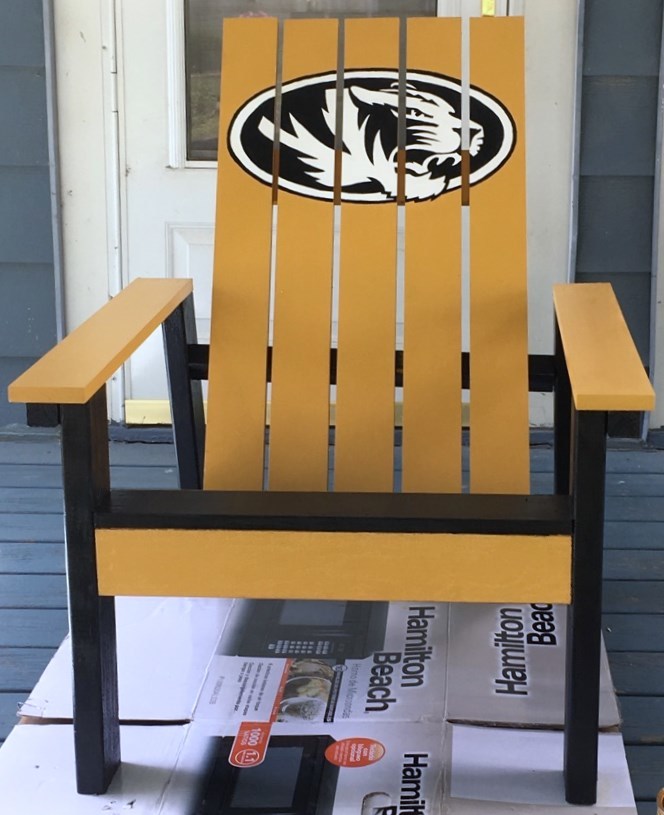
These chairs turned out awesome!!! Go Royals! Go Tigers! The step-by-step directions were great and easy to follow. We went with a fun twist on the Royals chair by cutting out the top with the scroll saw to look like the crown. Turned out great, couldn't be happier with the outcome and will definitely be making more!
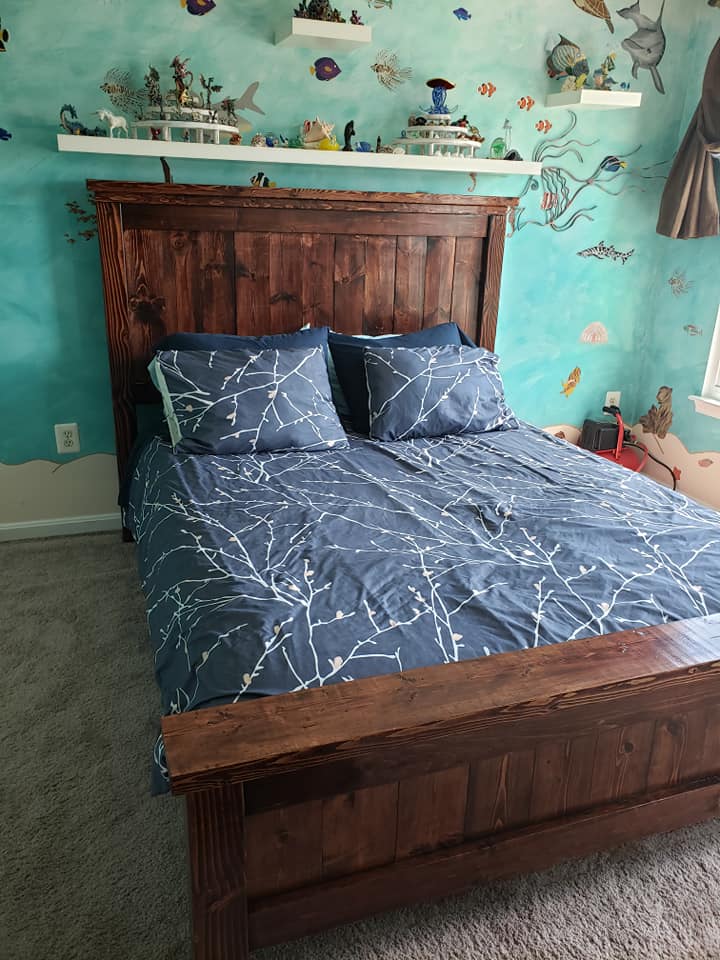
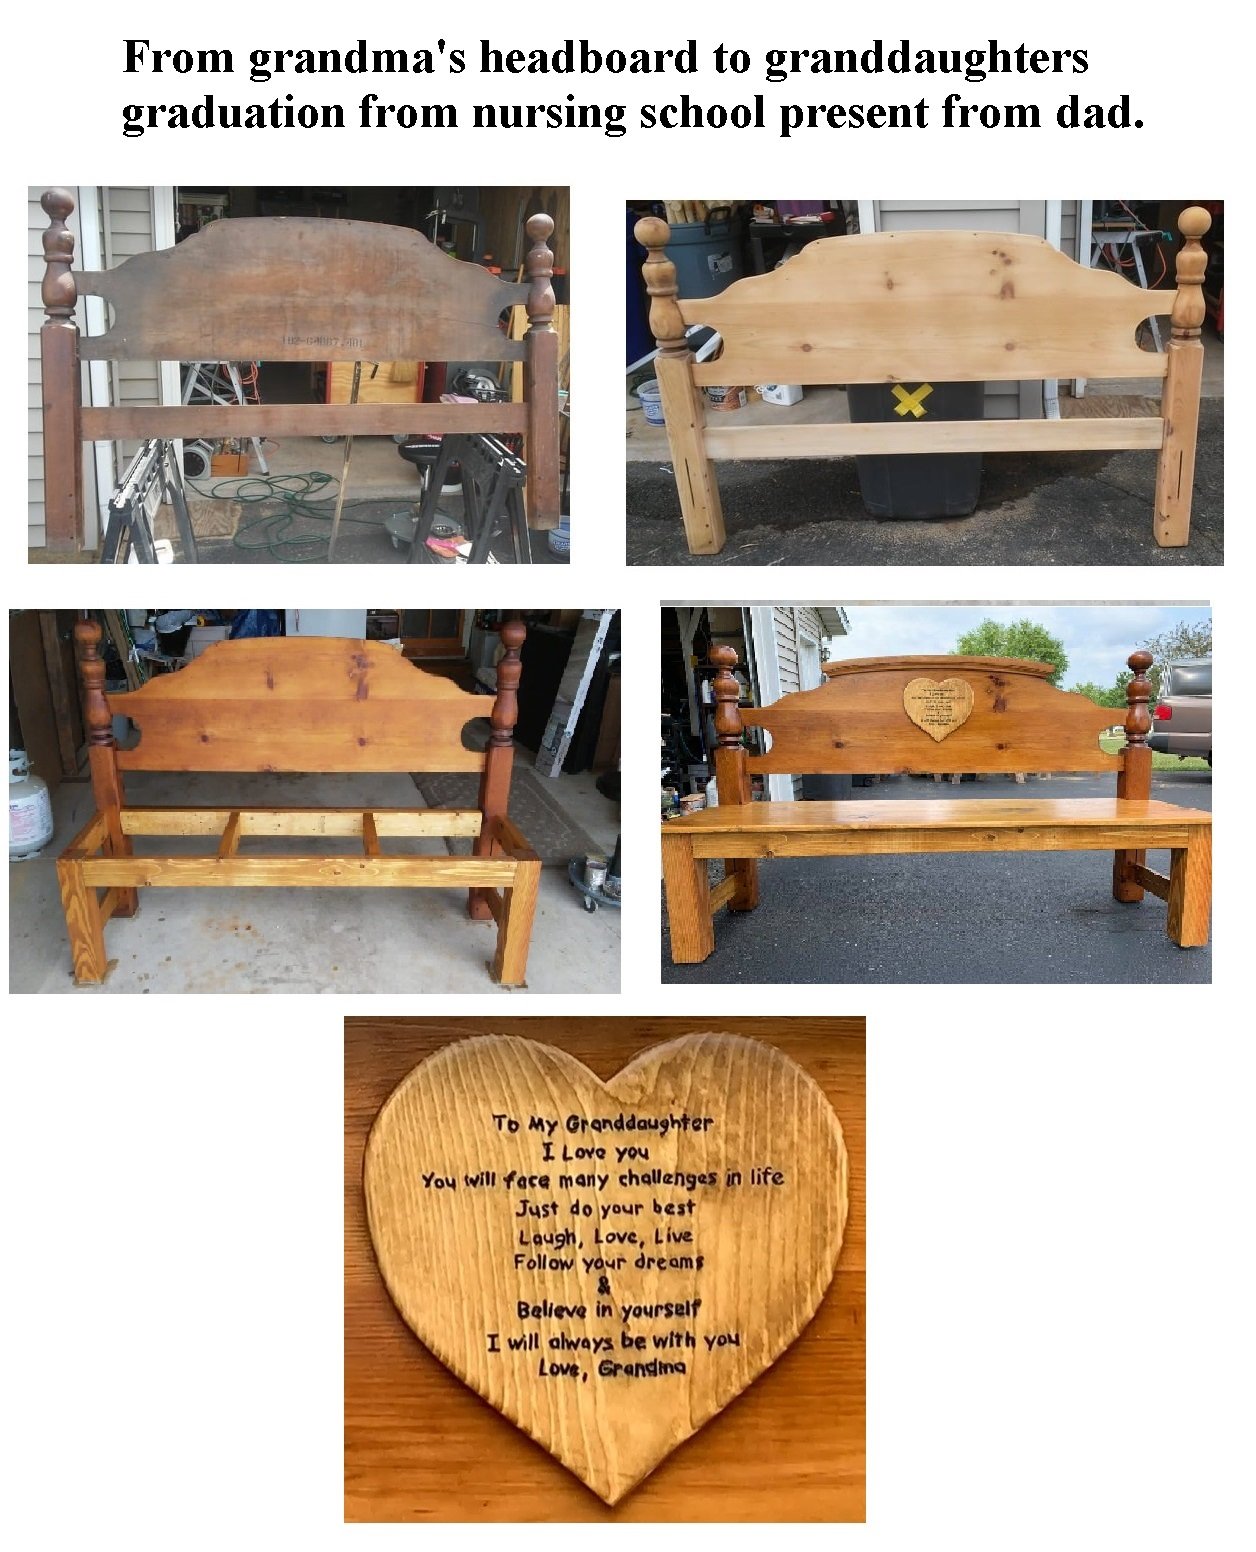
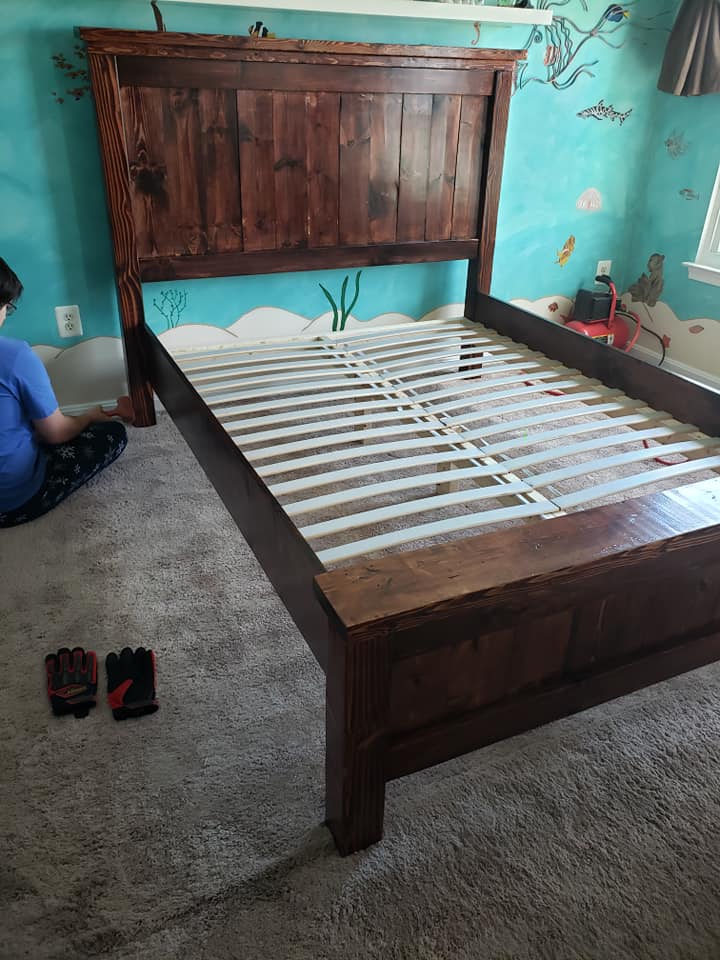
I needed a new bed for my son and could not fin anything we liked for a reasonable price. In searching online for bed plans came across this site. The plans were really easy to follow and it came out great. The only change I made was adding an extra support leg and I reused the bed slats from his old bed rather then make new ones. The bed came out great. Although my husband and I are both quite handy I never imagined building my own furniture. But now we are both looking for new things to build.
I chose to adjust the great design to have a free standing tree with backing and a live bark base. Fun project.
This kids mini dining table is a pretty easy build, especially if you have a Kreg Jig. I love that it is so pretty at a great price. It fits in well with our home too, which is awesome. The final product measures 30"x48", so it is big enough if your little one decides to have some friends over for dinner. One of my goals when building was I wanted multiple kids to be able to paint, color, glue, cut, or eat at it without getting in each others way. I think it won't be a problem! The whole project only takes a few hours. It was my first project with the Kreg Jig that has been sitting in my garage since Christmas. I was scared to use it. I can't believe I waited so long! That thing is amazing!
Thanks Ana for all of the encouragement and inspiration. I truly enjoy building furniture. It is so exciting thinking about my next project. I can't wait to use your plans to build storage for our entire play room!
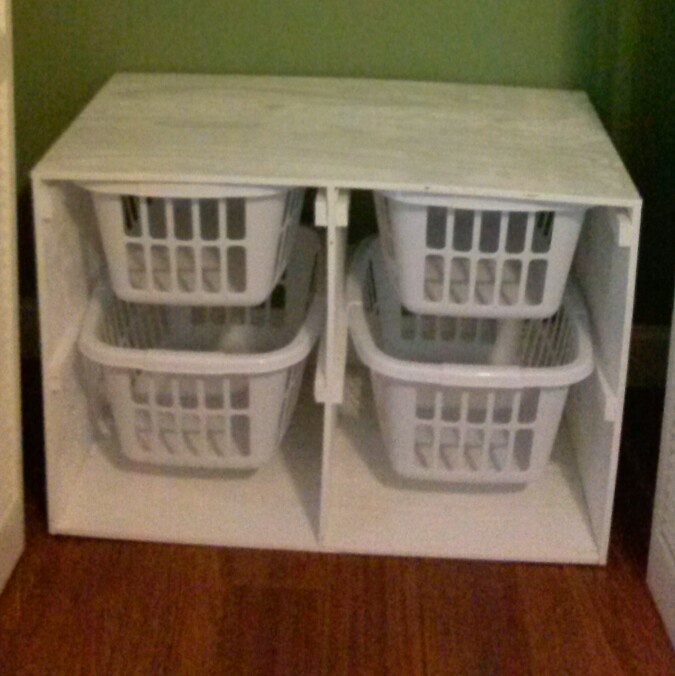
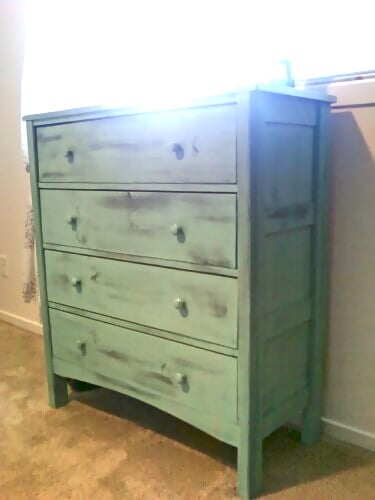
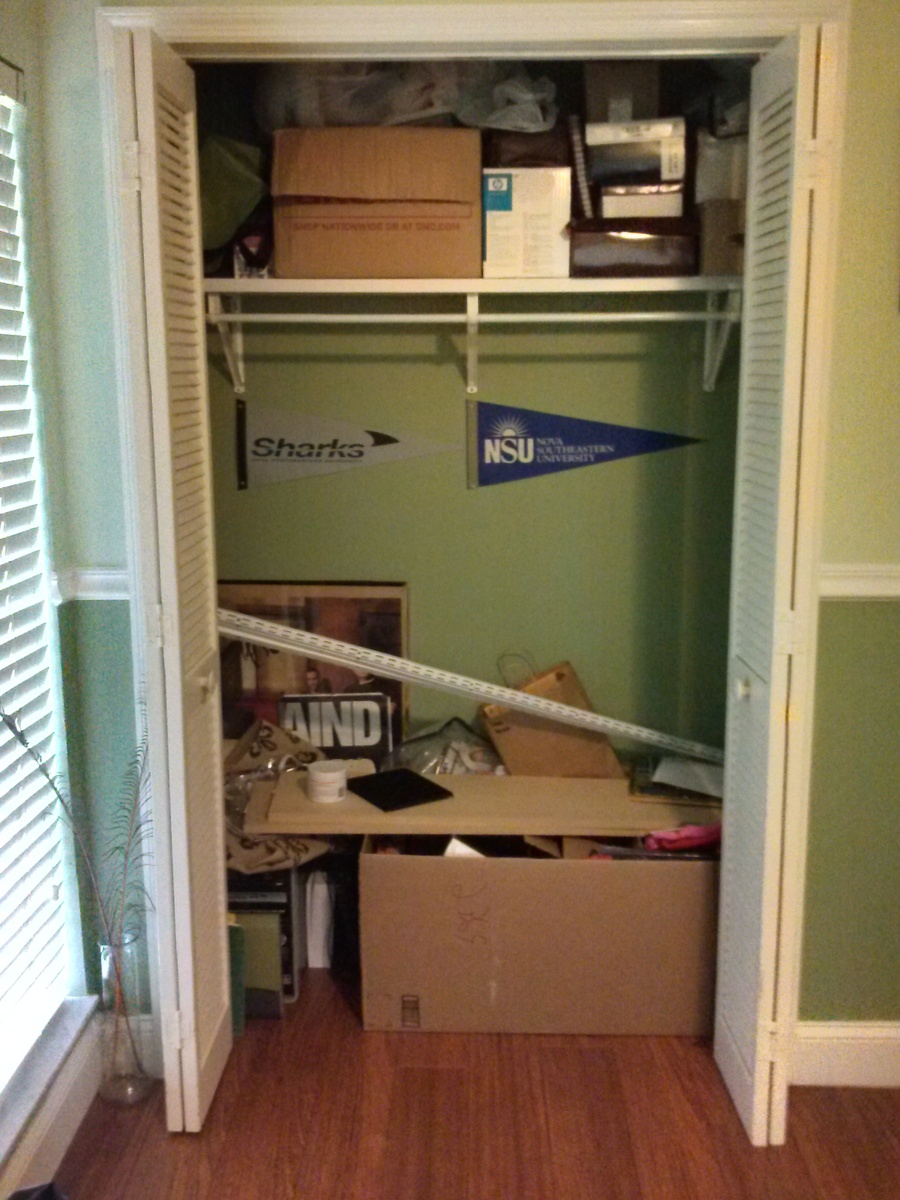
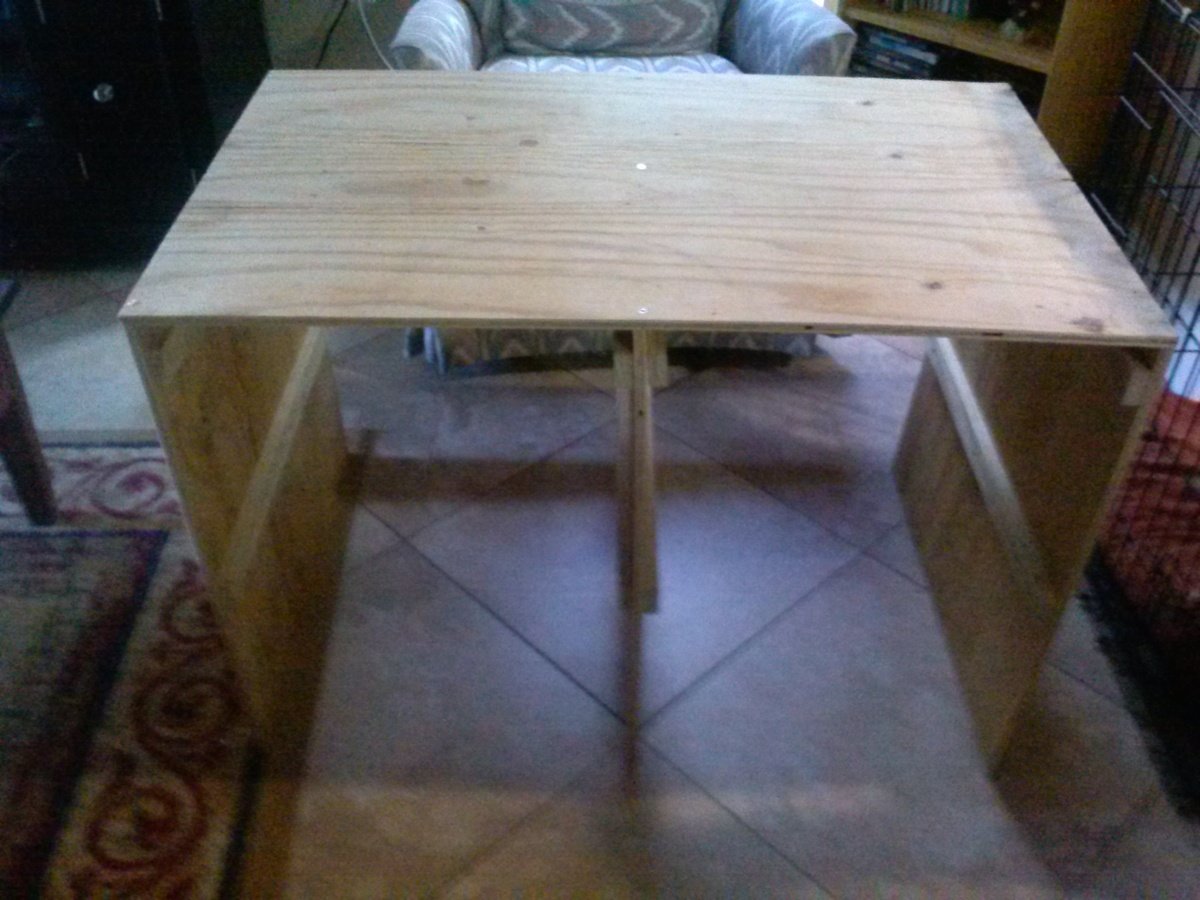
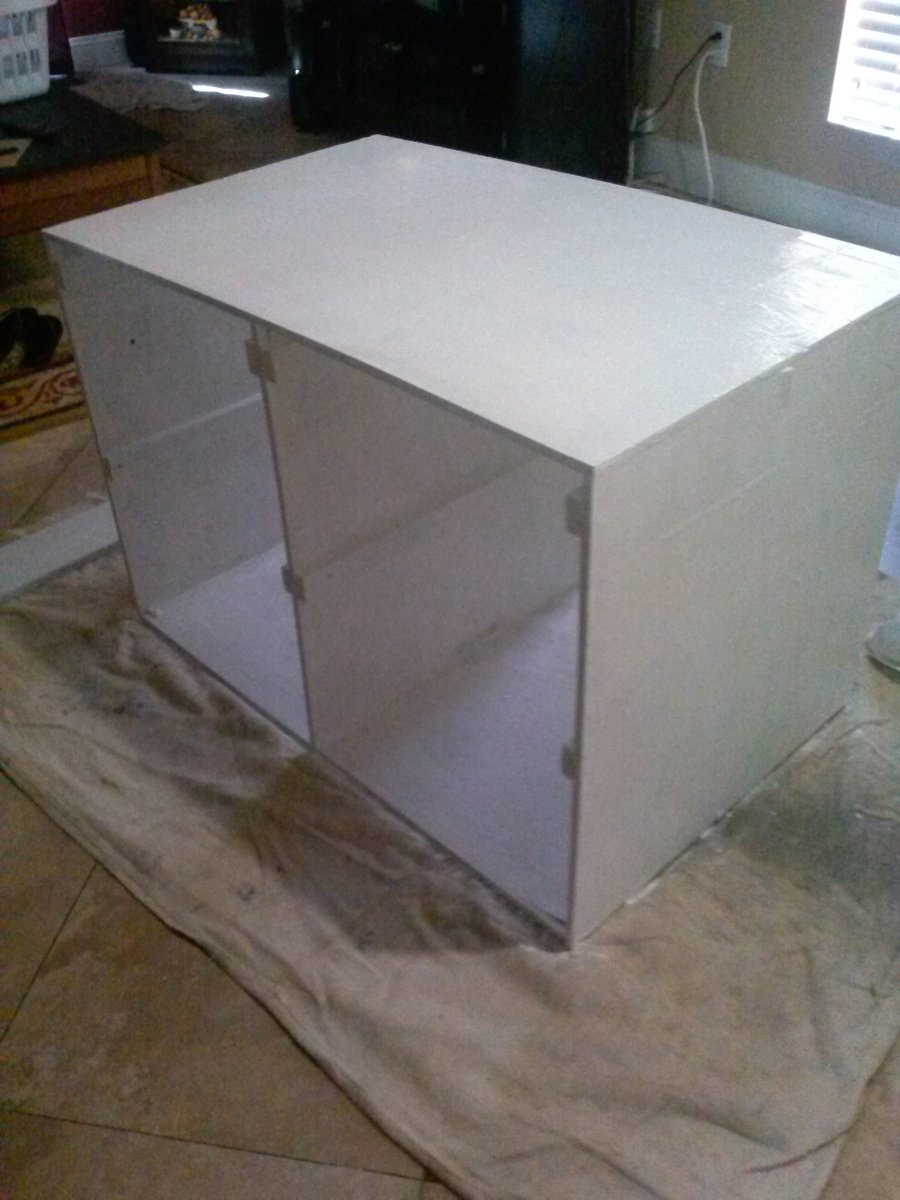
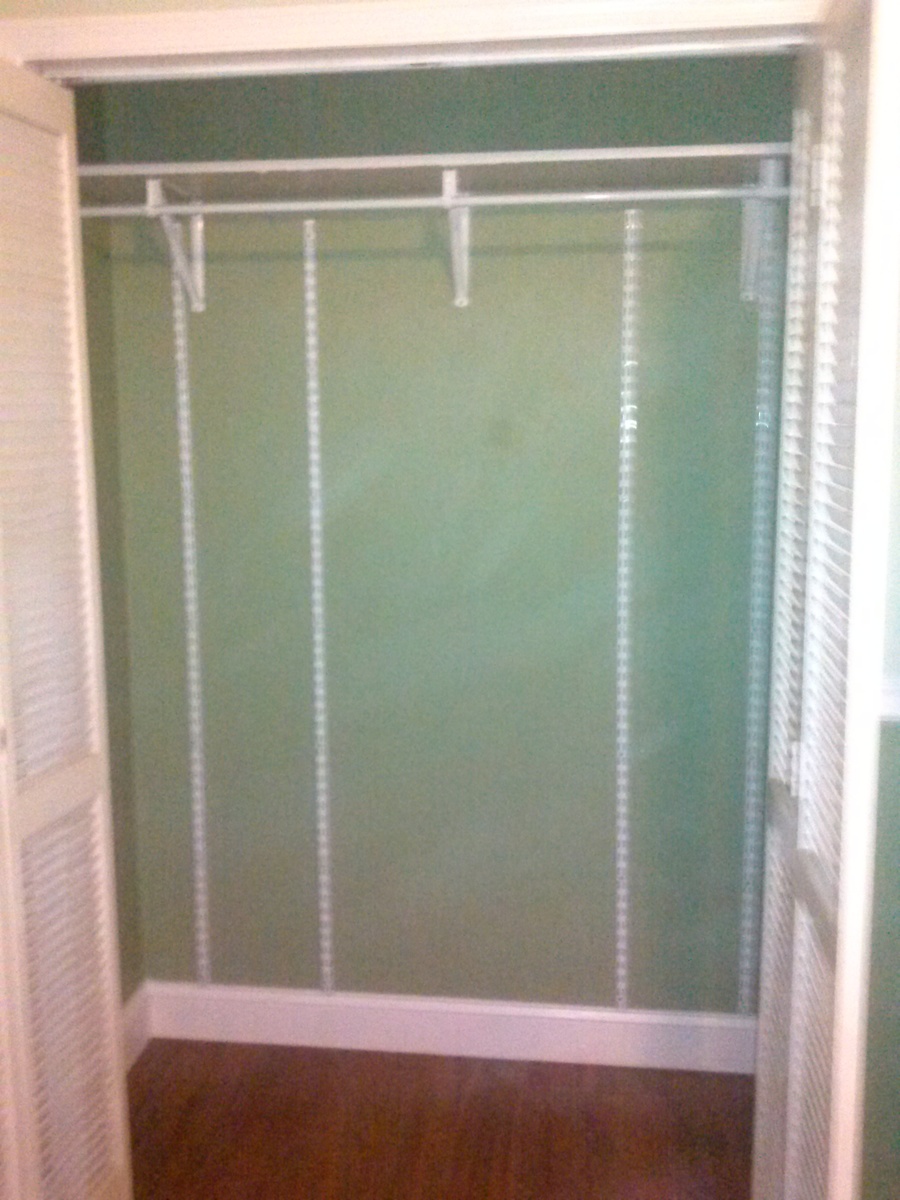
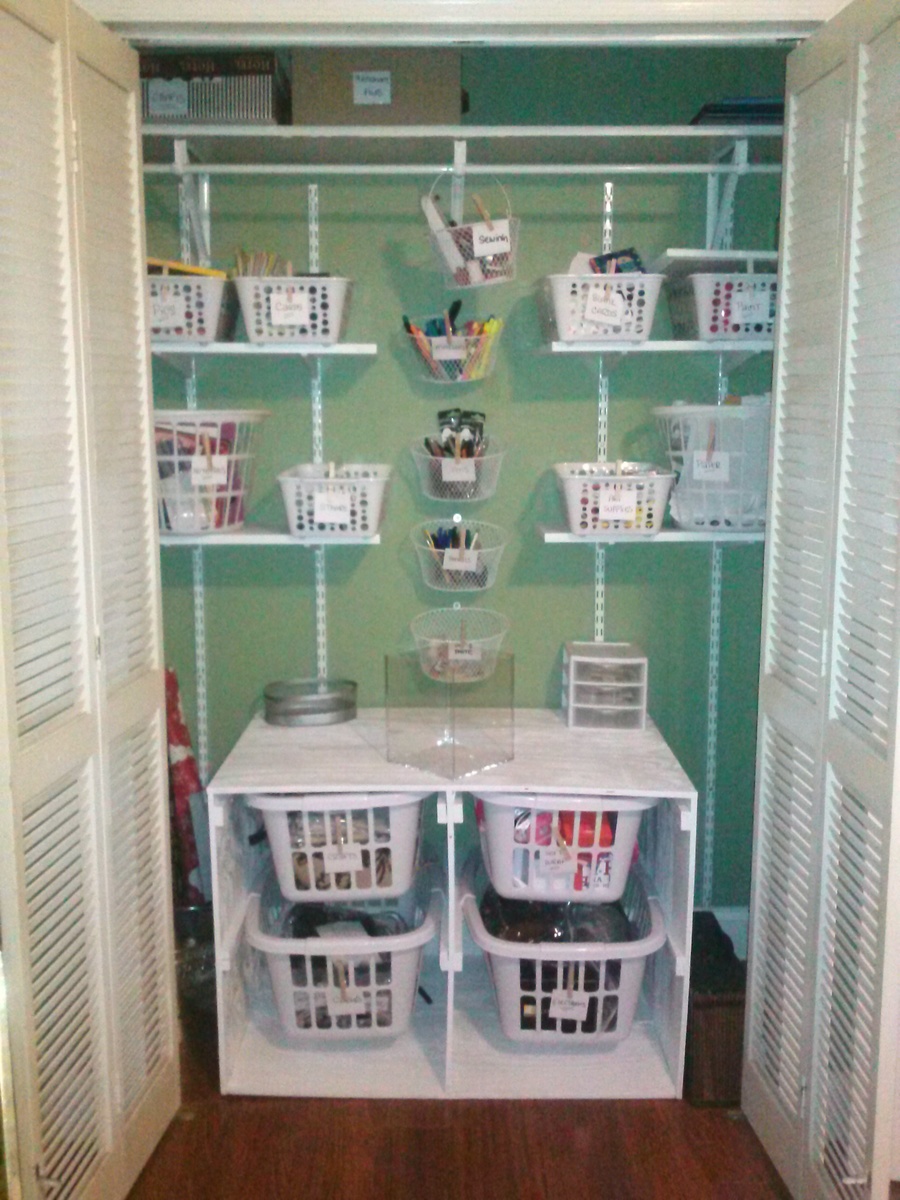
I altered this plan to make a short and wide version of the dresser. It is also one whole piece as shown in the picture. I am remodeling my office closet and plan to use it for storing bulky items like cables, gift boxes, etc. I must say for my first project, I think it came out pretty good.
I then moved the existing shelf in the closet up, added shelf bracket rails, and spackled & painted the wall. I added a few shelves, dollar store bins and then labeled everything. I also screwed some small metal baskets with removable handles to the wall, I think it turned out terrific.
Thanks for the inspiration, Ana!
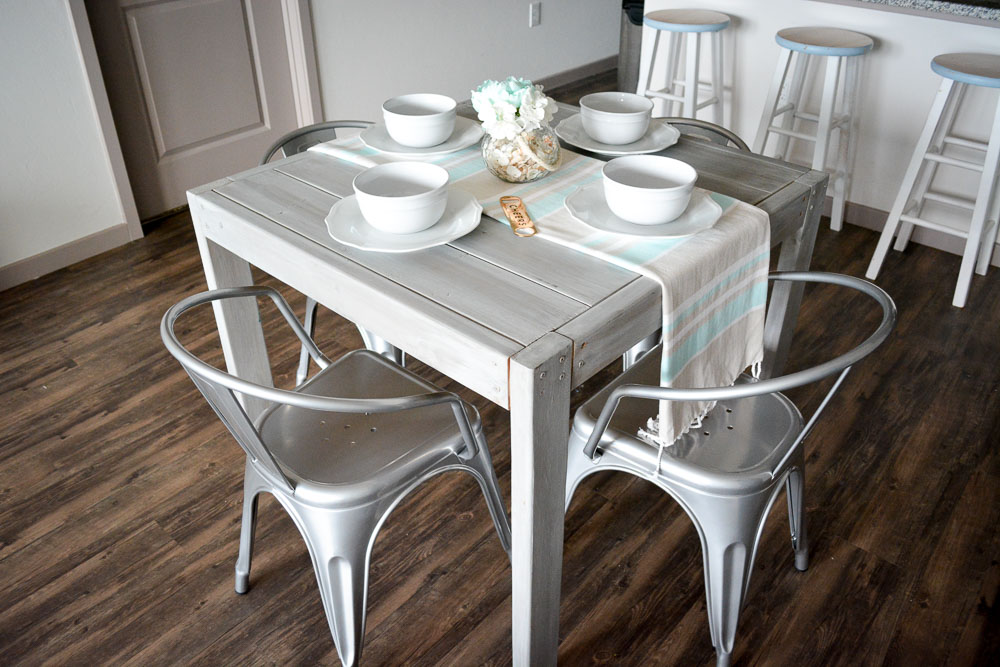
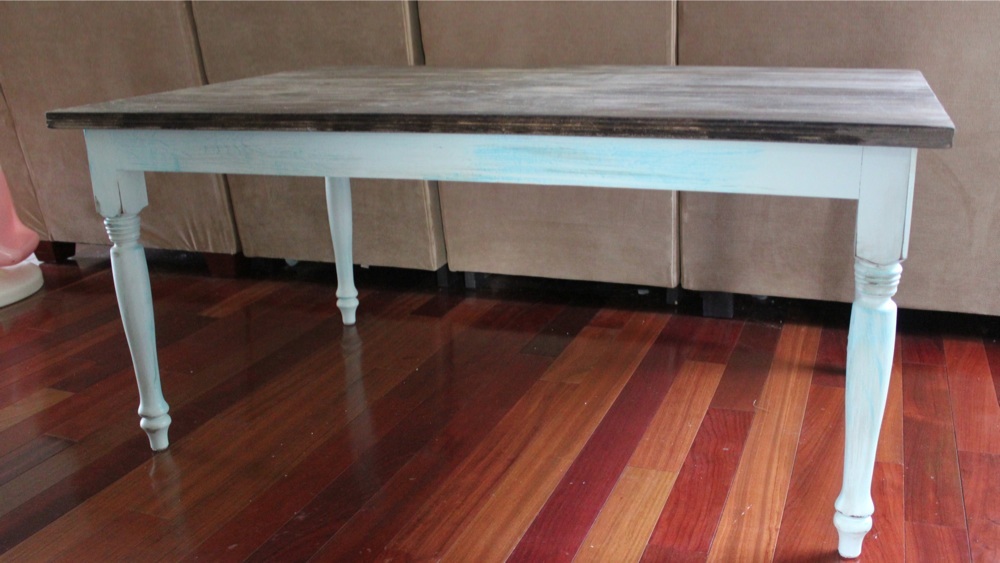
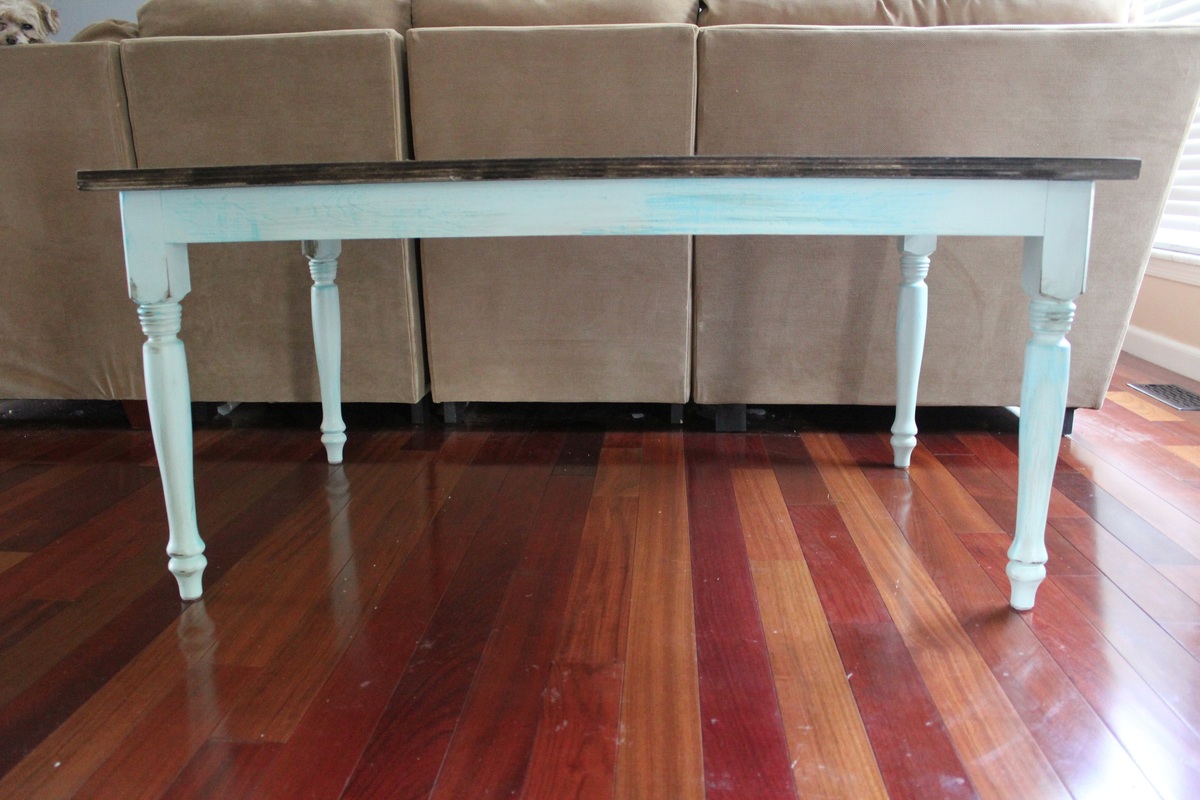
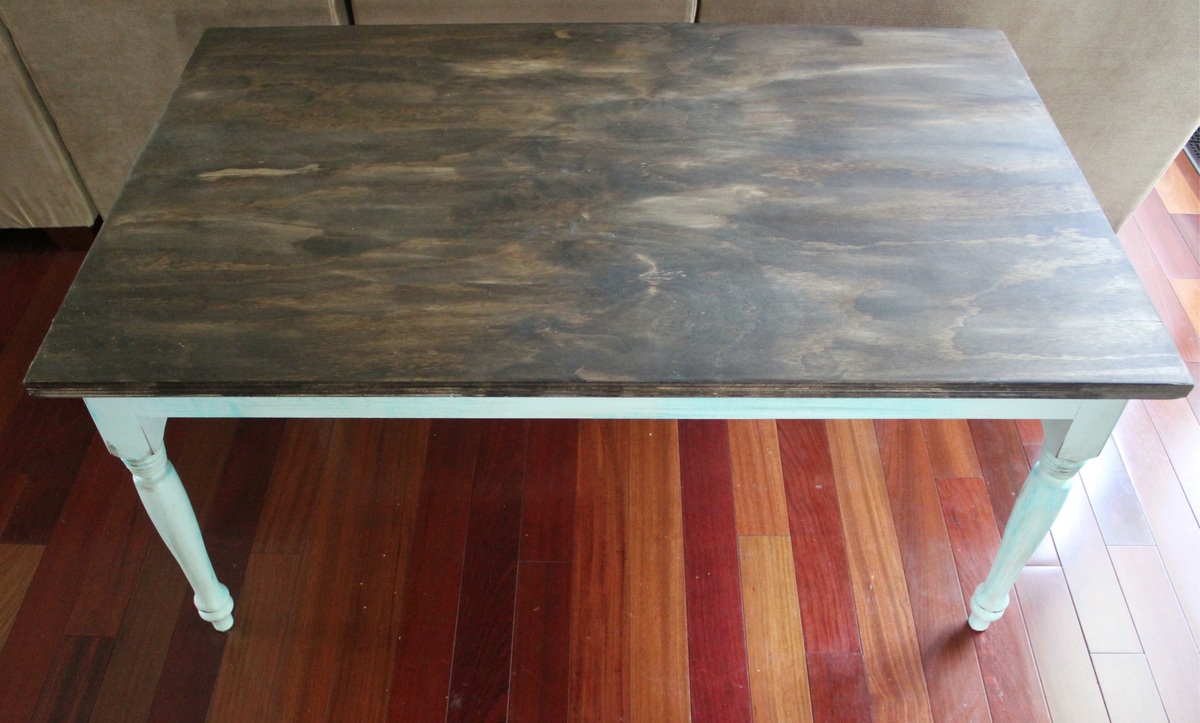
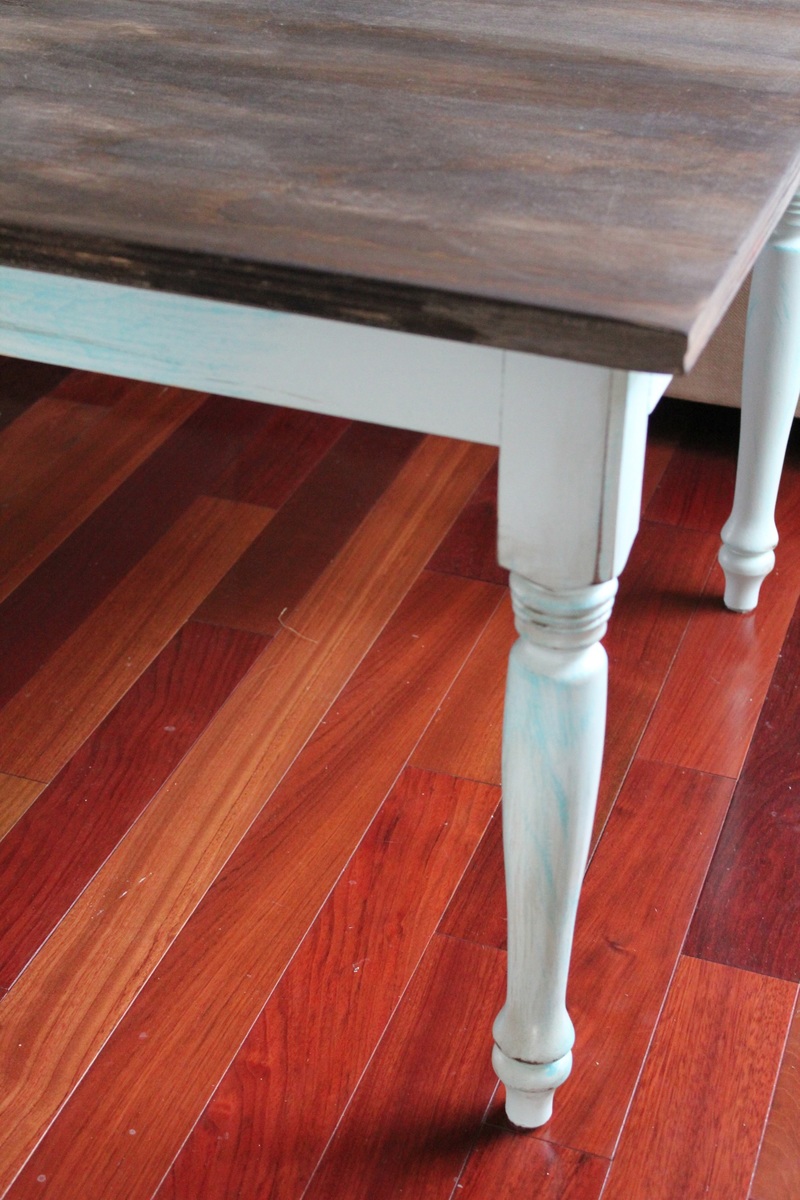
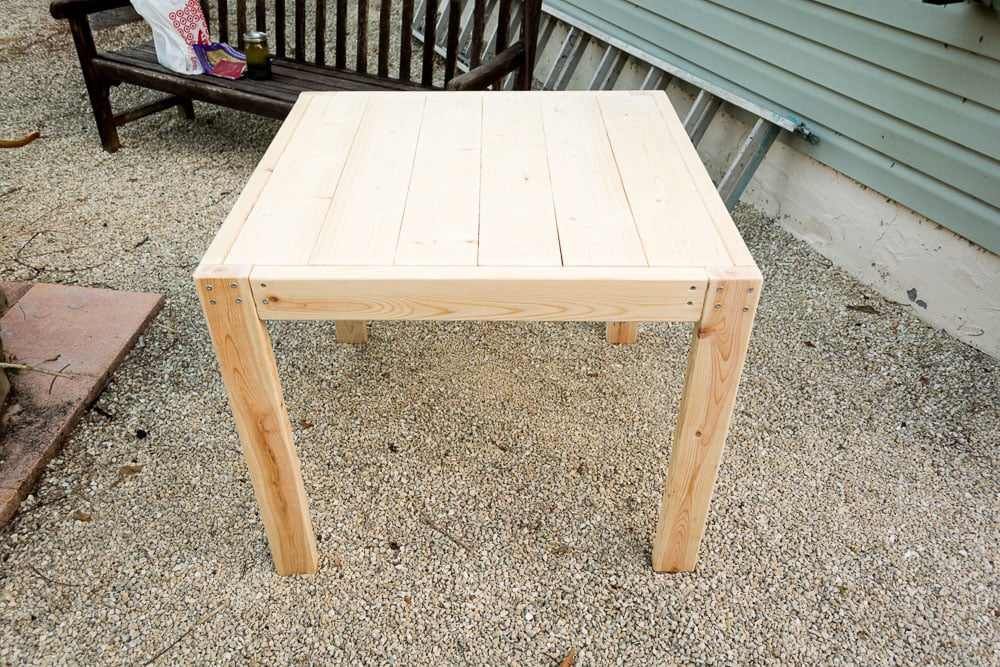
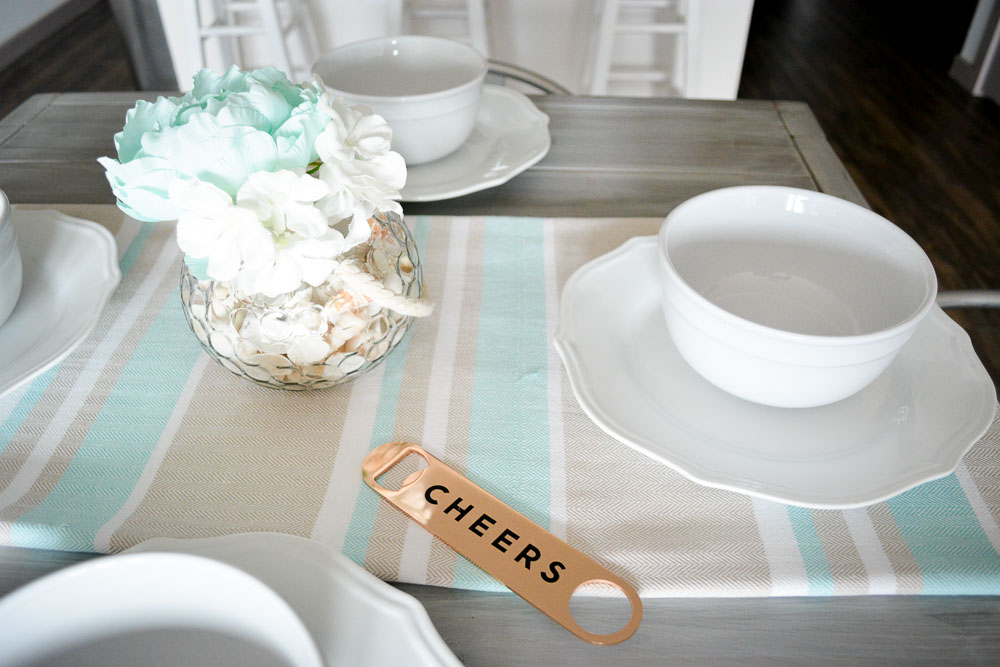
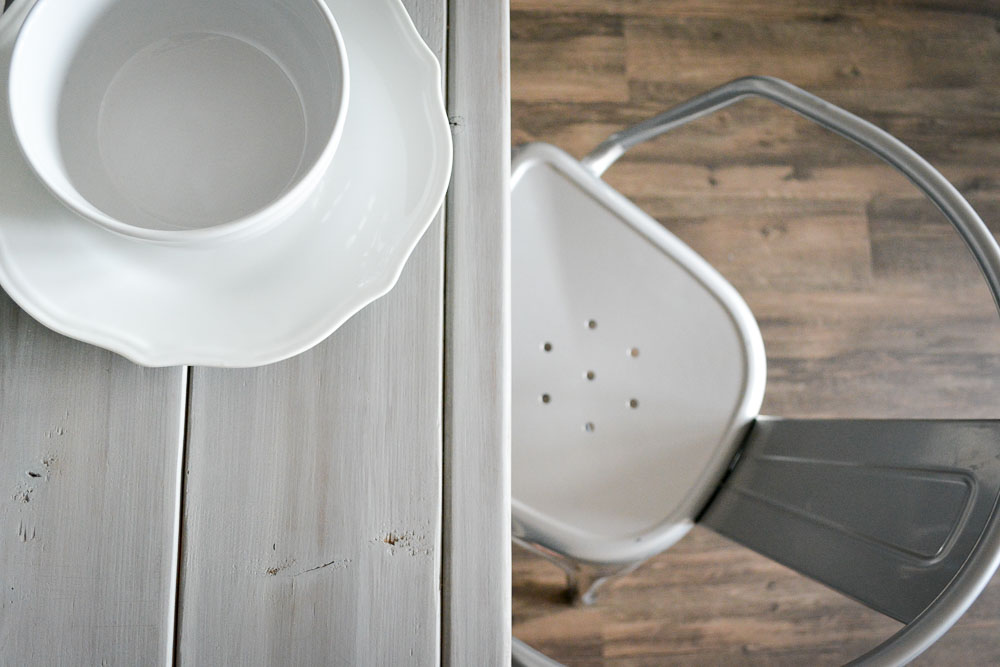
This is my sqaure farmhouse style dining table. It is so easy to make! An important tip is to get good pieces of wood. You don't want any bowing or else it won't be perfectly level. To see more photos and tips, go to SweetTeal.com/diy-farmhouse-table.
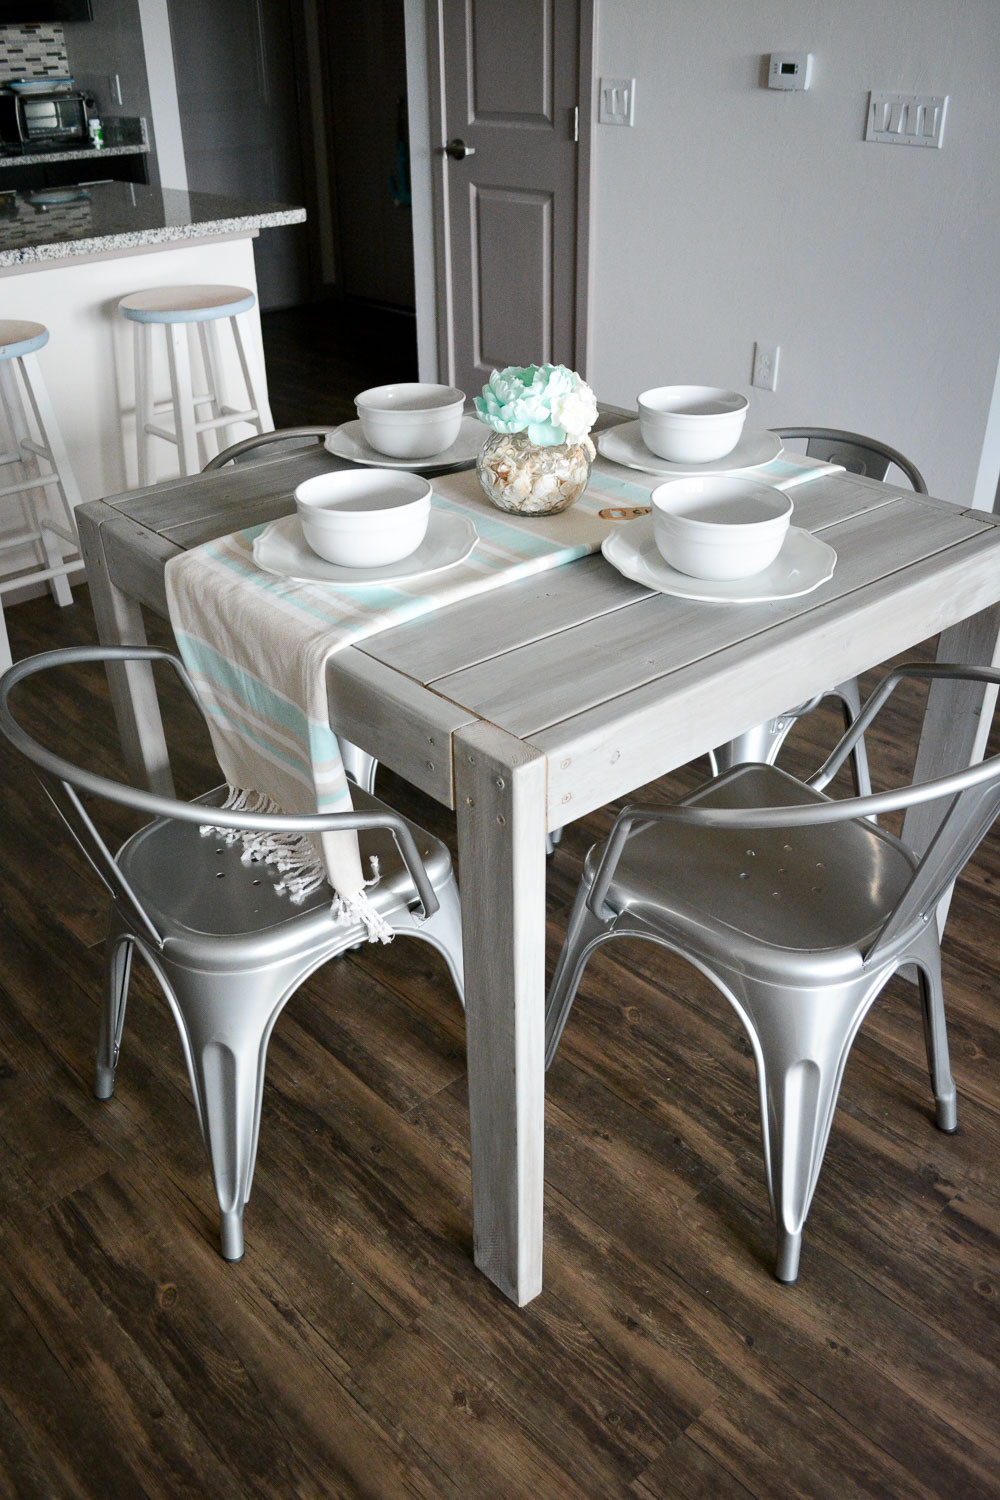
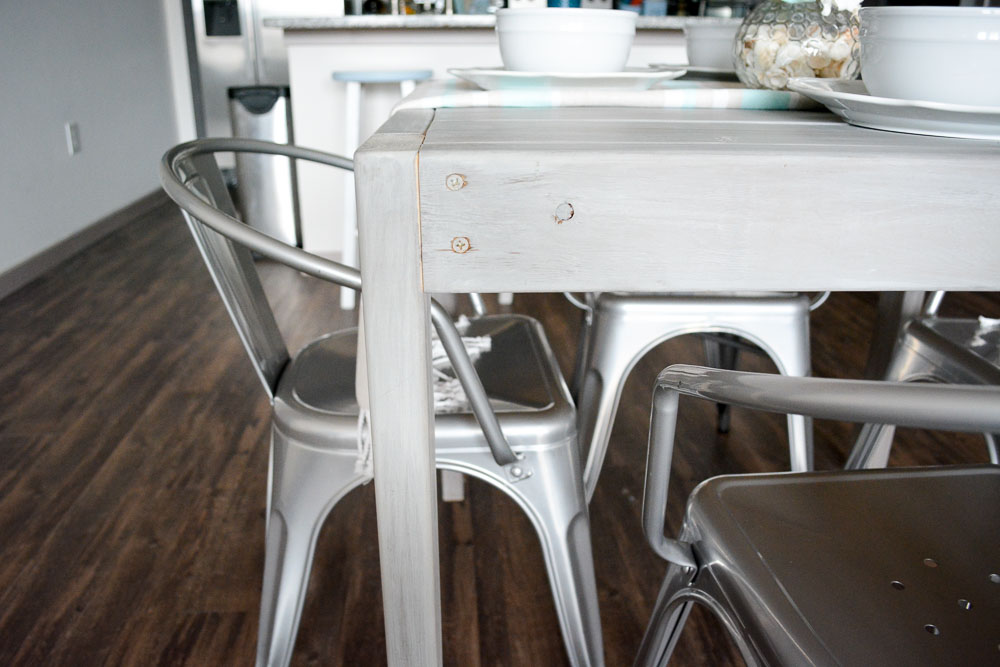
Great project! Thank you Ana!
1 thing though, it was 6-2×6×8' boards!
Cheers!

Tue, 04/28/2020 - 09:21
Beautiful job! Thanks for tip on boards, I'll double check the shopping list.
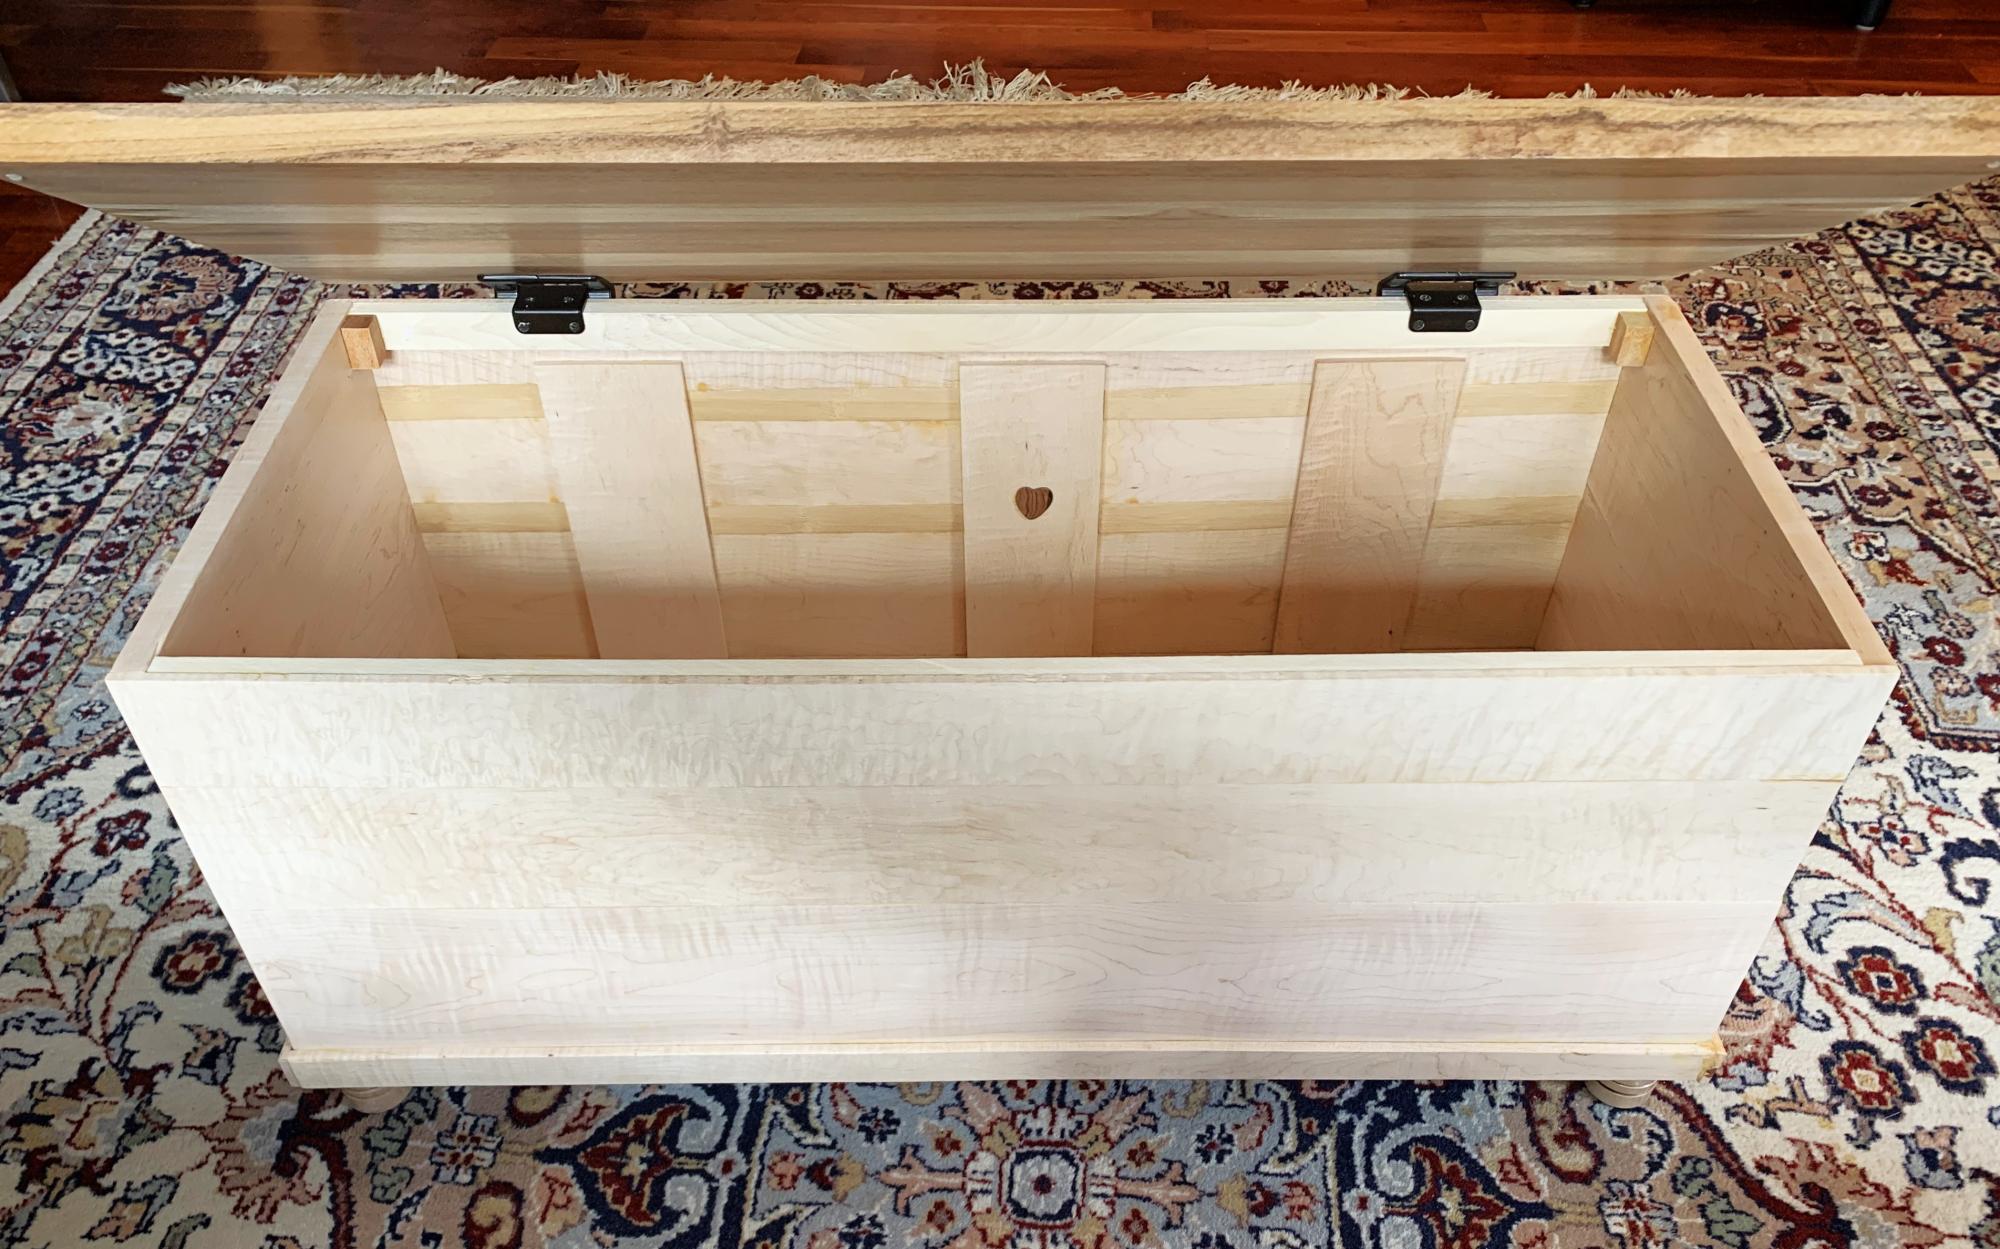
Curly maple blanket chest with teak top for daughter’s Christmas.