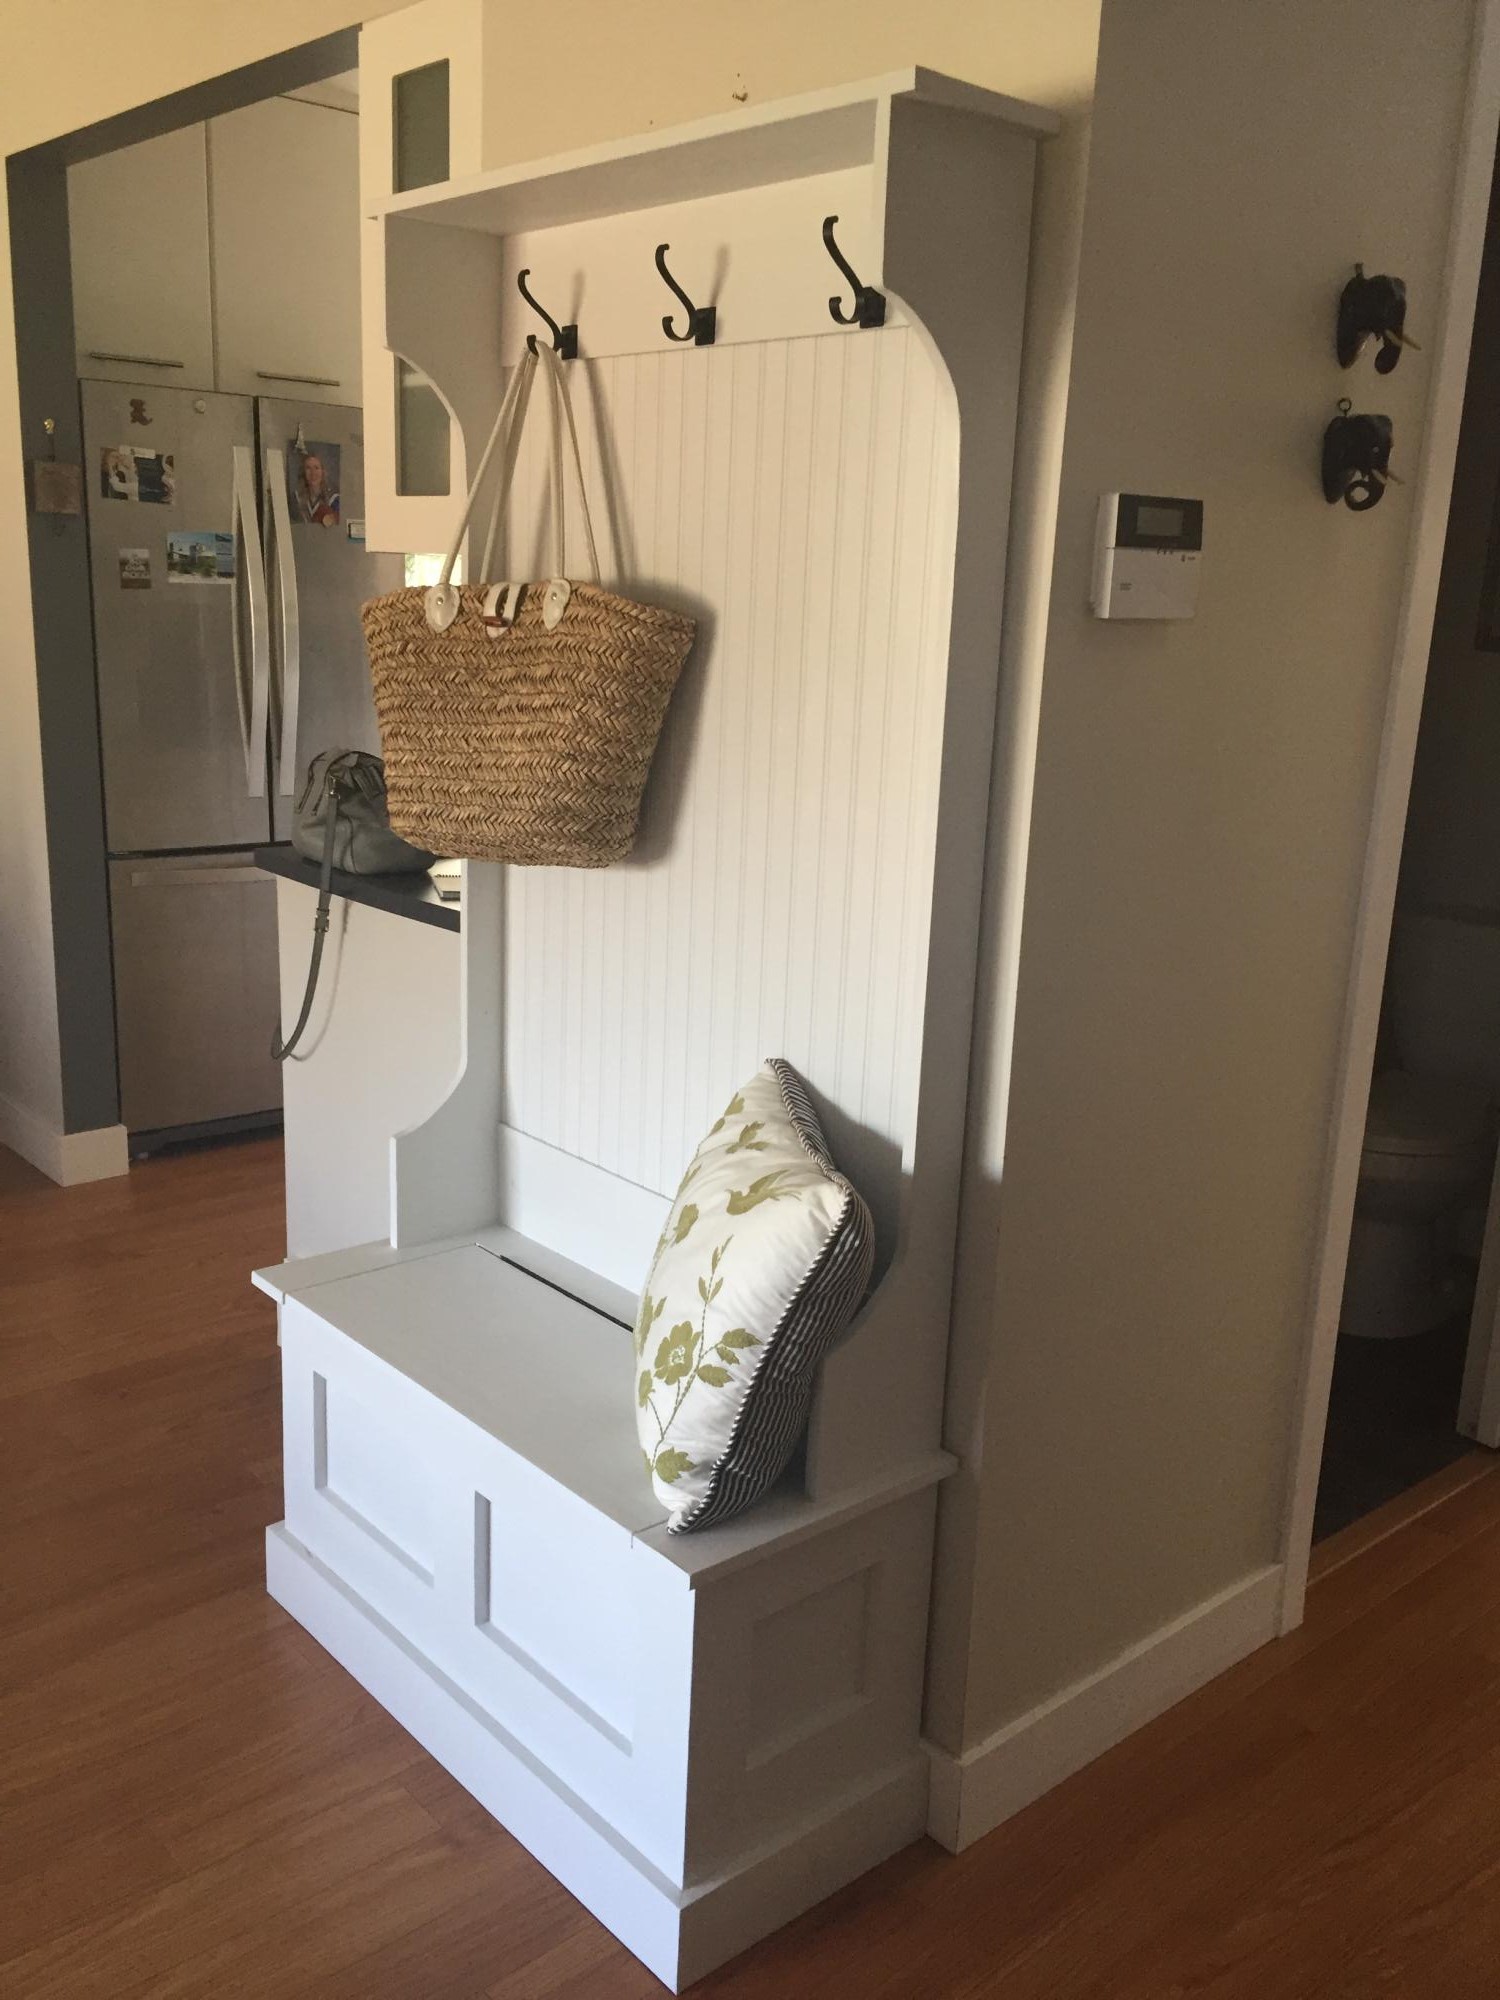
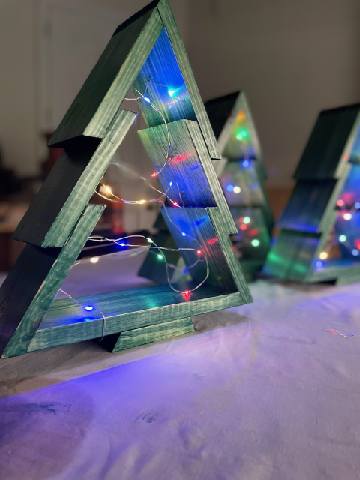
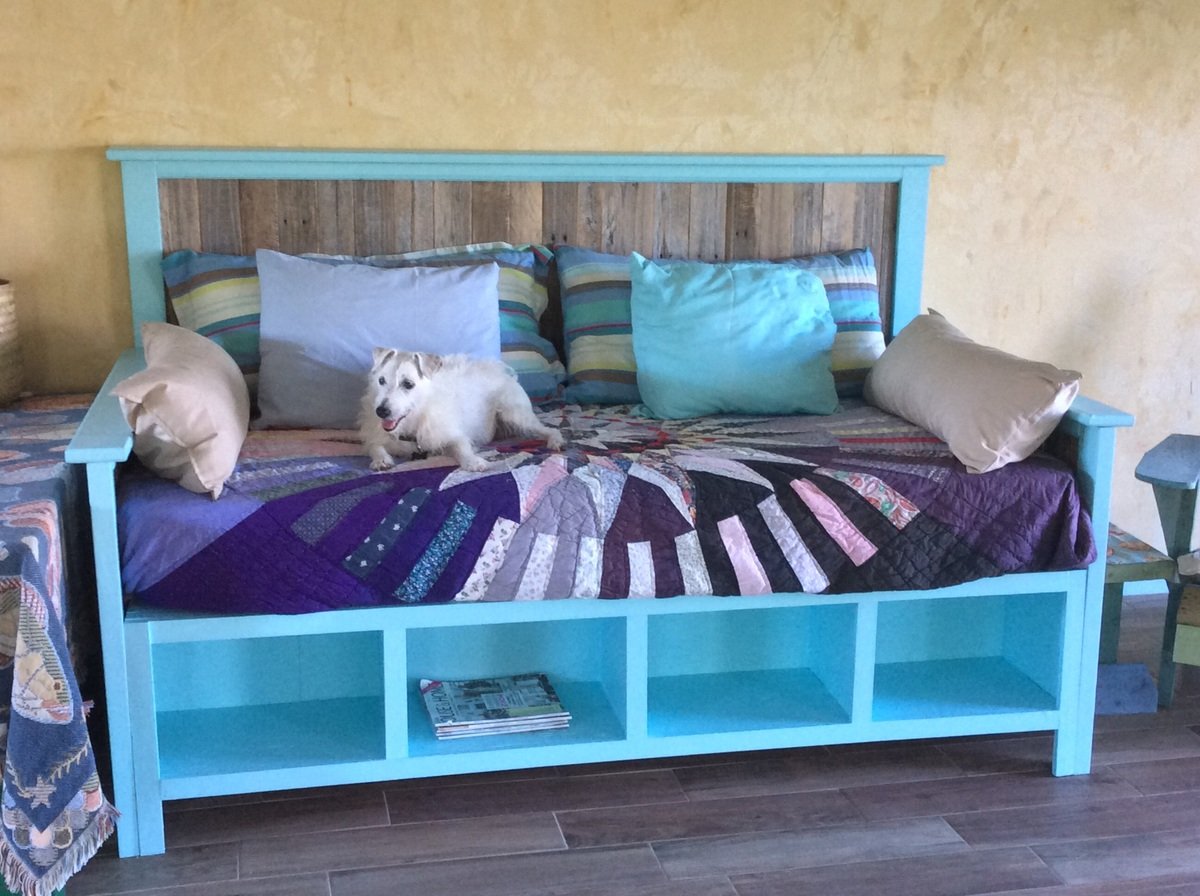
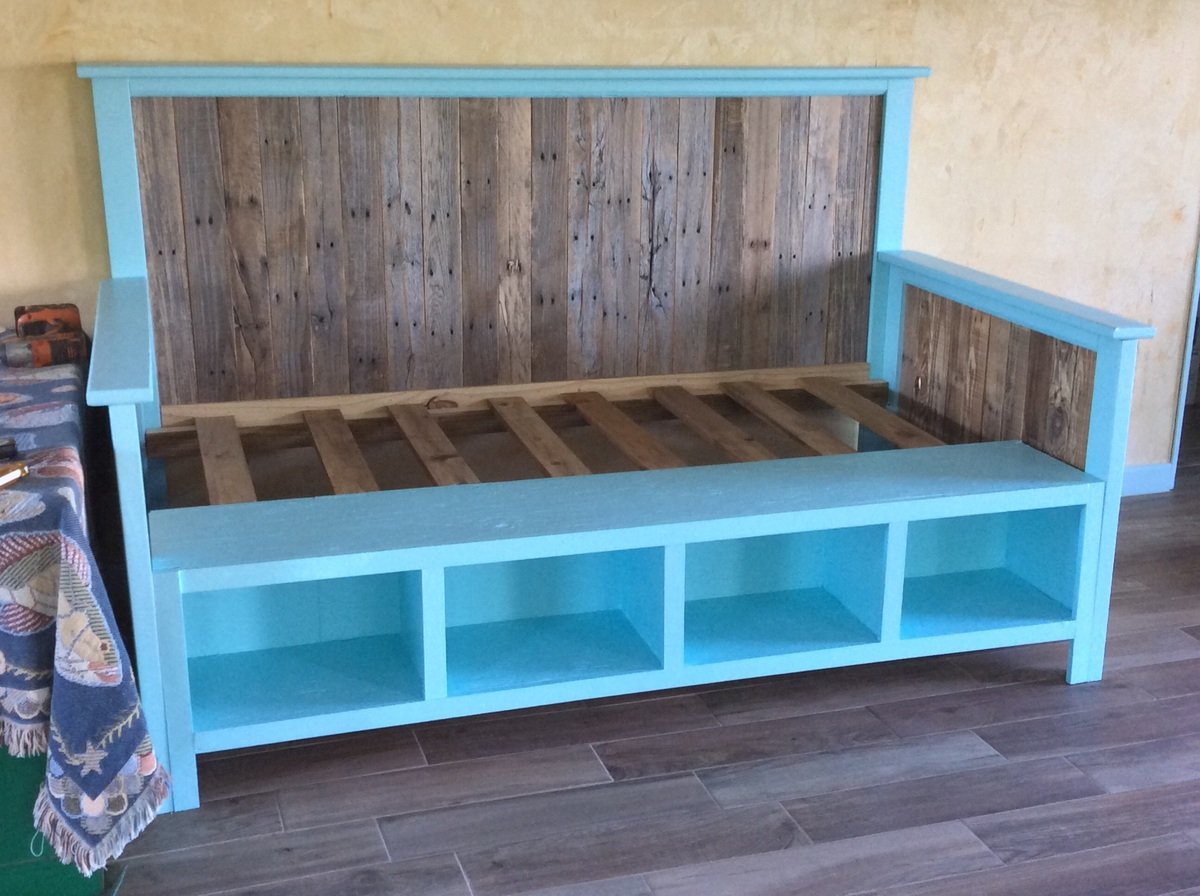
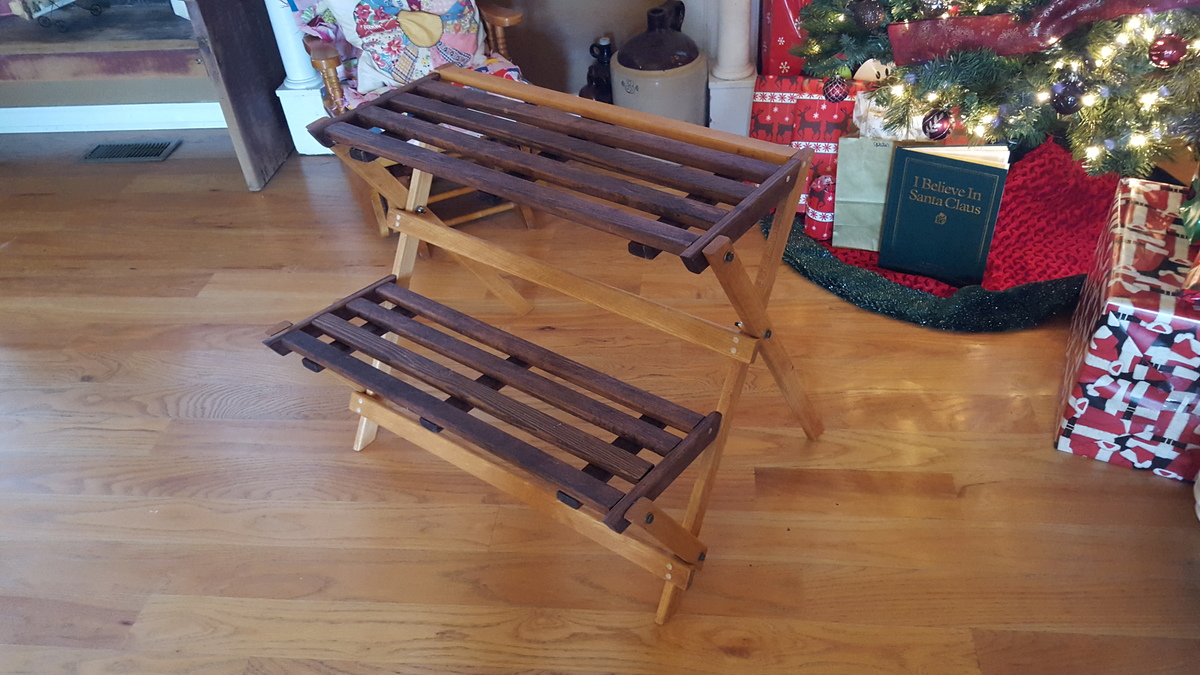
Handmade by the Ensmingers
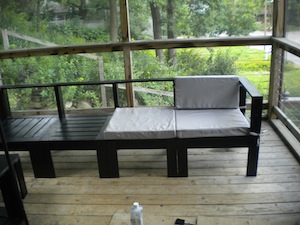
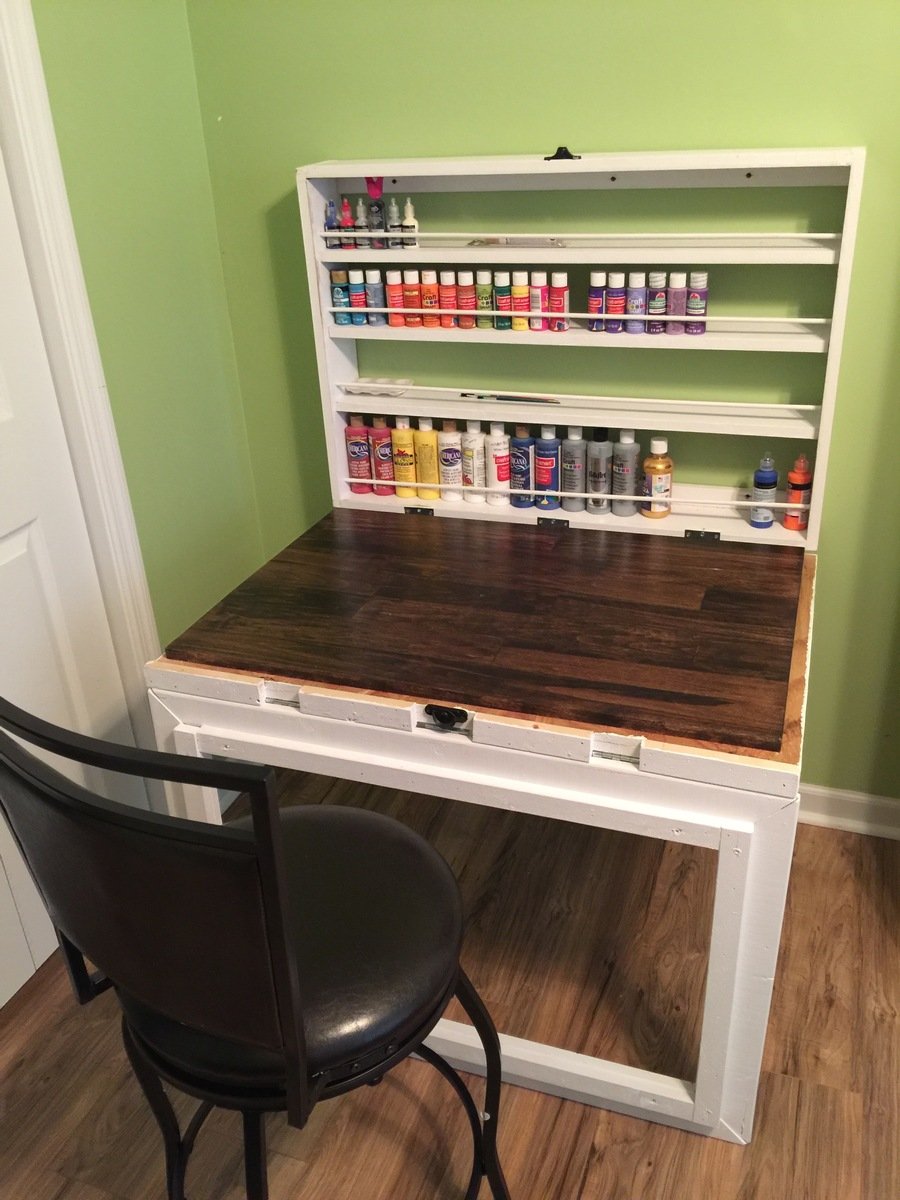
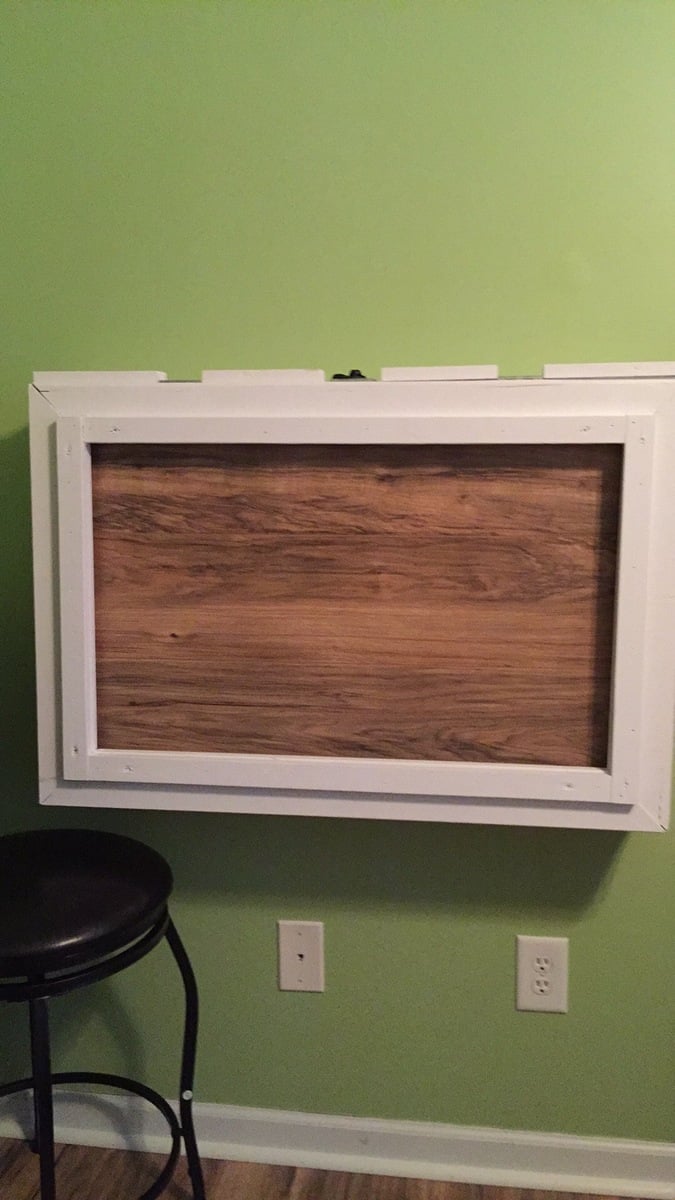
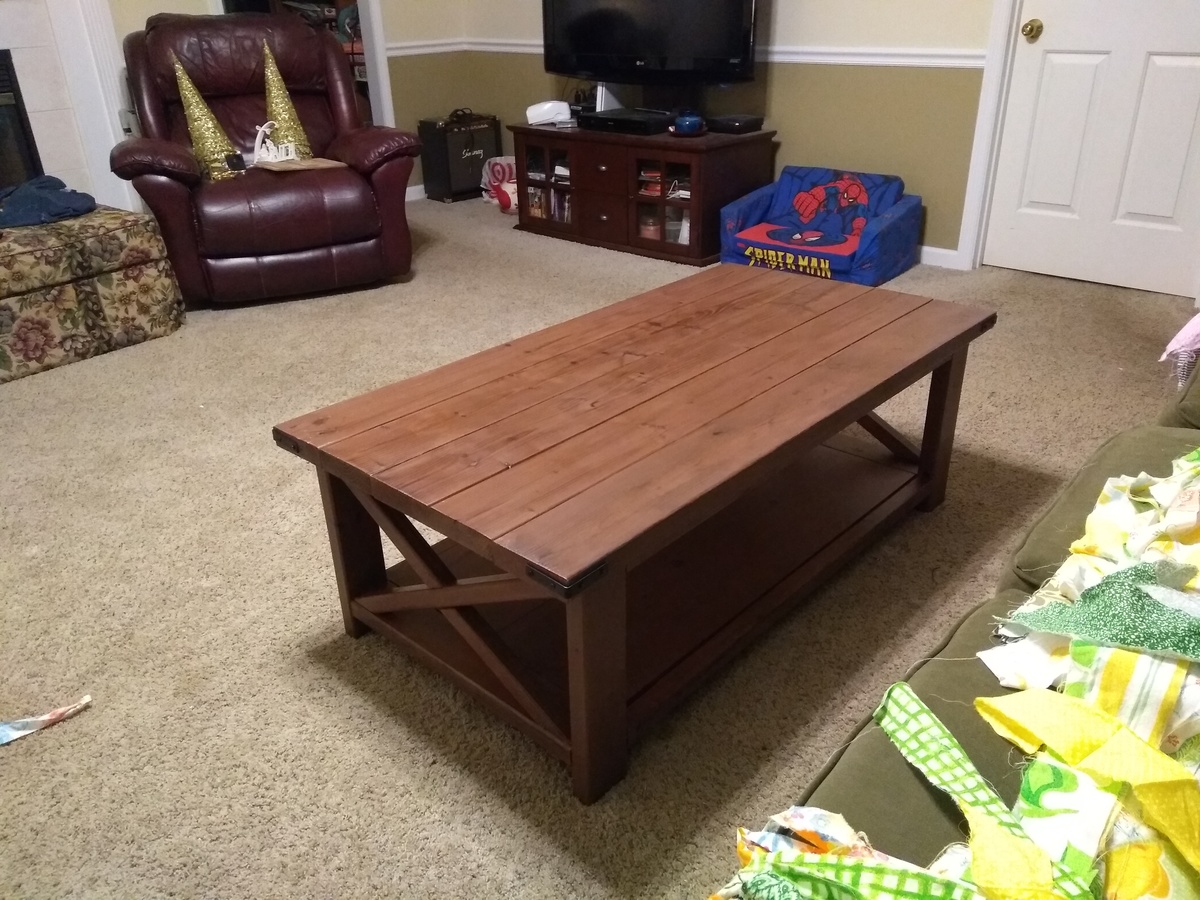
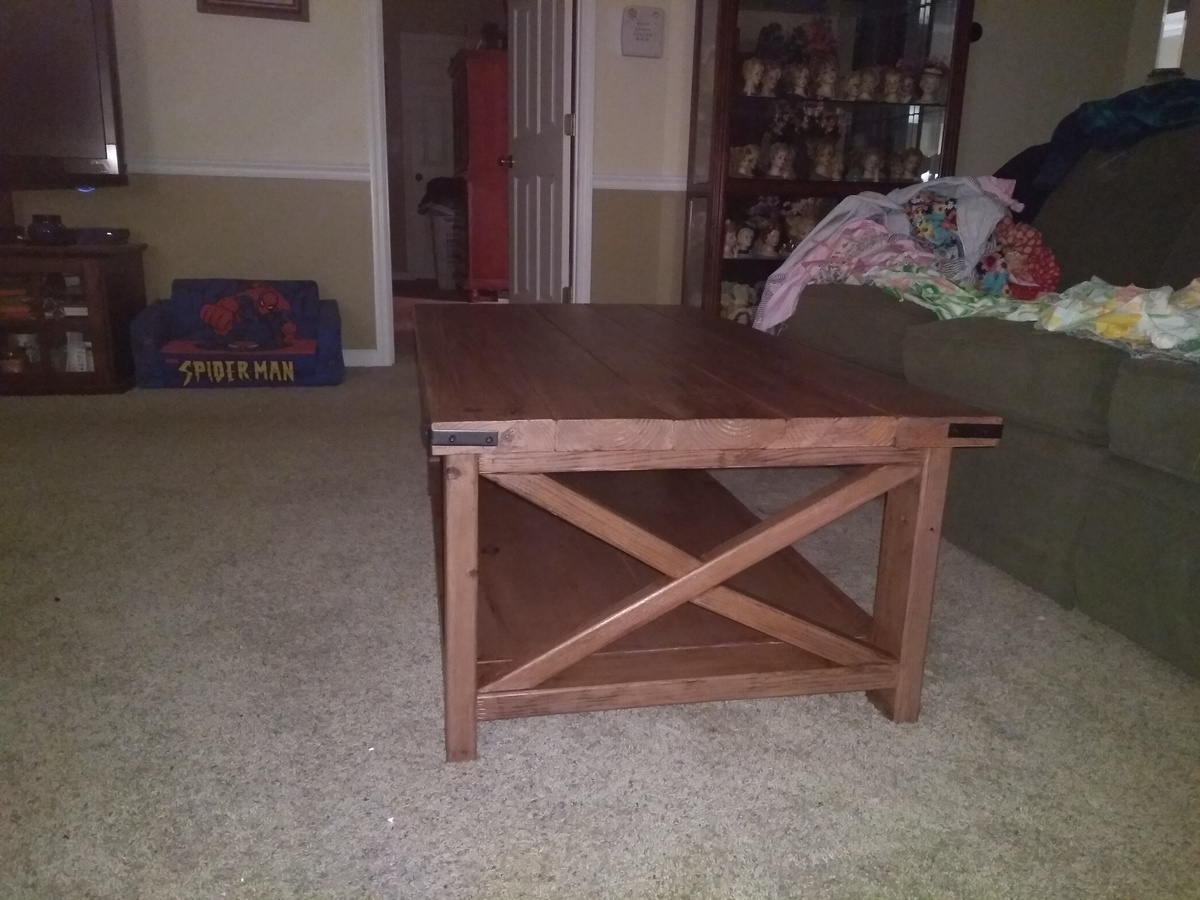
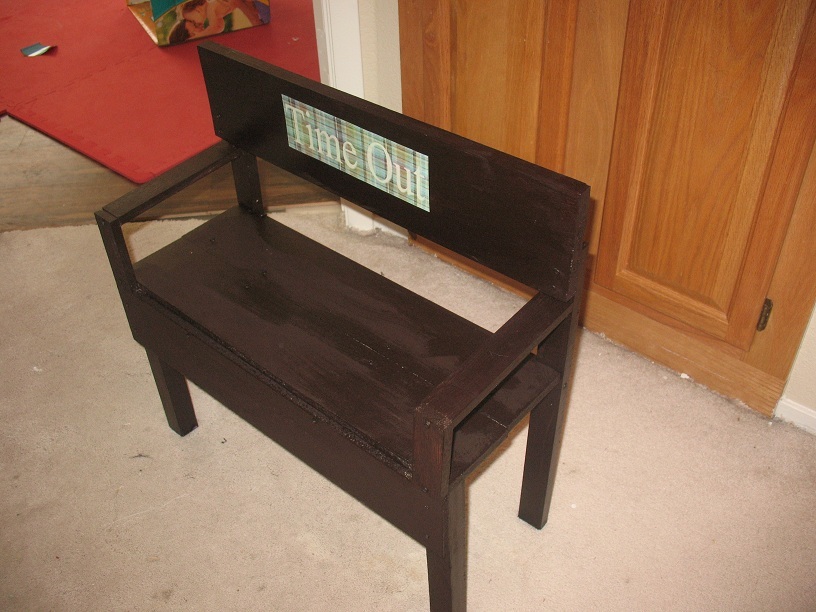
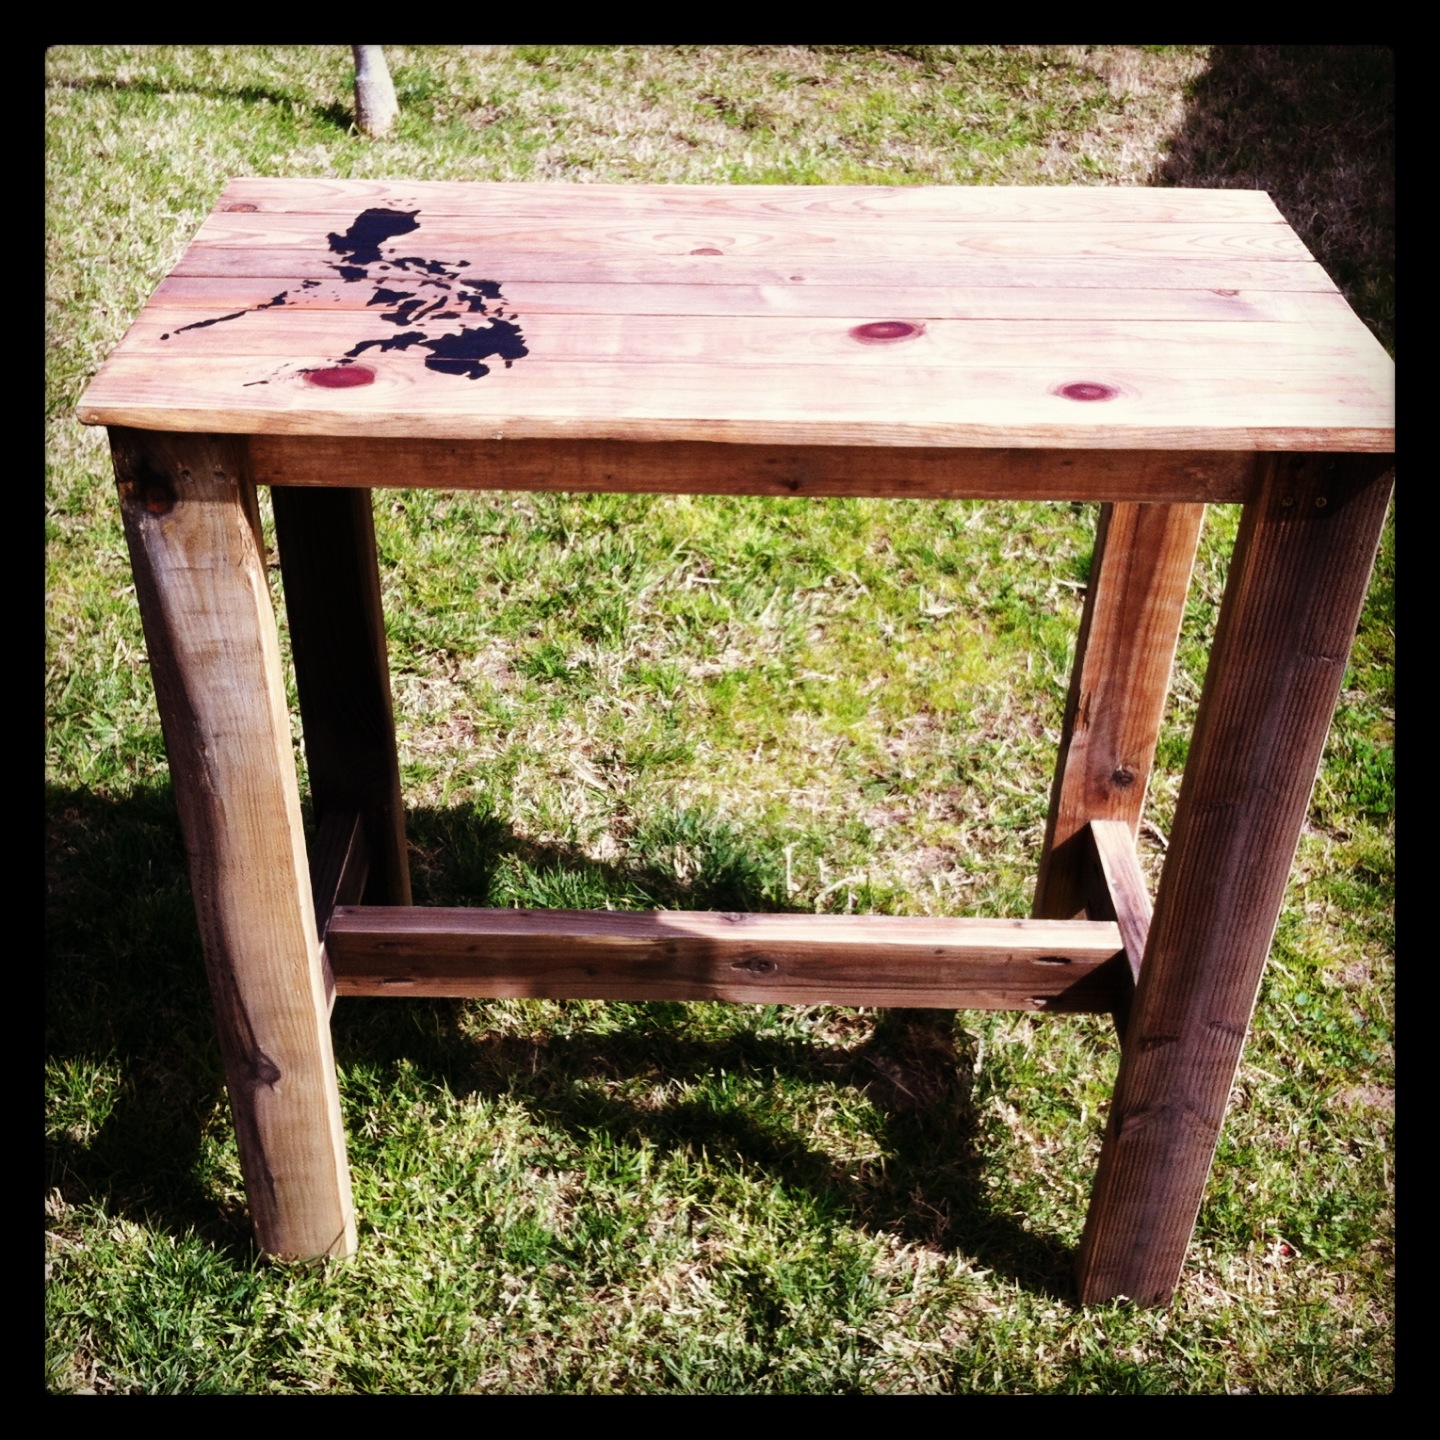
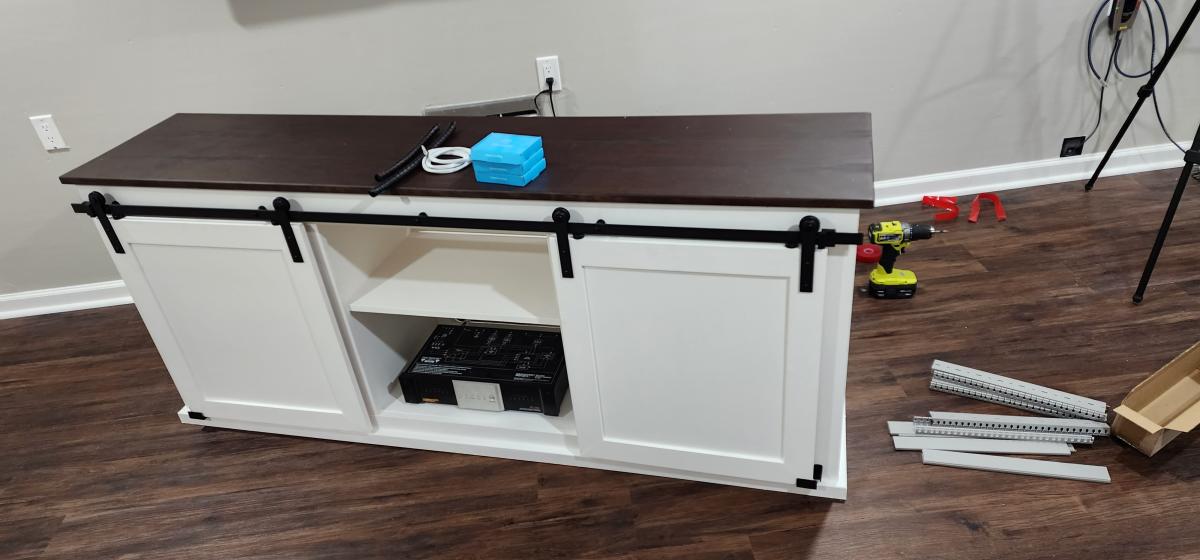
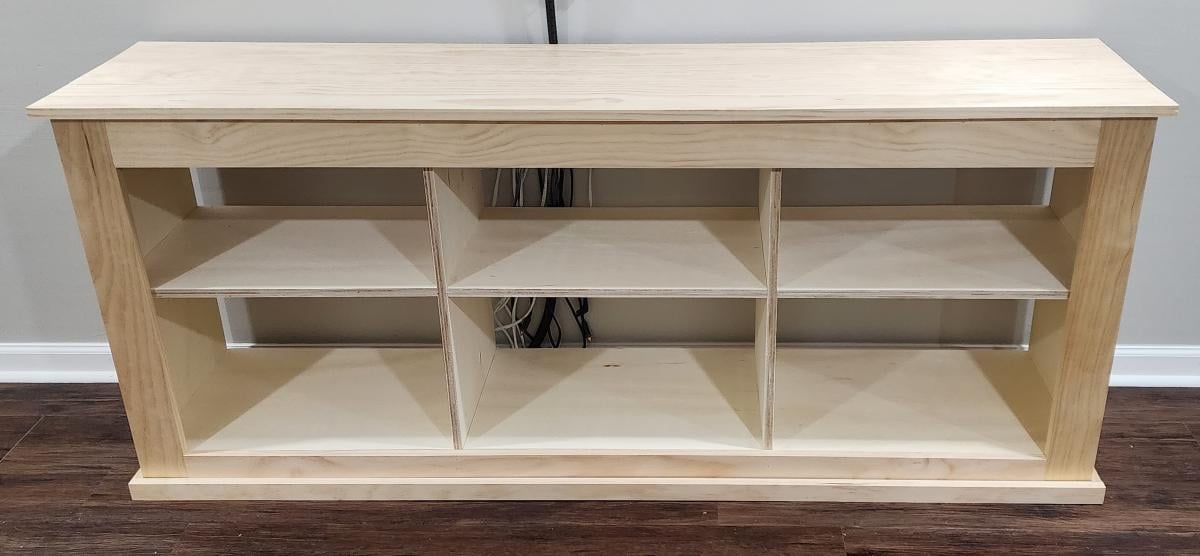
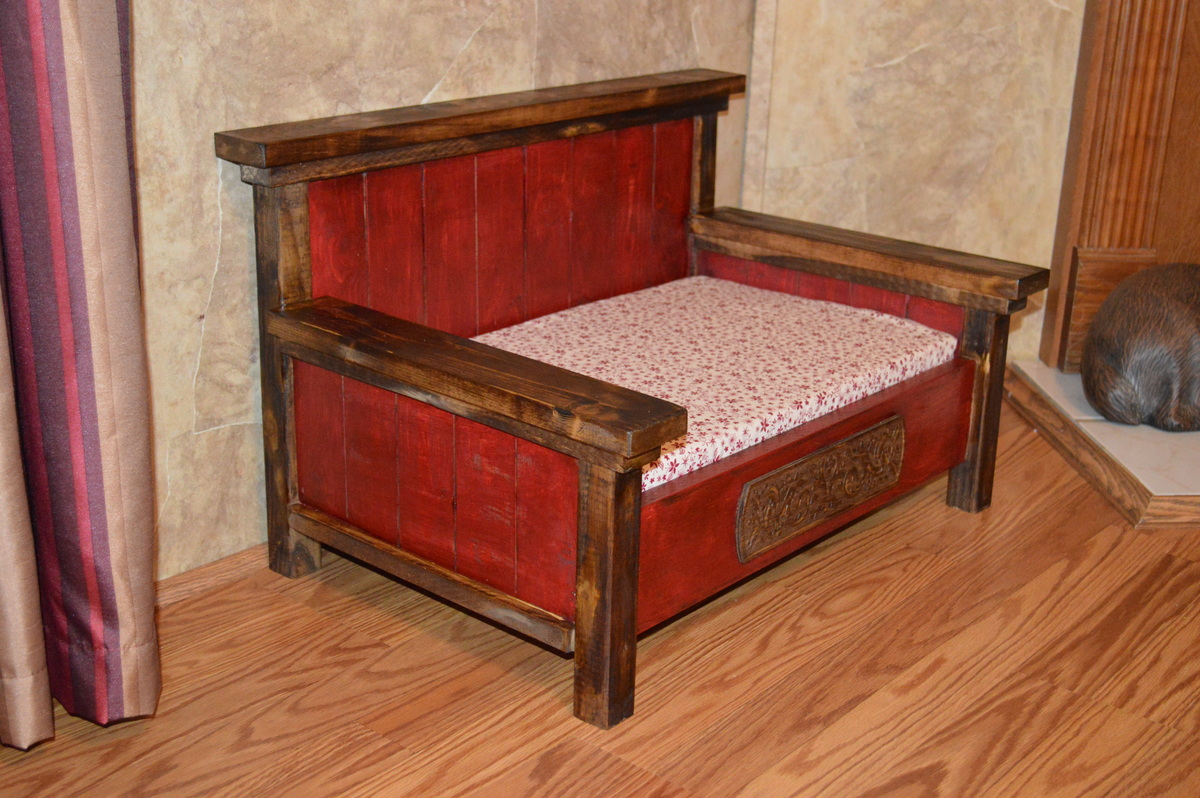
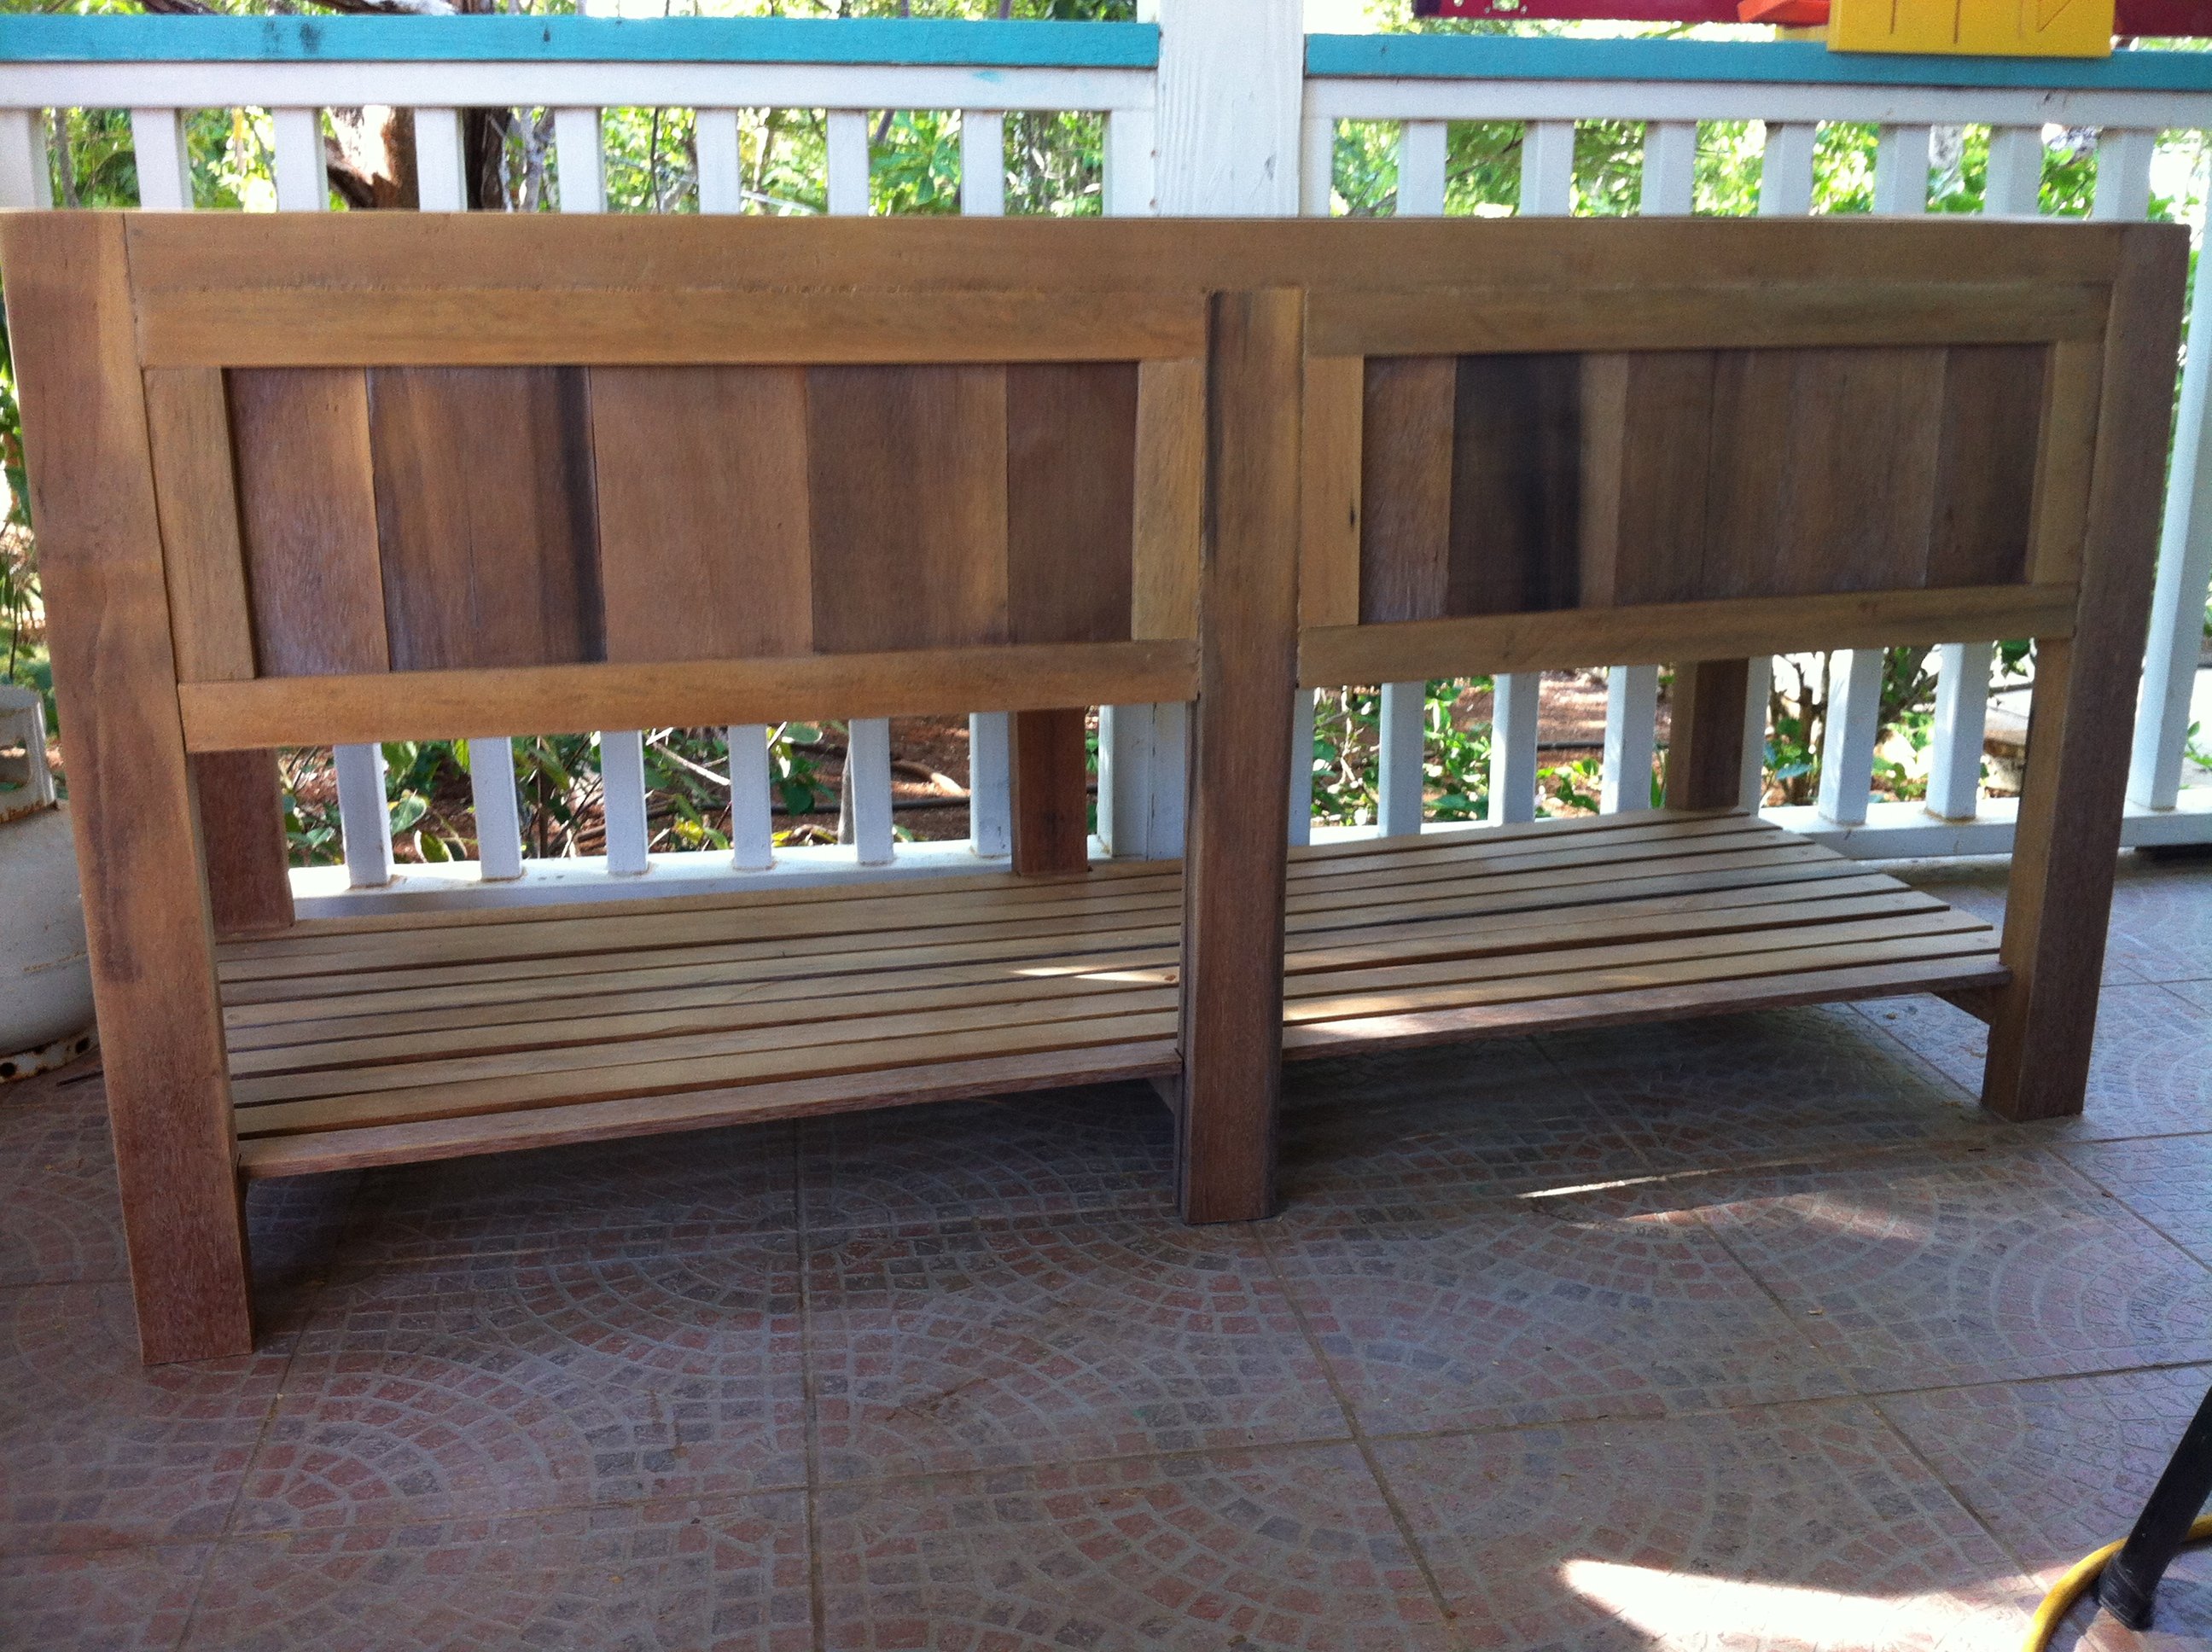
Had a lot of fun making this! Followed plans exactly!
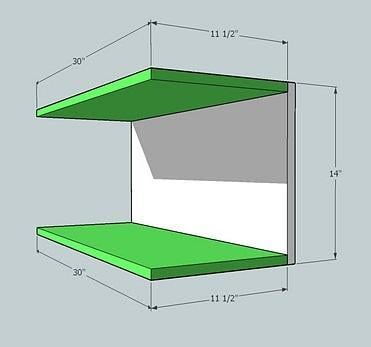
Built from Plan(s)
Estimated Cost
100
Estimated Time Investment
Day Project (6-9 Hours)
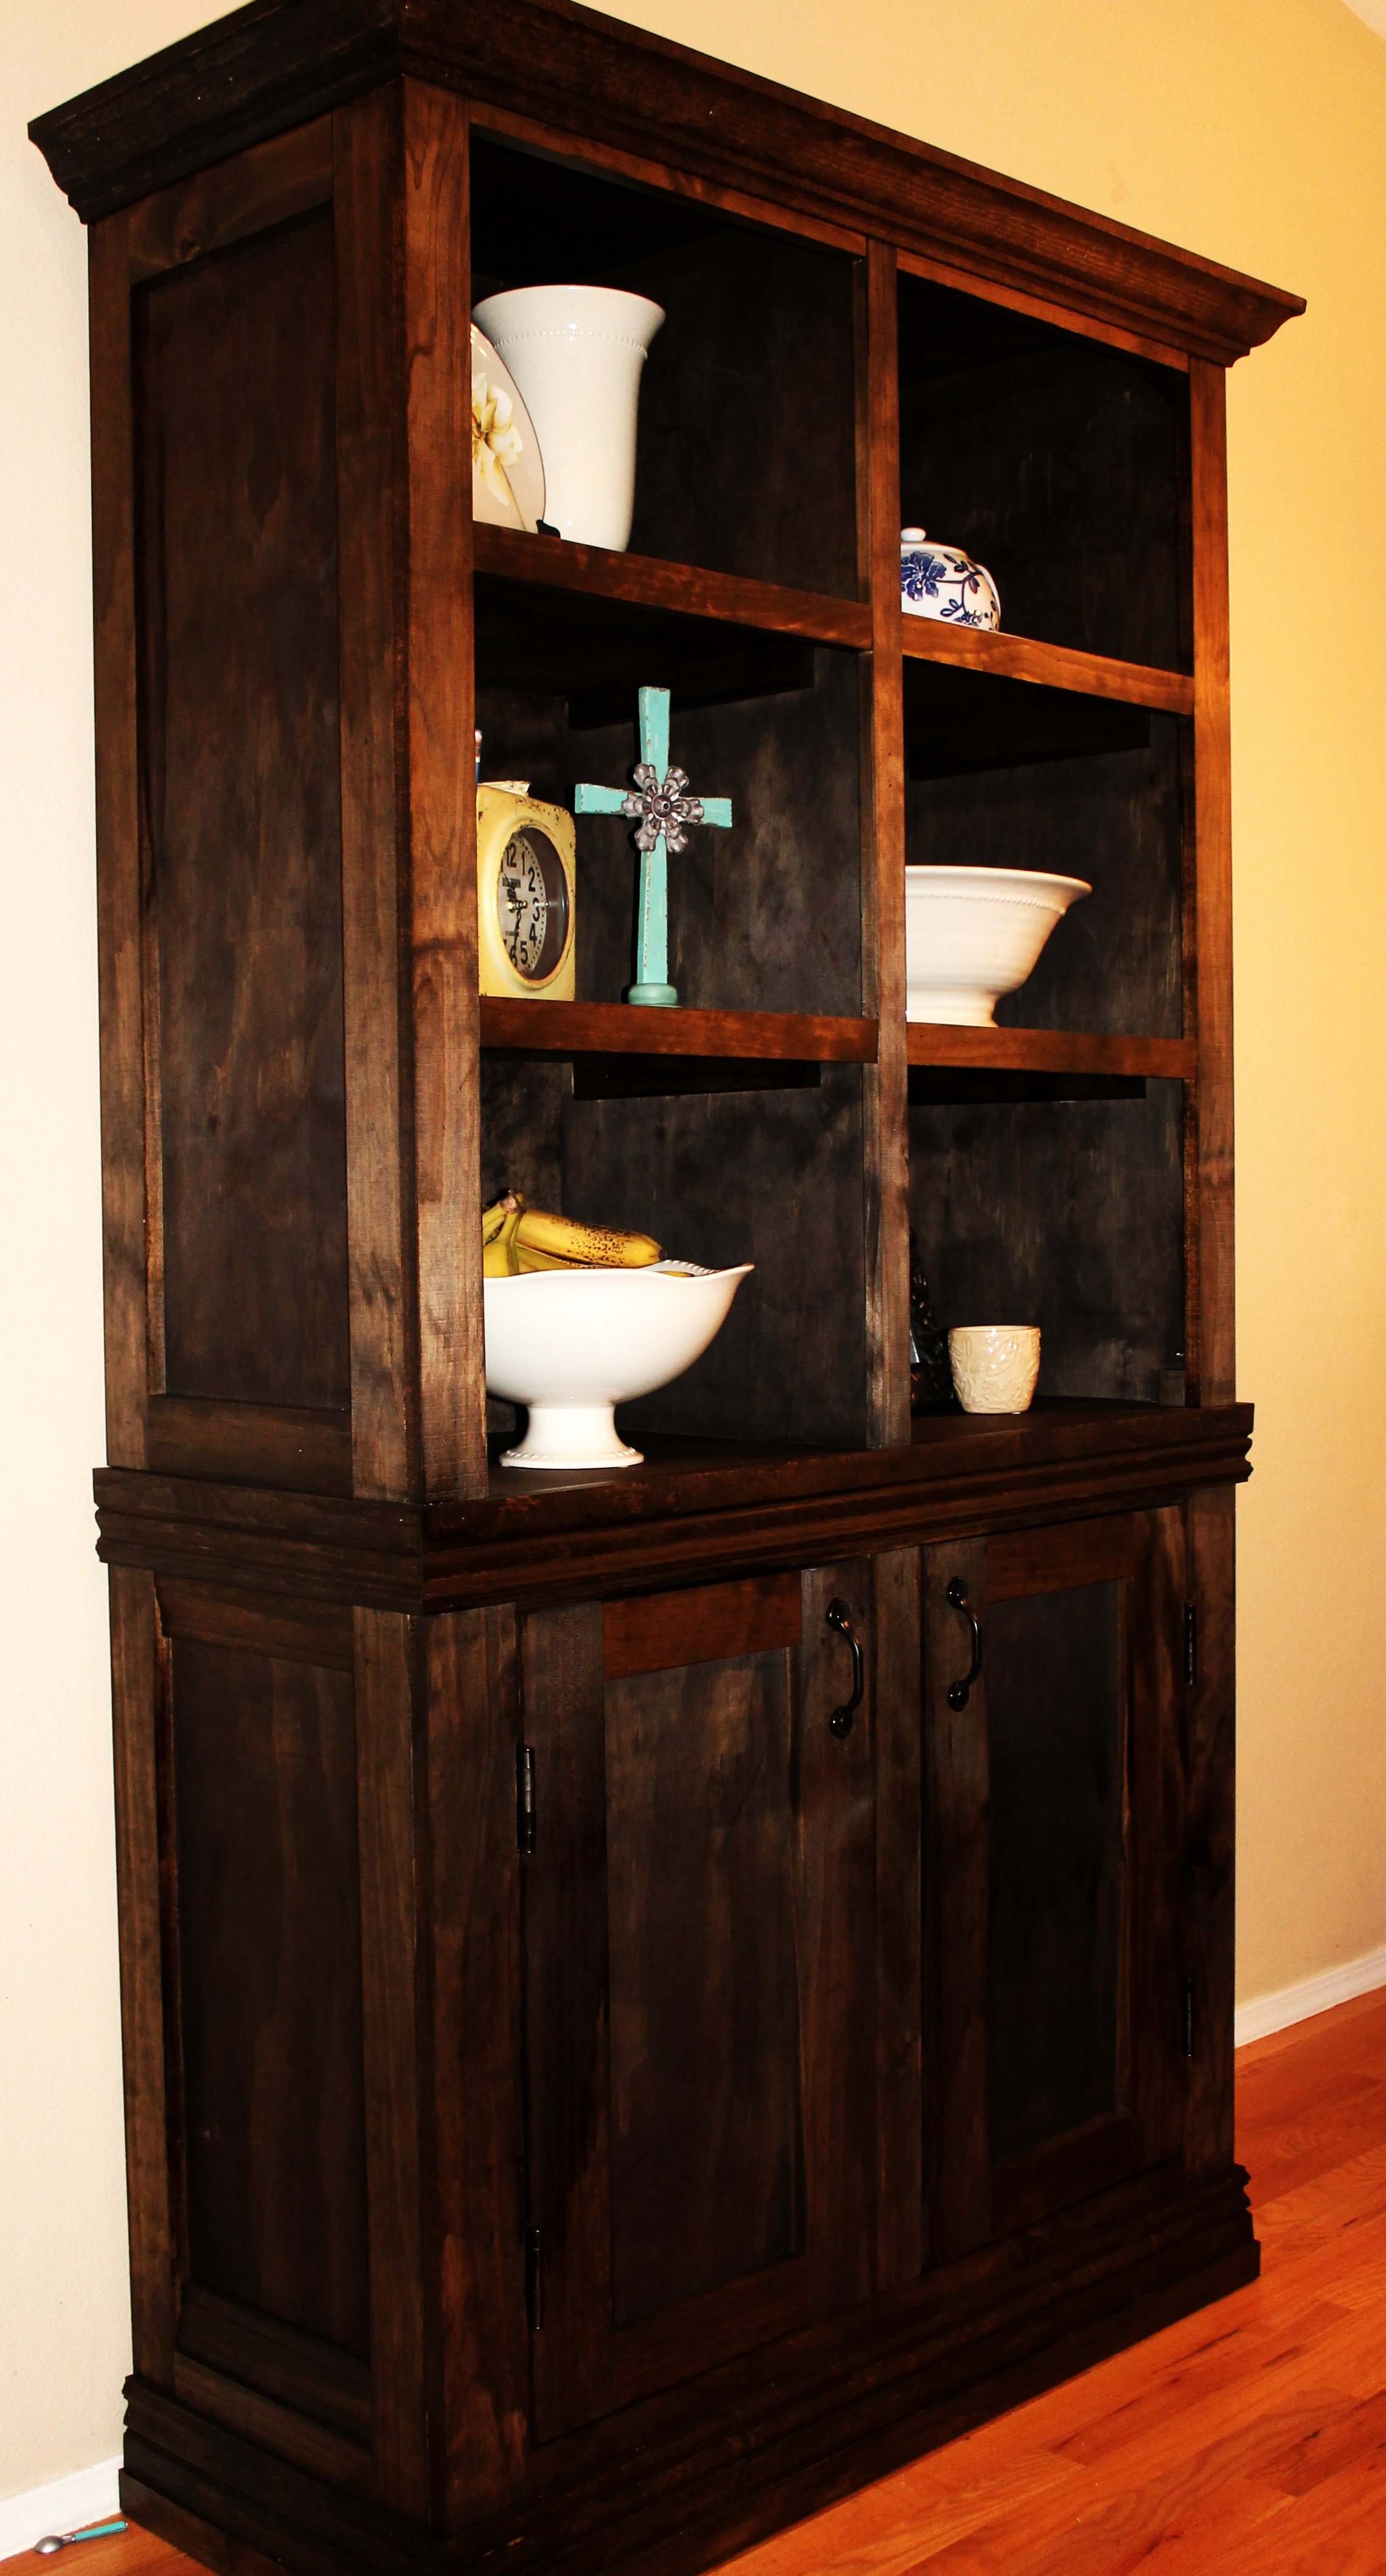
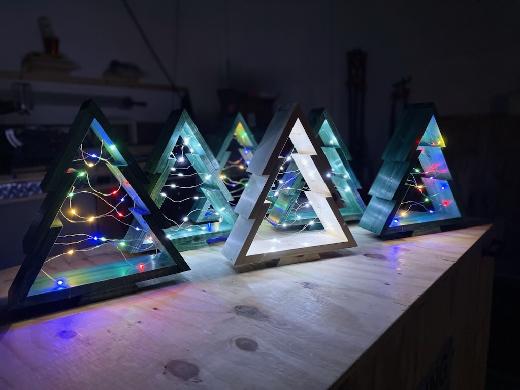
Finish Used
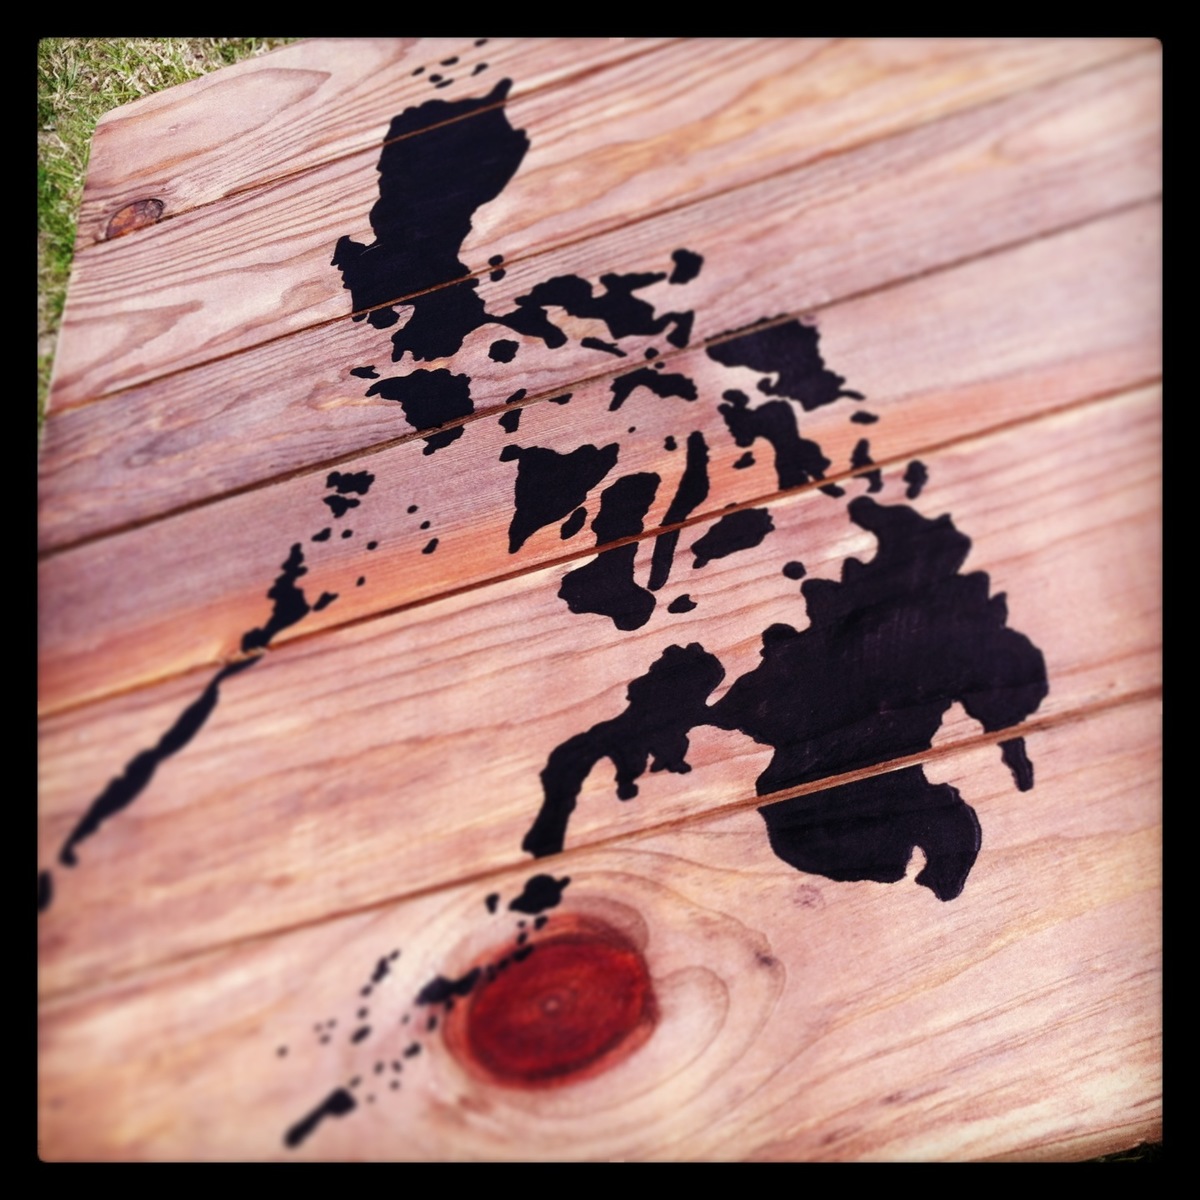
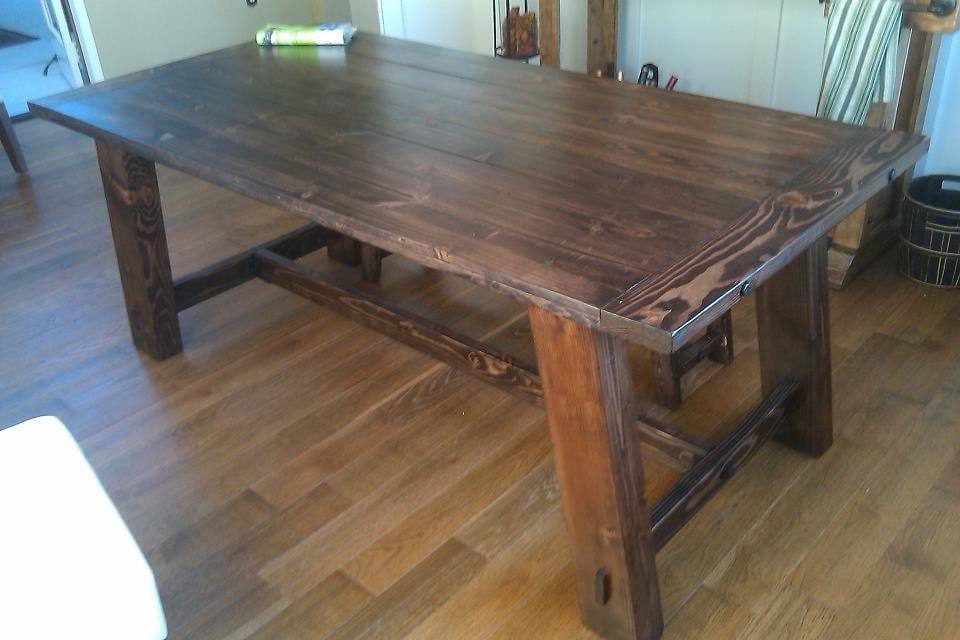
White paint and red oak stain
Recommended Skill Level
Intermediate