Faux Christmas Mantle
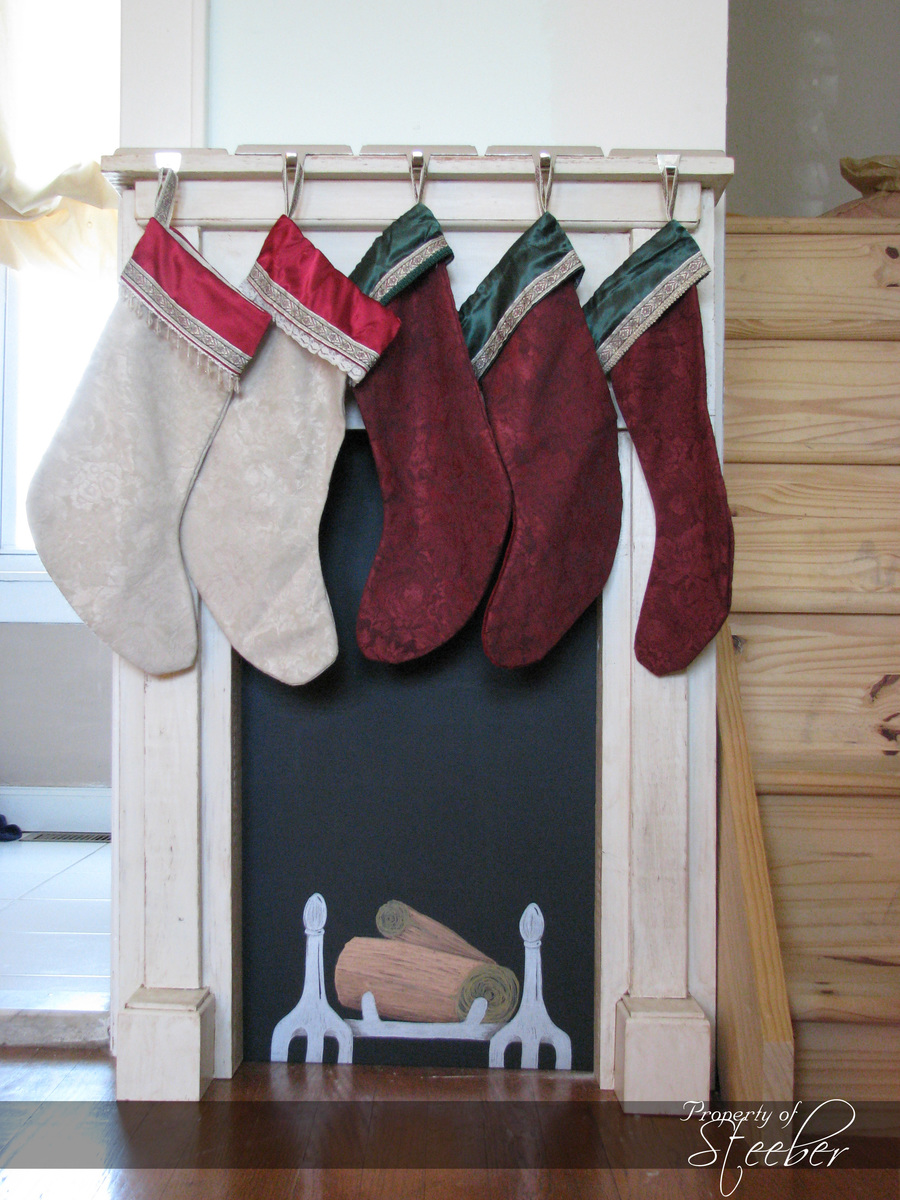
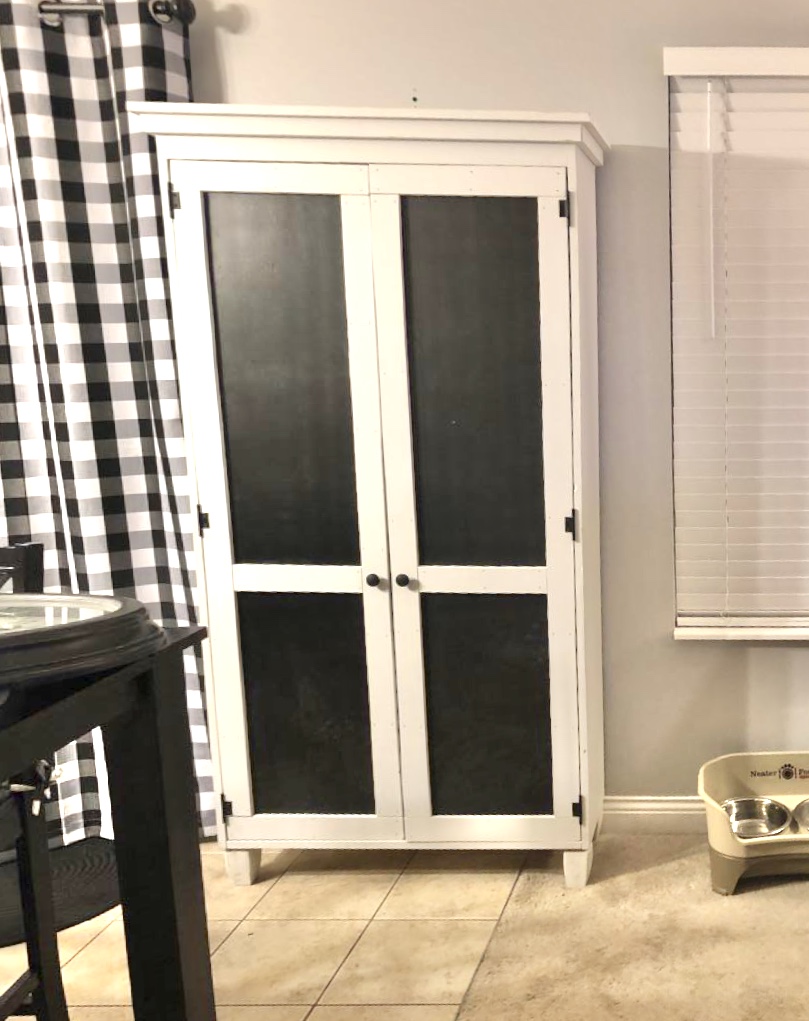
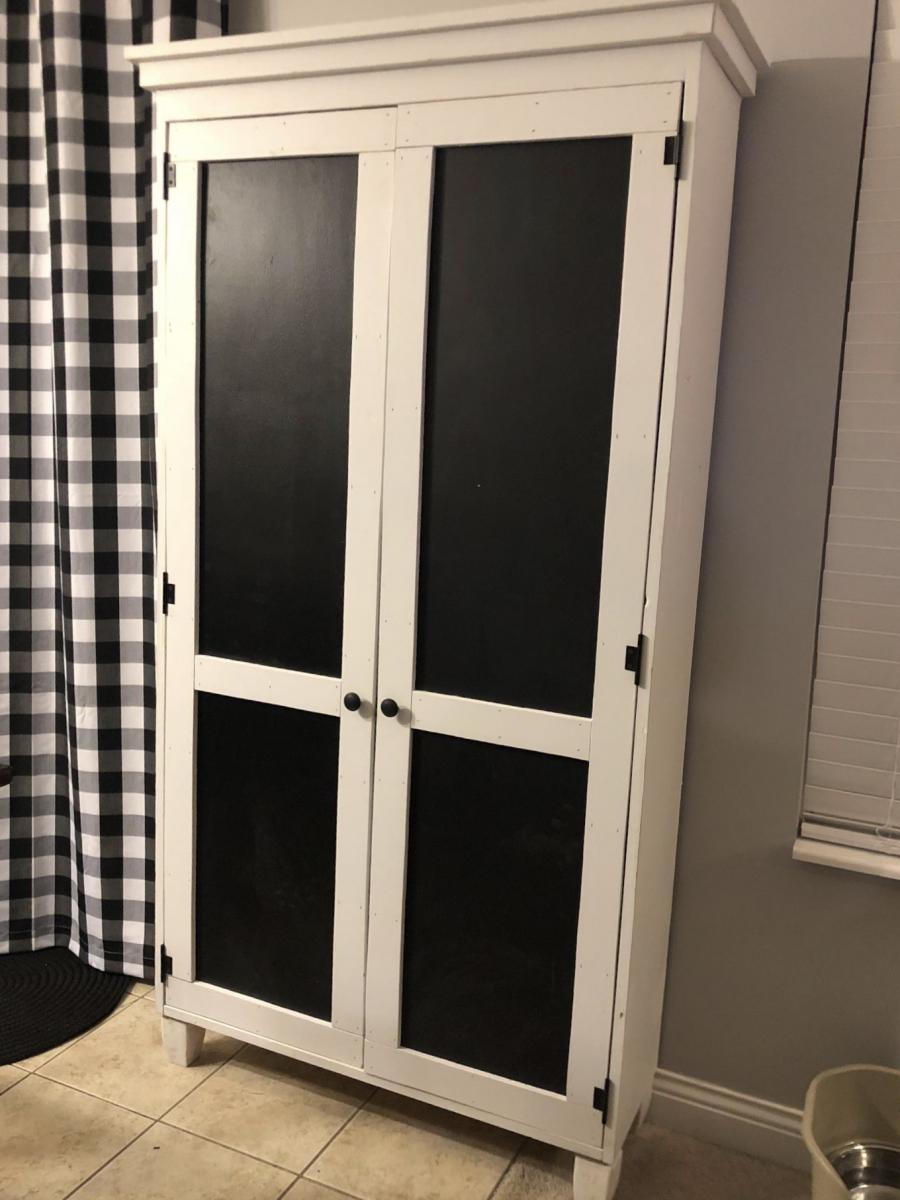
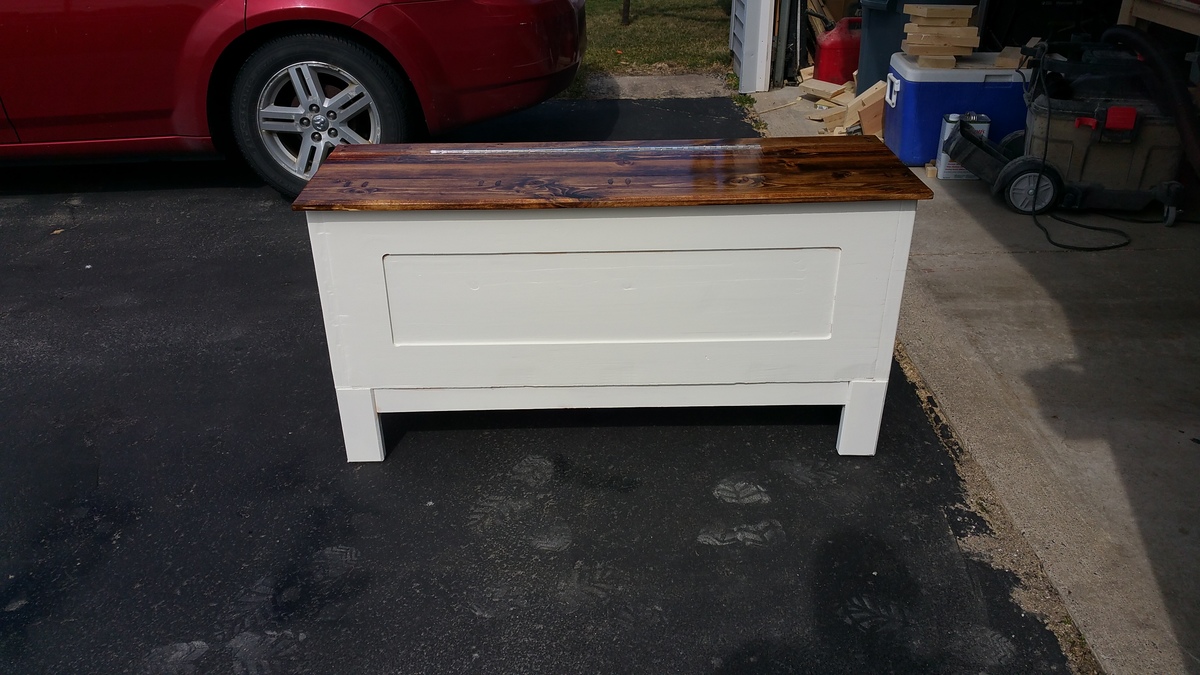
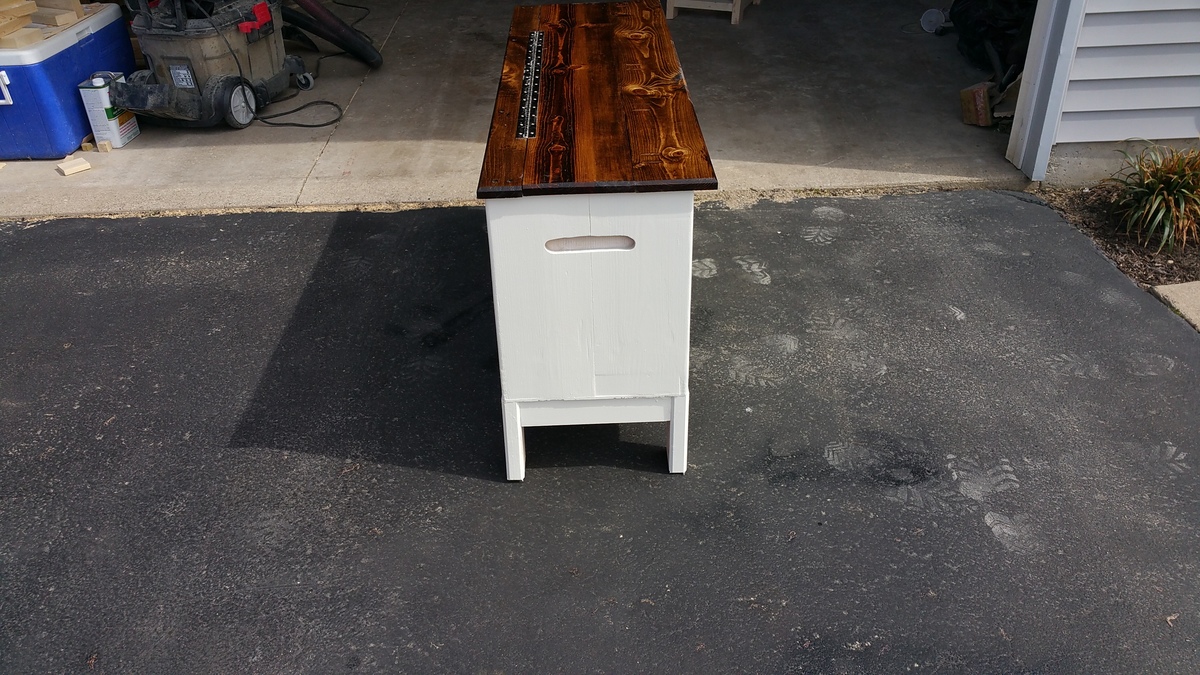
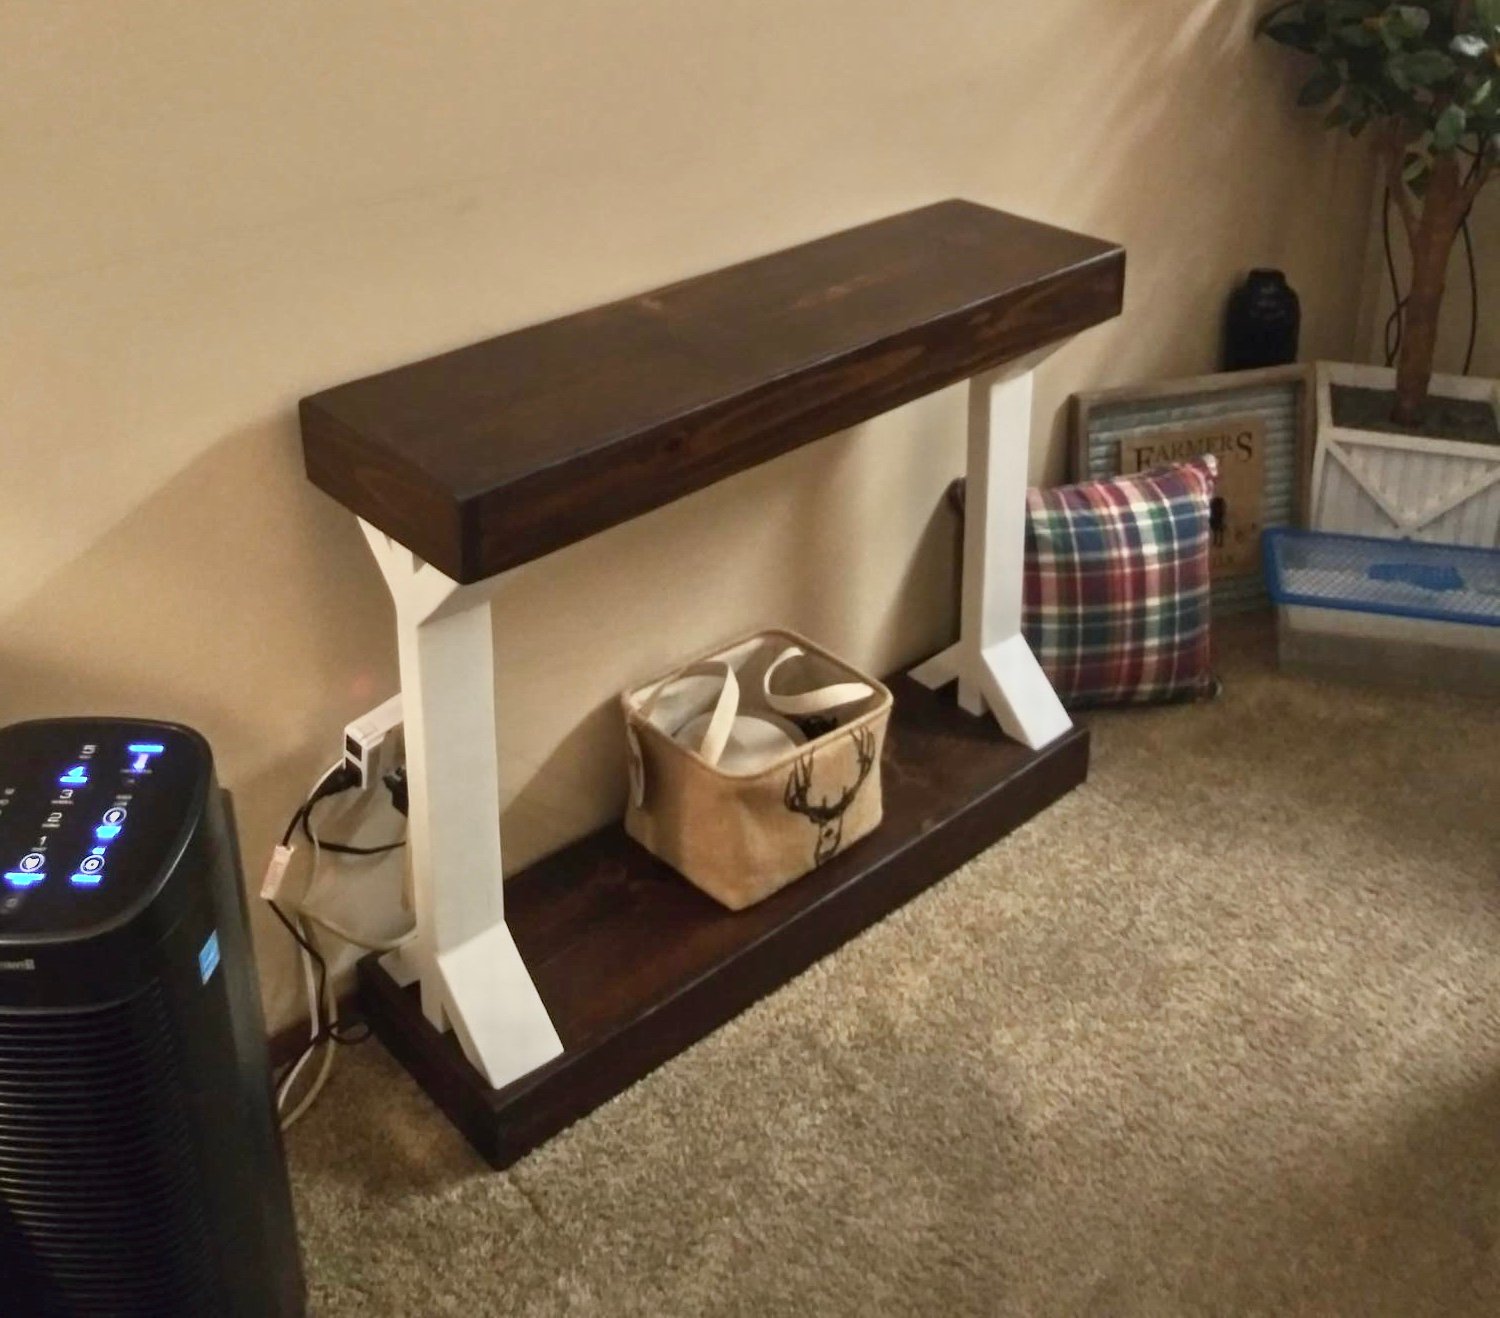
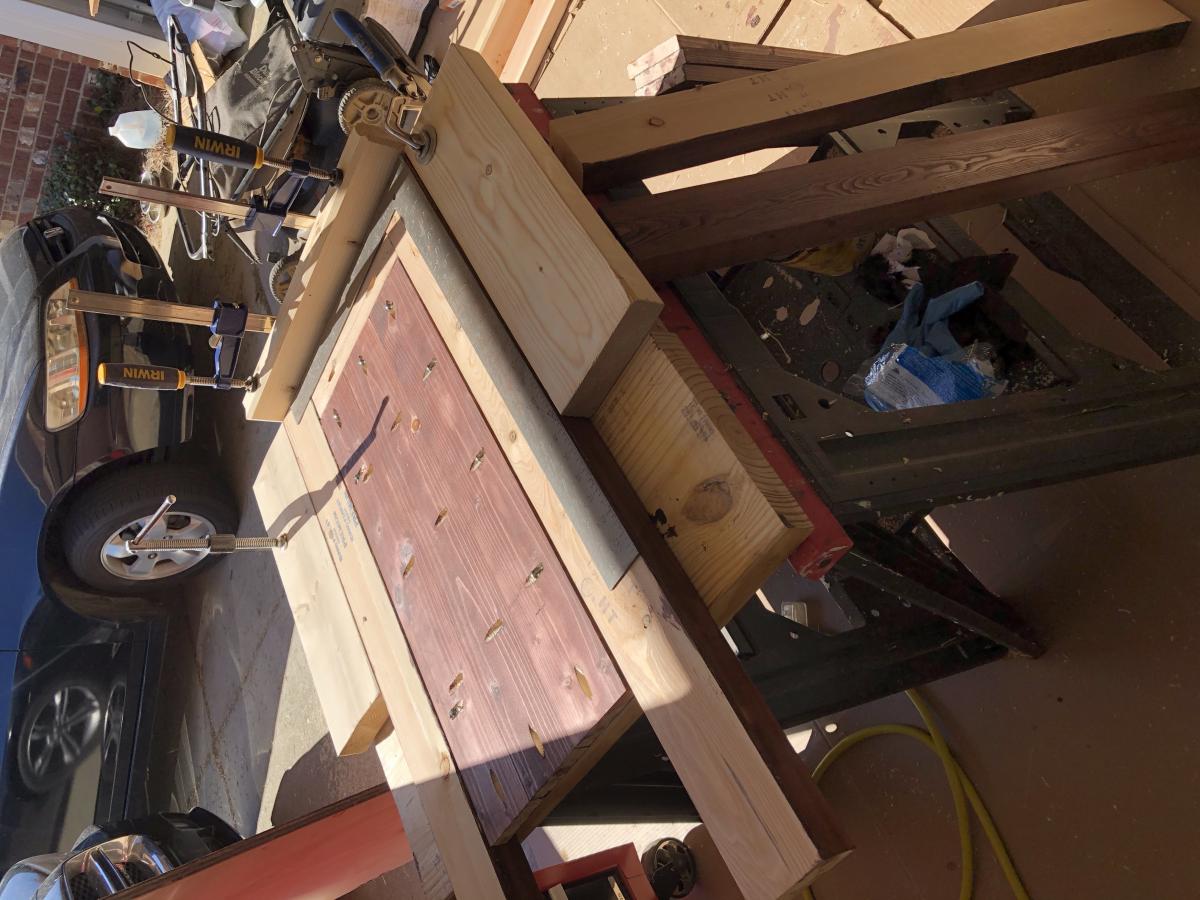
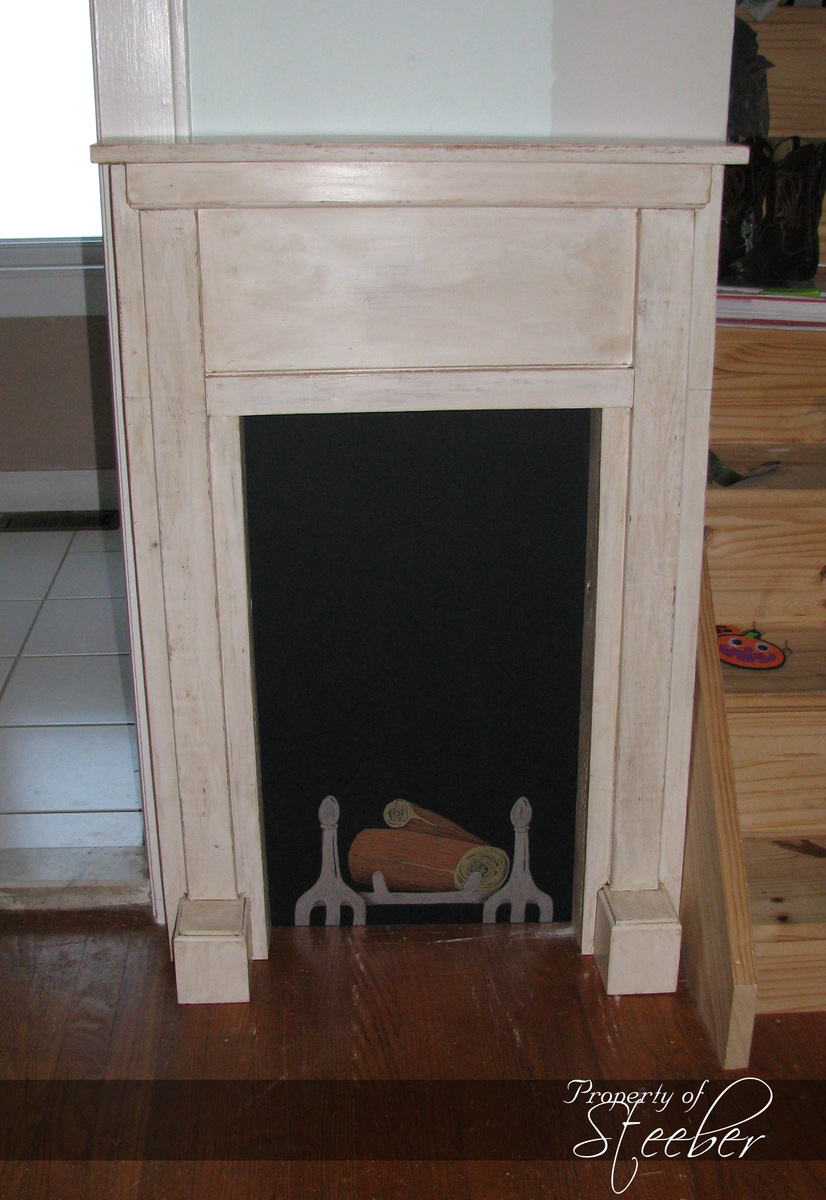
With all our changes and renovations, we no longer had a place to put up Christmas stockings. When I saw the idea for a fake mantle I knew this would be a good solution. The wall area I had was only 30 inches wide, but we made it work! The mantle itself was made almost entirely out of wood scraps. We also painted a thin piece of wood with chalkboard paint and used metallic Sharpies to create the grate and logs. That attached to the back of the mantle to serve as the "inside" of the fireplace. The kids added their own version of flames with some colored chalk on Christmas Eve night. Best part is I can store it in the attic until next year!

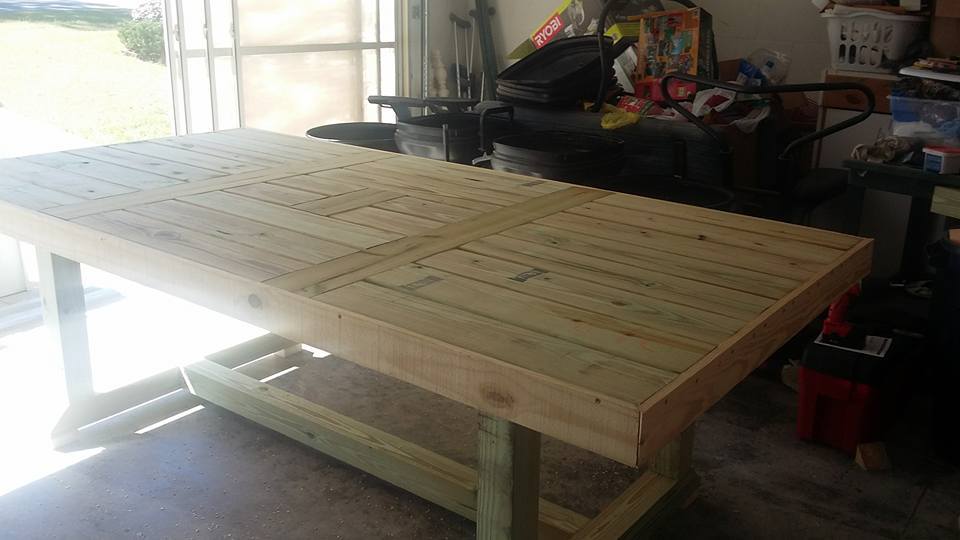
Built from Plan(s)
Estimated Time Investment
Day Project (6-9 Hours)
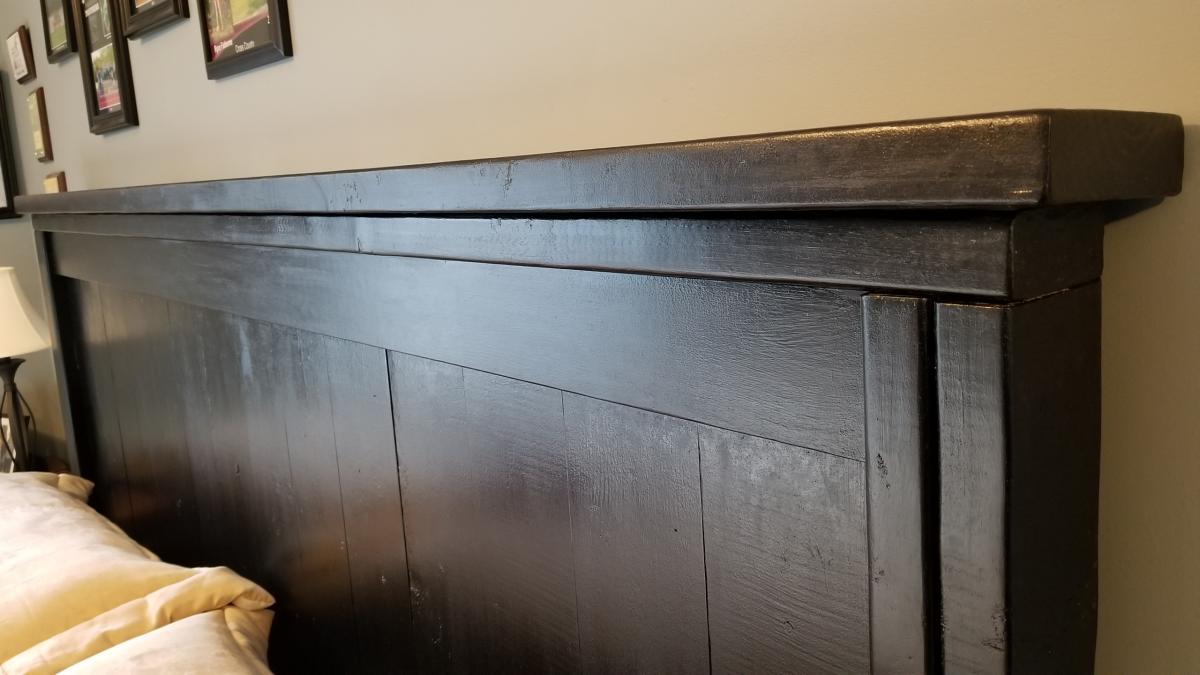
Finish Used
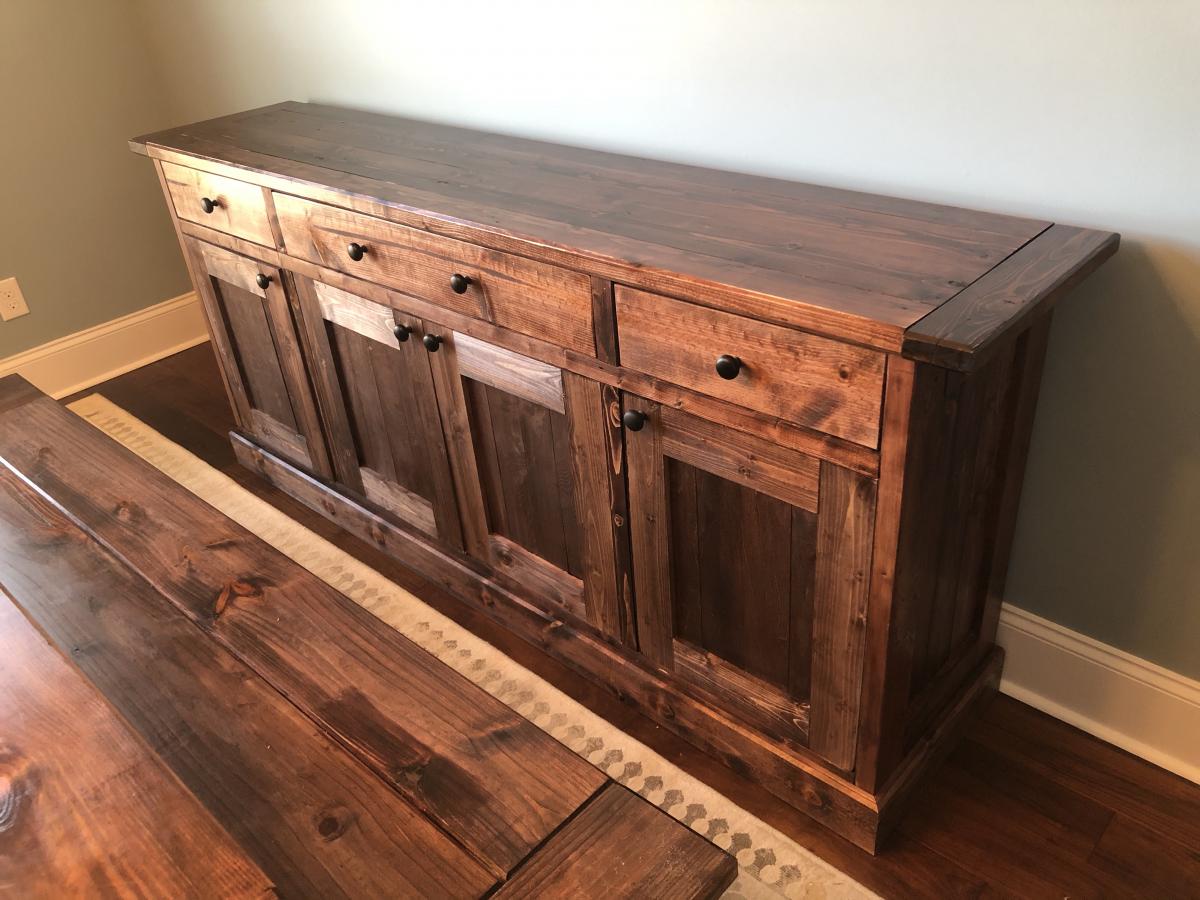
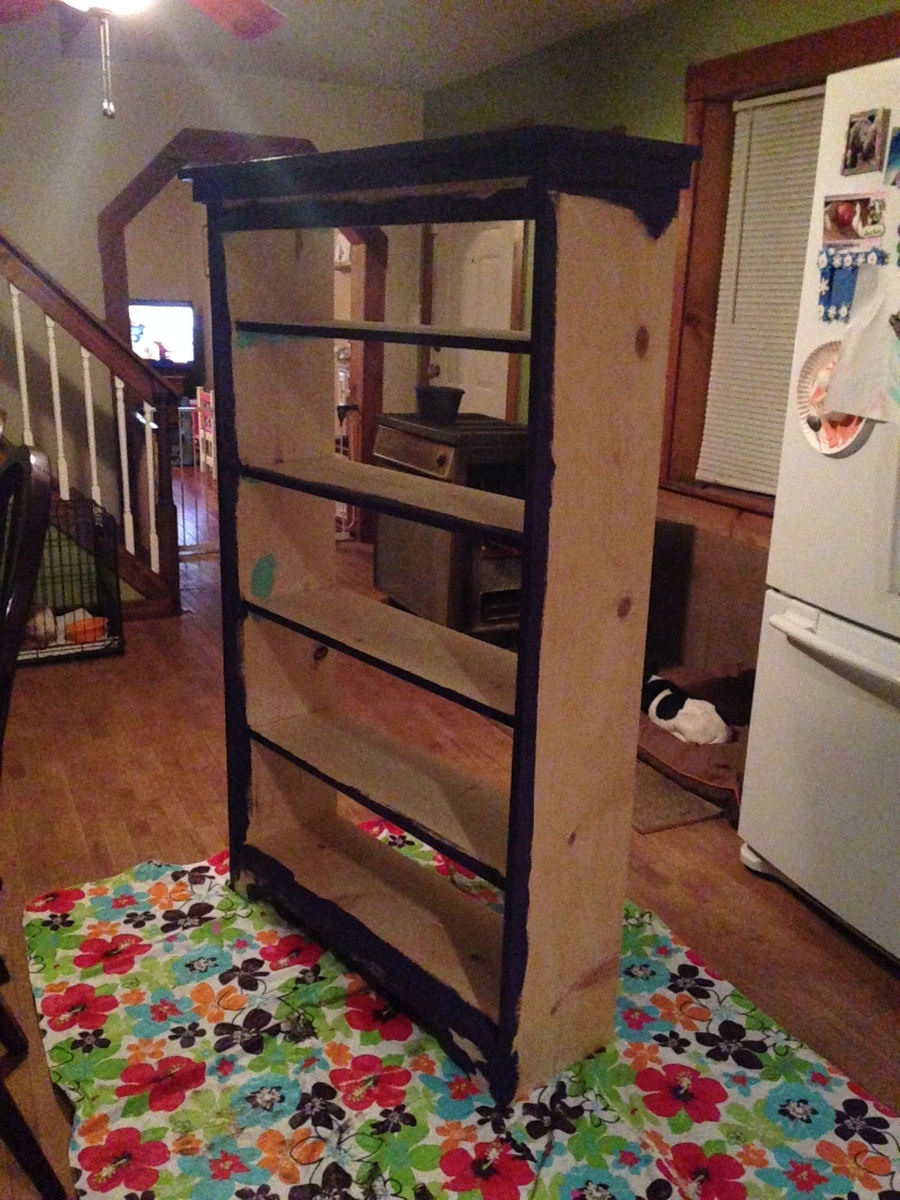
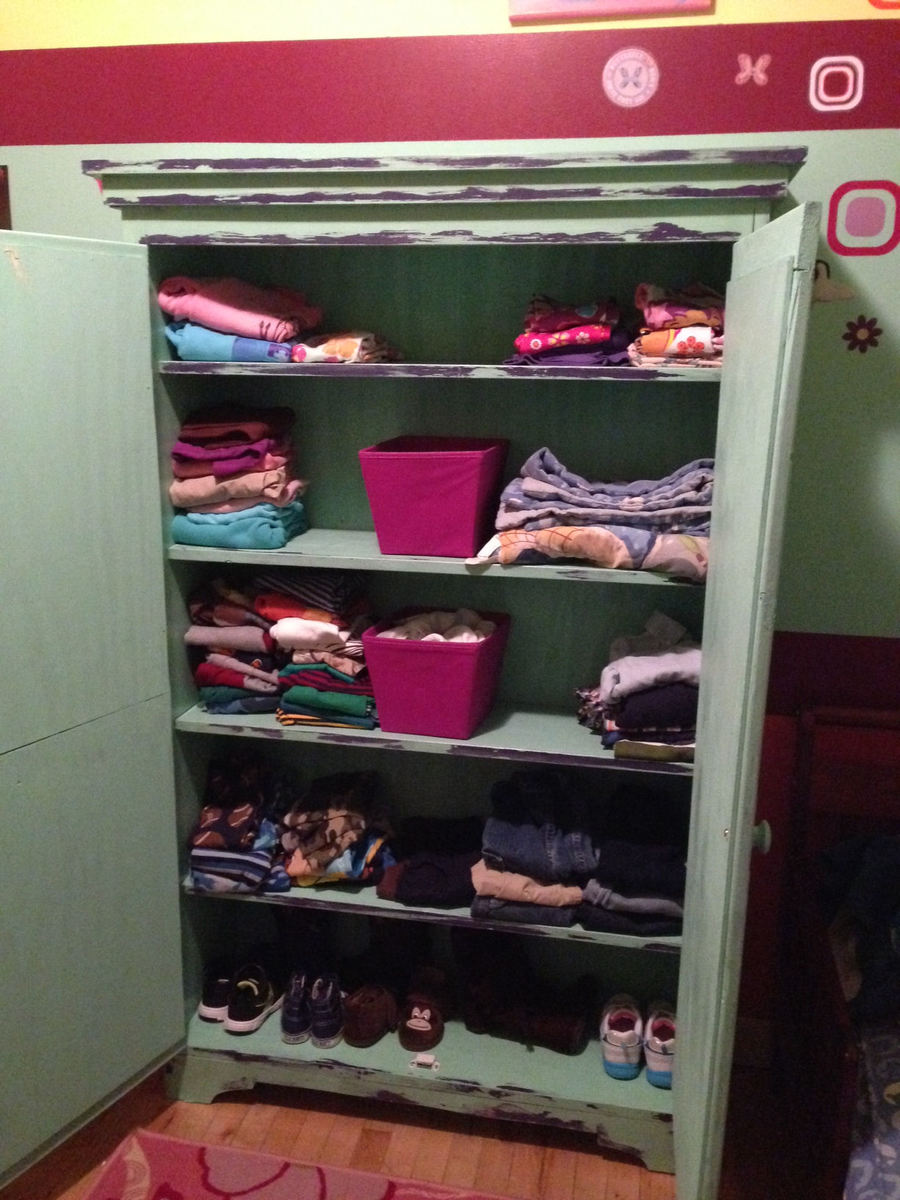
We painted the mantle with a milk colored latex paint, then roughed it up with some sandpaper and finished off with Minwax Dark paste finishing wax.
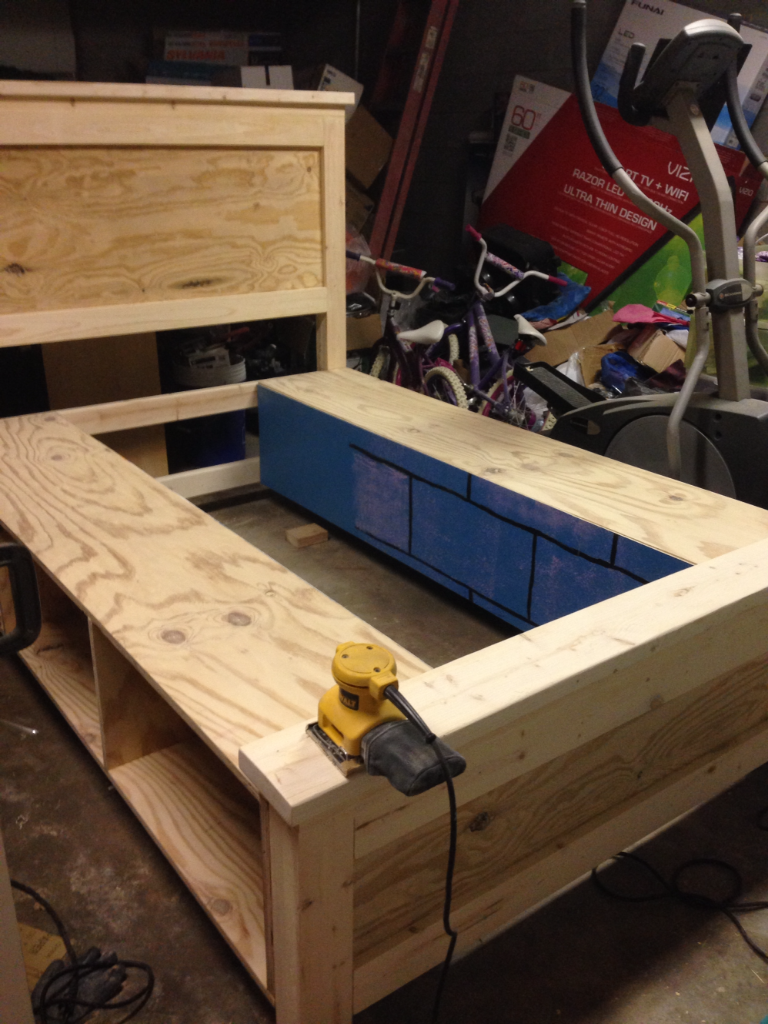
The inside of the fireplace was a piece of 1/8 inch plywood painted in chalkboard paint, and decorated with metallic Sharpies to create the grate and logs.
The inside of the fireplace was a piece of 1/8 inch plywood painted in chalkboard paint, and decorated with metallic Sharpies to create the grate and logs.
Recommended Skill Level
Intermediate