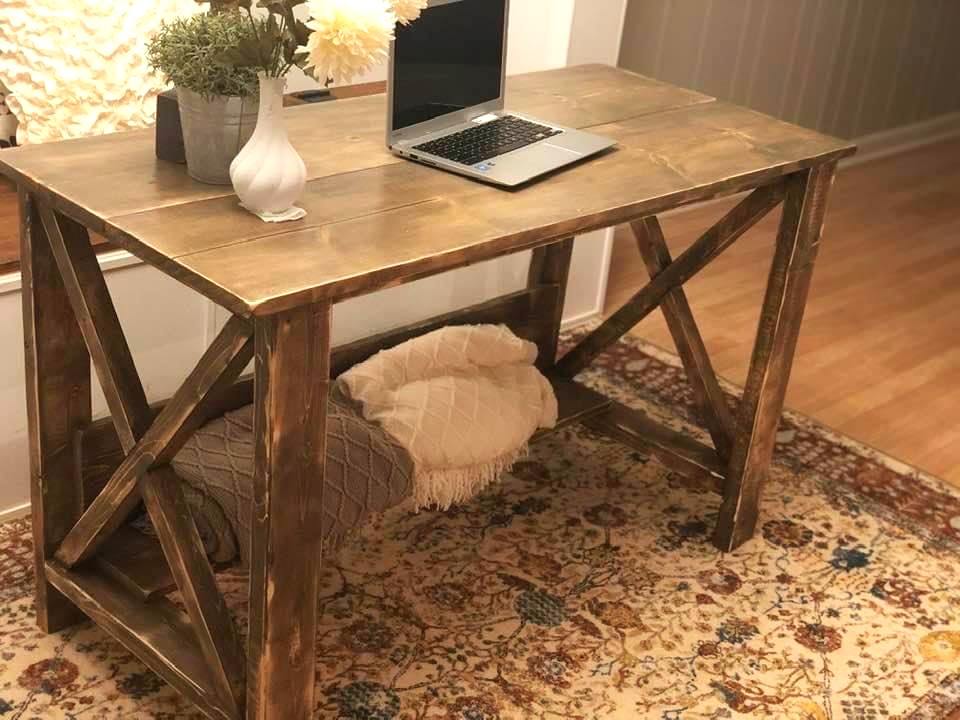
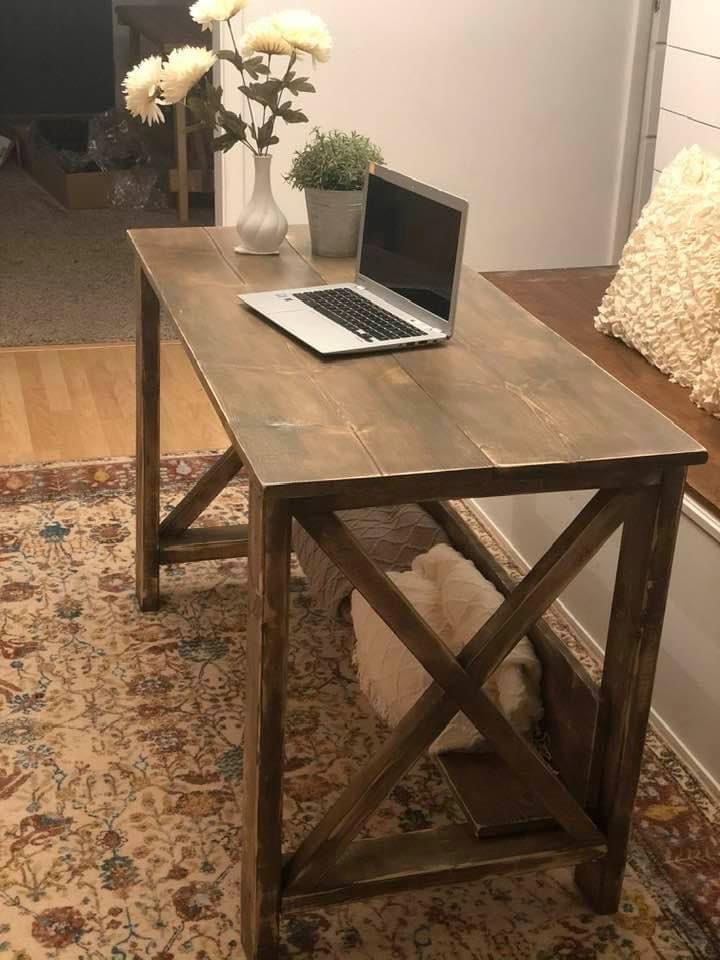
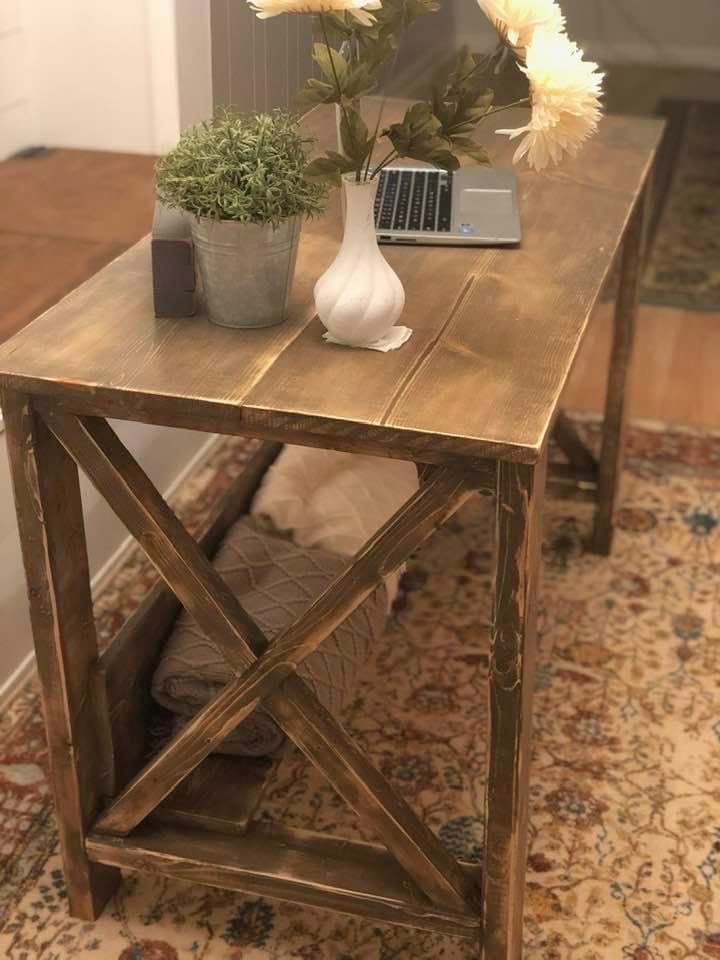
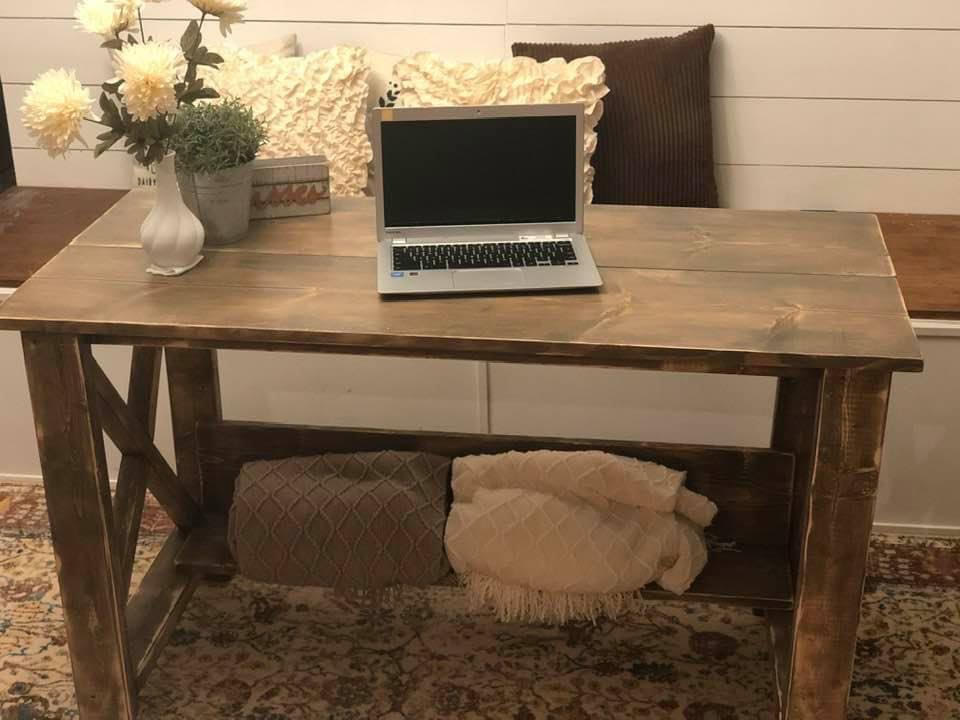
Rustic X Desk
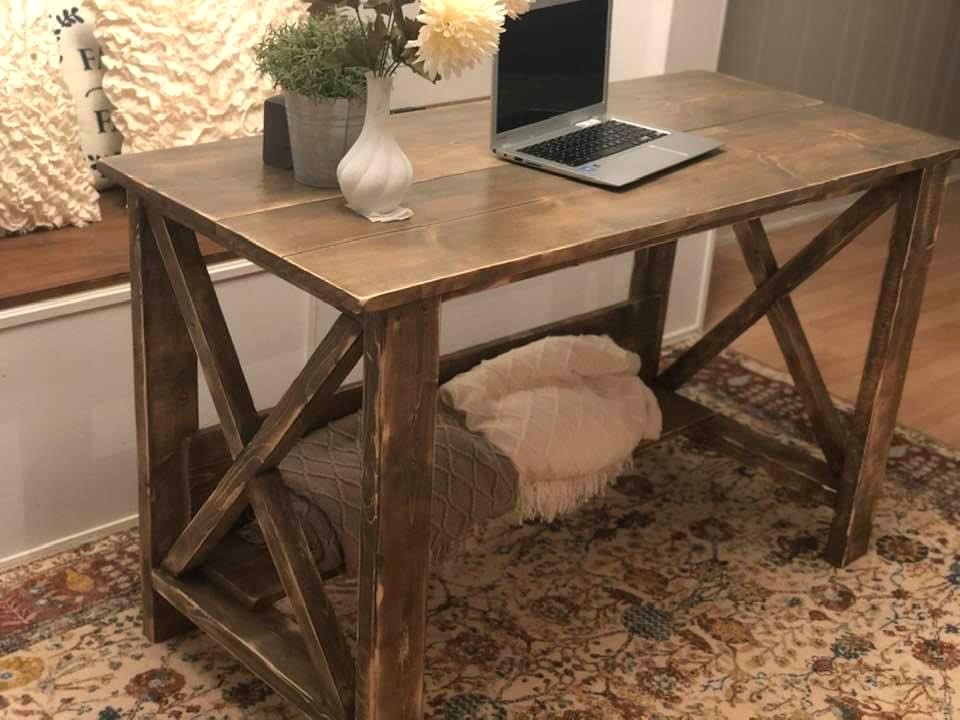
Beautiful Farmhouse Desk by Leila Adams
Built from Plan(s)
Beautiful Farmhouse Desk by Leila Adams
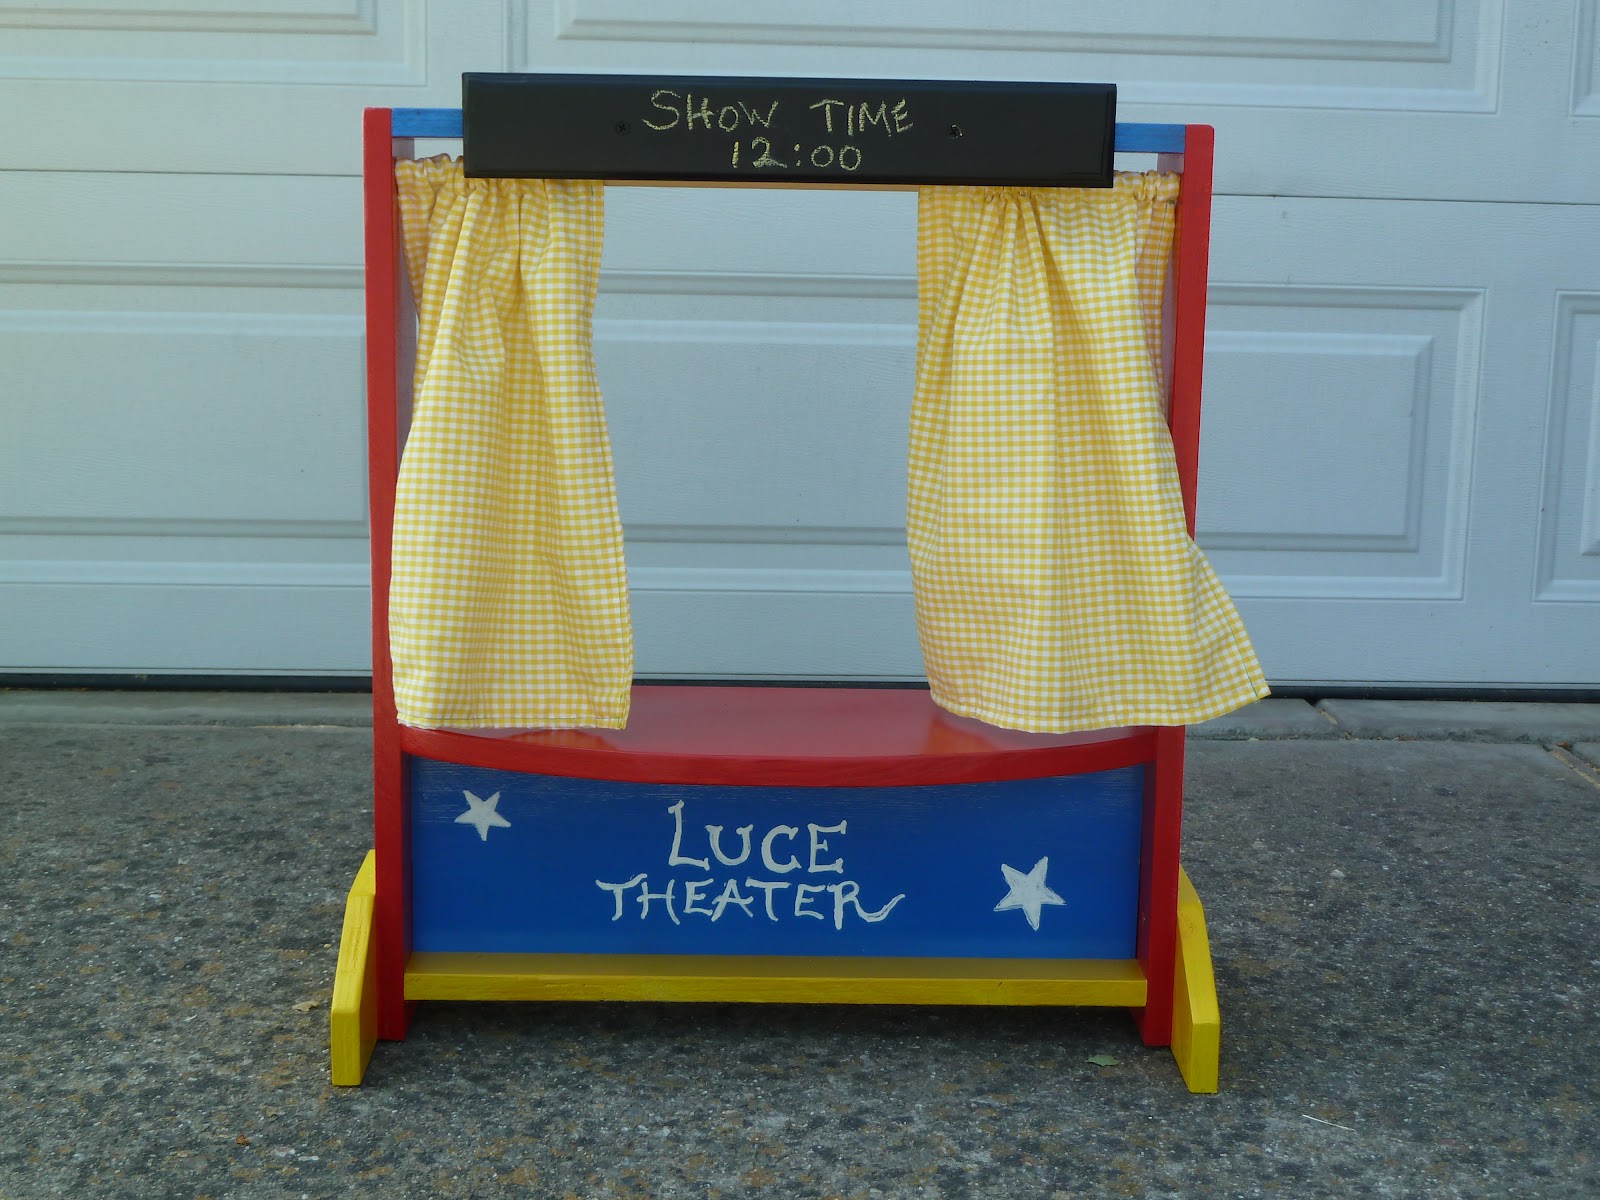
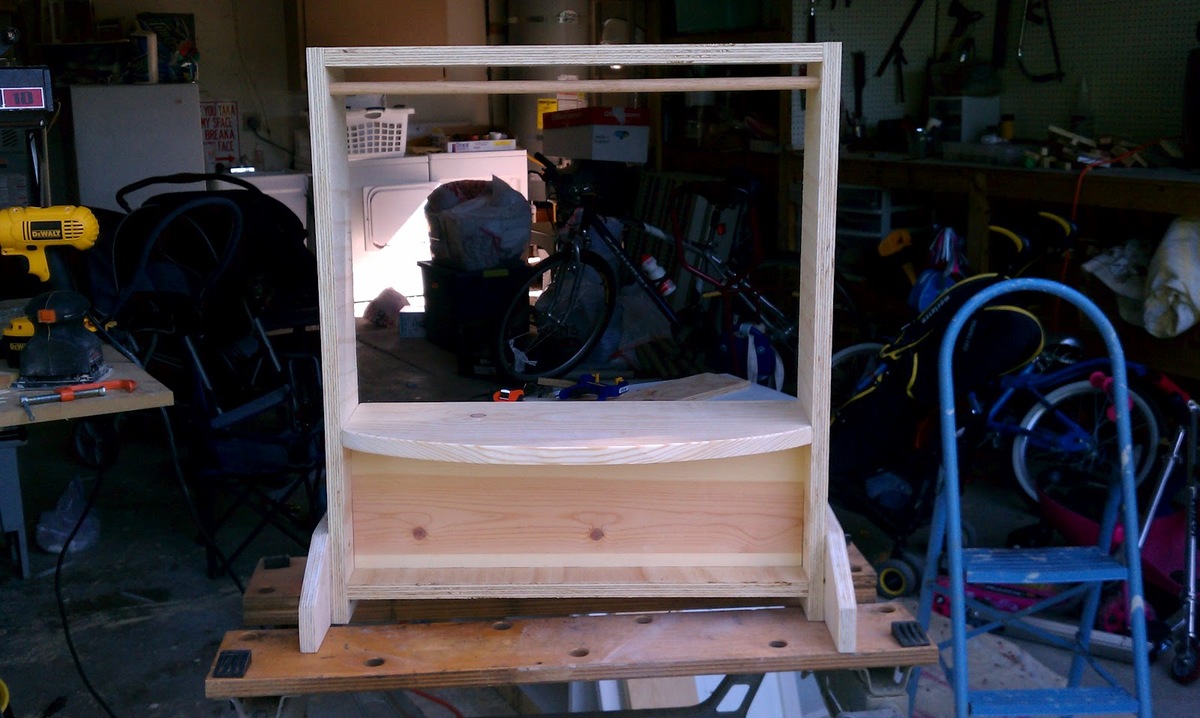
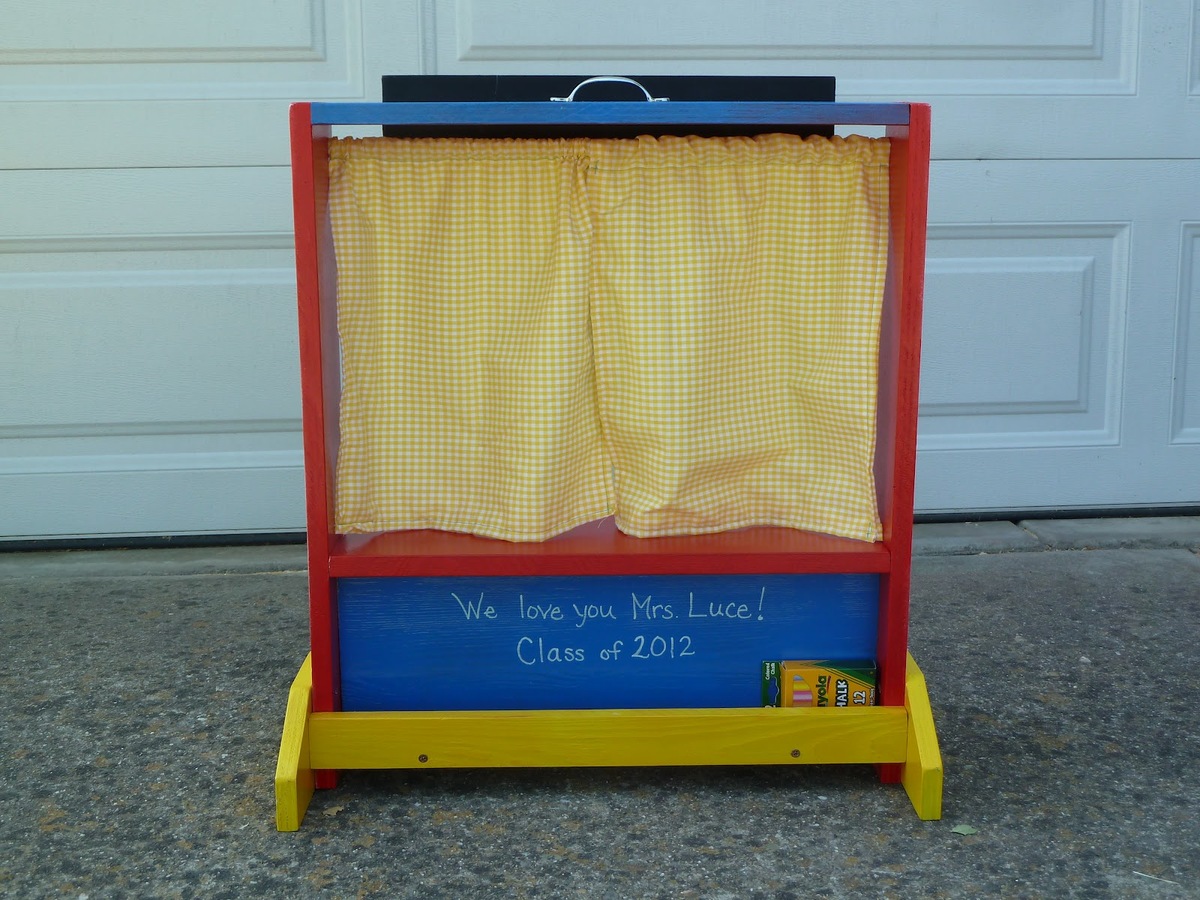
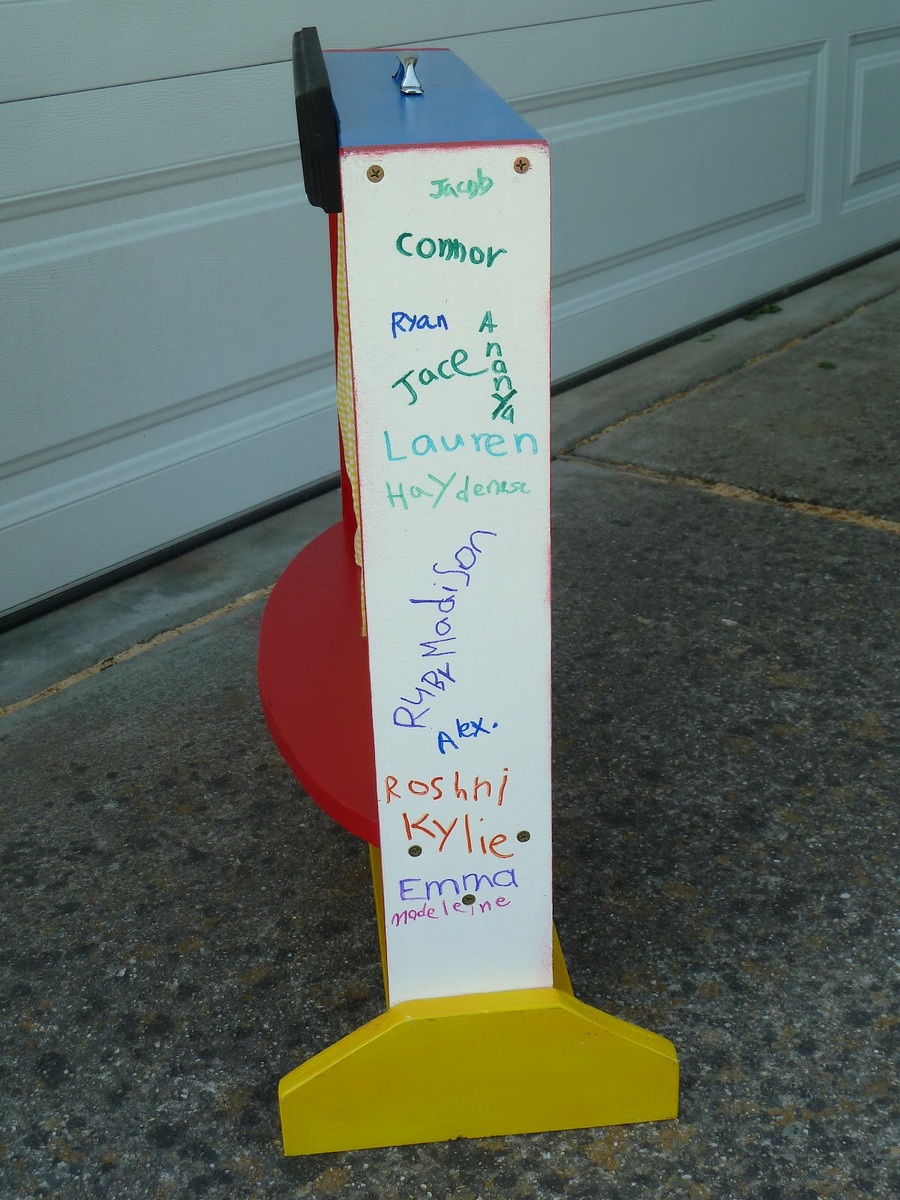
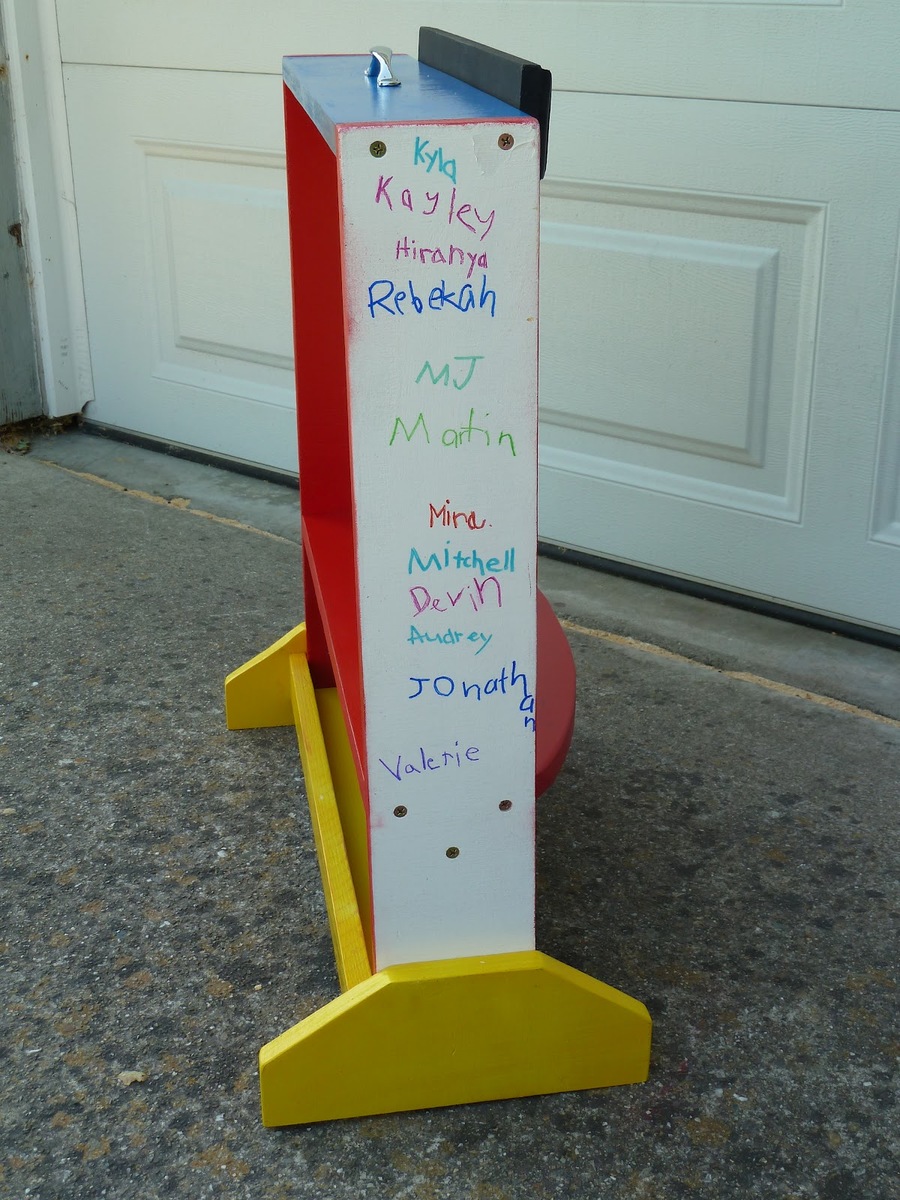
My son's kindergarten teacher had a table top puppet theater on her "wish list" from an online store - but it cost $70 and I knew there's no way i could buy that. But just one look at it made me realize I could build my own. My son and I built it in just a couple hours and then took some extra time for sanding and spray painting. I had all the kids in the class sign their names on the sides and I used chalk board paint on the top sign so the kids can write their own show title or time, etc. There's a place to keep the chalk in the back. We presented this gift to my son's teacher at the end of Teacher Appreciation week, and it was a huge hit!
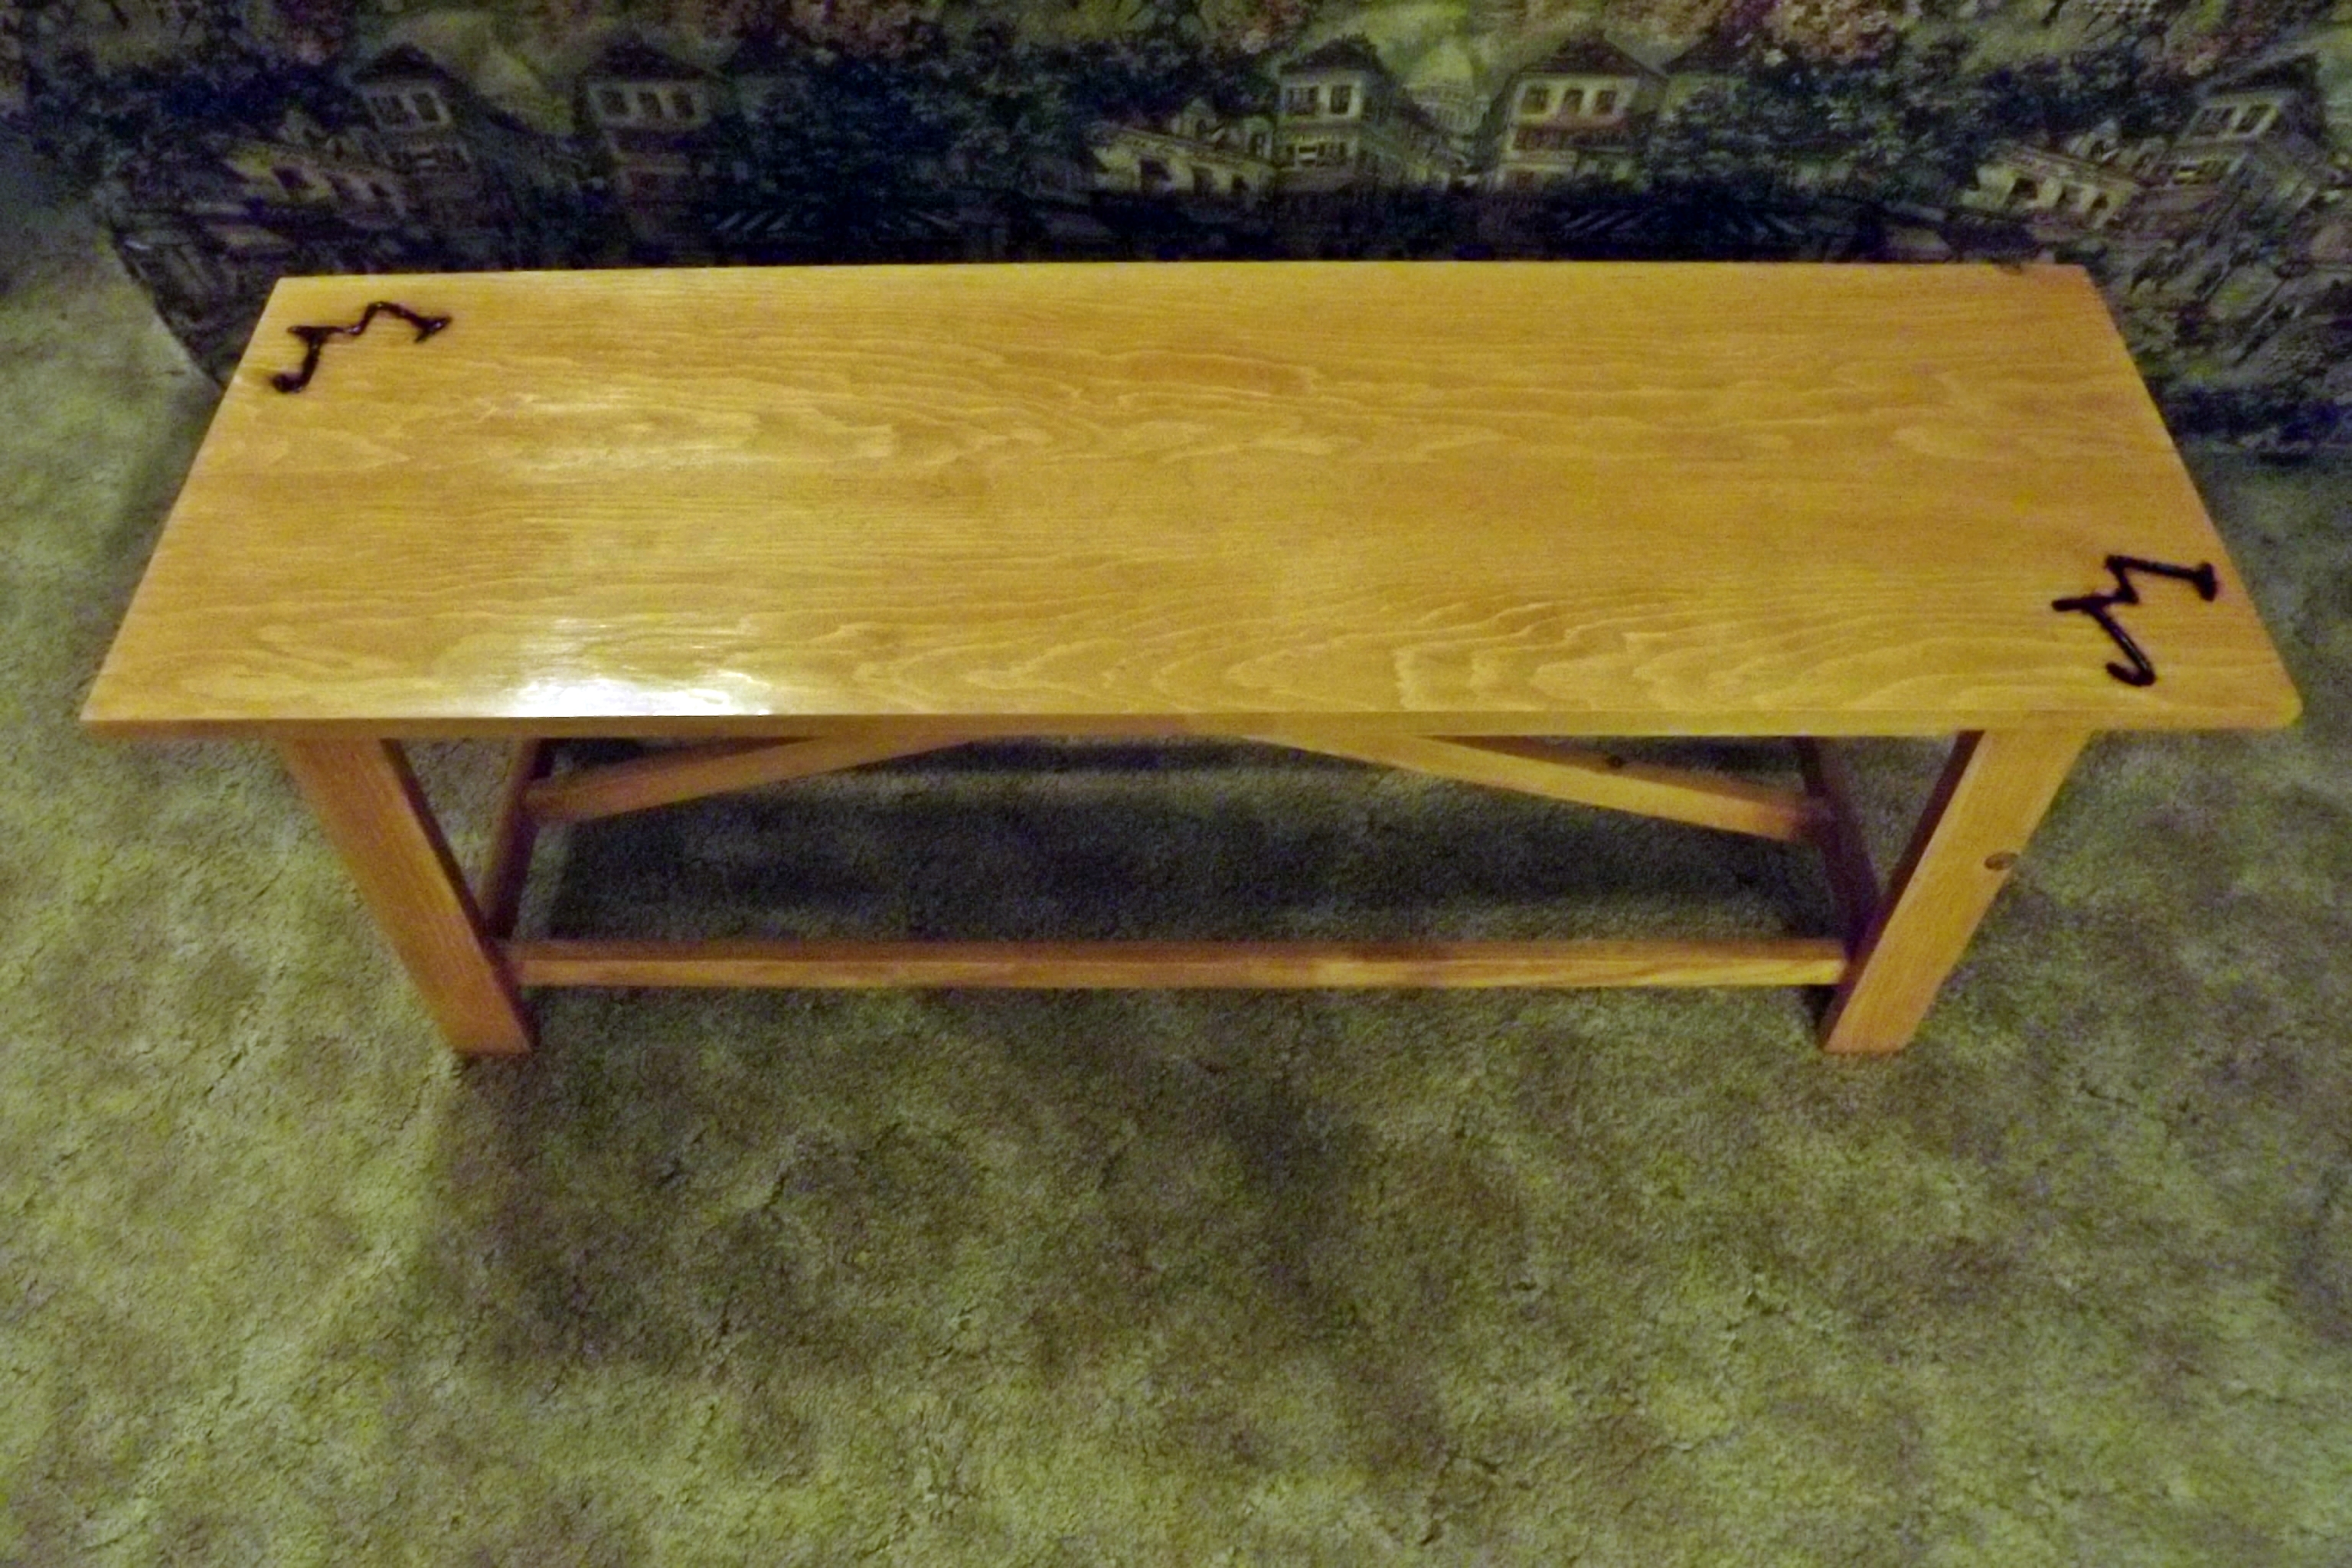
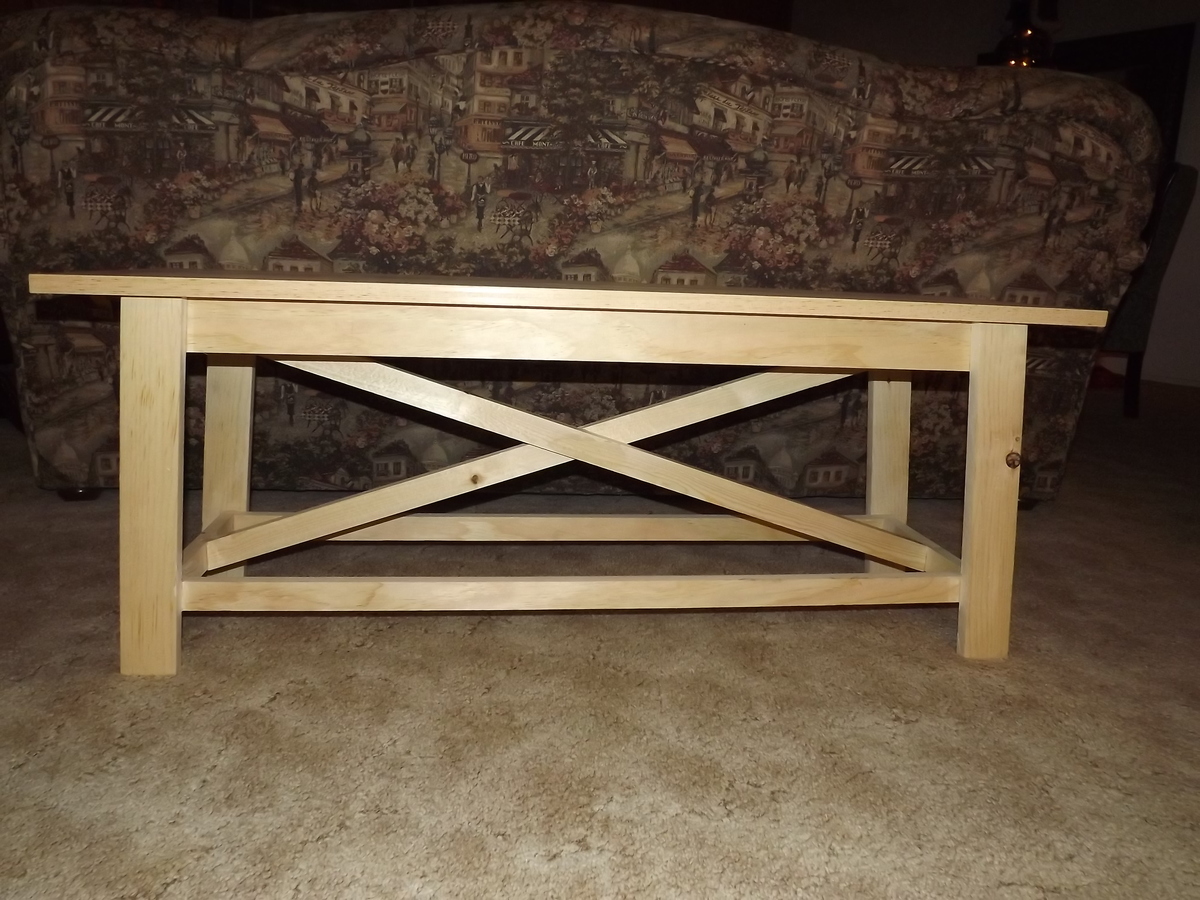
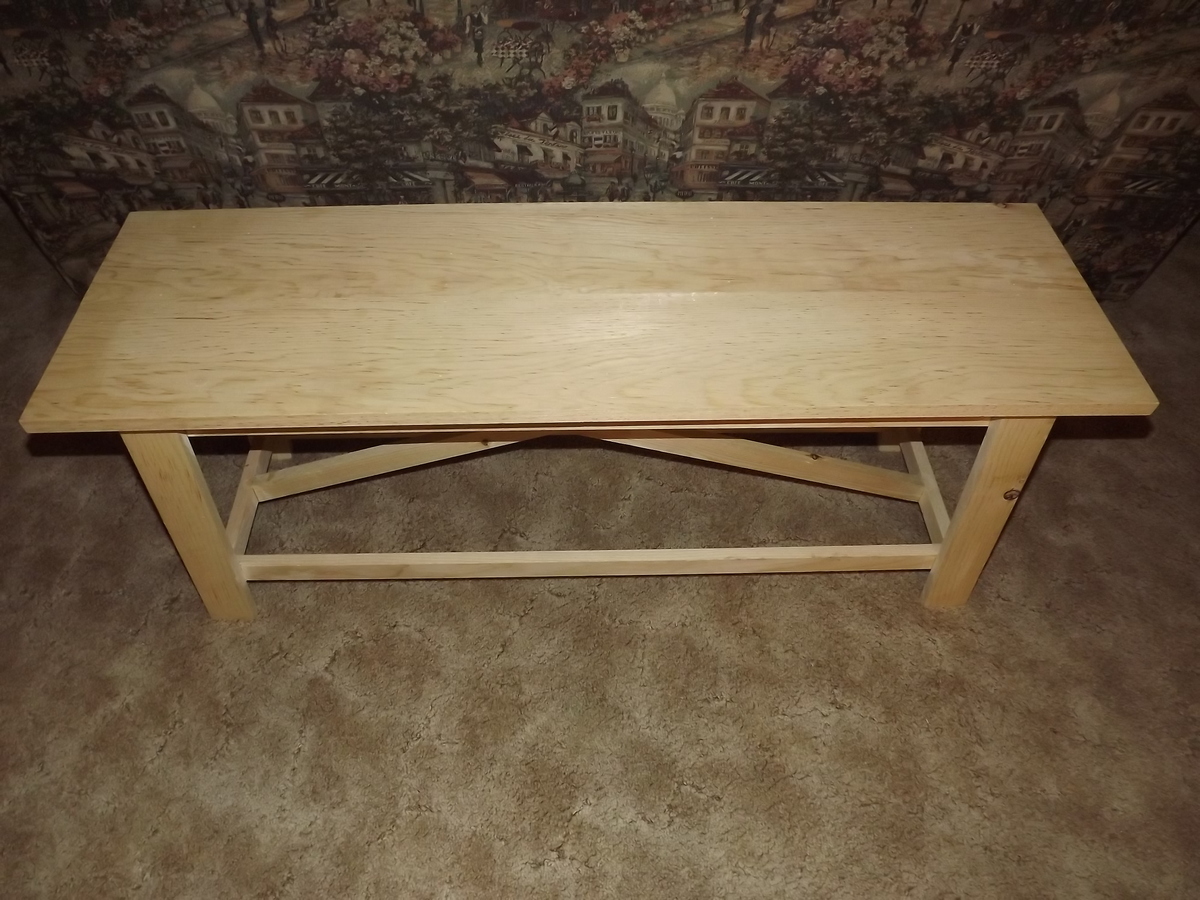
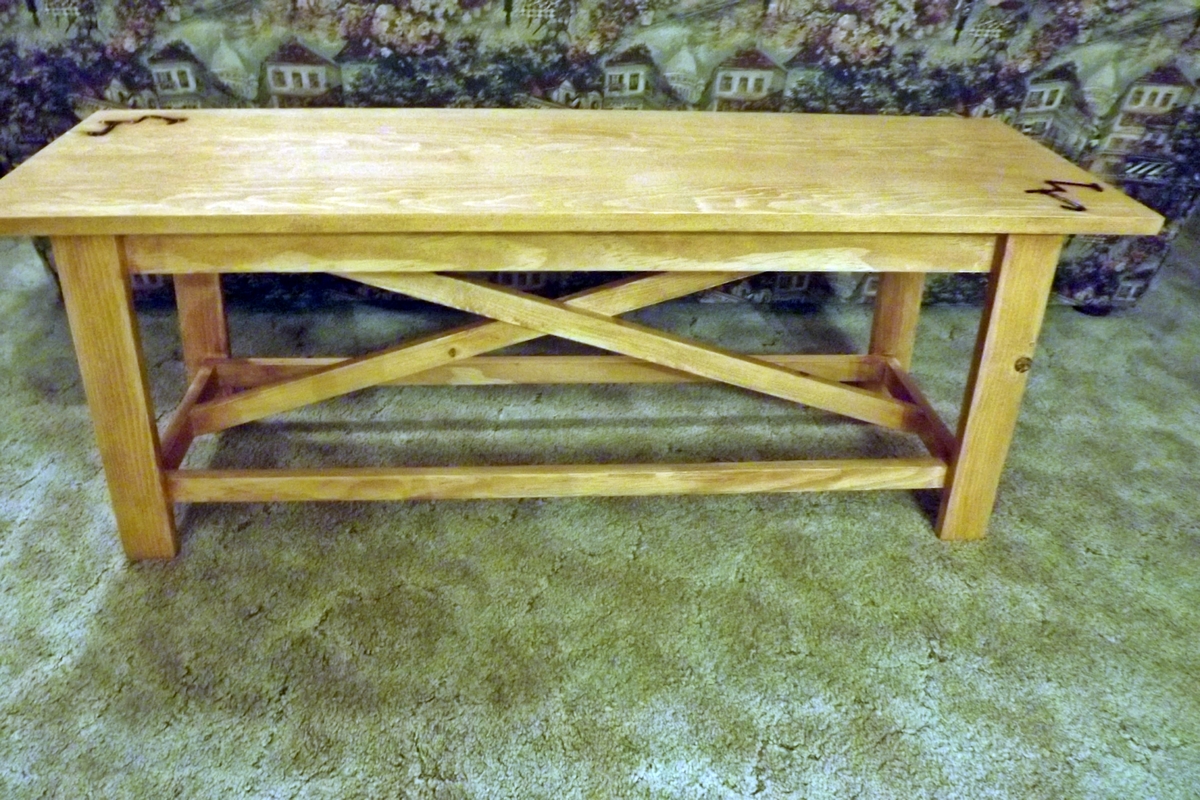
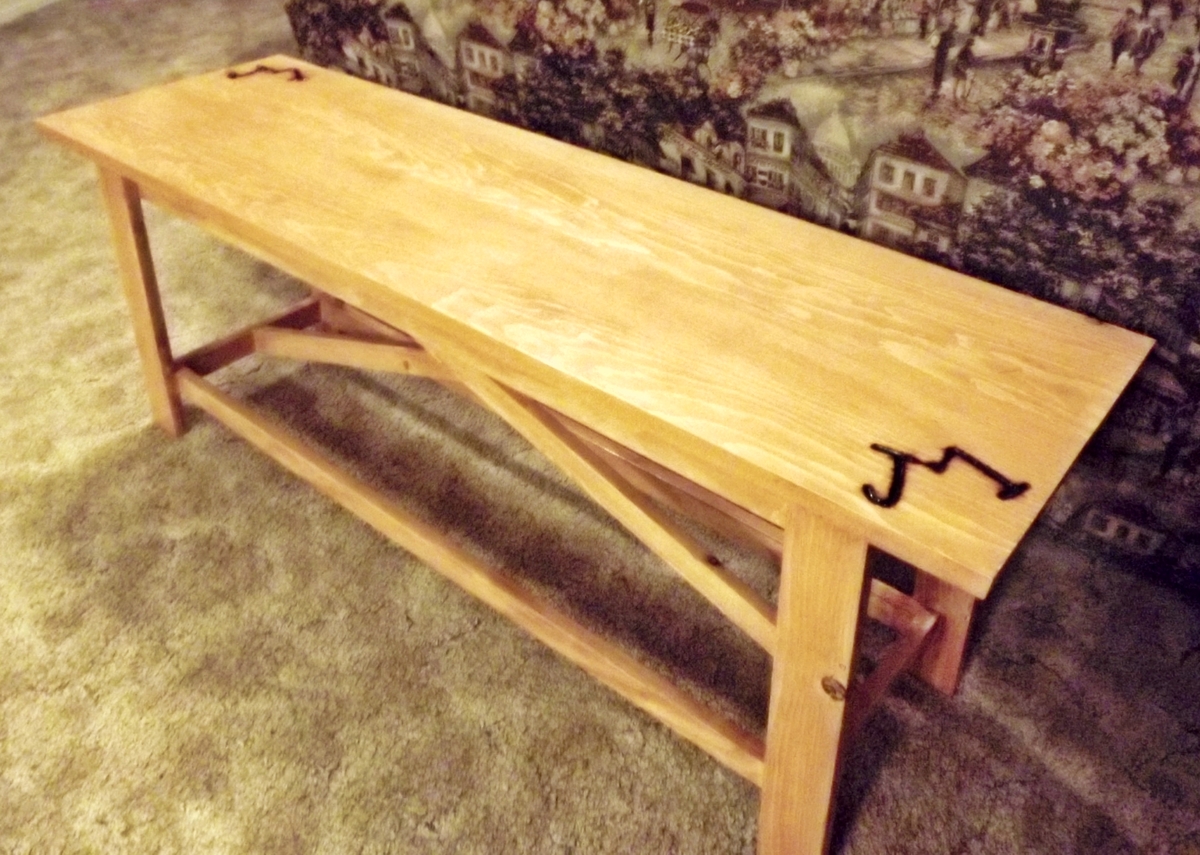
I built this bench for my son and daughter-in-law for their front porch. The plans came from The Handbuilt Home, and I followed them exactly. My daughter-in-law thought it would be cool to burn their brand onto the seat, which added a very personal touch, I think. Very happy with the way it turned out. Thanks for the easy-to-follow plans, Ana!


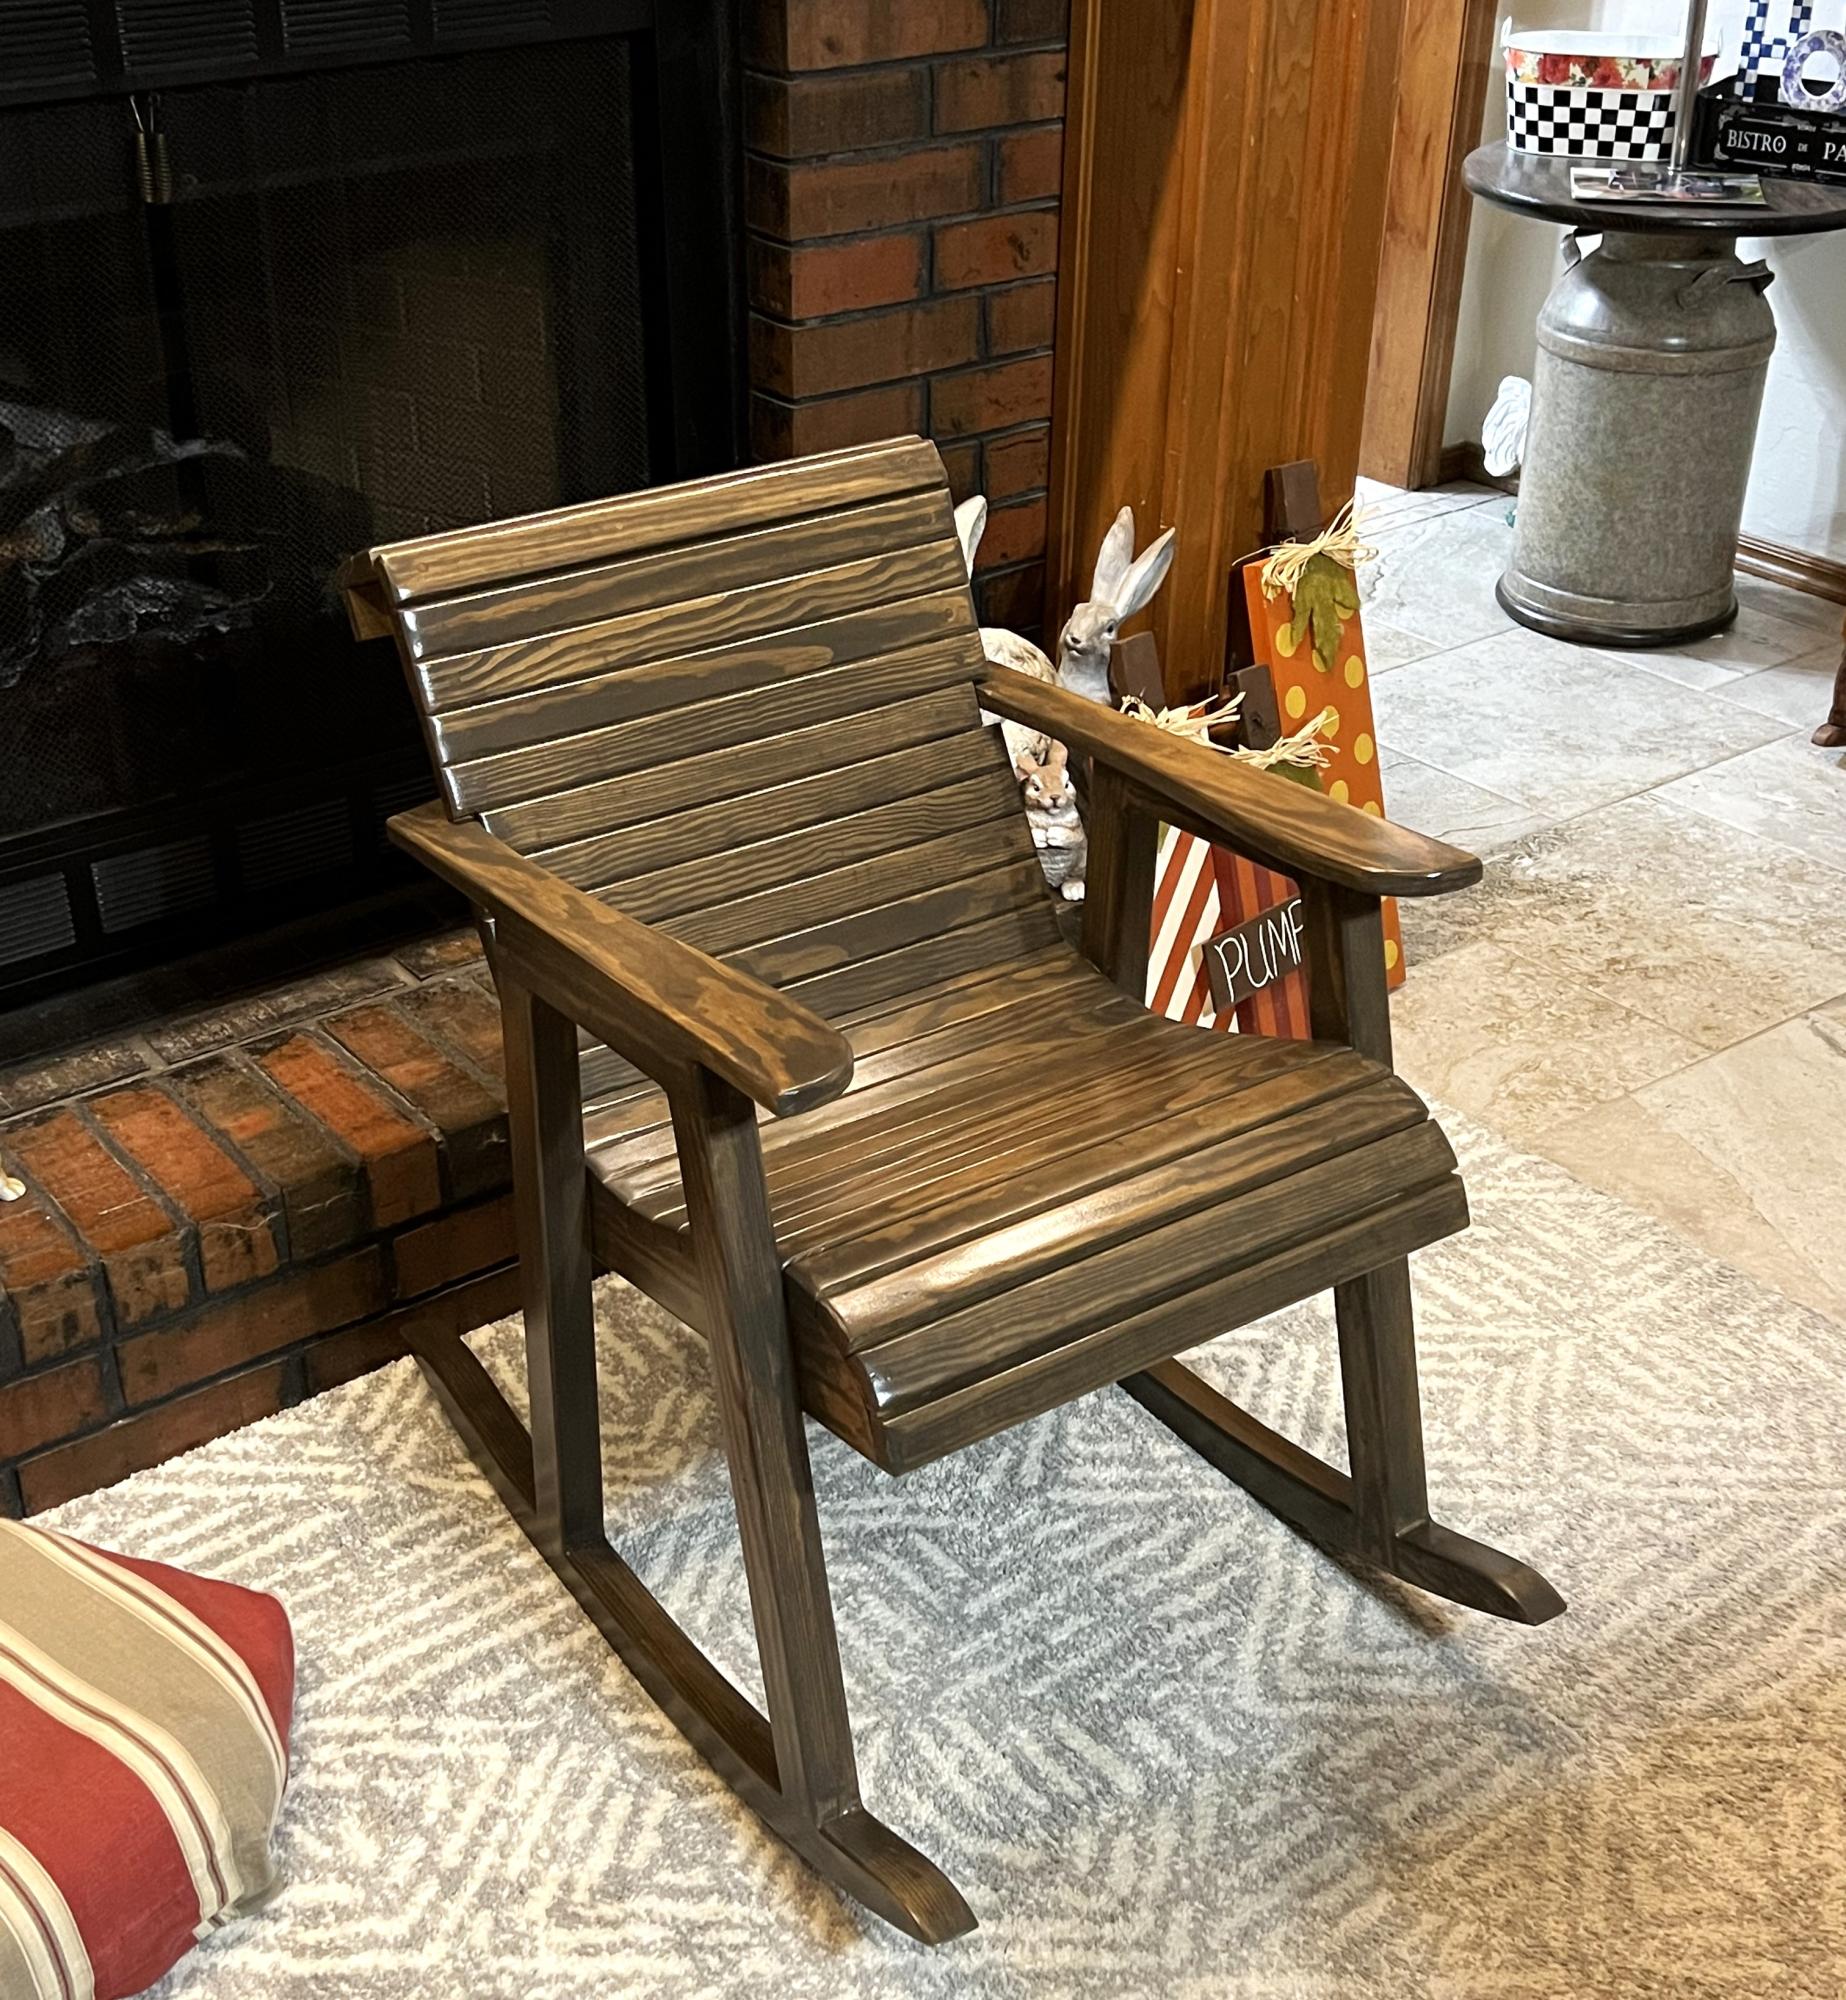
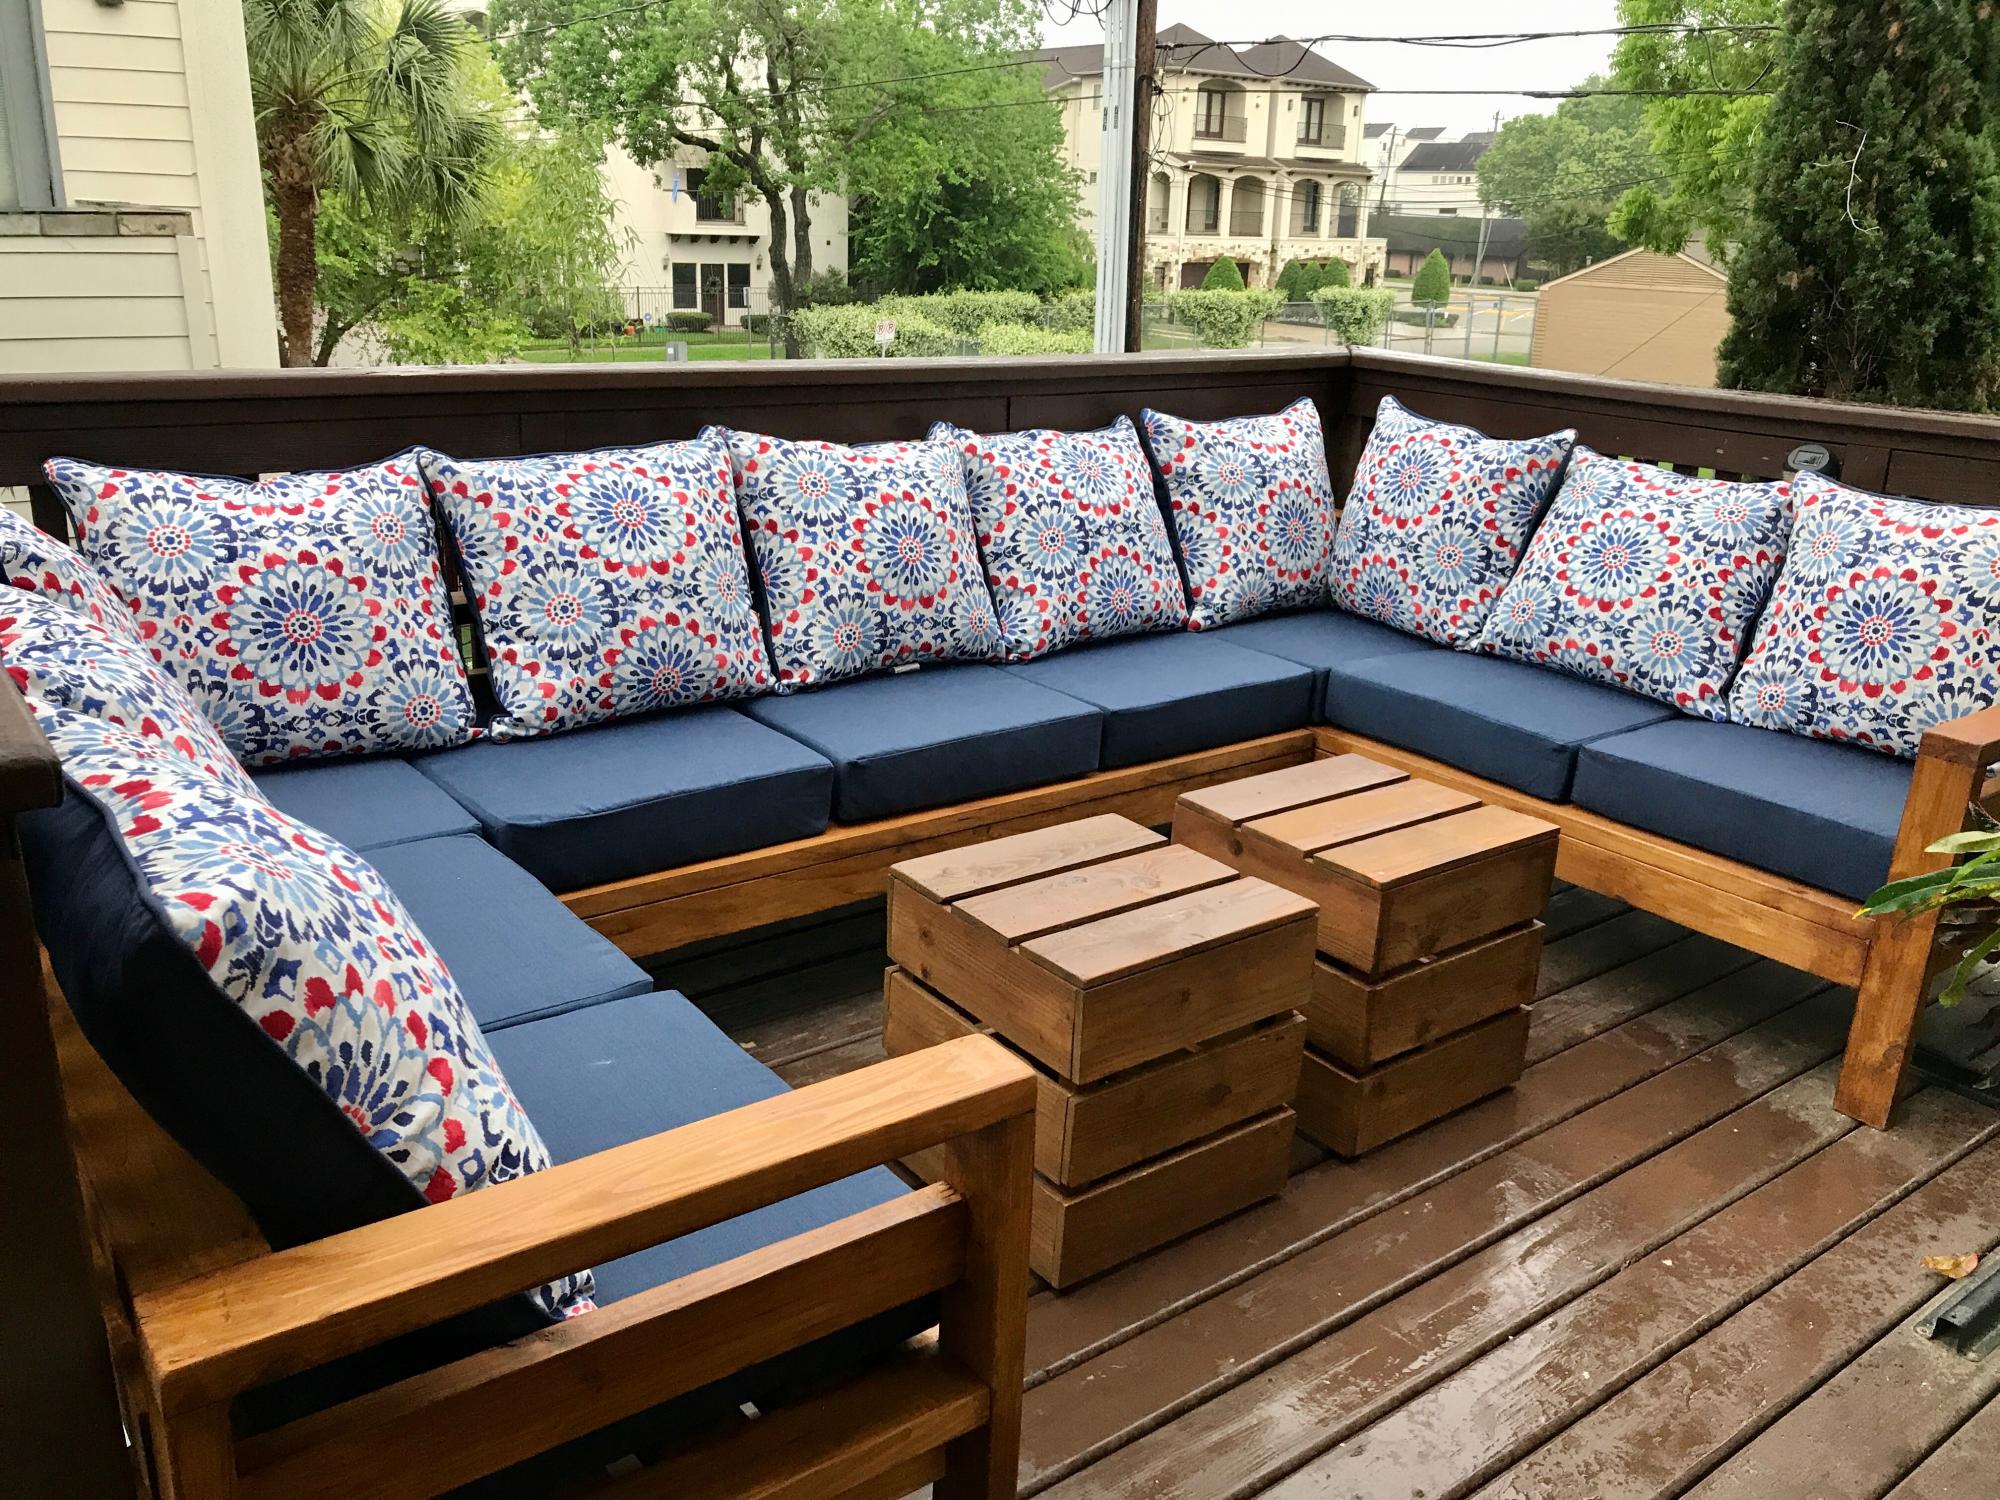
I wanted some outdoor furniture and after seeing the video, I felt that this was something I could so myself. I am very pleased with the outcome. It wasn't difficult and it looks great. Thank you! I had some 2 x 4's leftover so I decided to build a chair in the same style as the sofa. It looks like a set.
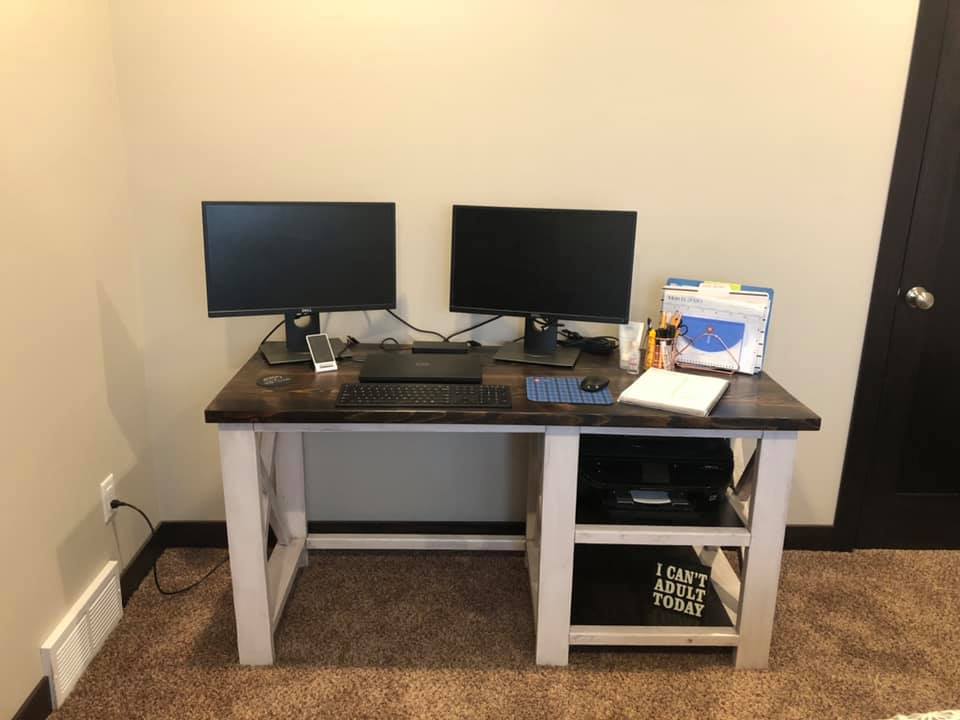
This was my first attempt at this desk and all things considered it turned out pretty well. I glued the top and shelves together instead of using pocket screws. I then stained the top and shelves expresso and used the expresso stain over the white paint on the base and then wiped it off to give it an aged look.

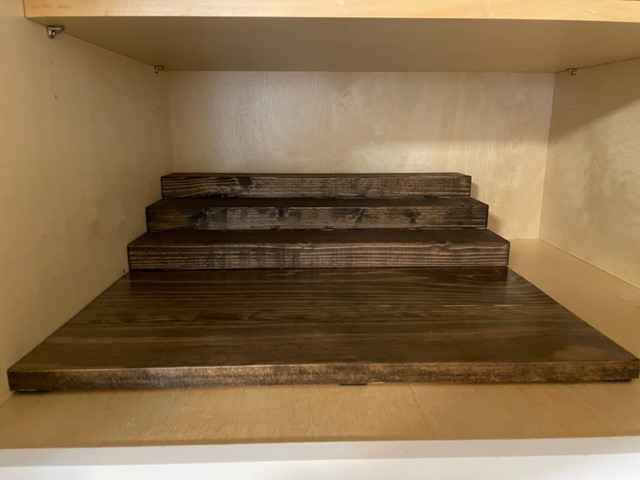
We were looking for a way to better utilize our cabinet space. Previously, our cans were all pushed in and we couldn't see what we had without moving things around. I Found Ana's tier can organizer and knew it was exactly what we needed. We repurposed a piece of stained plywood we already had and a couple of 2x4 pieces from previous projects. We did buy a 2x4x8 because we wanted to make it a 4-tier shelf. We stained it dark walnut and added felt pads to the bottom. Measures 22" D x 21.5" W. We love it and it makes our space so much more effective.
J Daughenbaugh
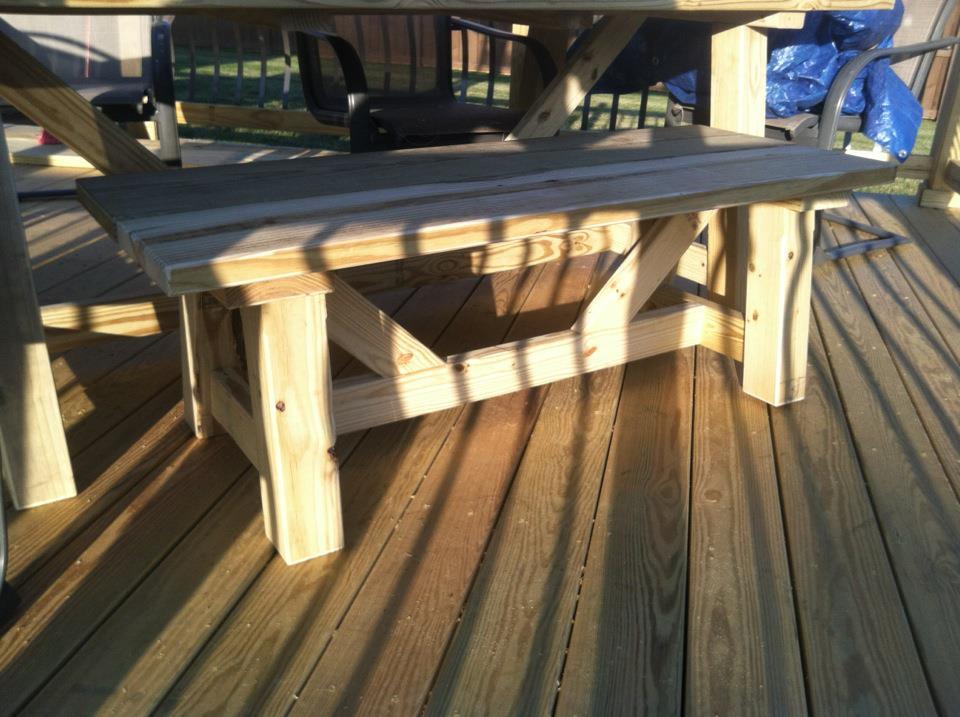
This is my providence bench made from left over scrap wood from our new deck. I used 4x4's for the legs. This bench is SOLID! It is also huge! We had five 6-7 year olds on it last night with room to spare.
Thu, 11/01/2012 - 20:04
I ended up just eyeballing it but the trick for me was nailing the short 2x4 in the center of the legs on each side. The short 2x4 was the only measurement that I remember changing. This bench has been climbed on, jumped on and beat up and is still as strong as the day I built it! Good luck with your build!!

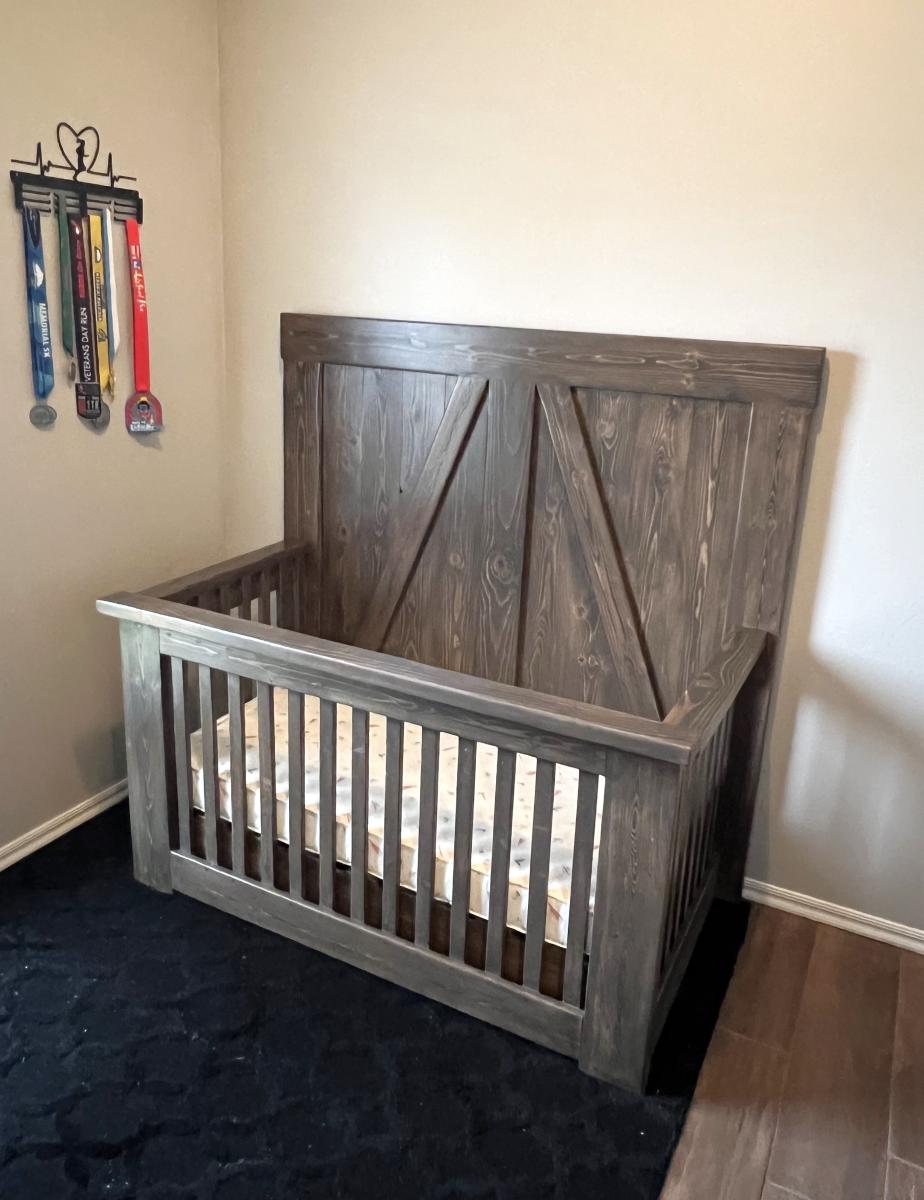
After buying our king size mattress we went to look at bedroom furniture and realized how expensive nice bedroom furniture is. So I decided to build a bed and night stand myself, and they turned out great and cost less than 200 for both projects! I'm now a do it yourselfers and looking forward to more great projects!


Sat, 01/10/2015 - 07:35
What boards did you use for your side tables? Did you purchase extra just for them or are the left overs from the bed? Do you be chance have the demotions of the tables? They look awesome!
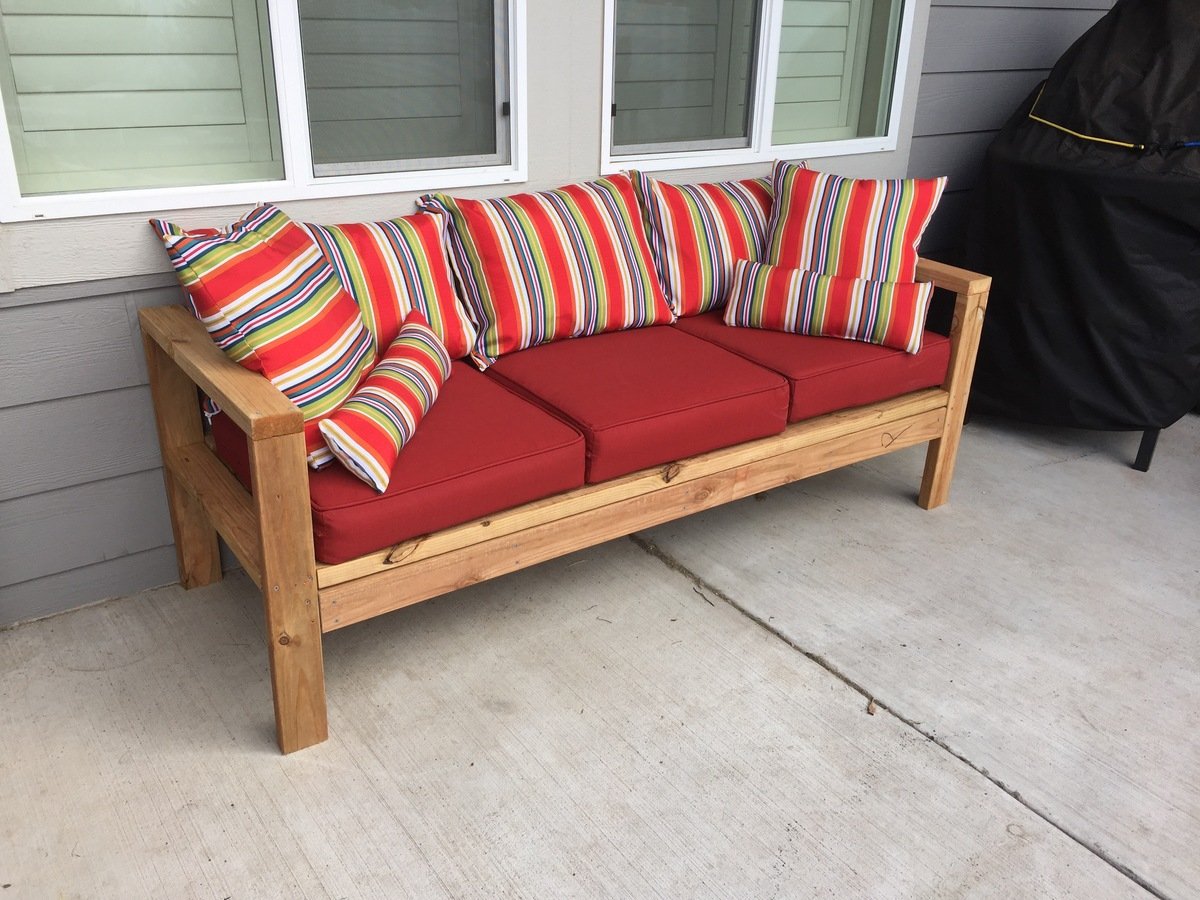
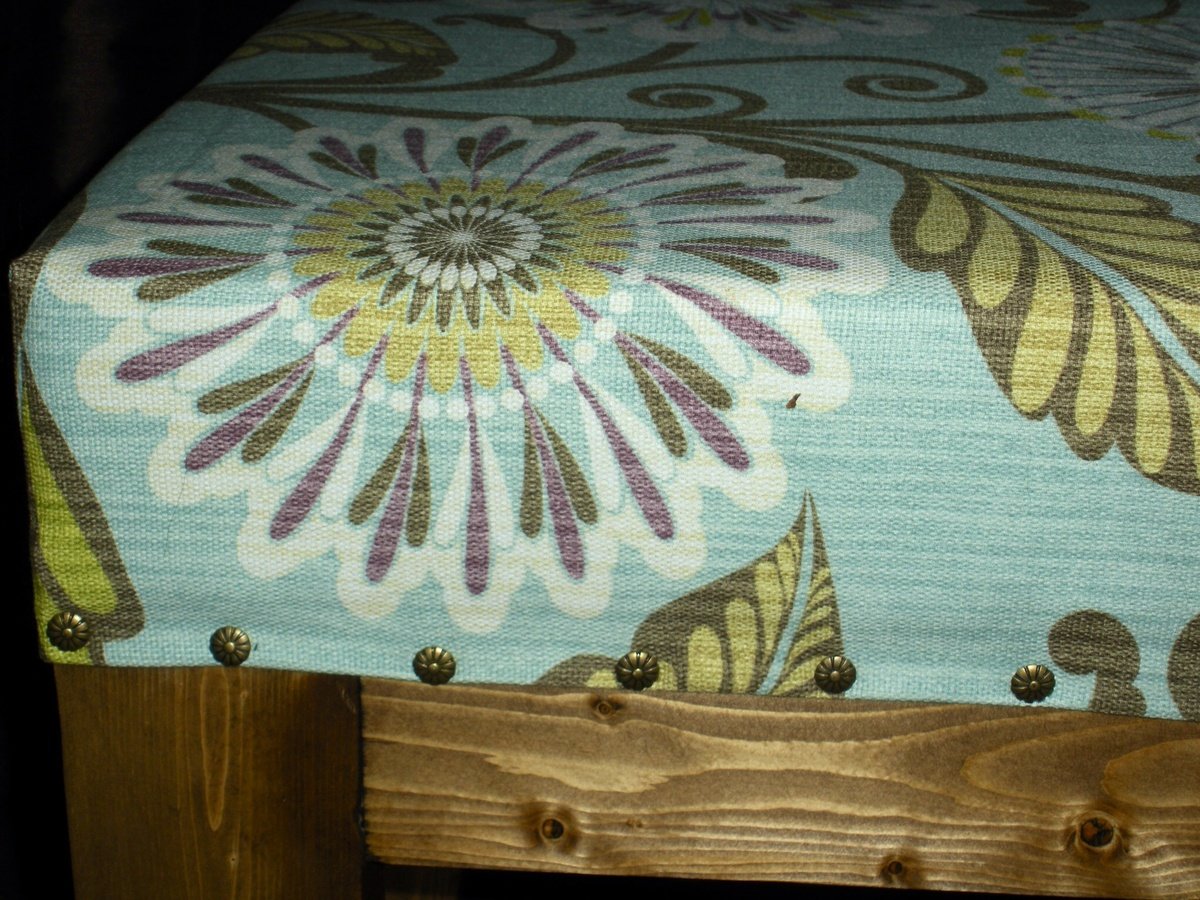
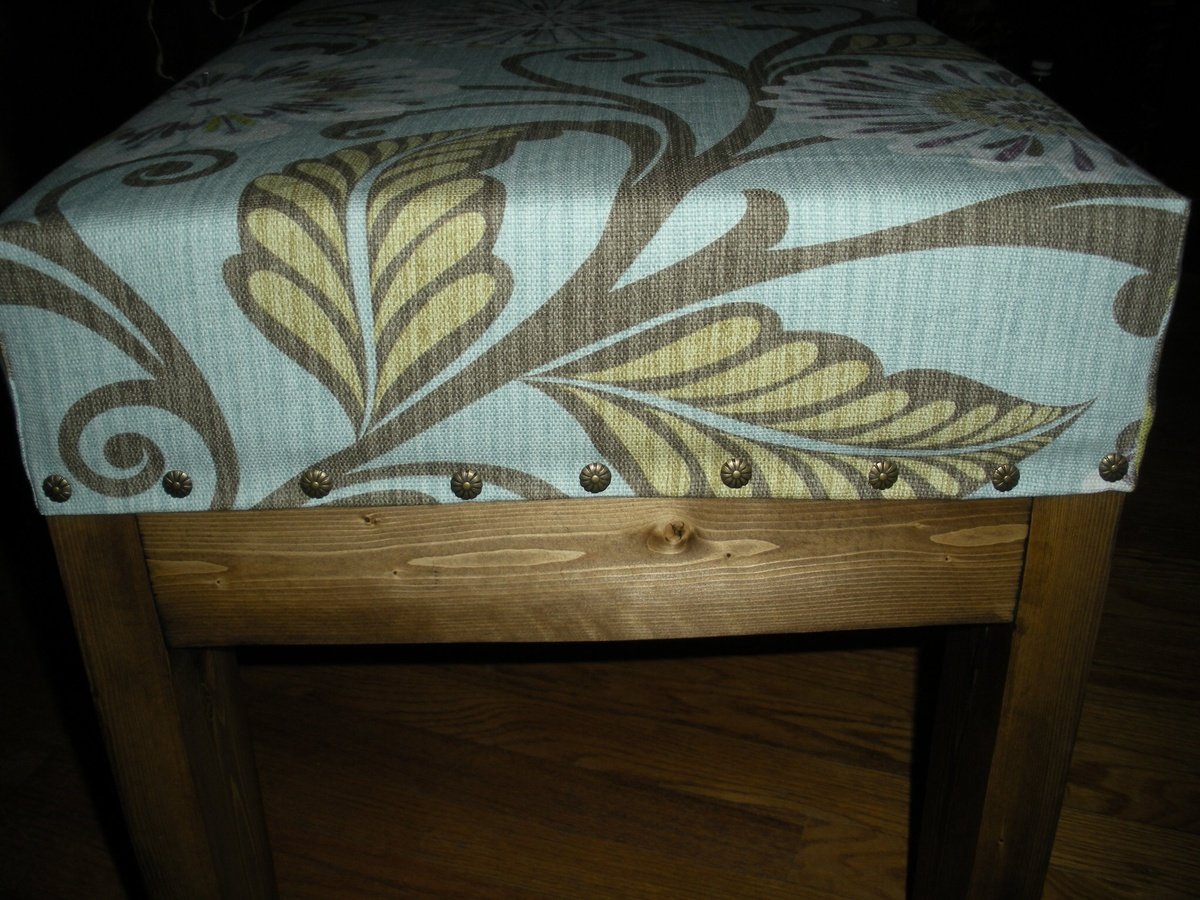
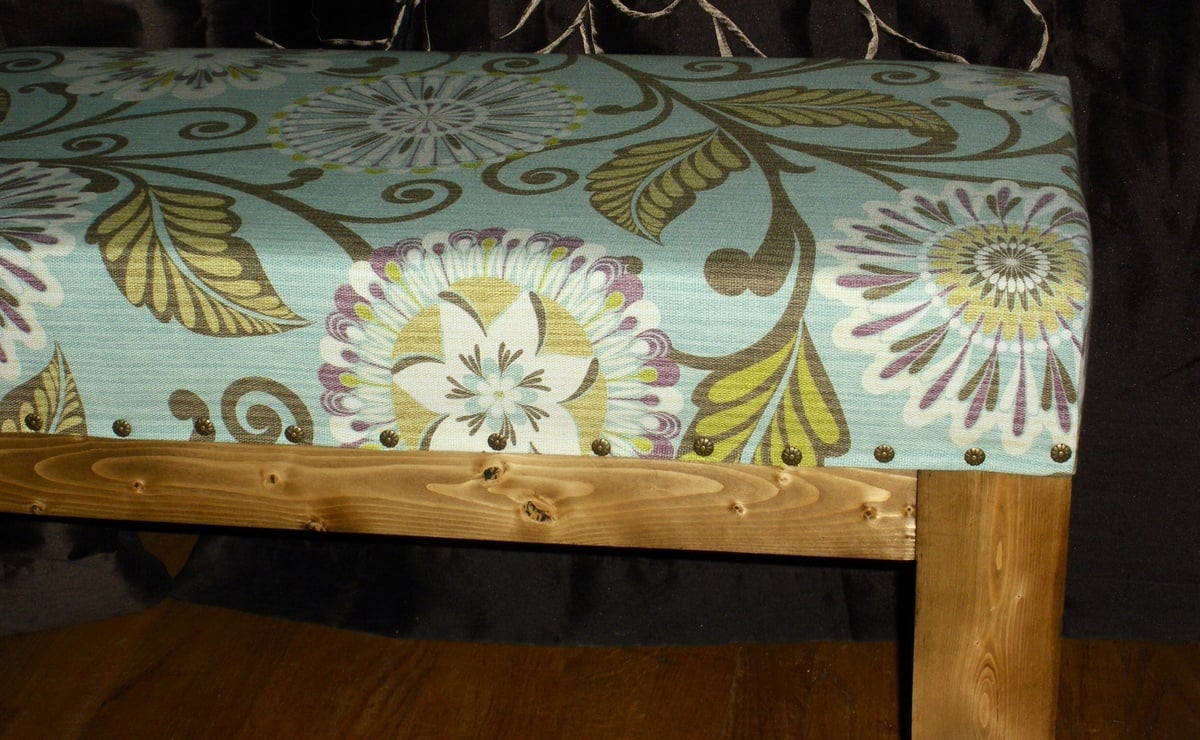
This is the first thing i have made using 2x4's. the plans were very easy to follow. it cost me approxmently $100.00. I made the stripe pillows from fabric i have had.
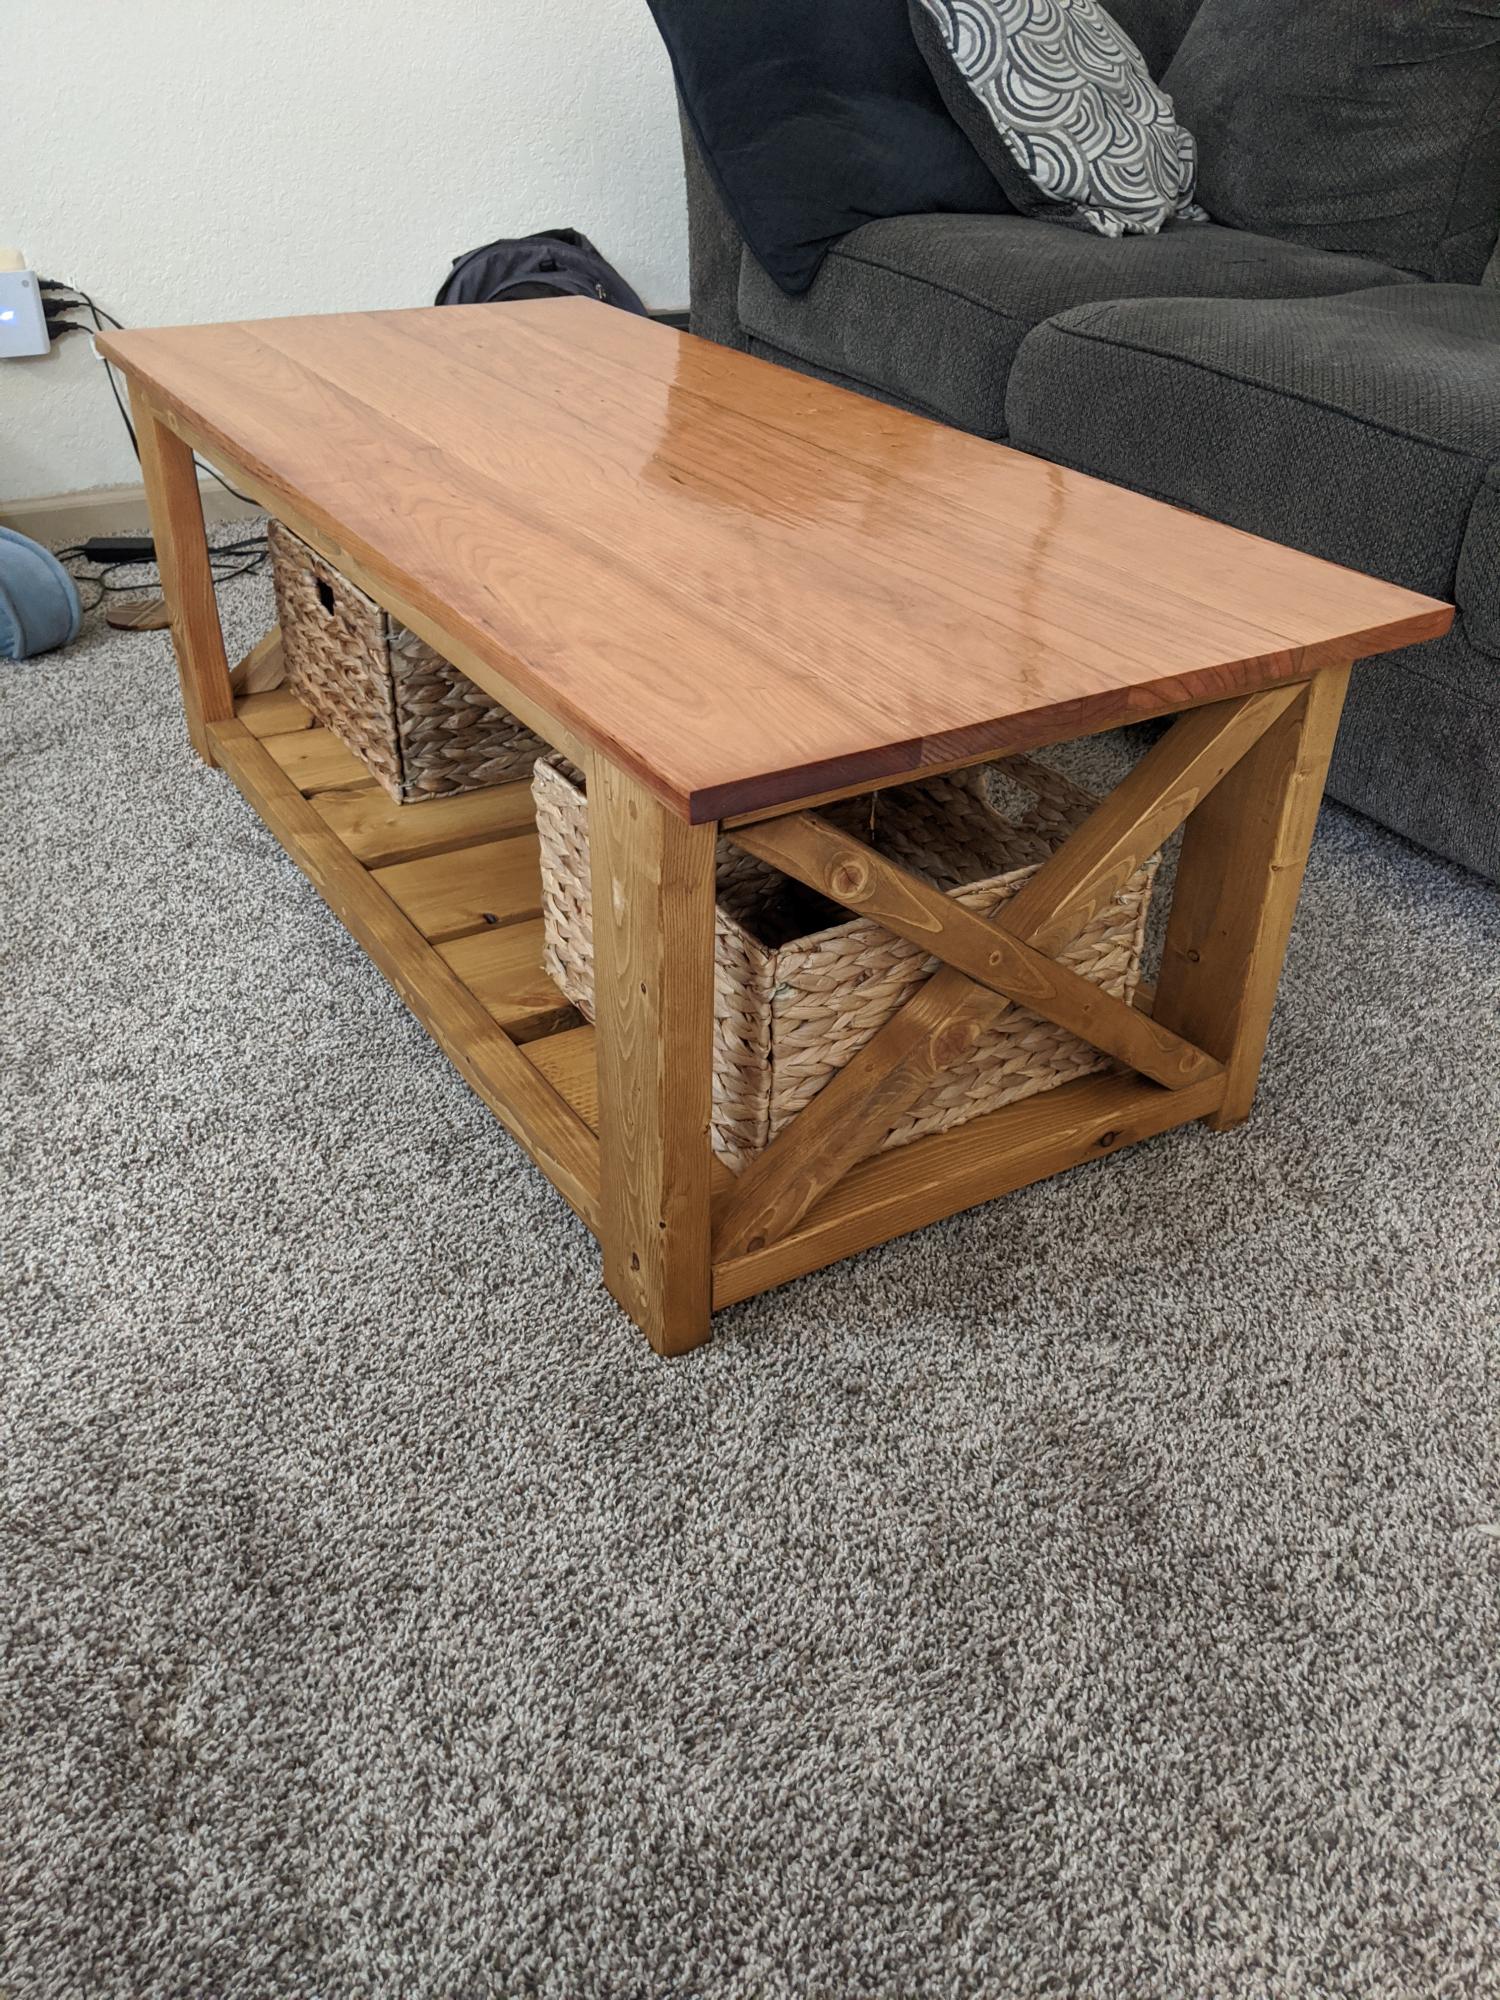
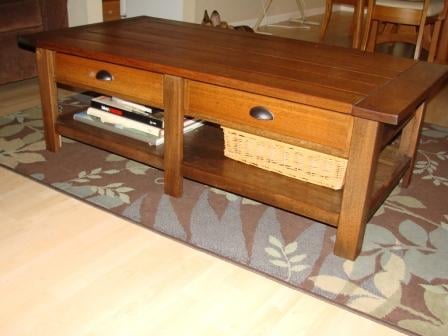
I built this table from the Farmhouse coffee table plans. I did a couple things different from the original plans though. I used Cherry 1x6 planks that I epoxied together for the top and I epoxy finished it as well. For the framing I still used regular construction pine and the golden oak stain. I also pre-drilled all screw holes that would show and plugged them. We also found baskets that look nice for decor and storage. This is the first piece of furniture that I have made and I am very happy with how it turned out! Small disclaimer this project did cost a bit more because of the epoxy and the cherry planks and it also too a considerable more amount of time because off hole plugging and epoxy process/ plank fitting.
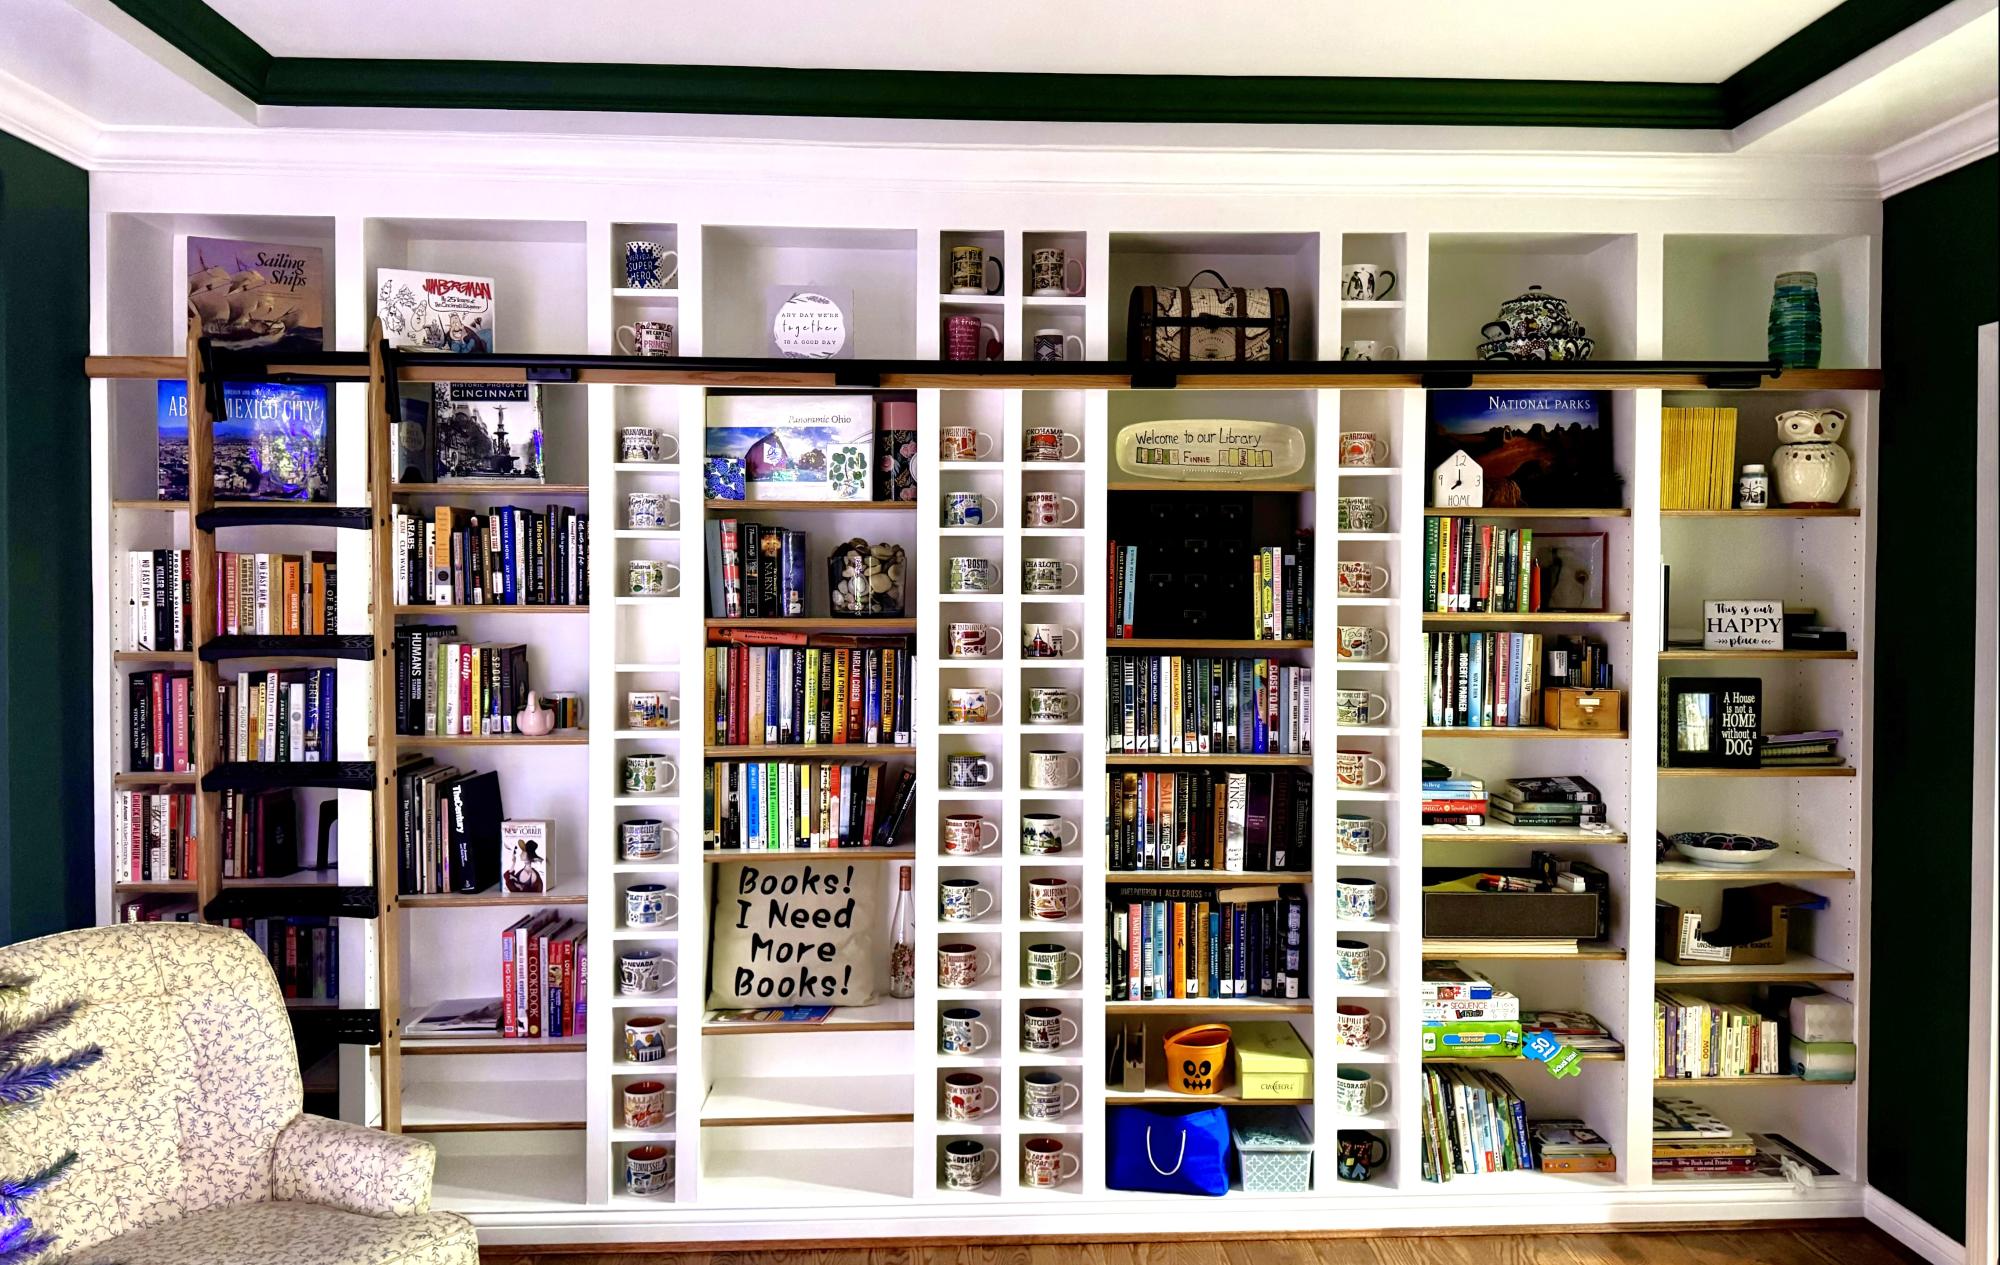
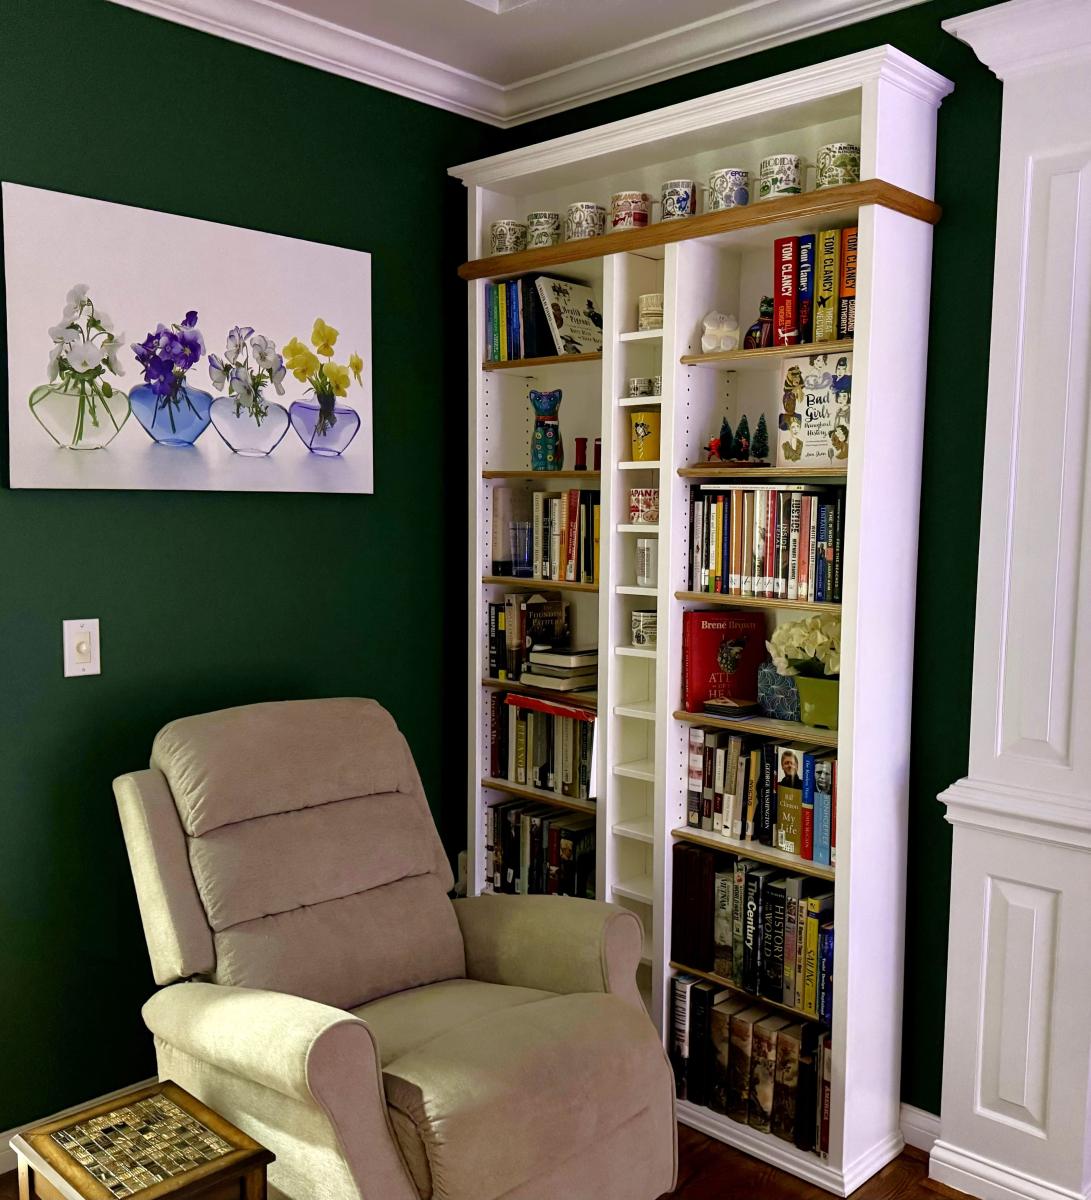
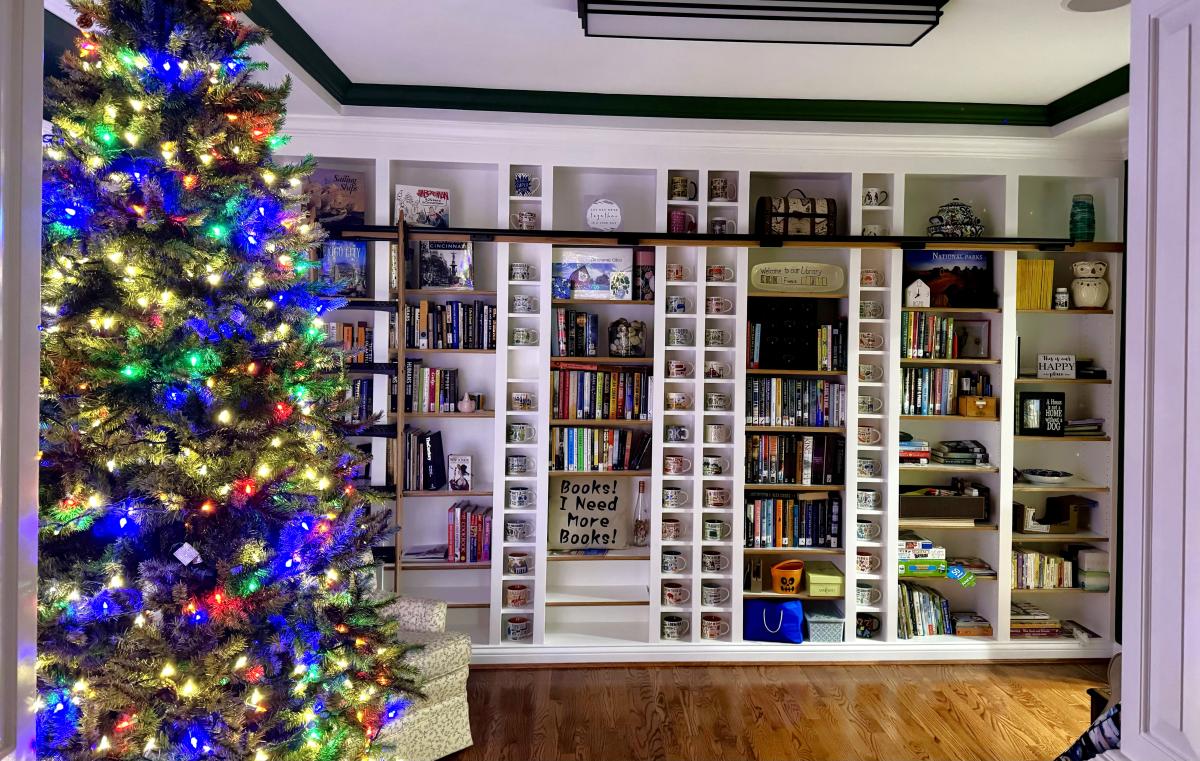
These bookshelves are modified from the Extra Wide Console Bookcase Plans from your website. They were constructed using 3/4 inch plywood for the bookcases, 6” MDF boards for the cup cubbies, and 1/2 inch plywood for the shelves. Purchased a jig from Rockler to drill the 1,000+ shelf holes and built the rolling ladder from oak using the plans and parts from Rockler. What began as a plan for a simple bookcase morphed into selling the dining room furniture and converting the room (which we had only used once in over 2years) into a library that we enjoy every day!
I was initially very intimidated by these plans due to the drawers, but I have a great, handy dad who offered to help with the drawers. The wood is all recycled, most of it my dad has been hauling around for nearly 40 years and finally had it all milled this past year. With the offer of free wood, I couldn't say no! The plans worked great. It took a very long time as I have limited hours to work on and my dad is a sanding nut! I am more into rustic, worn look and my dad more fine wood working...so I had to keep assuring him it was just fine like that, and move on already.
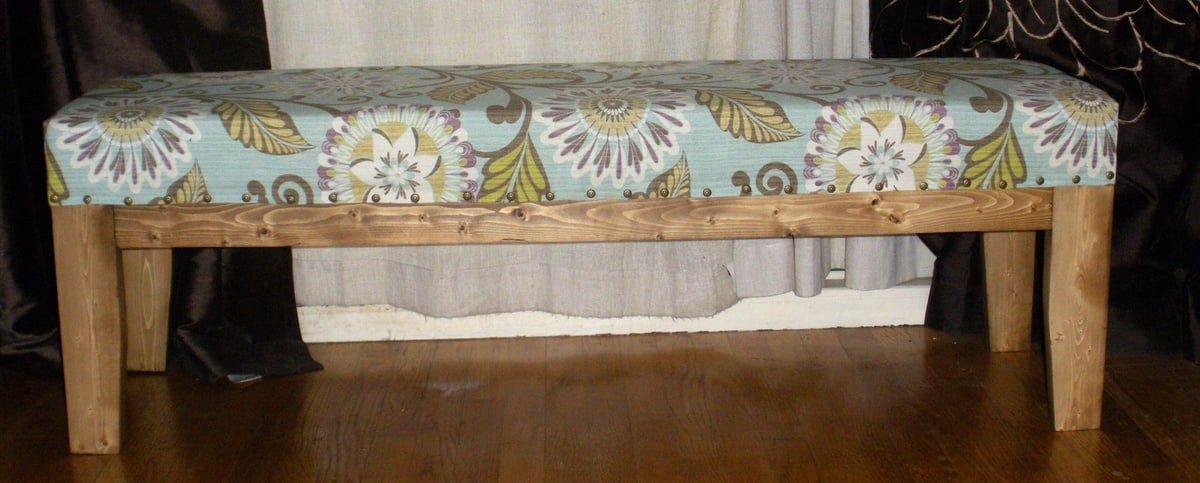
This was a very simple and fun project!!! One of my favorites!! Plus I learned two new DIY SKILLS......upholstery & tapered legs!!!

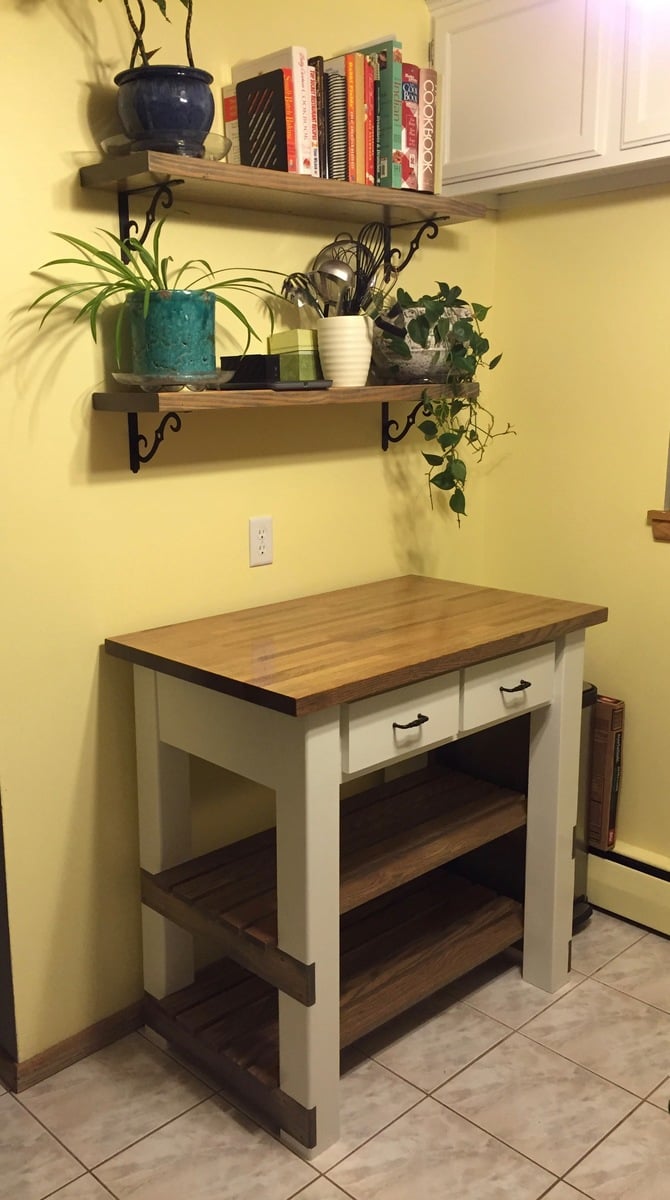
My wife and I wanted to replace an ugly metal wire shelf in our kitchen, fortunately Ana had plans for a nice-looking kitchen island! The two new challenges for me with this project were the notches for the shelf supports, and the drawers. I was able to figure both out and am glad to now have those skills in my toolbelt. The top was a pre-made red oak board from Menards. The other shelves are red oak, the rest of the frame is pine.
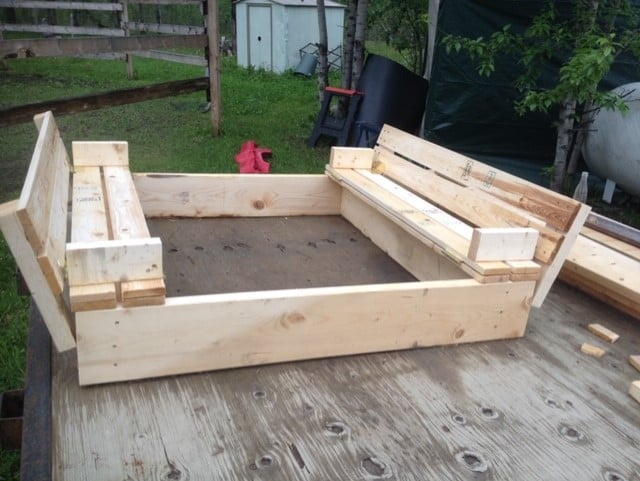
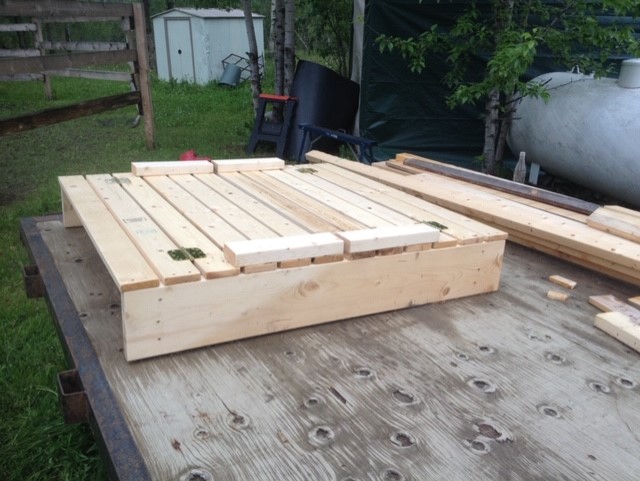
I built this sandbox for my kiddo's because we have cats! It was great. Easy to build, great plans for it.
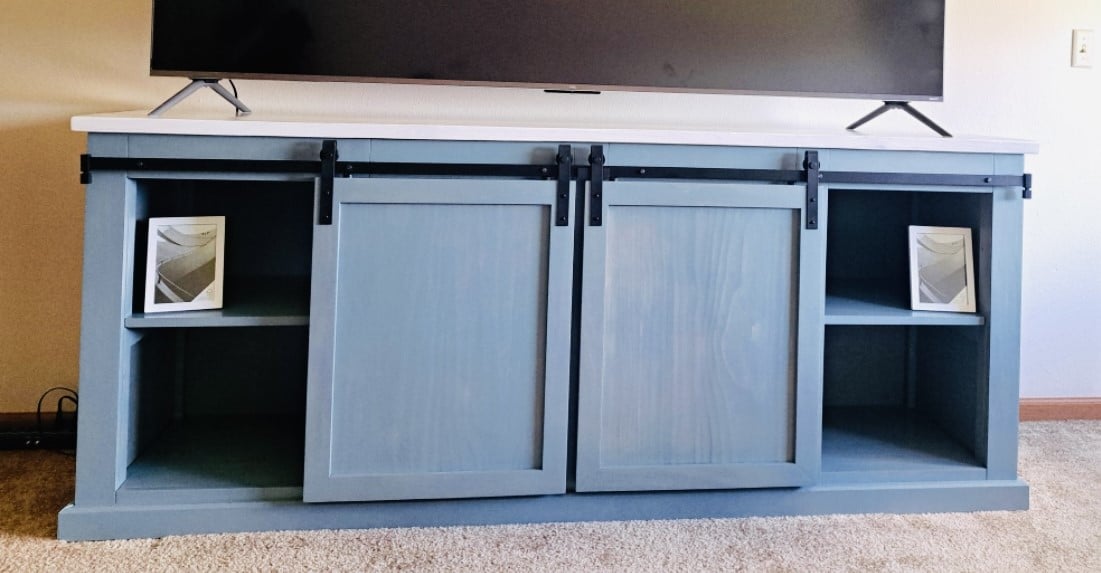
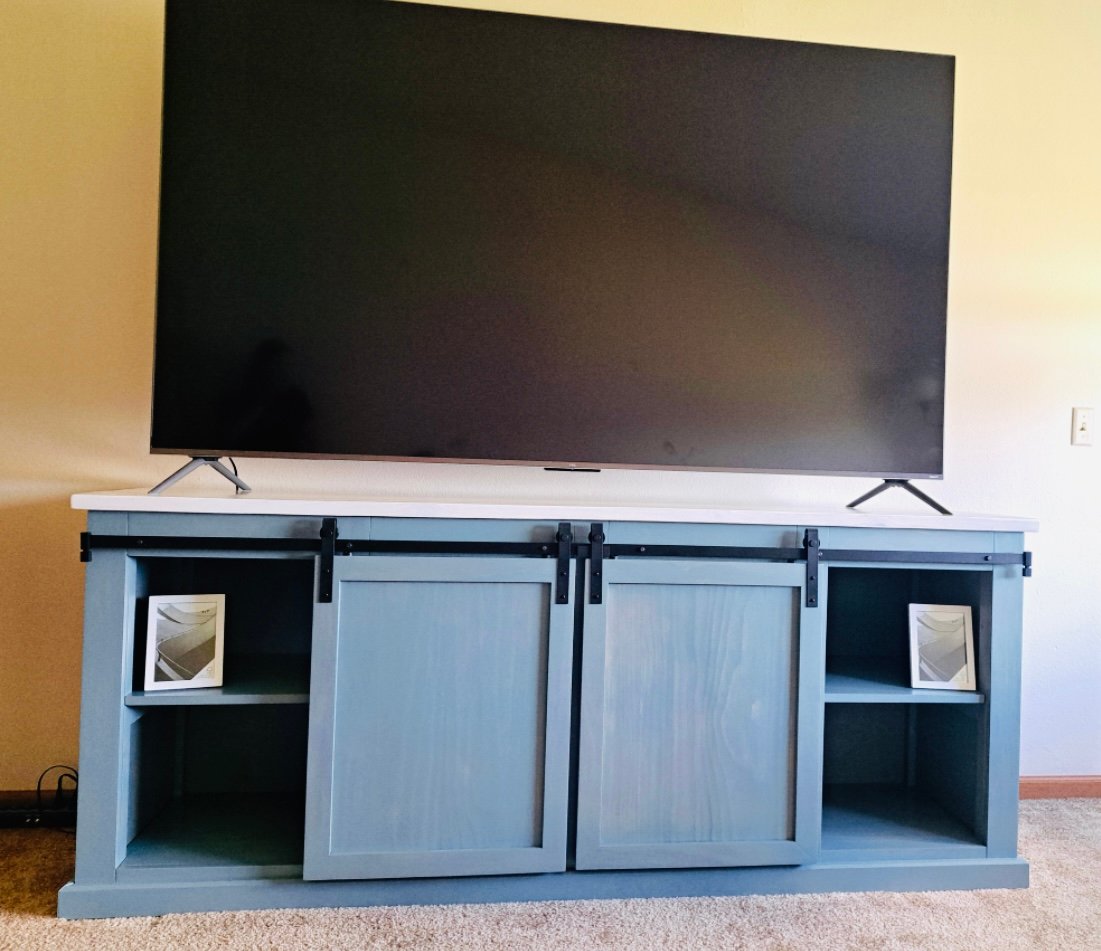
Our grandson needed a tv stand for his new apartment. They liked the plan from your website and this is our version.
Steve Mawhorter
Sat, 11/18/2023 - 13:31
Love your finish choice, it looks amazing! Thanks for sharing.
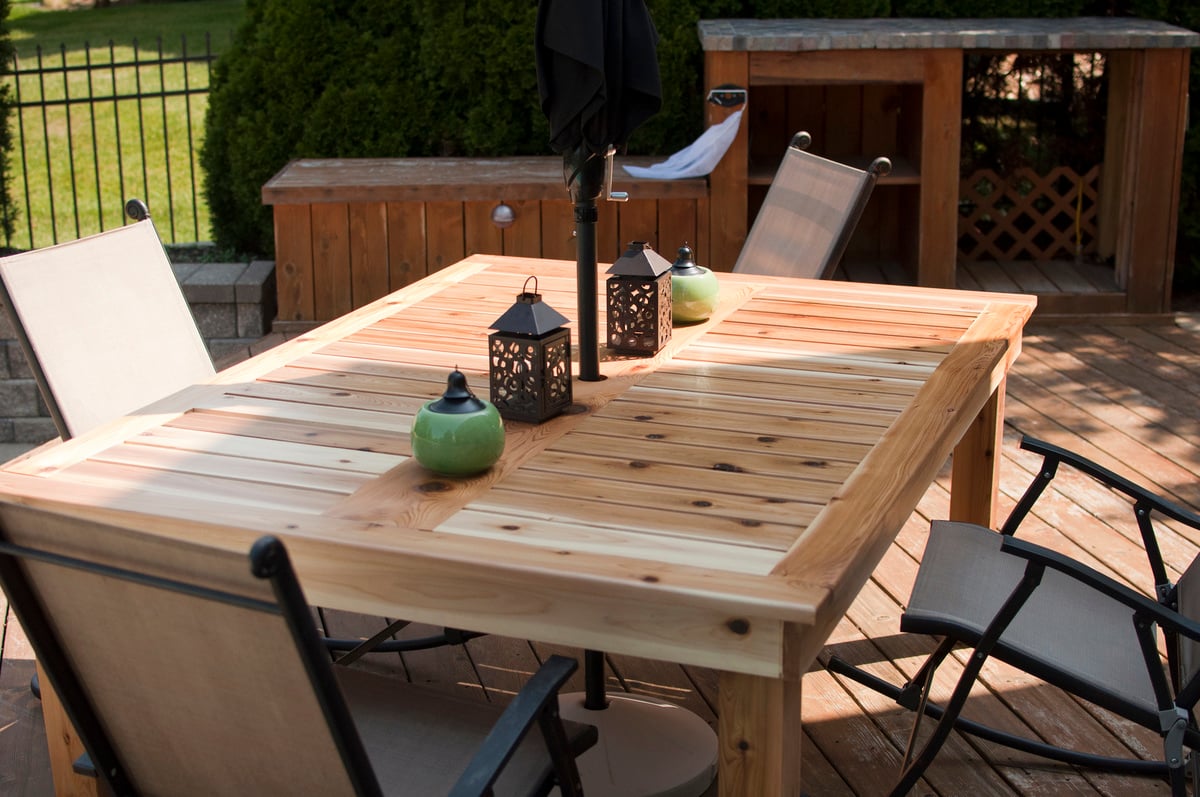
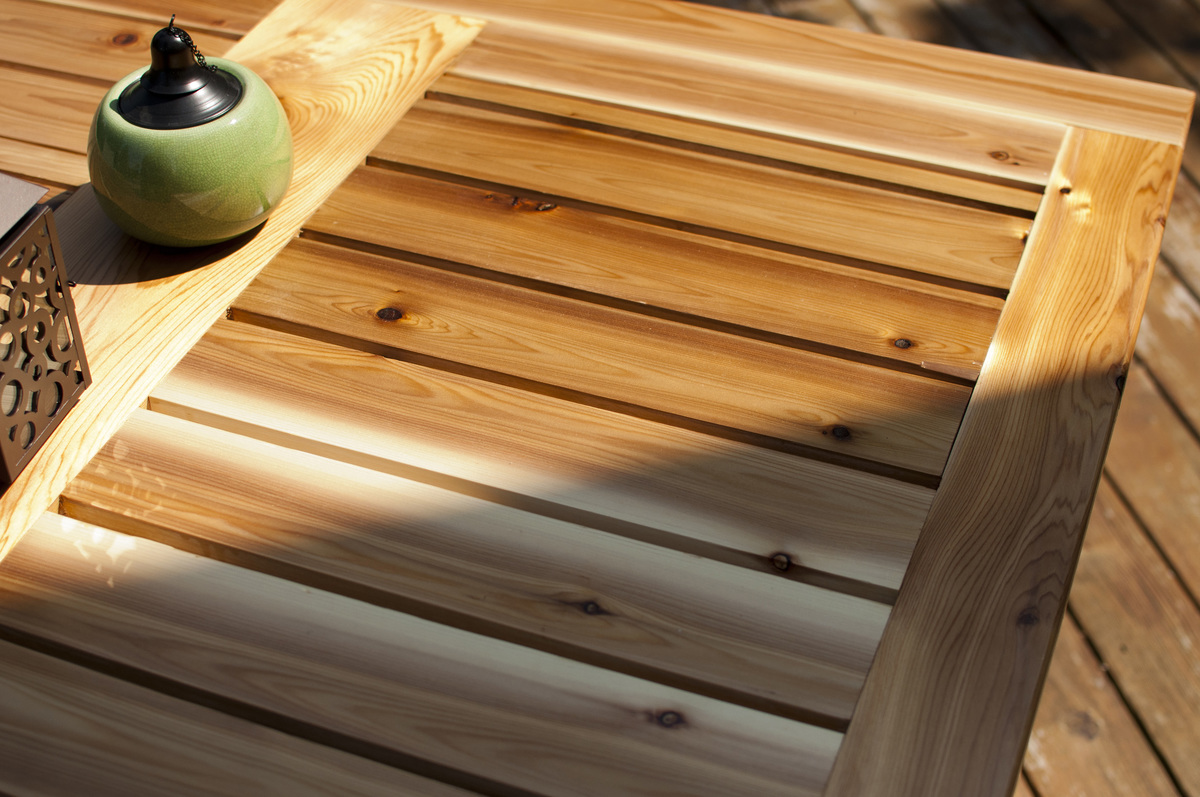
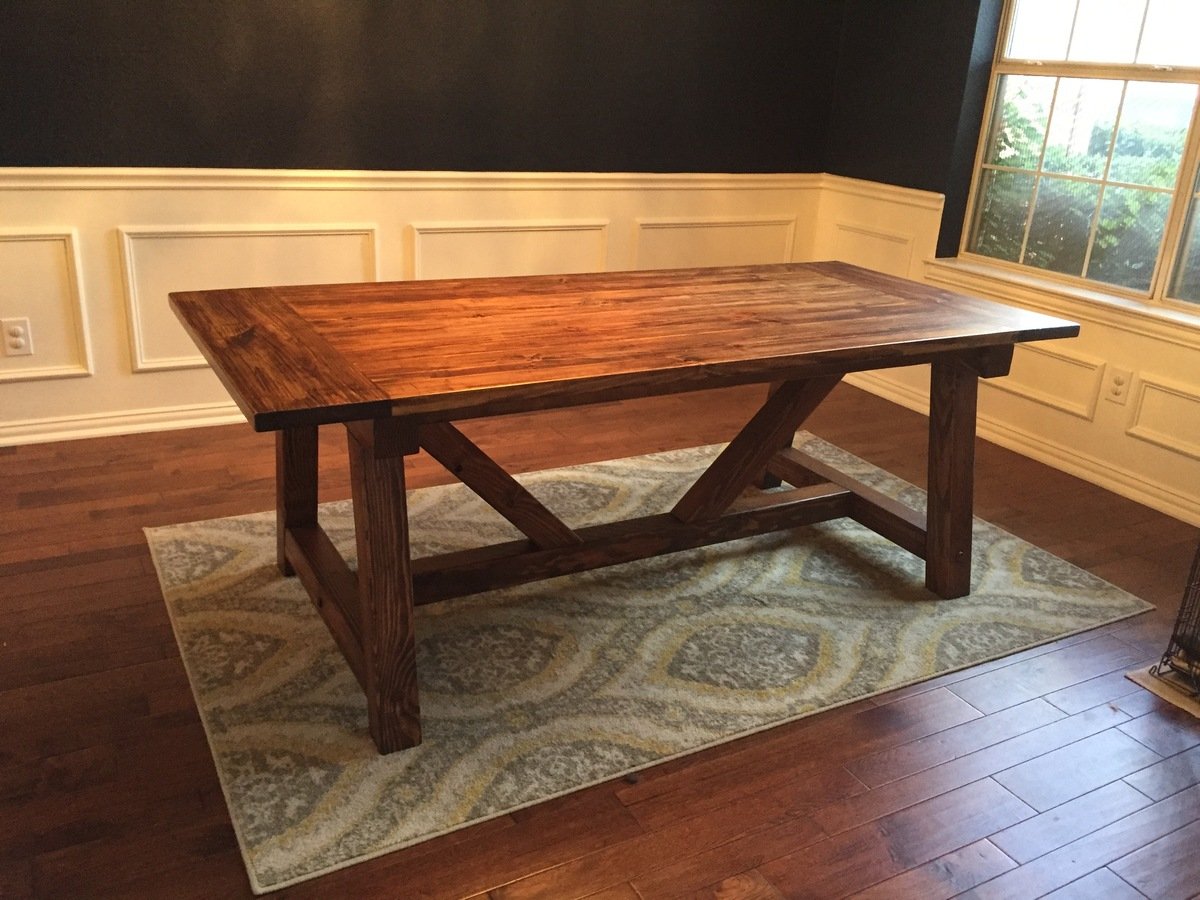
This table was made with Cedar but the base was pressure treated wood. The legs were Cedar 4x4s and very sturdy. I used a mix of designs and altered each to fit my needs. Getting the lumber from a lumber yard vs. big box cut my costs in half. Used stainless steel finish screws, Kreg Weather Treated Screws, and Deck Screws.

Sun, 03/17/2013 - 16:23
I love this! I'm planning on starting this project once the weather warms up and I was wondering if you could tell me how you attached the legs to the table top without visible bolts.
Sun, 08/11/2013 - 22:45
Absolutely Gorgeous! The photography is stunning as well! Great make!
Tue, 07/08/2014 - 17:02
Very nice looking table. I'm looking to make similar. What are your dimensions? I like the plank in the middle. Tks.

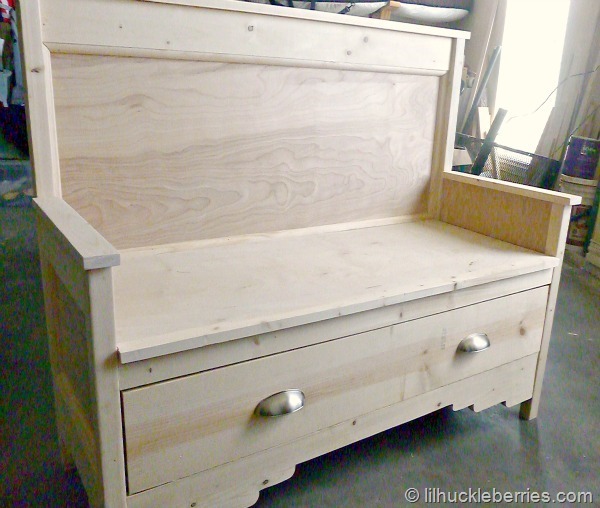
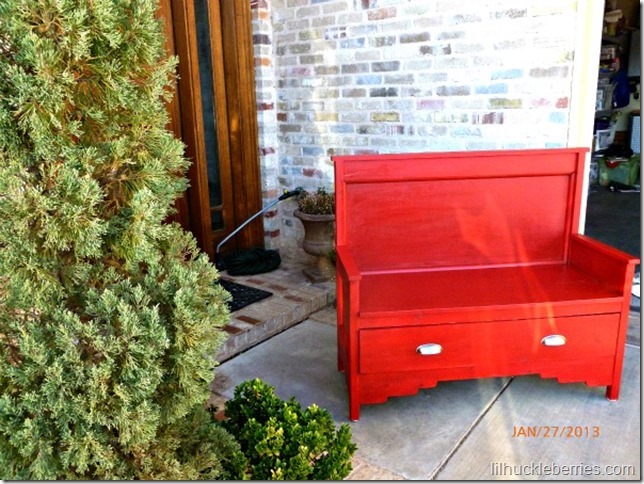
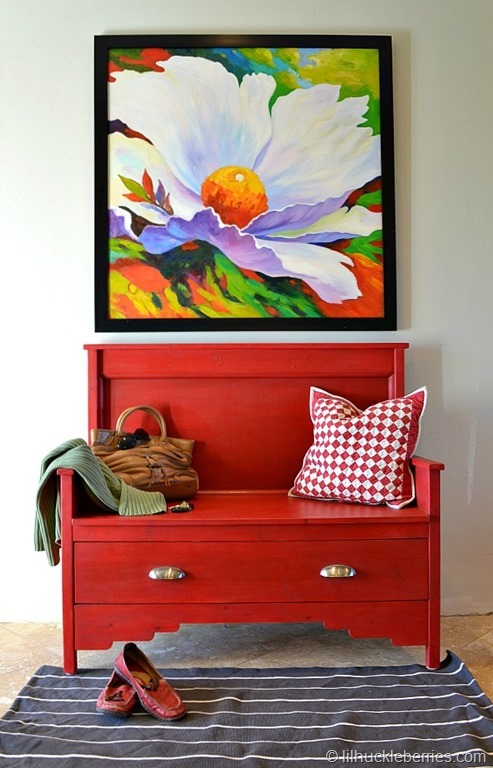
I needed additional seating for my dining room table and wanted something a little unusual. When I saw the vintage pew bench, I loved it. After looking at the plans, I determined I could alter the arm height so we could use it at our dining table. Now that we have moved, we no longer need it at our dining table, so it now sits in our entry. It has been a great multifunctional piece.
Mon, 03/24/2014 - 13:25
Thanks Ana! It is a painting. I bought it in South Korea while we were living there.
I may be able to track a canvas down for you, though. You would have to get it stretched...it would be too large to ship. I have a friend who is living there now. ;-)
Tue, 03/25/2014 - 10:15
Thanks for the reply, what a great find. I just had to comment on how striking it is!
Sun, 09/20/2015 - 16:44
What's the new arm height? I'm going to TRY to adapt this to a 60" bench with two drawers, and the lower arms.
Slightly lengthened from the plan, used 6" exposed lag bolts for a sturdier frame, covered the bolts on the sides with a dowel cap over the bolt to mimic a dowel construction.
Great Plan! Loved how easy it was to build and how little the cost was.
Tue, 07/28/2020 - 09:52
Did you use decking screws or pocket holes for the visible portion of the couch?
Sun, 08/01/2021 - 18:40
Looks amazing! What method did you use (pocket holes, dowels, deck screws, etc) to join the visible portions like the arms?