Community Brag Posts
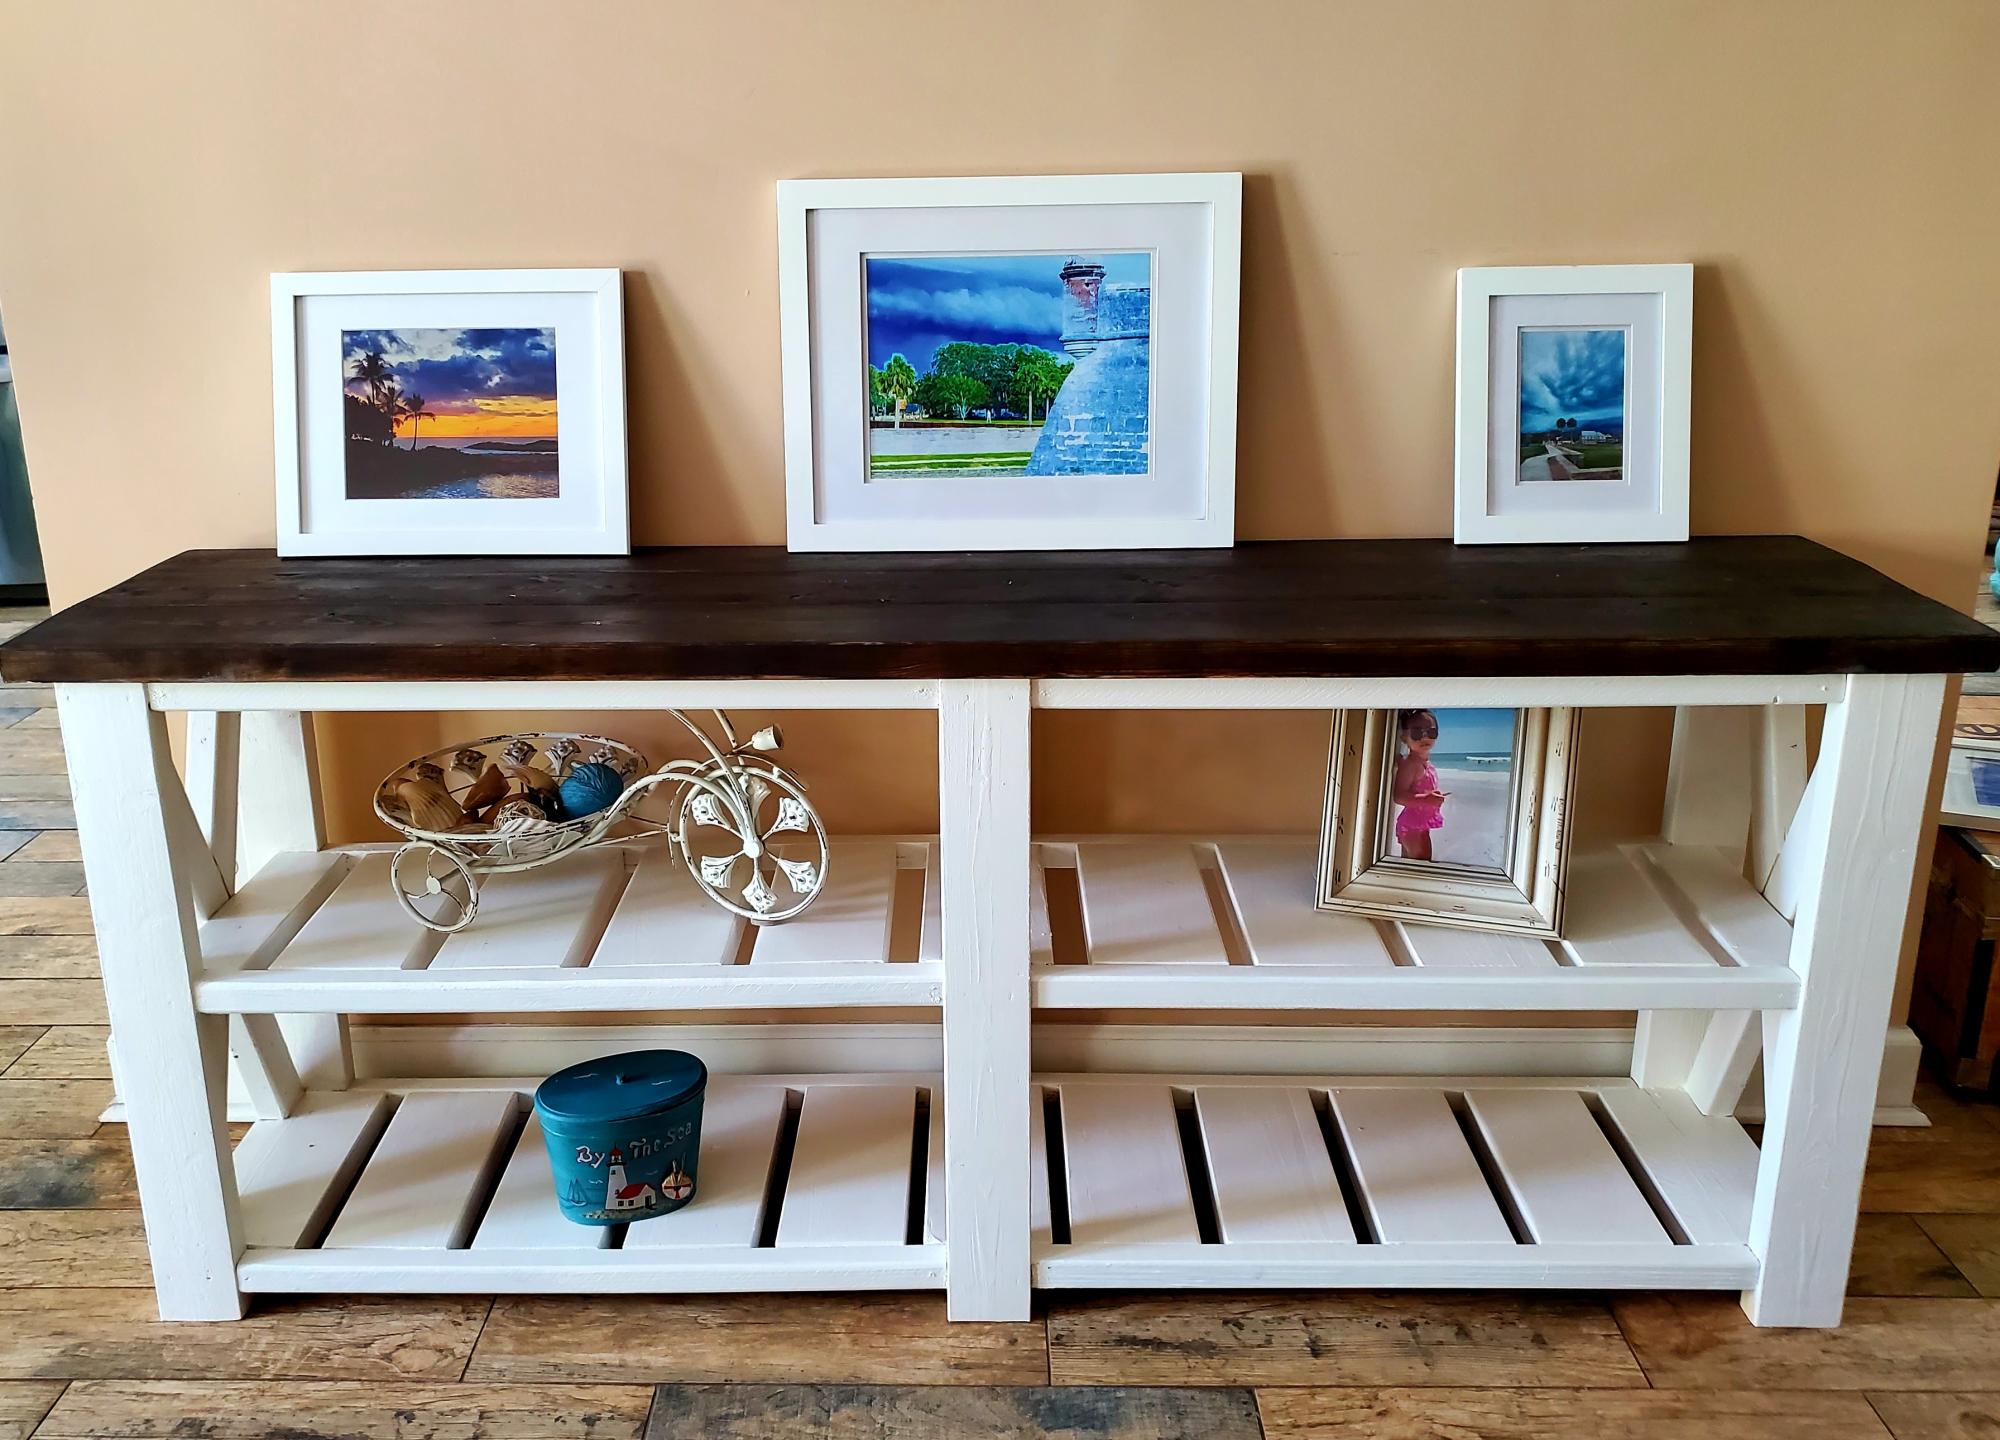

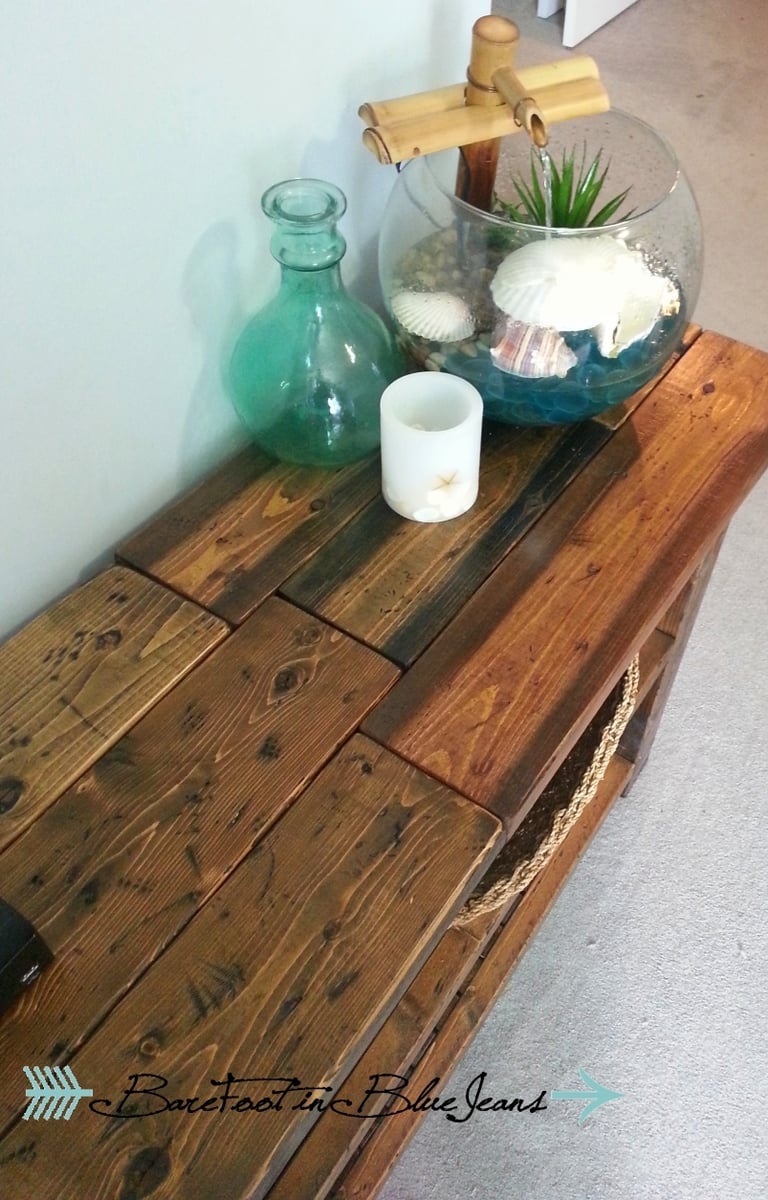
Wood Waterfall Framed Console Table
DIY Wood Waterfall Console Brandy Robinson @beautylikebran on IG
Built from Plan(s)
Simple Outdoor Loveseat
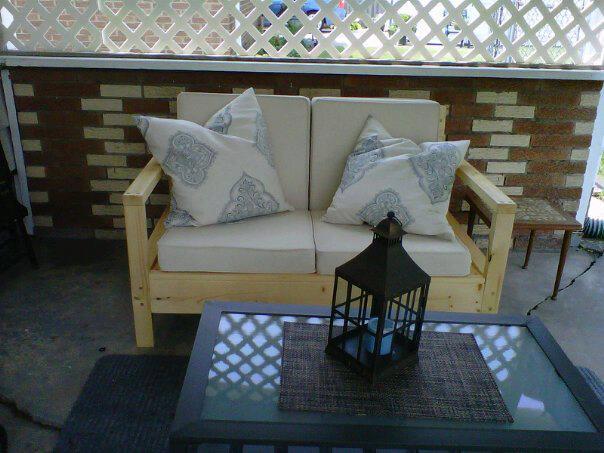
Did this project for a friend. Super easy and instructions are extremely helpful! I didn't have a jig to create pocket holes so I left the screw holes exposed. I then covered them with wooden dowels and sanded it down. I kind of liked it better than hiding the screws underneath!
Estimated Time Investment
Week Long Project (20 Hours or More)
Finish Used
Shellac
Recommended Skill Level
Beginner
My dogs new home!
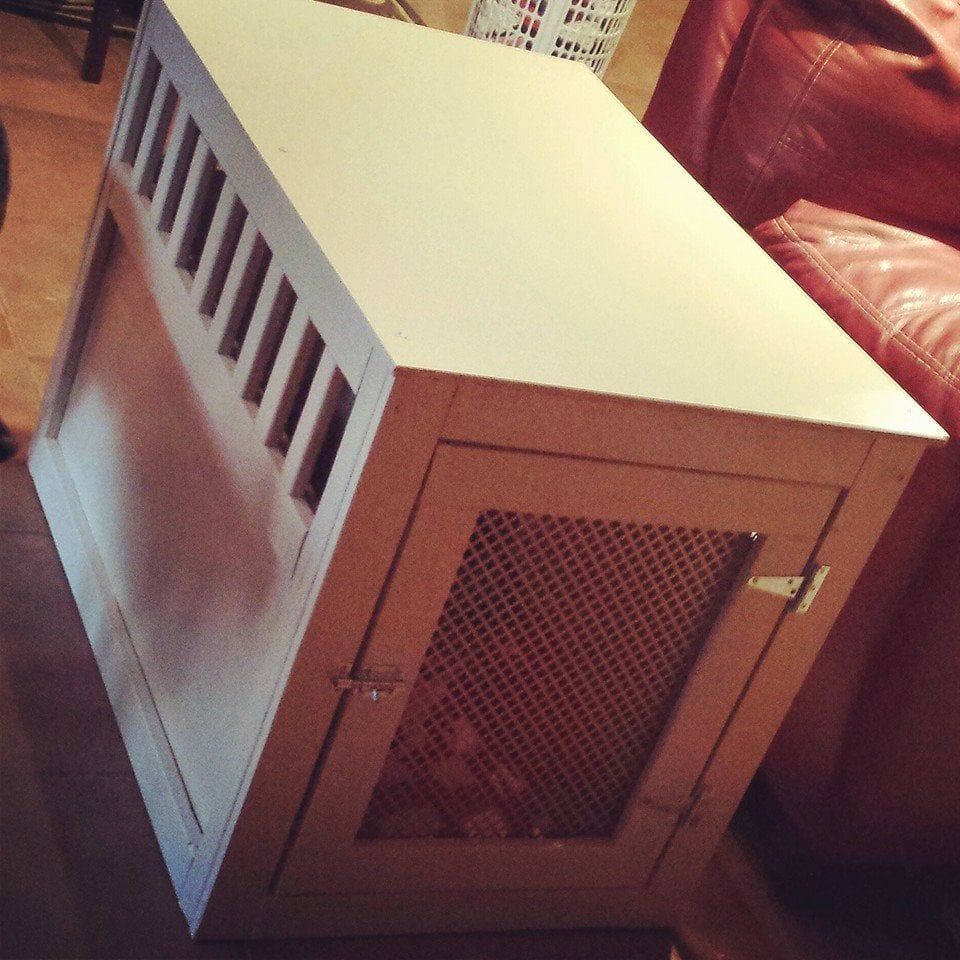
Built this project for Mindy, our dog who needed a new crate. We used metal screen for the front door, and probably would use it fo the sides too for the future. Lessoned learned, be more accurate in cutting pieces! I also didnt find the door plans! So i had to wing it!
Estimated Time Investment
Weekend Project (10-20 Hours)
Finish Used
We used semi gloss paint.
Recommended Skill Level
Intermediate
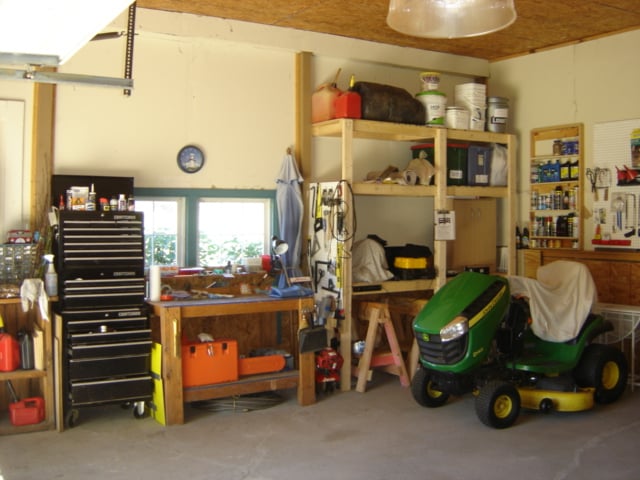
Barn Project
Hi Ana & Hubby
Completed the shelving unit this past summer in my Barn, great plan and really easy to put together,
Thank's for the plan and step by step instructions, Going to build another unit in the barn come spring time here in Upstate New York. I made mine only eight feet wide by eight feet high givin the space I had
it's eight feet between 4x4 upright polls. I went with a center 2x4 for added strength to avoid possible sagging from heavy weighted items I will be storing. I left room inderneath as you can see, I store my saw horses and my push mower under it well.
Warmest Regards
Steve

Built from Plan(s)
Estimated Cost
$50.00
Estimated Time Investment
Afternoon Project (3-6 Hours)
Finish Used
bare wood
Recommended Skill Level
Beginner
Comments

Tue, 11/08/2016 - 16:23
Hi Steve! Thank you for
Hi Steve! Thank you for posting, your shelving looks awesome!! I like the lawn mower storage underneath. Nice! Ana
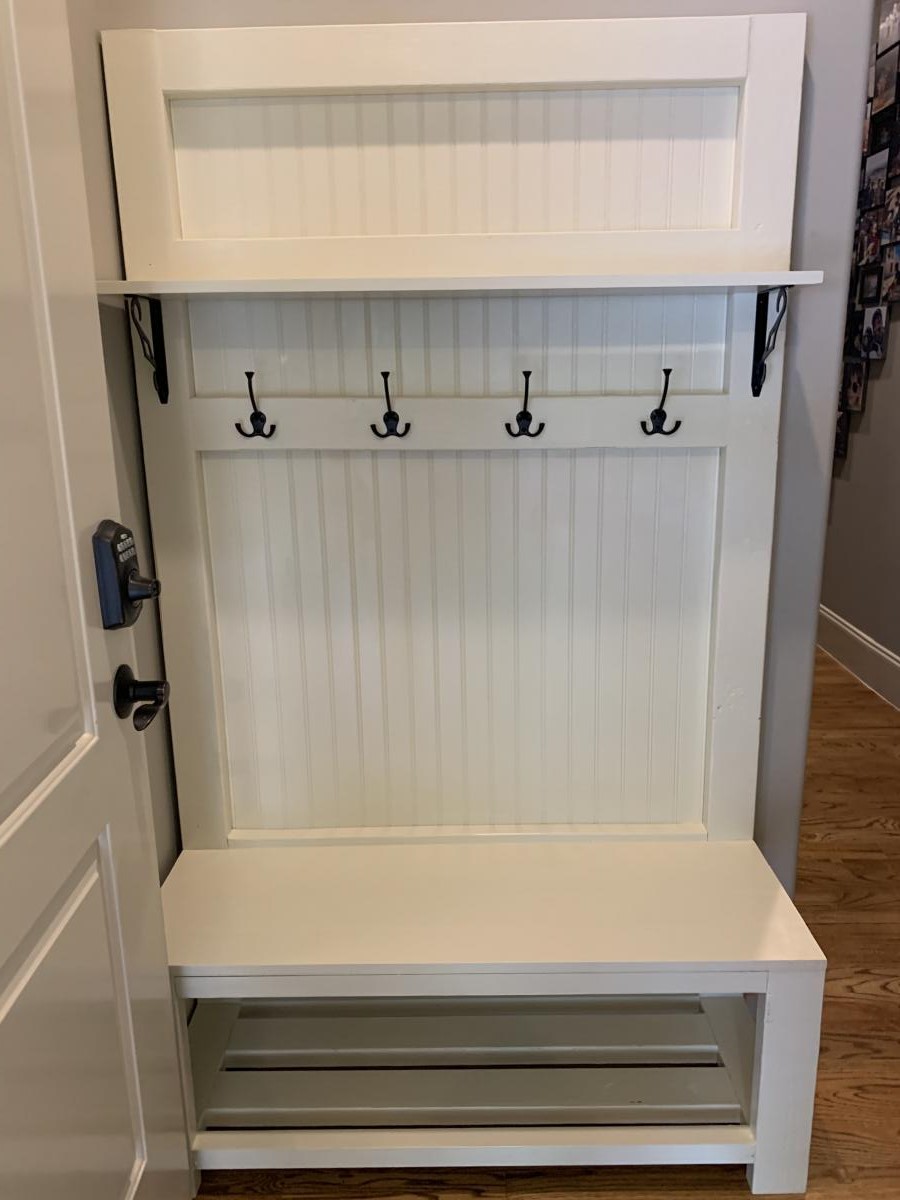
Rustic Hall Tree with a Few Tweaks
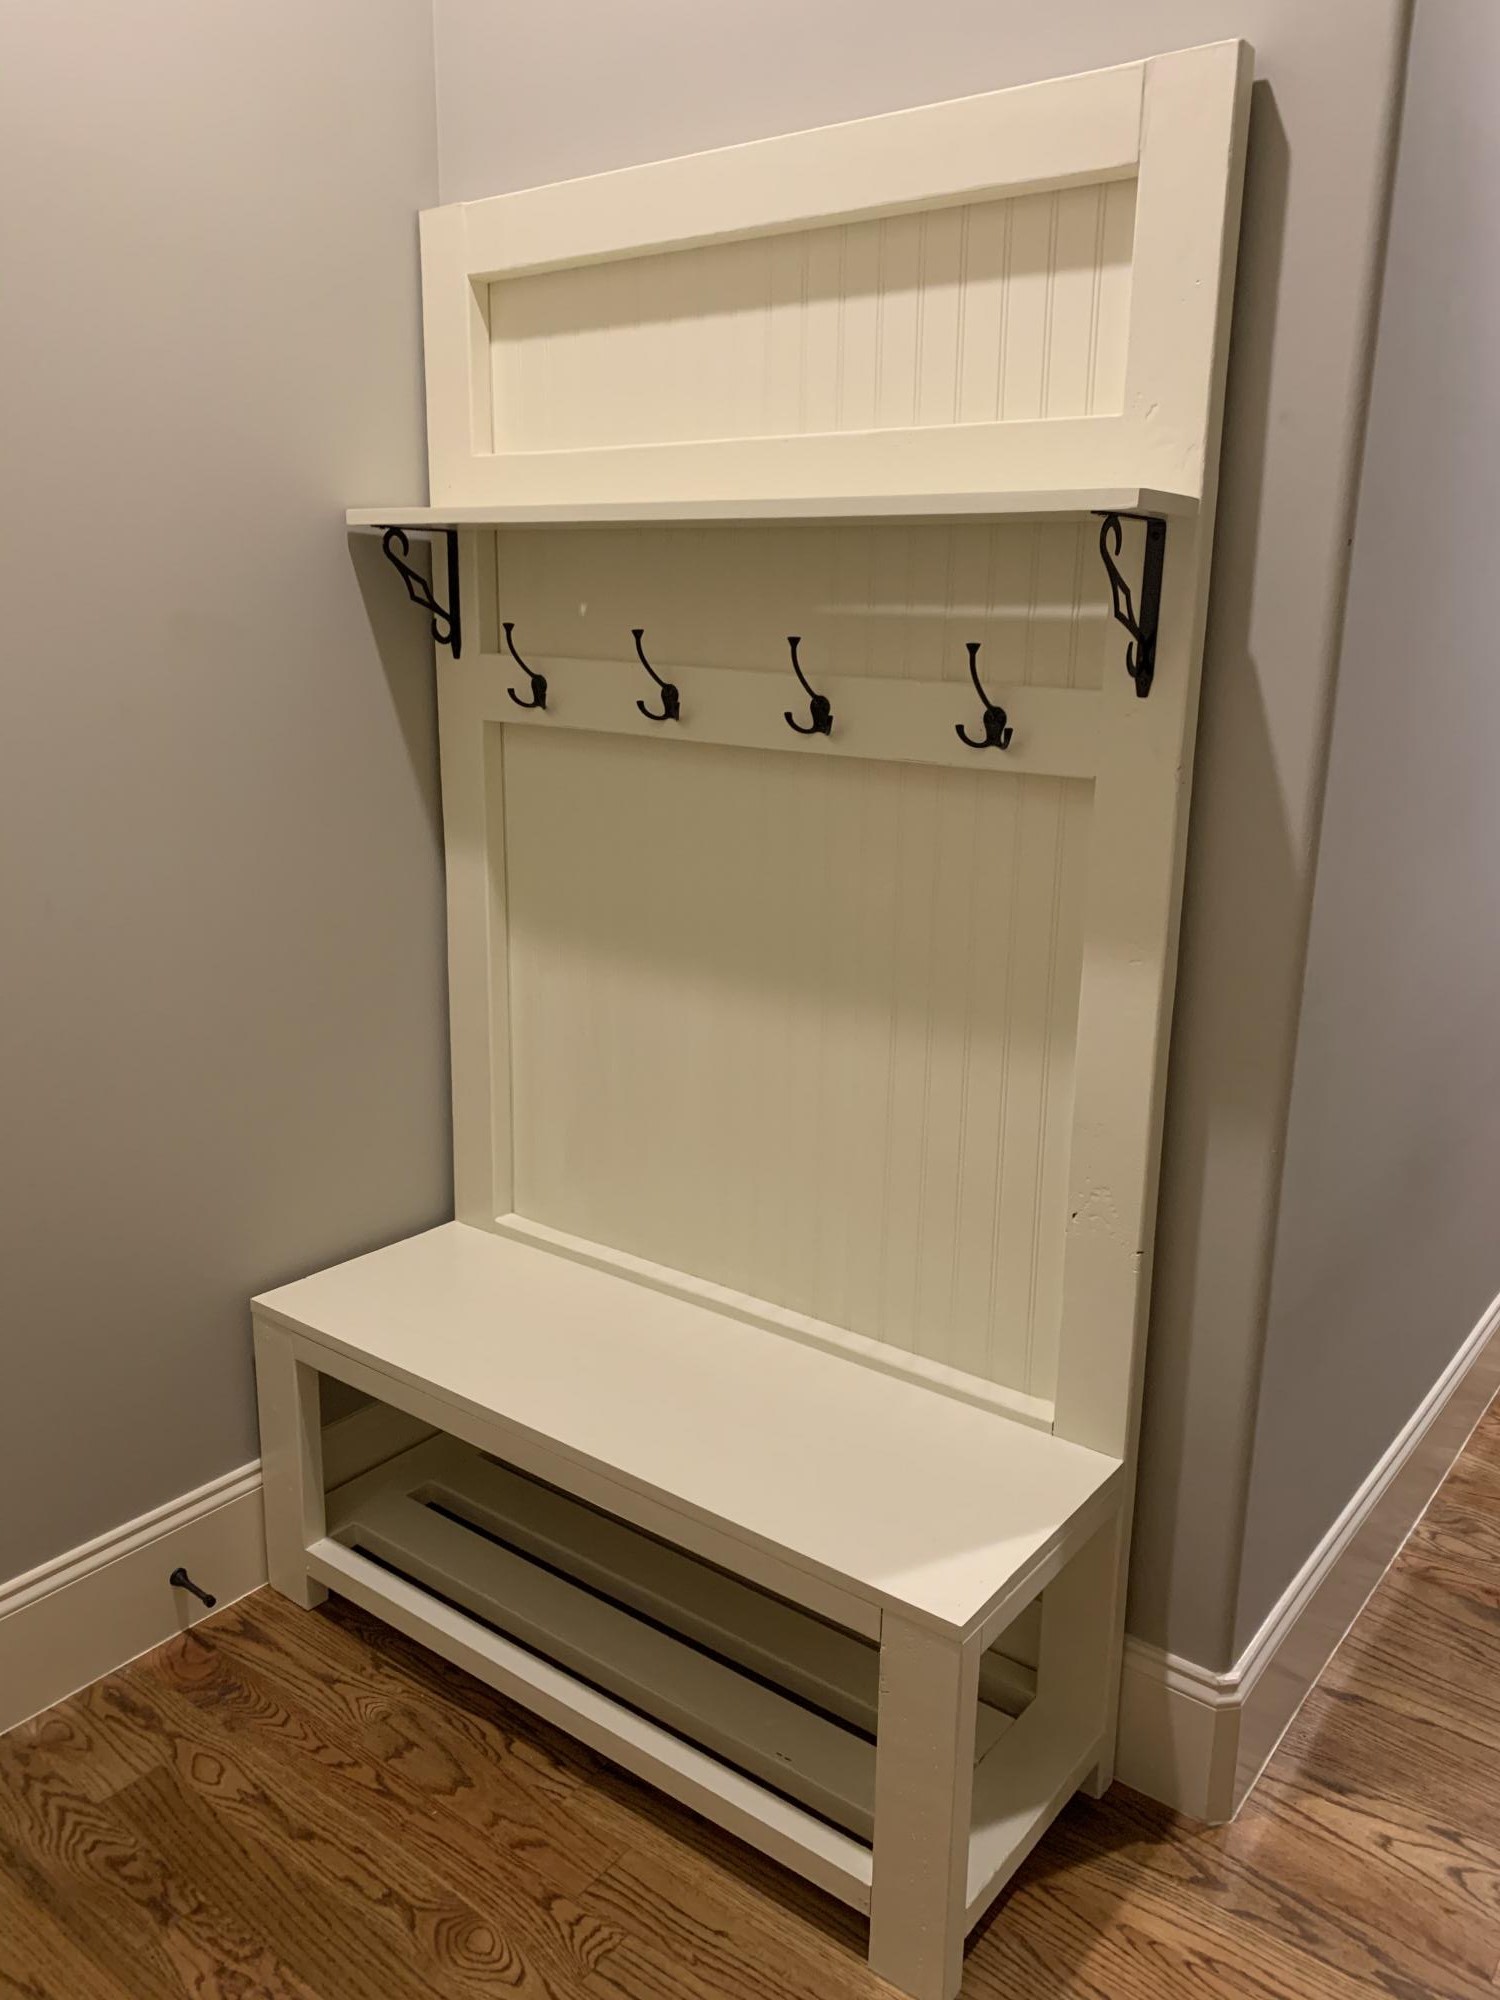
Made a few tweaks to support using some leftover wood from a previous project and hide a seam in the beadboard.
Built from Plan(s)
Estimated Cost
150
Estimated Time Investment
Weekend Project (10-20 Hours)
Recommended Skill Level
Intermediate
DIY Modern Farmhouse Beds

I enjoy all of your plans that you make available. I made these beds with a few minor adjustments.
Debra

Built from Plan(s)
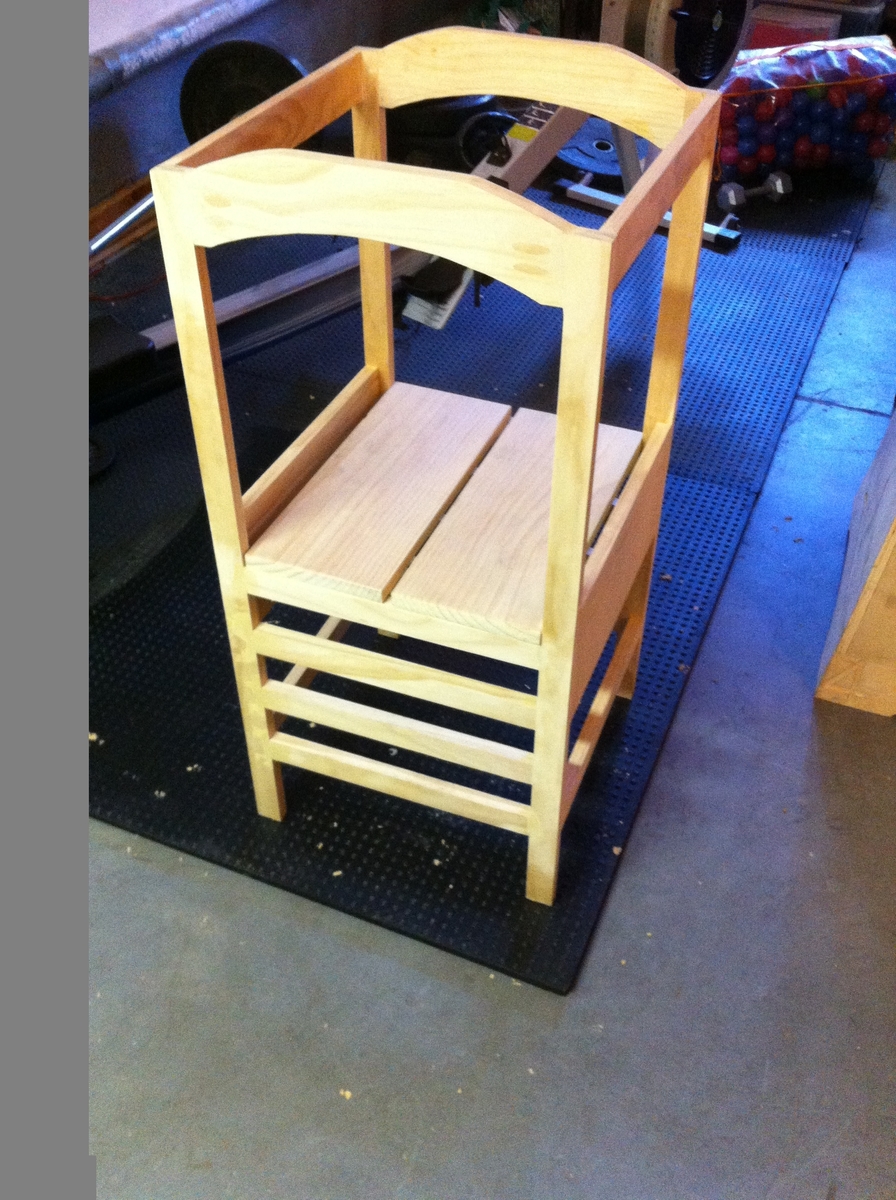
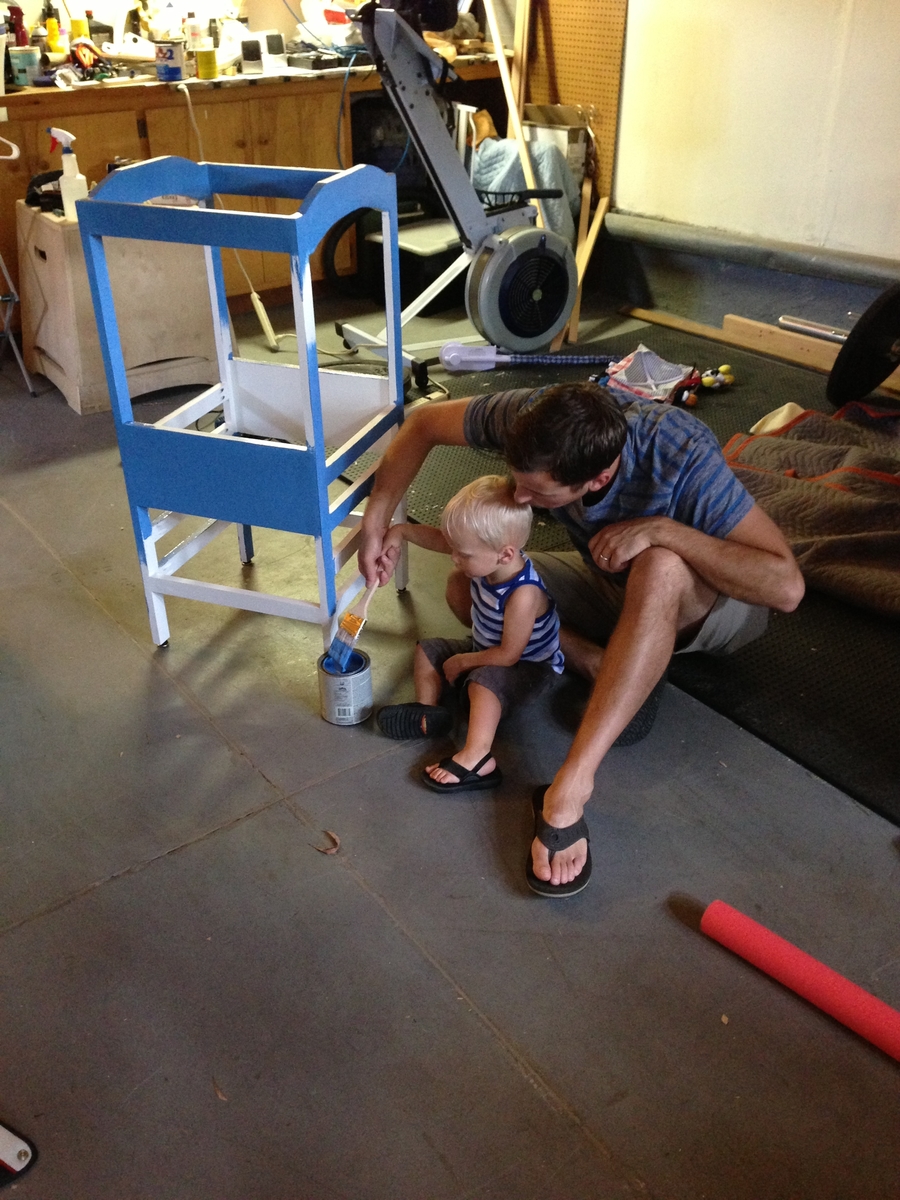
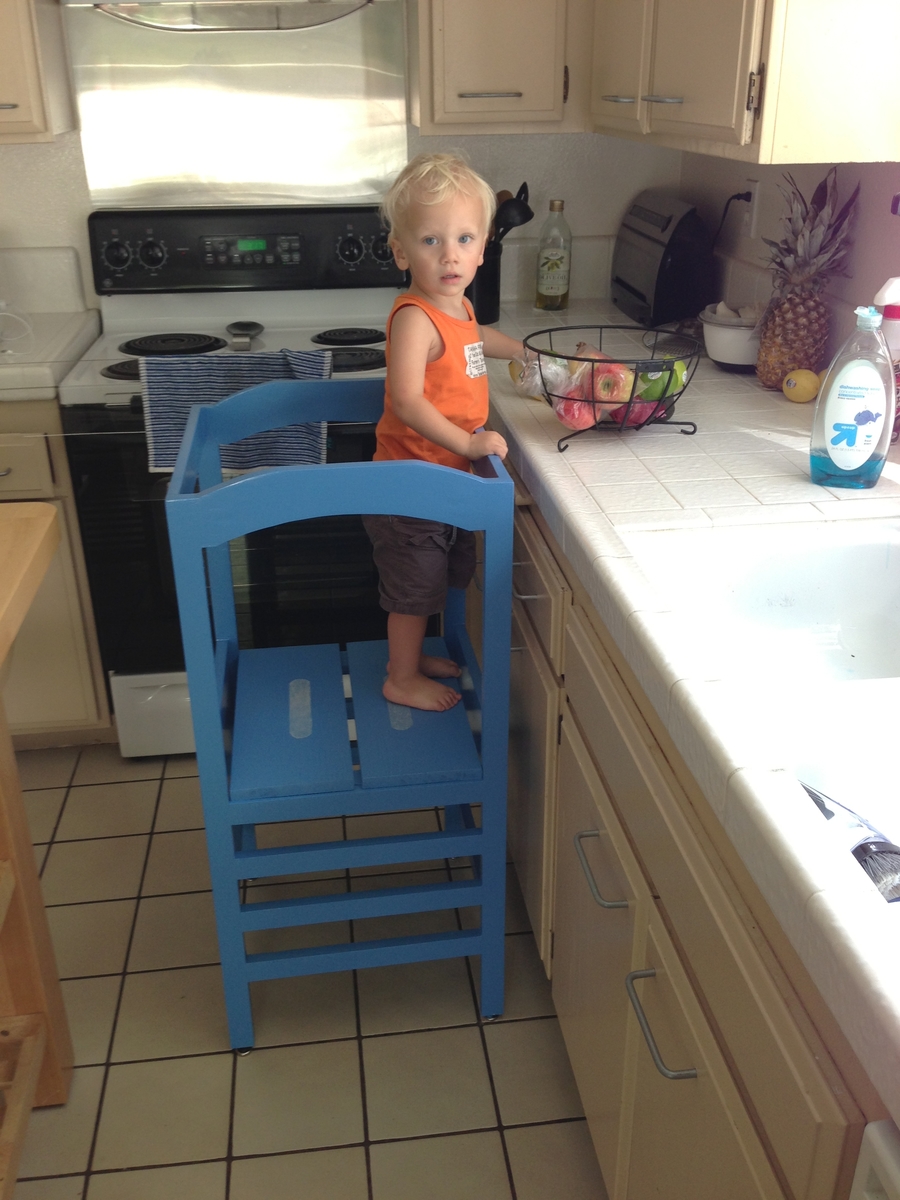
Helper Tower
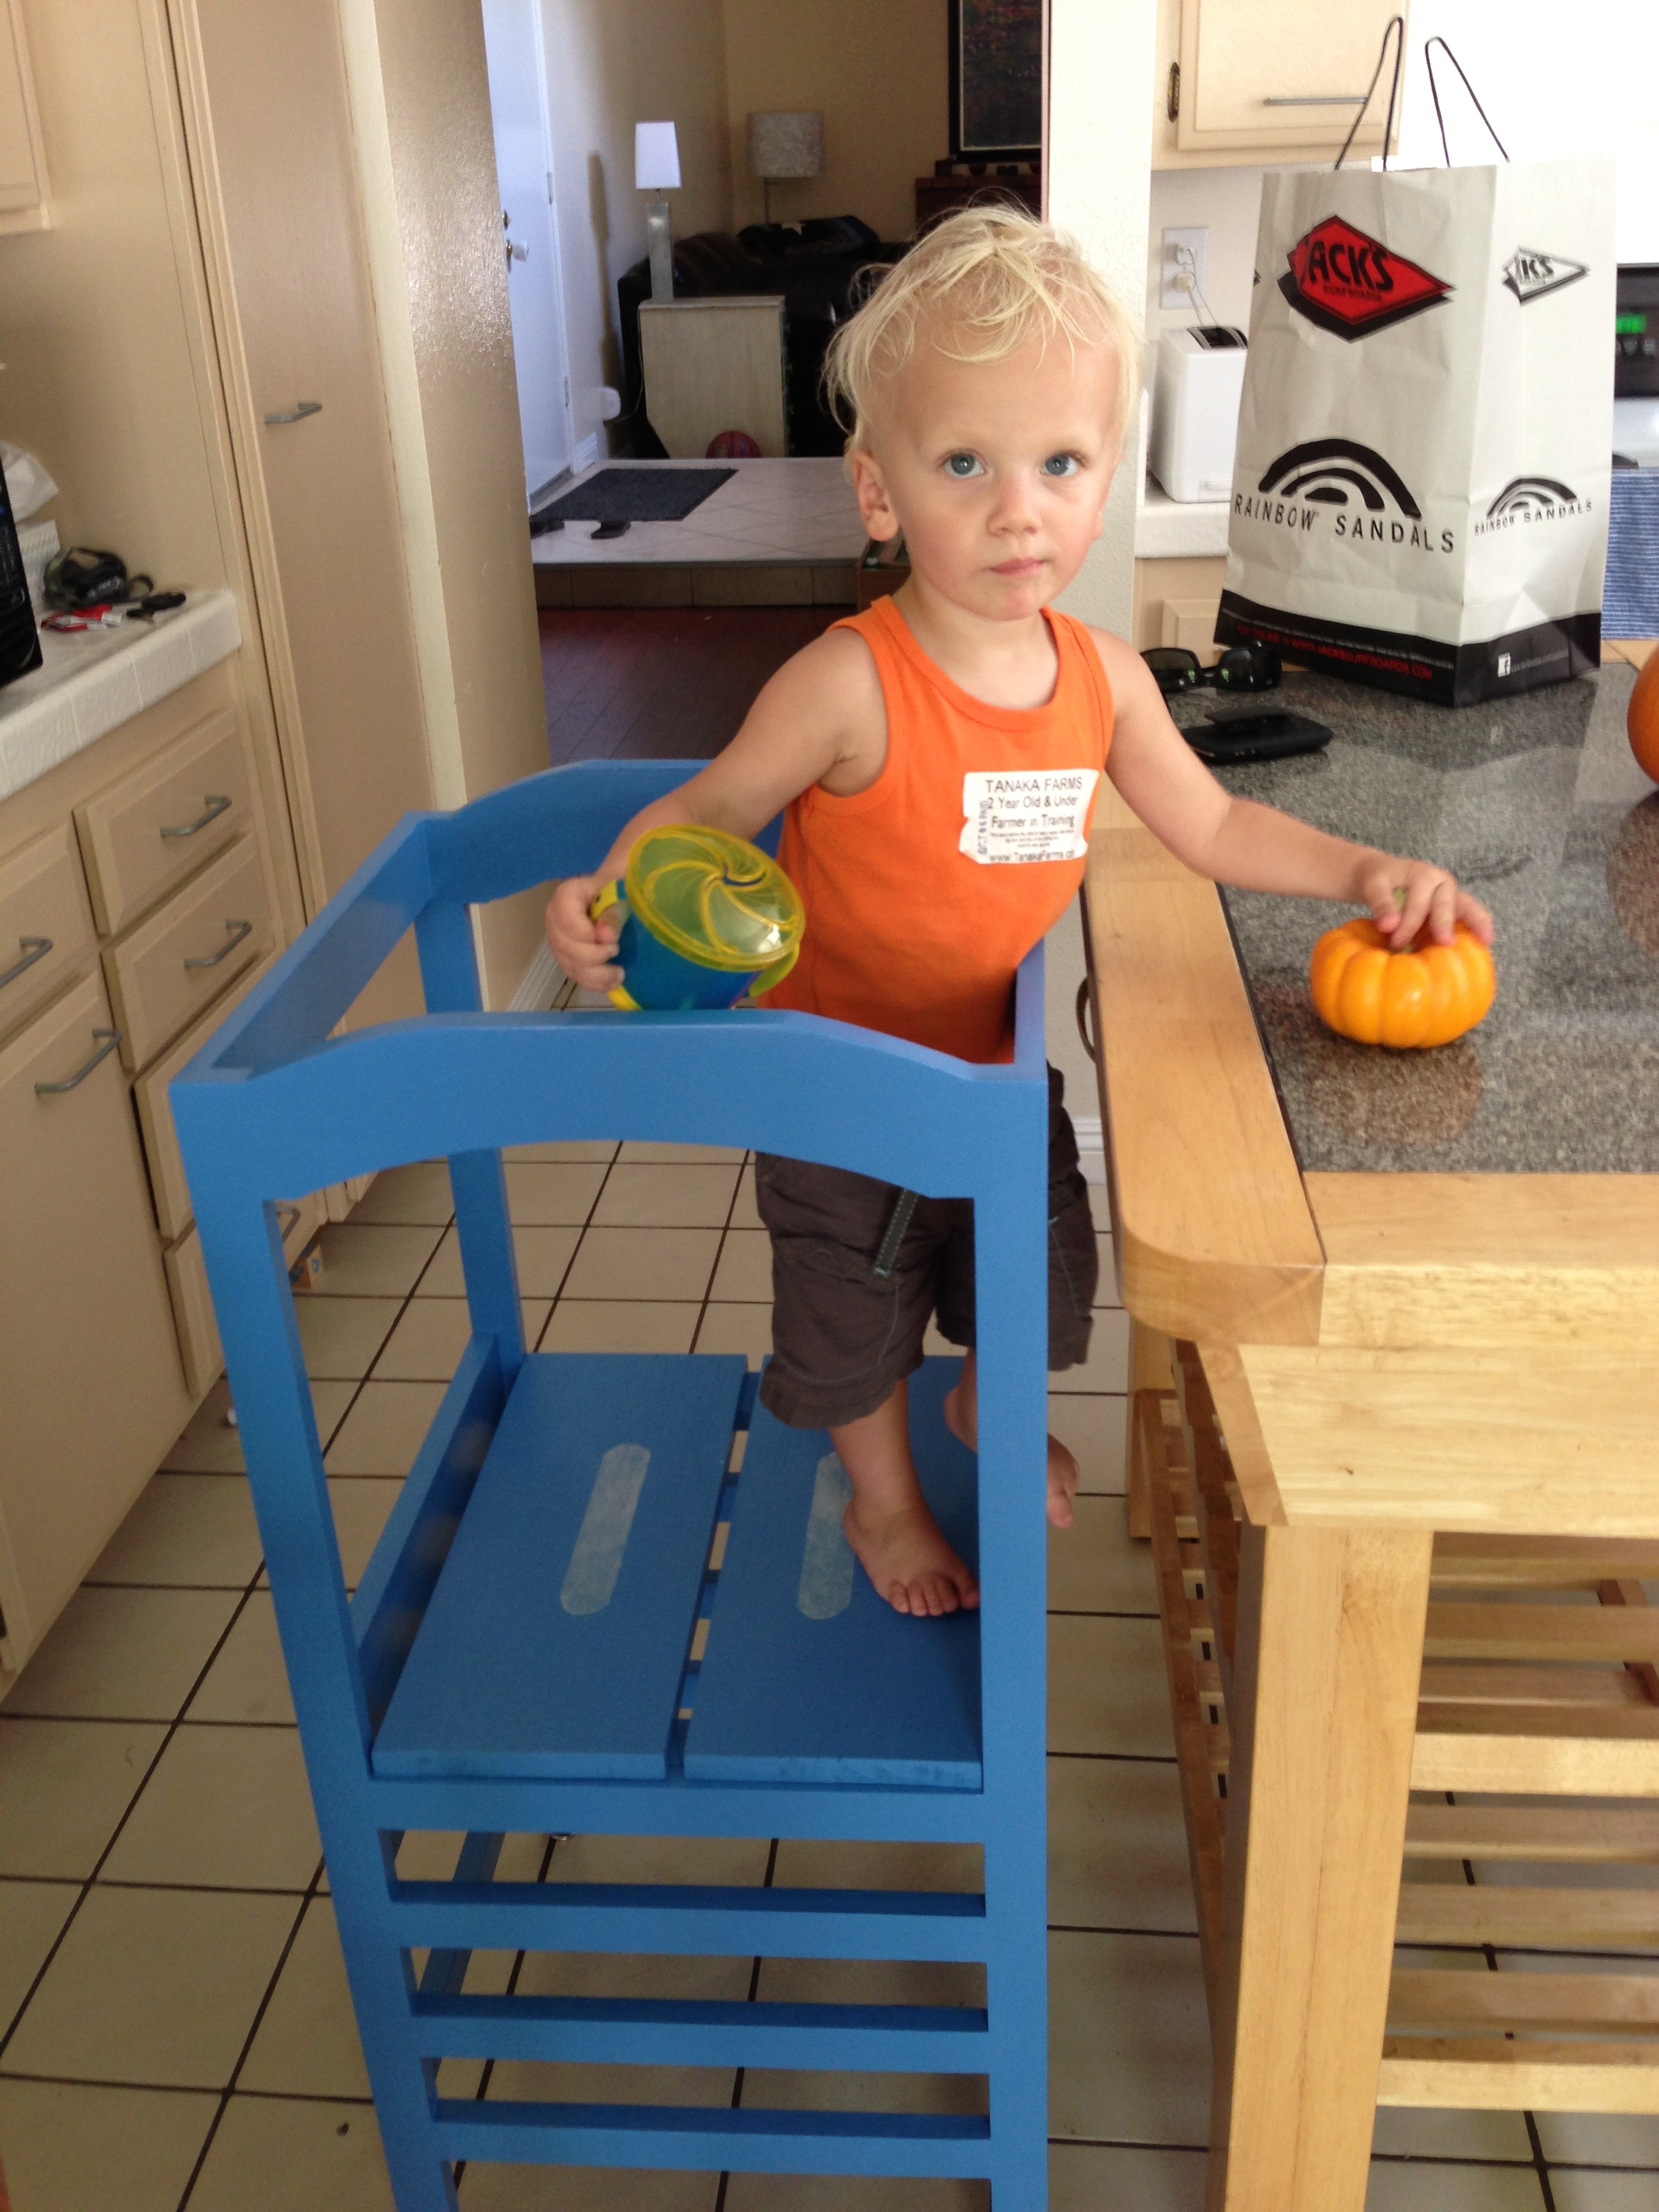
Actually building this tower was considerably easier than finishing it (primer, paint, wood filler sanding). 4 hours to build 16+hours to finish!
Once I had the tower built, I used the pre-made Kregs pocket-hole wooden fillers to fill the pockets. I glued them in place with wood glue, and then used a chisel and orbital sander to get them flush. In a few areas, I had a small 1/64" discrepancy in surfaces, so used the wood filler and then sanded it smooth. I deviated from plans by making my arches a little different with flattened tops; it was easier with my jig-saw this way.
I took my cut-list to Home Depot and had them make all my cuts with their laser sight radial saw (super clean cuts) Achieving clean-cuts requires a nice saw, I almost bought the Bosch table saw to build this little guy. Considering that I never built anything before, I quickly found out that furniture, especially small furniture requires a lot of patience to look good. Spending a few extra hours making sure everything is square, flush etc. will prevent a ton of finishing work later on.
Once I had the tower built and all my pocket-holes filled and sanded, I primed twice with Kilz II. I waited about 2 hours between the coats and made a few wood filler adjustments in between coats. I then used Olympic Latex and painted (2) coats with about 8-10 hours in between.
Extras
•I religiously put (2) Kregs pocket holes on every joint, the stability is incredible!
•I went to the local skateboard shop and purchased some clear grip tape to add a little extra grip to the footboard.
Recommendations:
•A nice saw or a mediocre saw with a good blade OR someone else with a nice saw make the cuts for you.
•A few extra bucks on the “Select” pine wood. The nicer wood probably only cost an extra 20 bucks.

Estimated Cost
$60
Estimated Time Investment
Week Long Project (20 Hours or More)
Finish Used
Once I had the tower built and all my pocket-holes filled and sanded, I primed twice with Kilz II. I waited about 2 hours between the coats and made a few wood filler adjustments in between coats. I then used Olympic Latex and painted (2) coats with about 8-10 hours in between.
Recommended Skill Level
Beginner
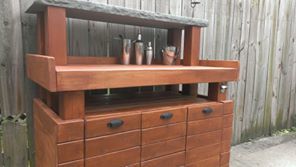
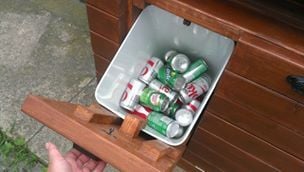
Outdoor Bar
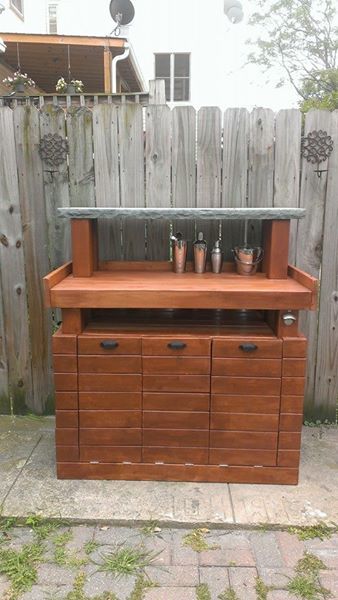
I used two of Ana's designs (the Potter's Bench and the Recycle/Garbage tilt out design) to make this outdoor bar. The containers can hold the beverage of your choice (I found metal ones and used ice to keep things cold). It was a big hit at the party and makes serving much easier. Thanks Ana! Keep up the good work.

Estimated Time Investment
Week Long Project (20 Hours or More)
Finish Used
I stained with Walnut stain. I used cedar for the wood, and a $100 piece of Bluestone for the top.
Recommended Skill Level
Beginner
Comments
Wed, 12/03/2014 - 13:24
Thanks it was a Bluestone
Thanks it was a Bluestone slab from a local gardening/landscaping store in Chicago.
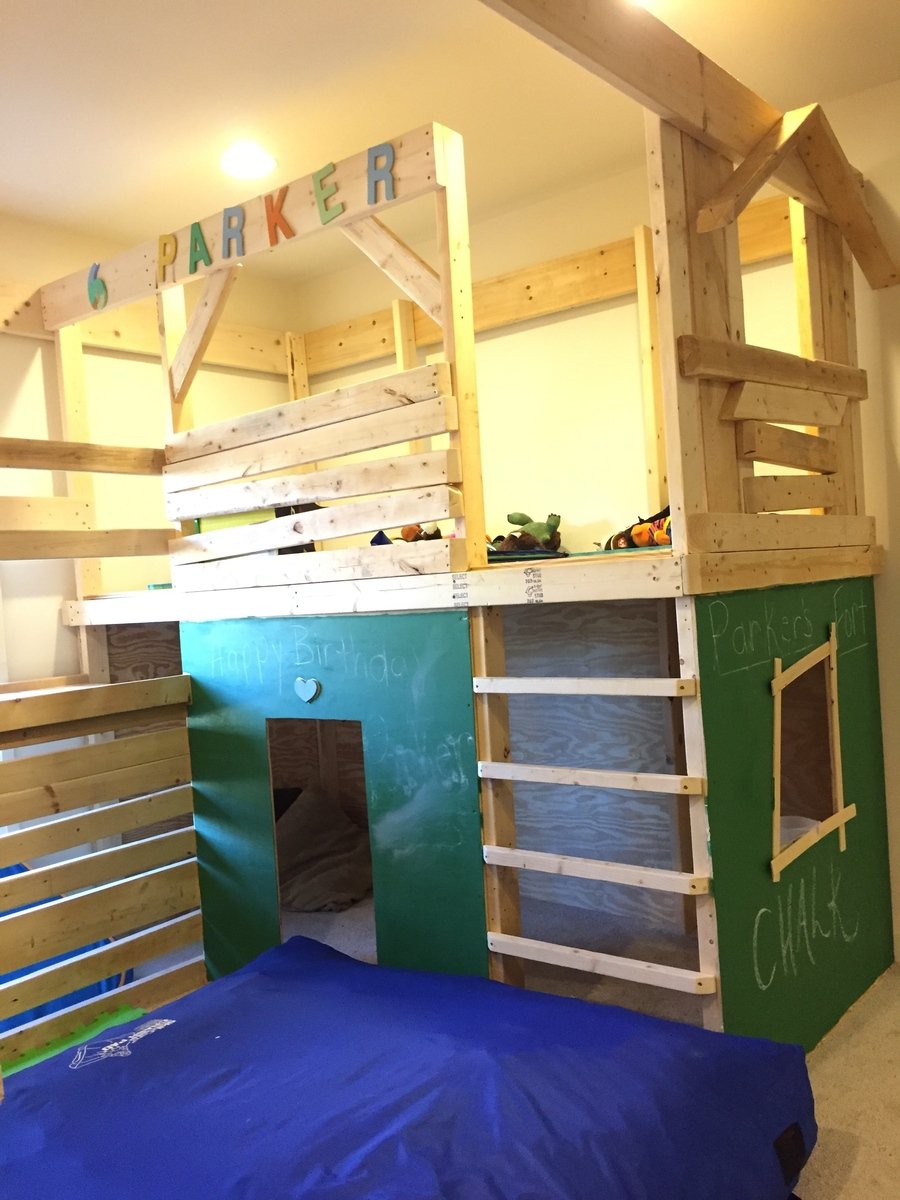
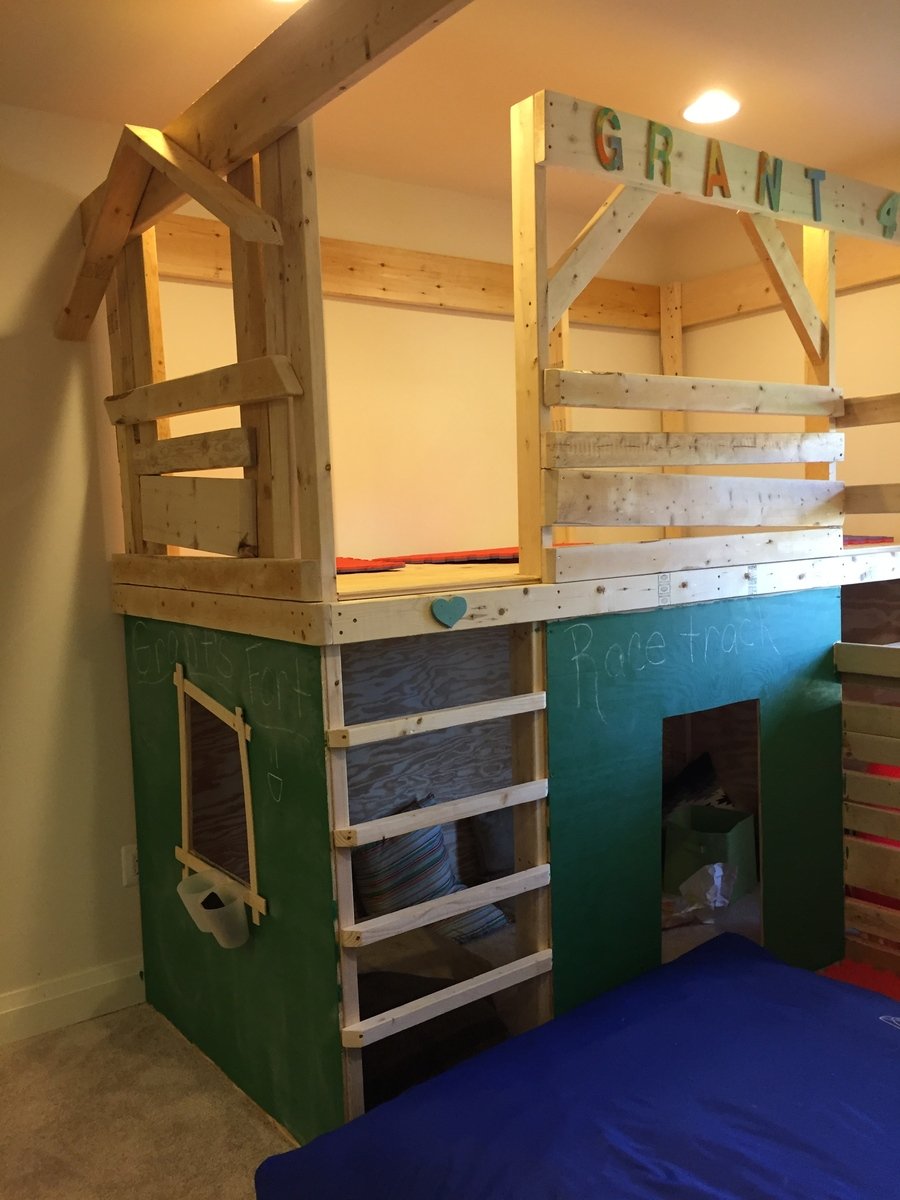
DIY Indoor Playground
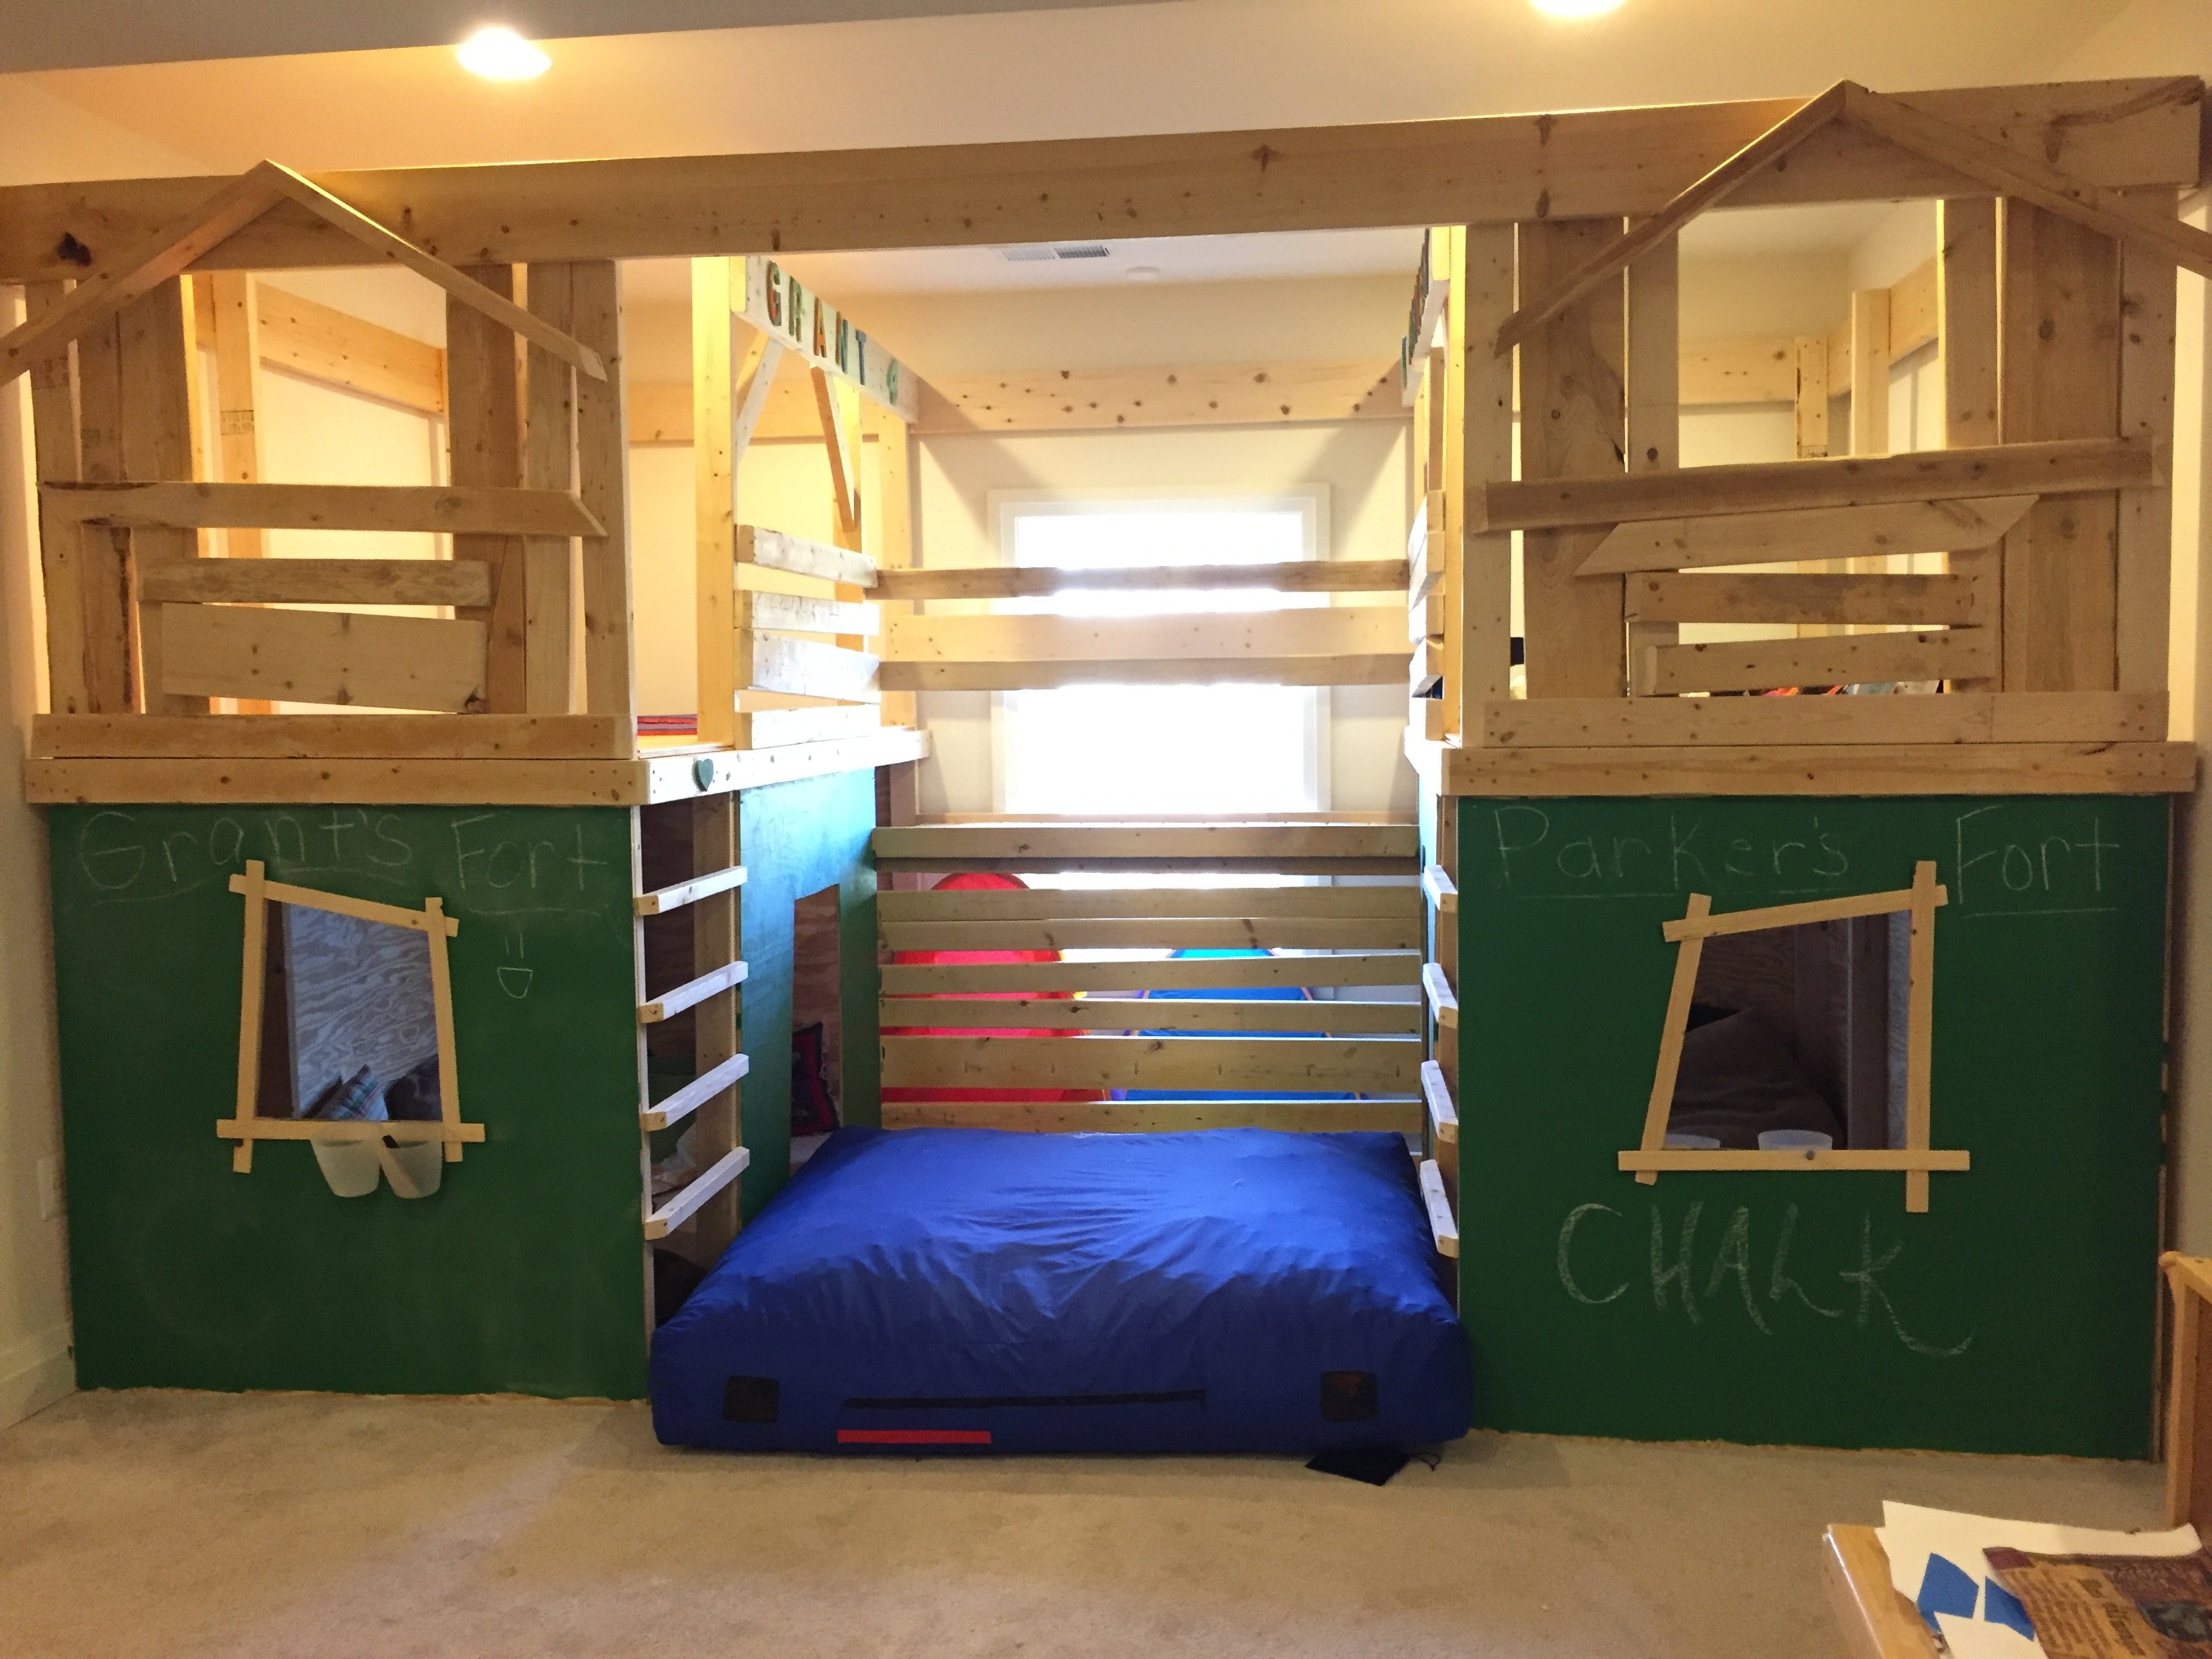
I built this project by myself. My husband helped move the large pieces when I connected them, so one person really can tackle this project! I had a combination of scrap wood from new home construction on hand and store bought lumber. Most of my time was spent sanding, sanding, and more sanding, especially with the construciton grade lumber. Yes, it was worth it! I used tongue and groove wood for upper level flooring and bridge. It really made it easier to put the floors together. I connected all the tongue and groove pieces with a snug fit and used my brad nailer to secure it down on the perimeter of the floor. Therefore, not every peice had to be screwed down.
Estimated Time Investment
Week Long Project (20 Hours or More)
Finish Used
All the green paint is chalkboard paint! It seems to be working out quite well. I added inexpensive wood drawer pulls (as hooks to prevent poking an eye out!)) to hang costumes inside. I also cut the ends of the wood at an angle and sanded it to prevent sharp and pointed corners. Spacing around windows and the bridge was intentional to have that rustic look, yet allow for feet and hands to get in there for climbing. I need to add the monkey bars but definitely need help.
Recommended Skill Level
Intermediate
Comments
Outdoor Bar Table with Slate Top
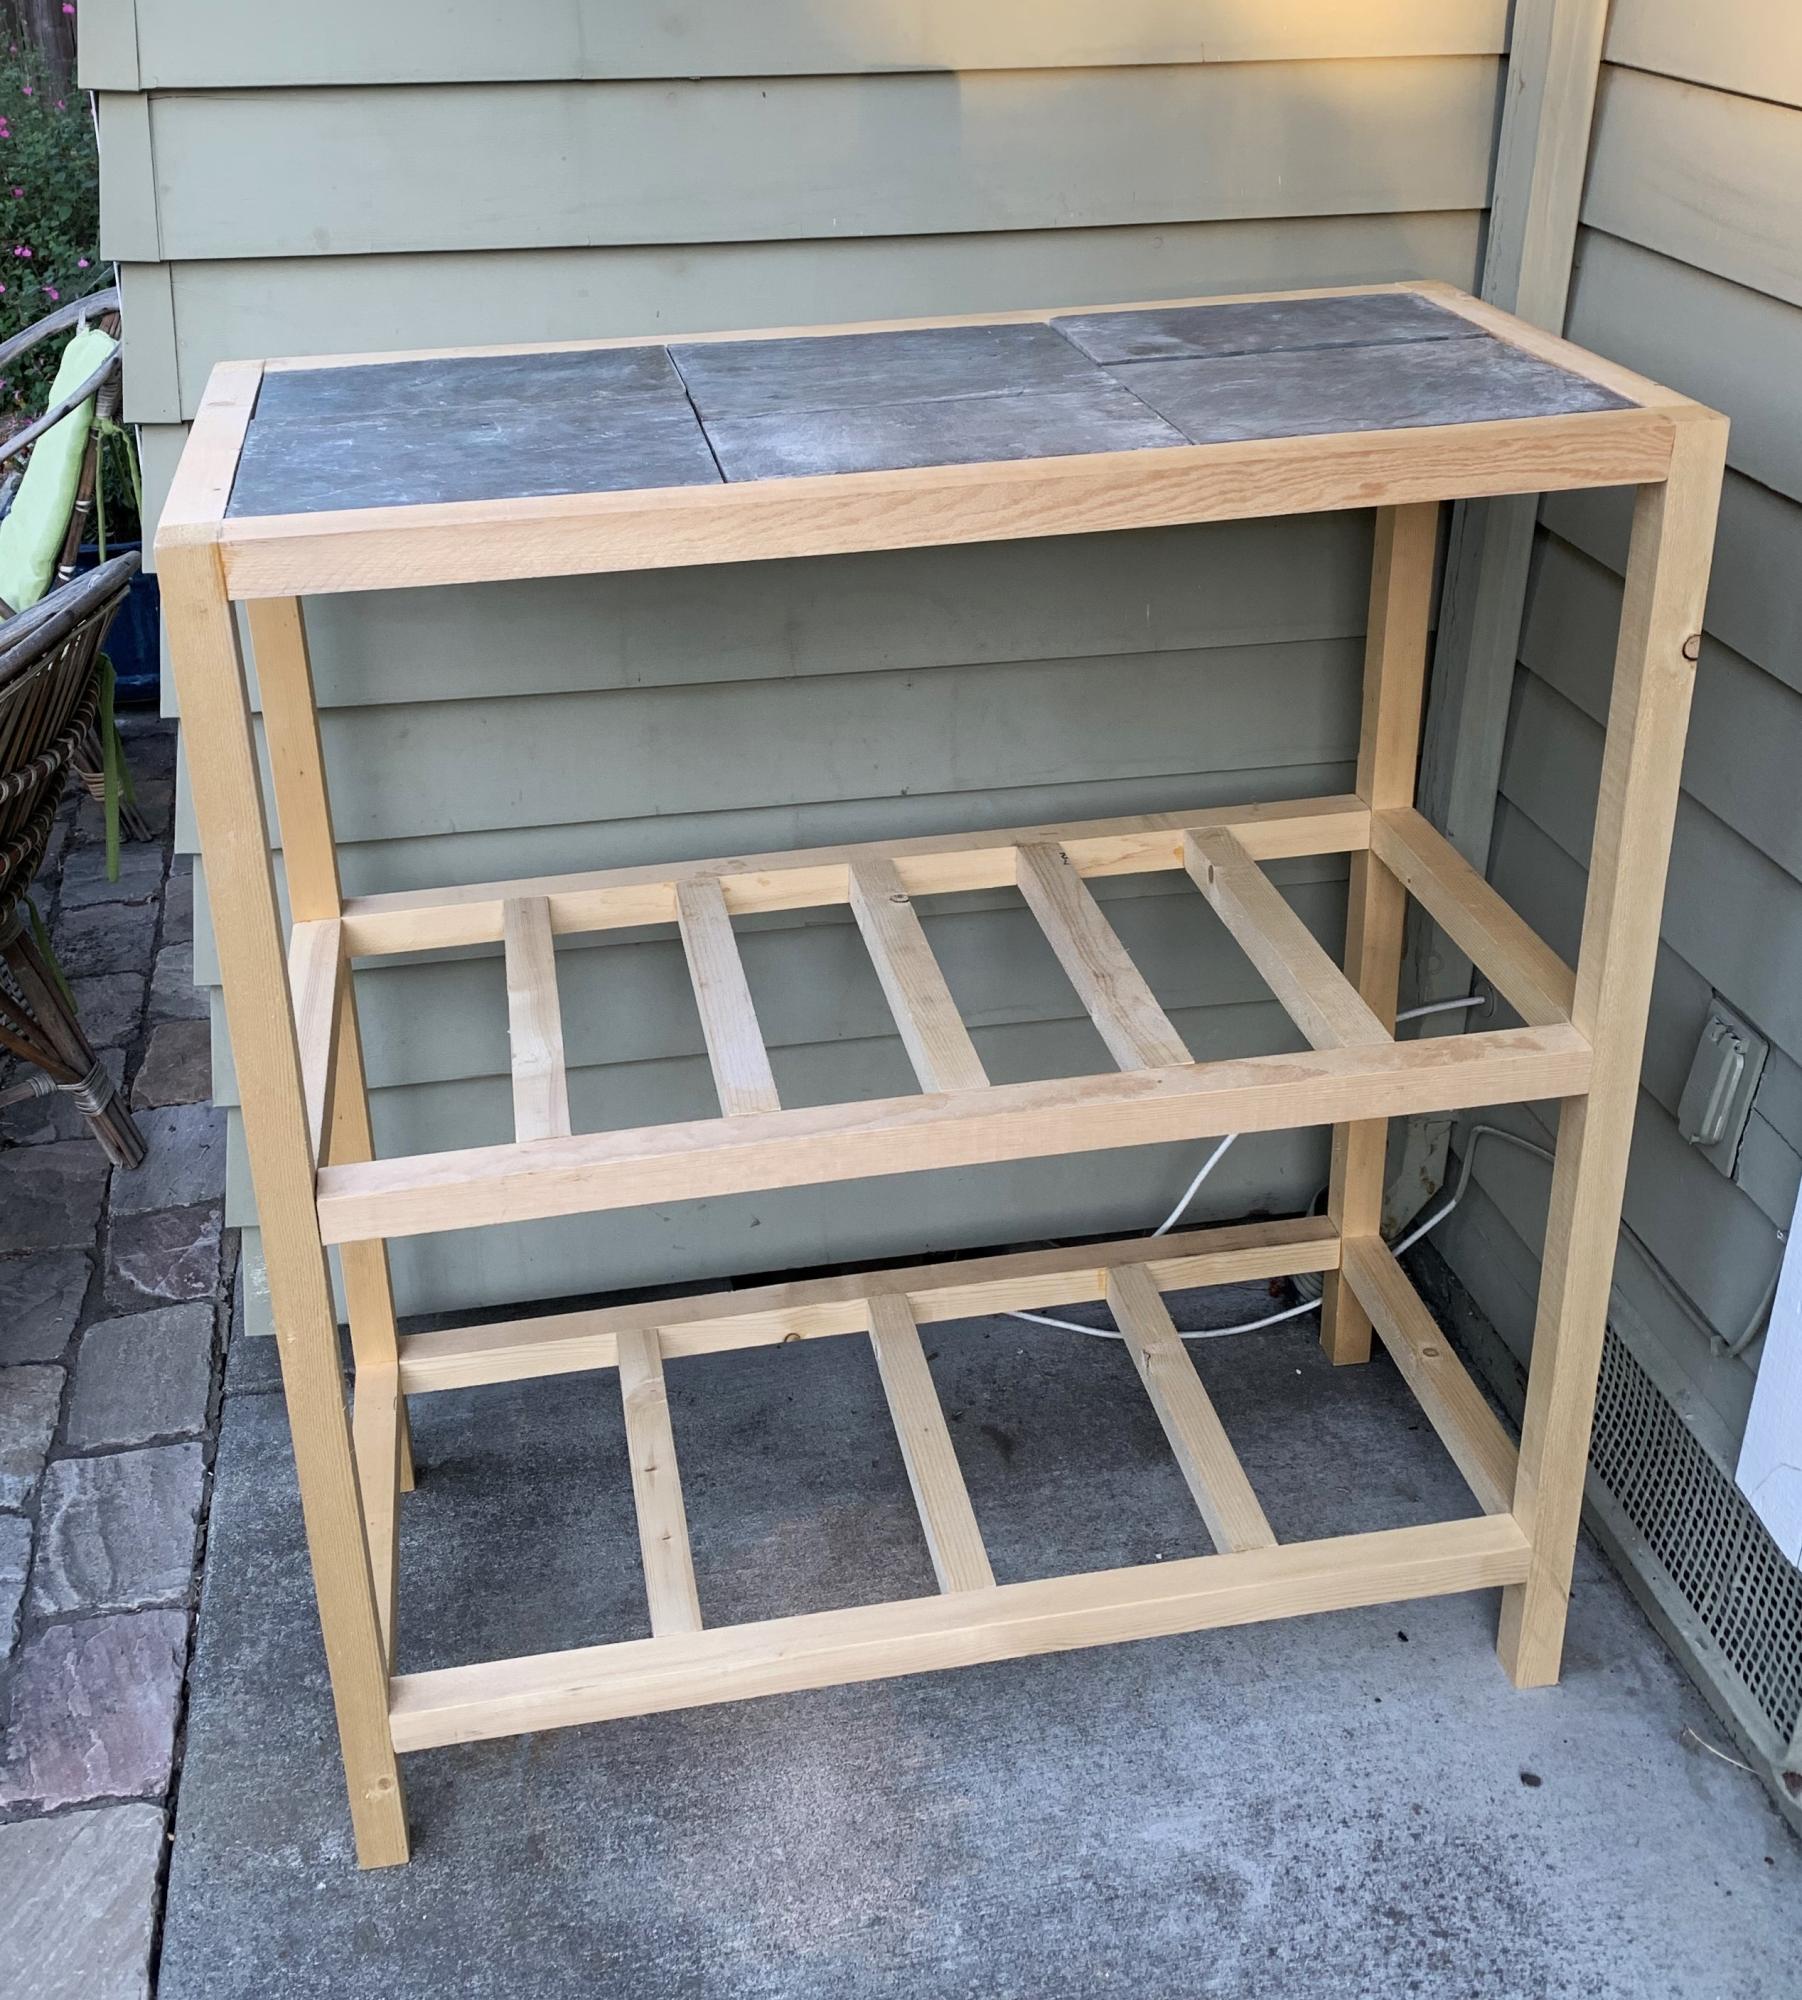
I needed to make a table or bar to fit some slate pieces I salvaged from my grandparents' house. Your plans were easy to adapt, and I had a lot of fun building this project.
Carrie
Built from Plan(s)
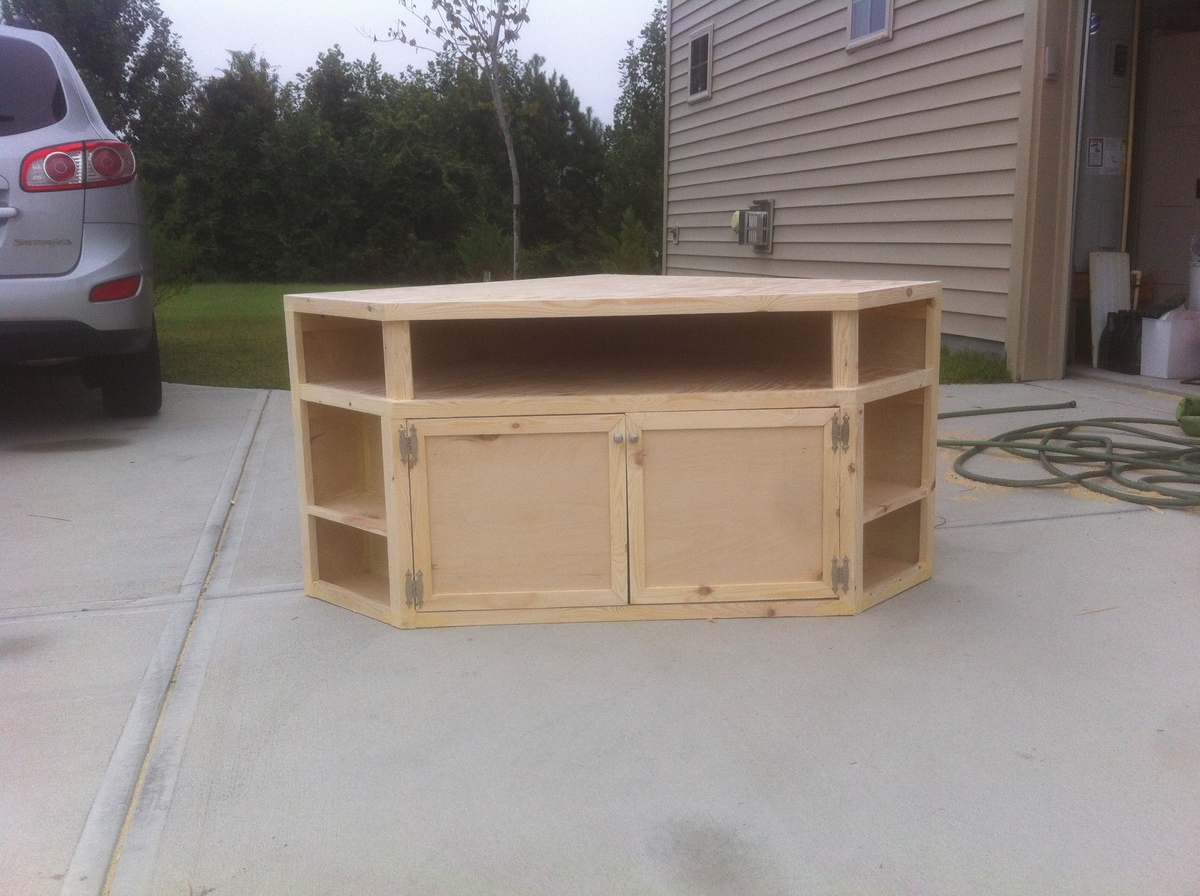
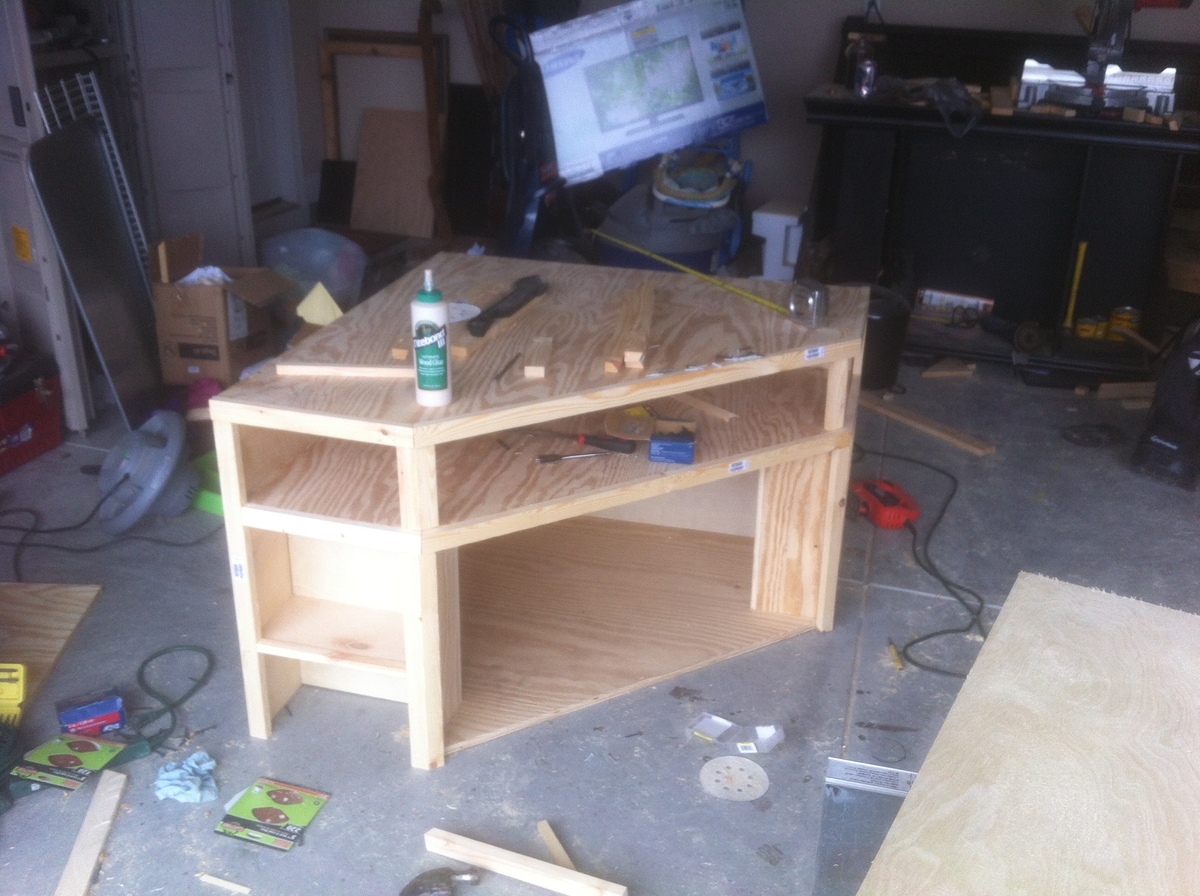
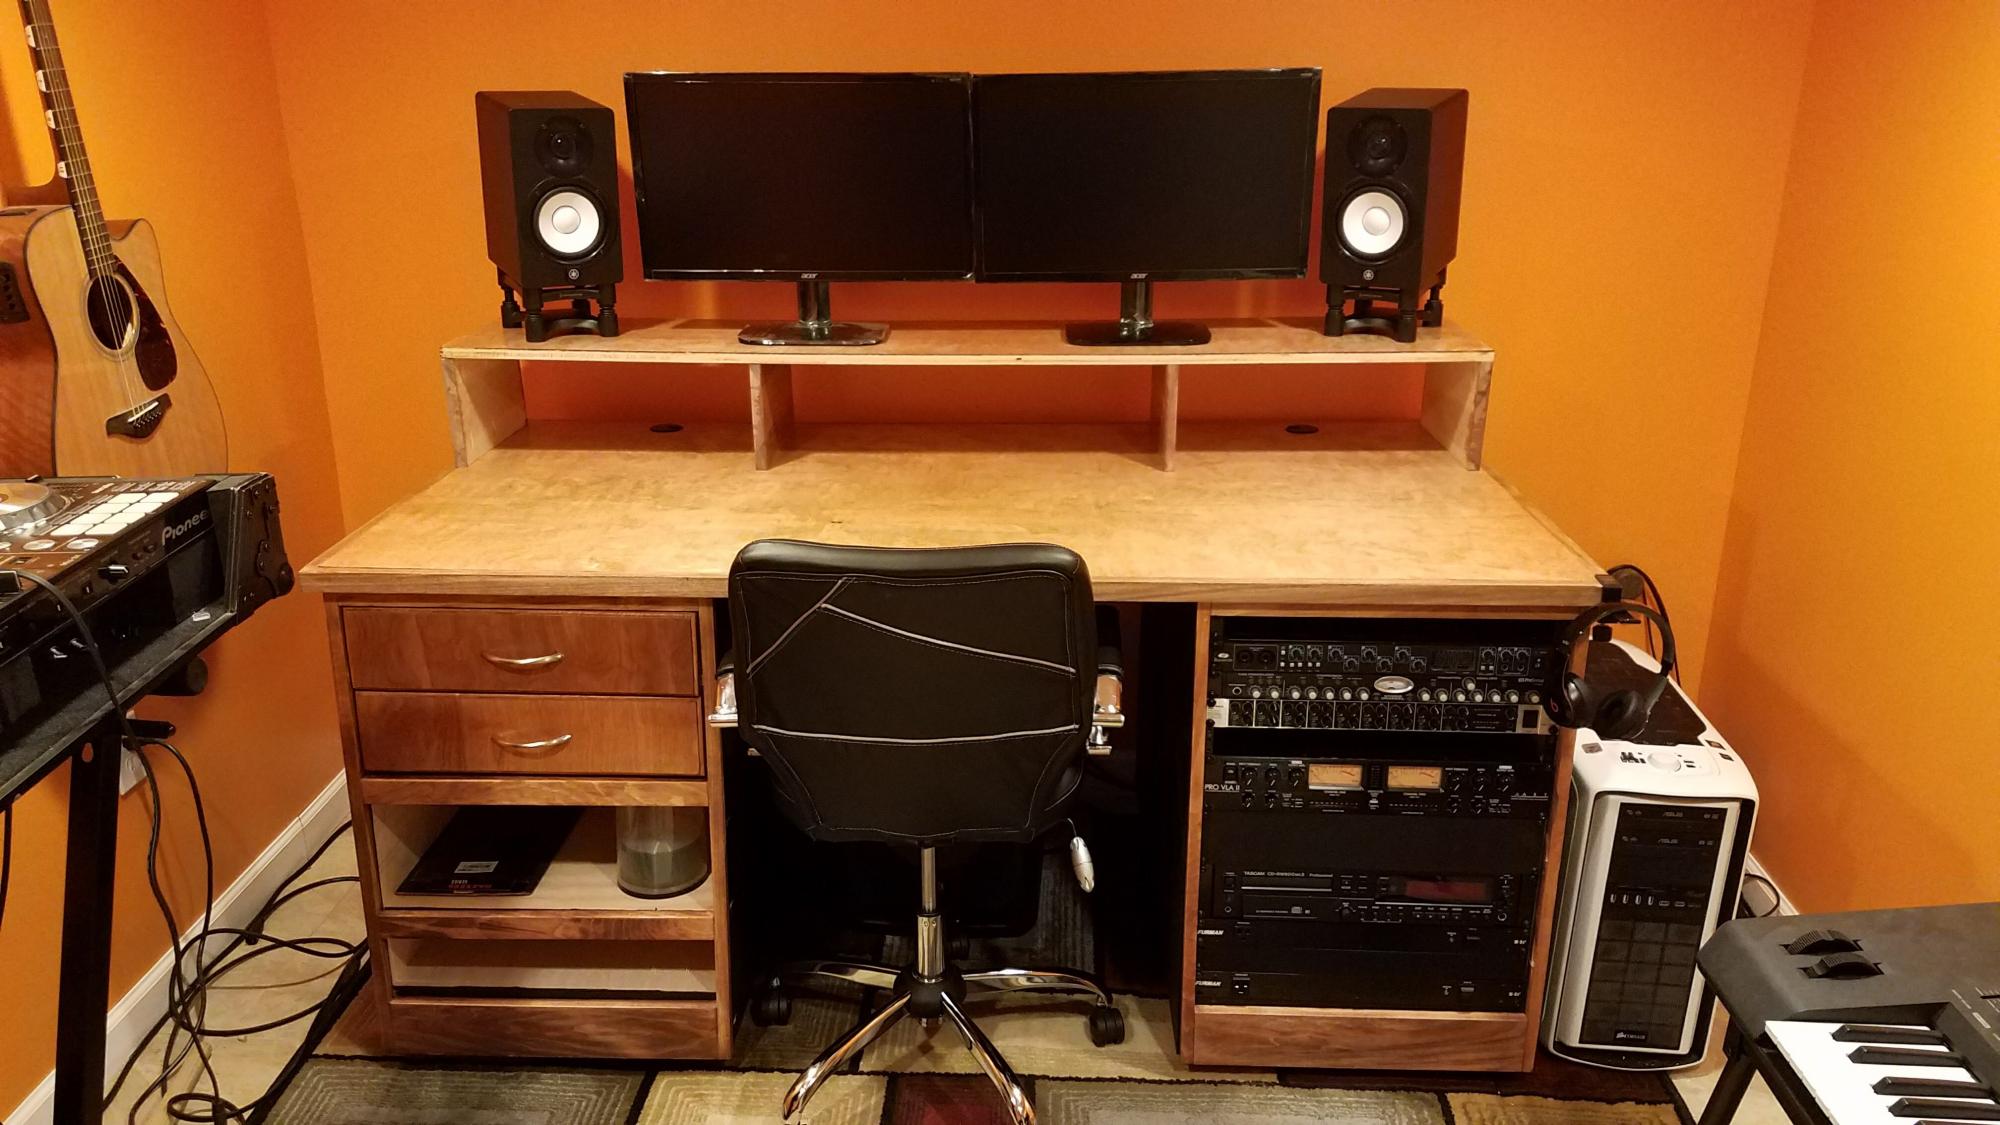
Floating Corner Entertainment Stand
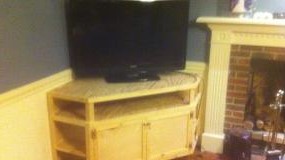
This is a corner entertainment stand. I didn't have a plan to follow so I made it up as I went. The dimensions are 40" L xW and 27" tall. It has a base hidden underneath it help support the weight and is also screwed into wall studs to prevent tipping. The angle for the front cross section is 22.5 degrees. I made this for a friend. She is going to paint it unfortunately. Materials cost only around $120. 3 sheets 3/4" plywood, some 1x2s and a couple hinges and cabinet knobs.
Estimated Cost
$130
Estimated Time Investment
Weekend Project (10-20 Hours)
Recommended Skill Level
Intermediate
Comments
Sun, 01/06/2013 - 04:49
This is REALLY a nice looking
This is REALLY a nice looking corner unit. In our living room, the ONLY place for the tv is in the corner. I have a prebuilt unit now that cost me quite a bit, and we hate it. Its all modern with glass shelves. This corner cabinet is EXACTLY what I want to build. I have a 1 year old so having doors to hide the electronics is a must.
I would VERY much like to build this. Are there any more detailed pictures or a plan I could download? Ive been searching for the last few days an just cant seem to find anything that catches my eye like this one.
Looks great!!
Sun, 01/06/2013 - 06:18
Thanks Justin
The shelves are made out of premium plywood. For the top, bottom, and the middle shelf, I measured and cut out on pieces of plywood. Then used plywood for the "walls" of the unit. I trimmed it with 1x2s. The doors are also plywood. I just rabbit jointed nice wood for the frame of the doors. Underneath the the TV stand is a 2x4 set back a little bit to give it that floating looking. It is anchored to the wall on the inside of the unit with screws going into the studs of the wall. I hope this makes since.
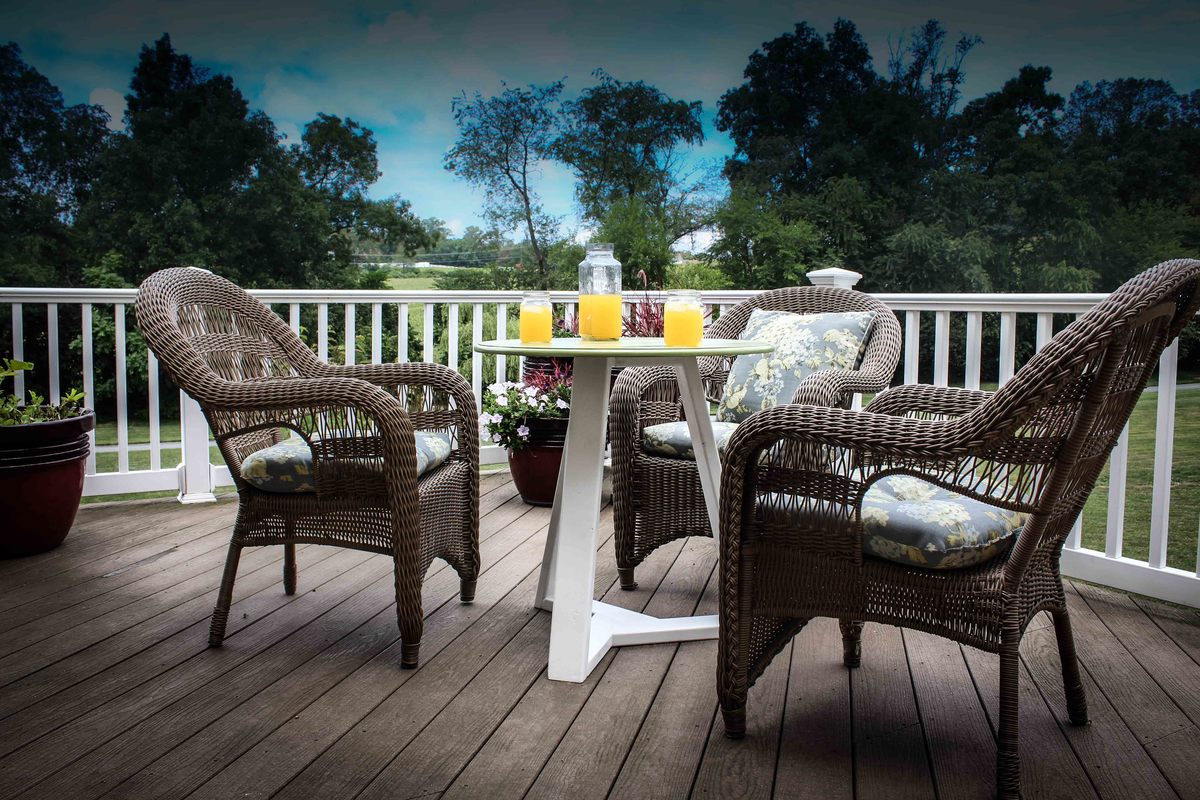
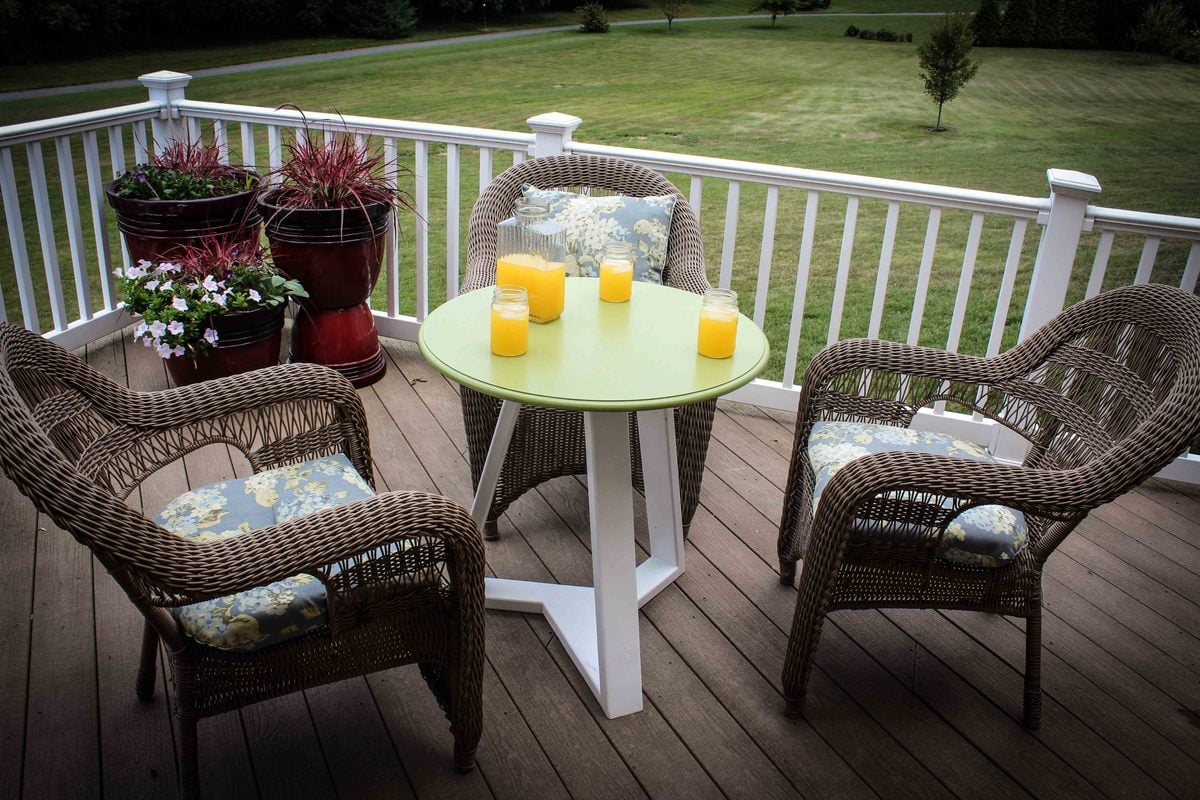
Simple Round Table
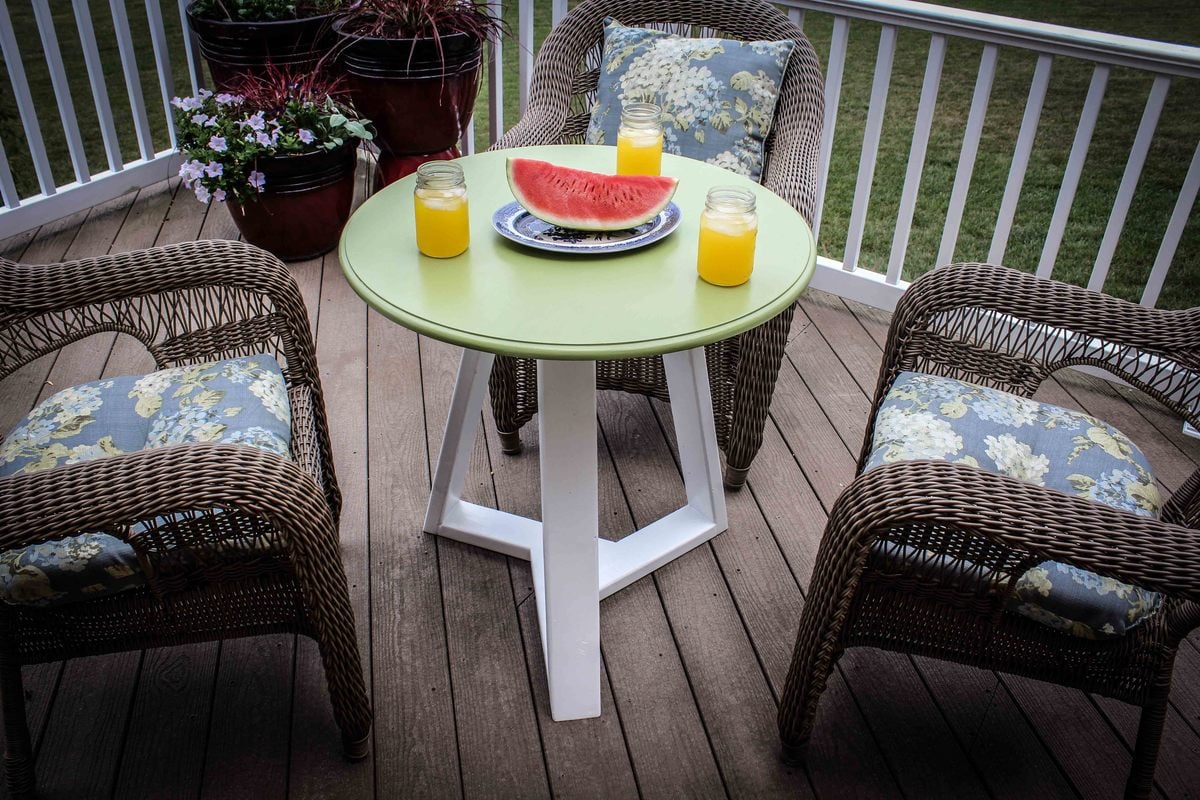
This project was built with a round top from a broken table and two 2x4’s. The top in this project is 30 inches in diameter. However, the designed can be scaled up or down based on your top diameter and/or desired table height. See drawing and video for build instructions.
Build Instructions:
http://www.instructables.com/id/Simple-Round-Table/
Video:
https://www.youtube.com/watch?v=CZGR2giAIv8
Drawing:
https://drive.google.com/file/d/0B21TbB8gGNQbeG96QVdsNGNKZHc/edit?usp=s…
Estimated Cost
$10 since I had the free top
Estimated Time Investment
Afternoon Project (3-6 Hours)
Finish Used
Paint
Recommended Skill Level
Starter Project
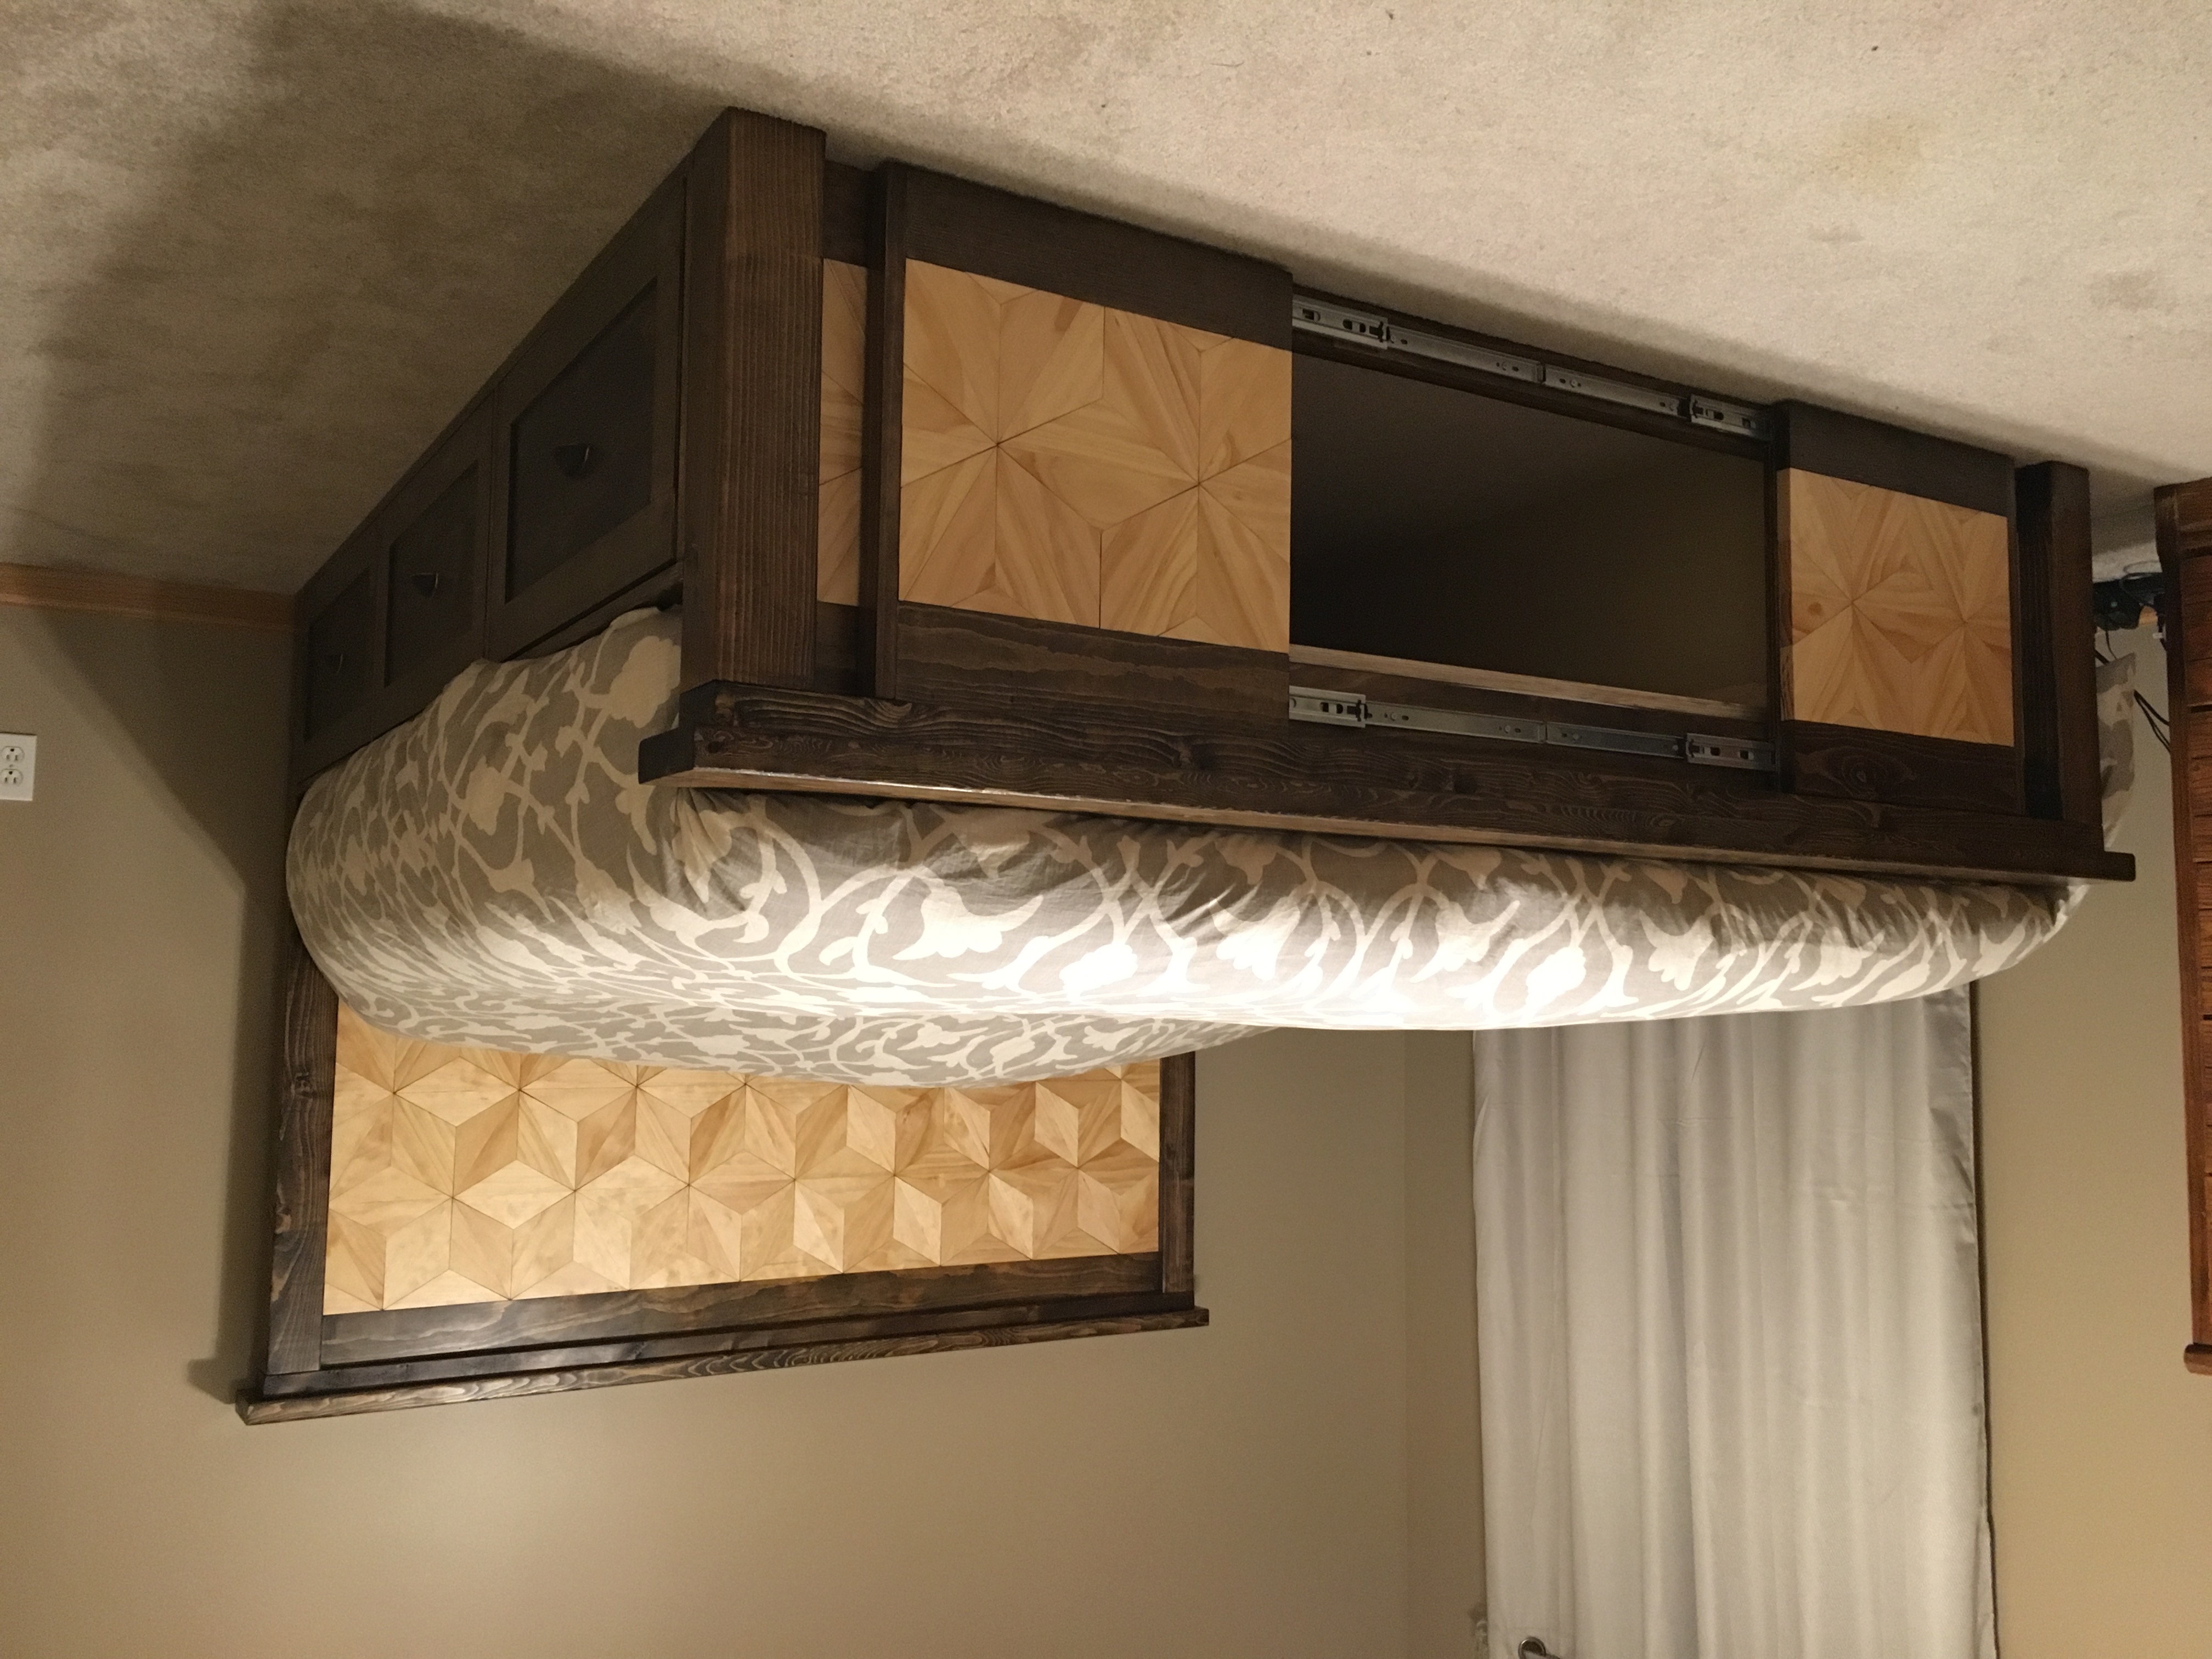
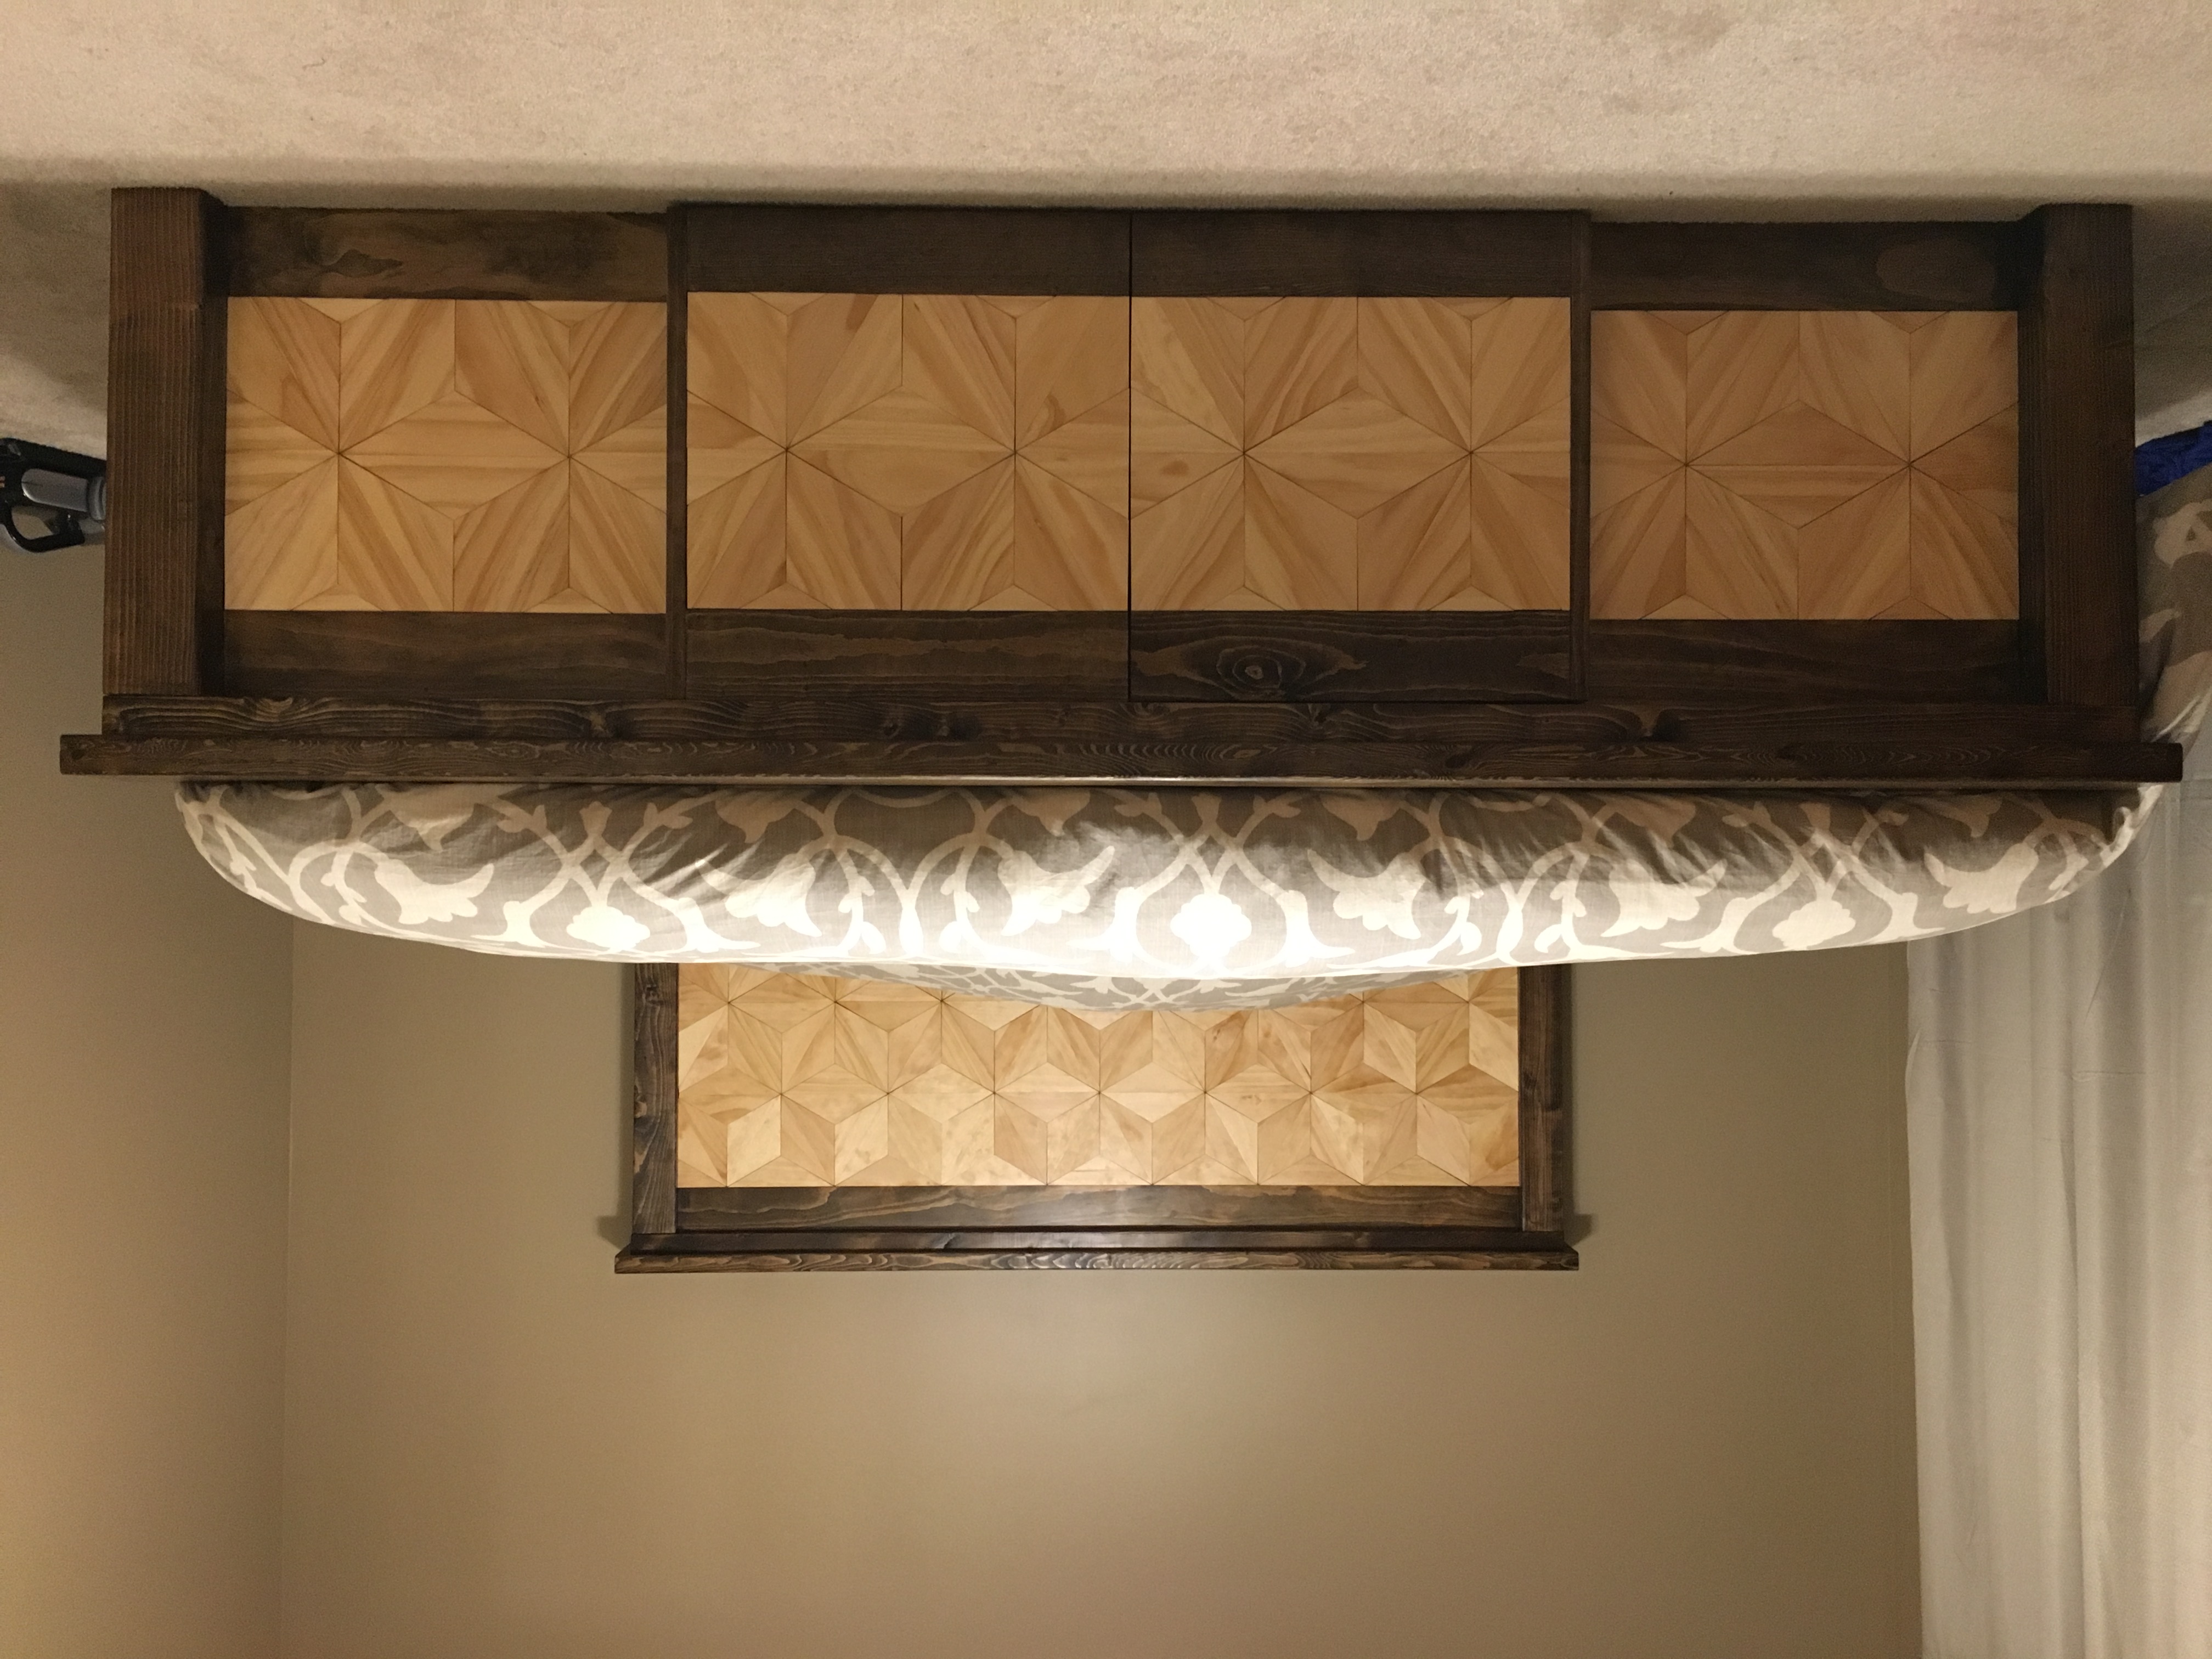
First furniture attempt
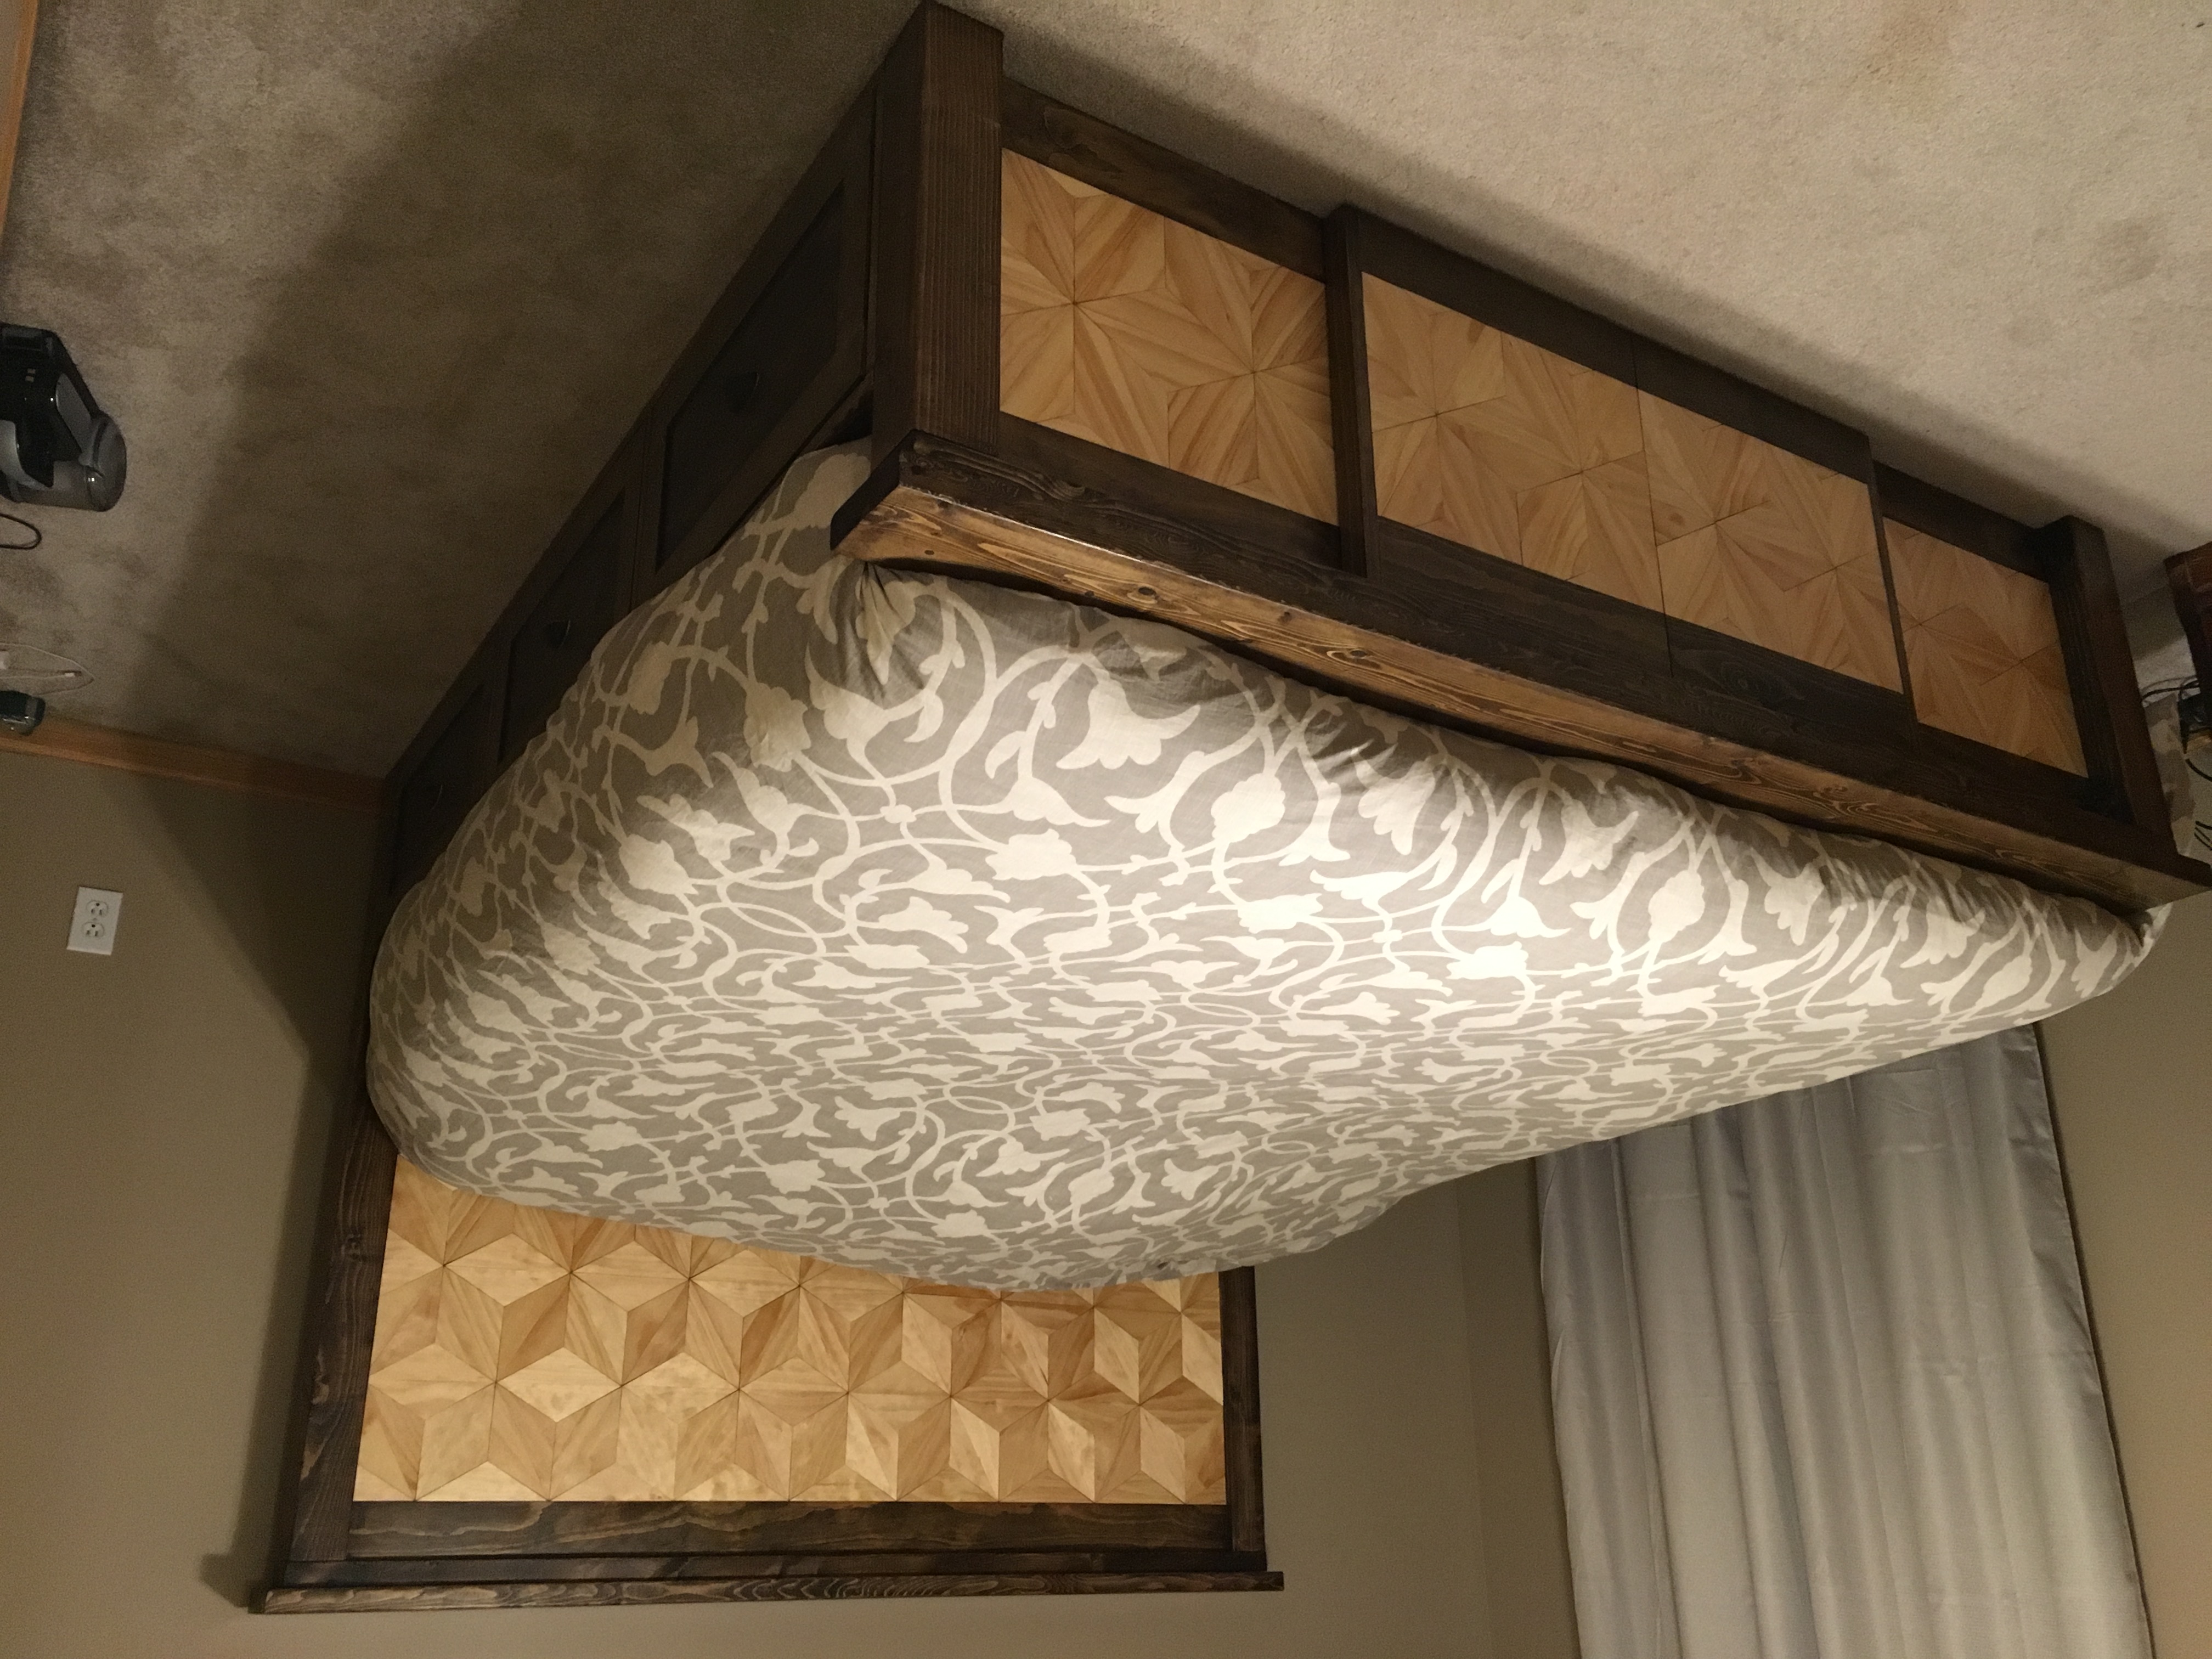
Additional inspiration from here http://www.mylove2create.com/2015/07/farmhouse-storage-bed.html?m=1
Access to storage area under mattress via sliding doors at foot. Soft-close slides on all drawers and storage access. Modified plans for king mattress. Head and foot board attached using bolts and threaded inserts for easy disassembly.
Estimated Time Investment
Week Long Project (20 Hours or More)
Recommended Skill Level
Beginner

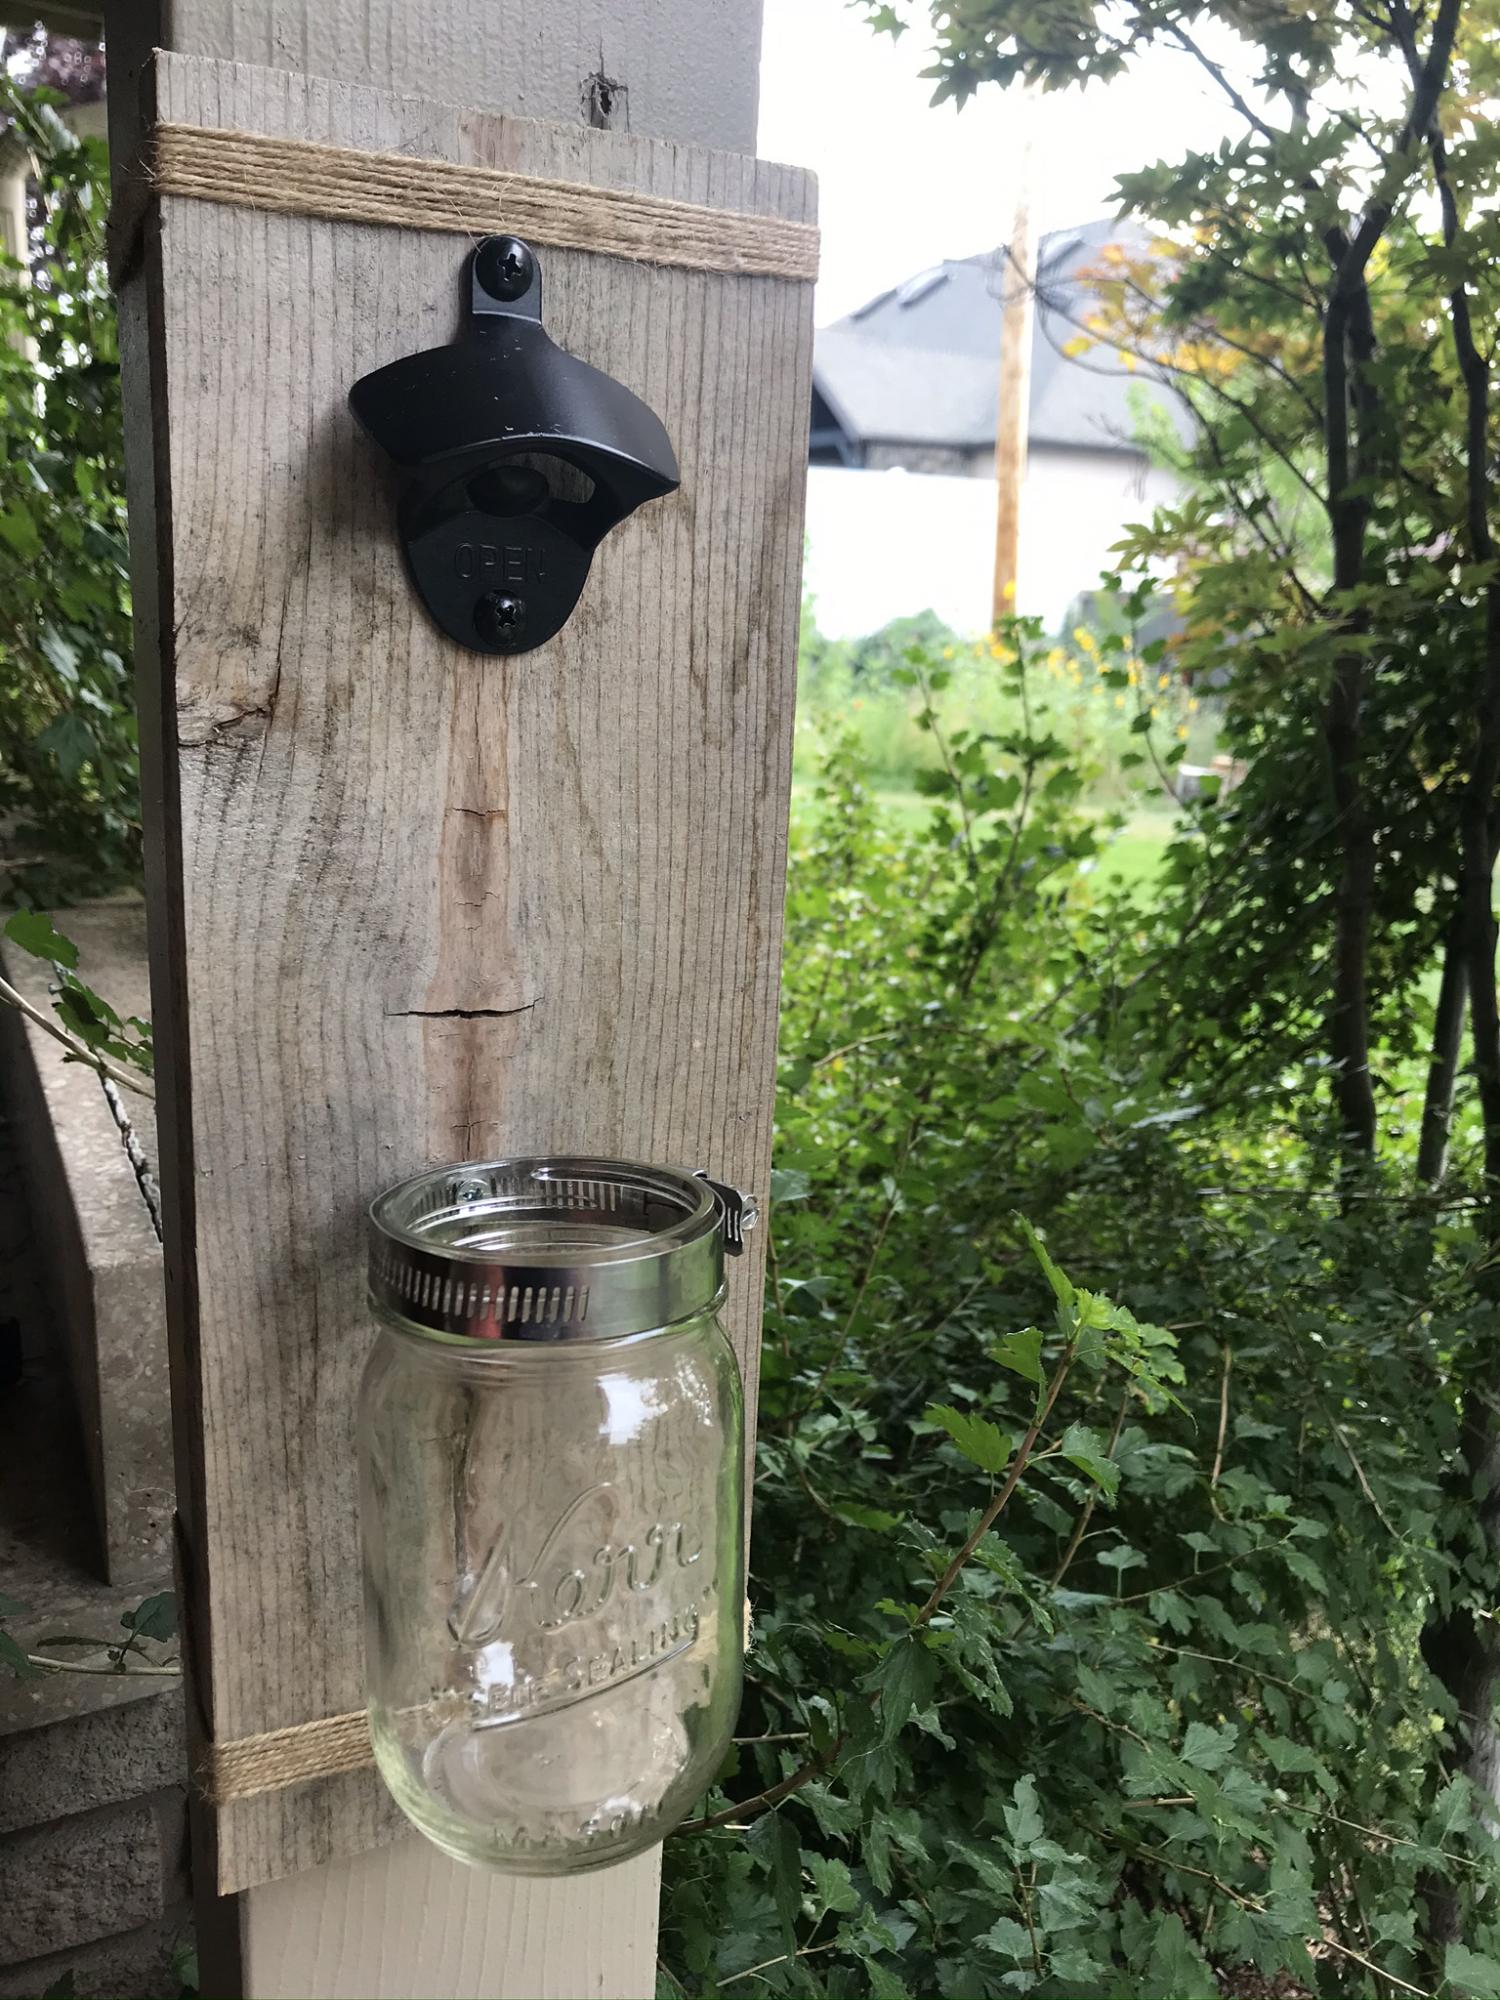
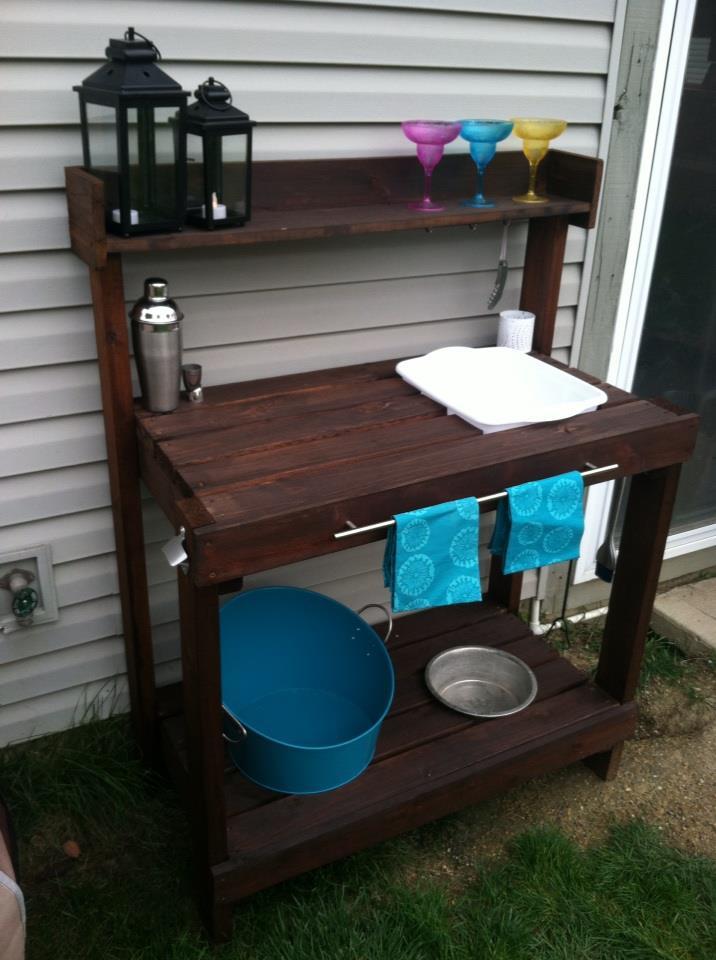
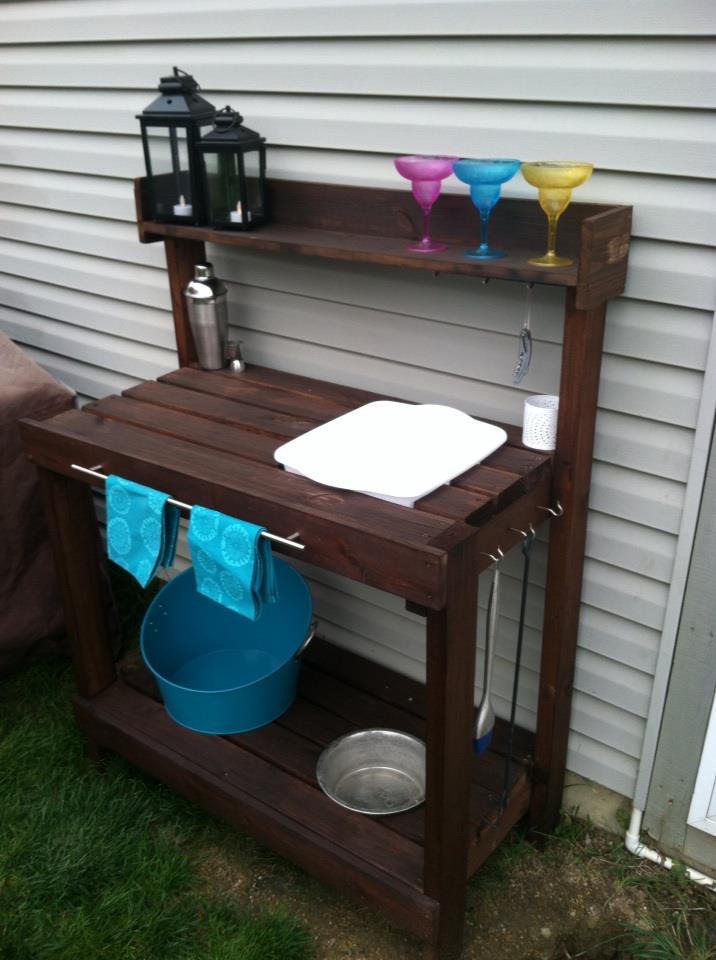
Outdoor Bar
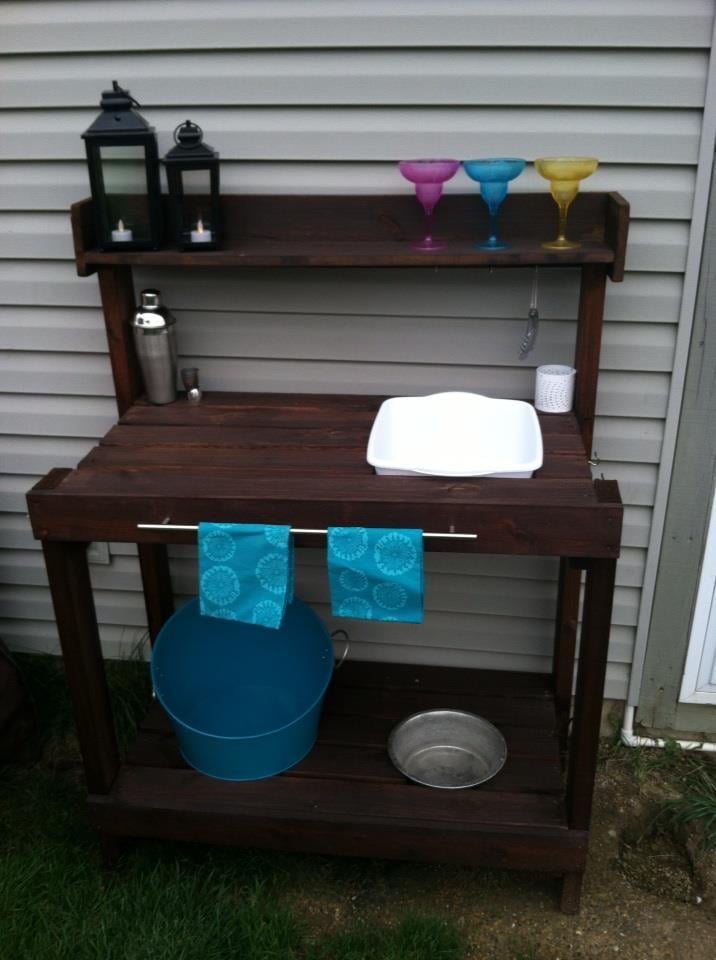
This is my first project. I'm so happy with the results. We turned this potting bench into an outdoor bar. :)
Built from Plan(s)
Estimated Time Investment
Weekend Project (10-20 Hours)
Finish Used
Outdoor stain.
Recommended Skill Level
Starter Project
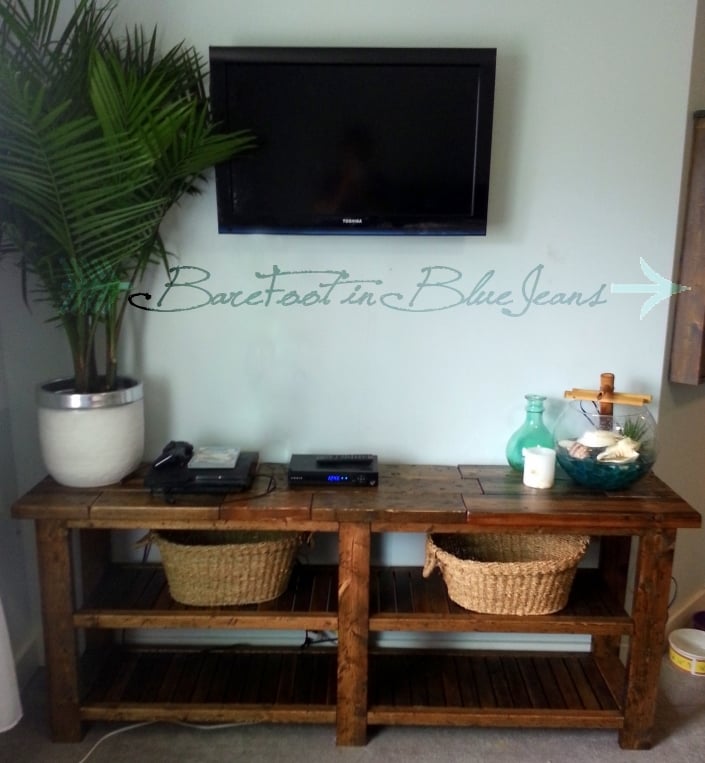
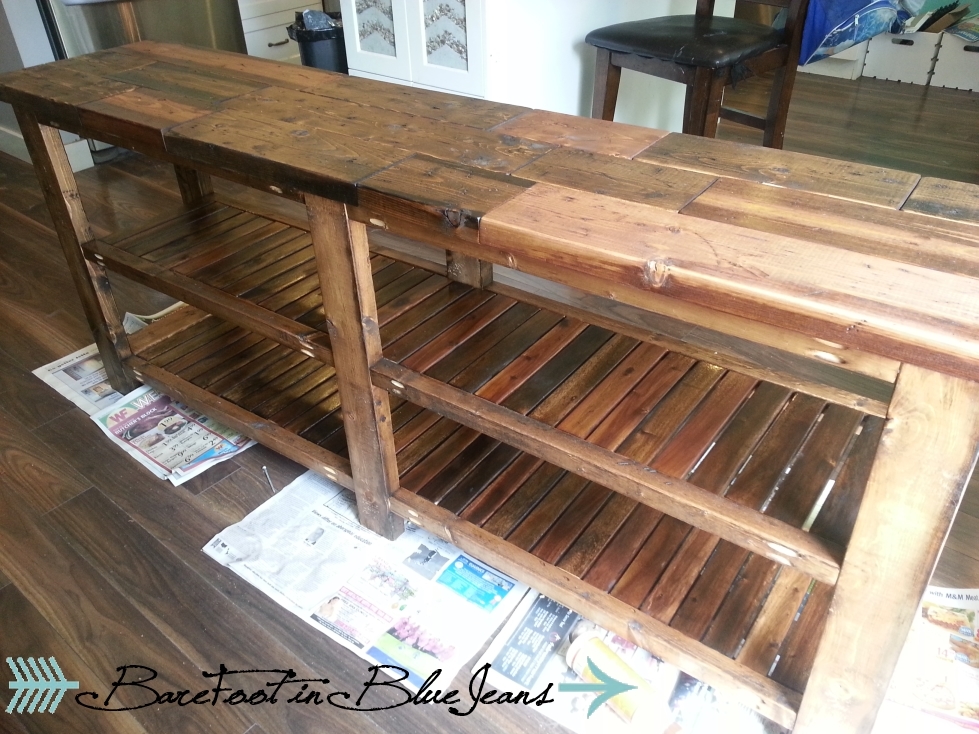
DIY Rustic Console Table
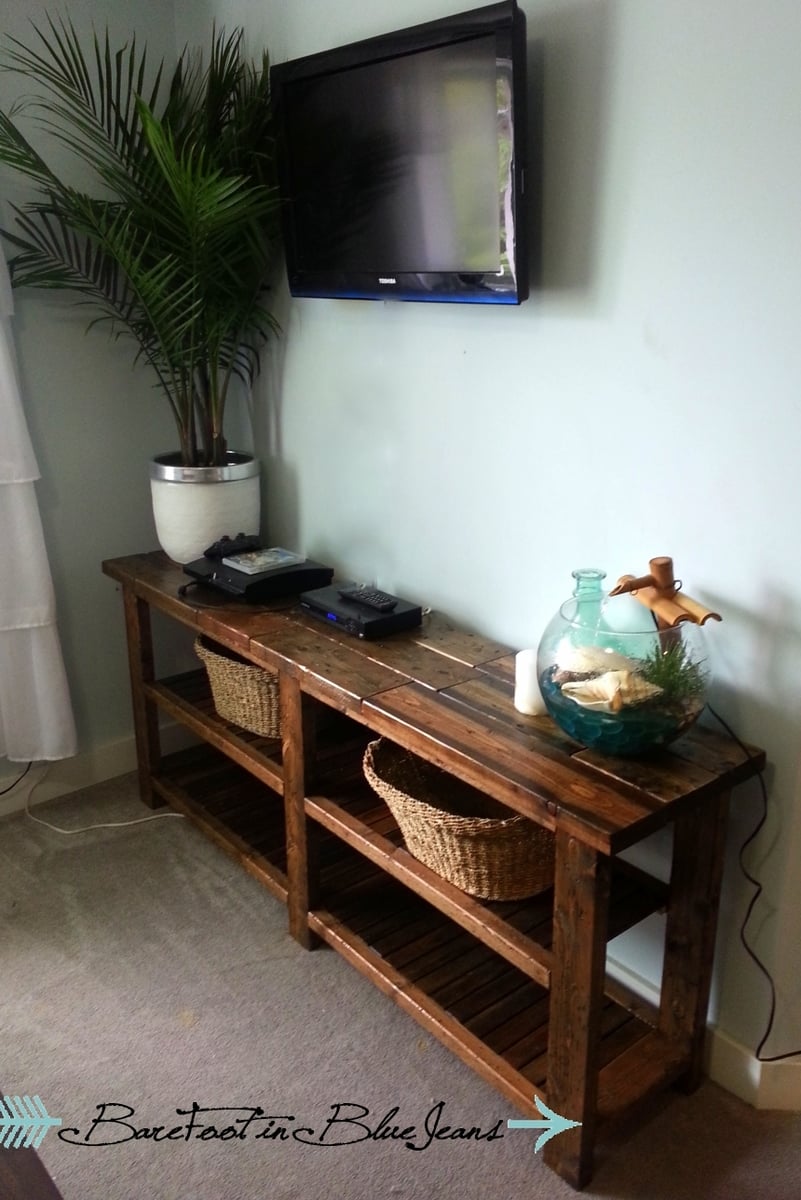
I made this shelf quite some time ago. I changed quite a few aspects of it as I went a long and I am quite happy with the finished product. Thanks again to Ana for the rockin plans.
Built from Plan(s)
Estimated Cost
75
Estimated Time Investment
Weekend Project (10-20 Hours)
Finish Used
Minwax: Jacobean, espresso, special walnut, weathered oak.
Recommended Skill Level
Beginner
Joy Sign
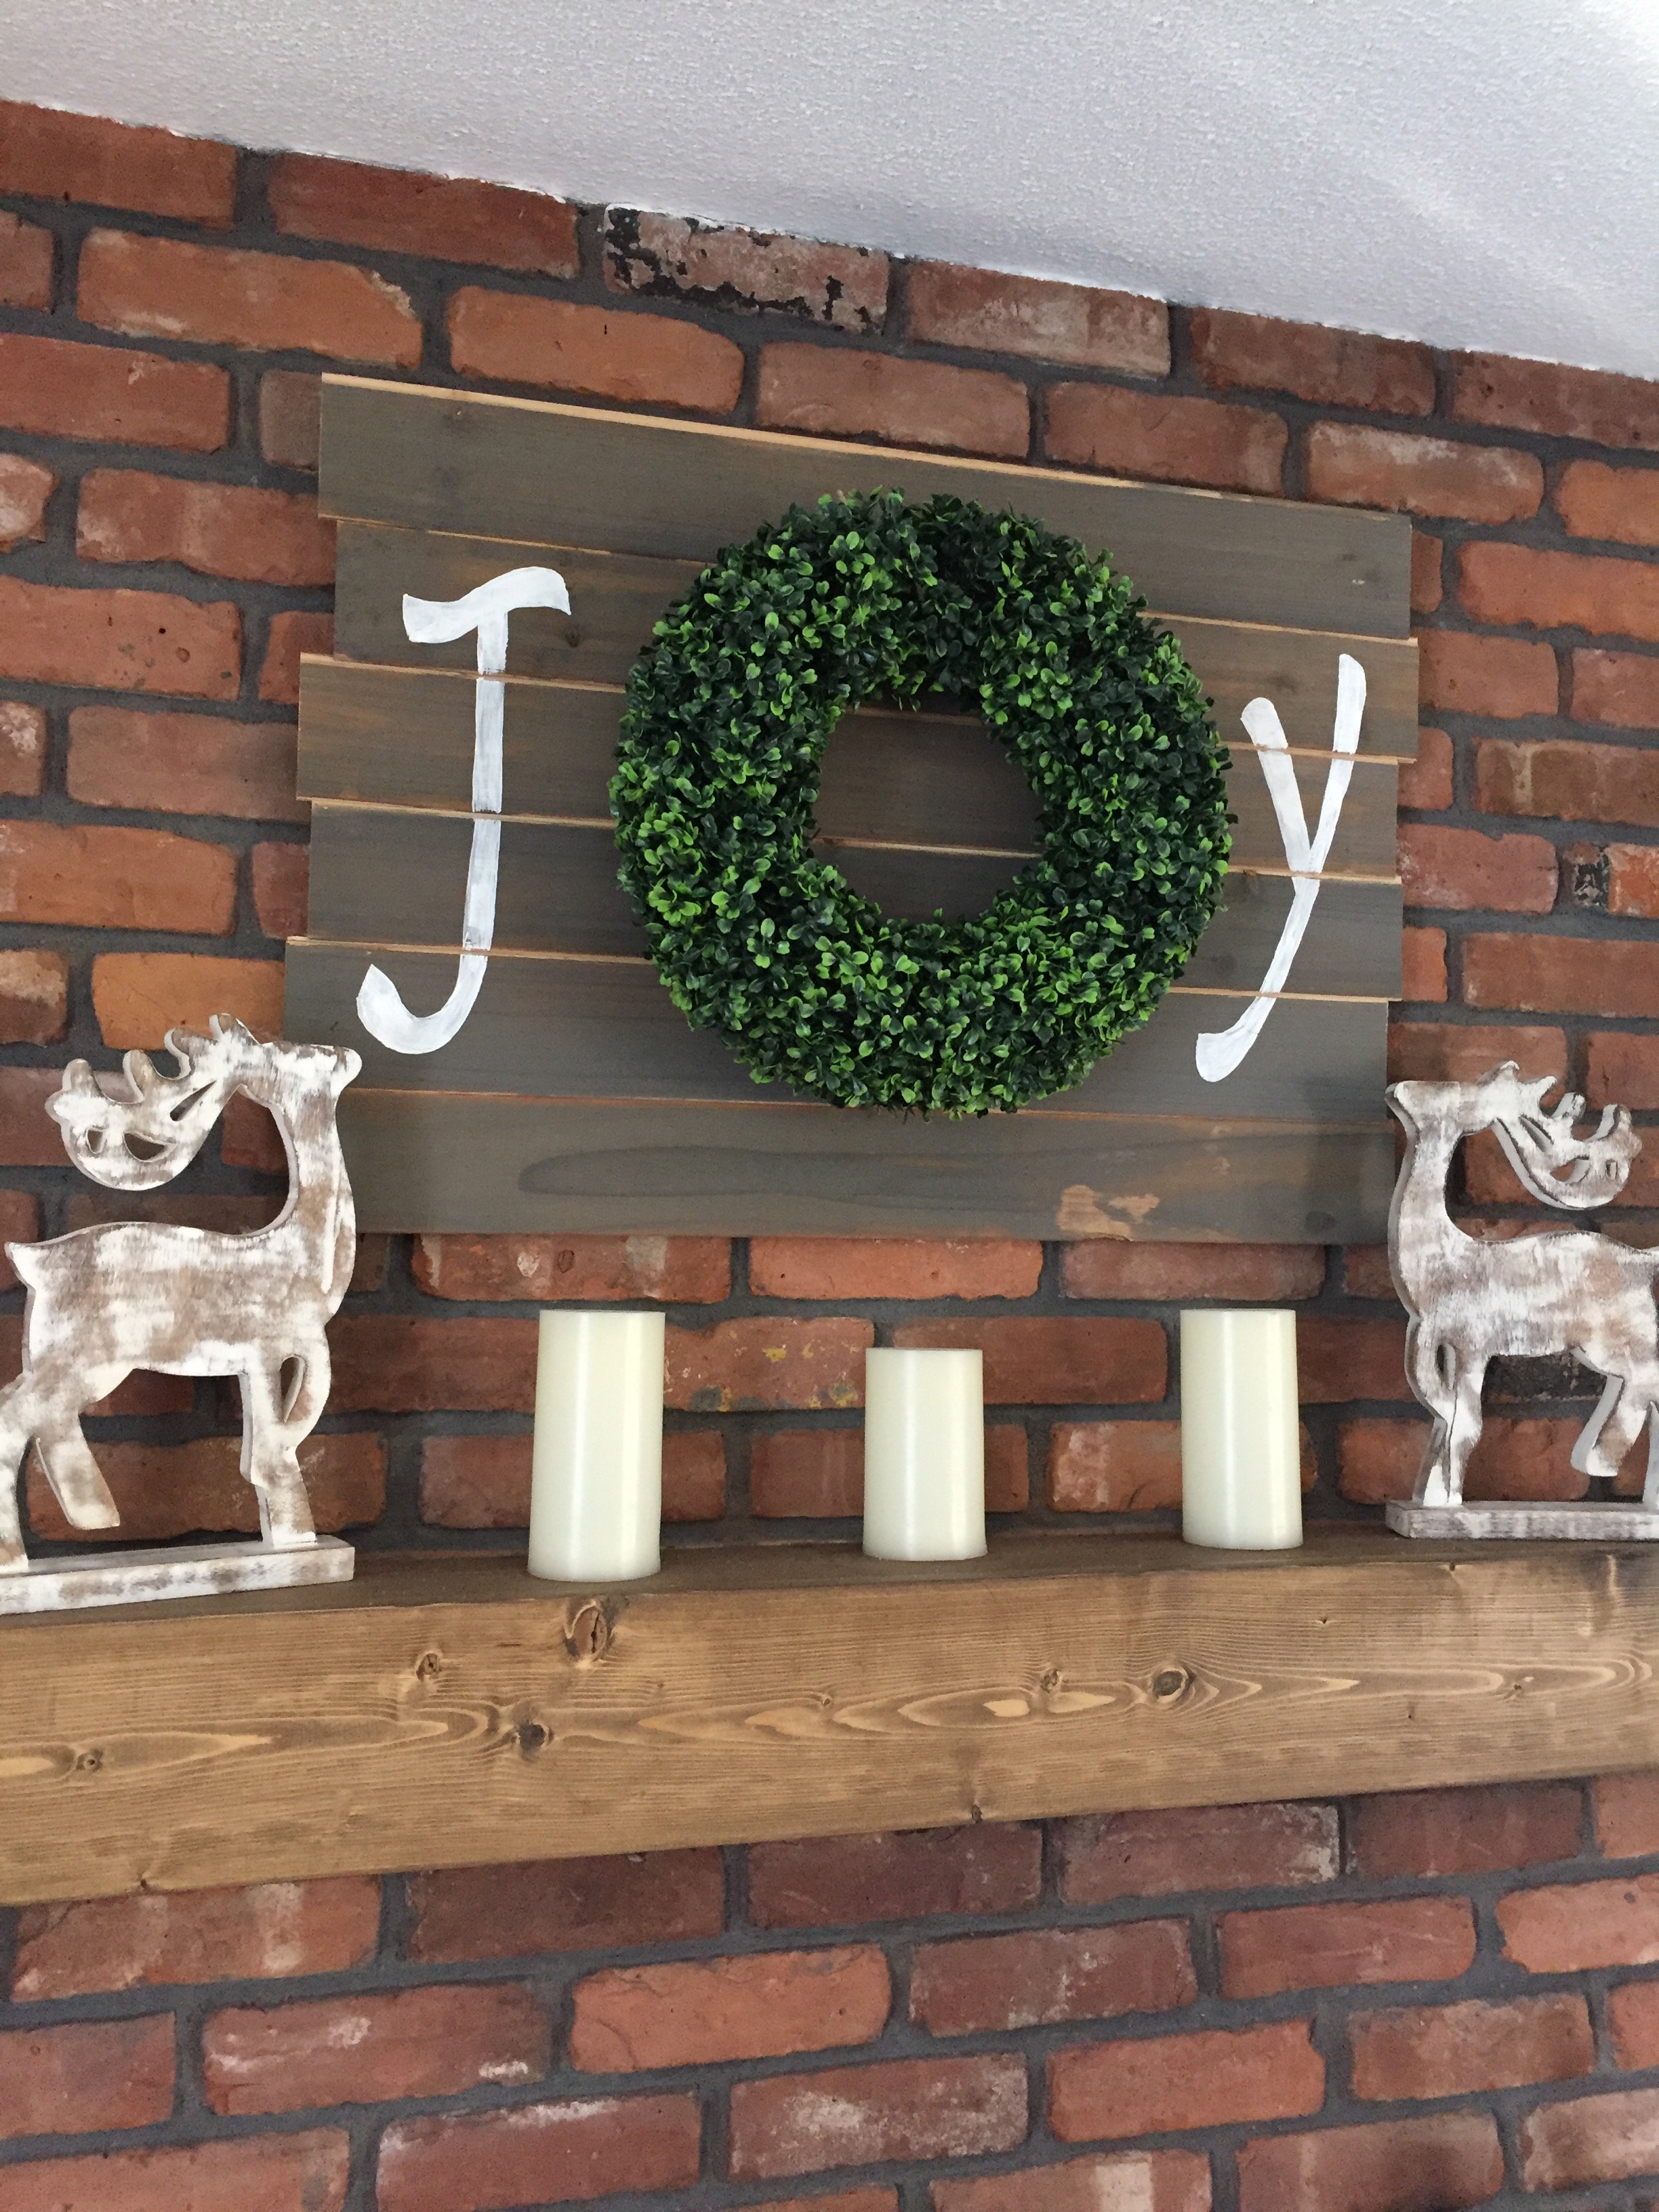
Had some leftover v groove planks from building a plank wall in son's room, so decided to make Ana White's cute Joy sign. Had trouble finding a boxwood wreath that I liked, so ordered one from Home Depot. It came in only 2 days. Super simple and super cute.
Built from Plan(s)
Estimated Cost
$20.00 for wreath.
Estimated Time Investment
An Hour or Two (0-2 Hours)
Finish Used
I used iron acetate on planks, sanded lightly, then finished with weathered grey stain over it. Used scraps of wood and liquid nails to attach boards together.
Recommended Skill Level
Starter Project
Comments
Mon, 11/18/2019 - 12:34
This is gorgeous! Thanks so…
This is gorgeous! Thanks so much for sending in a photo!
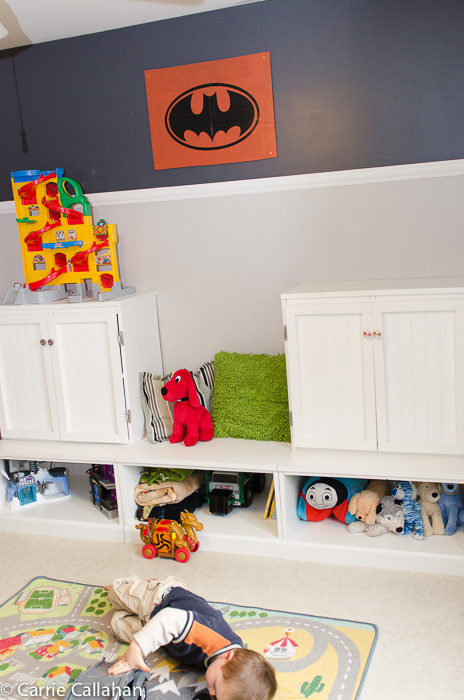
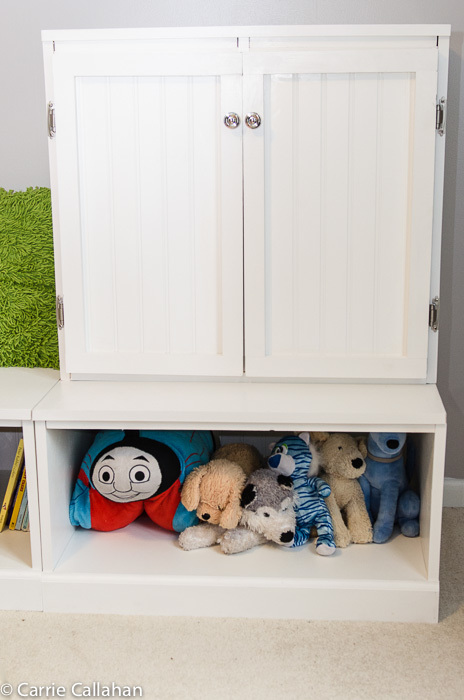
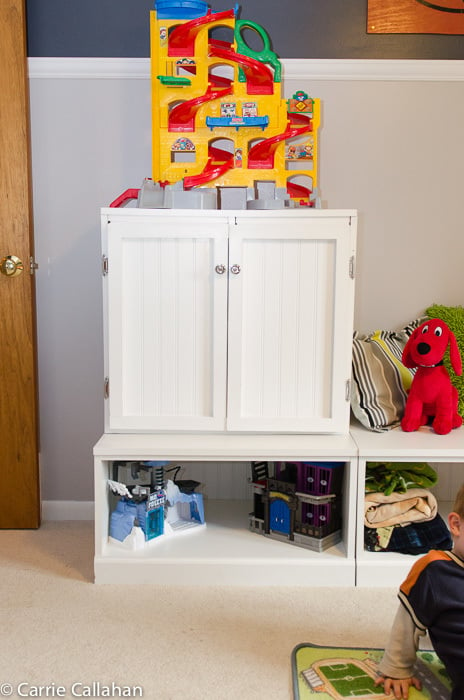
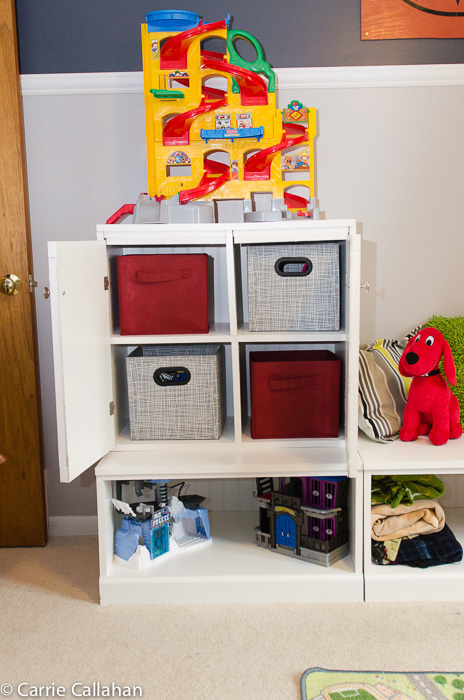
Toy Storage for my Little Man
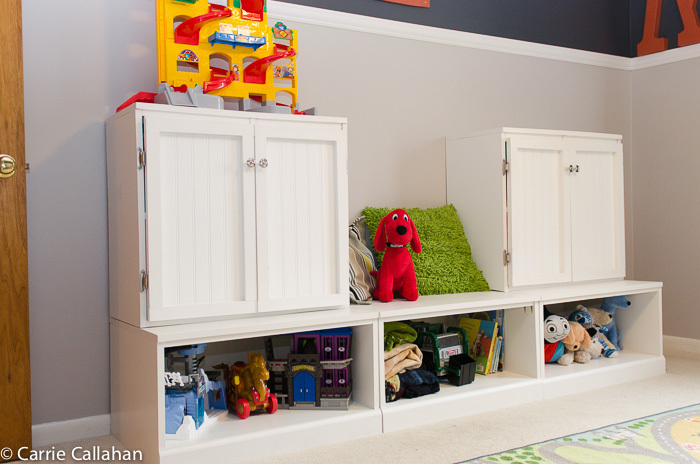
I am so excited about this project! I re-did my entire little man's room. It included a ton of Ana's projects! The closet, $10 ledges, step stool and the toy storage. This was quite the venture for me, I have done a lot of plans from Ana, but this one was a lot - a lot of painting. And hanging the doors, was a challenge :) I couldn't be more happy. My little man didn't want to leave his room he was so excited!
Built from Plan(s)
Estimated Cost
$220
Estimated Time Investment
Weekend Project (10-20 Hours)
Finish Used
Primed, sanded, painted with White Semi-gloss for two coats, sanding between each.
Recommended Skill Level
Intermediate
Comments
Mon, 10/22/2012 - 08:16
Love it!
Love your new room for your son! I love using clear toy storage bags to organize toys and then you could put the bags on display or behind the doors in your storage unit - http://mommby.com/Store/Bag.php.
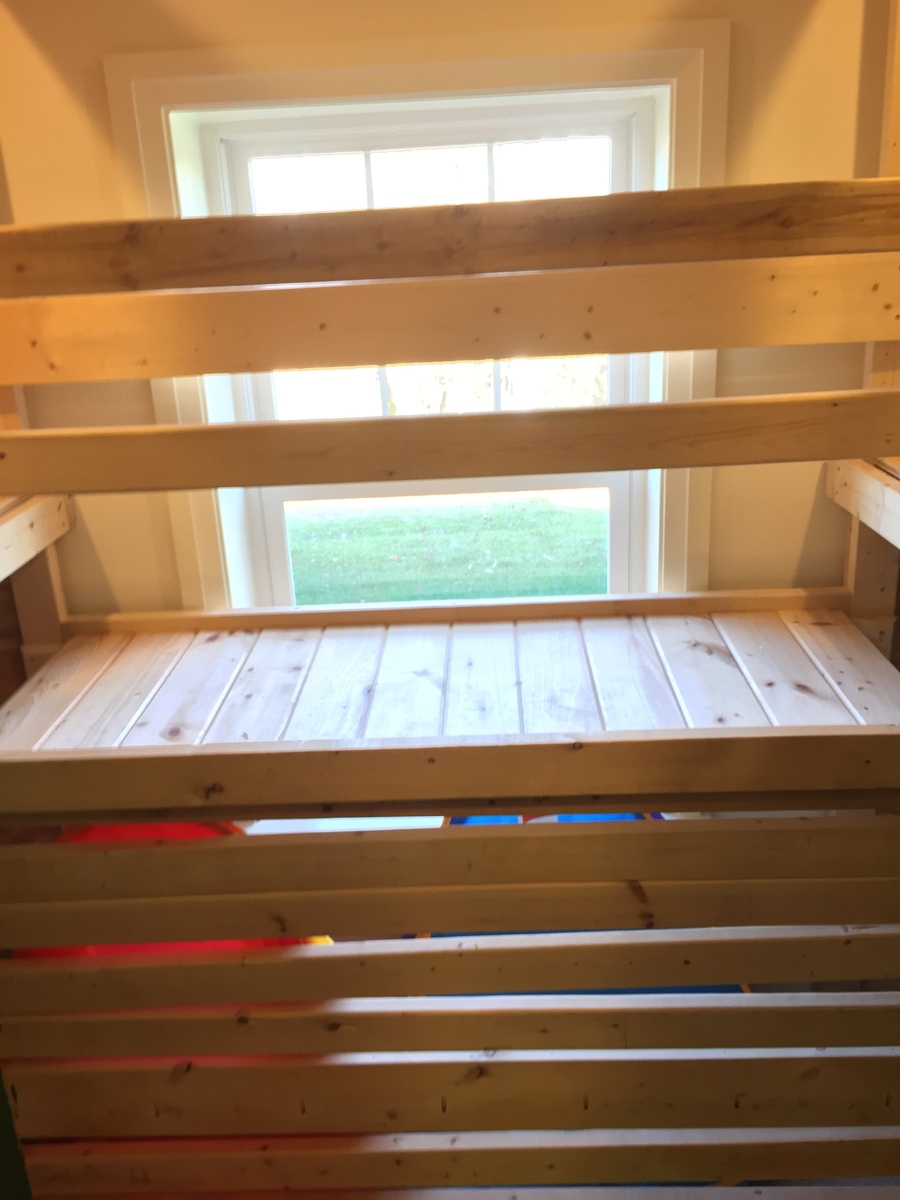
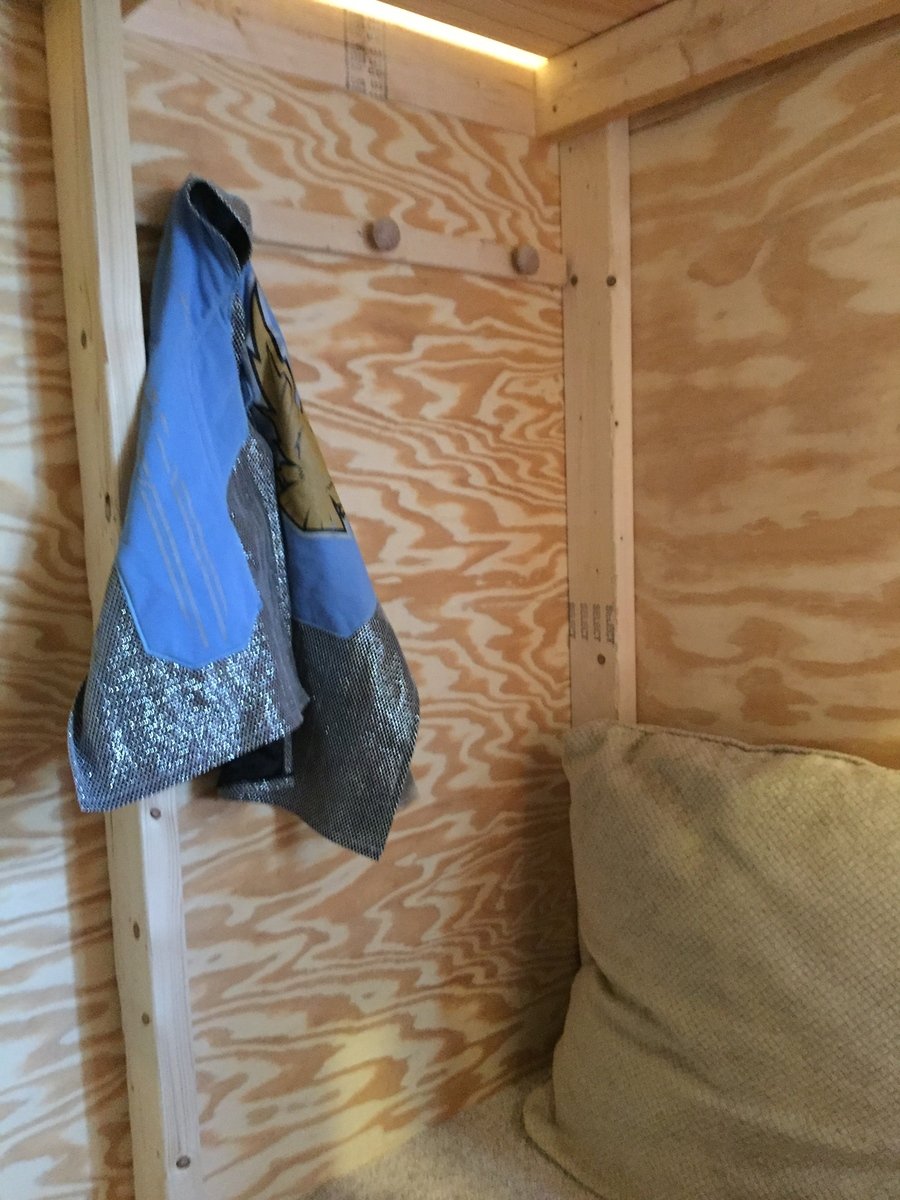
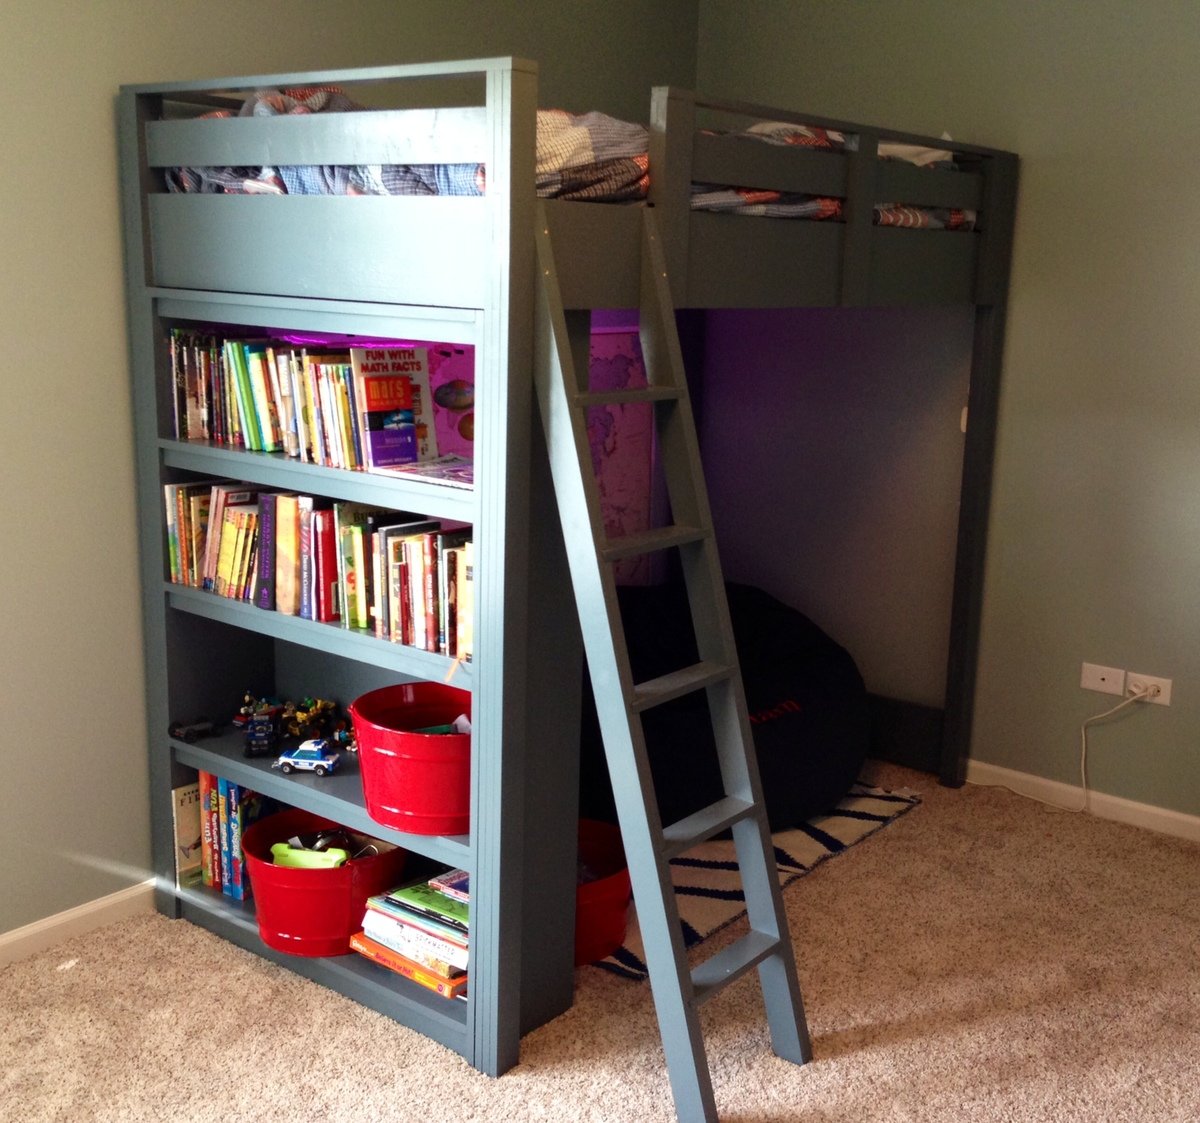
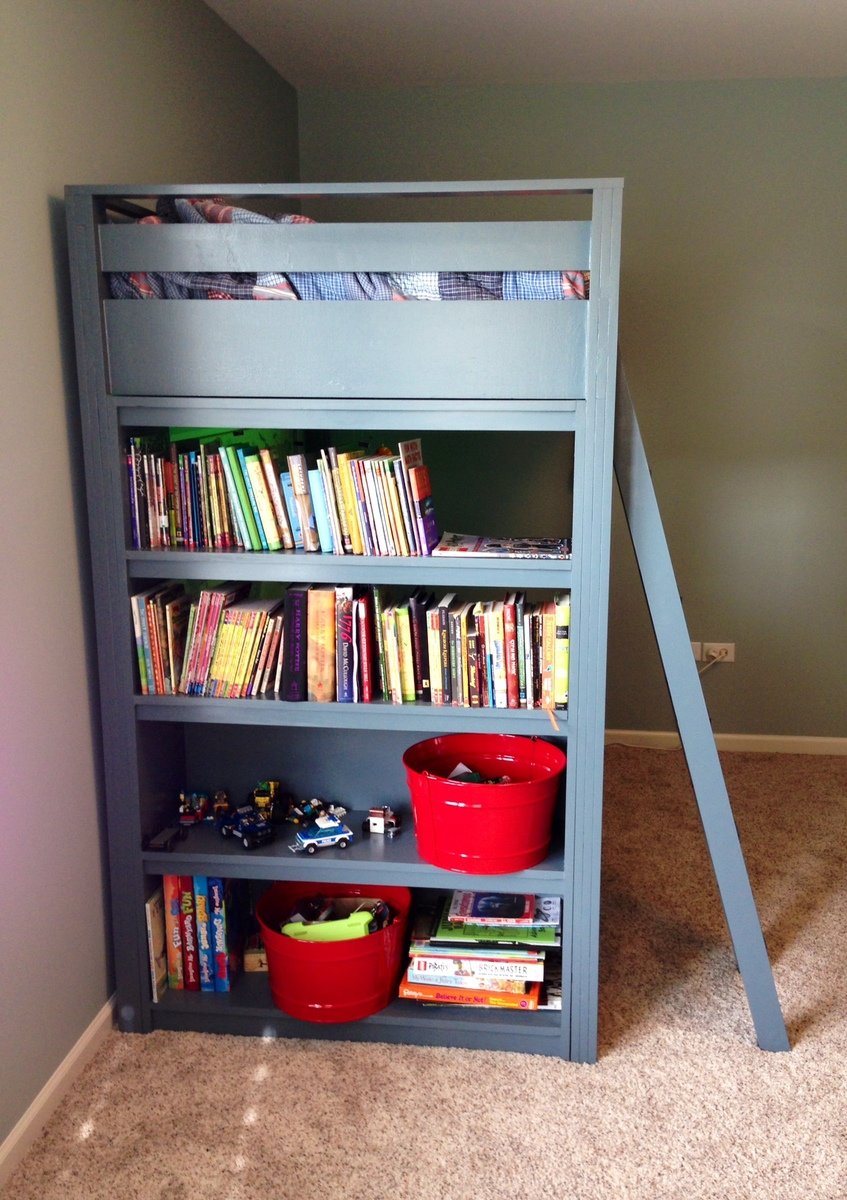
Loft Bed with Shelves
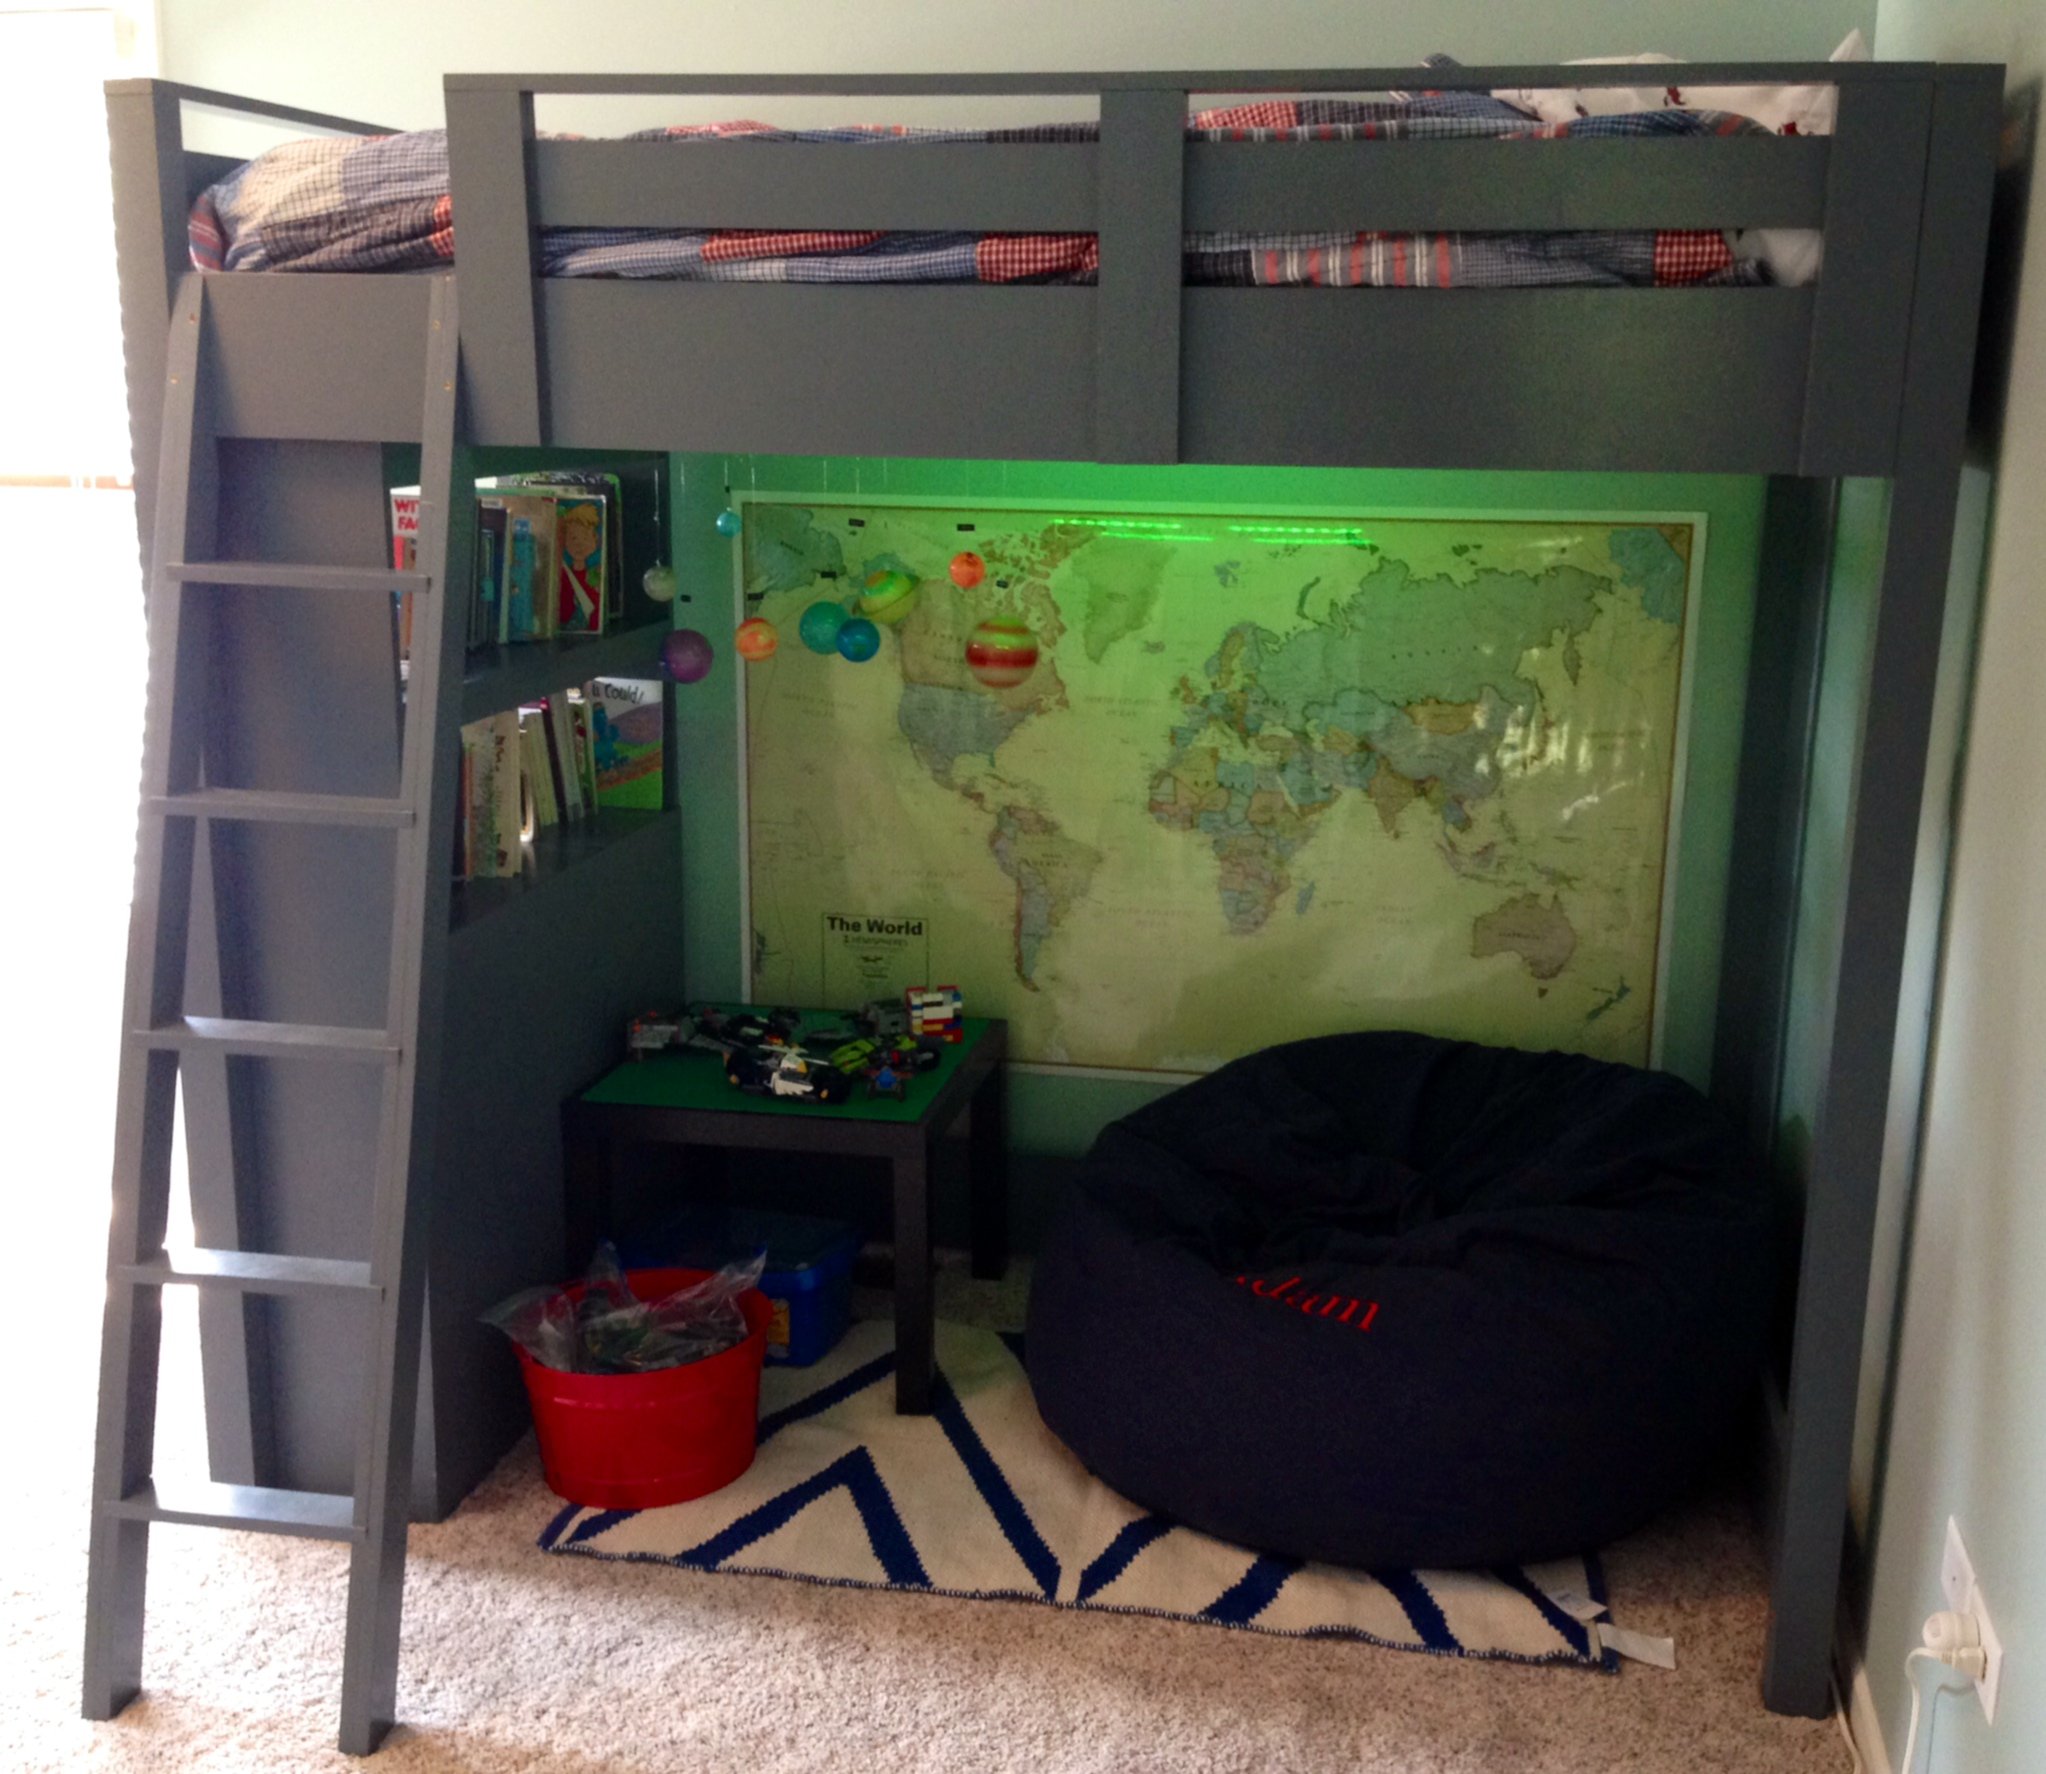
This build was not hard, but just took time. The plans were perfect. Clear, easy to follow and correct.
Materials cost about $400.
This was a fun project because my 8 years old son got to help build his bed. I used a brad nailer to hold many pieces together after they were glued. Not a must, but it made the build a lot easier. It also came in very handy when making the shelves.
We also added IKEA LED lights underneath the bed for a cool effect.
Built from Plan(s)
Estimated Cost
$400
Estimated Time Investment
Week Long Project (20 Hours or More)
Finish Used
Behr paint - Myth color
Recommended Skill Level
Intermediate