Community Brag Posts

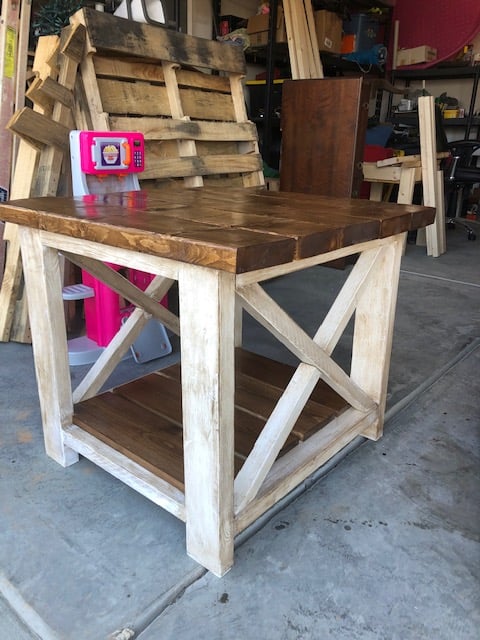
Rustic X end tables

Submitted by Anonymous (not verified) on Tue, 01/19/2021 - 16:35

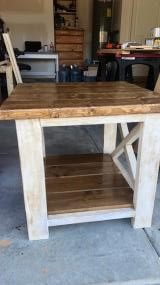
My first end tables, used the Rustic x plan except for the bottom shelf. I used a white chalky paint, with a brown wax to give it the rustic look, and stained the top walnut stain. Working on the coffee table to finish the set.

Built from Plan(s)
Estimated Cost
150
Estimated Time Investment
Weekend Project (10-20 Hours)
Finish Used
Top is walnut
Recommended Skill Level
Intermediate

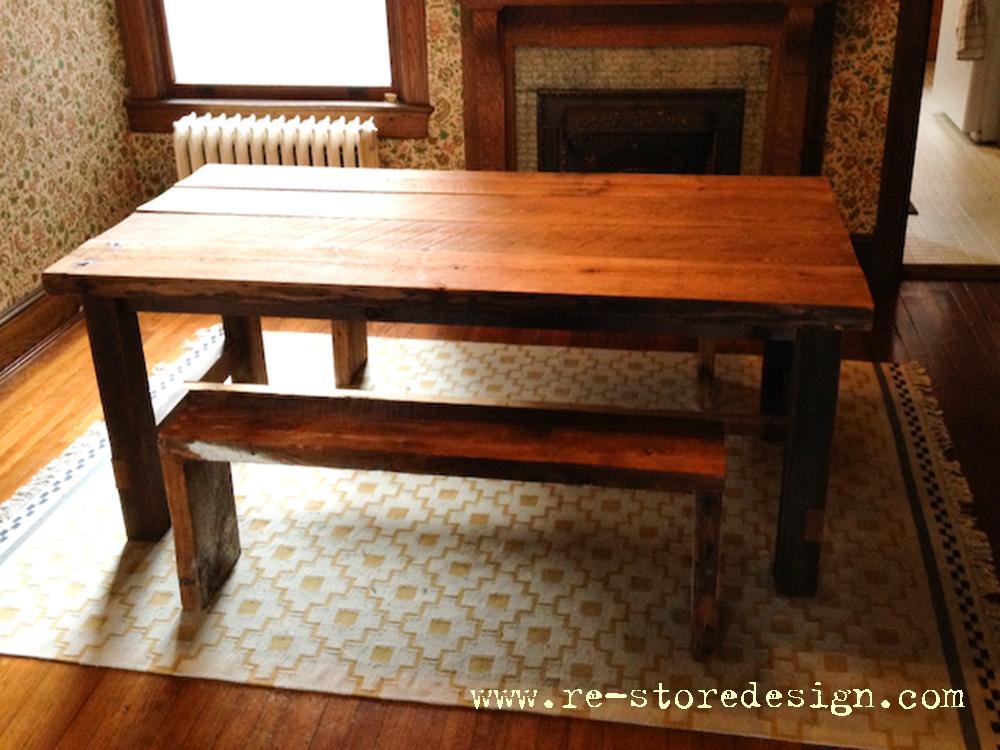
Finished the table!

Submitted by Anonymous (not verified) on Sun, 03/26/2017 - 10:16

We struggled with the angles because we made the table bigger than this tutorial suggests but all in all, awesome build.

Estimated Cost
$80
Estimated Time Investment
Weekend Project (10-20 Hours)
Recommended Skill Level
Intermediate

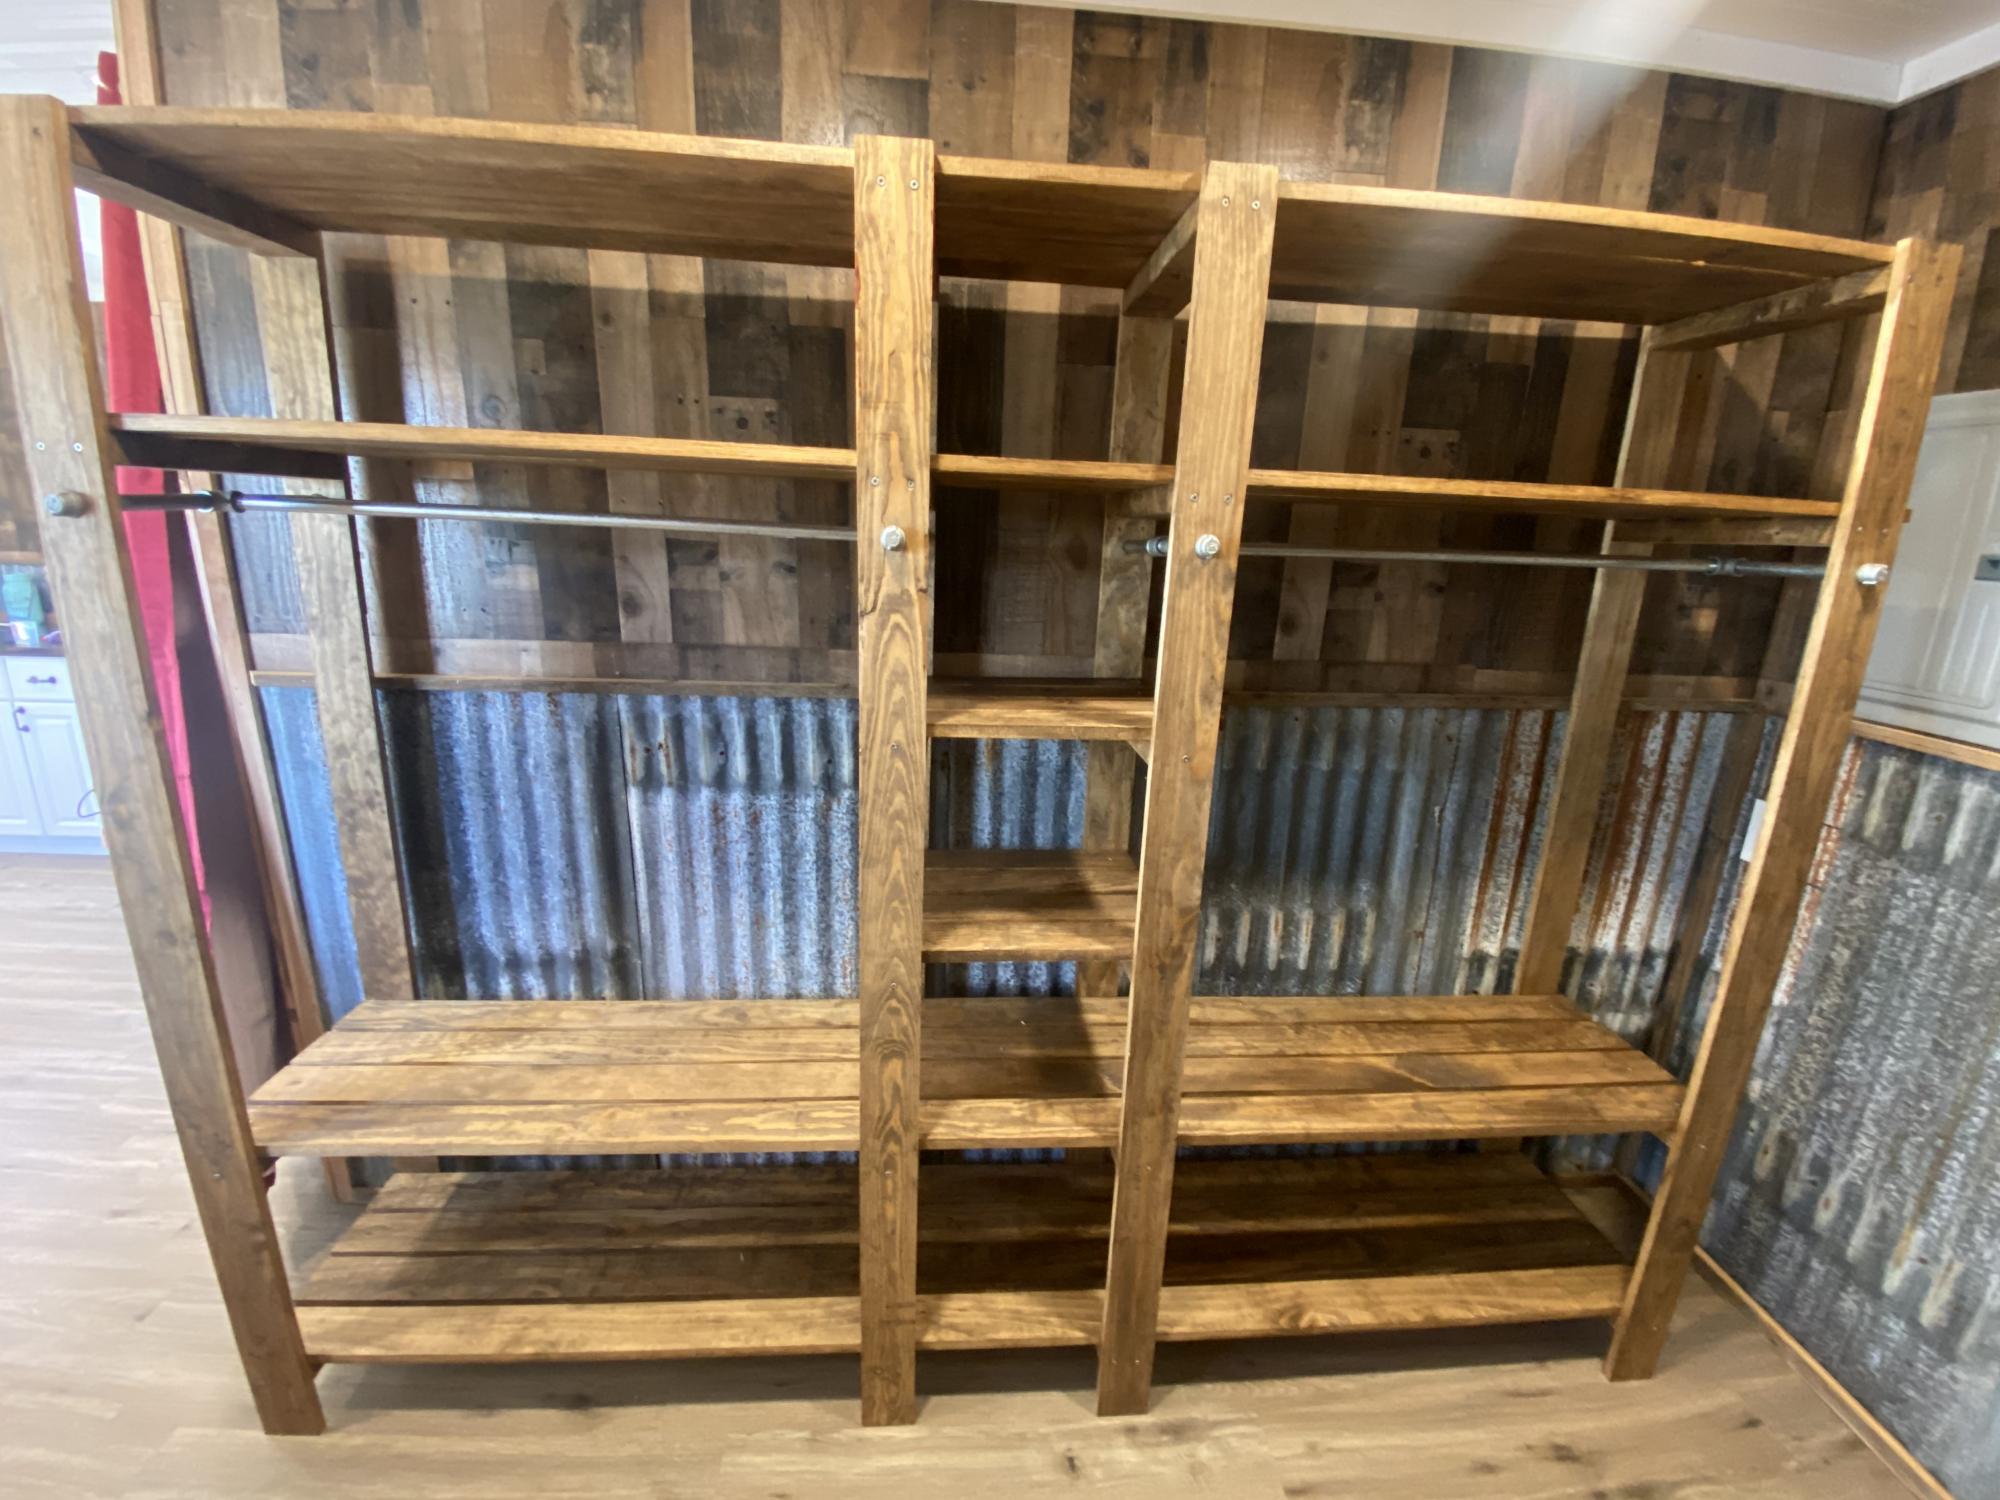
Wood Closet Shelving

Submitted by Anonymous (not verified) on Tue, 02/09/2021 - 06:38

This plan turned out perfect!! Such a great idea, thank you for the inspiration!

Built from Plan(s)
Estimated Time Investment
Day Project (6-9 Hours)
Finish Used
Minwax Golden Oak
Recommended Skill Level
Beginner

Comments

Lydia Daybed

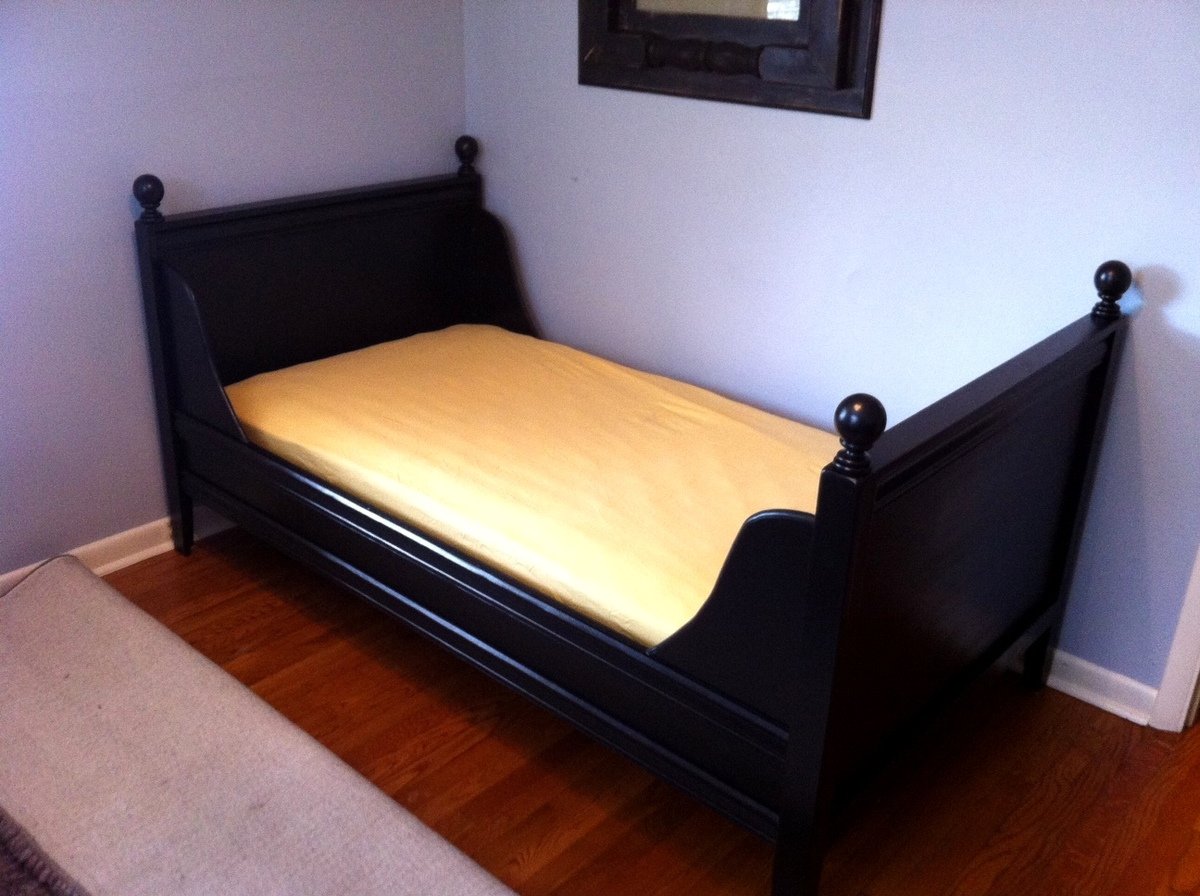
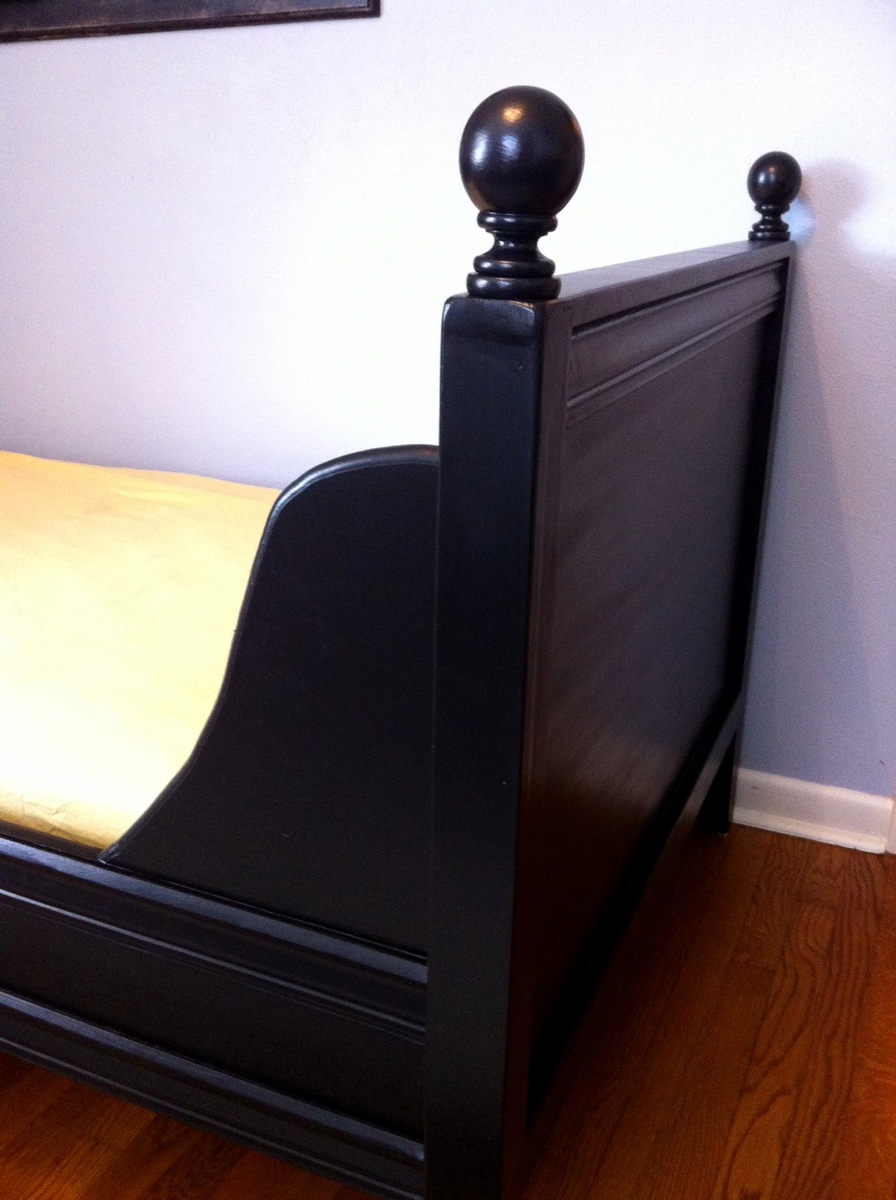
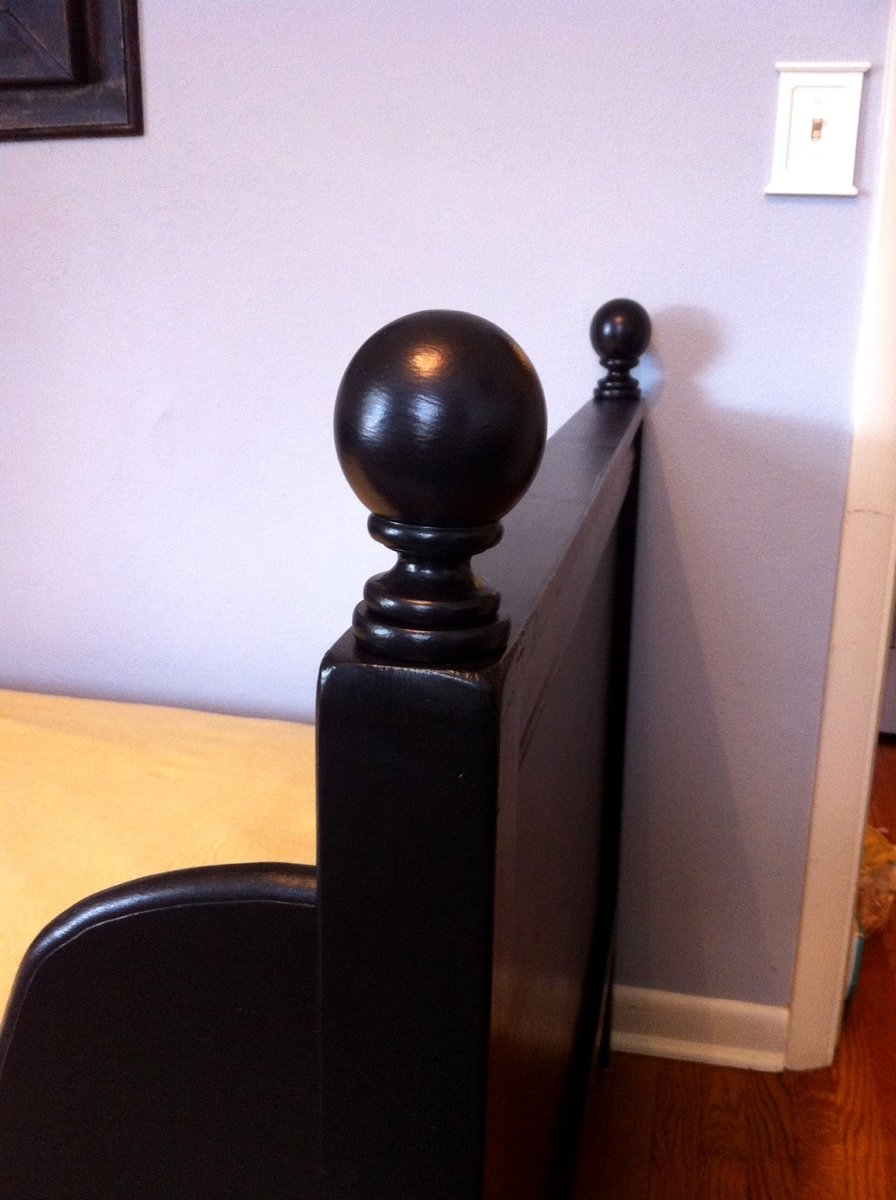
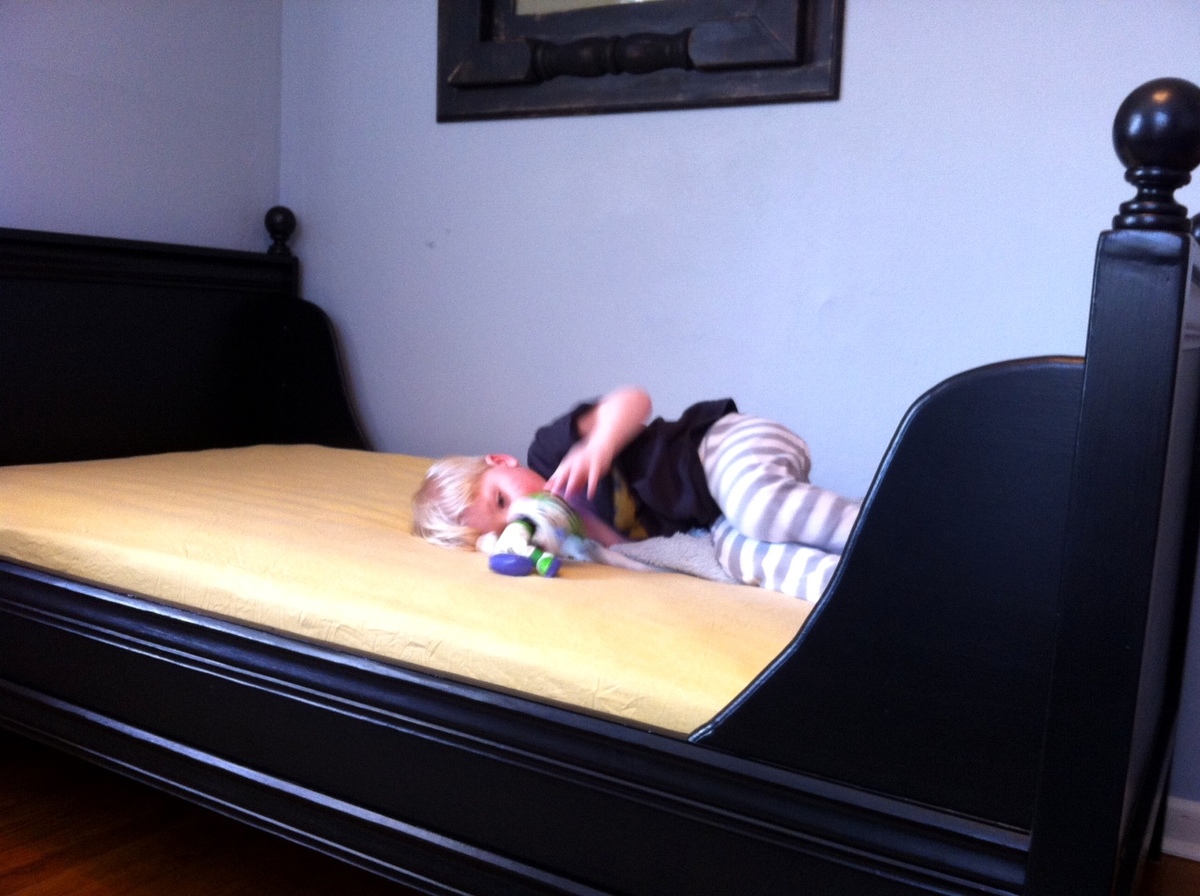
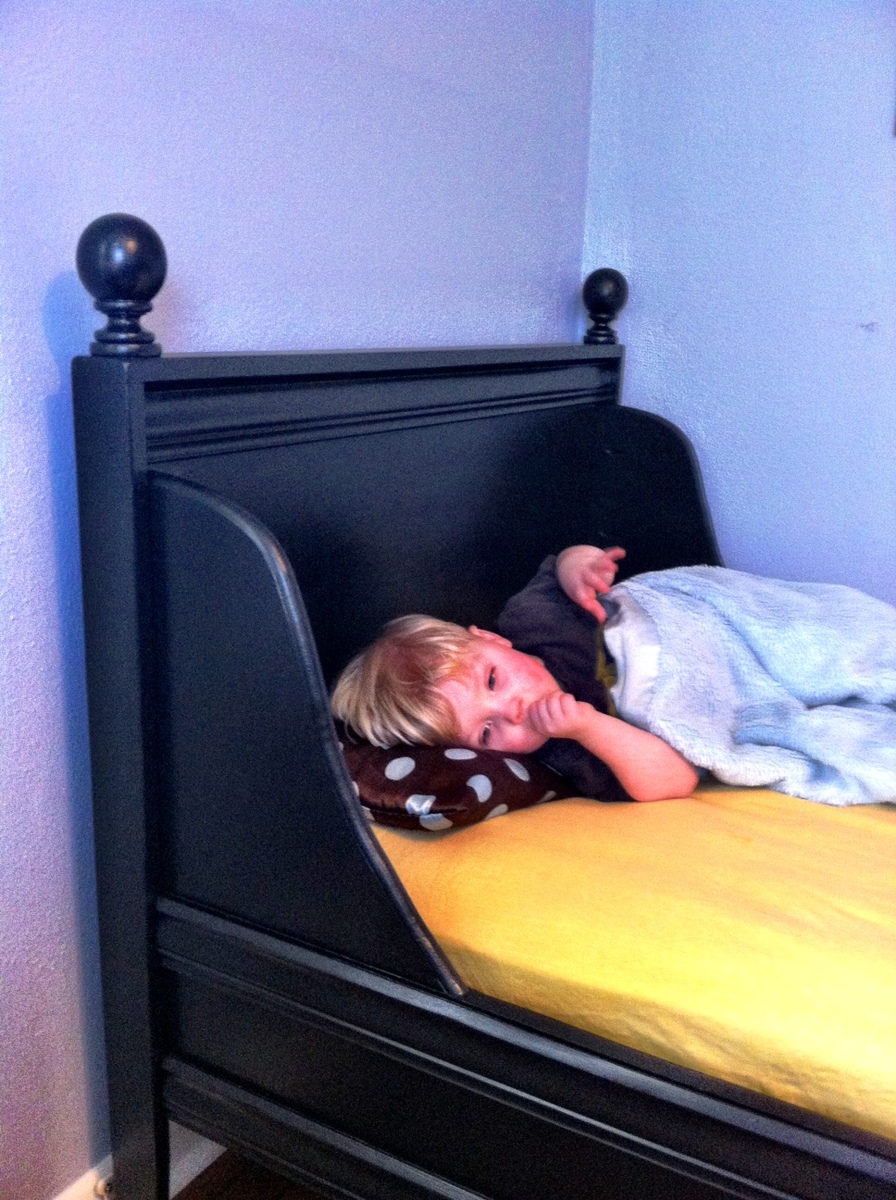
I built the Lydia Daybed for my nephew's new big boy bed. Was a little worried about doing the fancy decorative corner pieces, but just adapted the design a little so it was not such an intricate cut. Everything turned out great and there are a few more pictures on the blog, www.atouchofarkansas.com. Thanks! JM

Built from Plan(s)
Estimated Cost
160.00
Estimated Time Investment
Weekend Project (10-20 Hours)
Finish Used
Painted it black
Recommended Skill Level
Intermediate

Comments

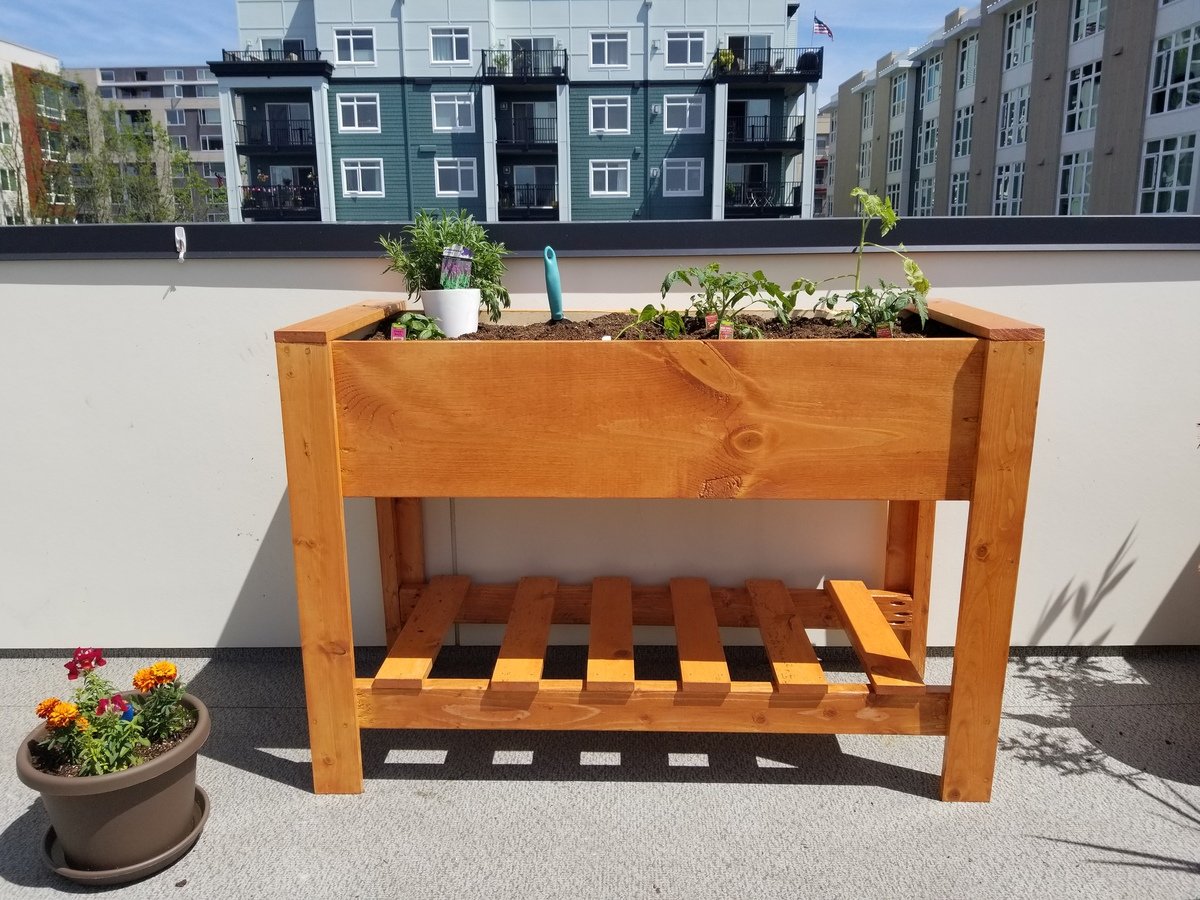
Her wedding anniversary gift

Submitted by Anonymous (not verified) on Thu, 04/20/2017 - 21:57

Thanks for your video, Ana!

I had a bunch of salvage wood boards and wanted to offer my wife the space she'd always wanted for gardening for our wedding anniversary.

Your plans inspired me to build her this bench, adapting the design to the materials I had.

She loved it!!

Elodie :-)

Estimated Cost
$15
Estimated Time Investment
Weekend Project (10-20 Hours)
Finish Used
Polyurethane
Recommended Skill Level
Beginner

Comments

Chevron headboard

Submitted by Anonymous (not verified) on Sun, 04/23/2017 - 15:02

A friend asked me to make a headboard for him as he couldn't find anything online or in store that he really liked. 

I was up for the challenge and always love working with wood to make new and exciting things so, challenge accepted. 

This was my first attempt at a headboard and I think it turned out pretty nice. 

Knotty pine face with a cedar frame. 

Looking forward to my next project! 

Estimated Cost
CA 225.00
Estimated Time Investment
Weekend Project (10-20 Hours)
Finish Used
Minwax Dark Walnut stain
Recommended Skill Level
Beginner

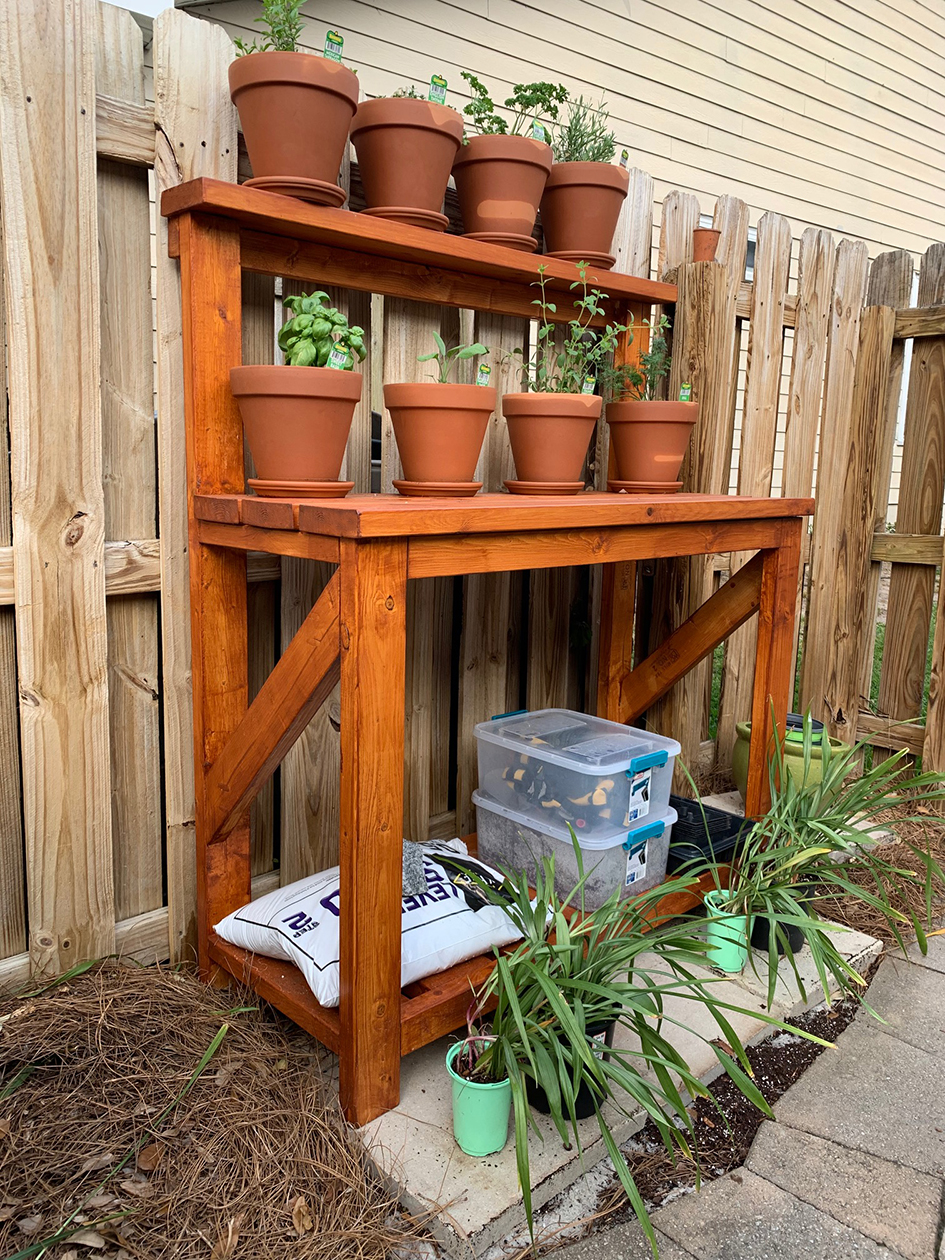
Simple Potting Bench

Submitted by JayPayne on Fri, 04/09/2021 - 13:27

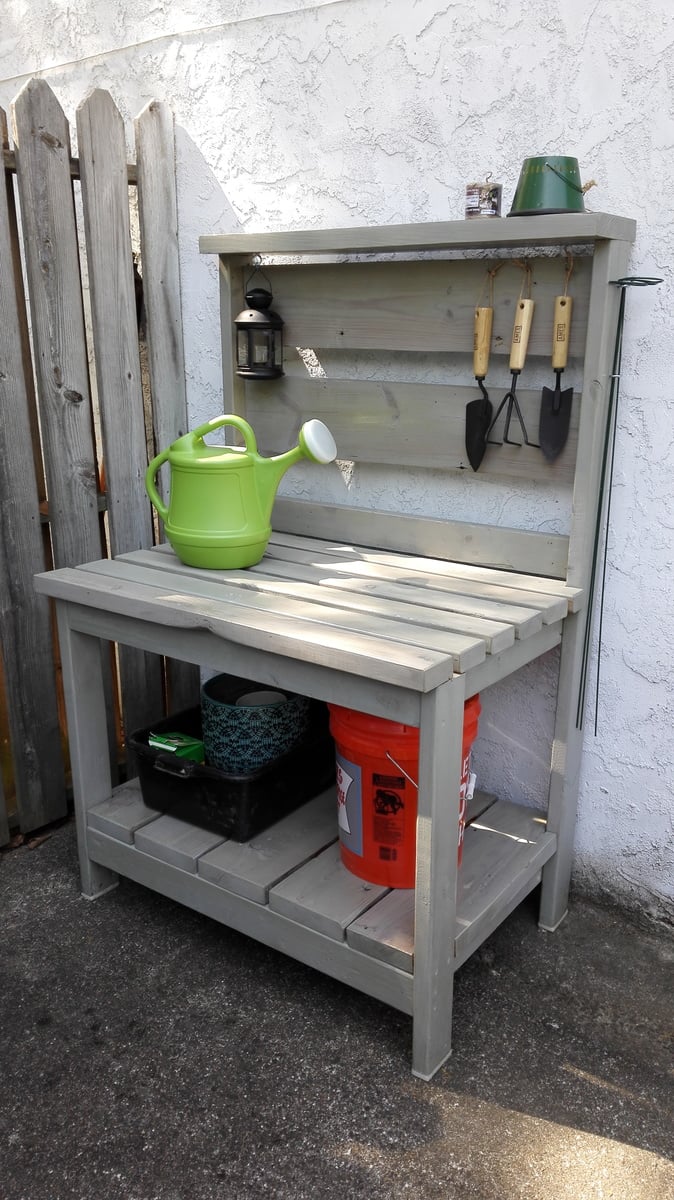
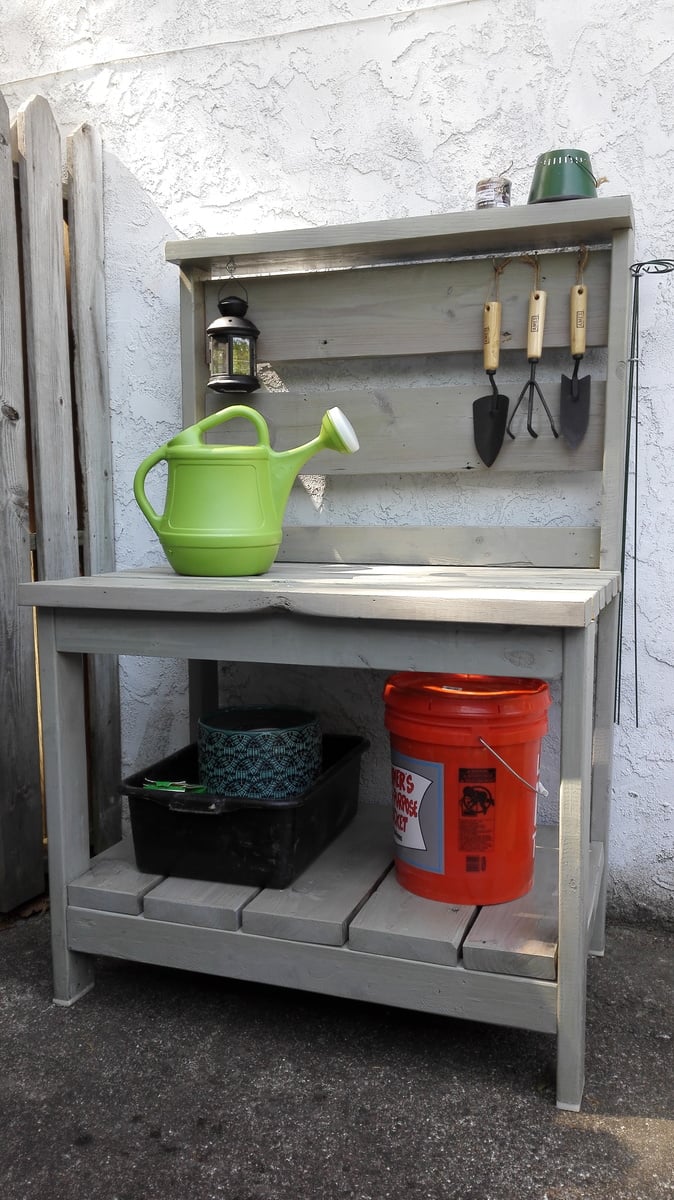
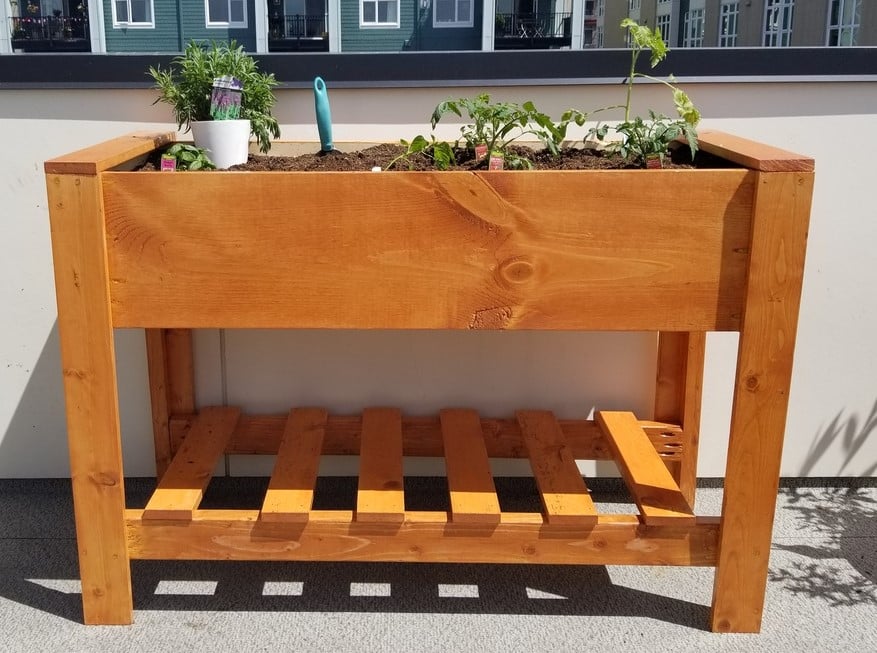
This potting bench was exactly what I was looking for. Ana's materials list and cut list were perfect. The instructions were simple and precise which all made the project easy. I used white pine with a deck stain and sealer. Cedar or pressure treated lumber might last longer, but cedar was expensive and PT was too heavy. So I kept it simple and I'm sure with the deck sealer this bench will last for years. I used pocket screws and wood glue which made the bench extremely sturdy.

Built from Plan(s)
Estimated Cost
$85 including deck stain/sealer
Estimated Time Investment
Afternoon Project (3-6 Hours)
Finish Used
I used a cedar colored deck stain/sealer.
Recommended Skill Level
Intermediate

Comments

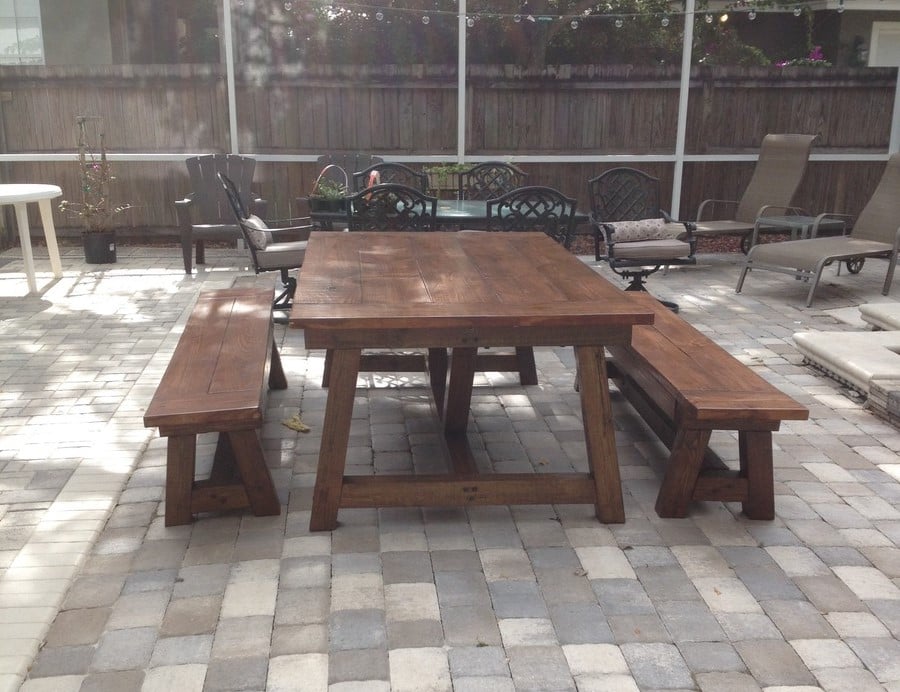
Truss beam farmhouse table

Submitted by Mjh60 on Tue, 02/03/2015 - 19:41

This was my first table I built, very happy I found these plans. The legs were pressure treated 4x4's which made it very heavy one I put it all together. Thanks for the plans Ana!

Built from Plan(s)
Estimated Cost
$120.00
Estimated Time Investment
Week Long Project (20 Hours or More)
Finish Used
Minwax stain and polyurethane
Recommended Skill Level
Beginner

Comments

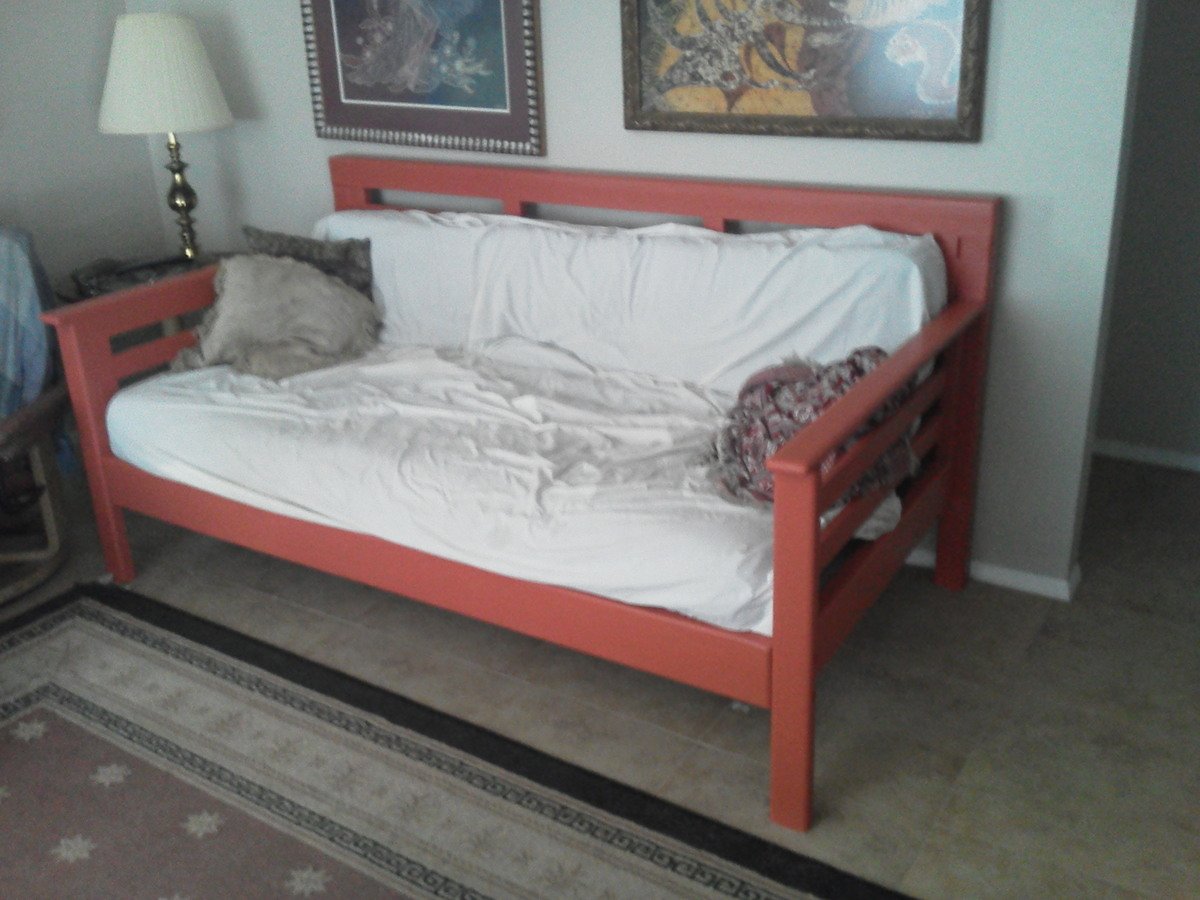
Chunky canopy daybed without canopy

Submitted by a_hard on Sun, 04/07/2013 - 22:09

We (myself and my girlfriend) decided to build this daybed after considering several options for a new sofa. With three big dogs we knew we wanted a big sofa and after looking at many $400+ options we saw several issues (besides cost), The biggest was the availability of slip covers for easy cleaning. We went with the daybed route because a mattress is far cheaper than foam for sofa cushions and twin sheets are readily available for low prices in many colors.

Obviously I altered the plans significantly as I wanted a chunkier, heavier frame that would withstand the abuse of day to day life. Also I removed the canopy as it's not needed indoors. The rear legs are 4x4 nominal which I resawed to 3x3 actual. The rear frame is 1x3 nominal horizontal pieces with 2x3 nominal boards as the verticals. These have rabbets cut in them to join with the horizontal pieces. The bottom support for the mattress is a 2x6 resawn to 2x5 actual and rabbeted to fit each vertical and the legs. Also, the top two horizontals are longer to fit into rabbets in the legs - this allows the back structure to be far stronger.

The sides are constructed of 1x3 horizontals with the leg and arm cap being 2x4 nominal resawn to 1x3 actual. The verticals were rabbeted like the rear to accept the horizontal pieces. The front crossmember is a 2x6 nominal block planed to match the front legs.

Joinerys consists of the following -
All rabbeted joints are glued and brad nailed together.
The legs and arm/top caps are pockted screwed to the horizontal crossmembers.
The front, sides, and rear join with 3 1/2" deck screws and 5 1/2" lag bolts.
Stringers/mattress supports are 2x3 nominal.

Finish is Behr premium plus interior latex eggshell paint/primer sprayed with an HVLP sprayer.

If anyone is interested I can take some measurements and more photos. Right now we just have our old futon mattress on (we're saving to do some other projects).
Built from Plan(s)
Estimated Cost
$375 (including mattress, pillows, and paint)
Estimated Time Investment
Weekend Project (10-20 Hours)
Finish Used
Behr Premium Plus Paint/Primer - Tibetan Orange
Paint applied with HVLP sprayer (the type used in automotive finishing).
Recommended Skill Level
Intermediate

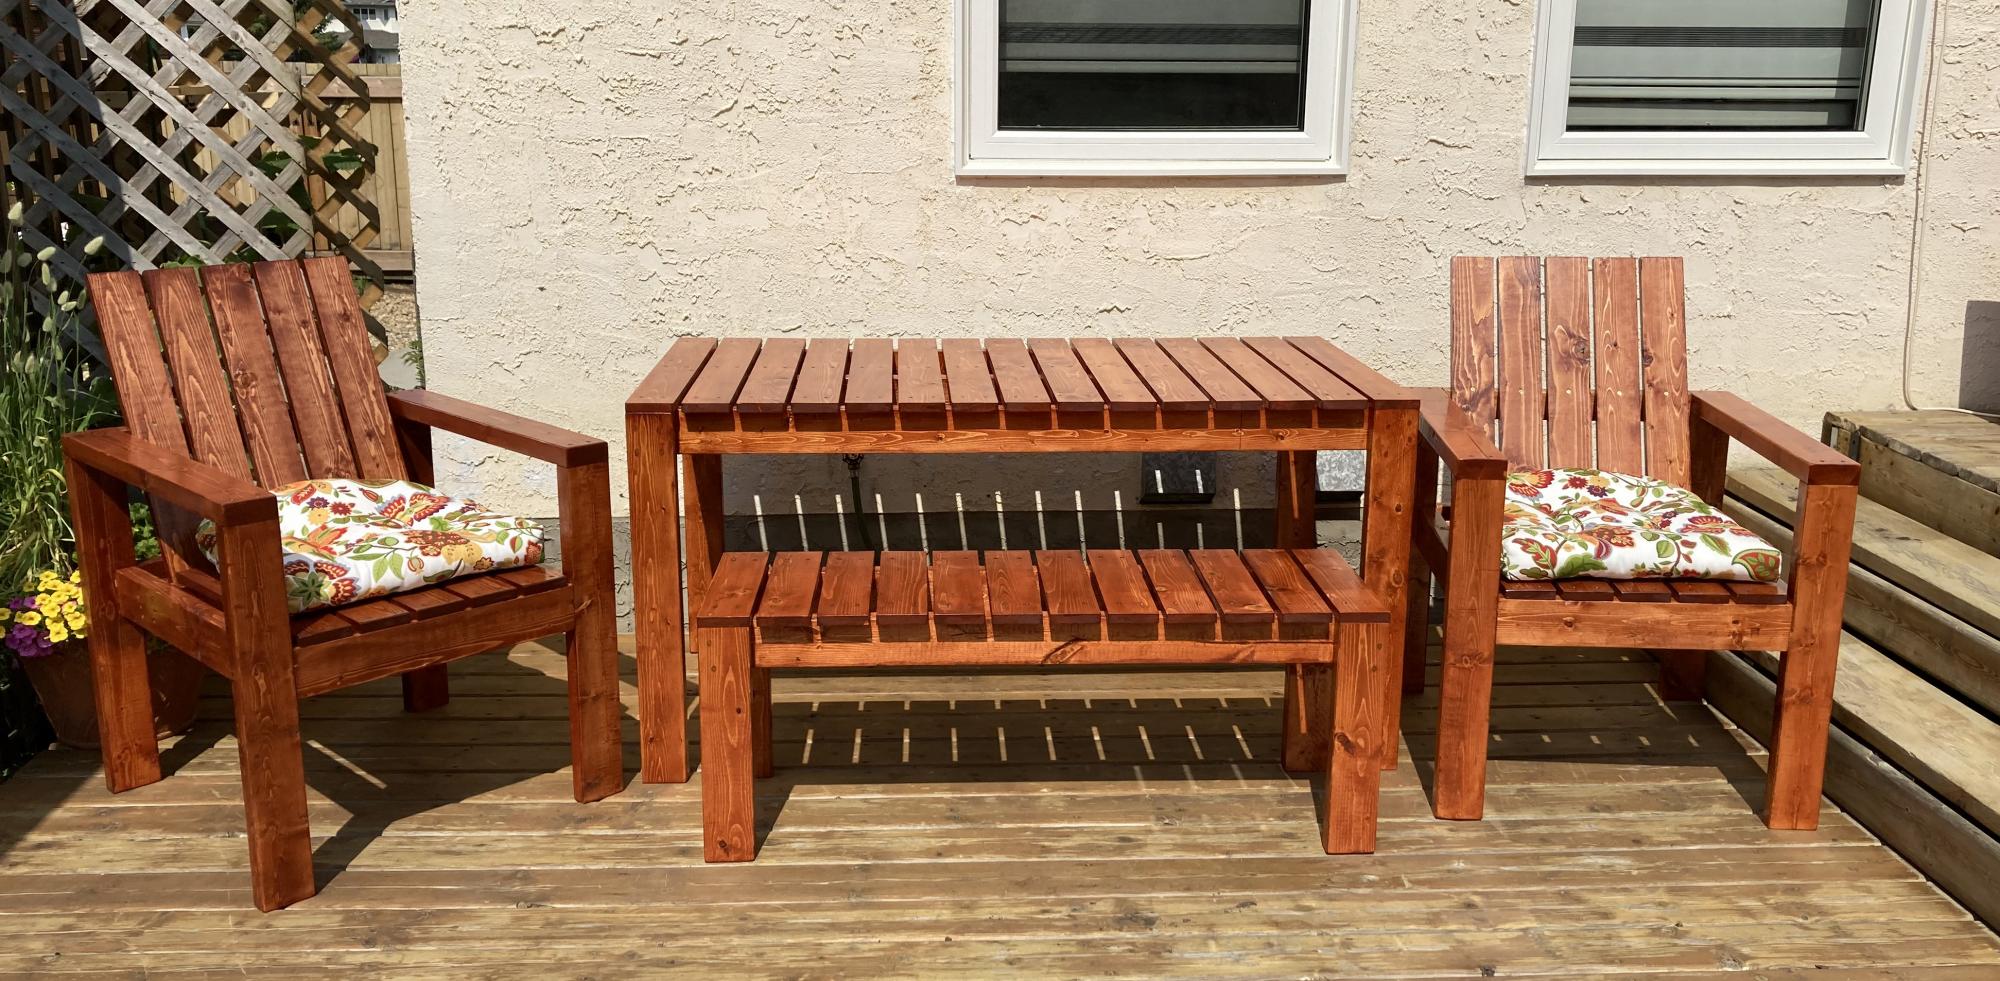
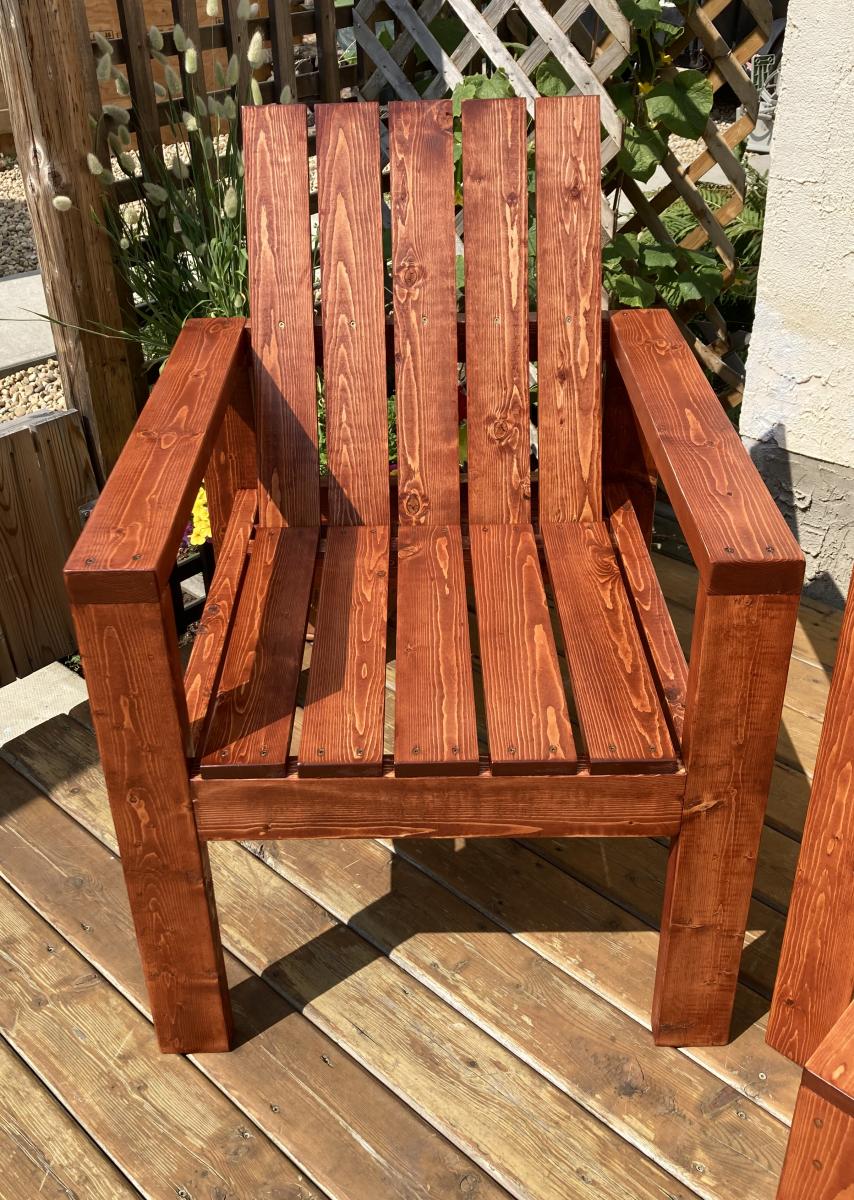
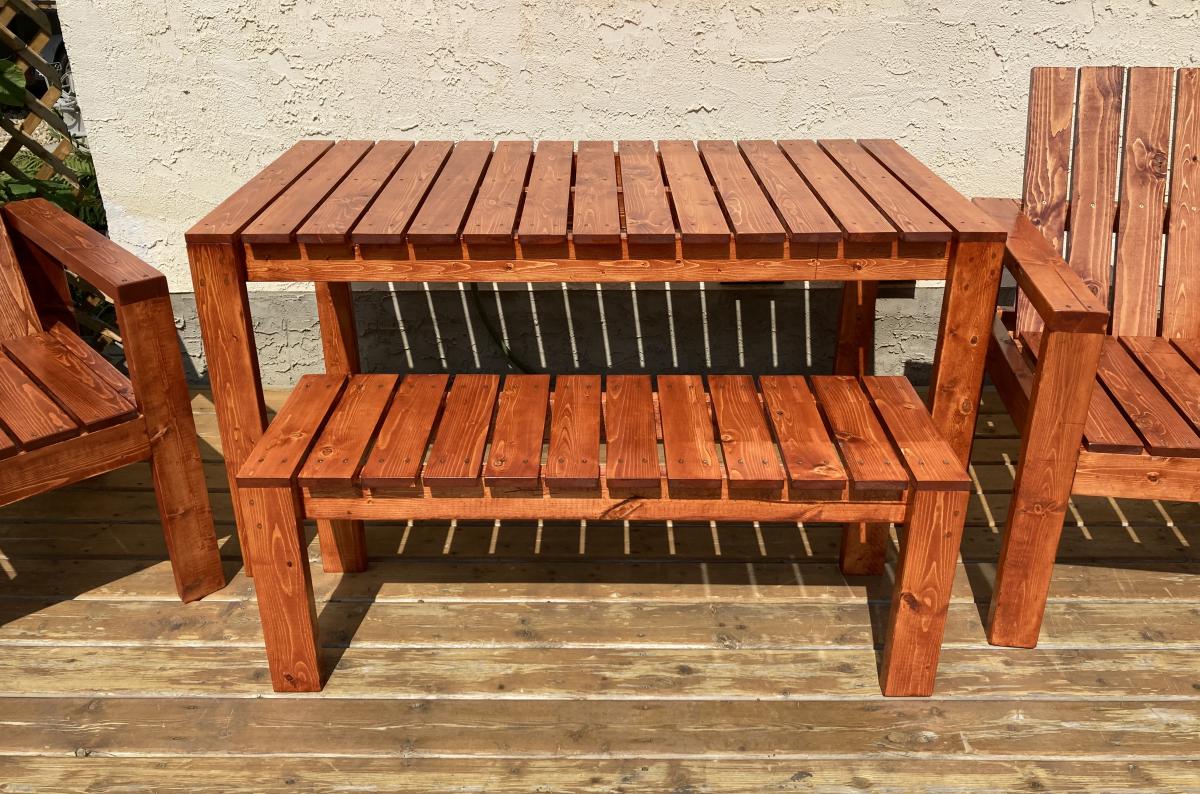
Simple Modern Outdoor Patio/Deck Collection

Submitted by frmoody on Mon, 07/26/2021 - 14:48

This was a simple yet very time consuming building. Lots of pieces and lots of sanding. I am really pleased with how it turned out. I stained the edges of all the 1 x 4's prior to assembly just to make things easier. I also increased the sides of the chair from 24" to 26" and set the seat height to 18" to match the bench.

Estimated Cost
$255
Estimated Time Investment
Week Long Project (20 Hours or More)
Finish Used
I stained everything with Minwax Gunstock and then finished with three coats of Helmsman Spar Urethane exterior semigloss. I sanded with 600 grit paper between coats.
Recommended Skill Level
Intermediate

Comments

Modified Camp Loft Bed

Submitted by akwebb3 on Tue, 08/03/2021 - 14:07

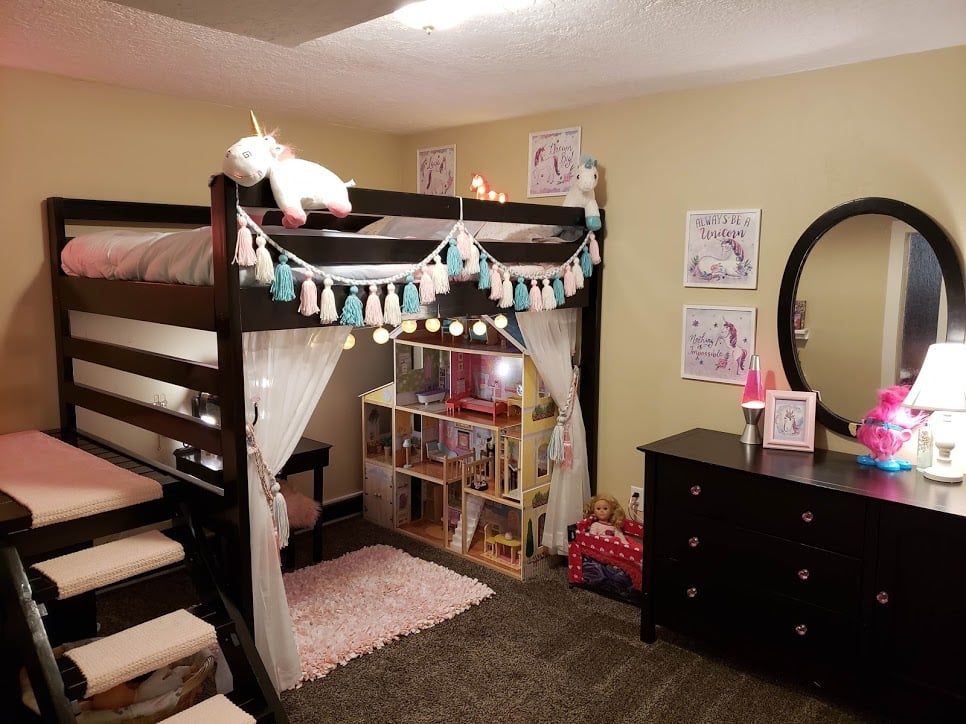
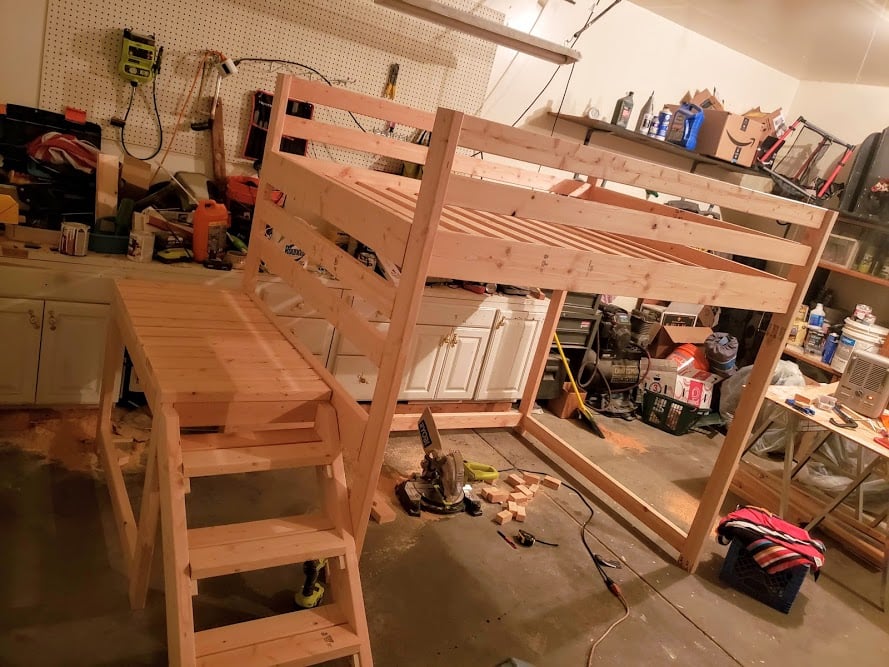
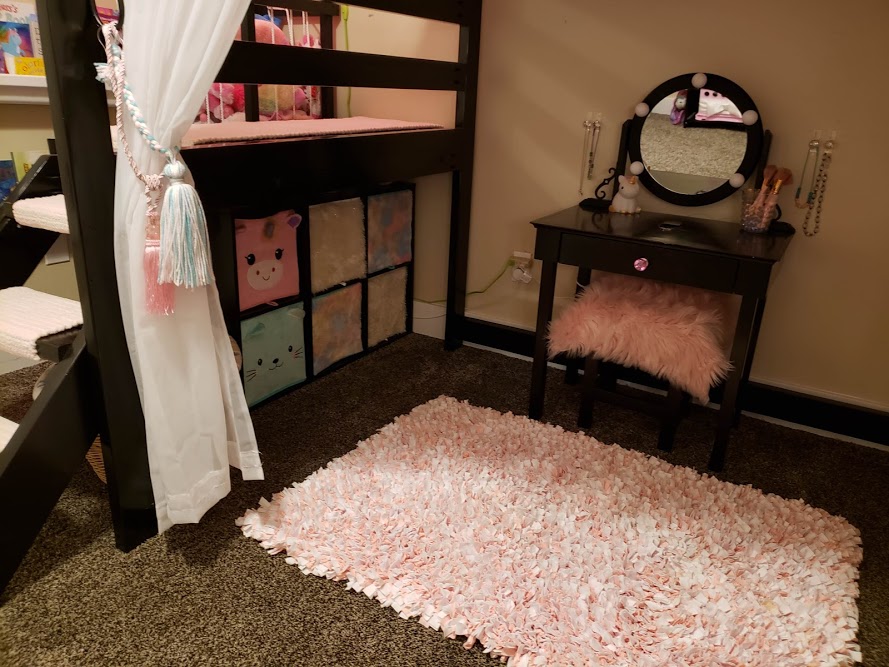
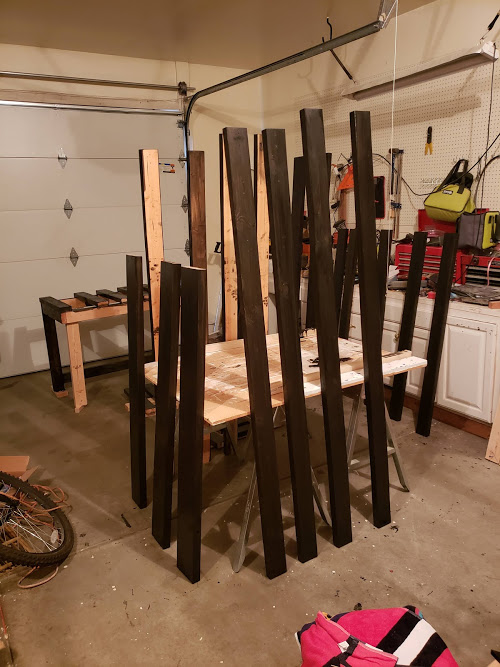
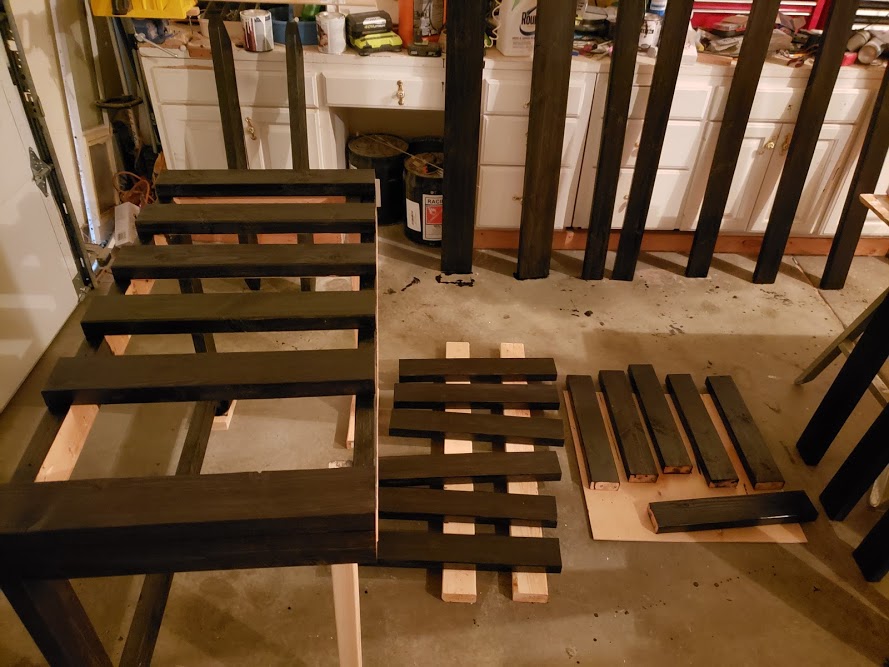
I may have spoiled my Grand-daughter a bit too much and her room was really full of stuff. I decided that I should just go ahead and spoil her a little more by building her a new bed for her birthday. I used the Camp Loft Bed plan but did modify it to fit her full size mattress and raised the height just a bit to make sure that her doll house would fit underneath. I am so happy with how it turned out! I love that I can fit her toy bins underneath the stairs where they are out of the way and how much more room she has to actually play. I used some really fat yarn and crocheted the little stair runners so it is nice and soft on her feet going up and down the stairs. This project did take longer then some of the others that I have done but I do also work a full time job. I had the bed actually built and put together in a weekend but then took it all apart for staining and finishing which took a long time. There were a lot of pieces to stain with multiple sides and coats to get the coverage I wanted so it would match her other furniture. I also did 3 coats of topcoat on each piece. Looking back if I had to do this over again I would have used 4x4's for the legs/bed posts. She is only 6 right now but as she gets older I will probably switch those so that it is a little more sturdy as she gets bigger.

Estimated Time Investment
Week Long Project (20 Hours or More)
Recommended Skill Level
Beginner

Comments

Great Patio Set

Submitted by Anonymous (not verified) on Mon, 10/04/2021 - 13:02

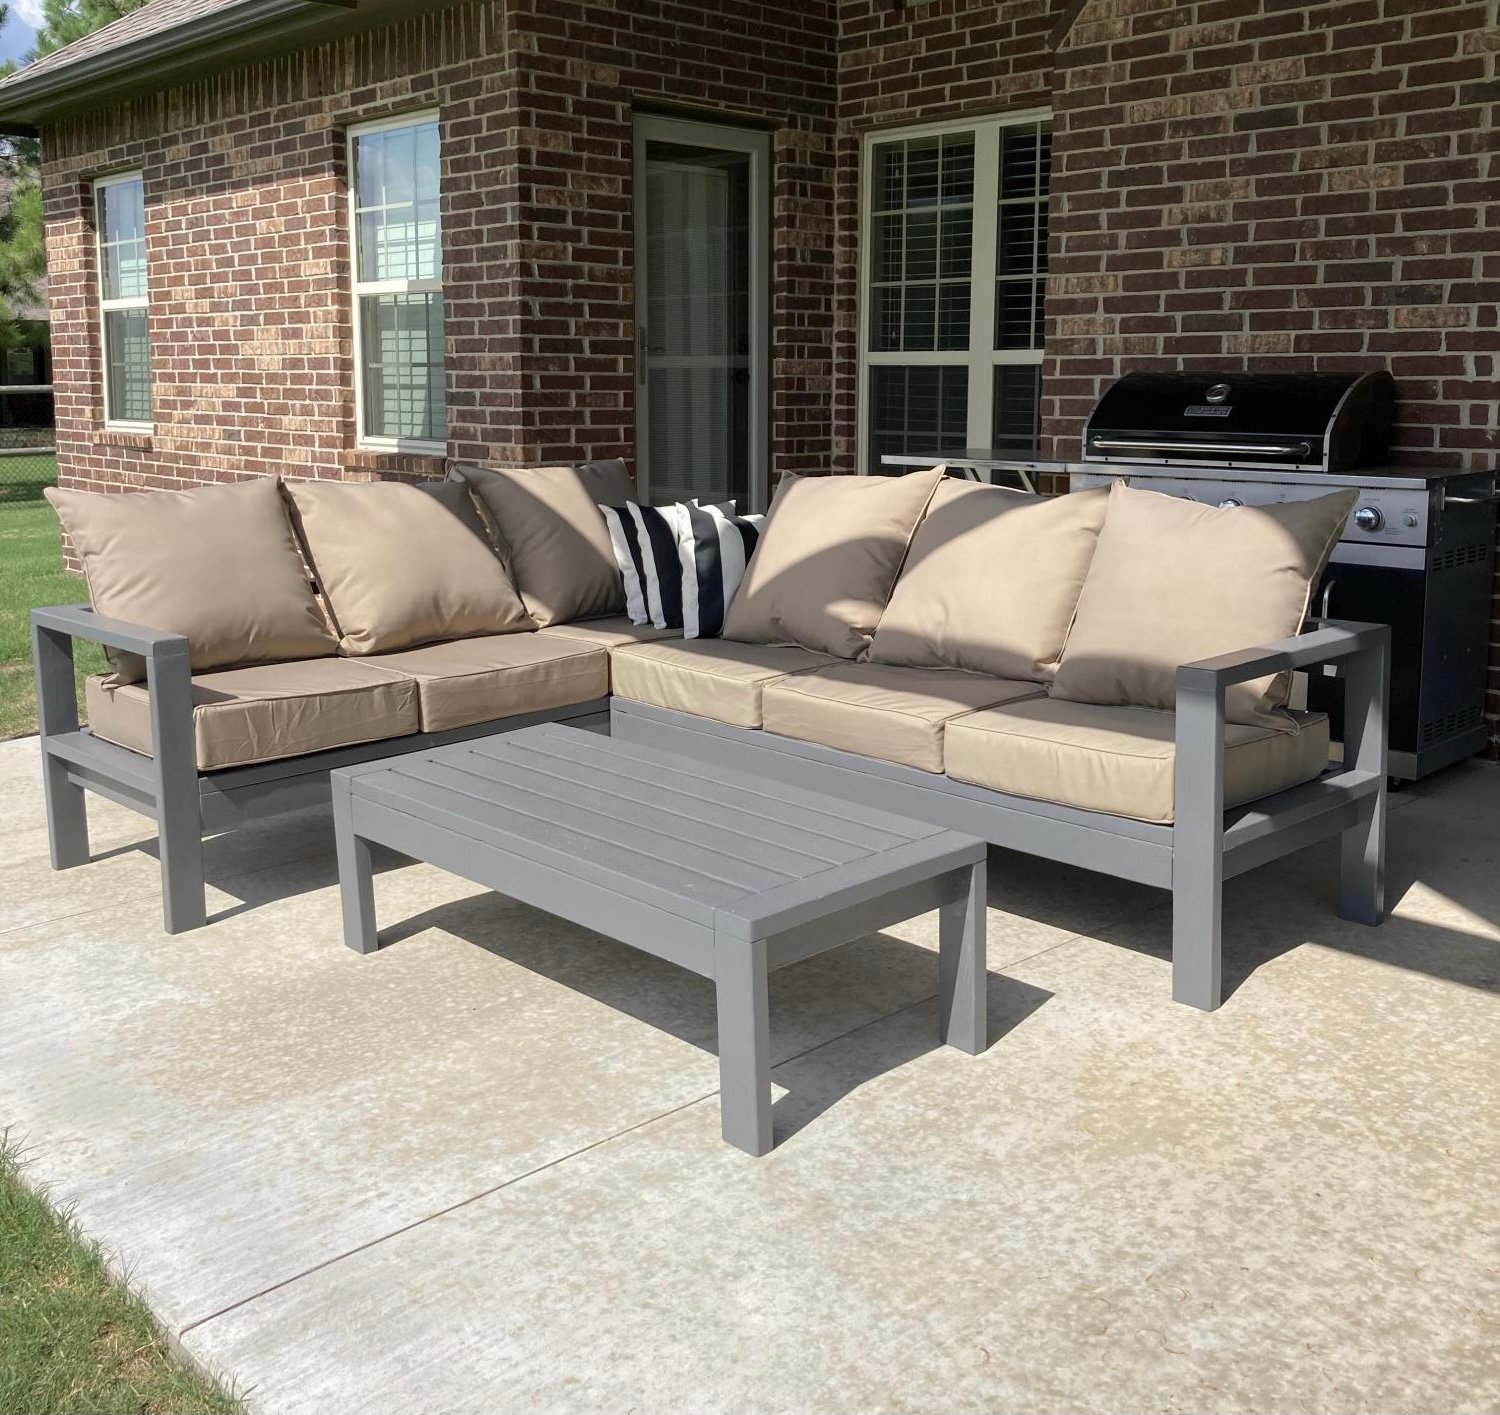
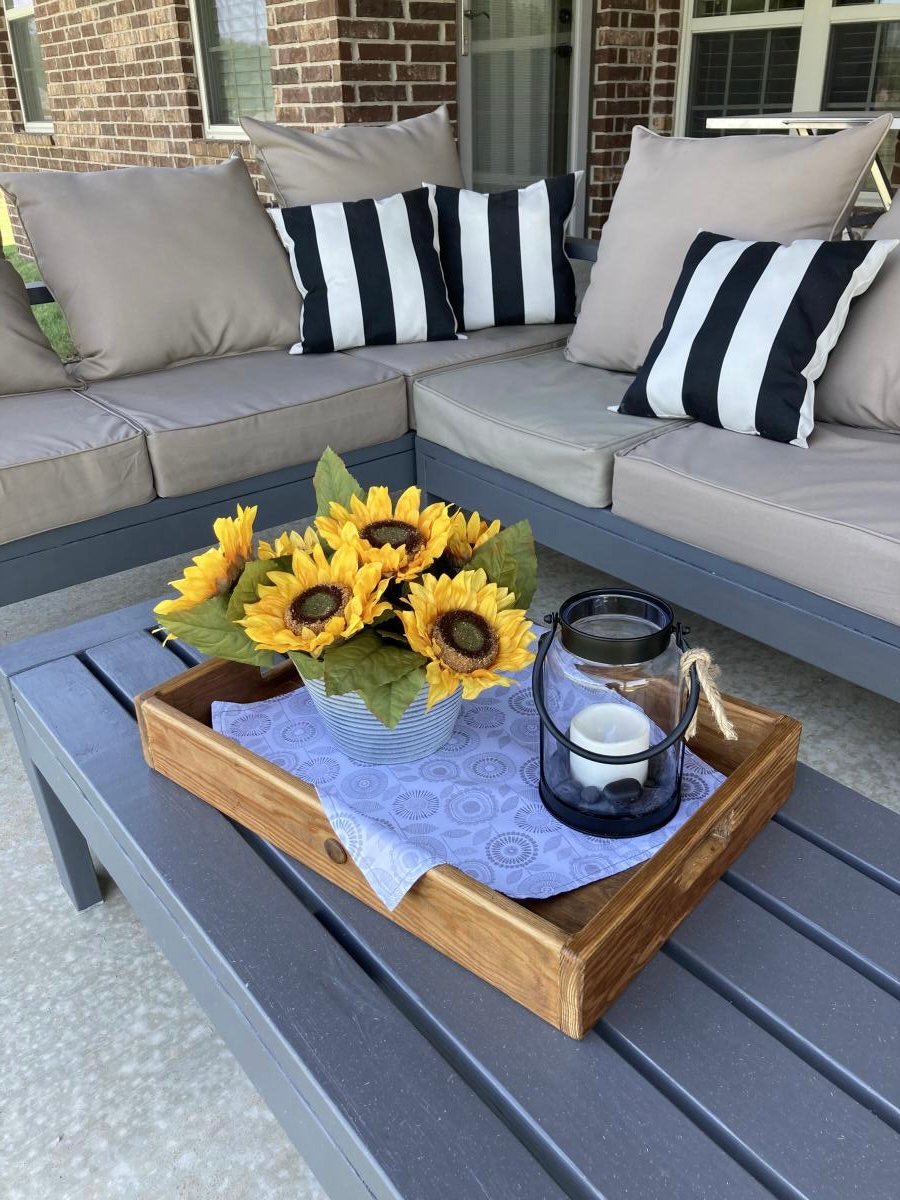
I wanted sturdy seating for my patio. Ana White had the perfect plans for my L shaped seating and coffee table. It was simple to put together and we love it!

Comments

Seasonal And Holiday

Media console

Submitted by Anonymous (not verified) on Mon, 10/04/2021 - 13:28

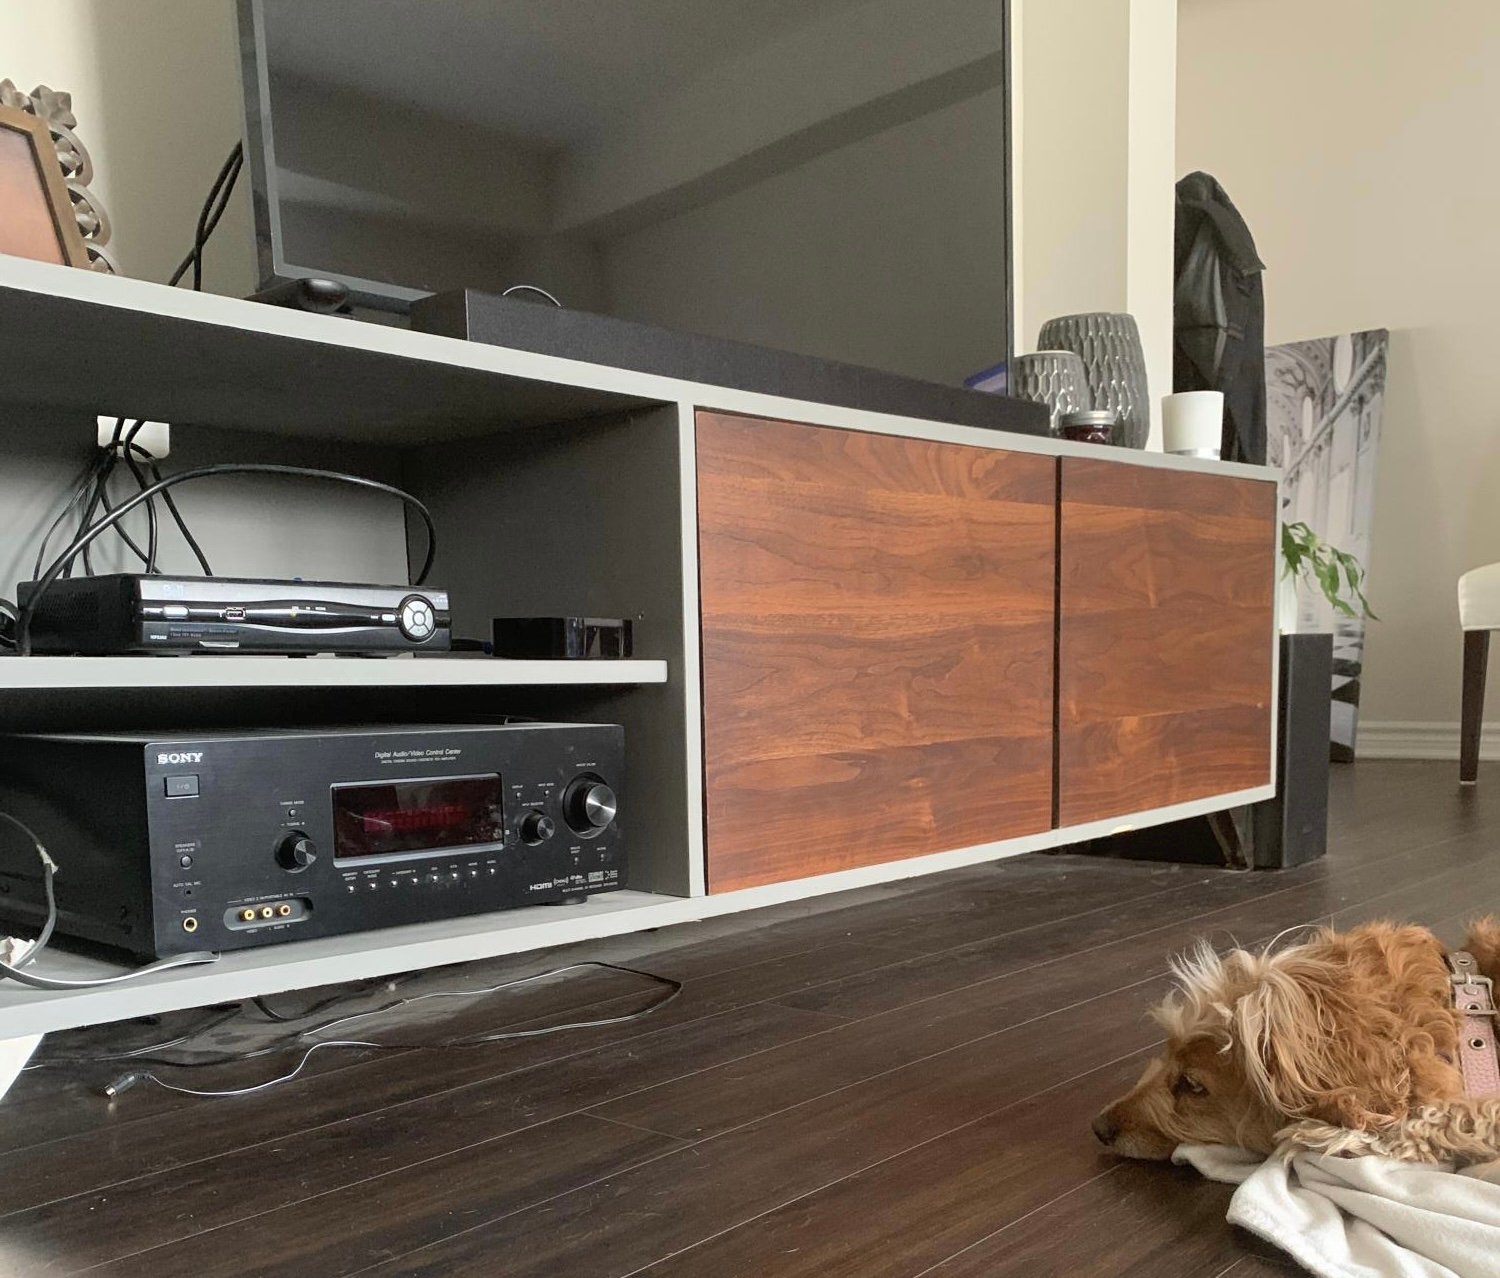
This great plan!! Thx Ana!

Comments

My first build!

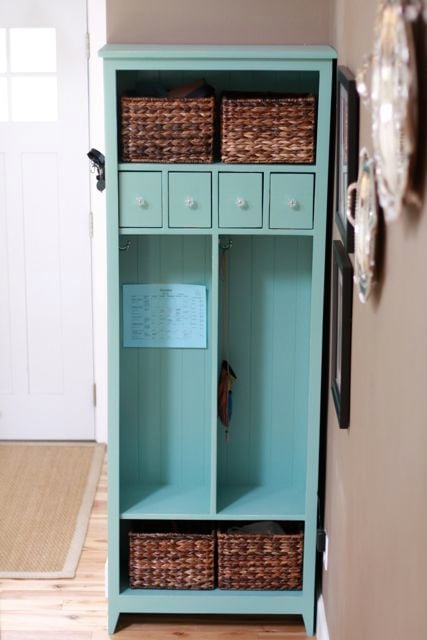
This locker cabinet was my first build and I learned a ton. For example:

1. Use the Kreg face clamps while drilling into the Kreg Jr.
2. Buy straight wood.
3. Buy wood that is not warped.
4. Do not try to buy wood with grouchy kids in tow.

Are you seeing a theme? Yep, your project will only be as square and perfect as the wood you buy.

I modified the locker plan to include apothecary-style drawers for our cell phones, sunglasses and chapstick. I also drilled through the back of one of the drawers to turn it into a charging station for our cell phones.

The locker has been super useful so far and is such a great way to keep my kids' backpacks and lunchboxes organized. The baskets are designated for my purse, stuff I need to return to stores, the dog's leashes, and library books. It's so nice to have all this stuff near the front door and never wonder where any of it is!

Estimated Cost
$100
Estimated Time Investment
Weekend Project (10-20 Hours)
Finish Used
Ralph Lauren "Aged Mint" in flat. Distressed and coated with Minwax Polycrylic in satin.
Recommended Skill Level
Beginner

Bunny box

Submitted by Josh_B on Wed, 04/01/2015 - 17:54

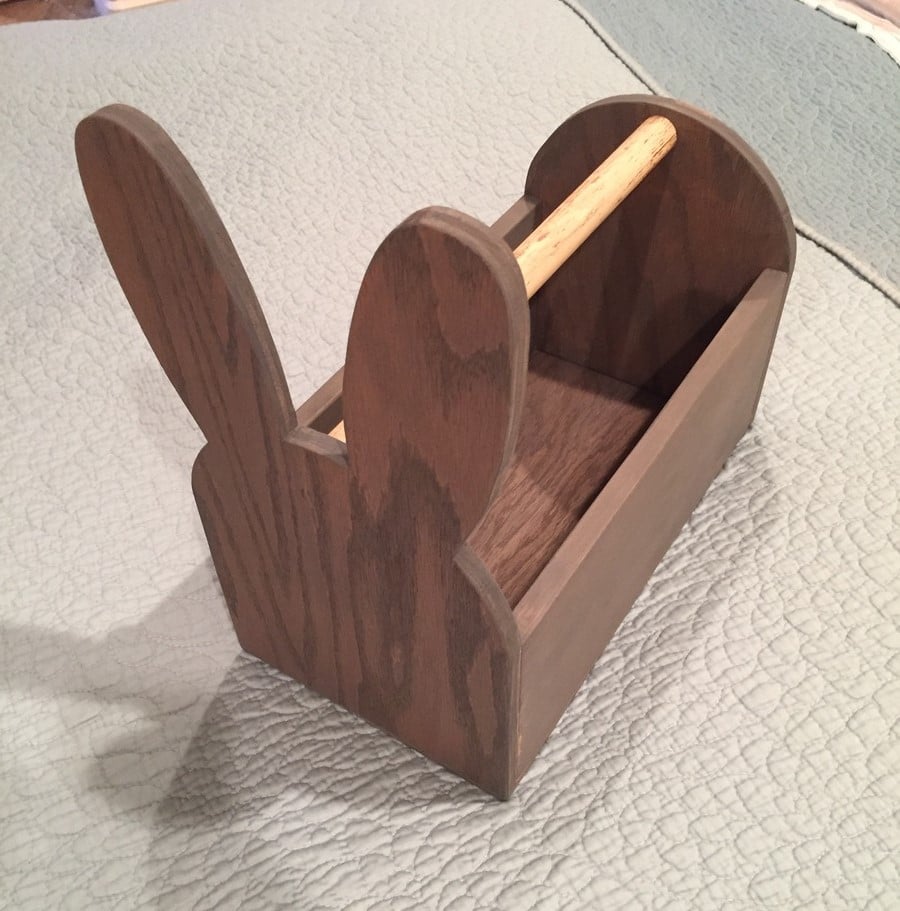
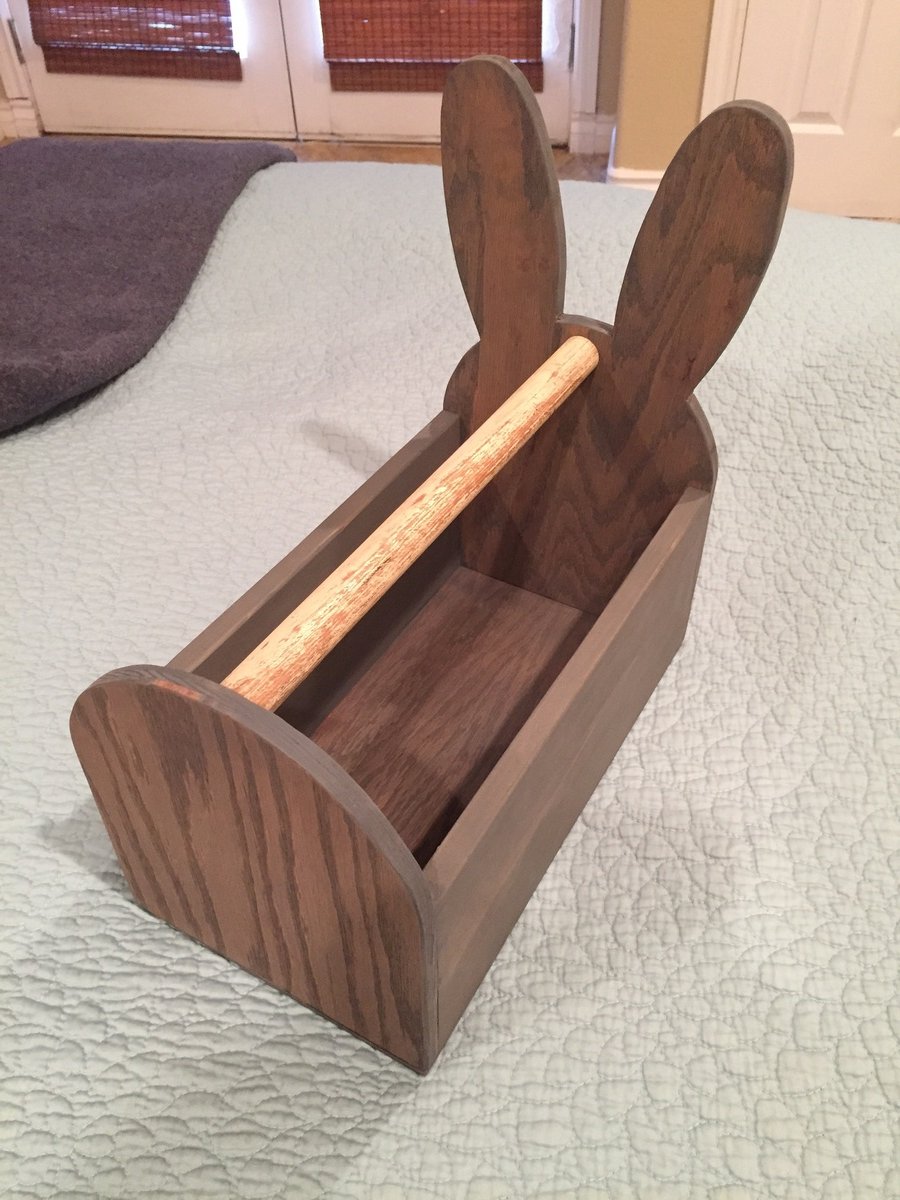
1/2" oak ply, cedar fence post, 1/4 inch oak ply


First brag! I had a little time to play in the garage and decided to join the scrap wood bandwagon. The wife loves the bunny box and now the mother-in-law NEEDS one. Back to the garage I go...


Estimated Cost
$0
Estimated Time Investment
An Hour or Two (0-2 Hours)
Finish Used
Minwax Classic gray
Recommended Skill Level
Beginner

Comments

White Bunk beds with ladder instructions

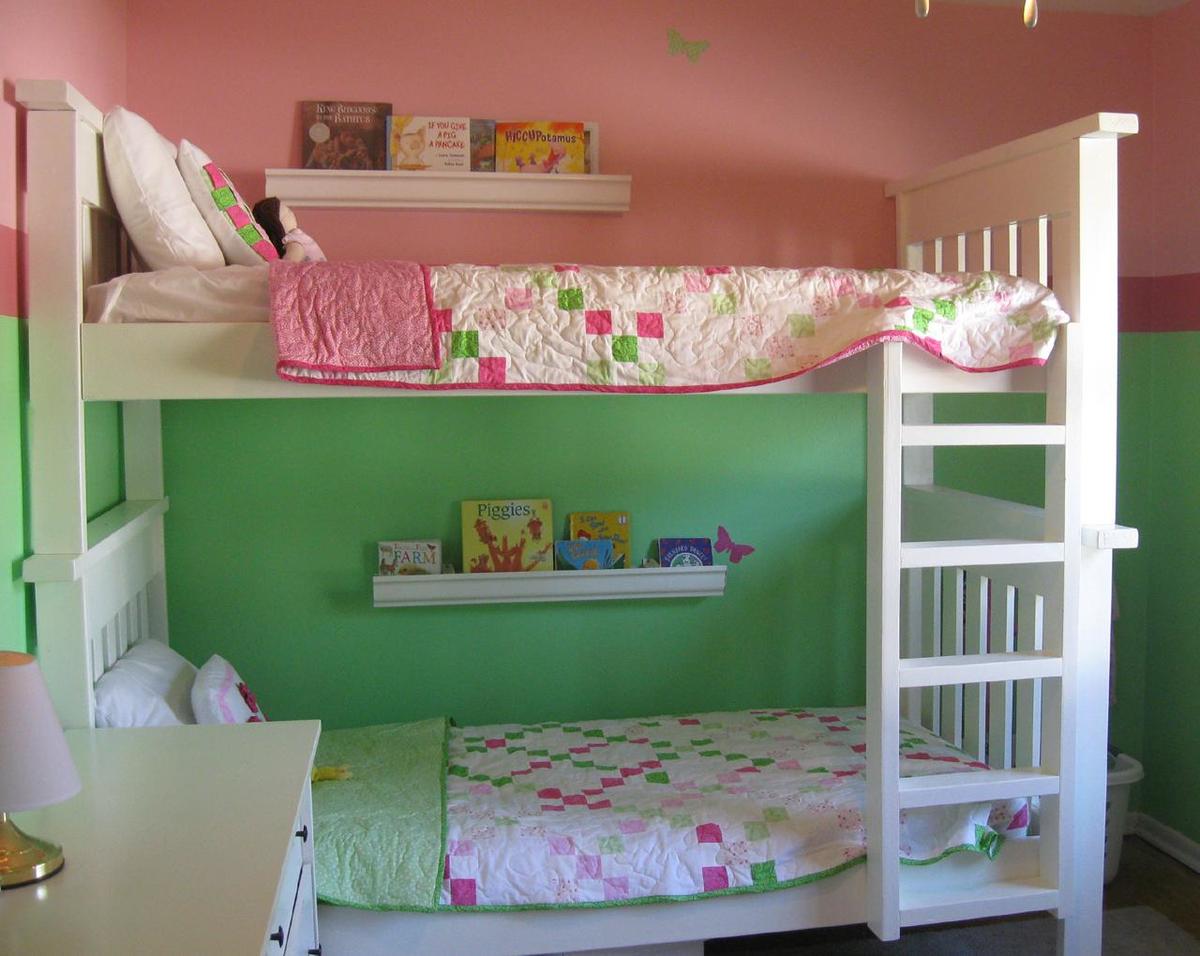
I redid this whole room for less than $600! Make sure you take your time with cuts and fitting. I did this with my father in law (my daughter even got to help out!), and it's less than perfect due to some rushing! More details on my blog.

I also couldn't find any 4x4's. Instead of doubling up on 2x4's, I just used one. That allowed me to change the tops of the head/foot boards to only 48" instead of 50 1/2. You can get enough for a head and foot board out of one board this way.

After looking at a TON of bunk bed ladders online, I designed my own. Just some leftover 2x4's. The sides are 47 1/2 inches long, and the rungs are 13 1/2 inches long. It's screwed to the bunk bed from the back so you don't see the screws.

Estimated Cost
$300
Estimated Time Investment
Weekend Project (10-20 Hours)
Finish Used
Sanded the heck out of everything, then two coats of Behr primer, followed by 2-3 coats of Behr semi-gloss in New Day Dew (it's a Disney color)
Recommended Skill Level
Beginner

Adirondack Chair

Submitted by maparuna on Sat, 05/18/2013 - 19:07

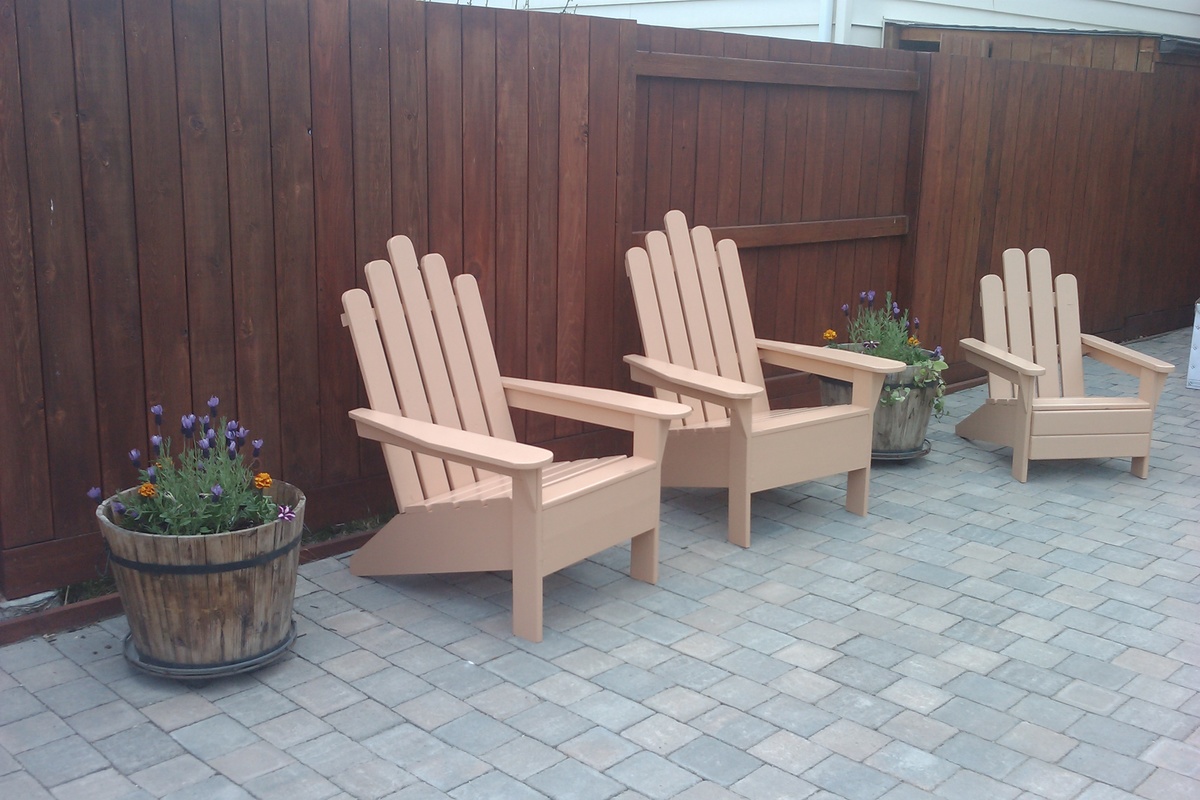
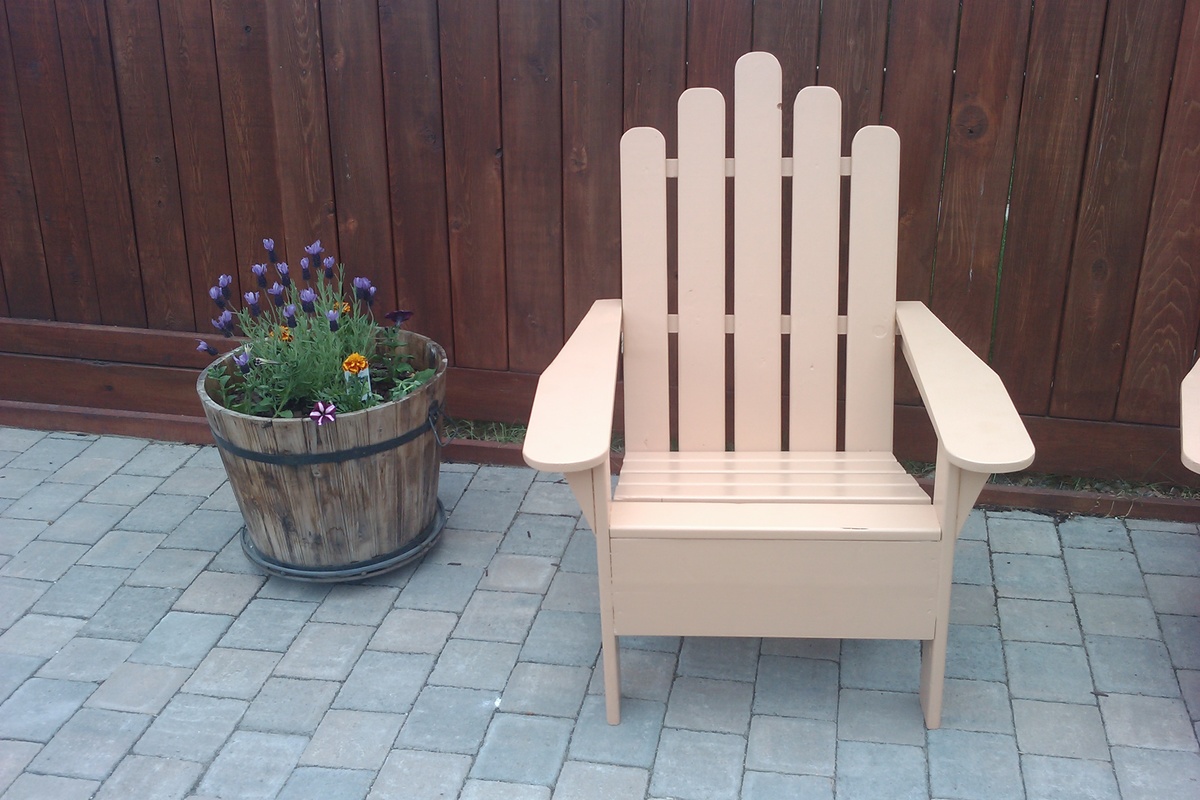
Built three Adirondack Chair, got the dimensions from Ana's Adirondack Chair and modify dimensions for the smaller chair for my daughter. Used ceder and pine. Cost about CDN 40 per chair. Specially I would like to thanks Ana giving information about simple but beautiful furniture designs.

Estimated Time Investment
Weekend Project (10-20 Hours)
Finish Used
Used for my backyard
Recommended Skill Level
Beginner

Comments

Grillin' and Chillin' - Outdoor Grill Food Prep Station

Needed a table for food prep with my grill and found your plans! I used treated lumber for the base and nice cedar planks for the top. The treated lumber had a whiter than usual color which made the base really pop out. I put a nice pecan stain on top and a few coats of poly so the BBQ sauce wouldn't stain it! This was so easy, literally took 2-3 hours to build, stain and poly was done over the next few days. Ready for my next ana-white project. Thanks for posting these plans.

Built from Plan(s)
Estimated Time Investment
Afternoon Project (3-6 Hours)
Finish Used
Simple pecan stain and minwax poly. Brushed on the stain and kept brushing until I got the darkness I wanted
Recommended Skill Level
Starter Project

Comments

tr7dul

Wed, 07/09/2014 - 16:24

I was looking on Pinterest and found this table. It was exactly what I was looking for. You inspired me to go out and buy a miter saw and some wood and make the table. It turned out wonderful. It now has a permanent place on my patio and gets used when I grill mostly. I was hoping to be able to upload a photo but don't see the option to do so. Anyway, I want to say thanks for the great plans/instructions.