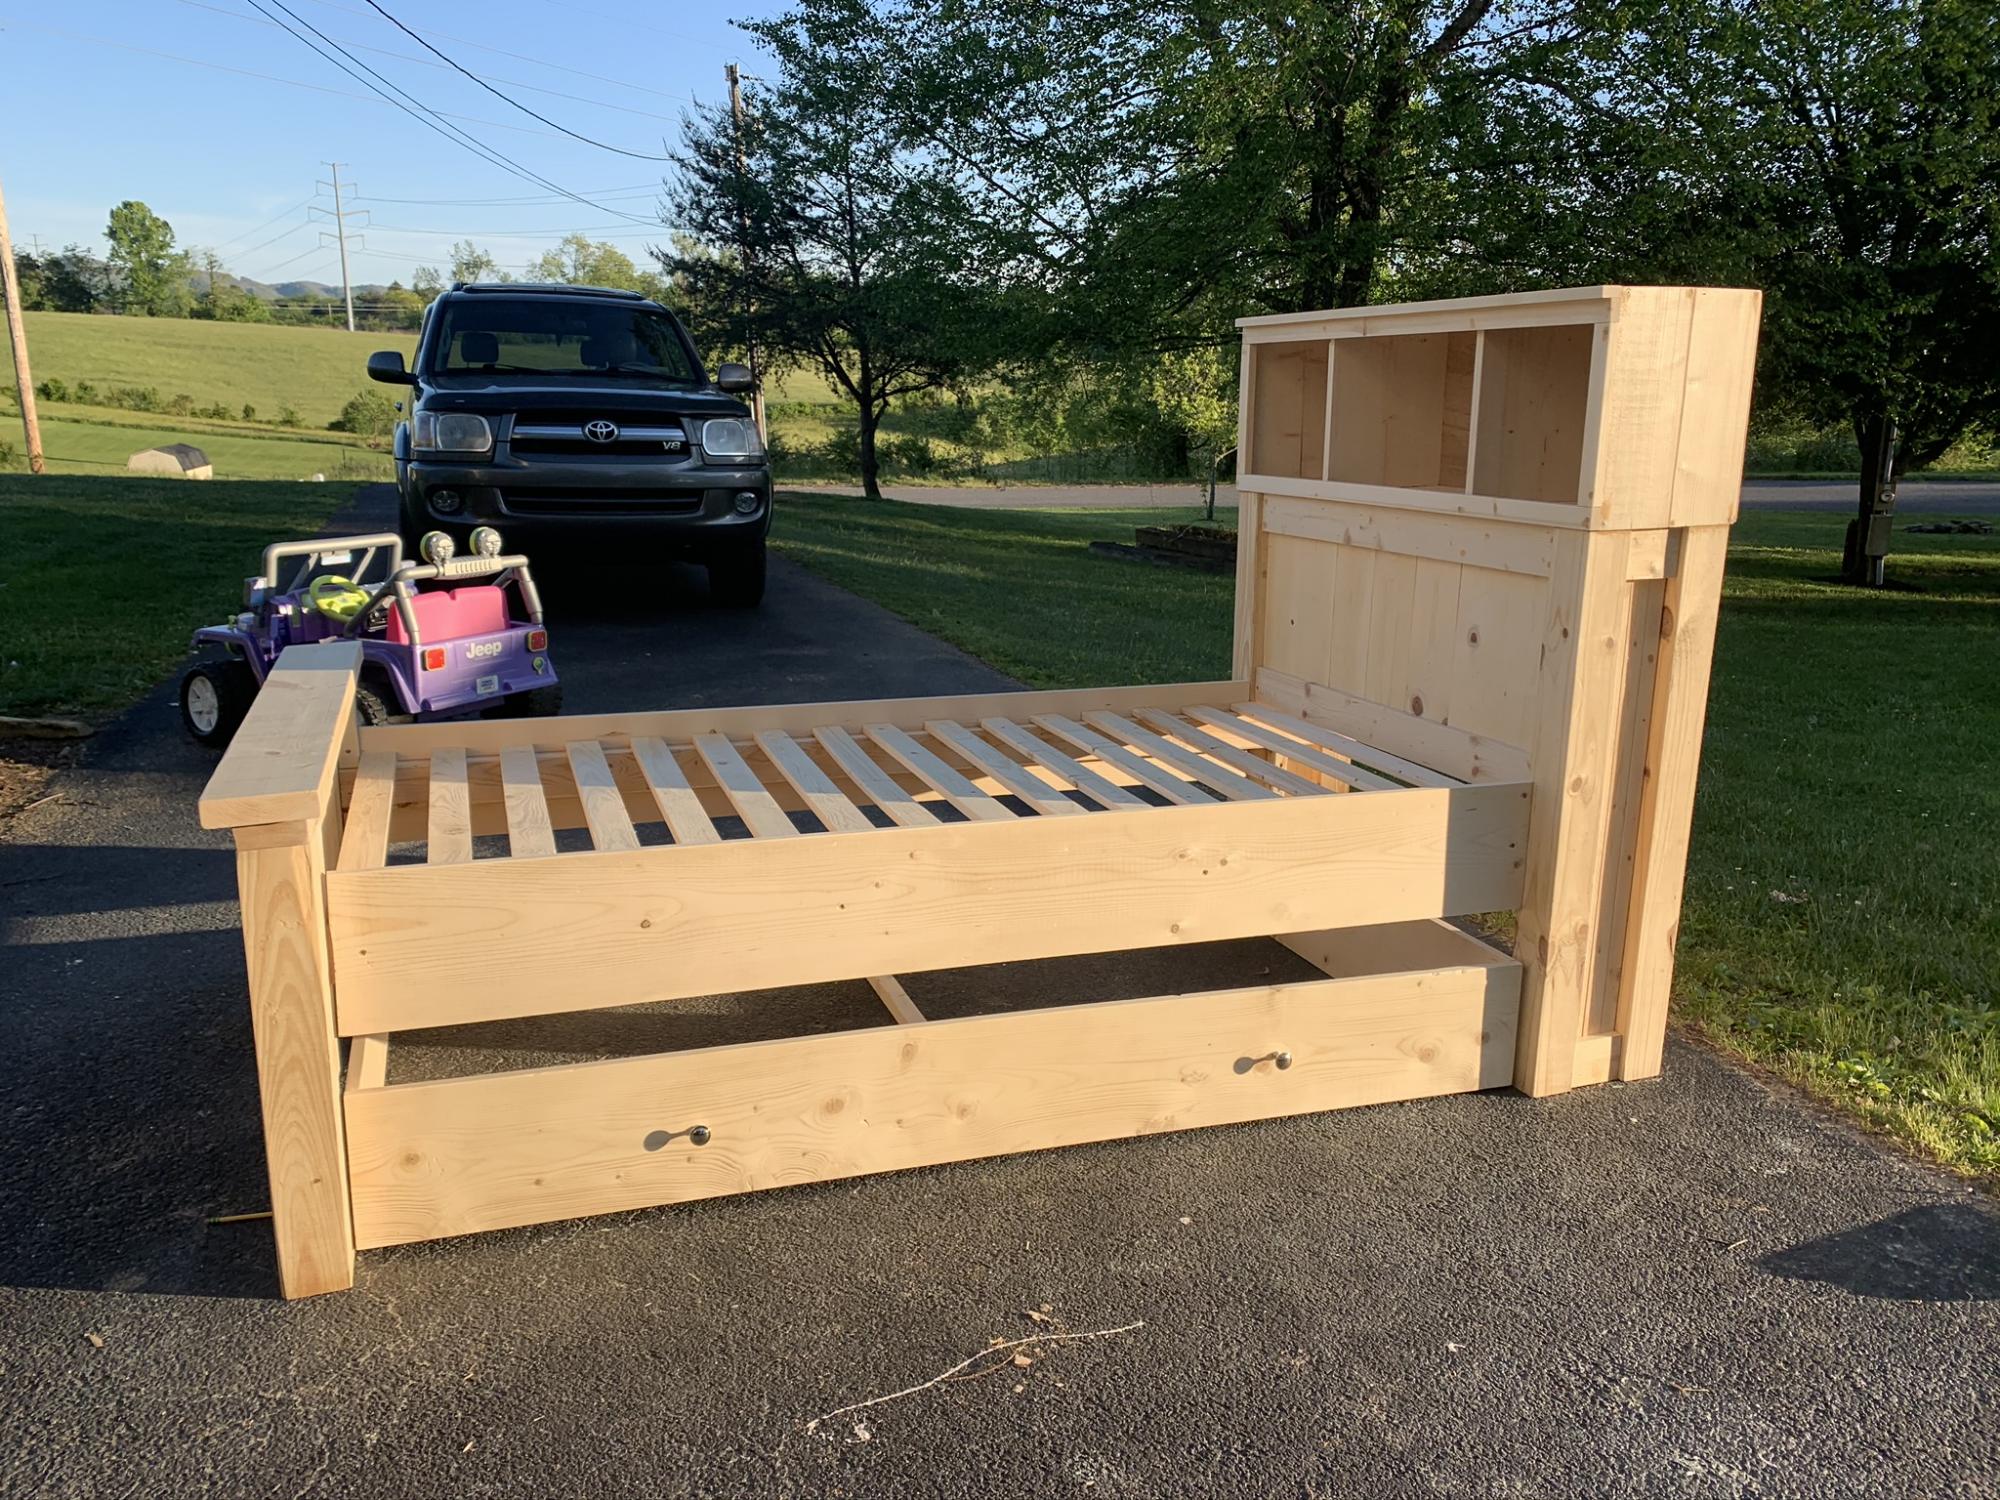
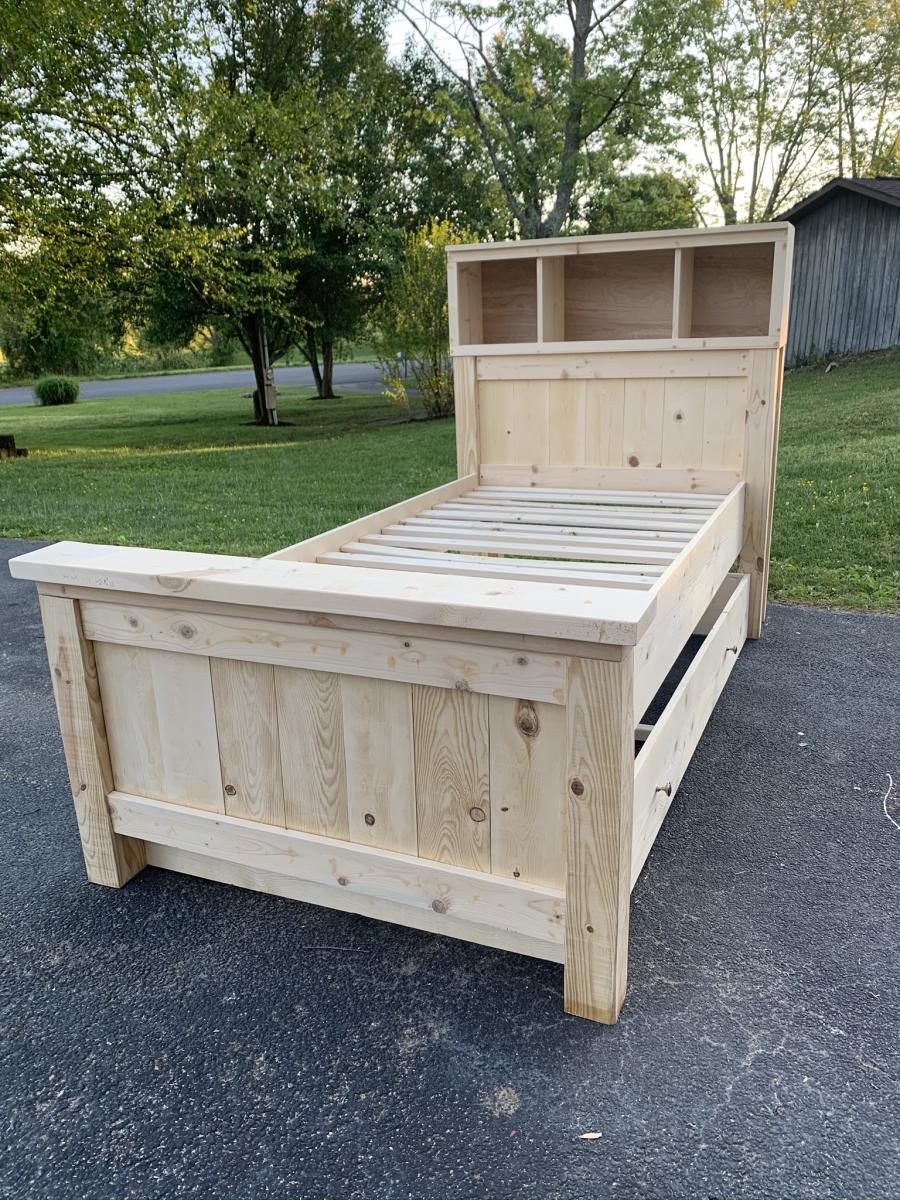
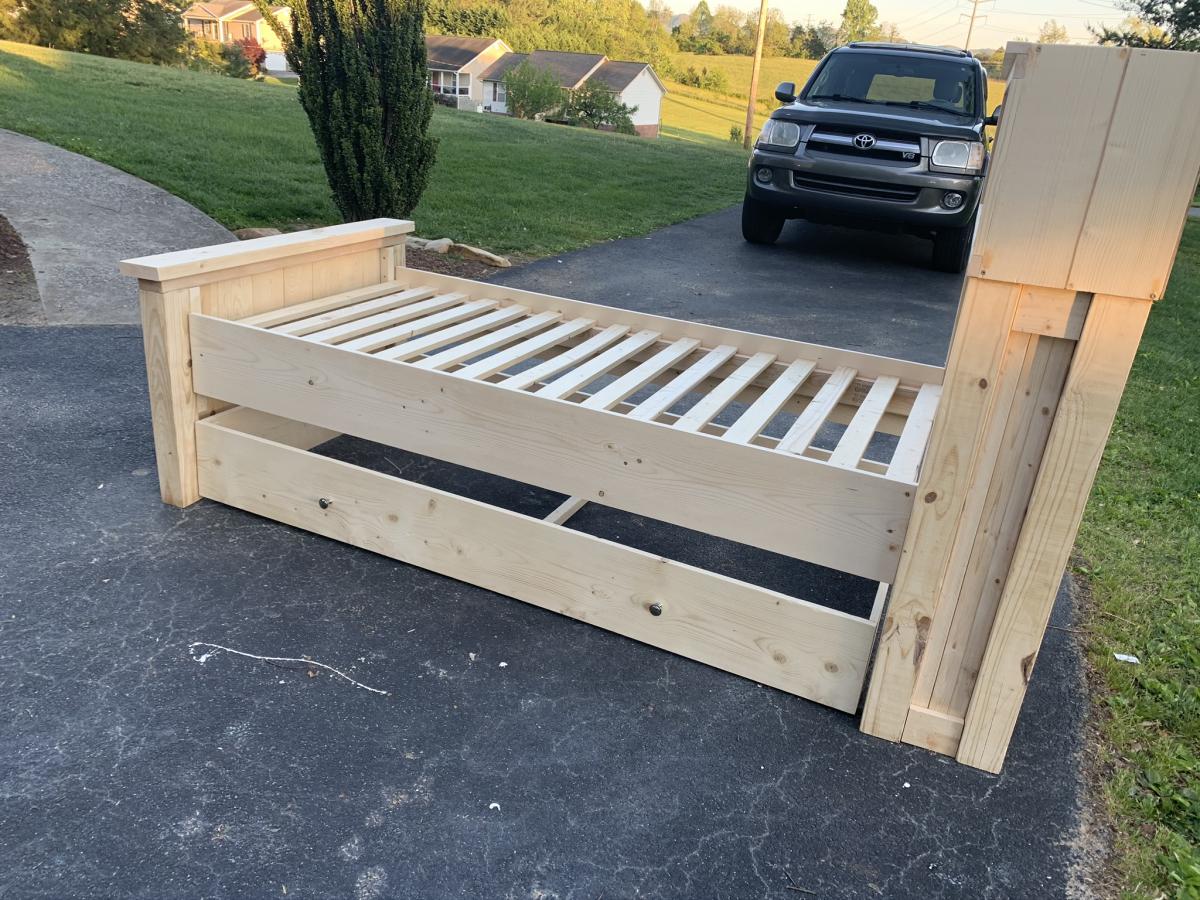
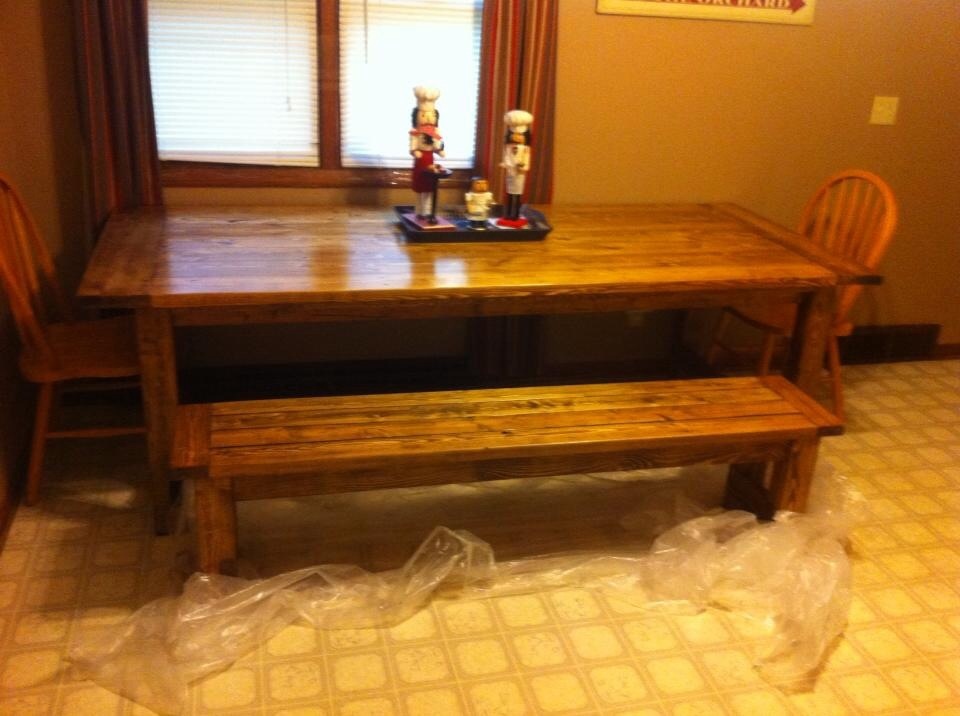
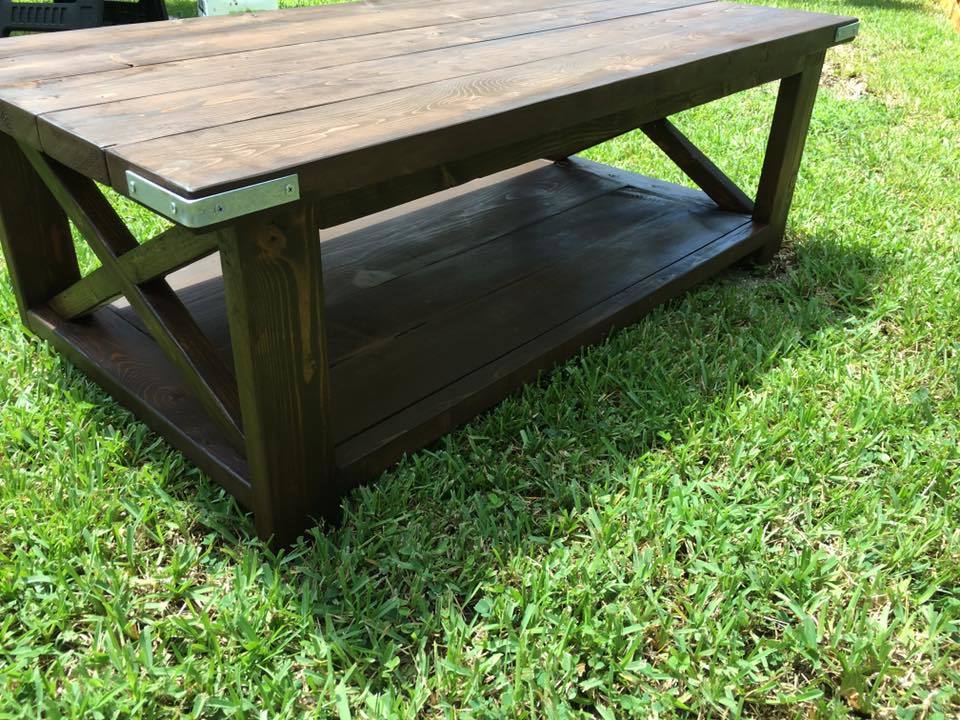
Farmhouse Toddler Bed
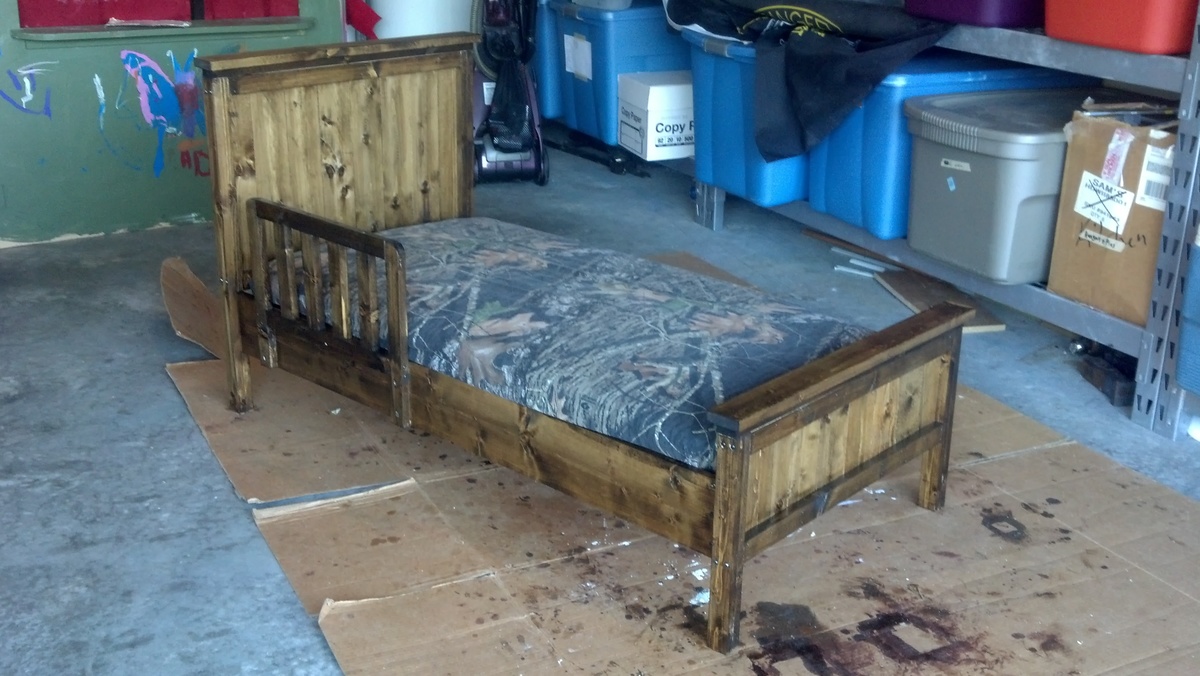
I was way overdue on building this toddler bed for my son. He really motivated me when he started repeatedly climbing out of his crib. The bed was very easy to make. The three things I would recommend are:
1. Do not use pocket holes on the footboard, so you don't have to fill all the holes. The nails worked great on the footboard and it is very sturdy.
2. Attach the side rails to the end board on the outside, not the inside. I found this out the hard way and had to take it apart and fix it.
3. Listen to Ana White and measure your mattress first. My son's fits, but I have to squeeze it in a little.
Great plans!

Built from Plan(s)
Estimated Cost
$30
Estimated Time Investment
Day Project (6-9 Hours)
Finish Used
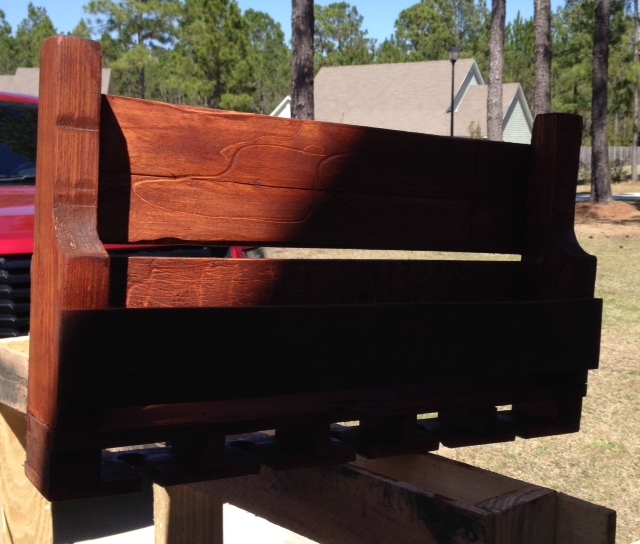
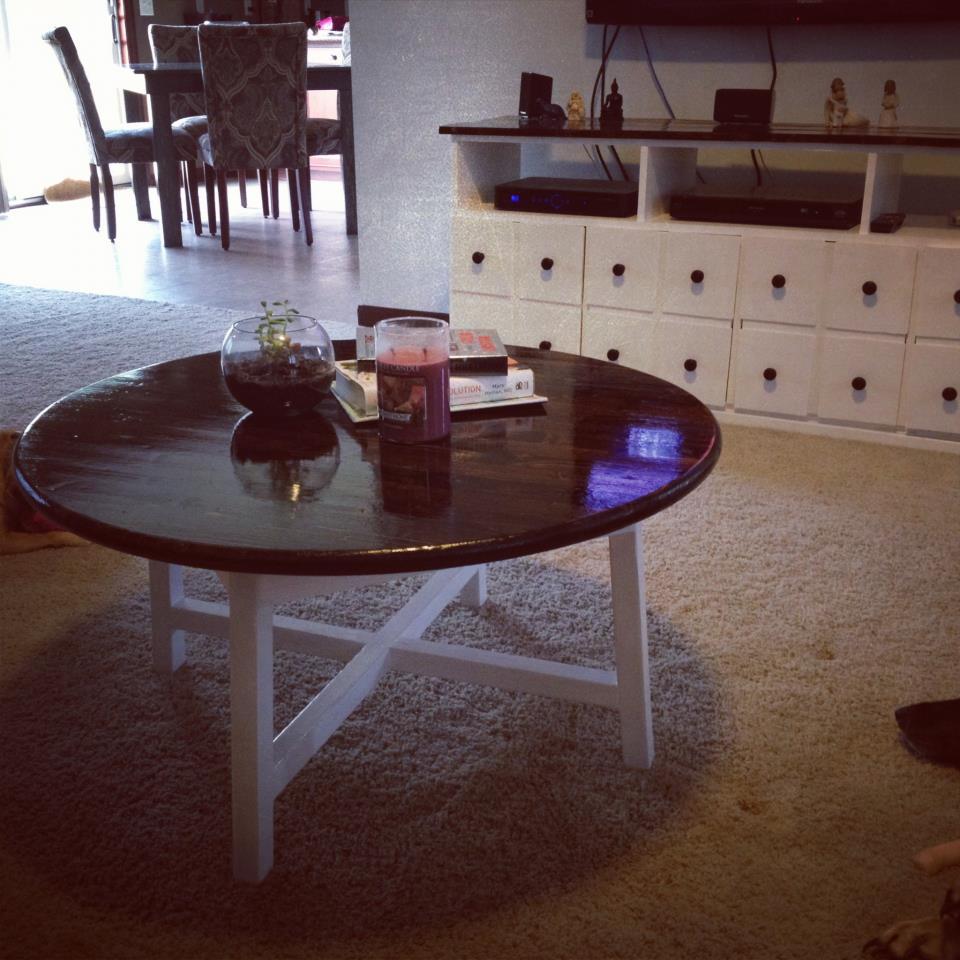
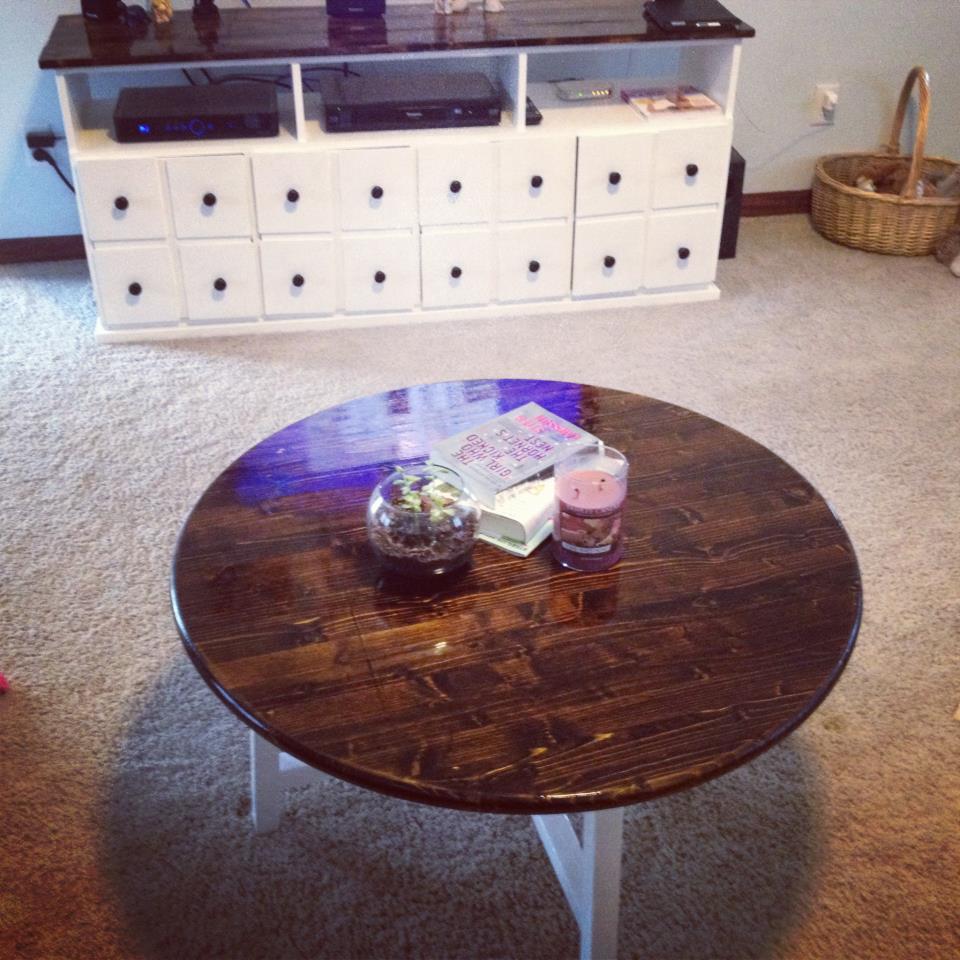
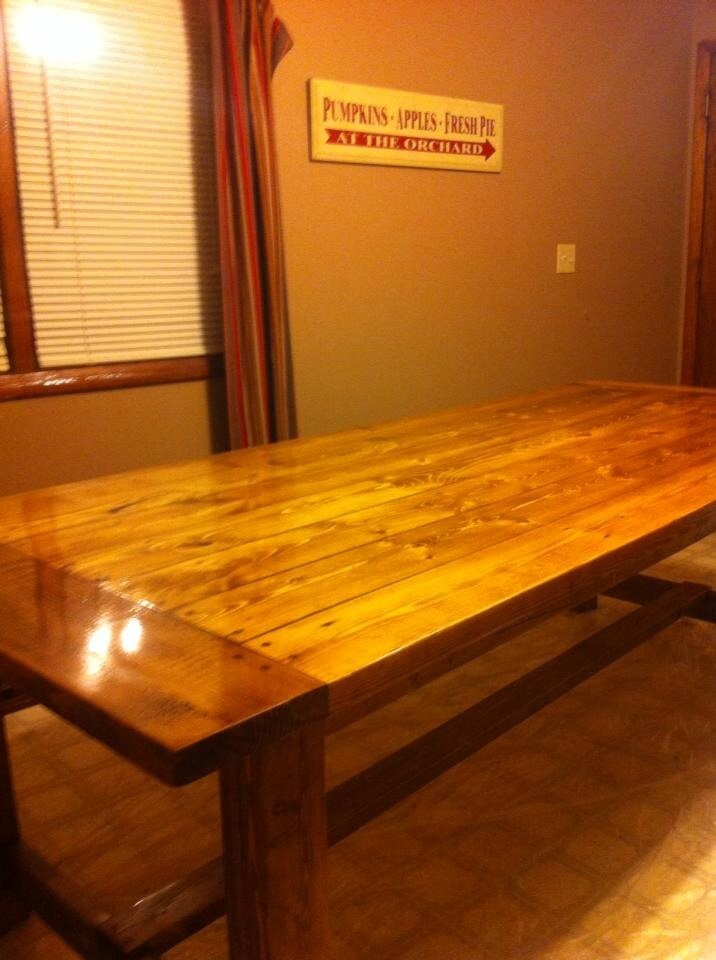
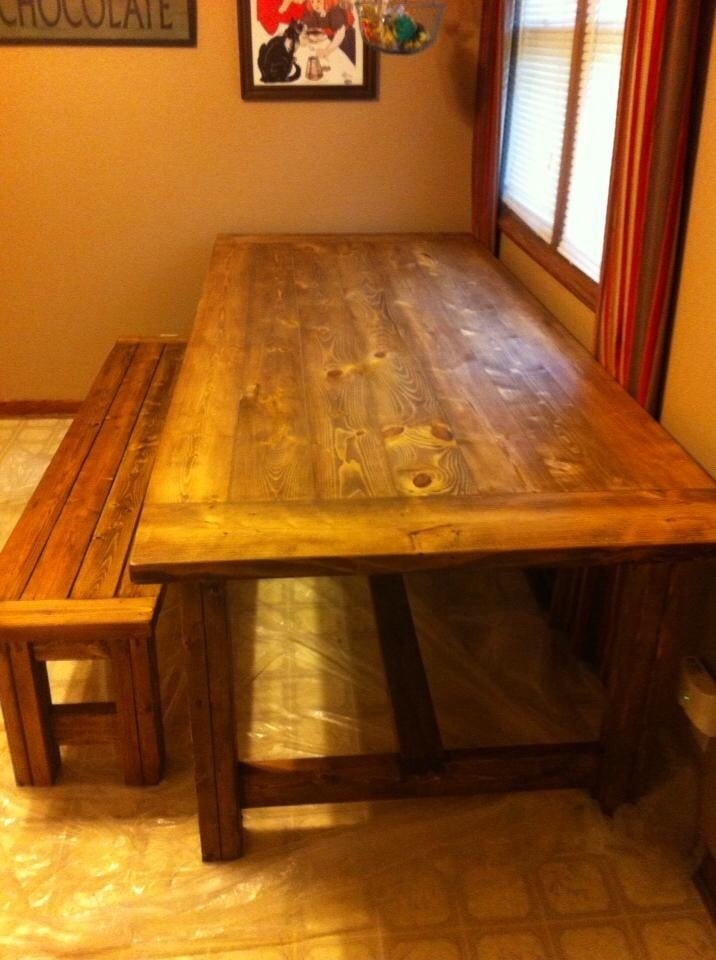
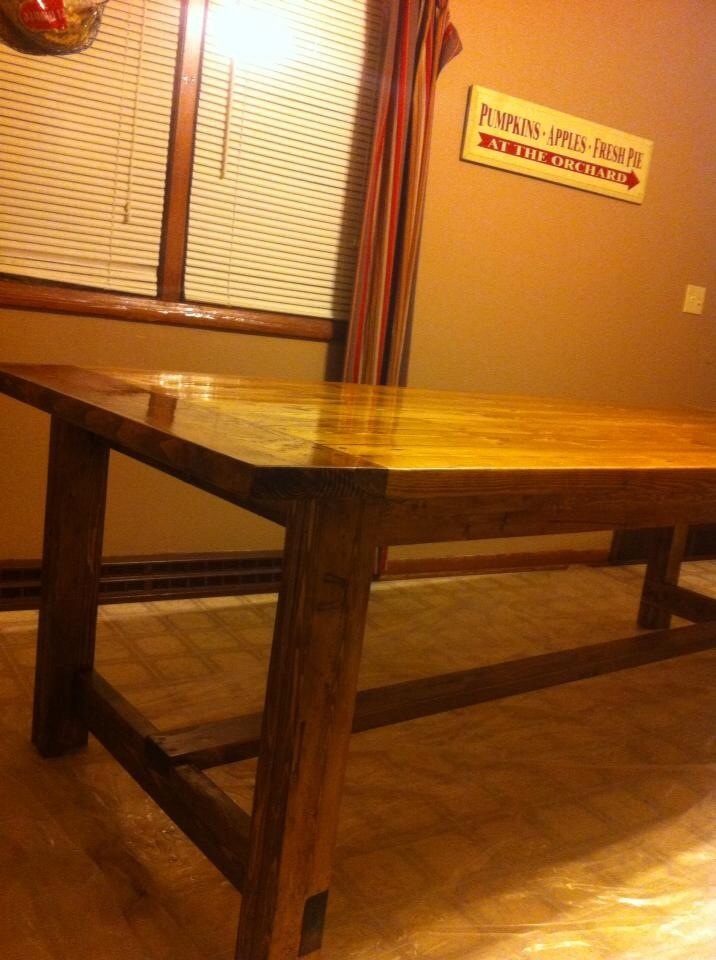
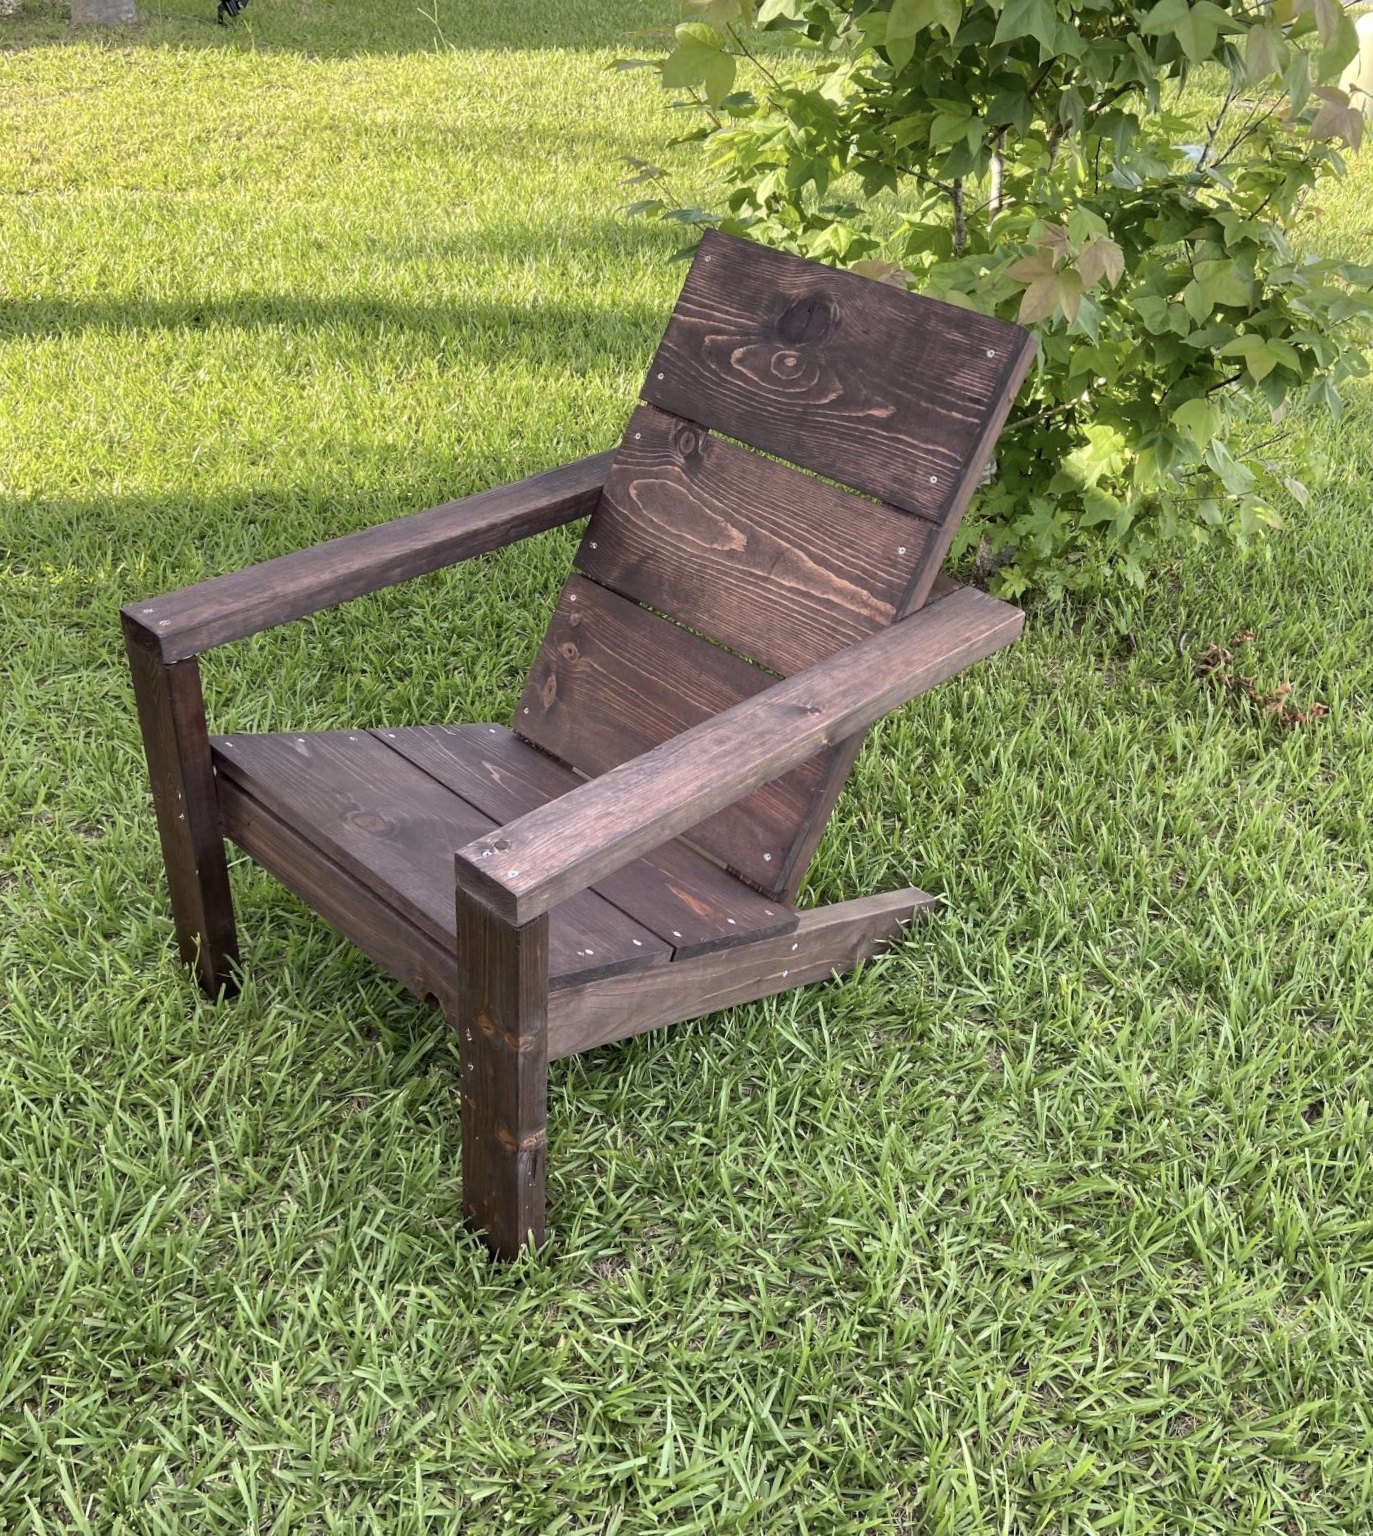
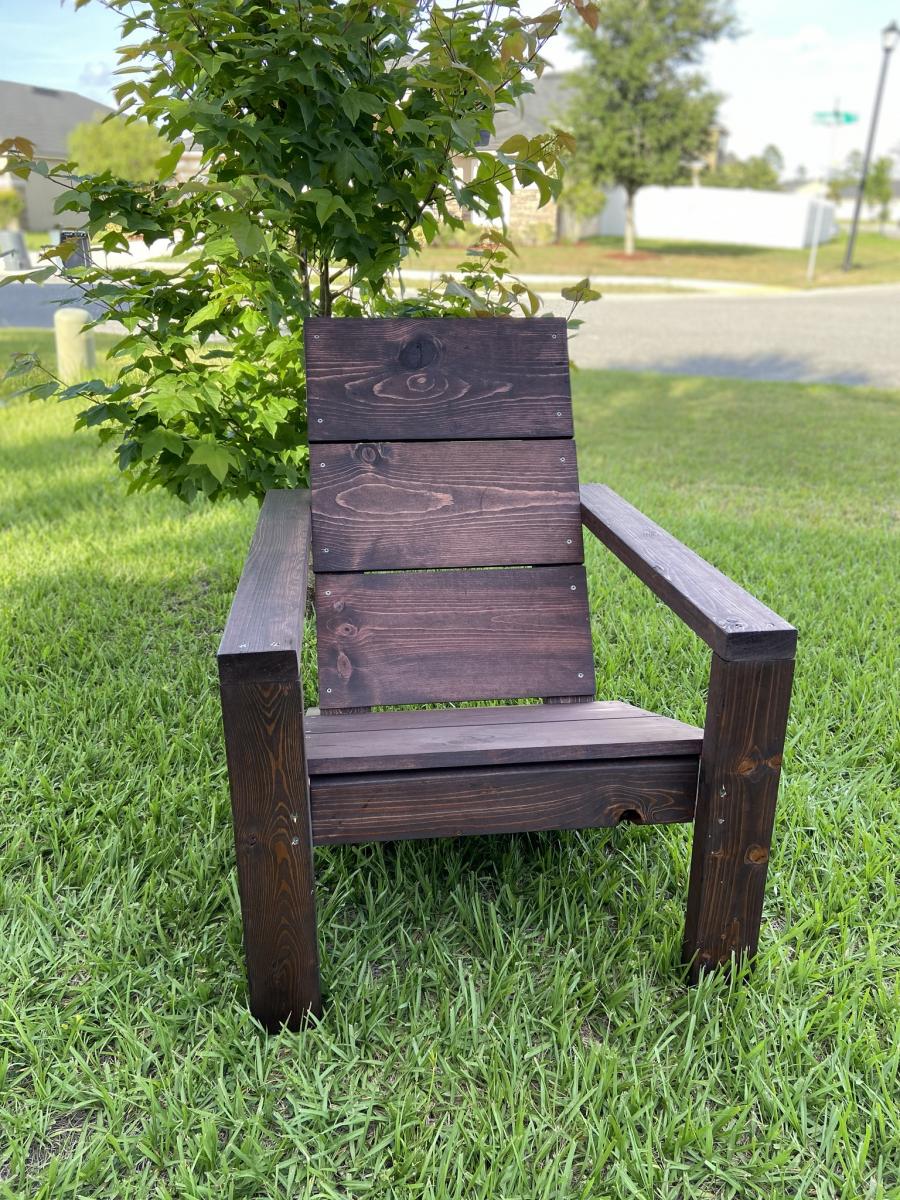
I used Minwax Dark Walnut, #2716; I rubbed it in with a rag. I followed with 2 coats of Minwax Fast Drying Clear Satin Polyurethane. I love how it turned out. It can’t dry fast enough :)
Recommended Skill Level
Beginner


Comments
shortermama (not verified)
Mon, 08/13/2012 - 17:34
Bed rail
Did you use a plan for your bed rail? Do you find that it's large enough? I feel like my little man will roll right out. He's an active sleeper just like I was as a kid. Though miraculously when I rolled out of bed (even when hitting a wood platform floor when camping with girl scouts) I never woke up. This guy will.