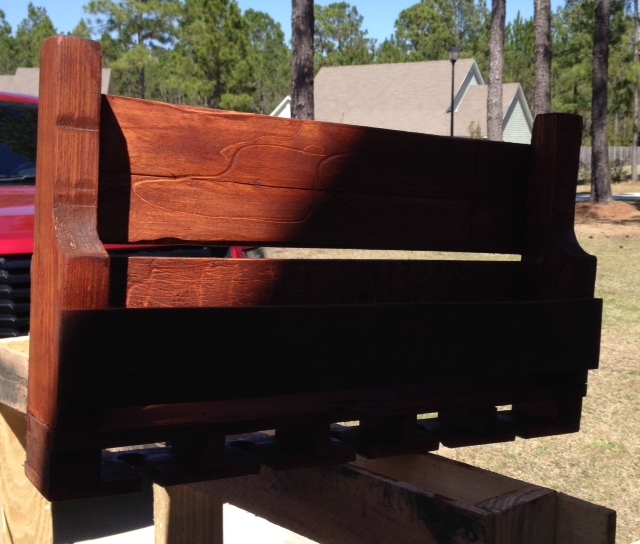
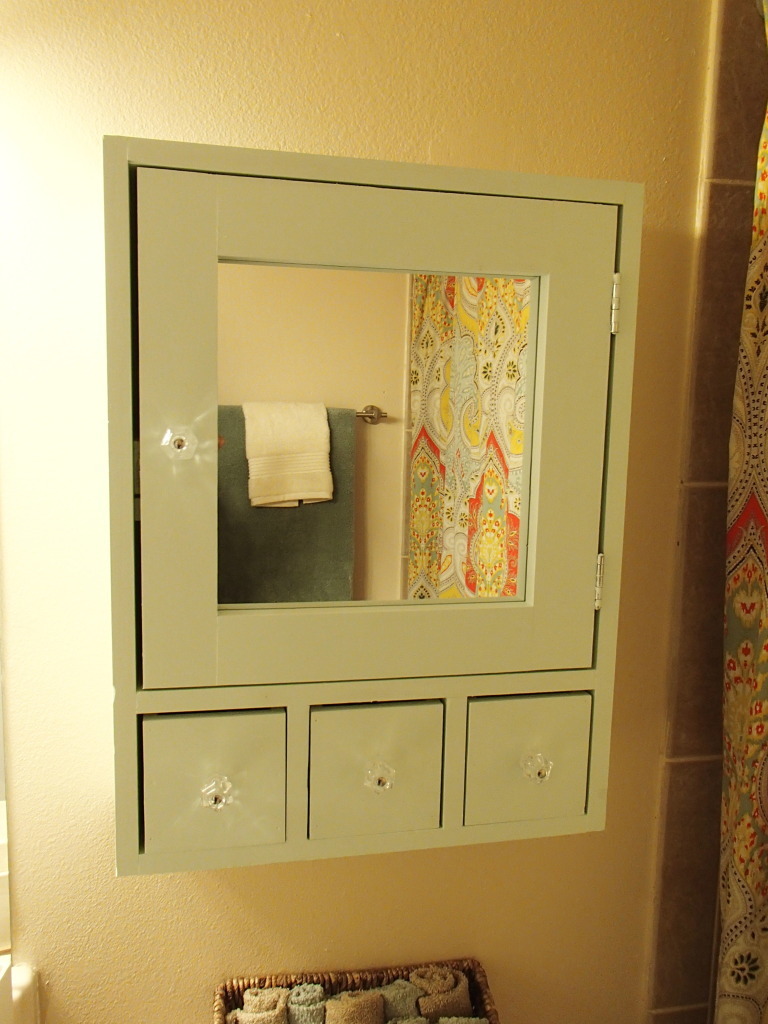
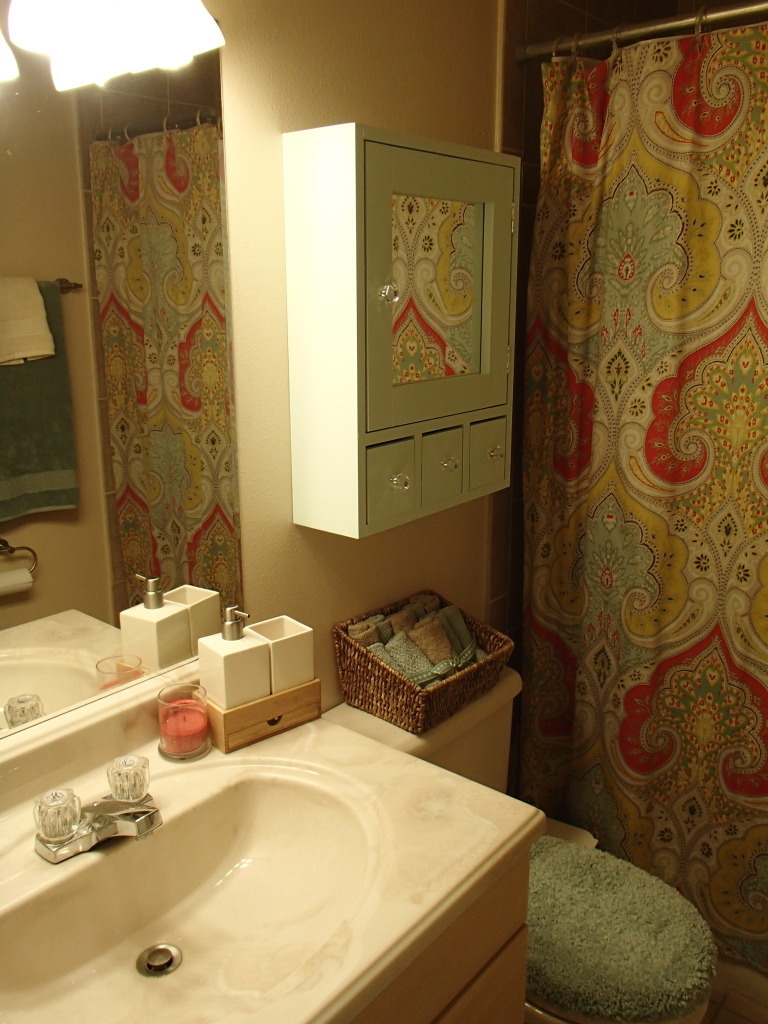
As a first-time user of pocket holes, I have to say they're brilliant! I learned from a lot the mistakes I made constructing the planter, but look forward to using variations of the plan for more planter projects. Thanks!
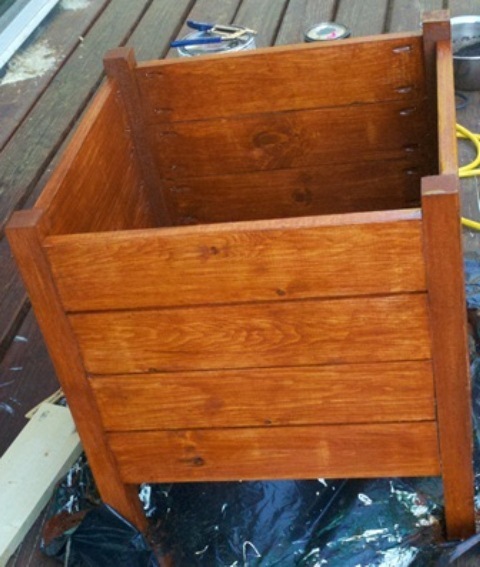
It took about two hours to construct, and then paint time. I used paint I had on hand (a paint store near me occasionally sells mis-mixed paint for $1/container), so I put on a white first coat and finished it with the green. It was a little too green, so I spray painted it with a light coat of bronze spray.
I attached the side slats to the outer 2"x"2 corner rather than the inner corner and subsequently found the 15-3/4" bottom slats a little too short. I had a spare furring strip on hand, so I cut another set a bit longer and they fit more securely. I haven't decided on finials yet; I may leave them off.