Community Brag Posts
DIY Murphy bed made from solid wood

My husband used the plans from this website to make a single Murphy bed. He didn't make any changes, save for building the frame out of solid poplar and using birch plywood for the flat surface the mattress sits on when it's unfolded. We trimmed it to mimic the the lines of a built-in in the same room, and stained it Jacobean to make it look dark. It's a solid piece of furniture and is saving us tons of space.
Built from Plan(s)
Estimated Cost
$200
Estimated Time Investment
Weekend Project (10-20 Hours)
Finish Used
Minwax Jacobean
Recommended Skill Level
Intermediate
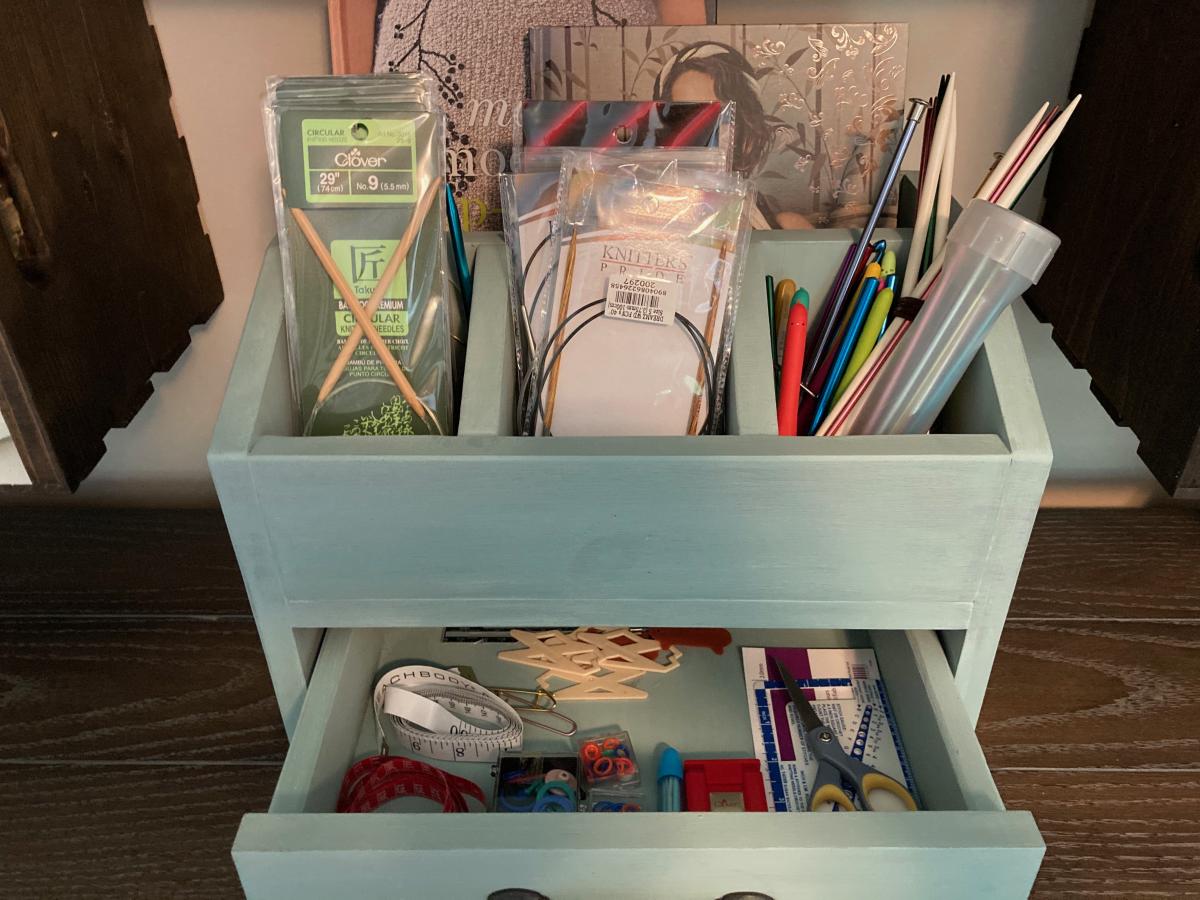
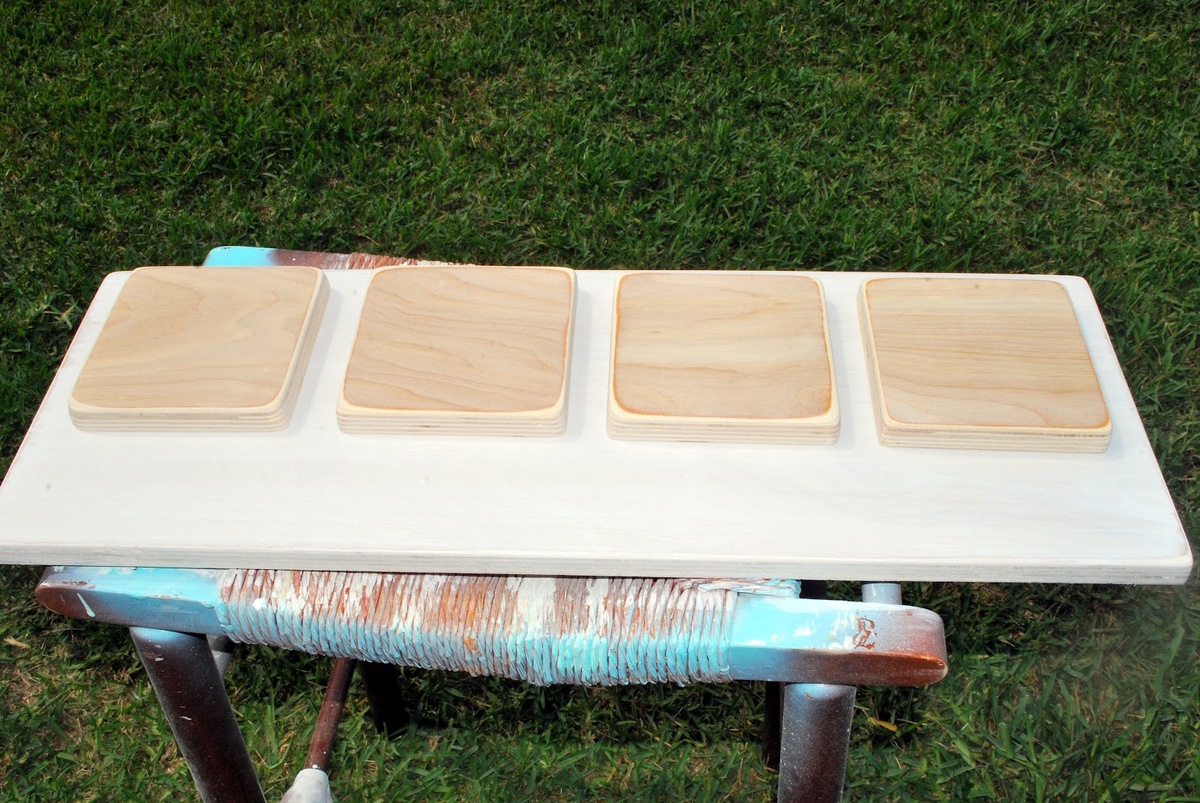
Organizer for knitting needles & crochet hooks
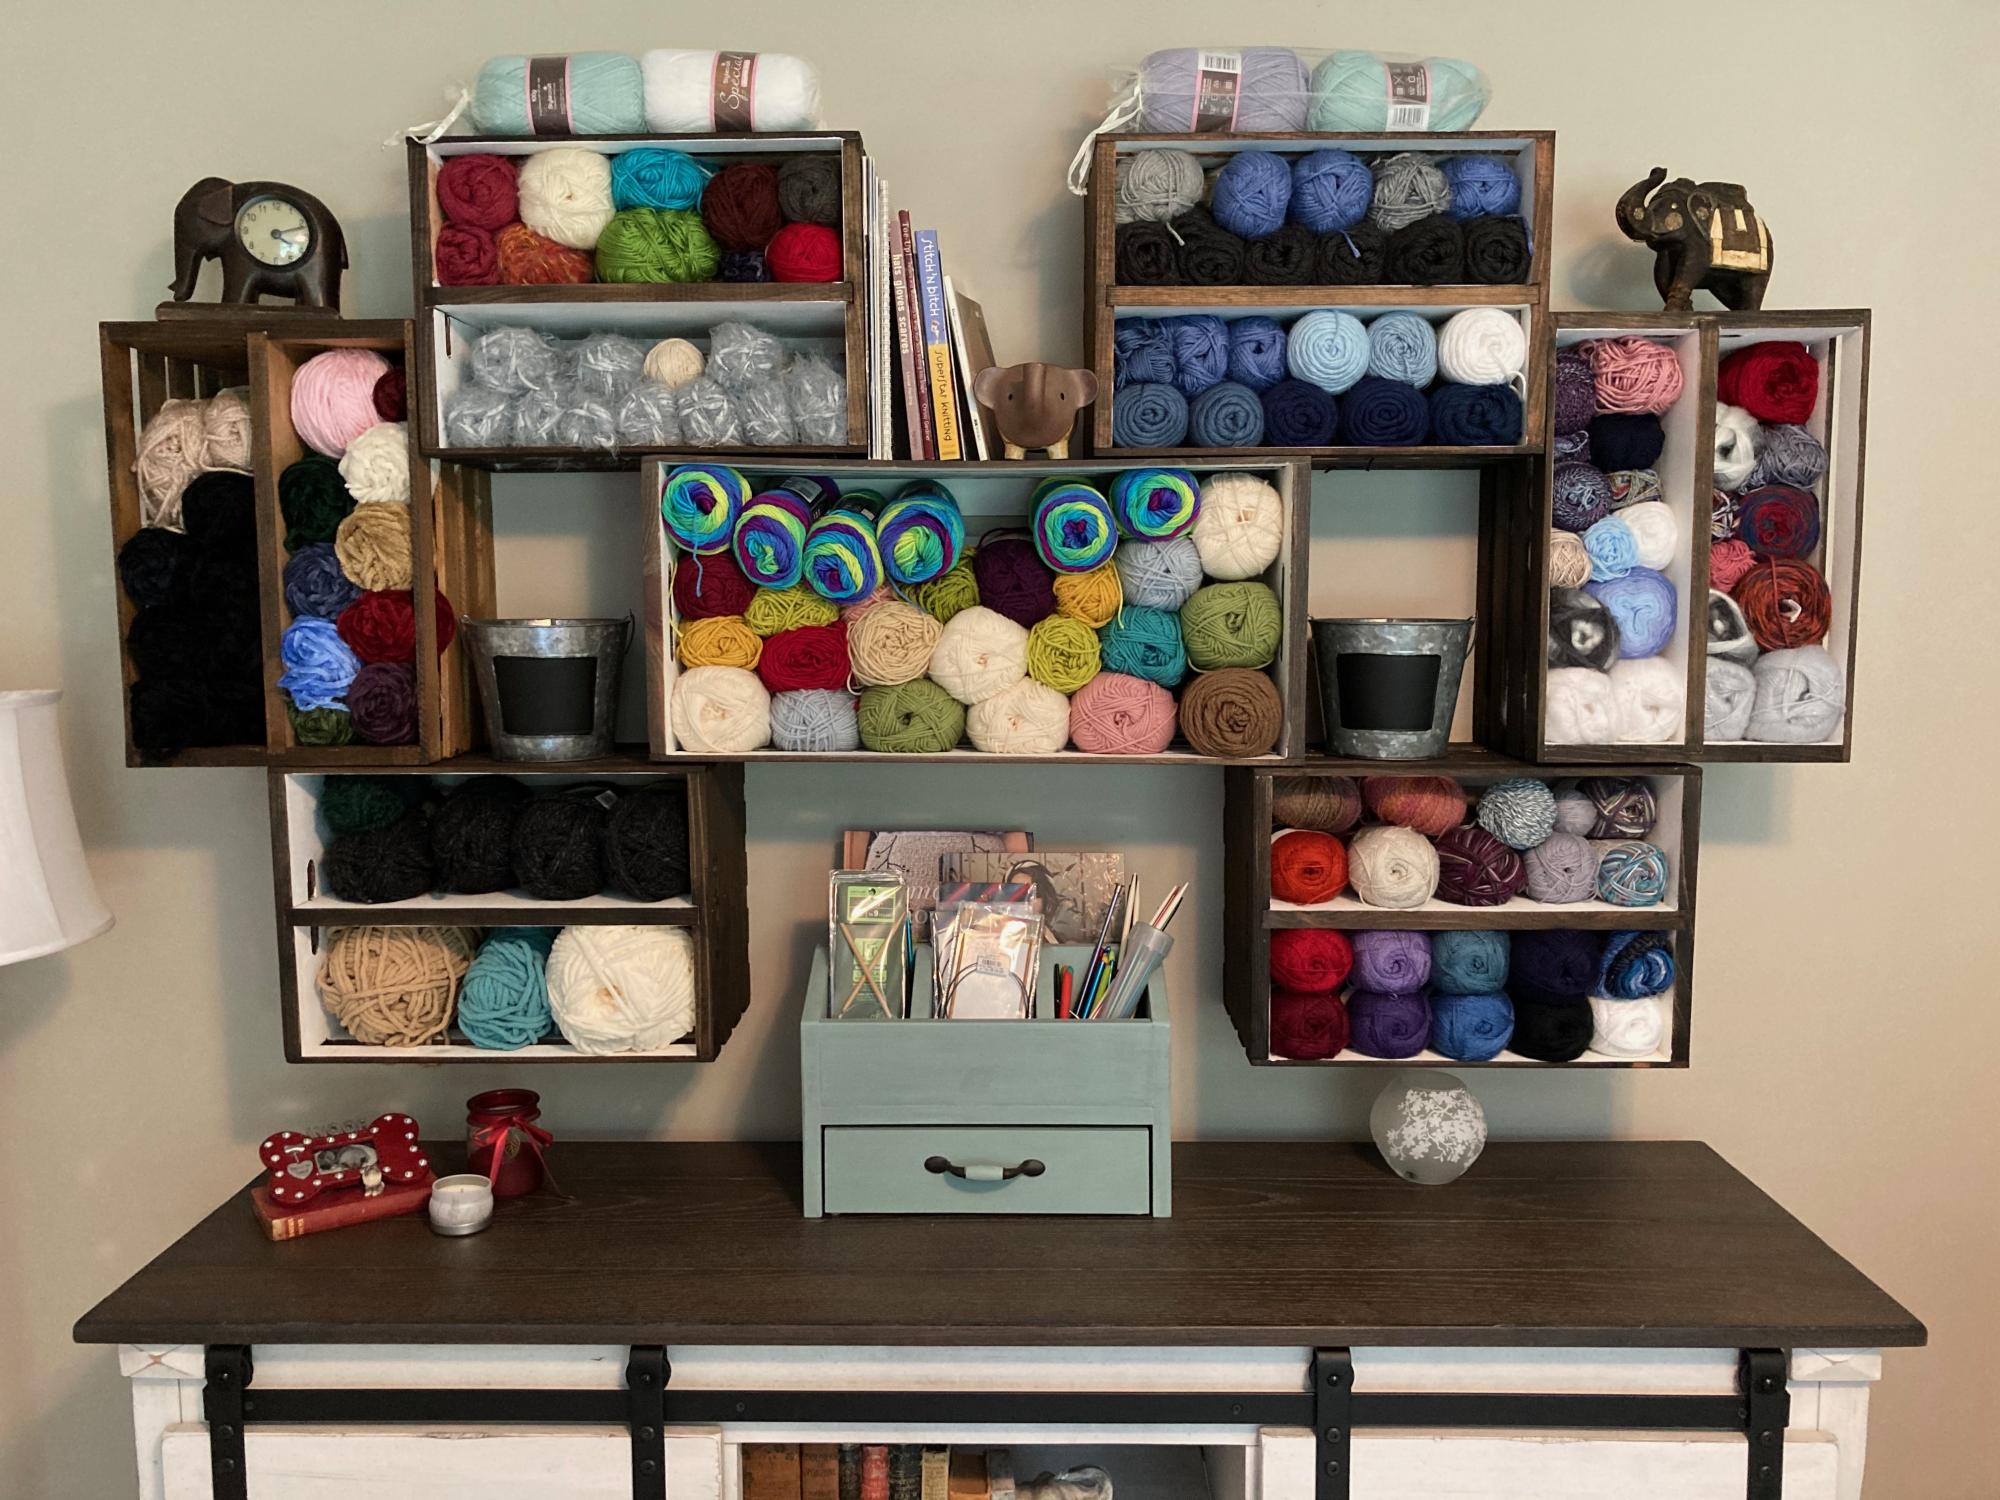
I used Ana and Jaime's desk organizer plans to build this, but I'm using it in my craft room instead for my needles/hooks/small accessories. This plan was part of Ana's Handbuilt Holiday plans found here: https://ana-white.com/woodworking-projects/desktop-office-or-vanity-bea…
Estimated Cost
10.00
Estimated Time Investment
Afternoon Project (3-6 Hours)
Finish Used
Duck egg blue chalk paint and clear wax.
Recommended Skill Level
Beginner
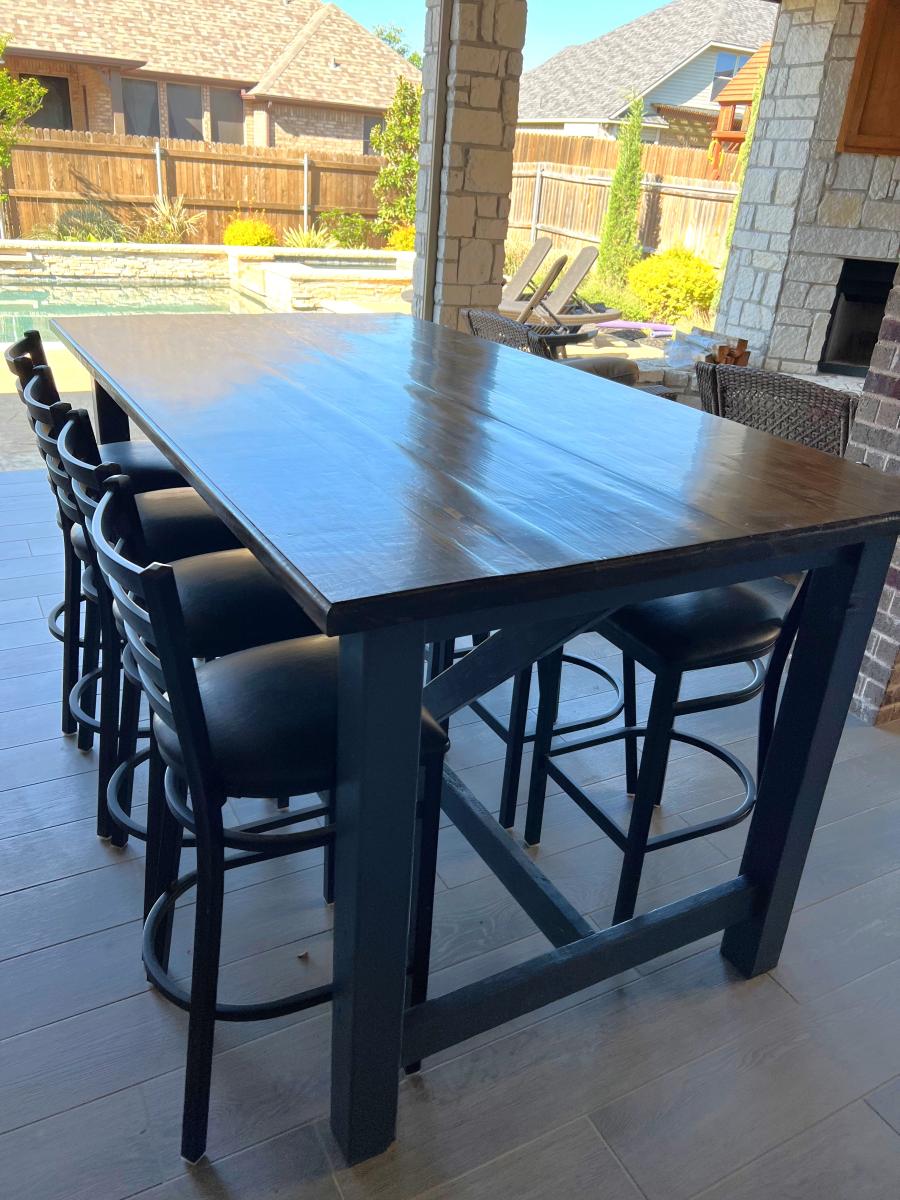
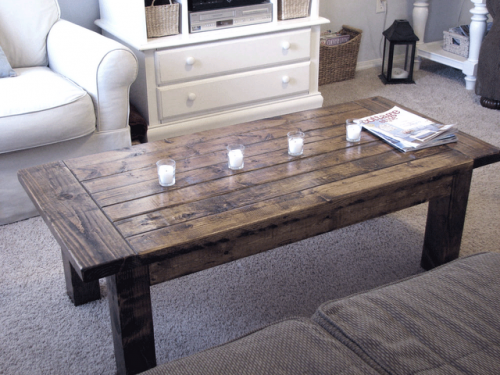
Outdoor Farmhouse Table
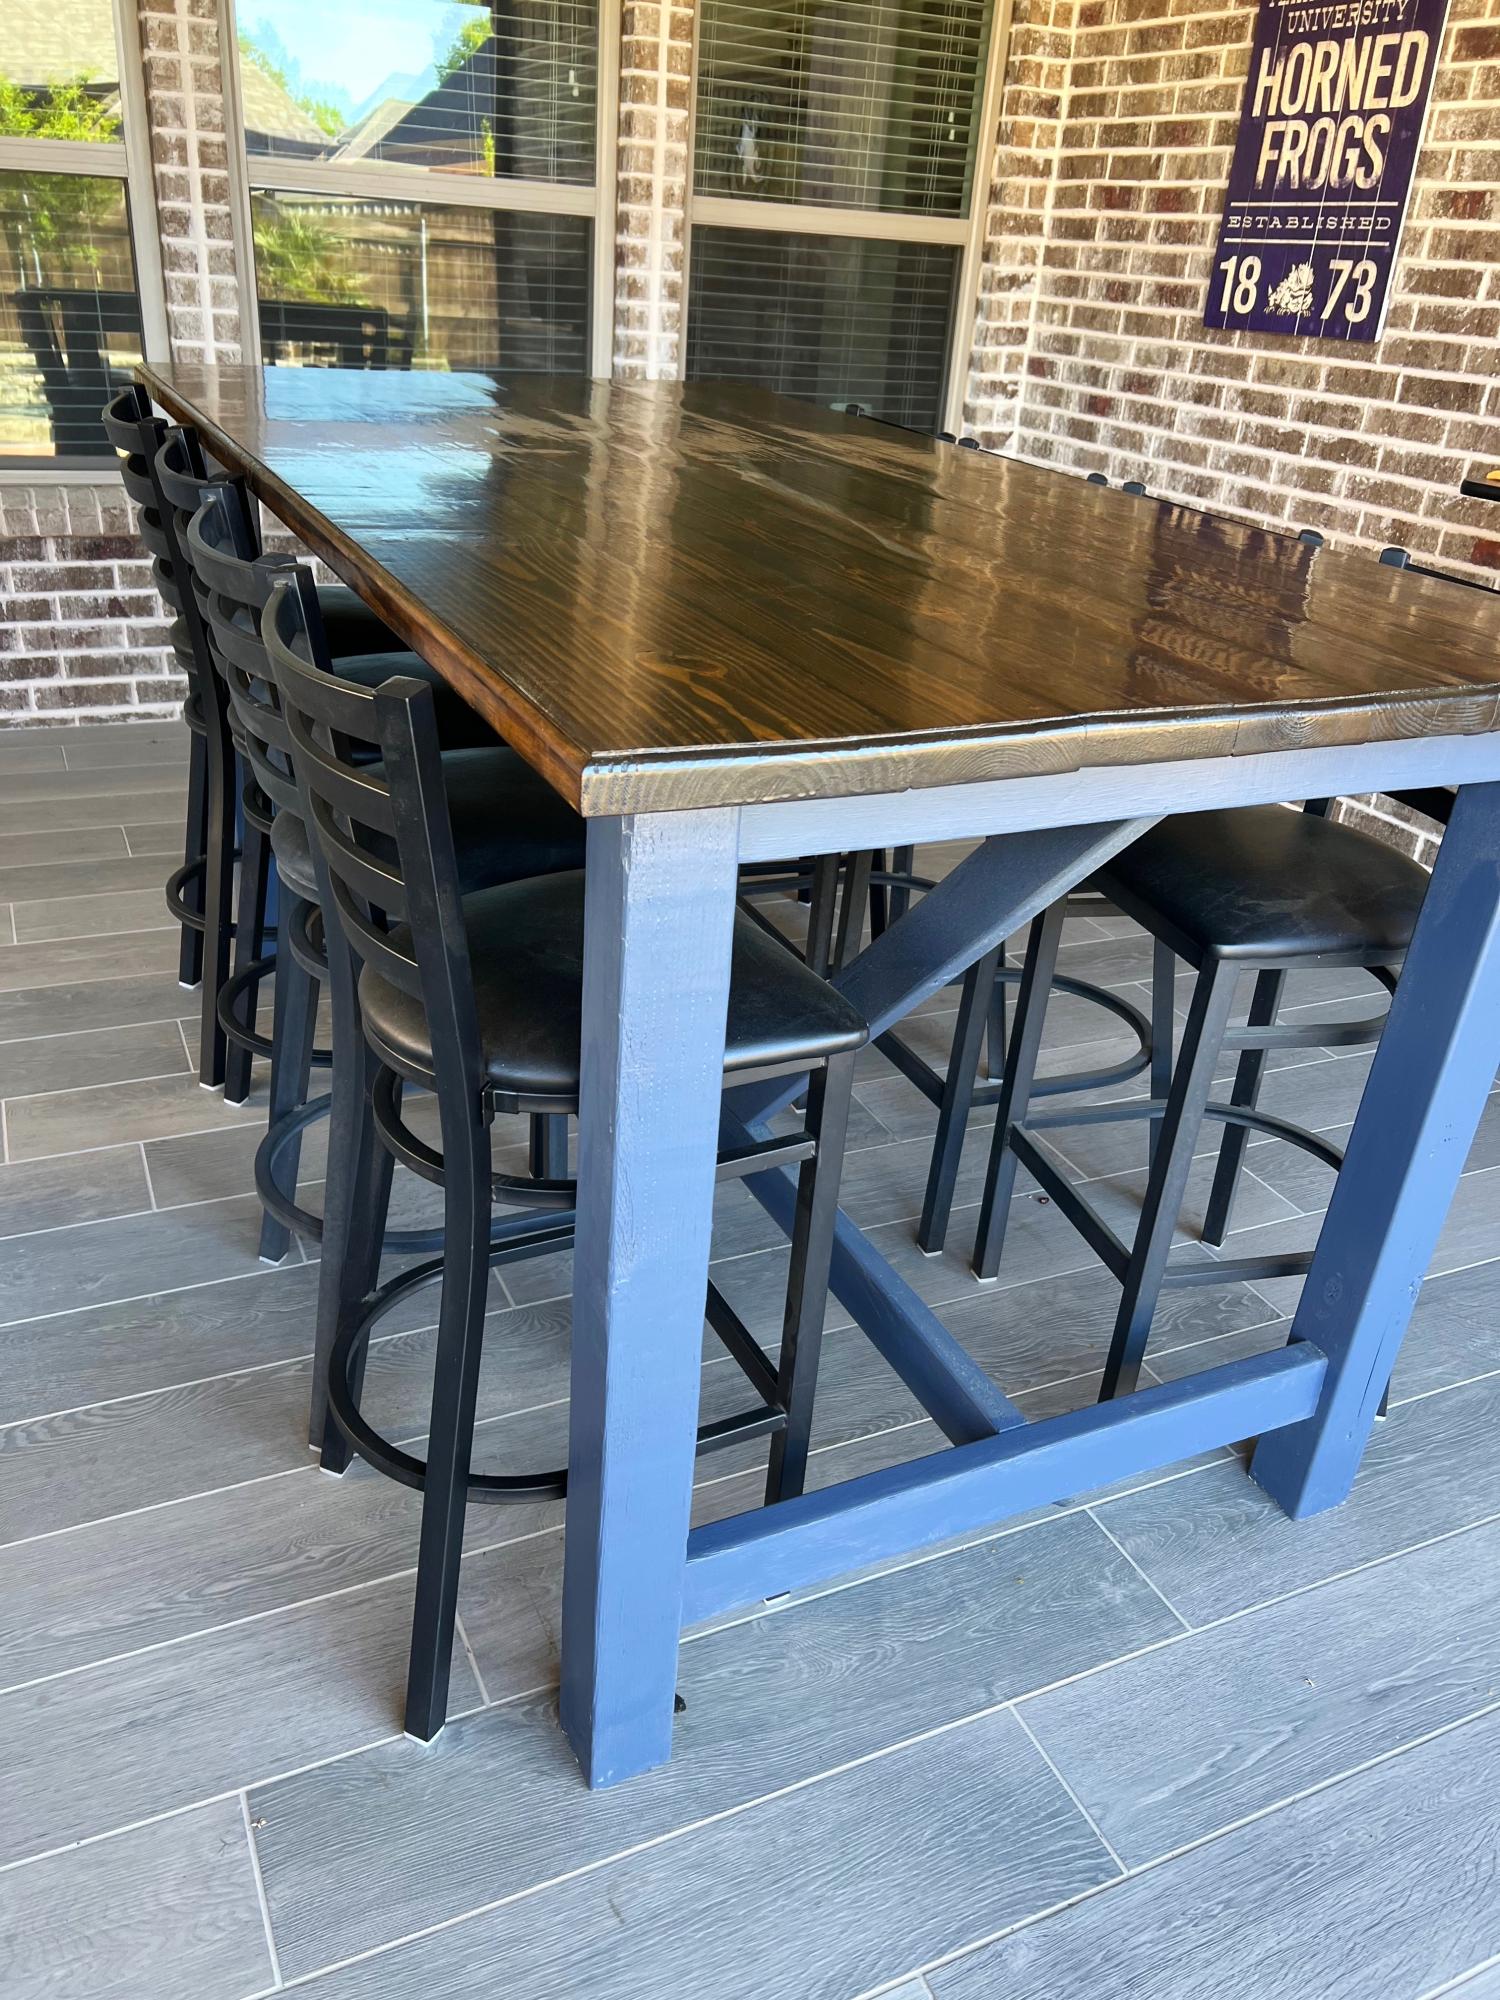
I liked the design of the barnyard dinner table and needed a table on the patio for family get togethers. I modified the table plans to seat 10 and made it bar height. I also finished the top vs planks. Came out great.
Kevin Cole
Built from Plan(s)
Farmhouse Bedside Table
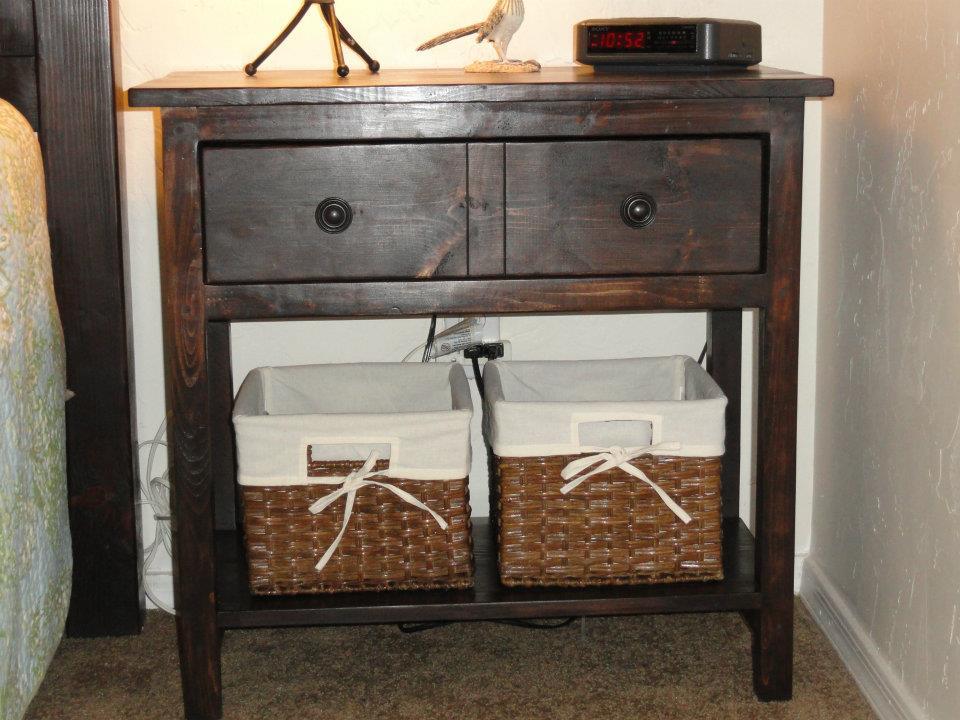
We made two of the Farmhouse Bedside Tables to go with the Farmhouse Queen Bed with Arch. The nighstands went together quickly and are beautiful! You just can't beat the quality for the cost to build them. My husband added a piece of wood behind the drawer to act as a stop so the drawer doesn't push in too far. We chose not to add drawer slides because the drawers are perfect without. Another great plan.

Built from Plan(s)
Estimated Time Investment
Afternoon Project (3-6 Hours)
Finish Used
Rustoleum Java Stain
Recommended Skill Level
Beginner
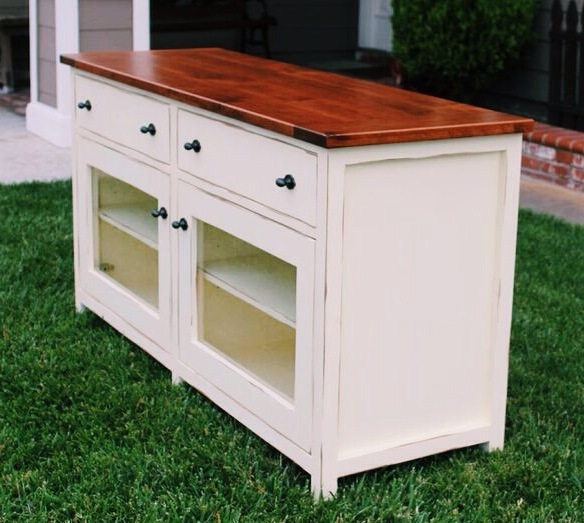
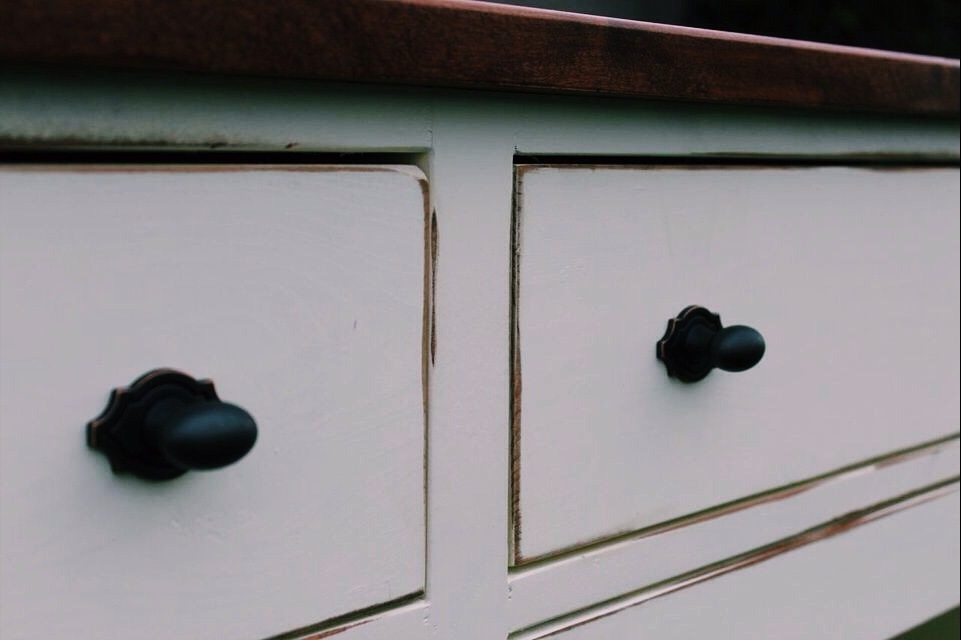
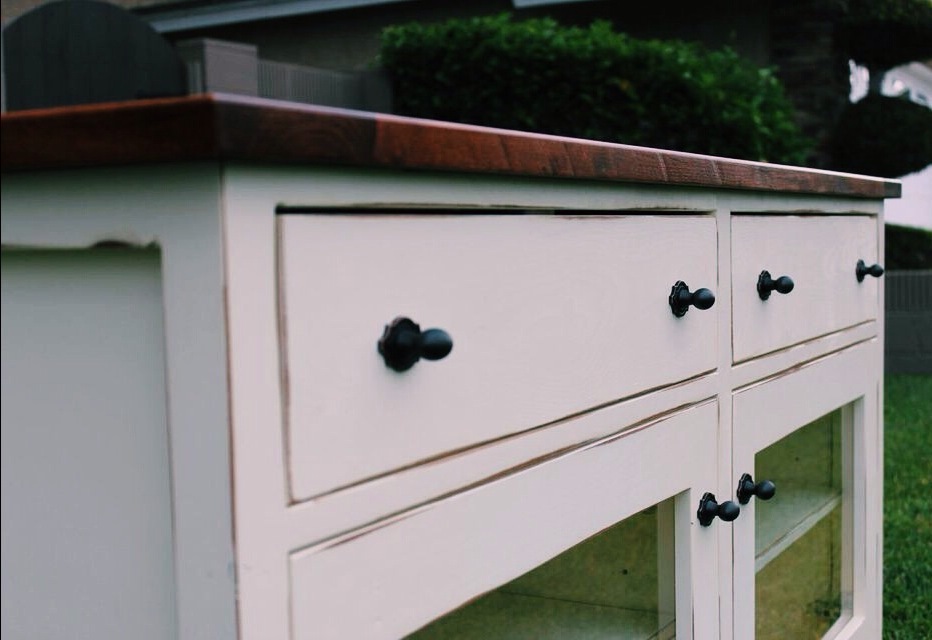
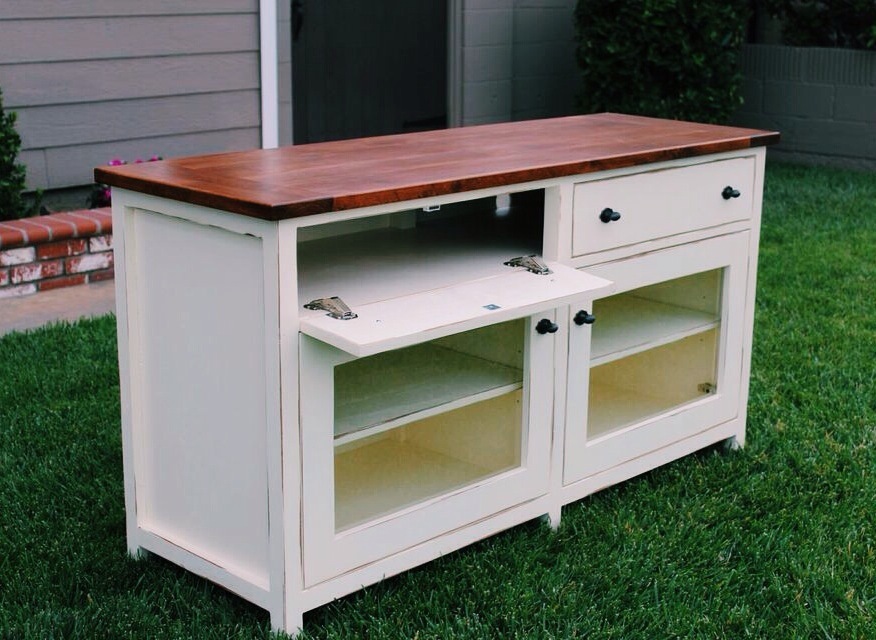
Pottery Barn benchwright TV stand
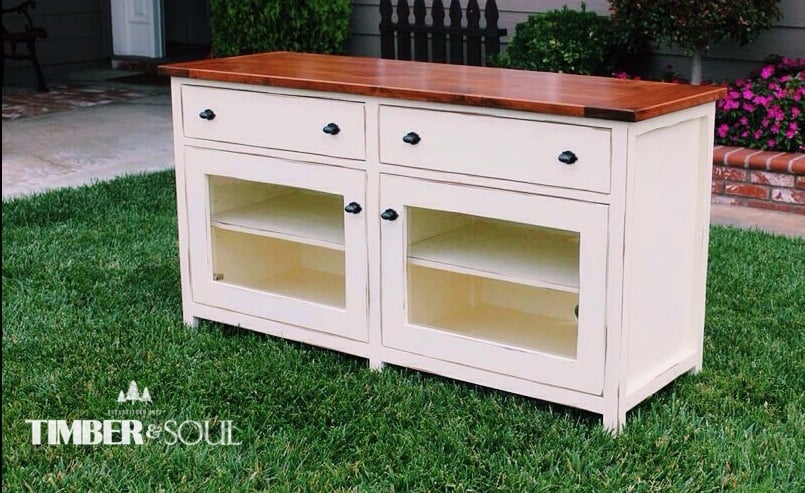
I altered the dimensions from the plans slightly to meet my needs. I added self-closing, heavy duty hinges for the doors because a basic euro- hinge from home depot would not hold the weight of the doors with glass. For the finish, I sanded the edges slightly after painting and used a minwax stain maker to stain the sanded areas giving a clean, distressed look. I used gel stain for the first time on this build. Softer woods such as pine or alder are prone to blotchy finishes when stained. I built the top out of Alder and stained it with gel stain from general finishes. I am very happy with how the top turned out after using the gel stain. I did not have to use a pre-stain conditioner either.

Built from Plan(s)
Estimated Cost
$230.00
Estimated Time Investment
Week Long Project (20 Hours or More)
Finish Used
Crème brulee by Behr, Nutmeg gel stain by General finishes
Recommended Skill Level
Intermediate
Grandy sliding door console
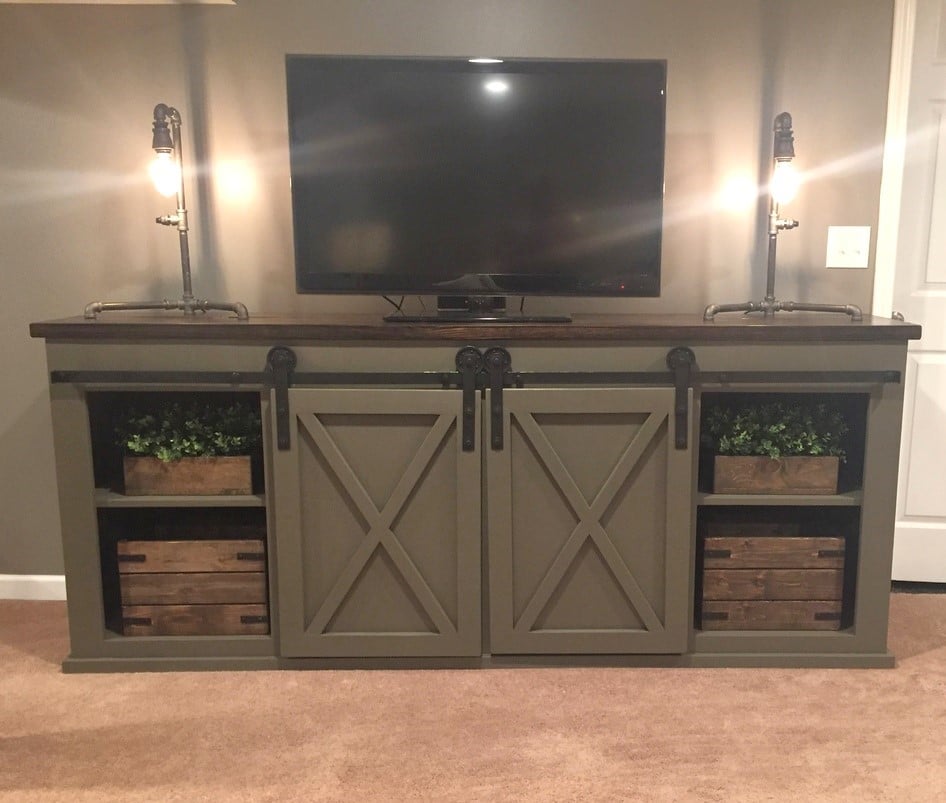
We needed a new TV stand, so me and my boyfriend picked out this plan. We worked on it together. It took us about a week. Barn door hardware is pricey, so we made our own hardware with steel stock and garage door pulleys.
Built from Plan(s)
Estimated Cost
$250-300
Estimated Time Investment
Week Long Project (20 Hours or More)
Finish Used
Dark walnut top
"Porpoise" by Sherwin Williams for base
"Porpoise" by Sherwin Williams for base
Recommended Skill Level
Intermediate
Comments
Inspiring First Woodworking Project
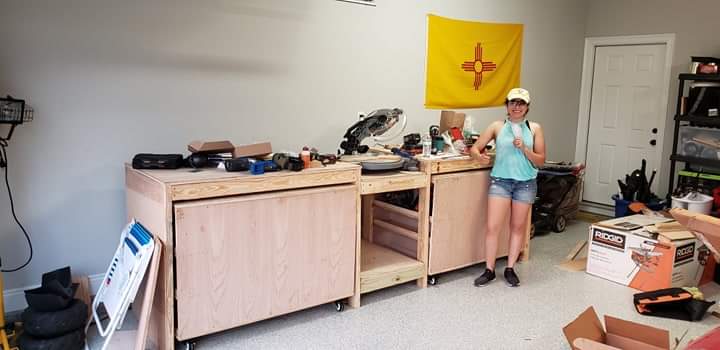
**From a Woodworker First Project Perspective**
Power Tools: I used a circular saw (Ridgid, lifetime warranty) for all of my cutting because it was the easiest tool to use once I got into a rythem for cutting plywood and other materials.
Other helpful tools: I had 2 height adjusting saw horses that made it easy on my back made by Kobalt. There were some mistakes in the beggining with keeping the lines straigt but a circular saw track (kreg) easily fixed that problem for most of the cutting. After awhile it got easier to steadily cut following a drawn line with no track (hubby was impressed). Overall, this project was a process of trial and error but I learned from every hiccup along the way. Next up, chicken coop... :D
**How It All Started**
While deployed I had a lot of time to imagine my very own personal workspace to complete DIY projects and when I saw this design I could not wait to get home and begin my new hobby. This project inspired me to really get serious about woodworking. Never in my life had I ever built anything from plywood and 2x4s, much less had I ever used a circular saw. I'm proud of myself for completing this from start to finish as a first project. Thank you Ana!
Peace and Blessings,
WP
Built from Plan(s)
Estimated Cost
420
Estimated Time Investment
Week Long Project (20 Hours or More)
Recommended Skill Level
Beginner
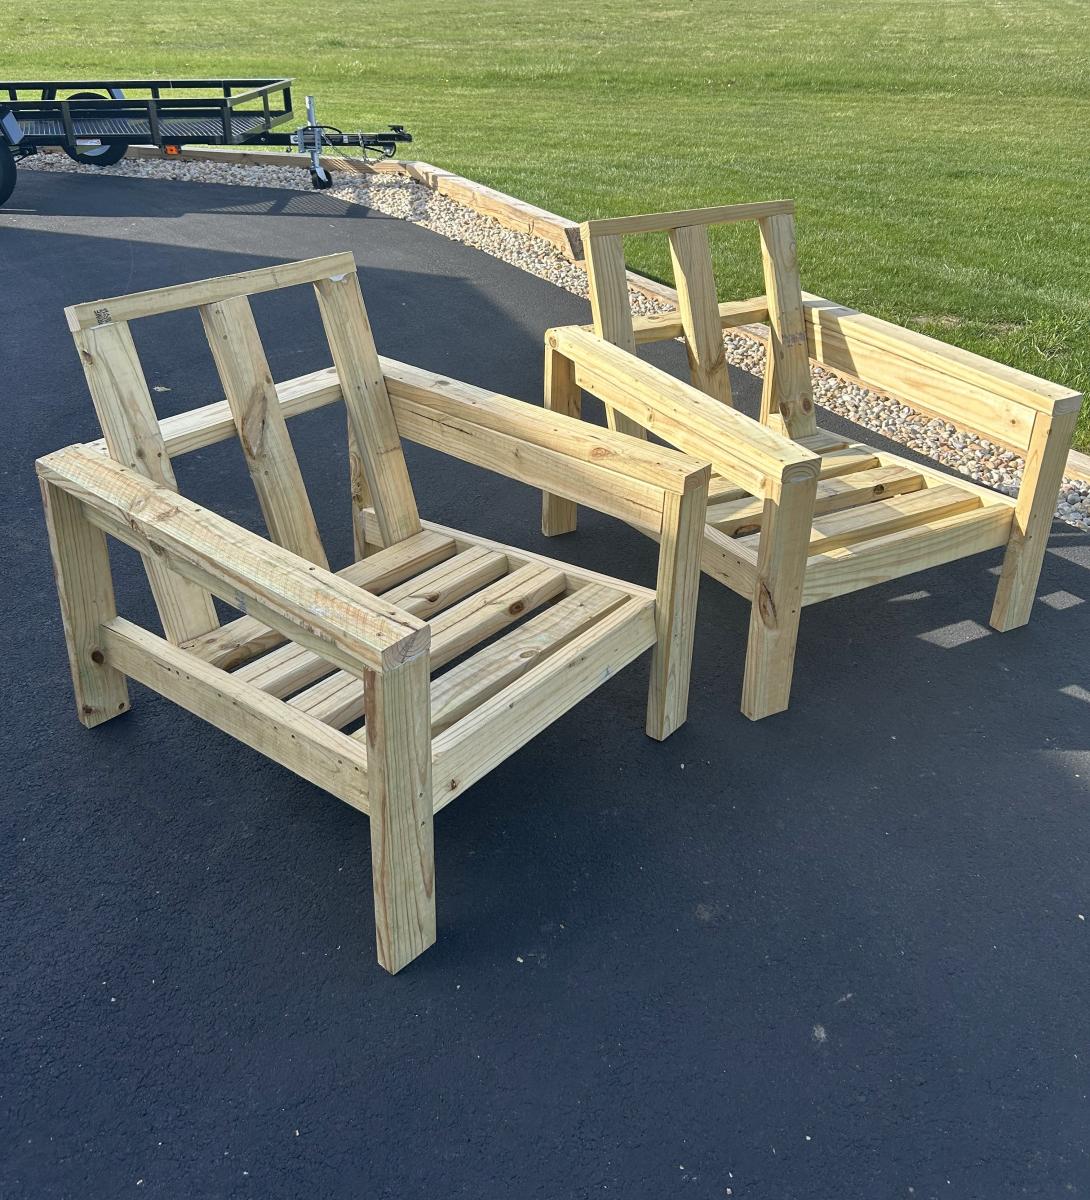
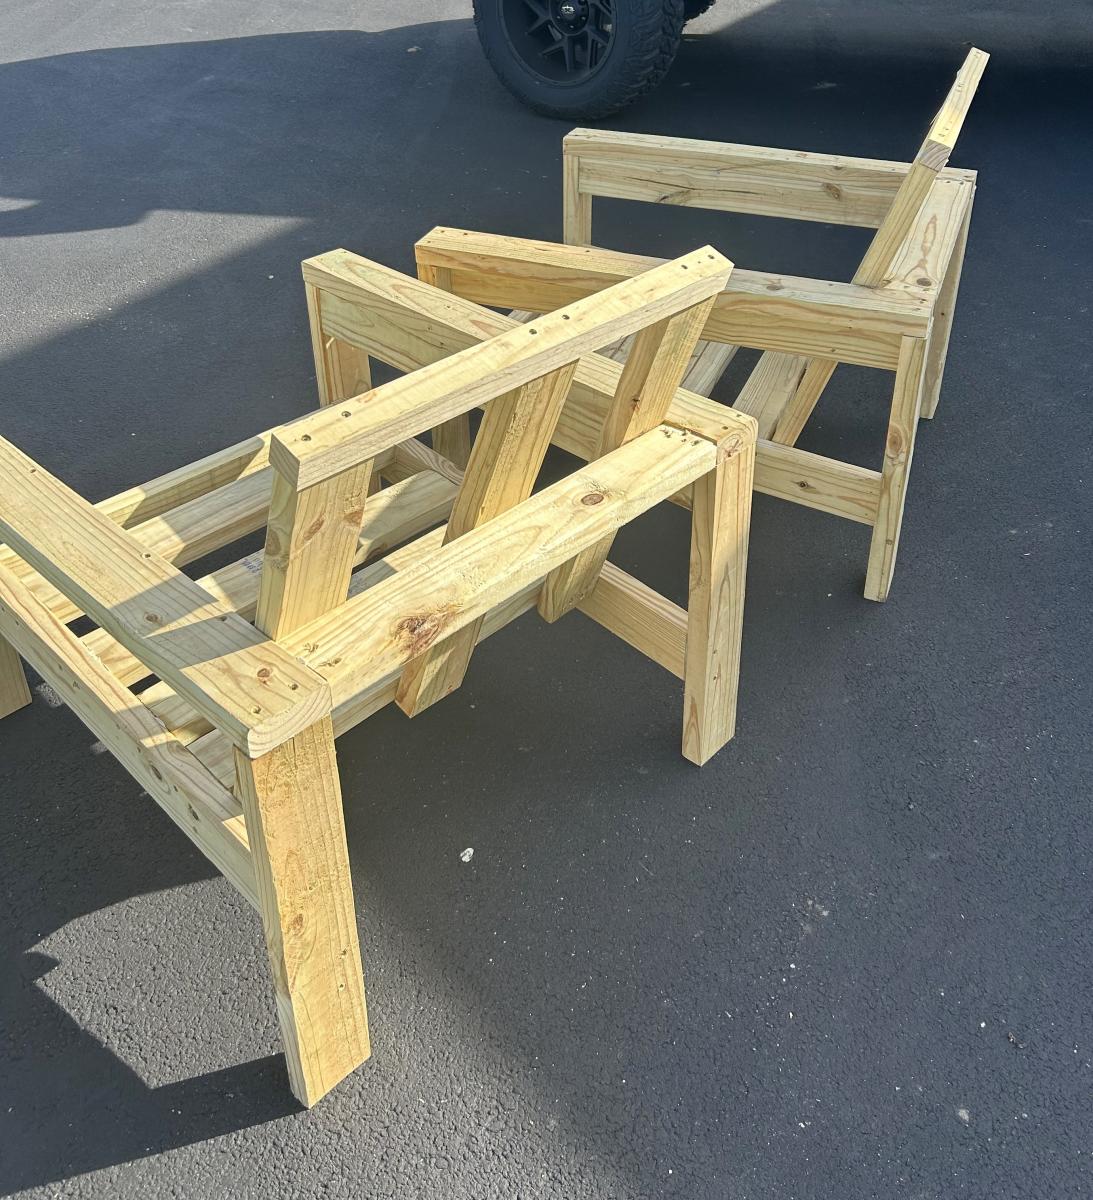
Easy Wood Outdoor Chairs
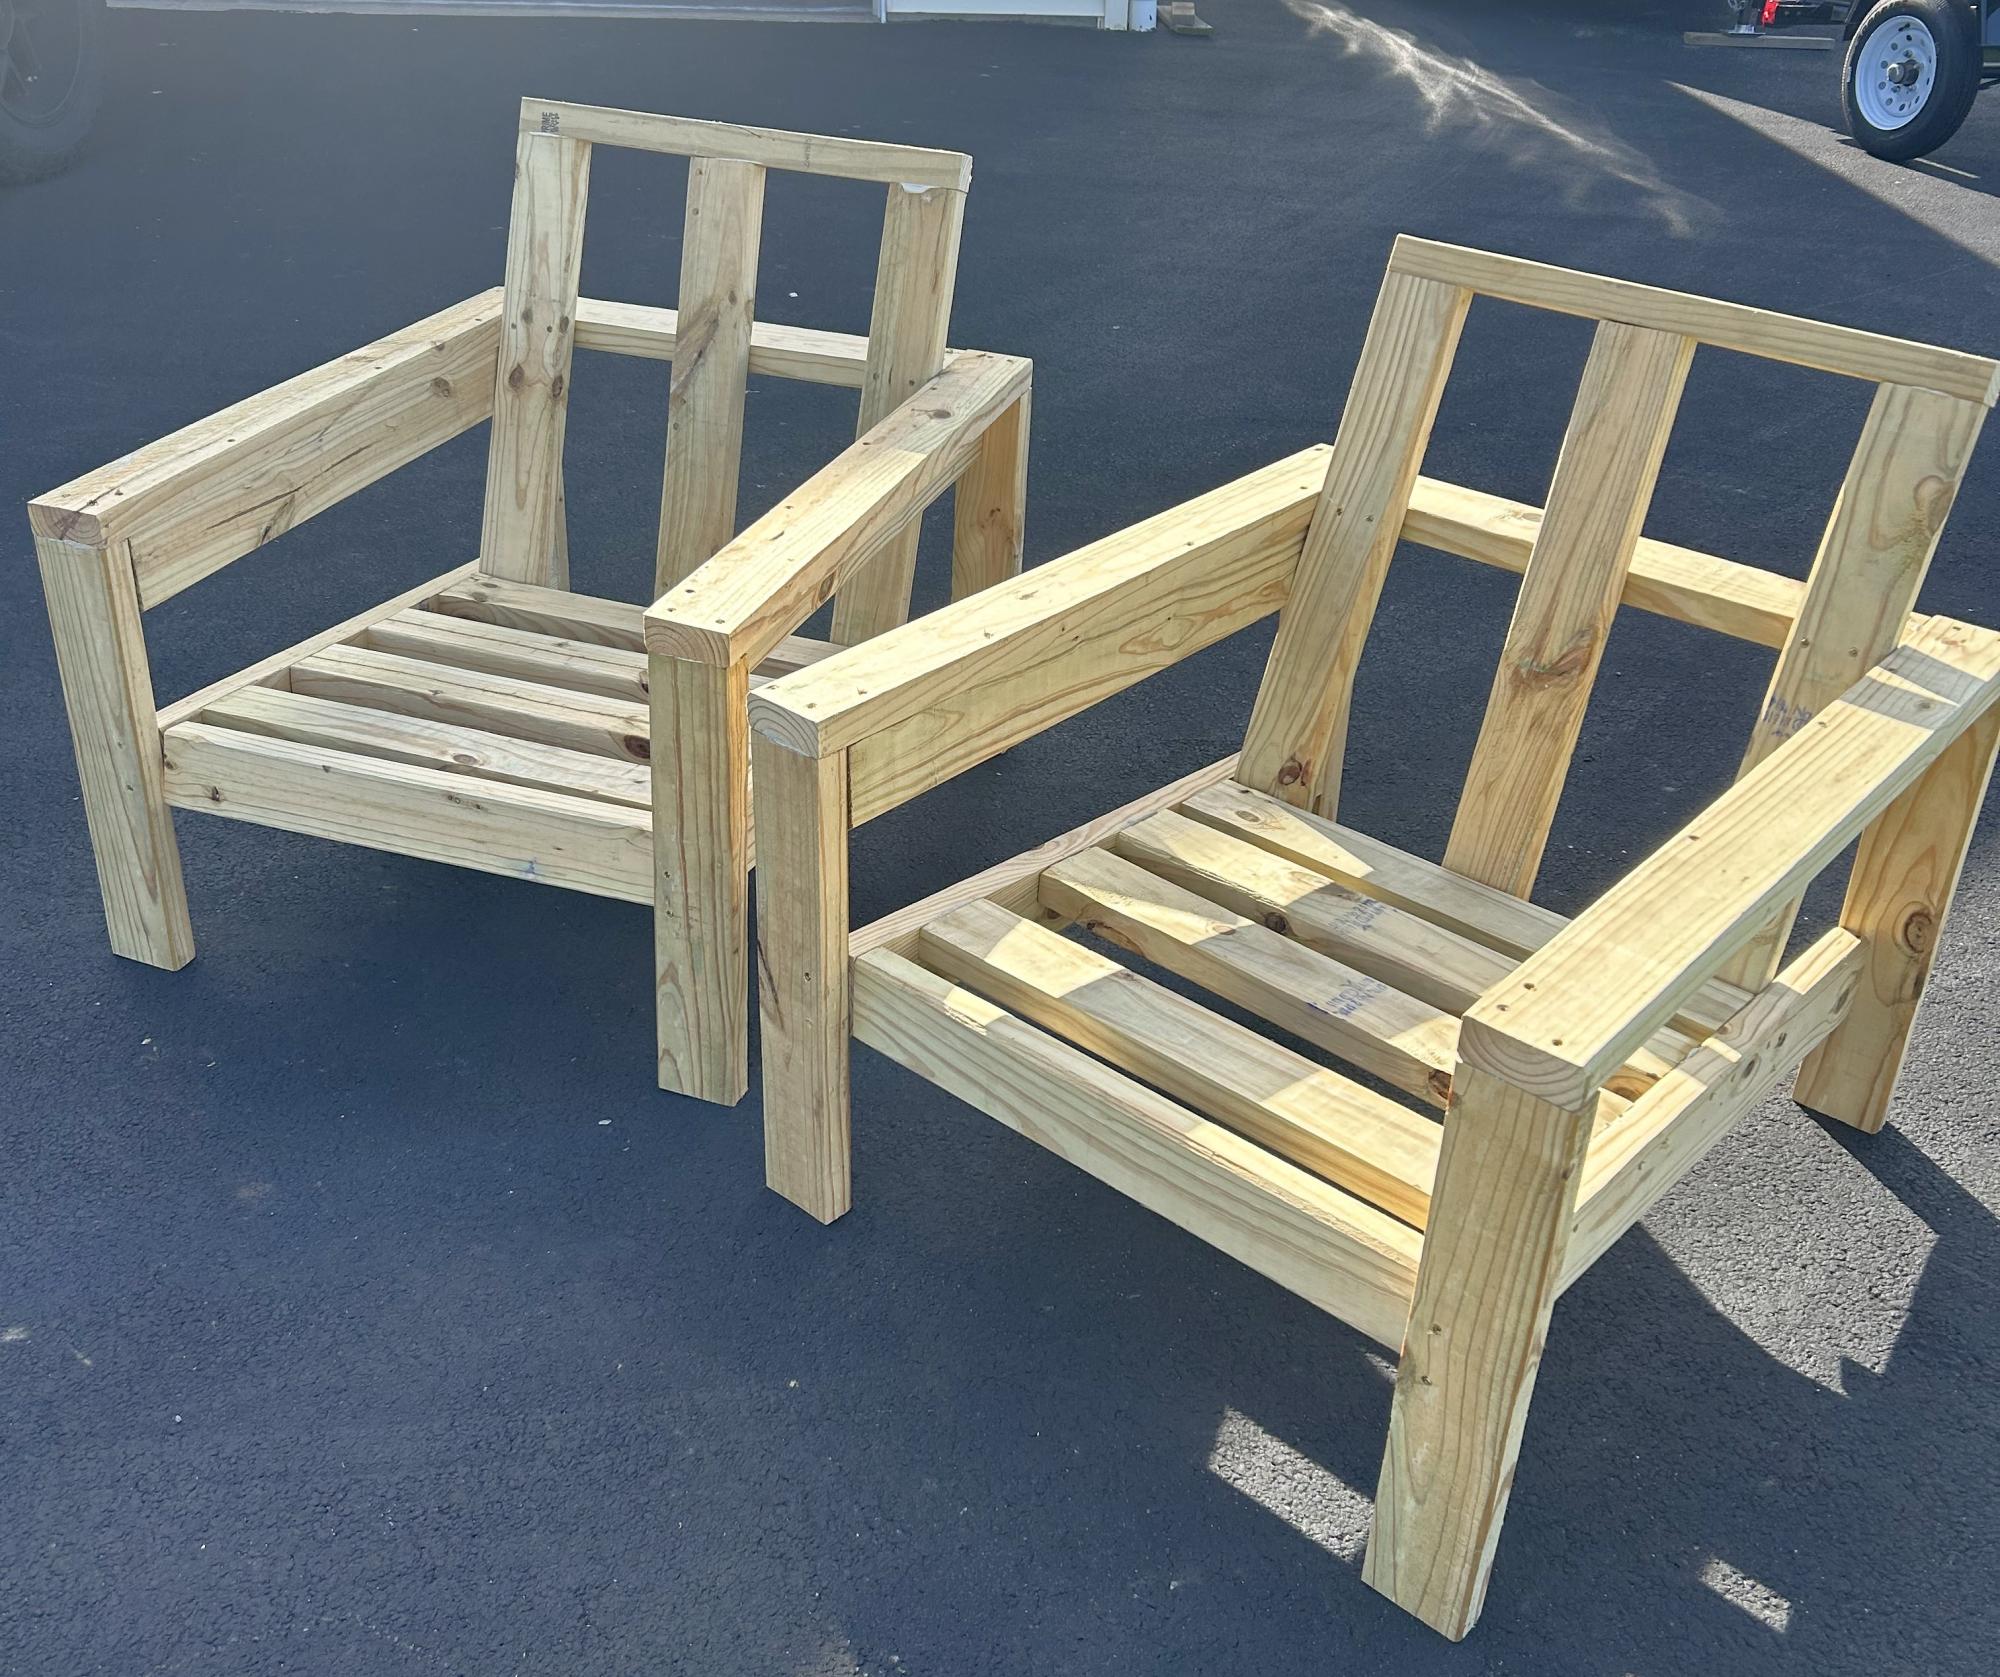
Made these two in about 3 hours. Instead of wood glue I used construction adhesive. Now to sand and stain then add cushions.
Richard Wilson - Kirkland, IL
Built from Plan(s)
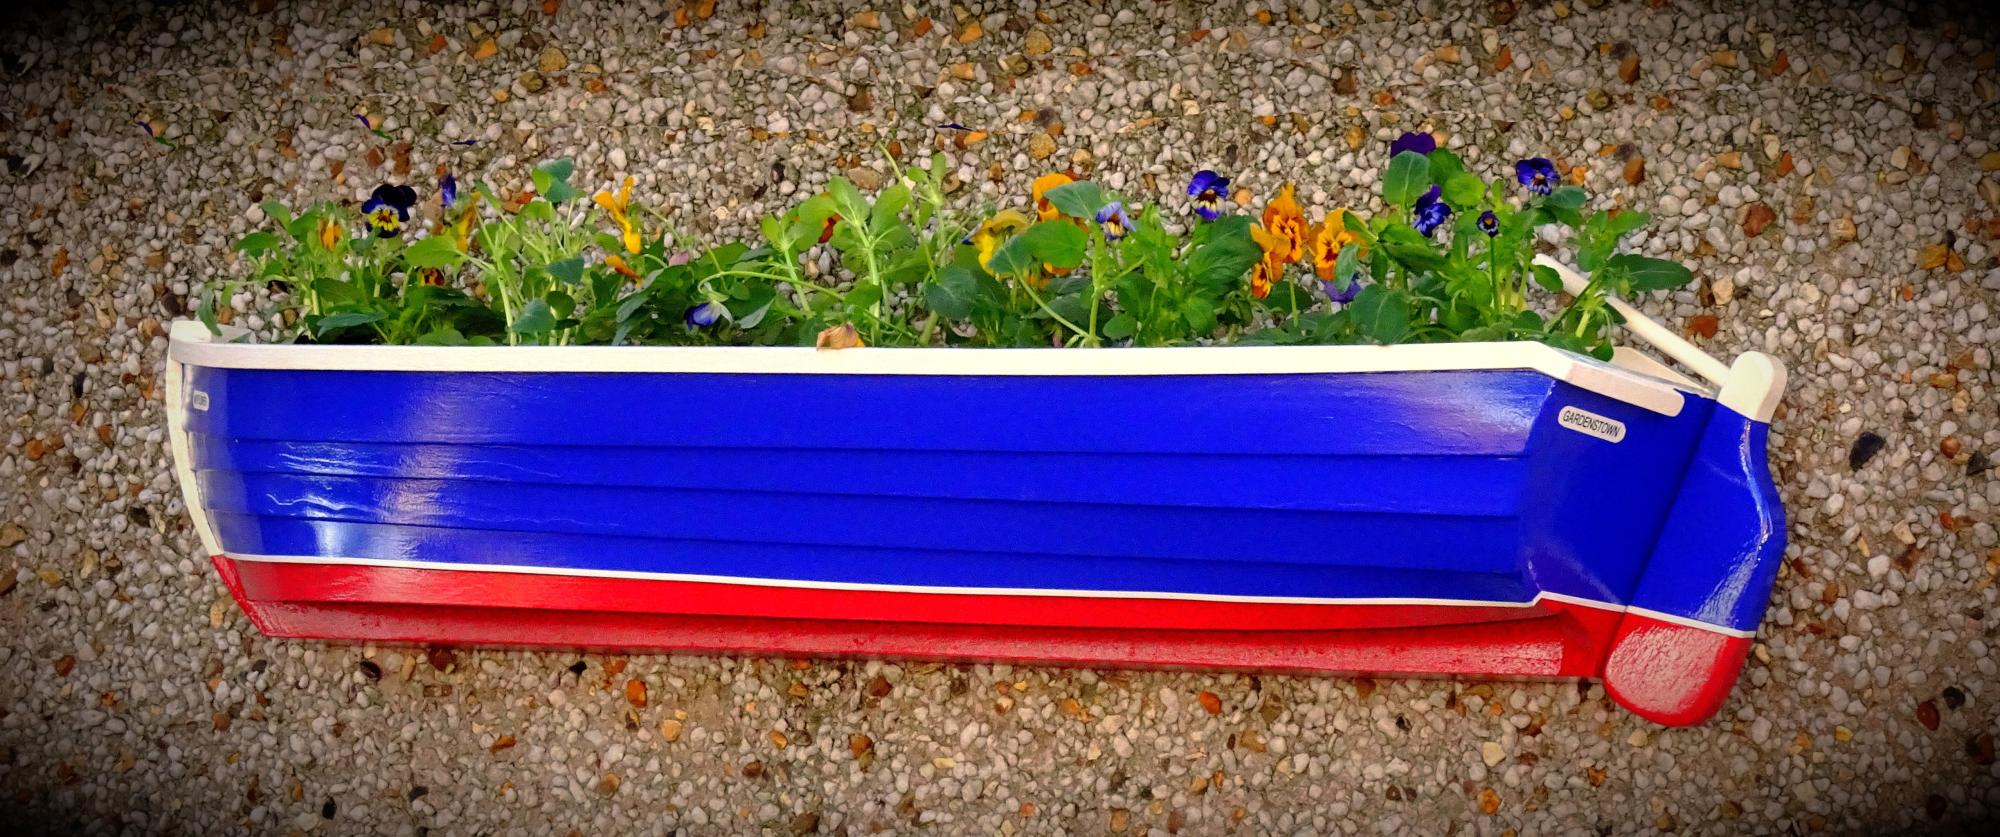
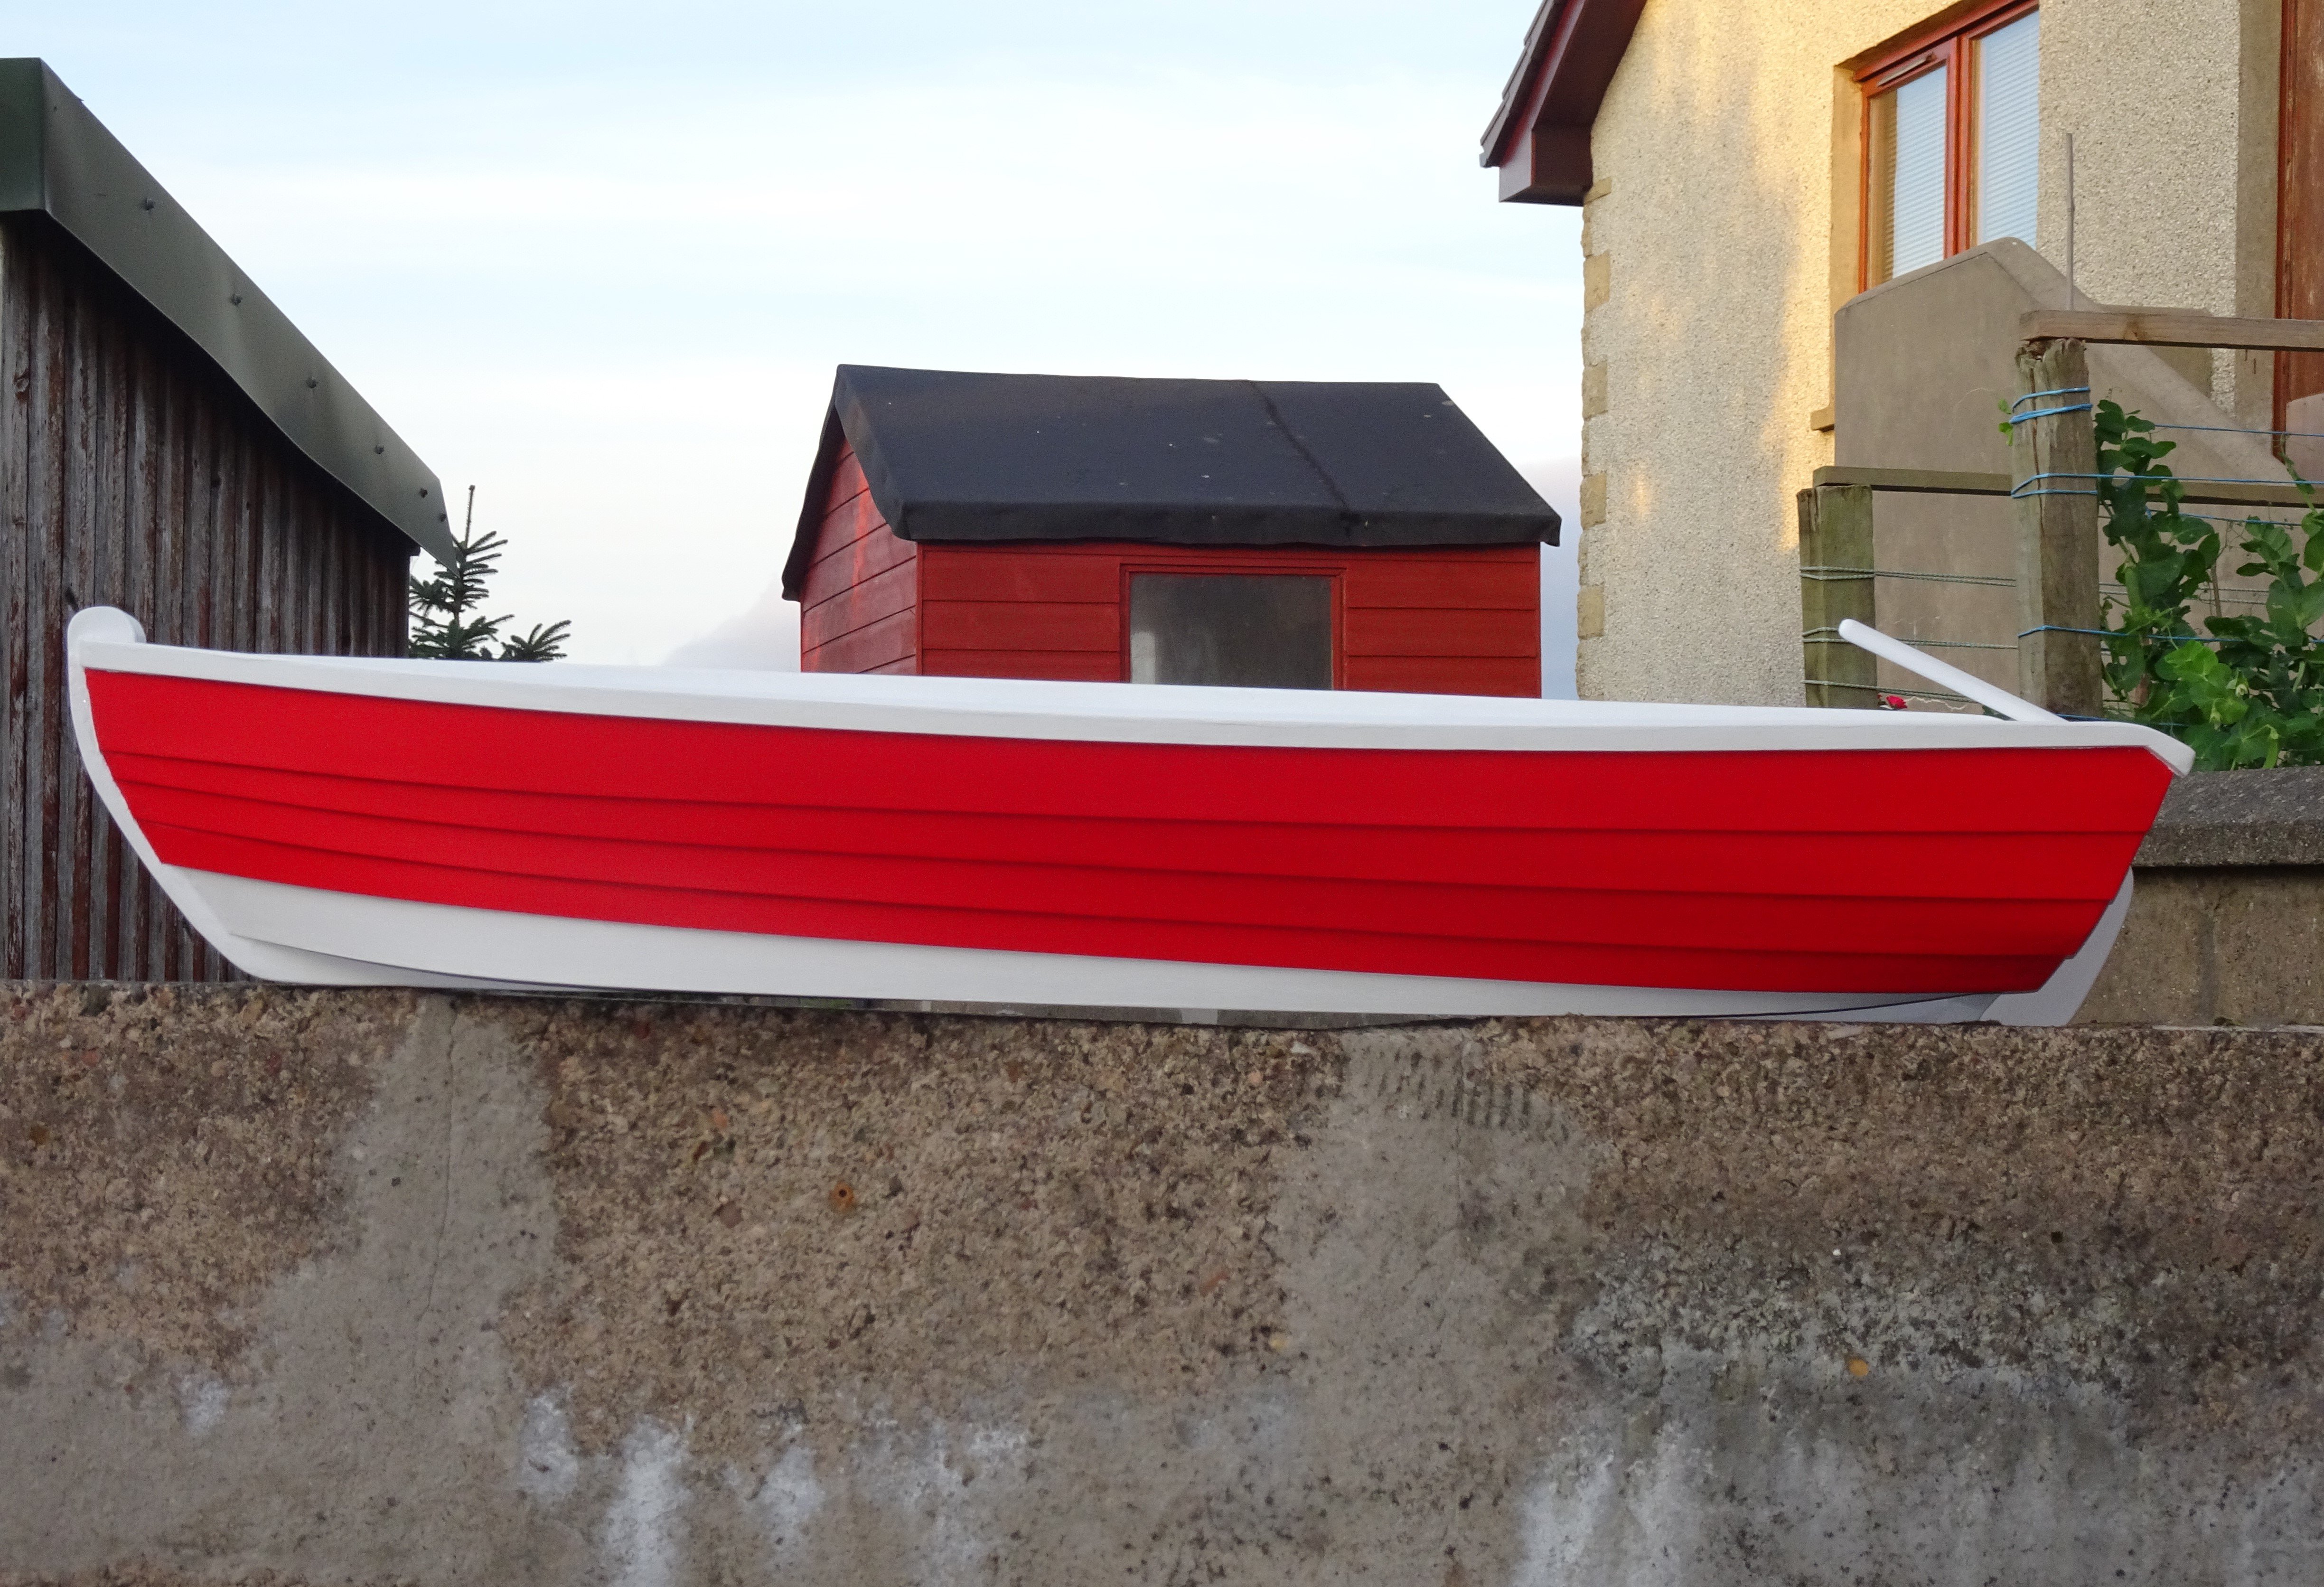
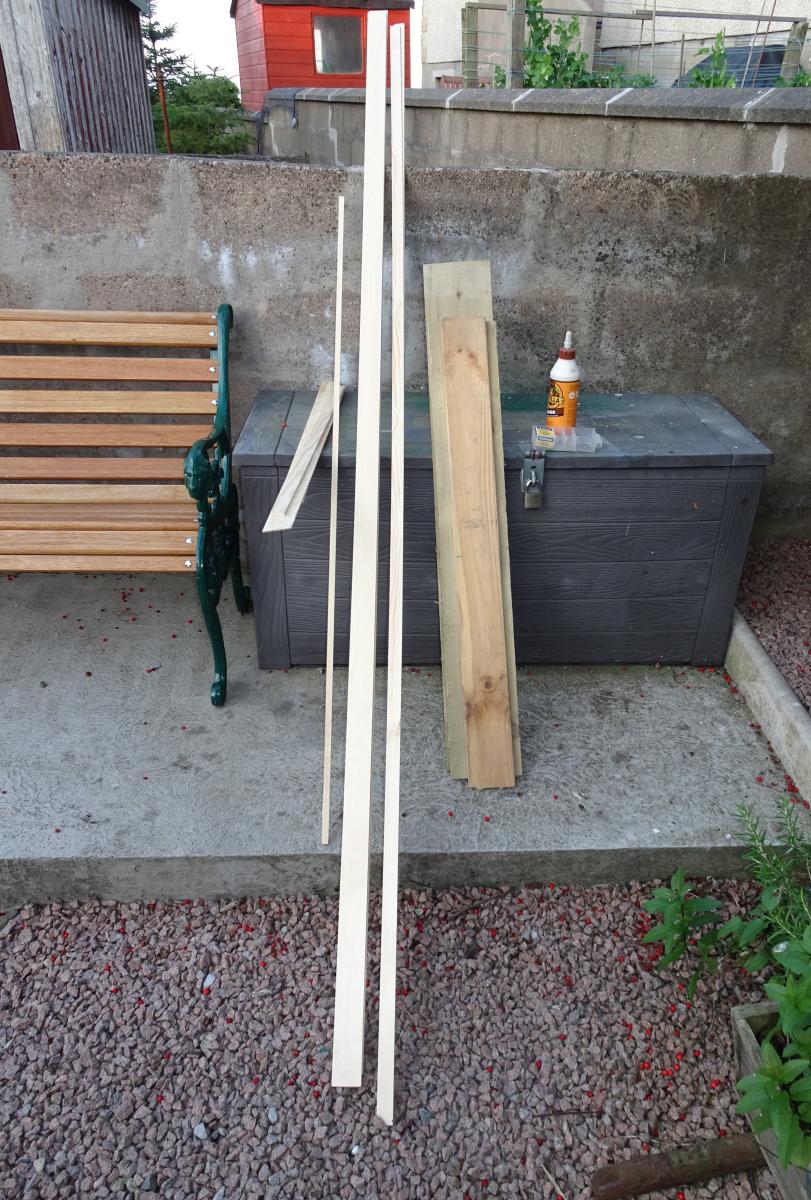
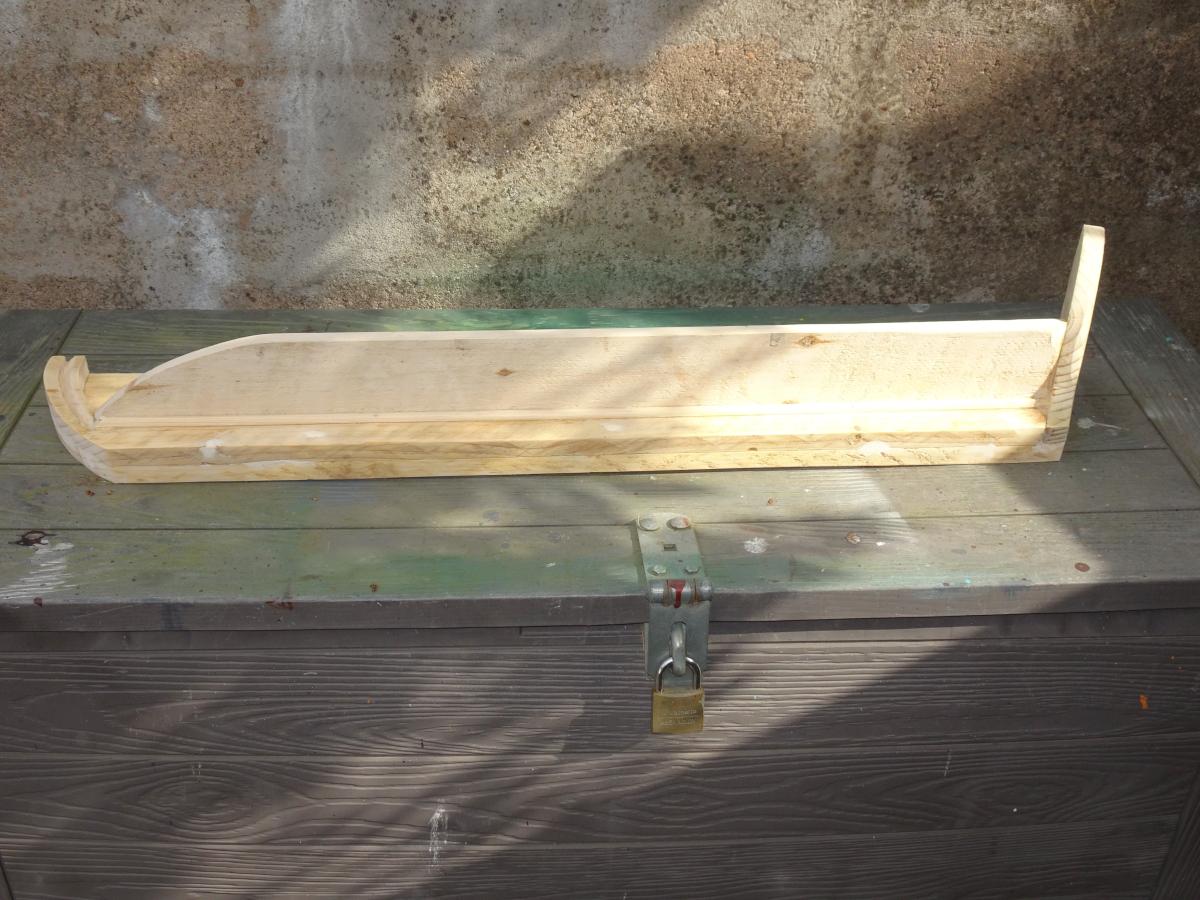
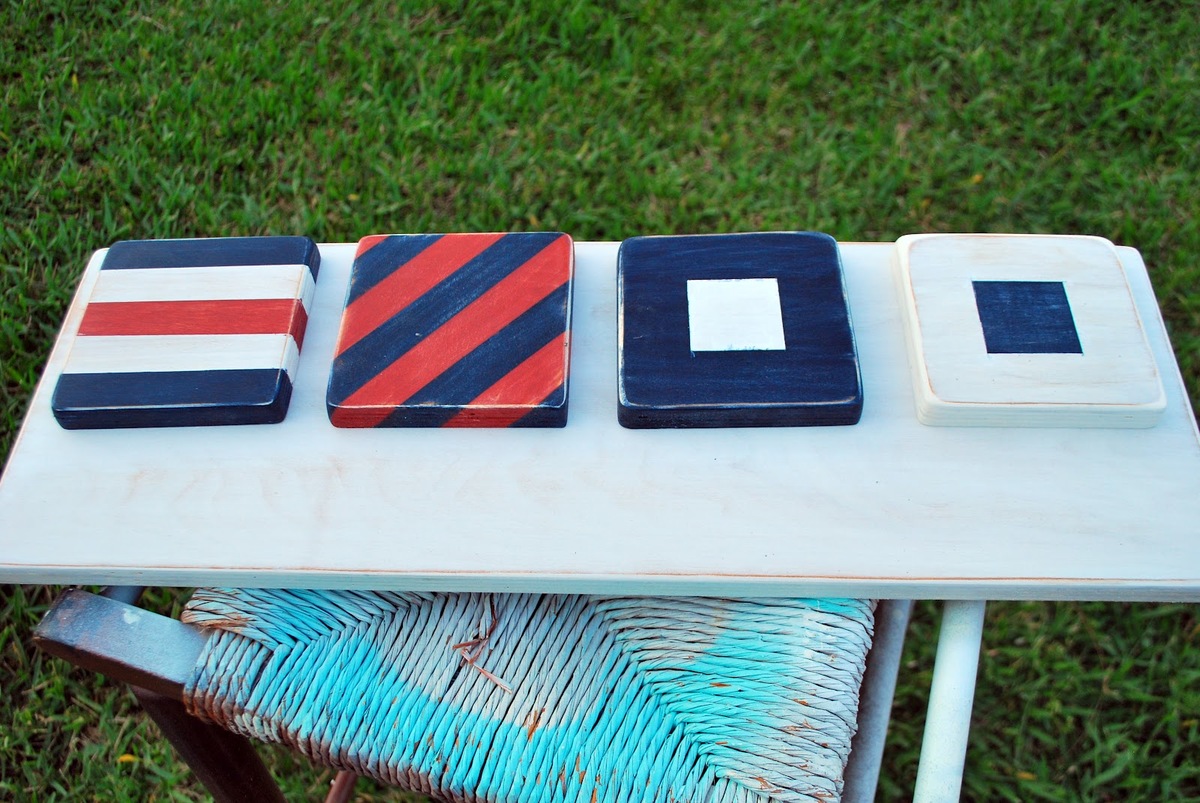
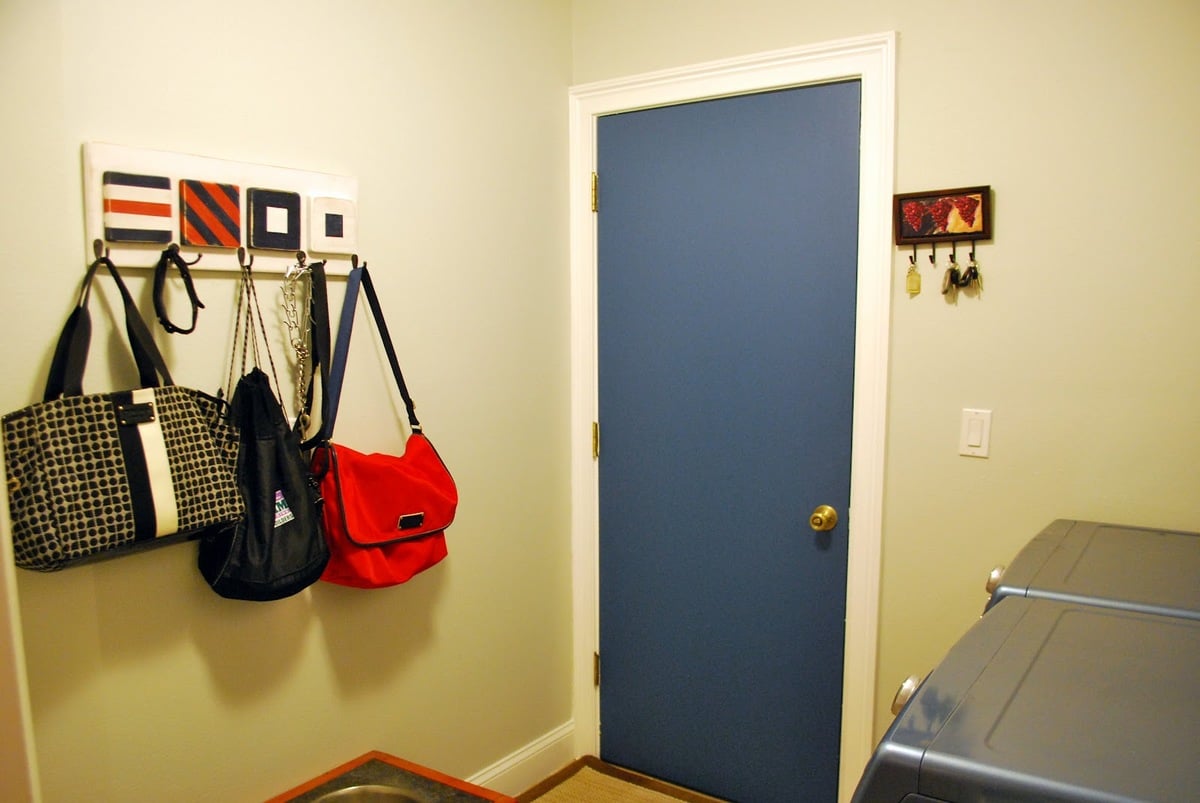
Purse / Bag Holder

Make your own hanging coat / purse / bag rack with scrap woods and some inexpensive hooks. To see more details, please go to : http://mekhart.blogspot.com/2012/08/tutorial-hanging-purse-diaper-bag-r…
Estimated Cost
$10 for hooks
Estimated Time Investment
An Hour or Two (0-2 Hours)
Finish Used
I used minwax's water based stain tinted in red, white, and blue. I taped off where I wanted each stripe to go and waited for the stain to dry before re-taping. Please see my blog entry for more pictures!
Recommended Skill Level
Starter Project
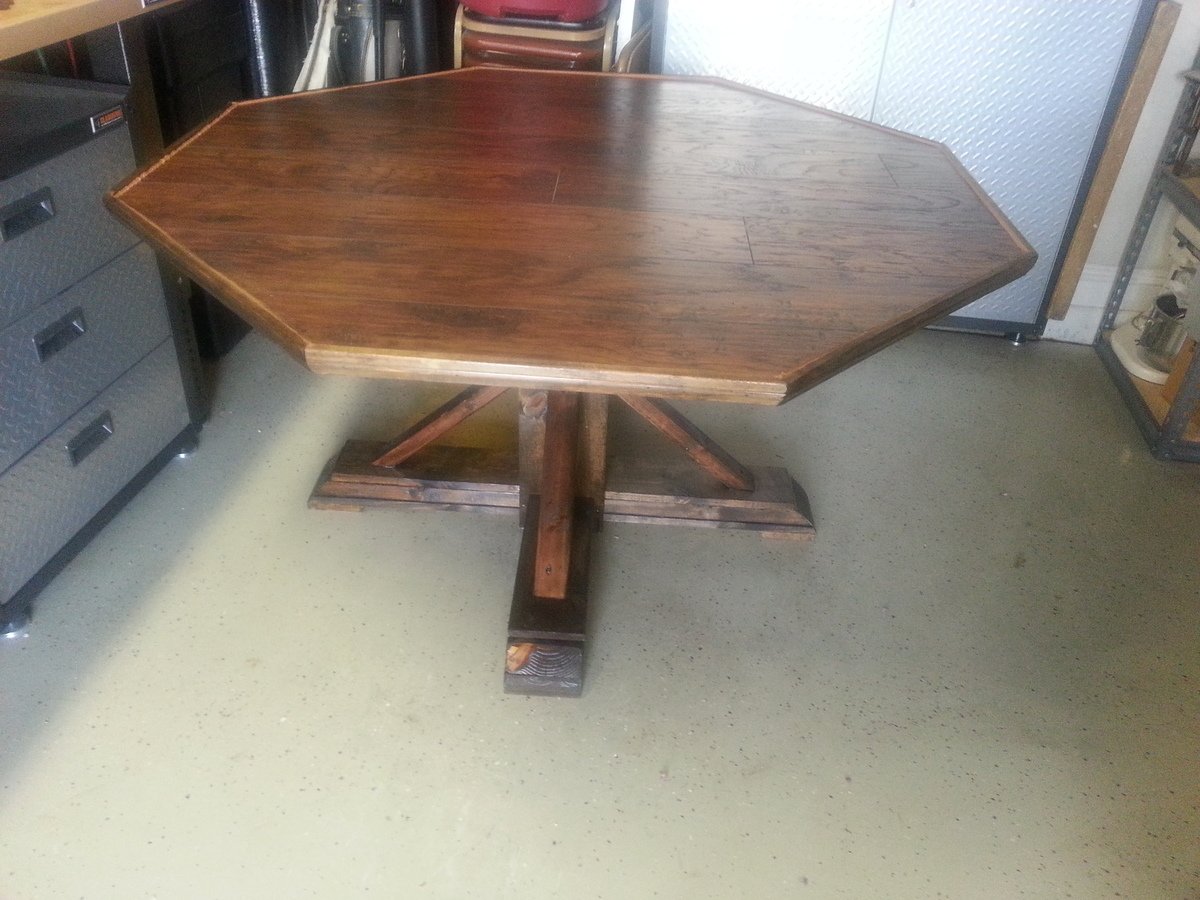
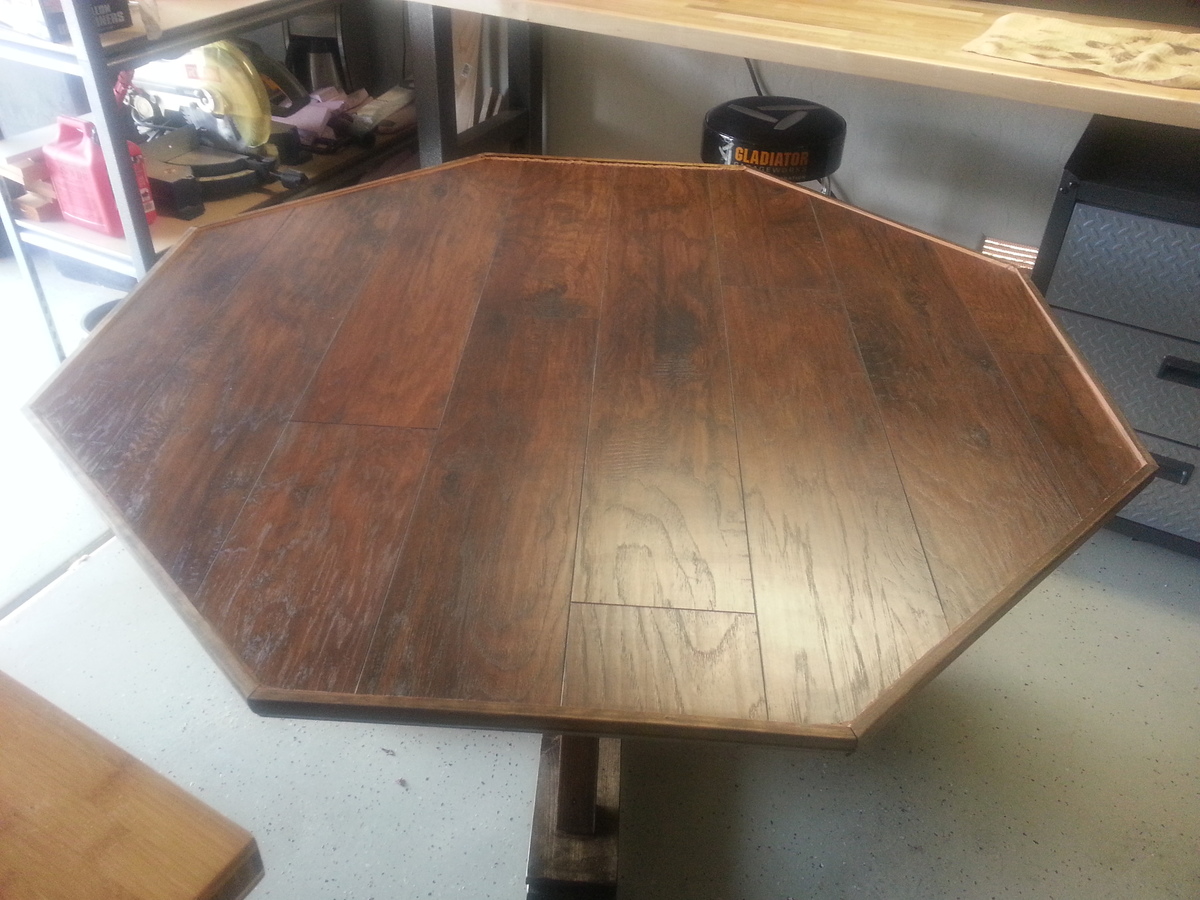
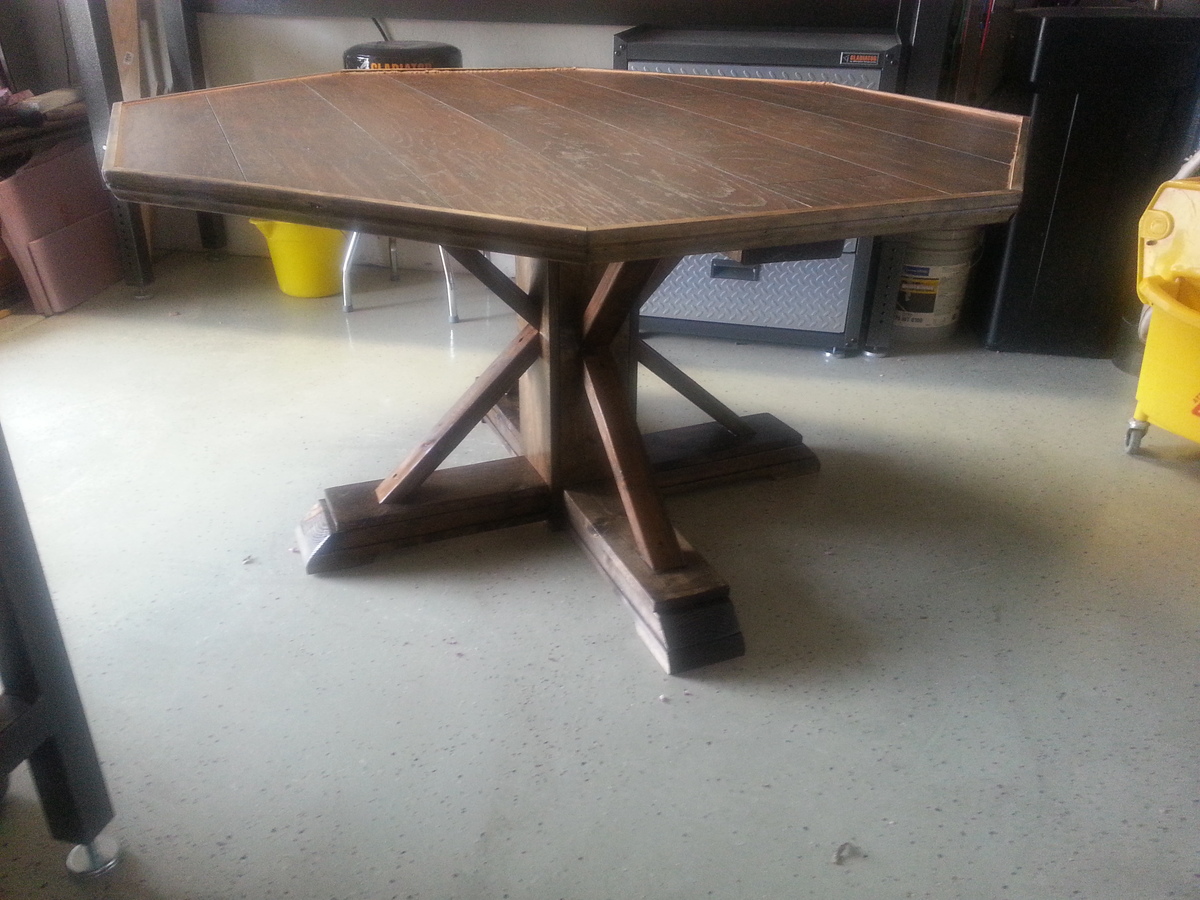
Octagon Kitchen Table
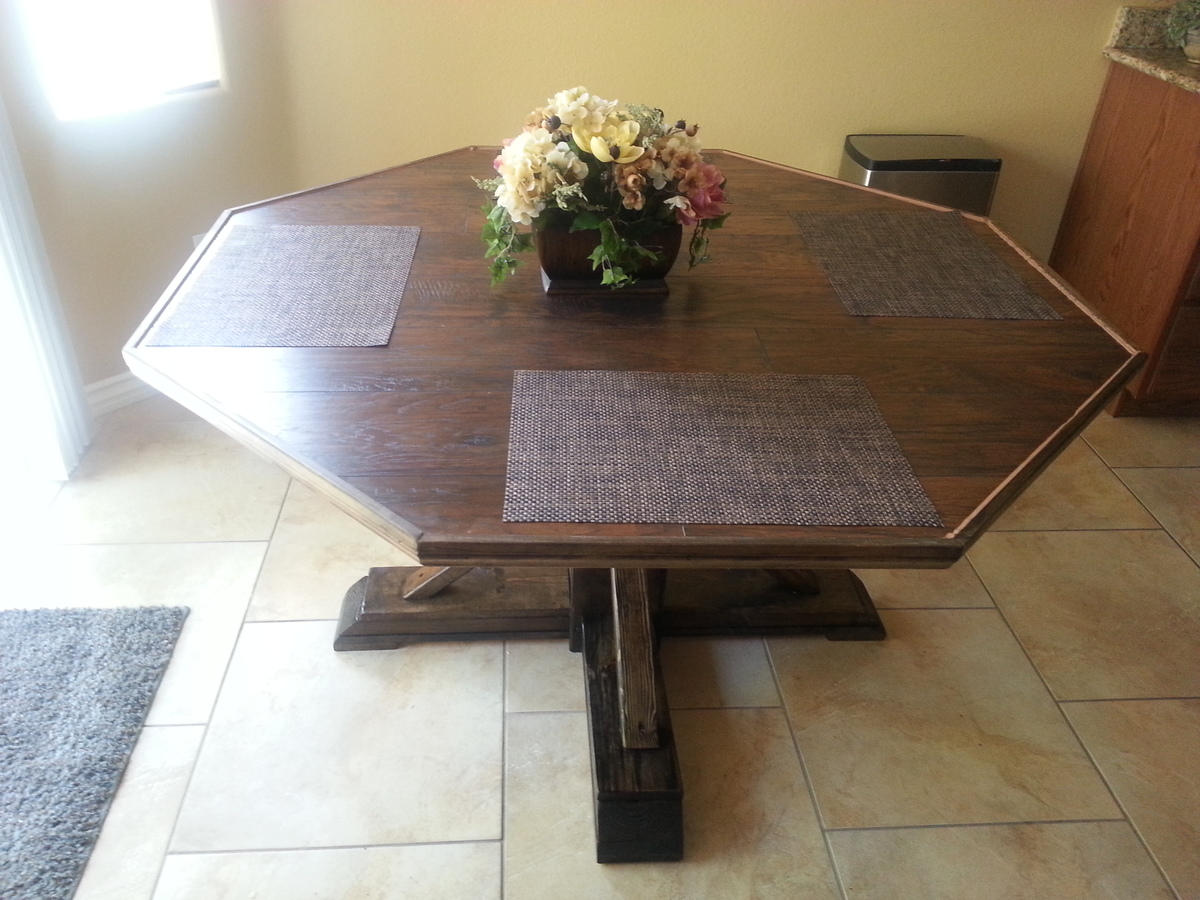
I used Ana's plans and modified the top, I used 3/4 MDF with hardwood flooring. I then used 2" door casing for edging.
Estimated Time Investment
Week Long Project (20 Hours or More)
Finish Used
Minwax Dark Walnut with a Spar Urethane finish.
Recommended Skill Level
Intermediate
Comments

Thu, 06/19/2014 - 21:51
Beautiful! That's got to be
Beautiful! That's got to be an incredibly heavy table with the two layers of top.
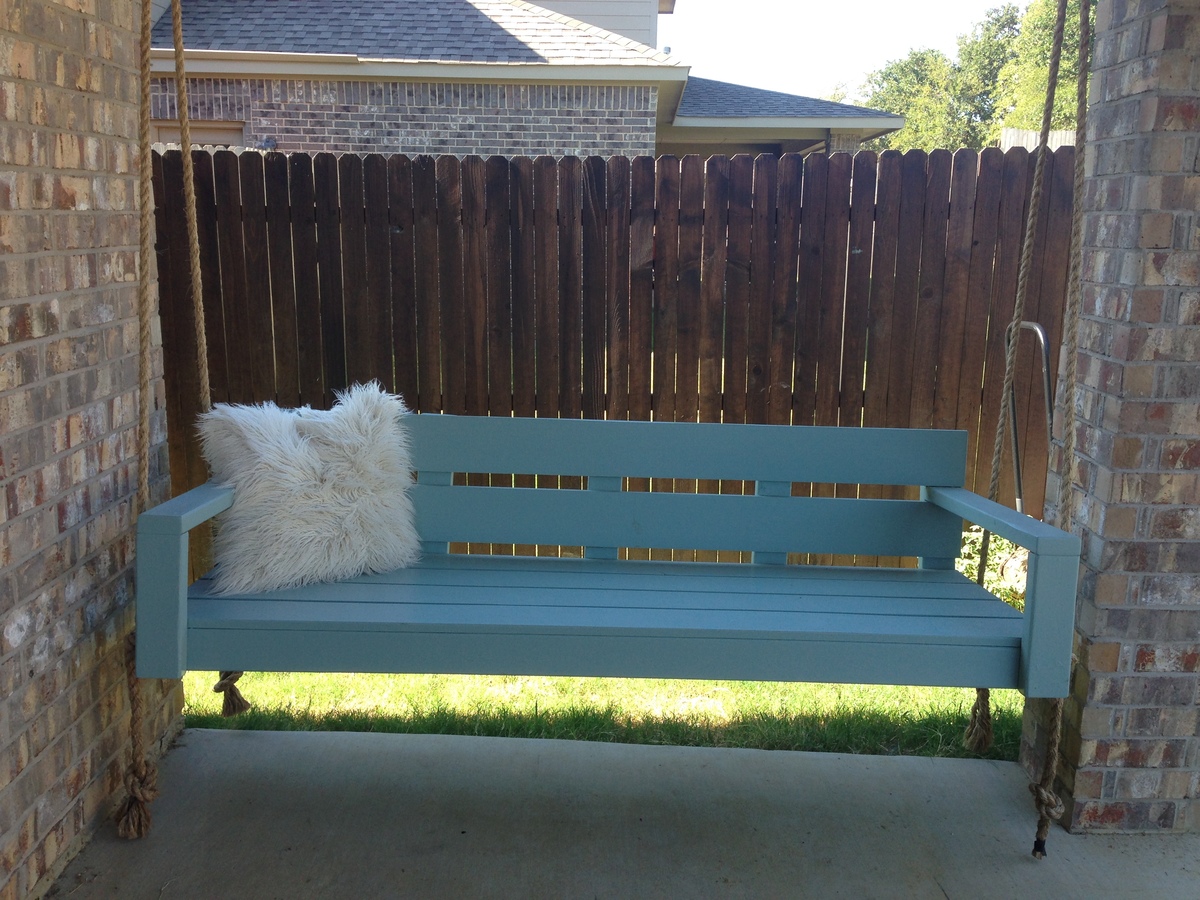
Modern Porch Swing squeezed into suburban porch
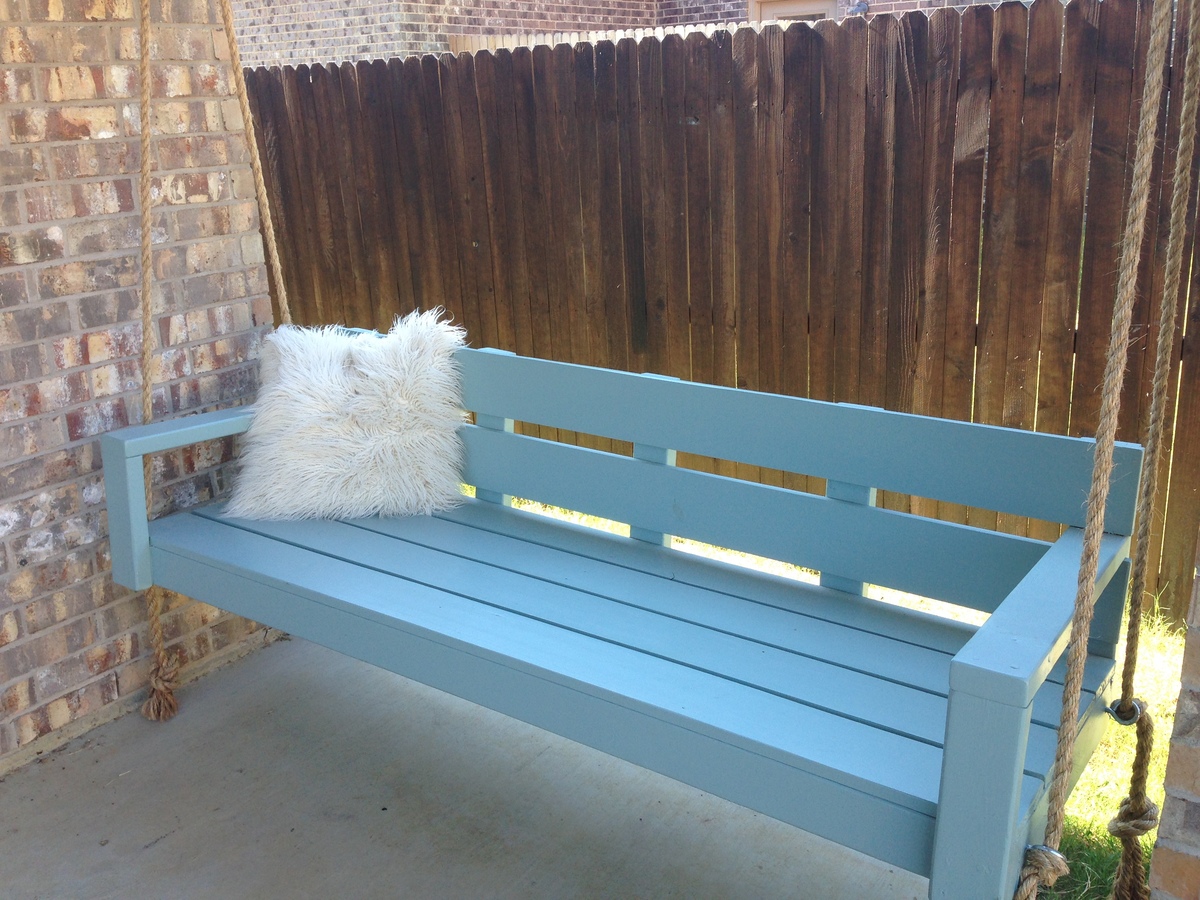
This is a super easy build, but it cost us WAY more than the estimate. By the time we painted and hung it the total was closer to $150.
We we squeezed the swing into the crack between the pillar and wall of my back porch. It barely fit, but we are a family of six so I wanted it to be as big as possible.
Built from Plan(s)
Estimated Cost
$150
Estimated Time Investment
Day Project (6-9 Hours)
Finish Used
Paint
Recommended Skill Level
Beginner
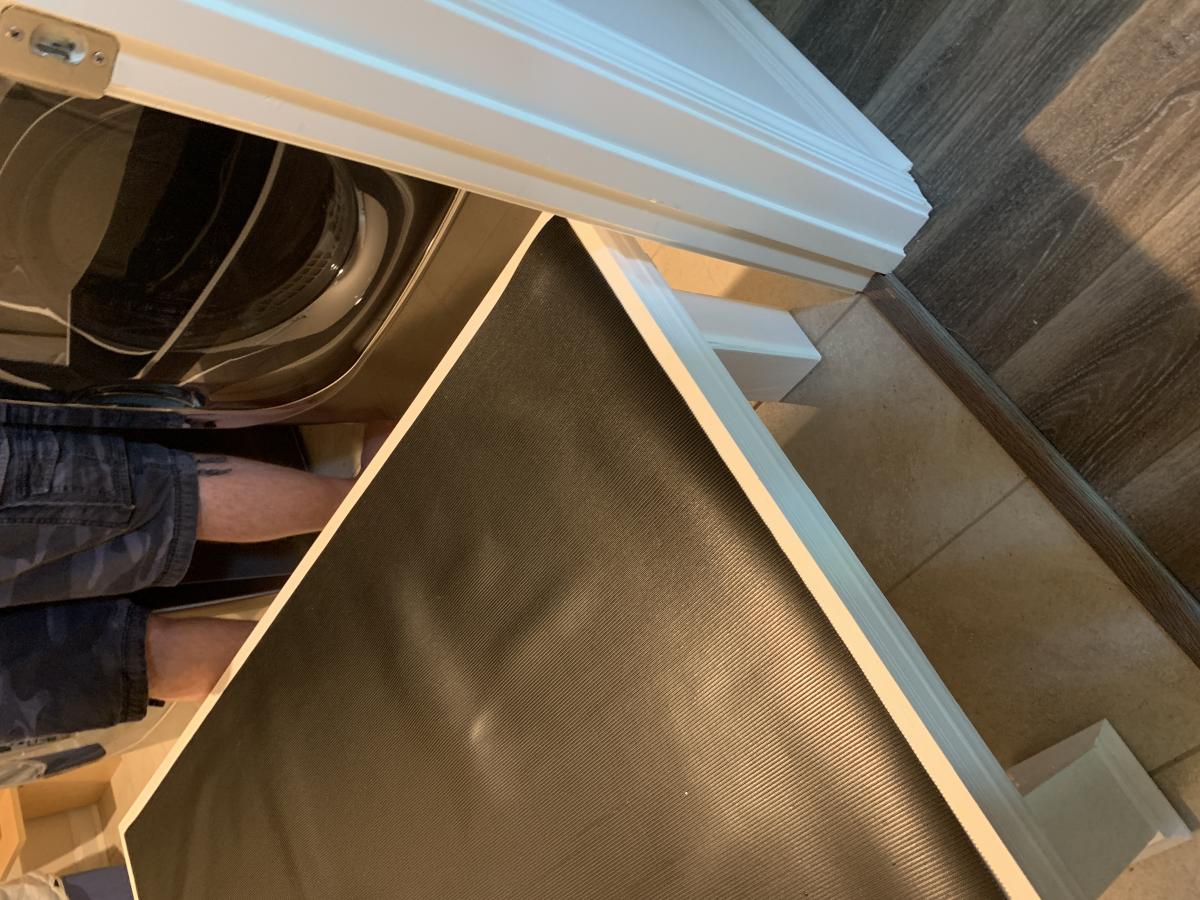
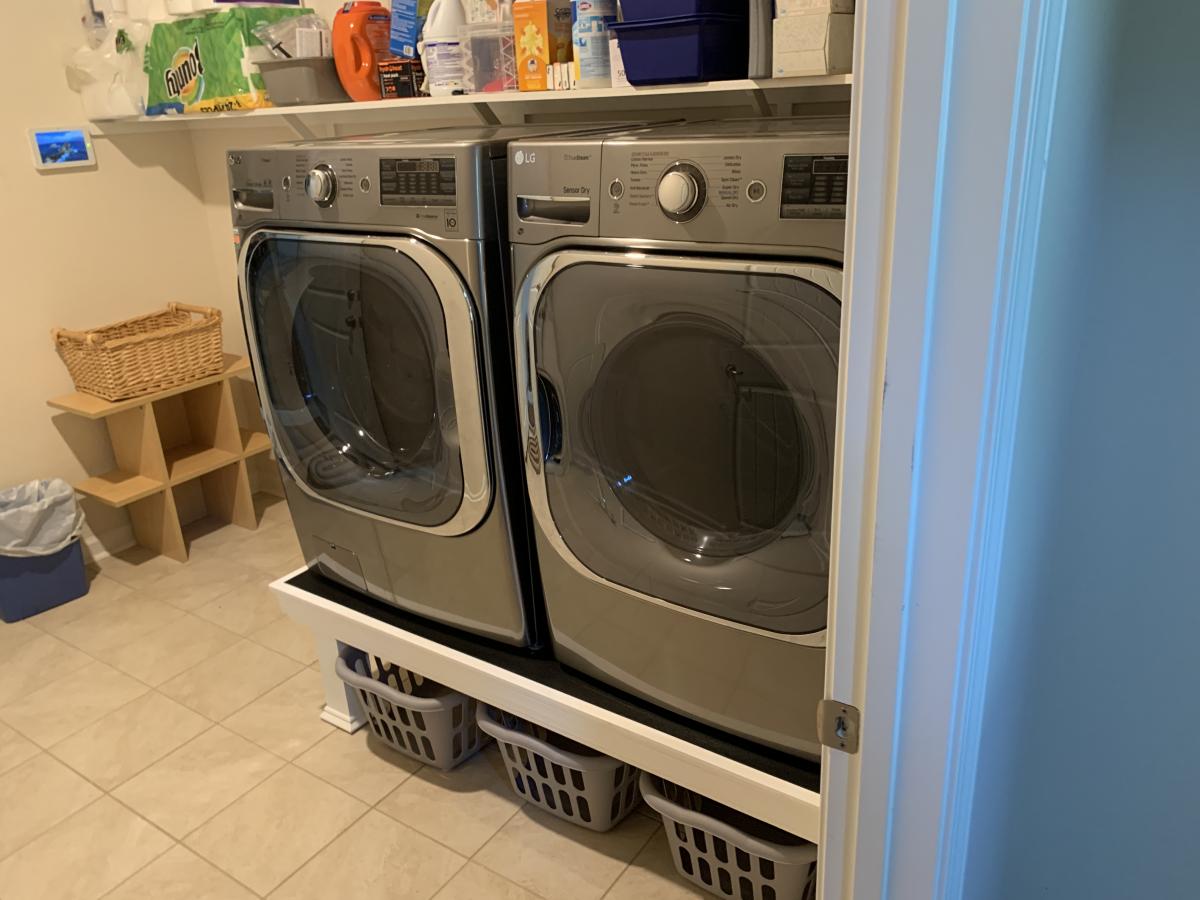
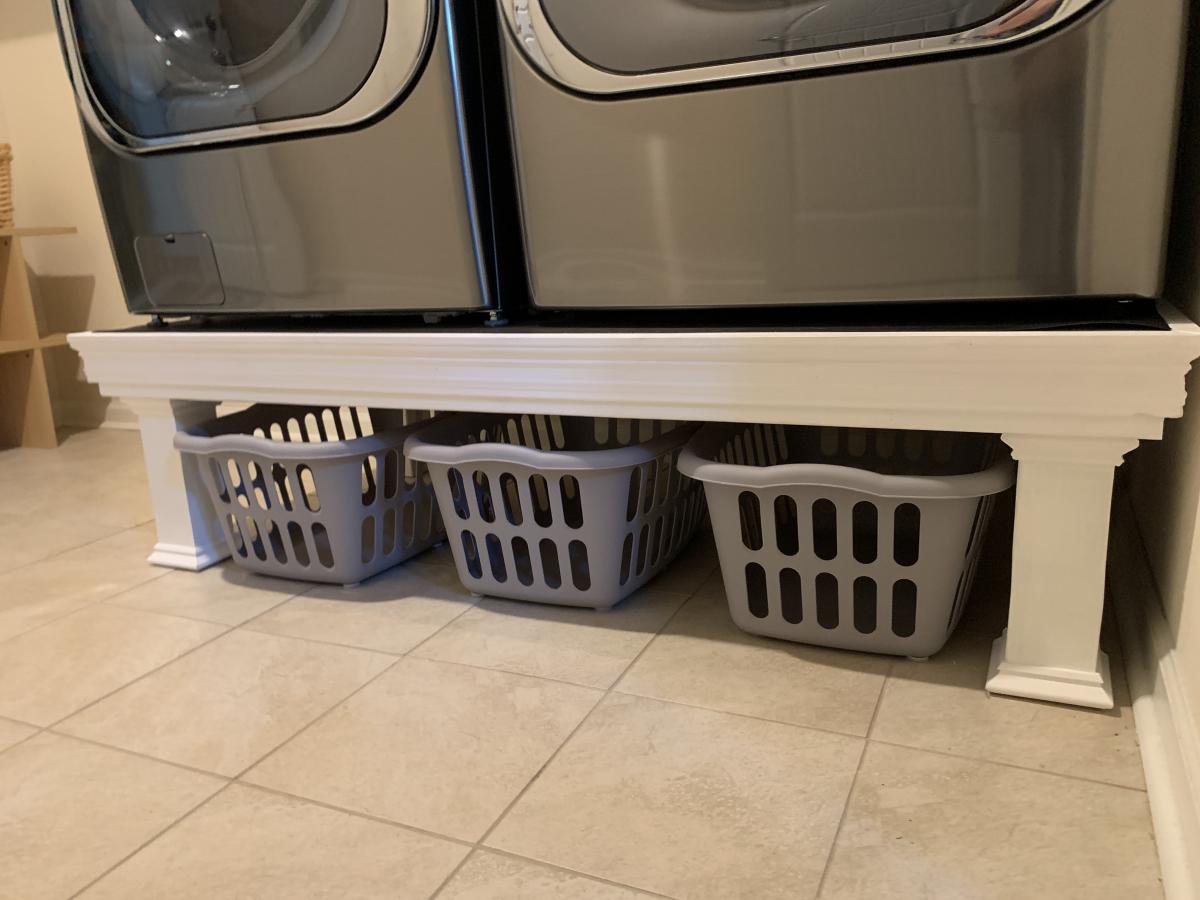
Laundry Pedestal
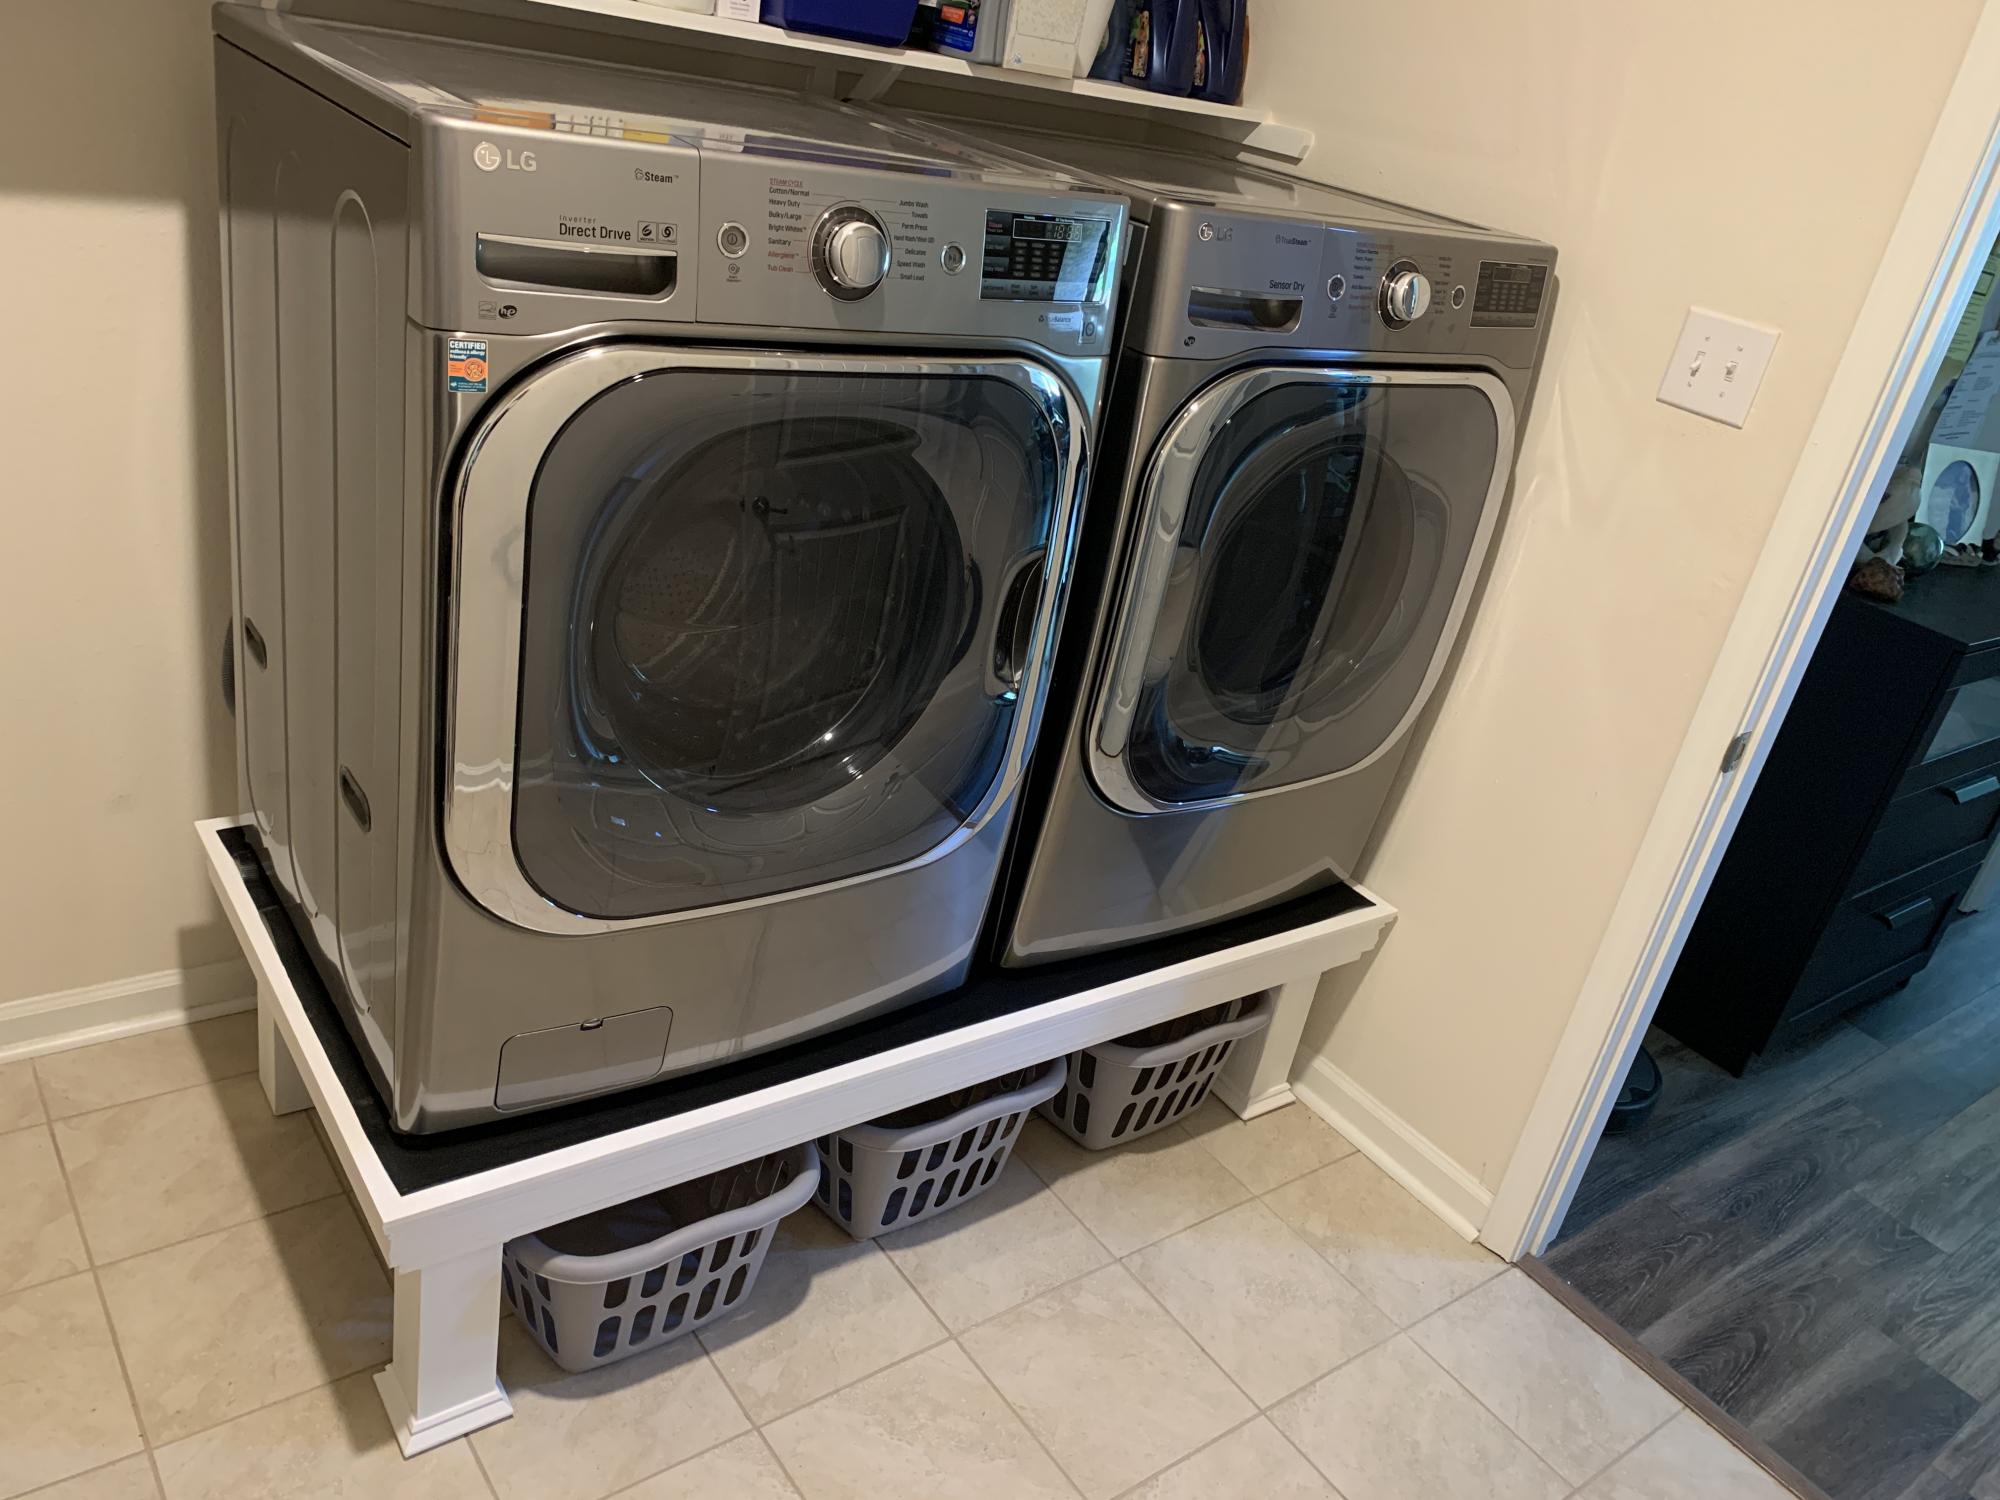
This was quick build. First time for us using trim, so we wasted a few feet getting the angles right. We attached the legs directly to the frame, and did not use the metal brackets. We also did not build the floor frame. We measured how high/wide the laundry baskets ($3/piece at Target!) were, and made it to fit them. We added a piece of rubber mat to the top (bought at Lowe's). A few weeks later we helped our daughter and son in law build one for their new house!


Built from Plan(s)
Estimated Cost
$40
Estimated Time Investment
Afternoon Project (3-6 Hours)
Finish Used
White satin paint
Recommended Skill Level
Beginner
Outdoor Wood Furniture
I made these with your plans first time I ever made anything. Your plans are amazing.
Janet Power
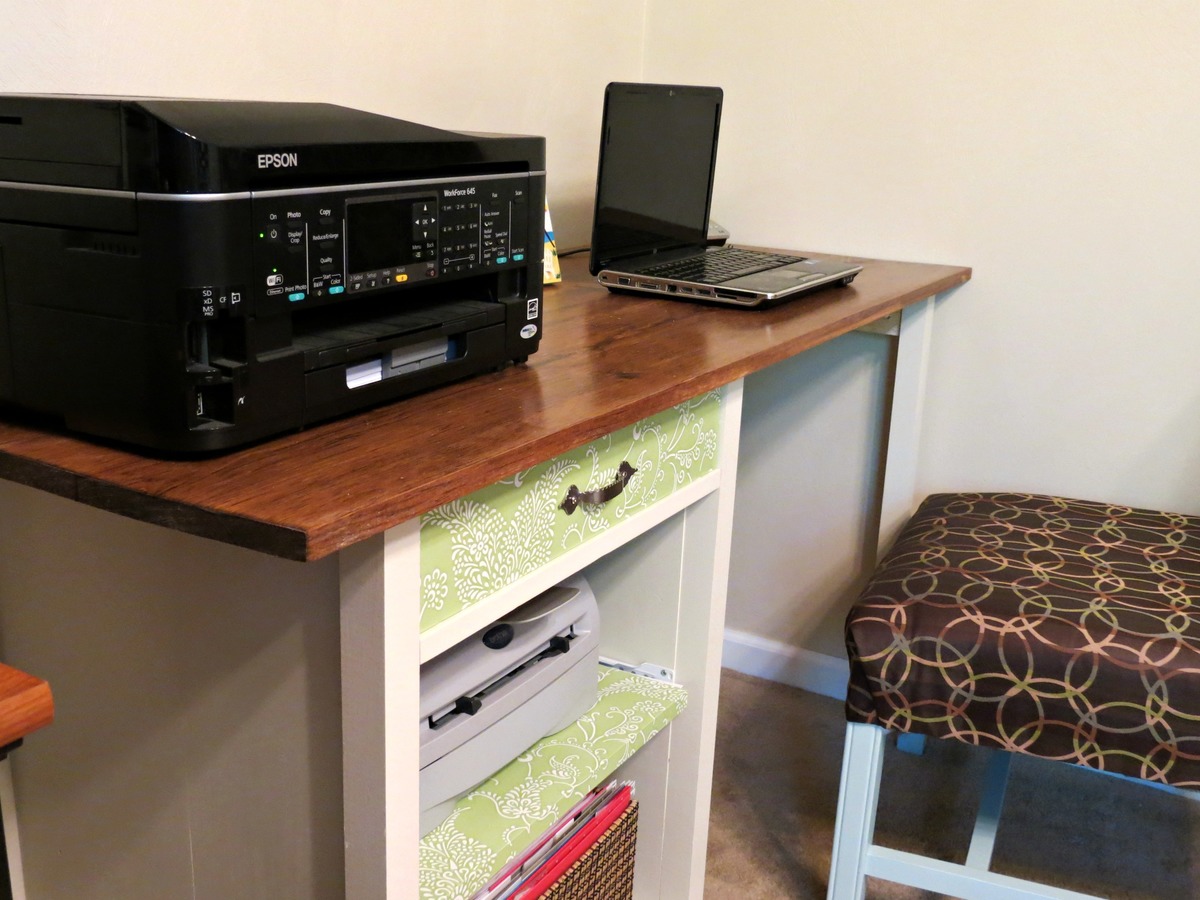
My Channing Desk
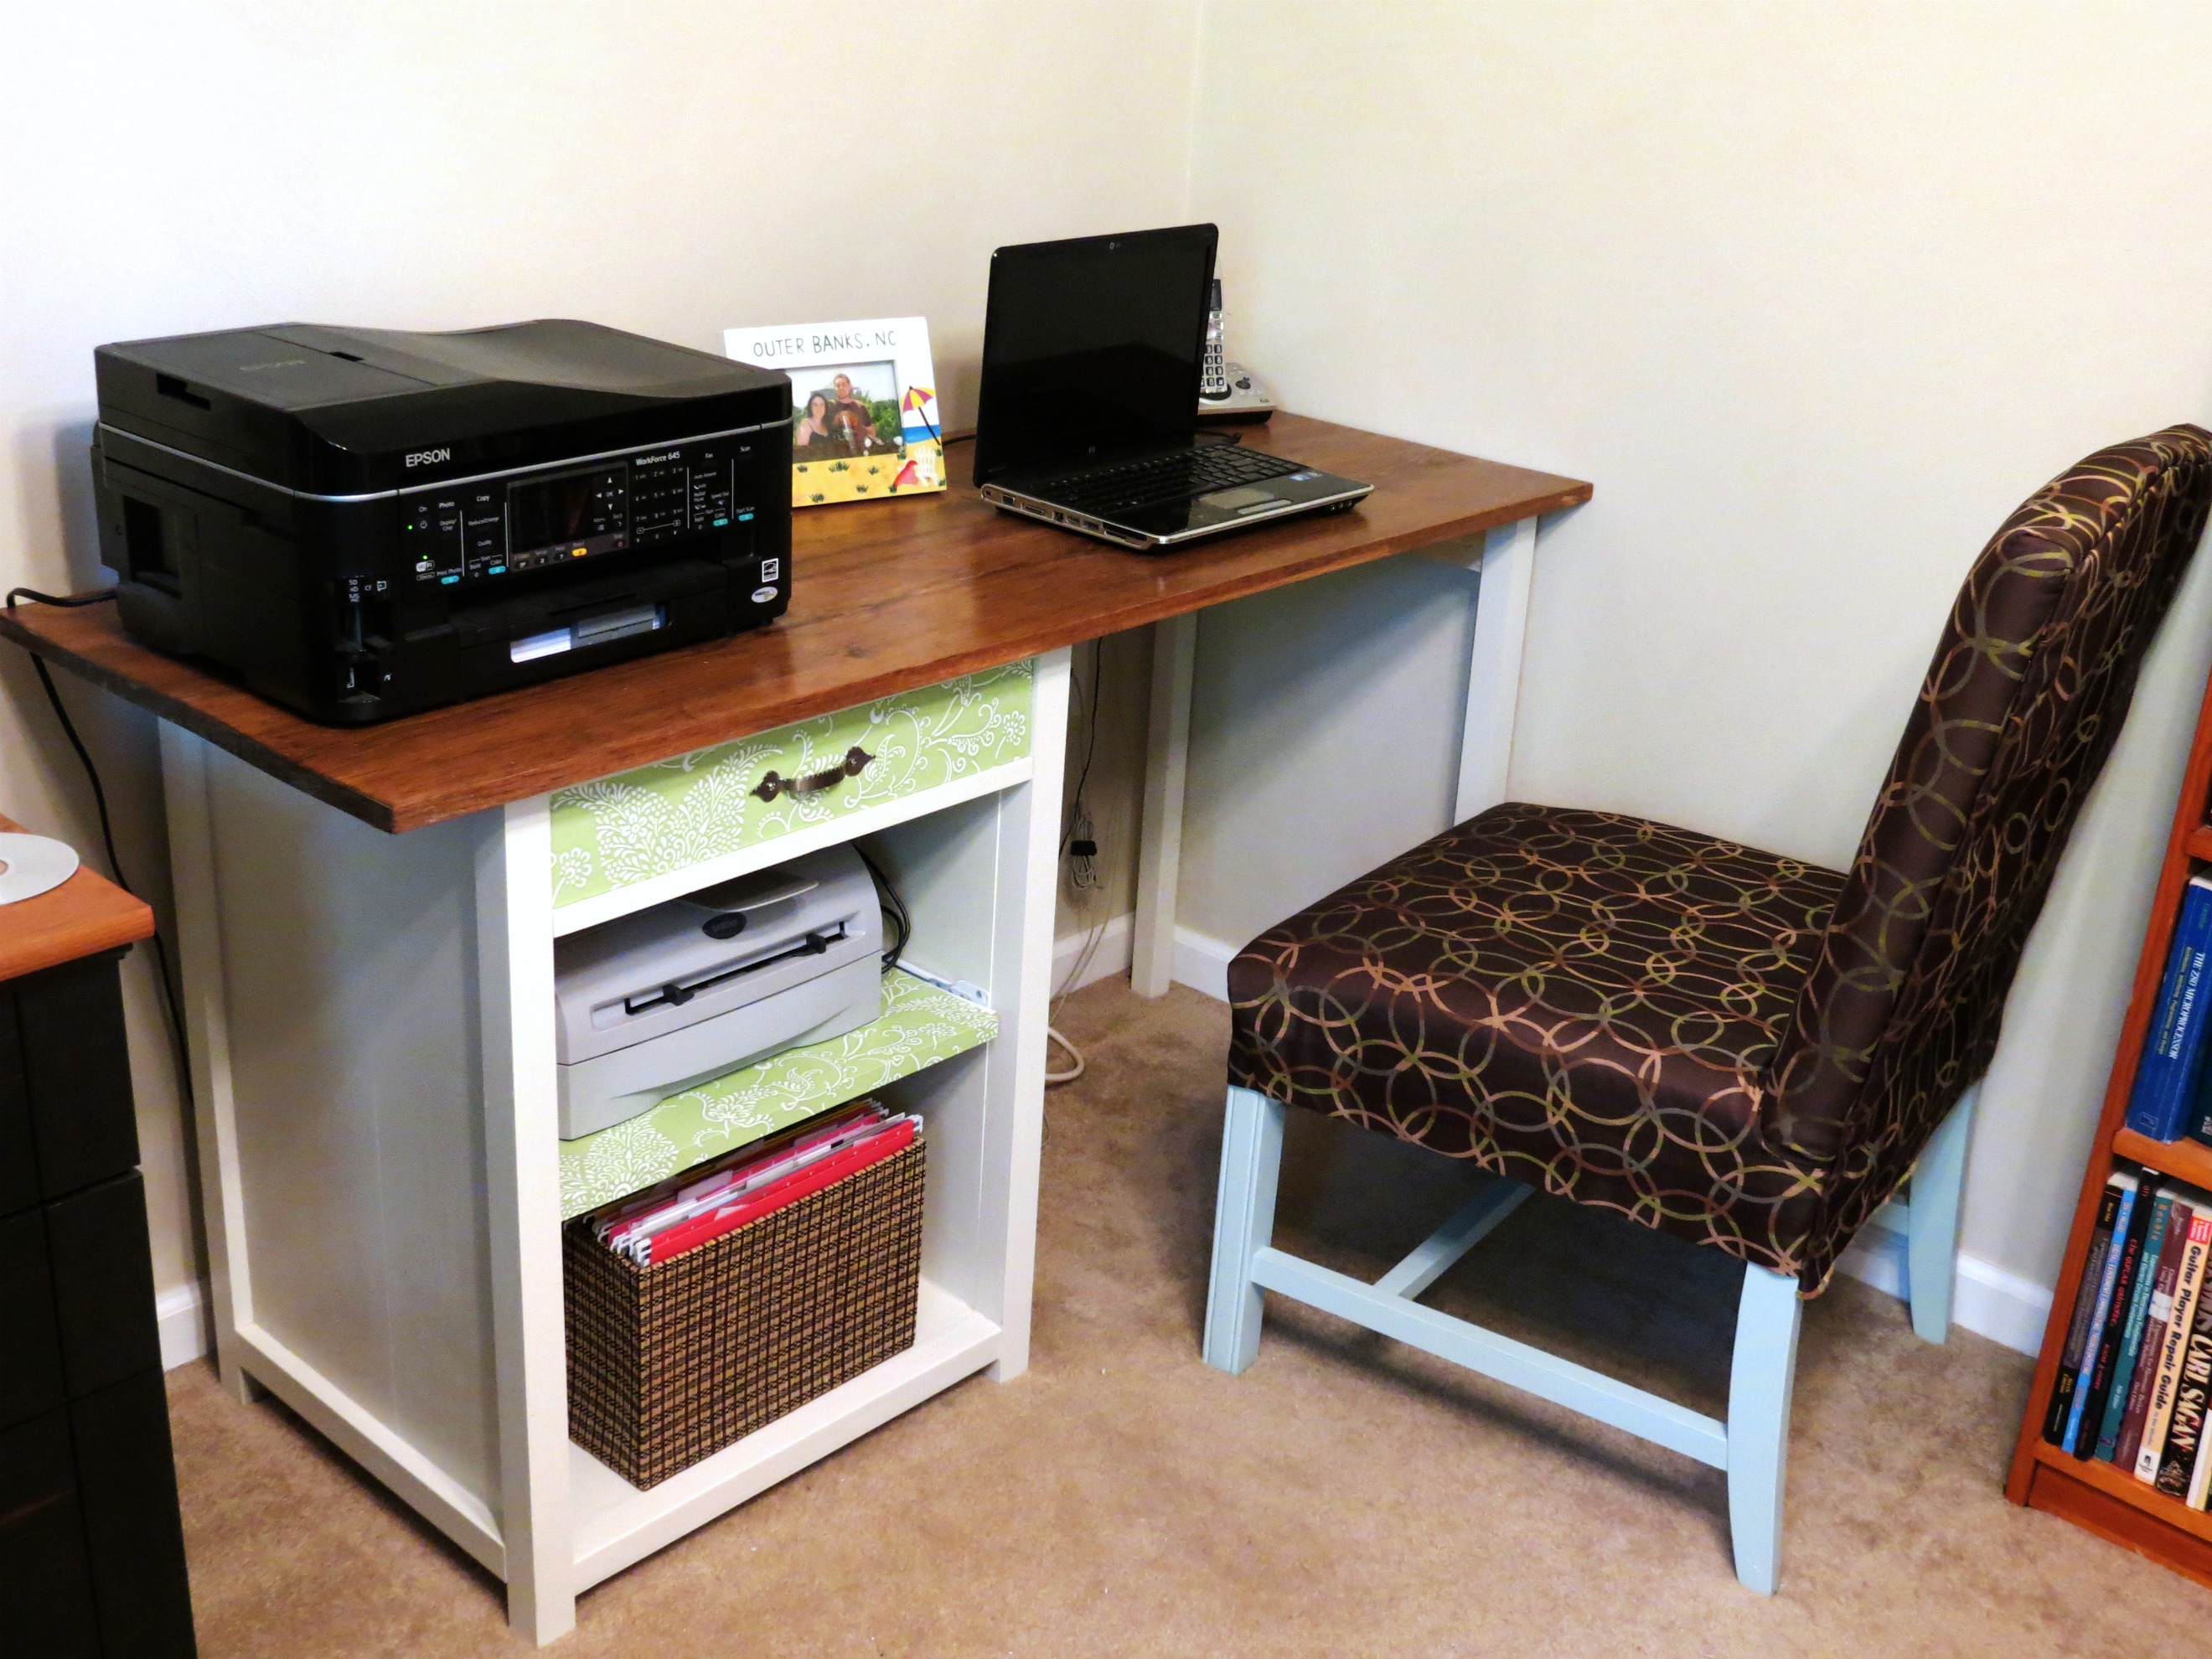
I followed the plan almost exactly, I just made it to fit the space that I had. It was super easy and I love the way it looks! And I used contact paper from target to decorate the drawer face and the shelf. I also made the shelf a pull-out shelf using the same type of drawer pulls as the drawer. i made that shelf the same width that I made the drawer and it fit perfectly!
The longest part of this project was drying time for stain and paint and such. I did not include that time in estimate for time to build.
Built from Plan(s)
Estimated Time Investment
Day Project (6-9 Hours)
Finish Used
Used a mistinted paint from a local paint store and minwax provencial stain.
Recommended Skill Level
Beginner
Comments
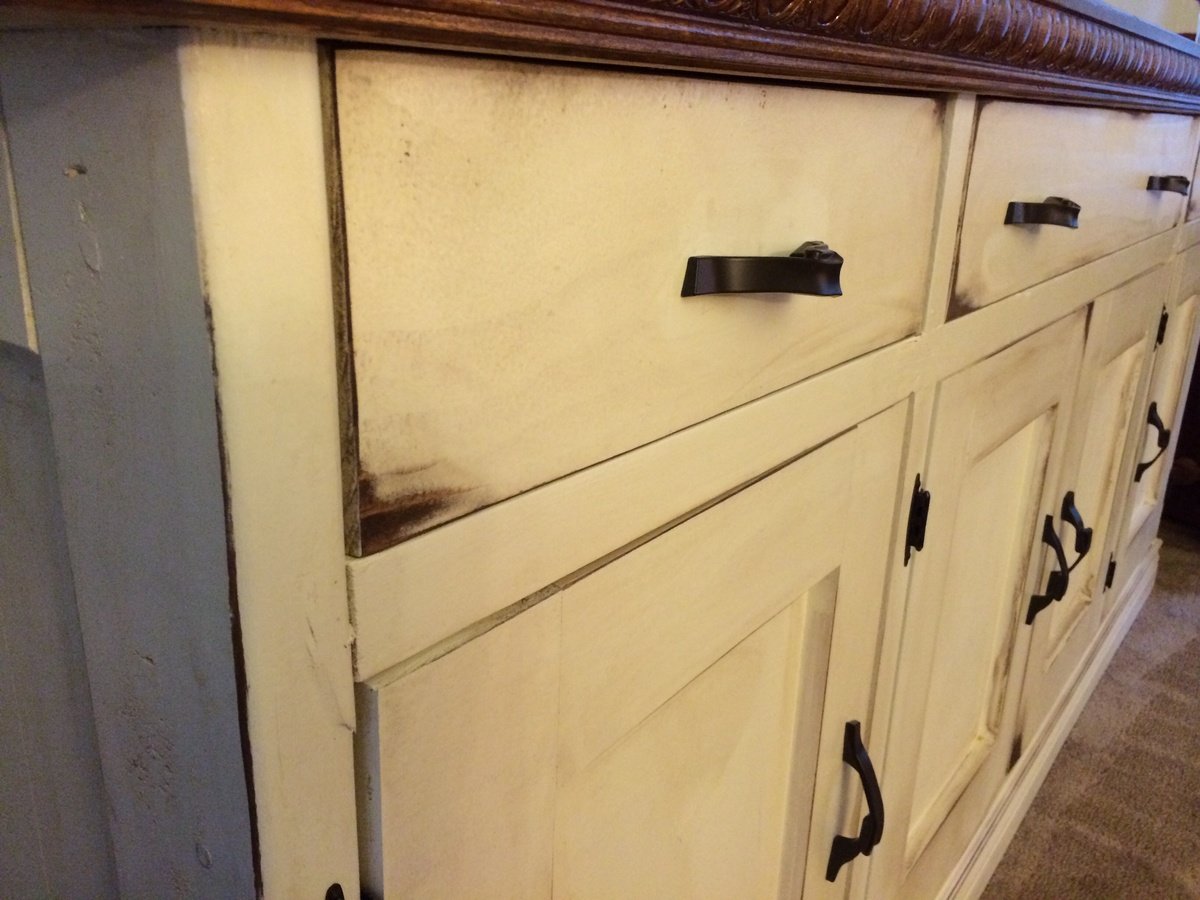
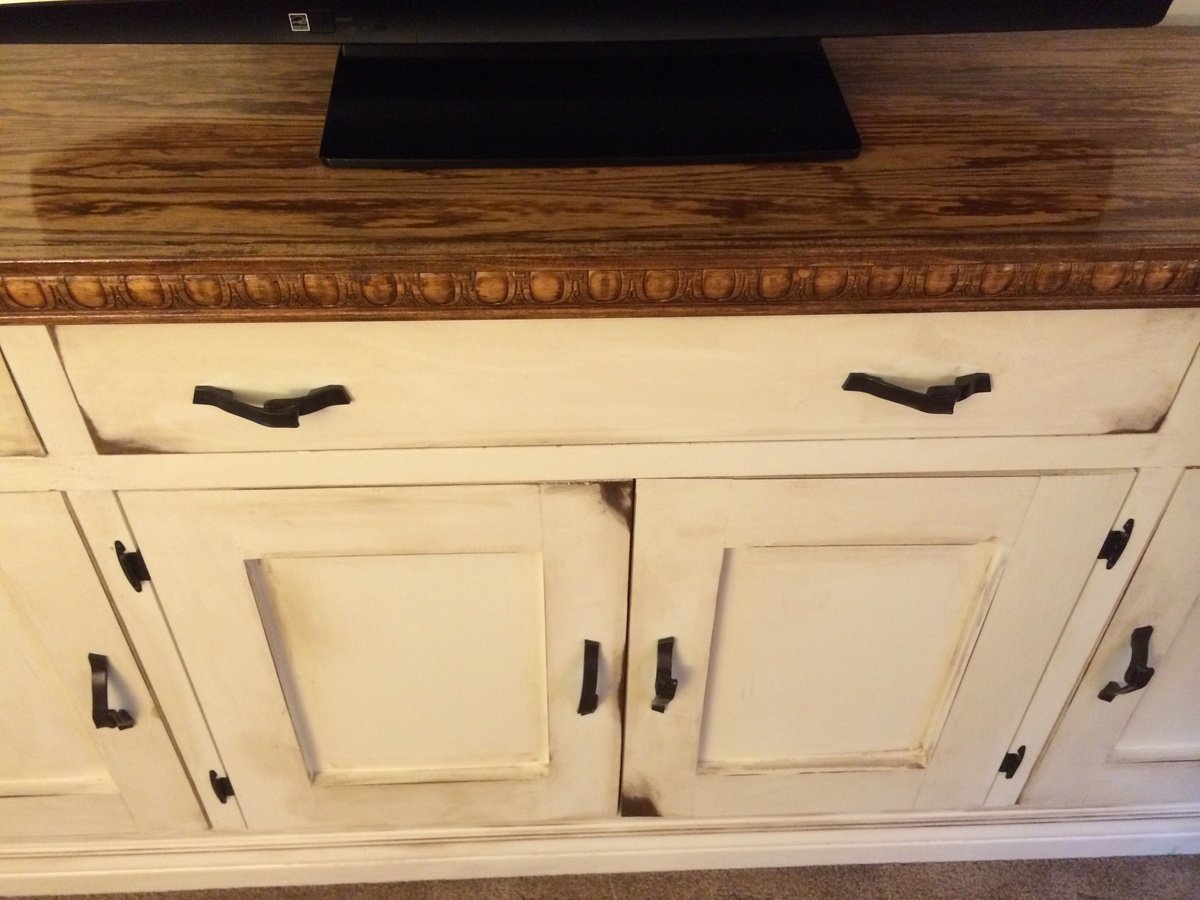
Distressed console

This project was nearly the emotional equivalent of pure hell. I began this as a buffet for someone who decided midway that they no longer wanted it. Secretly I was happy because I fell in love with it. The problem was it was started in late fall and this winter in ohio was more Ana's norm than ours. My I heated garage created a warped piece and an untenable workspace for a few months. I'm pretty happy all and all.
Built from Plan(s)
Estimated Cost
$600-$700
Estimated Time Investment
Week Long Project (20 Hours or More)
Finish Used
Antique white pine distressed and stained over with rustoleum cherry and walnut. The top is some crazy mix of stains and finishes.
Recommended Skill Level
Advanced
Comments
My first woodworking project
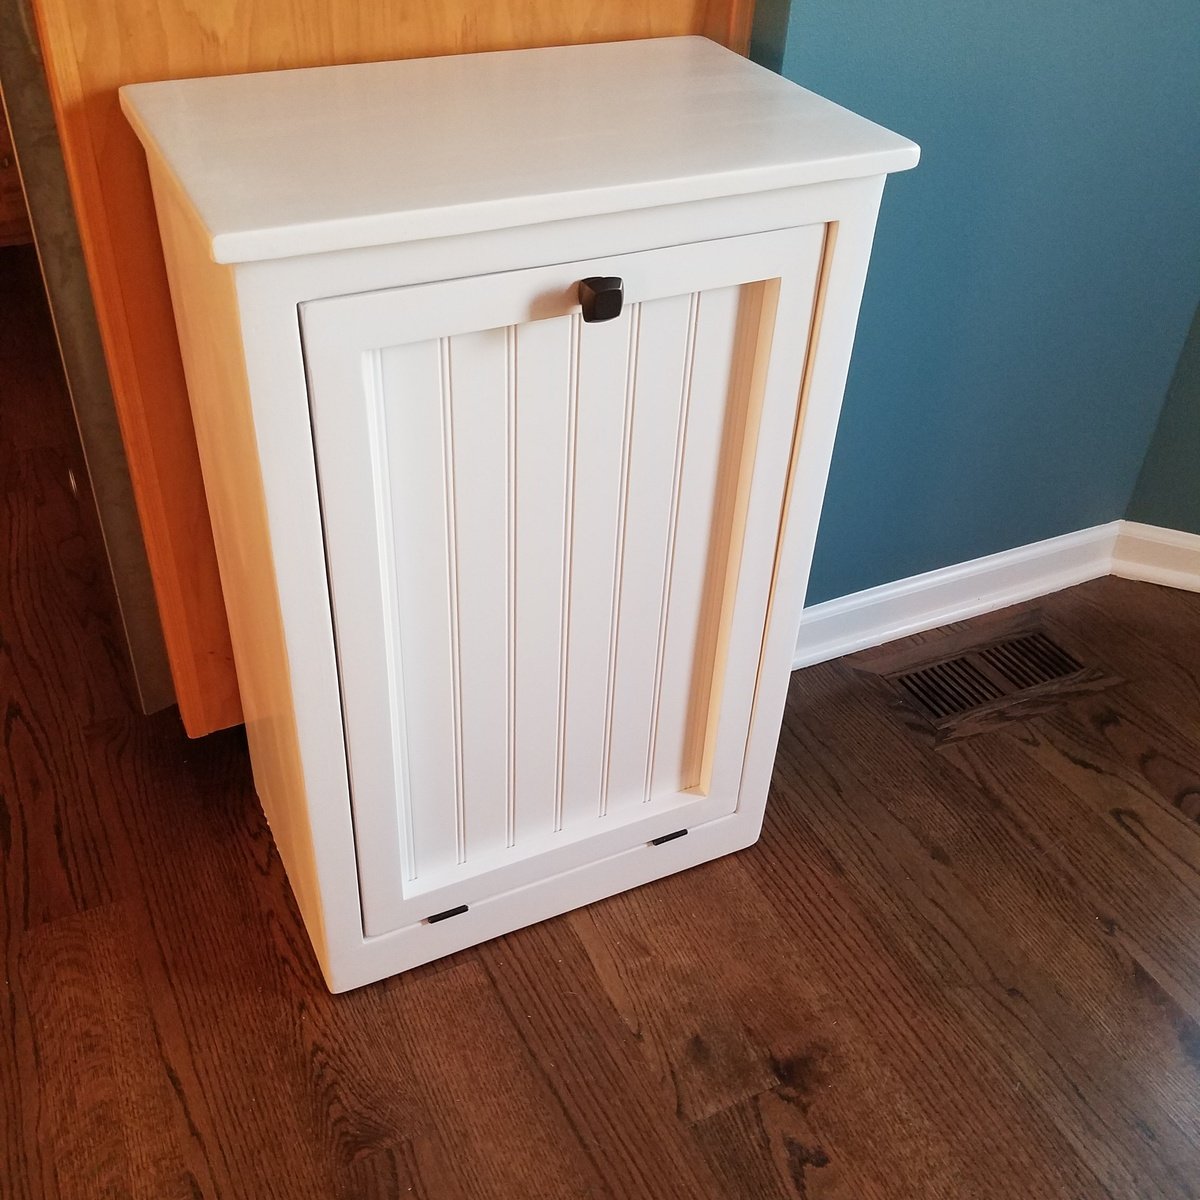
Our Australian Shepard will no longer be digging the trash out all over the floor! I did change the plans up a bit because I wanted a hangover off the sides as well as the front. And we used bead board instead of the solid panel. Thanks for the great plans Ana!
Built from Plan(s)
Estimated Time Investment
Weekend Project (10-20 Hours)
Finish Used
2 coats of extreme and primer and 2 coats of White paint. I lightly sanded in between each coat. I applied the primer and first coat of pai t qith a roller and the final coat was applied with a paint brush.
Recommended Skill Level
Beginner
Comments

Wed, 09/21/2016 - 14:57
Amazing First Project
This turned out beautiful!!! I love the beadboard and the added overhang. Can't wait to see your next project!
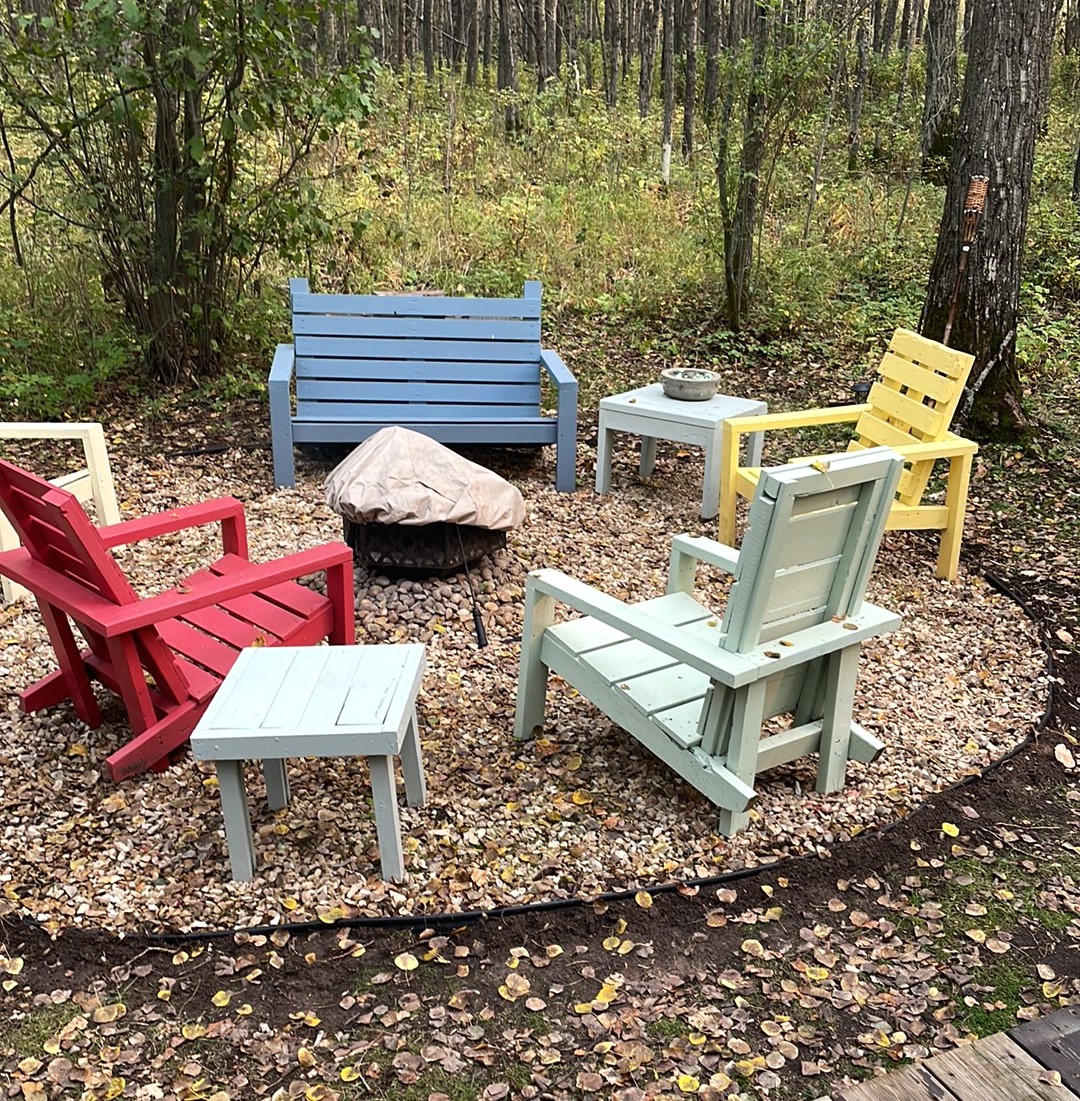
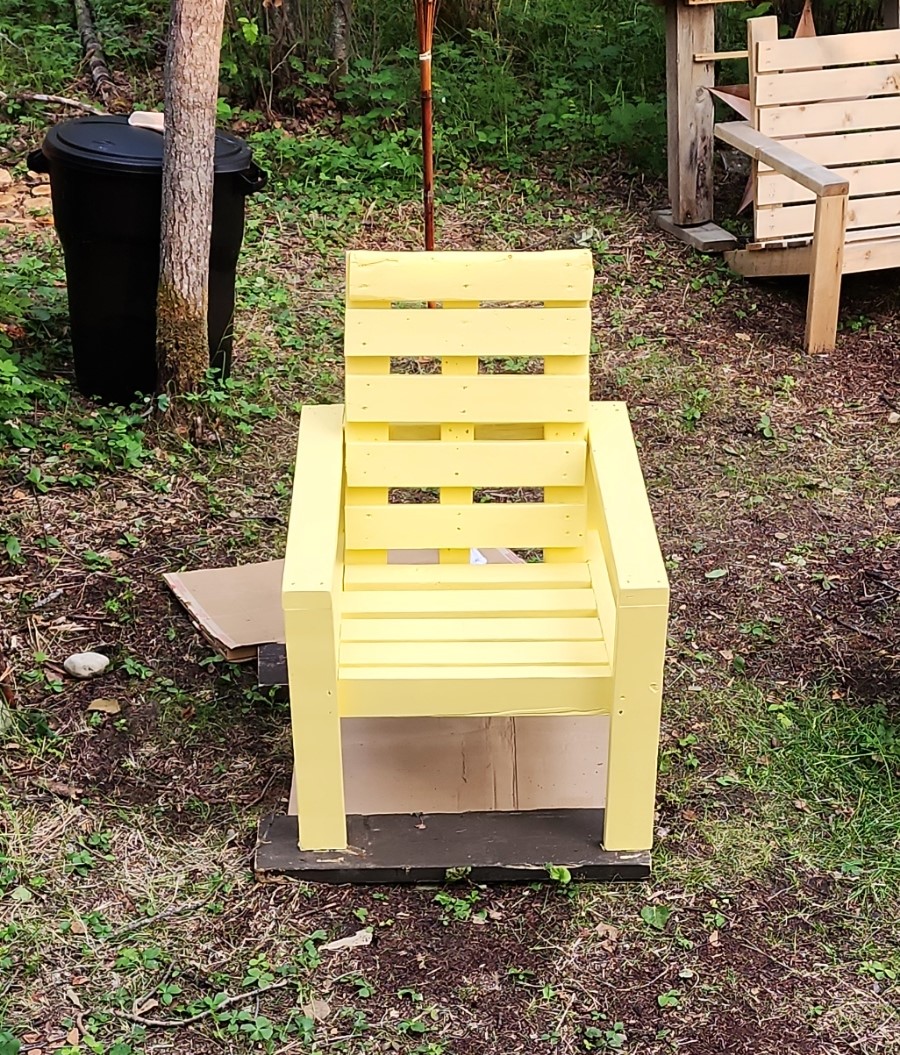
2x4 modern Adirondack Chair (modified)
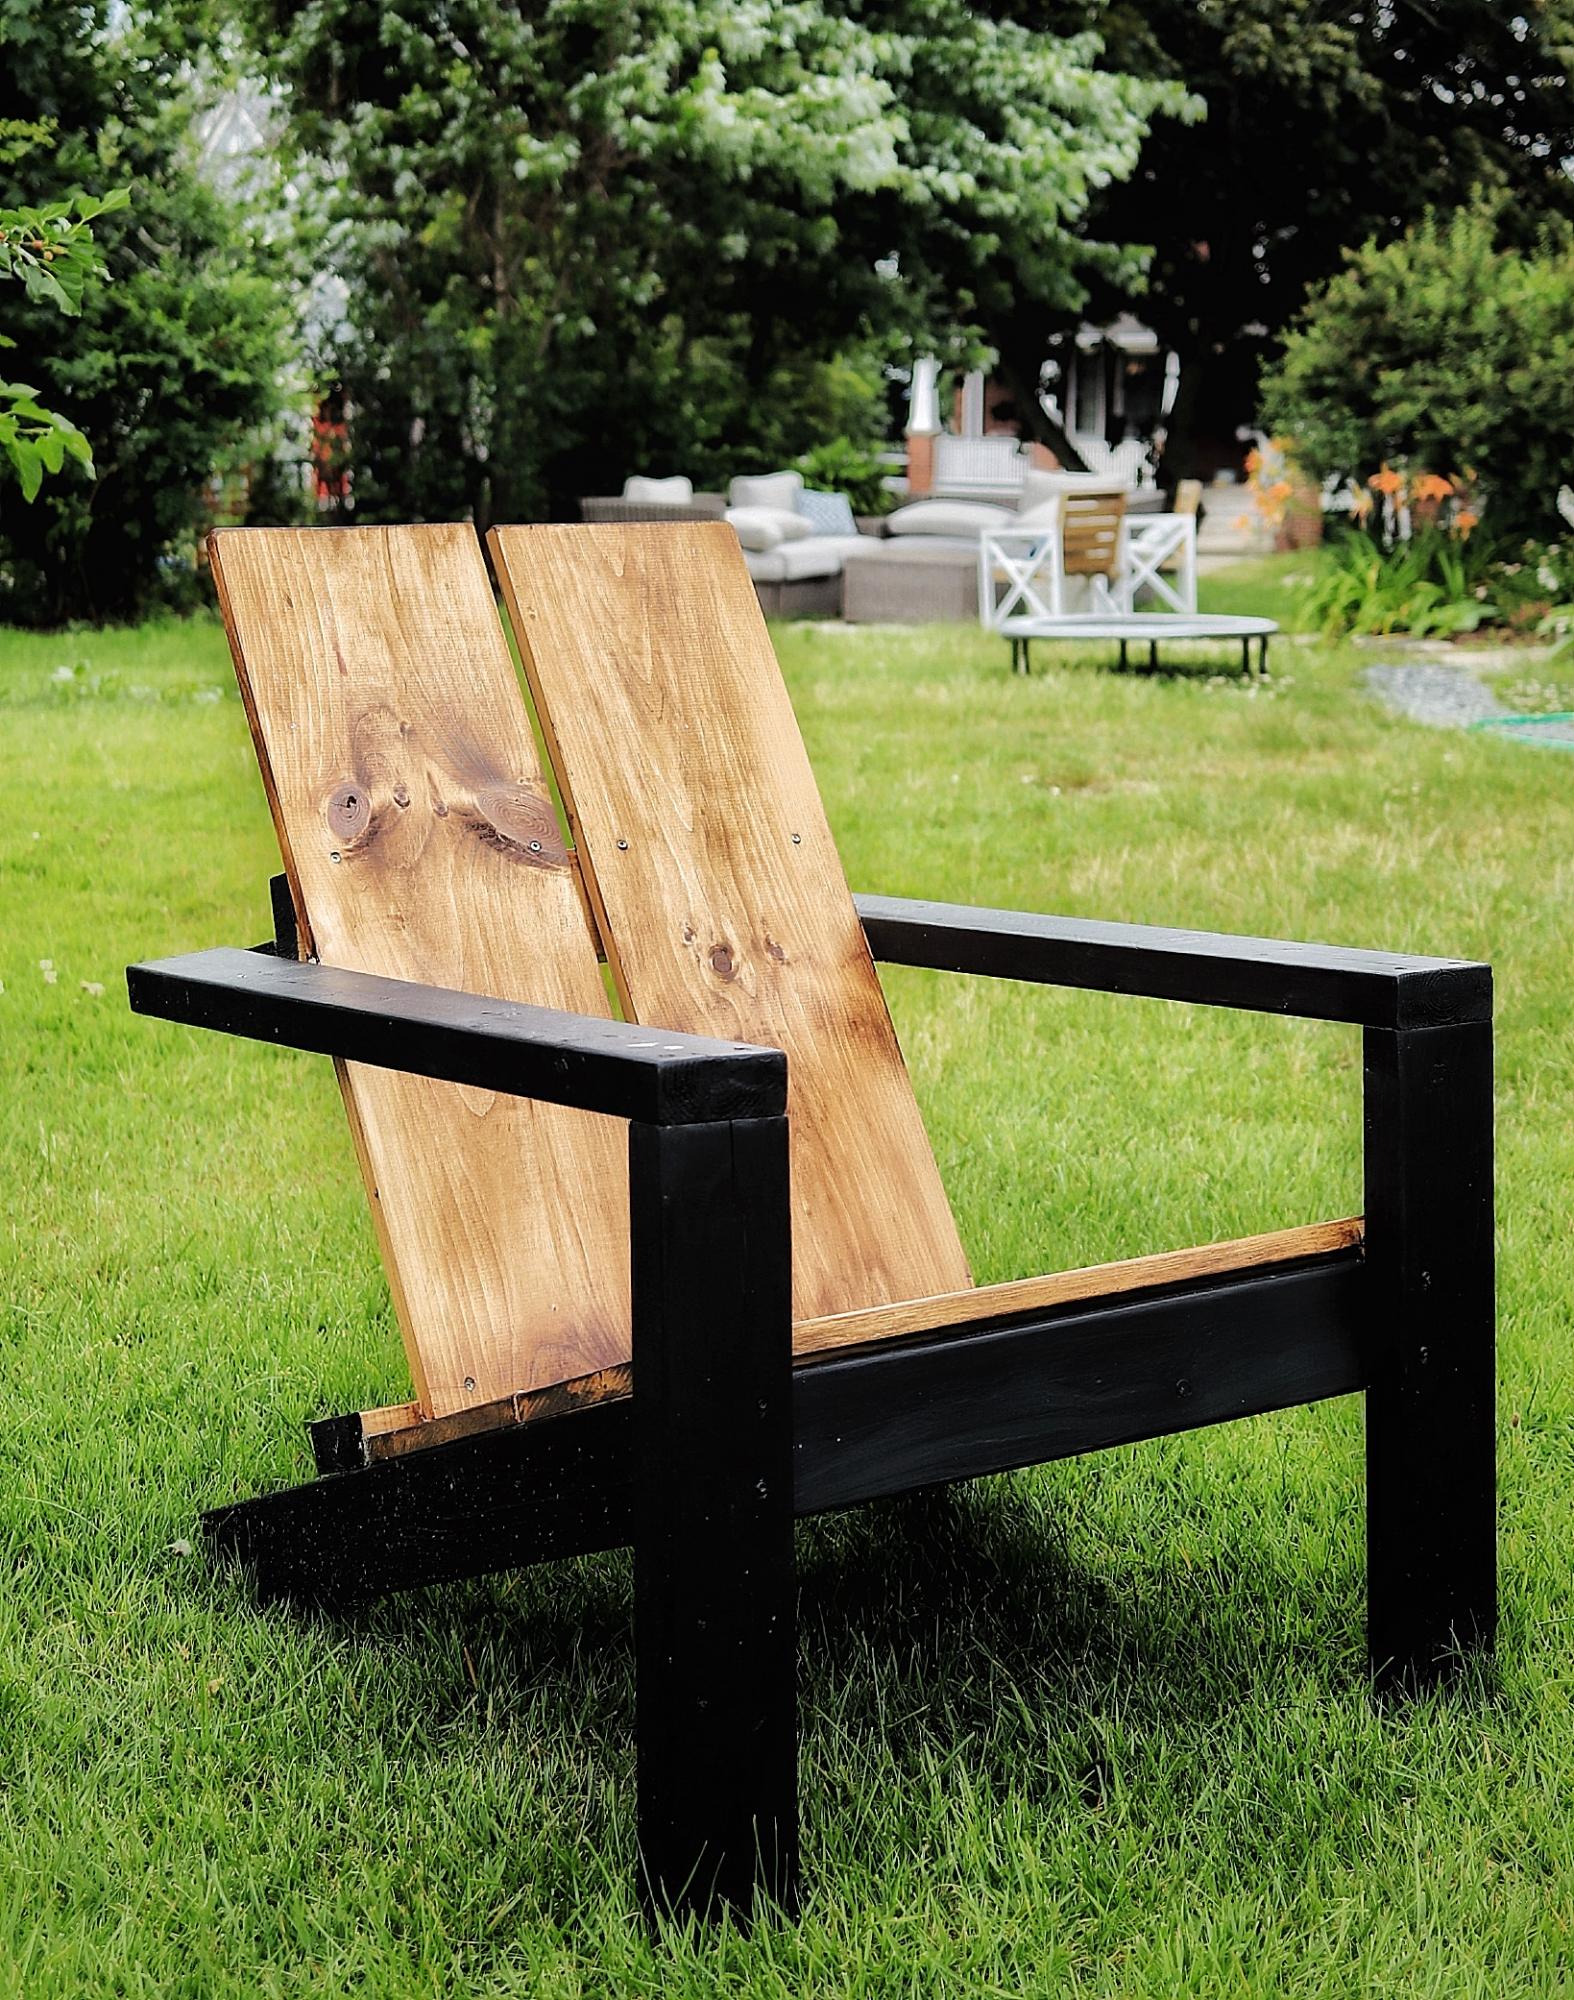
I was so excited to find the plans for these awesome chairs, I’ve built 7 this season already—the modification happened as an accident, but I loved the result !
Built from Plan(s)
Estimated Cost
$30
Estimated Time Investment
An Hour or Two (0-2 Hours)
Finish Used
MinWax Aged Oak and Black paint
Recommended Skill Level
Intermediate
Comments
Thu, 03/04/2021 - 10:59
This is absolutely gorgeous!…
This is absolutely gorgeous! I love the modification!
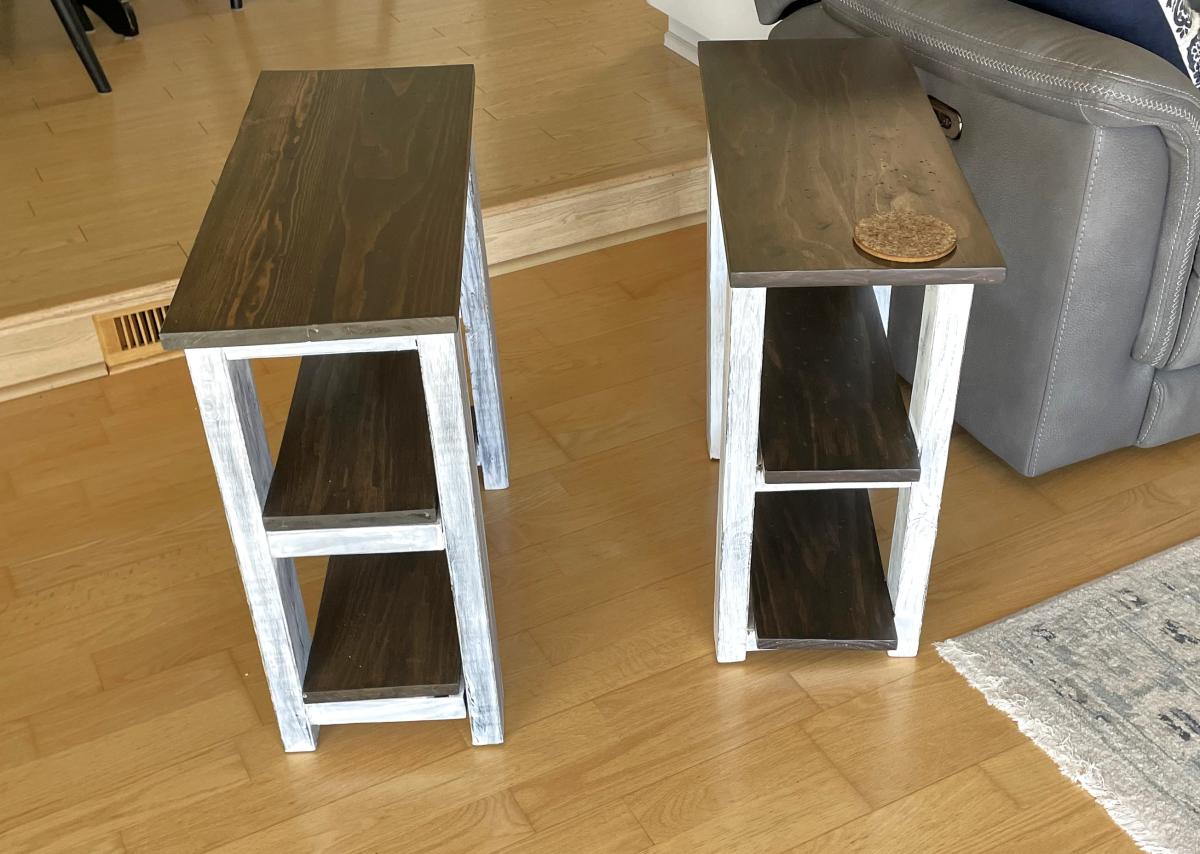
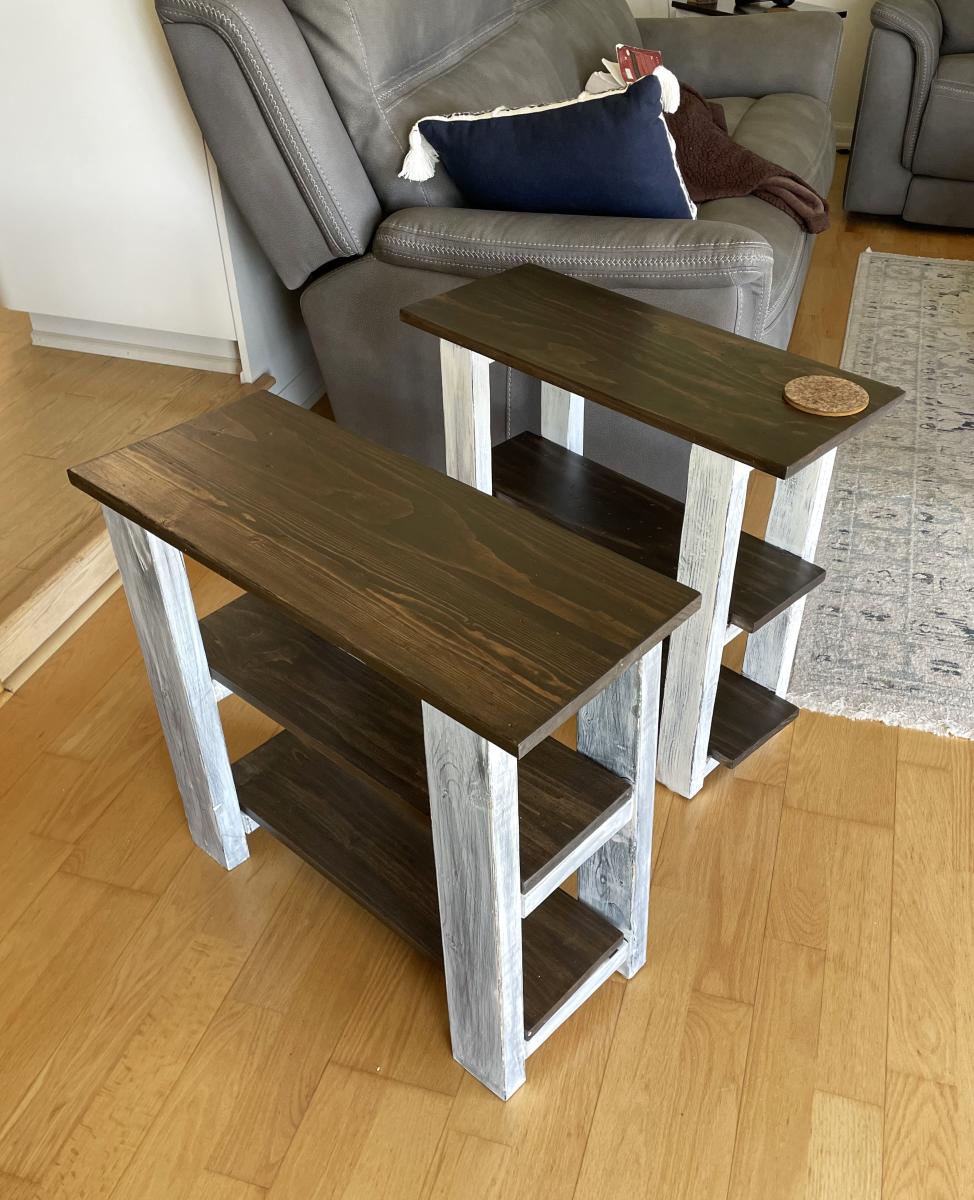
Simple Rustic End Table
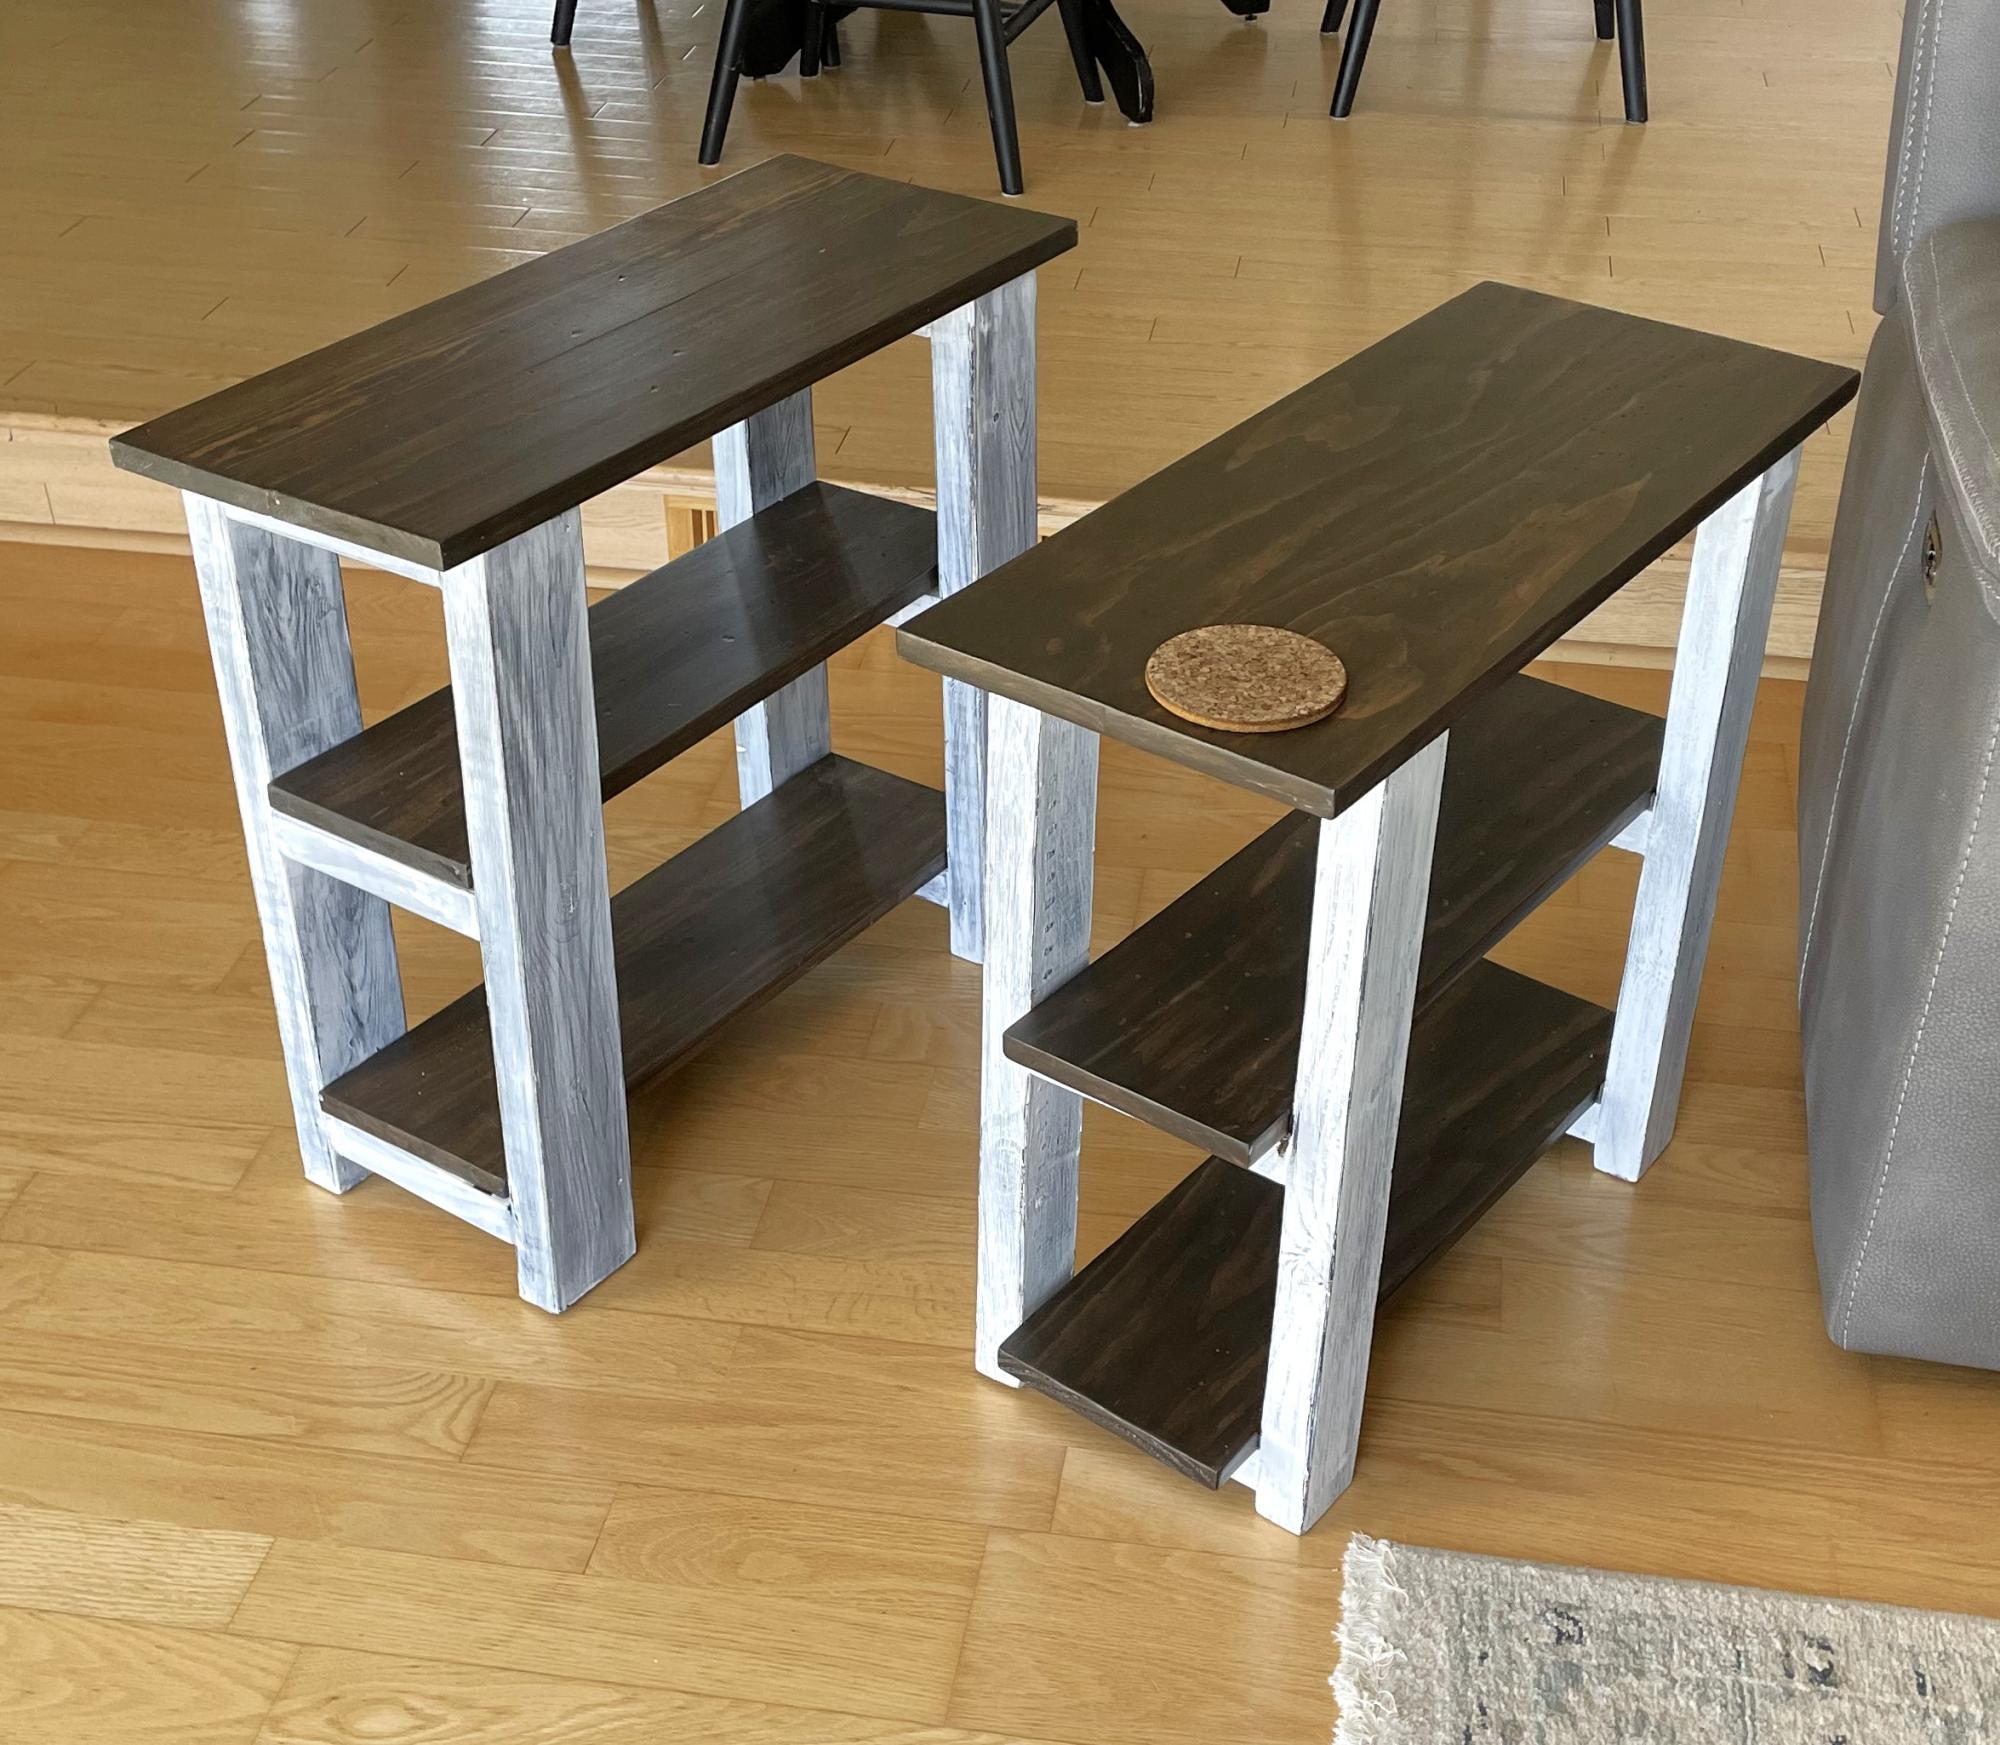
This a good build! I learned a lot especially about measuring where the middle shelf should go so it is even. I am so happy to have made all the tables in our family room!
Kim Rachow
Built from Plan(s)
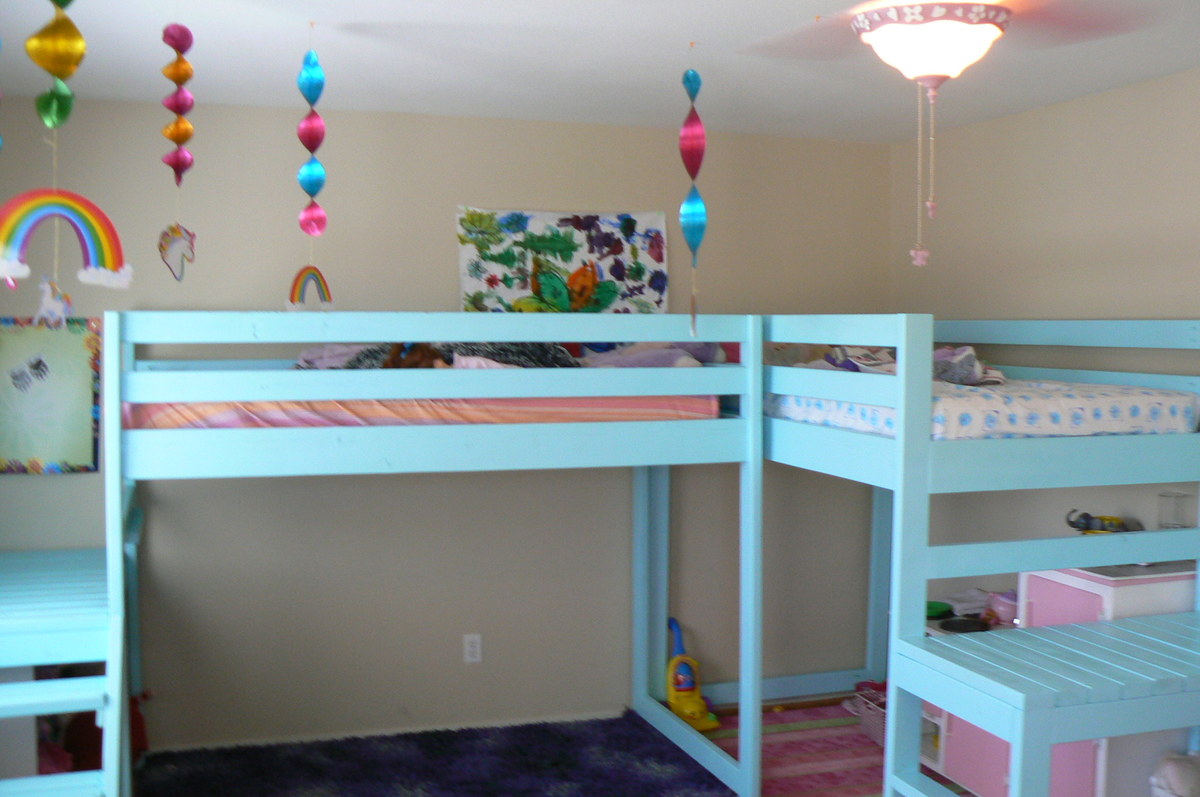
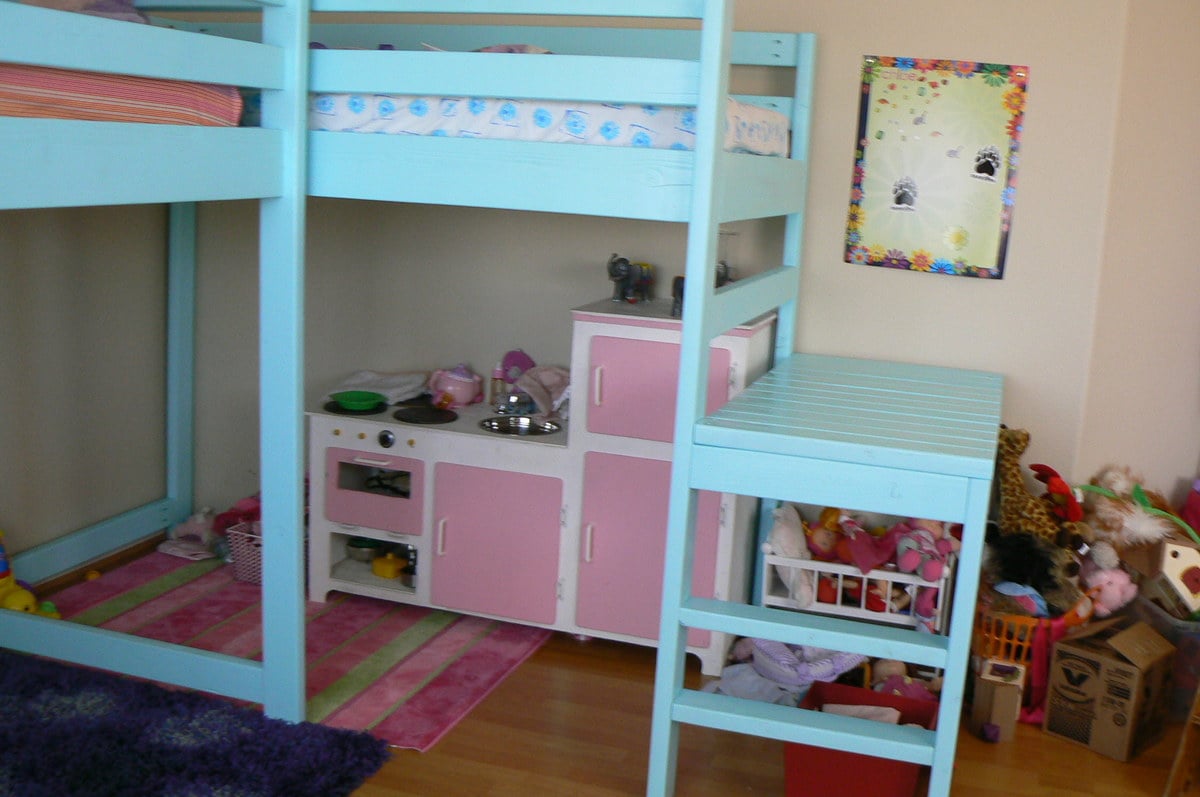
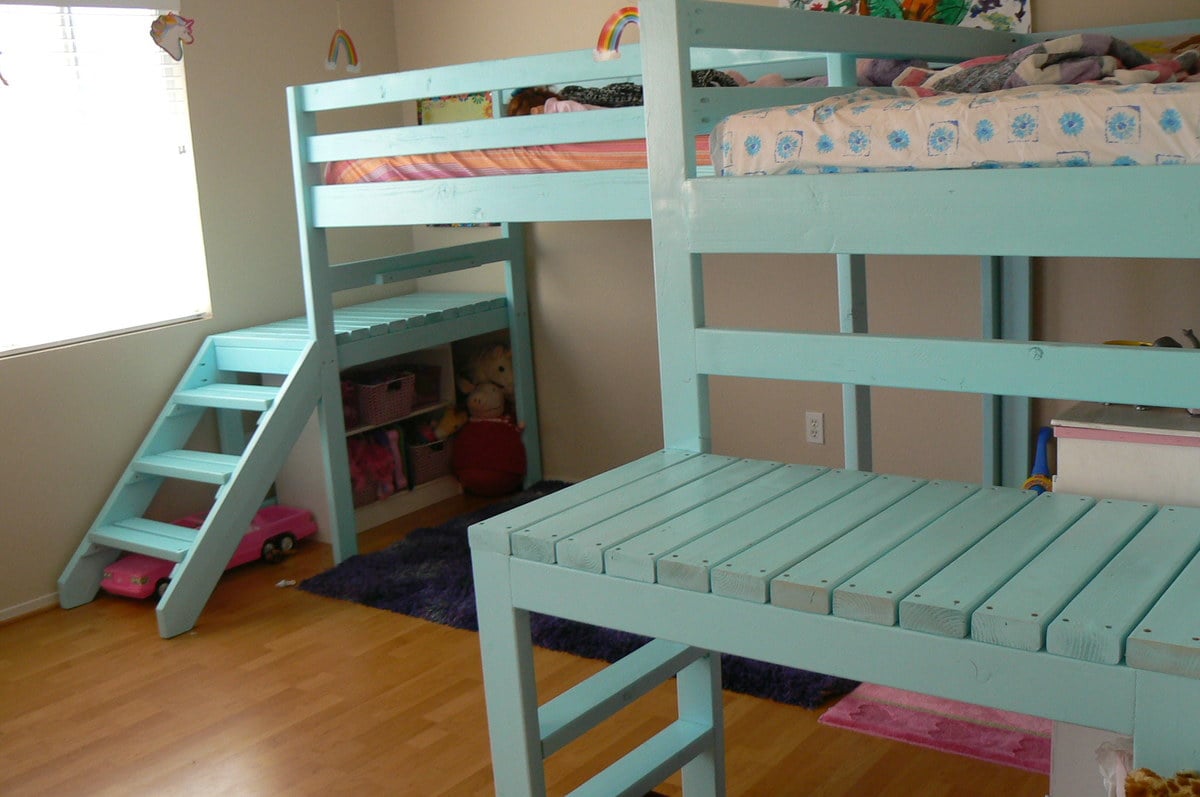
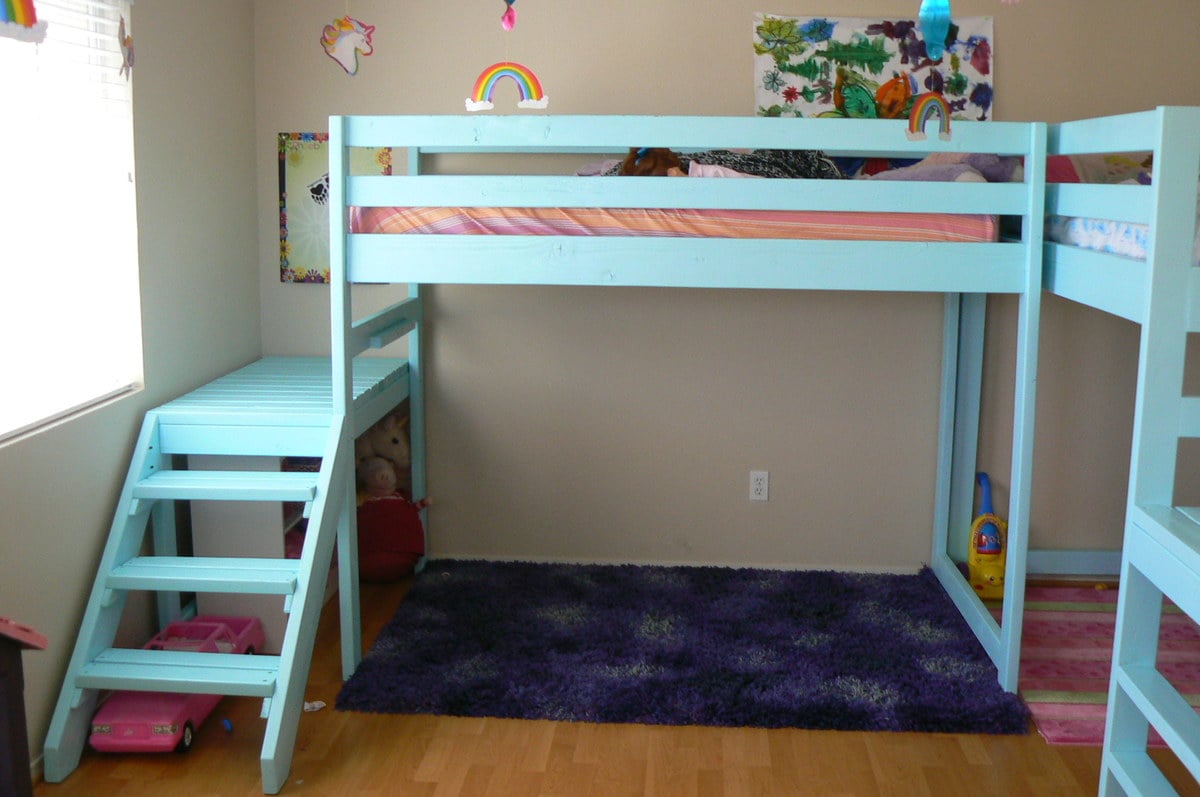
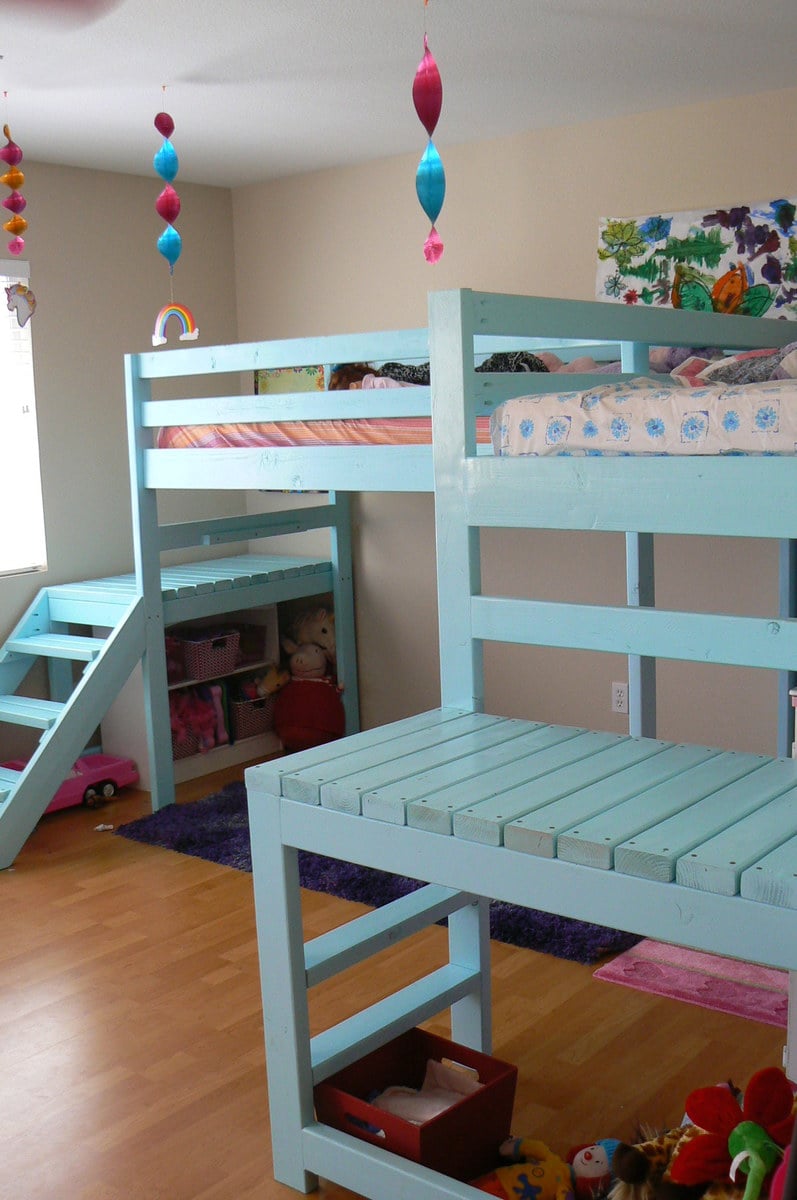
Two Camp Loft Beds

Ana read my mind! I was telling my husband that I wanted "L" shaped loft beds for our girls abouttwo weeks before she posted these plans! As soon as I saw them we went and got our lumber. So excited to have these done and the girls love them!
Built from Plan(s)
Estimated Cost
$75 each
Estimated Time Investment
Weekend Project (10-20 Hours)
Finish Used
Bher premium paint
Recommended Skill Level
Beginner
Comments

Thu, 09/13/2012 - 13:05
Question about stairs
I saw another post where they did horizontal 2x4s instead of stairs. I see that you did one of each. Could you tell me what your thoughts are on how the kids like them....if the 2x4 steps are easy to get up and down on....
We are adopting and we're not sure what age children we will get....so, I want to make sure they are easy to navigate. Any thoughts???
Thank you!
Tue, 09/03/2013 - 09:30
answer about stairs
we id the stairs for our 3 year old and the ladder for our 5 year old. She has no problem getting up and downthem but our 3 year old doesn't like to come down the ladder ones. The stairs are really nice and make the bed easily accesable even for me. =)
Wed, 02/04/2015 - 18:48
Overall Dimensions?
What are the overall dimensions with the two landing areas and stairs? I really like this idea, but the bedroom is not super big. Thanks!