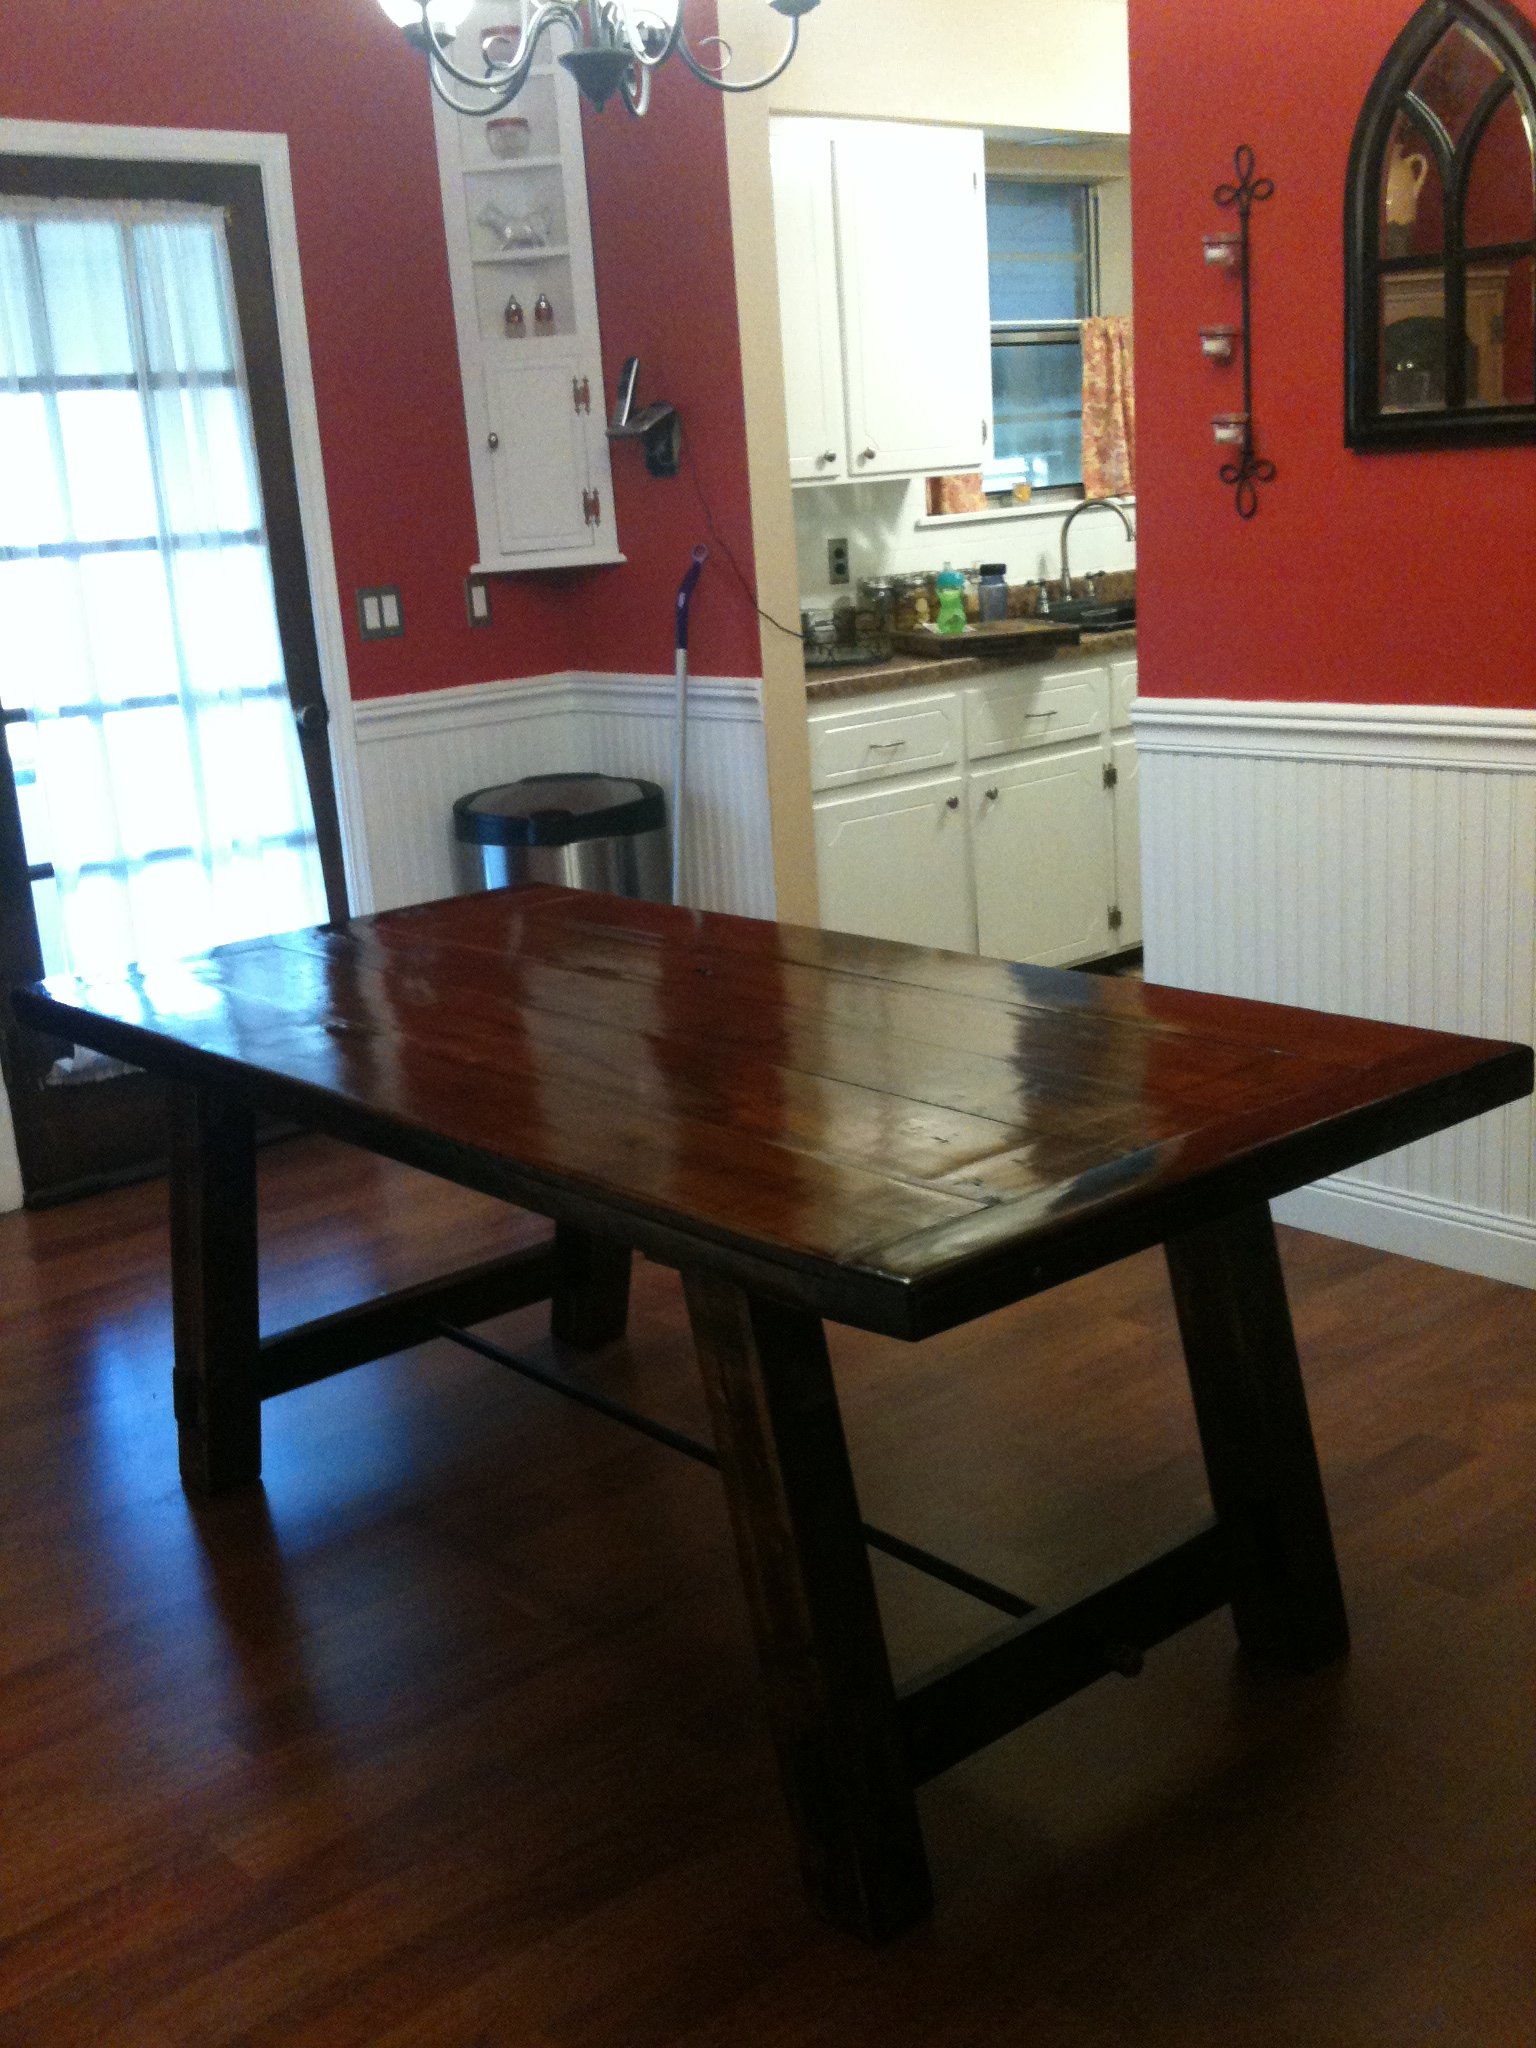
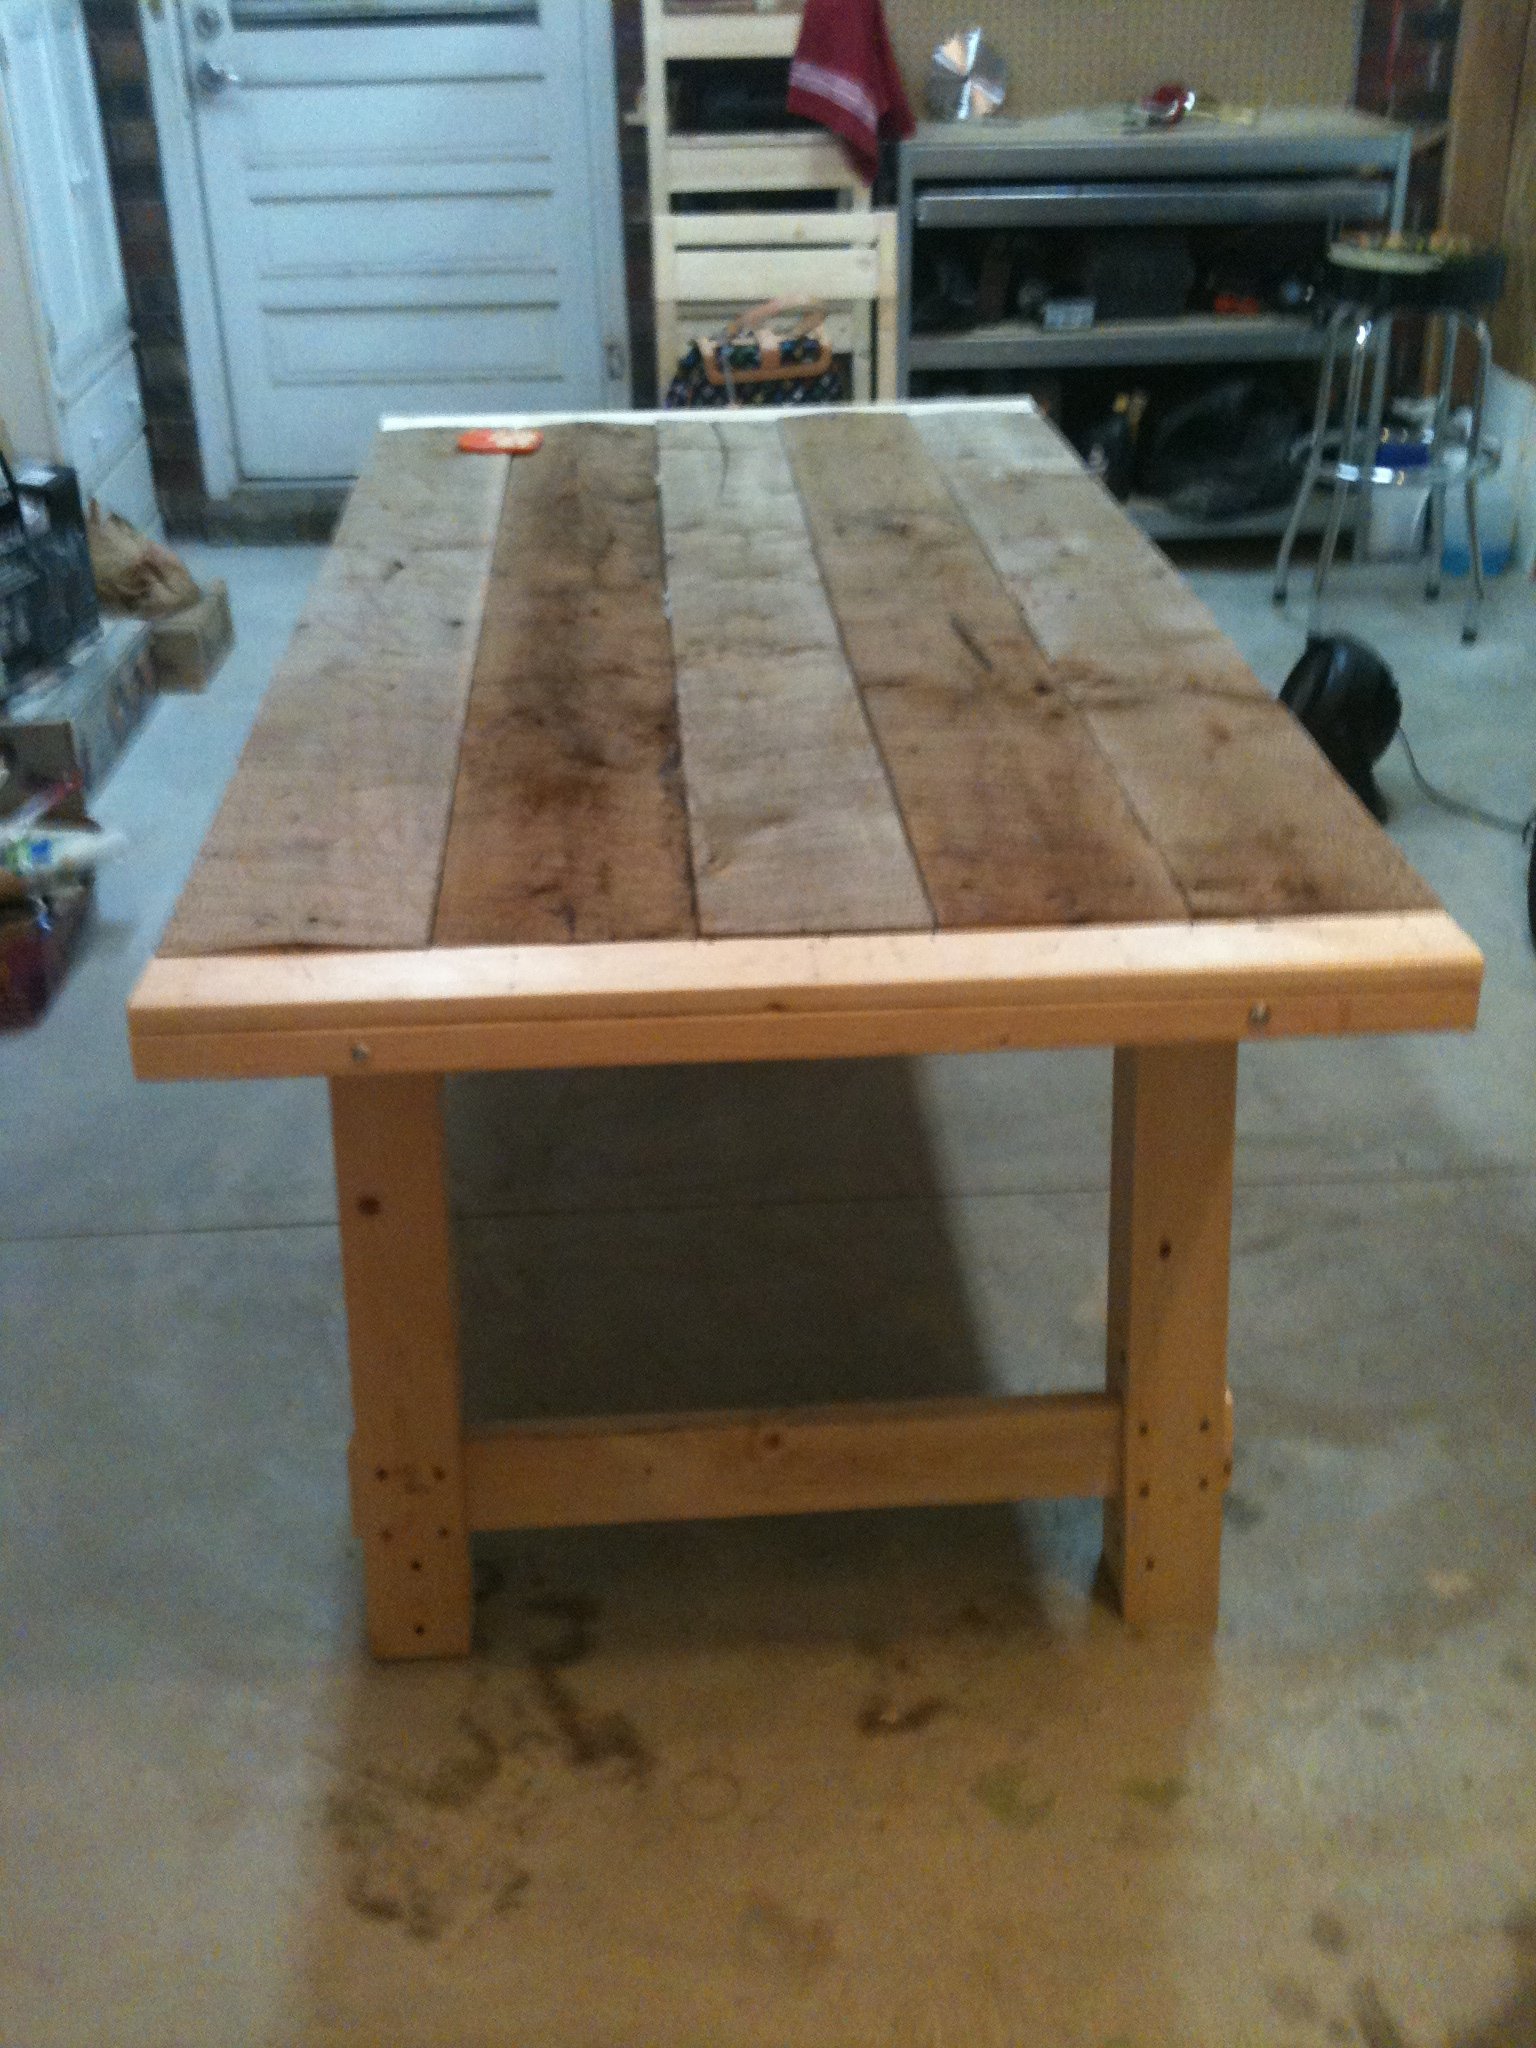
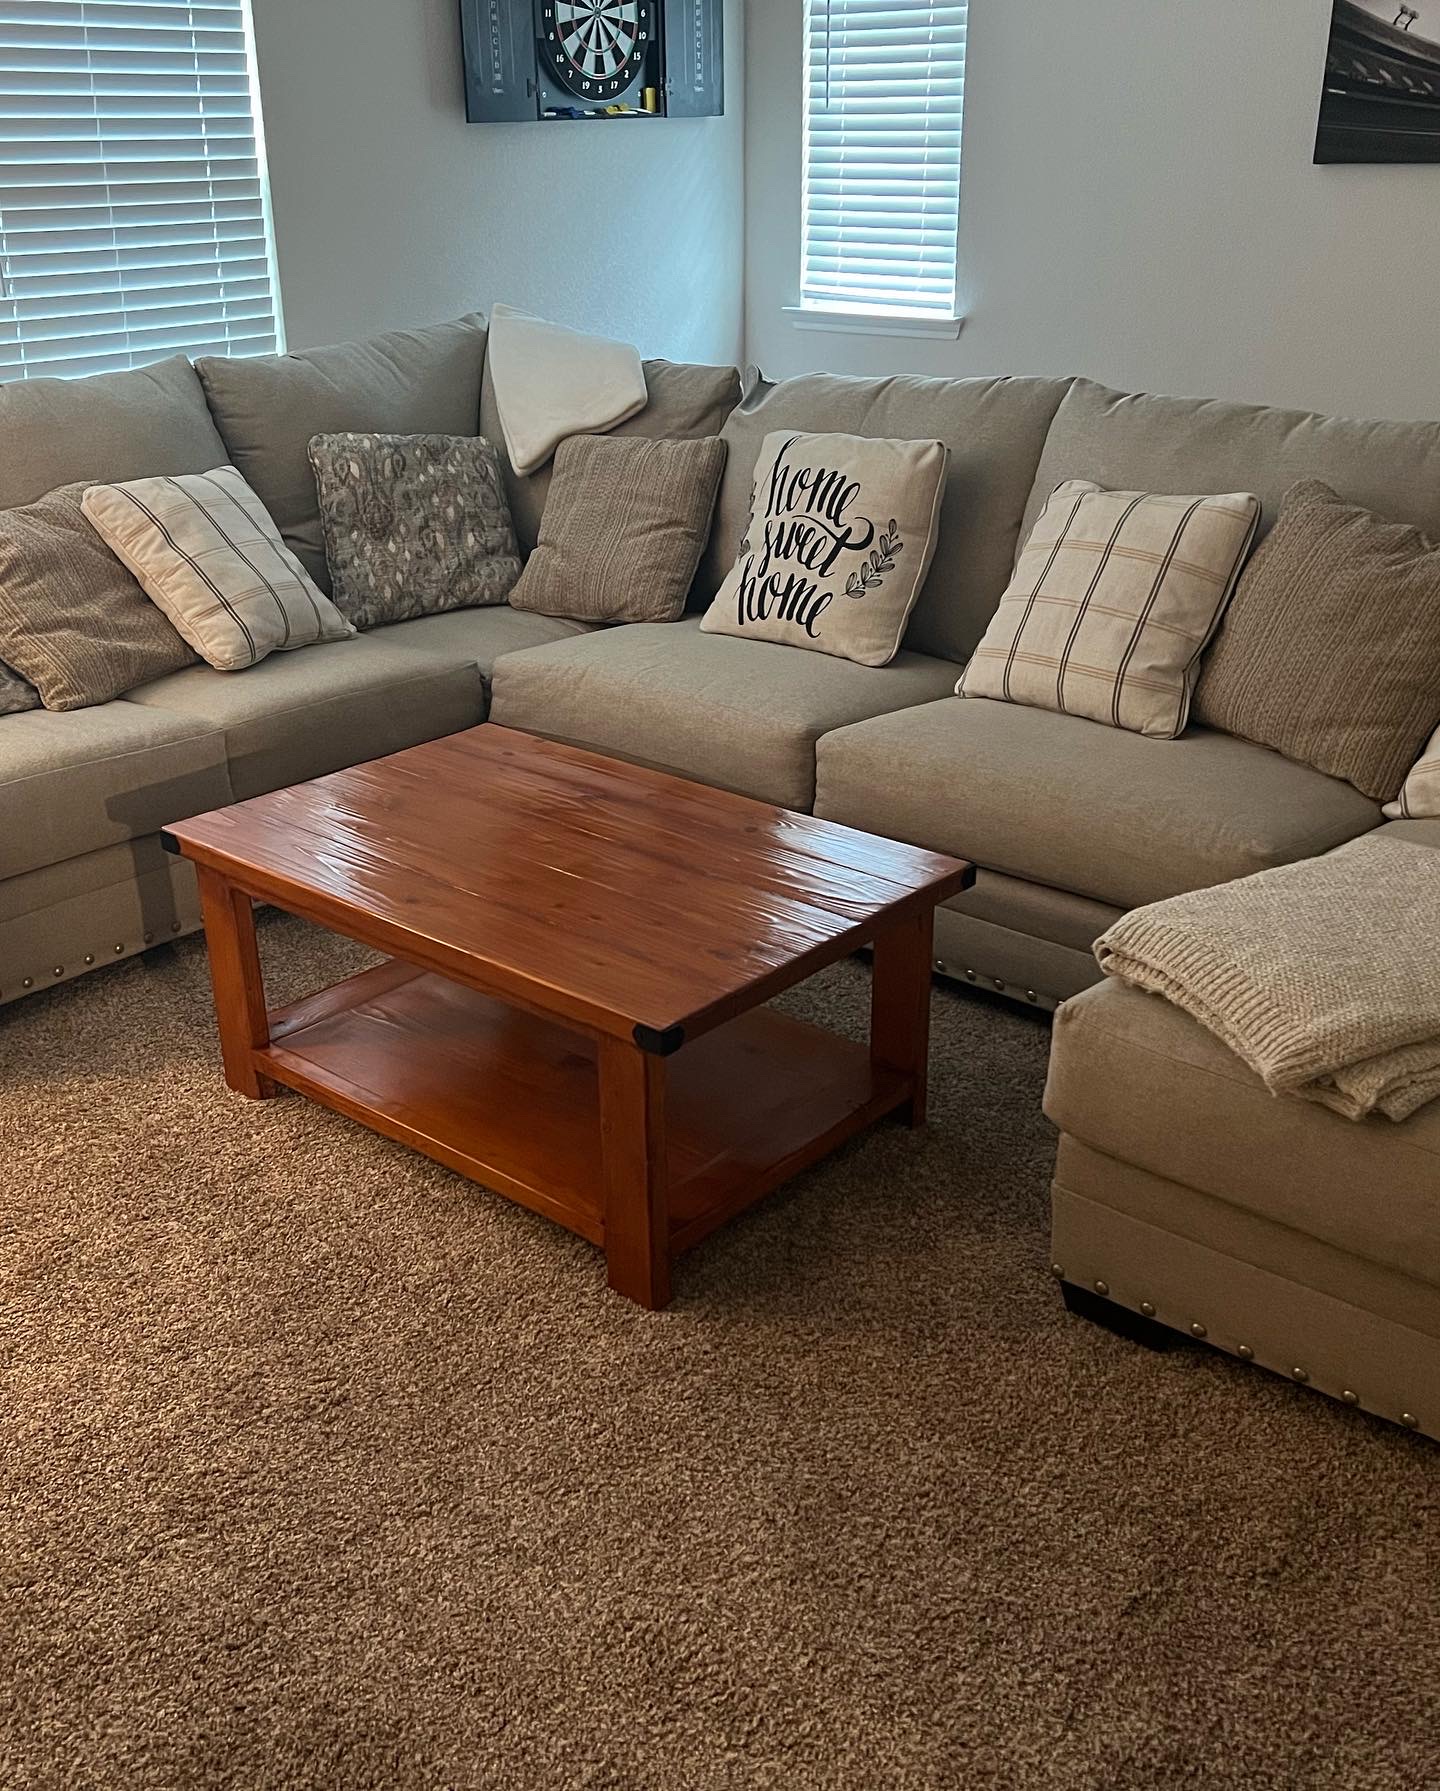
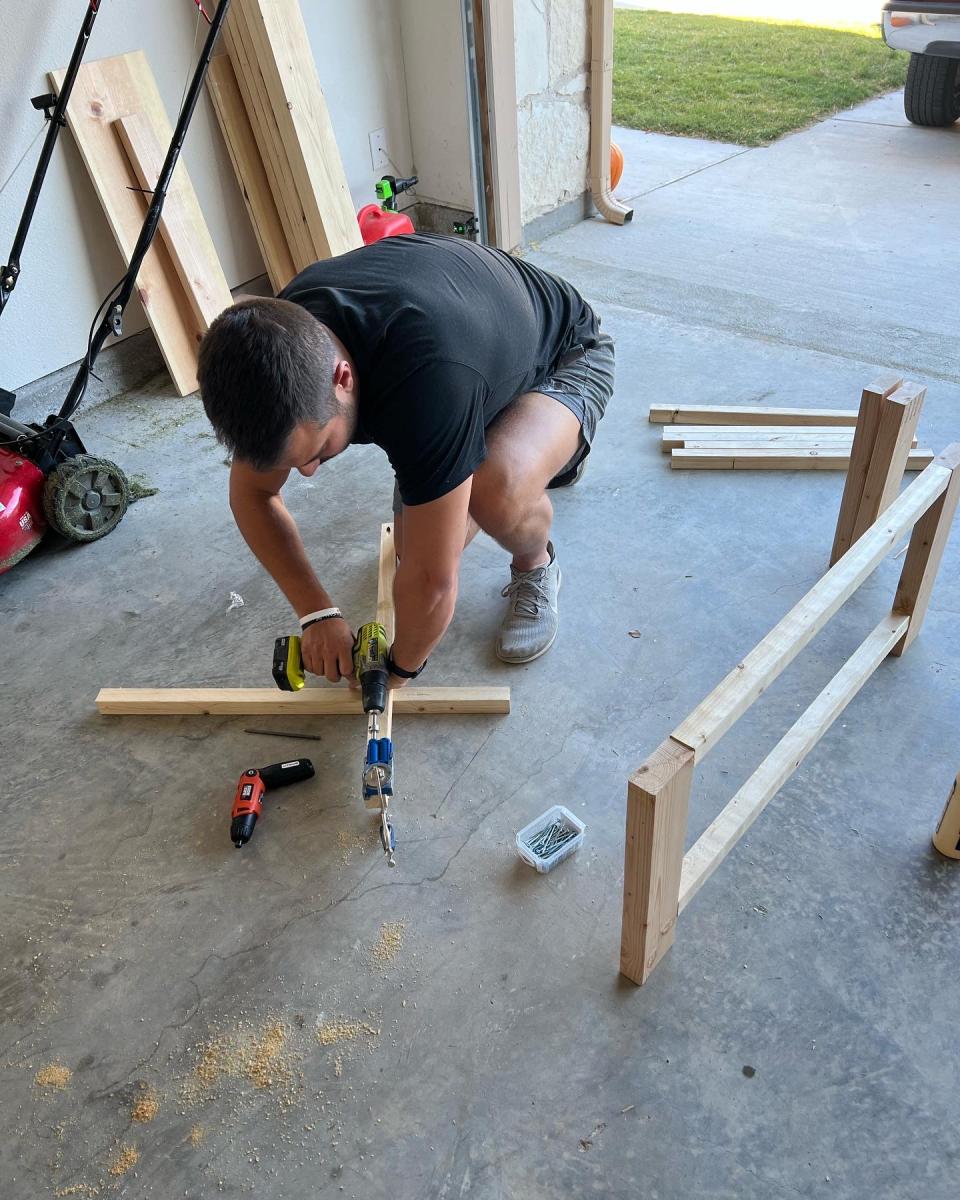
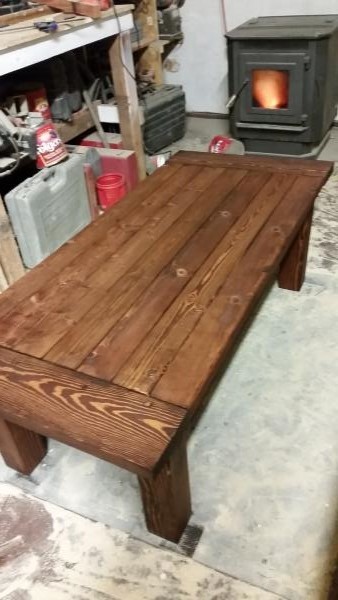
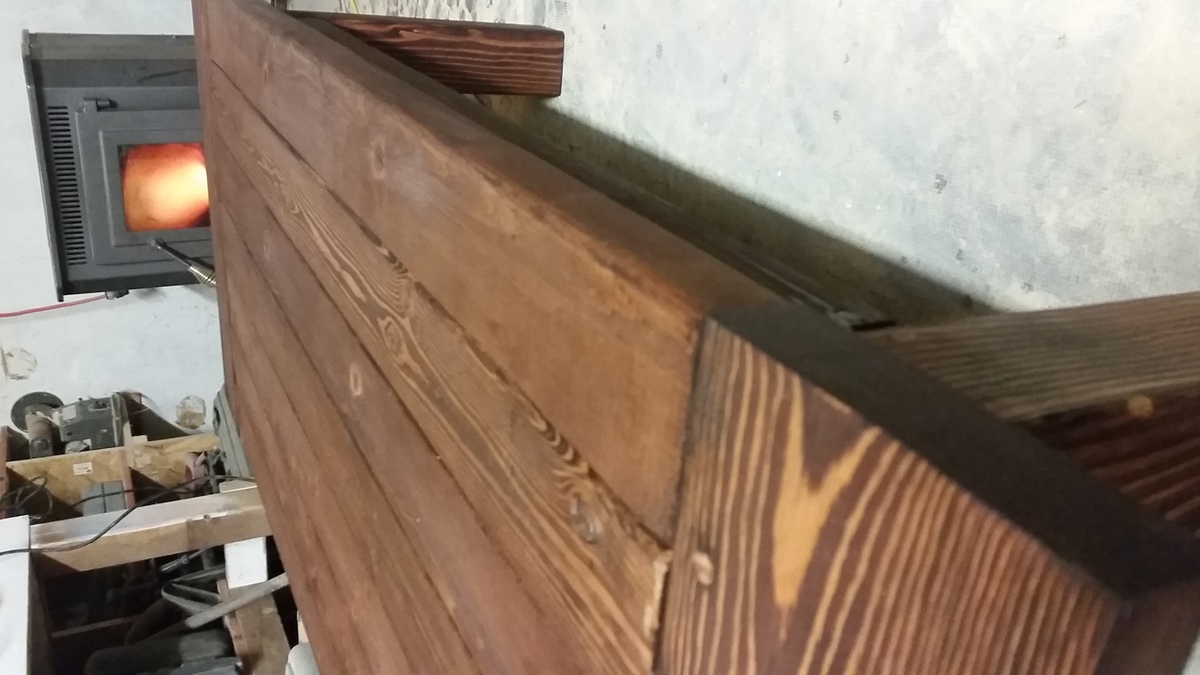
Benchright Farmhouse Table
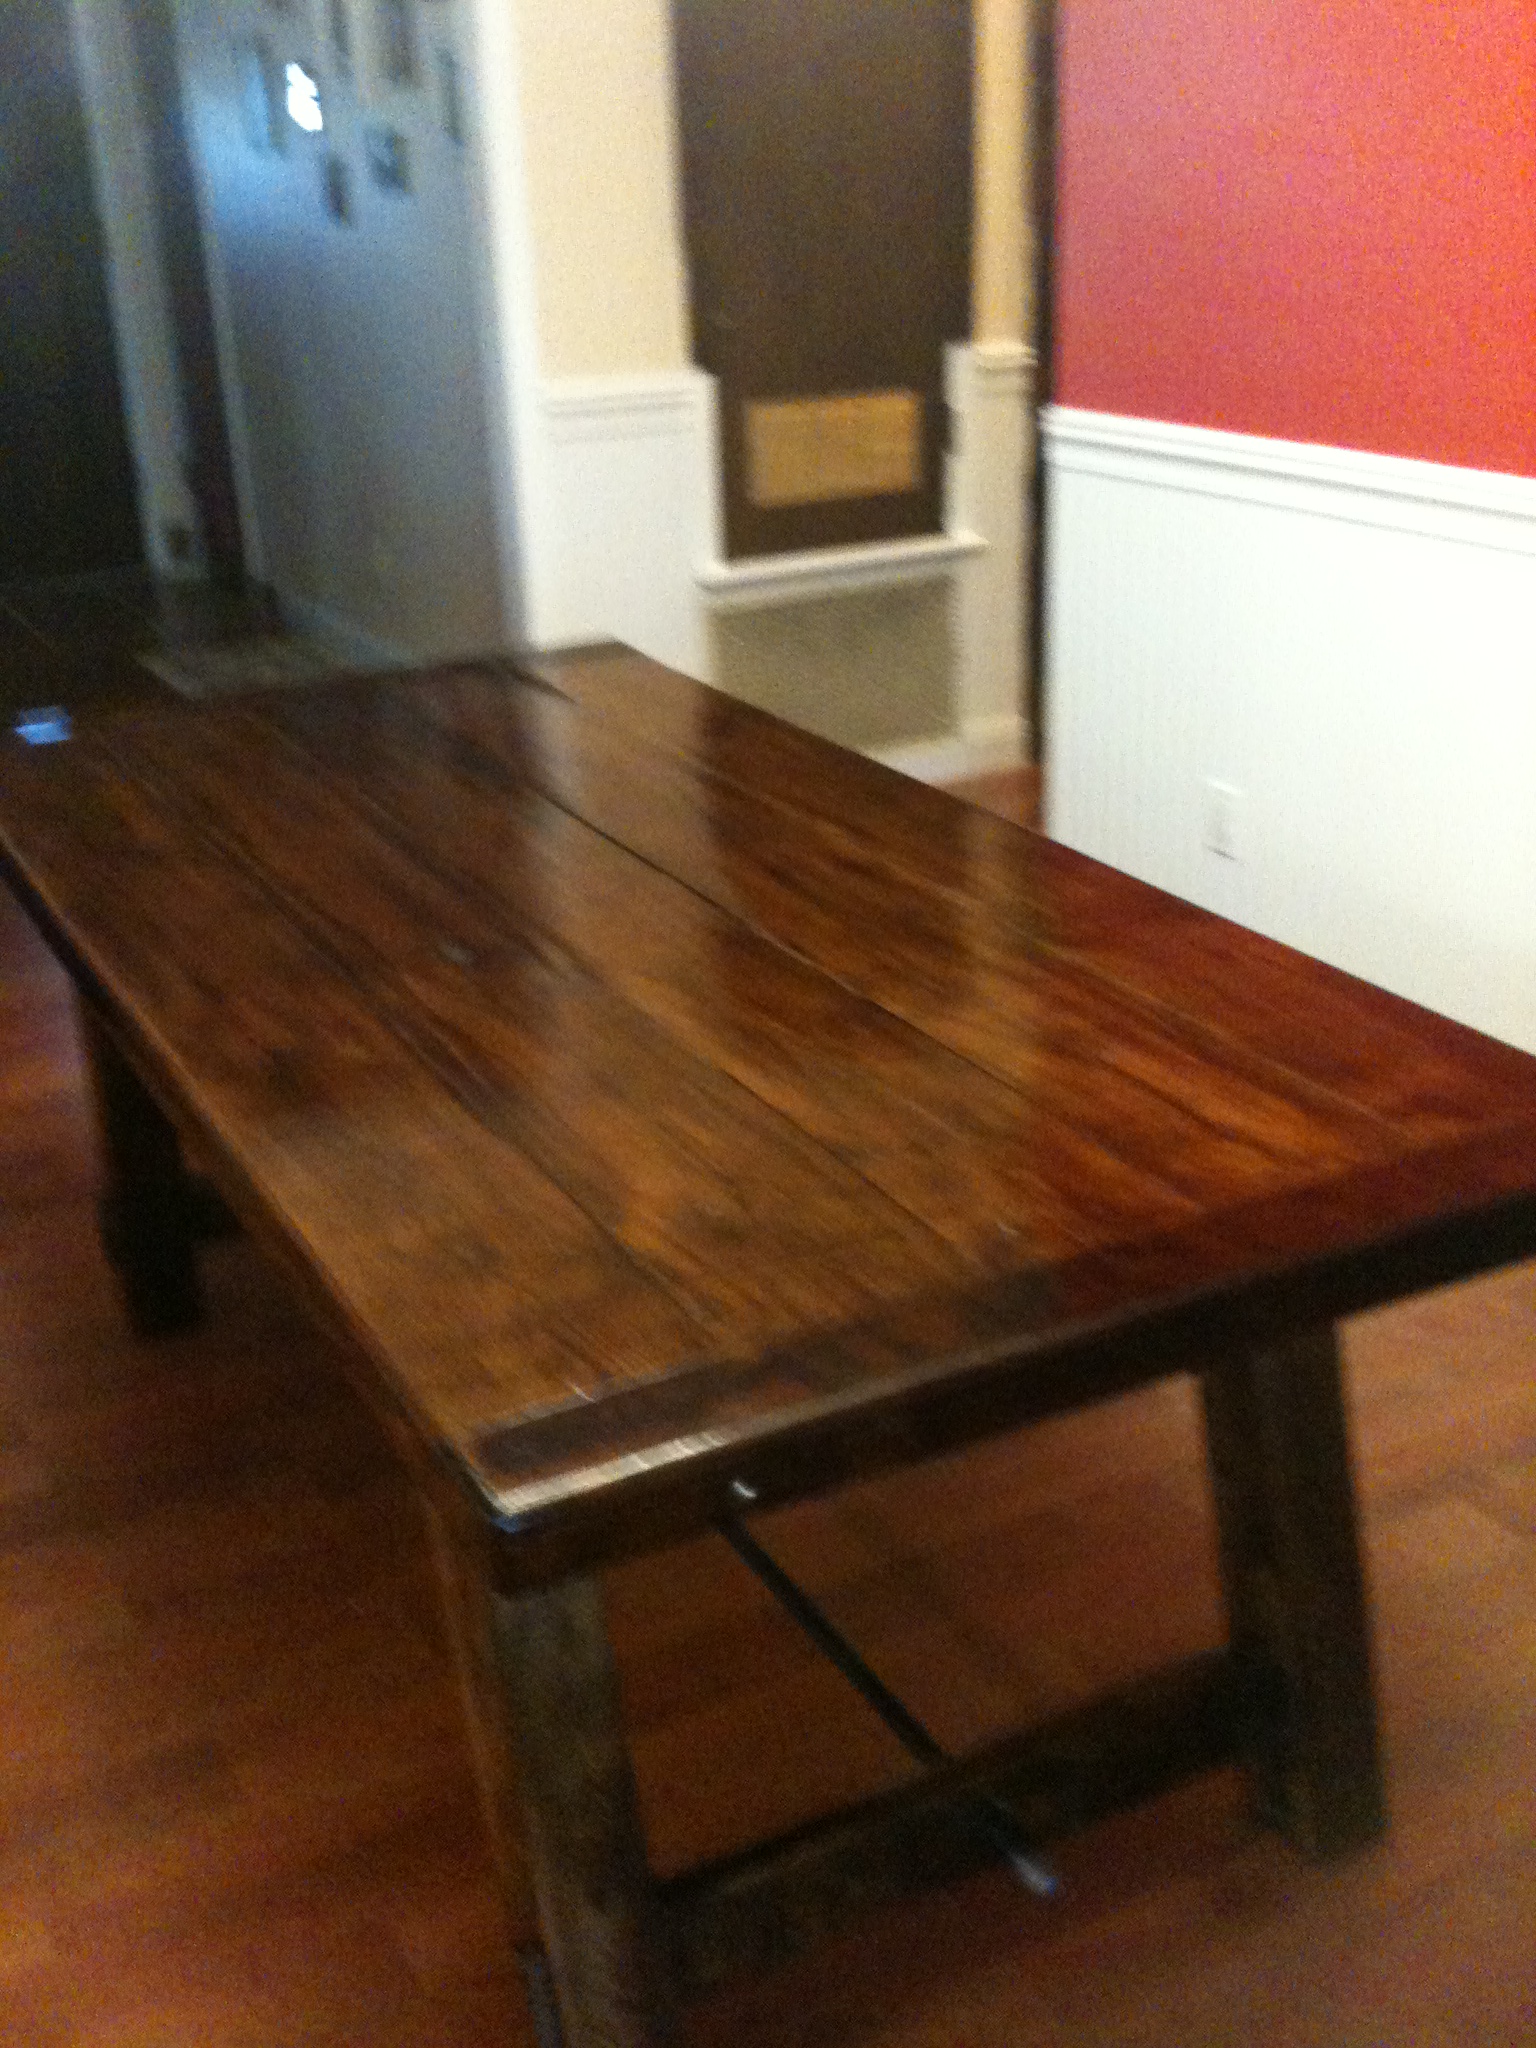
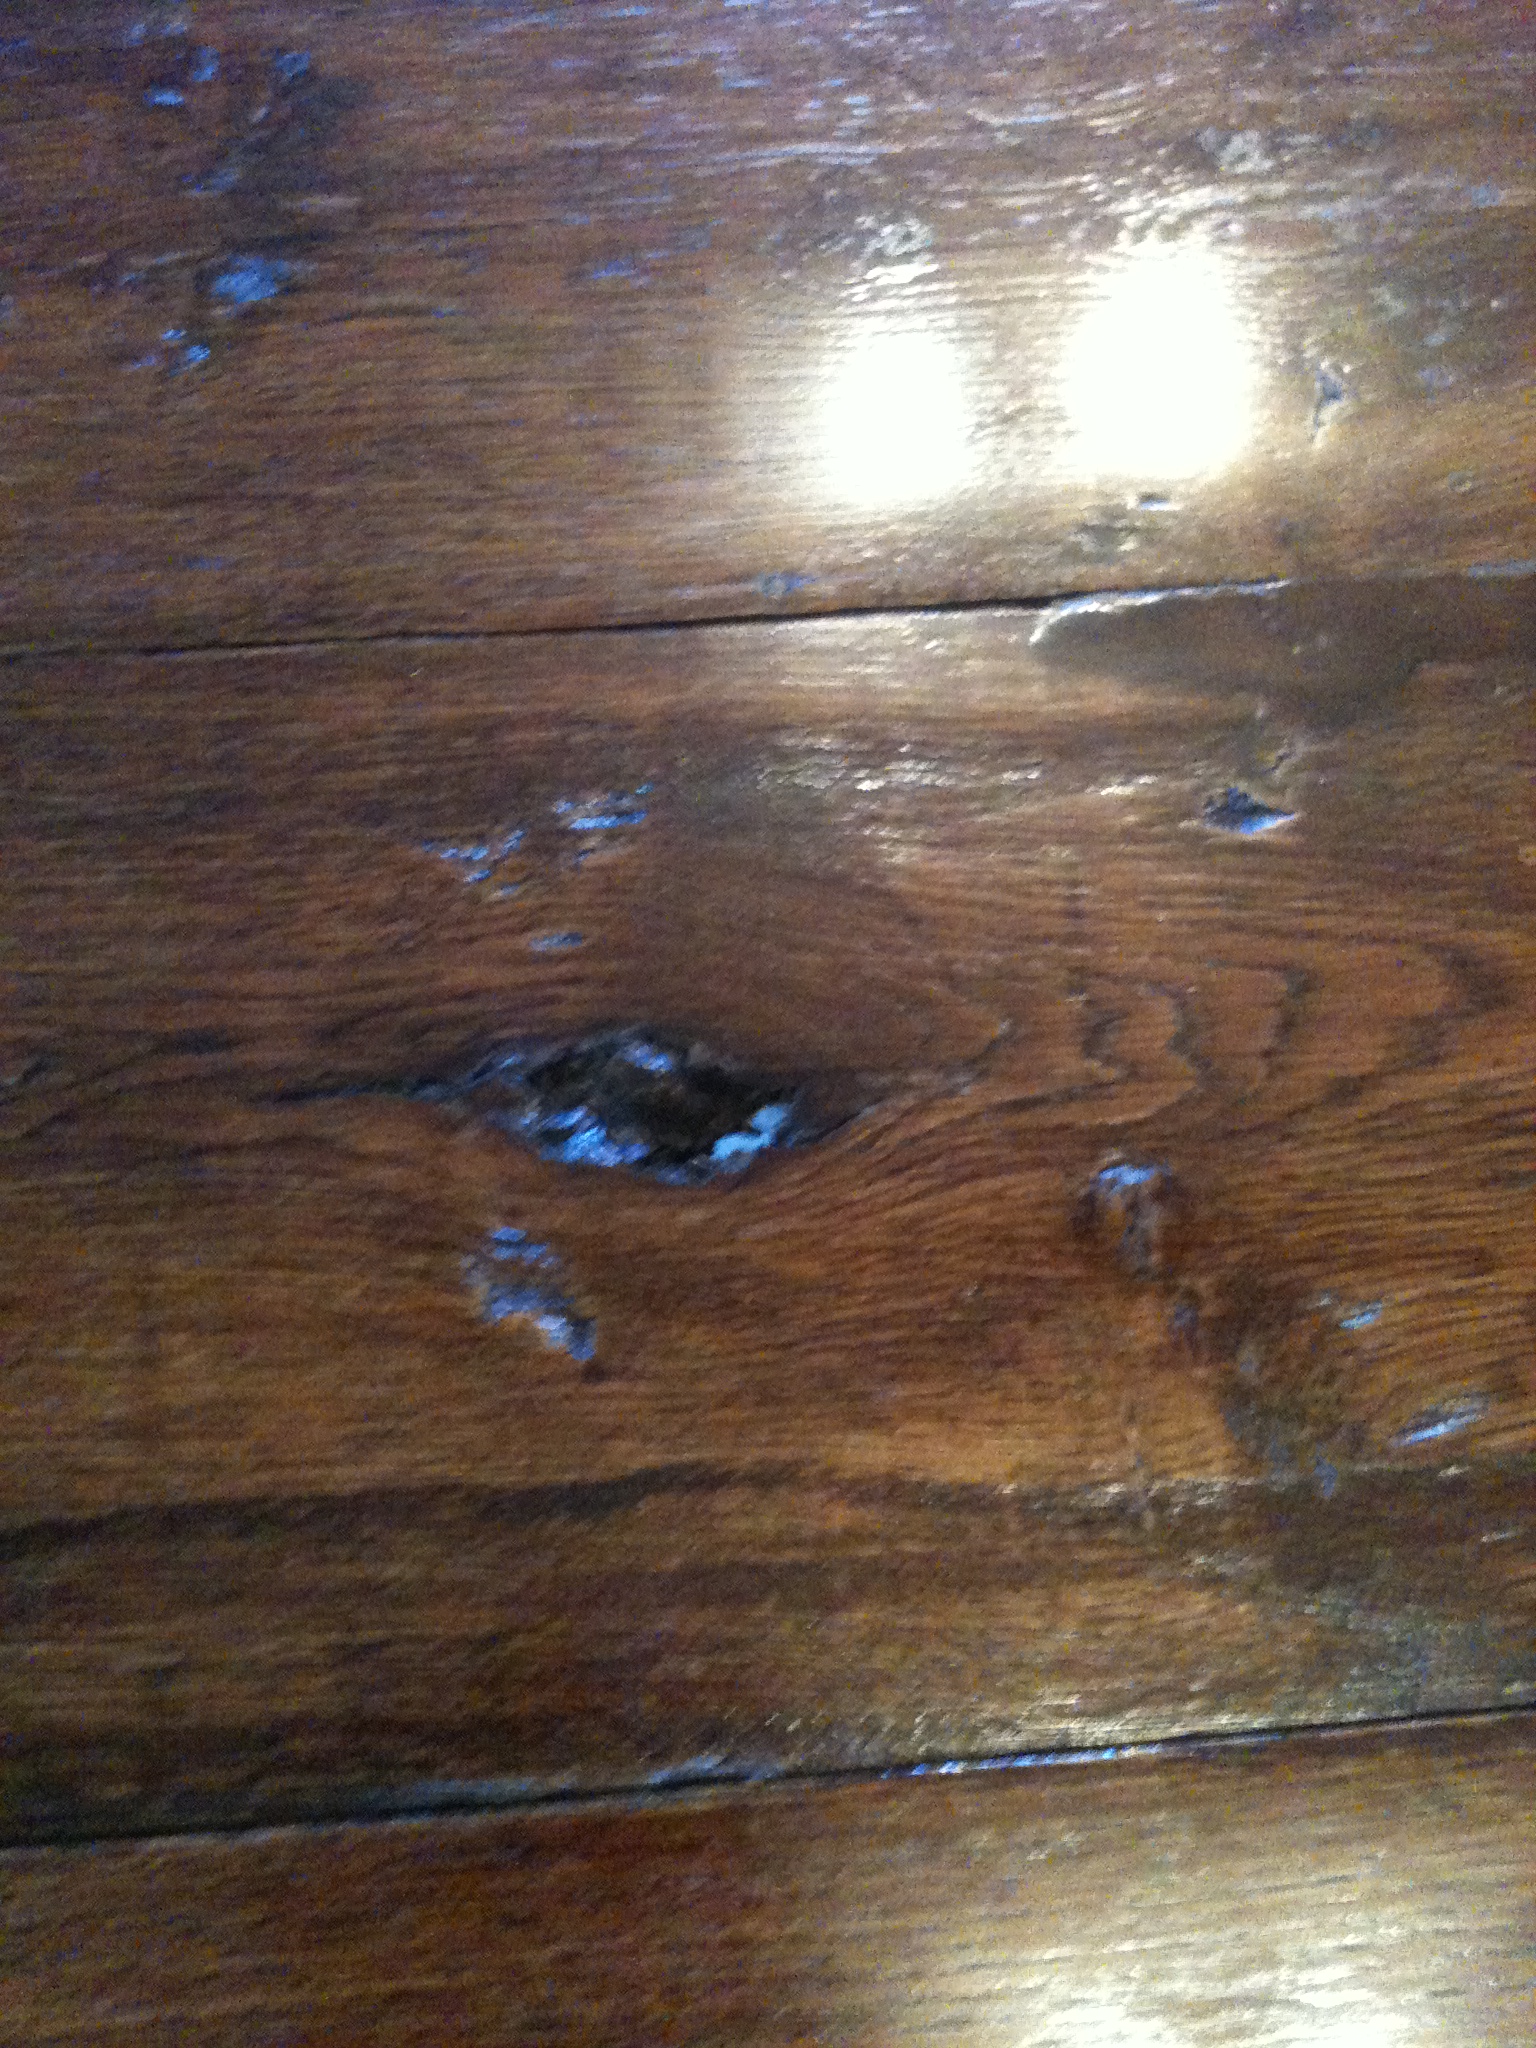
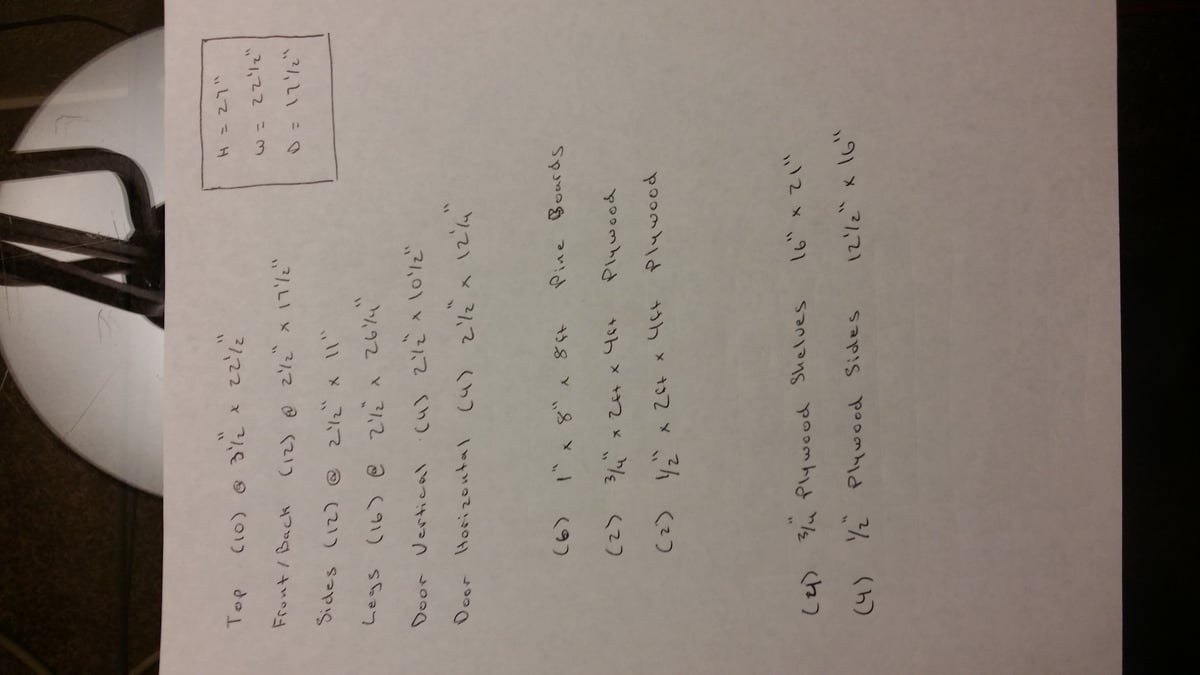
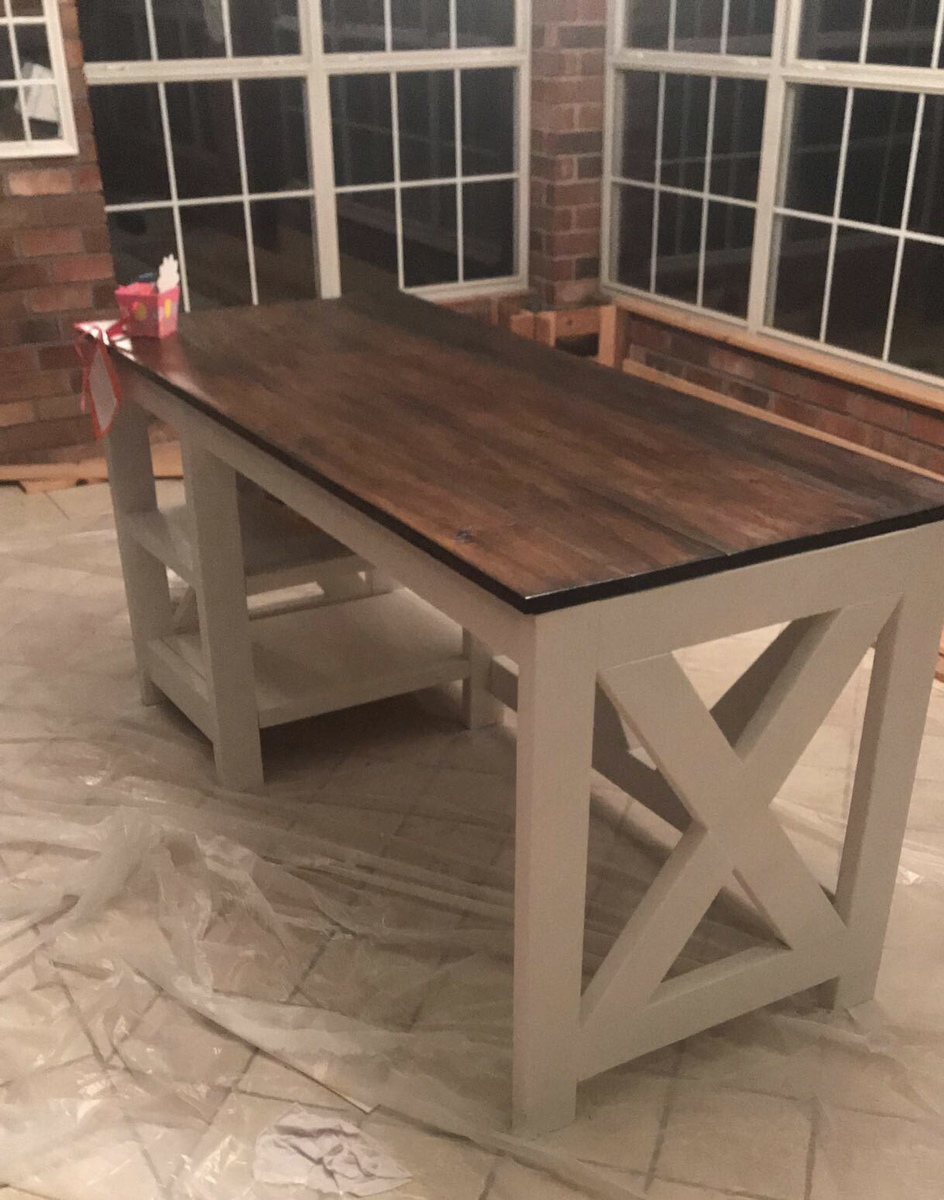
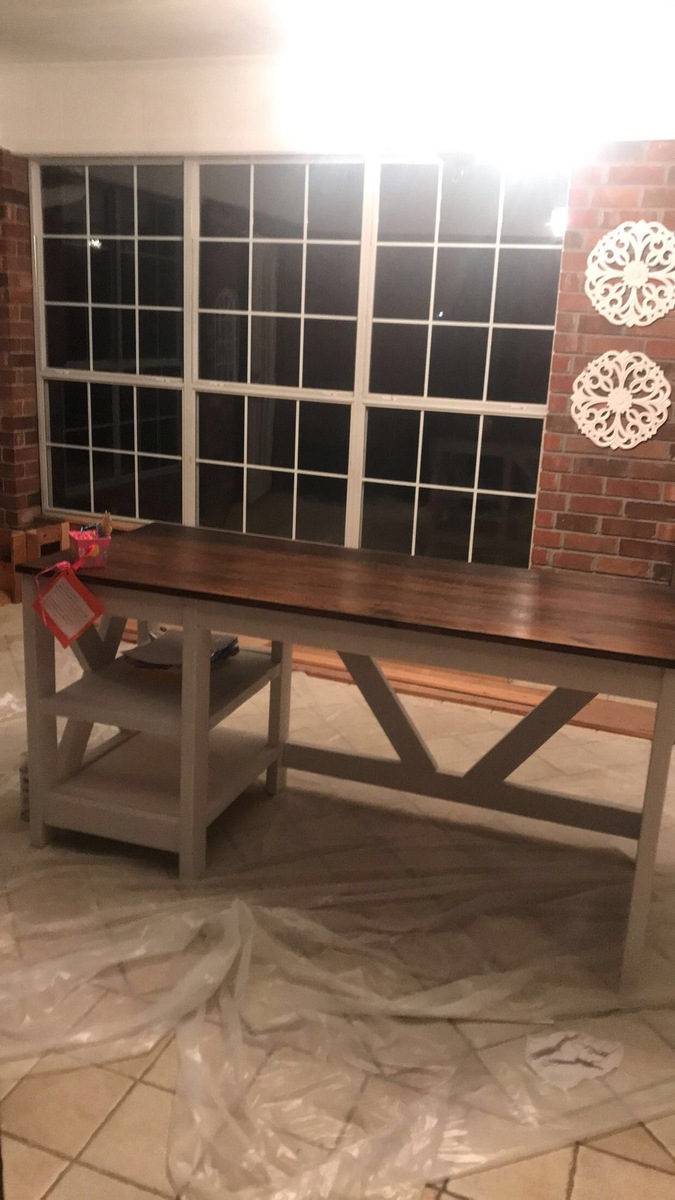
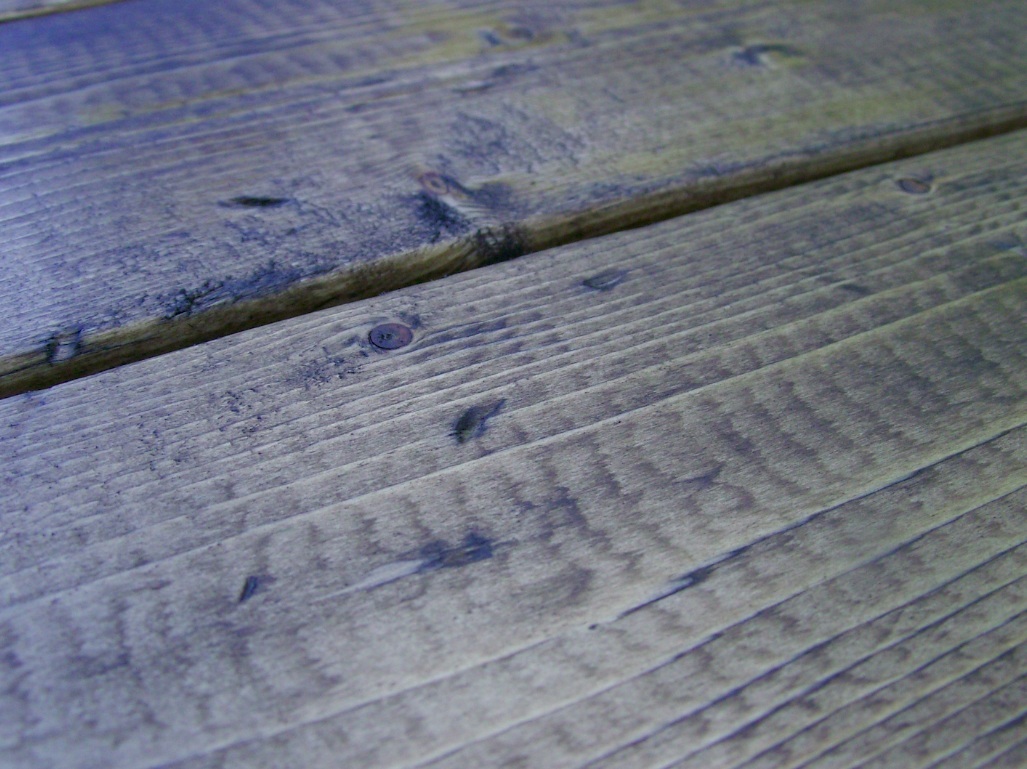
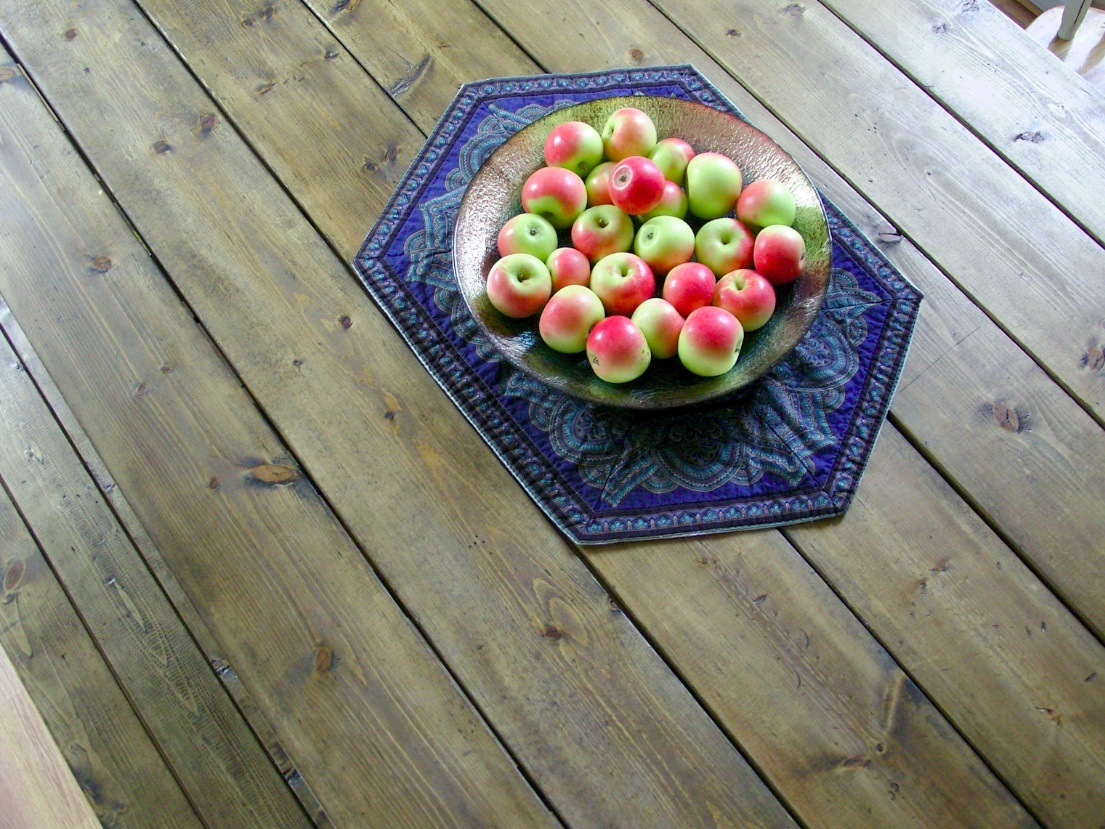
We really liked the plans for this table, but it was too narrow for our taste. My husband altered the plans so that the table is 36" wide. The solid oak boards on the table top are reclaimed from the old barn out back.
Estimated Cost
$90
Estimated Time Investment
Week Long Project (20 Hours or More)
Finish Used
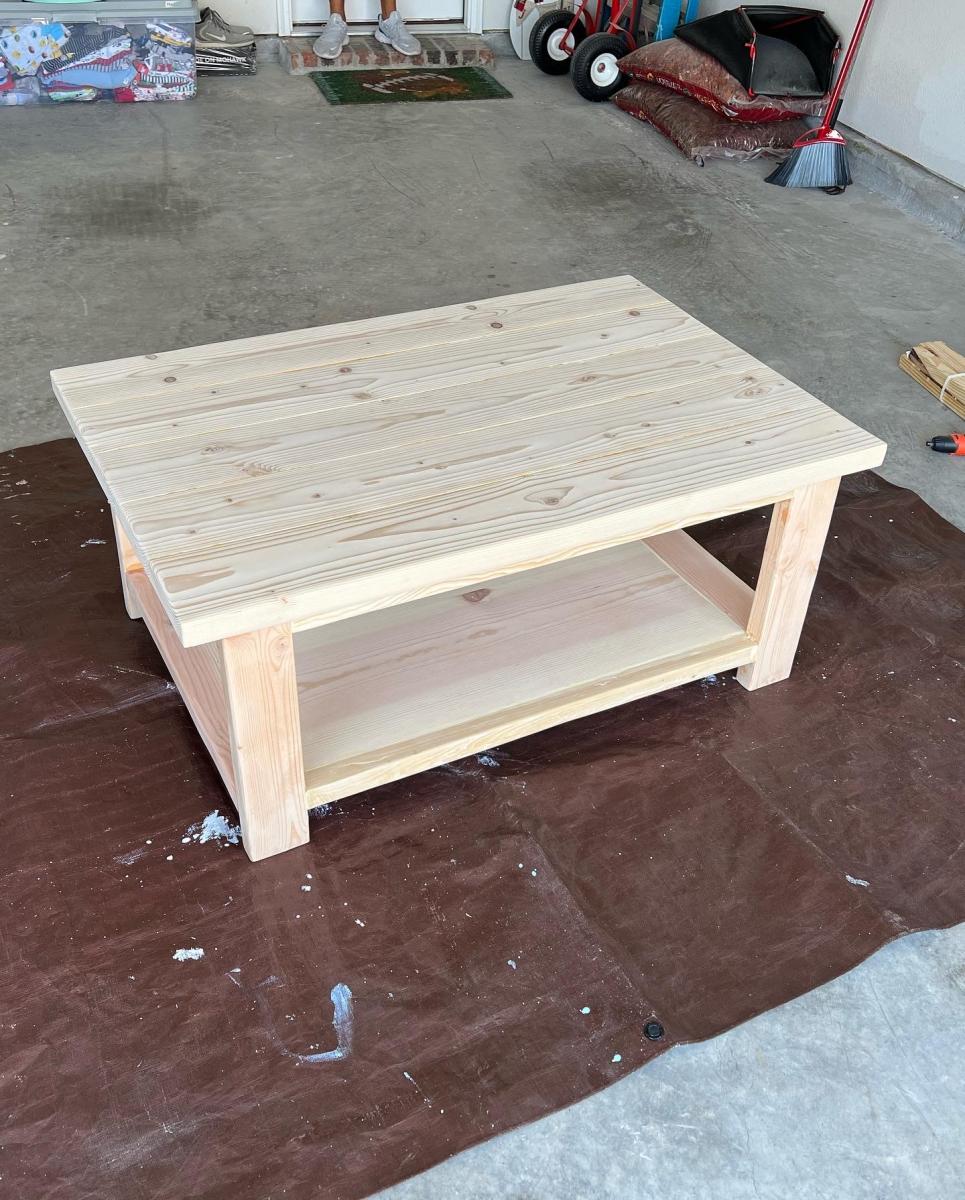
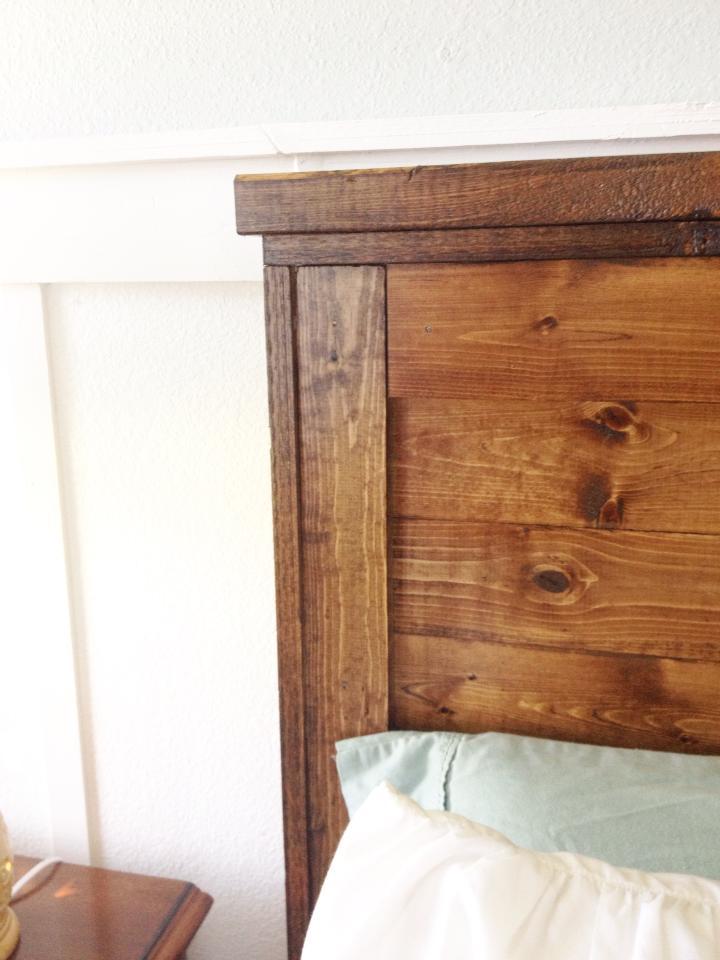
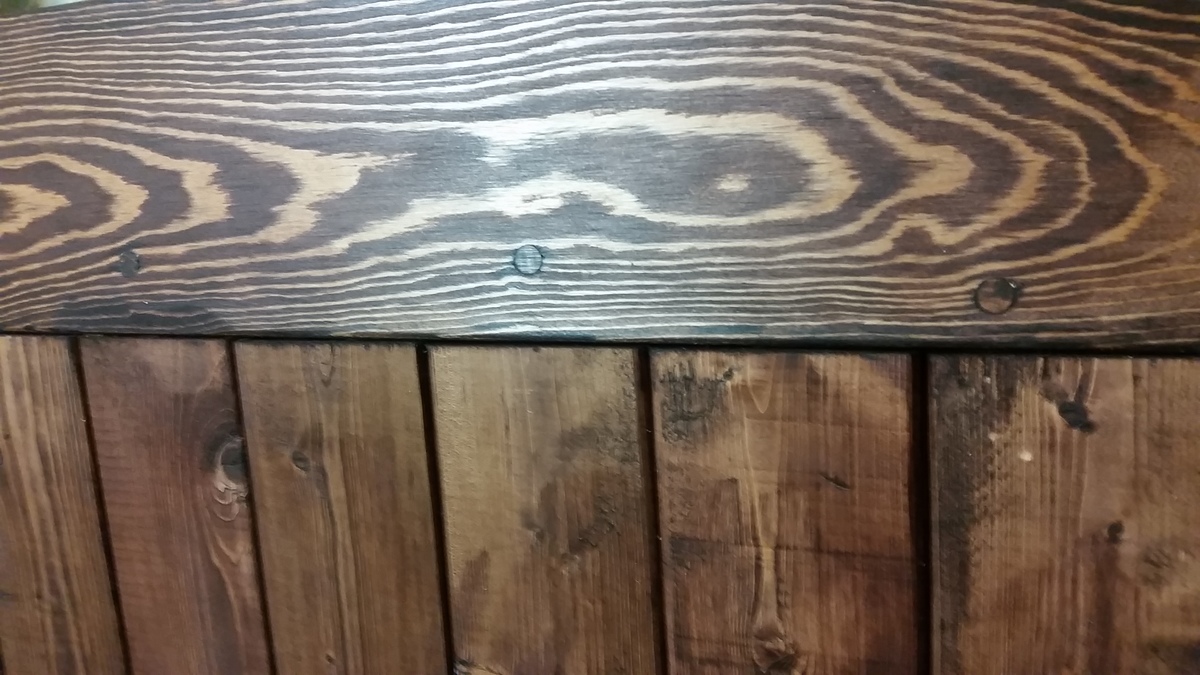
He raised the wood grain, and applied three coats of Minwax provincial, sanded in between coats, and five coats of polycrylic clear coat to protect it.
Recommended Skill Level
Intermediate


Comments
Ana White
Sat, 08/20/2011 - 19:14
Beautiful built! I'm so
Beautiful built! I'm so excited to see your table! Thank you so much for sharing!
Guest (not verified)
Thu, 08/25/2011 - 20:20
Thank you Ana for making the
Thank you Ana for making the plans available and easy to follow. My honey-do list gets longer. You do such great work.
Lori E. (not verified)
Sun, 08/21/2011 - 08:59
Stunning!! You did an
Stunning!! You did an amazing job!
susancrice
Mon, 08/22/2011 - 04:50
Beautiful table
Great finish. What type of wood did you use for the top and what color was your stain?
Thanks,
Susan
Guest (not verified)
Thu, 08/25/2011 - 20:19
The top is oak from an old
The top is oak from an old barn we have on our property. The stain is named Provincial from Minwax. The rest of the boards are whiteboards from Lowes.
Kelsey (not verified)
Mon, 08/29/2011 - 19:25
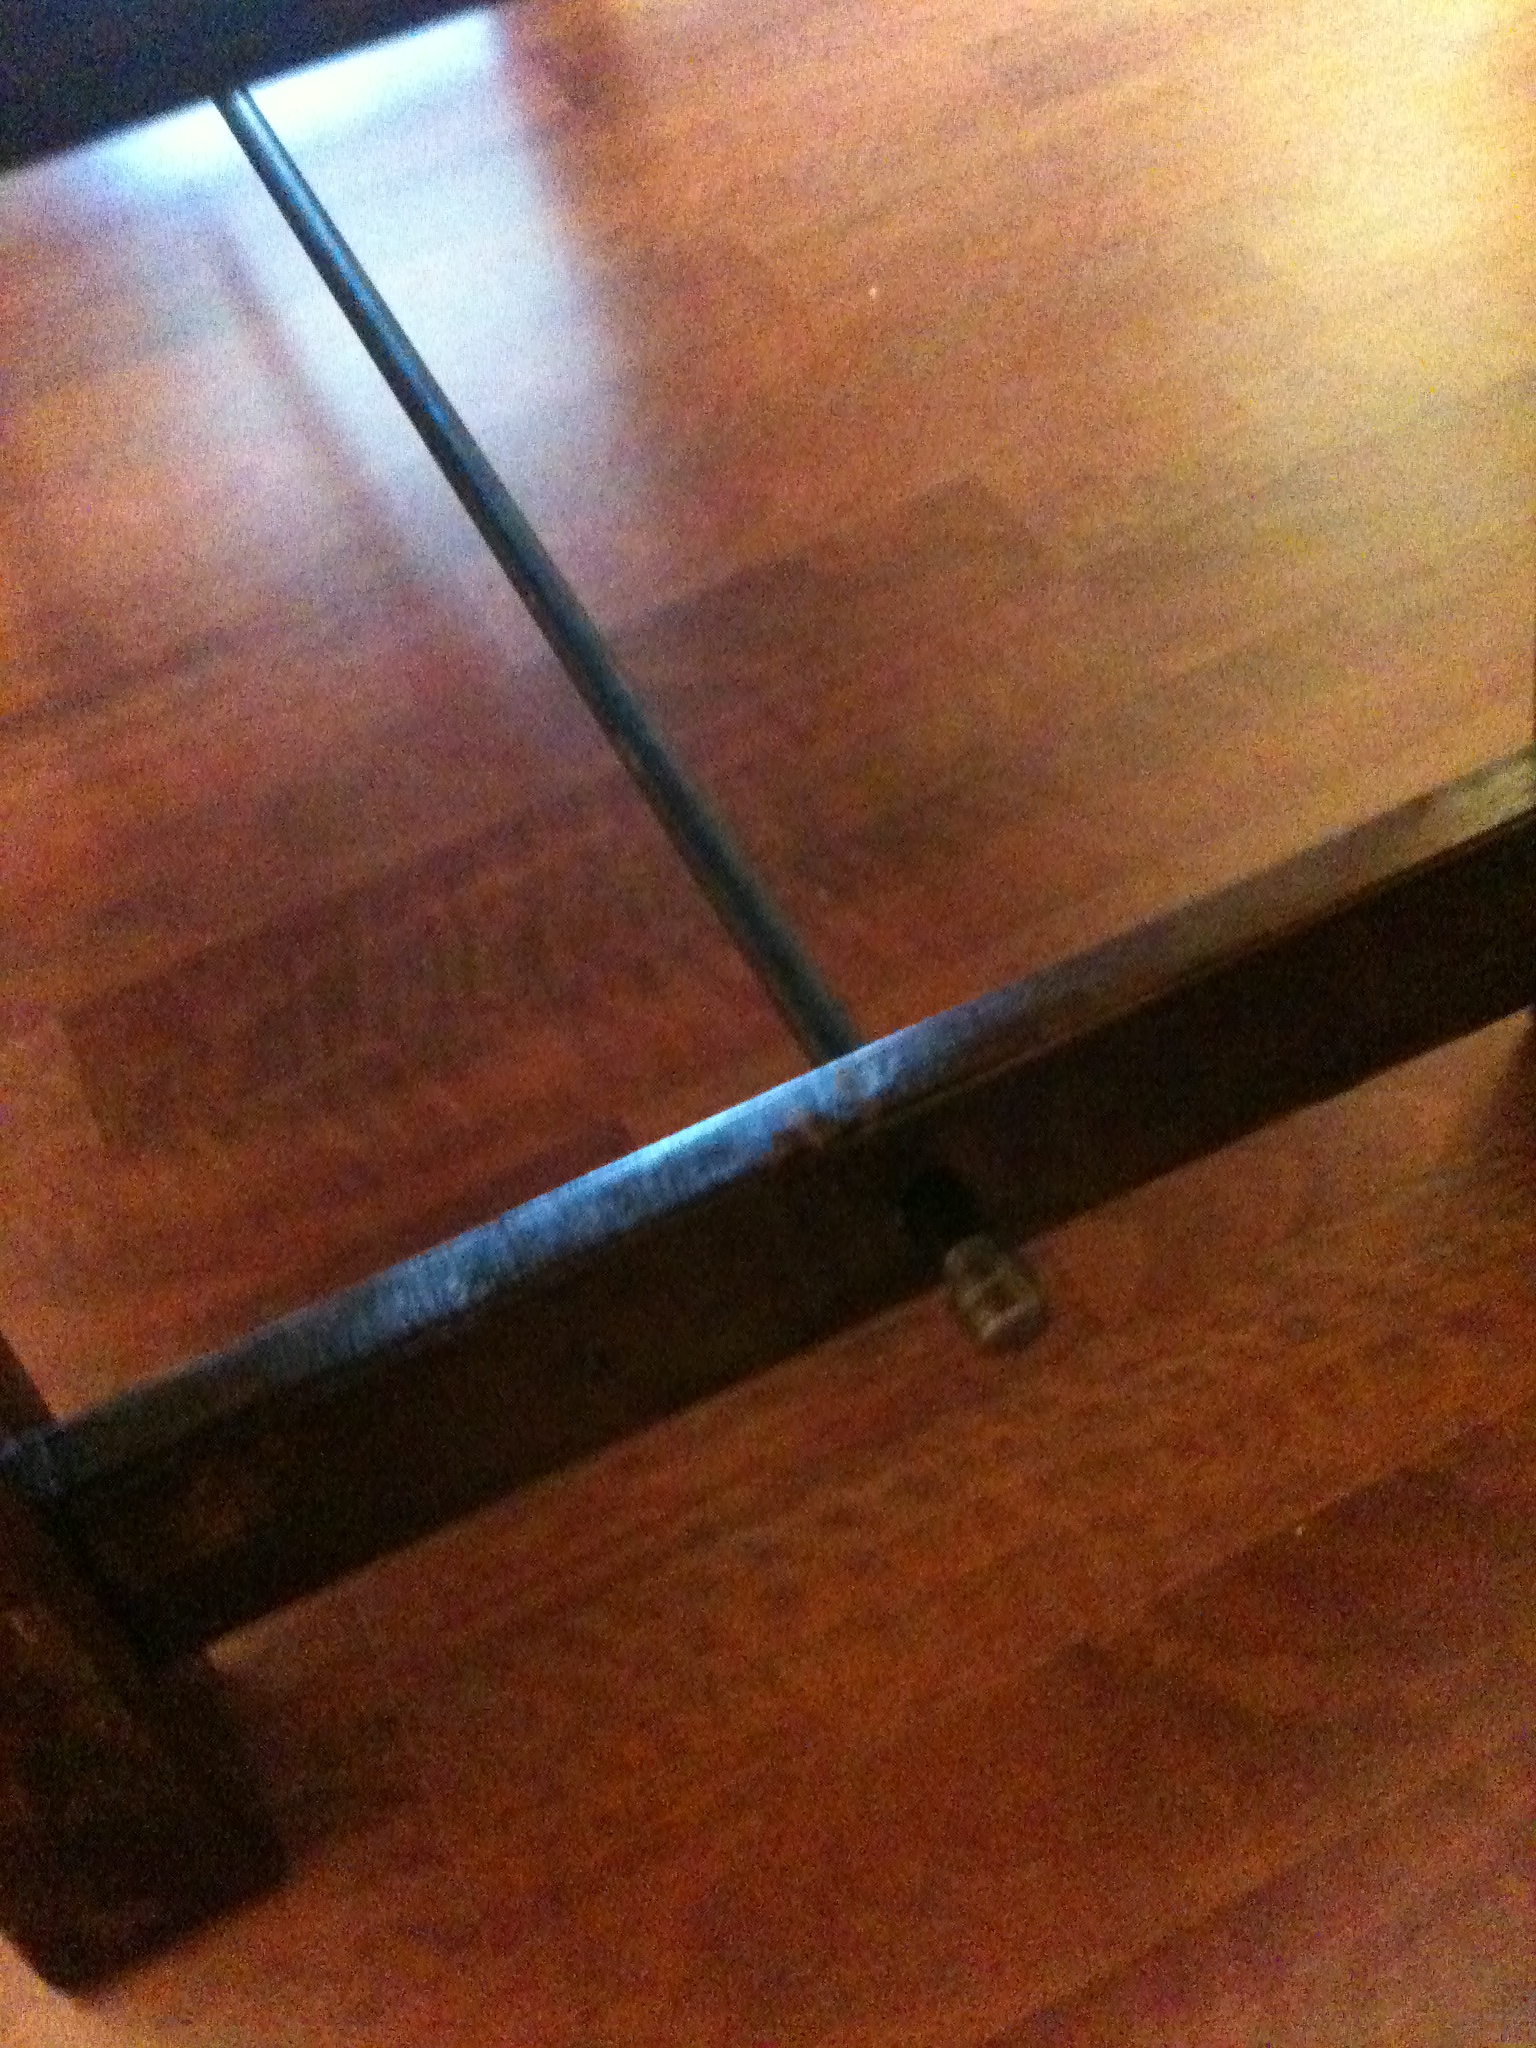
Gorgeous table! Where did you
Gorgeous table! Where did you find the metal rod for the bottom of the table?
Guest (not verified)
Wed, 08/31/2011 - 14:49
I found it a Lowe's in the
I found it a Lowe's in the section where the pipes are sold.
kareylynn
Sun, 12/04/2011 - 07:14
Gorgeous table!!!
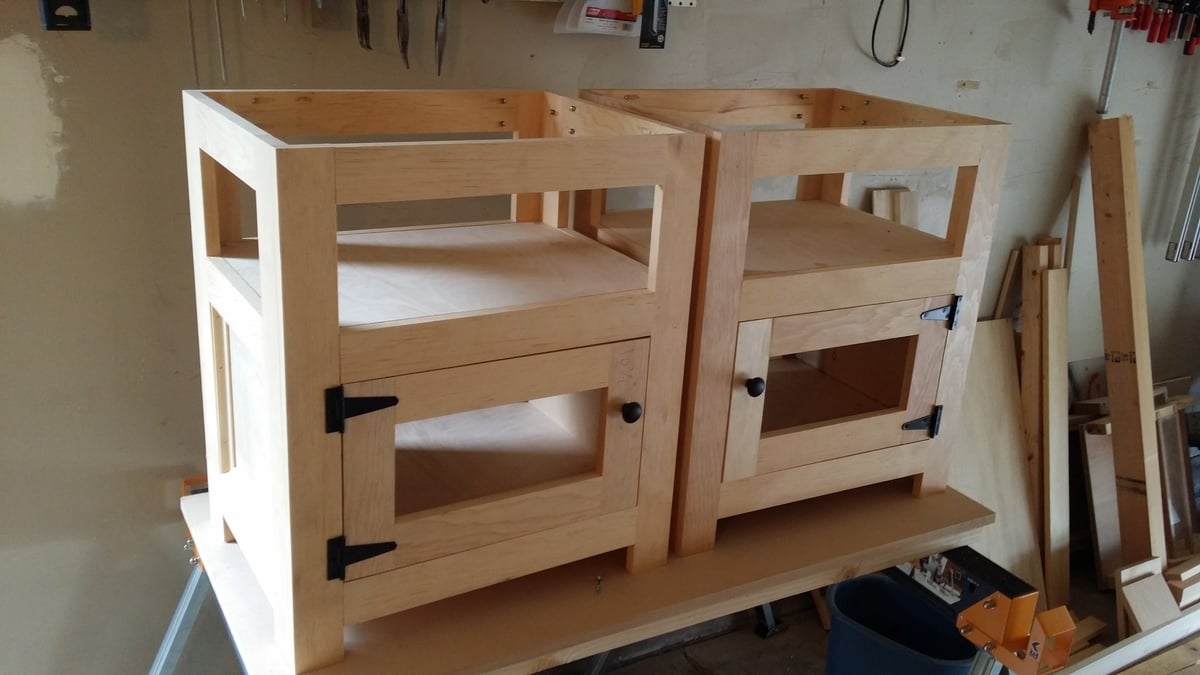
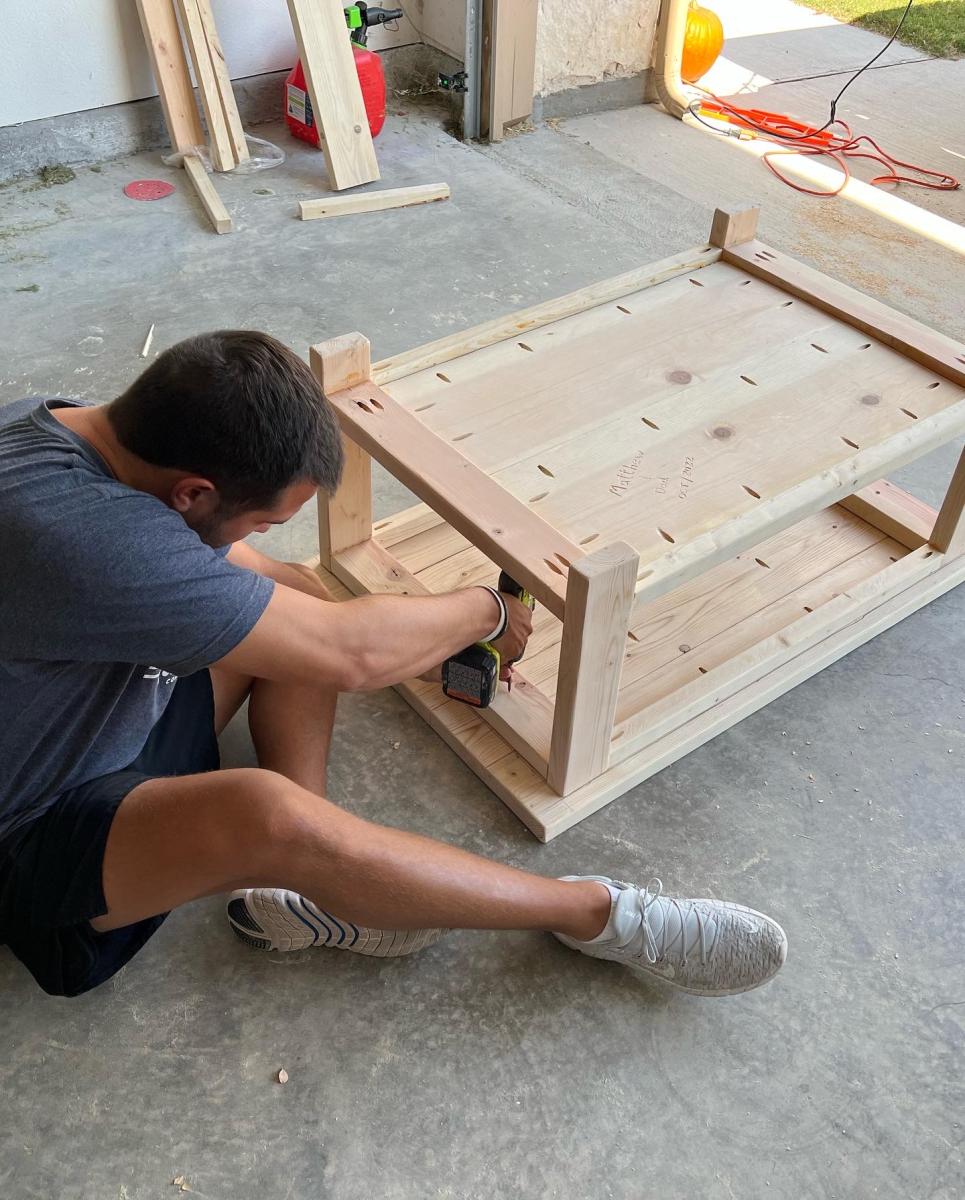
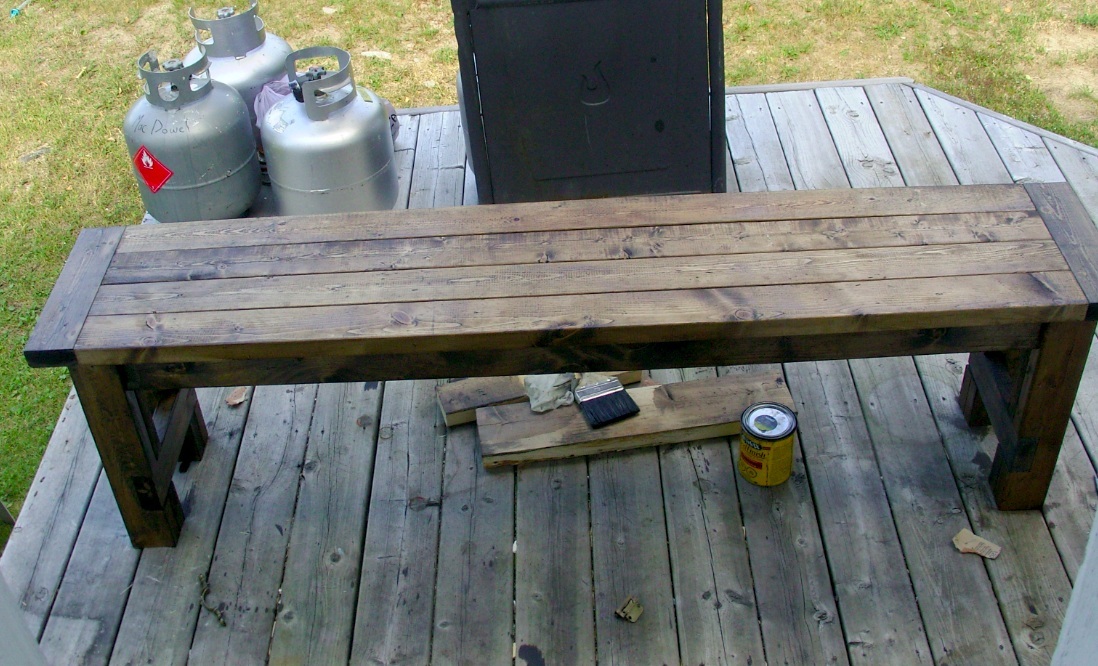
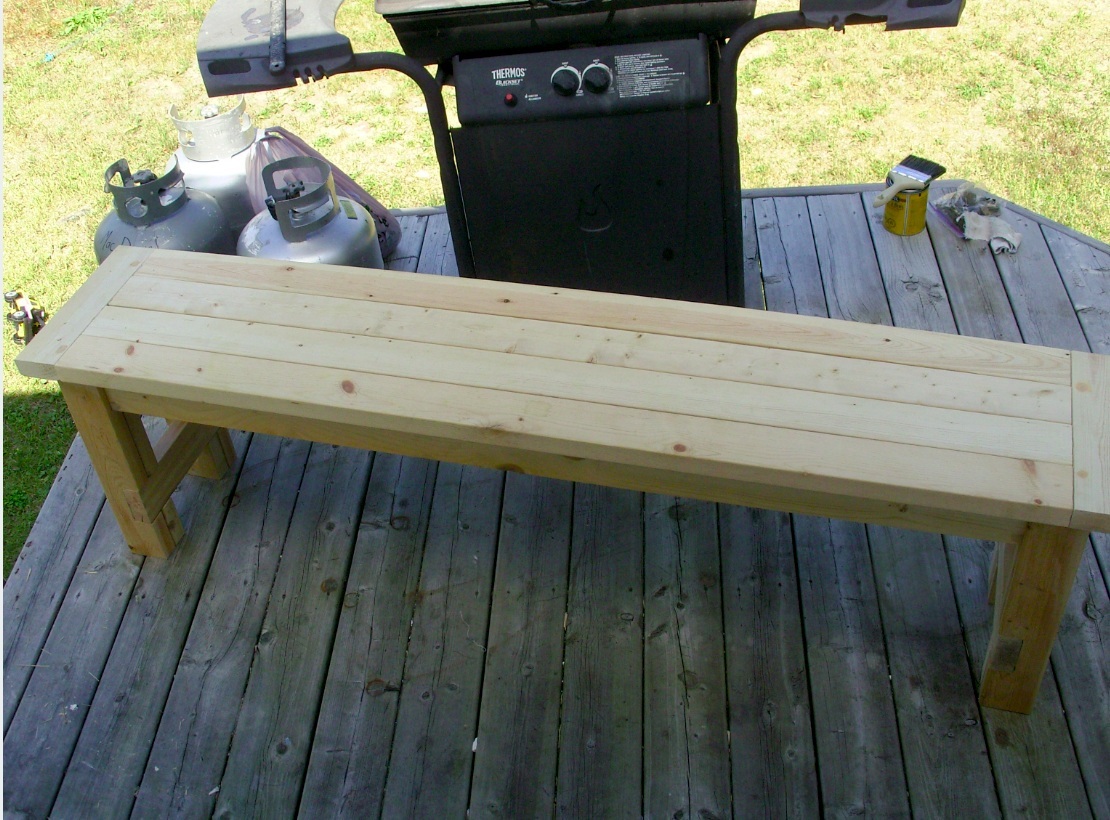
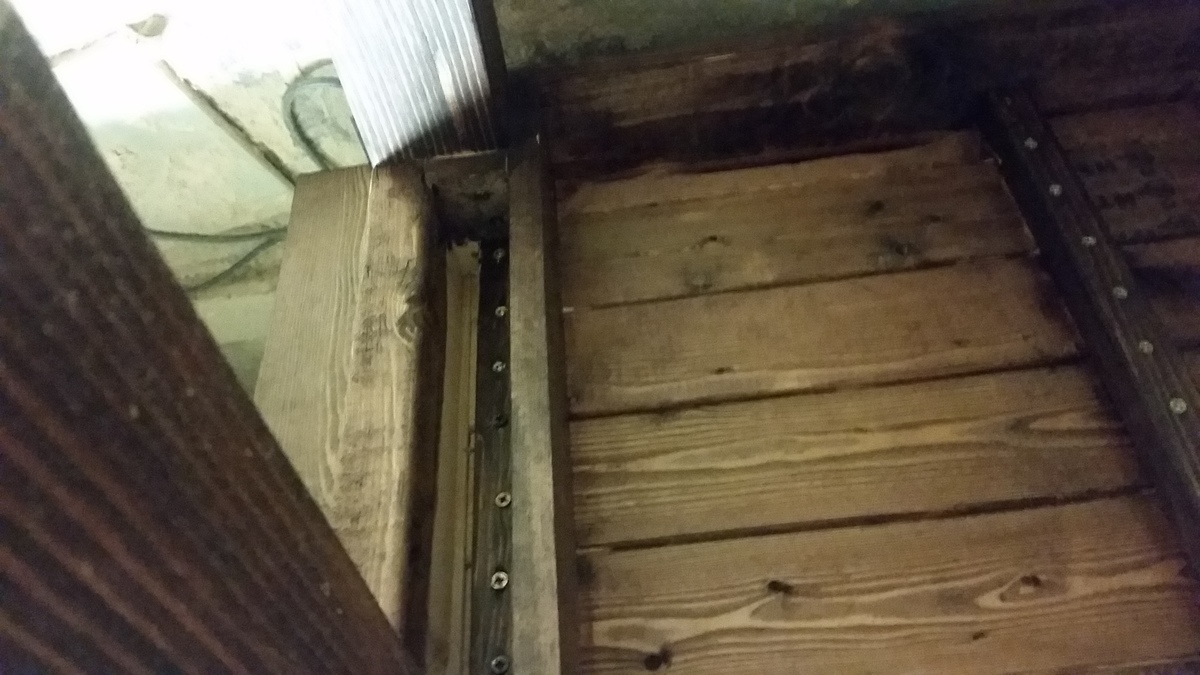
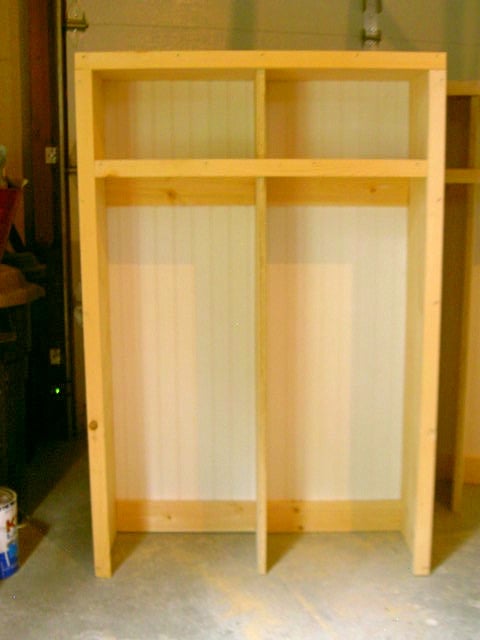
Gorgeous table!!! I love the finish, and I know you must be so proud of your work. I love the pic that shows the bones of your table in progress. It shows the craftsmanship that you put into this piece. Great job!
Nathan1342 (not verified)
Sun, 02/12/2012 - 10:11
Color of stain?
Hi,
You mentioned that you used "Provincial by Minwax" I looked at it at lowes but it doesn't seem nearly dark enough to achieve the color from your pictures. I have included a link to it so, maybe I have the wrong stuff:
http://www.lowes.com/pd_45804-24-22110000_4294766269_4294937087_?produc…
If you could let me know if I'm on the right track that would be great!
Thanks!
cassiopeia_816
Tue, 02/14/2012 - 04:55
Color of stain.
You have the correct stain on the website, I used 3 coats on the table top to get it darker and let the stain soak in longer before wipping off the extra. On the chairs only 2 coats were applied. What I did was sand in between all the coats, even though the stain directions say its not needed, I just wanted to try and the results I liked. As always try on a spare piece of wood first. I hope this info. helps, thanks for looking and asking.
Guest (not verified)
Wed, 02/22/2012 - 10:30
Great! Thank you for the
Great! Thank you for the reply. I am going to start on this project in a few weeks and your input is very valuable. I'll give it a go and let you know how it goes.
Thanks again!
Guest (not verified)
Wed, 03/07/2012 - 19:39
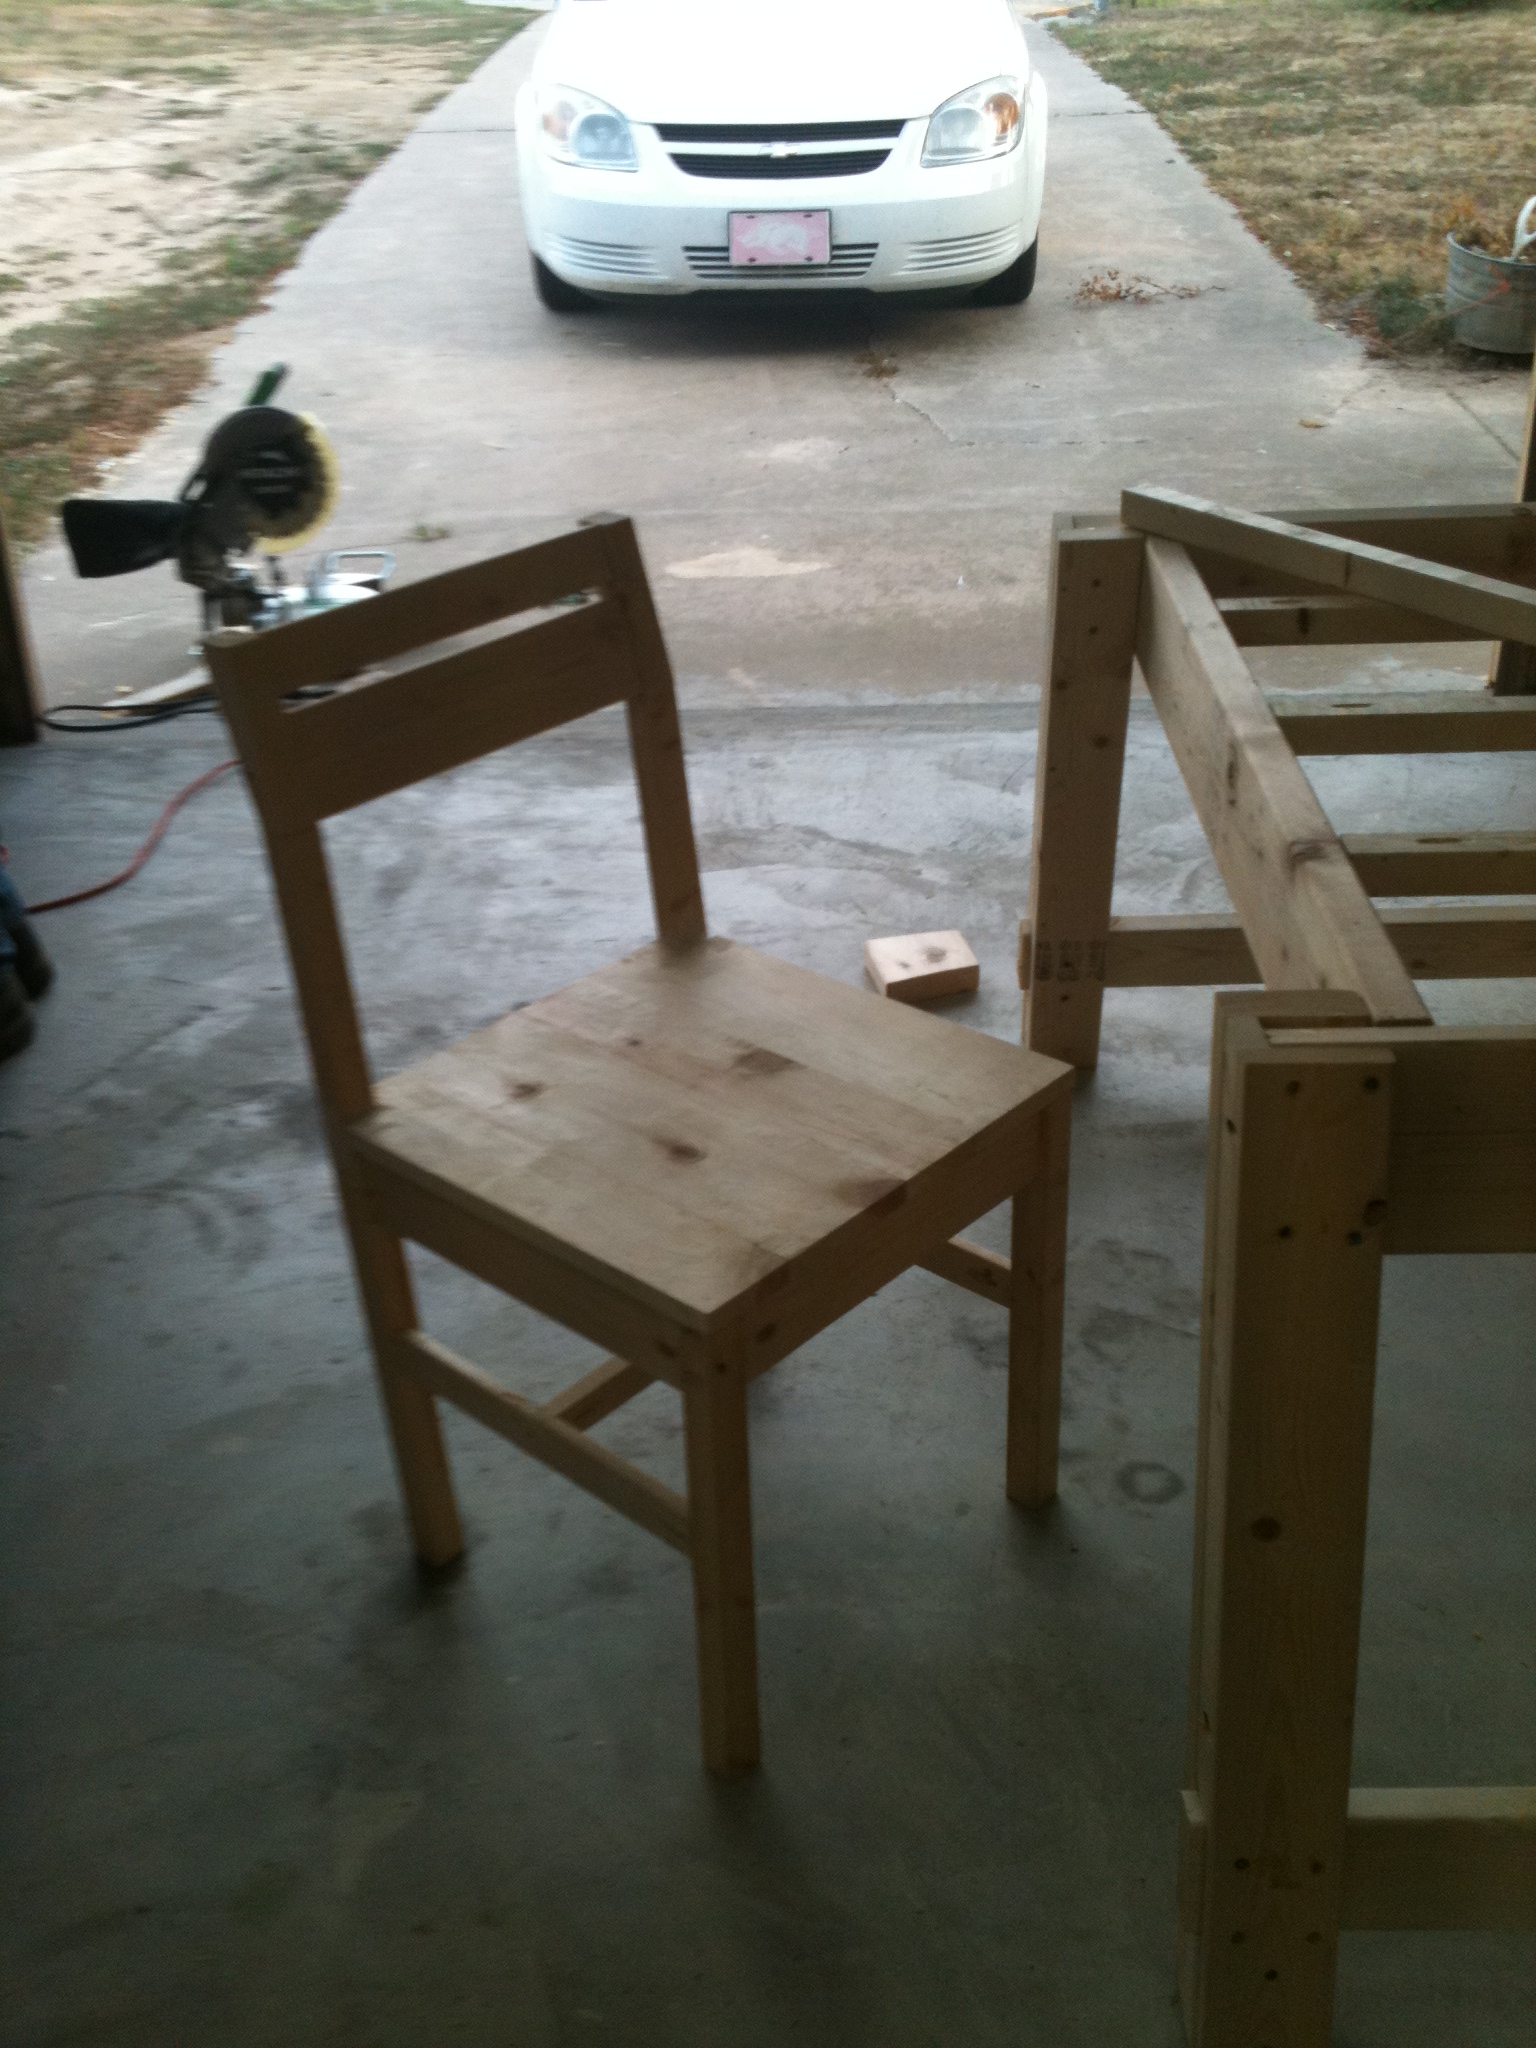
I love the table, but I'm
I love the table, but I'm suprised that no one said anything about the chairs. Do you have the plans for the chairs you made? I built the table but would love to have chairs that matched! Thank You
Guest (not verified)
Tue, 03/13/2012 - 14:21
Awesome table! I'm in LOVE! Plans?
I'm in LOVE with your table!!! Did your husband follow Ana's directions for the legs? They look like they are at a slight angle. Does your husband have the plans for this? Thank you so much!!
Guest (not verified)
Tue, 03/13/2012 - 14:26
Do you have the plans for this table?
Hi, I LOVE your table - it came out so beautiful! Just wondering, did you change the plans other than the with of the top? The legs look like they are at a slight angle and I love that!
cassiopeia_816
Sat, 03/31/2012 - 15:47
Table and chair plans.
I followed Ana's plan to build the legs, they are at a slight angle. The chairs are based on the Modern Angle Chair. They are posted as another project. I did add the three cross supports on the bottom. When I saw my wife sit down and lean back a little bit I could see the back legs moving to much in the wrong direction. I basically used a 1x2, and I tried to measure about the middle or what looked good and screwed them in. It added more strength to the legs and made the chair much sturdier. I hope this info., helps. Sorry it took awhile to reply back.
jsh2001
Thu, 01/31/2013 - 04:40
Amazing Work
This table is stunning, great work. Everytime we think we know which type of table we want to build we go and see another that looks even better.
windjamer812
Wed, 08/14/2013 - 00:28
Beautiful
That is one beautiful table.