Community Brag Posts

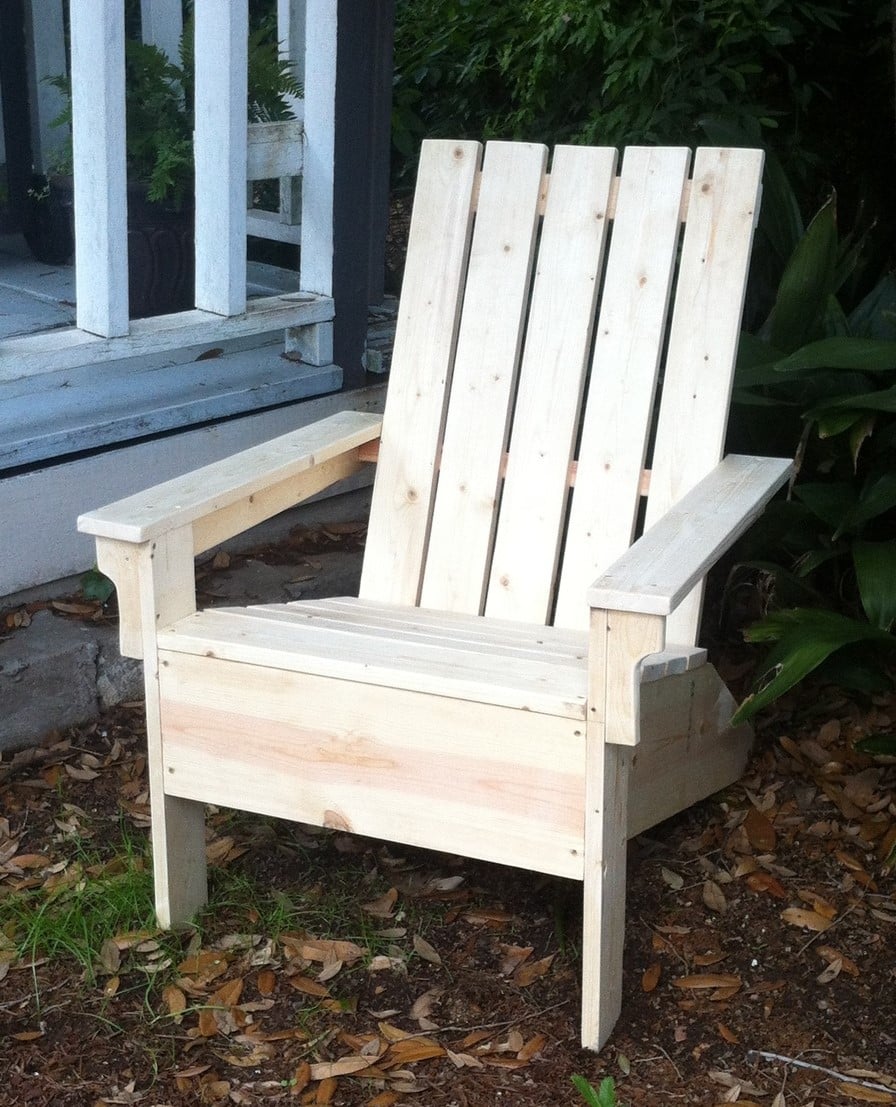
Modern Outdoor Chairs (modified for 24in cushions)

Submitted by Anonymous (not verified) on Wed, 11/25/2020 - 18:25

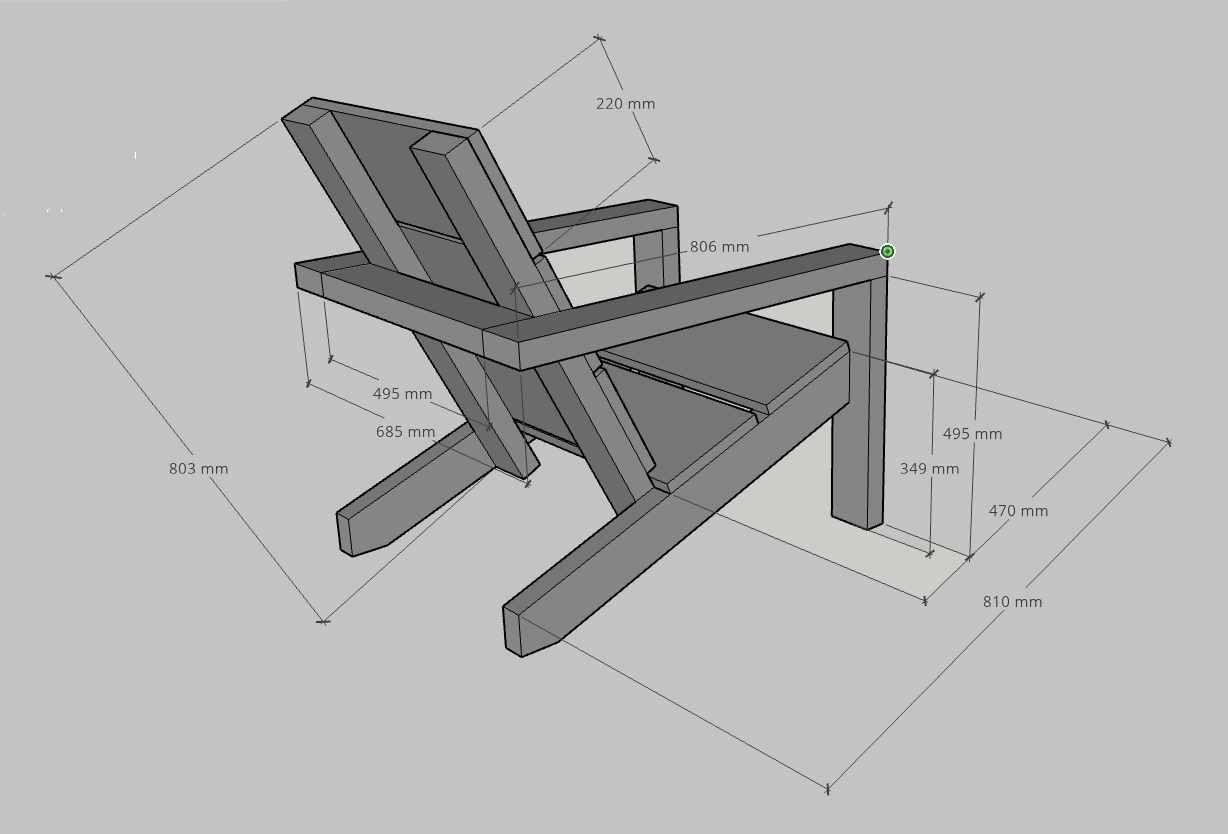
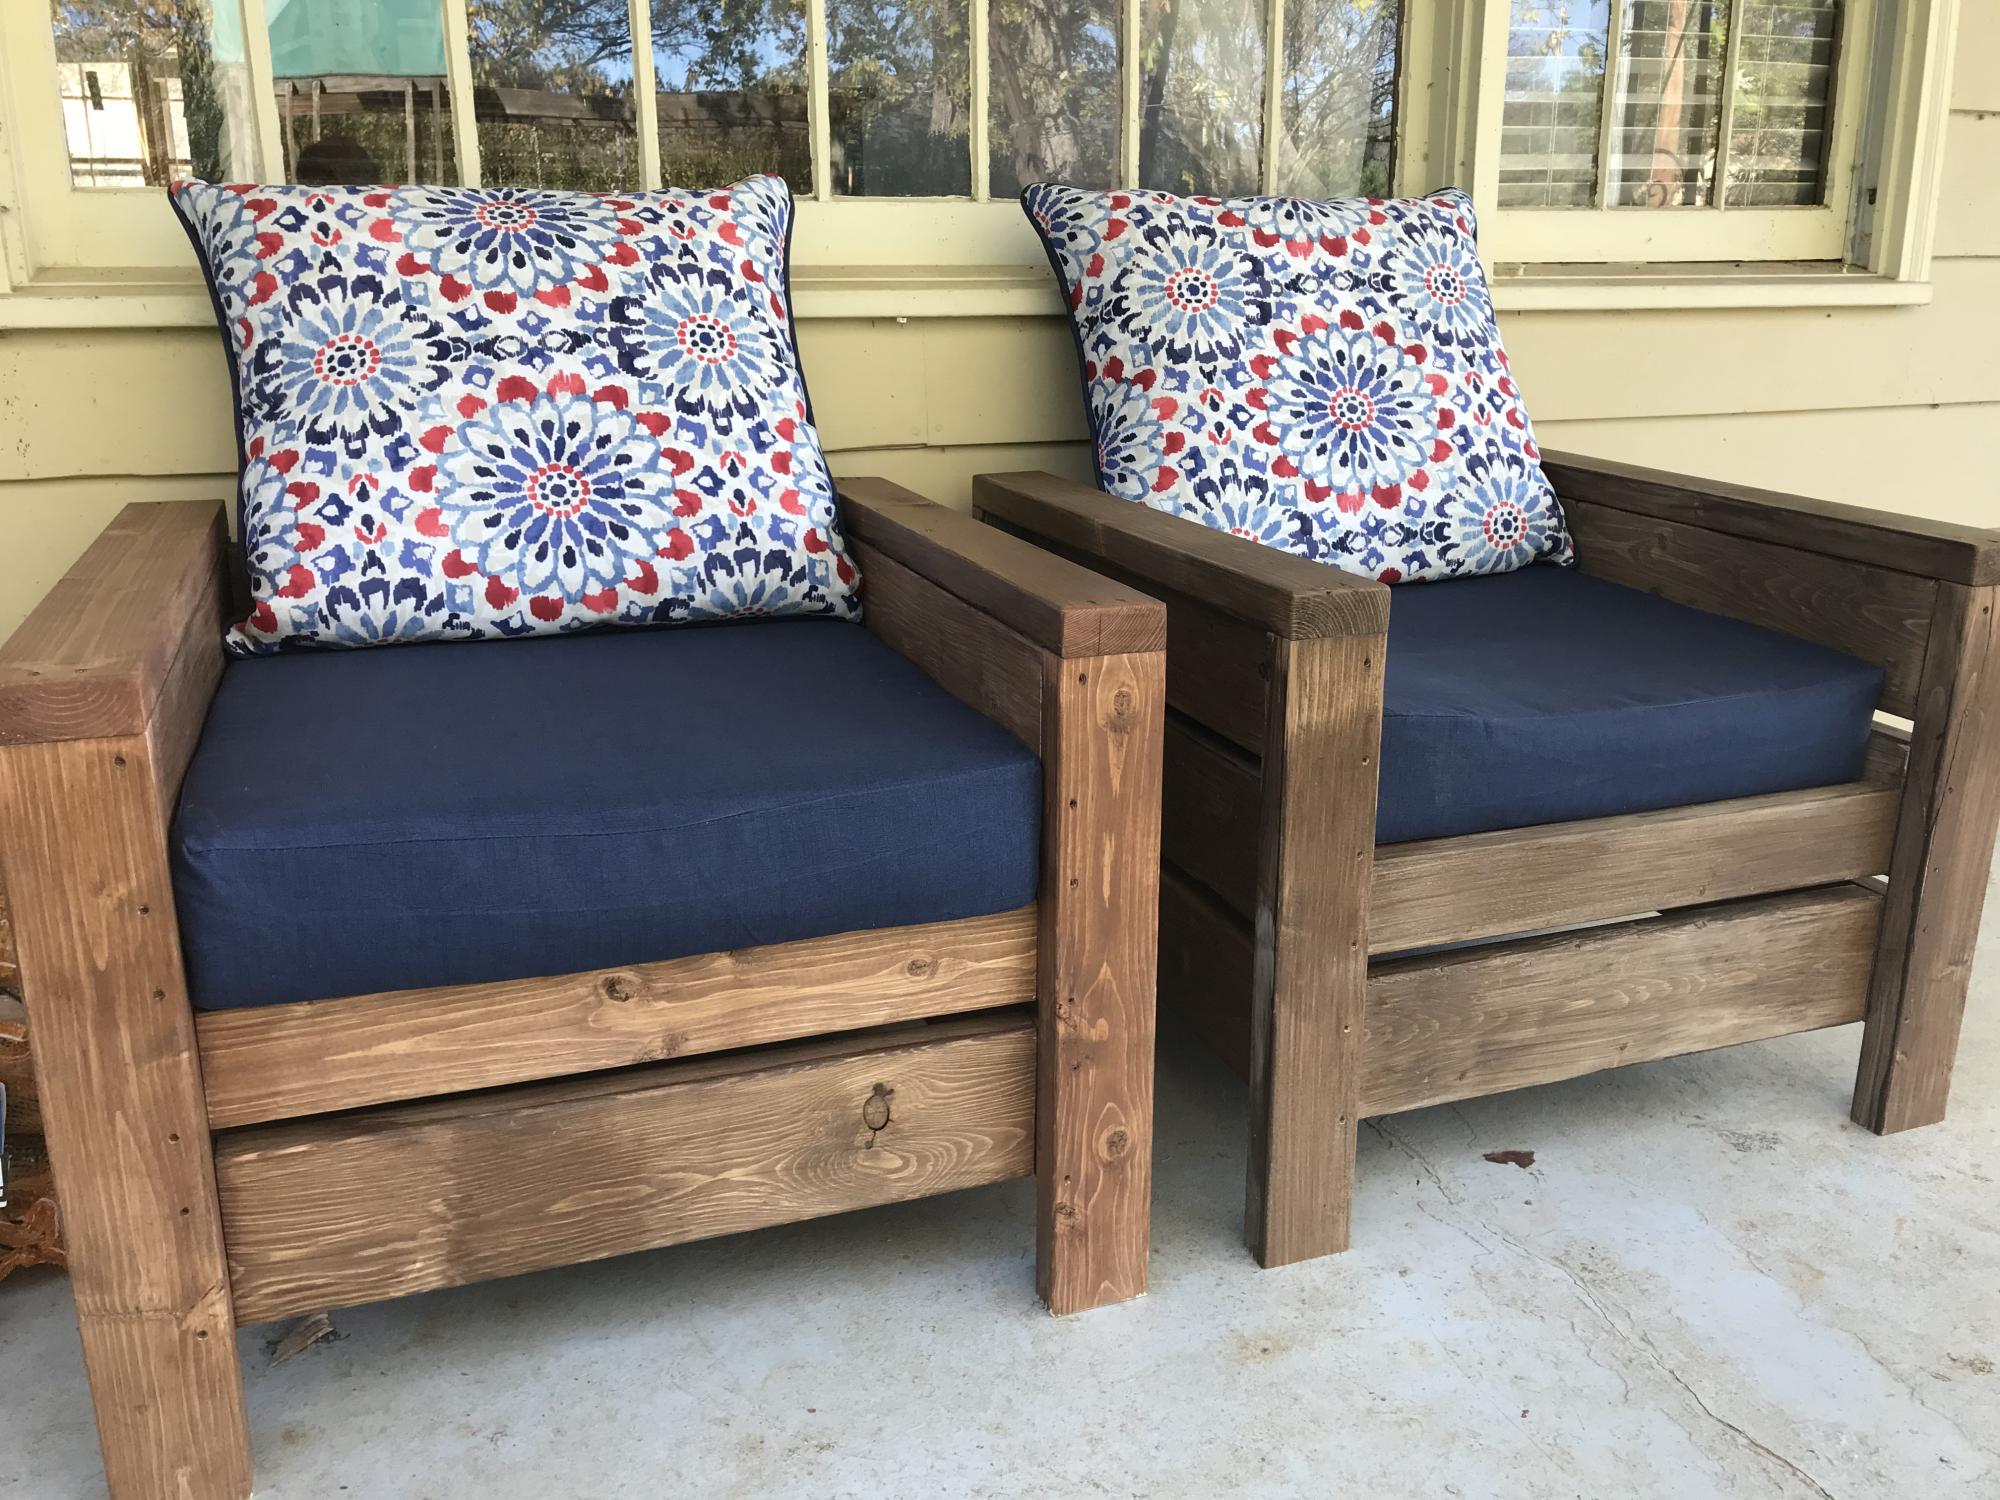
I built two of Ana's "Modern Outdoor Chairs" and adjusted the plans to accommodate 24" in cushions. We're pleased with how they turned out and have gotten great use out of them. Thanks for the plans, Ana!

Estimated Cost
~$60 per chair (not including the cushions)
Estimated Time Investment
Weekend Project (10-20 Hours)
Finish Used
I used the exact finish that Ana recommended.
Recommended Skill Level
Starter Project
Seasonal And Holiday

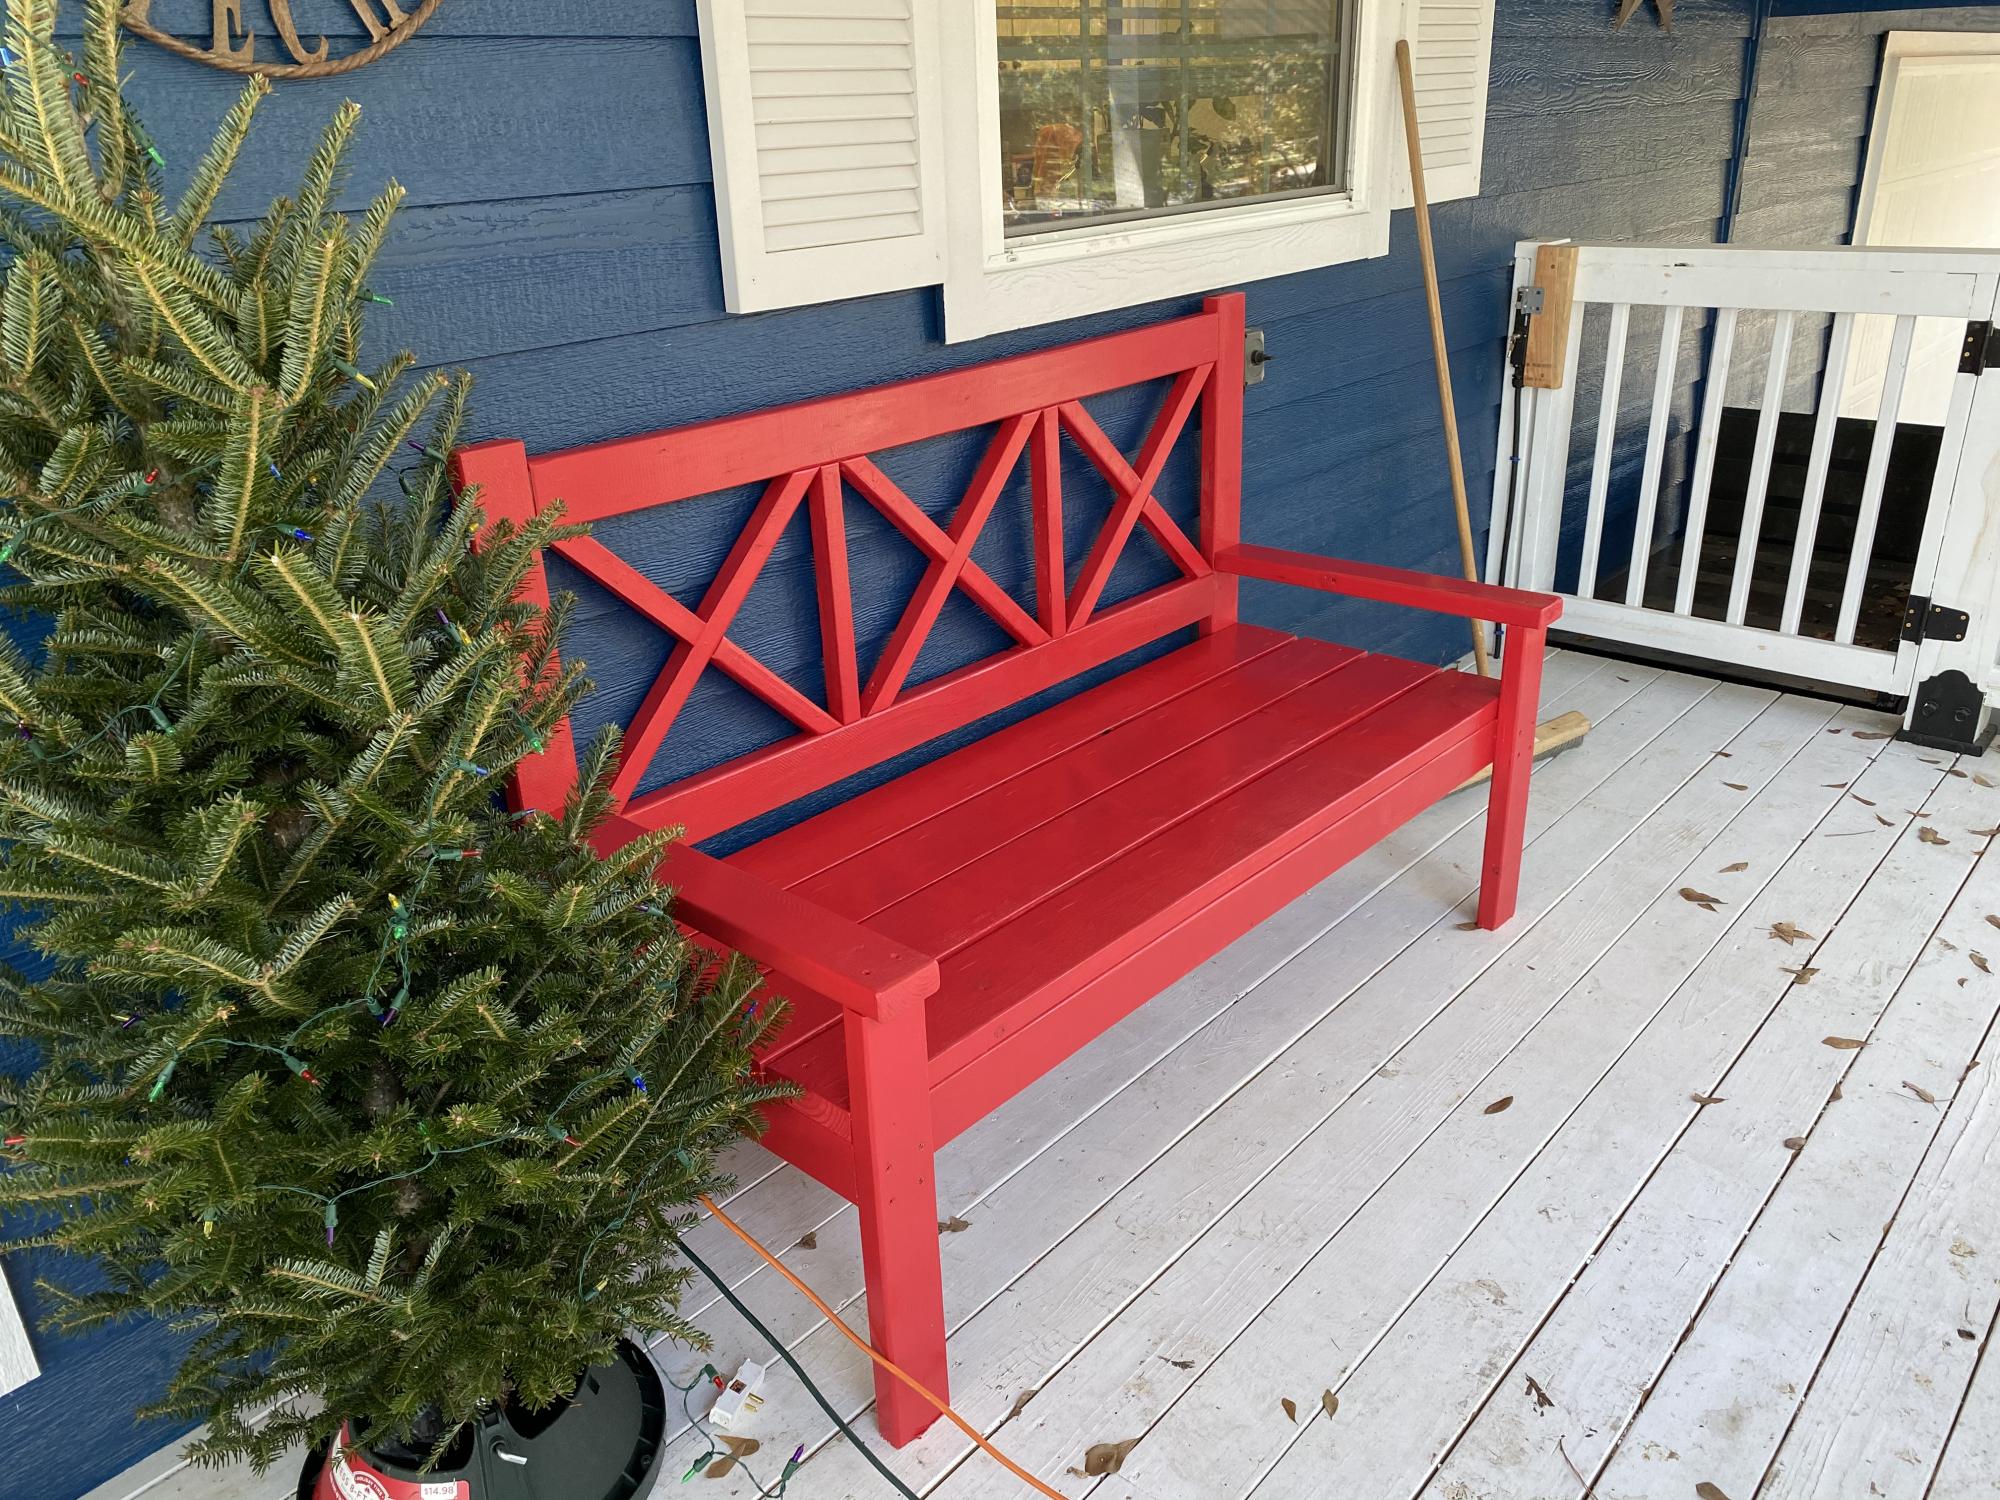
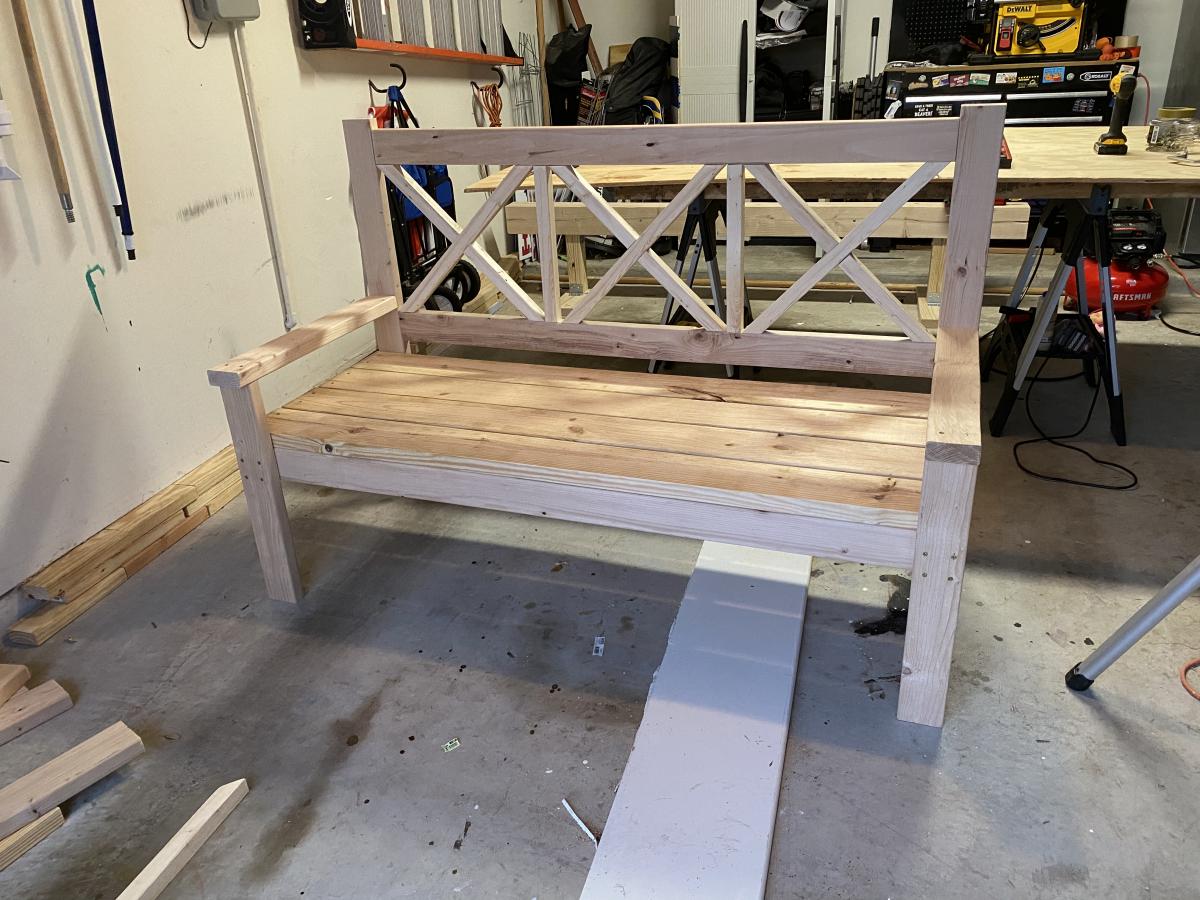
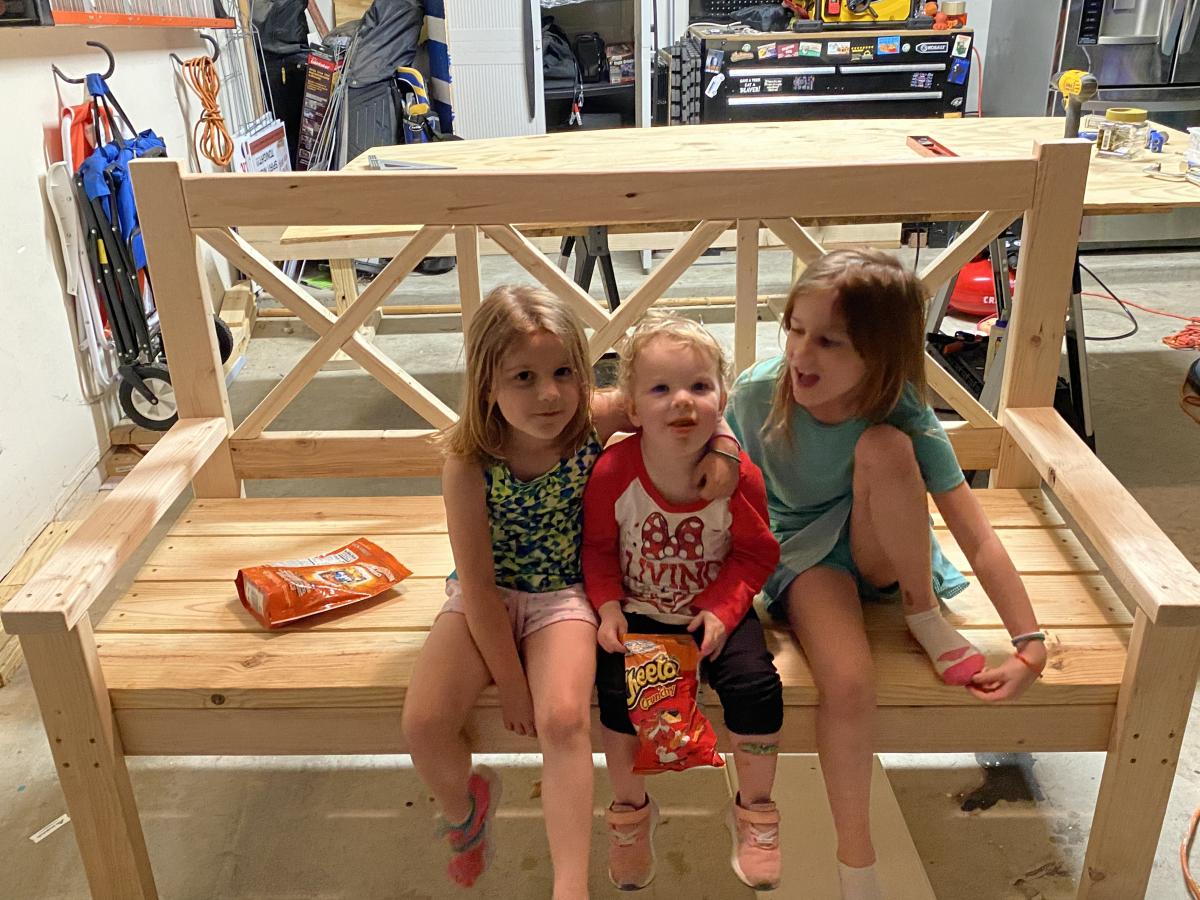
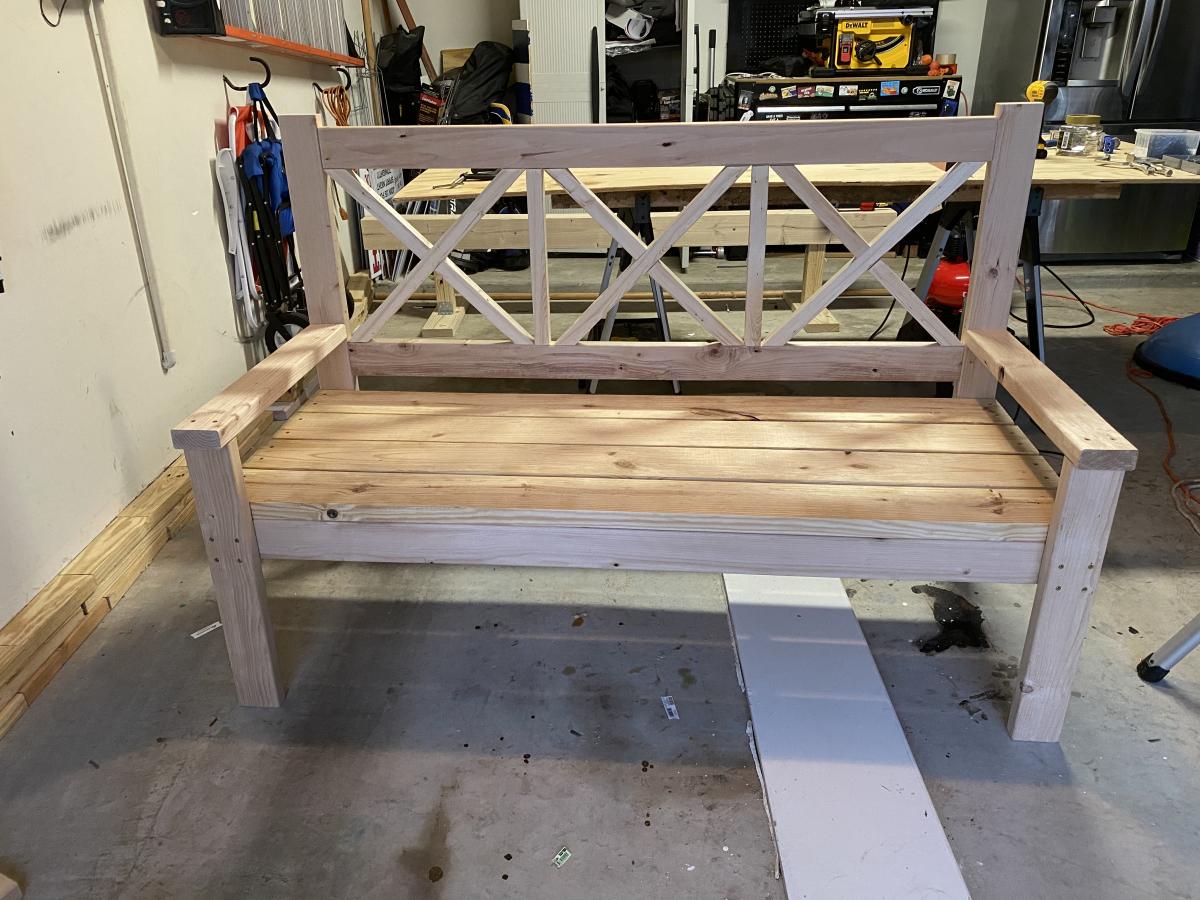
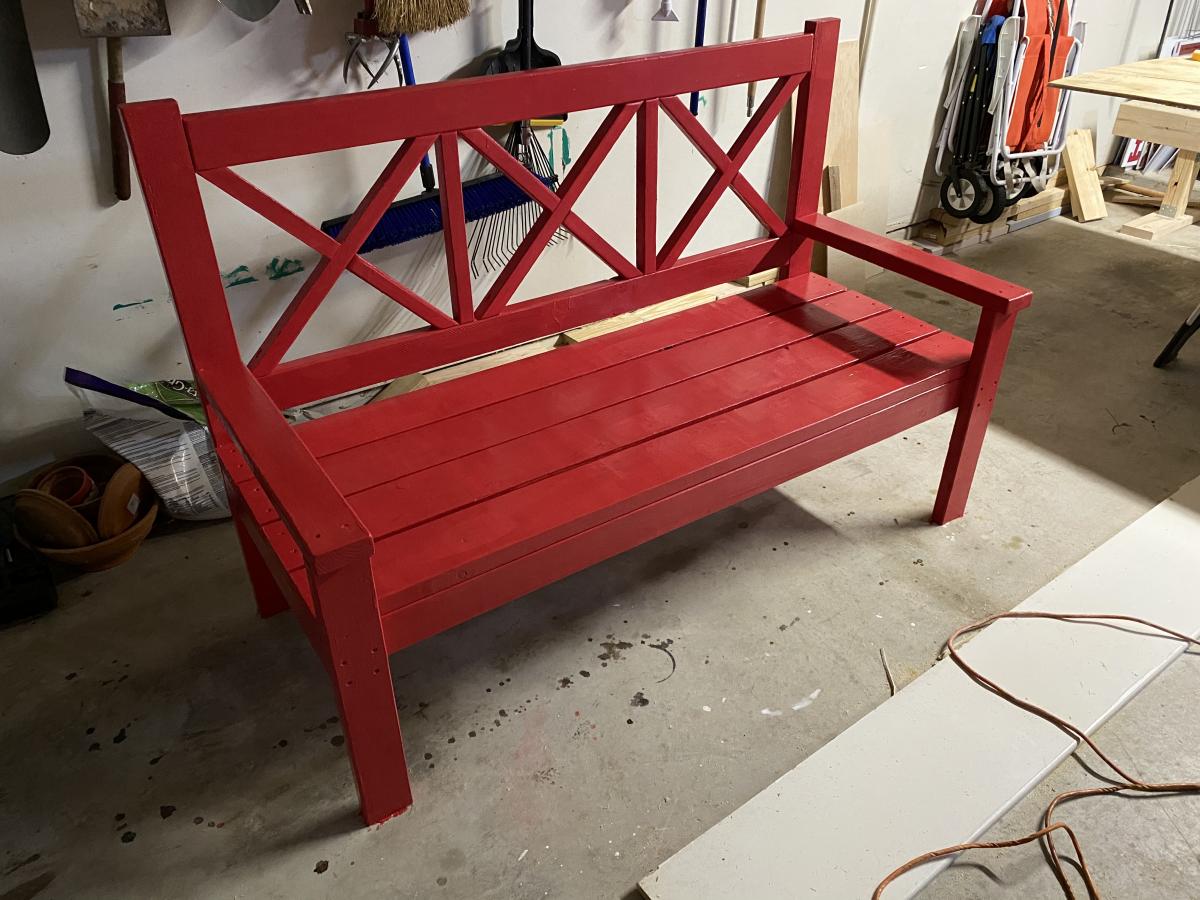
Grammy’s bench

Porch bench for my parents’ new house.

Estimated Cost
$100
Estimated Time Investment
Day Project (6-9 Hours)
Finish Used
Exterior Valspar - Bright Red
Recommended Skill Level
Intermediate

Comments

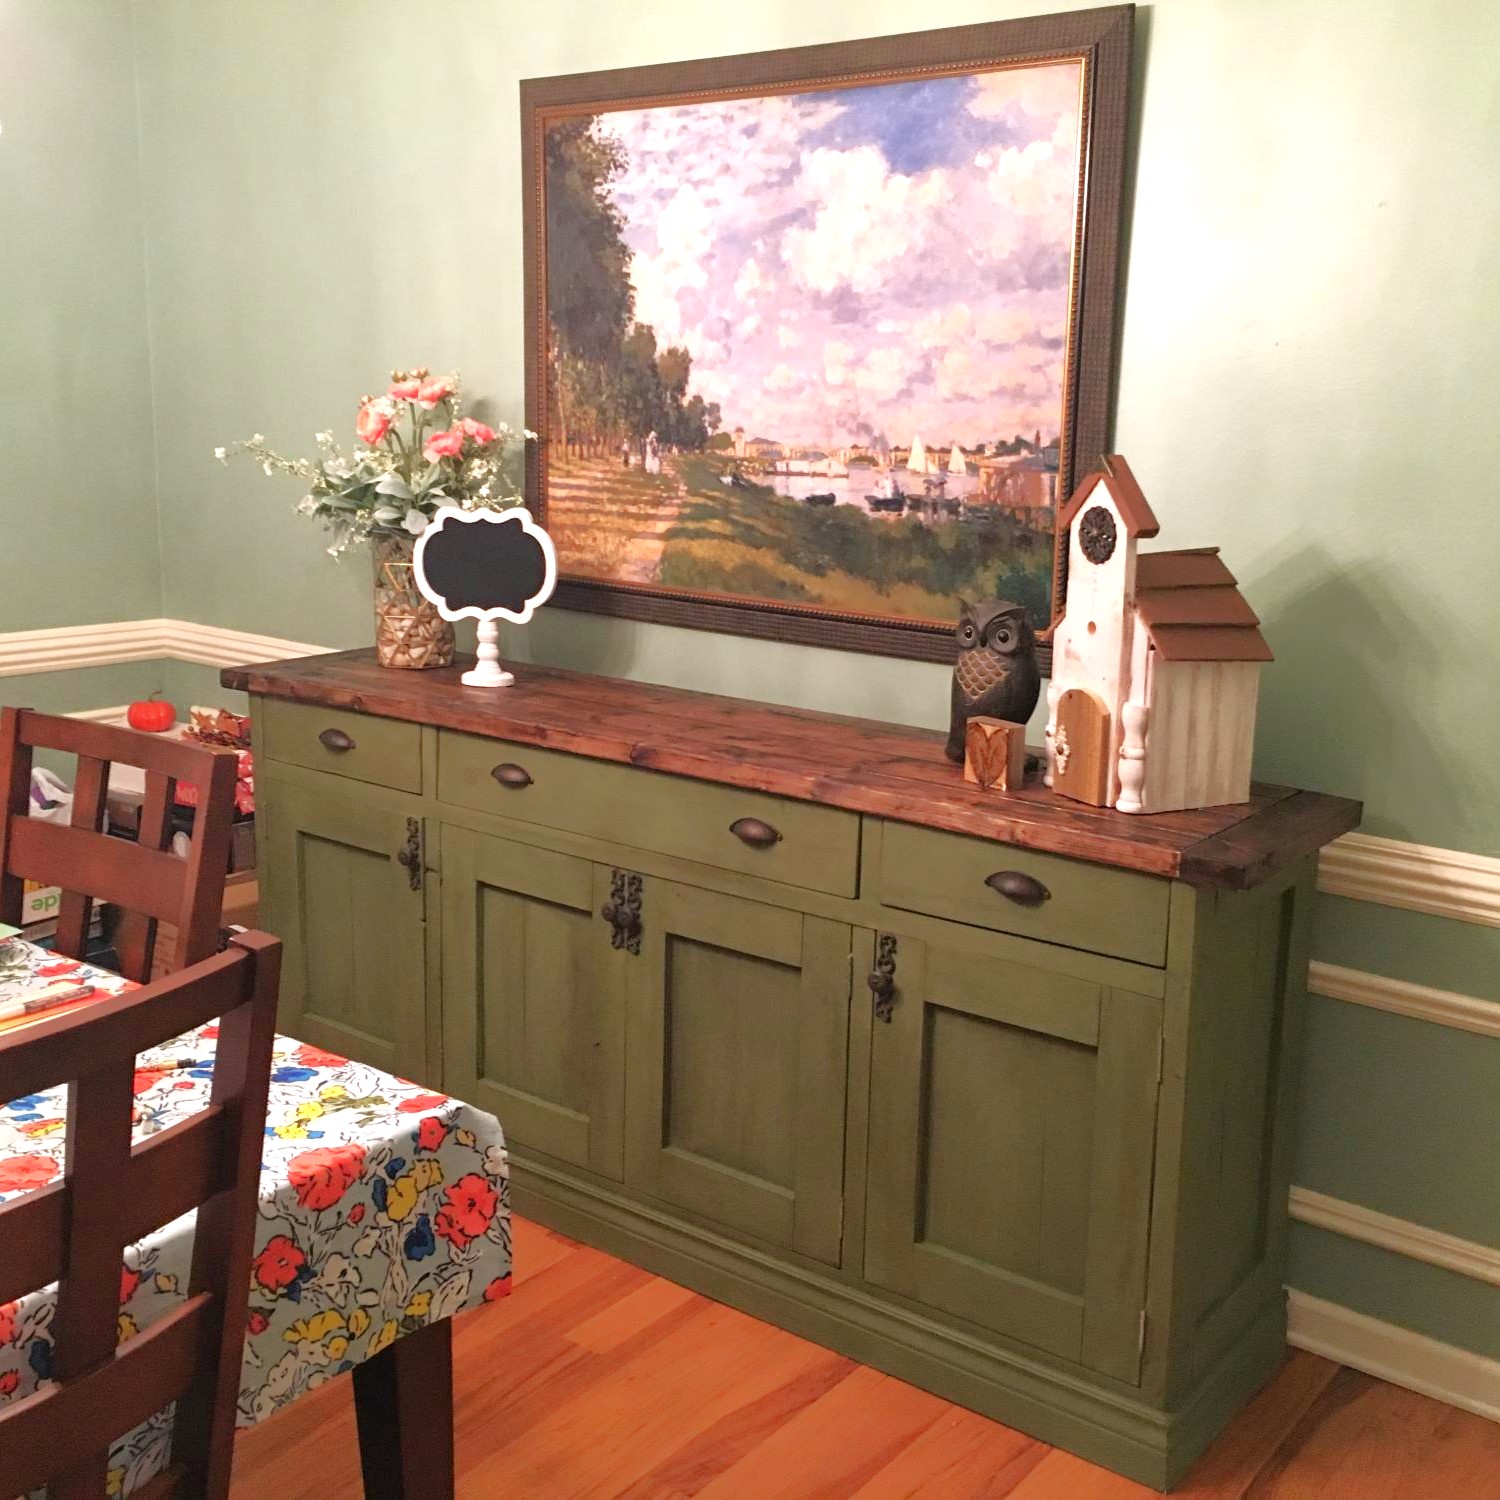
Sideboard

Submitted by Anonymous (not verified) on Sat, 02/25/2017 - 19:59

Intermediate project. It is not specified how to attach the top but I would recommend using the Kreg Jigg on the outside ends. Beautiful and spacious amount  of storage. 

Built from Plan(s)
Estimated Cost
$200 in bought lumber
$50 hardware,stain & paint
(Hard to estimate BBC I used scrap wood I had Laying around)
Estimated Time Investment
Week Long Project (20 Hours or More)
Finish Used
Top- Mini-wax walnut
Enchanted chalk paint
Dark wax
Recommended Skill Level
Intermediate

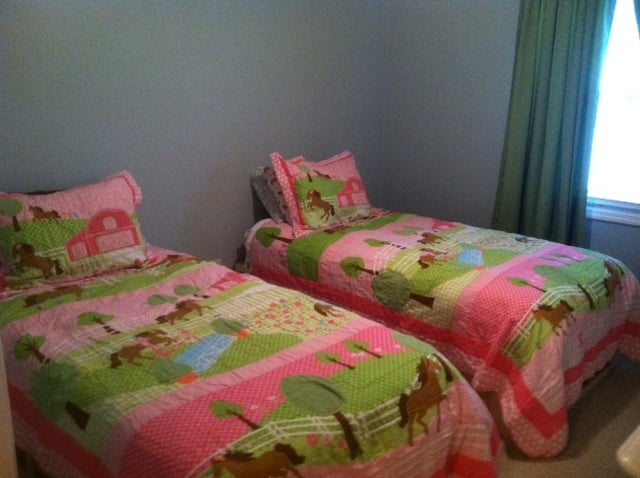
Beds for my girls

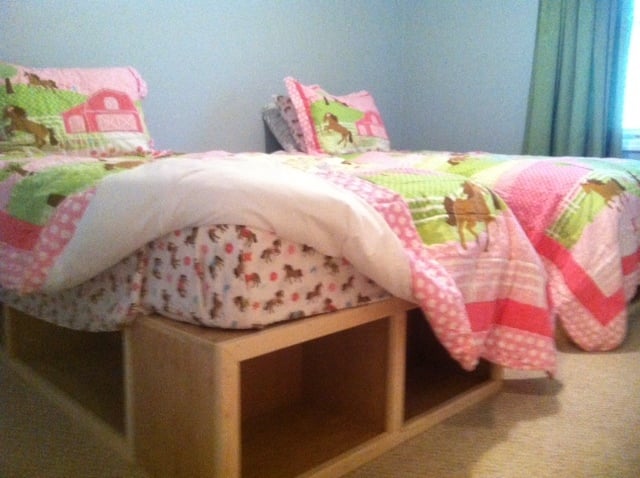
Rather than buying beds for two of our daughters, I wanted to take the opportunity to build them. I really had a great time doing. I used the plans from the Captains Storage beds, but modified it a little.

We ripped two 3/4 inch finished ply into 12in pieces.
That gave us all the sides, ends, and dividers.
The platforms are 12x12 3/4x
The ends are the same only sorter.

Rather than using slats for the middle support I just used the remain ply.
We finished the front with 6ft sections of 1x2 inch furring strips. A good sanding and clean up, and we are good to go!

Thanks for posting the plans! We really enjoyed building the beds and our girls love them!

Built from Plan(s)
Estimated Time Investment
Weekend Project (10-20 Hours)
Finish Used
unfinished wood
Recommended Skill Level
Beginner

Comments

sulu293

Fri, 09/20/2013 - 13:14

LOVE this! was looking for something other than the slats that would TRULY hold my polynesian kids, thank you for sharing! :-)

Sectional Storage Sofa for Tiny House

Submitted by Anonymous (not verified) on Fri, 12/25/2020 - 01:50

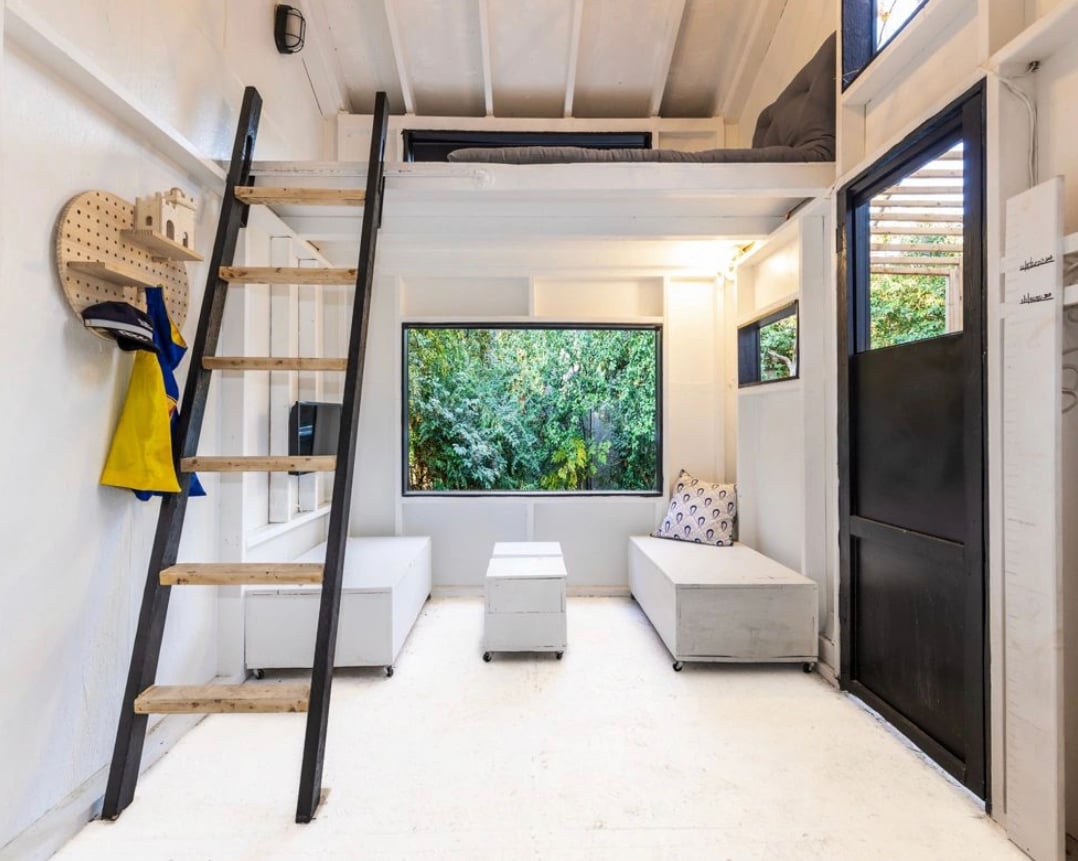
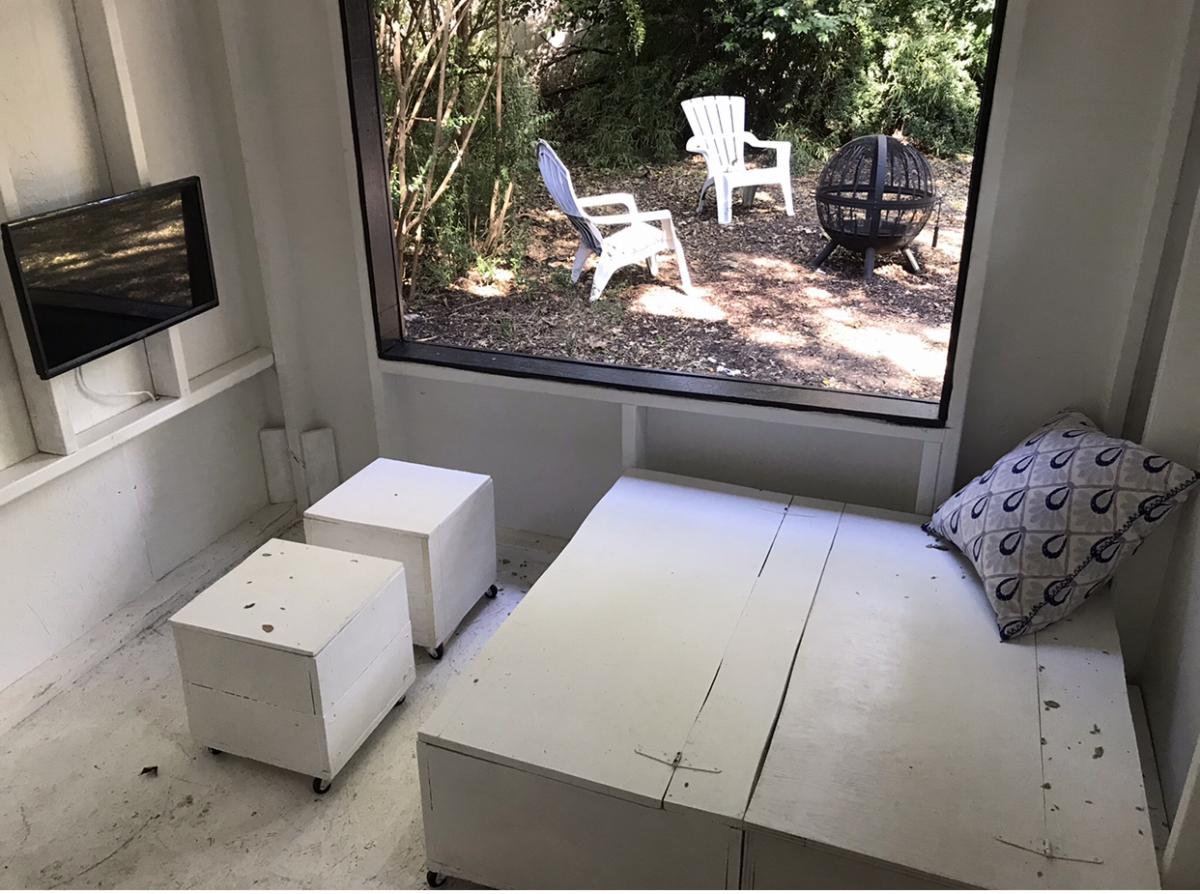
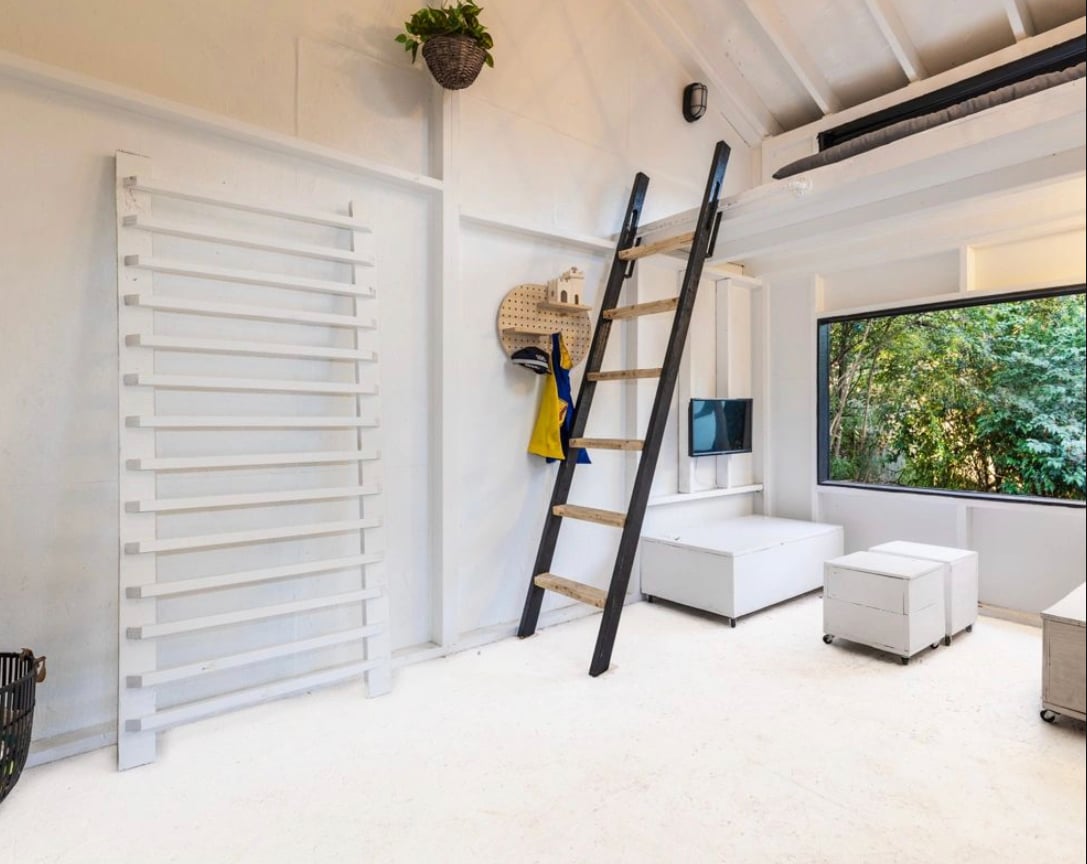
Thank you for the inspiration and plans to build the highly functional and stylish storage + seating solution! You used it for tiny house and I used it in children’s playhouse - it’s been excellent for toy storage! I also love that each piece is on wheels (even the stools that double as coffee table) - very smart and functional. I actually built another one for my garage and use that one for tool and hardware storage. Bravo Ana! Thanks again 😊

Estimated Cost
Under $100
Estimated Time Investment
Afternoon Project (3-6 Hours)
Finish Used
White paint
Recommended Skill Level
Beginner

Comments

King Farmhouse BED

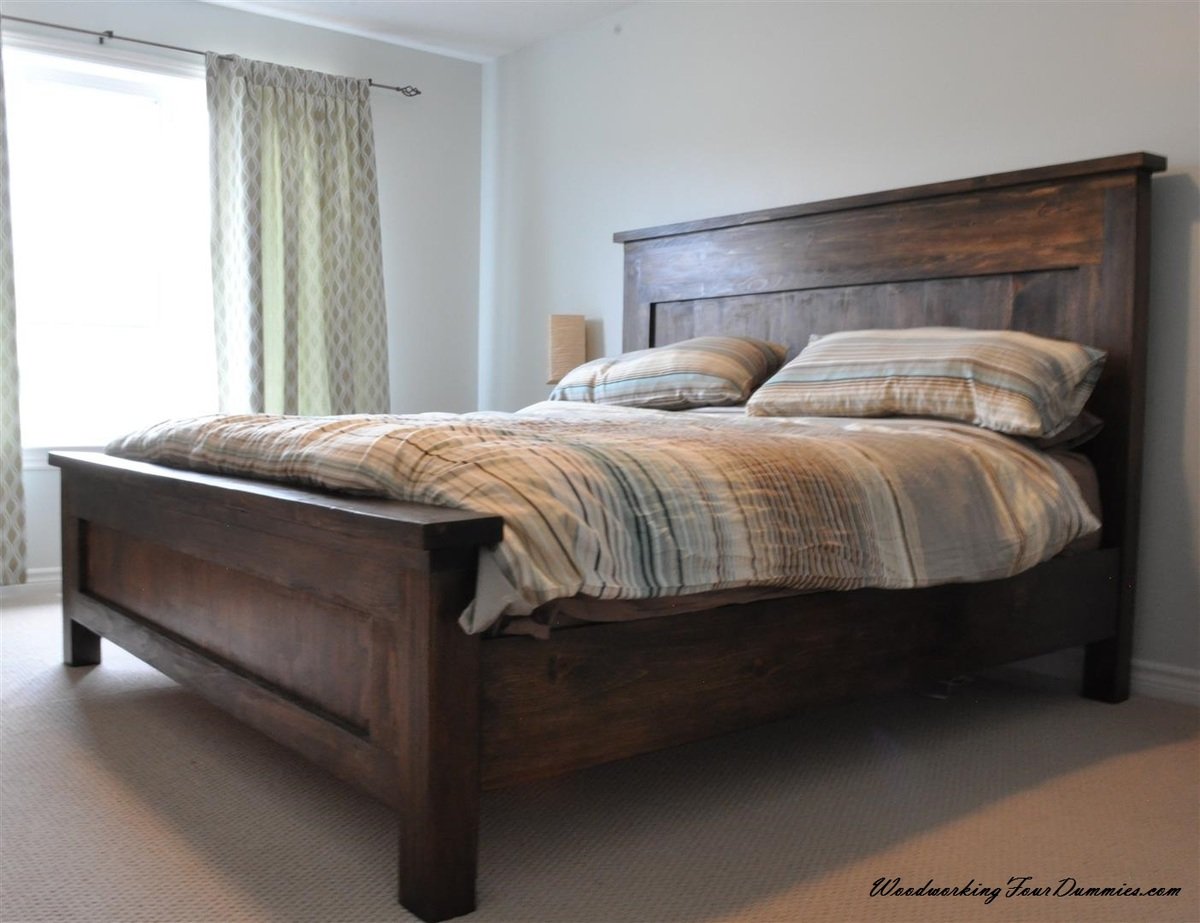
This is my DIY for a farmhouse bed. Inspired by Anna white and Pottery Barn. I wanted a sturdy look and used 4 x 4 posts and decided to make a king!

Check out my blog:

http://www.woodworkingfourdummies.com/blog/king-farmhouse-bed-diy


Cheers,

Ian

Estimated Cost
$ 270.00 CDN
Finish Used
Minwax Dark Walnut with a water based polyurethane
Recommended Skill Level
Intermediate

Comments

DIY Ceiling tile art

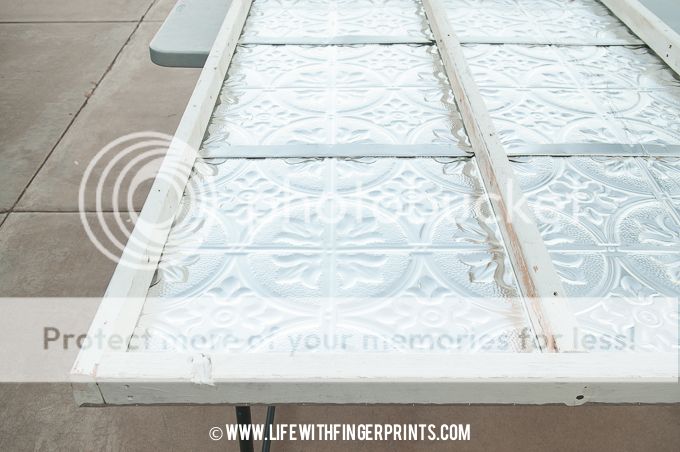
My friend had a few leftover ceiling tiles from her new kitchen and I put them to good use. For almost a year, they hung, attached to a simple 2x4 frame. 

You can see it in our <a href="http://www.lifewithfingerprints.com/2014/08/back-to-school-dinner-2014…">Back-to-school dinner</a>.

But the edges were rough and it looked unfinished and not quite what I needed for the space. So the ceiling tiles received a makeover.

I built a large frame using 1x4 and 1x3 boards. Using my Kreg jig I made a large rectangle with the 1x4s and then made it look more substantial and thicker by adding 1x3s.


Of course after making the frame, it sat in the office as I debated stain or paint. Once I settled on paint, it sat for another two weeks while I figured out a color. I ended up going to my paint stash and picking up the color I originally used for the <a href="http://www.lifewithfingerprints.com/2013/04/diy-barn-door.html">barn door</a> (I decided against it because I wanted the door to have a little punch!). The color wasn't great for the door, but it was perfect for the frame. 


Estimated Time Investment
Afternoon Project (3-6 Hours)
Finish Used
Painted finish
Recommended Skill Level
Beginner

Comments

Teen Loft Bed

Submitted by KailuaGirl on Fri, 03/15/2013 - 12:59

Aloha!
I was inspired by what I saw on Ana's website. My daughter was obsessed with the PB Teen version of the loft bed, so I tweaked the plans here to make it more like the $2500 bed from the catalog!!!!! Yikes and don't even get me started on what the shipping to Hawaii would be....It was well worth the effort! My daughter loves her new loft bed...Now if I can just figure out a way to get the dog to love the high bed!!!
Cheers, Tina

Built from Plan(s)
Estimated Cost
$250 because I added a glass top to the desk
Estimated Time Investment
Weekend Project (10-20 Hours)
Finish Used
white glossy paint
Recommended Skill Level
Beginner

Comments

DawnL

Sat, 06/22/2013 - 02:57

Aloha Tina!

You did a great job! I was wondering, how high is the bed, room and clearance? We also live in Hawaii and my daughter's room is small. Any feedback on what modifications you made would be greatly appreciated! Mahalo!

KailuaGirl

Tue, 06/25/2013 - 13:35

Hi Dawn,
Yes, my daughter's room has low clearance, so I tweaked the loft bed height.
I determined what top clearance I could maximize that would allow my daughter to sit up in bed comfortably, but it will be tight as she grows. She's 5 feet now...
Then I tweaked the desk area height as well to maximize without too much of a struggle to get into the area.. I hope this reply is helpful..
Floor to ceiling height is 96 inches. desk area has clearance of 56 inches and from the top of the mattress to ceiling has a clearance of 28 inches.
Aloha, Tina

hansje01

Tue, 12/17/2013 - 16:06

Im having a problem finding the plans for the teen loft bed shown above. any direction would be appreciated! Thanks!

KailuaGirl

Tue, 12/17/2013 - 16:59

HI! There are no plans for this loft bed.. I used the plans on this site and just literally DIY'ed to fit my needs.. Sorry I know this doesn't help you much…
If you have a specific question, maybe I could help…
Aloha, Tina

Farmhouse Table Squared

Submitted by sraper2 on Sun, 04/07/2013 - 20:53

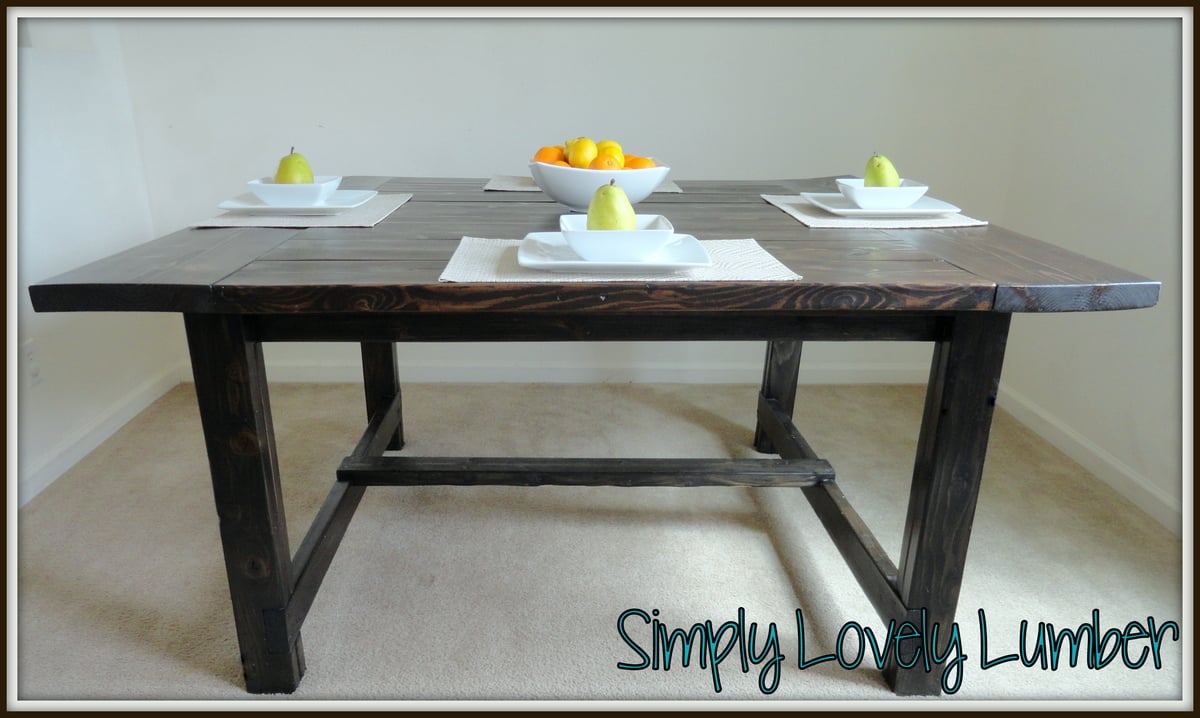
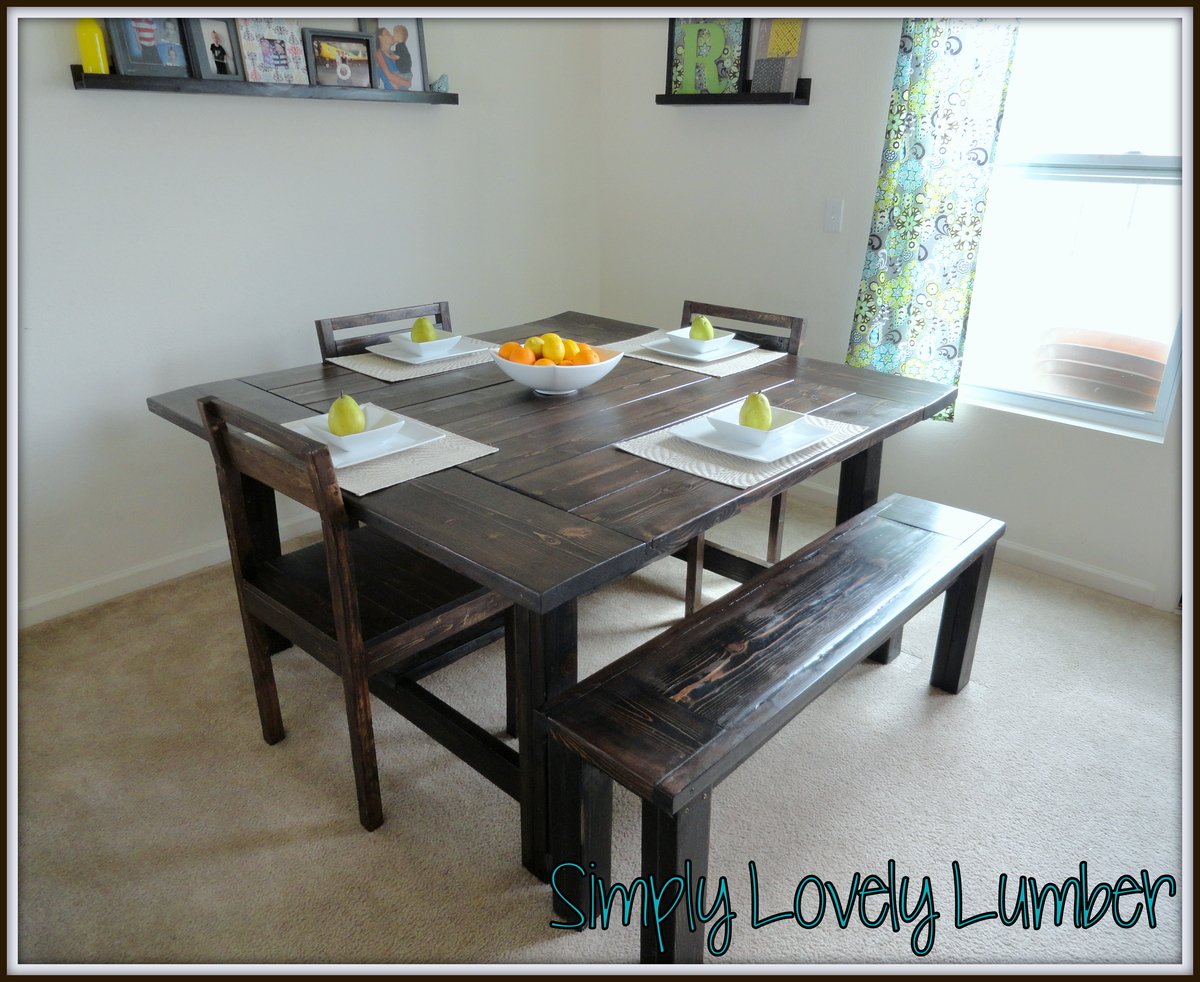
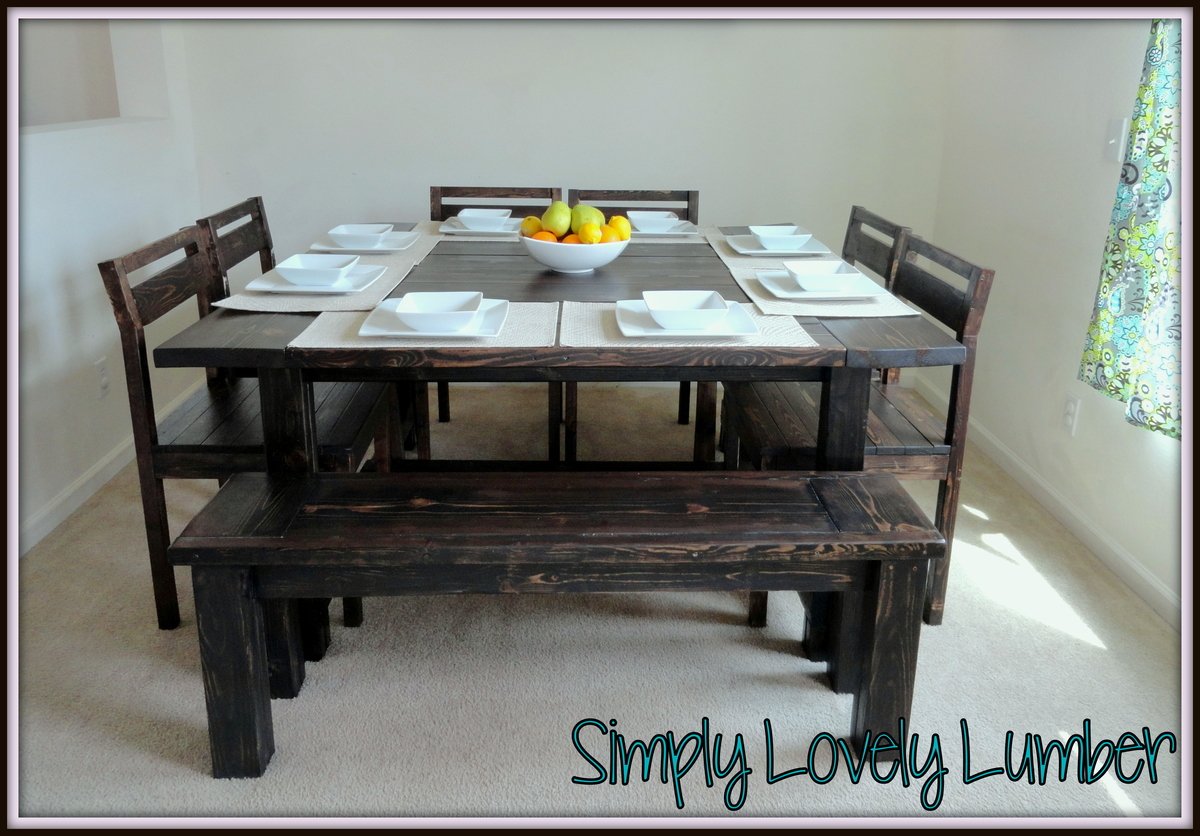
I used your plans for the table but changed the table dimensions to fit my space. My table is square and measures 58"x58". I also changed the chairs to have a straight back and then the top is is cut at a 6 degree angle. I love them so much!!!

Estimated Time Investment
Week Long Project (20 Hours or More)
Recommended Skill Level
Intermediate

Triple Pedestal Farmhouse Table

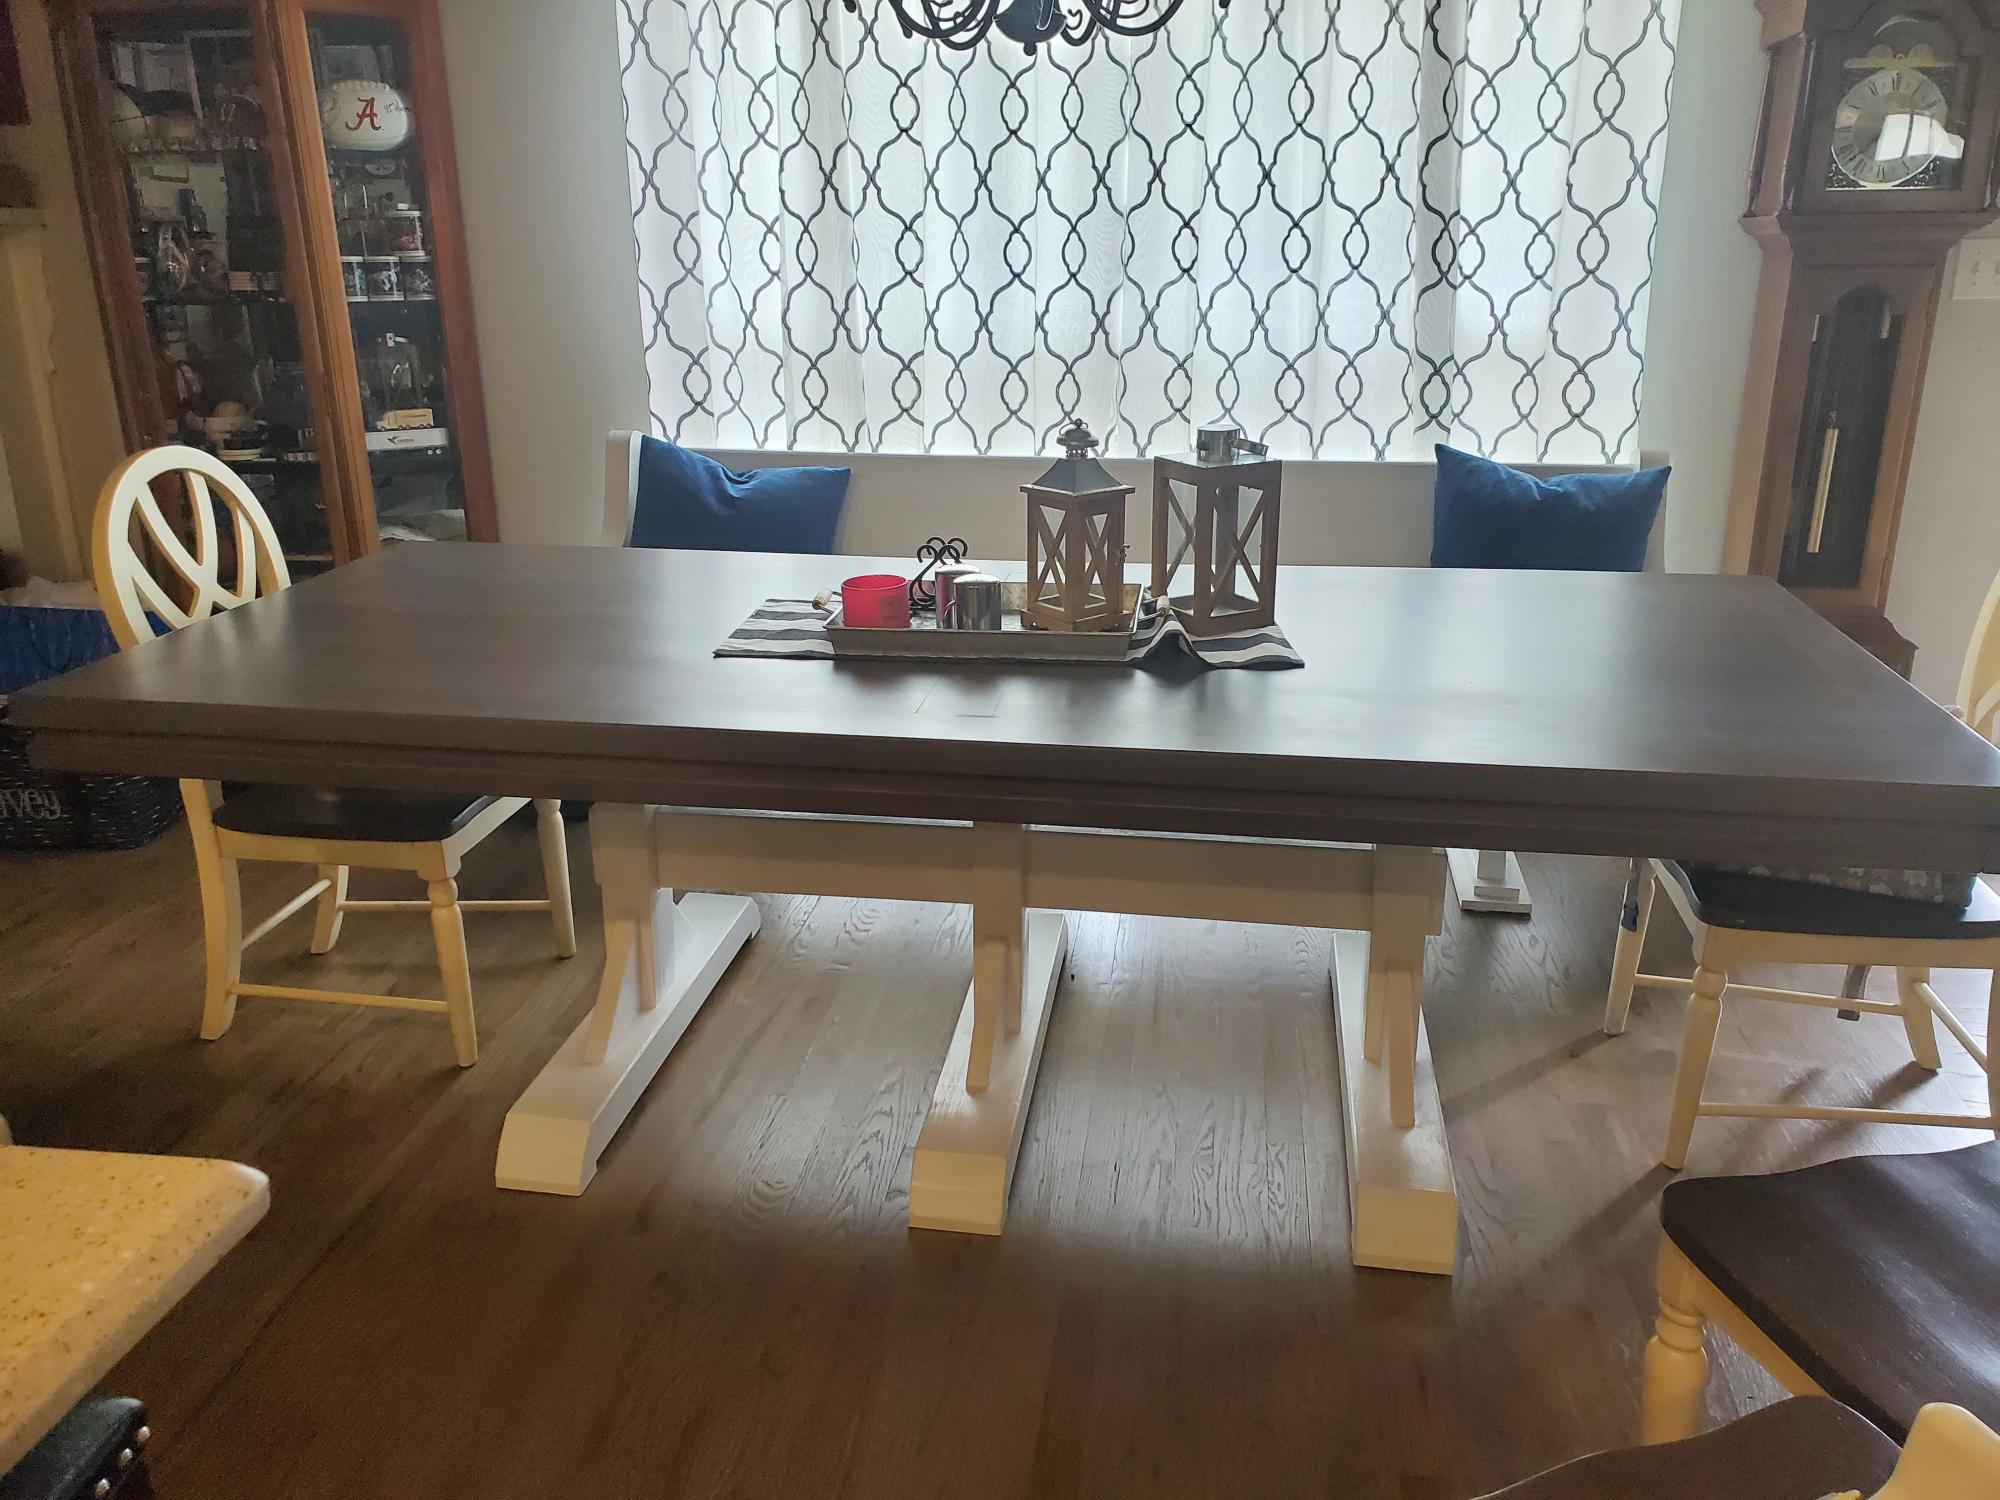
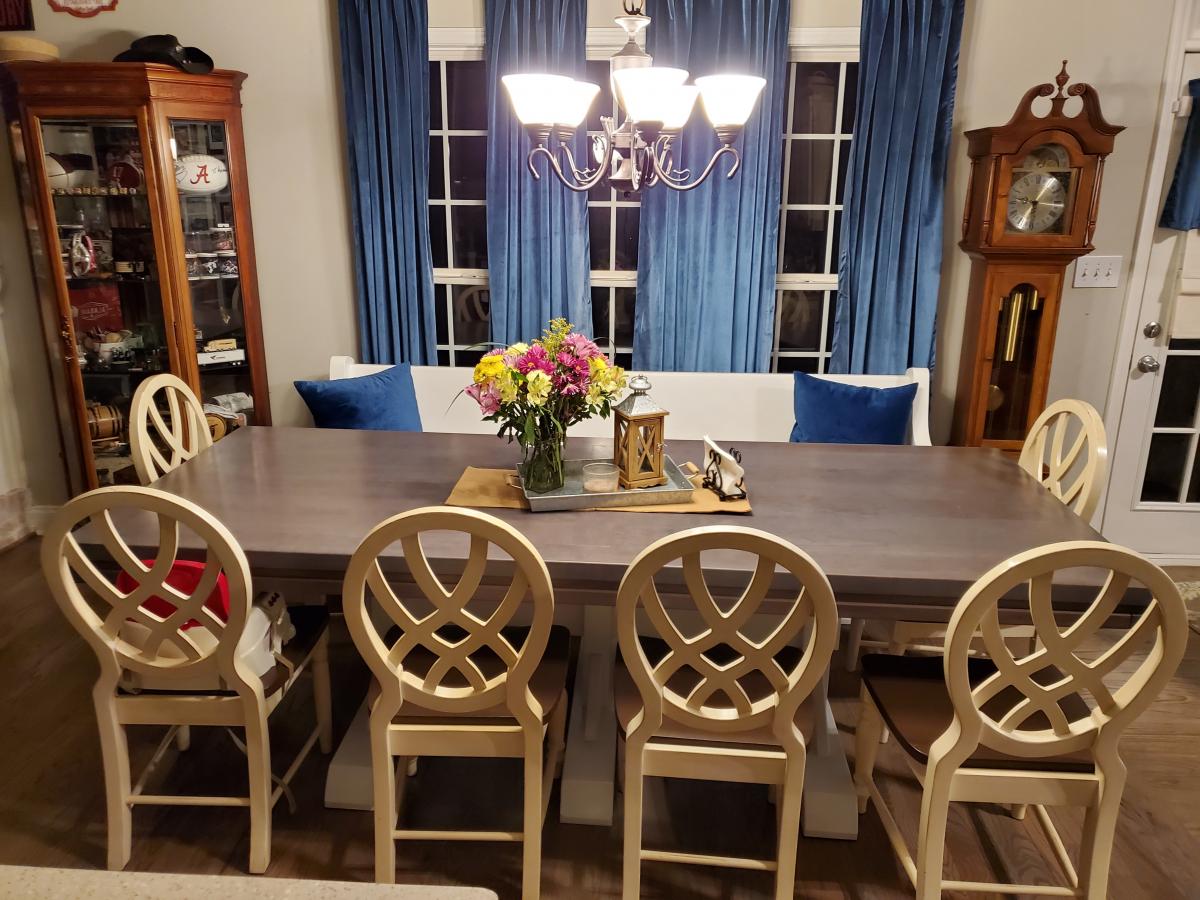
I did many 2020 (Covid projects) and this was my favorite. My wife has an 8' church pew that she wanted a farm table to go with it. The table ended up being 8'10" long. The most time was spent on sanding, painting and finishing. Enjoyed this project.

Built from Plan(s)
Estimated Time Investment
Weekend Project (10-20 Hours)
Finish Used
Satin Poly
Recommended Skill Level
Intermediate

Comments

Clara Table and Chair

Submitted by Kdew on Wed, 04/17/2013 - 14:26

I was searching for a table and chairs for my son's playroom, and I could not believe the prices! I had just purchased a new saw for some moulding projects around the house, and then I found this site. This table and chair was my first wood working project, and they turned out great! I followed the plans for the Clara table, but used a combination of the 4 dollar chair and modern angle chair. I loved how the chair turned out. I am currently working on the second. I used poplar instead of pine which increased the cost. I wanted a weathered finish, I ended up using water-based walnut stain over a white wash. I am so happy I found this site, my next project is patio furniture.

Estimated Time Investment
Afternoon Project (3-6 Hours)
Finish Used
Minwax white wash followed by Minwax water-based walnut
Recommended Skill Level
Beginner

Comments

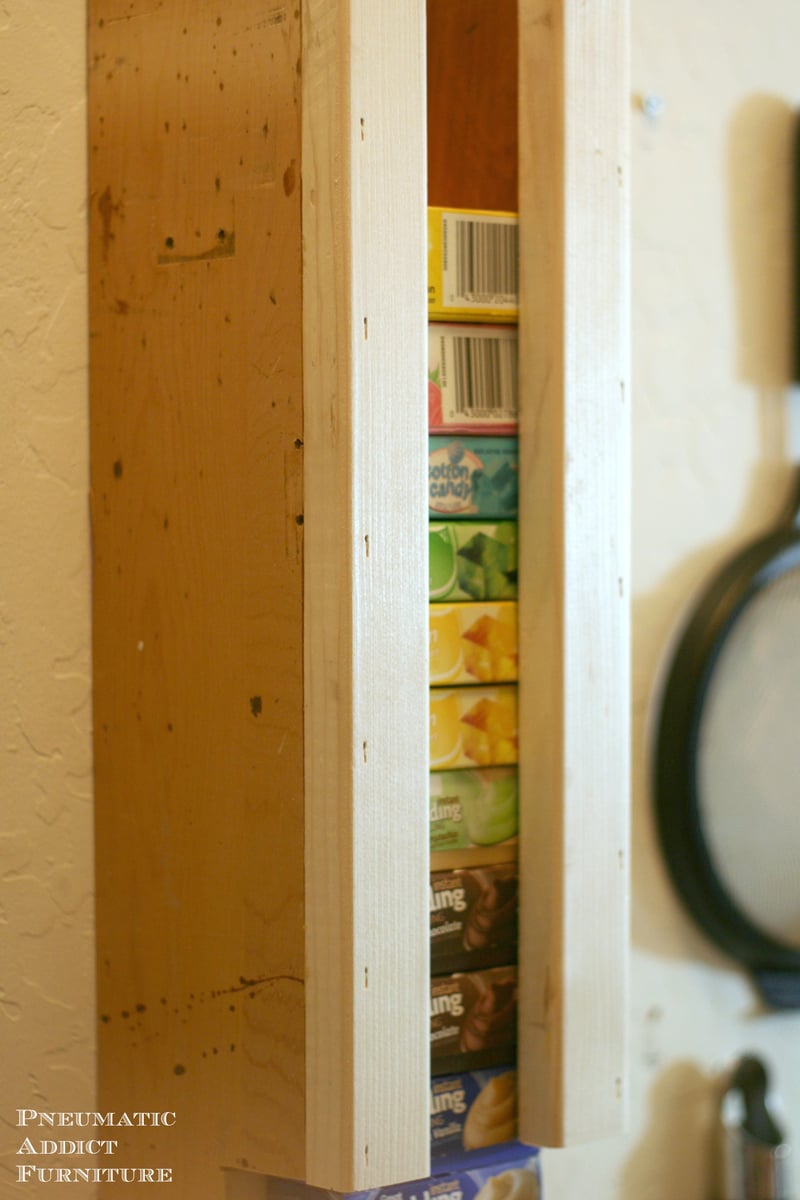
Pudding or Jello Box Dispenser

Submitted by efmolly on Wed, 03/11/2015 - 13:01

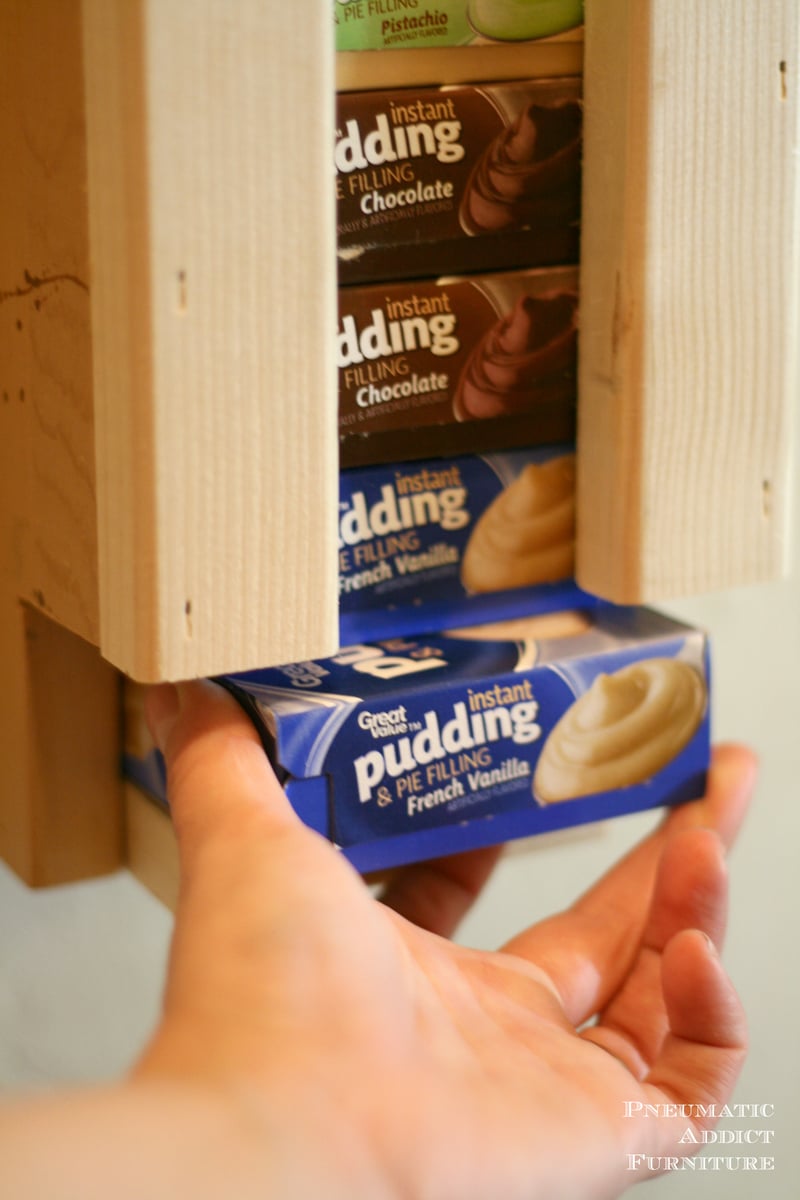
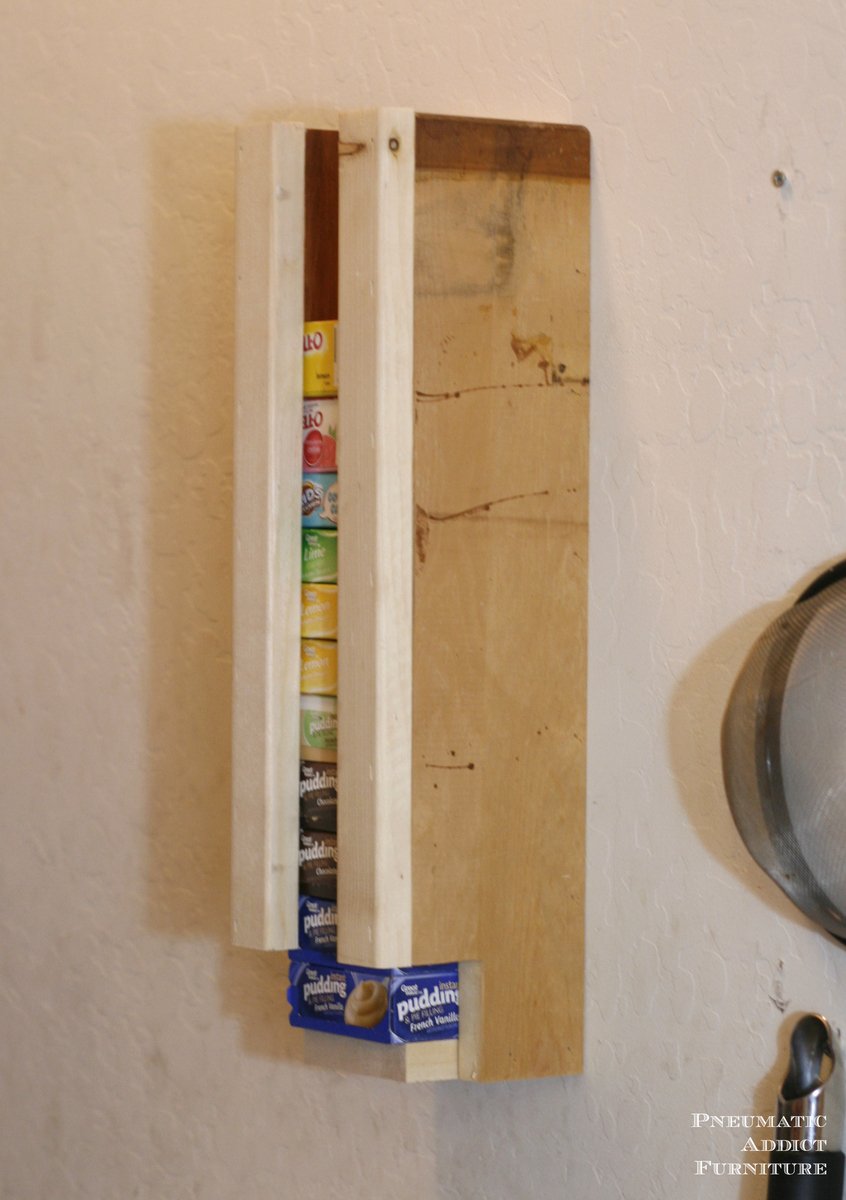
I love to build, but I also love to bake. I happen to have several small boxes of pudding and jello mix that clutter up the shelves of my pantry. Using a single 1 x 4 pine board and some scrap 1 x 2's, I came up with a simple dispenser to keep the boxes organized and out of the way. A really simple project, good for a beginner. The link to my blog contains building plans and step-by-step tutorial. 

Estimated Cost
$5
Estimated Time Investment
An Hour or Two (0-2 Hours)
Finish Used
I left mine unfinished, but you could stain or paint this dispenser whatever color you could think of.
Recommended Skill Level
Beginner

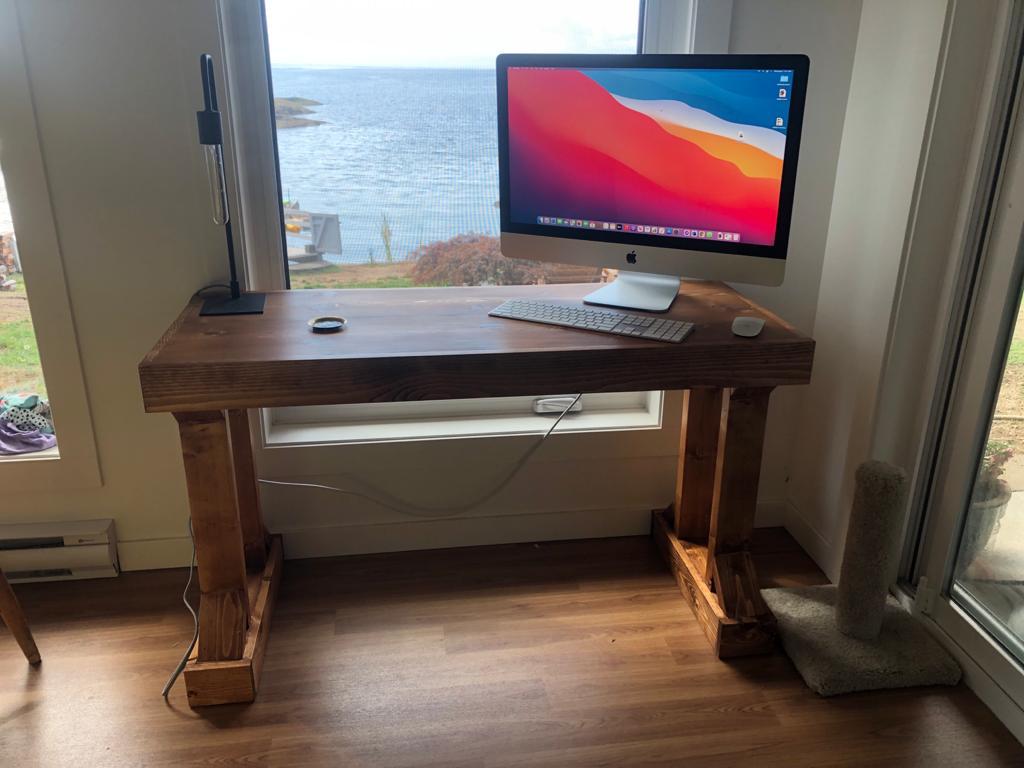
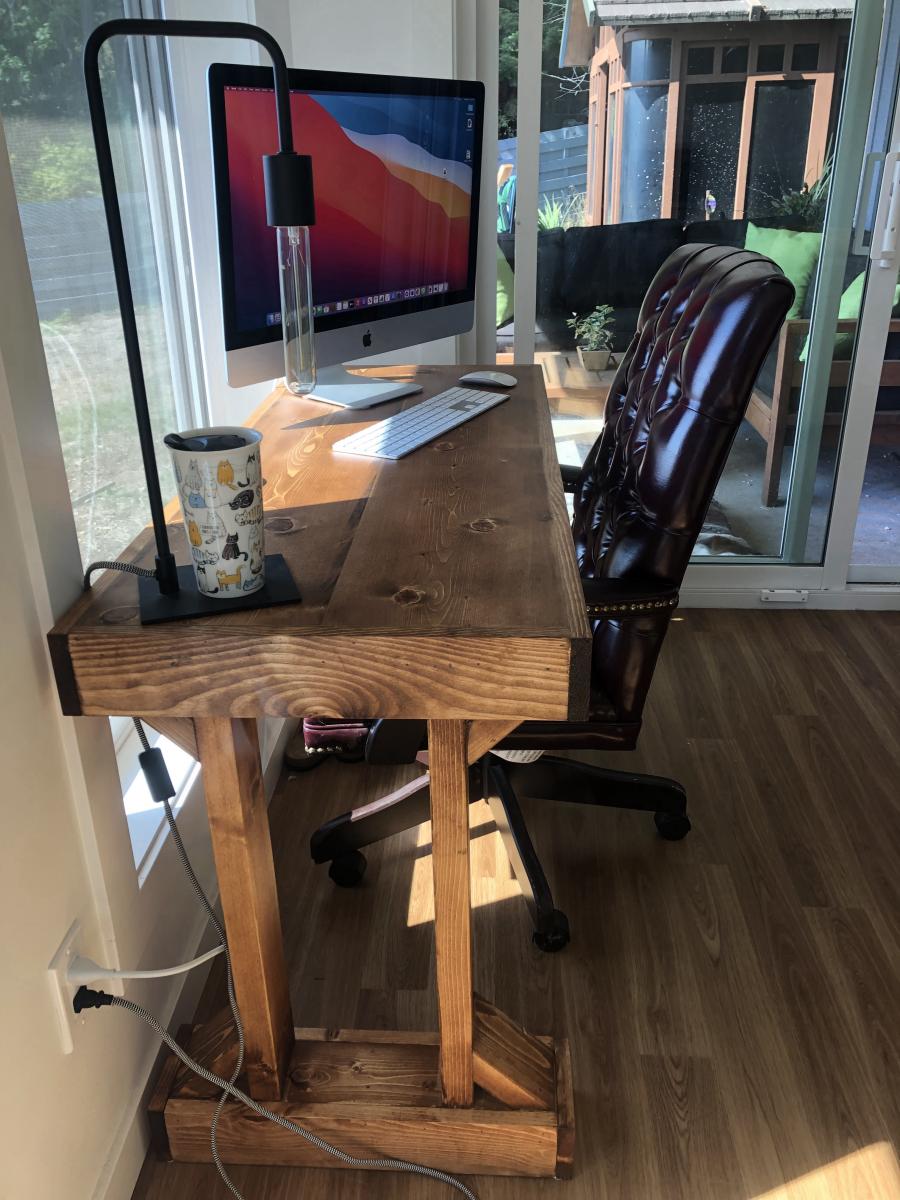
Writing Desk - Modern farmhouse collection

Submitted by SofiaTaz on Wed, 09/08/2021 - 22:25

I love how this desk turned out. I haven't had corner brackets catch my eye yet, but I may still add them. This was the first real Brad Nailer project I have completed. It is stained in a dark walnut. Thanks again for another great plan and tutorial video!

Comments

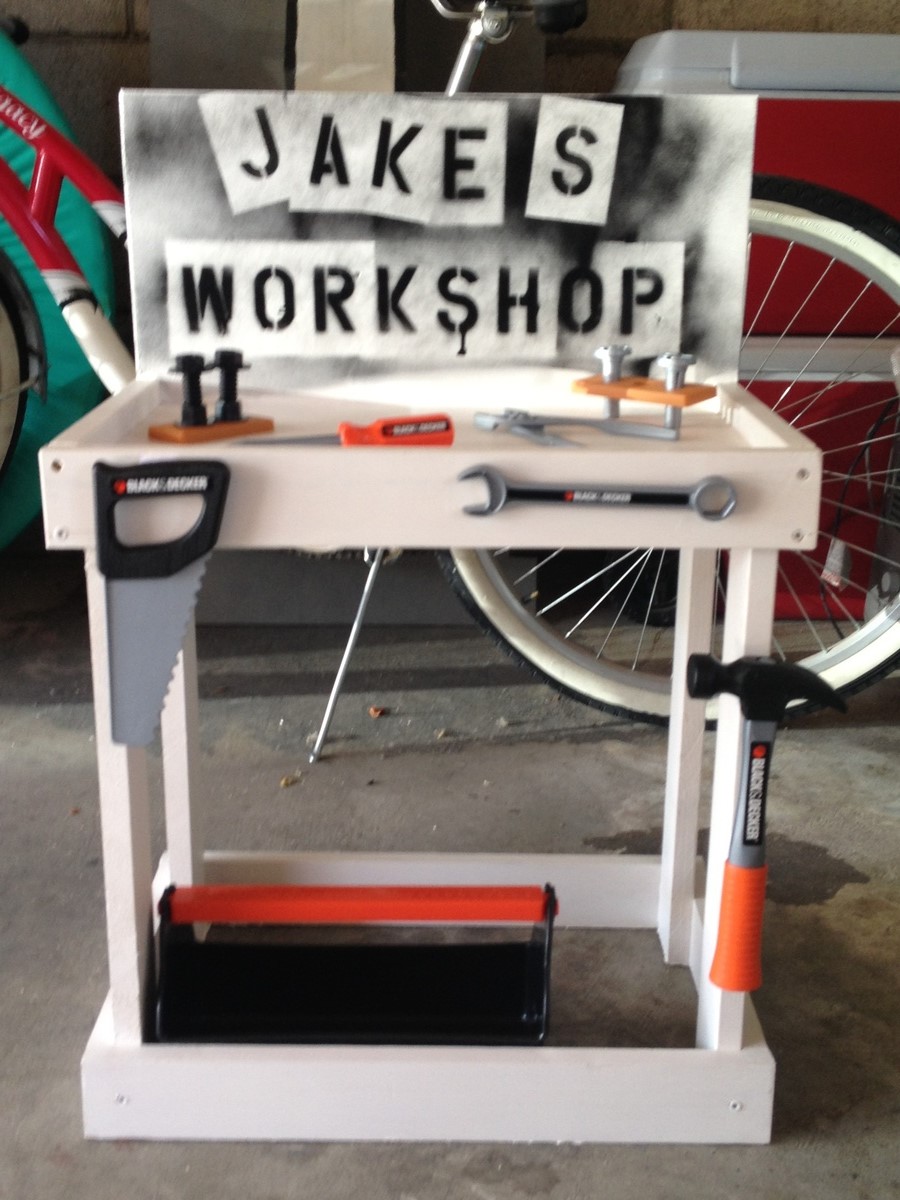
Child Workbench

Submitted by jennavila on Tue, 04/30/2013 - 15:00

Super easy gift for a toddler

Recommended Skill Level
Beginner

Comments

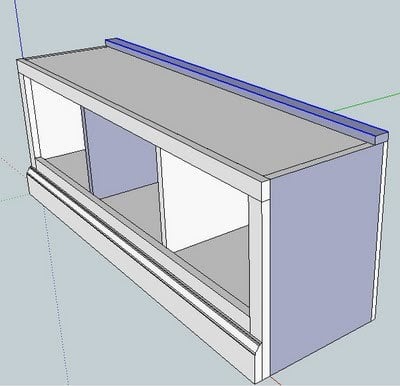
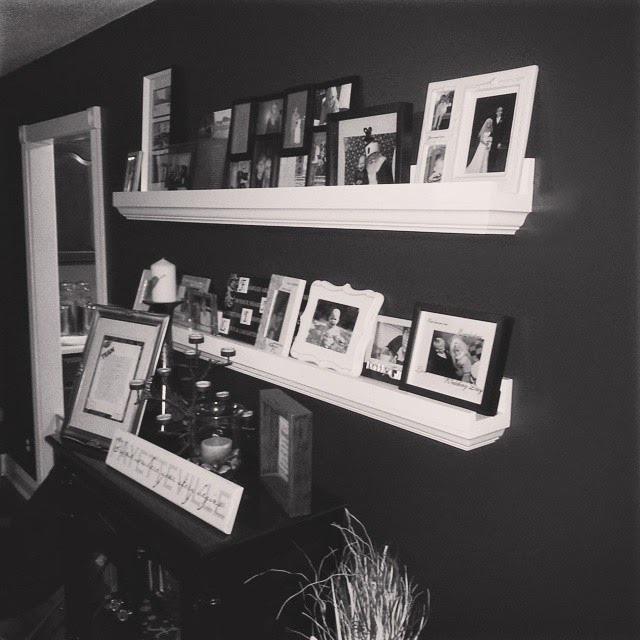
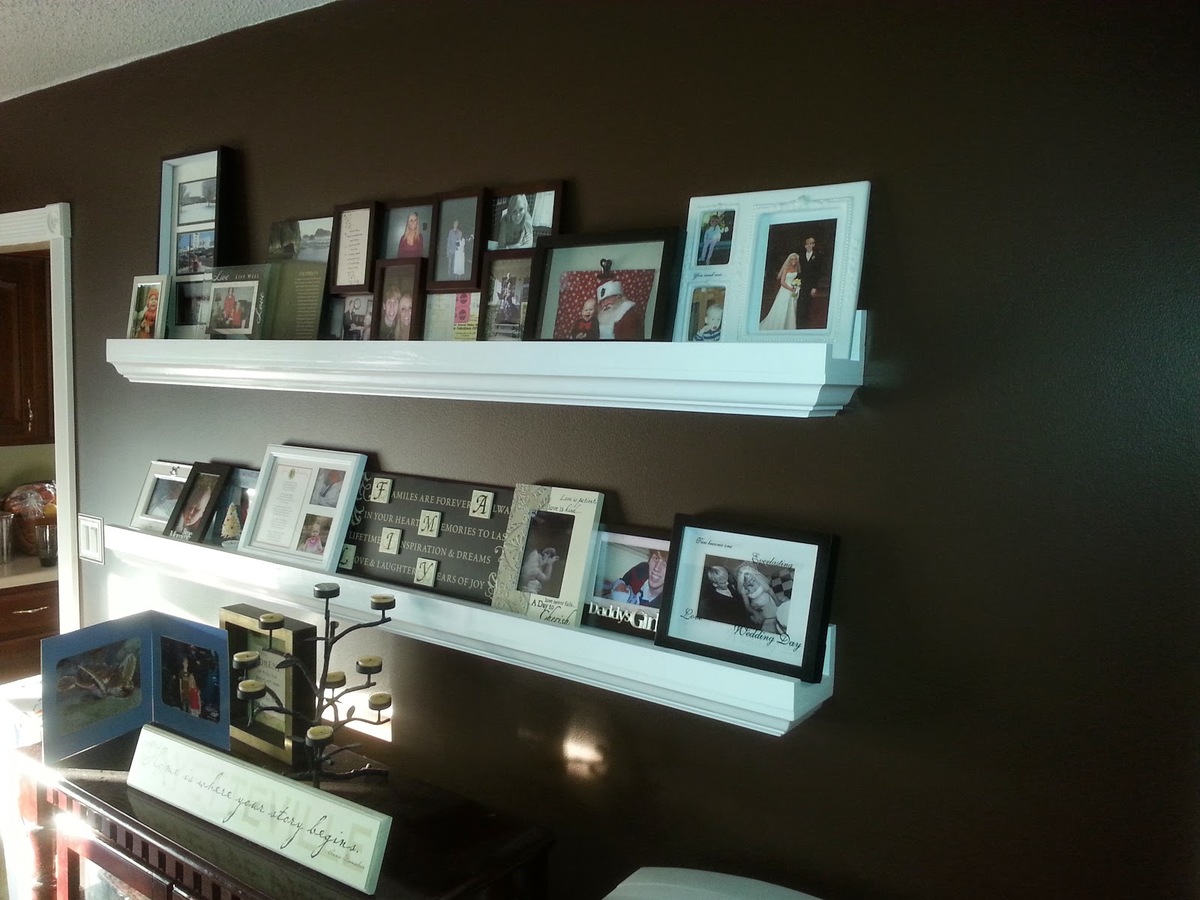
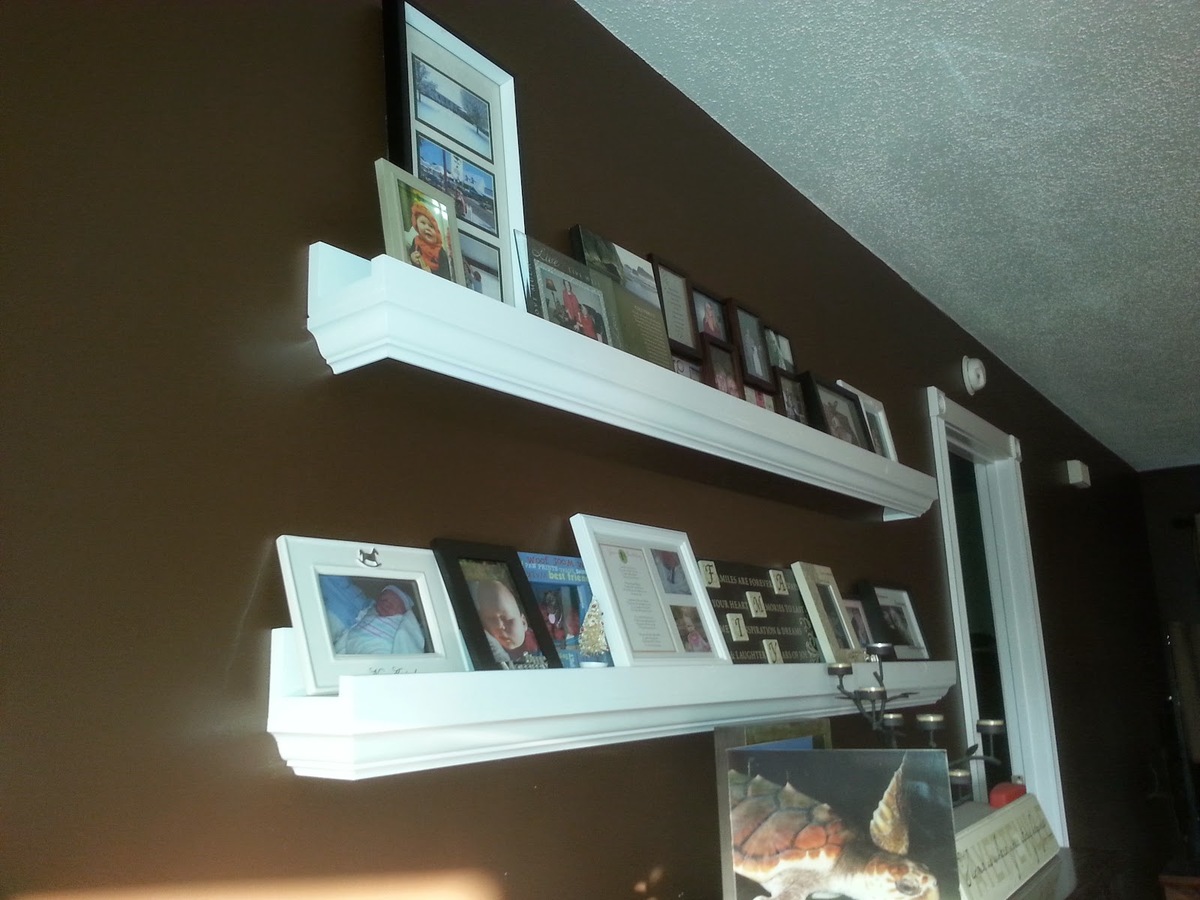
Photo ledges (with crown molding)

This is a set of photo ledges built for a friend!


Website article: http://www.lanebroswoodshop.com/2015/02/photo-ledges.html

Video: https://www.youtube.com/watch?v=k6jwfhwJQ-g

Built from Plan(s)
Estimated Cost
$50 per
Estimated Time Investment
Day Project (6-9 Hours)
Finish Used
High Gloss White
Recommended Skill Level
Beginner

Comments

Adirondack chair

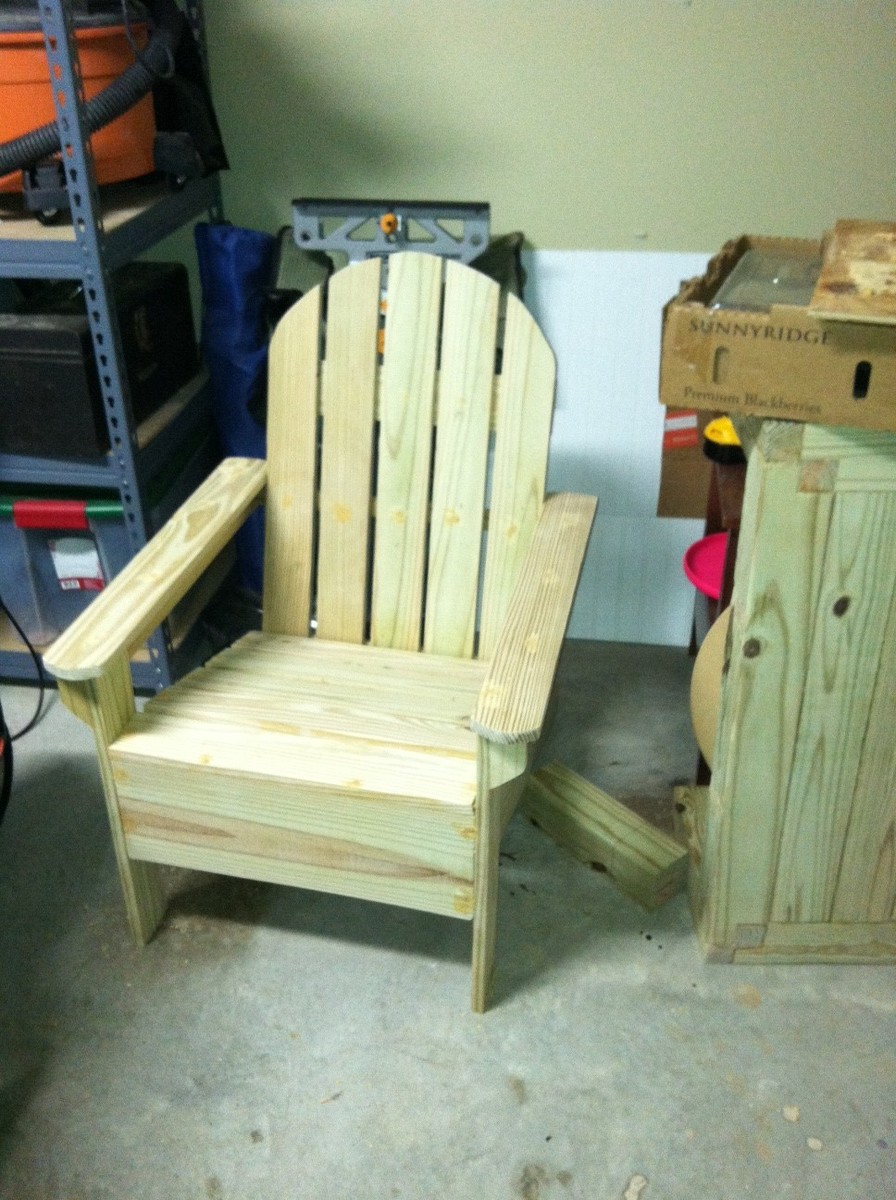
Easy and fun. Don't worry yourself over the angle on the left side of the stringer. The 15 degree one matters, the other, not so much. Buy an extra 1x4 unless you want to spend a pile of time figuring out how to cut them to maximize the space!

Built from Plan(s)
Estimated Cost
$35
Estimated Time Investment
Afternoon Project (3-6 Hours)
Finish Used
None yet.
Recommended Skill Level
Beginner

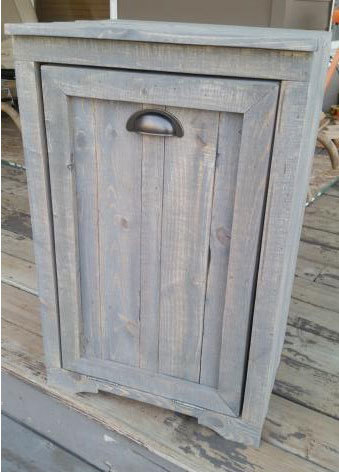
Tilt Out Garbage Bin

Submitted by stephie_00 on Thu, 04/23/2015 - 19:16

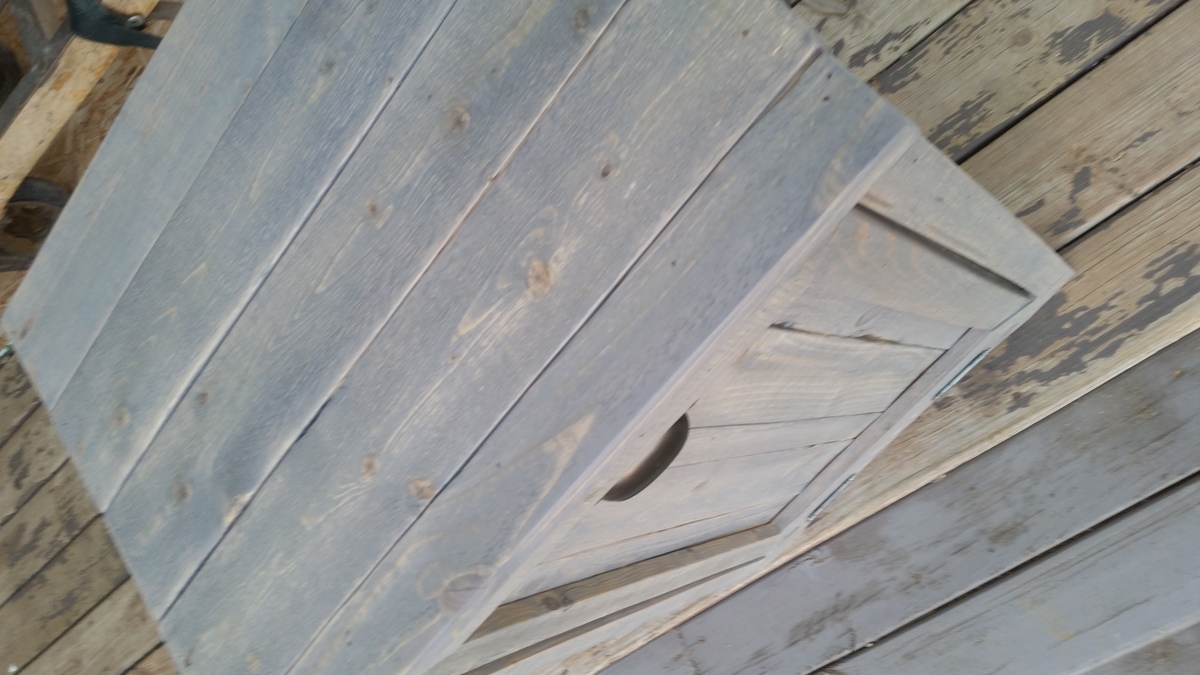
Modified the plan to use pallet wood and stained it classic grey for a weathered look.

Estimated Cost
$50
Estimated Time Investment
Weekend Project (10-20 Hours)
Finish Used
Min wax Classic Gray oil-based stain
Recommended Skill Level
Intermediate

Comments

Post Office / Bank

I used Ana's Library Base Plan and modified it slightly to include cubby holes on the bottom and an acrylic "window" at the top to create a post office for my daughter. This now also gets used as a "bank" and a "fast food window"! Lots of fun!!

Estimated Time Investment
Weekend Project (10-20 Hours)
Finish Used
Paint, Stain
Recommended Skill Level
Intermediate

Adirondack Chair

Submitted by nateDuncan on Mon, 06/03/2013 - 12:10

I had built a few of these chairs a year and a half ago similar to the red ones that you have on the step by step instructions. That was my first time at customer building and painting anything. Needless to say, my skills have improved over time.

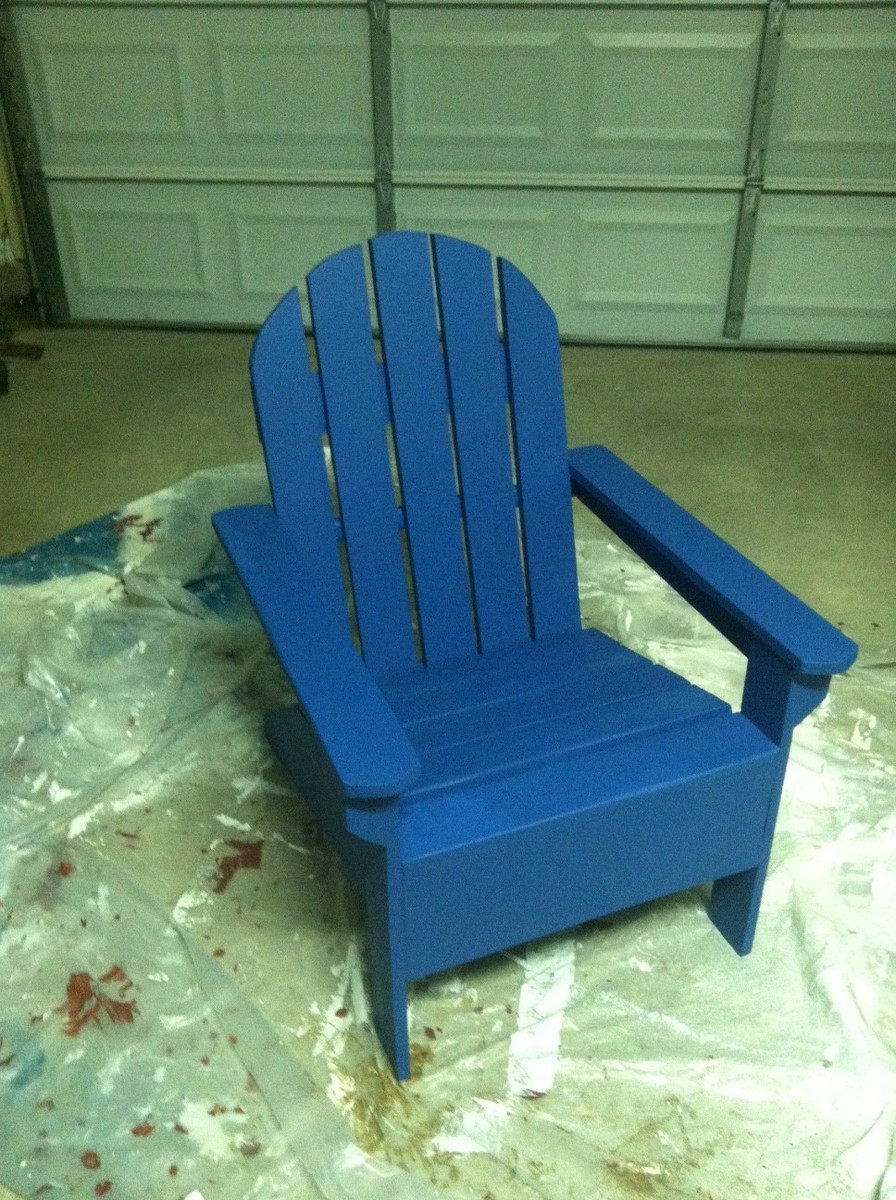
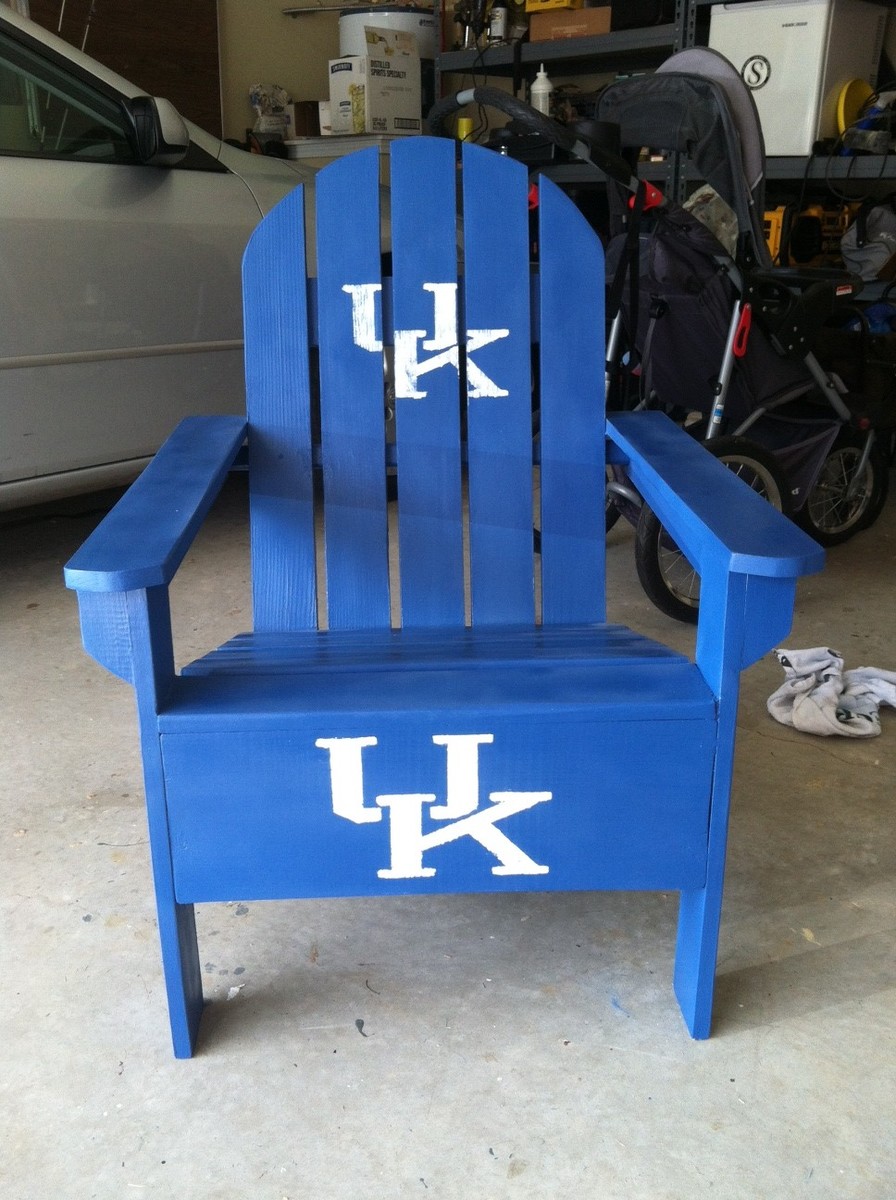
So, I wanted to build this chair for my dad for fathers day. He had an old plastic Adirondack chair sitting in his backyard that was really gross. I wanted to replace it with something nice. So he is obviously a UK fan and I wanted to see if I could paint the logo on correctly while also giving myself the opportunity to build something and see if I can make this chair a lot better than the ones I had previously built.

So I decided to curve the back of the chair and curve the ends of the arms. I recently got a nice dewalt random orbital sander which helped out alot in getting it nice and smooth. I made my own wood putty using the leftover sawdust and glue mixed together. I also fastened the wood together using glue and polymer coated screws. Which are supposed to last alot longer than regular wood screws when using pressure treated pine.

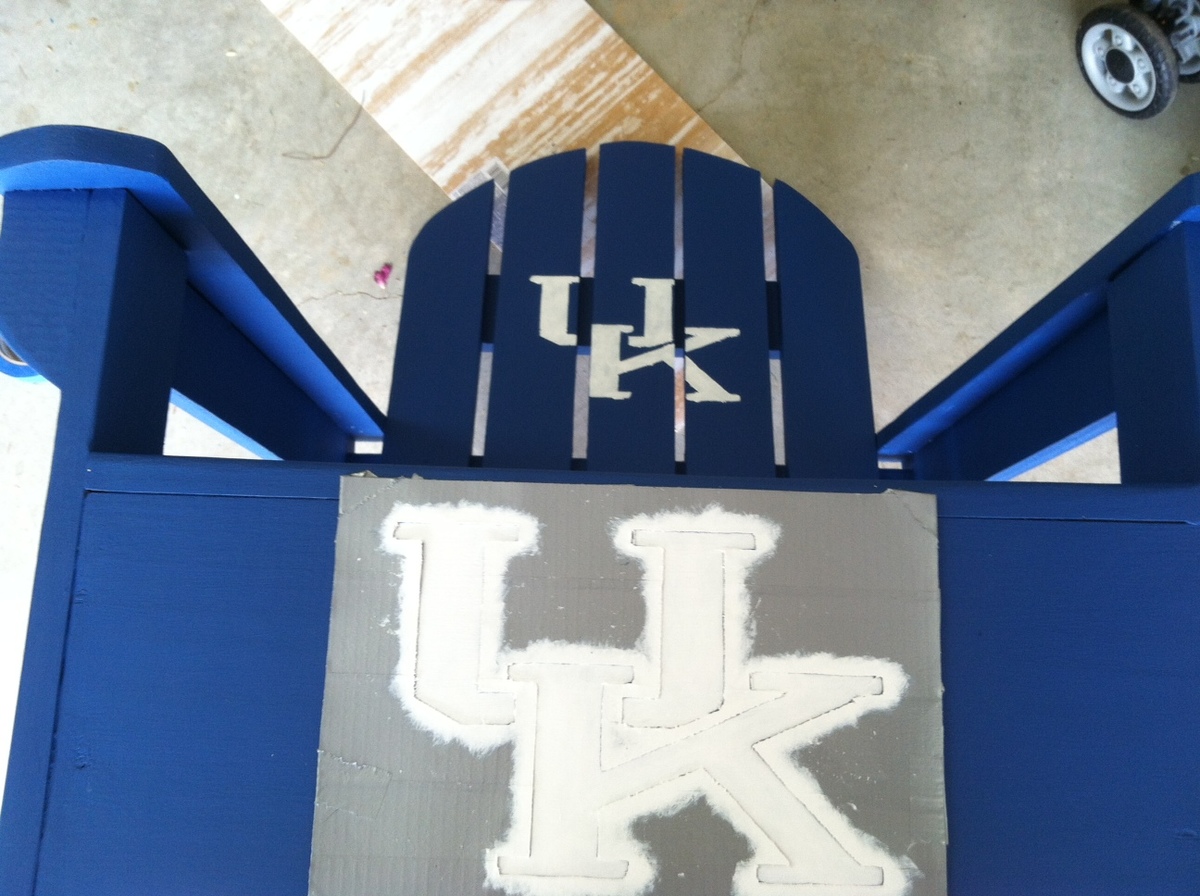
I took my time to make sure the pieces were all square when assembled which was better than previous building projects. Also, as far as finishing the chair, I primed it and then put 3 layers of the Kentucky blue Outdoor paint with a brush (which seems like it took forever). I made the stencil by just printing the logo on a piece of cardstock paper. Then I cut out the logo with a razor, then I wrapped the paper in duct tape to make the stencil it a little stronger and to fix the areas that ripped when cutting the card stock paper. Then I cut out the duct tape where the logo is. I made a couple of test paints using the stencil on some scrap to make sure my technique was good. Then once I felt comfortable, I painted 4 coats of very thin paint on the chair where the logo is. After all was dry, I did a light by hand sanding to make it smooth and then sprayed some clear coat on it for an extra level of protection and to make it shine a little.

It was a fun project and my dad really liked it.

Some things I would have done differently for next time would be to use a router to flush cut the seat slats and also use the router to give a nicer rounded edges for the arms and all of the slats as well. Also, It would be nice to mount a stainless bottle opener to the chair to open your drinks (maybe on the outside of the arm of the chair.

Thanks for the plans. I check your site all the time for ideas.
Built from Plan(s)
Estimated Time Investment
Weekend Project (10-20 Hours)
Finish Used
primer, paint, clear coat
Recommended Skill Level
Beginner