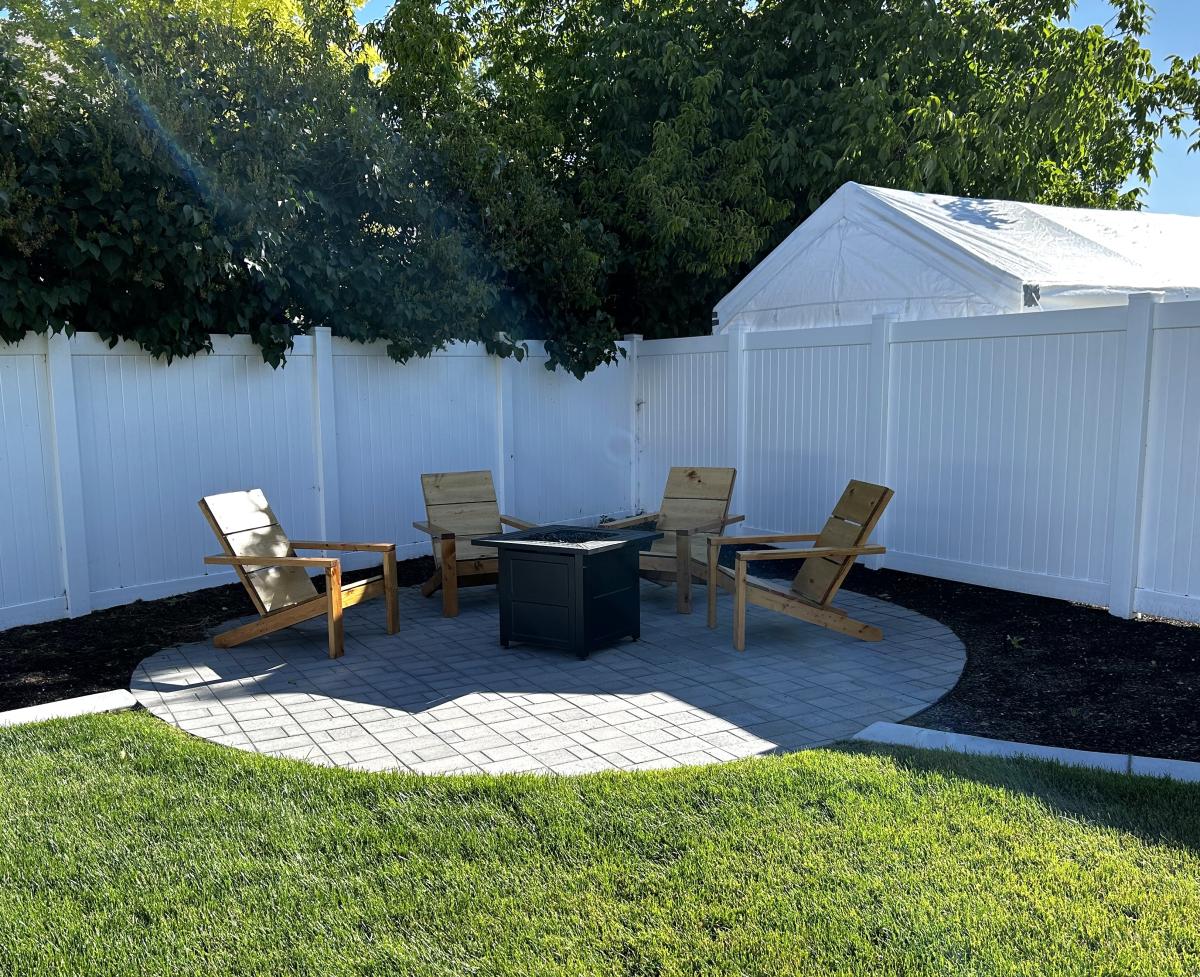
Adirondack Chairs for Fire Pit

Adirondack Chairs stained.
Rachel M
Built from Plan(s)
Adirondack Chairs stained.
Rachel M
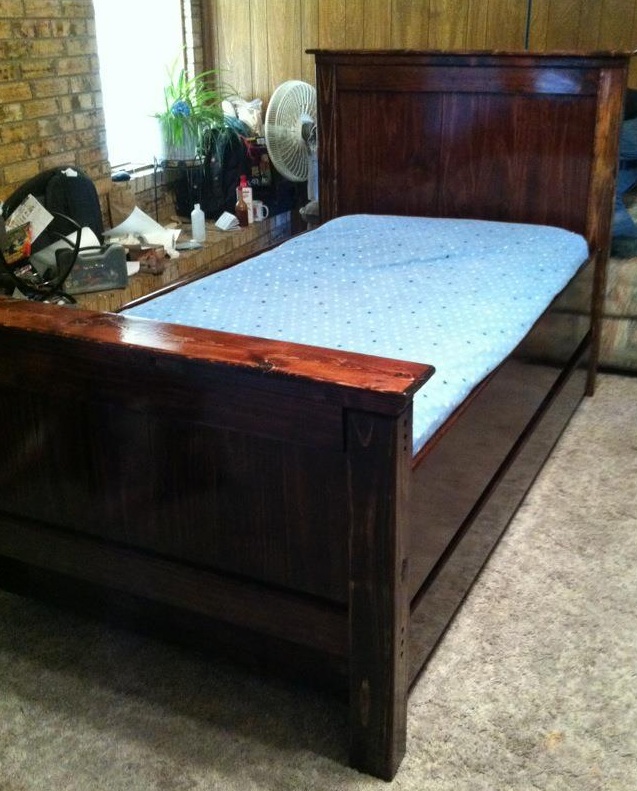
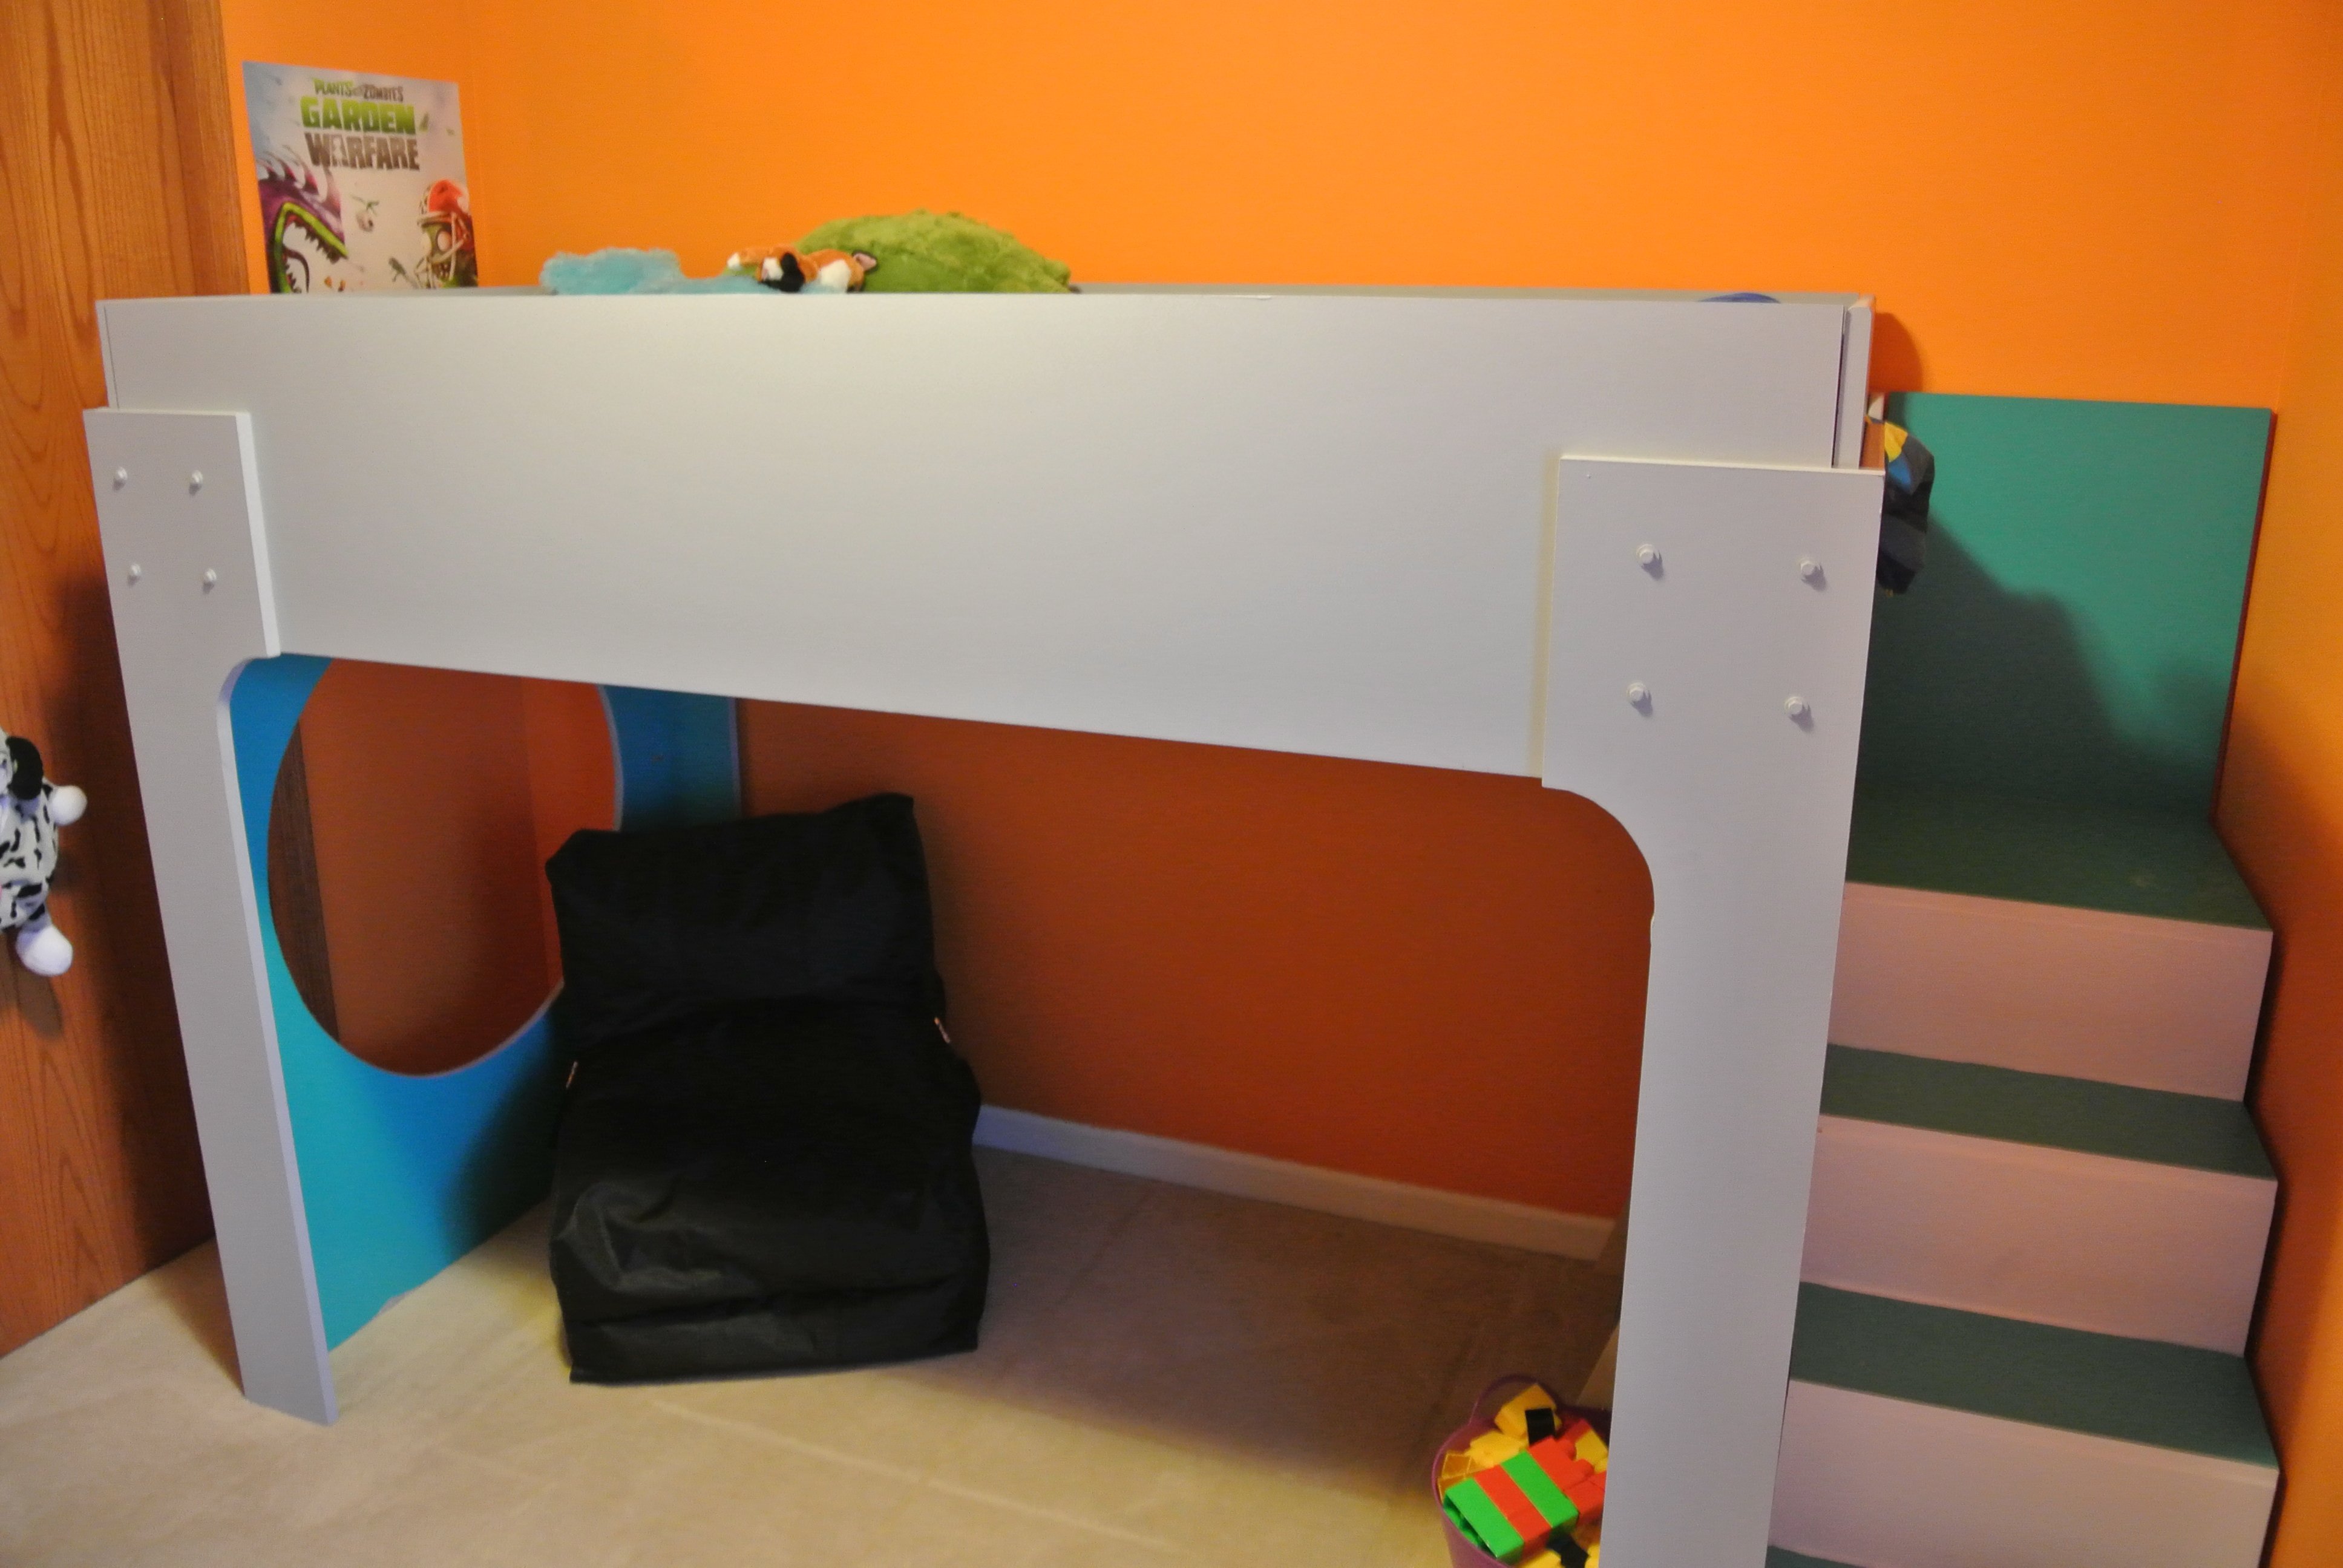
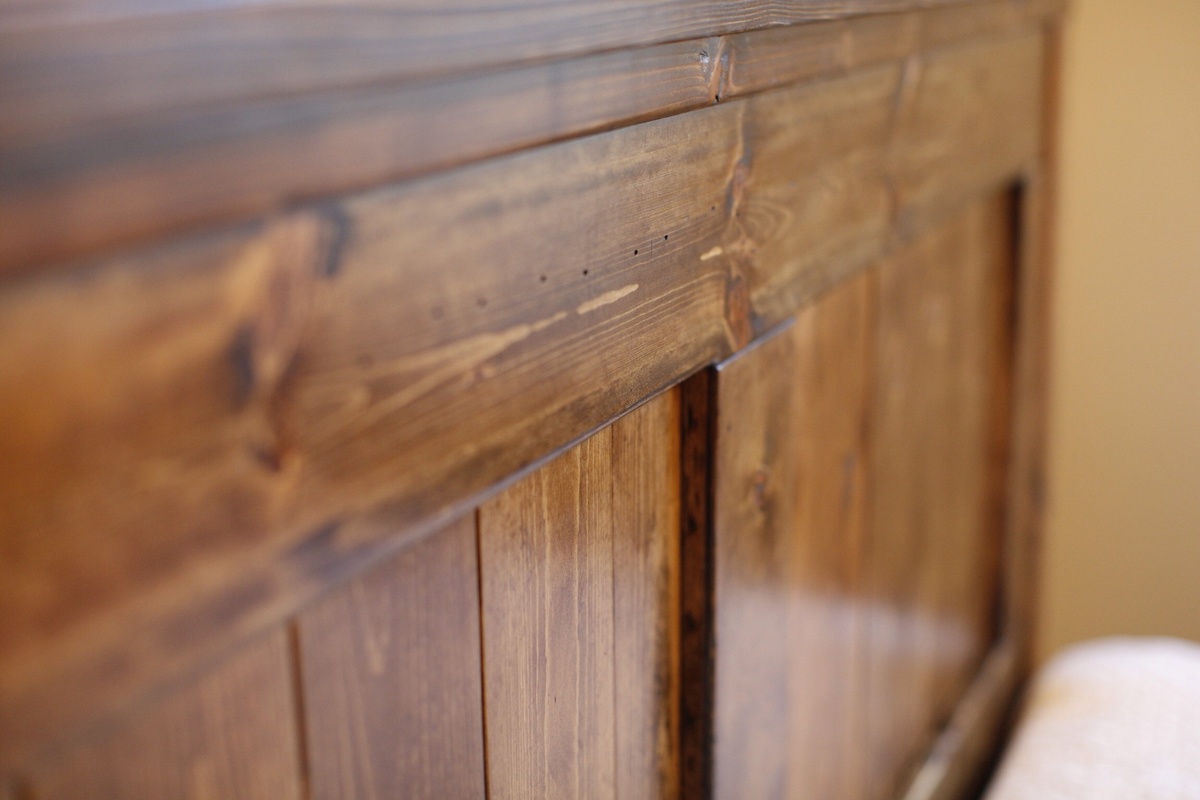
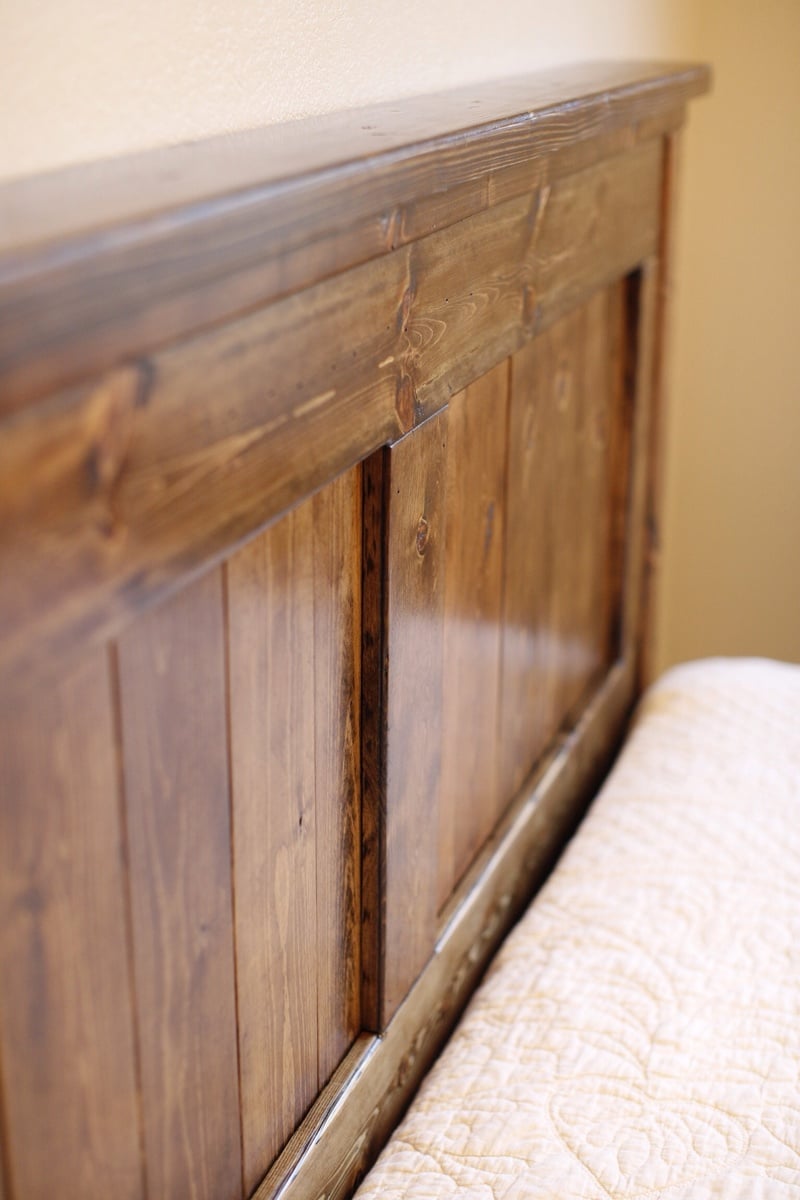
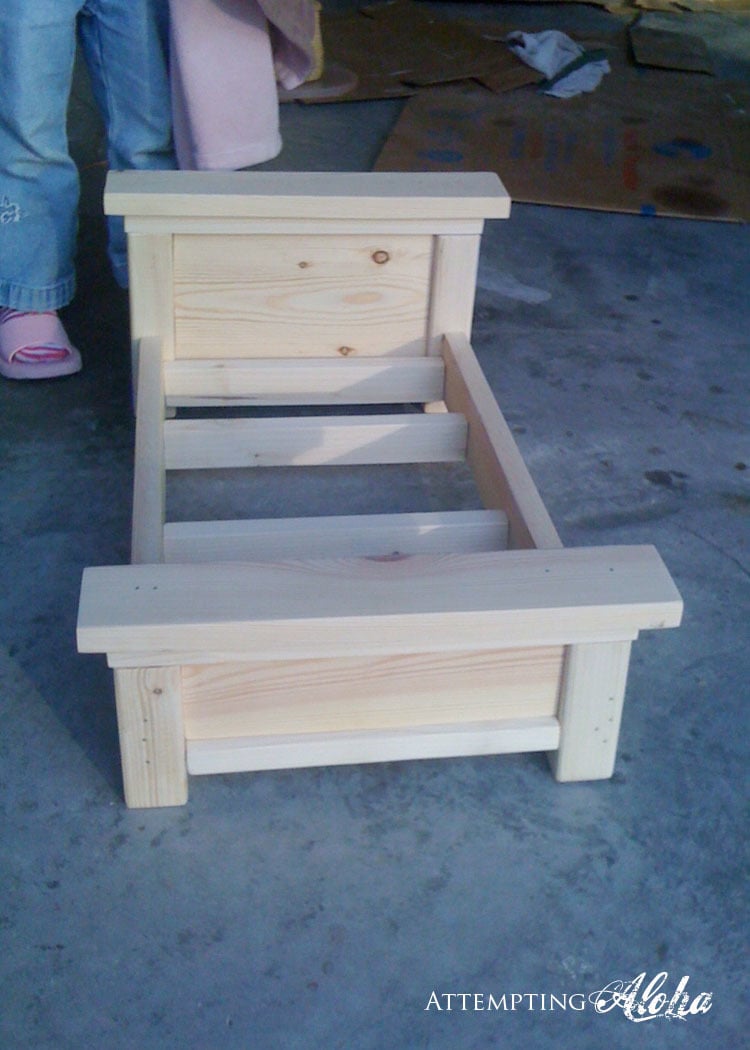
Twin farmhouse bed with trundle. Slightly modified to make foot board a bit taller.
Wed, 03/14/2012 - 07:44
Where can I locate plans for the trundle?
Thanks!
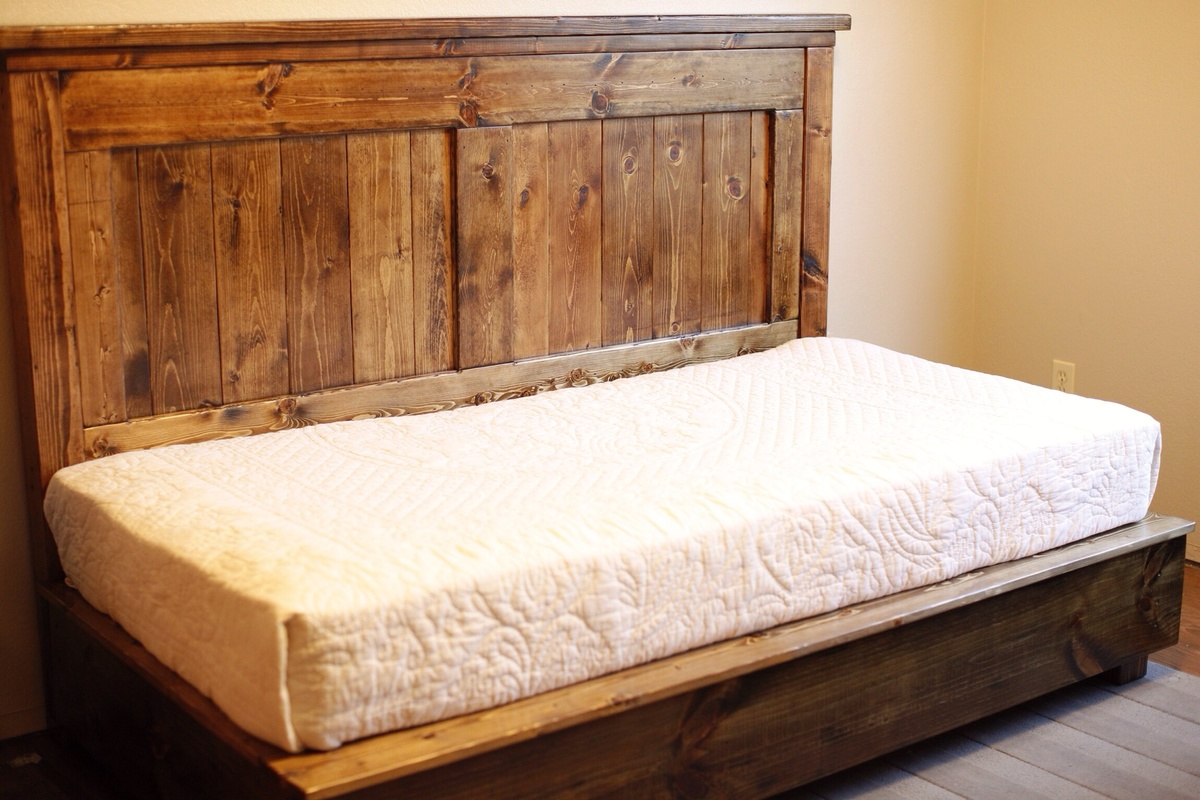
My son plays games while sitting on his bed, we love the farmhouse style, but for room sake and looks, making it this way turned out perfect. Took the basic layout added some thicker boards top and bottom and additional surface boards to give it depth. Since there was no footboard I built a free standing frame, and attached it to the headboard.
Tue, 12/22/2015 - 07:42
This is the perfect playroom bed for a boy! I'm looking to build two of them. Every other bed I've searched that is farmhouse style is boarded on three sides. I LOVE this playform style for the same reason you mentioned....they can sit all around on the bed and it's much easier for kids to change bed linens. I love the "chunkyness" and masculine appeal of this bed! You mentioned using thicker boards on the top. Would you mind shag what yo used? Also, what did you use to make your "feet" on the bottom? I would appreciate any tips
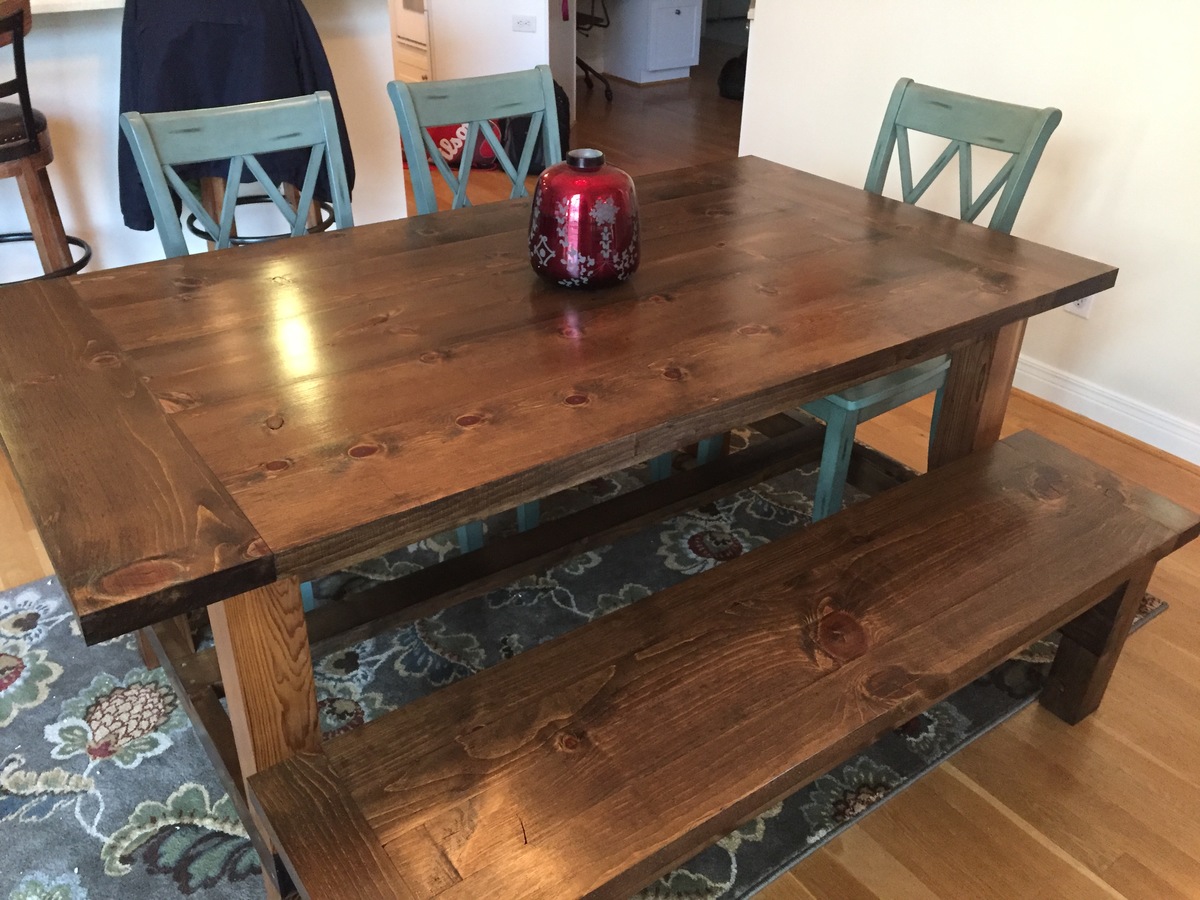
We loved the farmhouse table plan and the bench. We modified a bit to make it 6ft. We just loved how it turned out. We used cedar for the legs. We wanted something to contrast a bit. I didn't stain the legs just coated with poly.
Finally built my daughter a chair and she loves it
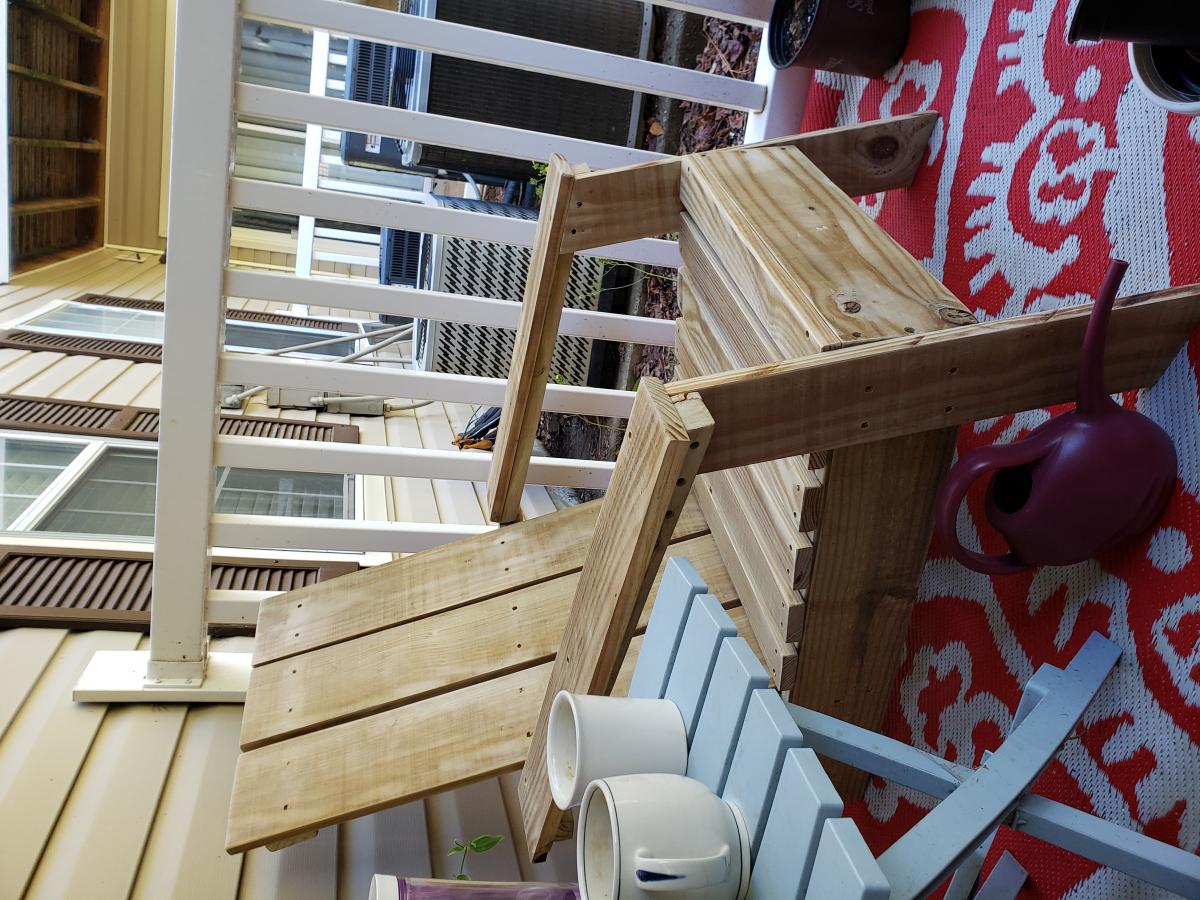
Thank you Ana for your work and making your plans available for free!
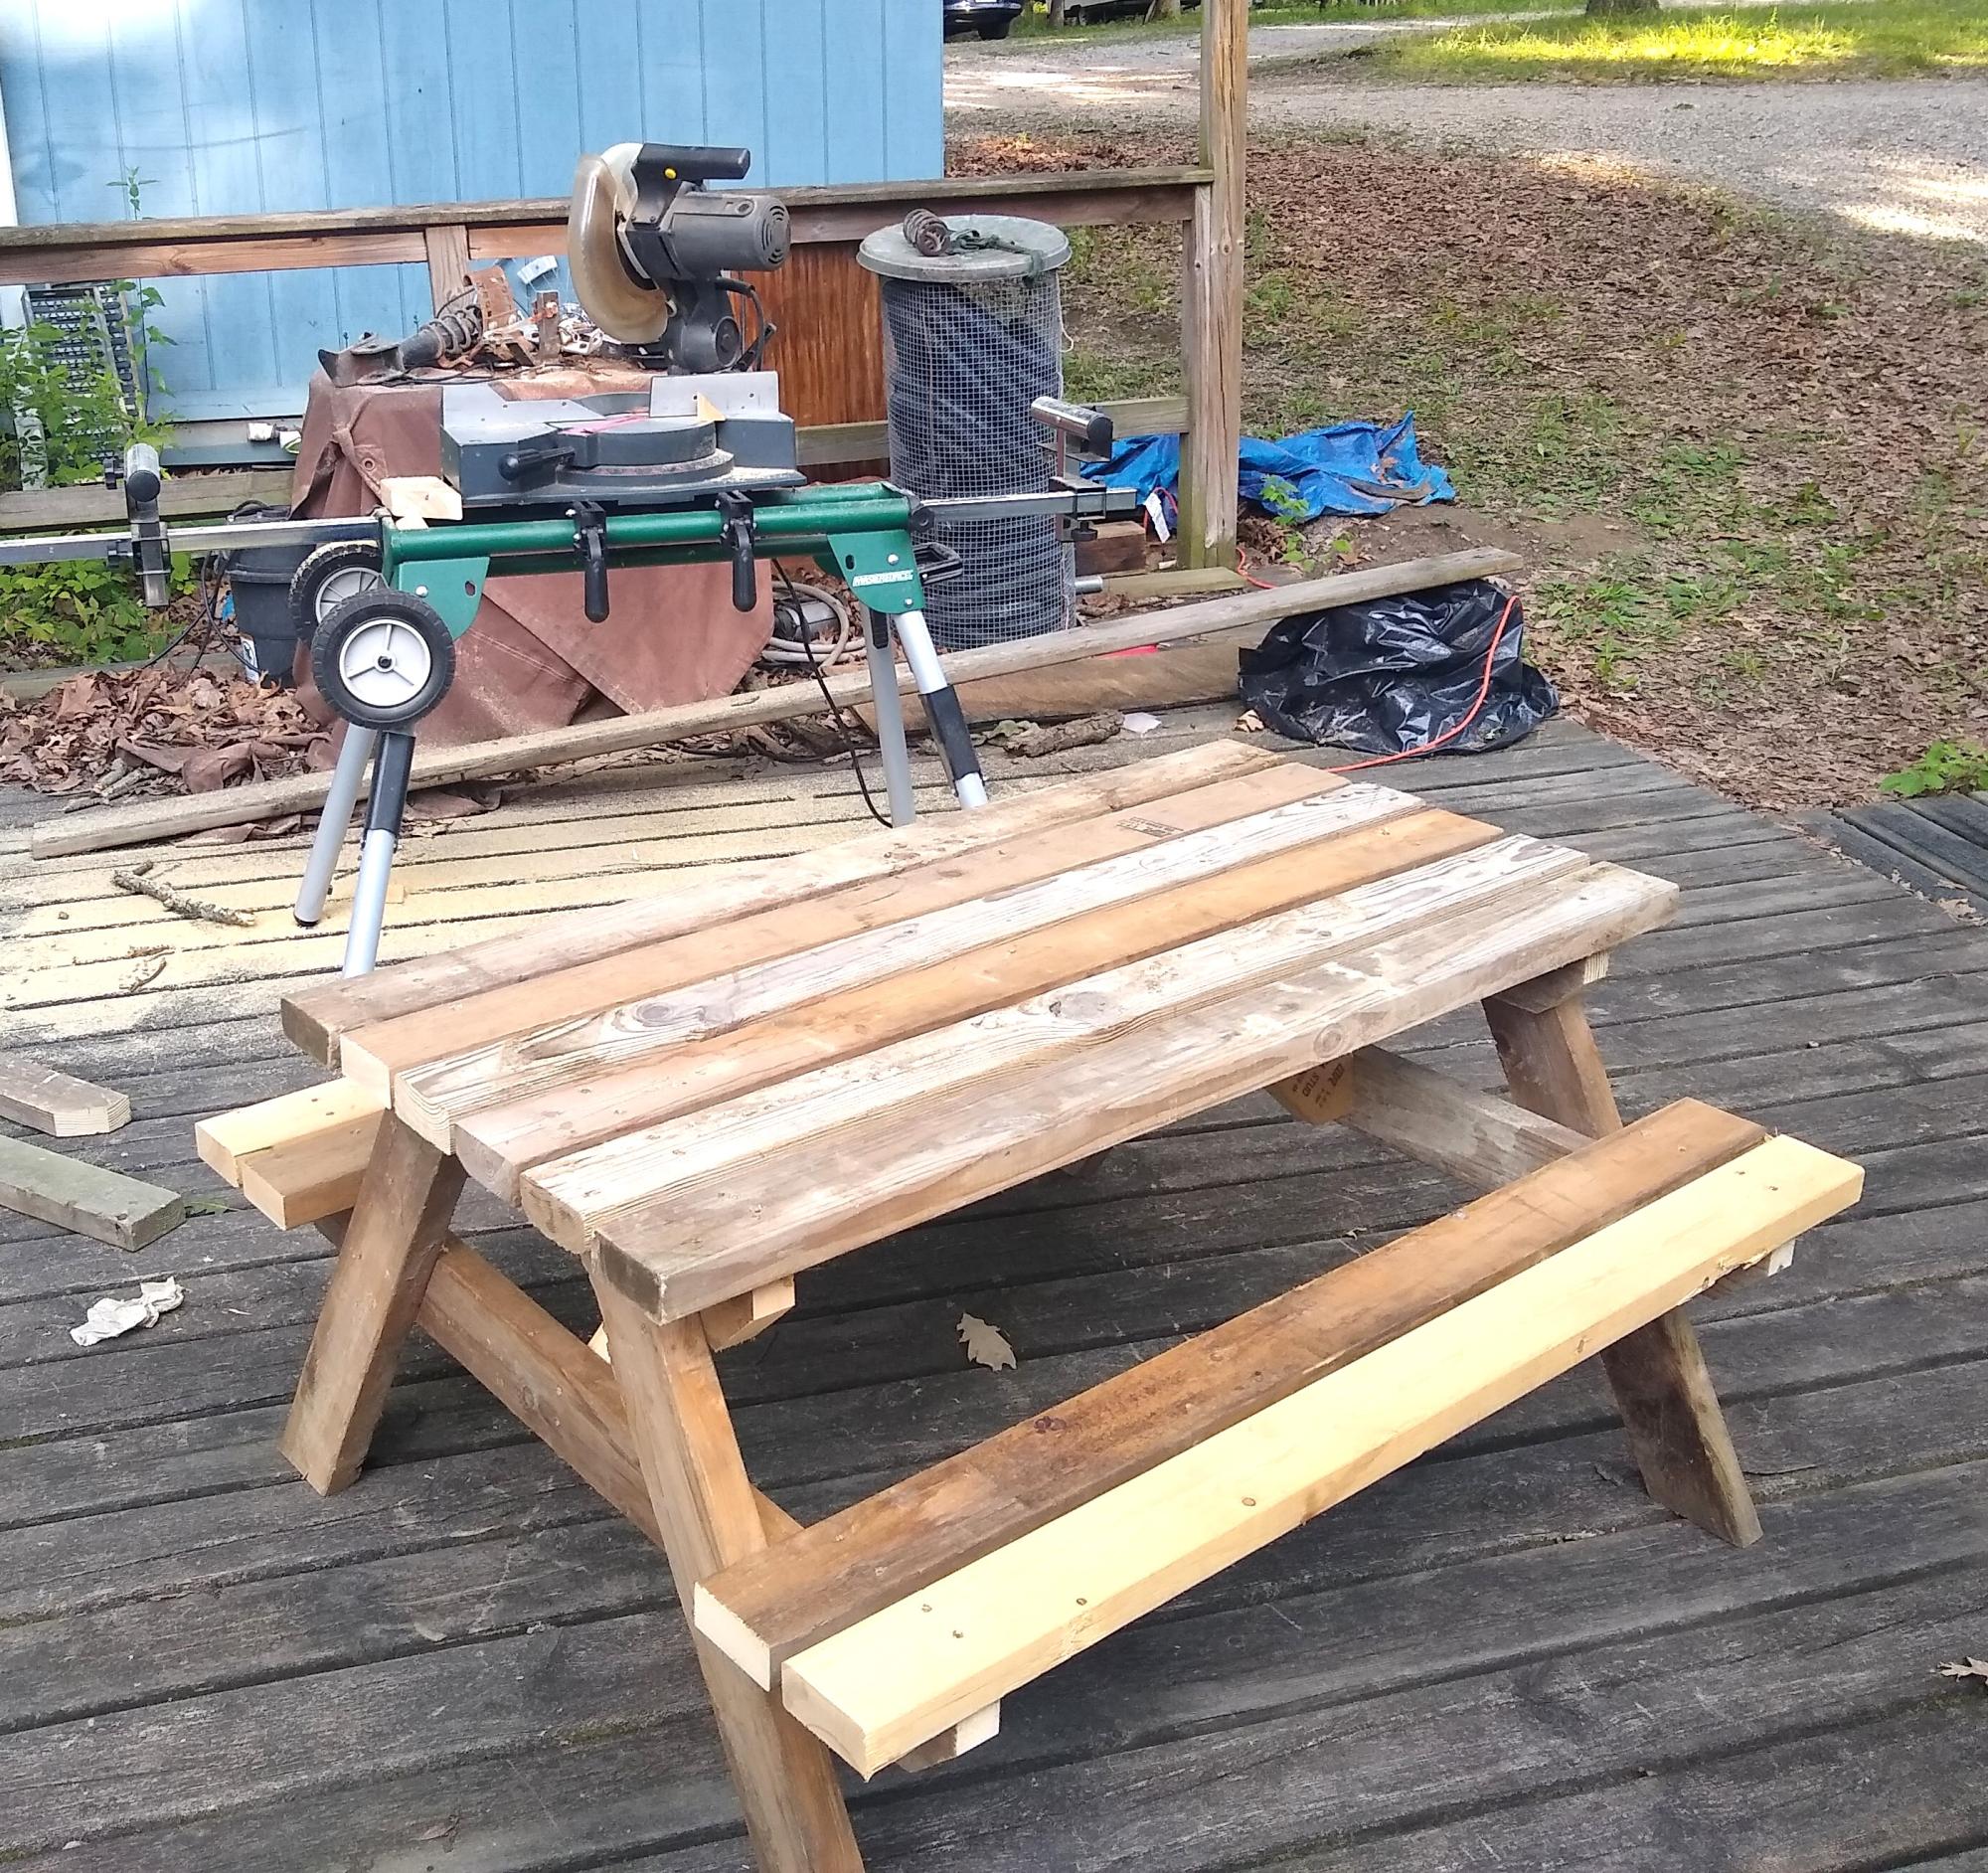
My table is based on your Big Kids Table, modified to use available free scrap wood.
tcphillips
Thx for the plan Ana. I modified it slightly to make it a bit different but realy loved you plans.
Thu, 03/08/2012 - 20:53
Thank you all for the kind words. This was a fun project for a worthy lil person :)
Tue, 08/14/2012 - 16:29
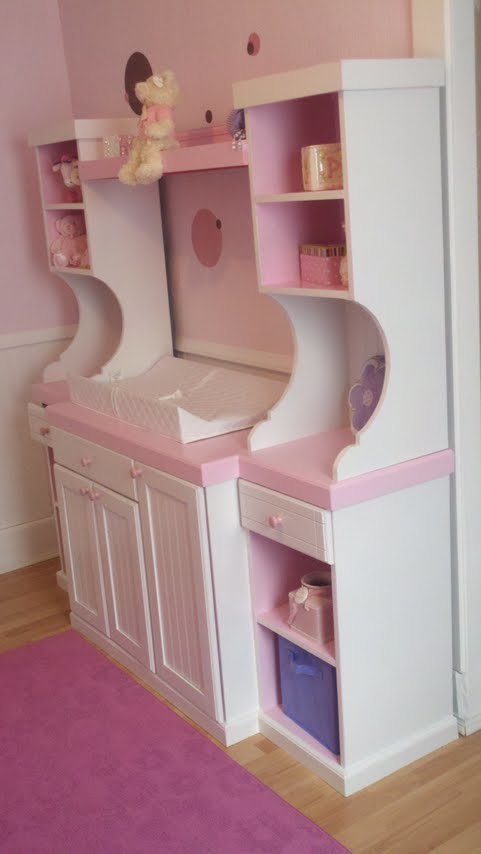
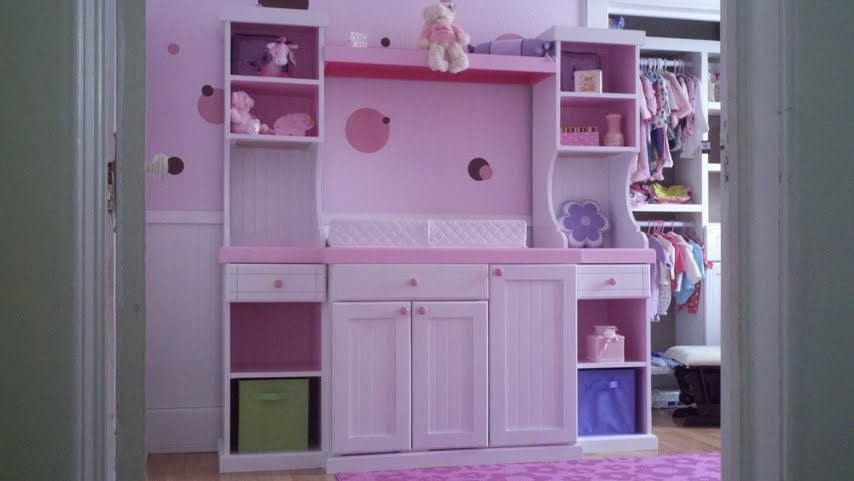
I would like to know where did you get the instructions for the HUTCH on the Madeline changing table plan I can not find it on Ana Whites plans
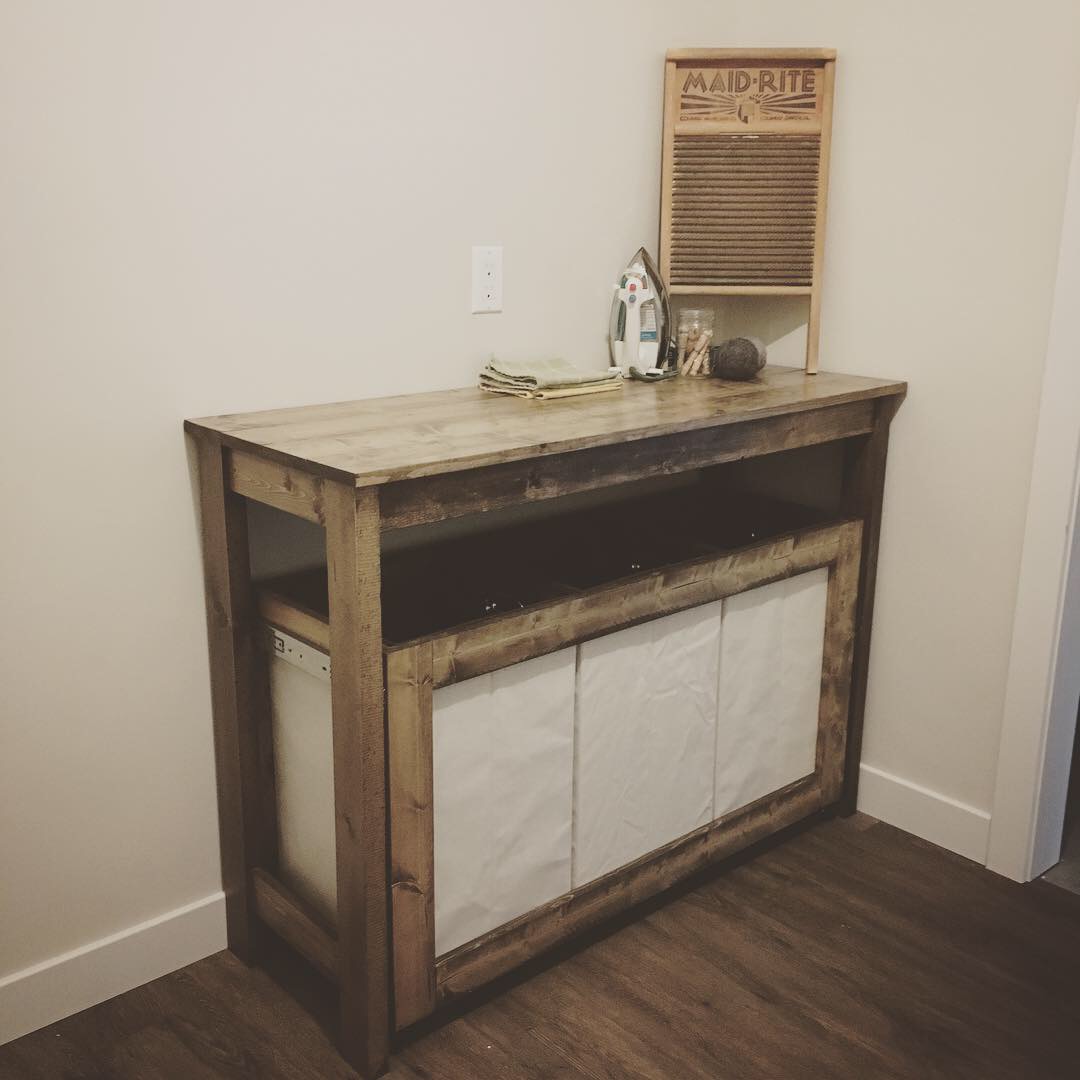
This plan was a lot of fun!! I have been wanting a laundry sorter for some time now and this one fits in my laundry room perfectly!!
The pull out works awesome!!

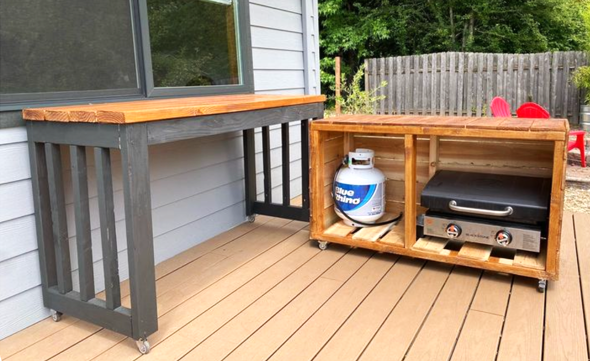
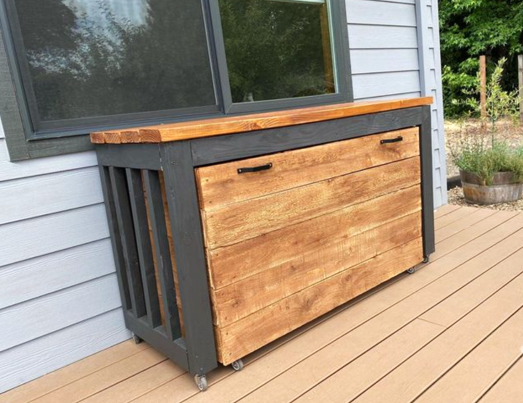
Nesting Grill Station
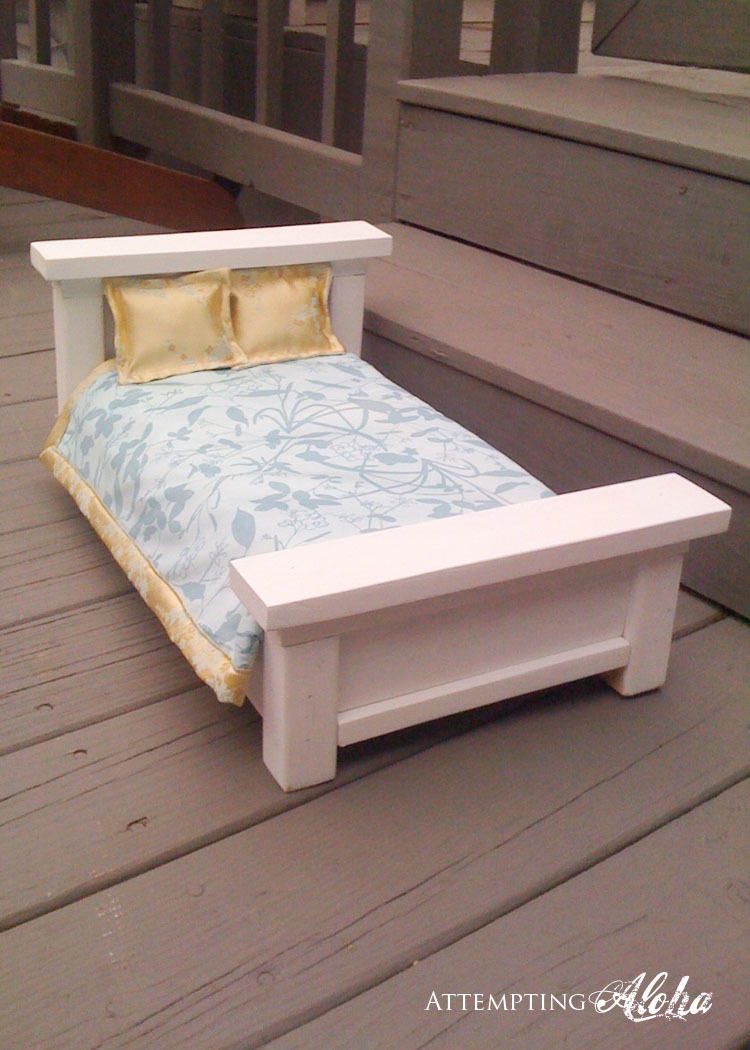
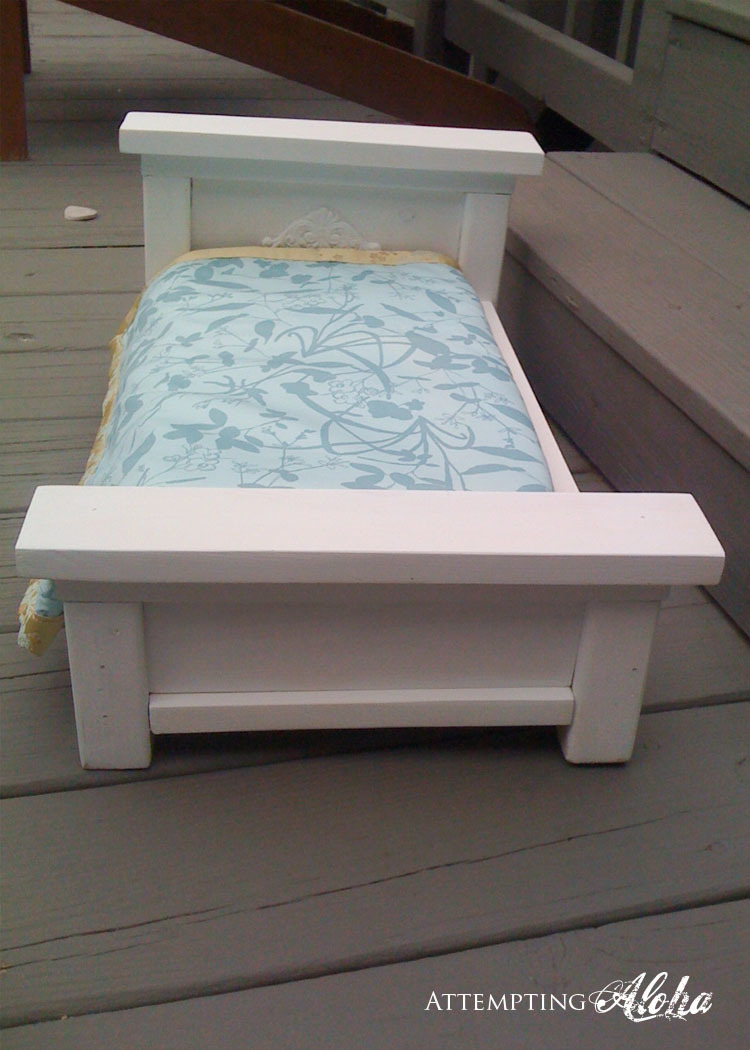
I love Ana's farmhouse doll bed. But I've made a couple beds/cribs, and I know how tedious it can be to make the slats, so I cheated and used a 1x6 across the headboard instead of the slats and a 1x3 (turned lengthwise) for the footboard. :) It was a gift for my daughter's friend who is using it for a stuffed animal, so we made it more narrow as well. Details on the changed dimensions can be found on my blog.
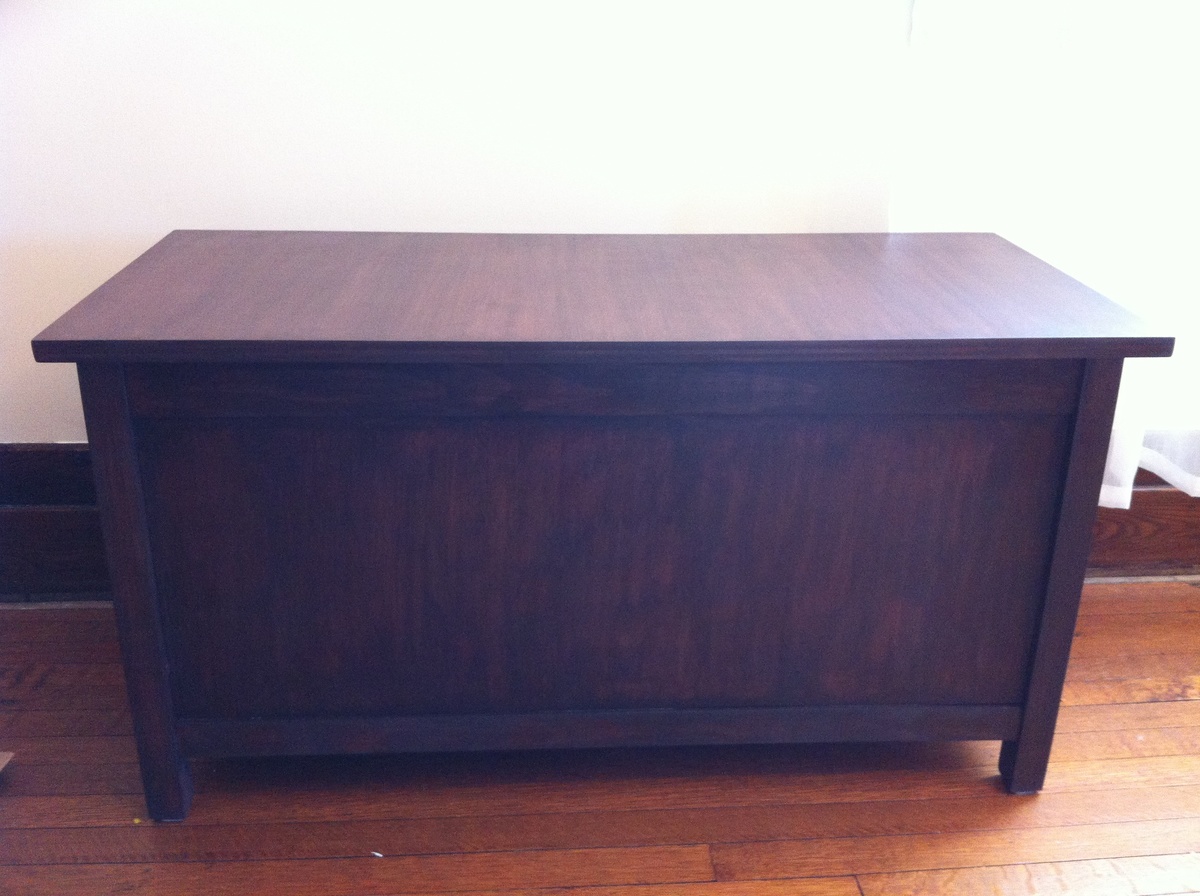
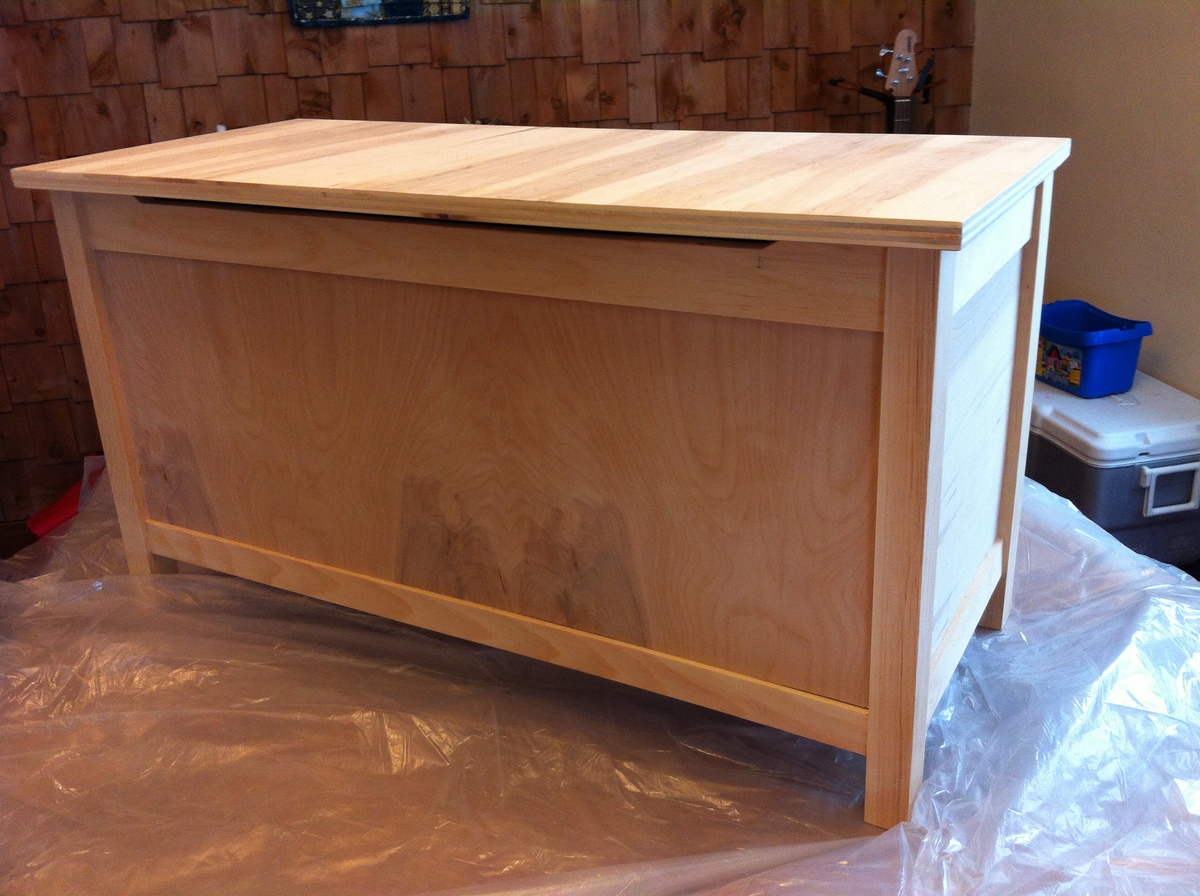
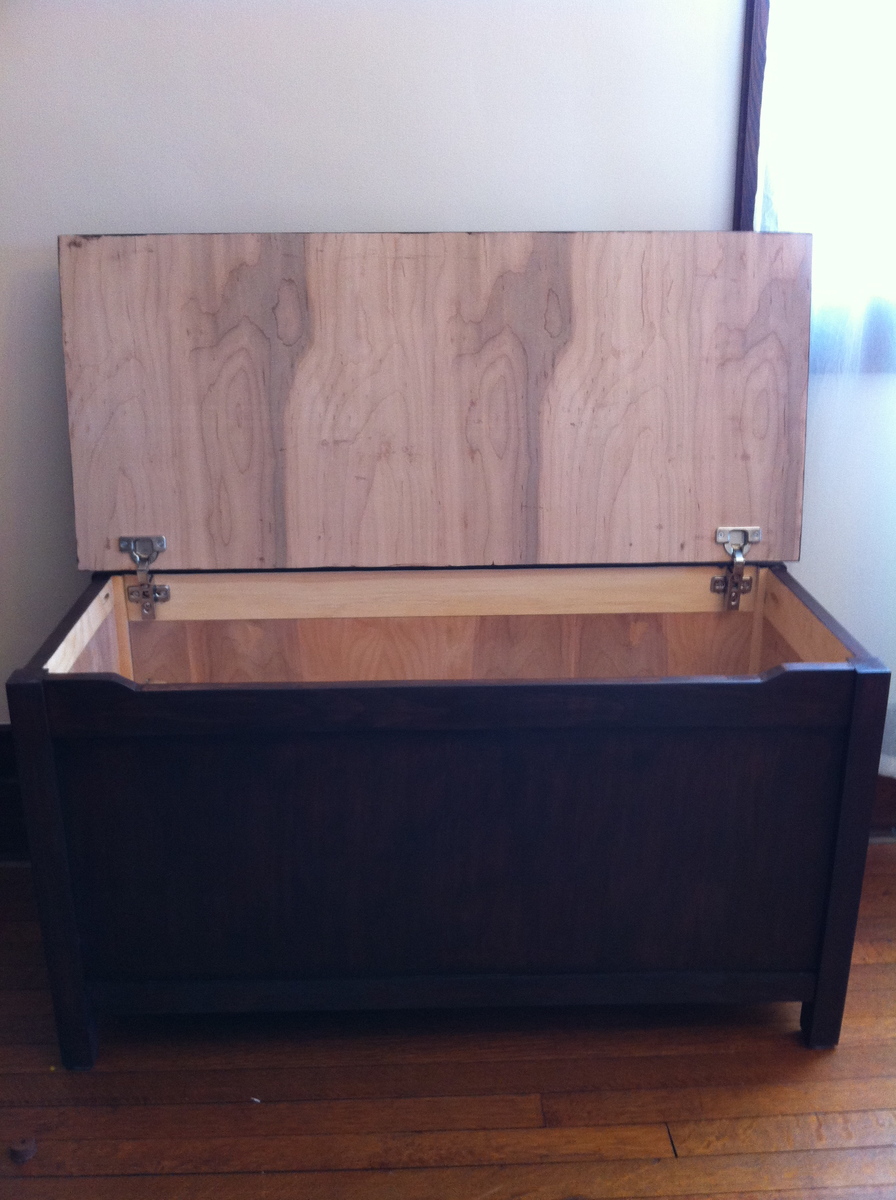
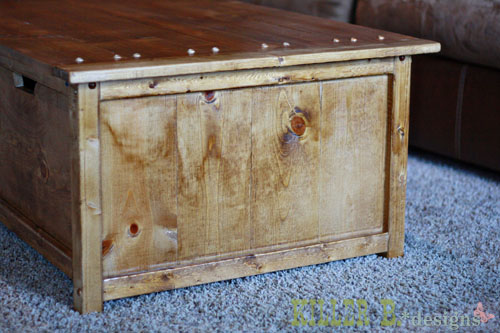
I made this for our kids for Christmas. It was originally meant for their costumes but we loved the size, so we decided to use it for toys and a bench for meals at family gatherings. We're so happy with how it turned out!
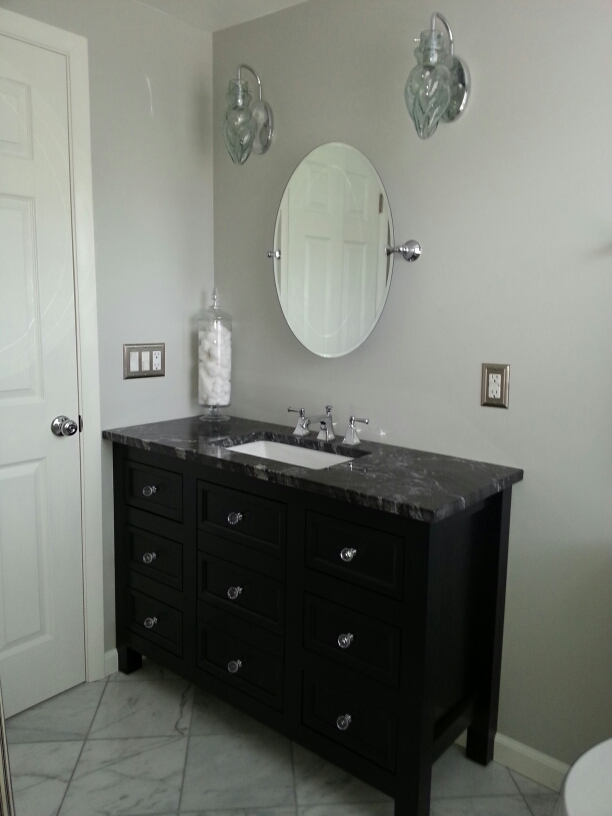
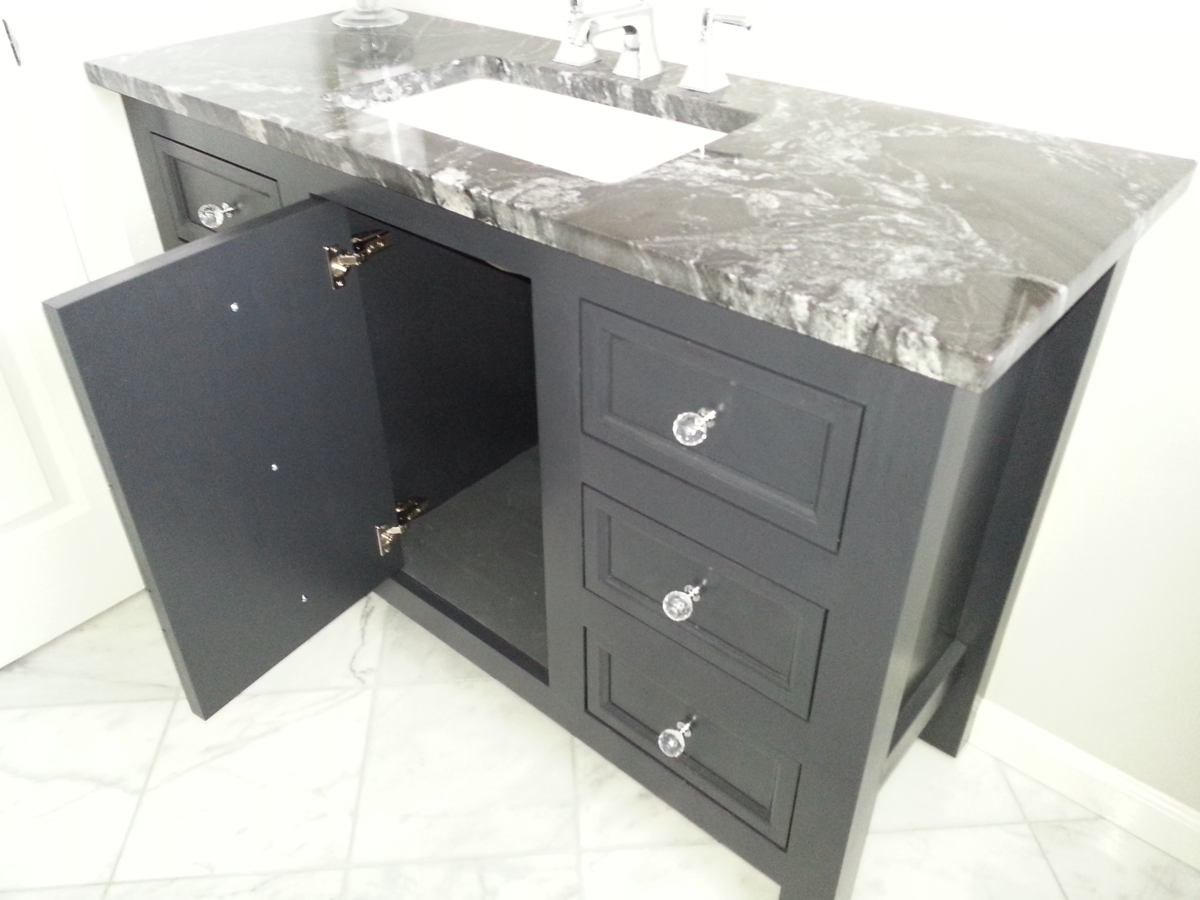
Thanks, Ana for the plan! We were remodeling a nearly 60 year old bathroom and a store bought vanity would absolutely not fit. Using your awesome plans, we were able to get a vanity that would fit, and be one of a kind.
Thu, 03/24/2016 - 13:30
Love the look of this cabinet, stunning! Thanks for sharing:)
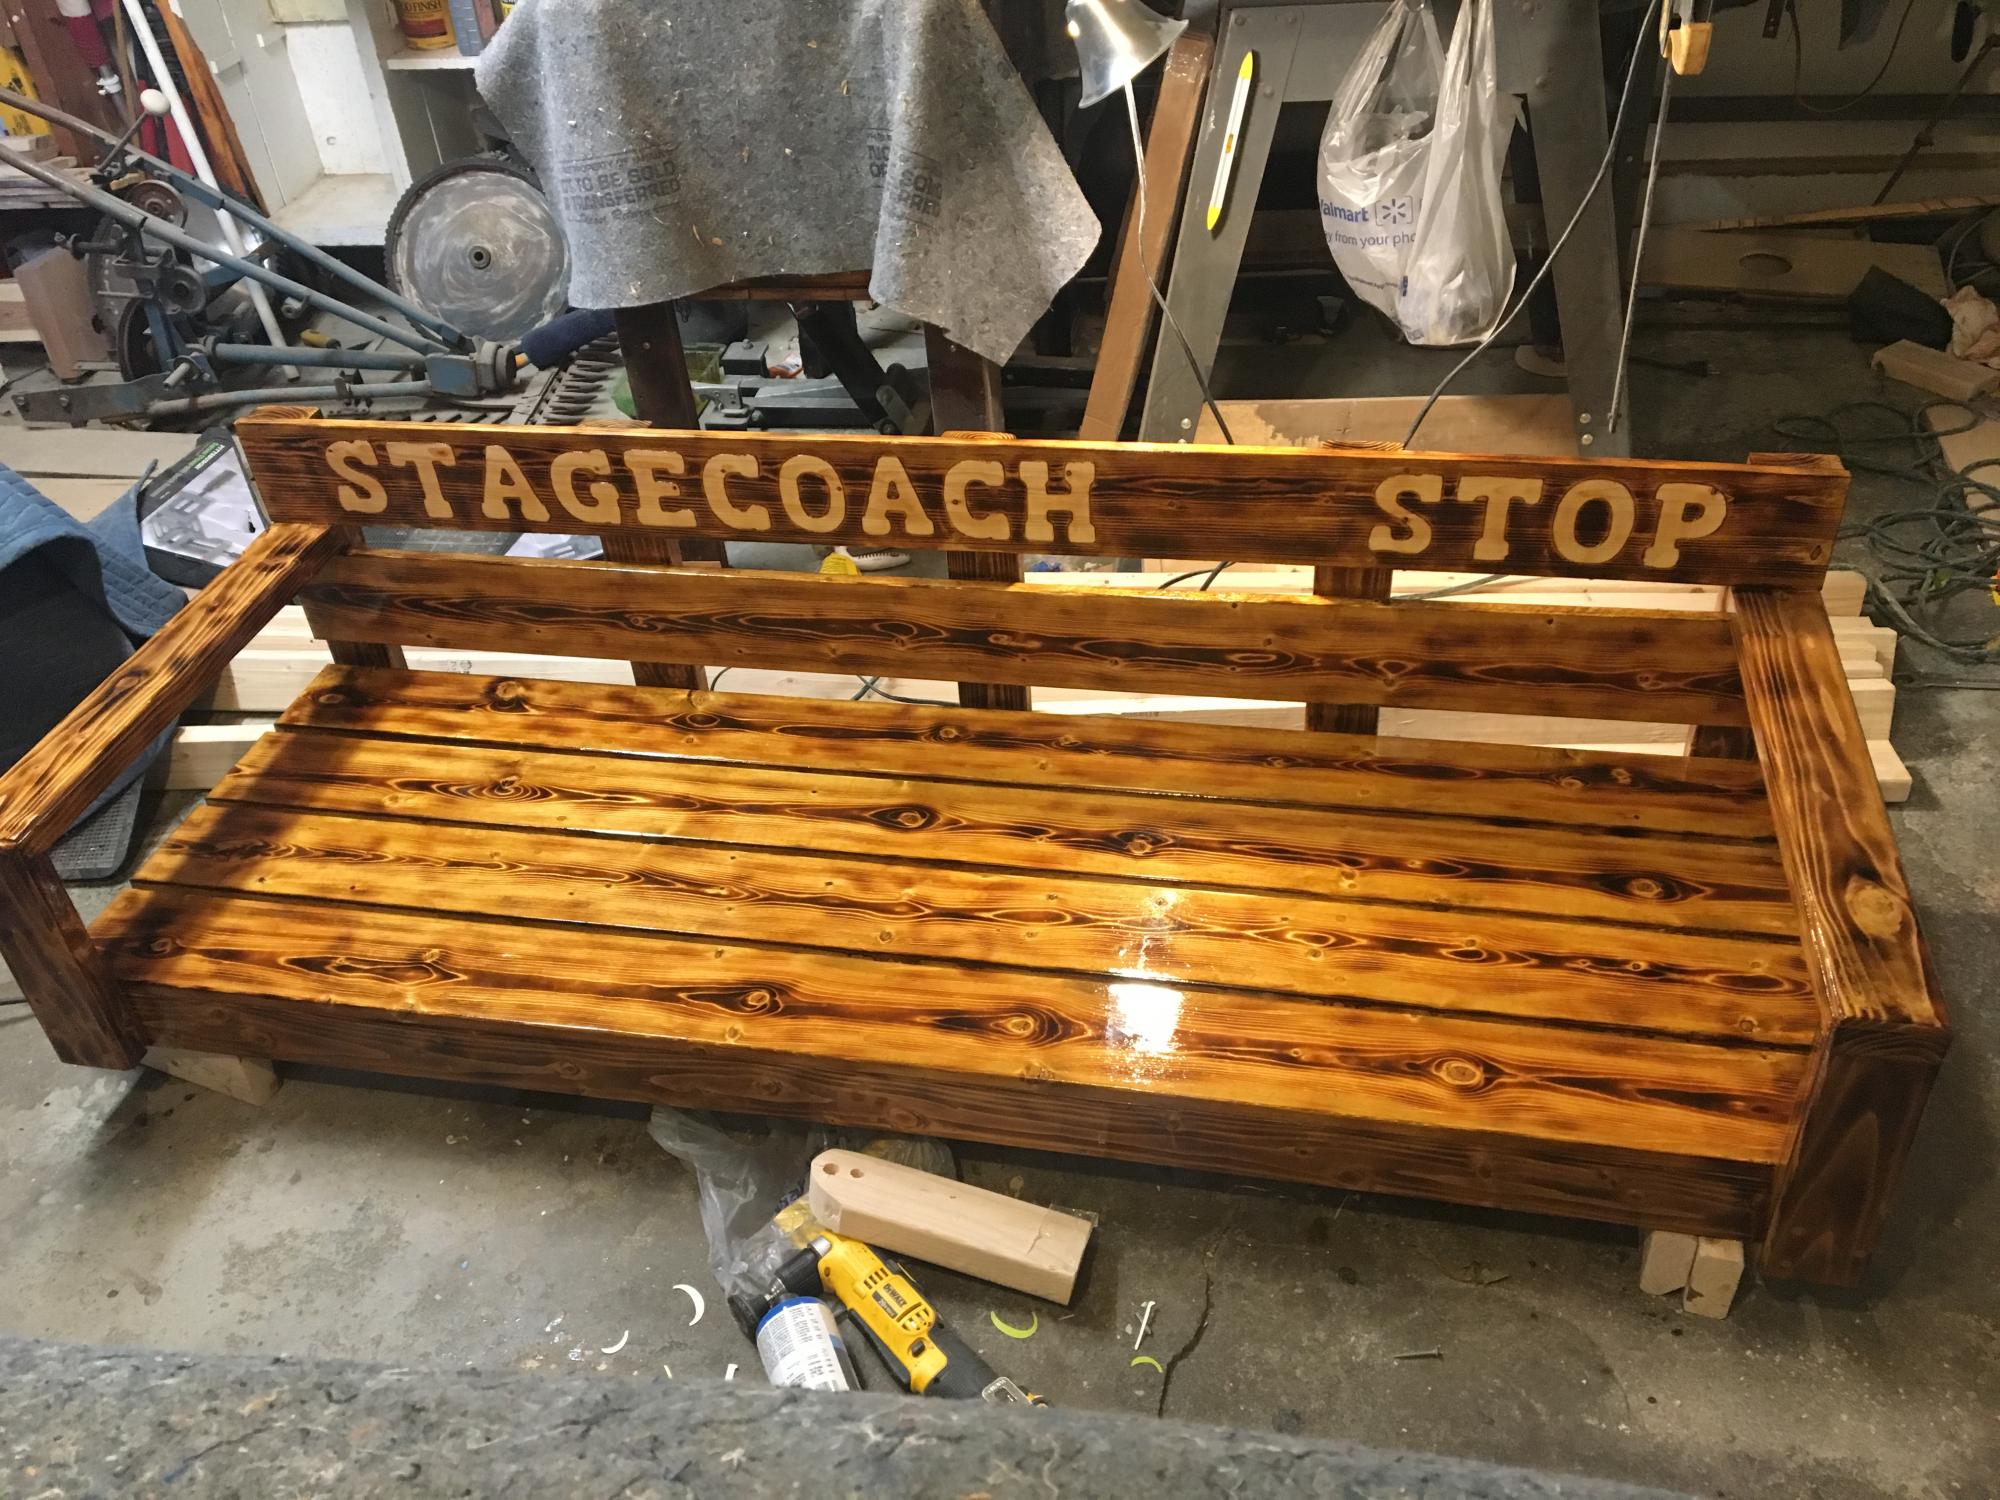
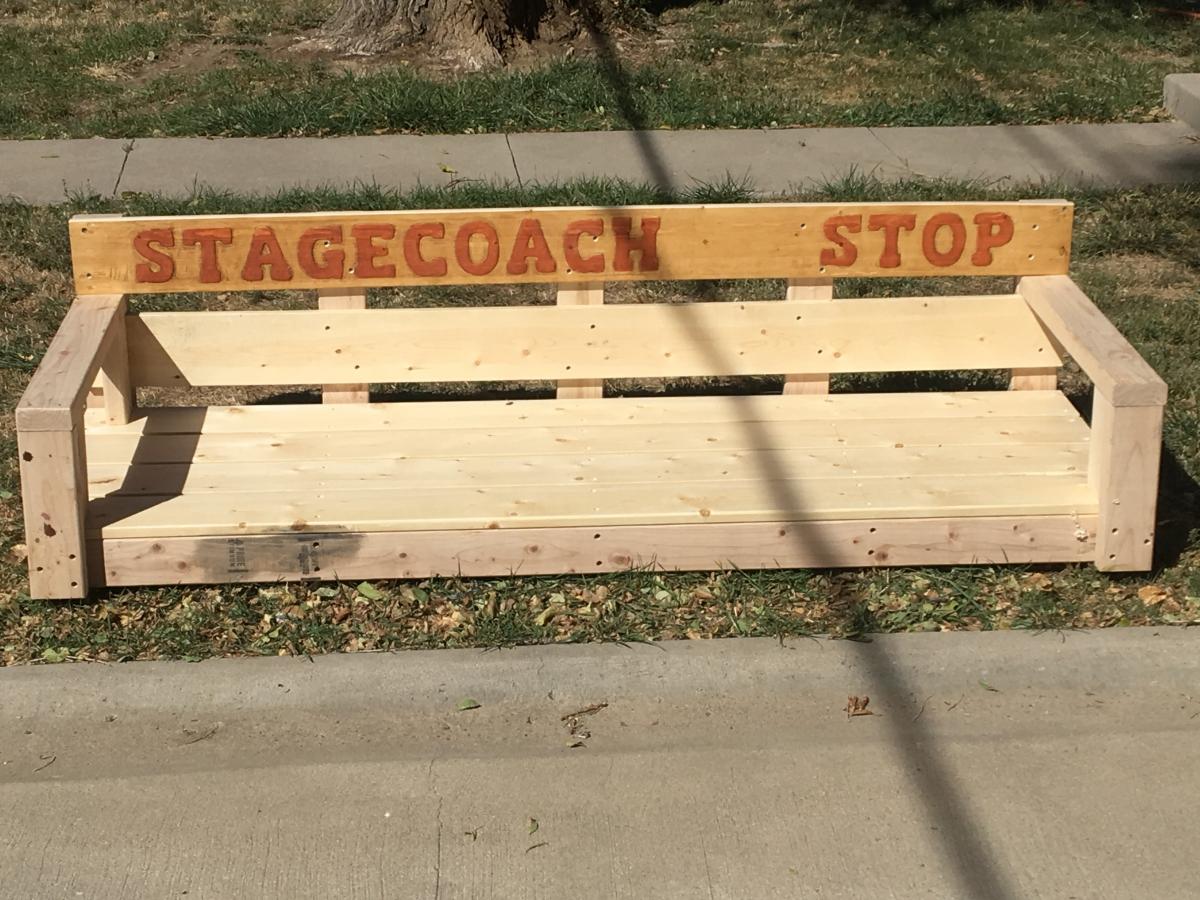
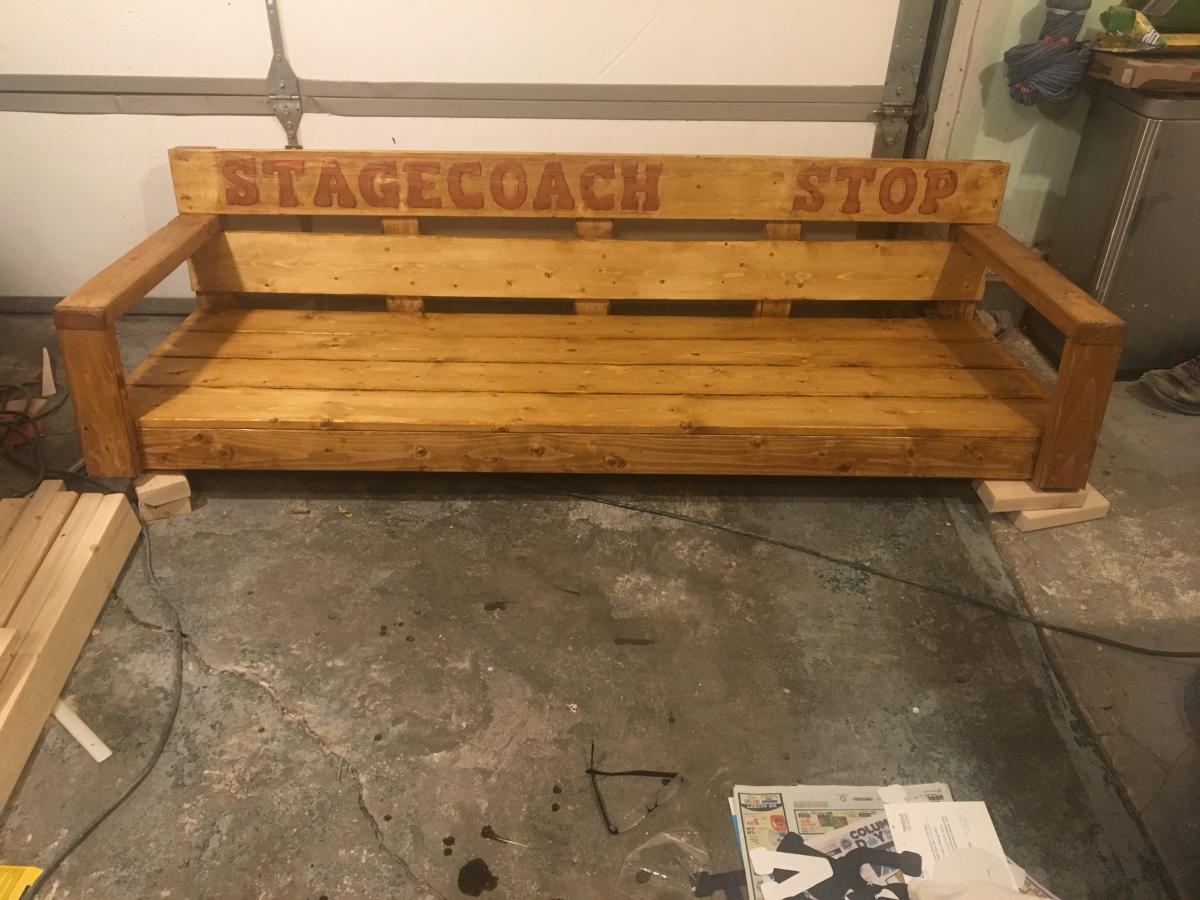
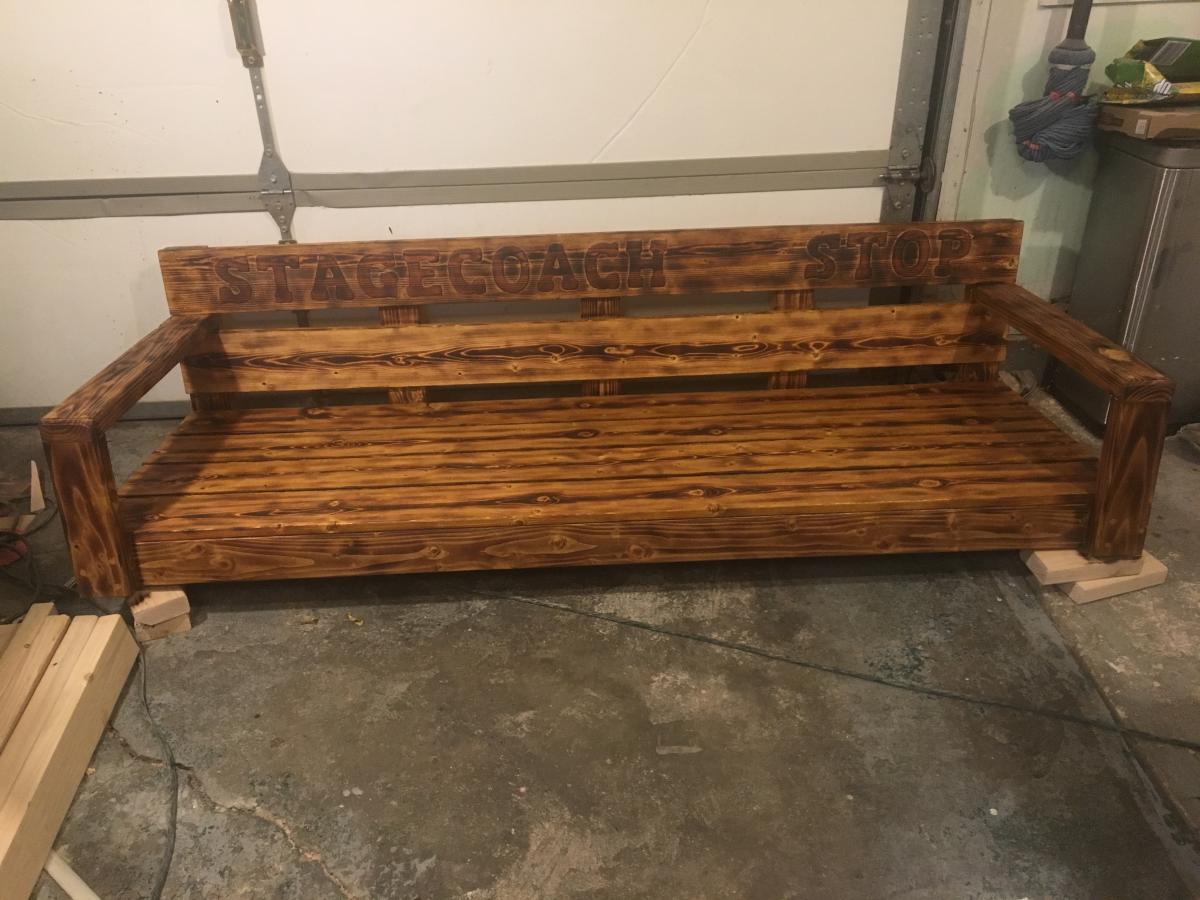
When I got it all put together it just seemed to be missing something,so I went back and routed the name of the name of the bnb that I made it for.It was still missing character so I took the torch to it and finally stained it.I think it has character now maybe?


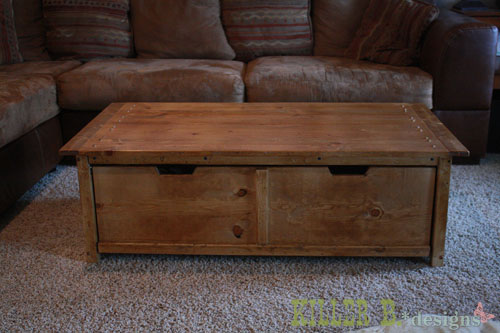
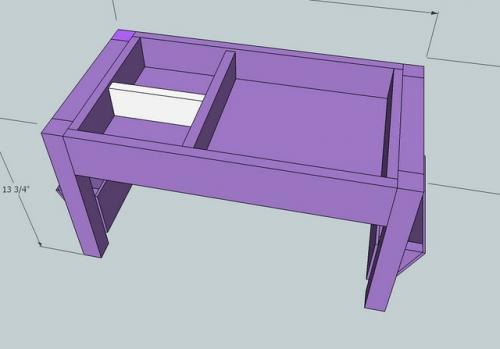
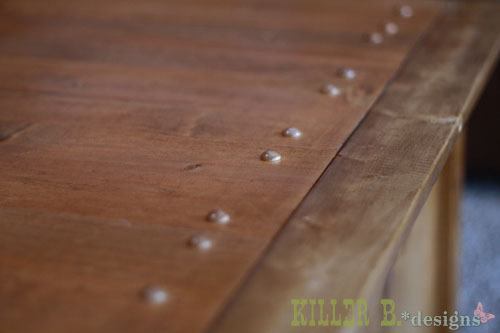
Finished our tidy up table! A couple of tweaks: I didn't want to kreg jig the boards together because I have a tendency to split 1x's when using a lot of joins. I tried drilling from below, but the 2x2 furring strips were so soft that I couldn't get my warped 1x6's to suck down without the screws popping through, even when changing to 1 1/4" ones. So, I countersunk two holes on each end of each board, and used 3/8" buttons to fill them to provide a decorative element. I LOVE THEM! Not only are all my boards flush, but the top is now so pretty. I secured the middle by screwing in from below with 2" screws, but since I didn't need to make them so tight to get my boards flush they no longer popped out. I hope that makes sense.
Also, the sides are pretty wobbly without the trundle in there, so my husband suggested adding L brackets to each corner. Success! It's now solid as a rock. We screwed in from the outside and filled with more buttons. For those of you who don't like the raised look, they also have flat button hole plugs. They take stain so much better than wood putty.
Lastly, I chose 1 5/8" casters that move in all directions. Bad idea. It gives the proper 2" height, but makes the trundle difficult to maneuver. Going to try and find some fixed-side one-way casters to replace them. Other than that, it's fantastic!


Tue, 03/13/2012 - 15:11
Here's the link to the product: http://www.homedepot.com/buy/paint/paint-sprayers/husky/gravity-feed-hv… . It's $50, and comes with 2 sprayers and 4 tanks (2 large, 2 small). You can use paint or stain. The coverage is nice and even. It was so much more fun to stain that way than with rags and brushes!
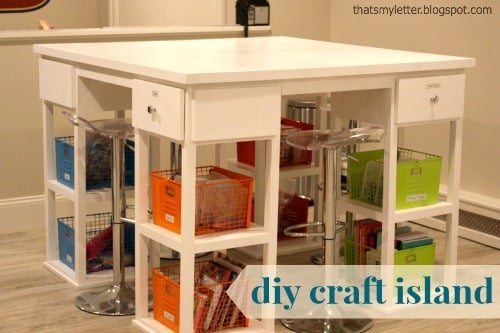
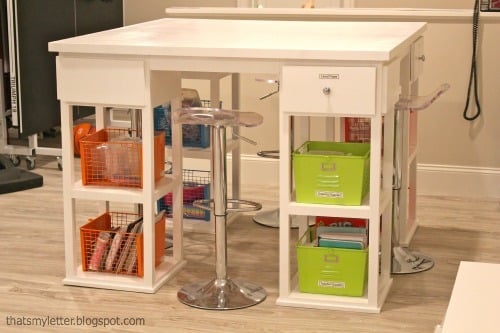
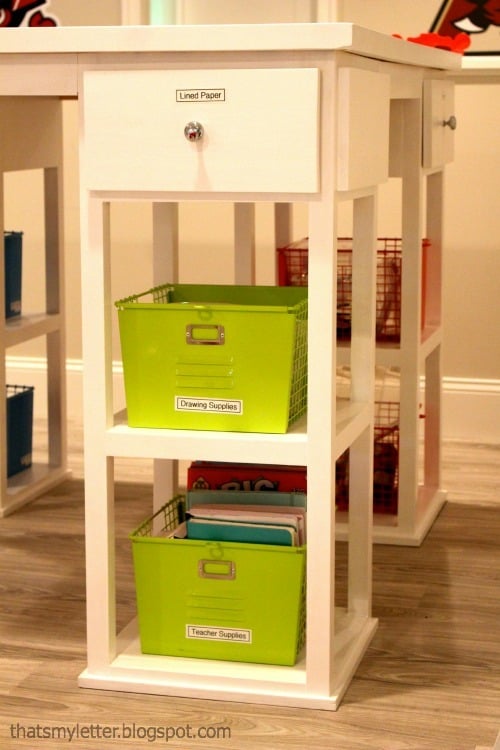
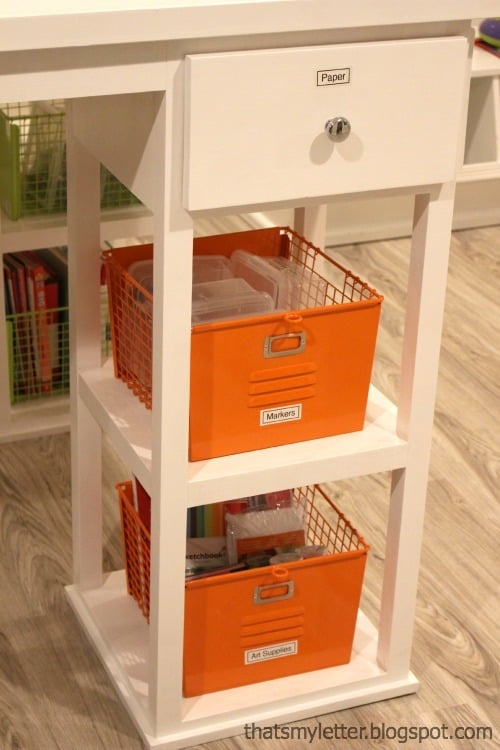
I built this craft island for a friend for her basement playroom space. Click the blog link for full build details and the inspiration picture.

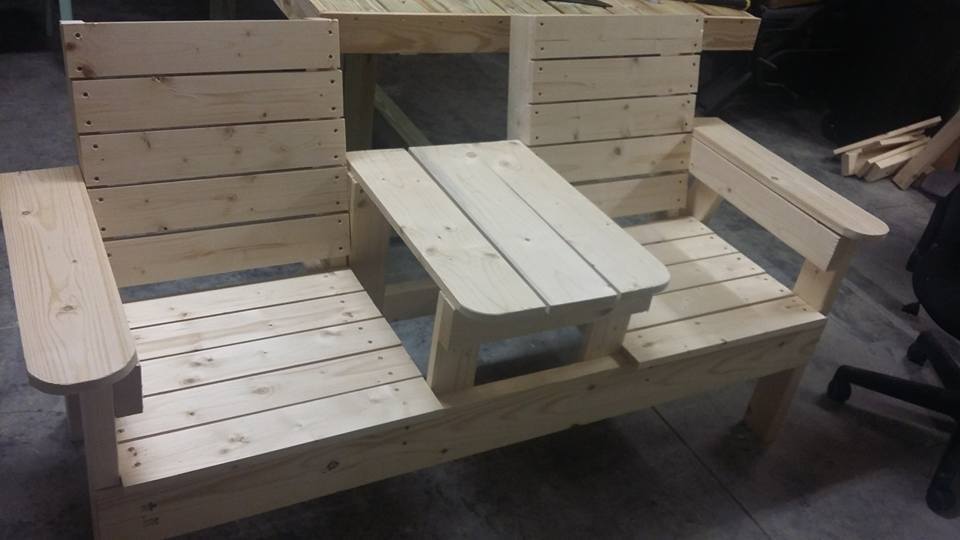
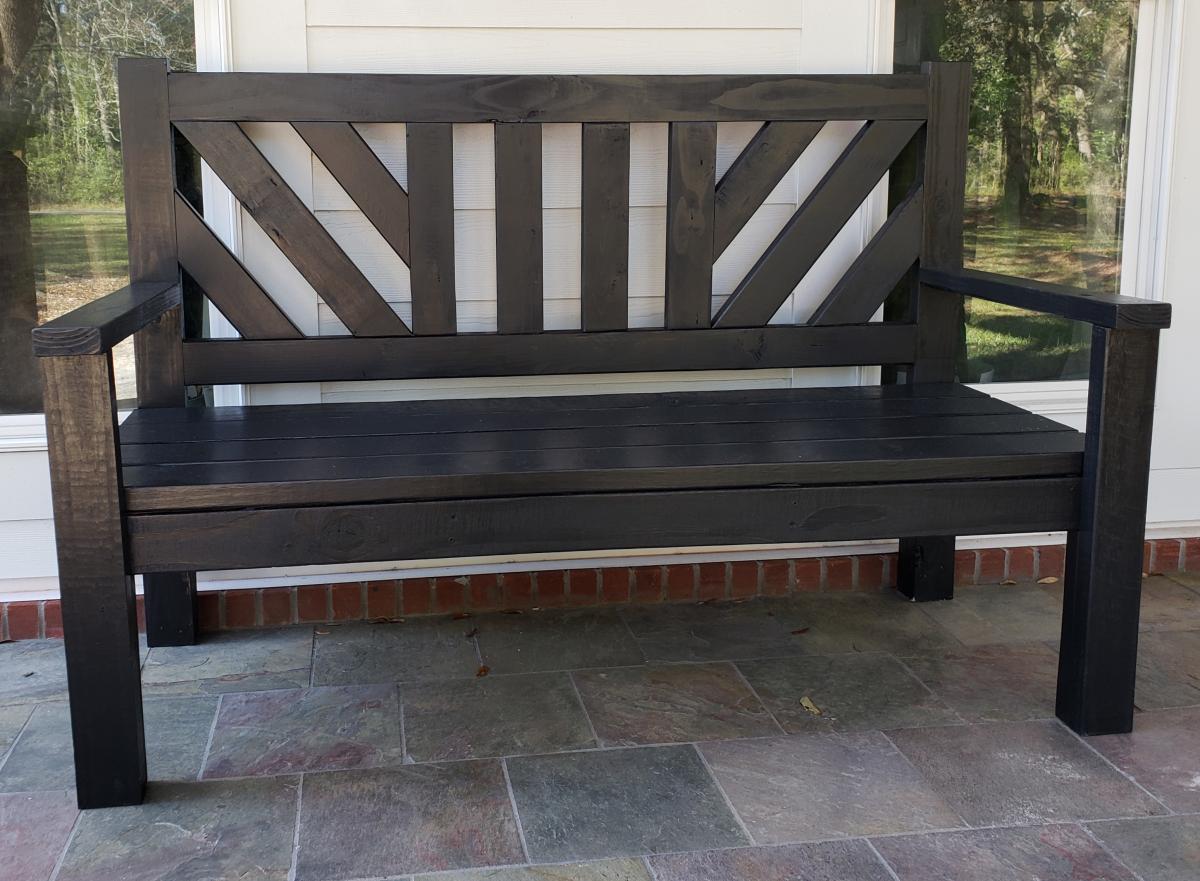
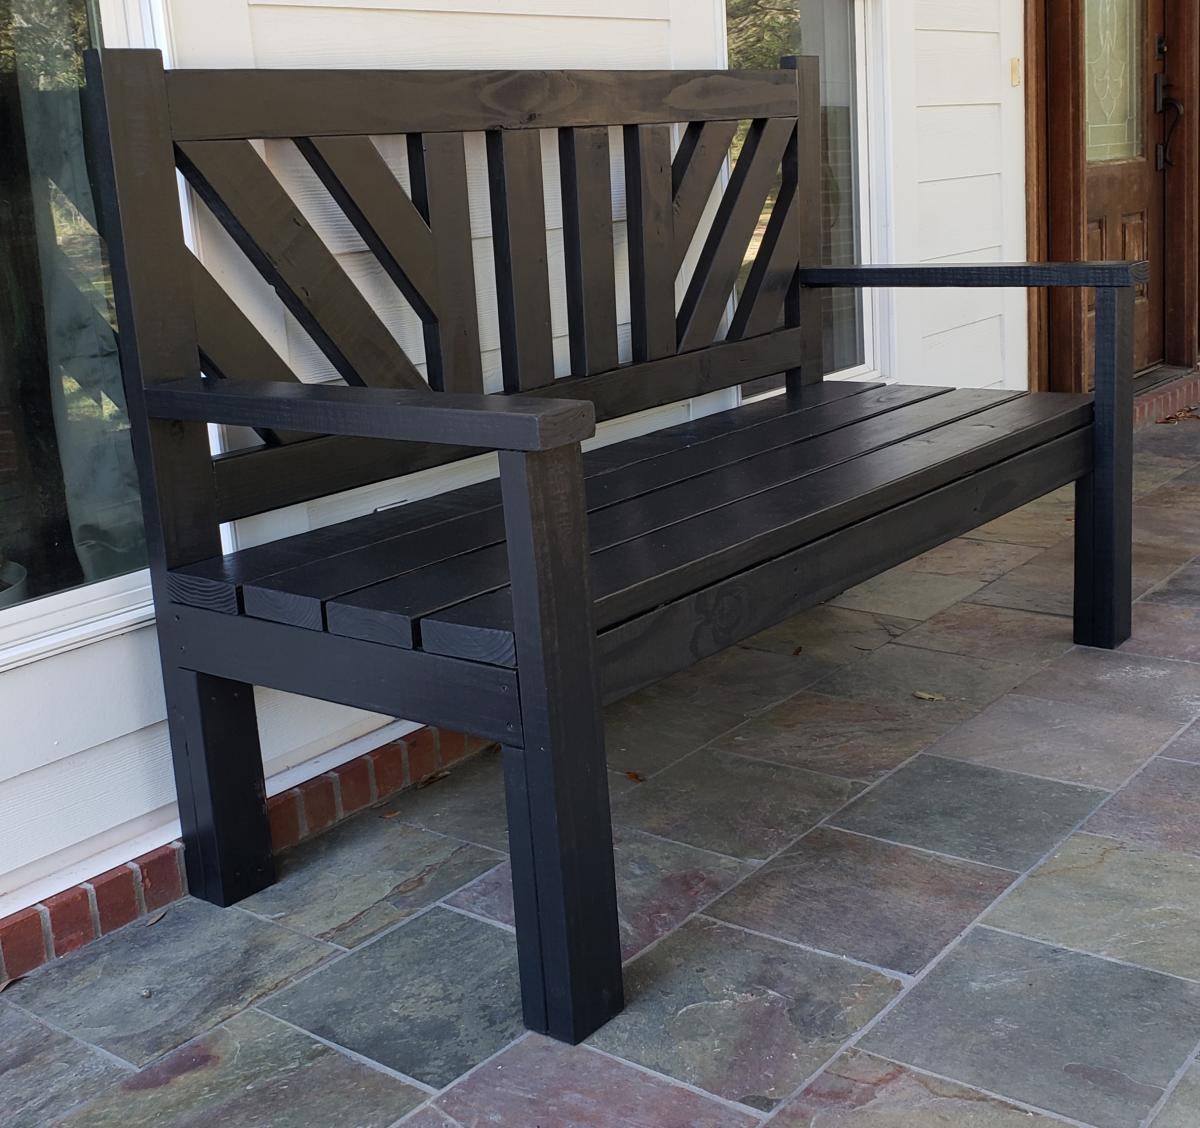
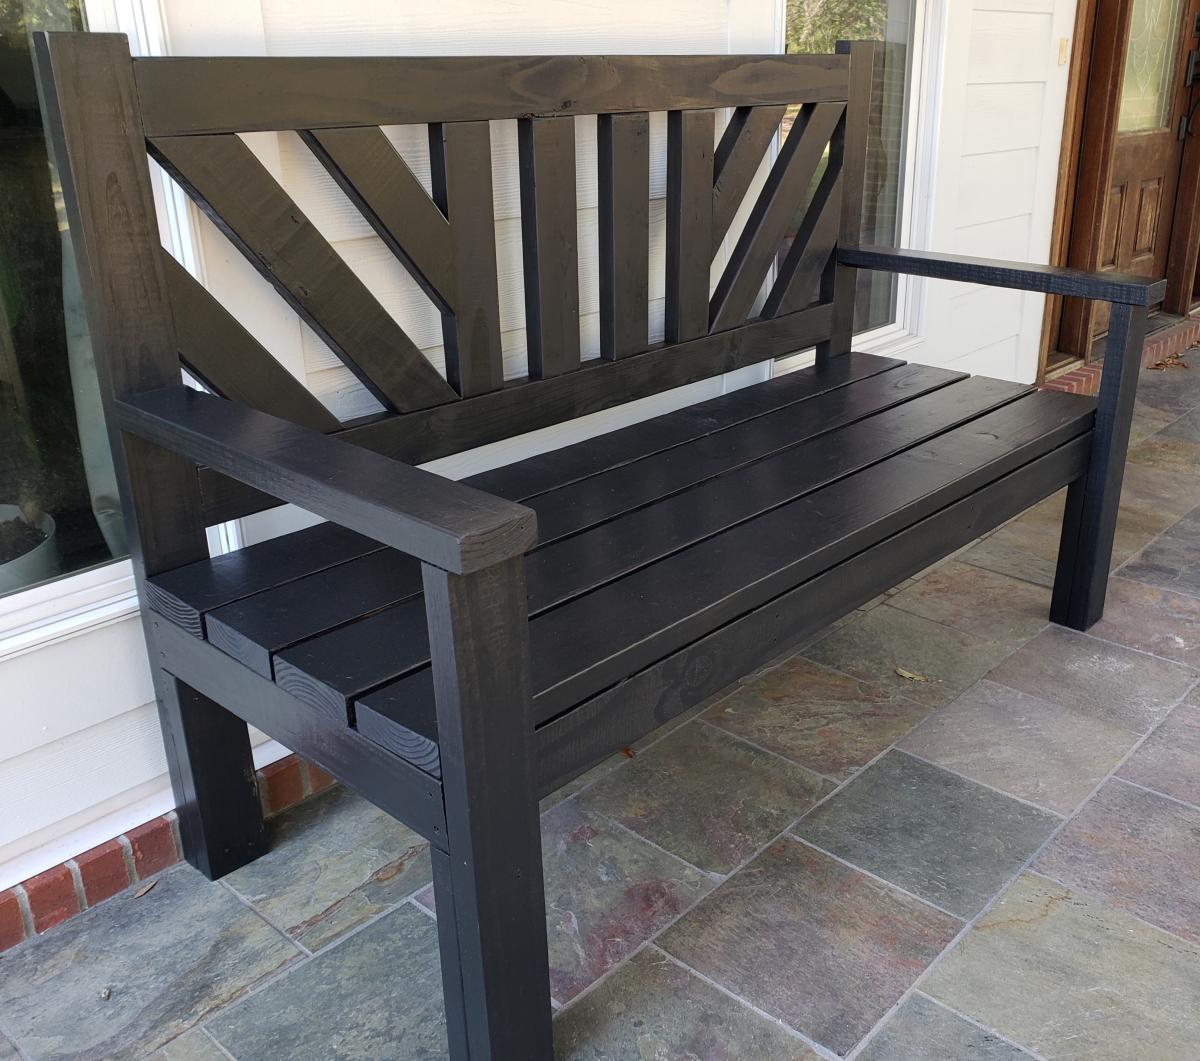
I am so very happy on how this bench turned out. I am new at building things and so I asked my husband to help me we did this in a day. now I have 3 people that want one (family of course.)
Wed, 03/30/2016 - 07:46
Do you have plans? I haven't built anything yet and have my neice's wedding shower this weekend...thinking this would be an AWESOME gift for her!!!
Can one lady with one weak arm take this project on by herself???
And, can you tell us how much it cost you to make?
Thanks!
Wed, 03/30/2016 - 10:57
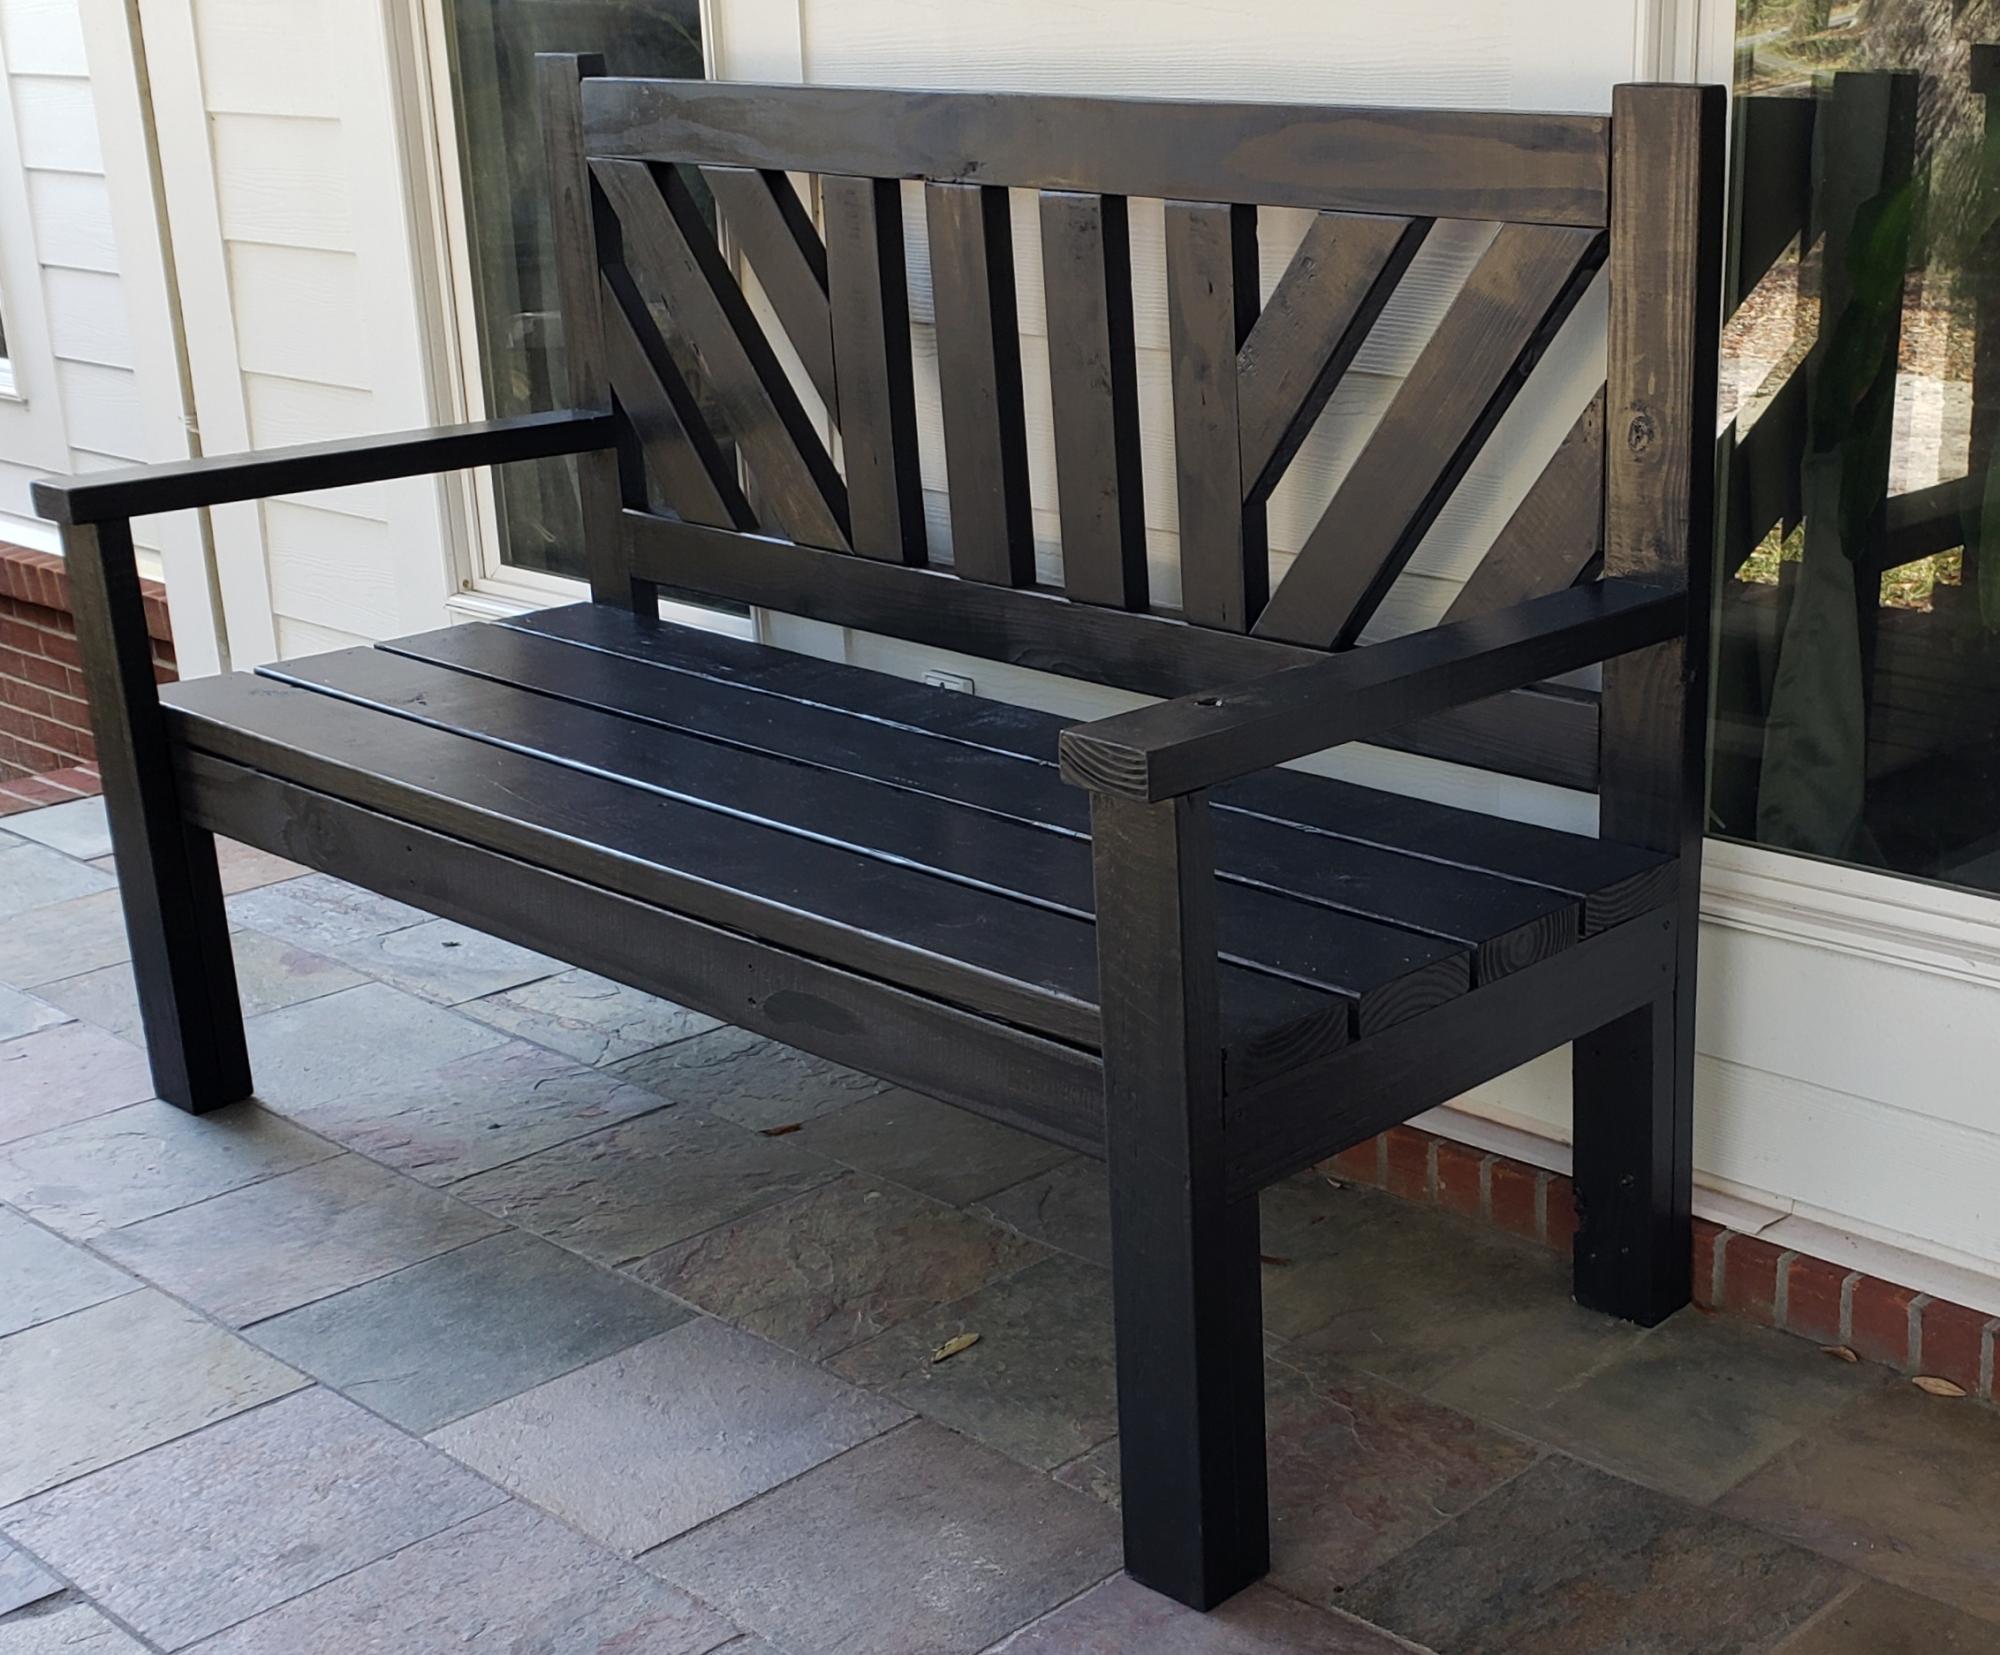
I used untreated pine for this project and painted with benjamin moore exterior paint.
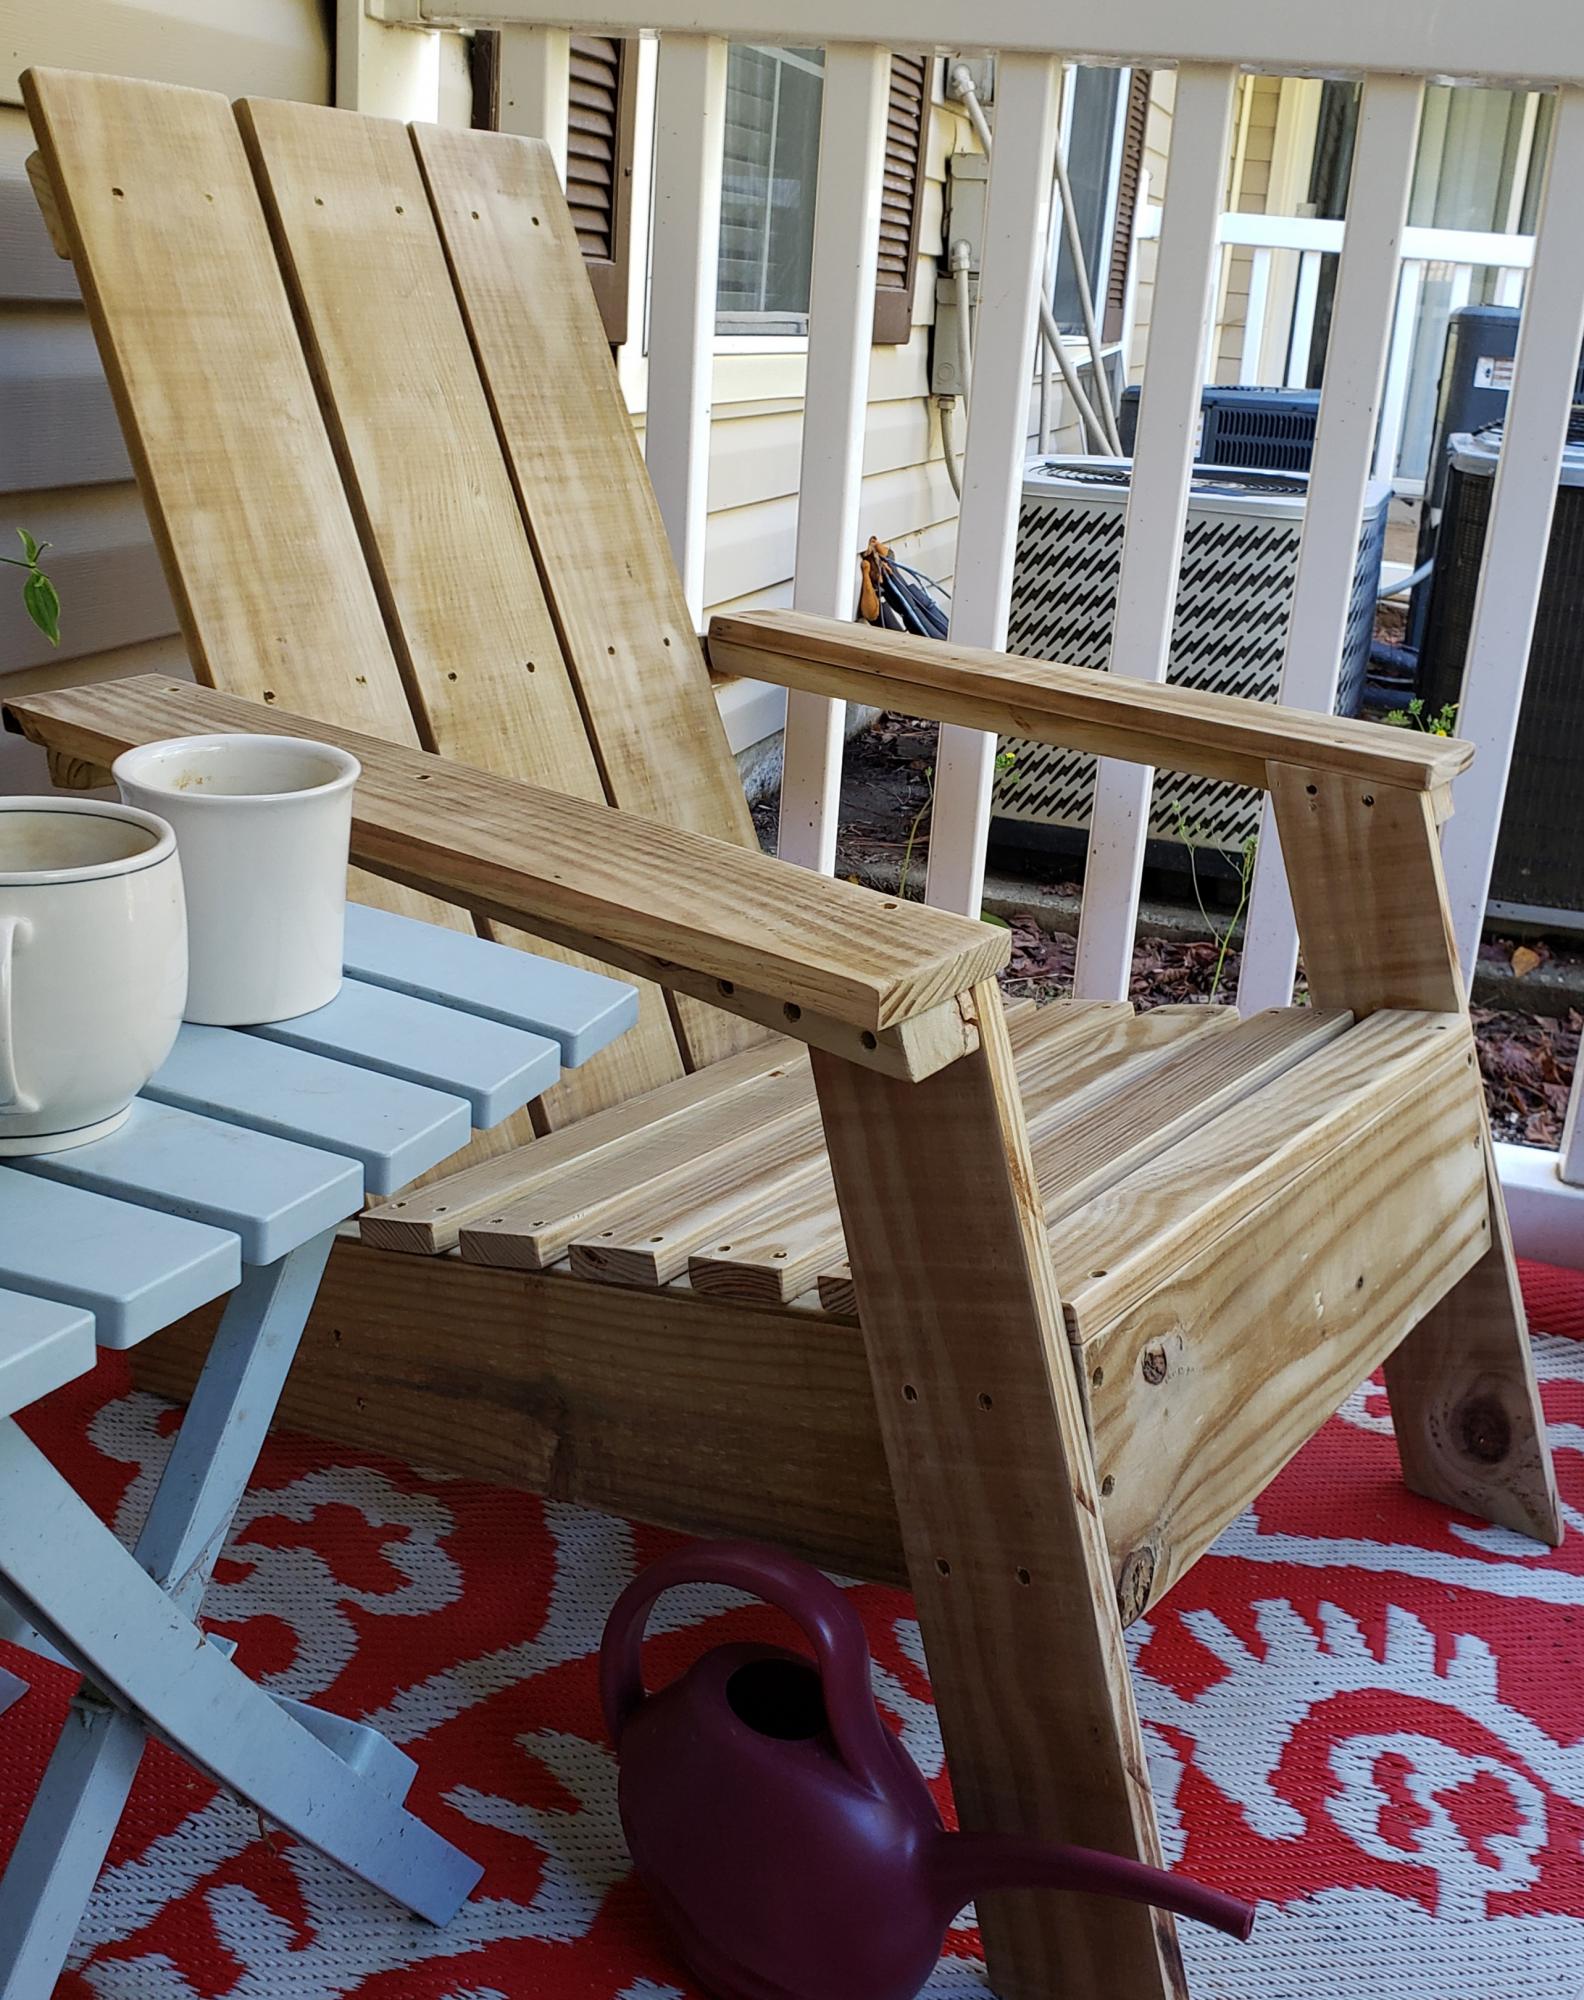
I modified the back a little and I love how it turned out. I also added an extra brace against the back of each leg that fits under the seat for more support.
Very easy to build. I love the plan.
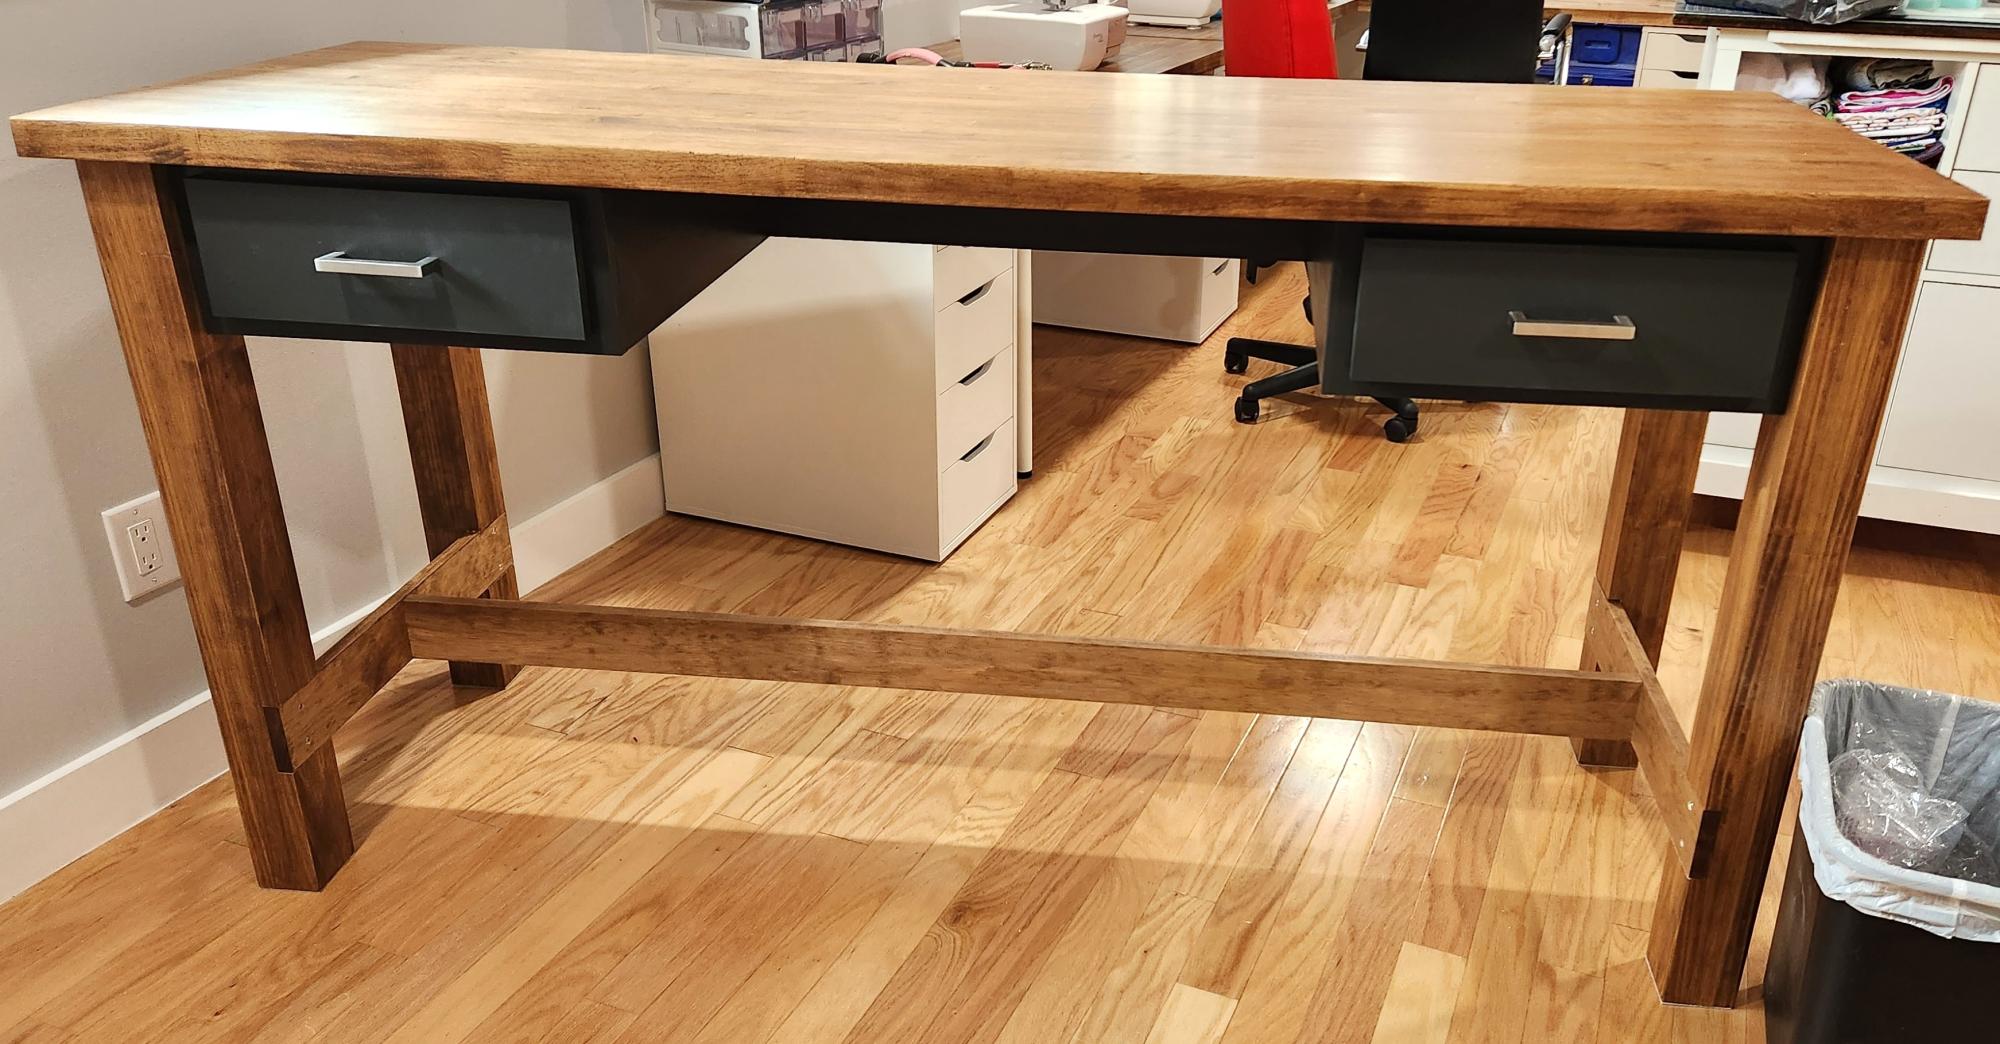
We modified the size slightly and separated the drawers so I can sit or stand at it in my art studio.
Suzanne E

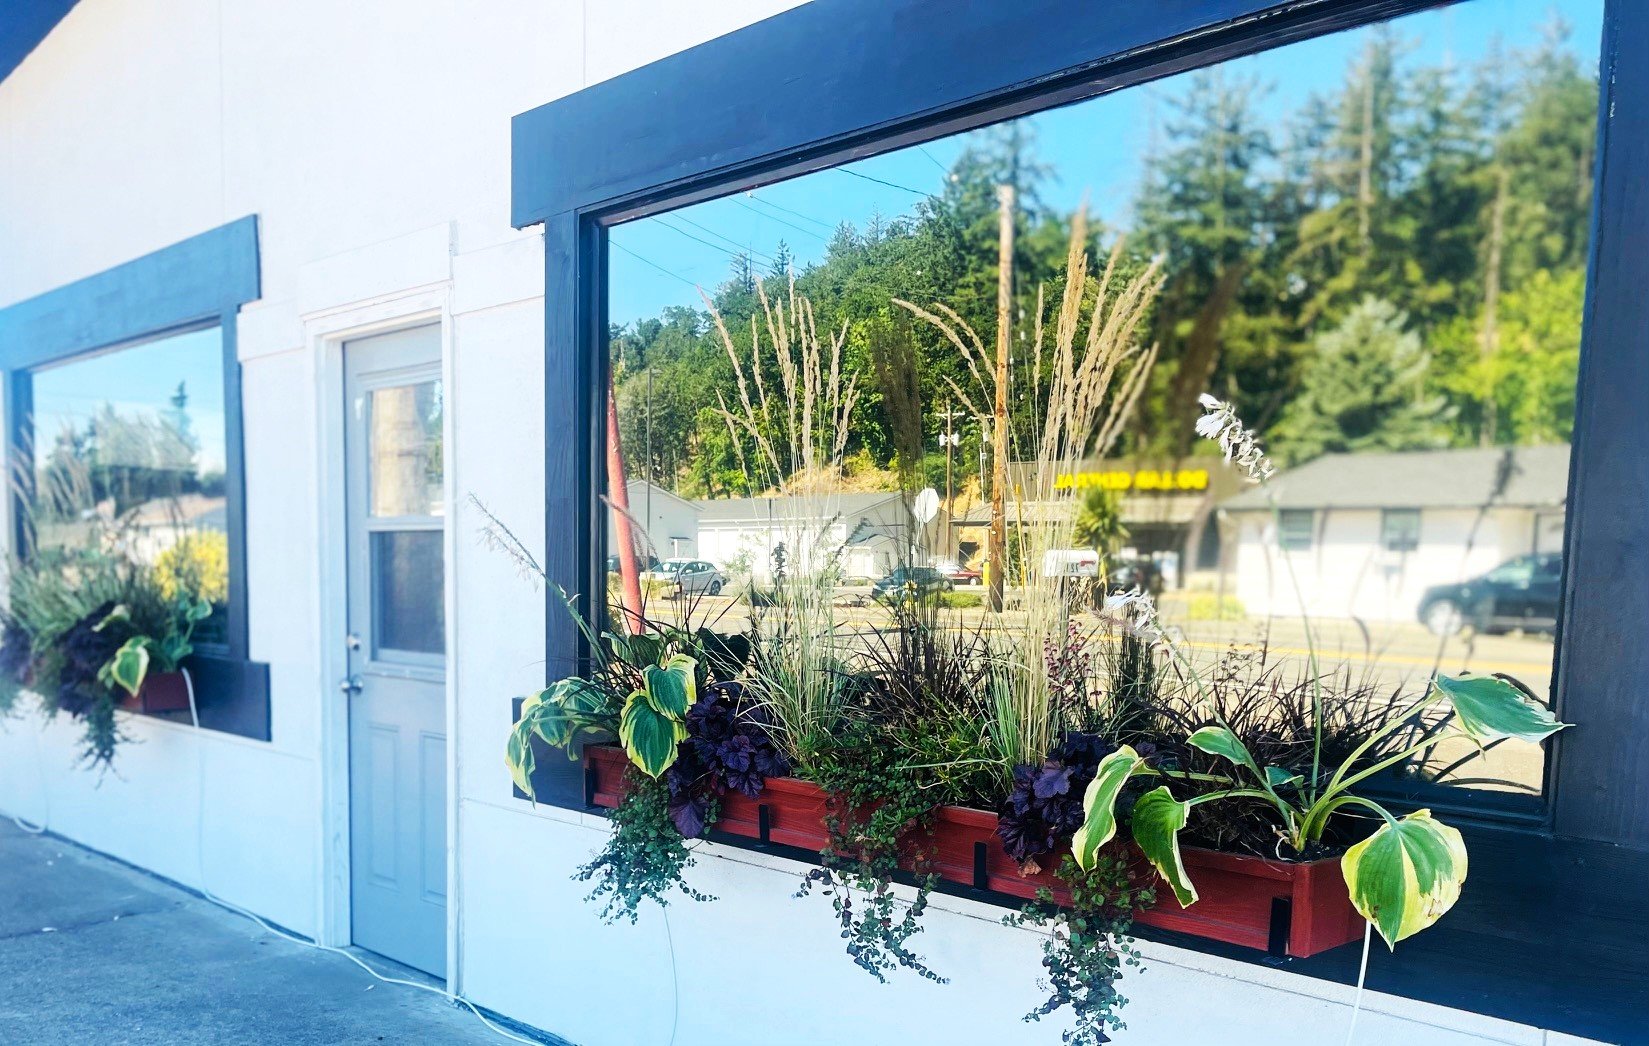
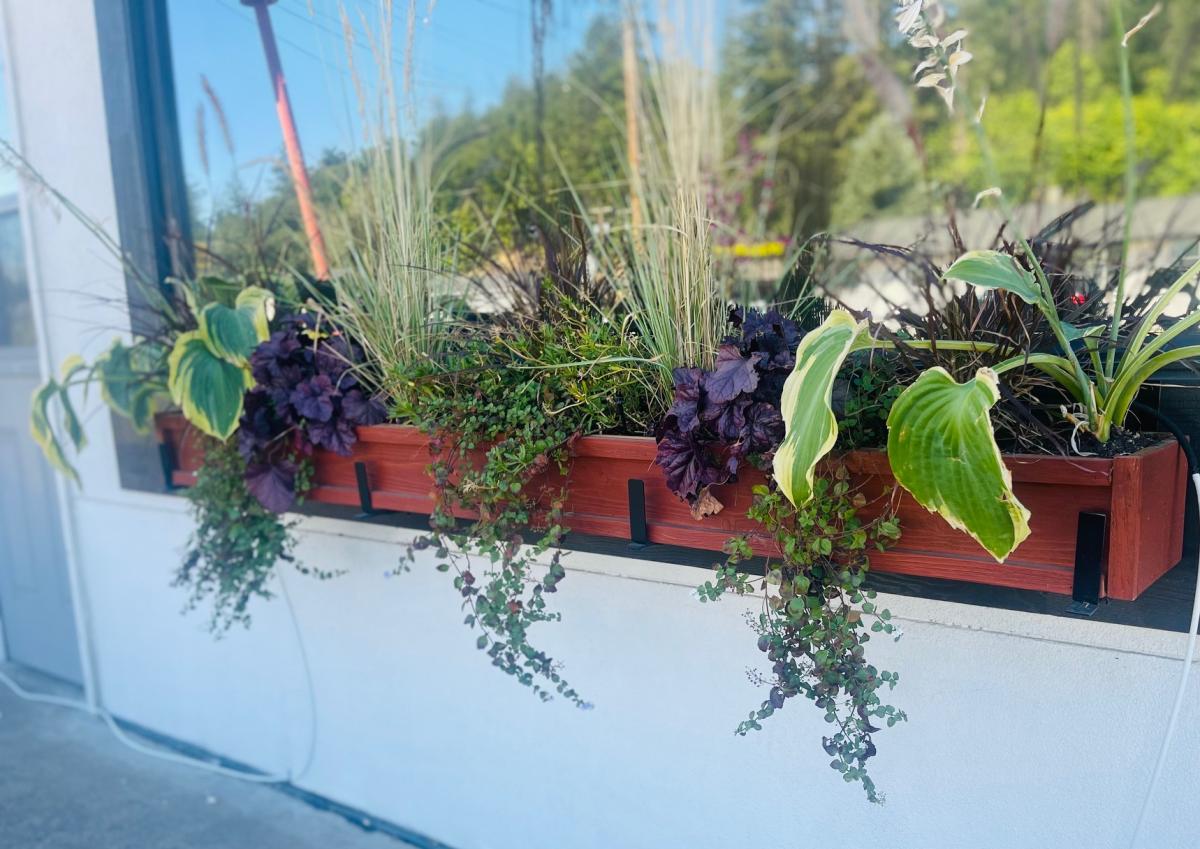
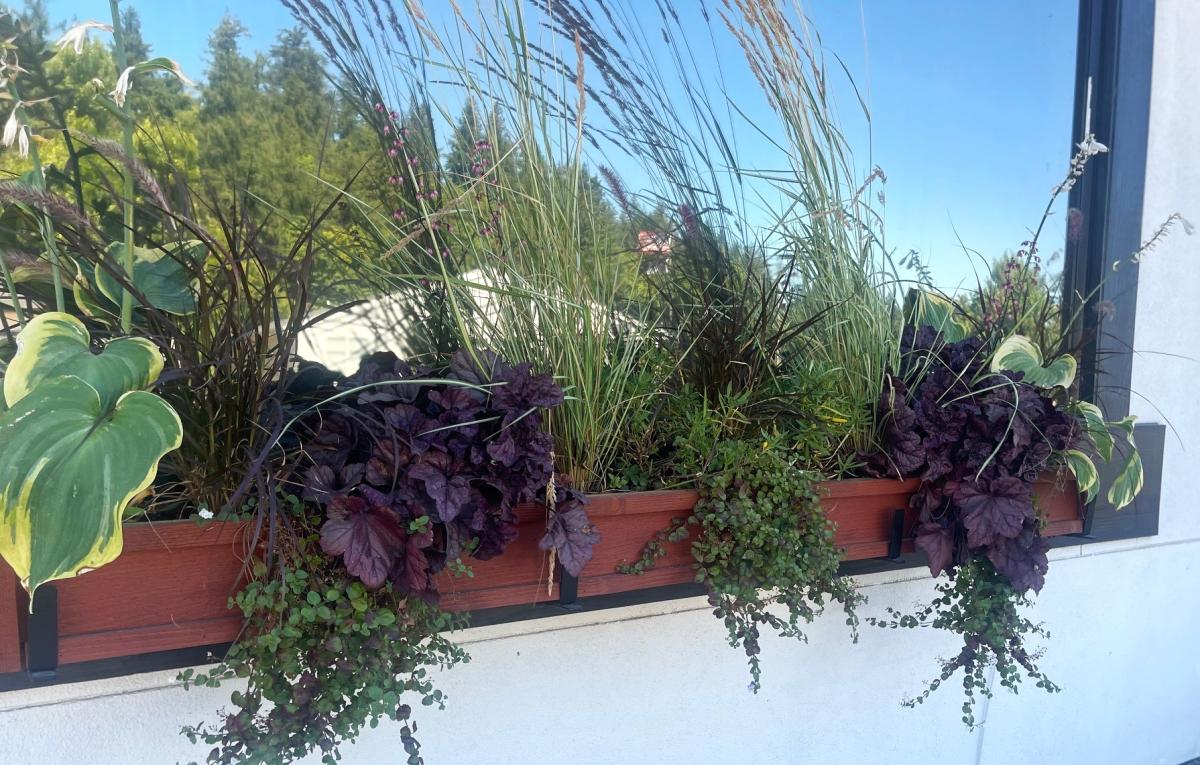
I had some left over pallets from another project I was doing and decided to make some recycled wood planter boxes to liven up our decking area. The whole project only took a few hours to make both boxes and used entirely reclaimed pallet wood aside from the two end pieces.