Daybed with Storage
This is my first Ana White project. It was so fun to do and turned out really well. Thanks so much Ana for your great plans and help with building them. the Kreg jig is great!
Made from your Fancy X-desk plans. Dark Walnut & clear gloss polyacrylic Miniwax finishes.
I love your designs and could spend hours browsing here! But that doesn't get things built! ;)
I used your general plan to build this cute bench as my first project for my new Handywoman Business
I was easily able to adjust and customize it to my customers specifications and it is very sturdy. Also my first adventure in pocket holes and I am in love!
Organization is a constant struggle in our house and our junk drawer became more of a place to stick things when you didn't want them on the countertop than an actual funtional part of the kitchen. That won't change with the addition of the organizer, but it was nice to have it cleaned out.
In total, this only cost about $12 (for 3 drawers) and that was only because I used the S4S wood. My HD didn't carry 1x3 in anything else. May have been for the best because now I didn't have to sand anything.
The lesson learned from this project was that I should have cut everything to size instead of relying on the measurements of the drawer. The silverware drawer wasn't perfect and I will likely redo a little of it because the junk drawer turned out great.
Large cube shelf made to fit 13" cubes or milk crates, for my two and a half year old son. For the larger cubes, I added 2" to the measurements for each cube, so 6" to the horizontal and 4" to the vertical measurements. Total shelf measures 46.5" wide by 35" high by 13.5" deep.
Thanks for the plans! Modified the scale to make it shorter and deeper. Really happy with the results!
The scale changes tested my math skills :)
It took some creative Googling to find the hardware you used. A link would be awesome. I actually did a Google image search of your hardware image to locate it.
Tue, 12/01/2020 - 11:27
YES! Mods can be challenging:) It appears you rose hugely to the occasion, I will try and do better at linking hardware!
This is one of the first furniture projects ive done in 2 years. A finished picture will be up later on. I painted this project because the customer wanted it painted not a big fan of paint but what they want the get.
I built the coffee table and console to plan and also a custom cover for our dog's crate to match. Simple builds with easy to follow plans! For the Xs, I just clamped the 2x2s up to the opening and scribed where to cut. Then, I notched out where the intersection is so that the X is more solid and I didn't have to worry about the cut portion lining up. A bit more time consuming but definitely worth the effort. So happy with how these turned out, thanks Ana!
Fri, 11/21/2014 - 09:15
This really makes your living room look great! Thanks for sharing!
The challenge this go around is build benches to match a wheat colored dining table, sight unseen. Quite a challenge!. The table has X legs with cross braces running from leg to table bench top for support. Coming up with a design to match the X legs was simple however matching the color was not easy and left me anxious until I delivered the benches. Thanks to my previous experience building a farmhouse bench and using this plan, I had the foundation and cut list to execute. With a few tweaks it came together very nice!
Visit charitybuilds.com to find our how the color turned out!
Sideboard/Buffet
This was sooo easy for a first timer like myself. Followed Anna's plan. Learned as I went. Customized a little...started with the end panel..could only fit it cut in sections in car from store, so decided to separate the sections and open it up a little with a peek a boo window. Used a little unsanded grout in my paint choice so that my son can doodle some art on the panels with his chalk. Added some support boards on lower corners for extra support...also used the Long L brackets as bed rails to support the slats. Make sure you get enough wood to cut the vertical side of ladder as the plans didn't include it. Cost about $100 without the mattress. Very happy with it. Thanks Ana!
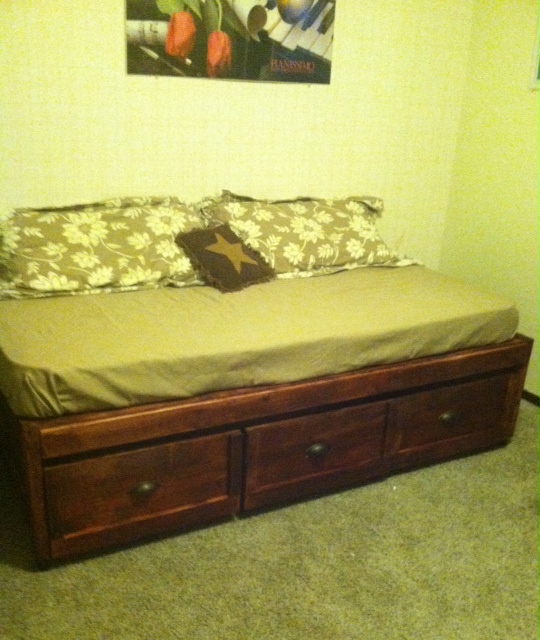
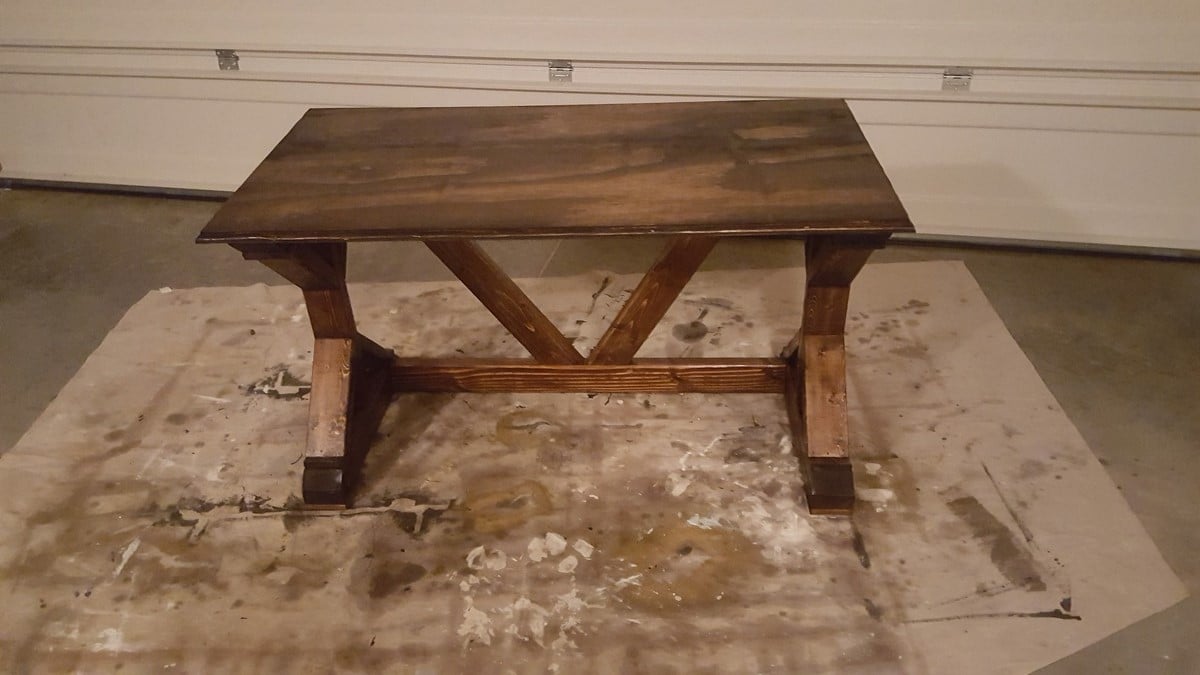
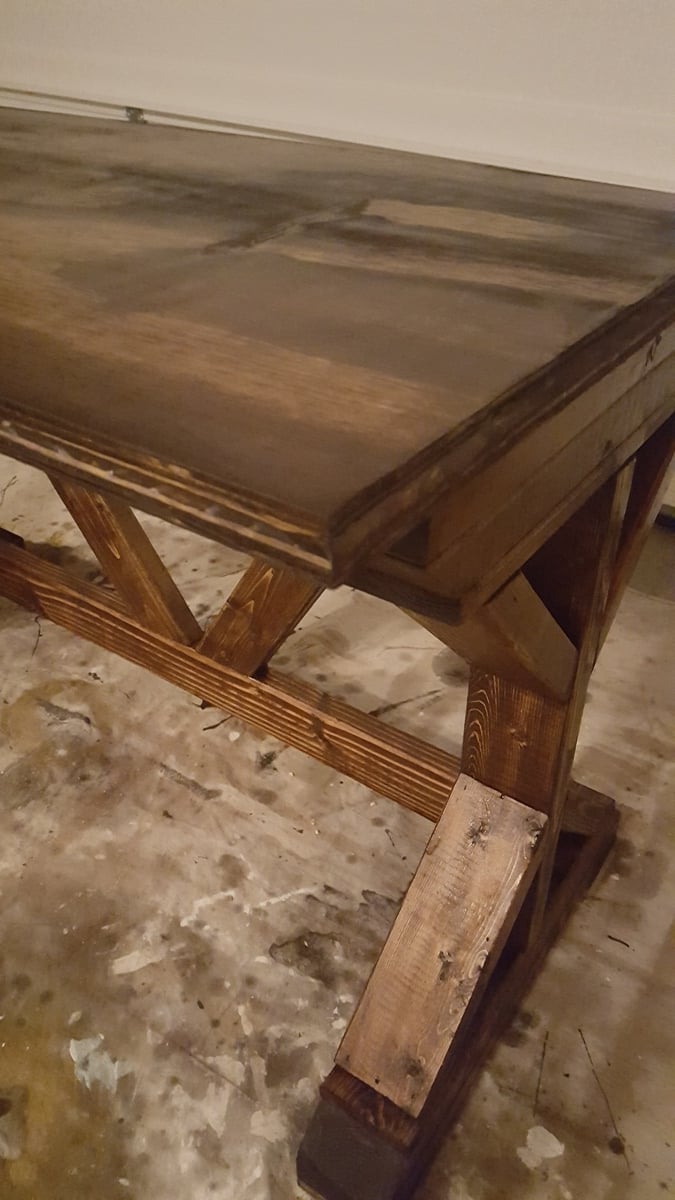
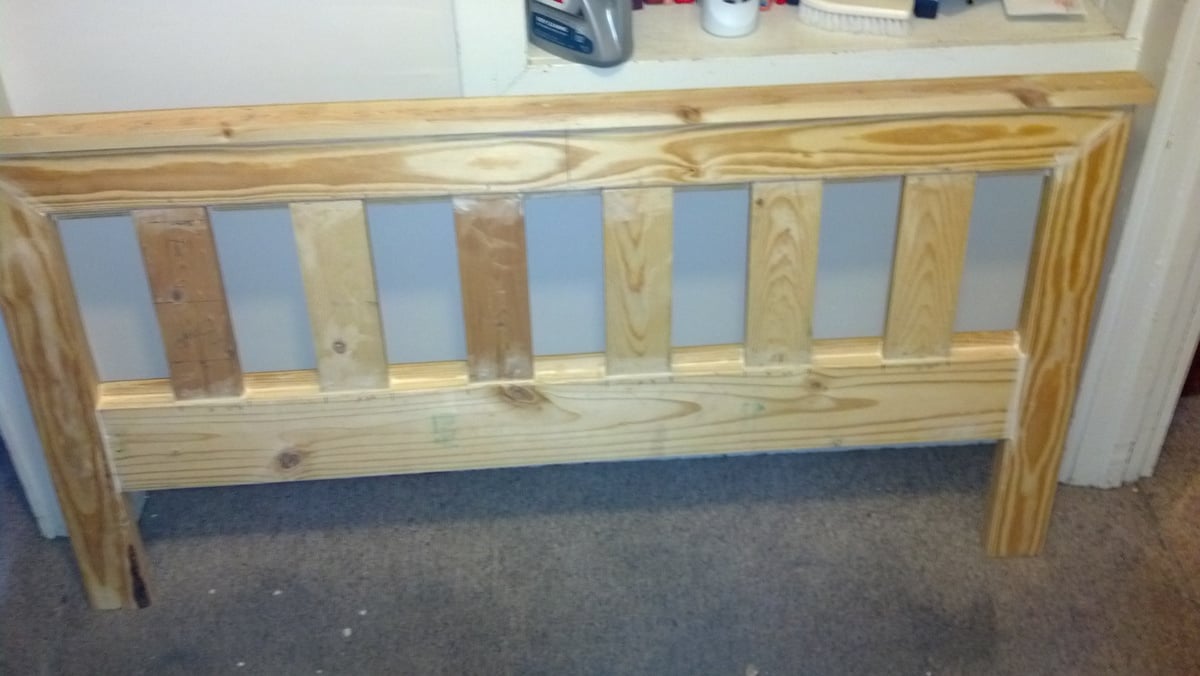
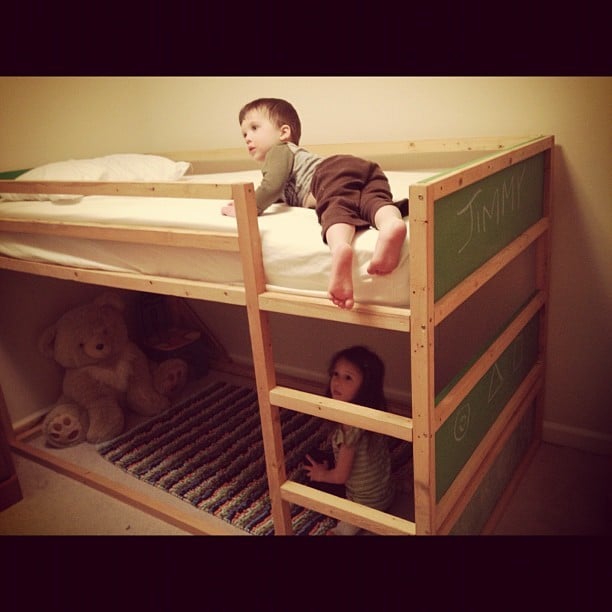
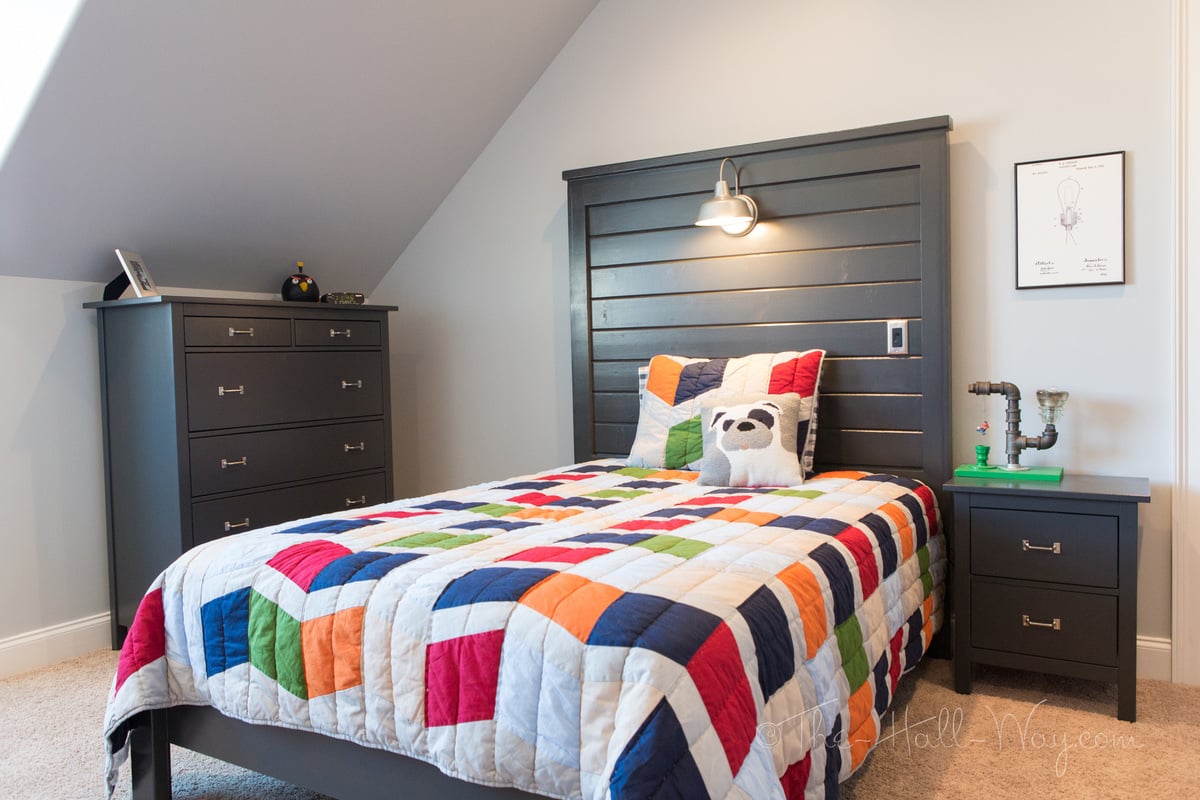
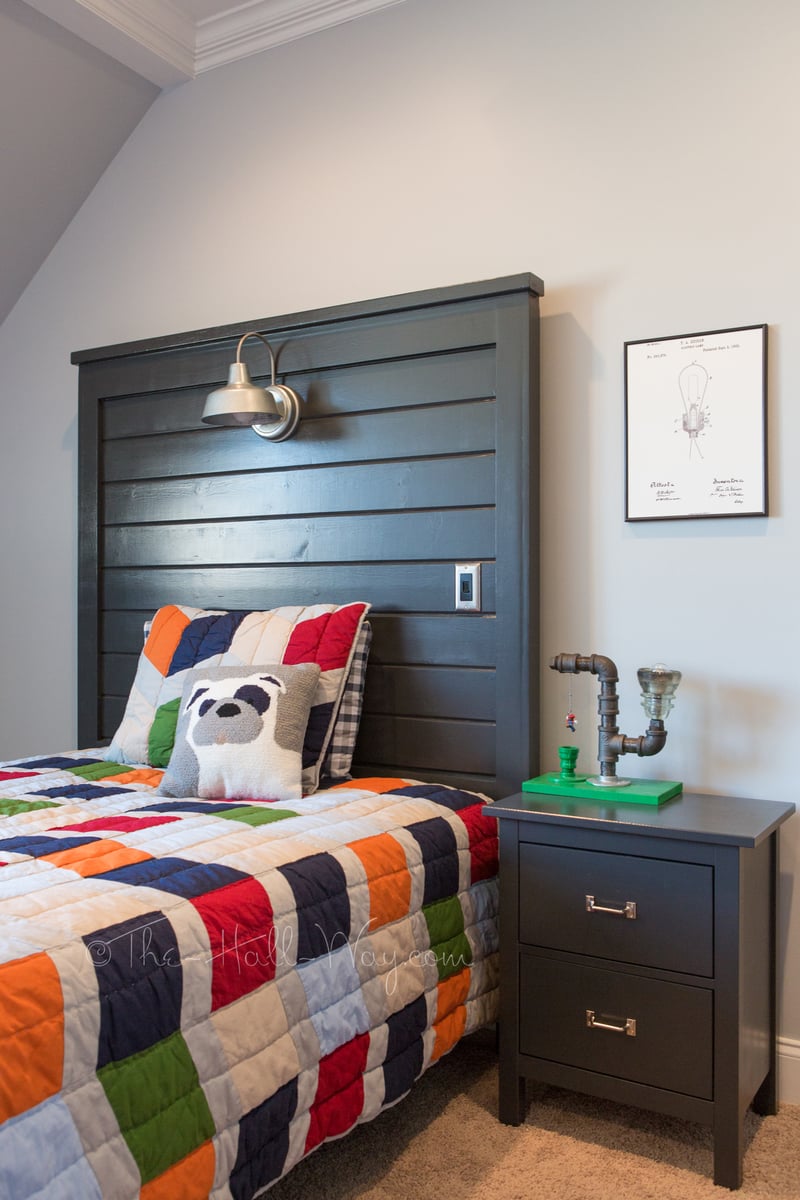
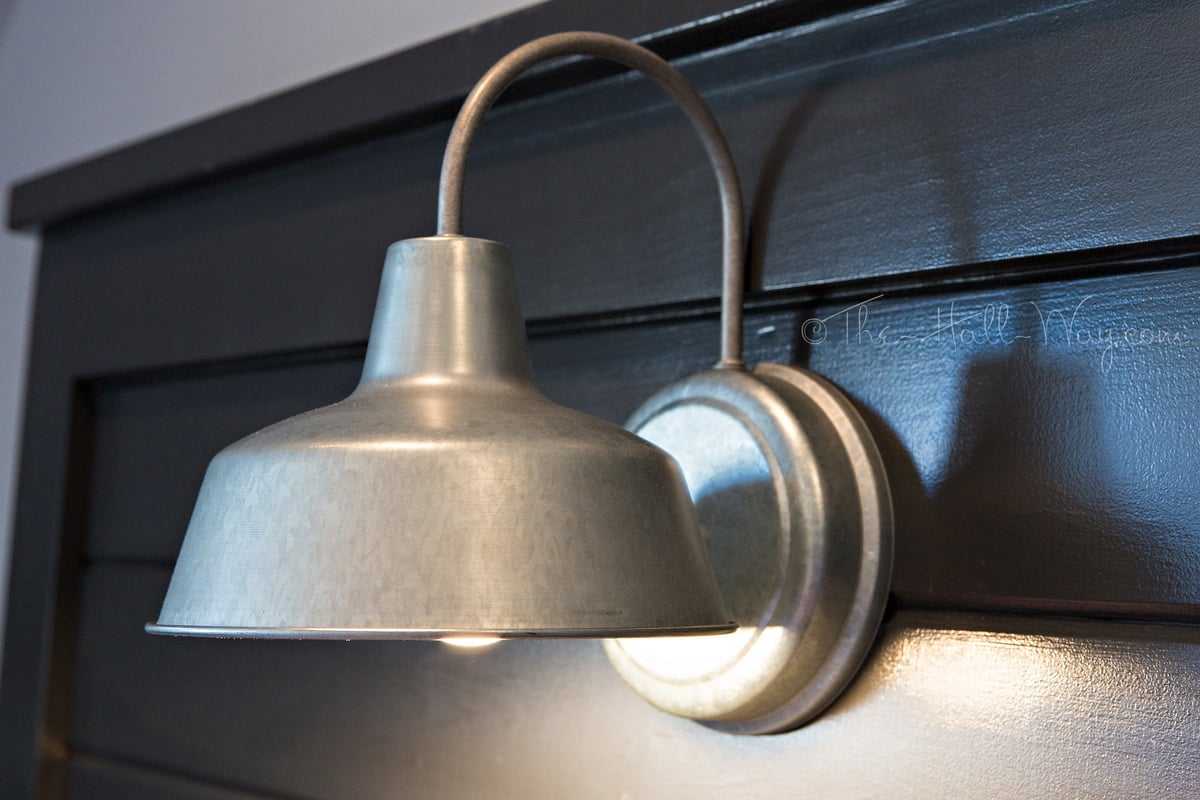
I found the Liam Barn Light Bed online and knew it was perfect for our son's room (except for the price tag). After some research, I decided to use the Reclaimed Wood Headboard plan with some modifications. I increased the height to 72", like the inspiration bed. We used 1x6 Tongue and Groove boards for the middle panels instead of a mix of 1x4 and 1x6s. Then we cut holes and installed the barn light and dimmer switch. For the bed frame, I used just the frame from Mom's Fancy Farmhouse Bed, which I had used before HERE.
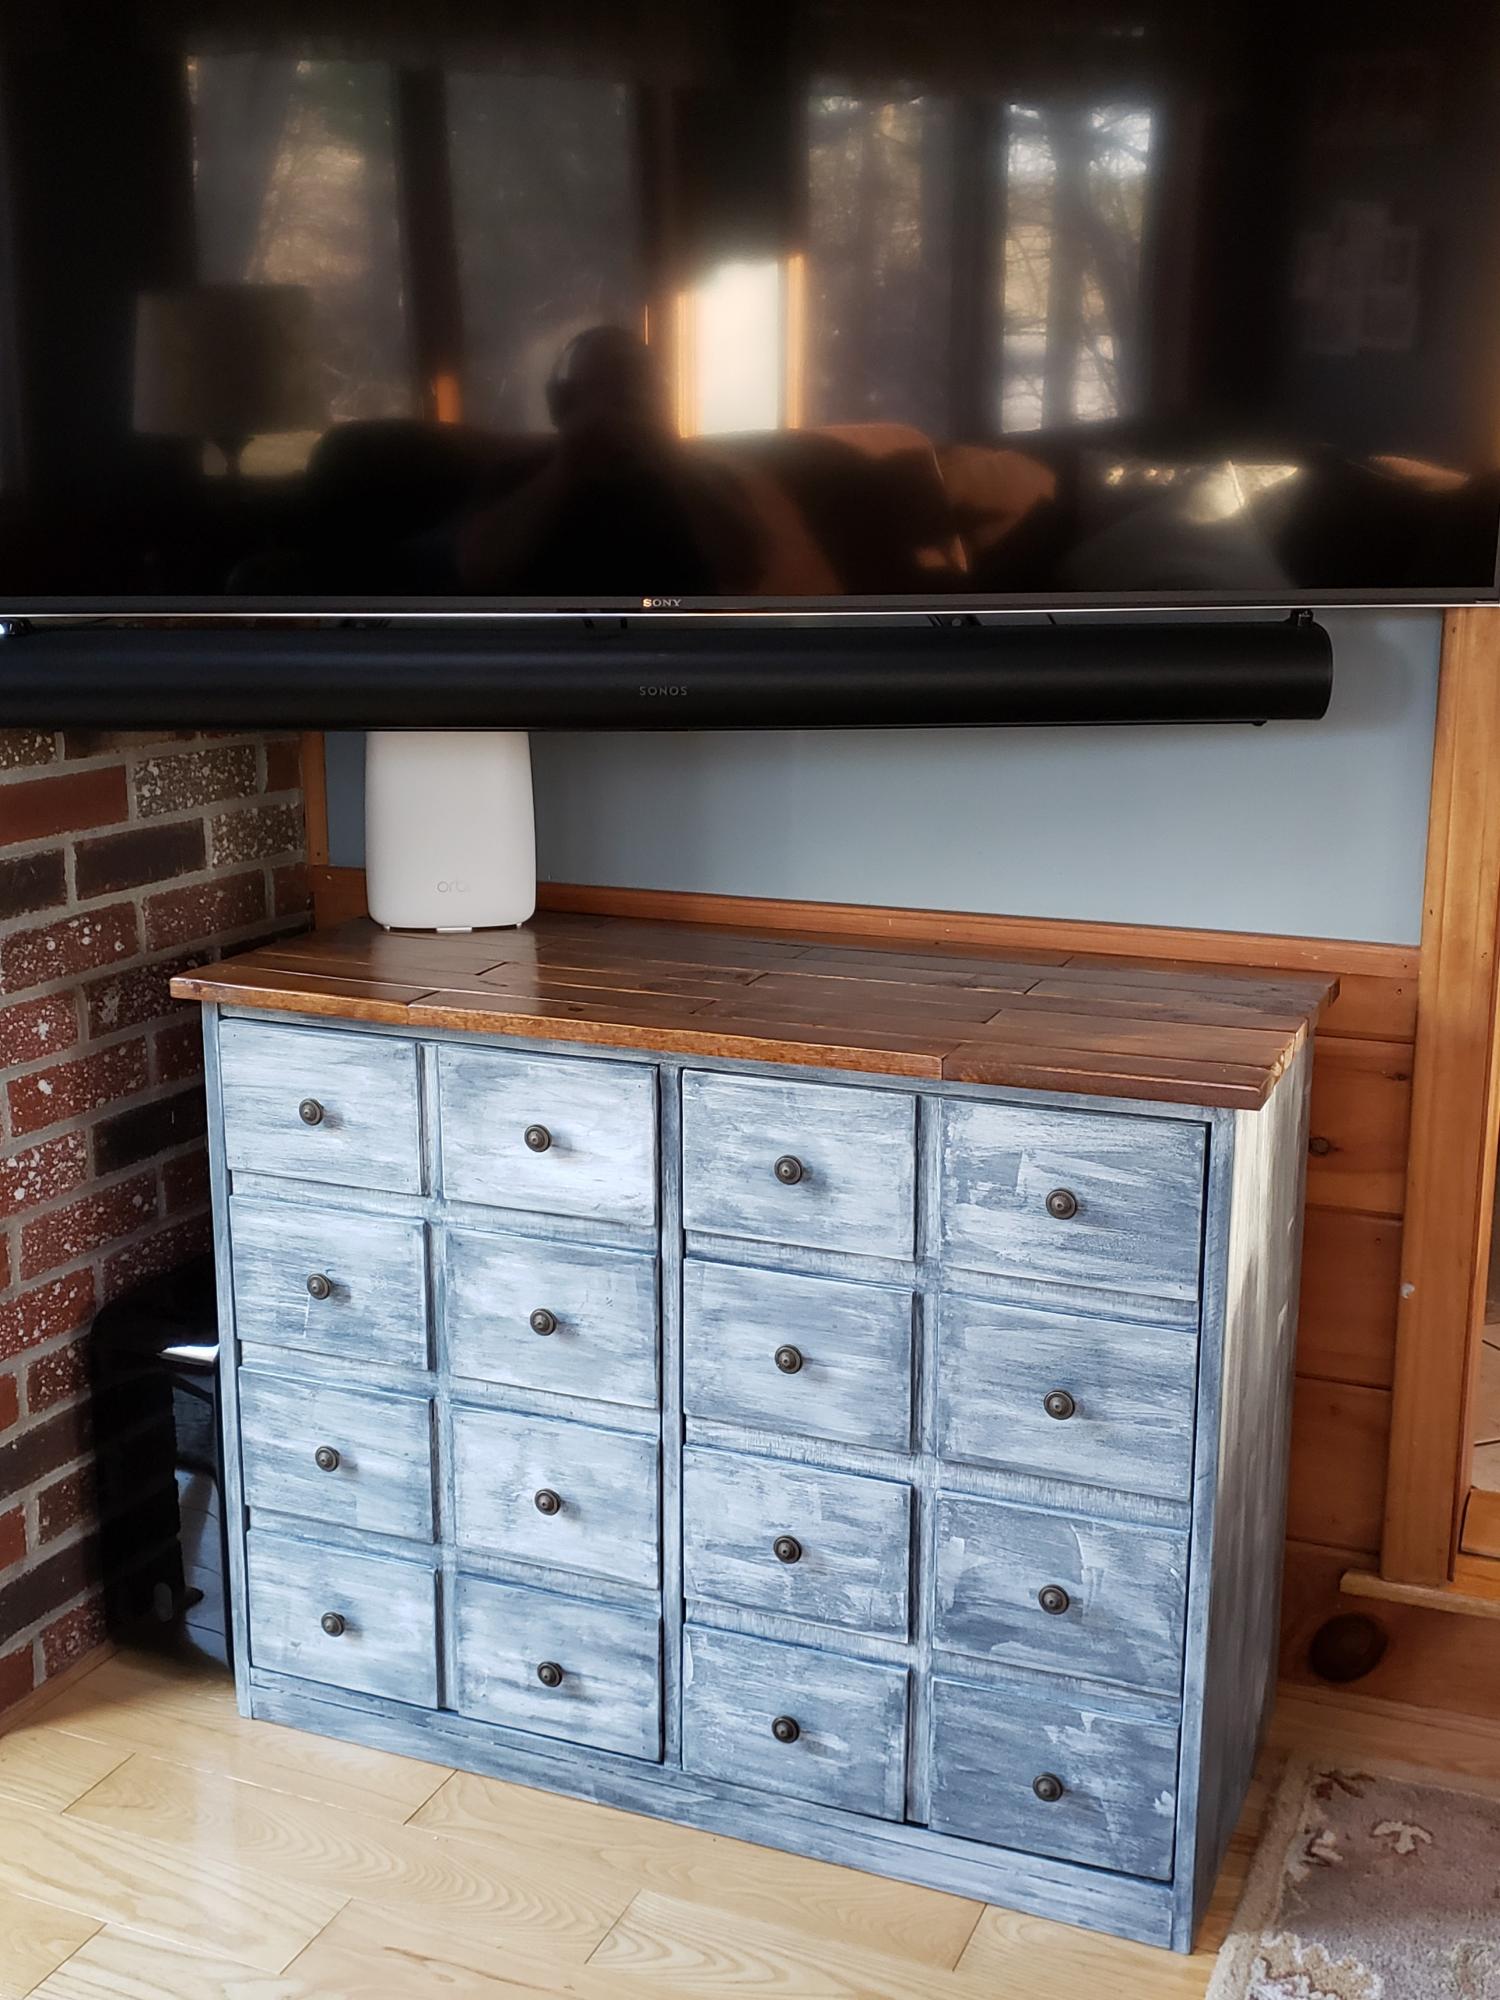
Building the headboard and frame was quick and only took a short afternoon. Finish took a lot longer since I used oil based paint. That only allowed me 1 coat per 24 hours, so it took several days. I wanted a durable surface for a kid's room though. I used the same paint to modify Ikea Hemnes Dressers and Nightstand to match, along with adding custom hardware. I love the way everything came together and our son loves it too!
Visit the link to my blog for more information and the modified material and cut lists. I have also posted the material and cuts lists for TWIN SIZE as well.
Never having done anything like this before I knew it would be a challenge. I used the base plans provided and taught myself the CAD program used in the provided plans. From there I redesigned it to meet my dimensions and what I wanted. It took a lot of time overall but am thrilled with the turn out. Thank you for the original plans to use as a guide! Also with the cost I used a higher grade of plywood and also used cabinet paint to make it durable wich drove the price up some.
Fun little project. Tried for the “distressed look” Now it’s on to a craft table.
This is the Rustic X Bench featured in Ana's Book, The Handbuilt Home.
Sun, 01/27/2013 - 18:59
Do you mix the two colors, or did you apply one and then the other?
Mon, 02/18/2013 - 16:34
Thank you! I just used both of the stains randomly & then kind of blended them in. I am not sure if you can even tell... :)
After I made this the wife wanted it destressed and we had the kids put their initials in like an old picnic table at a park bench.
Fri, 01/06/2017 - 12:01
What color minwax stain did you use? The final product looks great.
I wanted to change up the style of this table and make the base chunkier! So I opted to use 2x6s instead of the 2x4s
Great project! Delivered it to my brother and he loves it. Decreased the size to fit the space. Kreg jig and glue for assent. I used a dark walnut stain. My wife now has a number of build projects for me. It’s a little more than the original $50 with the lumber prices up.
I'm not a writer, and English was my worst subject. So don't hold any grammatical errors against me.
This was a project that I built this past weekend. It's a set of child size adirondack chairs. The toughest part was the weather. It was too cold outside to paint, so I had to paint and assemble these in my living room. My two year old daughter kept trying to sit in them before the paint had an opportunity to dry.
Tue, 01/29/2013 - 11:59
They turned out very nicely!
I'm currently building a desk for my son in the living room of my home, so I know how that goes...
Congatulations on getting it done!