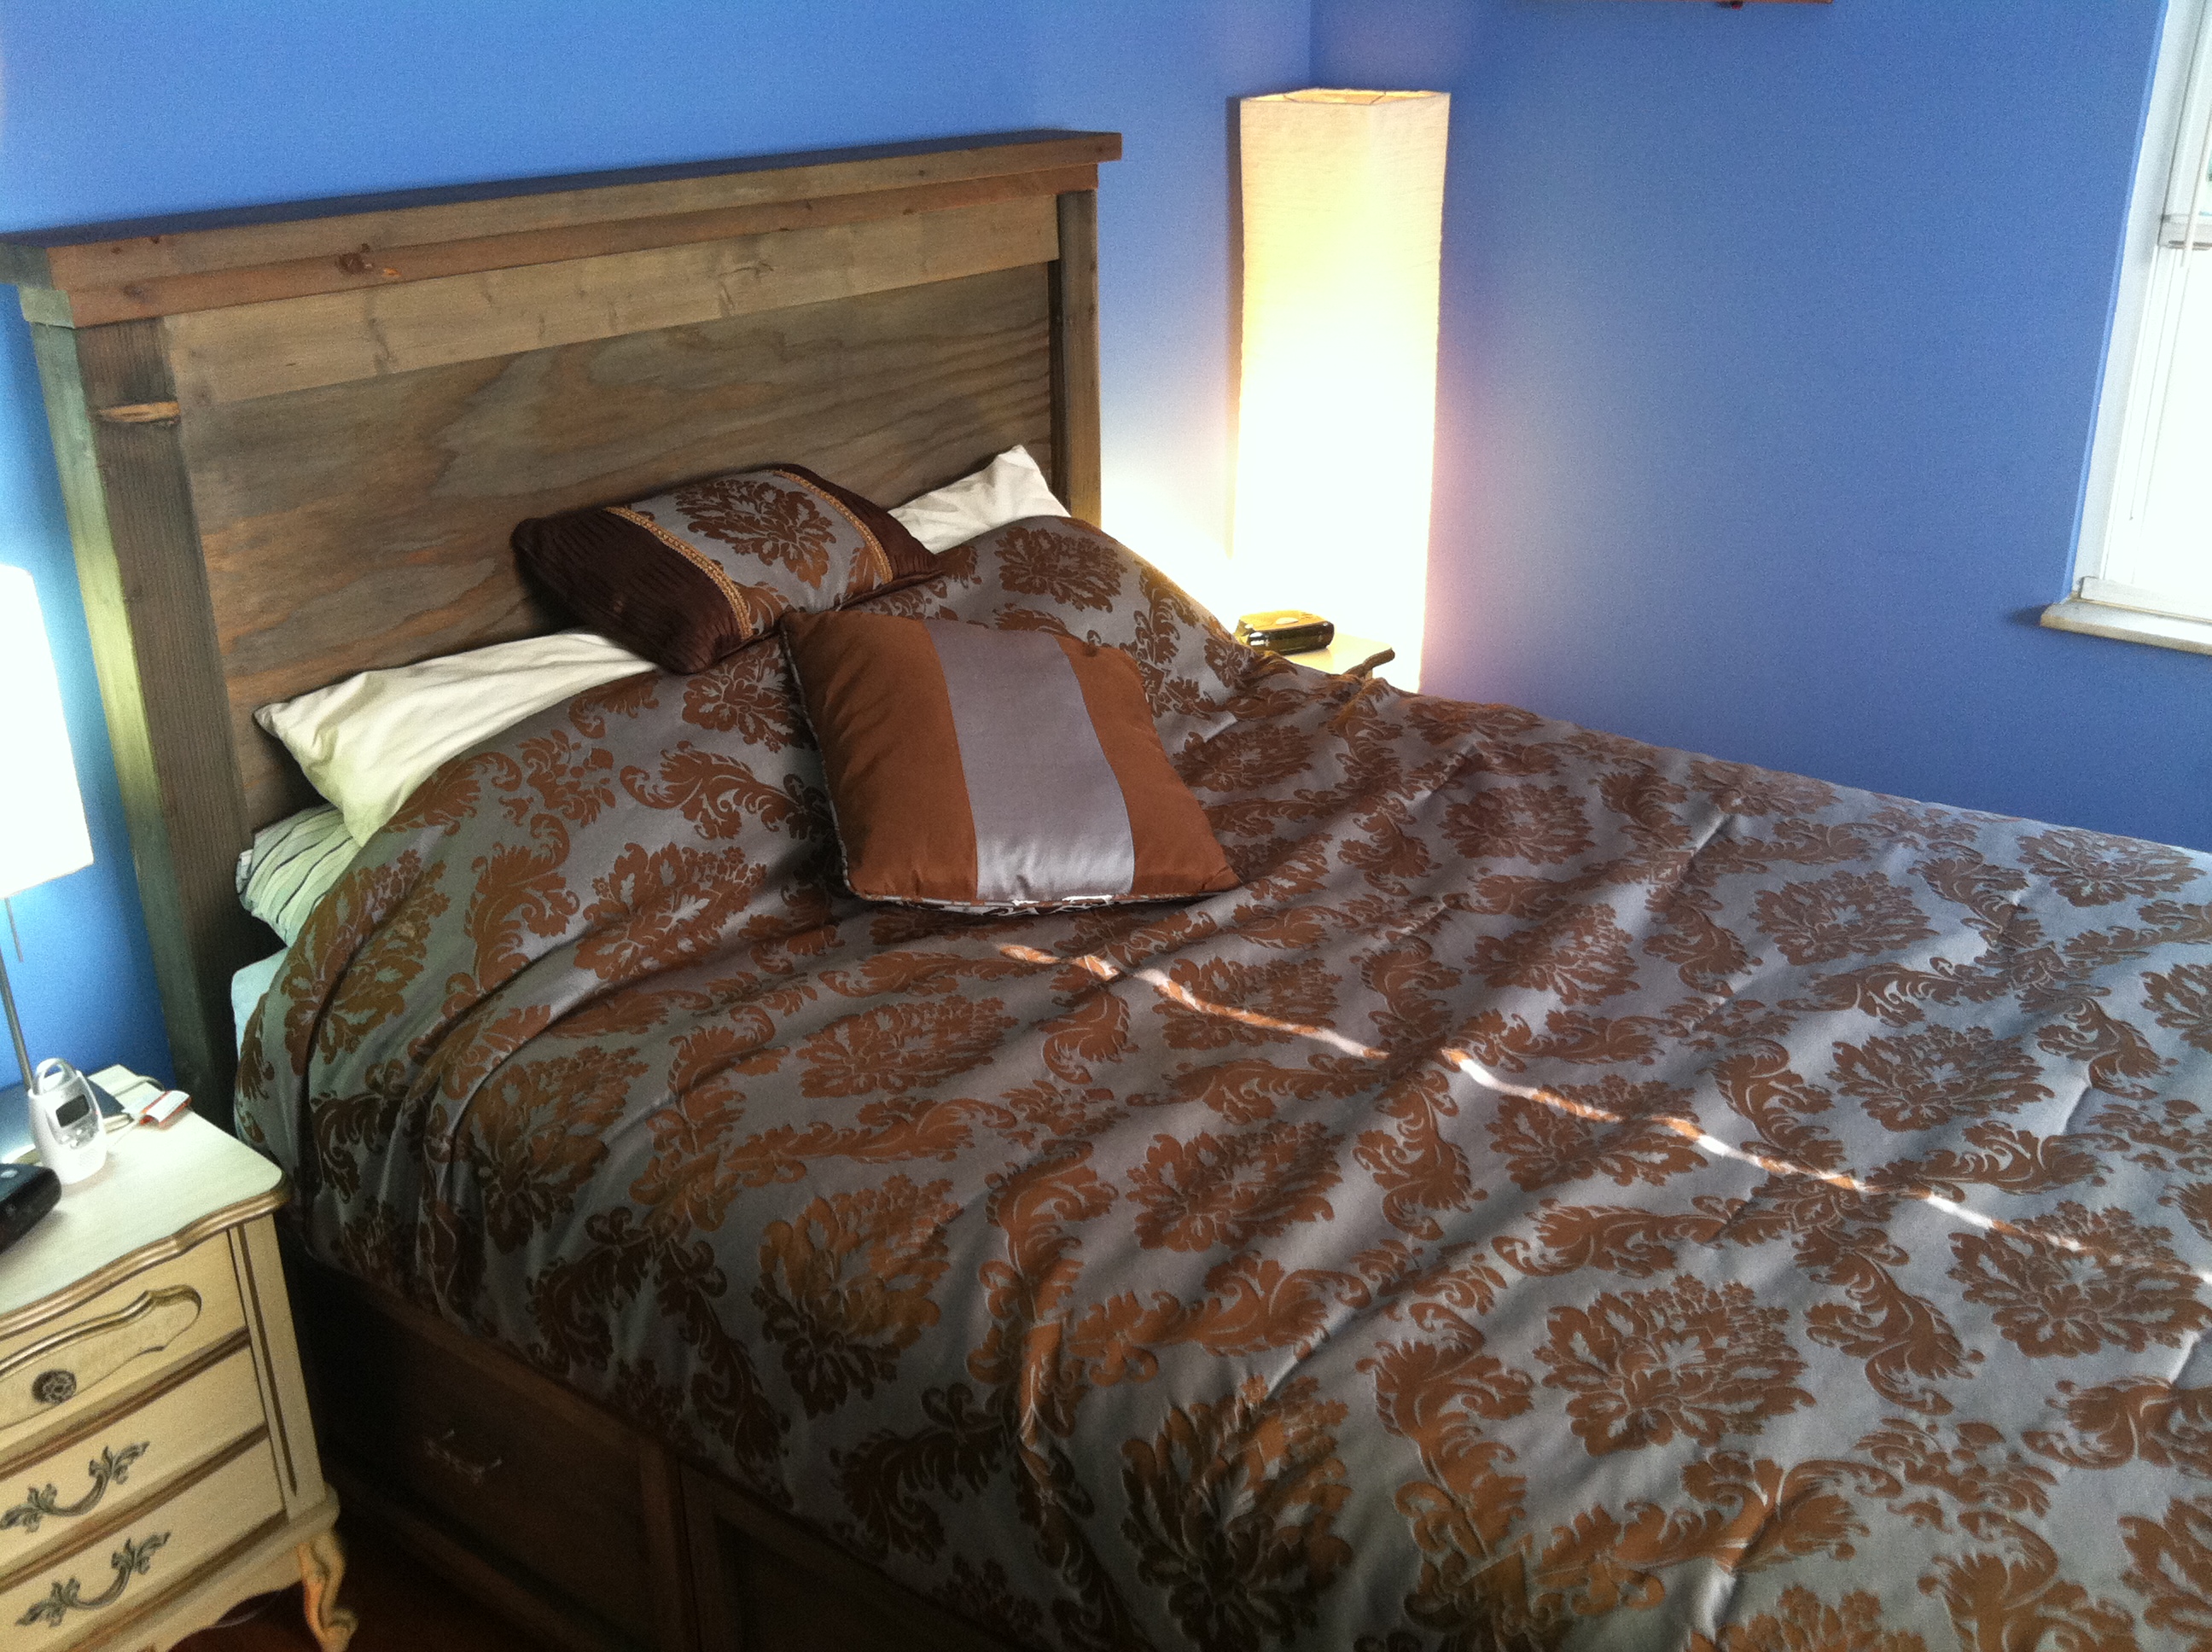
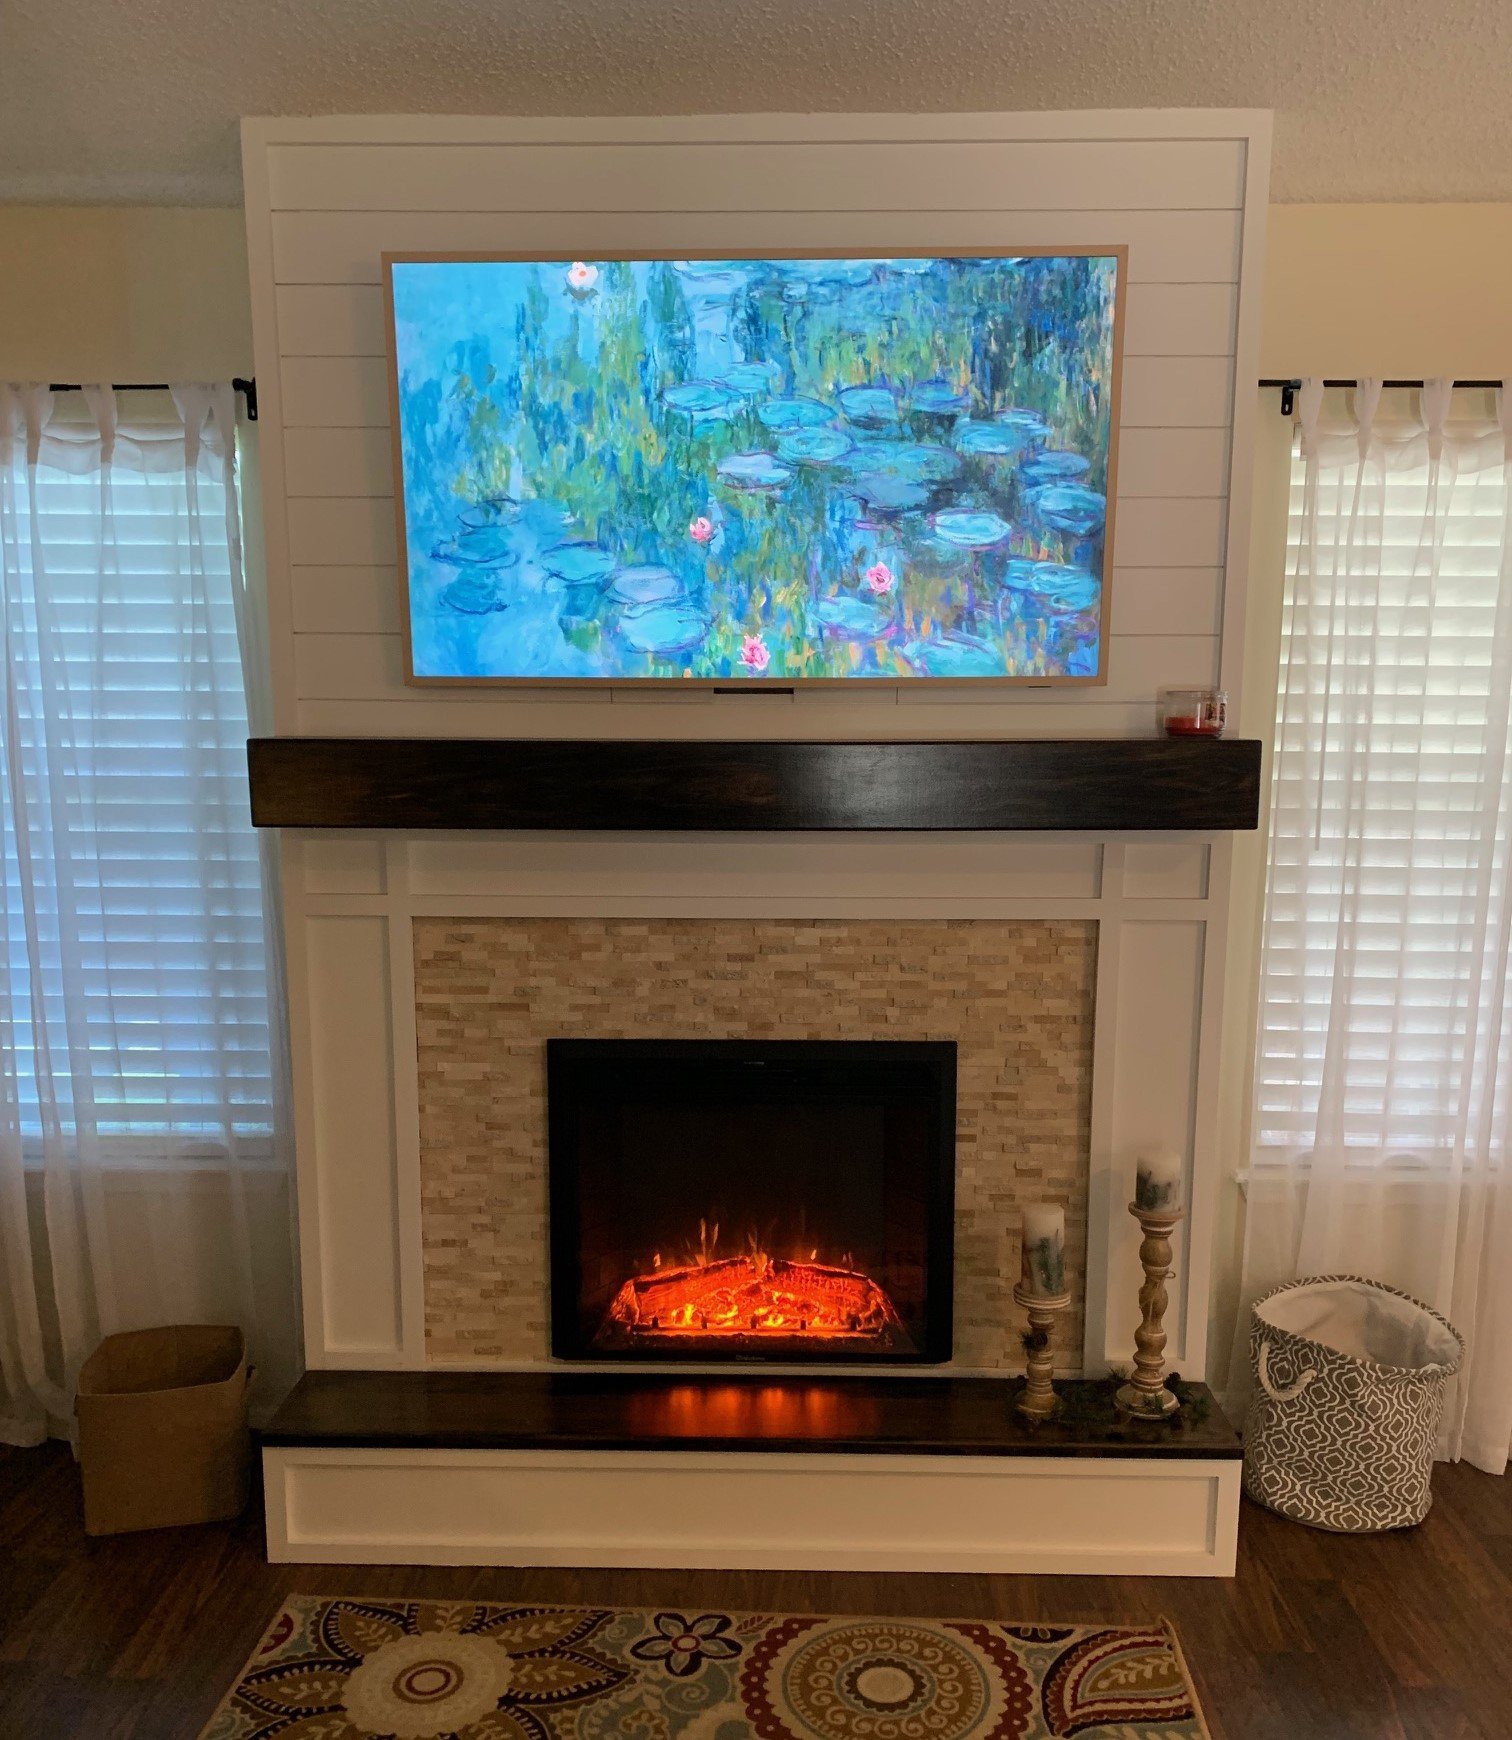
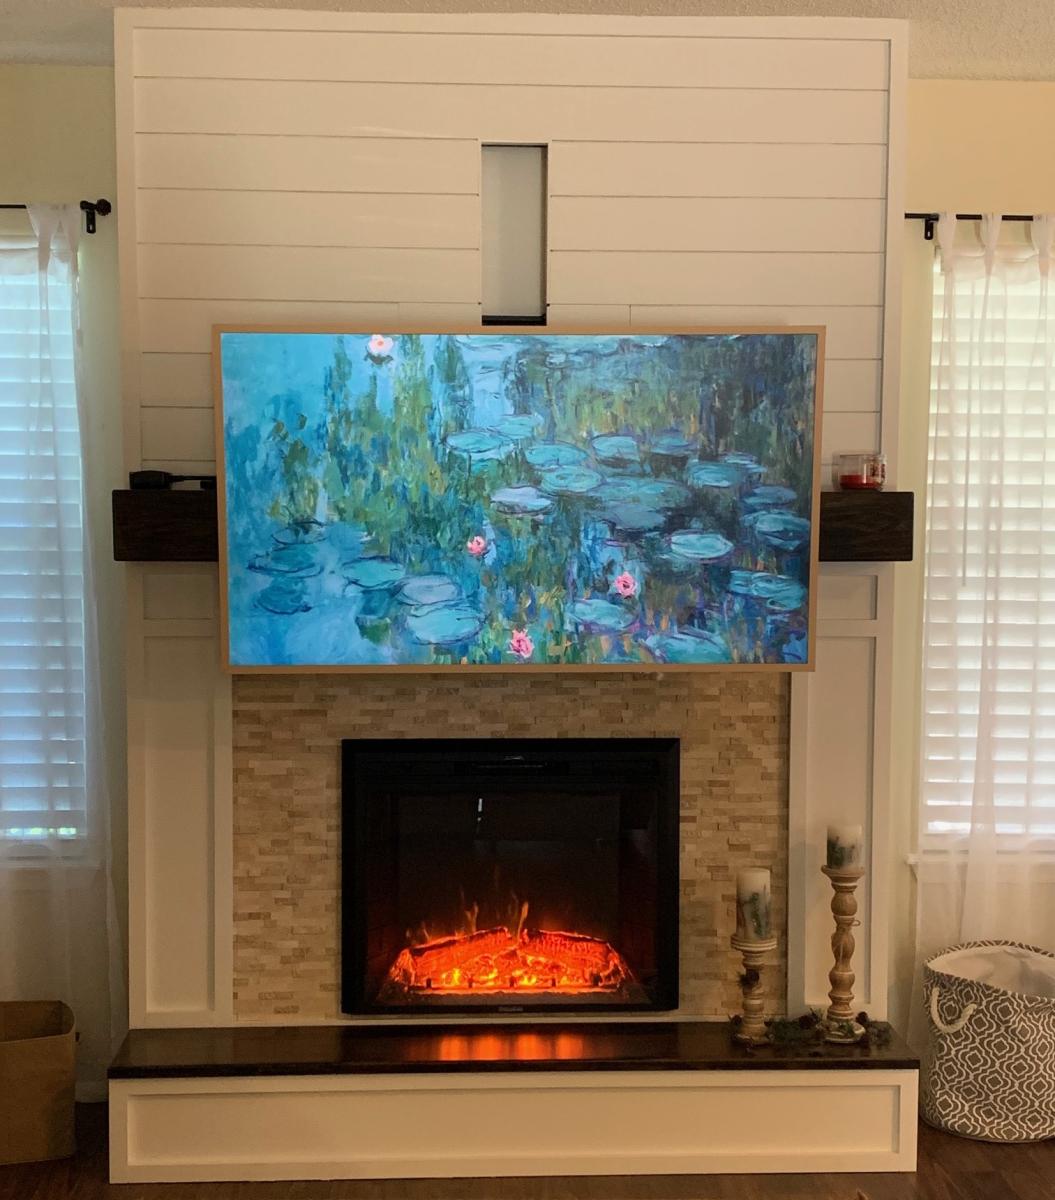
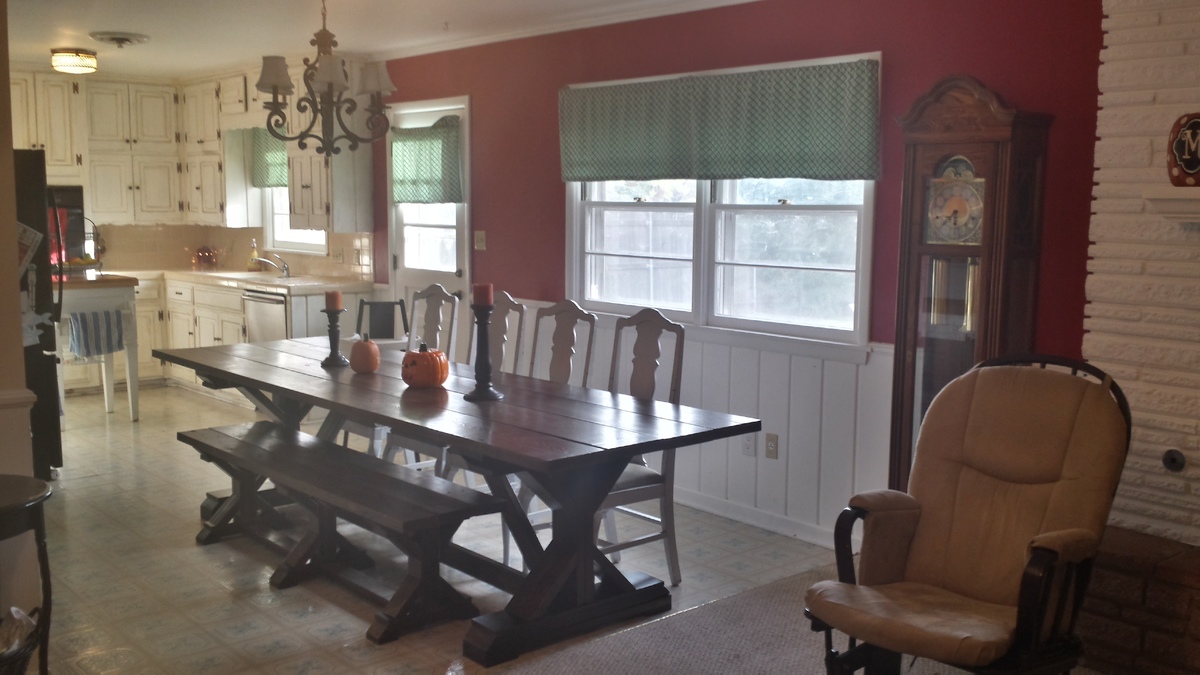
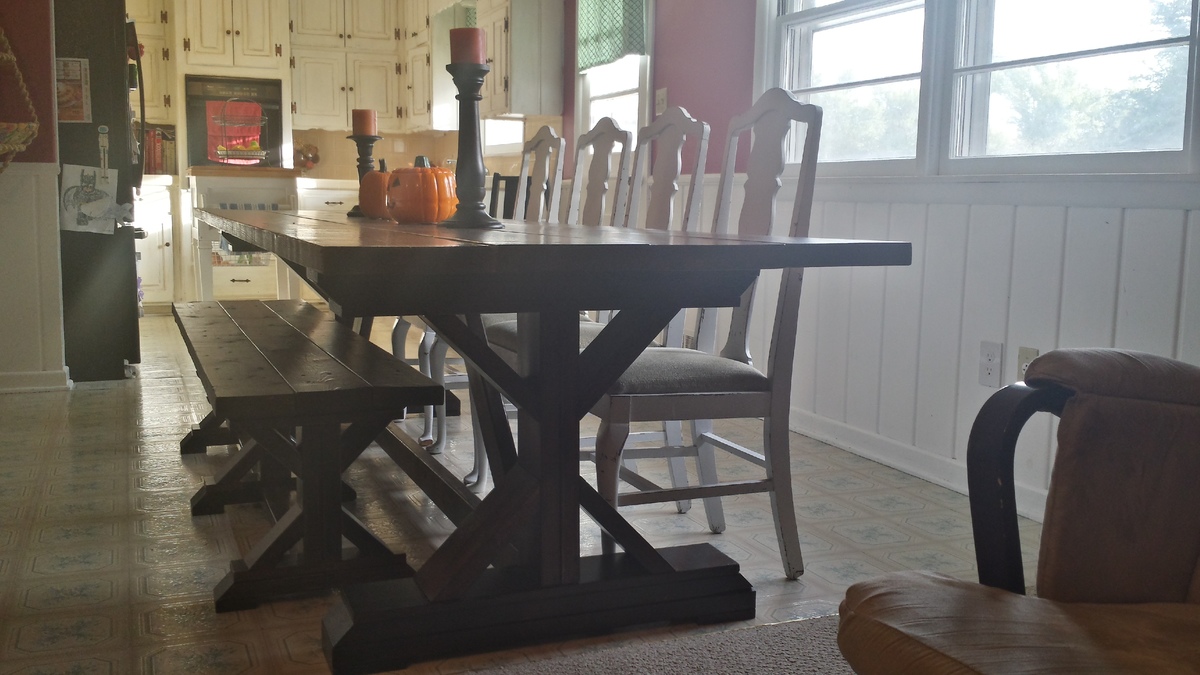
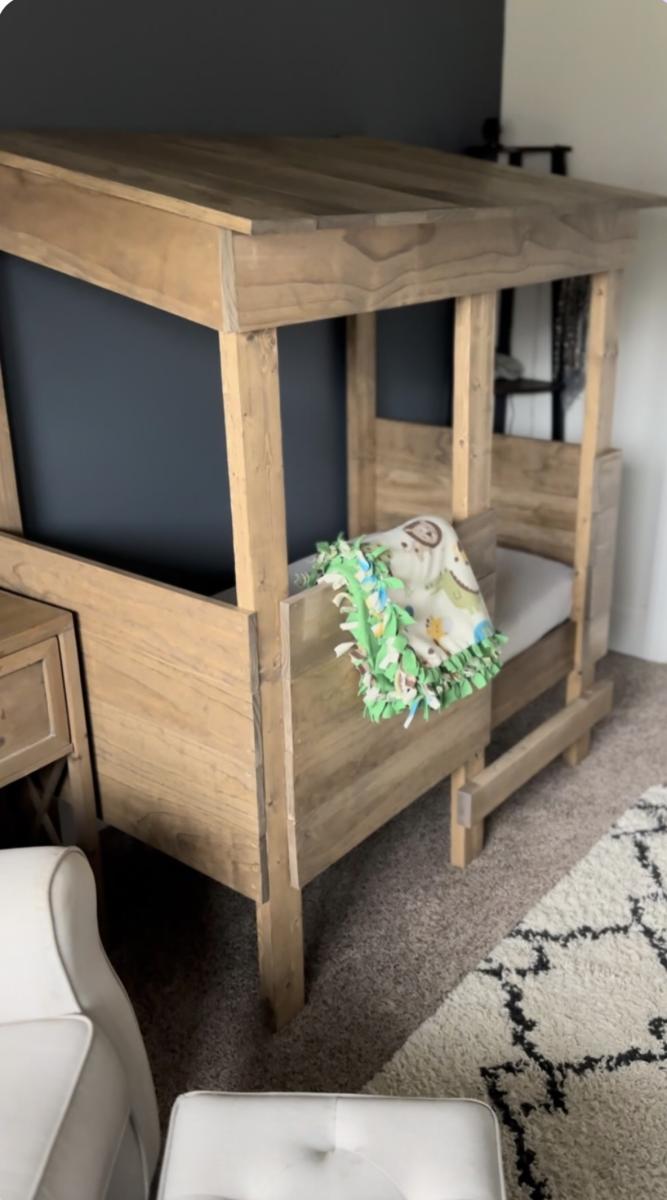
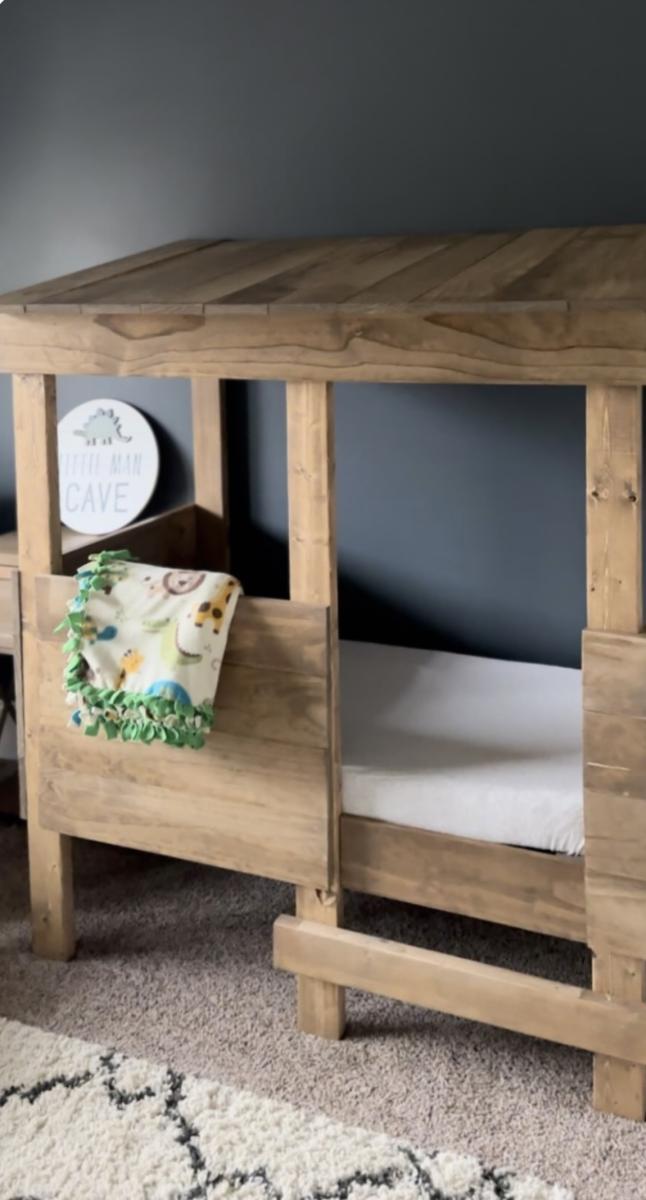
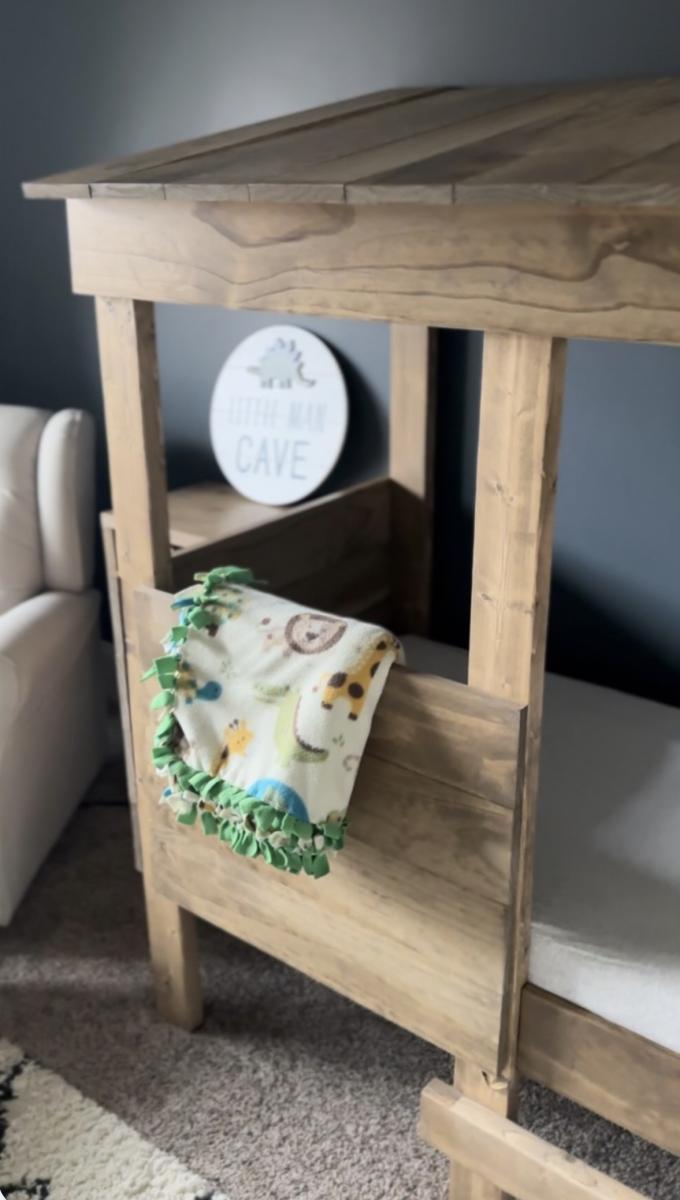
Yay!!
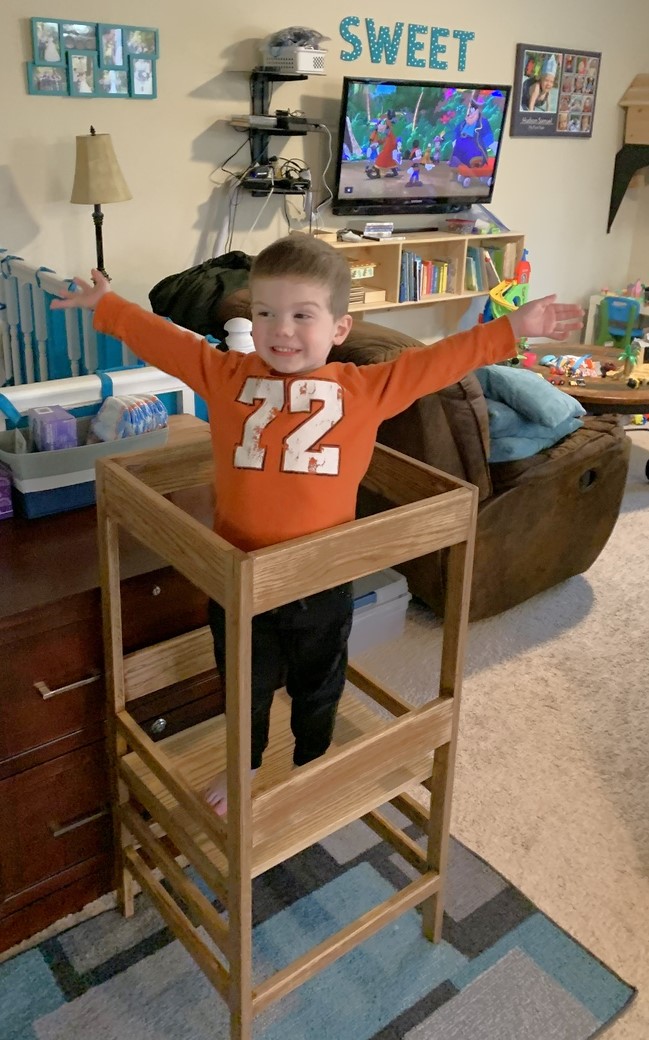
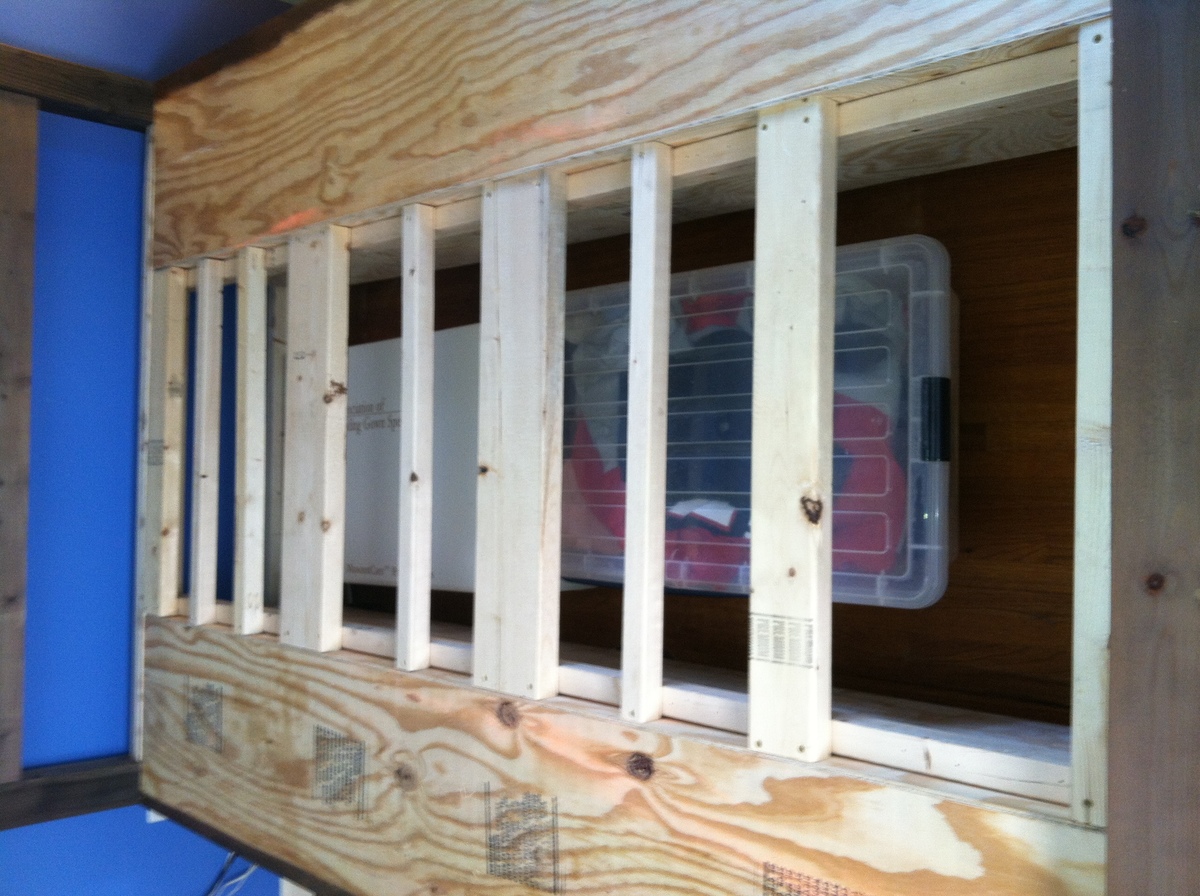
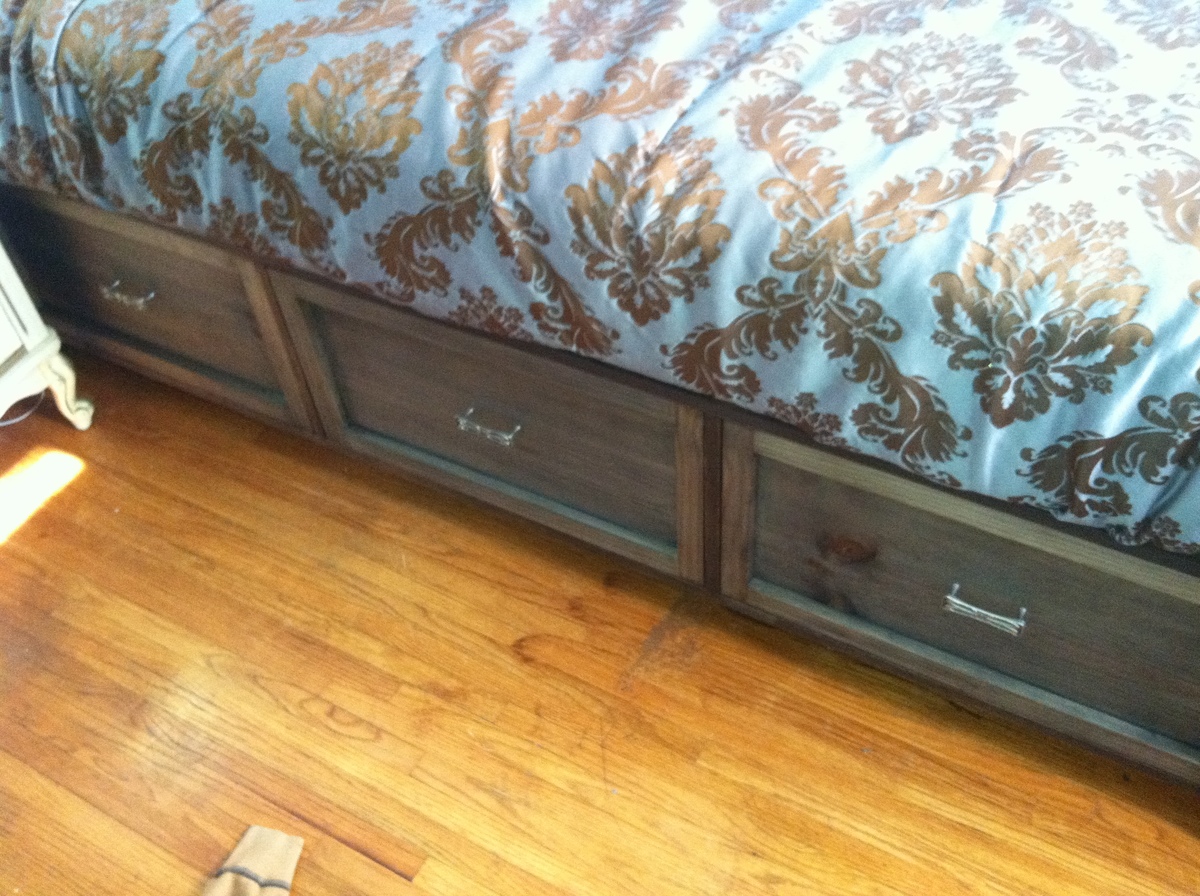
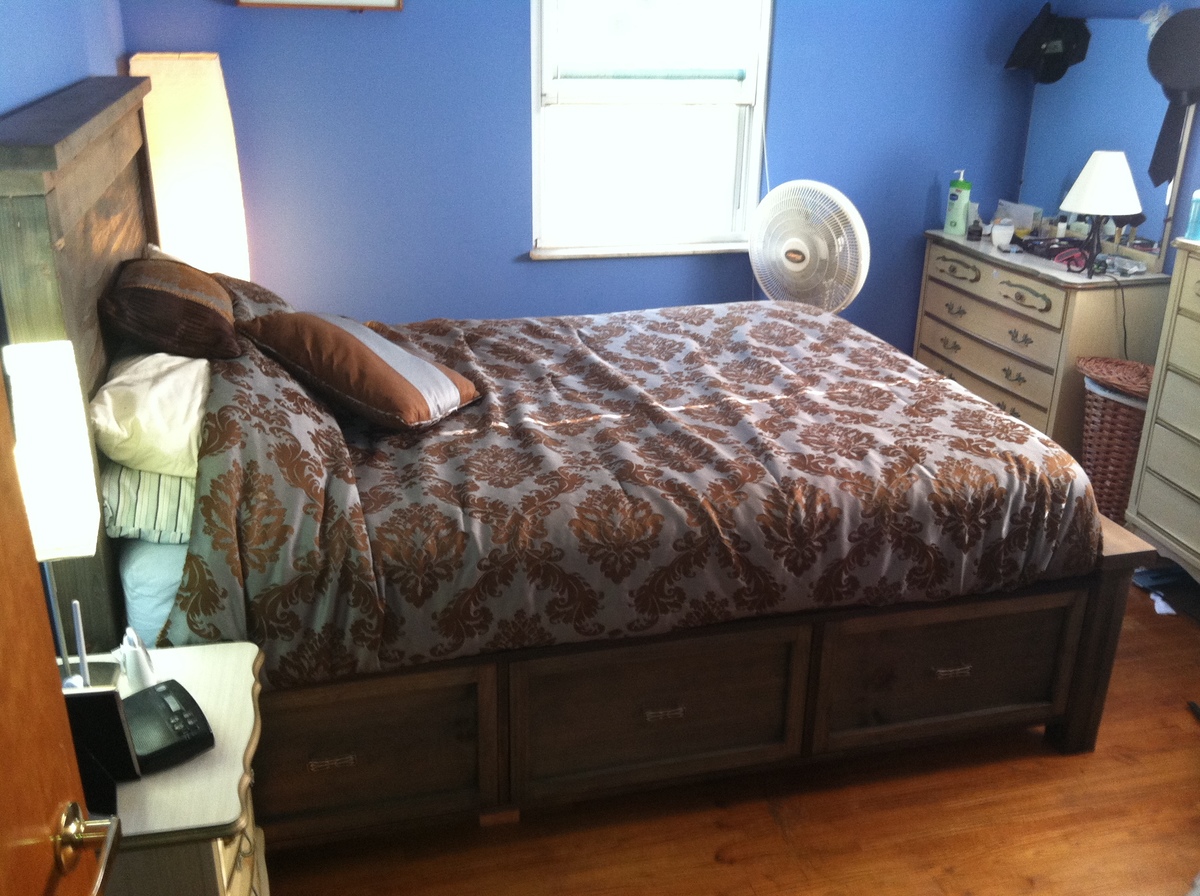
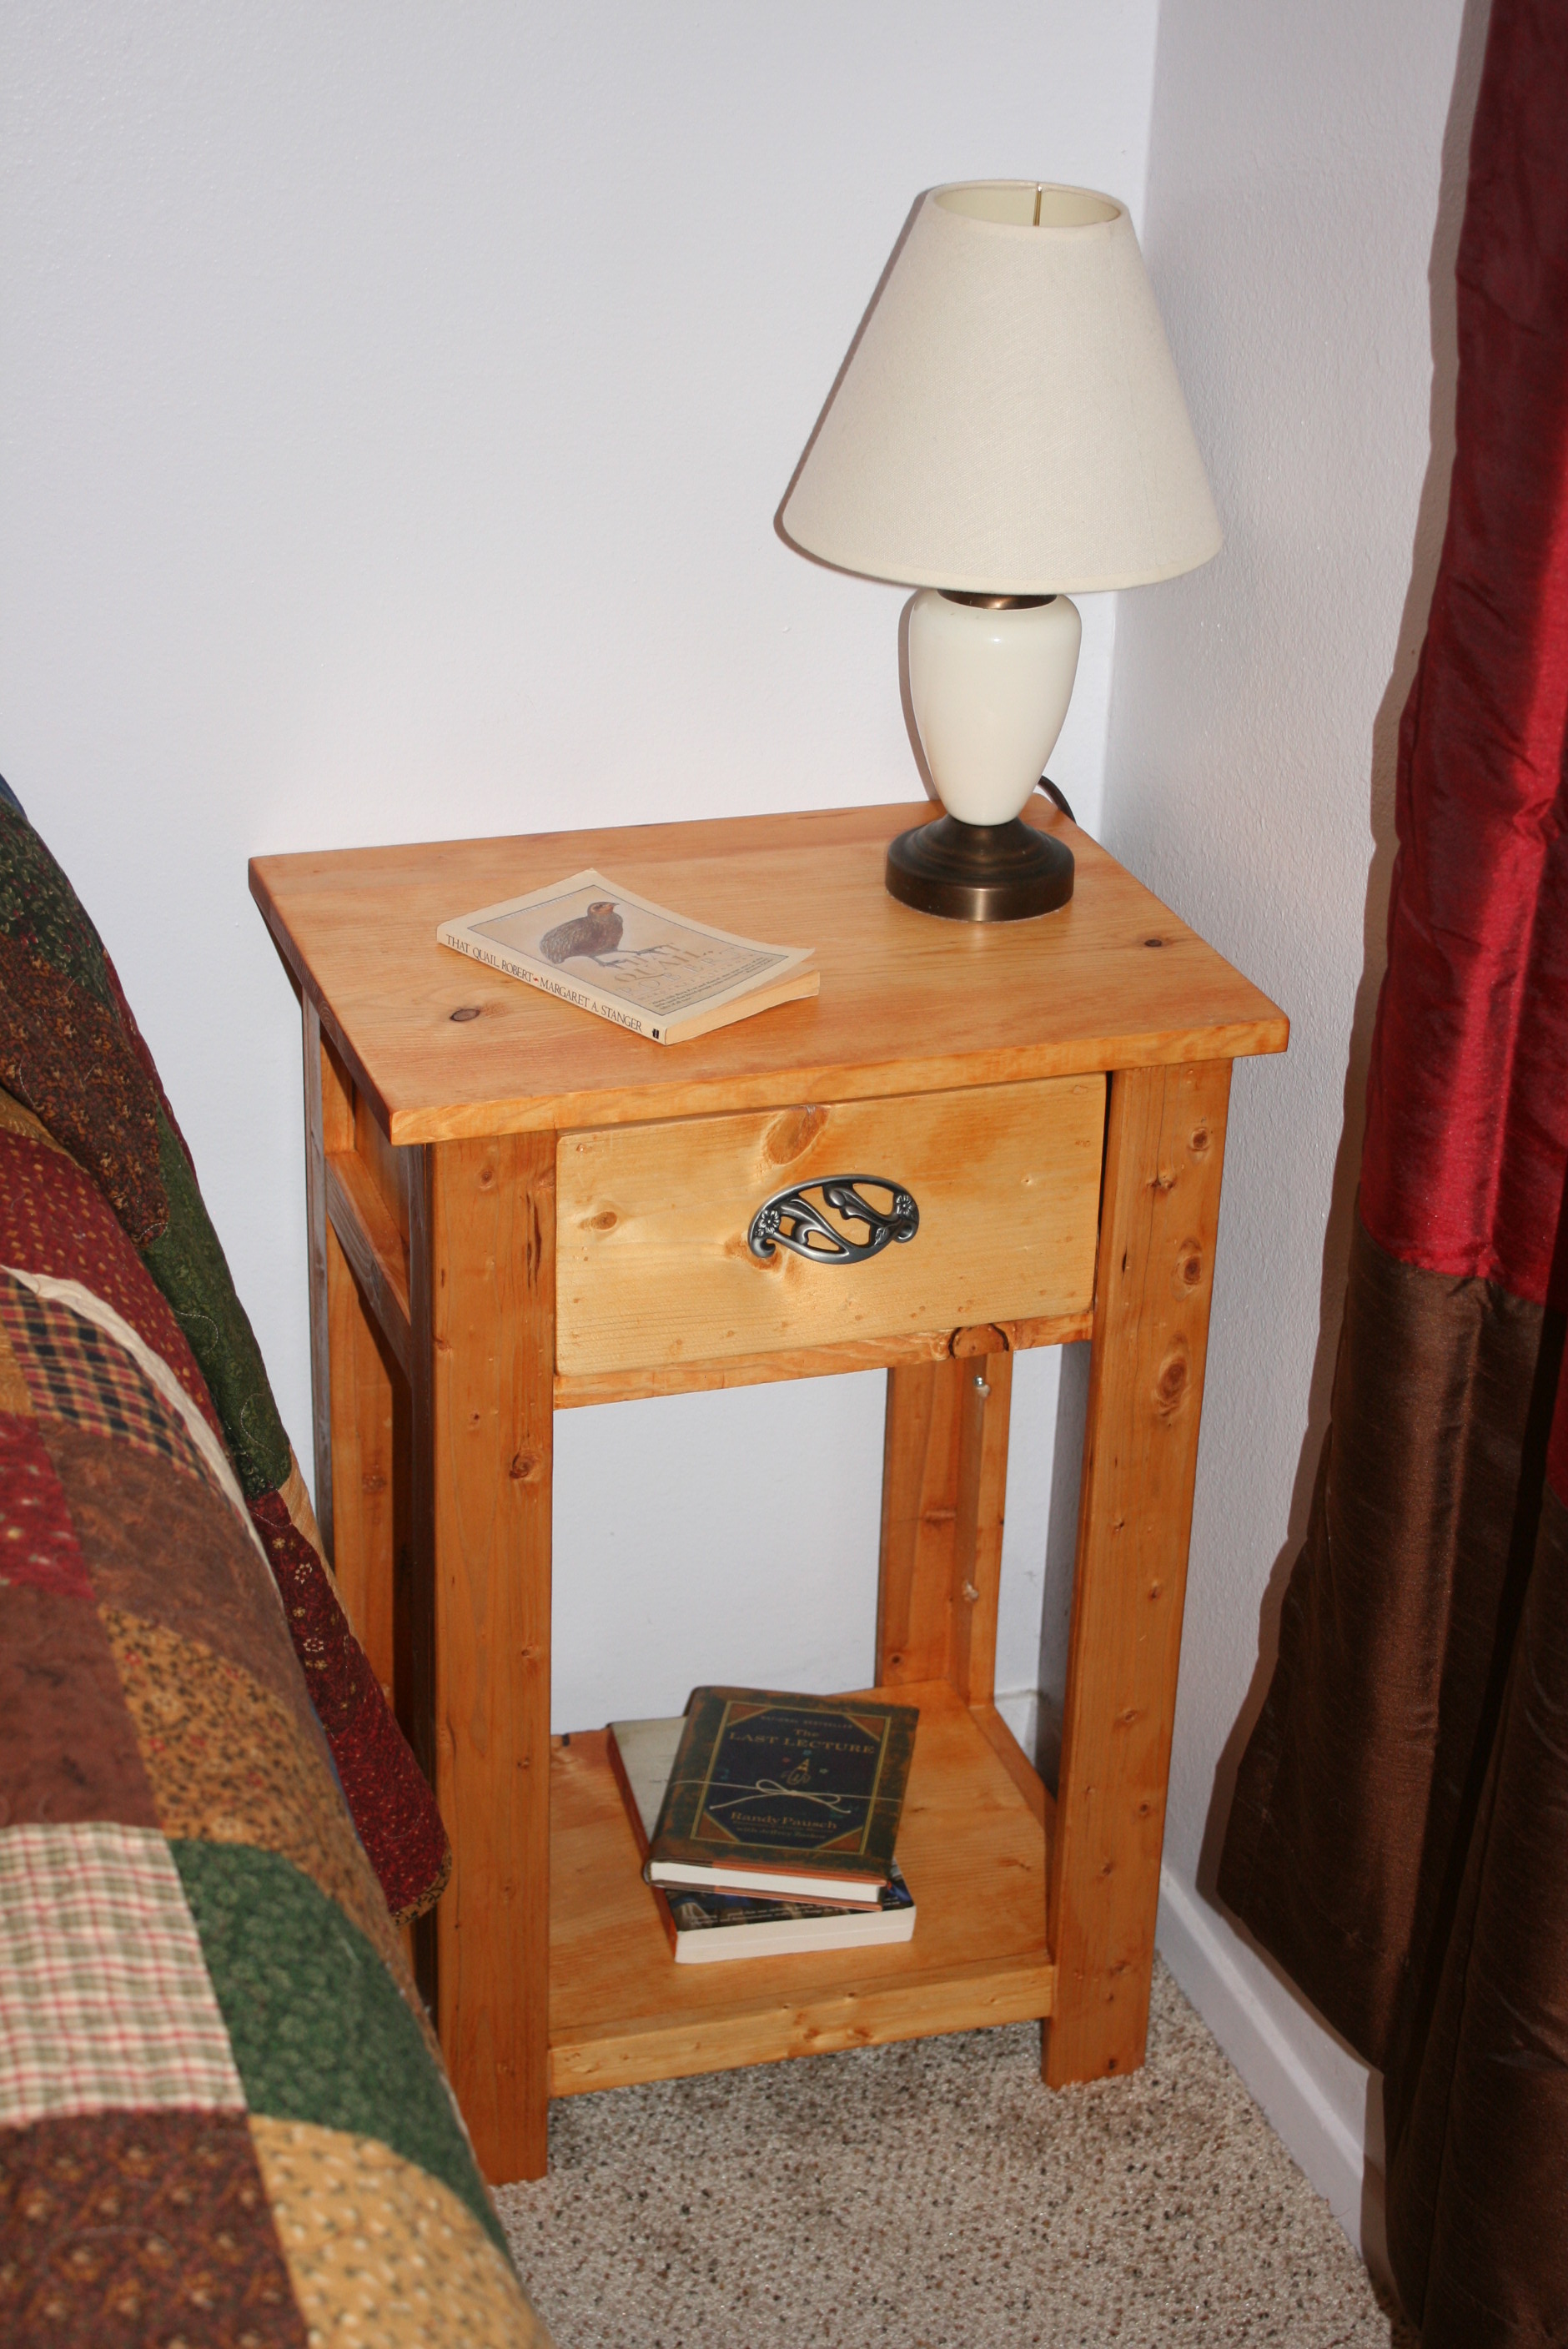
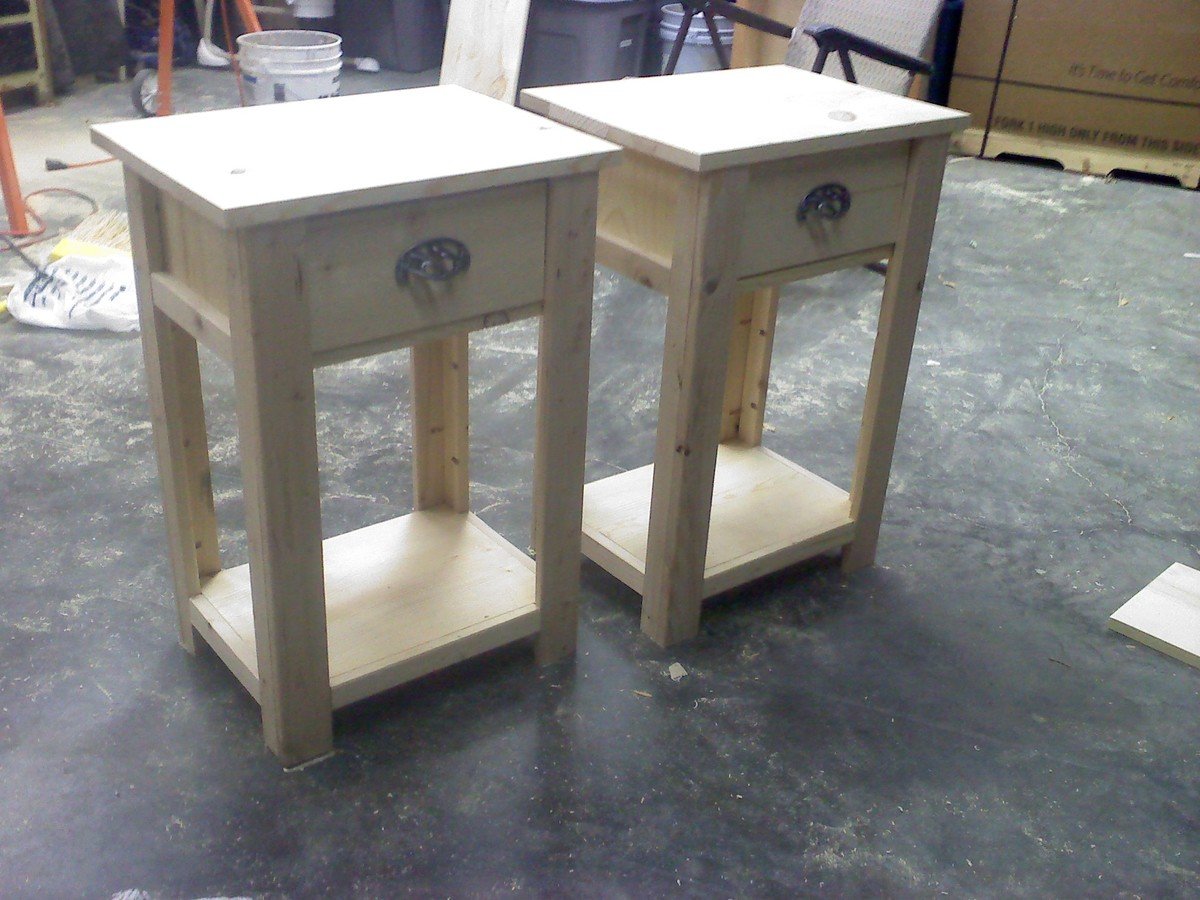
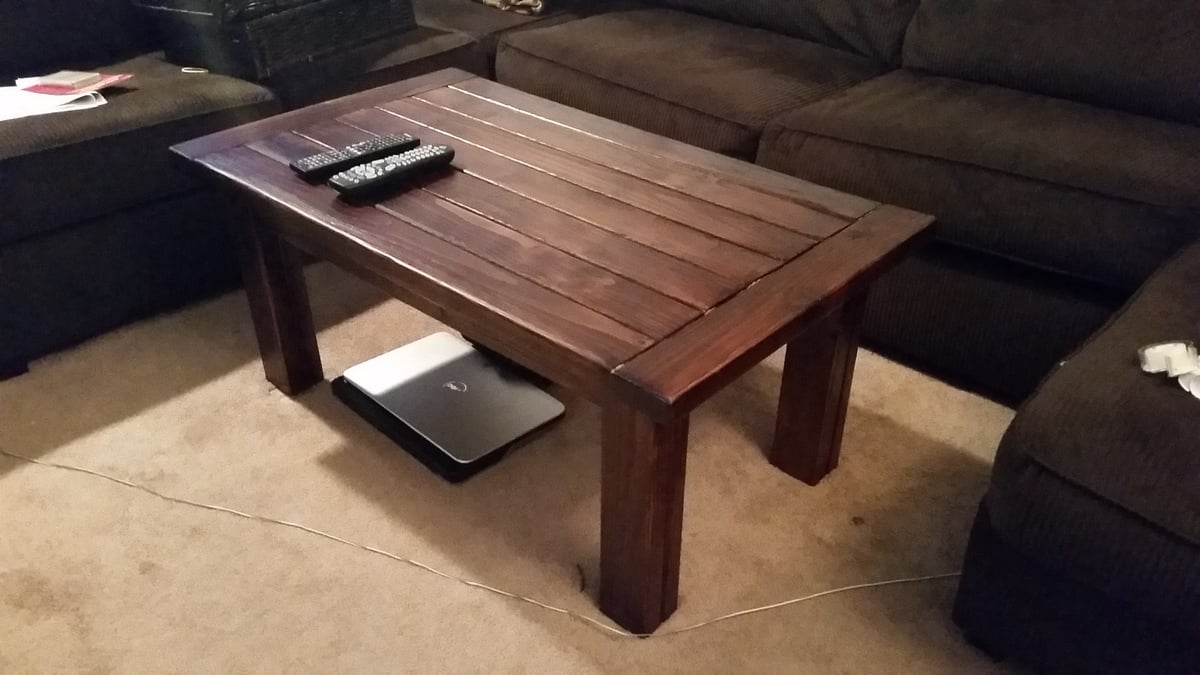
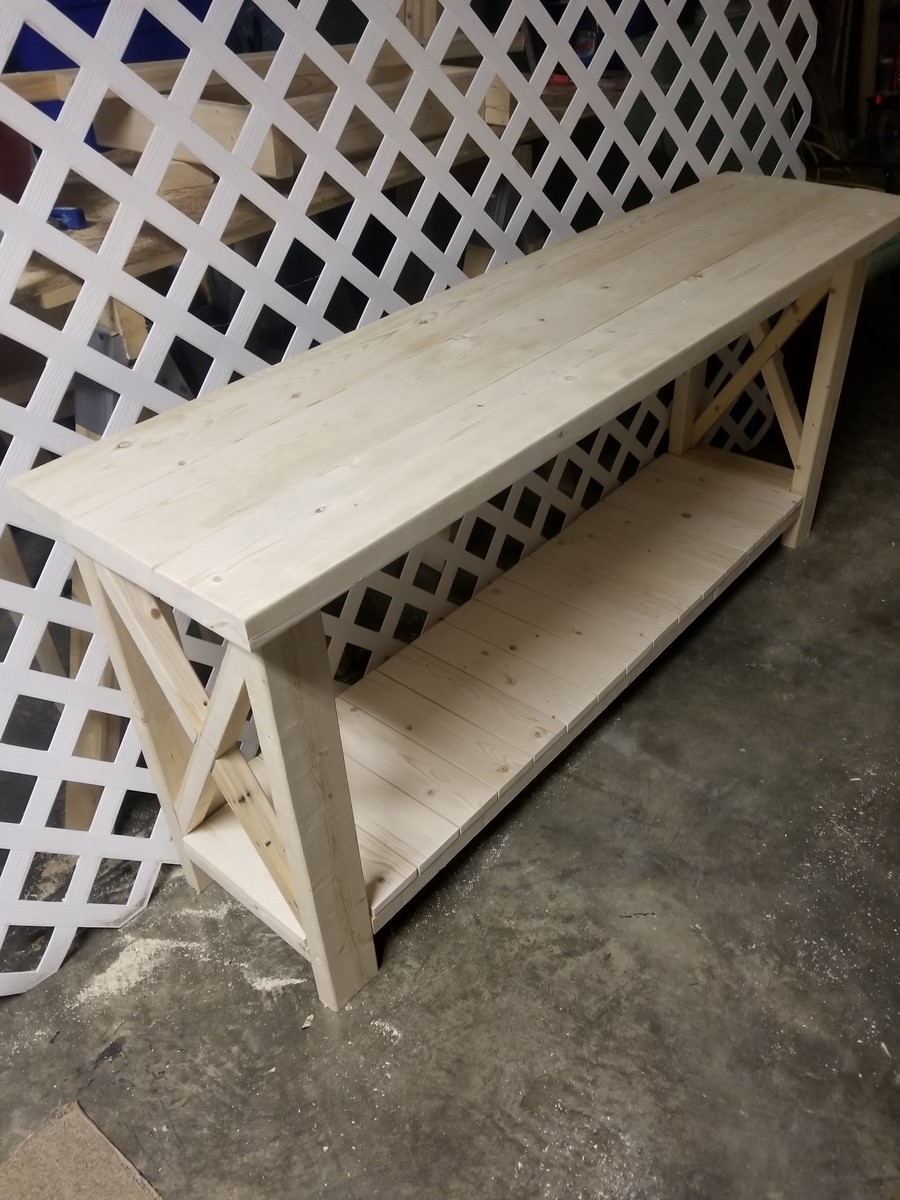
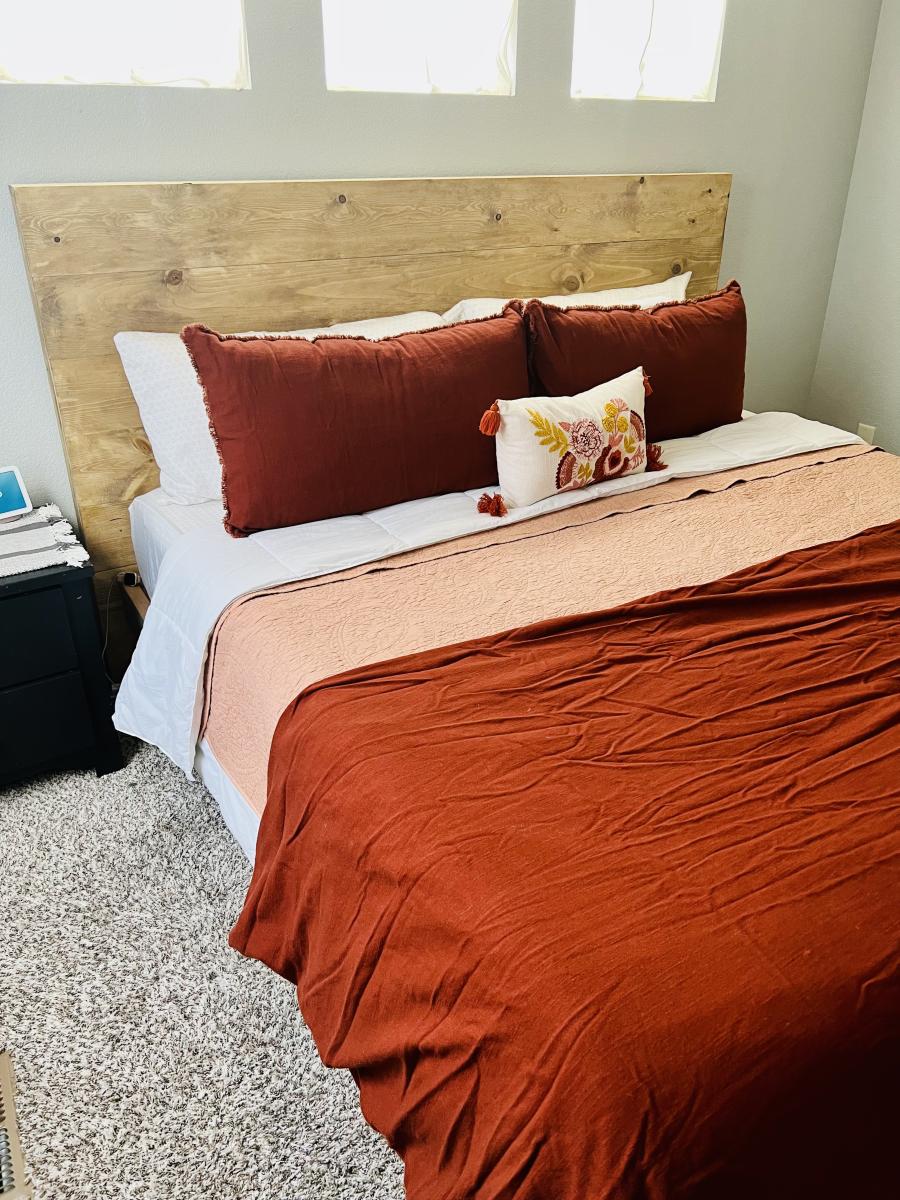
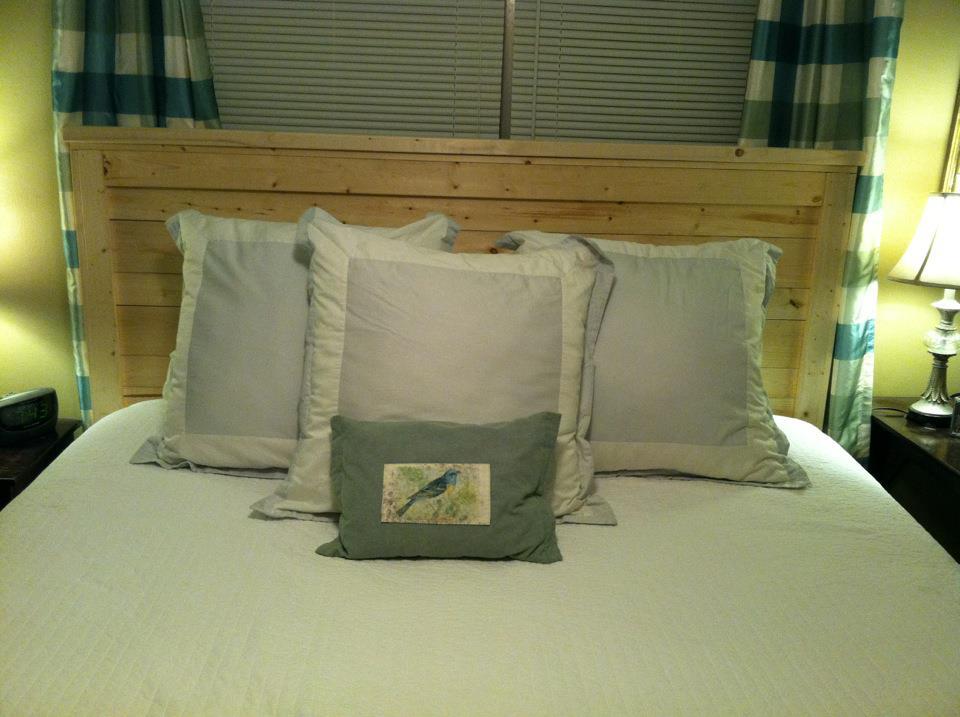
I made a simplified version without the arches, worked out great! Thanks for the plans! I used oak so cost was a little higher than necessary. :)
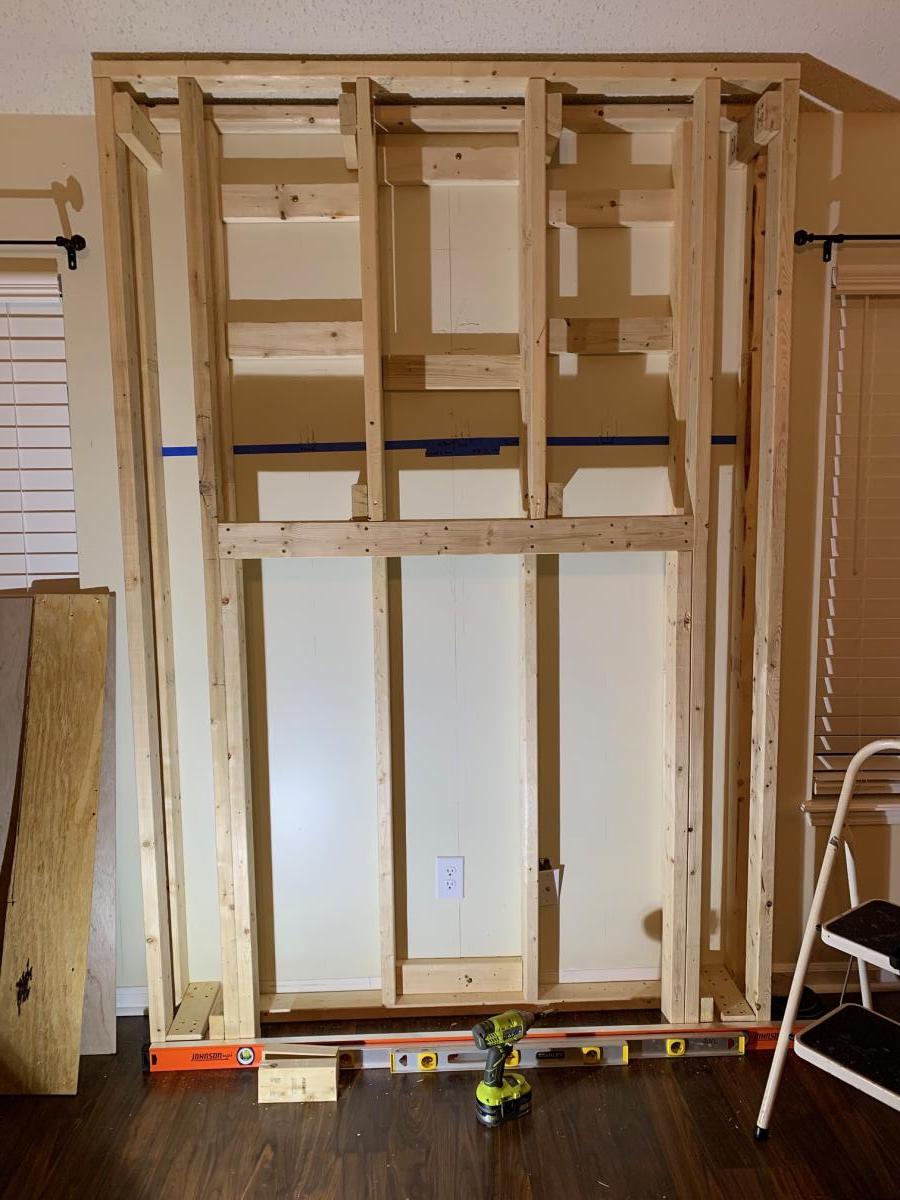
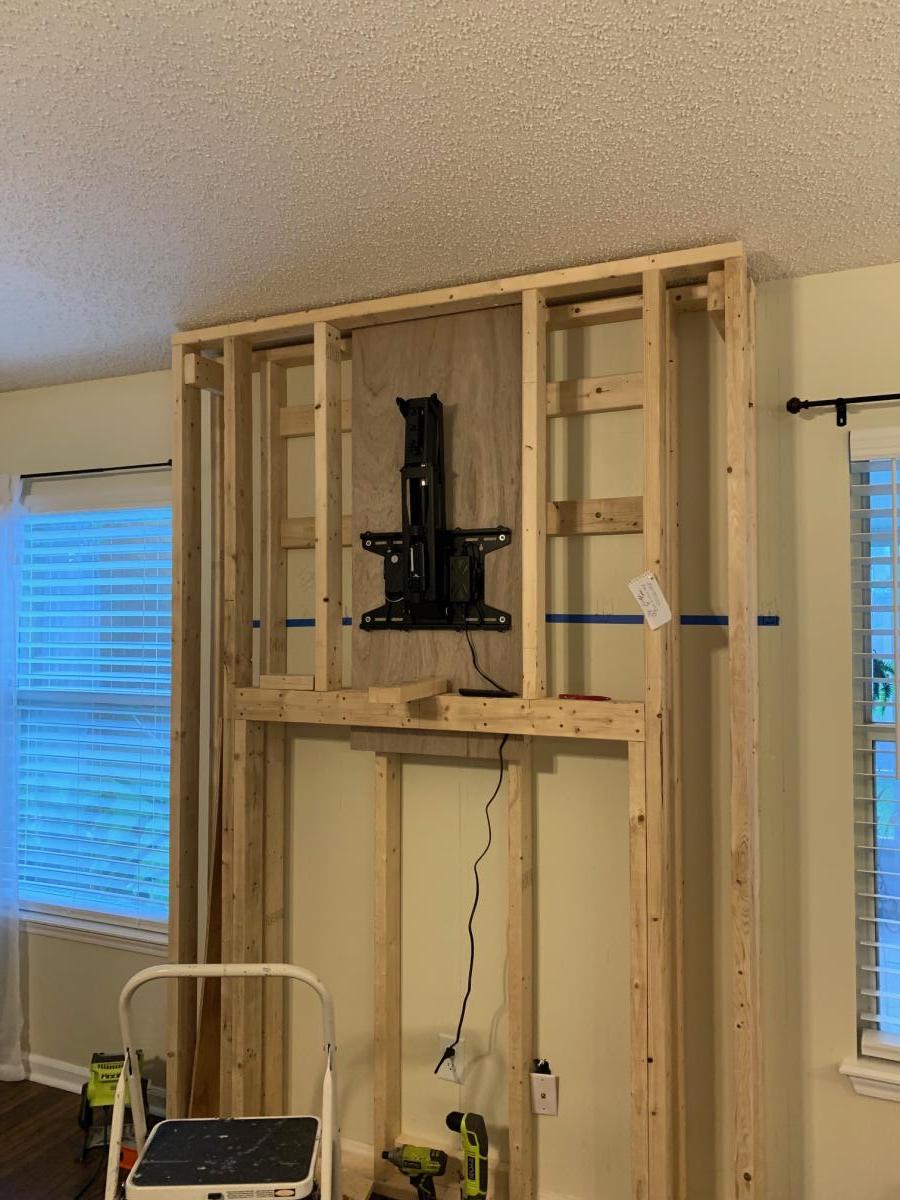
Estimated Cost
$90
Estimated Time Investment
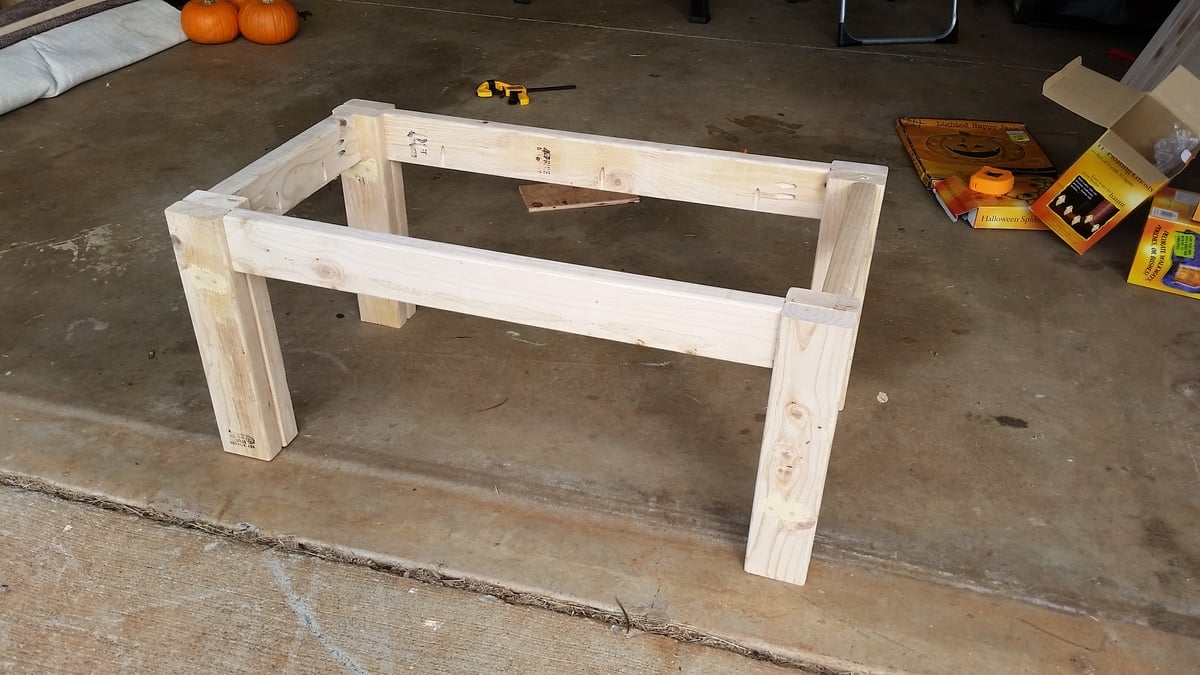
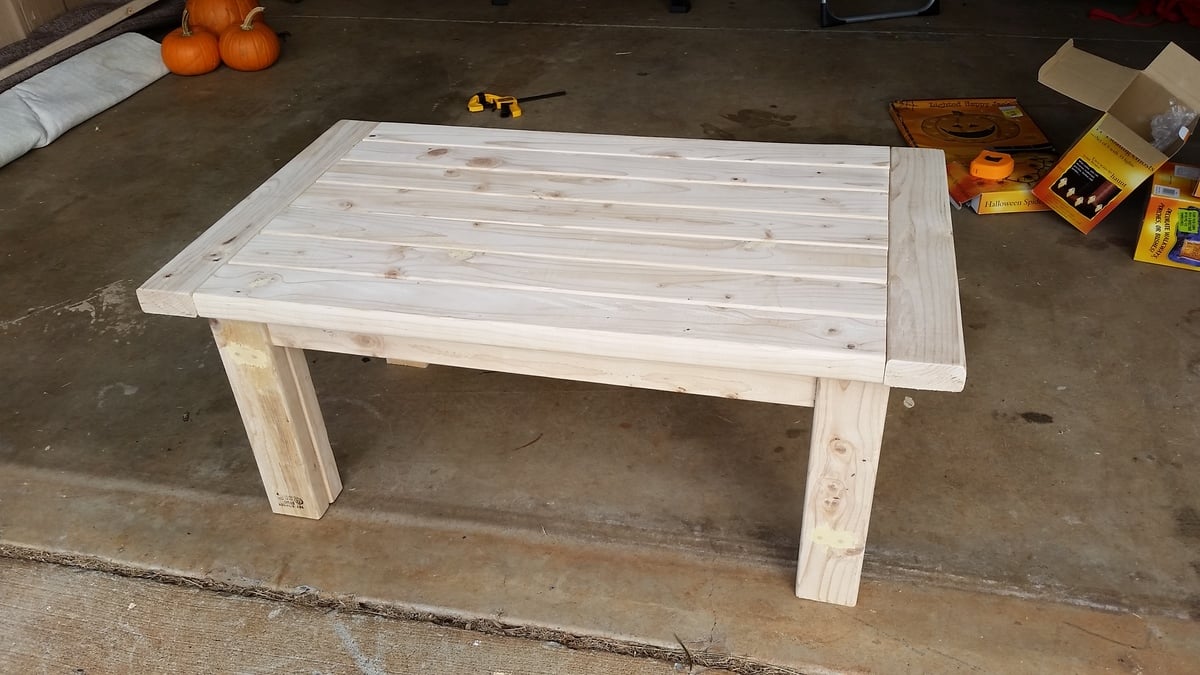
Day Project (6-9 Hours)
Finish Used
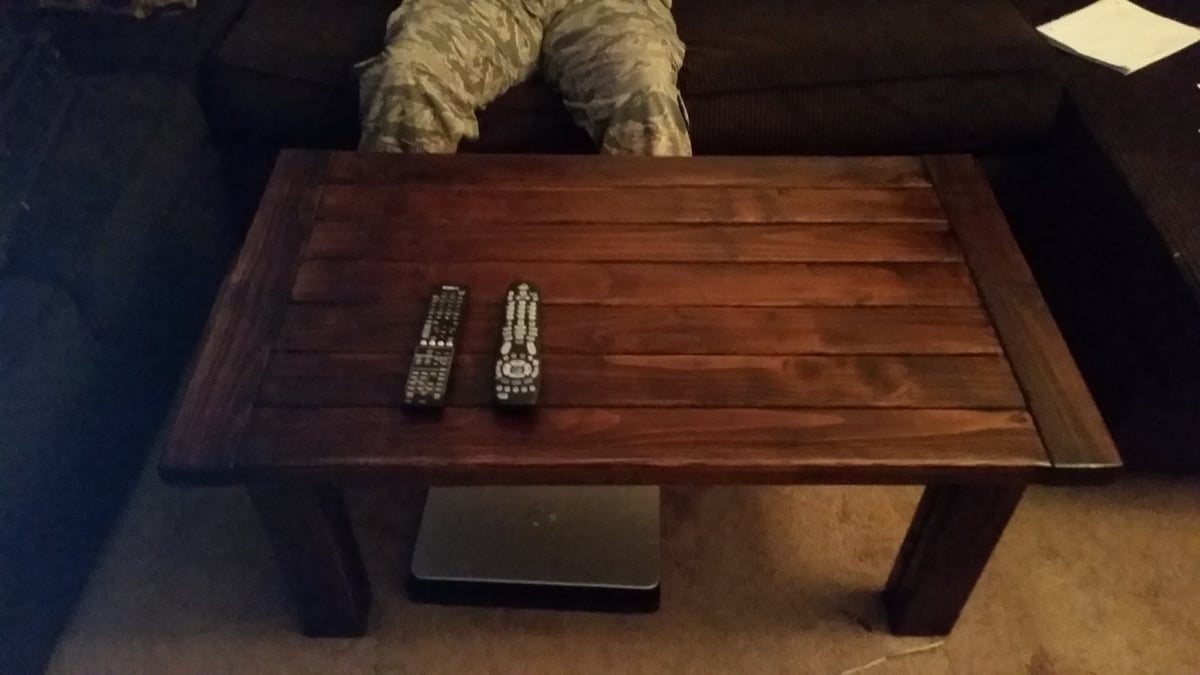
Minwax weathered oak
Recommended Skill Level
Beginner