Adirondack chairs
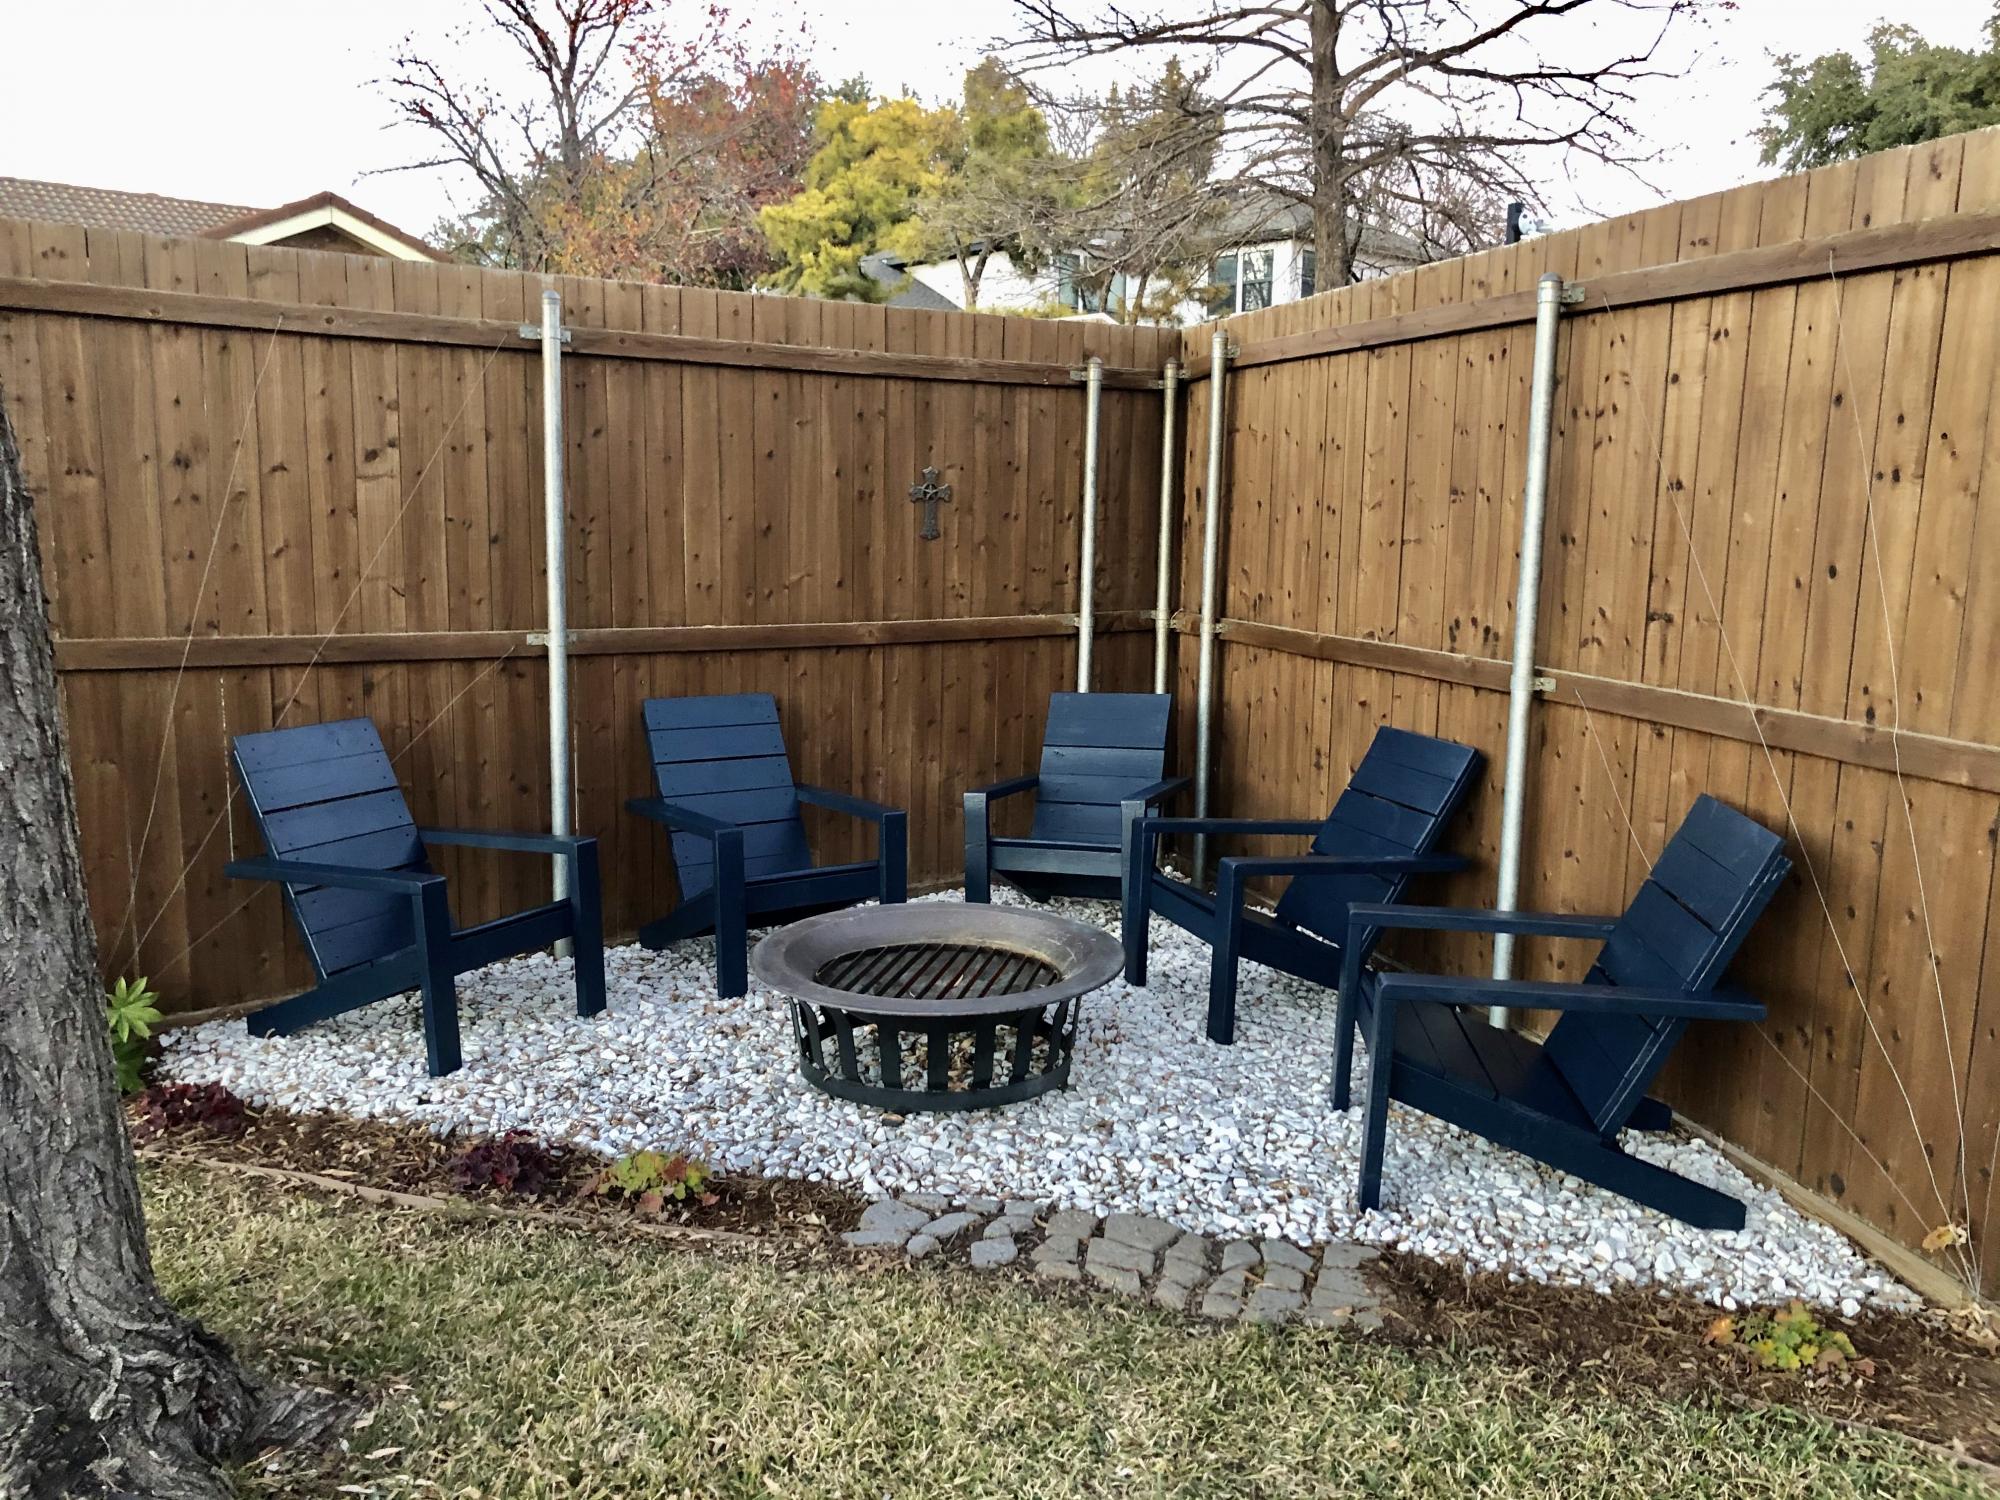
Thanks for the awesome plans Anna! God bless.
Eddie Jimenez
Built from Plan(s)
Thanks for the awesome plans Anna! God bless.
Eddie Jimenez
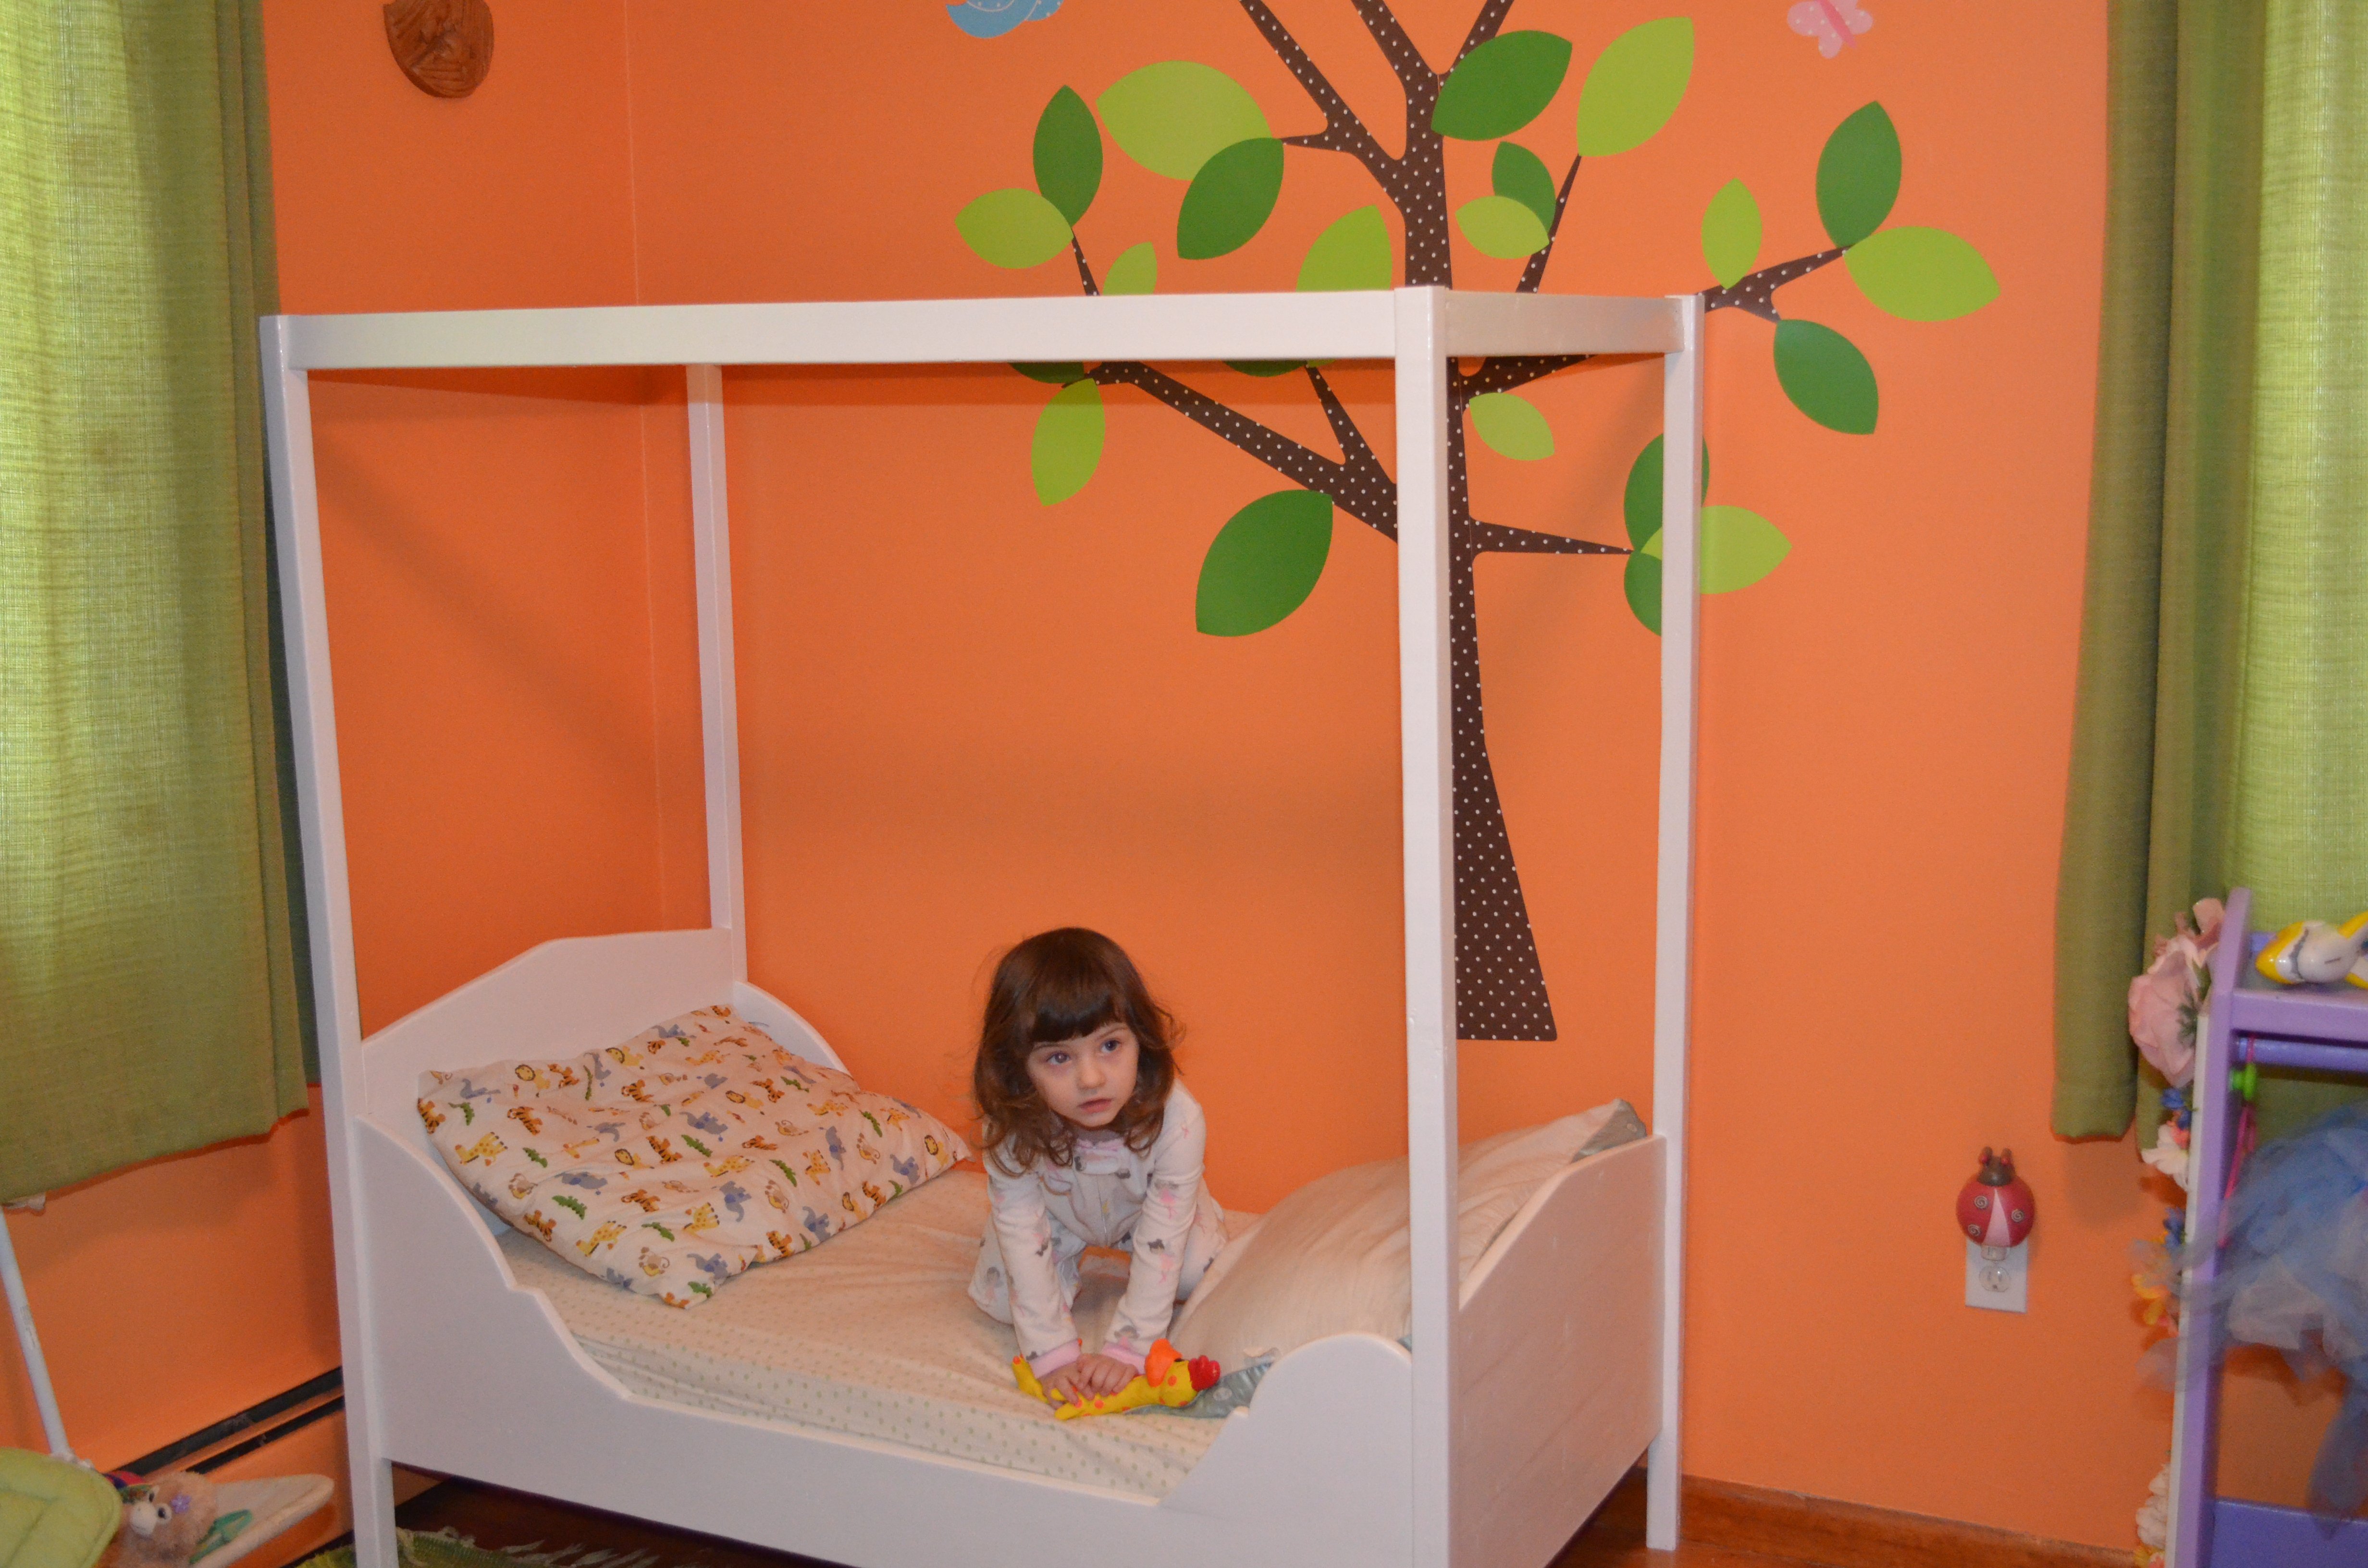
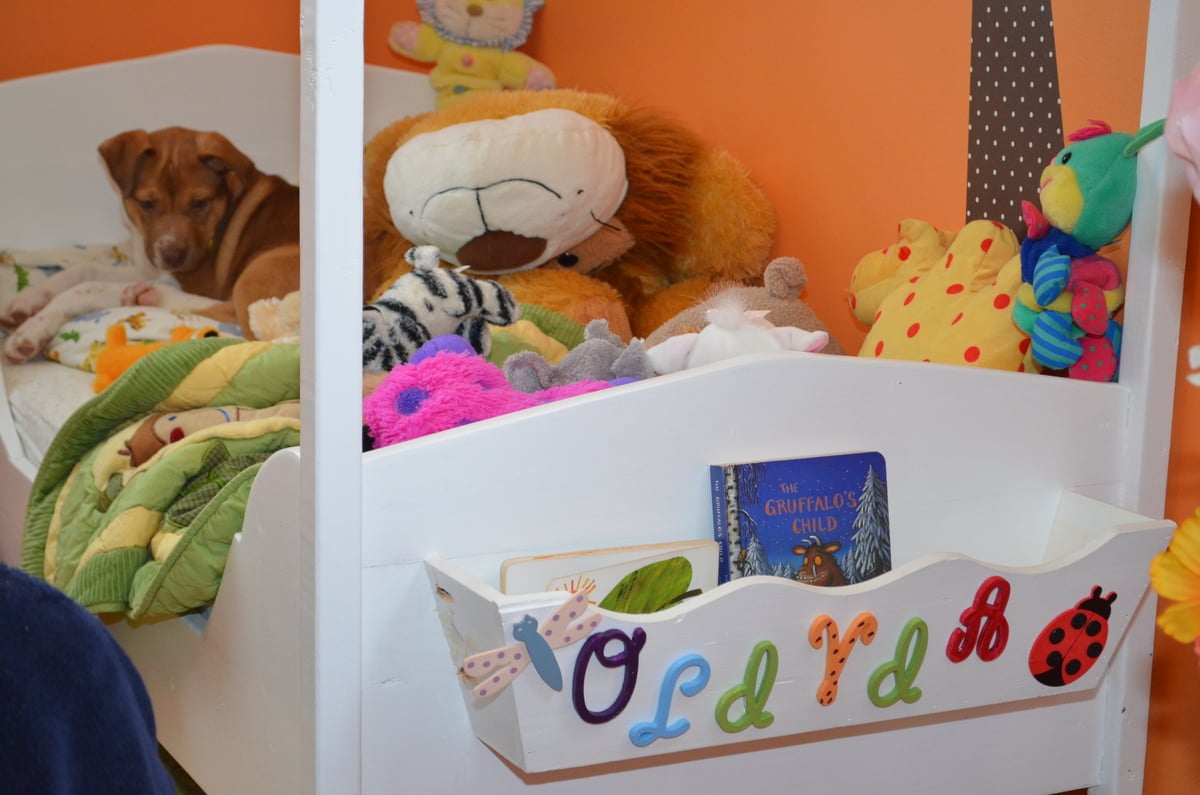
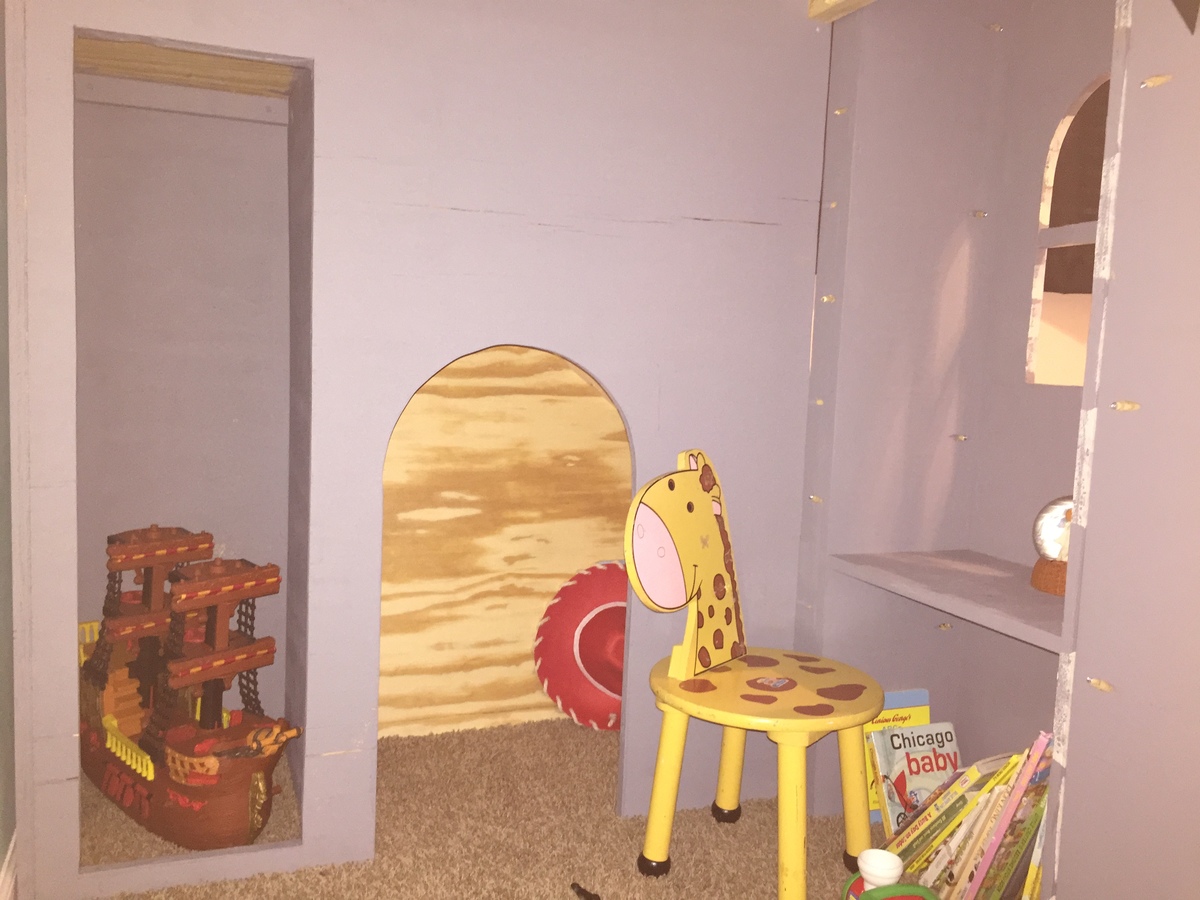
Our baby's turning 3 and is ready for a twin bed, having slept in a toddler version since 18mo... but we just HAD to build this adorable canopy toddler bed for her while she can still use it. We added a small window box that had been above her previous bed to the footboard, she stores her stuffed animals/bedtime books in there. Just need to pick out new sheets and fabric for the canopy :) Both she and the puppy love it, Thanks Ana!!
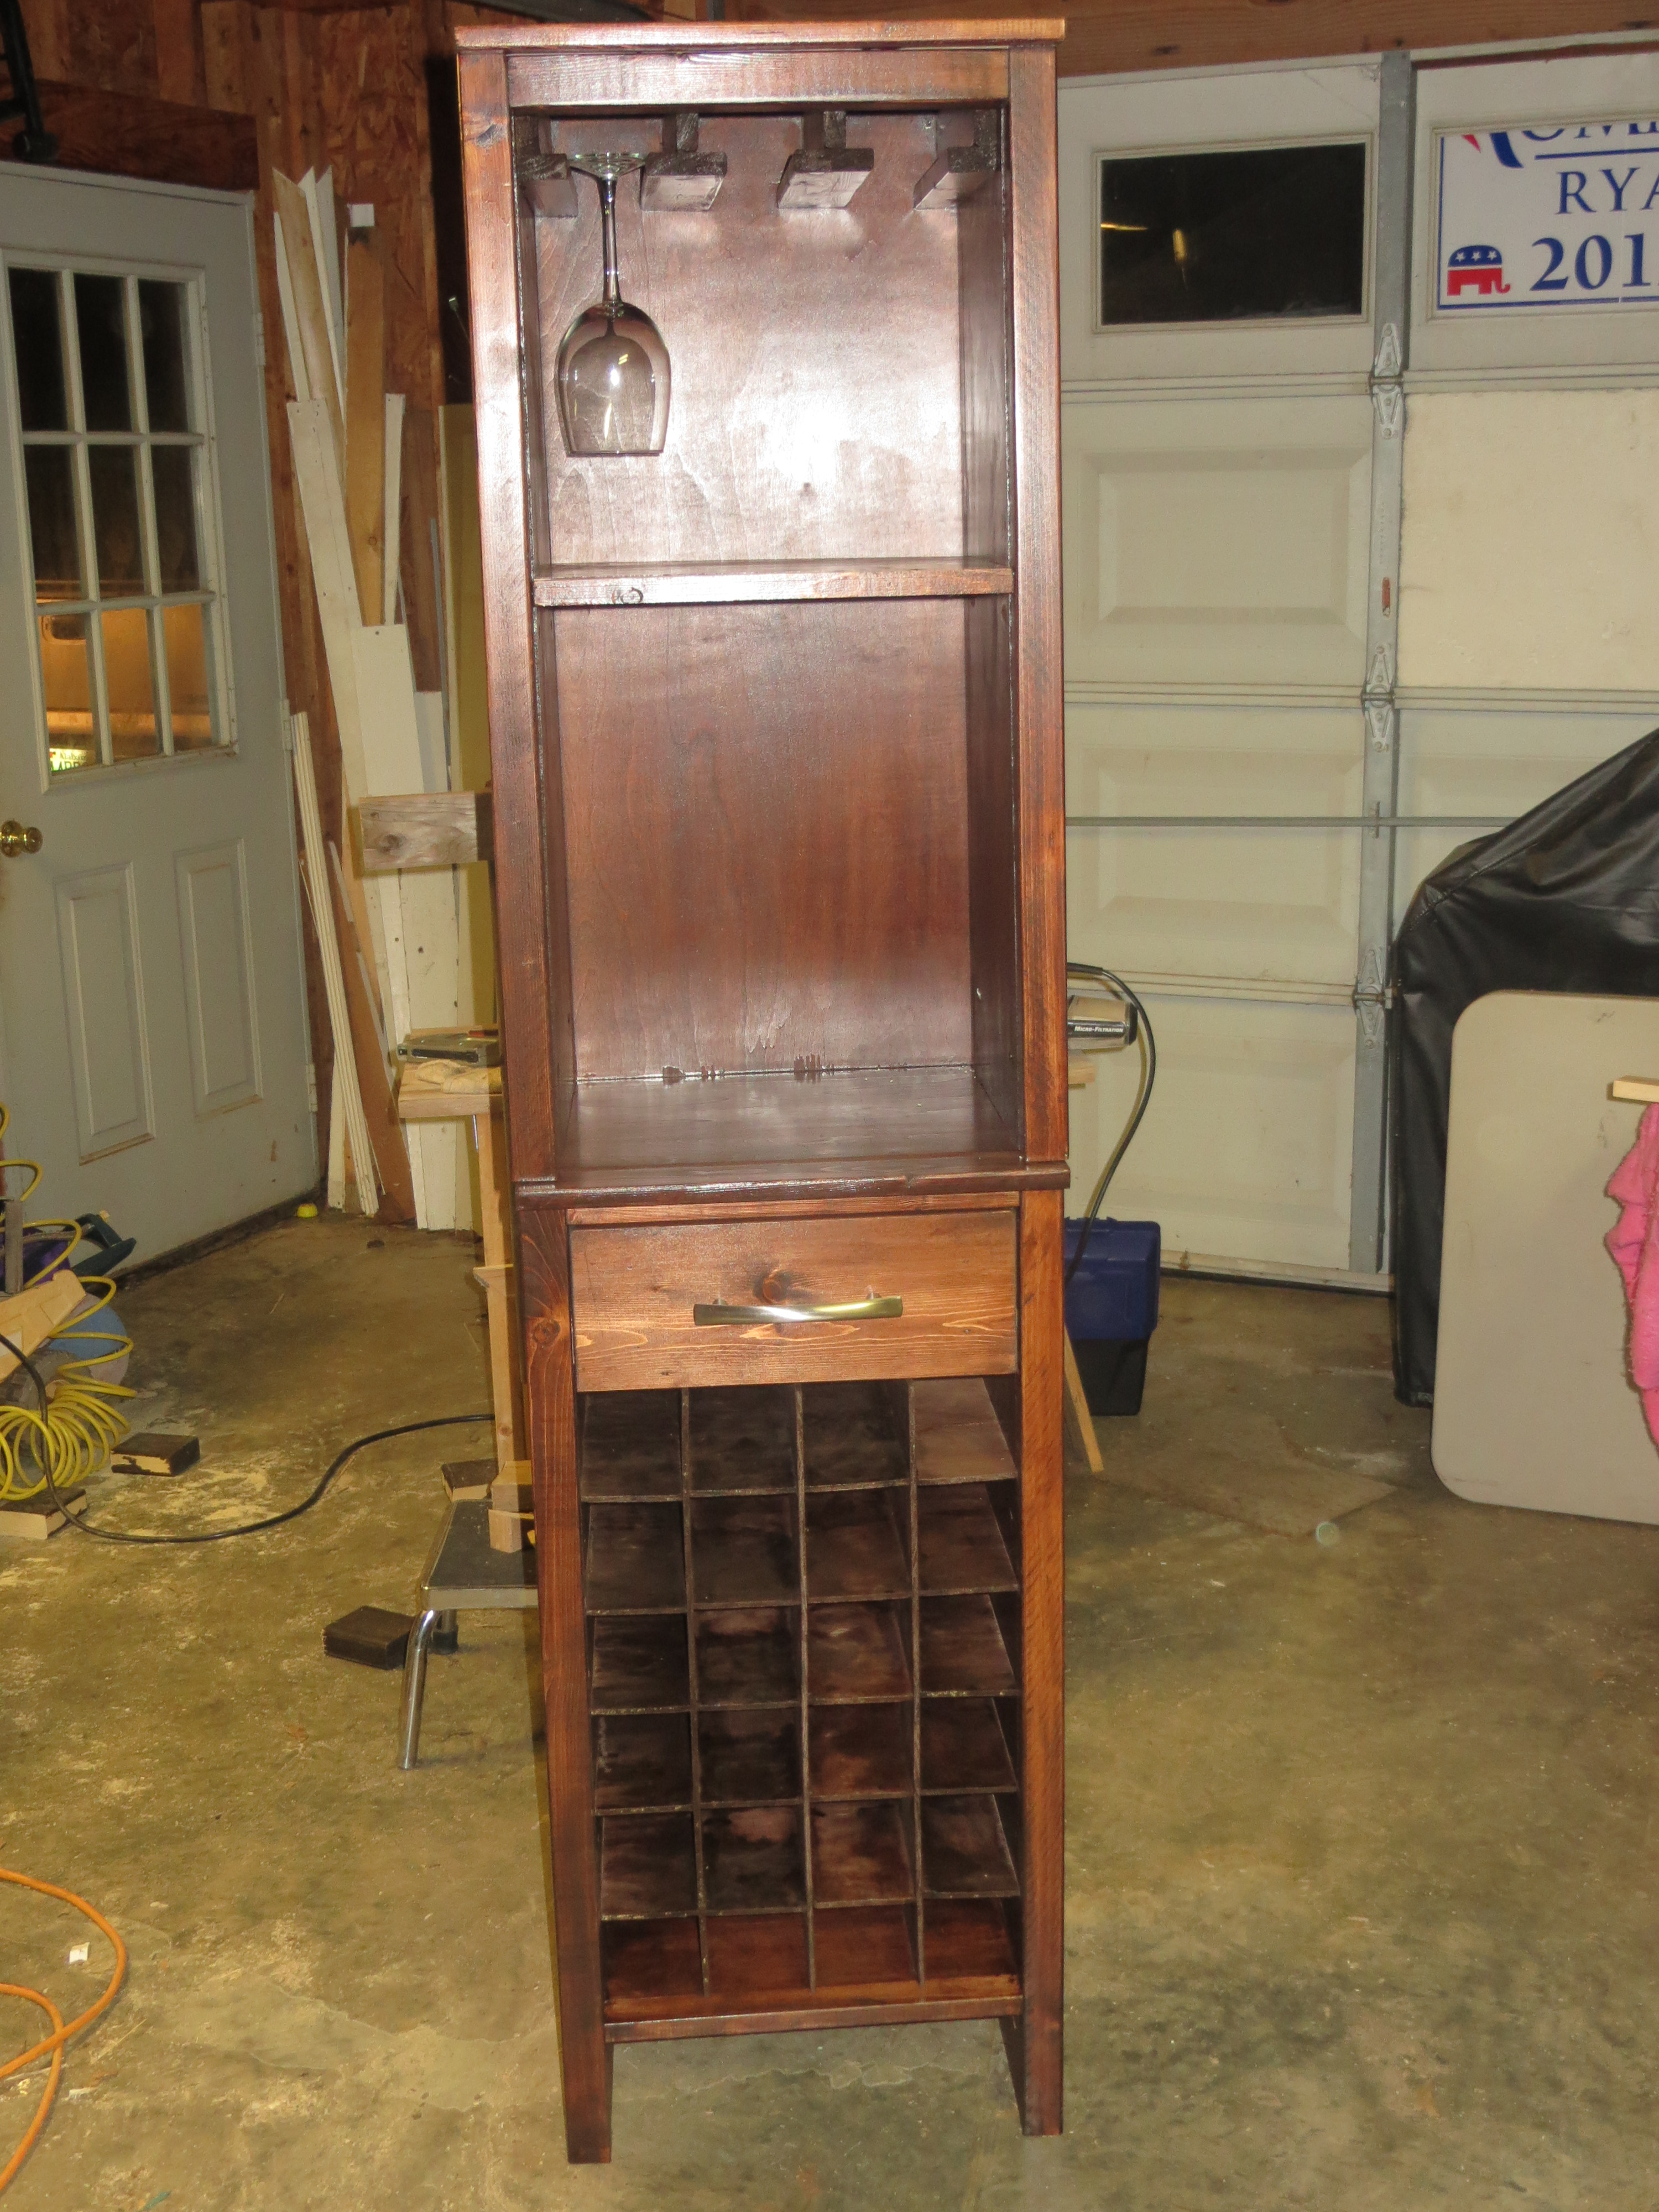
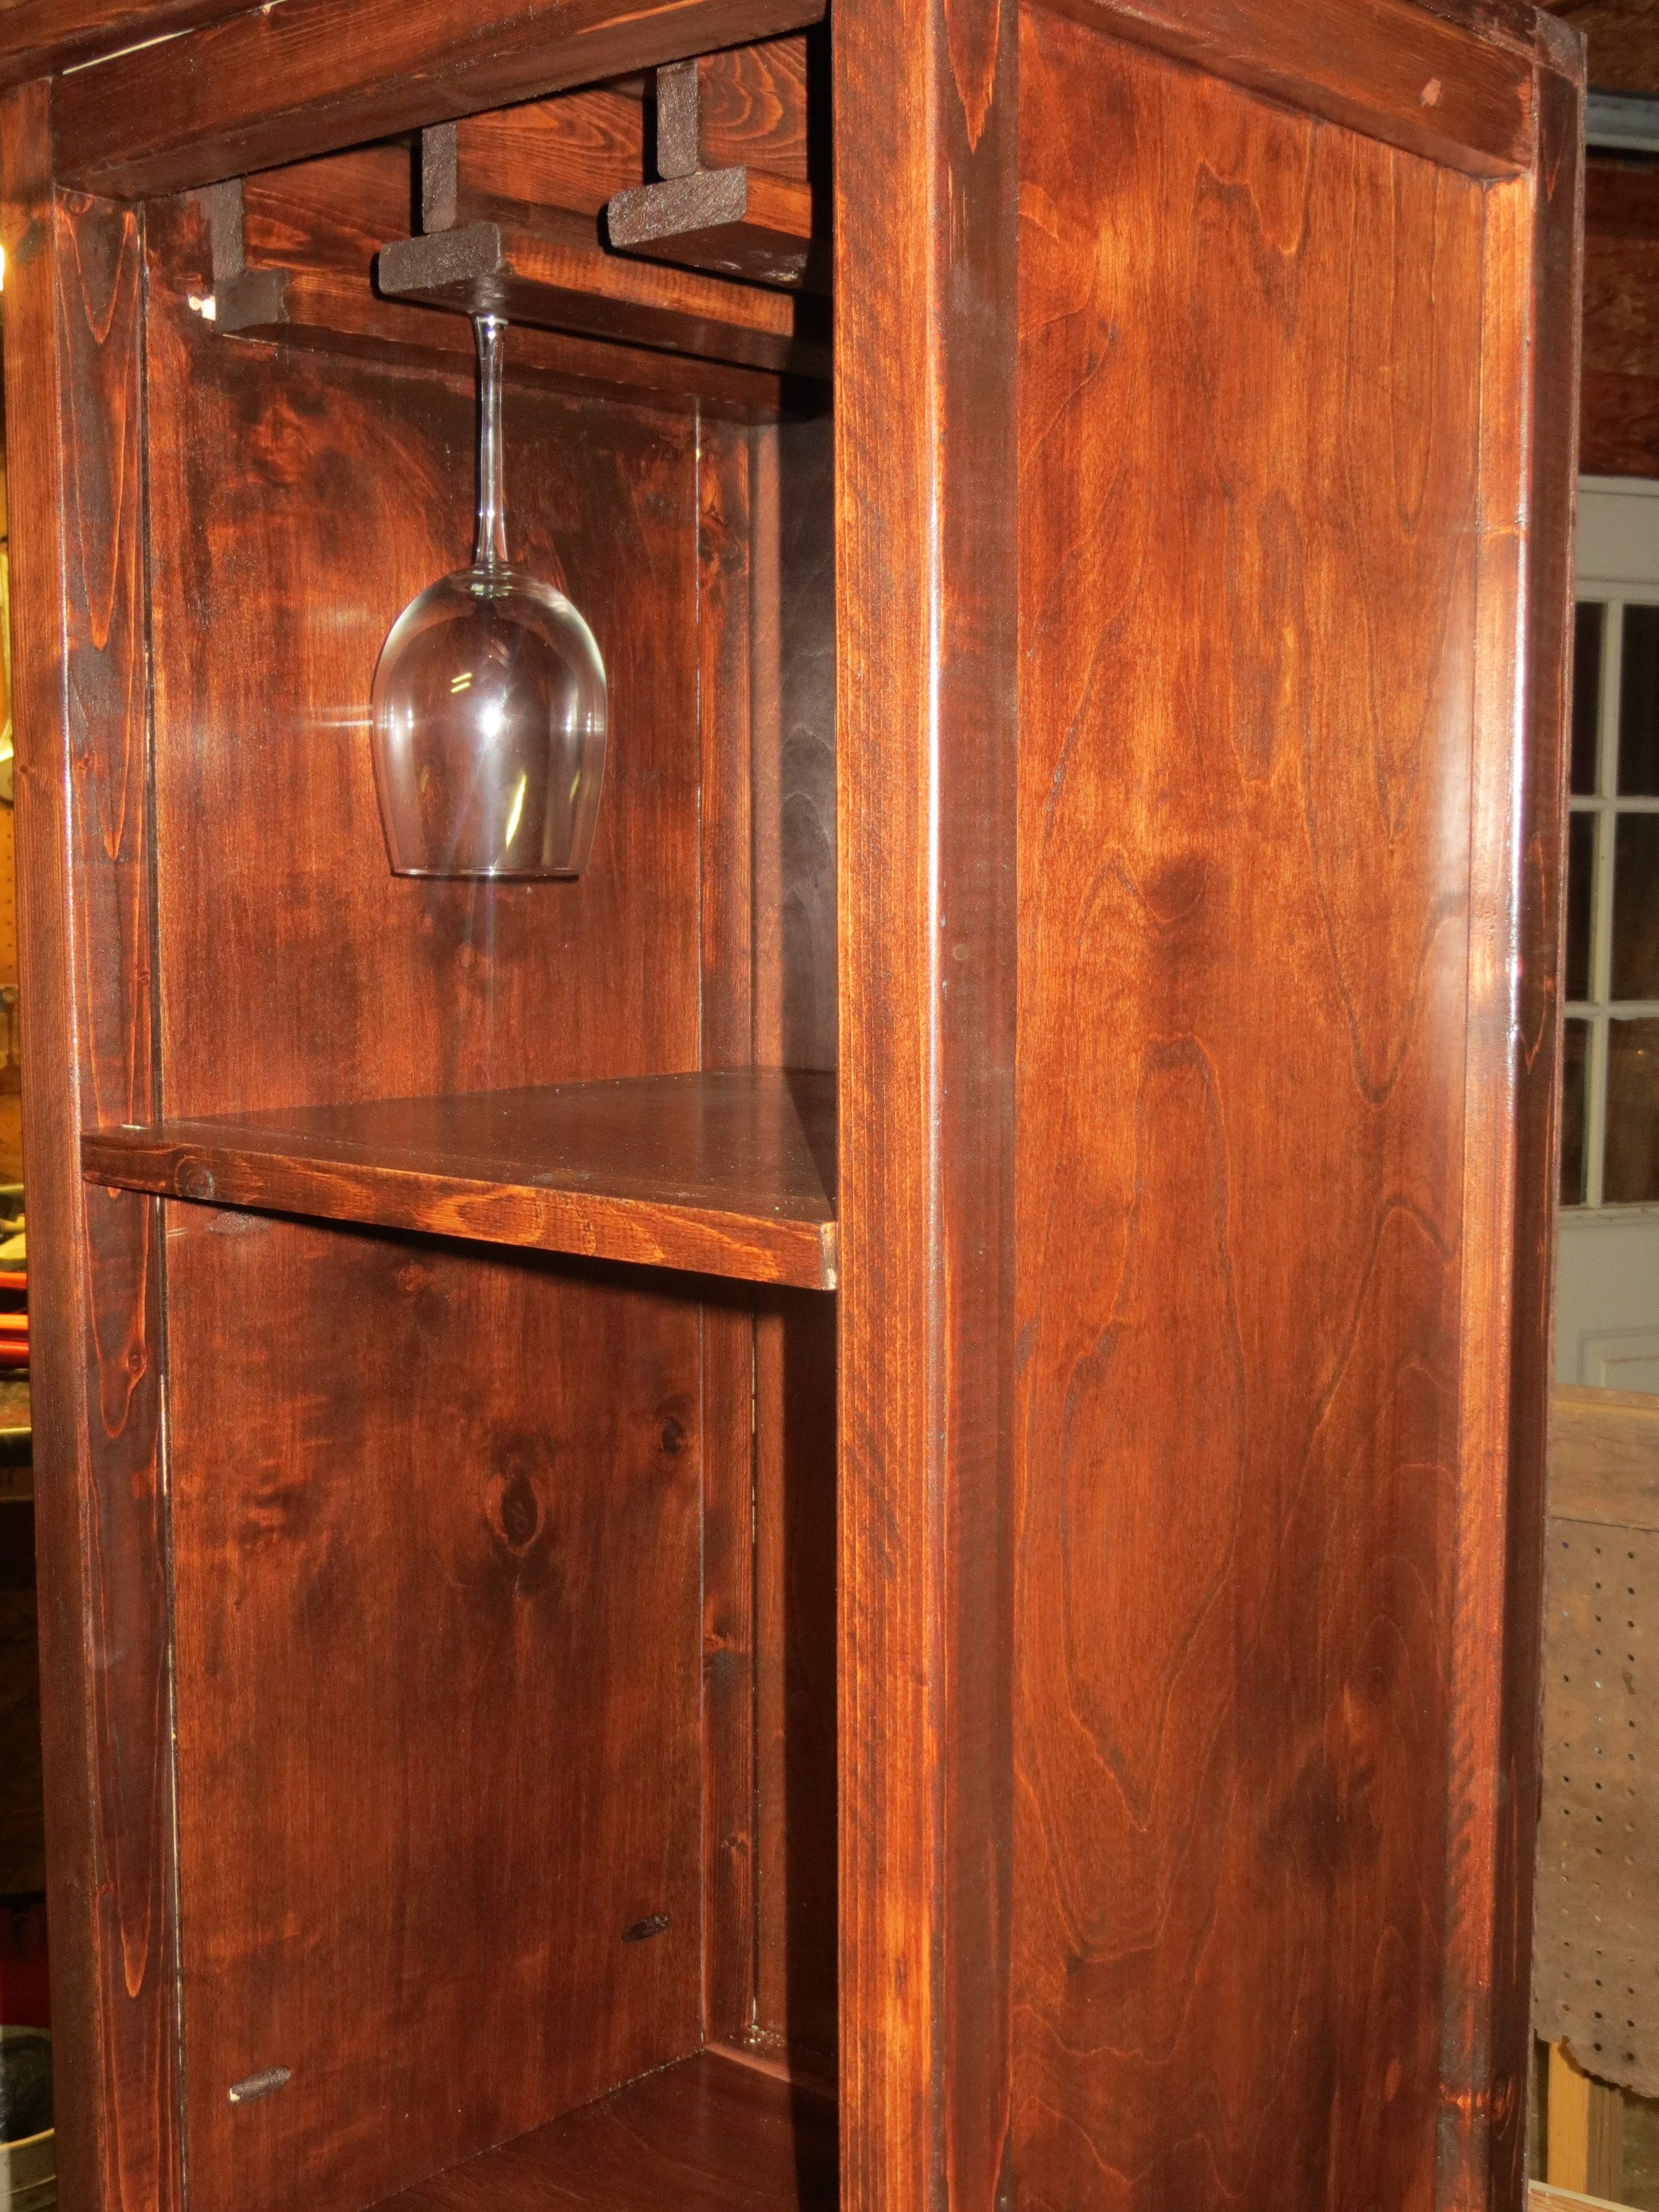
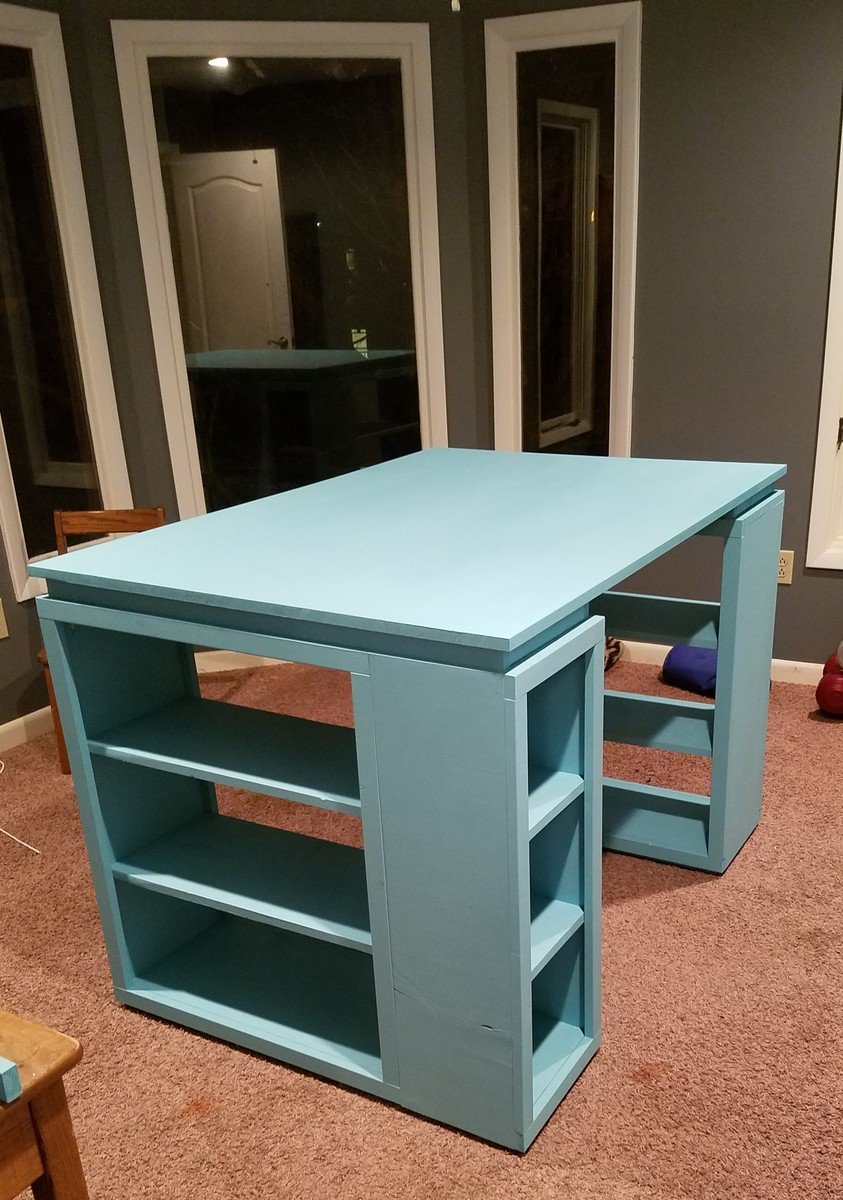
I built this in my spare time over a couple weeks. I am really happy with the results. It was easier to build than I expected, considering this was my first builf that has a drawer. I am wanting to build the storage bed, and I am trying to get a few practices in with drawer making first. We draw names for Christmas in my husbands family and I drew the name of a wine lover. I hope she likes it!

Fri, 12/19/2014 - 19:24
This project came out really well! Awesome work!

Mon, 09/14/2015 - 07:19
This is beautiful and thanks for sharing. We are currently tackling this as our third Ana White project. And you are a very generous gift giver!
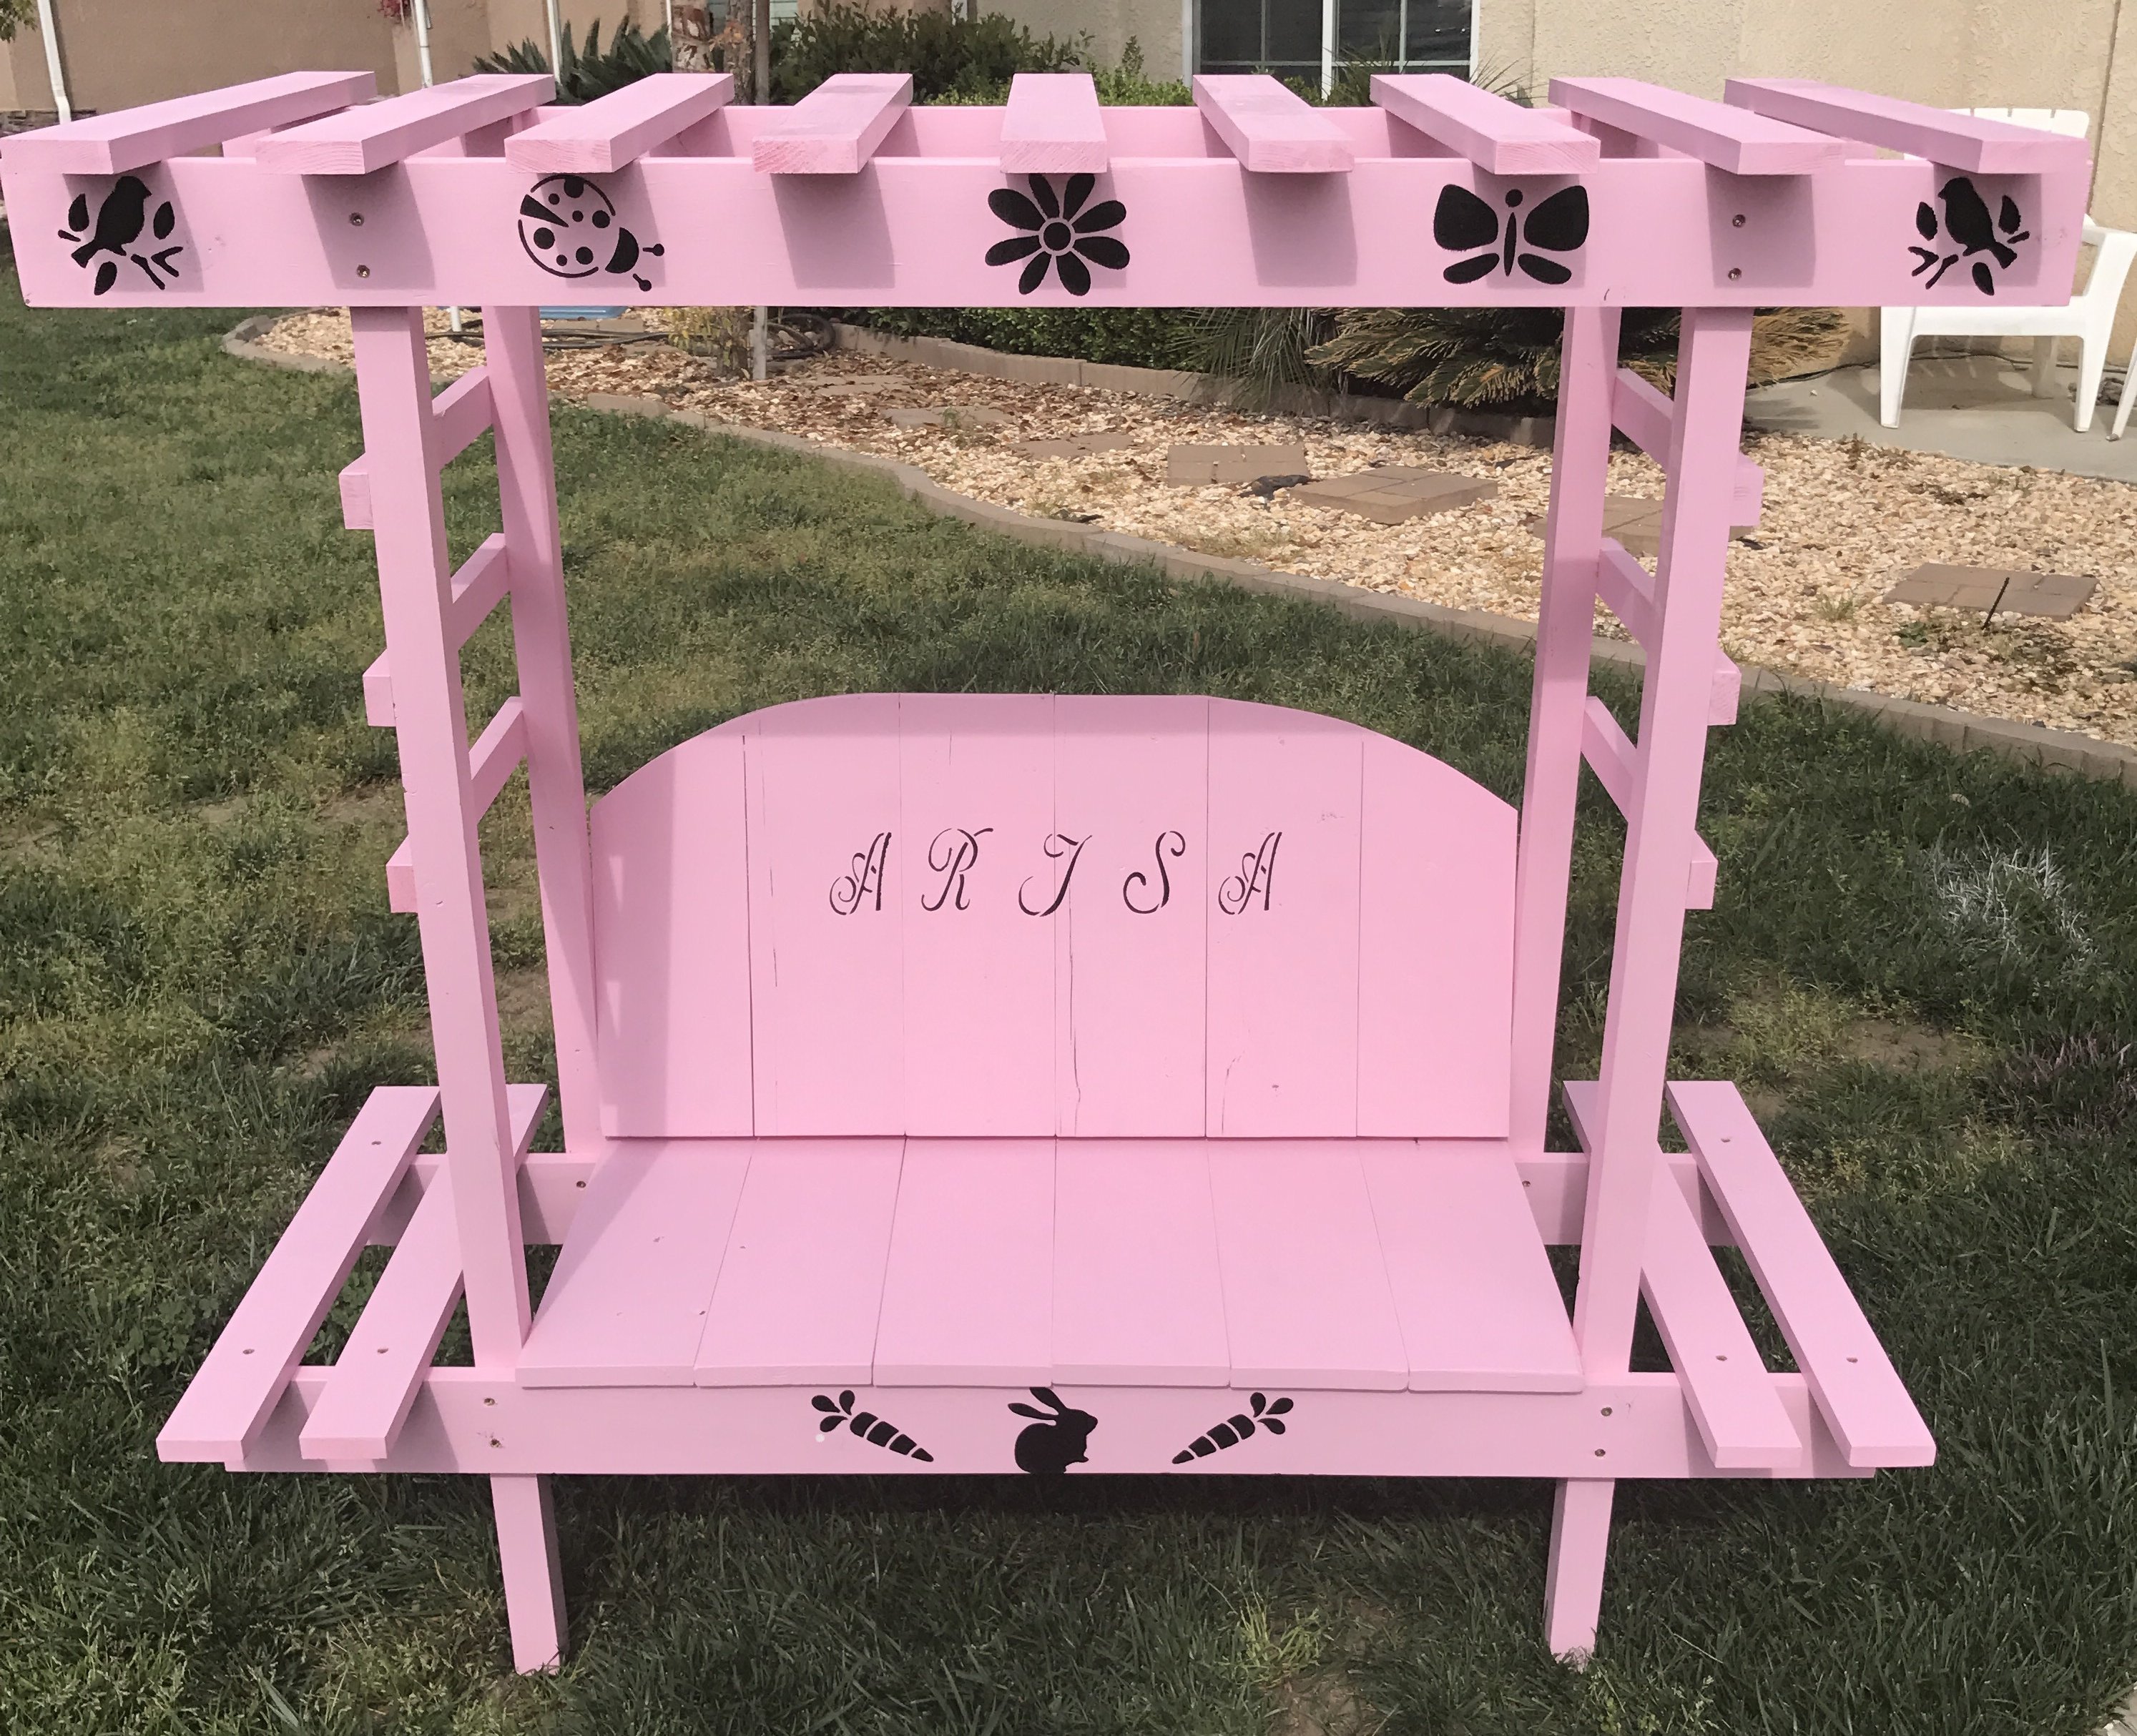
After painting this bench, I customized it by adding the child's name, as well as some other art to it using black acrylic paint. Turned out awesome!
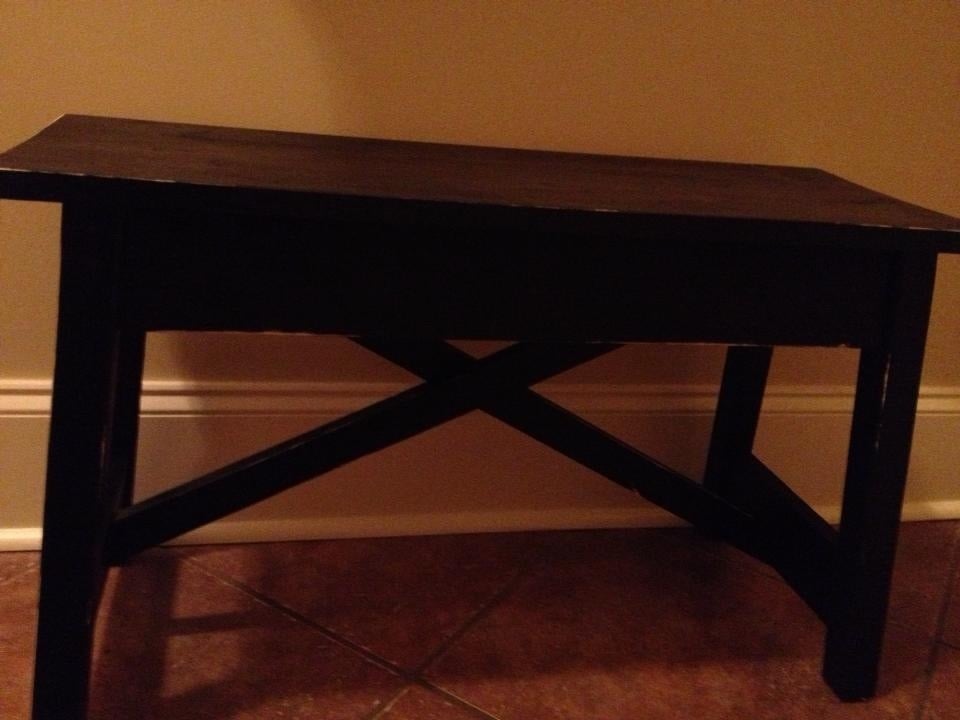
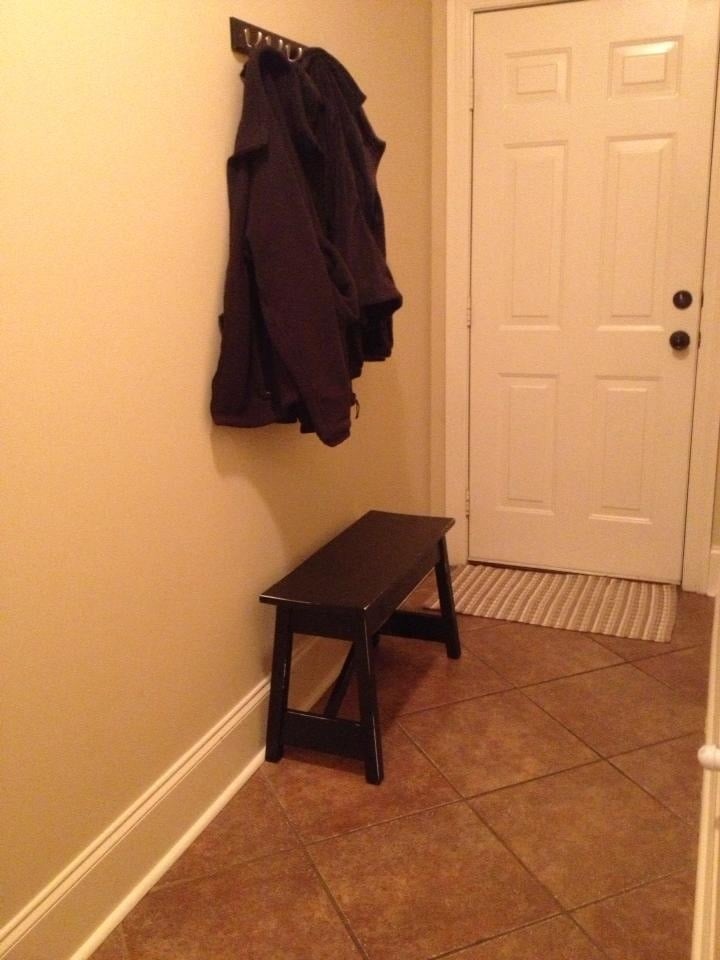
My husband and I needed a small bench for our long hallway. This plan was perfect! Somehow though we bought extra wood, I followed the shopping list exactly. Took about an hour to cut and put together. Painted it a matte black and sanded edges to looked distressed, and then 1 coat of polycyrlic. Cost about 15.00 to make.
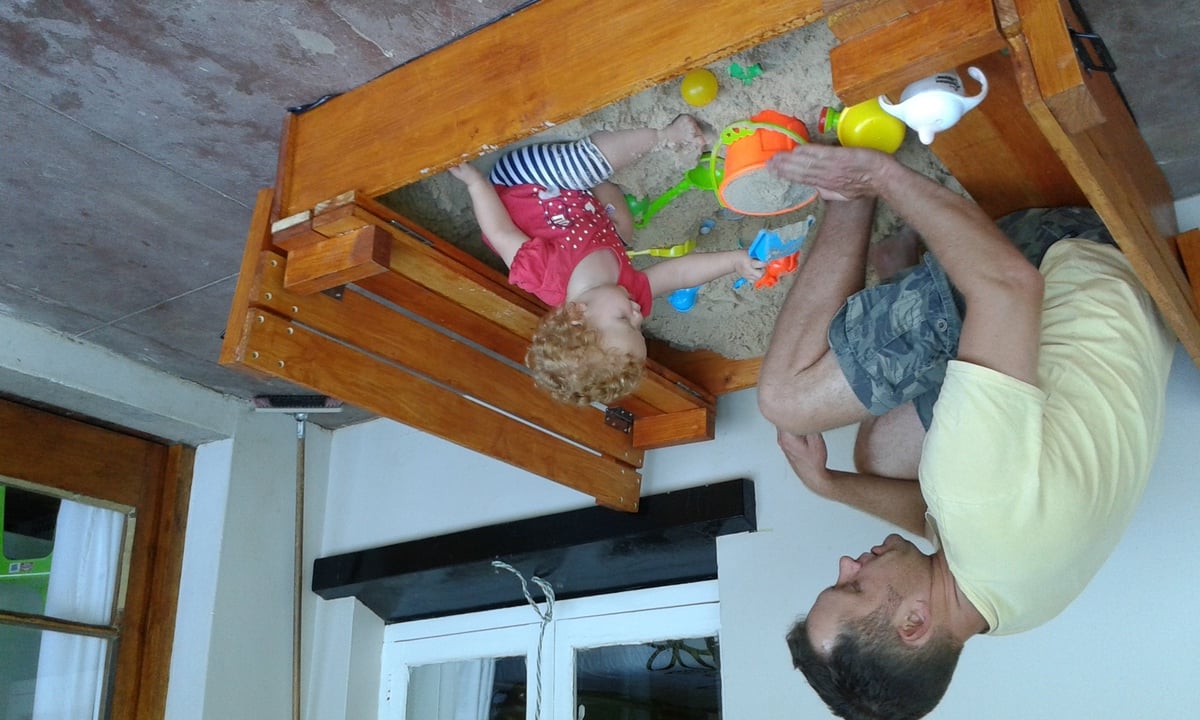
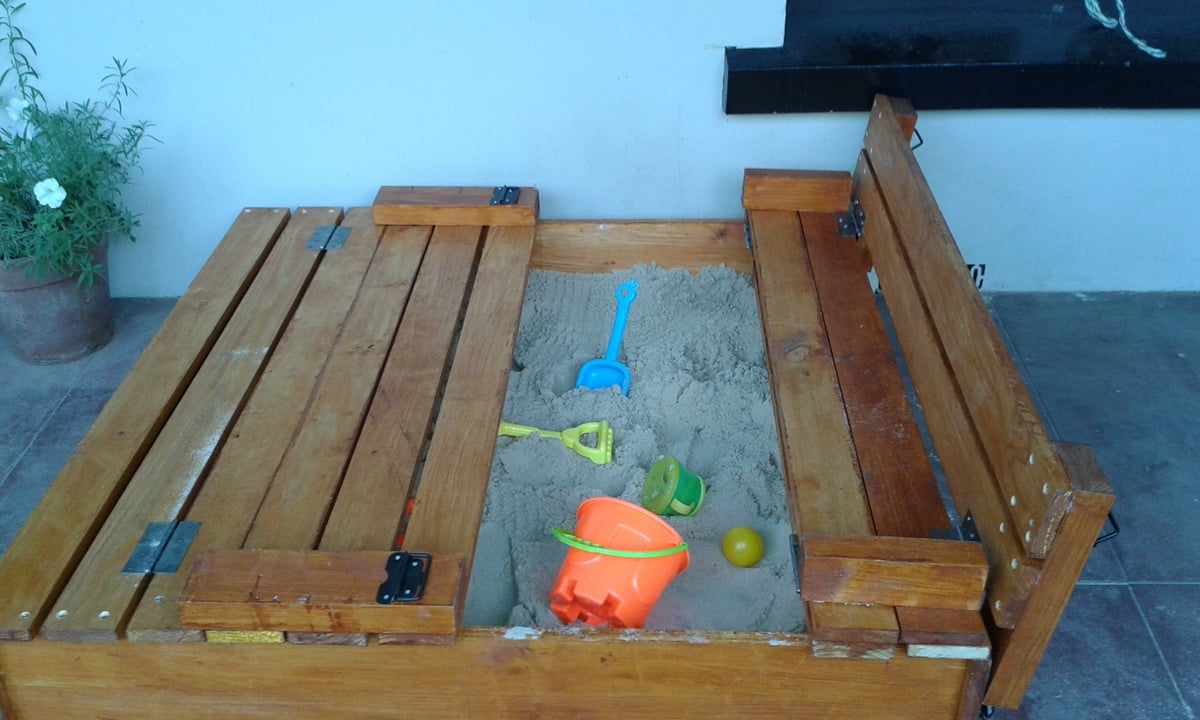
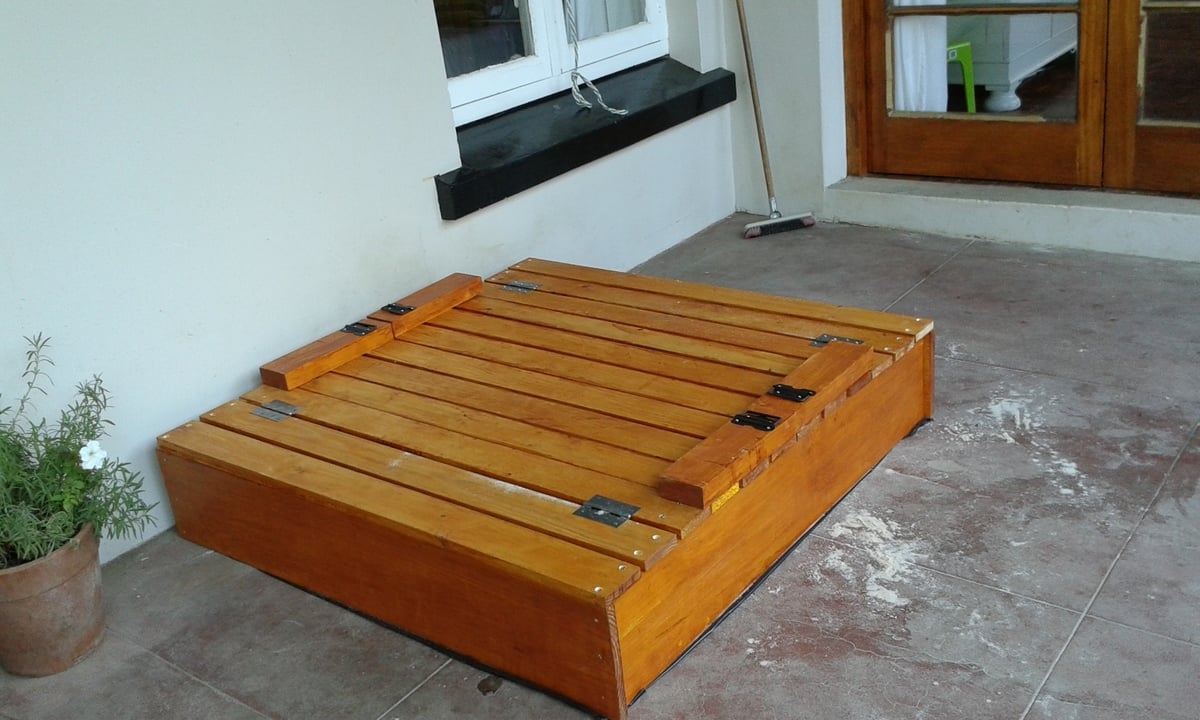
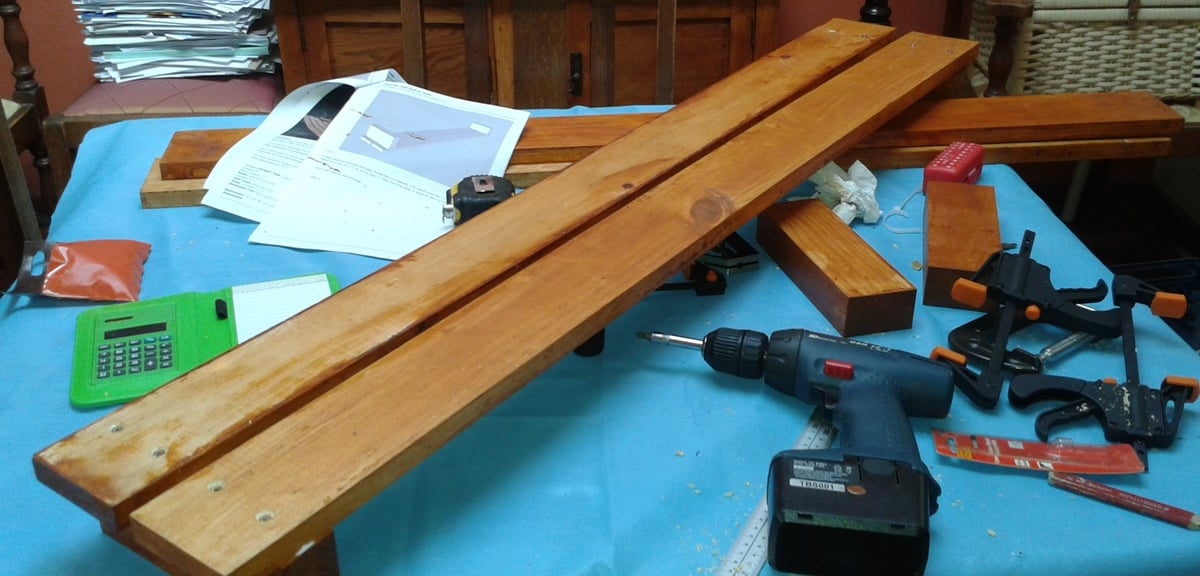
Made in South Africa. Have a cutting list which takes into account our timber lengths. I made it on my own on my dining room table. I did the tops and then transported it in a flat pack in my car to the farm (4 hour drive) and completed the assembly and placement there. I painted it with wood preservative before I started to ensure that it was all coated. As we were placing it on a covered veranda I stapled 100 micron black plastic to the base. It is perfect for outside as the lid ensures that all animals and other creatures are kept out of the sand. I used washed sand for the box as the kids using it are toddlers and it is a good idea to include bulk coarse salt to keep creepy crawlies out.
It is perfect for mommies to sit with their toddlers as the seats are a comfortable height!
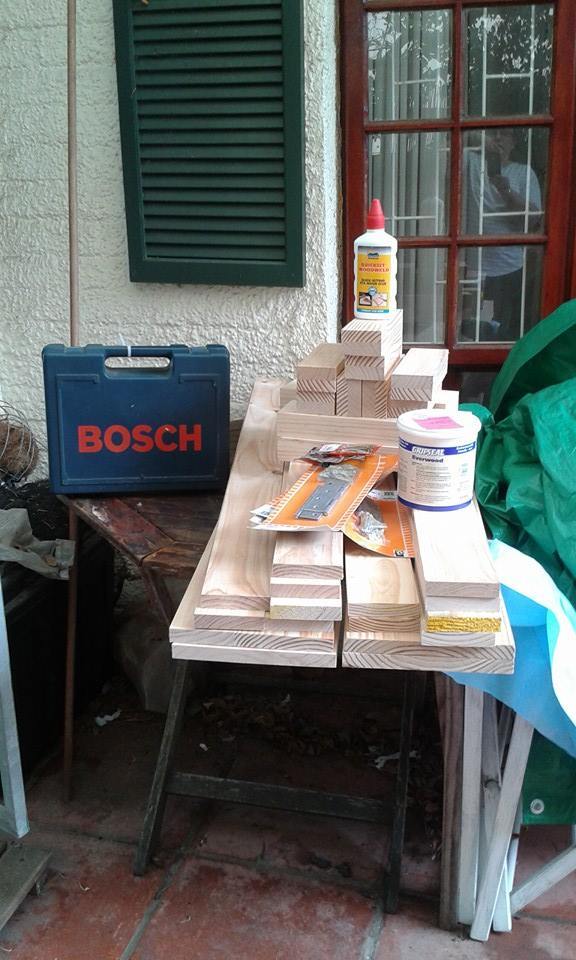
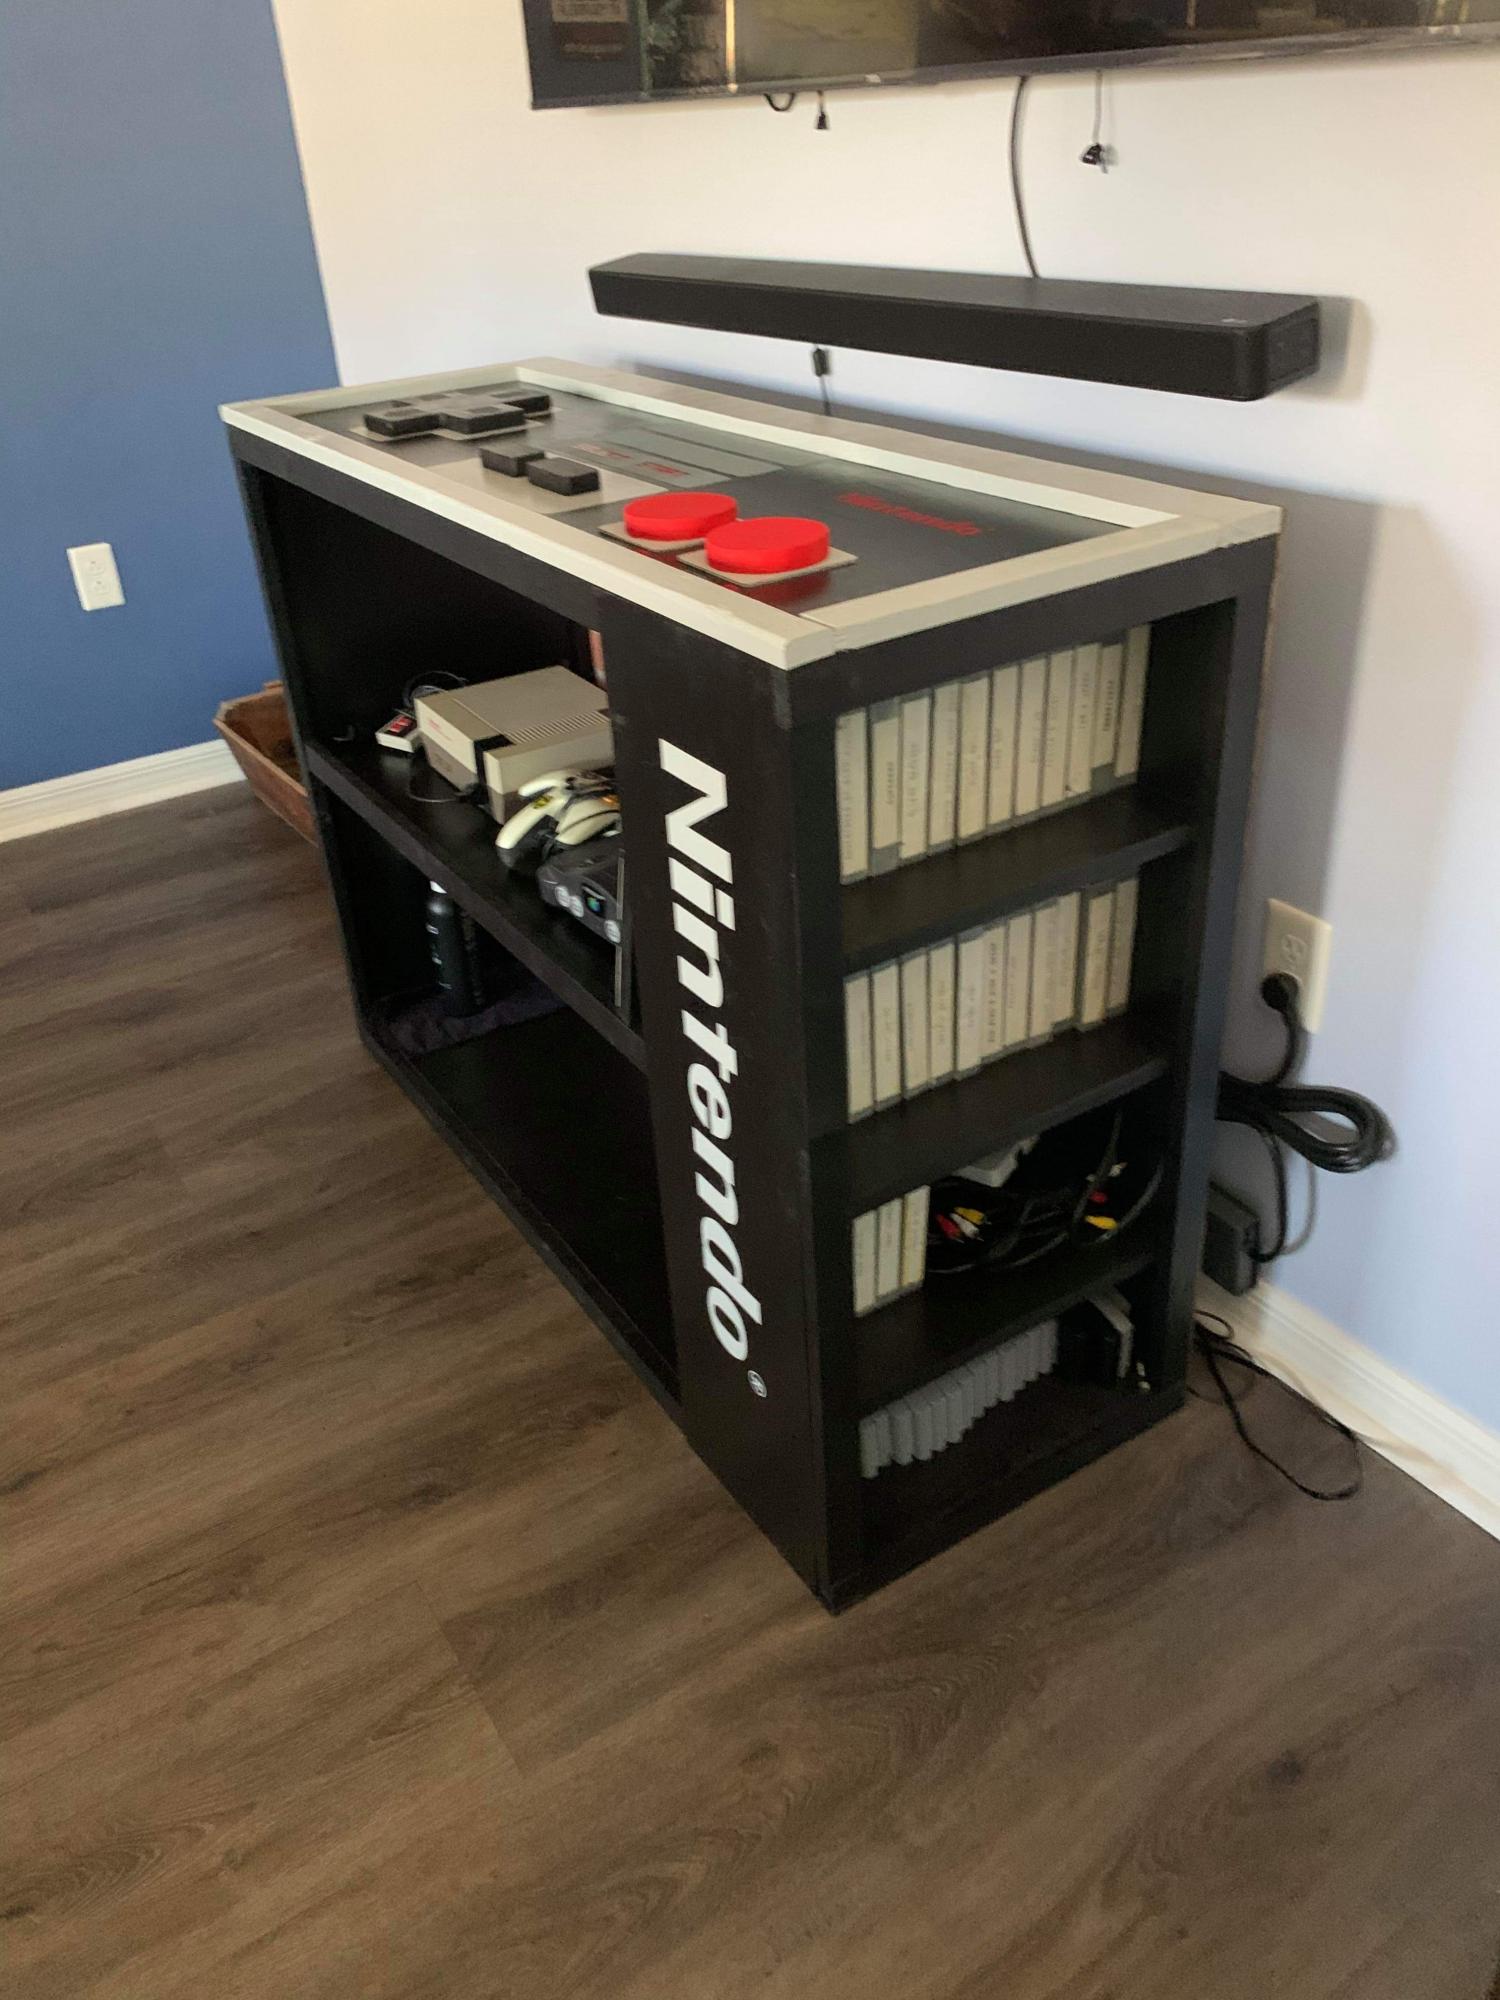
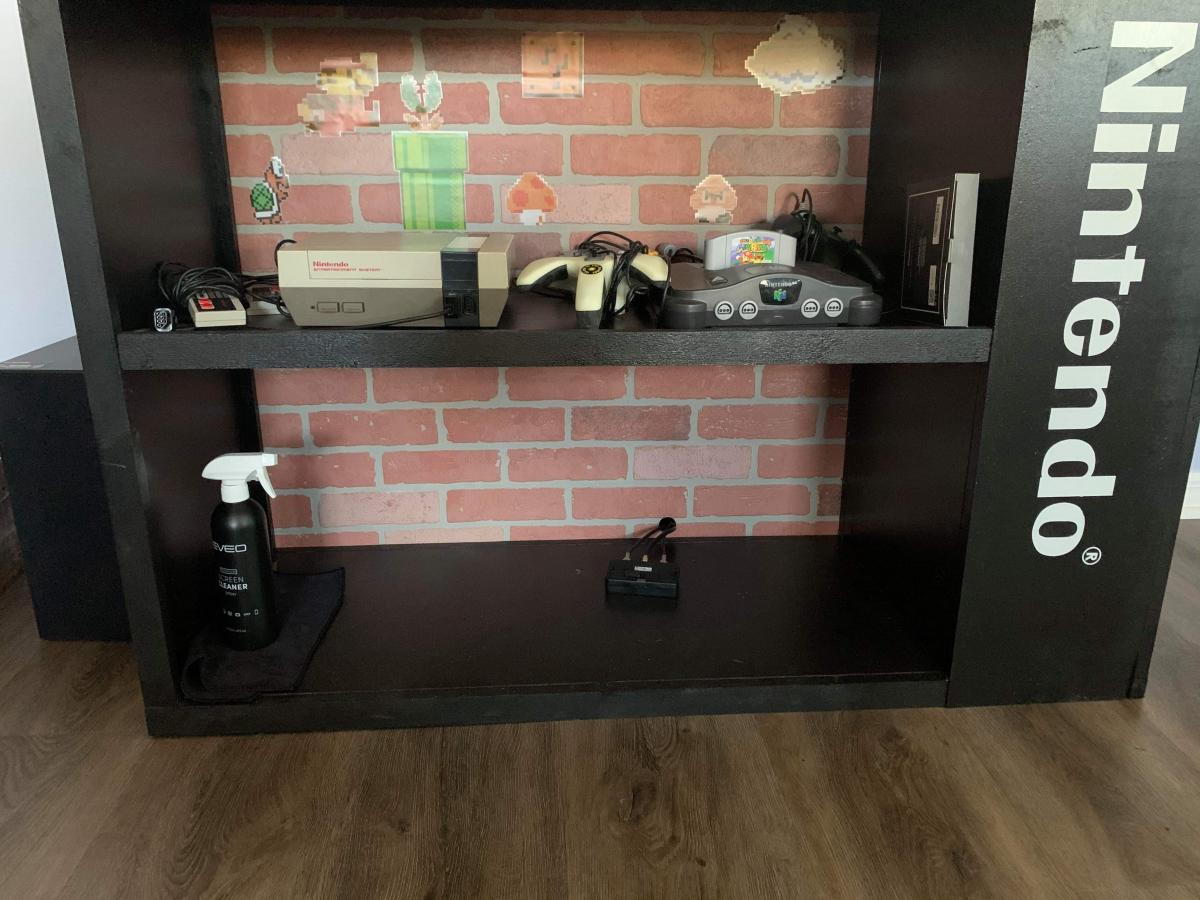
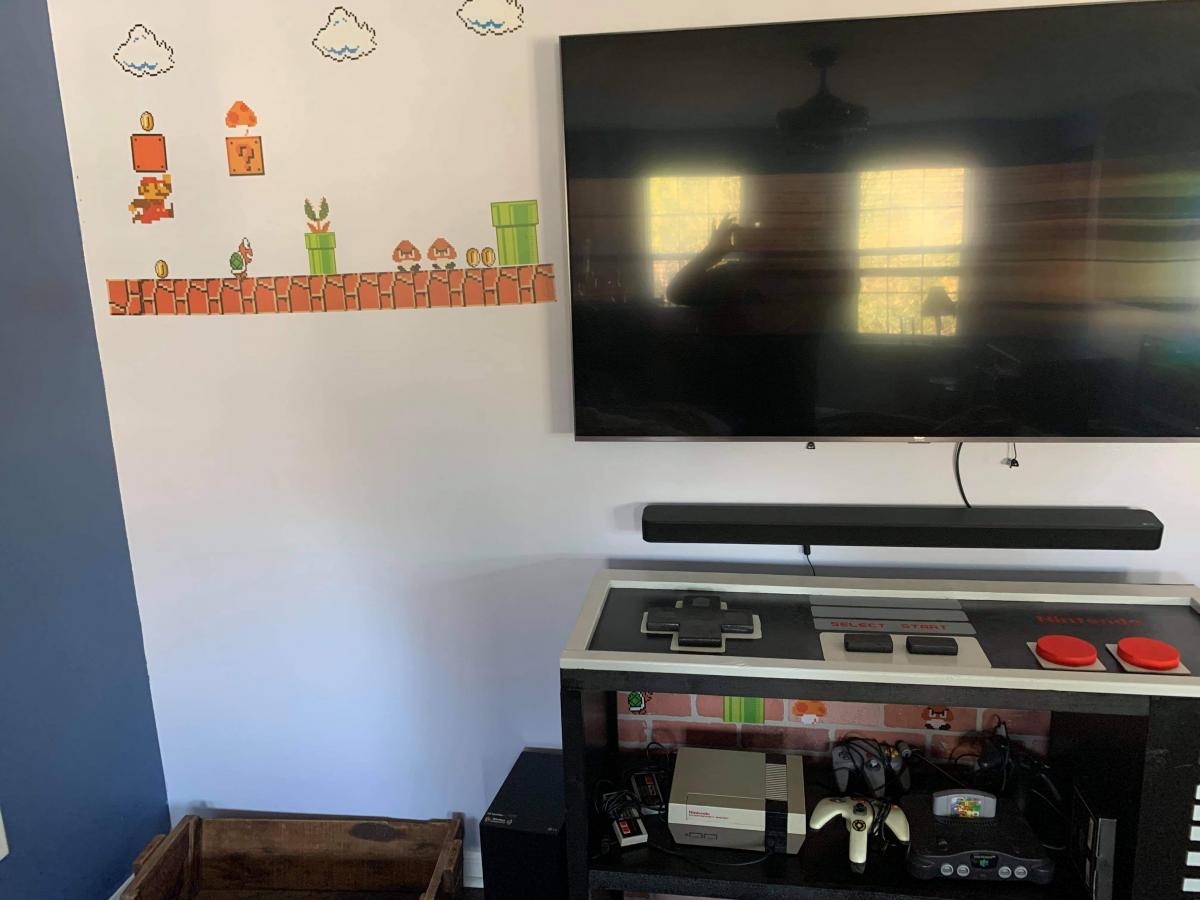
I'm married to a manchild lol and he wanted a custom Nintendo console like one he saw online. I made this a little taller and added more shelves to store the games. He also decided he wanted a back and I happened to have some extra faux brick paneling. This was when he got super excited to add stickers to it and complete the wall too. It fits everything he needed and it actually turned out pretty incredible. He wanted the controller to be 3D even though I'm itching to try out epoxy. But maybe on a later project :)
The plans are so easy to follow and this being my 6th project from AnaWhite I'm really learning alot!
I can't thank you enough for what you do!!!

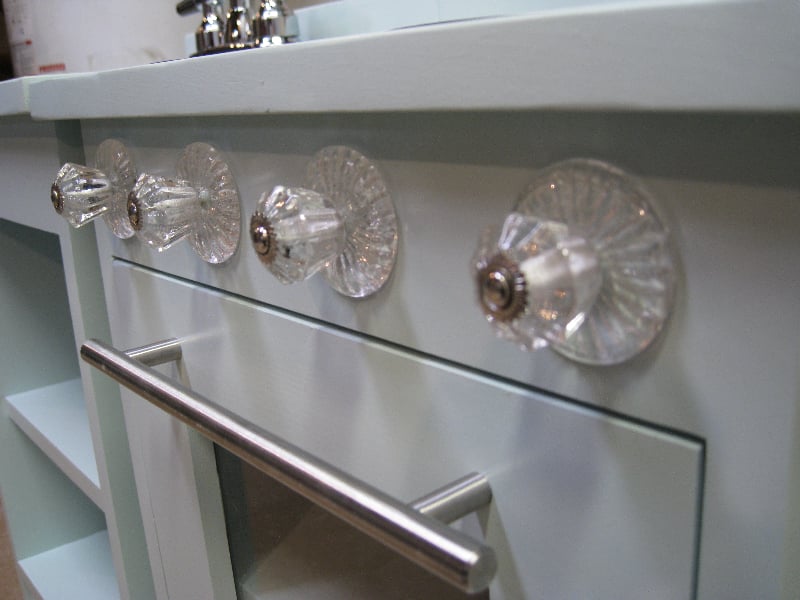
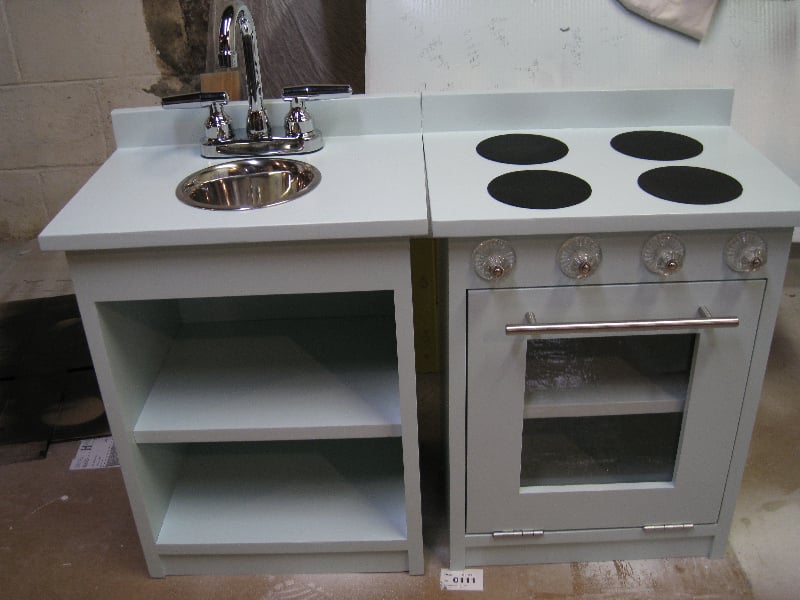
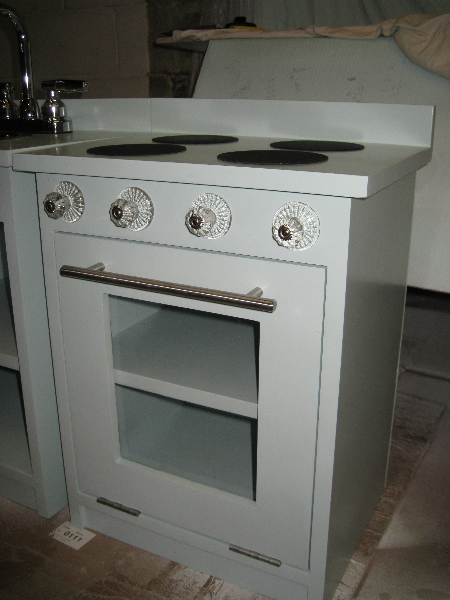
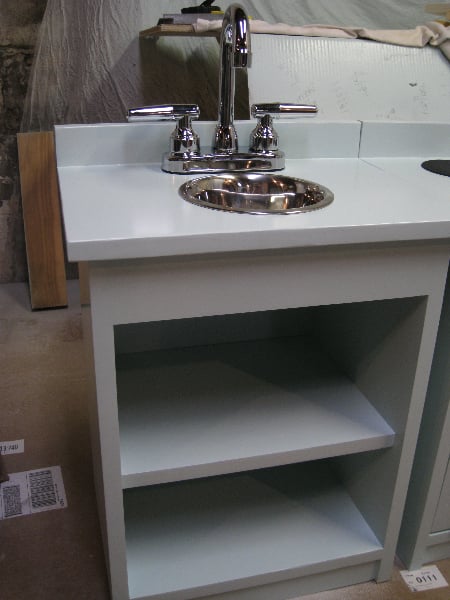
I built this using the plans in the book, which are basically the same as the older plans linked here. I did not intend to build a nearly identical set to the one in the book, but that's basically how it turned out.
Modifications:
I used a 1x12 (plan calls for 1x10) for the shelves in both the sink and oven and ripped it down by 3/4" making it 10.5" in width. This allows the oven door to rest against the shelf when closed. It also allowed me to attach a magnetic clasp to one side to keep the door closed.
I also used a router table to make a rabbet around the inside opening of the oven door so that the plastic sits flush to the door surface.
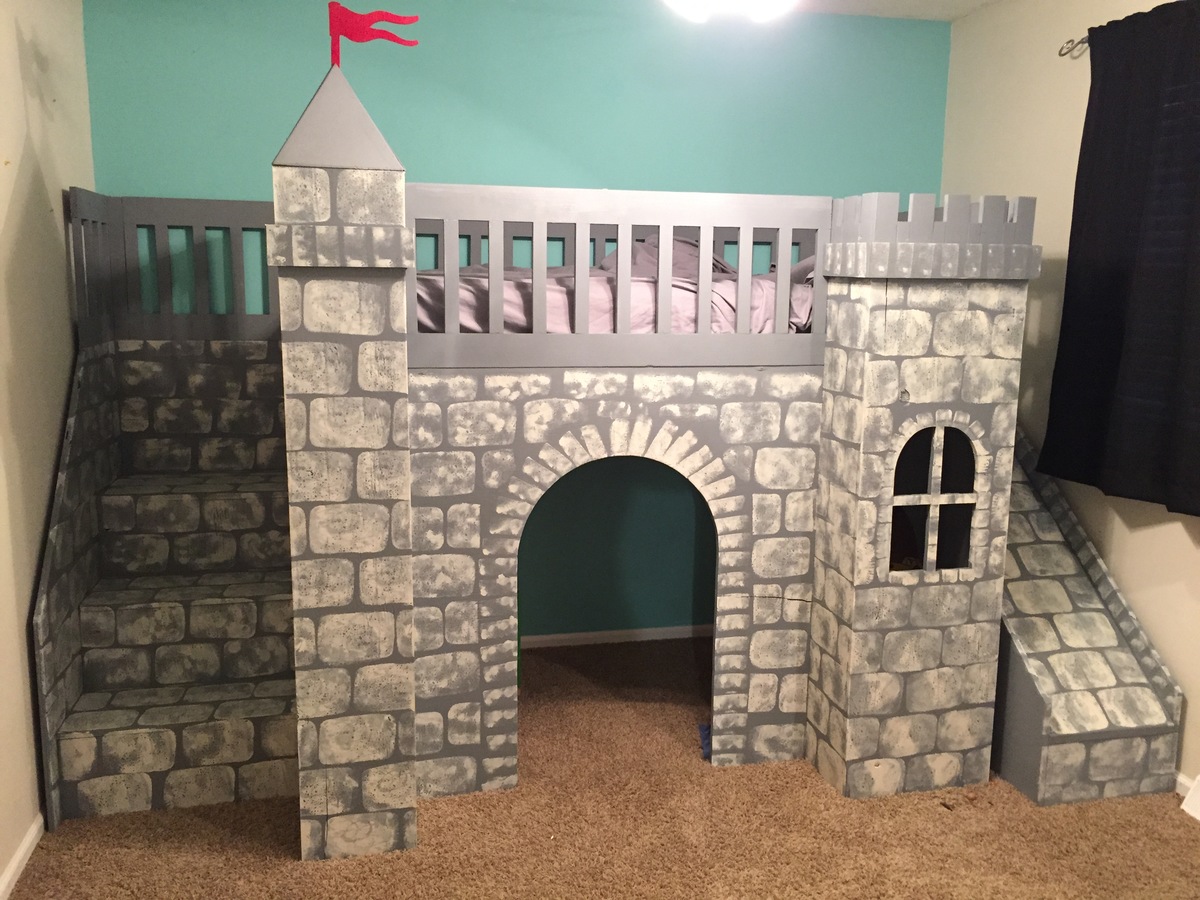
We built this bed for my three and a half year old son and gave it to him for Christmas. He and also my almost two year old daughter LOVE it! We did modify the plans a little: we added a handle for getting into the bed from the stairs and also added more slats for support.
Fri, 12/26/2014 - 18:19
This is amazing! Great job on the details. I would have loved that as a kid. :)
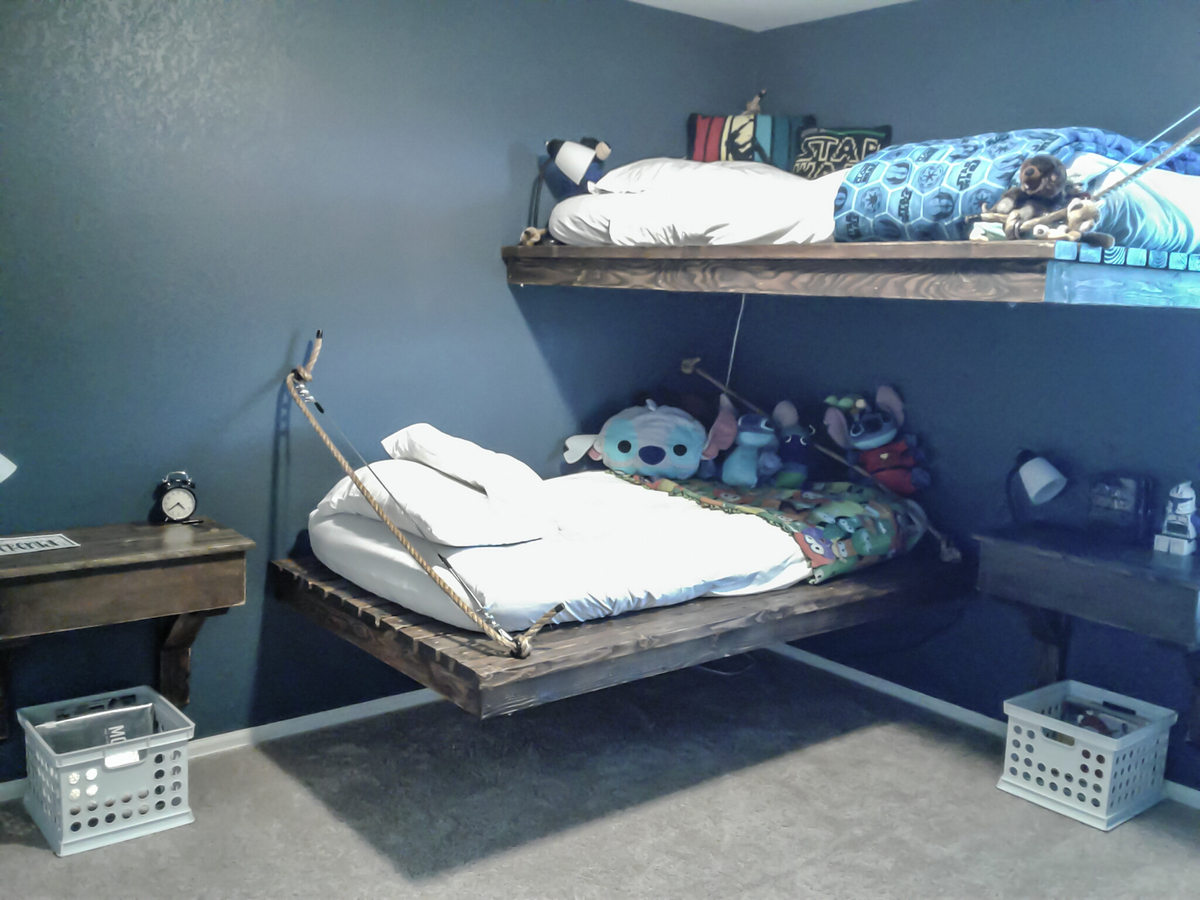
Using the daybed plan I modified the beds to hang supported by two walls. I mounted the bed to the wall into the studs using 5/16 GRK Rugged Structural Screws, and also used structural screws to attach all the framing supports. I originally tried to hang the unsupported side with rope from a lag thread screw eye in the wall stud and a lag eye bolt in the bed frame, but the rope had too much stretch and would not adequately hold the corner (as the rope stretched the weight on the corner pulled on the 2x4 wall support at an odd angle that would probably eventually break the frame). So, I found stainless steel uncoated wire rope, with the appropriate fasteners, and that seemed to hold well with less give on the corner. I was still a little uncomfortable with the amount of force pulling on the 2x4 center supports at the 2x4 wall brace so I also added 2x4 joist hangers on the center supports. The corner still moves slightly when I hang on it (I'm about 110lbs), but I have no doubt the bed will support the weight of my kids without issue. My 200lb husband got on it without any problems. The beds are straight forward and cost-effective to make, you just have to be sure you mount them safely. Also, a tip for those of you planning on mounting the beds to a wall, mount the frame first and then screw on the decking boards...so much lighter and easier to work with that way!!
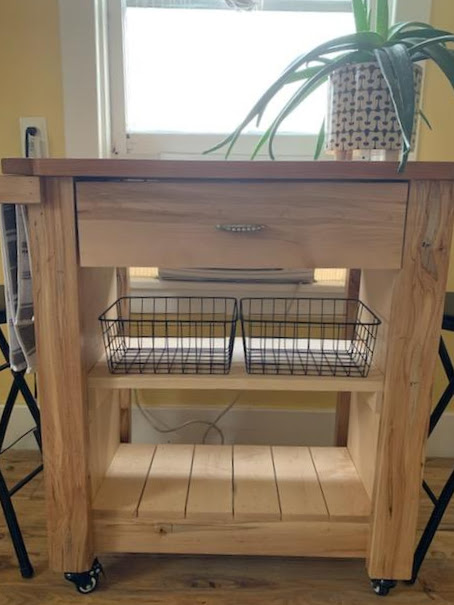
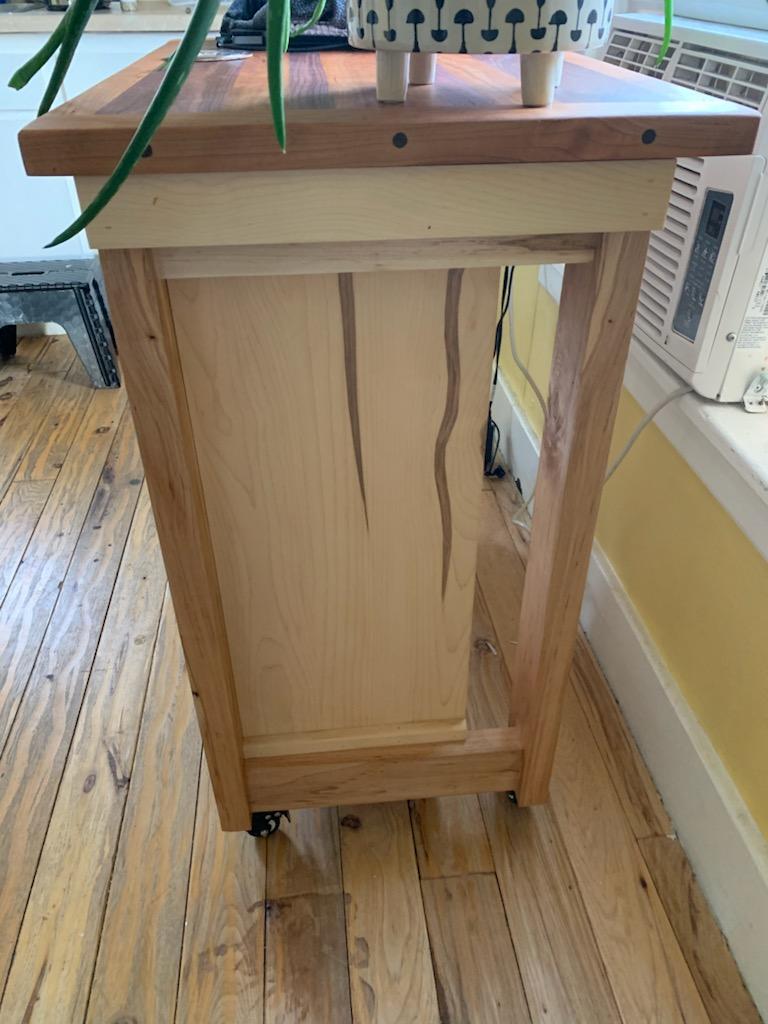
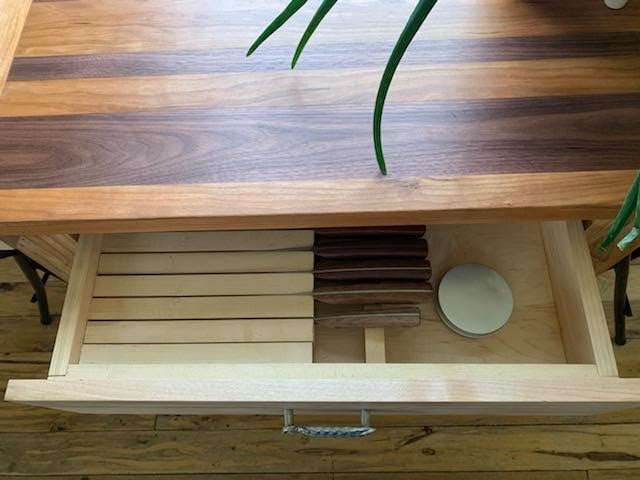
Used your plan as a base to make this kitchen island for my daughter. It is made from ambrosia maple and soft maple, has an integrated knife block in the drawer (also from one of your plans), and has a cutting board top made out of cherry and black walnut.

Wed, 01/27/2021 - 12:12
This is beautiful, love the cutting board top and knife block!
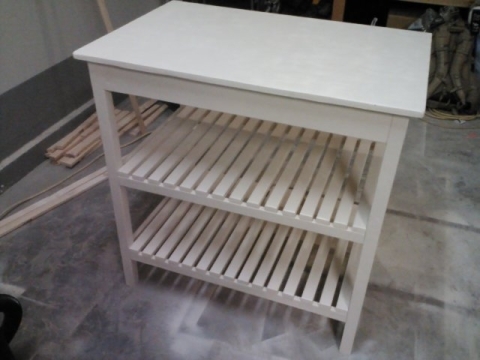
I have been wanting to build this island for years! Seriously. But we finally got to the point that we had some extra time, and no other projects were screaming at us! We decided to make our island 24in x 36 in. So 12in shorter than the original plan. This was an easy adjustment. We also added another shelf, which we love.
The only issue we had was the slat length. Almost all of the pictures I looked at showed that the aprons, and side supports weren't exactly lined up with the front or back of the 2x2 legs. I'm guessing they were put in the middle, but I couldn't find that info in the plan. So we decided to make our aprons and sides flush with the front of the 2x2 leg. This added about an 1in to the slat length. Sadly, I didn't figure this out till after we cut the slats. After re-cutting, things went smoothly! It was my first time using a Kreg Jig, and it was great. We had to use A LOT of spray paint to cover it, but I am so happy with the final result! It's not perfect, but it's homemade, sturdy, and I hope Ana-White would be proud!
Wed, 02/20/2013 - 13:53
I am about to do the same project... love seeing what others are doing with it :) nicely done.
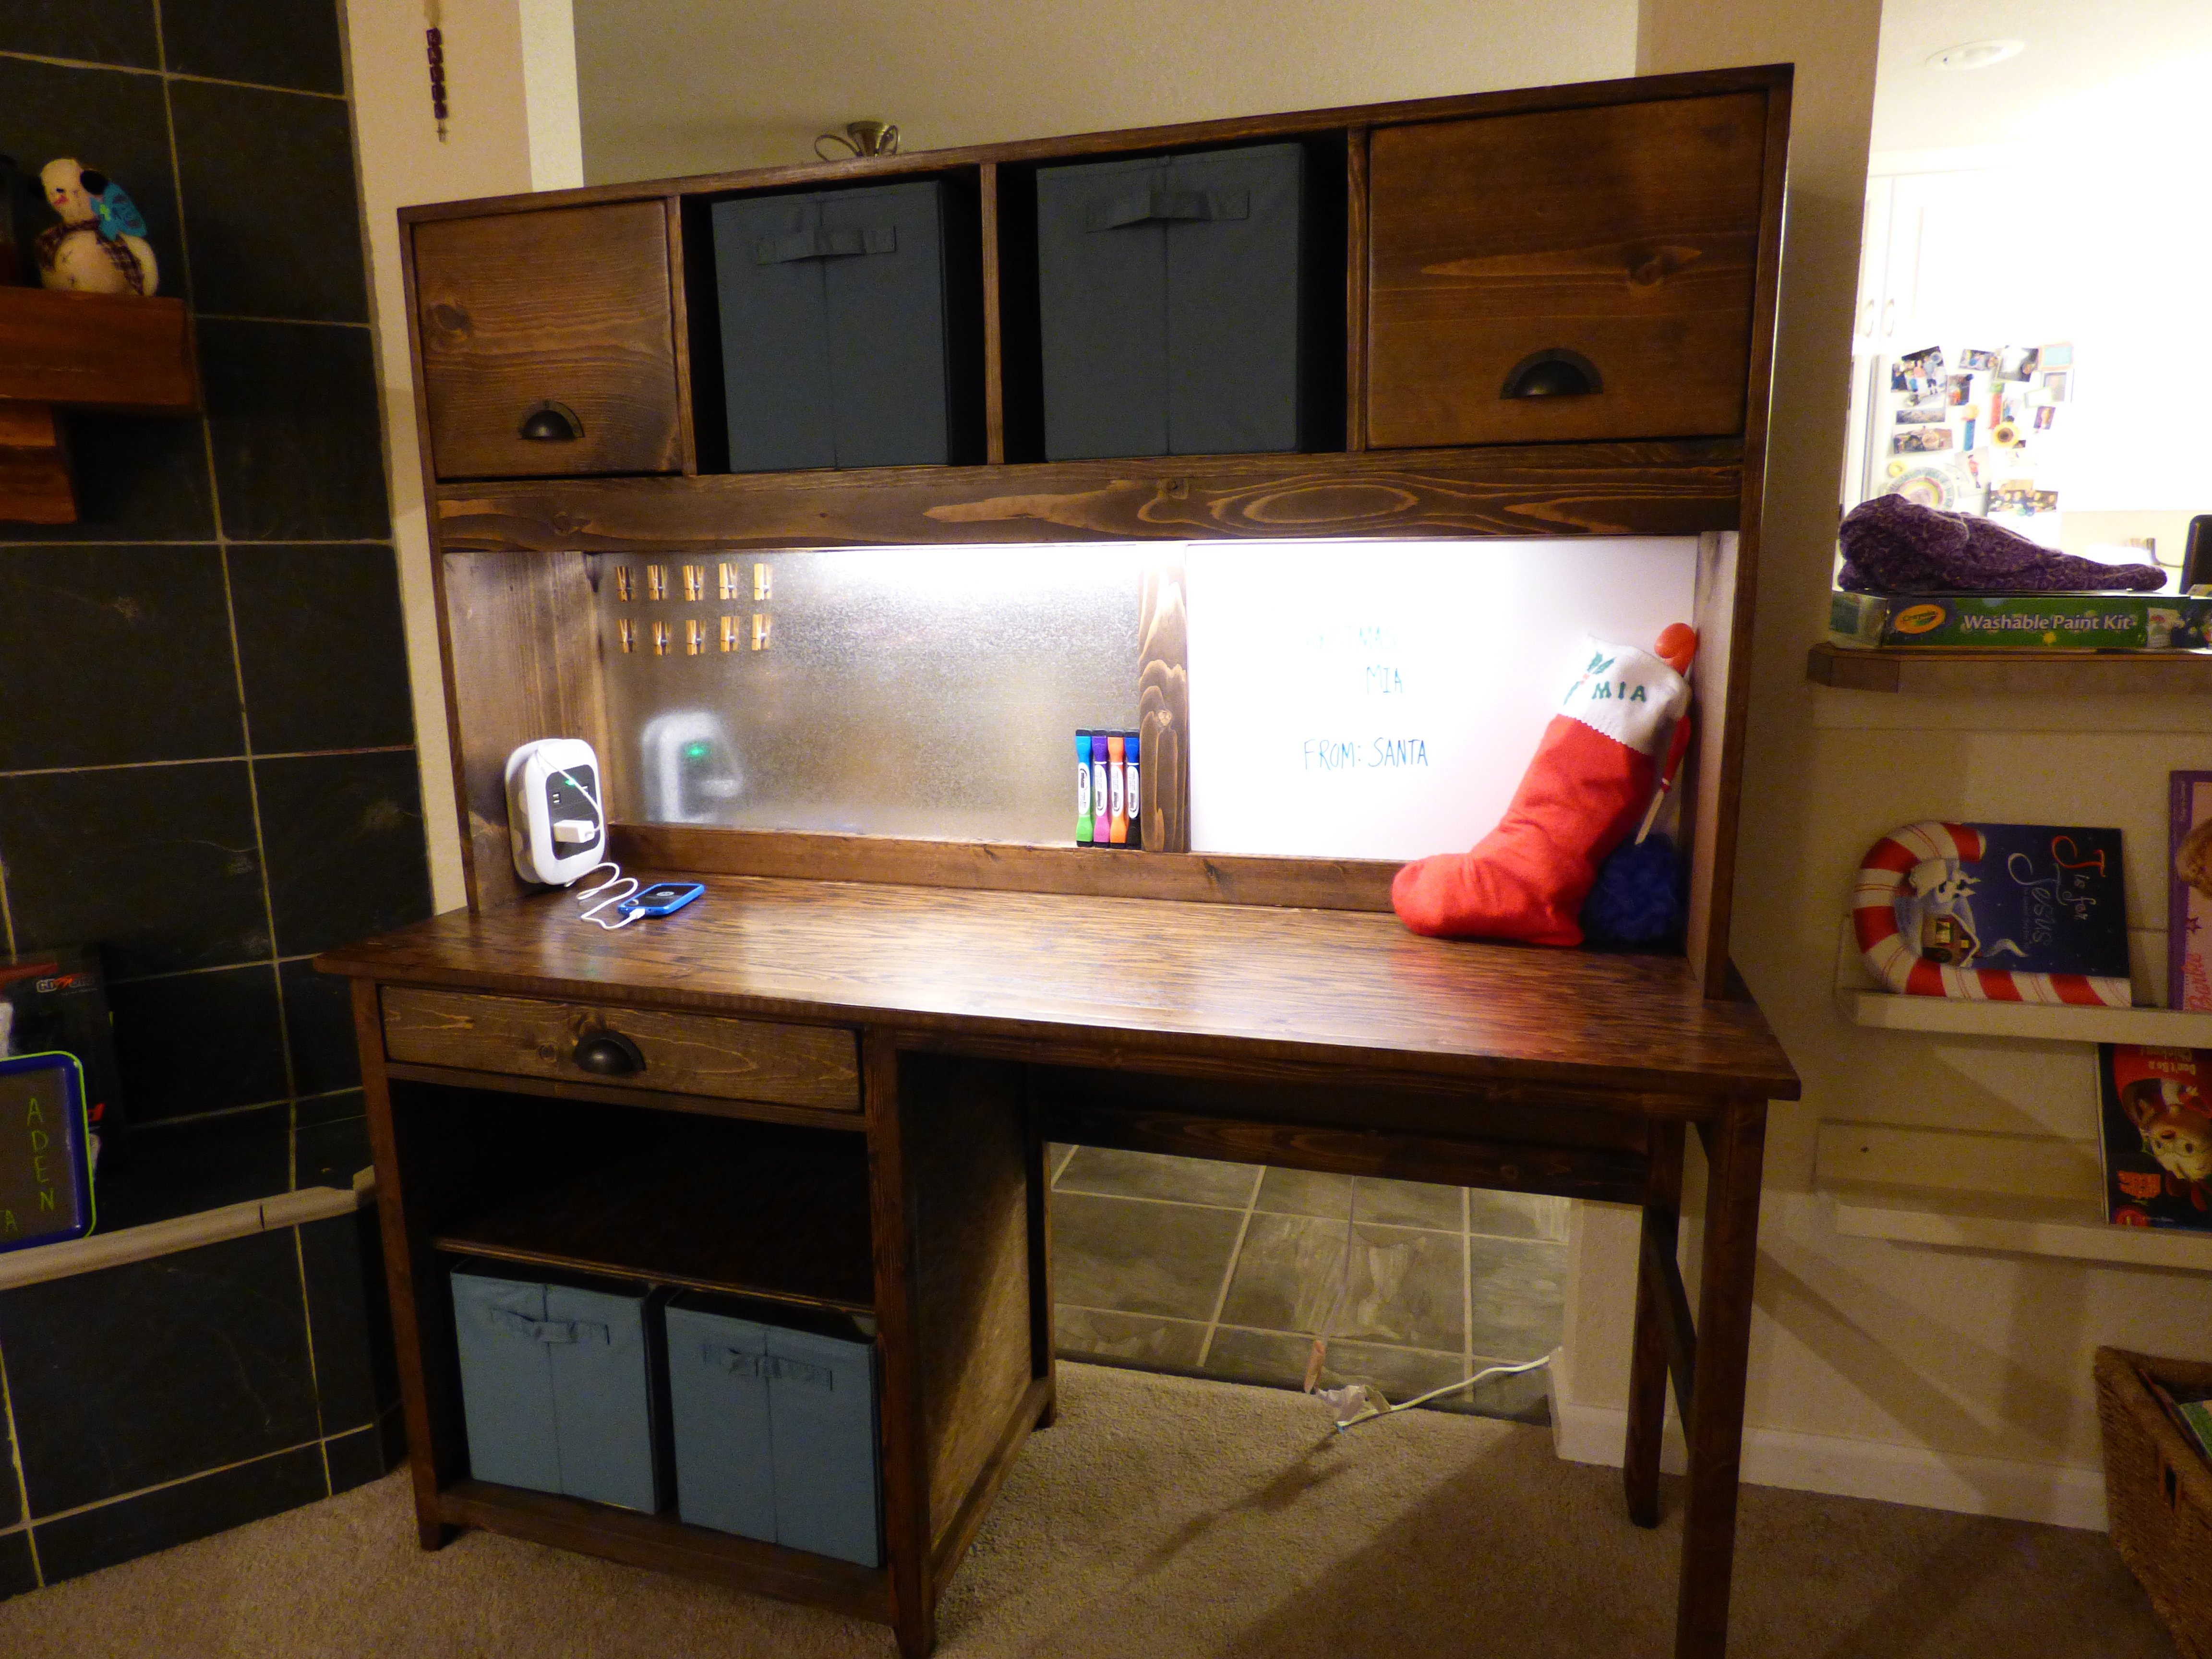
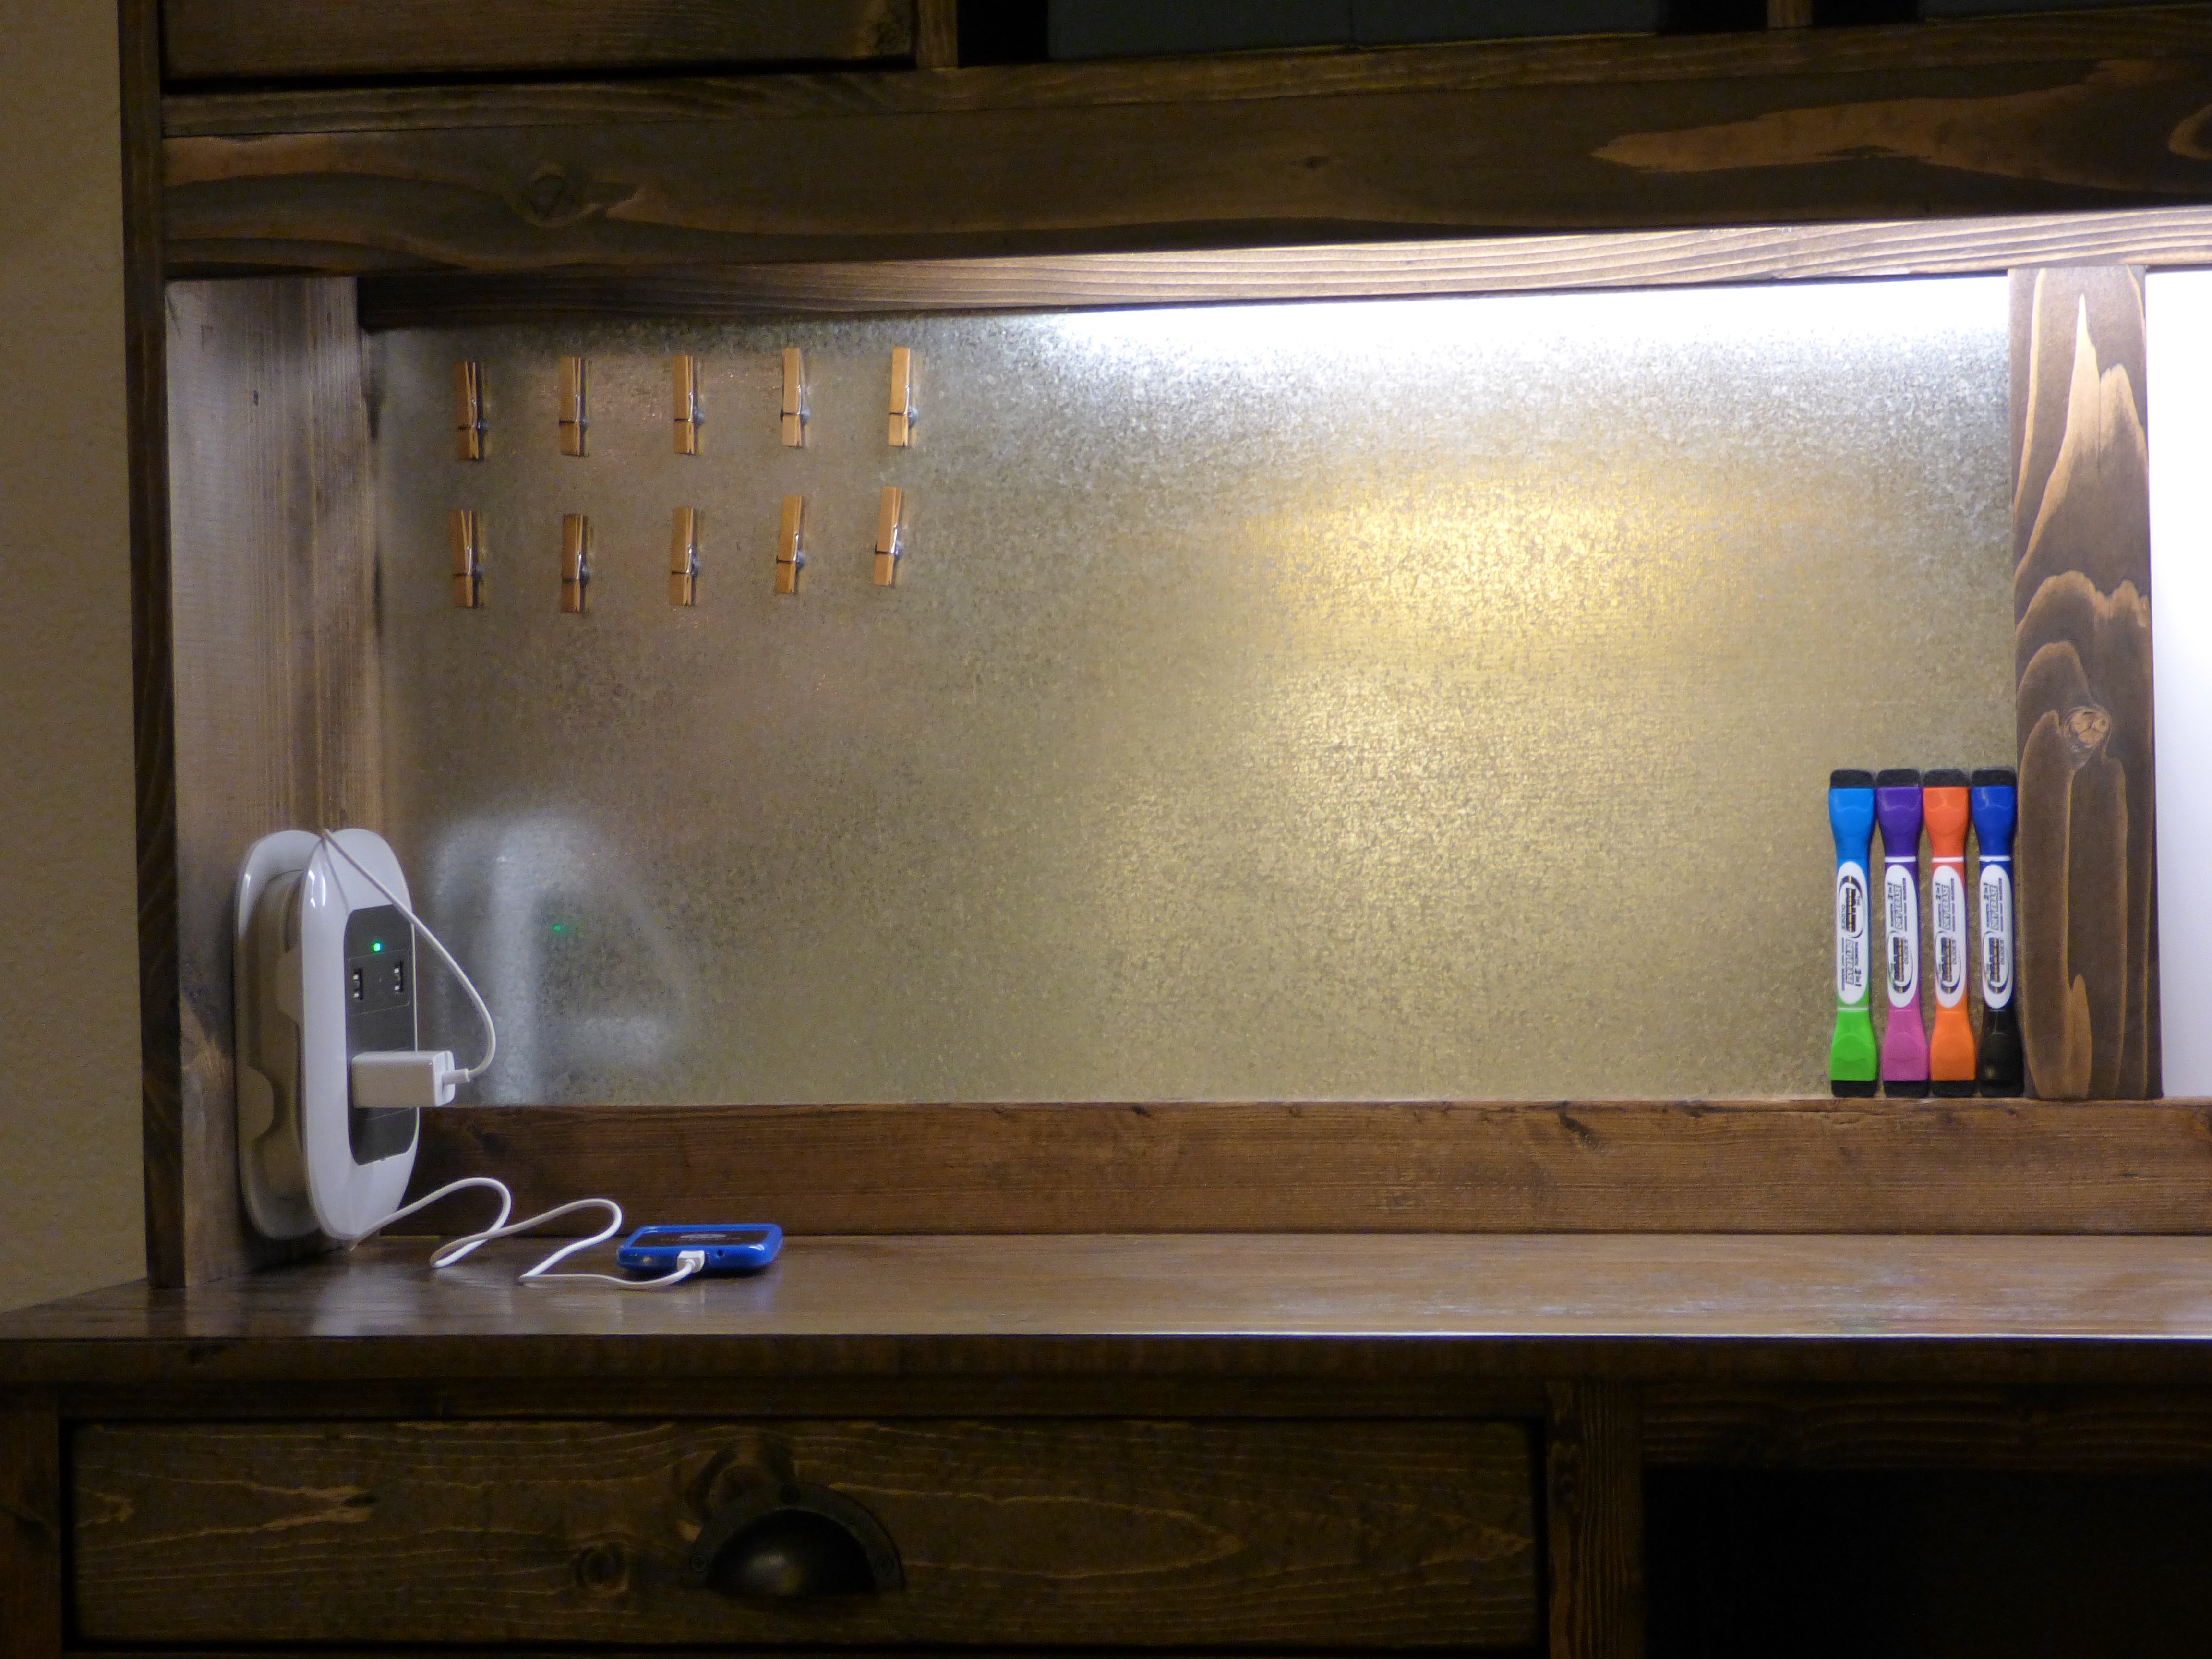
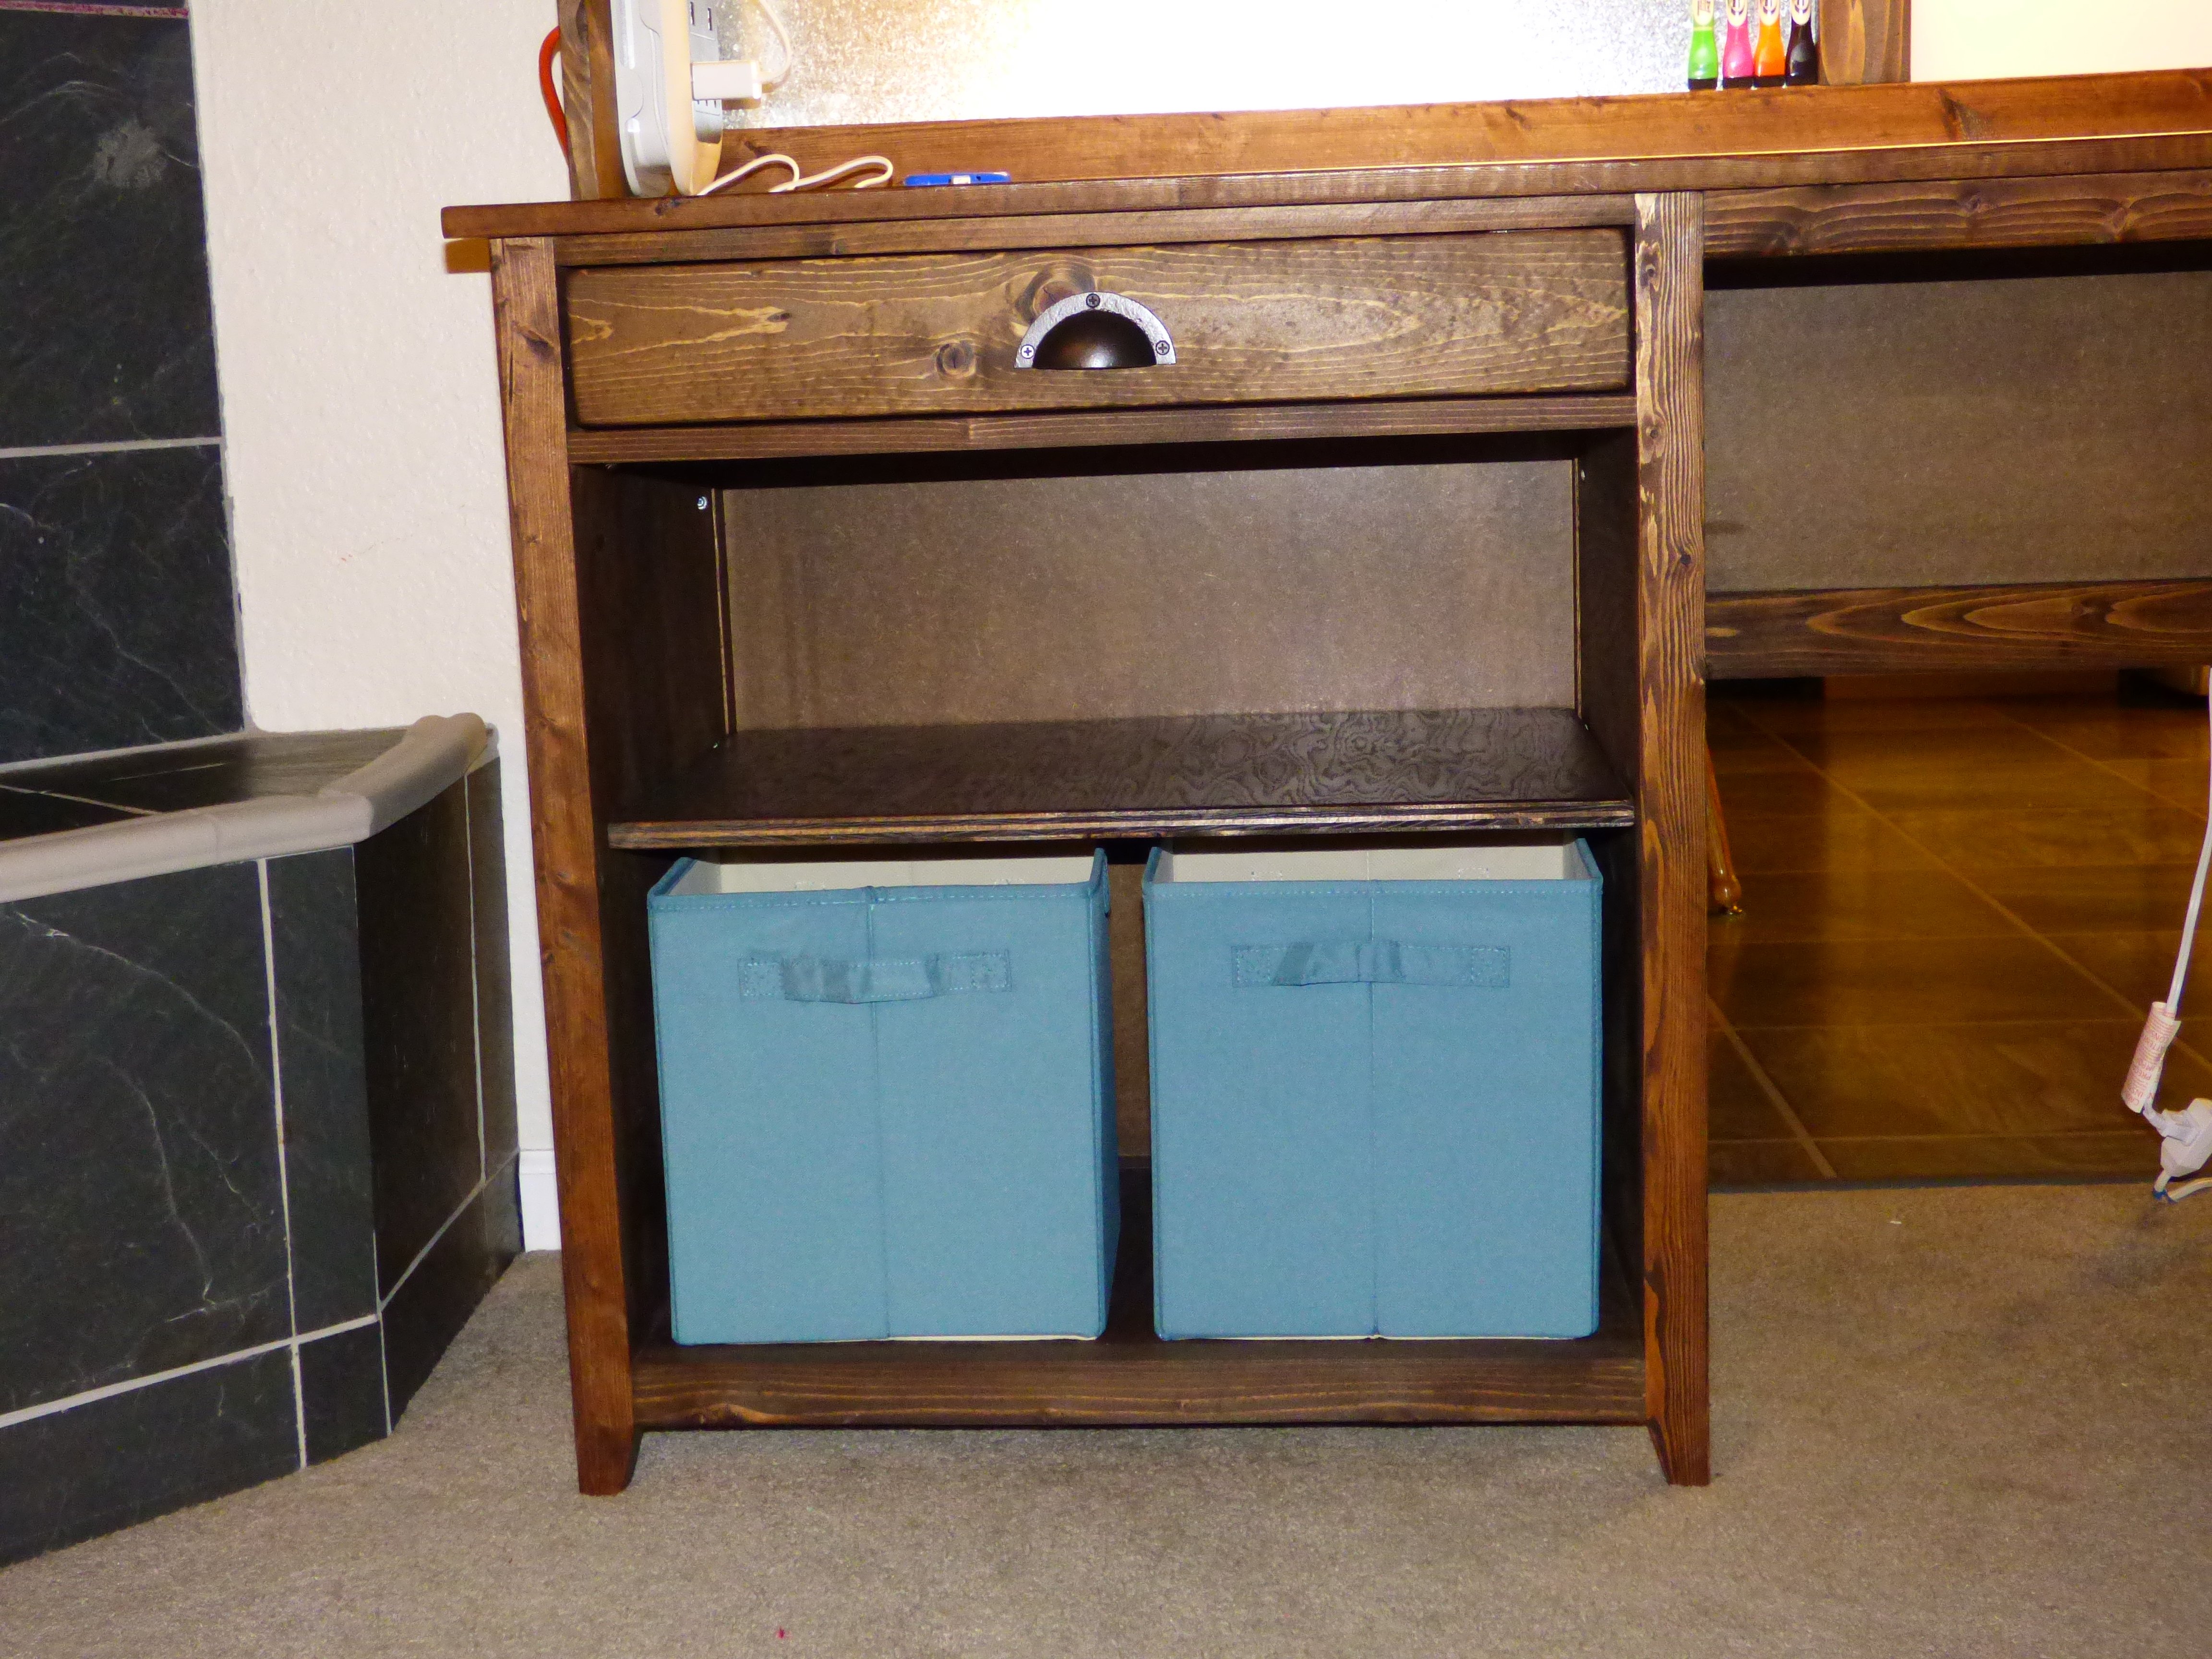
I was not able to get to this desk last year and thought my 15 year old teenage daughter had forgotten about it and was getting too old. Around Thanksgiving she made a comment with a sigh that it would never happen and she understood. I immediately went to work in the garage to have this ready on Christmas morning. She had no idea and was very surprised to find it near the Christmas tree!
Desk included a power strip with USB ports, an under the hutch light, magnet board & dry erase board w/ magnet markers to stick on the magnet board.
Thank you so much for putting these plans on-line.

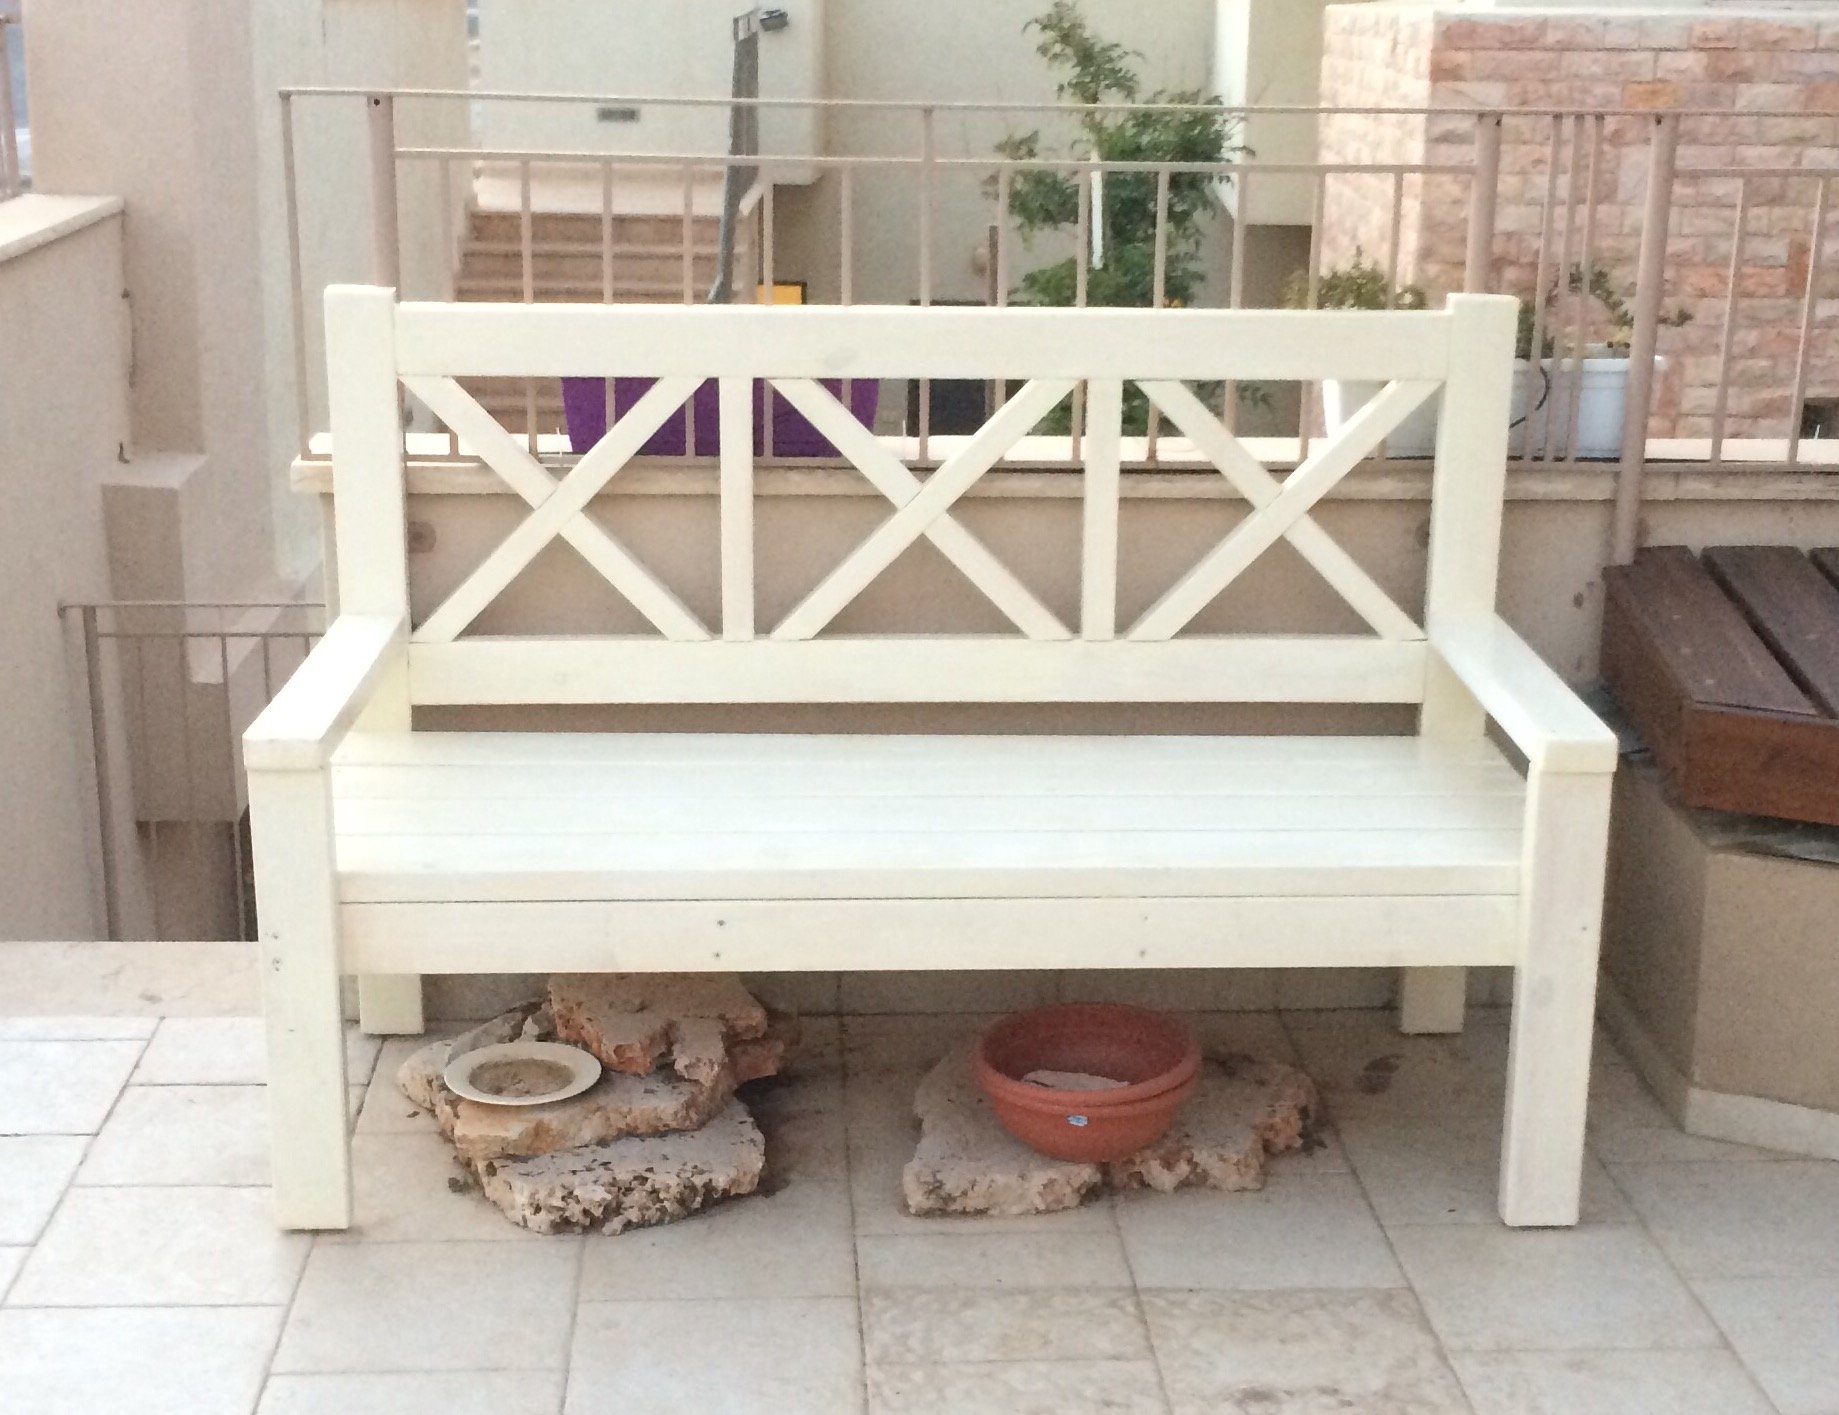
I love this plan, it was easy to follow.
I live in Israel, so had to translate to centimeters.
I made the X from 2 full pieces, cutting a half width dado. Found it easier to assemble.
Few minutes after placing it in the house front, a friend suggested buying it....
Thanks
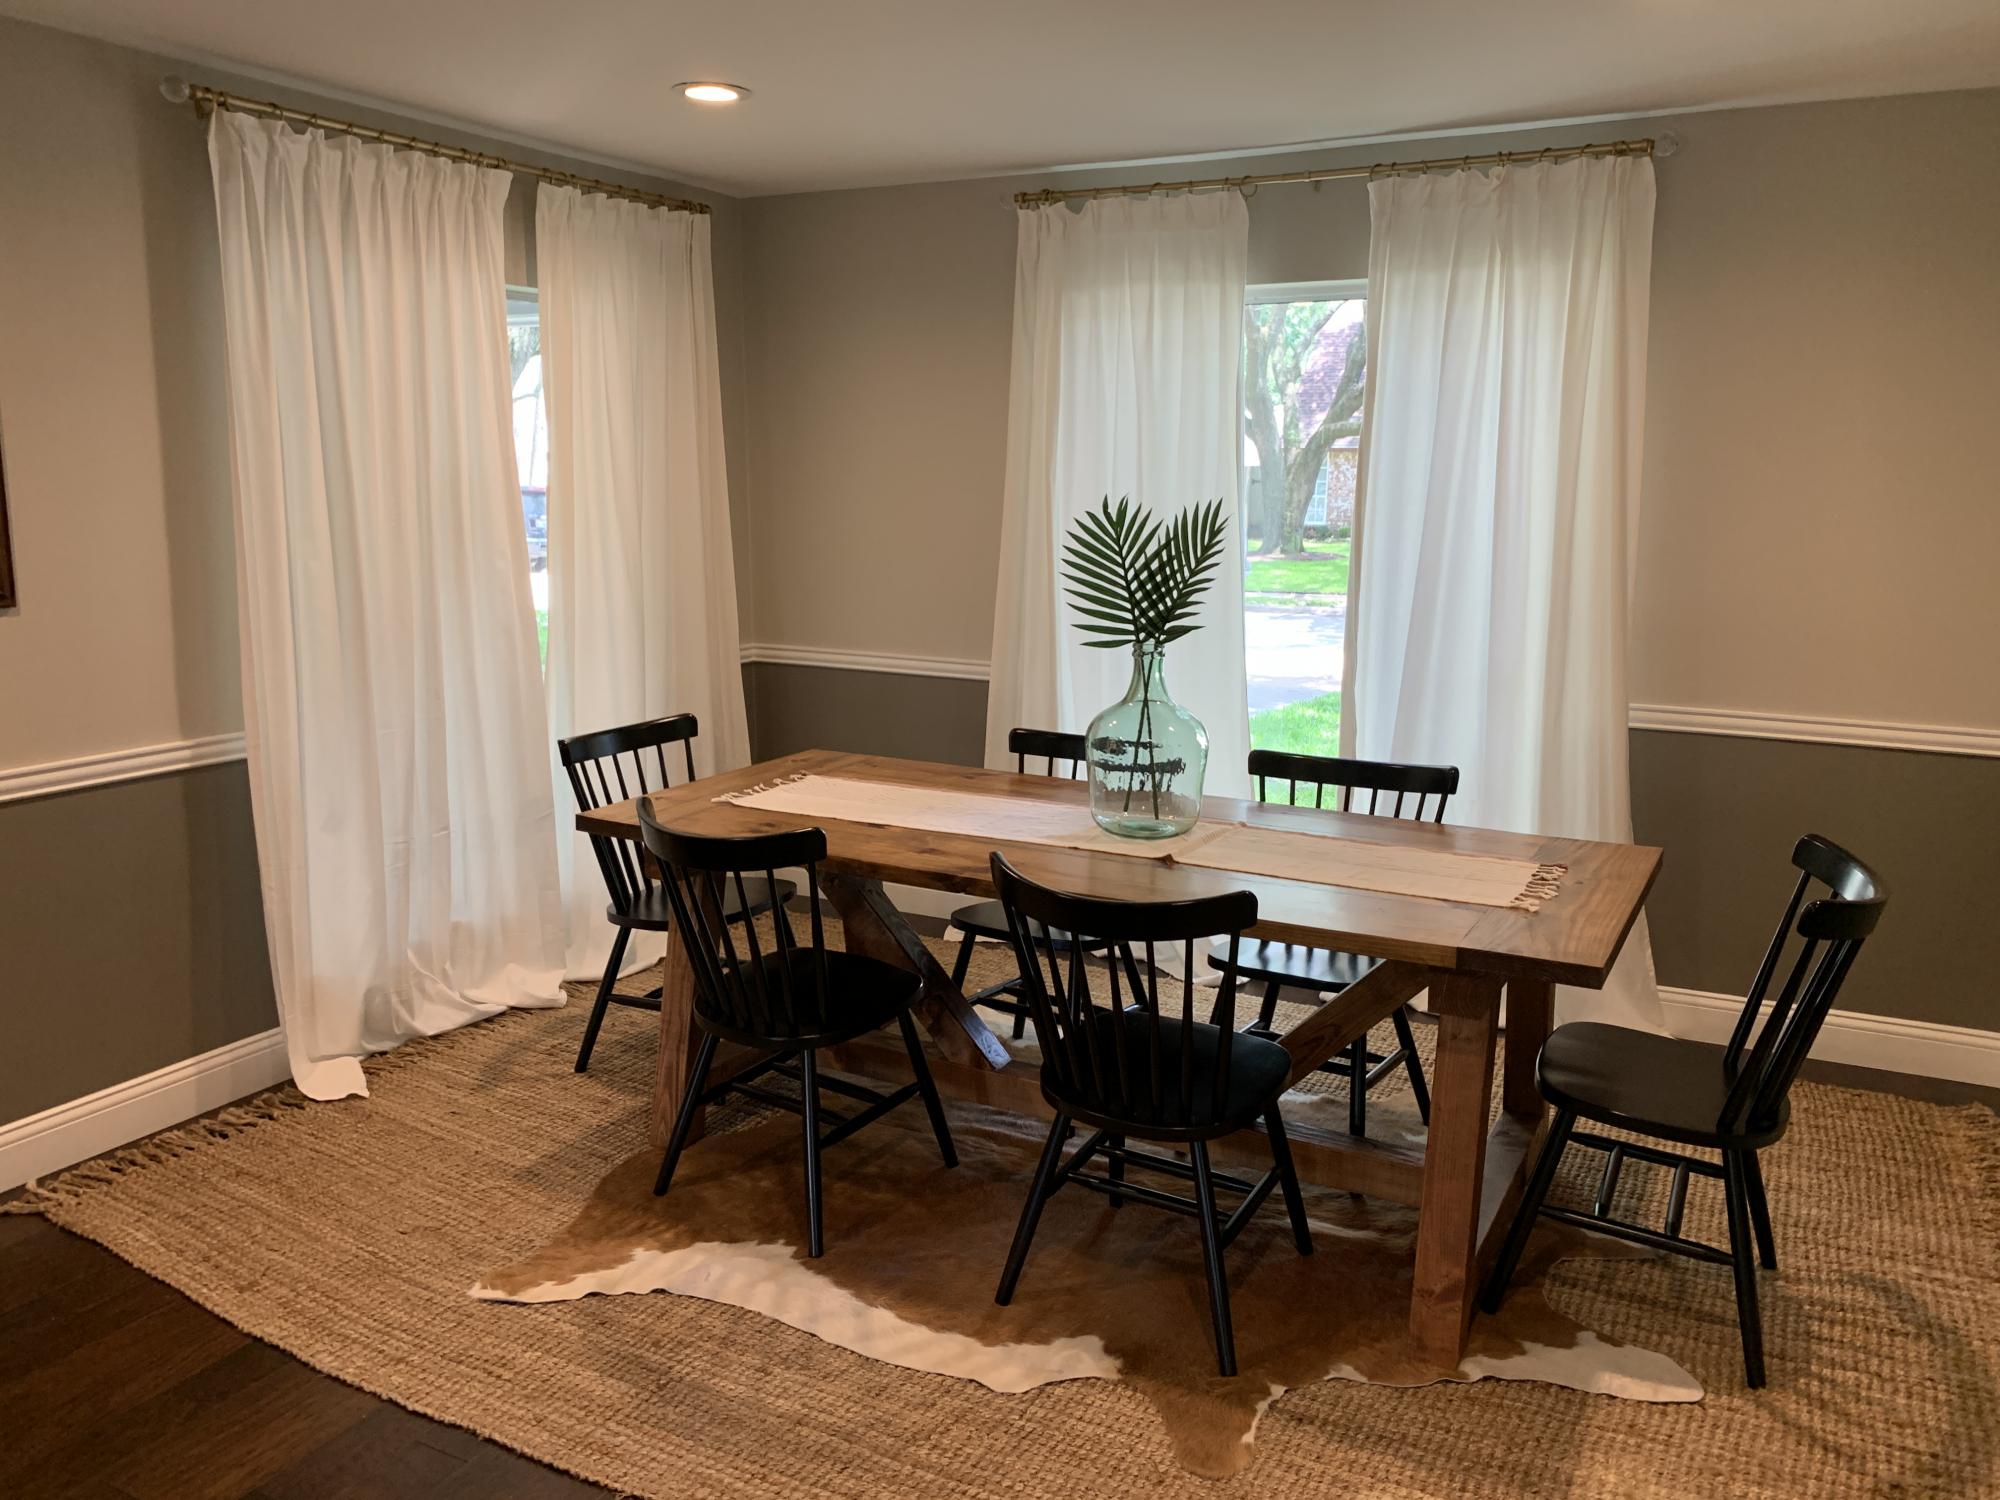
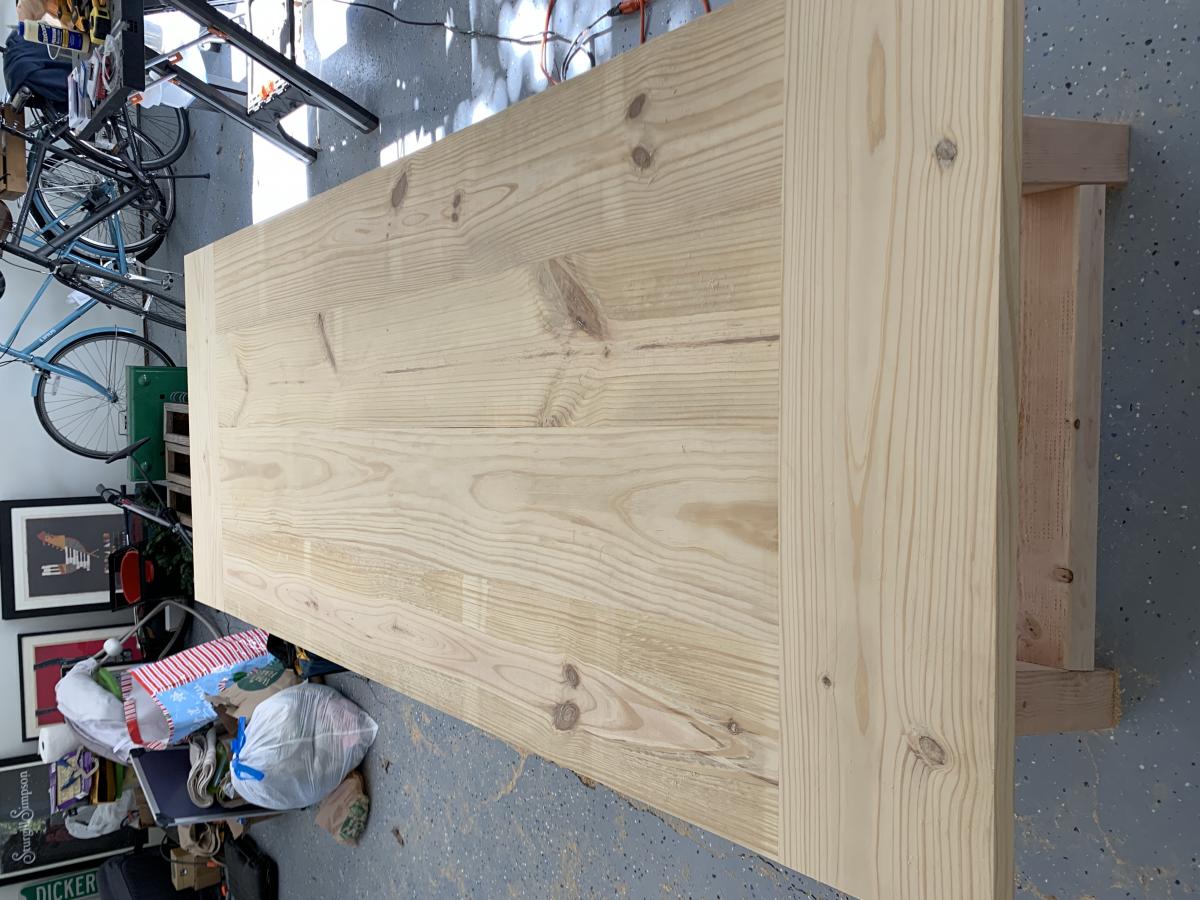
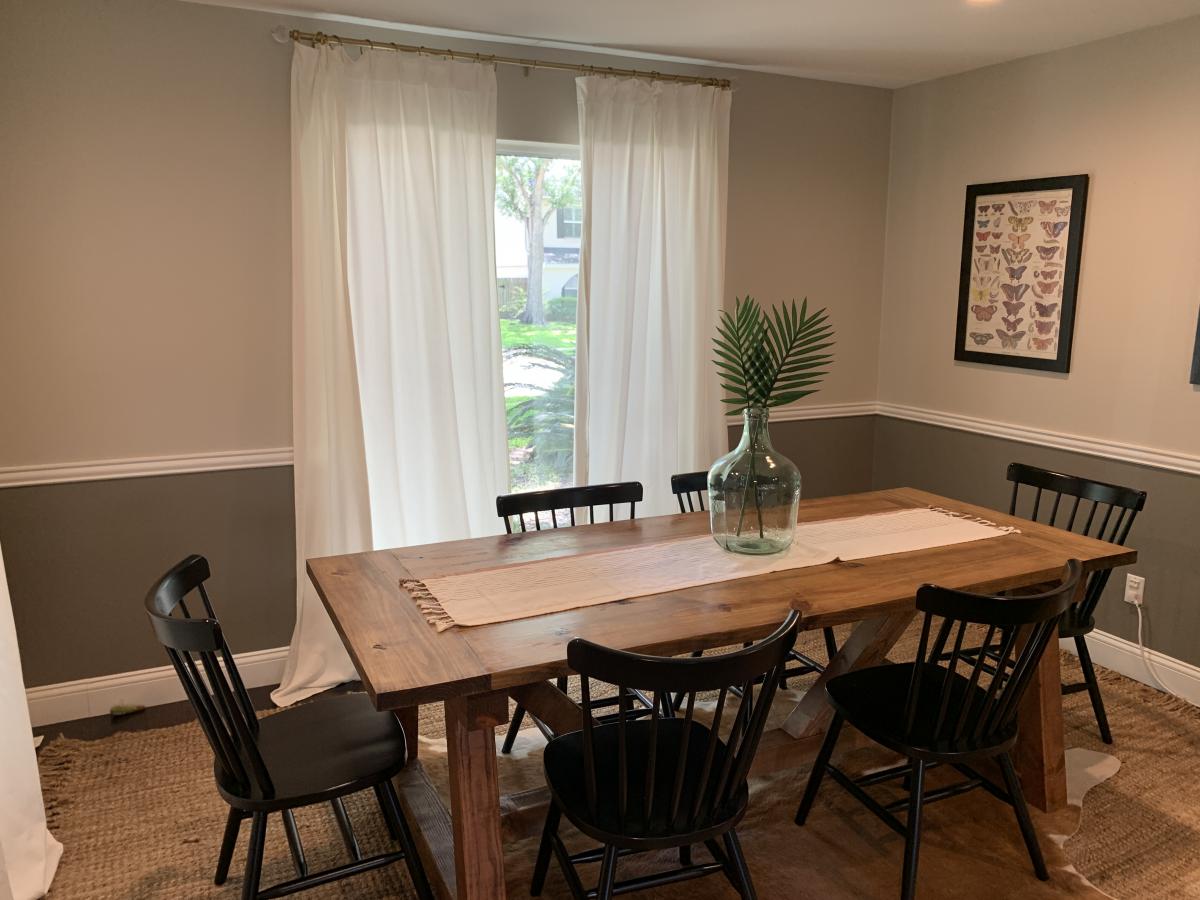
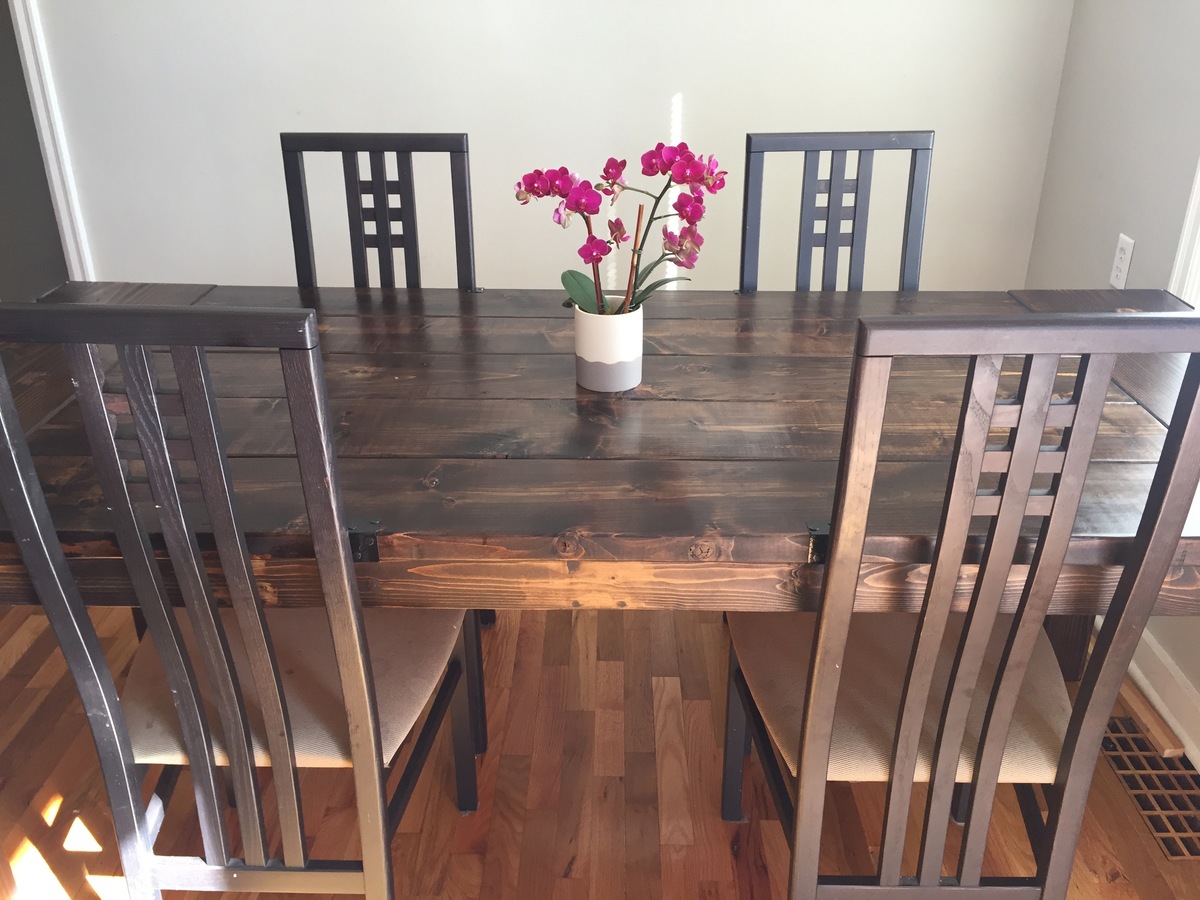
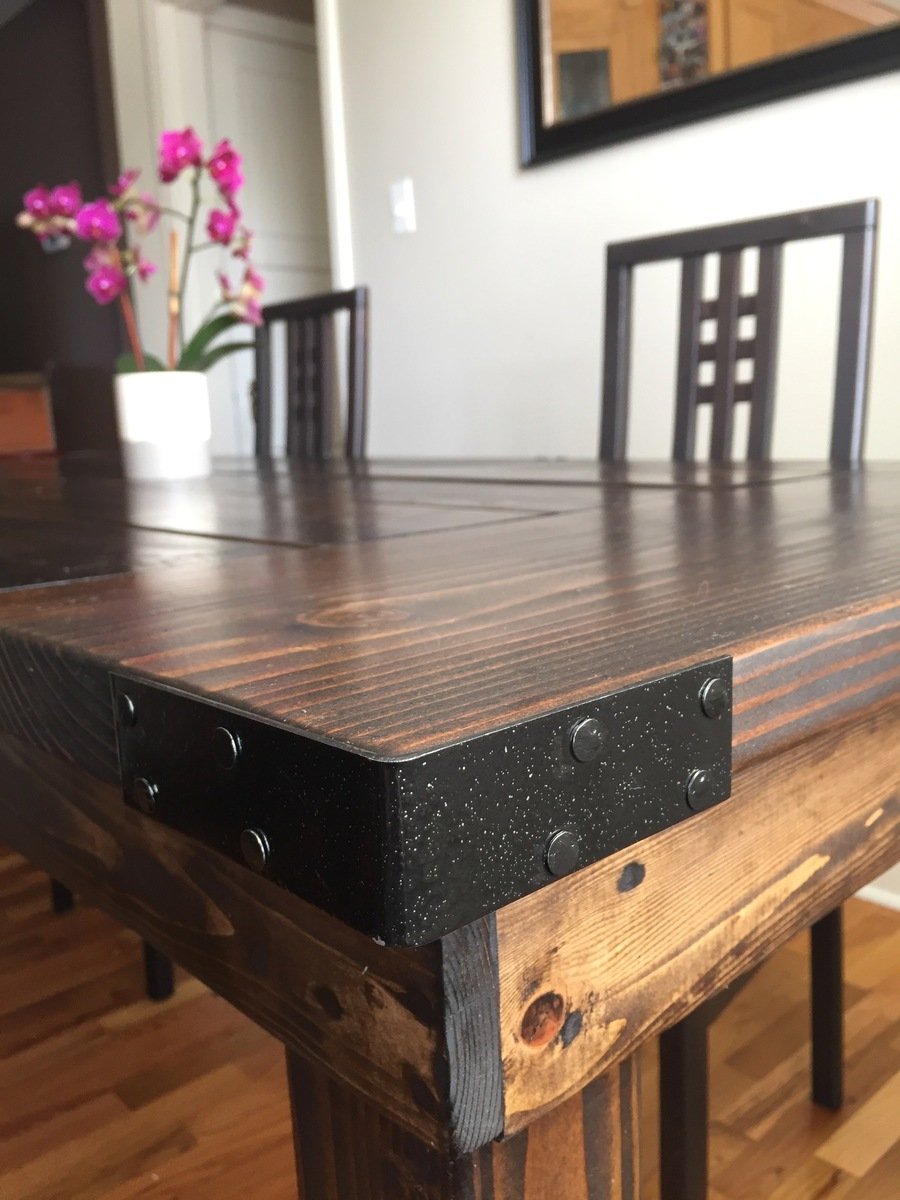
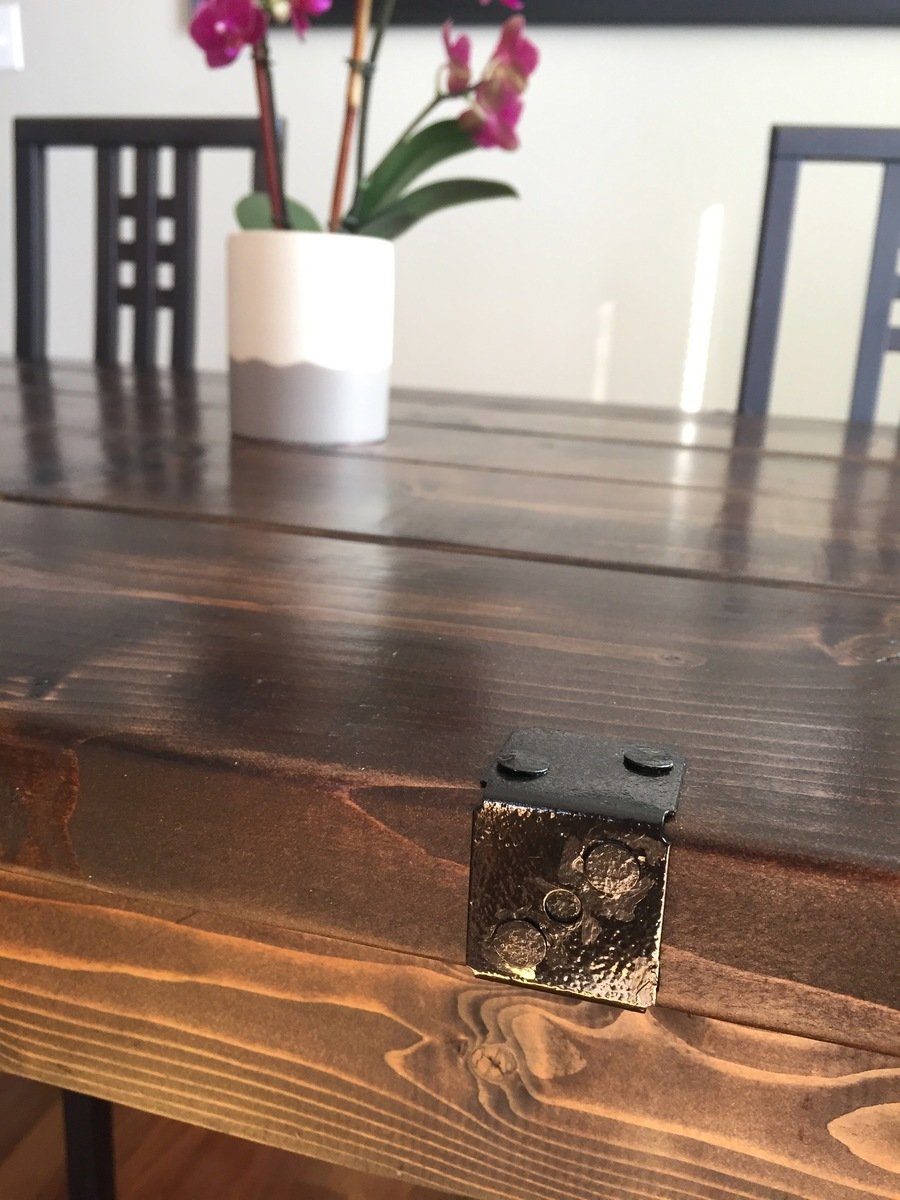
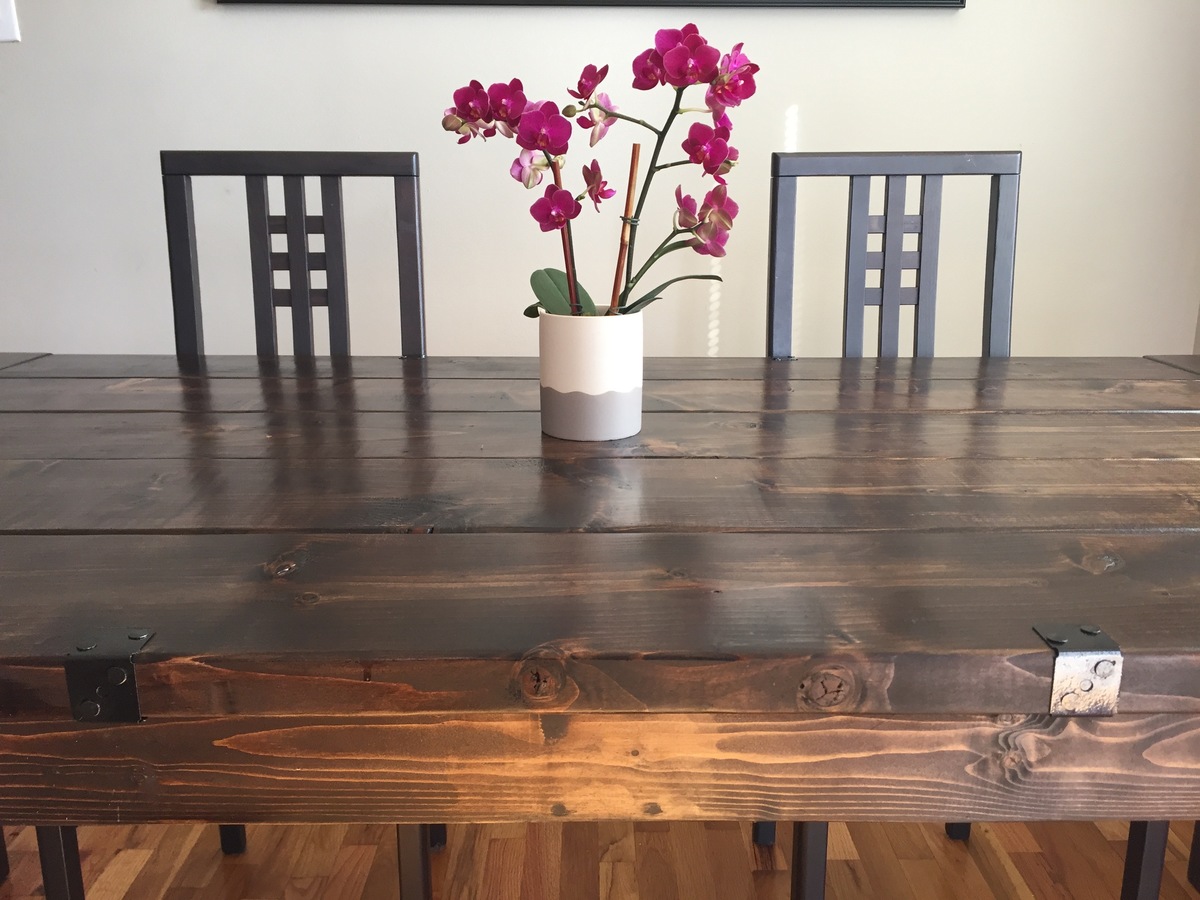
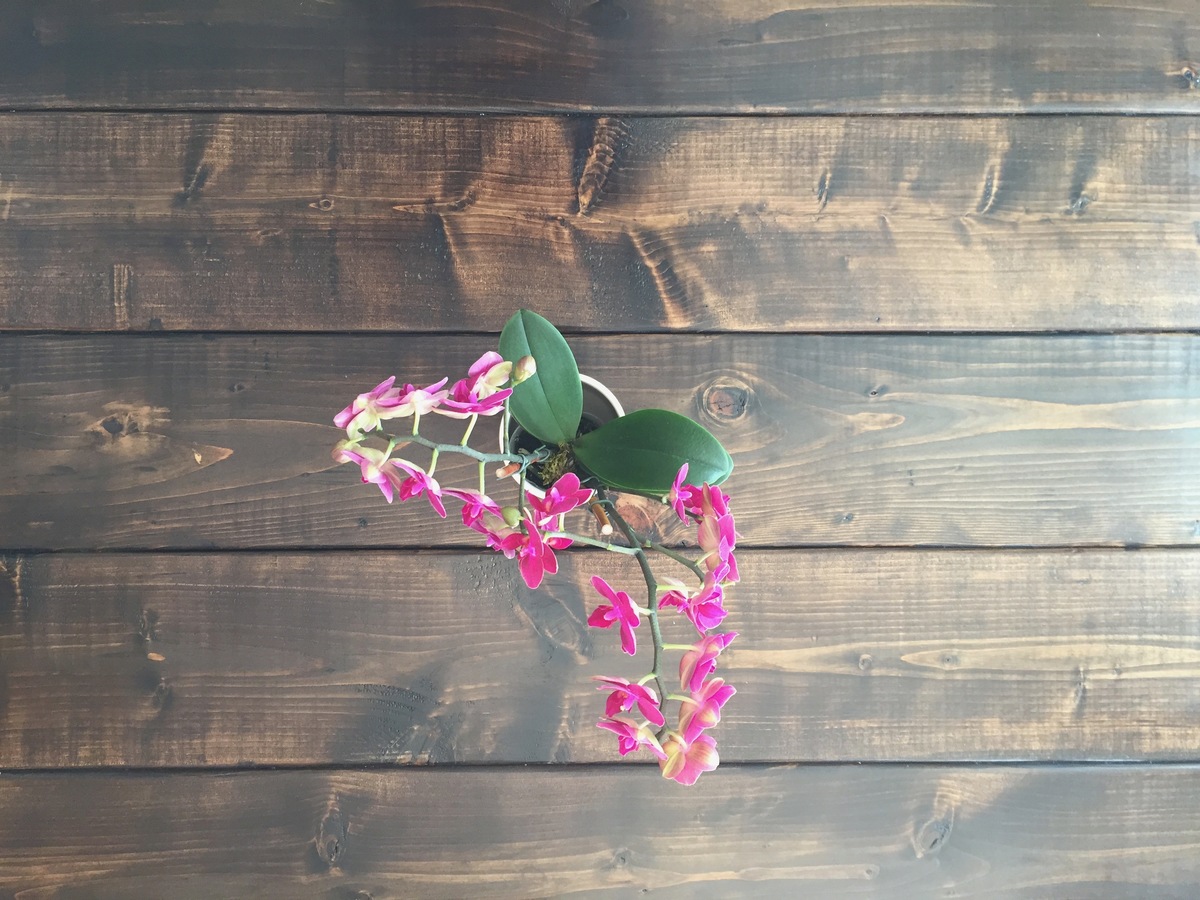
We built this table for our dining room. The project followed the plans for cuts and dimensions except for the top. Instead of using 2x10, we used 2x12 and ripped an inch off each side to have flatter top with out needing to plane.
We used pine for the top and douglas fir for the 4x4 base. Before staining we used a pre-stain conditioner. The table was stained using Minwax Early American and then finished with a clear satin polyurethane.


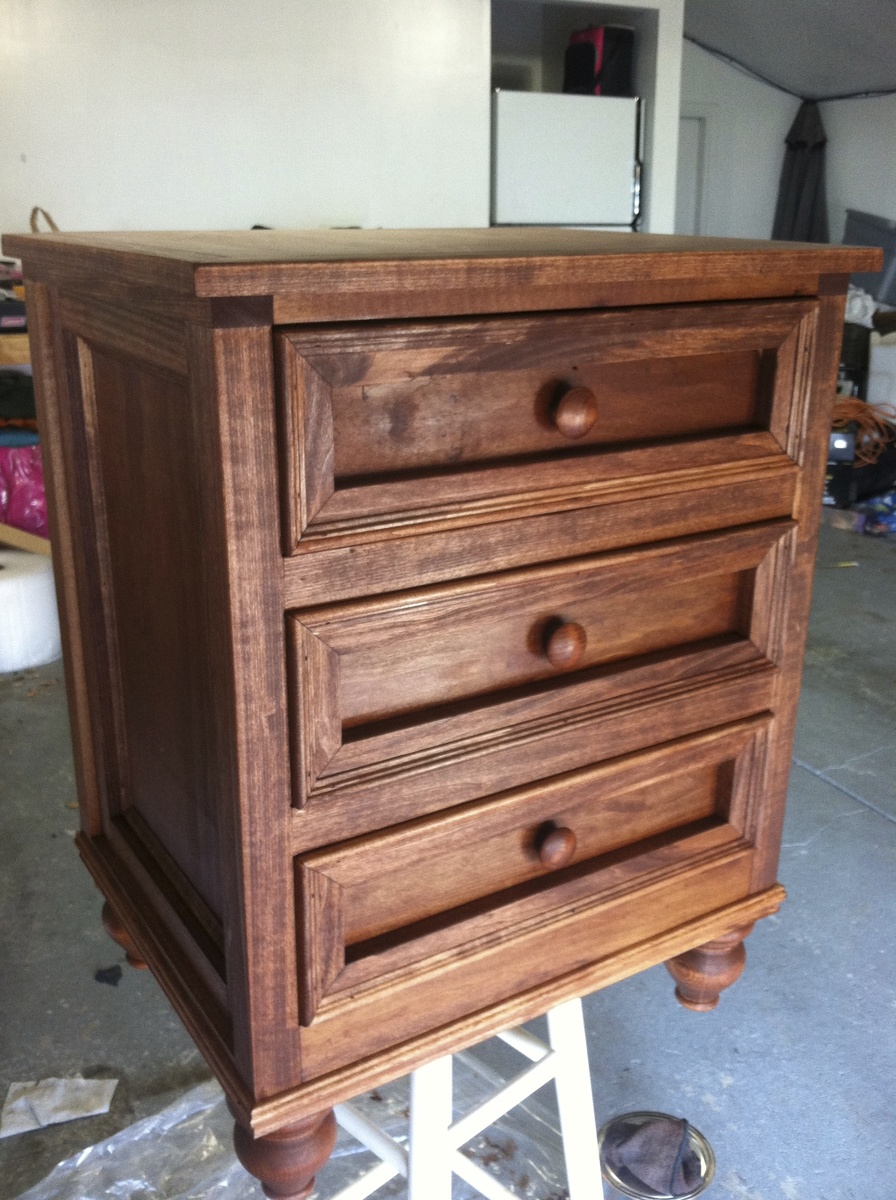
Another project for the wife, though there will be a matching one for my side of the bed in the near future! This was the first plan I constructed from this site.
Have been wanting to build this for 6 months now and just havnt had the time. Finally completed it!
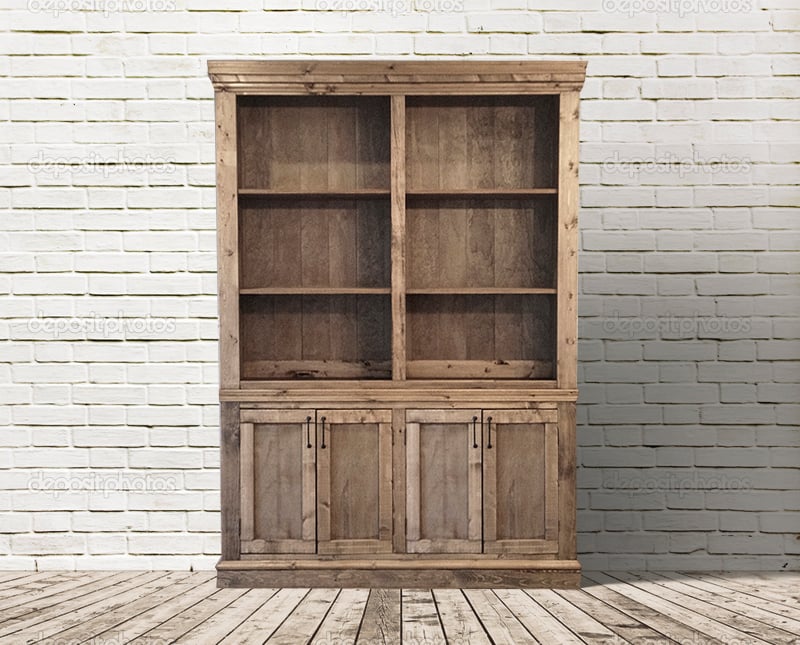
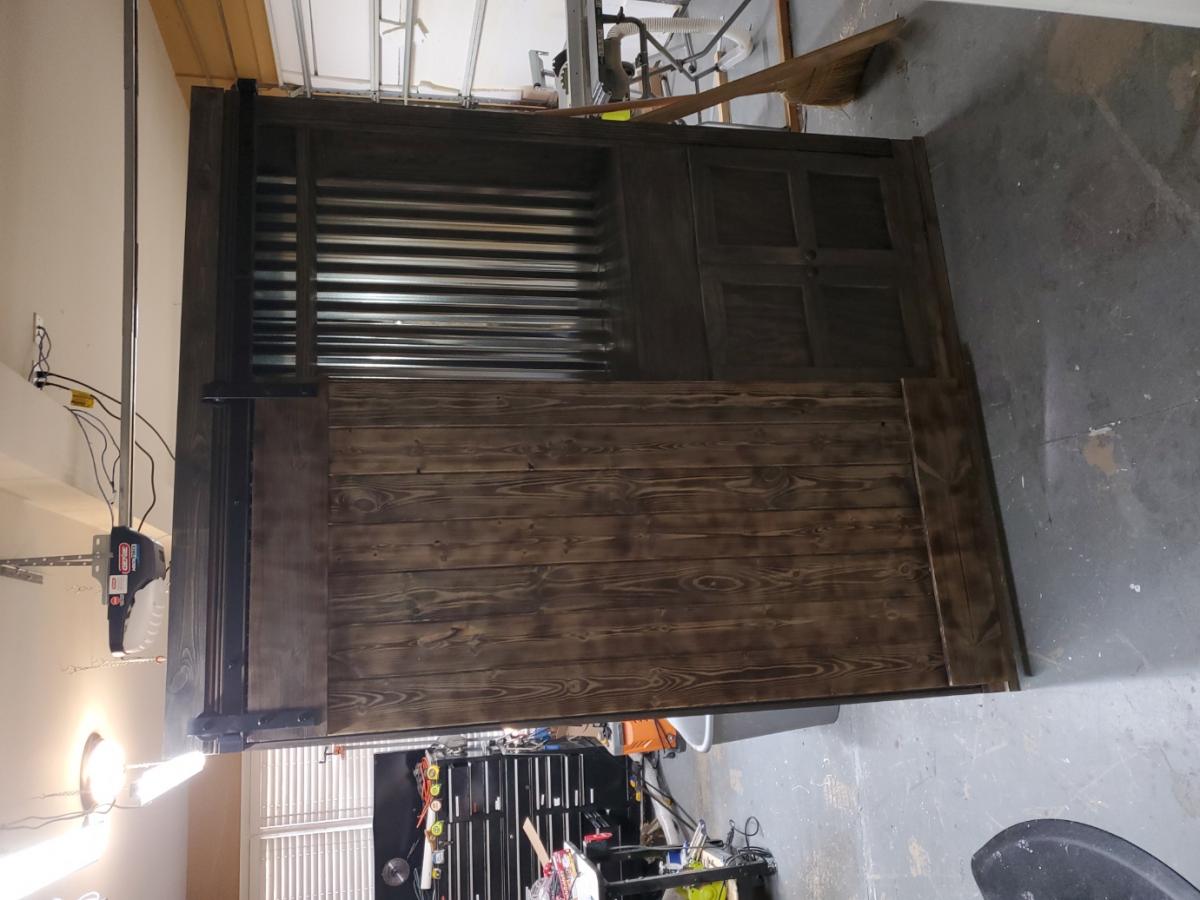
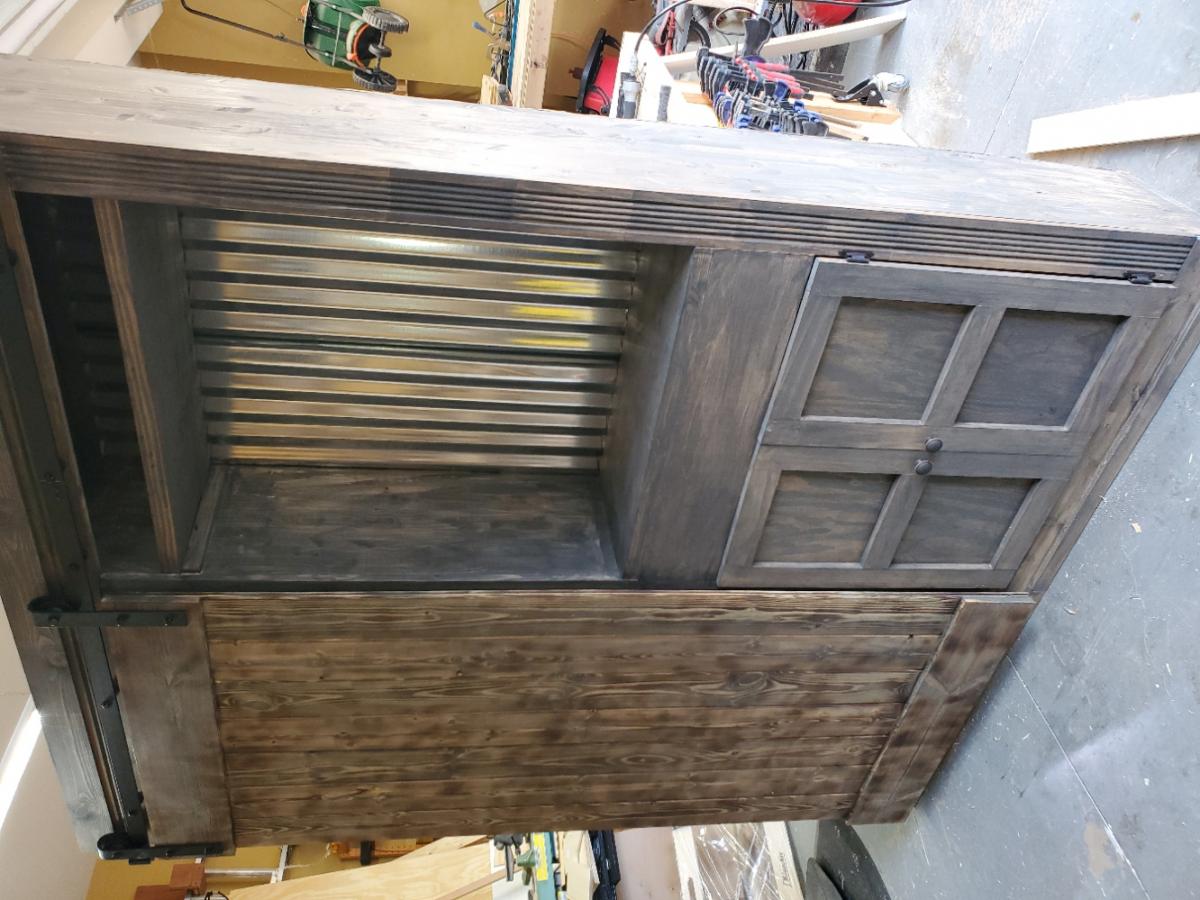
I made some small changes to the design, different trim layouts, different dimensions, and went with a plank look for the back of the hutch instead of a solid peice of 1/4" plywood.
In reply to This looks great. I love the by handmadewithash
Wed, 12/31/2014 - 17:00
Thank you very much for the comment! =).
Happy New Years as well!
Cheers,
Justin
Thu, 01/01/2015 - 22:48
Thank you ehays216! Ive looked at your Farmhouse Storage Bed a few times.. Have always wanted to try the Steel wool/Vinegar trick.
Cheers,
Justin
In reply to Stunning! by Ana White Admin
Thu, 01/01/2015 - 22:49
Thank you very much Ana White Admin!
Cheers,
Justin
In reply to Beautiful!!! by Smjackson82
Sun, 01/04/2015 - 16:07
Of coarse! I used the same height and depth dimensions, just shortened the width by 9 inches.
Cheers,
Justin
In reply to backdrop by timberandsoul
Sun, 01/04/2015 - 16:09
Thanks a lot timberandsoul!
Photo was taken on an empty wall in my living room, Which is currently a light gray wall. thought it looked boring so I did a quick switch of backdrops in PS. I just typed in brick wall in google.
Cheers,
Justin

Sun, 01/04/2015 - 11:30
Hi Justin. Did you use any special technique between the two coats of stain to achieve that effect. Thanks. Andy
In reply to How to achieve that finish? by AndyH
Sun, 01/04/2015 - 16:10
Got your email Andy, hopefully you got mine!
Cheers,
Justin
Sun, 01/04/2015 - 18:36
Hey Singhs, I went with Home Depot Regular Knotty Pine. Cheap and easy to work with.
Cheers,
Justin
Mon, 01/19/2015 - 13:03
I love this! Can you give me information on how you modified the plan to achieve the plank backing and the stain color?
In reply to Stain color and plank backing by juddgirl2
Sat, 01/24/2015 - 13:08
Sure! the plans call for 2 solid sheets of 1/4 plywood for the backing.. I simply just ran the plywood through a table saw at 5.5" wide and brad nailed it the back. =)
The stain is weathered oak and let sit for 15min. Then right away special walnut and let sit for 15 min.
repeat until desired colour. let me know if you have any more questions!
Cheers,
Justin
Sun, 01/08/2017 - 07:33
How many coats did you have to do to achieve this look? The weathered oak looks so light...and gray.
Thanks!

Sun, 05/17/2015 - 19:40
What was your strategy on attaching the sideboard to the Hutch. I haven't seen where there is any instructions or conversation around this. What and how did you accomplish this and/or is there anywhere to go that discussed this that helped you.
Thanks,
Tue, 07/05/2016 - 00:19
This inspired hutch/sideboard is absolutely divine! What an awesome job!
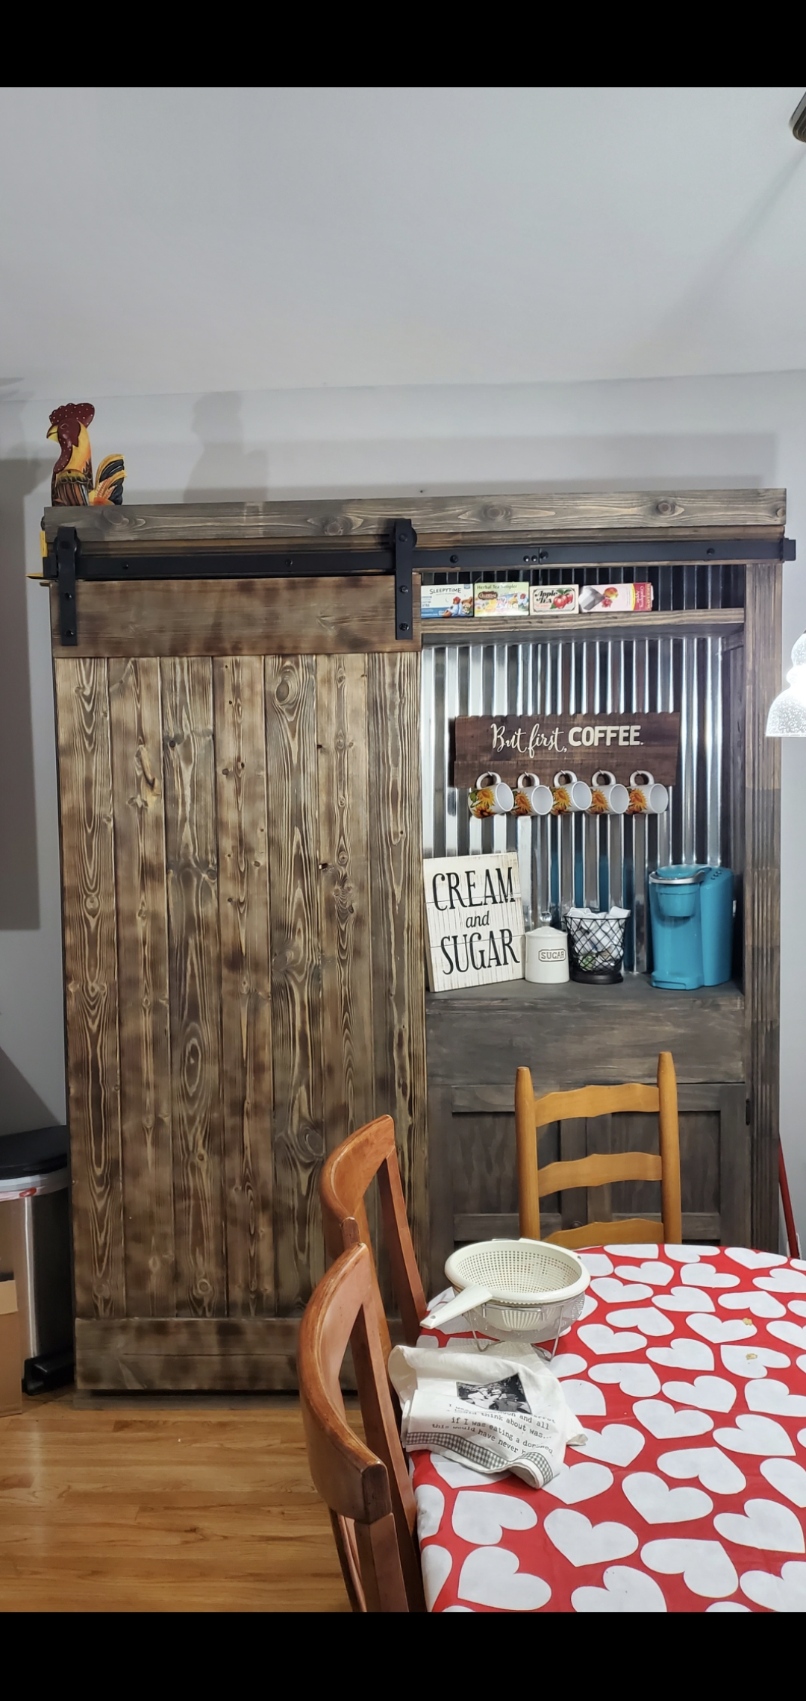
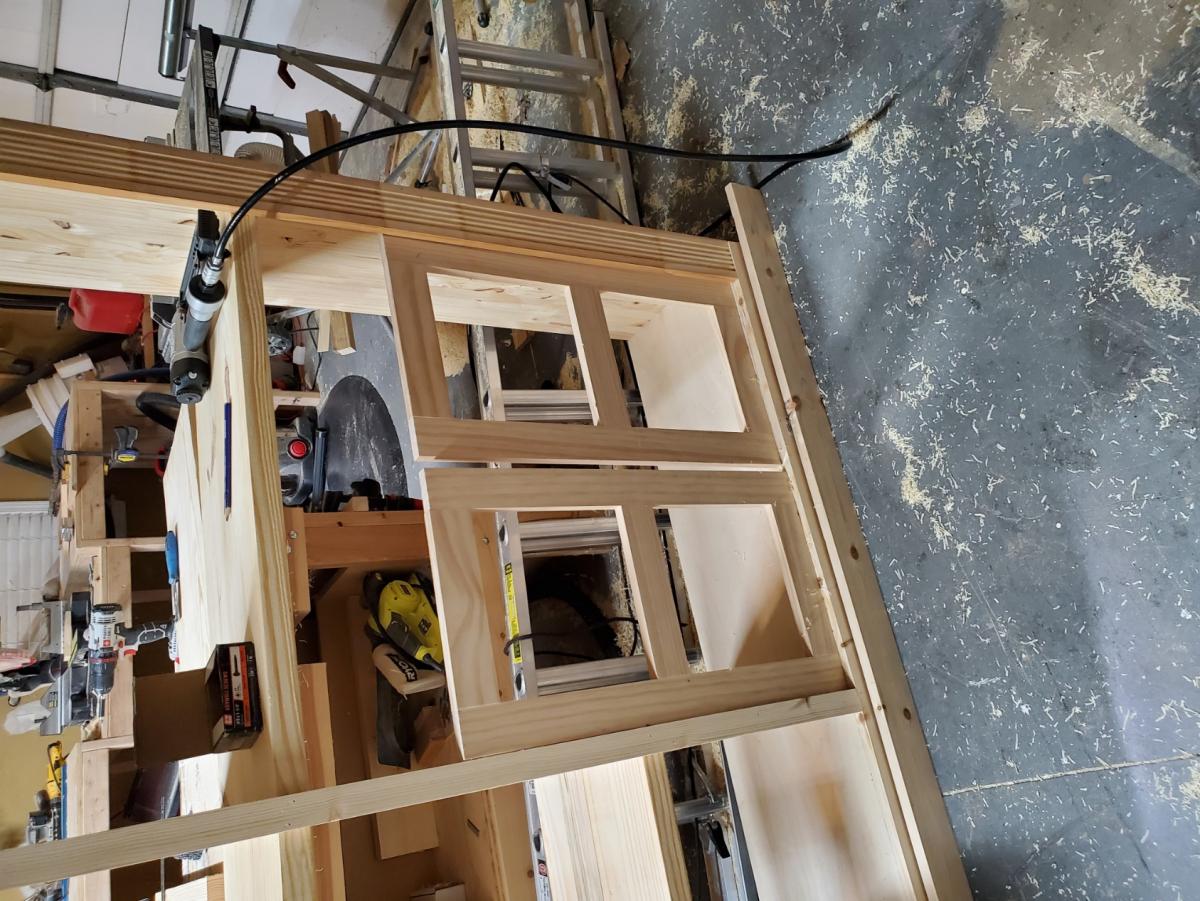
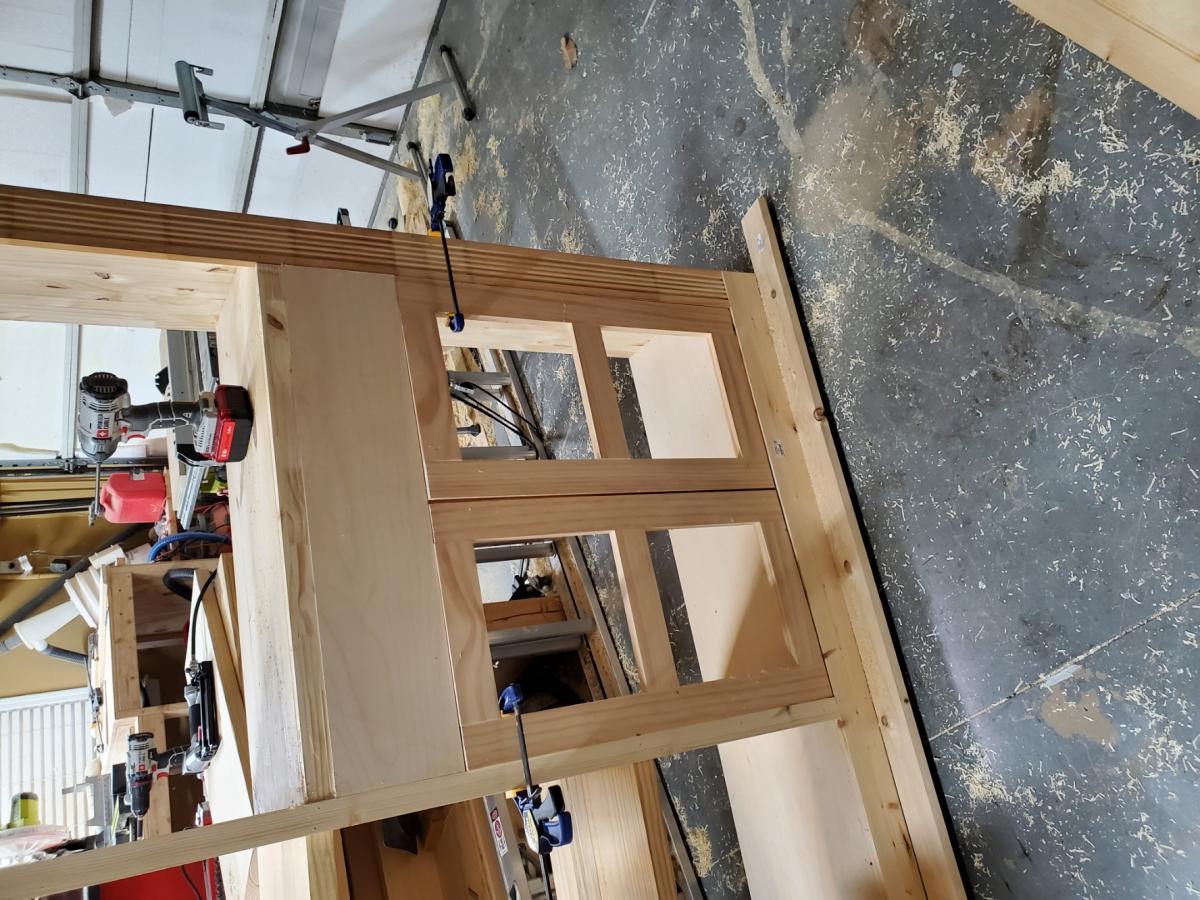
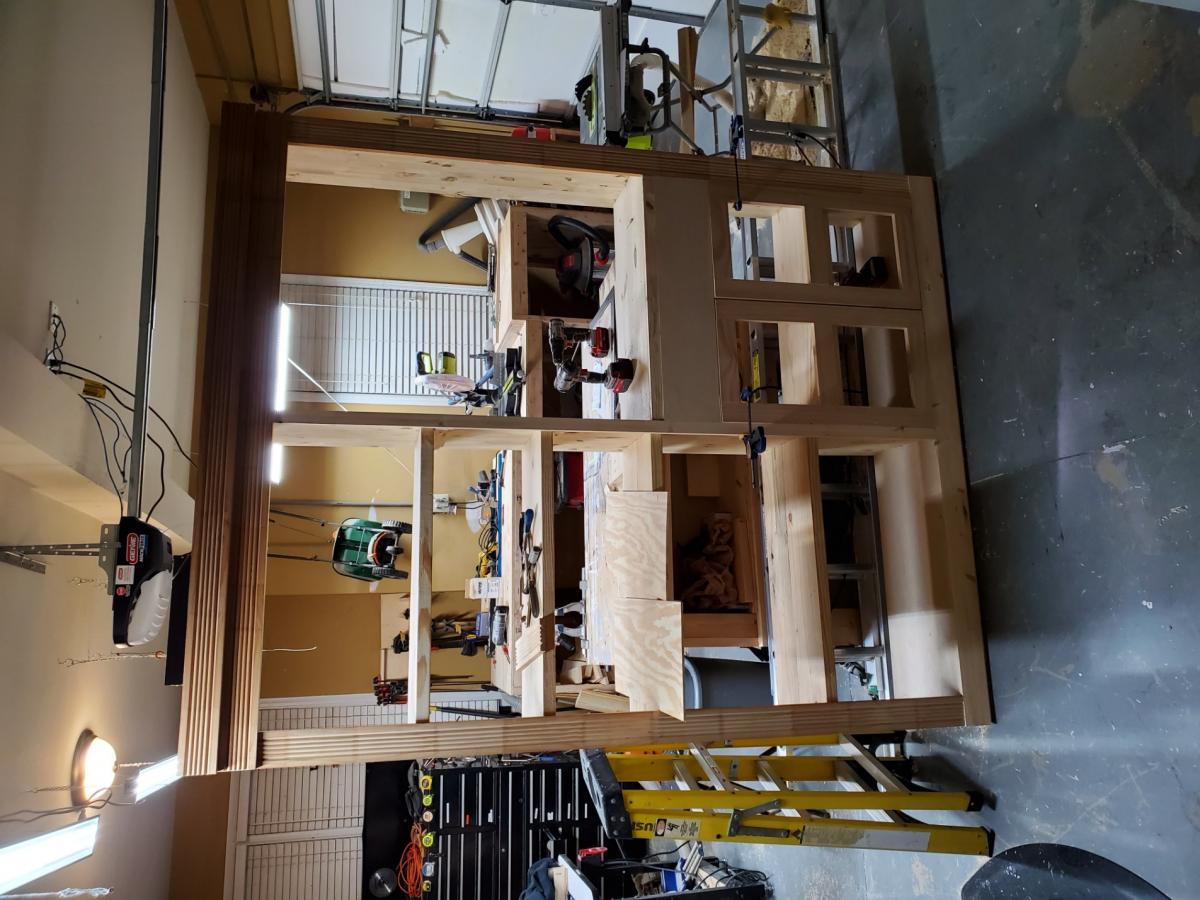
I loved doing this project, I did a burn treatment on the door and I made the shelves adjustable. It took me a weekend to build and 2 days to stain and do a matte poly finish.
Heavy modification to the original plan to accommodate extra drawers and trim. Finished with Min-Wax custom mixed color or Gunstock and English Chestnut.
Mon, 02/25/2013 - 11:16
Thanks they were well worth the extra time and material. We didn't want the space in the bottom to be a dust collector:)


Comments
Ana White Admin
Tue, 01/19/2021 - 10:58
Love the finish!
Thanks for sharing, looks like a great place to hang out!