Community Brag Posts

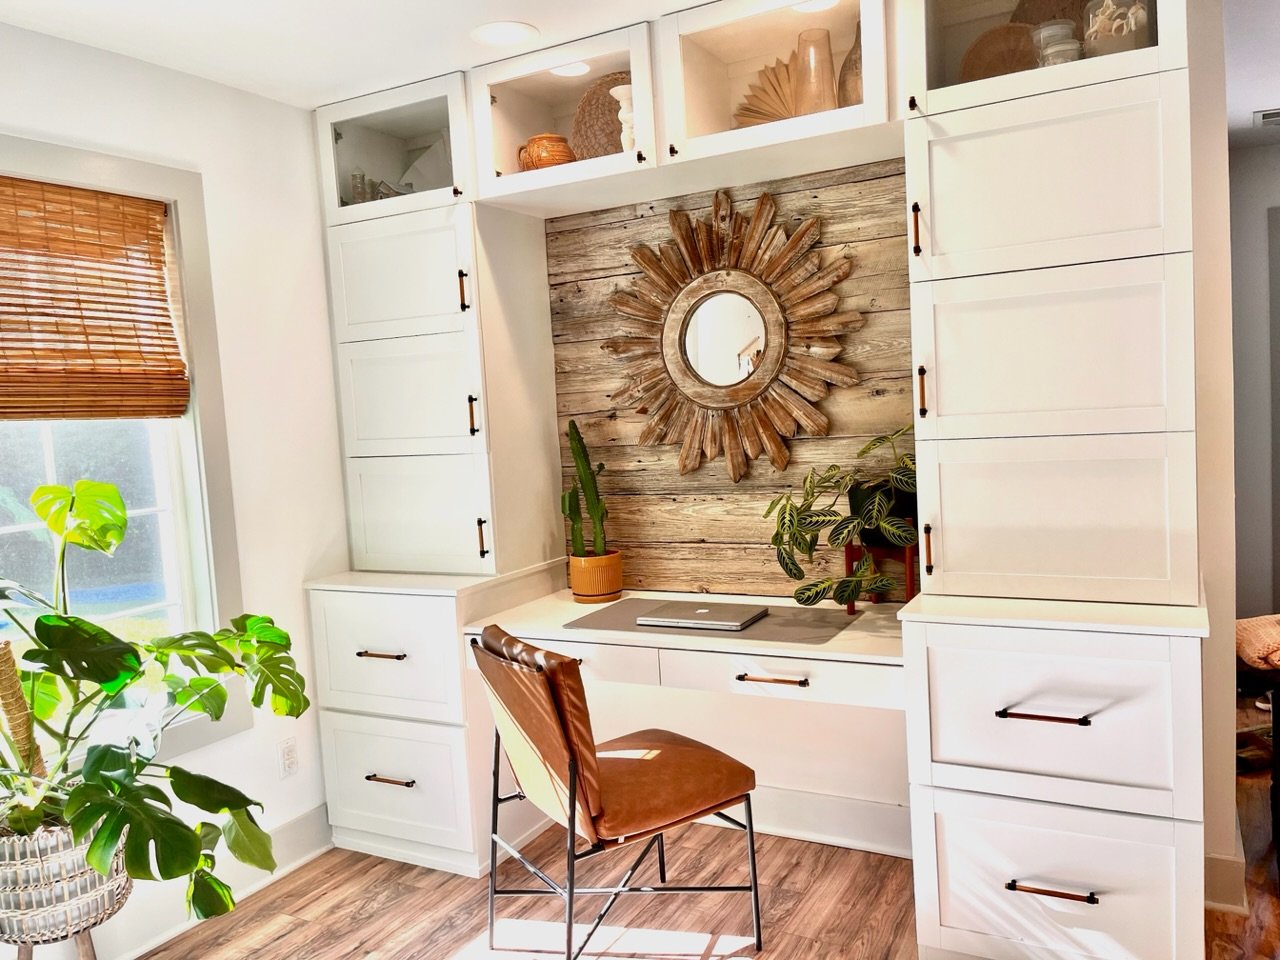
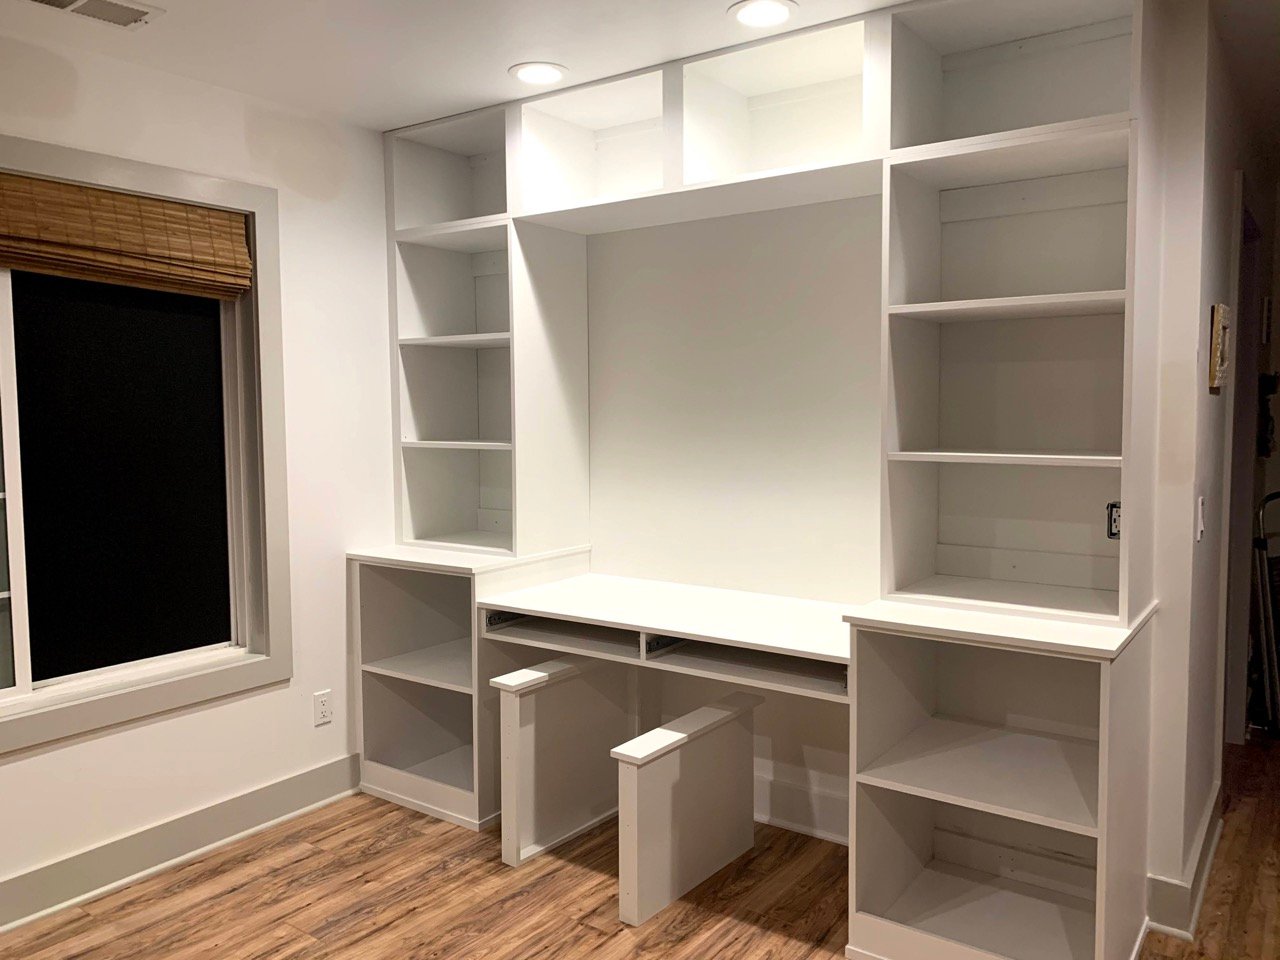
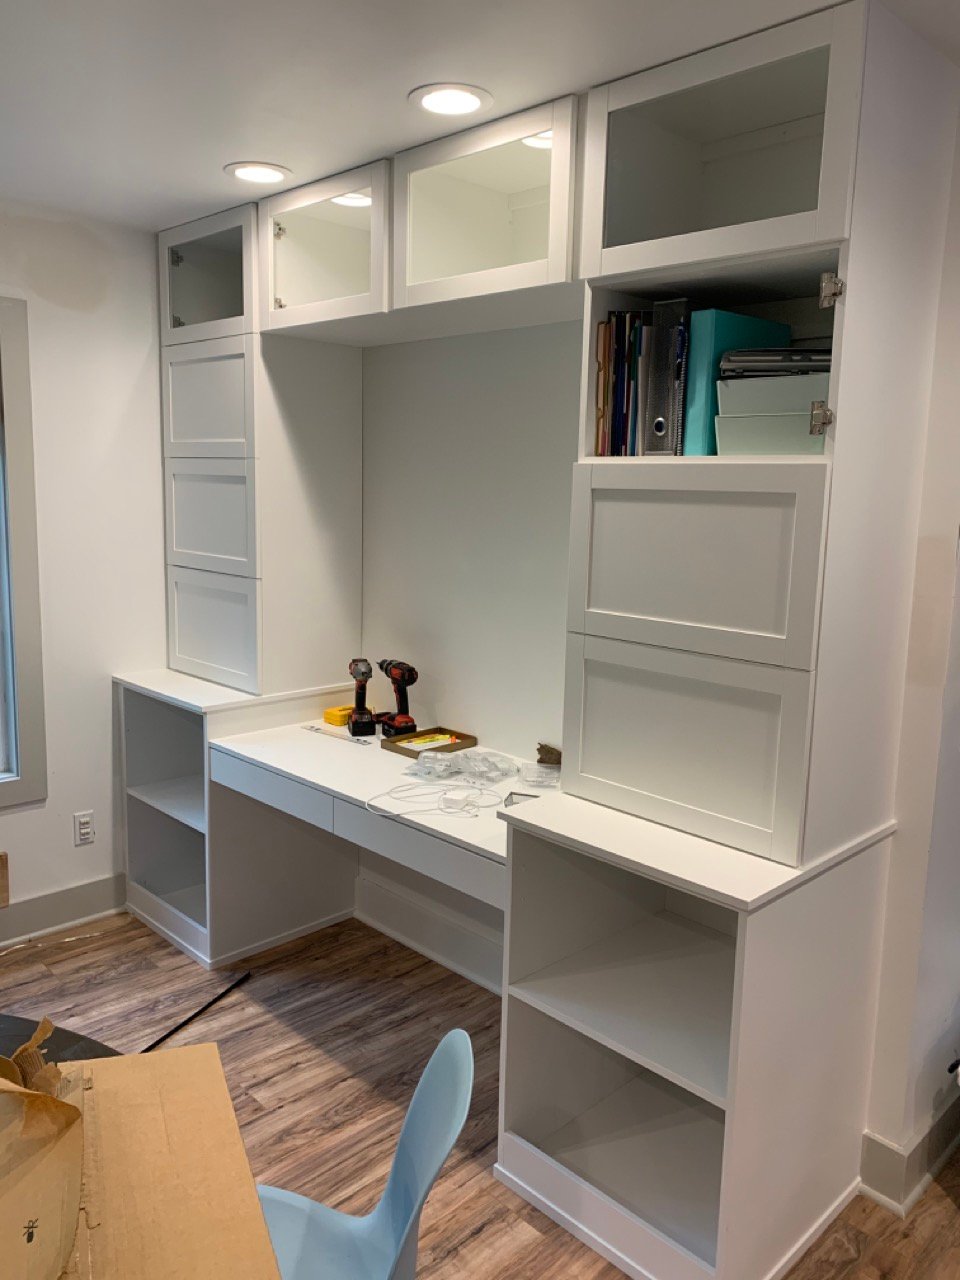
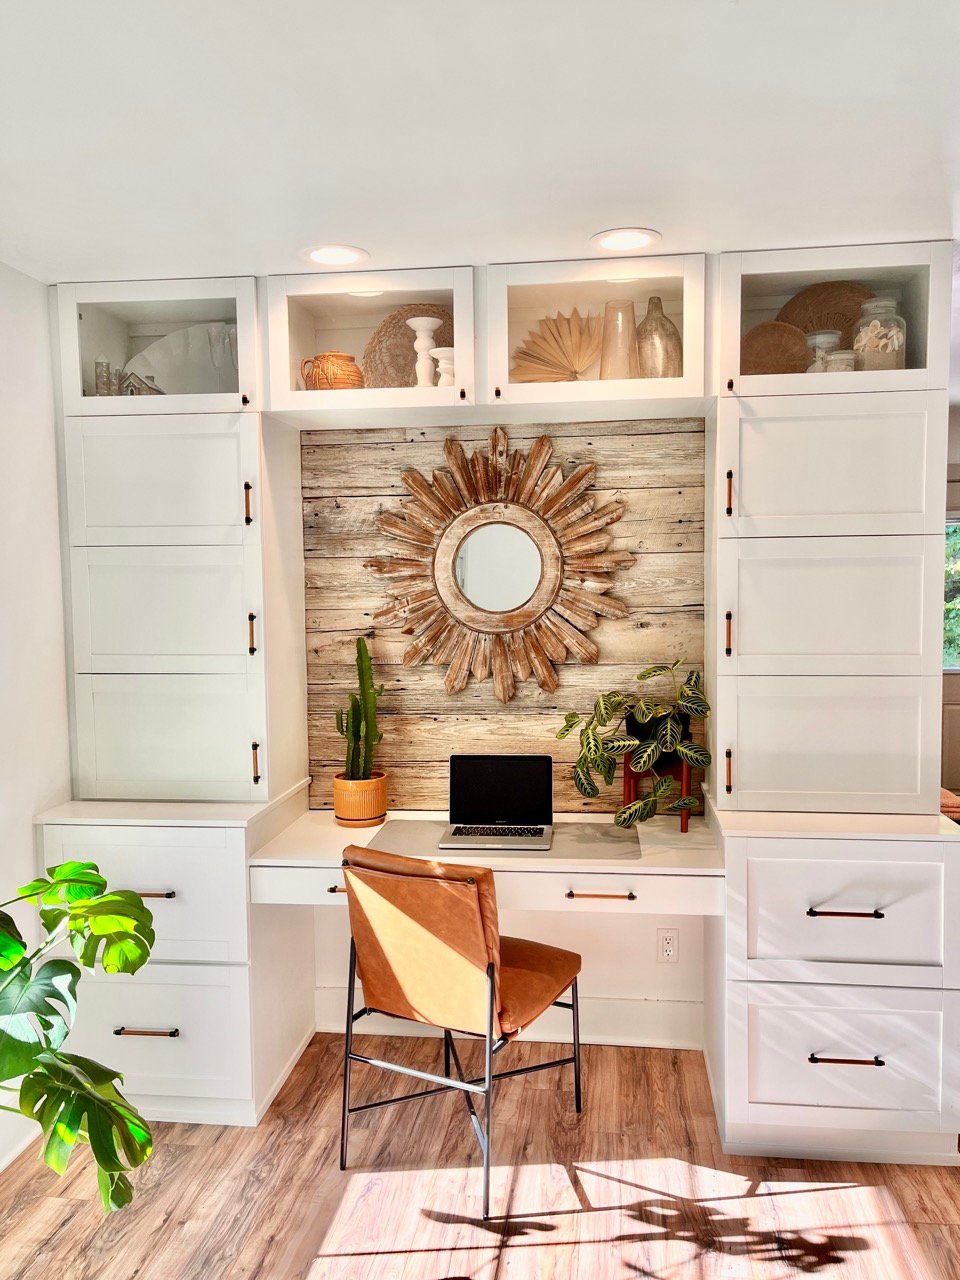
Tool Storage Sideboard

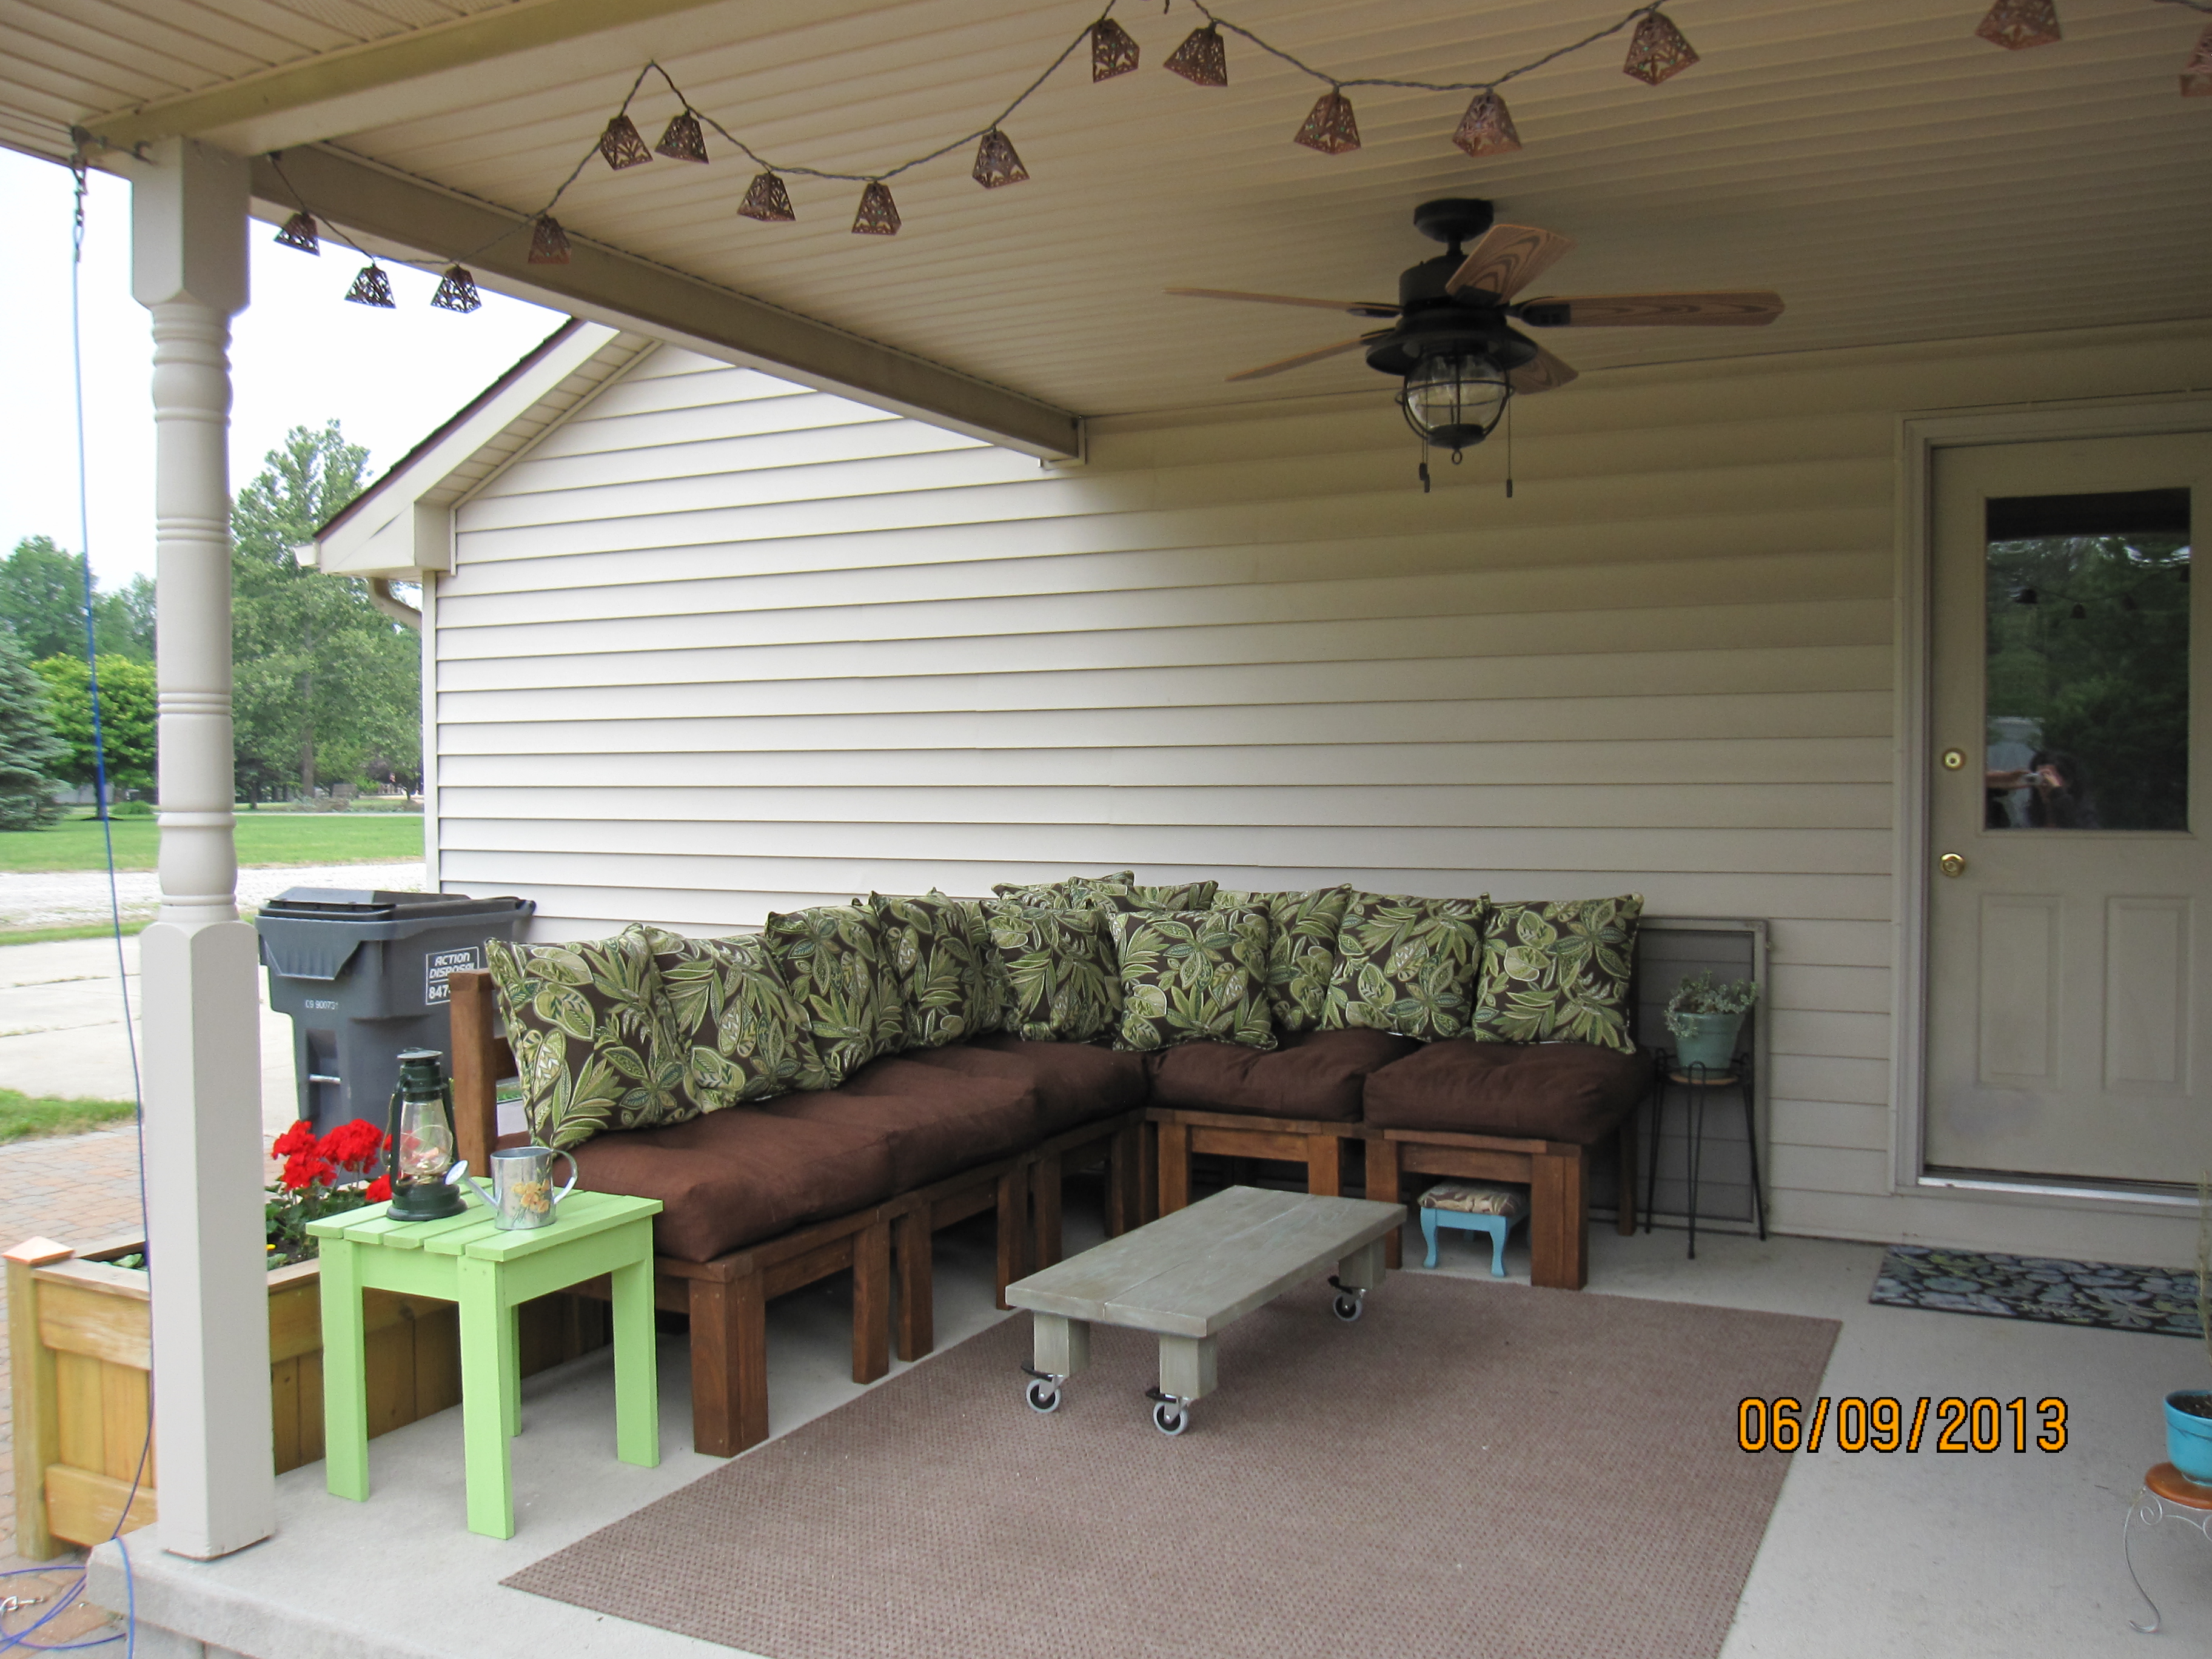
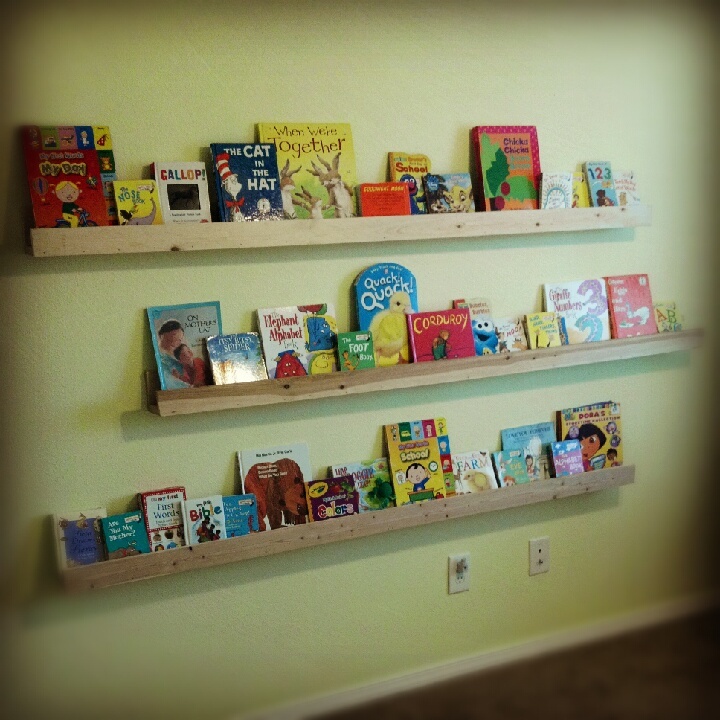
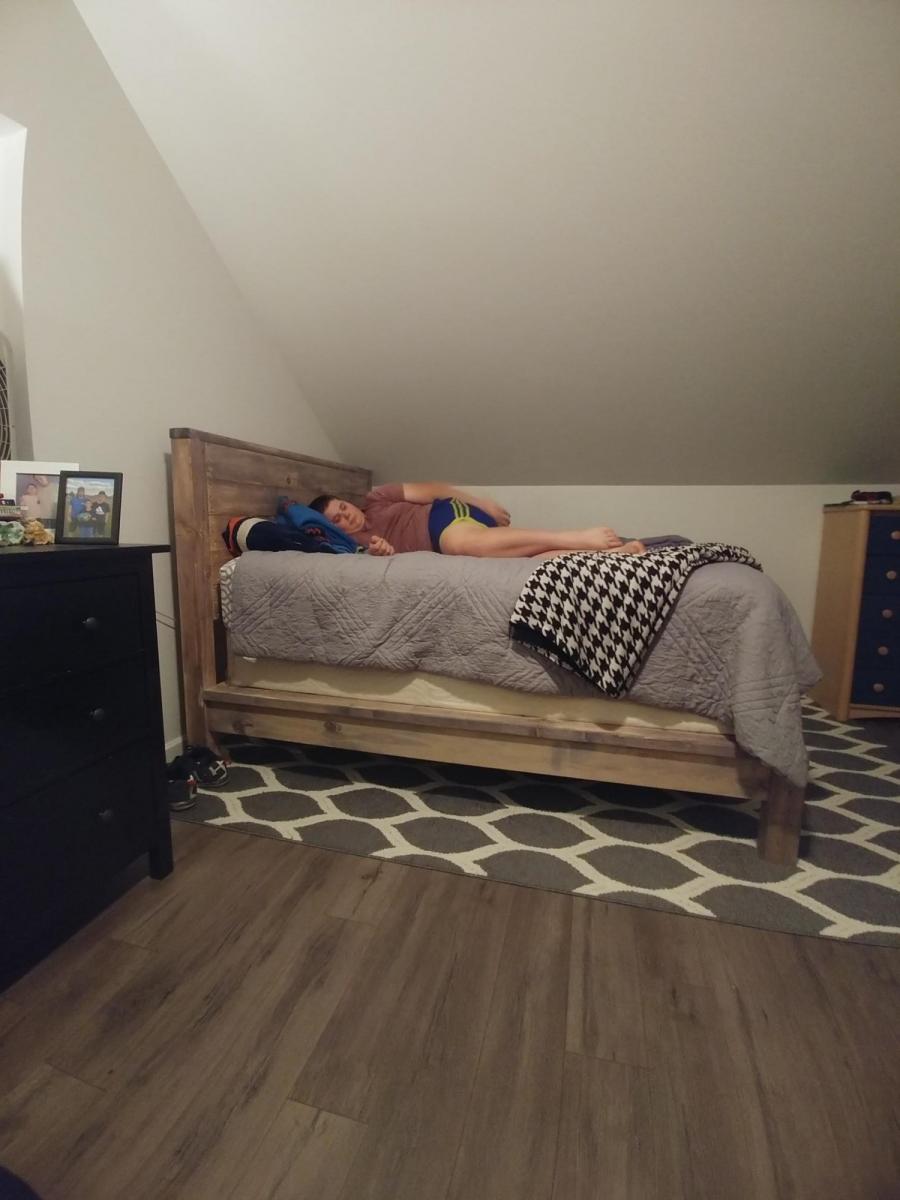
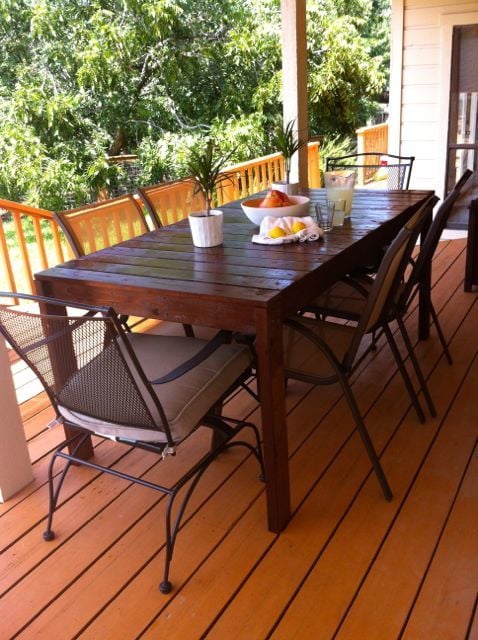
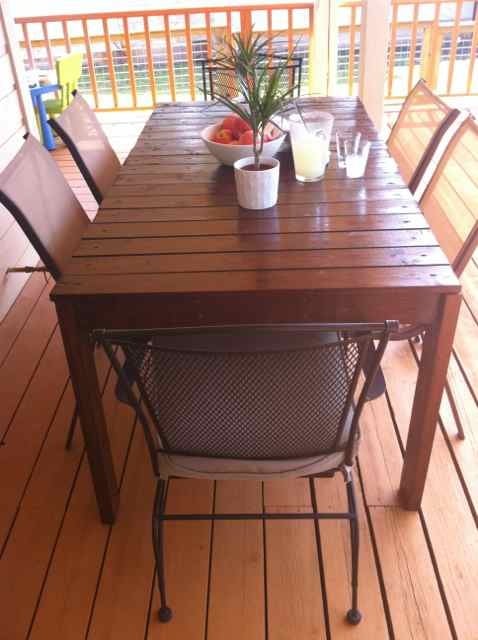
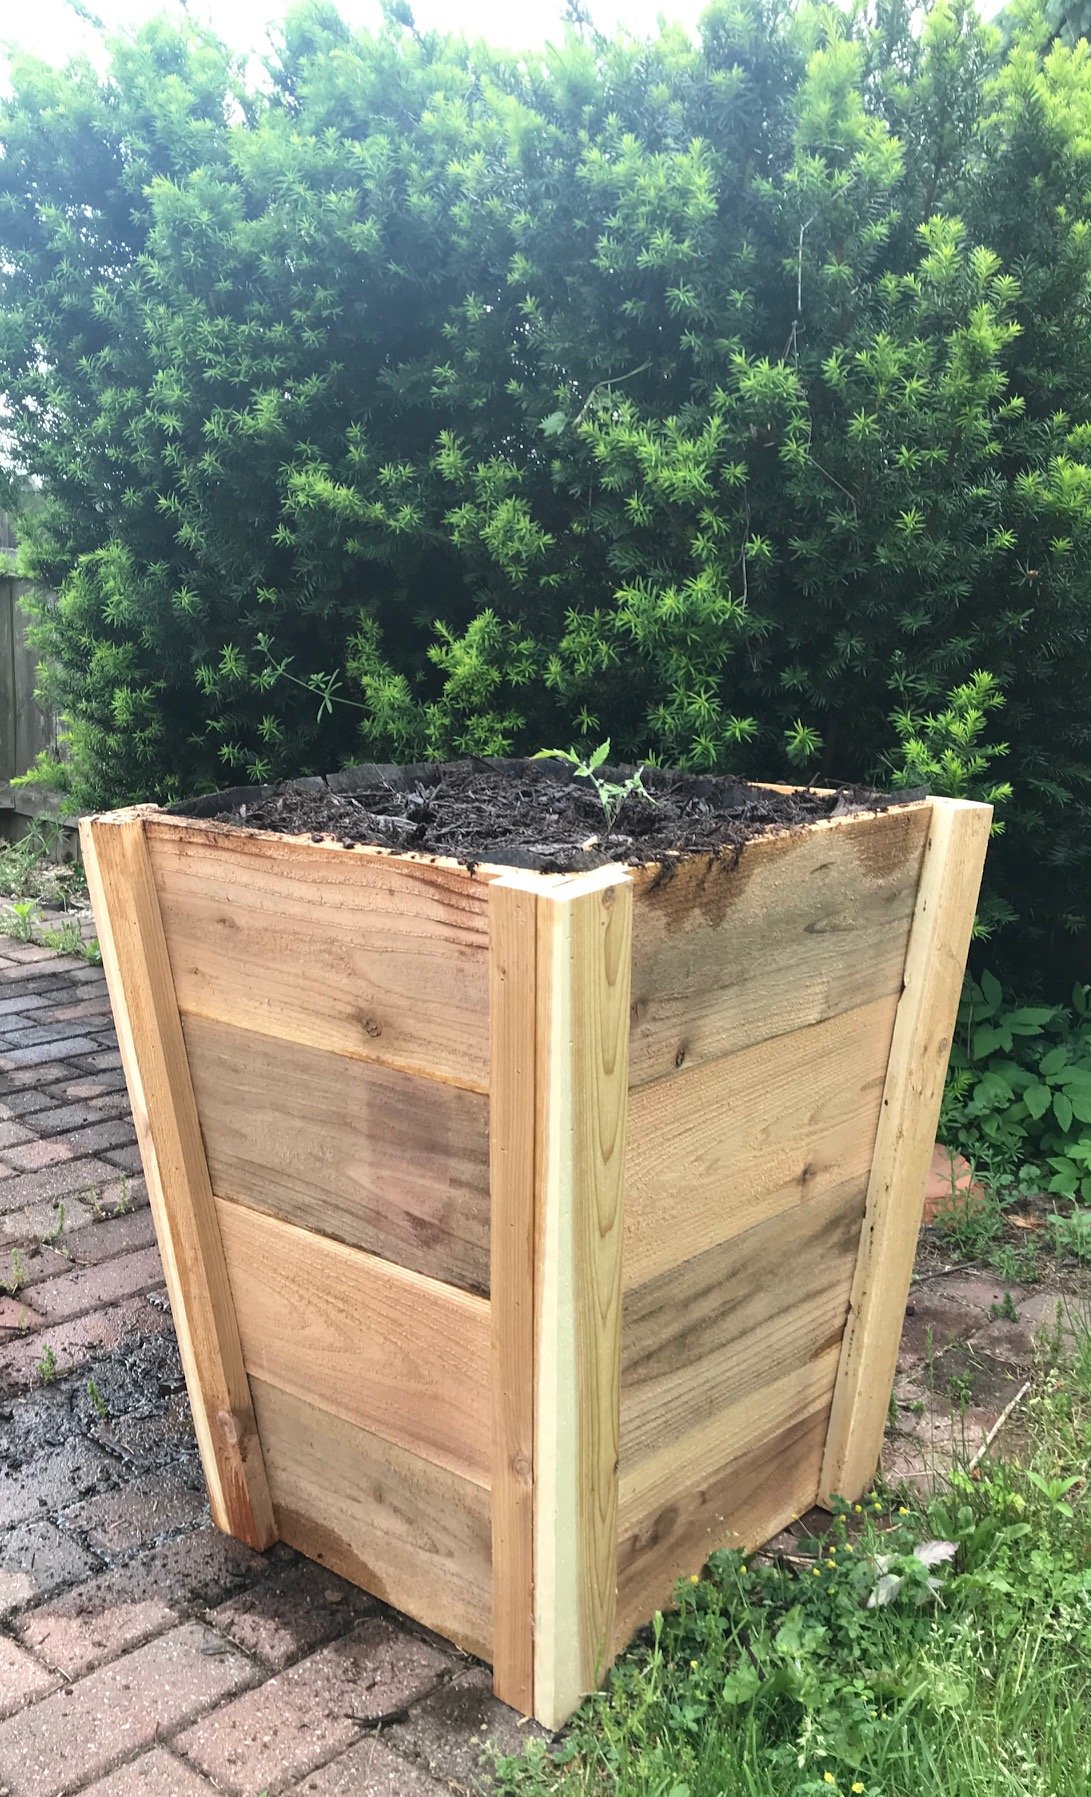
My family and I are constantly looking for ways to save space and still enjoy the look of our 1500 sq/f apartment. Due to all of our different intrests and hobbies, along with a lack of storage solutions, i do a lot of building on the patio.

Tools for all of these projects always seem to scatter throughout the place, so my lovely wife decided it was time for a little storage project. So that's just what I set to work on.

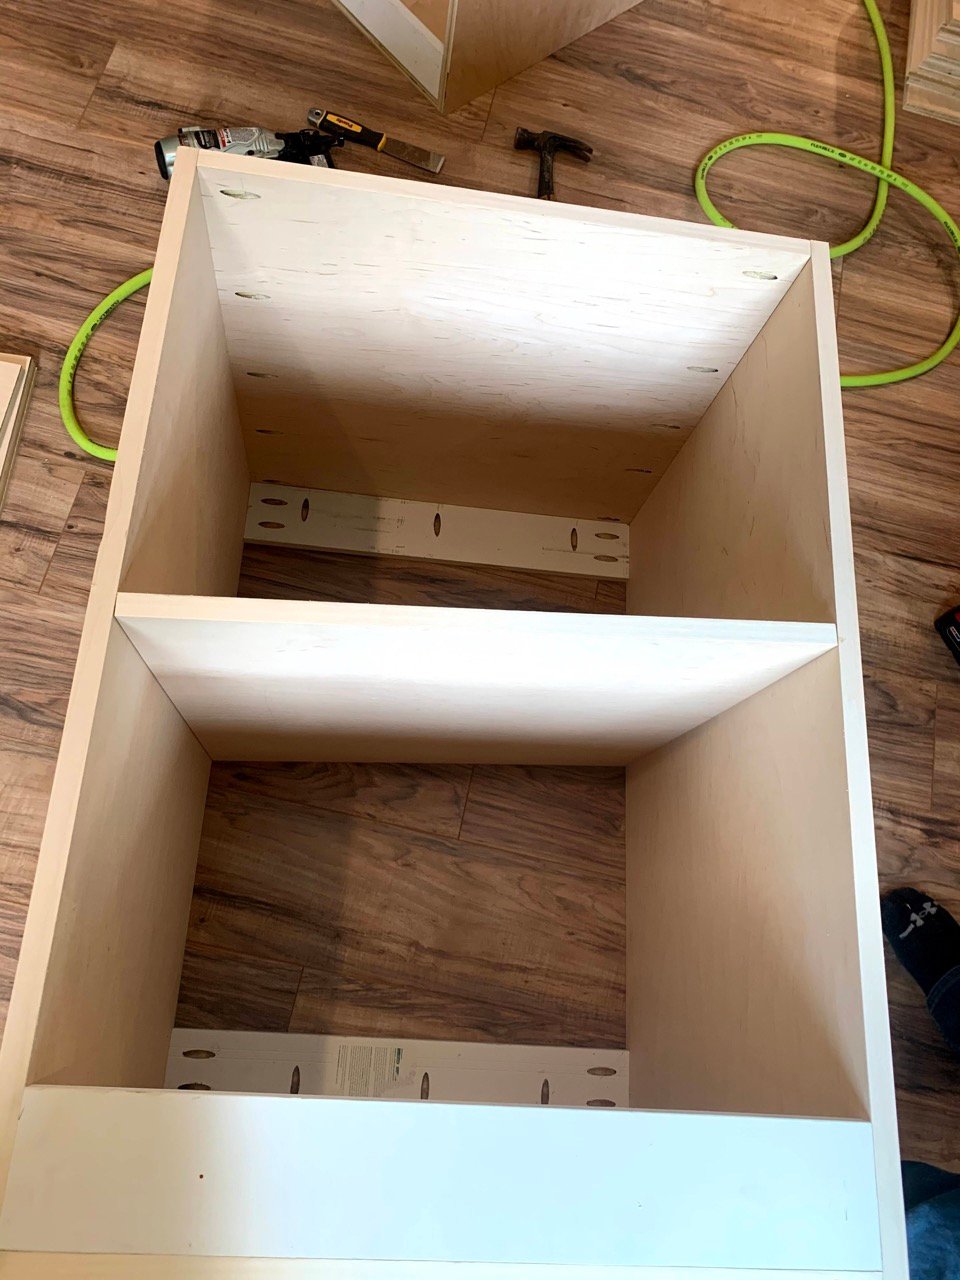
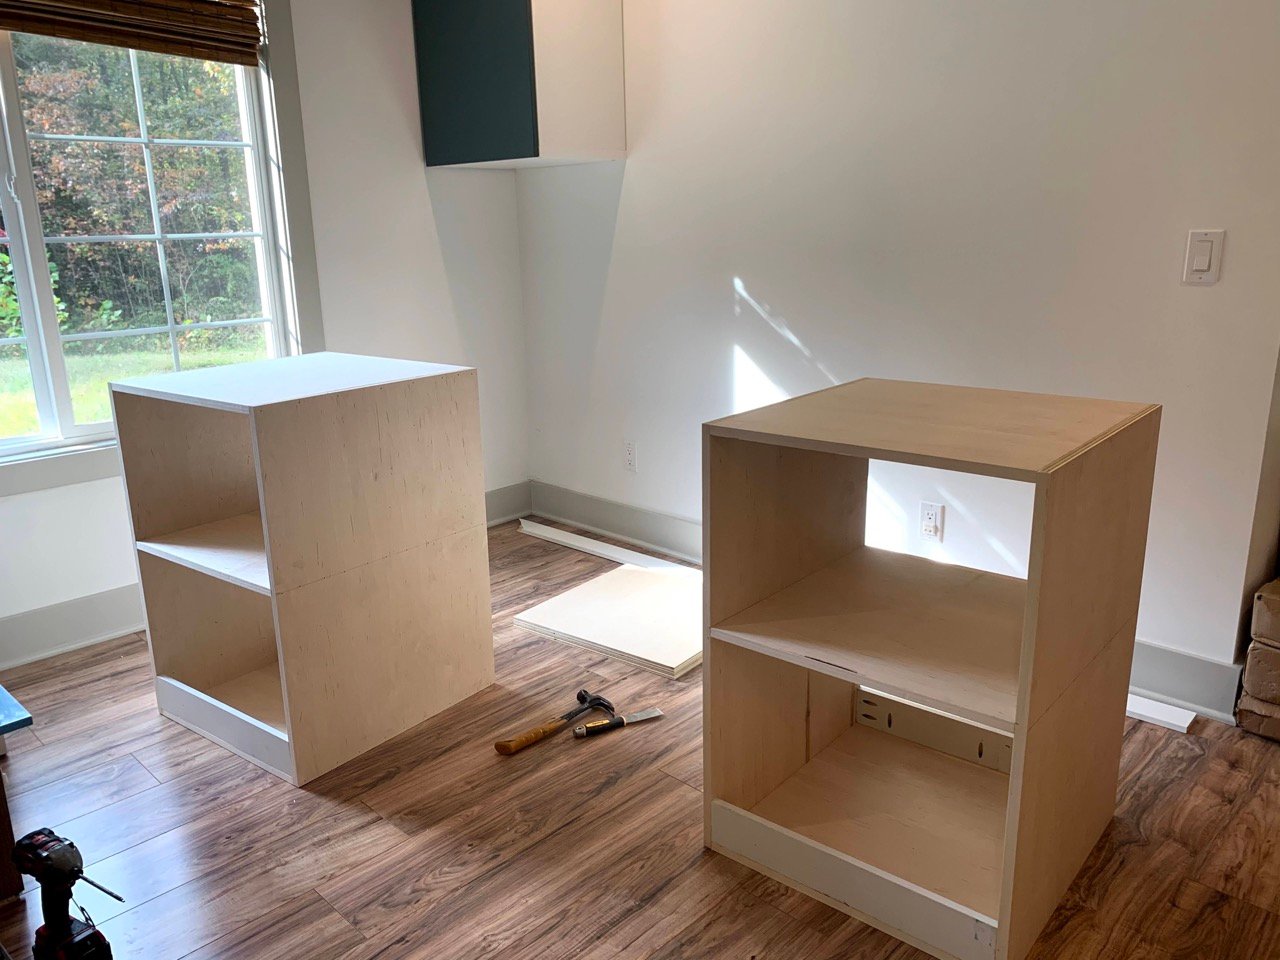
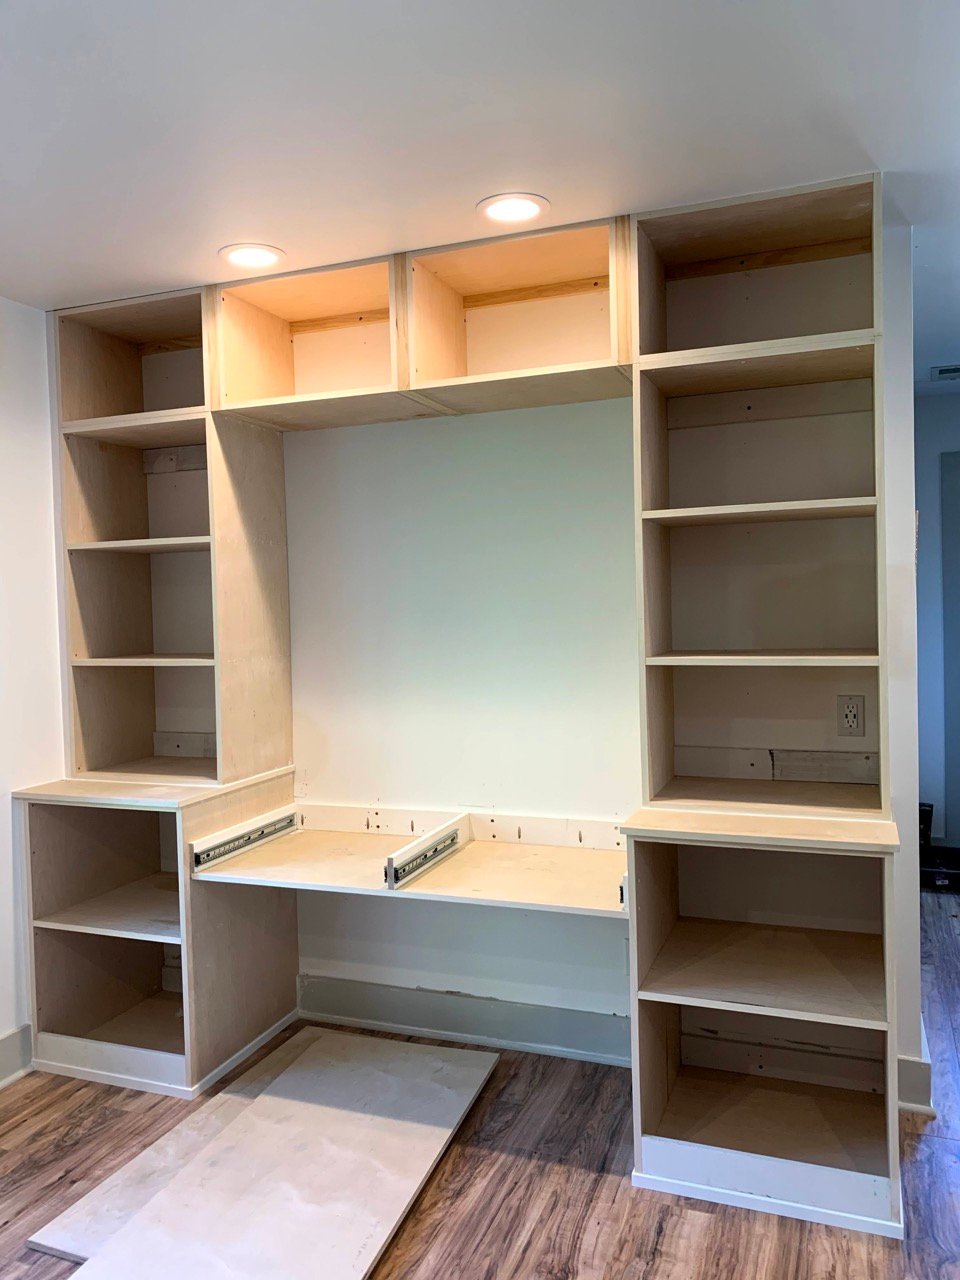
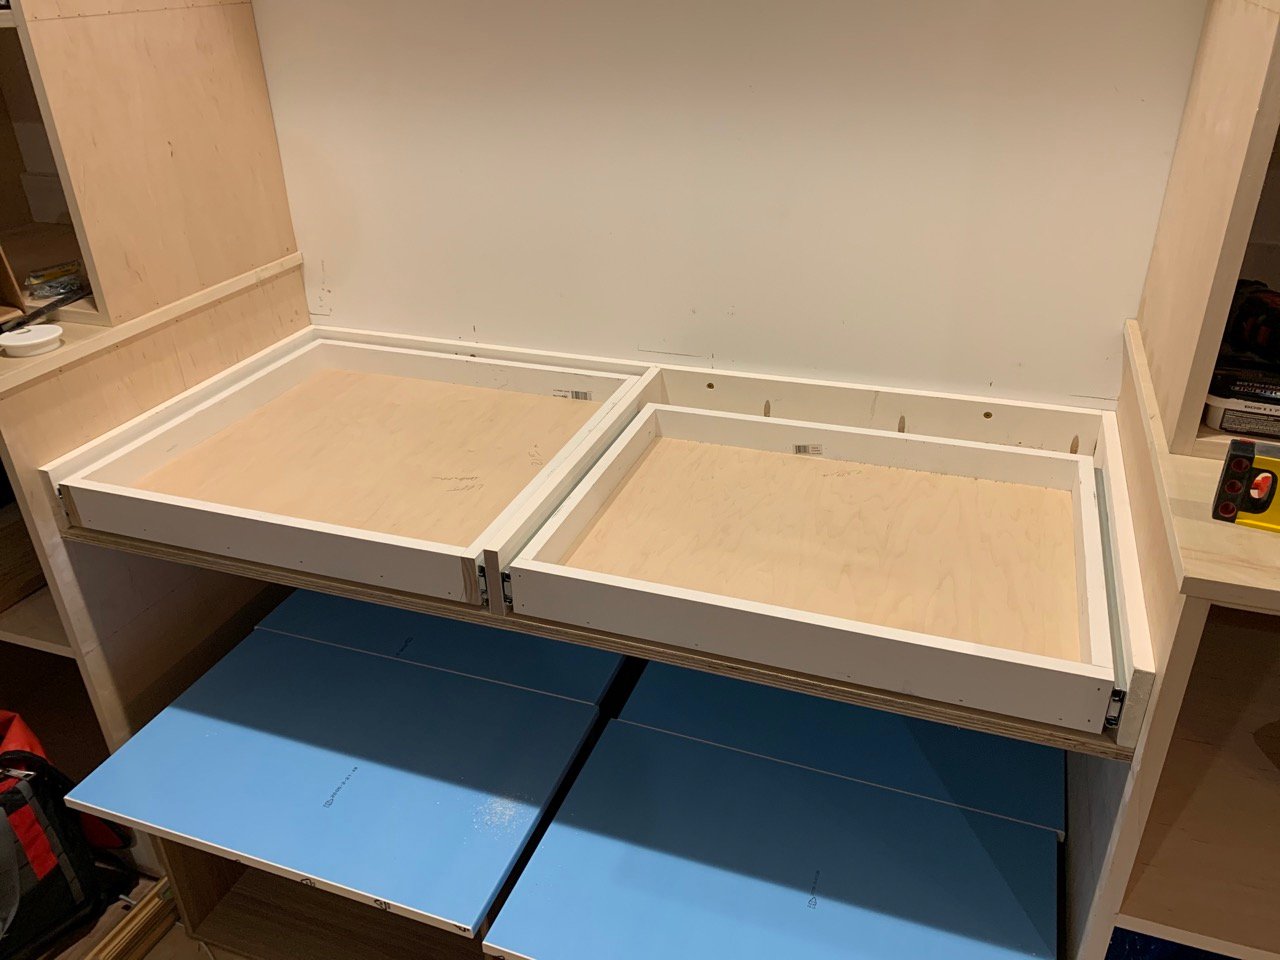
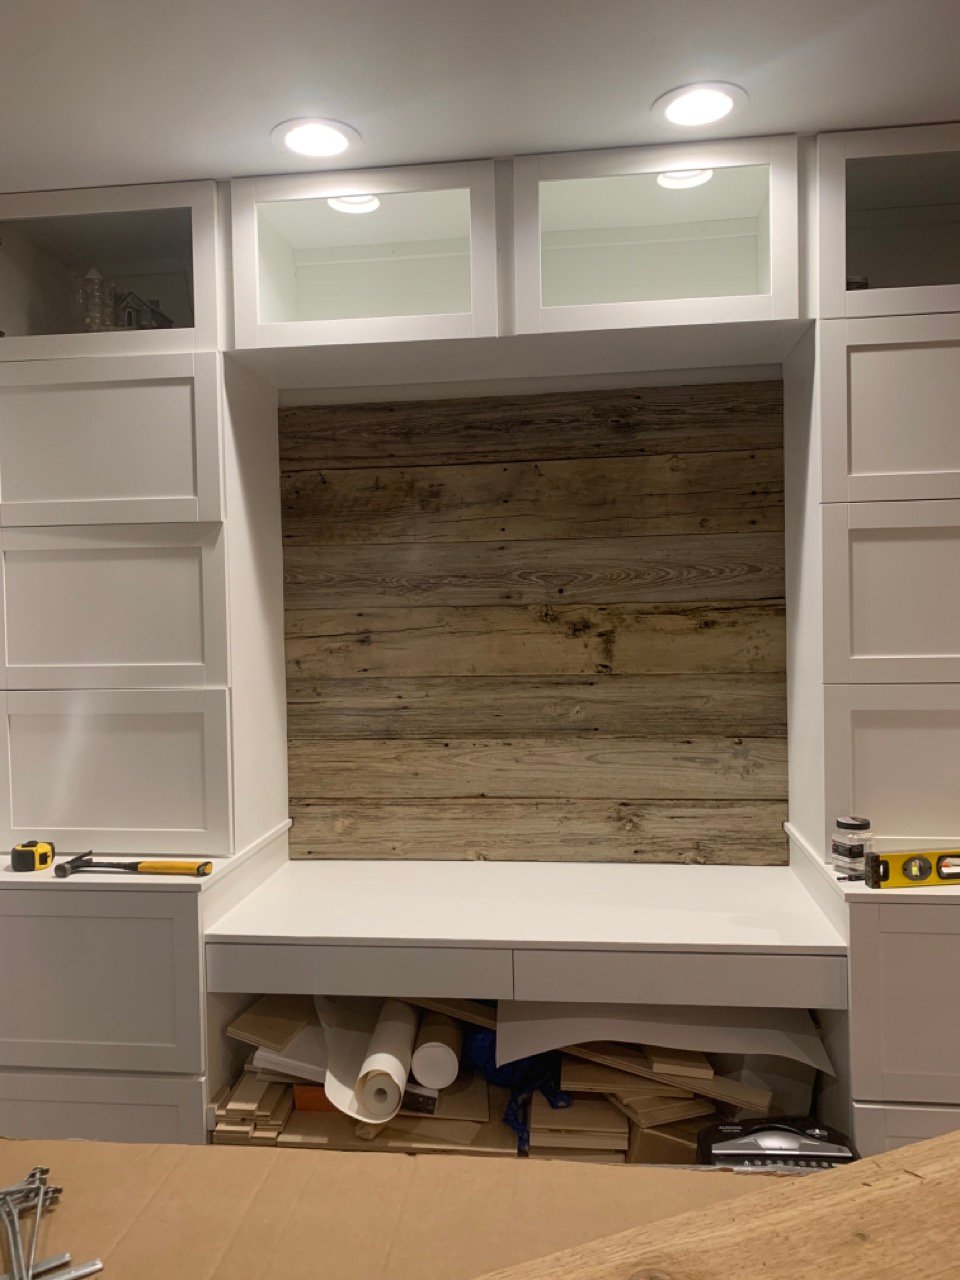
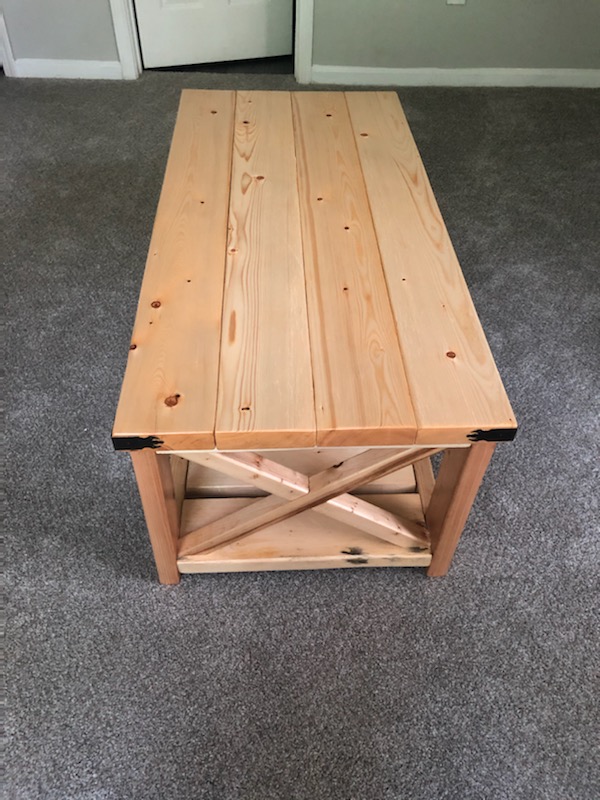
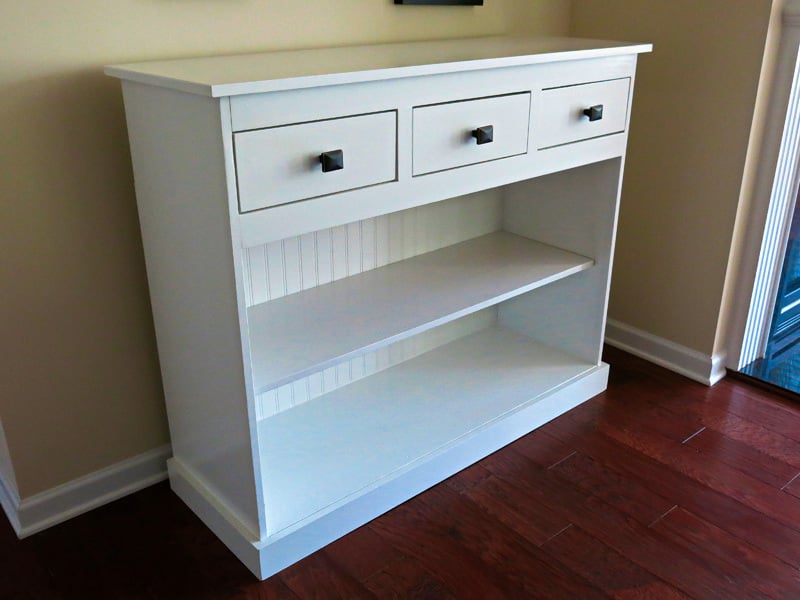
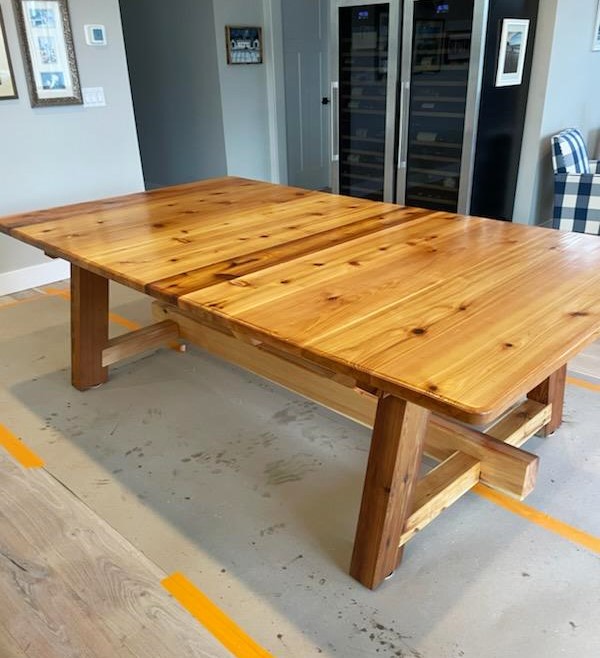
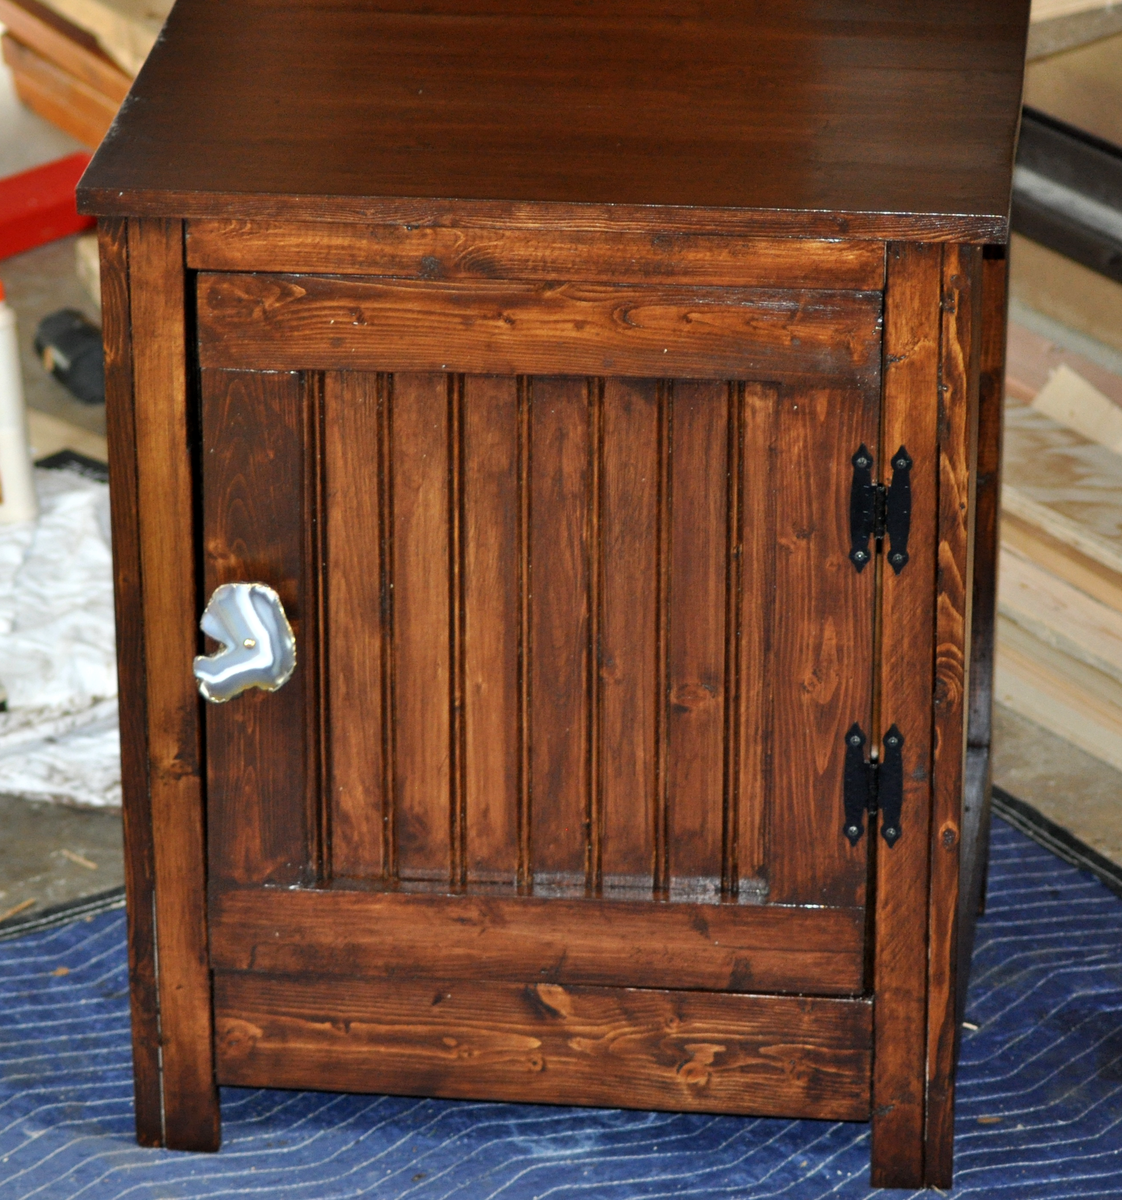
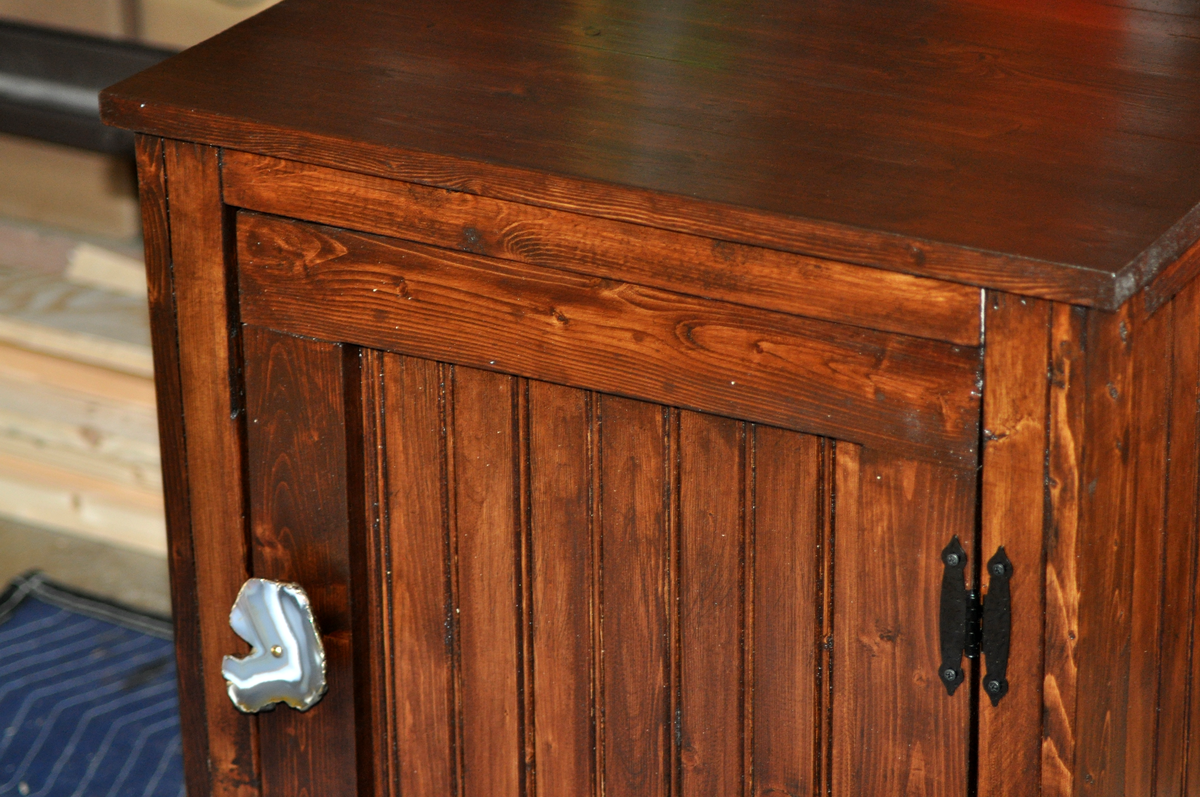
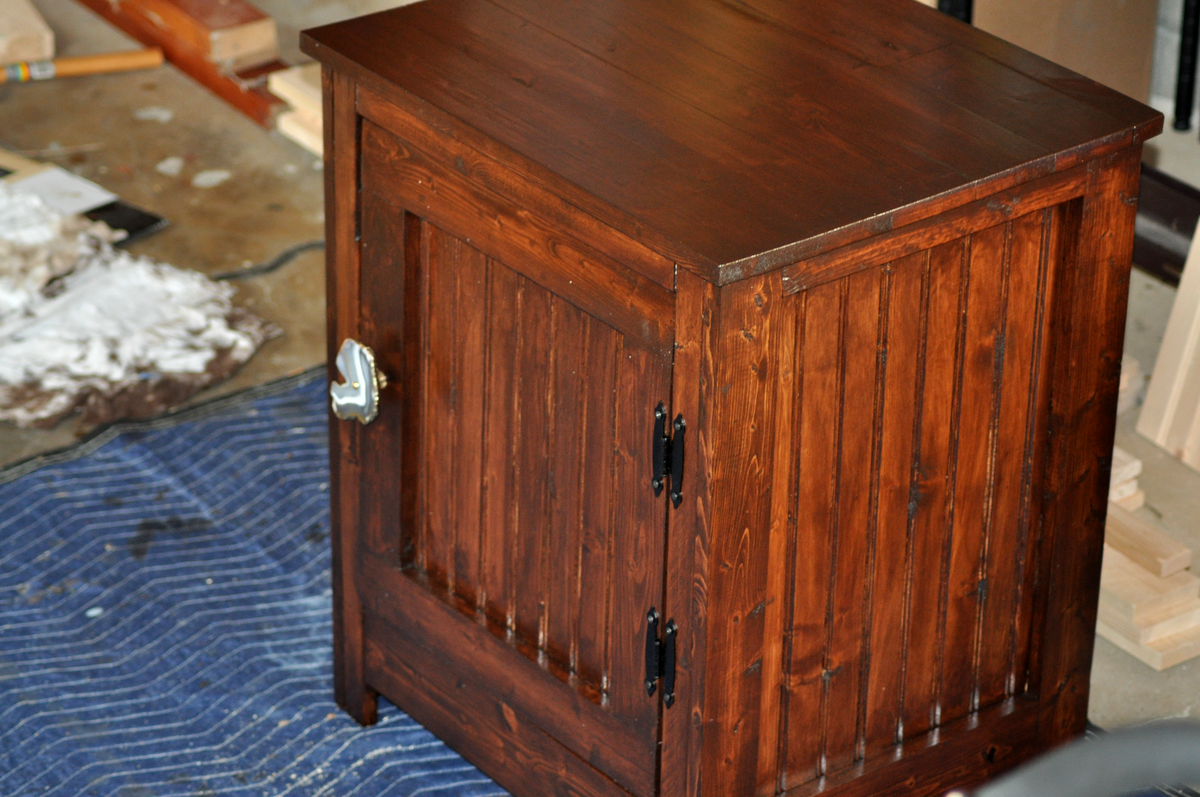
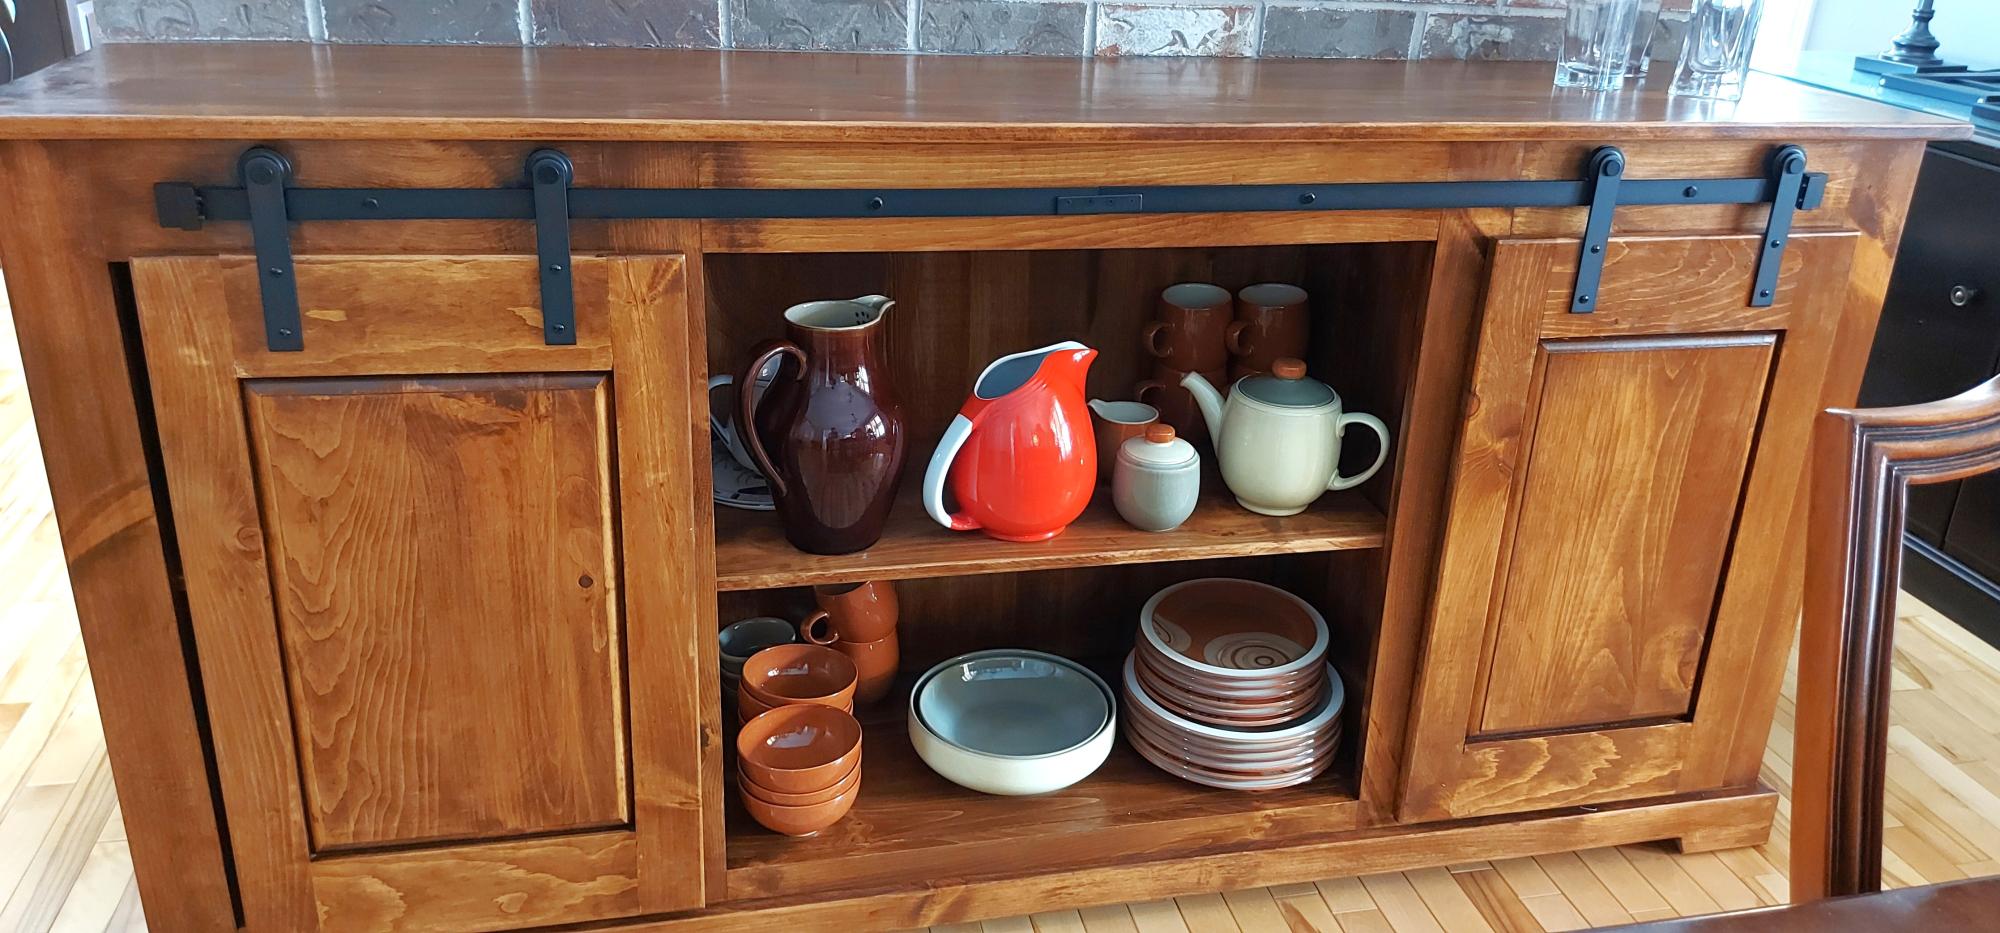
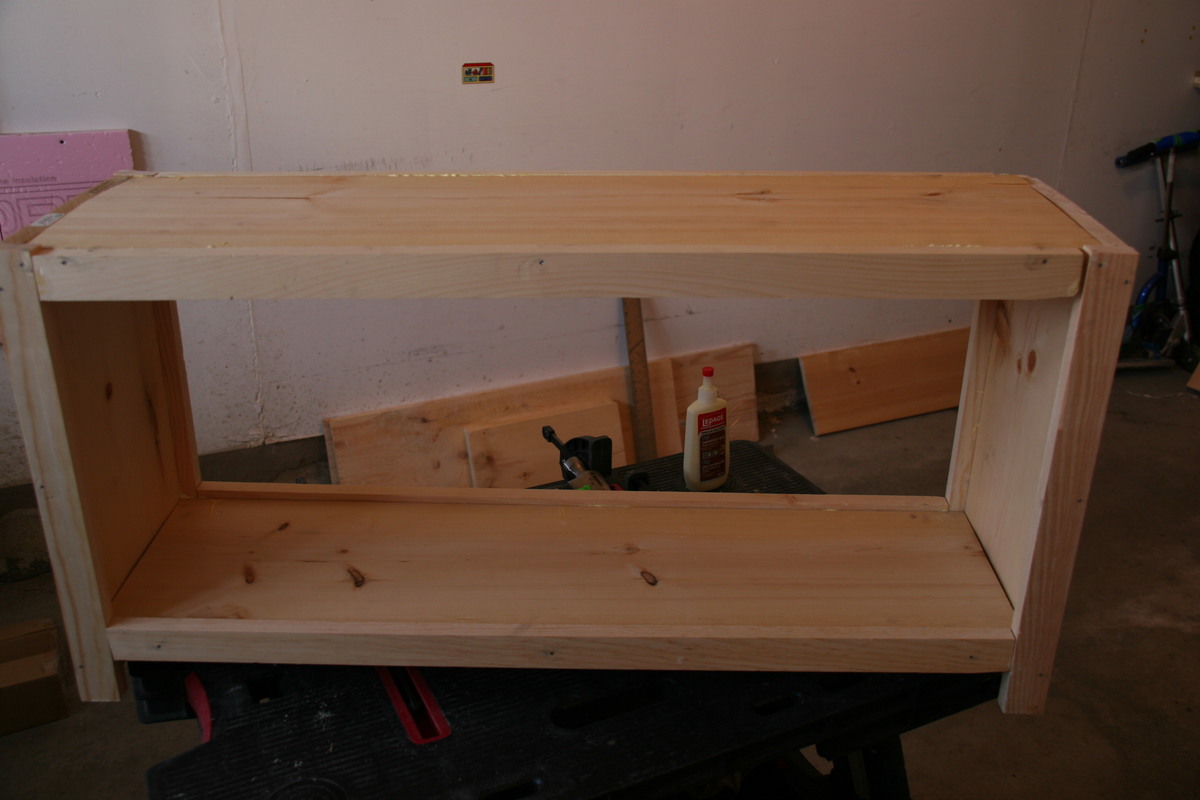
The Planked Wood Sideboard was perfect for this!

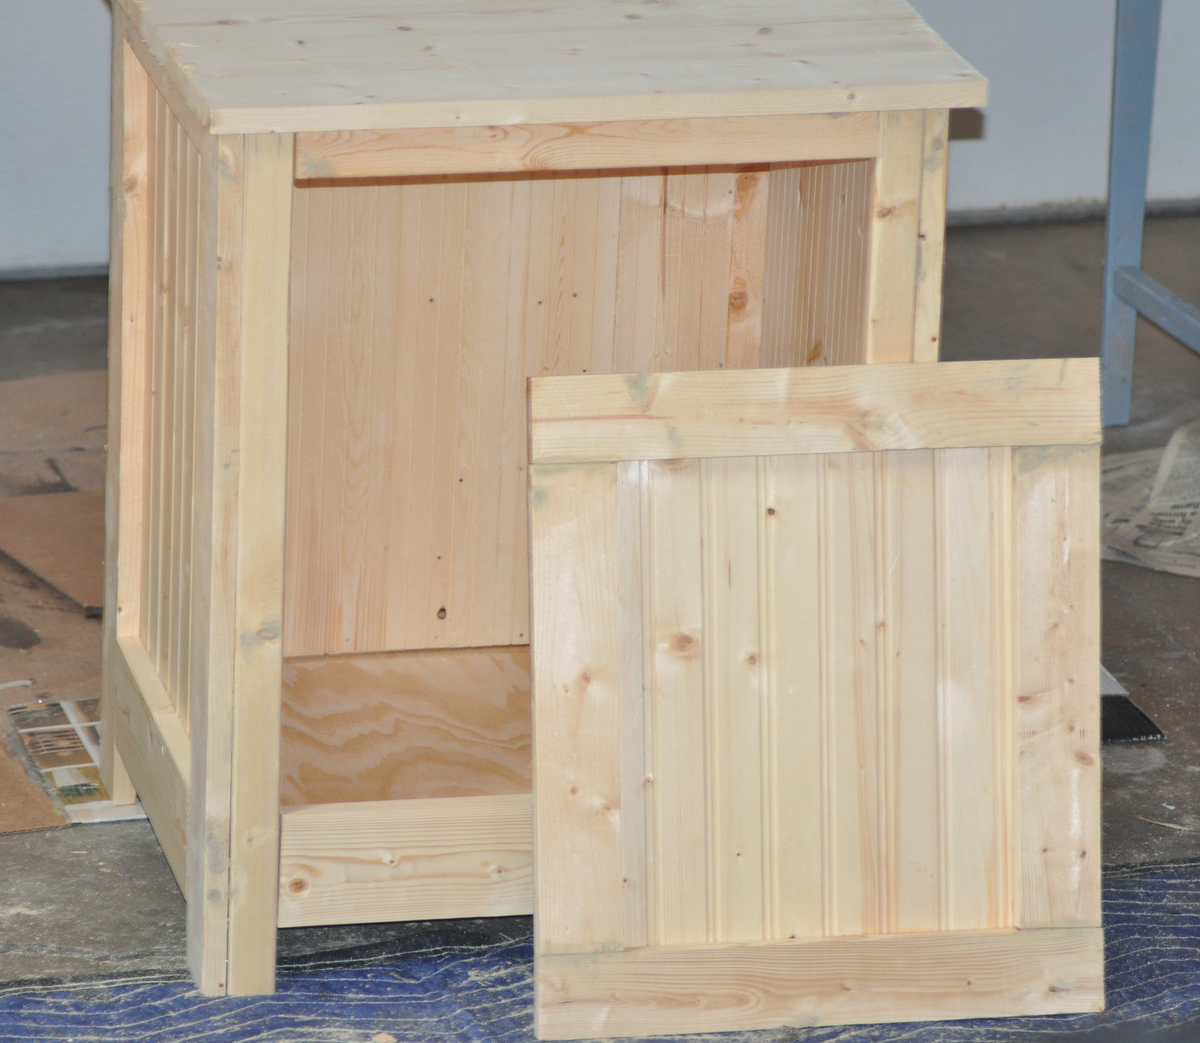
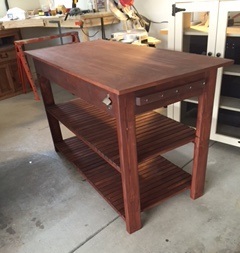
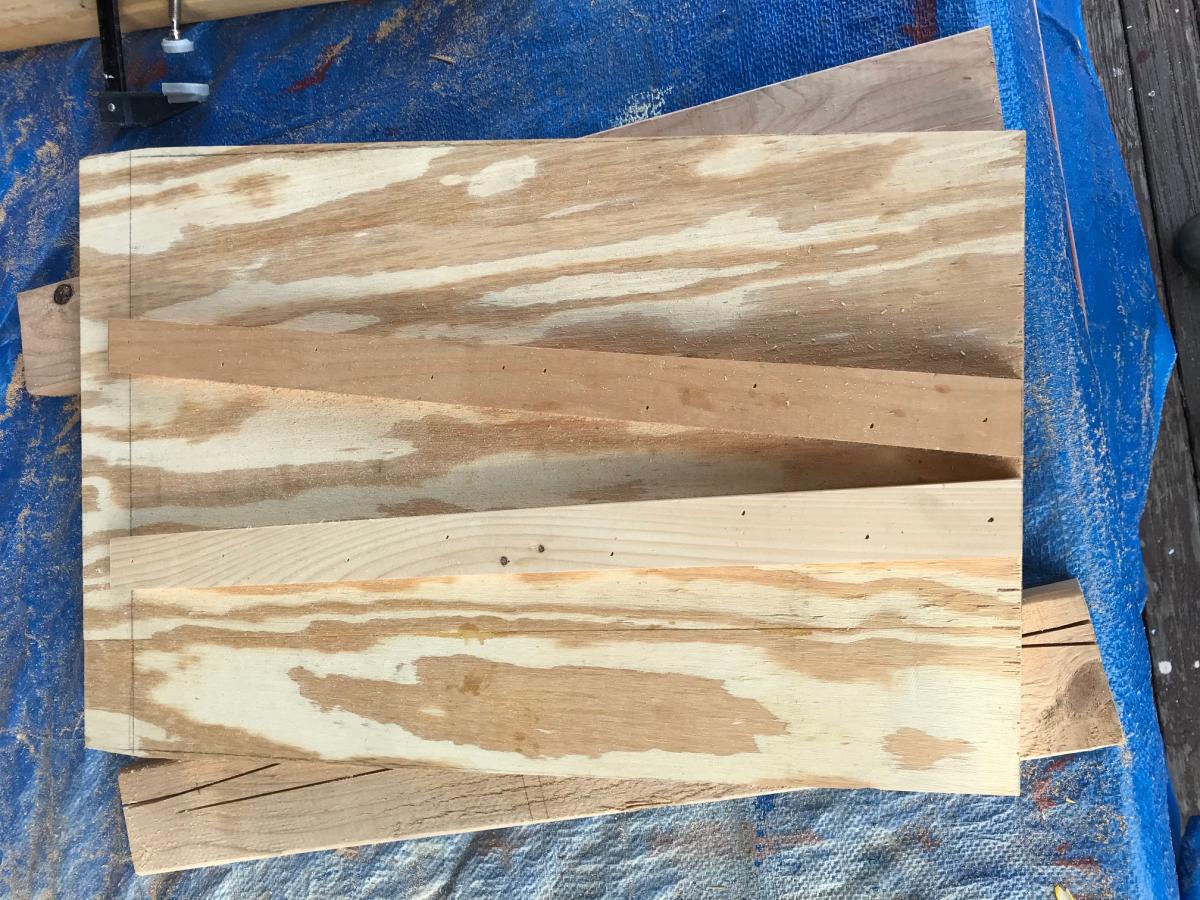
There is one major deviation from the plan on the site. Rather than hinge two doors for the center area, I made one big panel with trim and plywood, held in with two cabinet magnets, that removes completely.

Built from Plan(s)
Estimated Time Investment
Week Long Project (20 Hours or More)
Finish Used
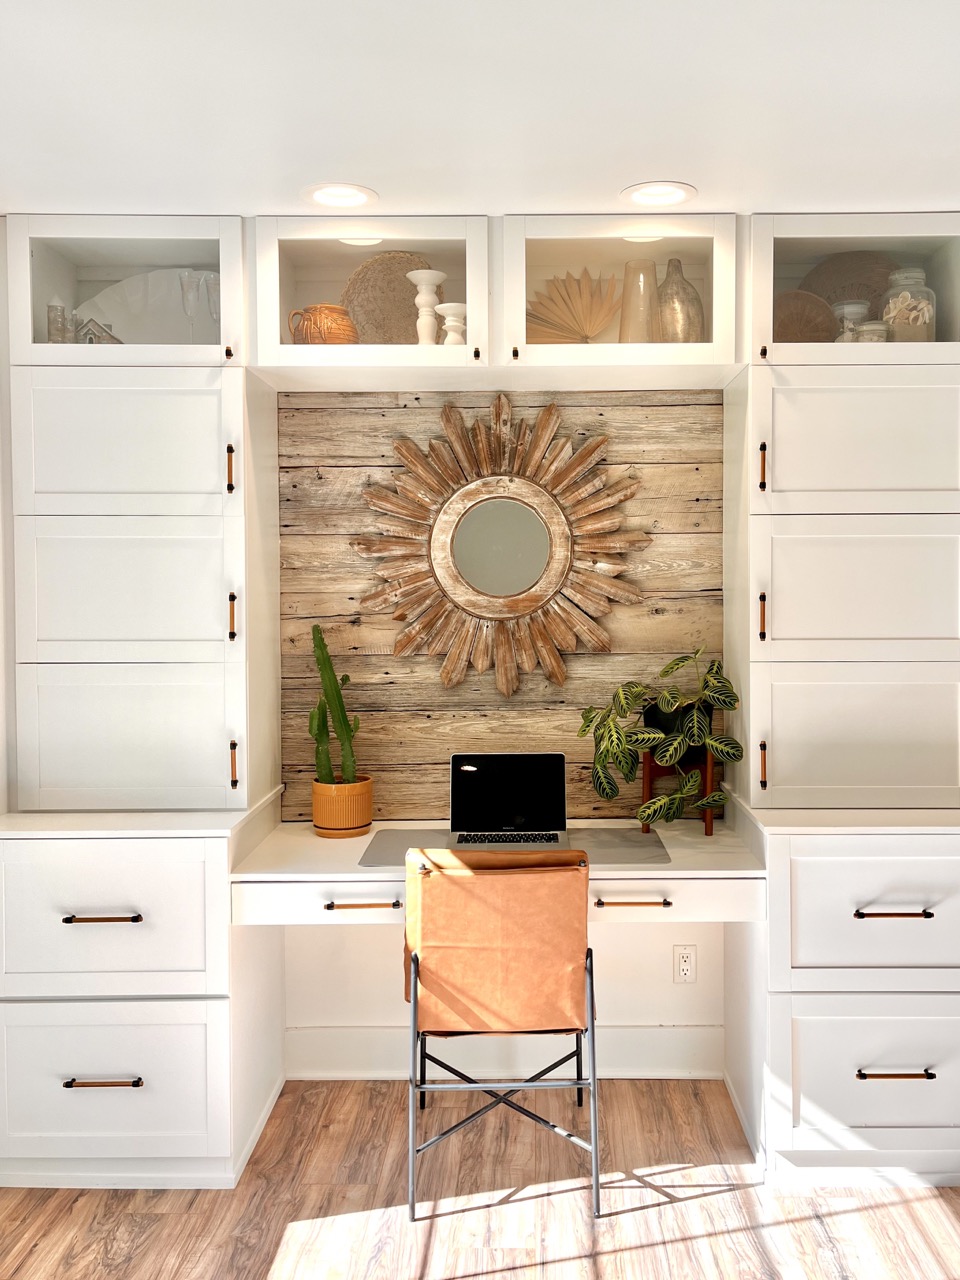
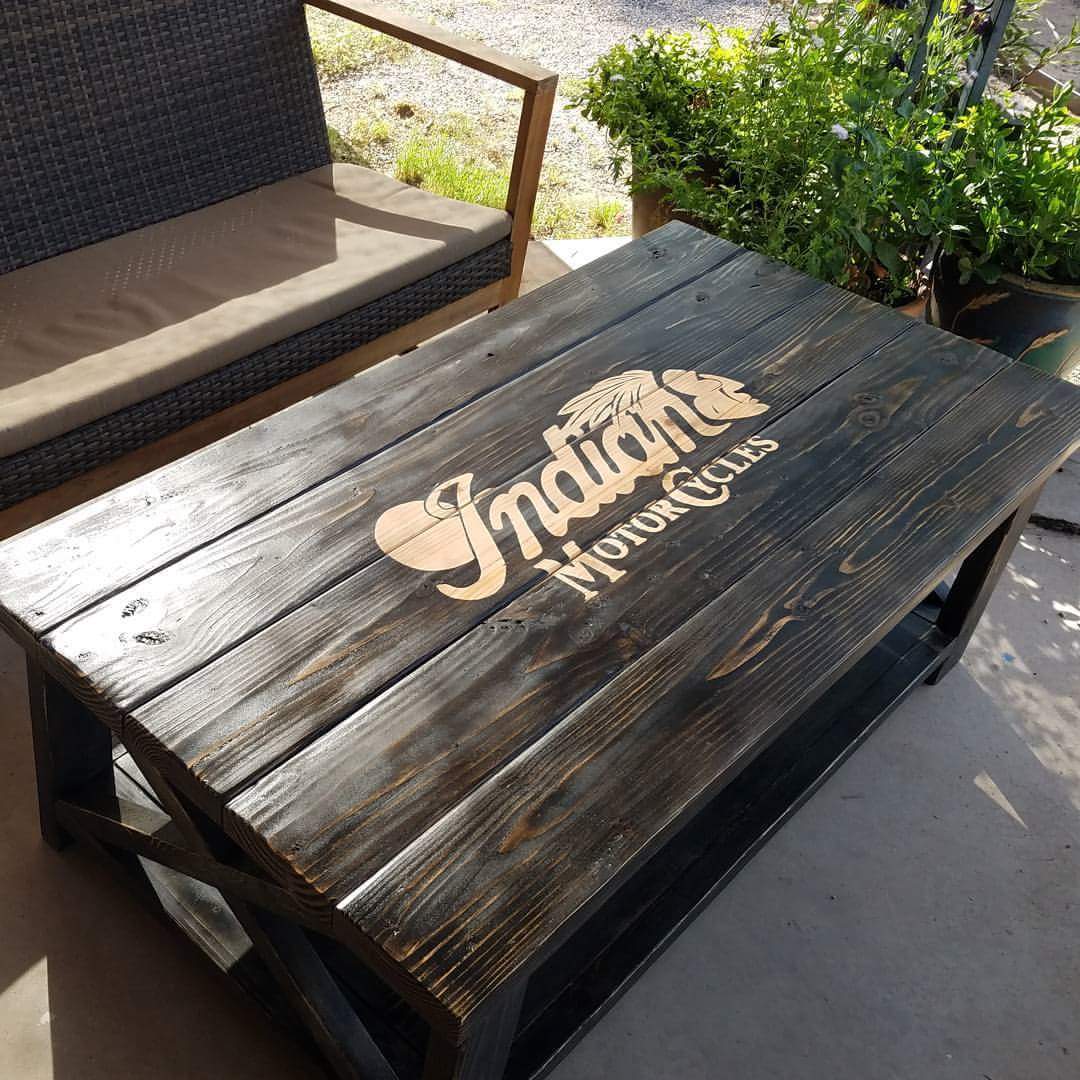
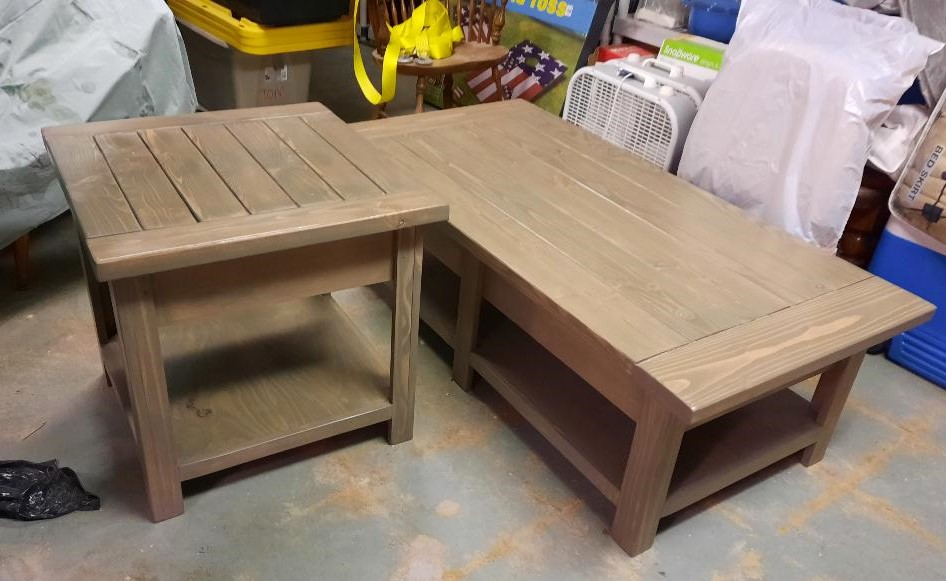
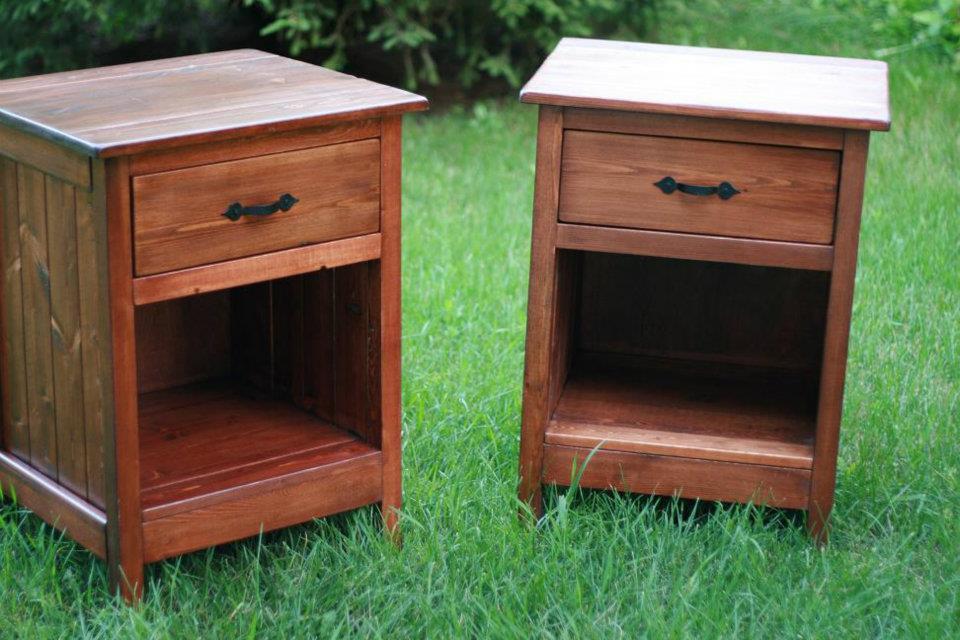
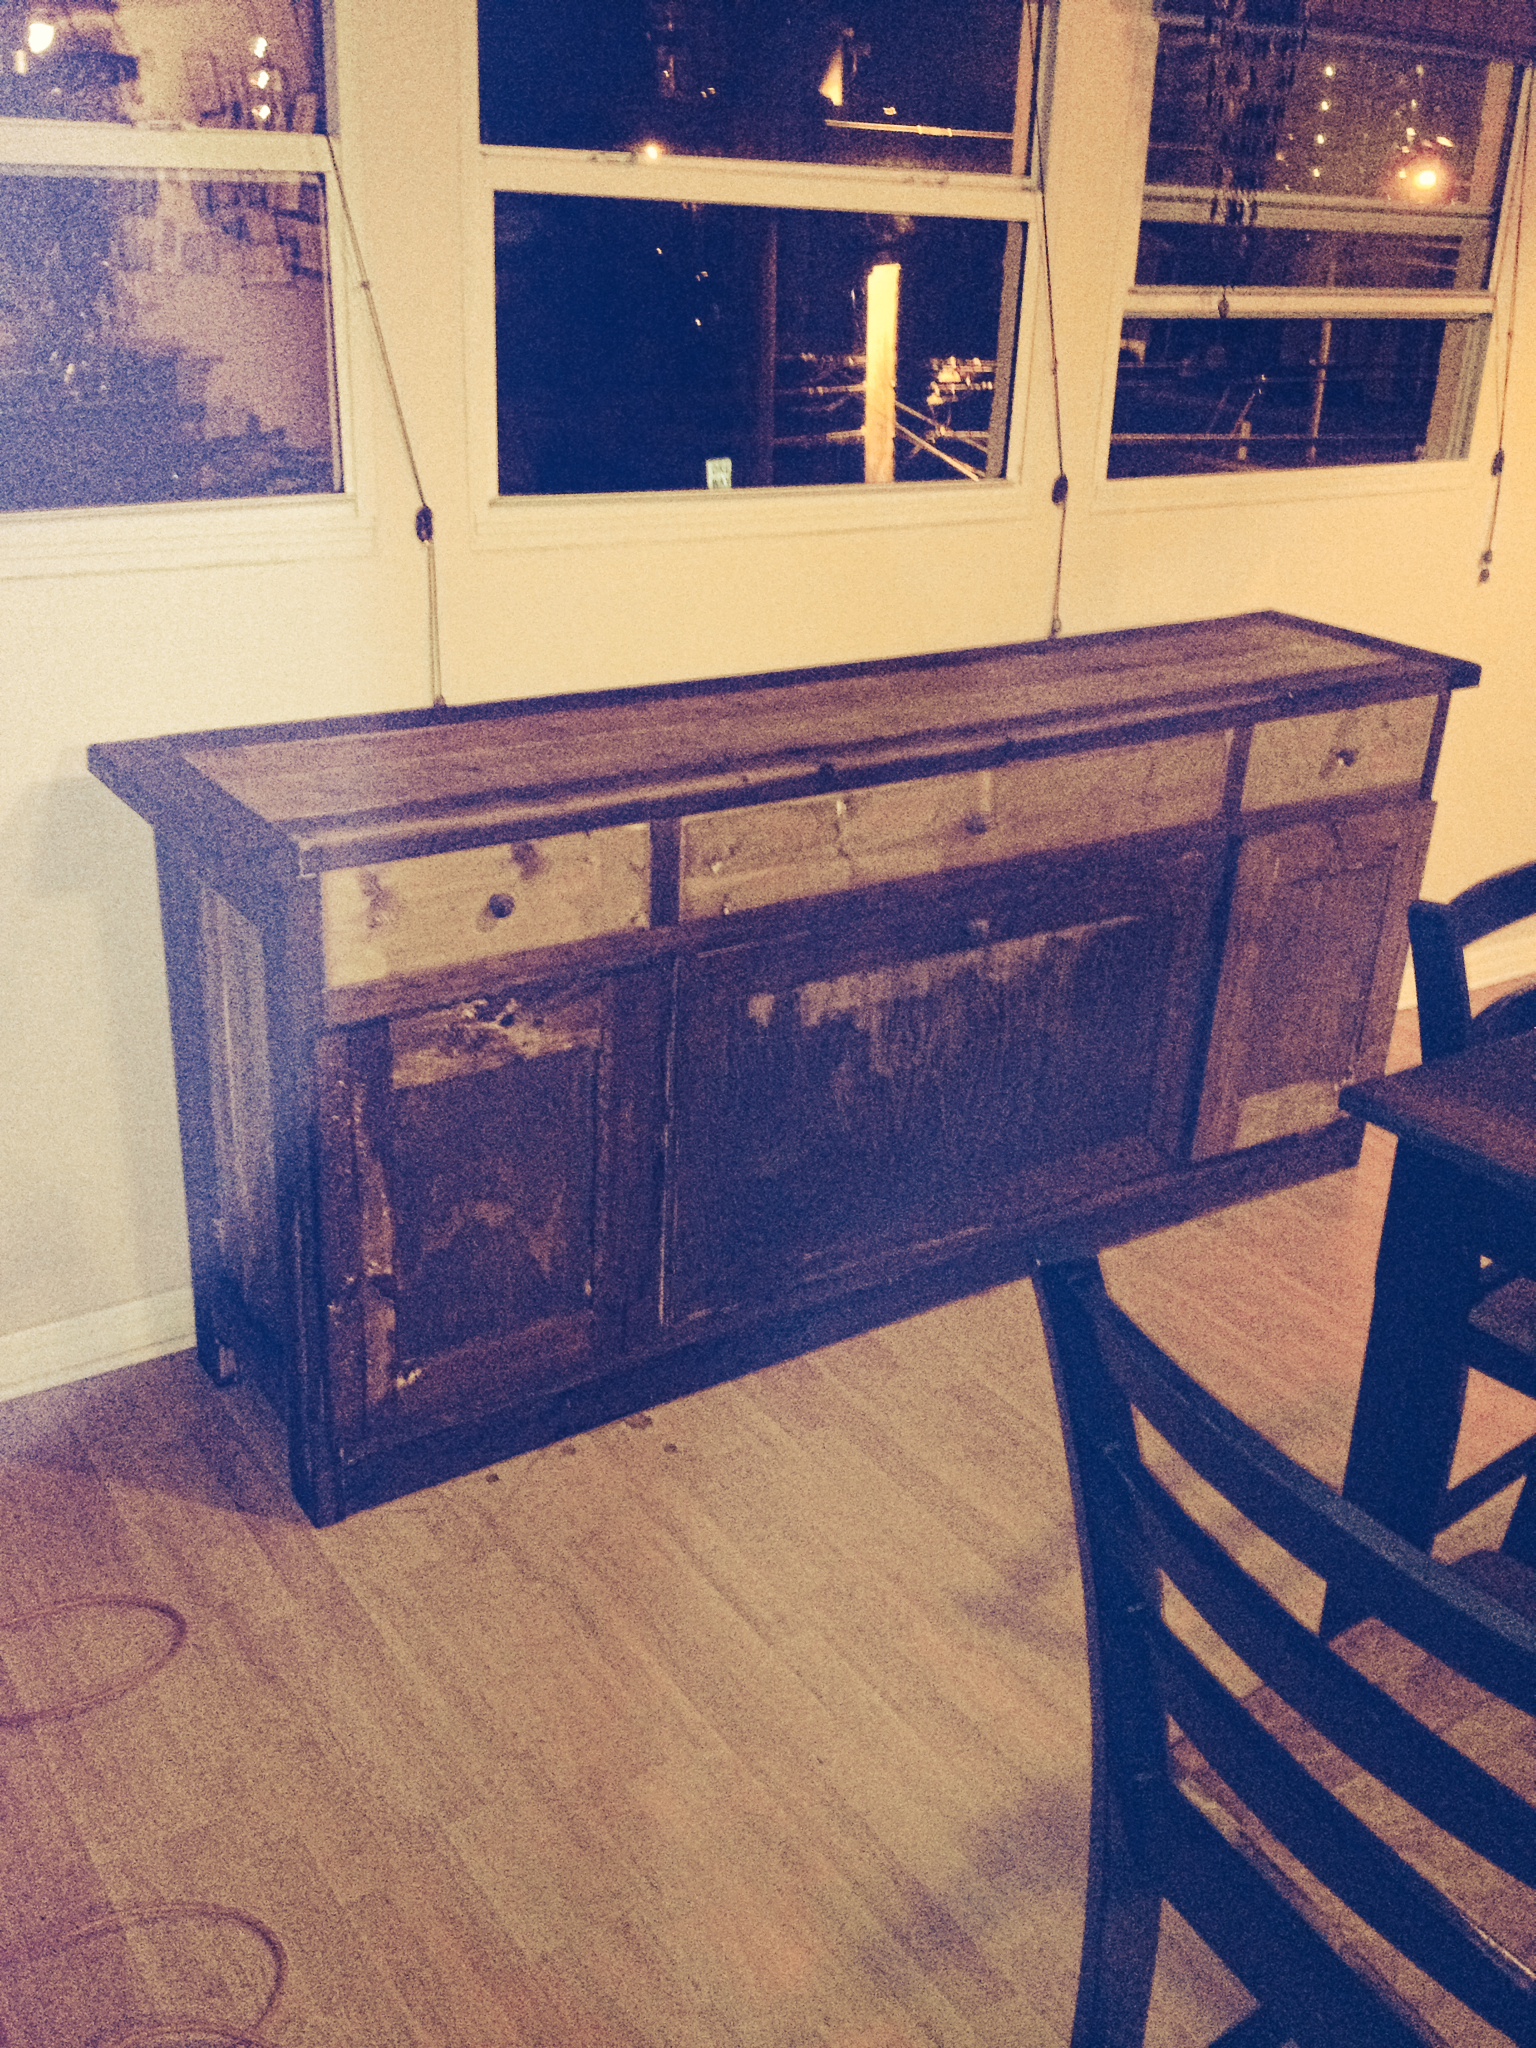
I Tea Stained the sideboard to get at the distressed wood look. Easy stuff and basically no cost. Dont forget to sand and clean all dust from surface.

Make a jar of sun tea (a couple of tea bags in a jar of water out on the patio for the day).

Put a steel wool pad in a 3/4 full jar of vinegar and let sit for at least 10 hours. The longer it sits the darker your project can look.

Brush or wipe on a coat of tea and let dry completely.

Brush on vinegar mixture and let dry. Different woods have different results!
Recommended Skill Level
Intermediate

DIY storage shed with mower ramp and steps

Submitted by lookitsash on Thu, 07/28/2016 - 15:29

I used ideas on your site for inspiration for my current back yard shed.  I did a lot of research before choosing one.  If you've never built a shed before from scratch, it can be a little daunting, especially if its a larger shed.  I also documented my whole process from the laying the foundation to putting the last nail on the shingles.  Here's the link for you to my blog post:

http://www.justmeasuringup.com/blog/the-shed-project-phase-1

It was a lot of fun for me, and a huge wow factor to impress my friends ;)  I store everything in there from my riding mower to all my patio furniture in the wintertime.  It's such a useful thing to have.

I spent around $1500 and it took about 2 months to complete (working on it while having a full time job - otherwise would have finished a lot faster)

Estimated Cost
$1500
Estimated Time Investment
Week Long Project (20 Hours or More)
Finish Used
Used T-11 siding with several coats of exterior primer and paint
Recommended Skill Level
Intermediate

Comments

lookitsash

Sun, 07/31/2016 - 17:44

Thanks!   I looked at a bunch of different door trims online and found this pattern that I liked.  The mitre saw made quick work out of it, and it only took about 10 minutes to cut and install.

Outdoor Sectional

Submitted by spiceylg on Fri, 07/13/2012 - 18:41

We chose to use 2x4 construction because we simply needed a sturdier build. Enough said. :) I wanted to use cedar, but when we went to the lumberyard, they didn't carry 2x4s in cedar, just 1x4 and said it was hard to find. Being that I had wanted this built by Labor Day and it was already July, we bought the pressure treated wood. I know, I know, chemicals galore. We worked on it a little at a time. We modified it for a higher back, but now I wonder if that was needed, because although the cushions are deep they do go down some when you sit on them. Ah well, we are still happy with it. Because of the higher back, we opted to just use the armless section on the end, however we might build a modified arm later on. We'll see how it goes.

Estimated Cost
$358 = $148 wood, $210 cushions (Costco)
Estimated Time Investment
Weekend Project (10-20 Hours)
Finish Used
Not sure what brand or color. It's from Menards.
Recommended Skill Level
Beginner

Comments

Debbie Gregory (not verified)

Sat, 07/14/2012 - 08:04

So proud of my talented sister. Love to see more. My cat Keko is still loving his bed

Full Size Farmhouse Bed, all recycled wood!!!!!

Submitted by leenmarie on Wed, 04/30/2014 - 22:31

I live in a very old house with very little storage space (only 2 tiny closets!) so i made the bed higher and am going to build the trundle drawers on casters for under the bed. I also liked the version i saw with the higher footboard panel. Though i kept the original height measurements for the headboard posts (because it actually ends up to be the same height as the fireplace mantle, which adds a nice design harmony to the room) the headboard panel is shorter to make up for a bigger space under the bed.
The panels are made from weathered fencing and the 4x4s are discards from a sign company that i pass by on a regular basis. So my only monetary investment was for the long screws and a new drill bit. ! I have not decided on a finish yet, i'm going to sleep on it a while. (grin)
i started out with everything just a little bit bigger because i knew that discrepancies in old wood are better off being trimmed to square rather than assuming everything will fit.
I love how the raised grain of the weathered wood creates such dramatic abstract organic designs; i went over it ever so lightly with a sander. This is the second bed i have built, but the first one that cost me virtually nothing.
There's still plenty of fencing left and i am planning a dresser and a desk. :)
Thanks so much for your inspiration and influence on the world!

Built from Plan(s)
Estimated Cost
$20.00
Estimated Time Investment
Week Long Project (20 Hours or More)
Finish Used
none yet. going to do some samples with clear laquer or poly, milk paint, and stains before i decide.
Recommended Skill Level
Beginner

DIY Shitty on purpose coffee table I made for my tough little man.

Submitted by Anonymous (not verified) on Tue, 08/02/2016 - 09:09

My son needed a coffee table to help him with his physical therapy. I didn't want to buy some plastic piece of shit from the store so I made him one. He loves toy cars, and in addition to the custom stain work I added a feature that will hopefully encourage him to stand and play. It can be removed when he grows up and he'll have something hand built to remember my love for him.


I did a step by step and posted to Reddit. Here's the link =)

https://www.reddit.com/r/DIY/comments/4vhbyl/diy_shitty_on_purpose_coff…

Built from Plan(s)
Estimated Time Investment
Day Project (6-9 Hours)
Finish Used
Minwax ebony and grey 50/50 mix
Recommended Skill Level
Beginner

Farmhouse Coffee Table

Submitted by Johno1826 on Sat, 05/23/2020 - 11:34

Great plan. I could not get the X right (terrible carpenter). A neighbor suggested I trim where they join for a flush fit. One turned out great, the other I cut a little too much. This was for my Daughter, she liked the natural color, I finished with Tung Oil so it took a while for the finish to dry completely.

Estimated Cost
$60
Estimated Time Investment
Day Project (6-9 Hours)
Finish Used
Tung Oil
Recommended Skill Level
Beginner

$10 Shelves

Submitted by mgesinel on Tue, 07/17/2012 - 11:36

As soon as I saw this I had to try it! So cheap and so easy! Makes for a fun piece of art work/ practical storage for books.

Estimated Cost
$10 per shelf
Estimated Time Investment
Afternoon Project (3-6 Hours)
Recommended Skill Level
Starter Project

Blue big kids picnic table

Submitted by Anonymous (not verified) on Fri, 08/05/2016 - 23:25

I primed and painted all of the boards before I cut them. Then I just had to do some touch up when I was done. This is my first woodworking project and the instructions were clear and easy to follow. I already have my next Ana White project picked out.

Built from Plan(s)
Estimated Cost
$100
Estimated Time Investment
Day Project (6-9 Hours)
Finish Used
Primer and paint
Recommended Skill Level
Starter Project

Bed for teen boy

Submitted by Anonymous (not verified) on Sun, 05/24/2020 - 21:54

Went shopping Saturday, worked a few hours, then worked most of the day Sunday. Our boy is in heaven and everyone else wants one now.

Built from Plan(s)
Estimated Cost
$150-$175
Estimated Time Investment
Weekend Project (10-20 Hours)
Finish Used
Weathered look, the same brand as recommended.
Recommended Skill Level
Intermediate

Table for 12!

Submitted by Anonymous (not verified) on Tue, 02/06/2024 - 09:07

My wife wanted a table to seat 12 and she liked the looks of the 4x4 Truss Beam Table from Ana White.

So we modified the plans, our table is 54 inches wide (not 37) and 98 inches long (instead of 87). The legs are 4x6 not 4x4. The lower center beam is 4x6. The plans call for 2x4 aprons ending at the legs, we used 4x4 aprons and extended them beyond the legs to within 3 inches of the end of the table. Finally, we laid the tabletop across the table with a combination of 2x8, 2x10, and 2x12 boards.
We built this all with cedar. The cost is a little over $1,100 for materials.

Dan Clark

Built from Plan(s)

Outdoor Patio Table

Submitted by stephanief on Wed, 07/18/2012 - 18:29

I built this outdoor patio table in about a weeks time working on and off. There are mistakes, it's uneven in places and it is not perfect! That being said, the plans for this are very forgiving and nobody would ever know without looking for these things.

You can get the breakdown on the build, the finish I used, chair solutions and other suggestions here:

http://legosecretagent.blogspot.com/2012/07/outdoor-patio-table.html

This beautiful table only cost around $60 total to build!

Built from Plan(s)
Estimated Cost
$60
Estimated Time Investment
Weekend Project (10-20 Hours)
Finish Used
Minwax, specifics at http://legosecretagent.blogspot.com/2012/07/outdoor-patio-table.html
Recommended Skill Level
Beginner

Kentwood side table (Restoration Hardware Kenwood nightstand)

I DO NOT have a Kreg Jig. If you don't have a Kreg Jig, I recommend purchasing small mending plates. I got mine at Walmart, they were $1.77 a 4 pack. I do not recommend using 3 inch nail screws and trying to get them in super straight. While it worked for 3 face frames, the last frame I just could not get to work (maybe I was getting tired). Speaking of tired, I mostly build in the middle of the night while my family is sleeping. If you look closely, I put the 1x2 26 1/2 inch pieces on the front and back frame. Wah wah.... I had to add an extra 1x2 across the top and re-size the 3/4 inch plywood on the bottom.

I'm pretty sure everything went wrong for me with this build but I wasn't going to let a nightstand beat me!

In case you are wondering, the cabinet pull is from Anthropologie. I haven't decided whether or not it's too fabulous for this piece.

Estimated Time Investment
Weekend Project (10-20 Hours)
Finish Used
Ha. I stained it with Minwax Gel Stain in Aged Oak and then my husband wanted dark dark dark so I did 2 parts Minwax Wood Finish in Dark Walnut to 1 part Minwax Polyshade in Bombay Mahogany. Then somewhere along the lines I sanded it all down, put mineral spirits on it and stained it with Rustoleum Dark Walnut. I touched it up using Minwax Gel Stain in Dark Walnut. Then finished with Minwax Polyurethane in Satin.

TLDR: I could never reproduce this color again. Ever. That is all.
Recommended Skill Level
Beginner

Comments

Kitchen Island

Submitted by Anonymous (not verified) on Wed, 08/10/2016 - 07:59

I created a different top out various size select pine boards joined by biscuits and glue and then added utensil hooks on both ends and a bottle opener

Estimated Cost
$80
Estimated Time Investment
Weekend Project (10-20 Hours)
Finish Used
Gunstock stain and satin polyurethane
Recommended Skill Level
Intermediate

Tall Planters

Submitted by np78s on Mon, 05/25/2020 - 20:01

I love the way these planters look and knew I wanted to make them. My freehand circular skills aren't great, so I attached the pickets together with a furring strip and used a template (second picture) to make the cuts. I used screws to attach the furring strips so that once the trim pieces are attached, the furring strips can be removed - or not. This method takes a little longer but it allowed me to make uniform parts. It's also easier to align the sides of the planters since the pickets are already attached to one another - i.e. one unit. I've made two, have a third, shorter one in progress and plan to make more!

Built from Plan(s)
Estimated Time Investment
Afternoon Project (3-6 Hours)
Finish Used
No finish used. these are for vegetables and I didn't want to use a finish.
Recommended Skill Level
Beginner

Comments

Rustic Sideboard

Submitted by Anonymous (not verified) on Tue, 02/13/2024 - 12:29

This was one of your online plans, with a slight change to the front of the doors. Great project, made from pine, stained, and varathane applied.

Wade MacMillan

Built from Plan(s)

Night Tables

Submitted by Aisha on Fri, 07/20/2012 - 09:40

I used the plans for the Reclaimed Wood bedside tables but I didn't want to make all those drawers (being a beginner) so I settled on one. It took me fairly long to complete but really it should have been only a weekend project. I love the way they turned out.

Estimated Time Investment
Week Long Project (20 Hours or More)
Finish Used
One coat each of Varathane's Early American followed by Red Mahogony. Two coats of poly.
Recommended Skill Level
Beginner

Comments

Debi_G (not verified)

Fri, 07/20/2012 - 20:16

I too fear drawers.
Your bedside tables have turned out beautifully!

Simple Entryway Bench

Submitted by eulysses on Sun, 05/11/2014 - 19:46

This is my second project. I based it on the "simple easy storage bench". I made this for my wife, she requested an entryway bench as you enter the house from the garage. I'm glad I was able to finish it just in time for Mother's Day :).

I learned a lot by doing this project (e.g. hiding nails, wood fillers, warped wood, sanding, to name a few). There's still a lot of things to learn, I'm hoping to be able to practice more.

Estimated Cost
$35
Estimated Time Investment
Day Project (6-9 Hours)
Finish Used
Clear Gloss Polyurethane (minwax)
Recommended Skill Level
Beginner

Alden's Computer desk

Submitted by veiglcc on Sun, 08/14/2016 - 08:20

Small computer desk built for mom. Was not built from a plan.

Estimated Cost
Estimated cost $60.
Estimated Time Investment
Weekend Project (10-20 Hours)
Finish Used
Bombay Mahogany stain (gloss).
Recommended Skill Level
Intermediate
Back