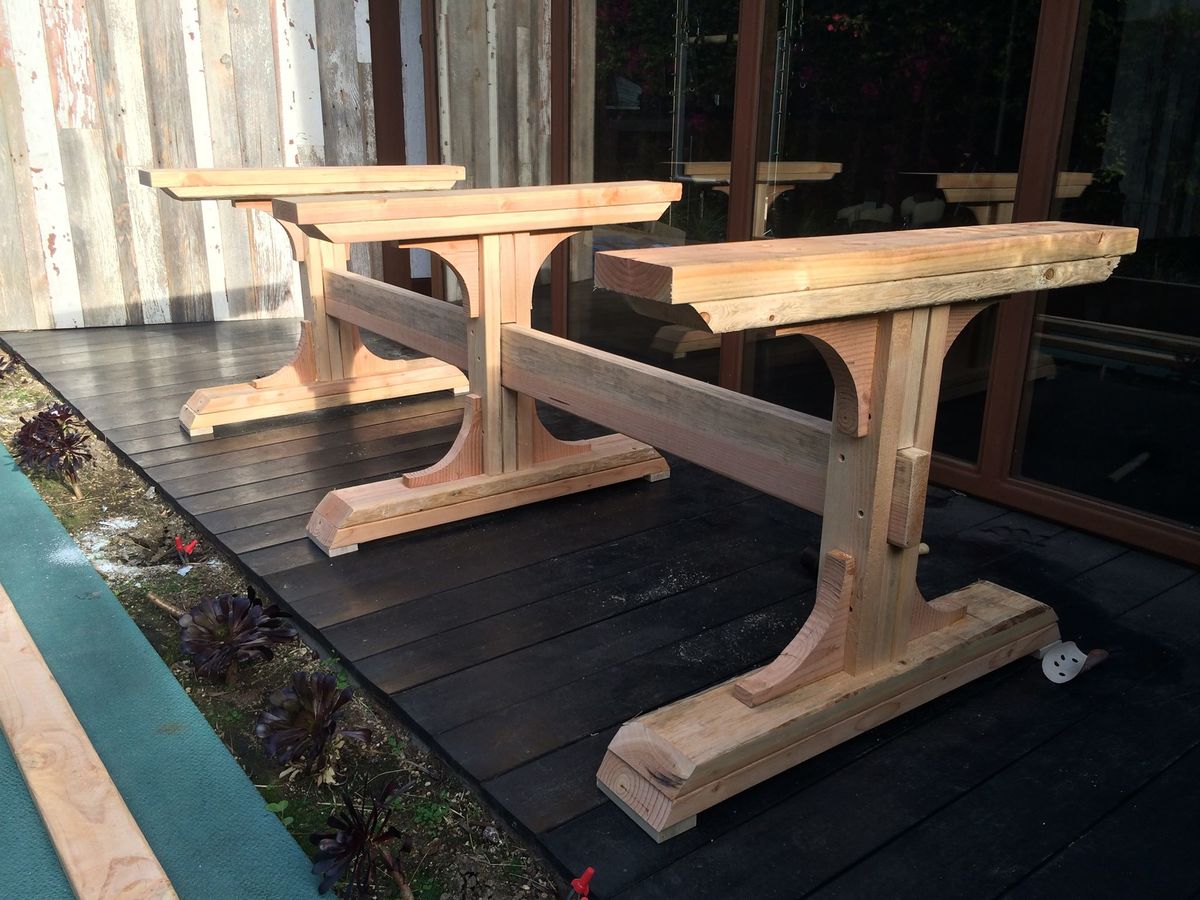
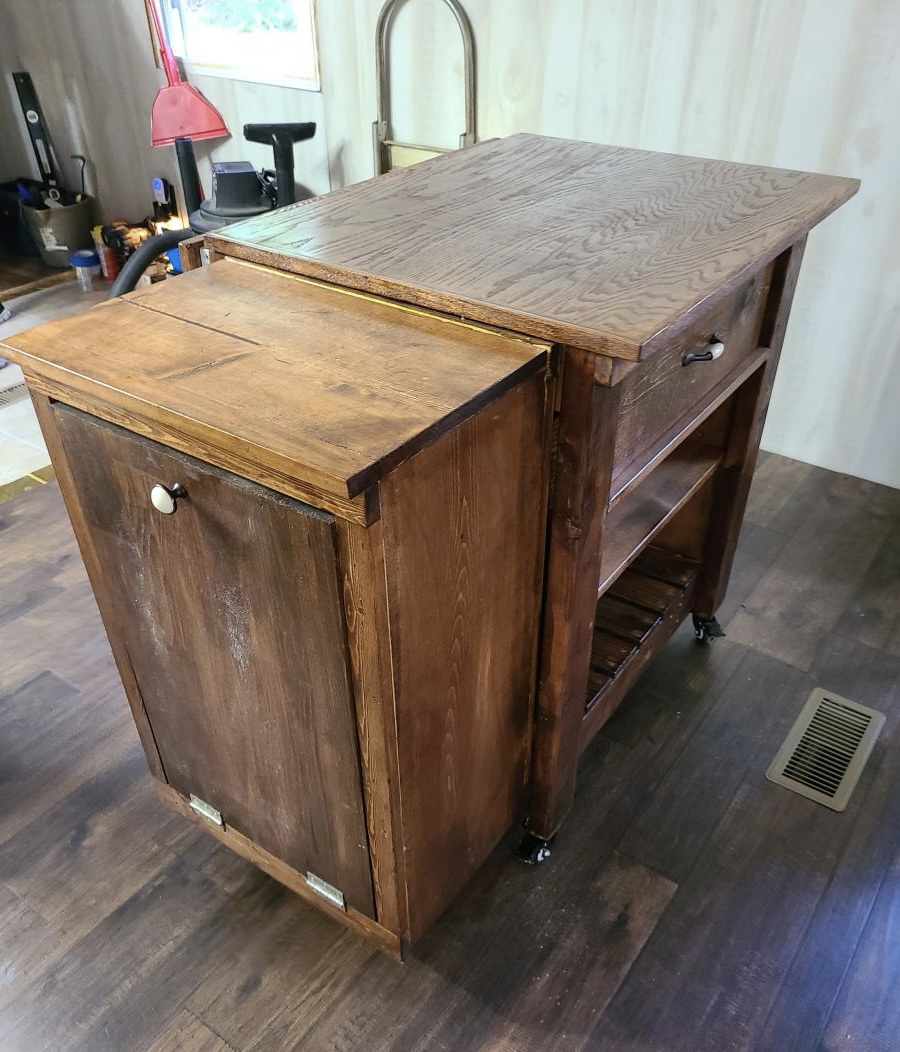
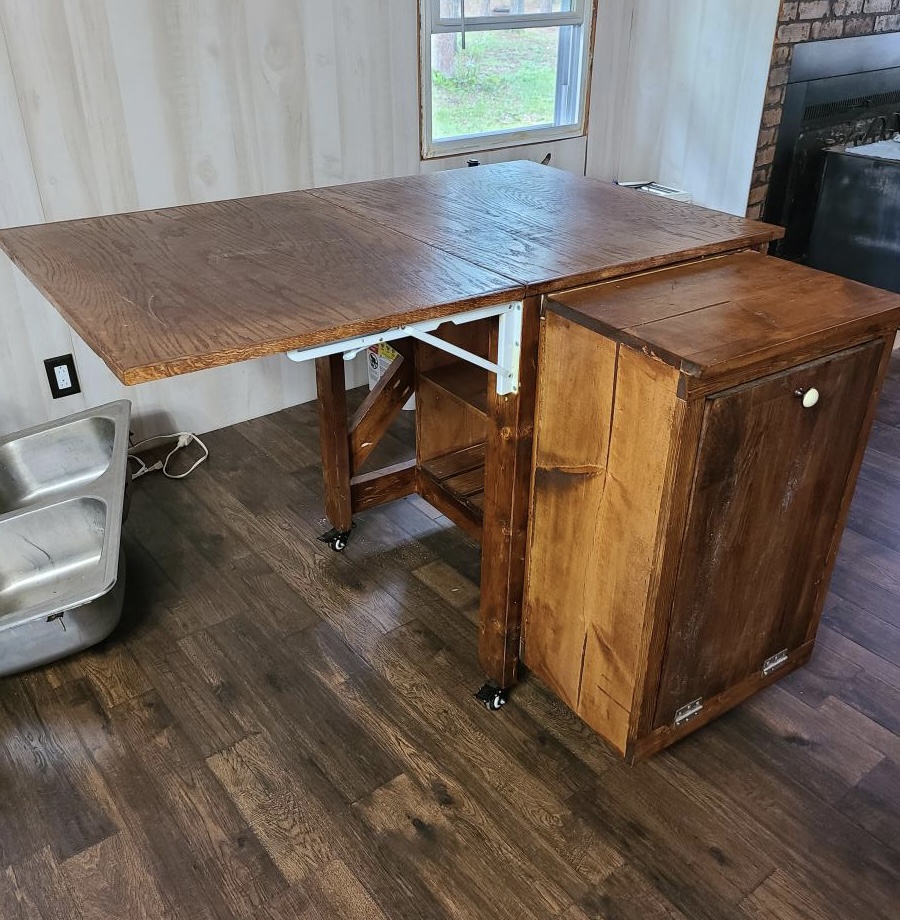
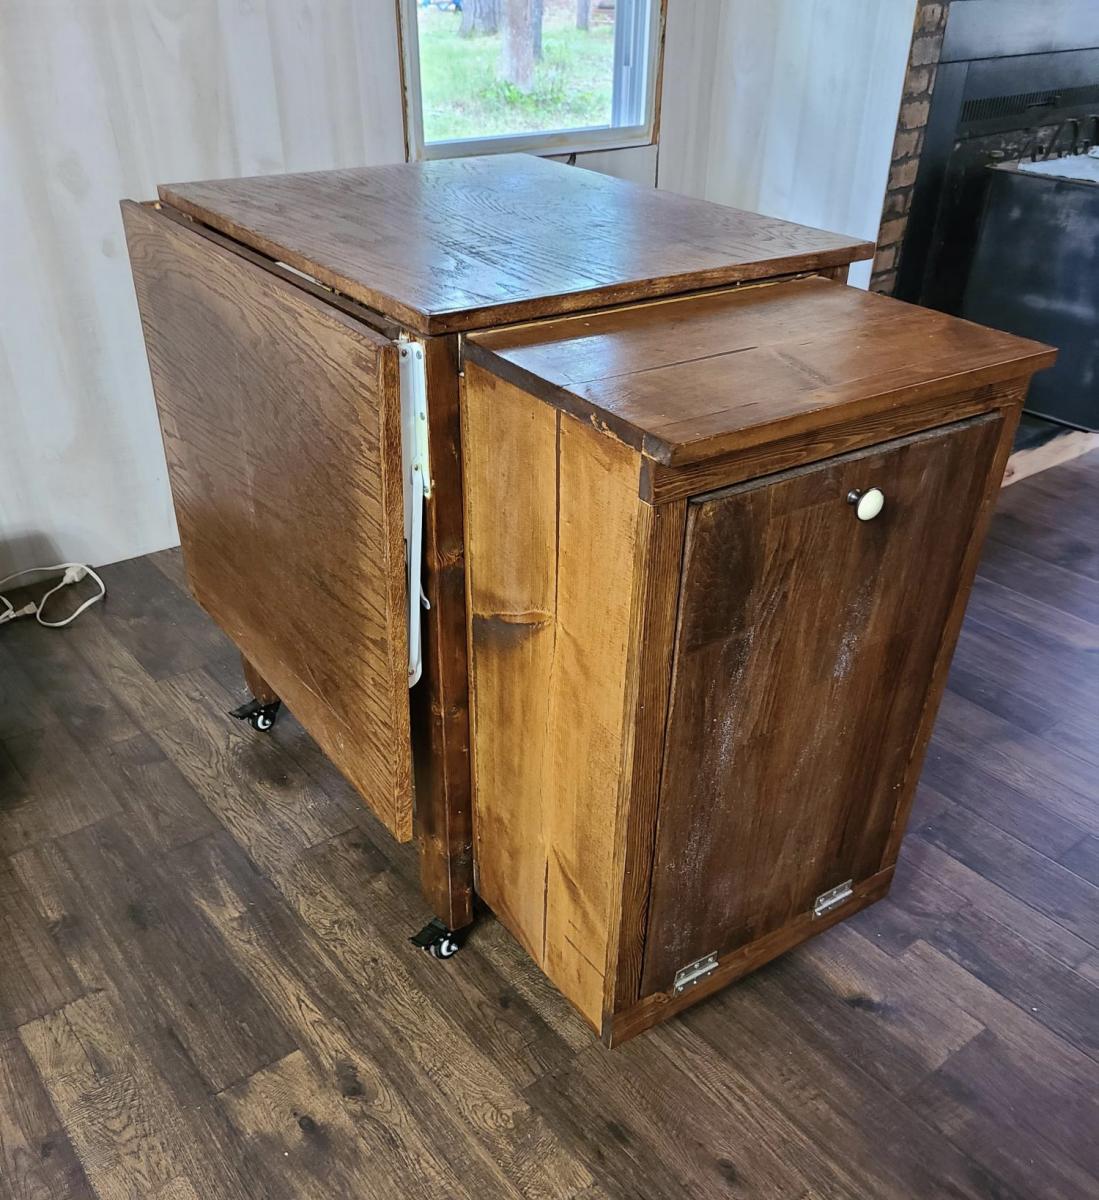
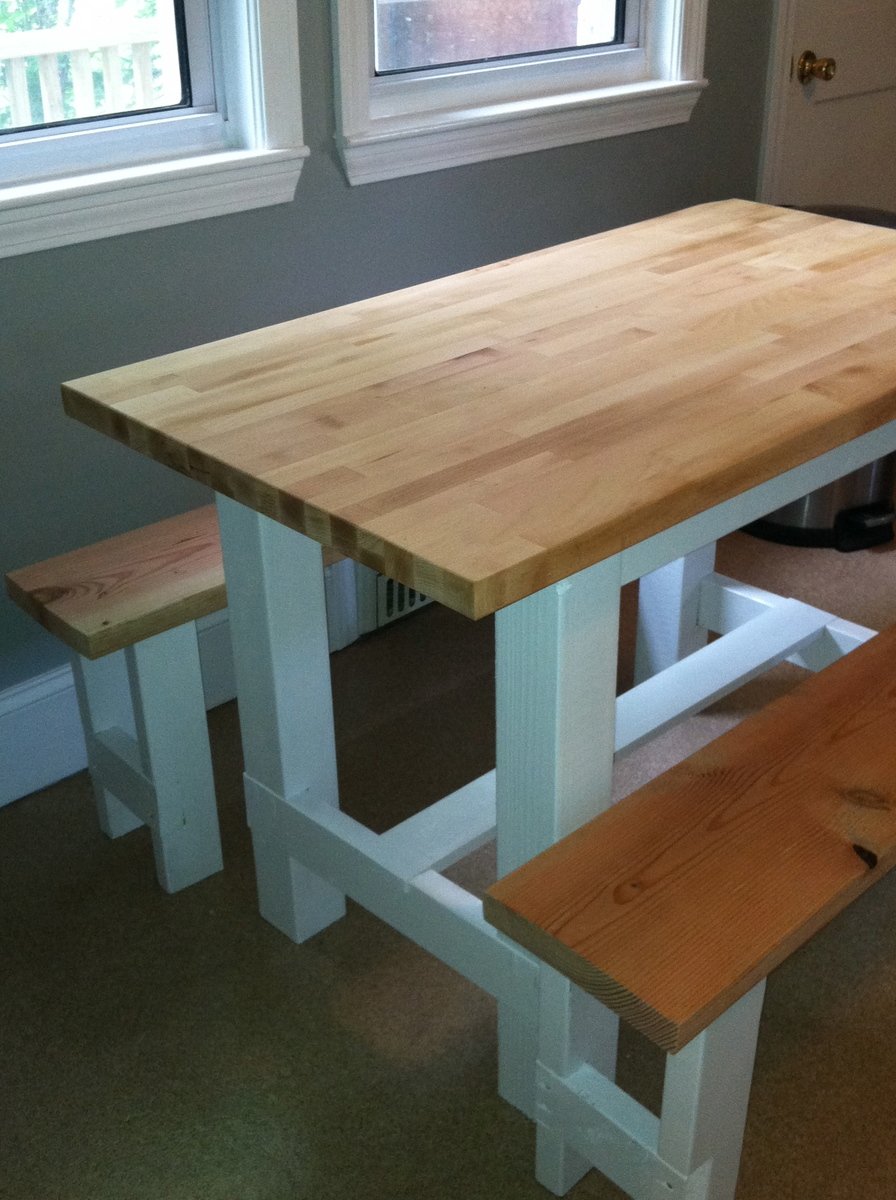
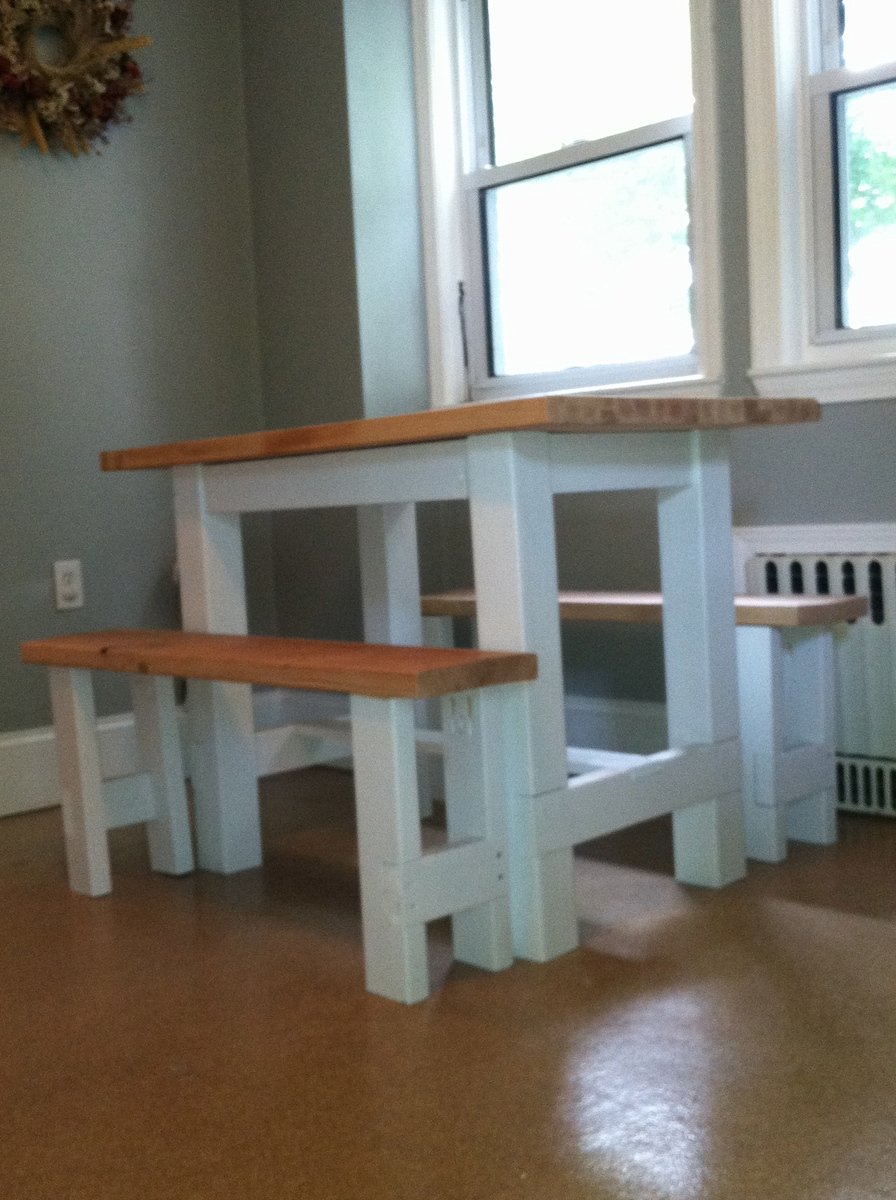
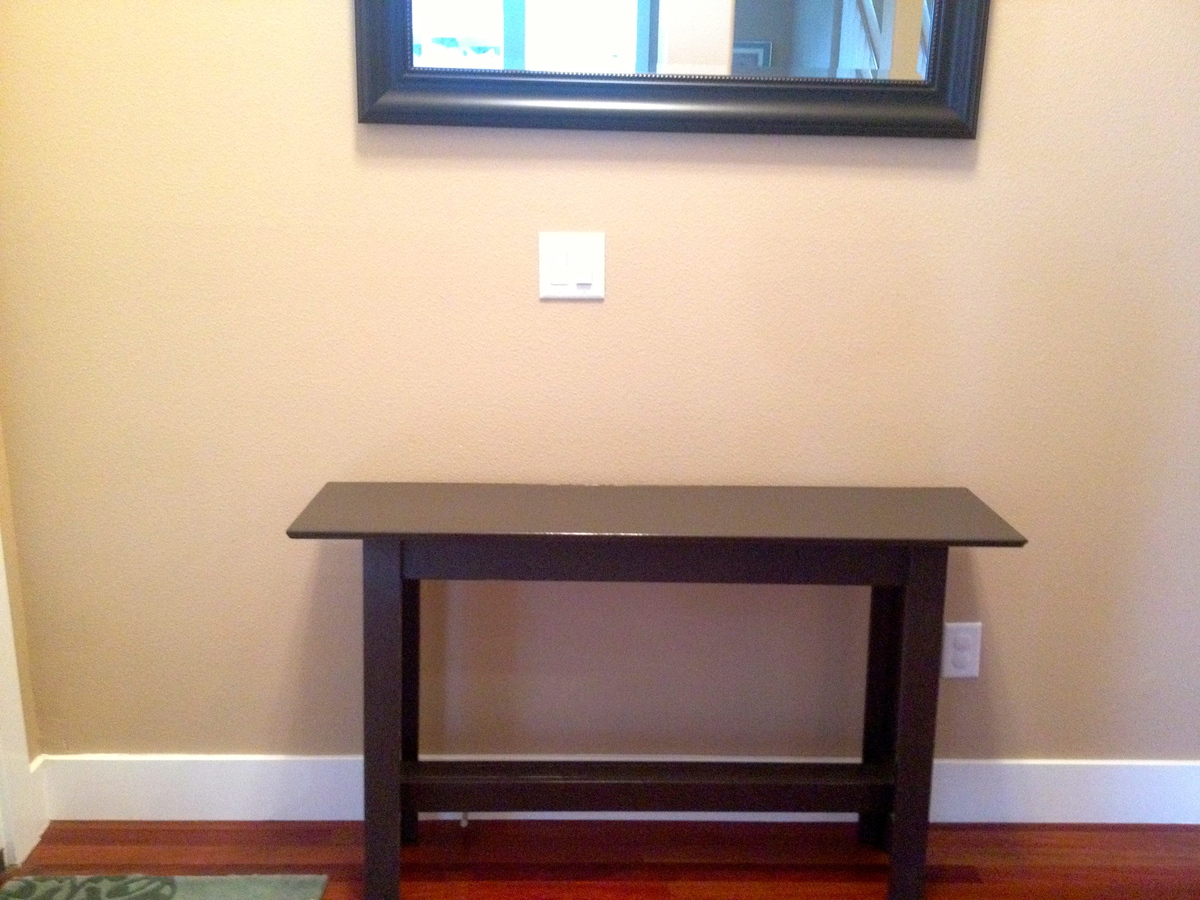
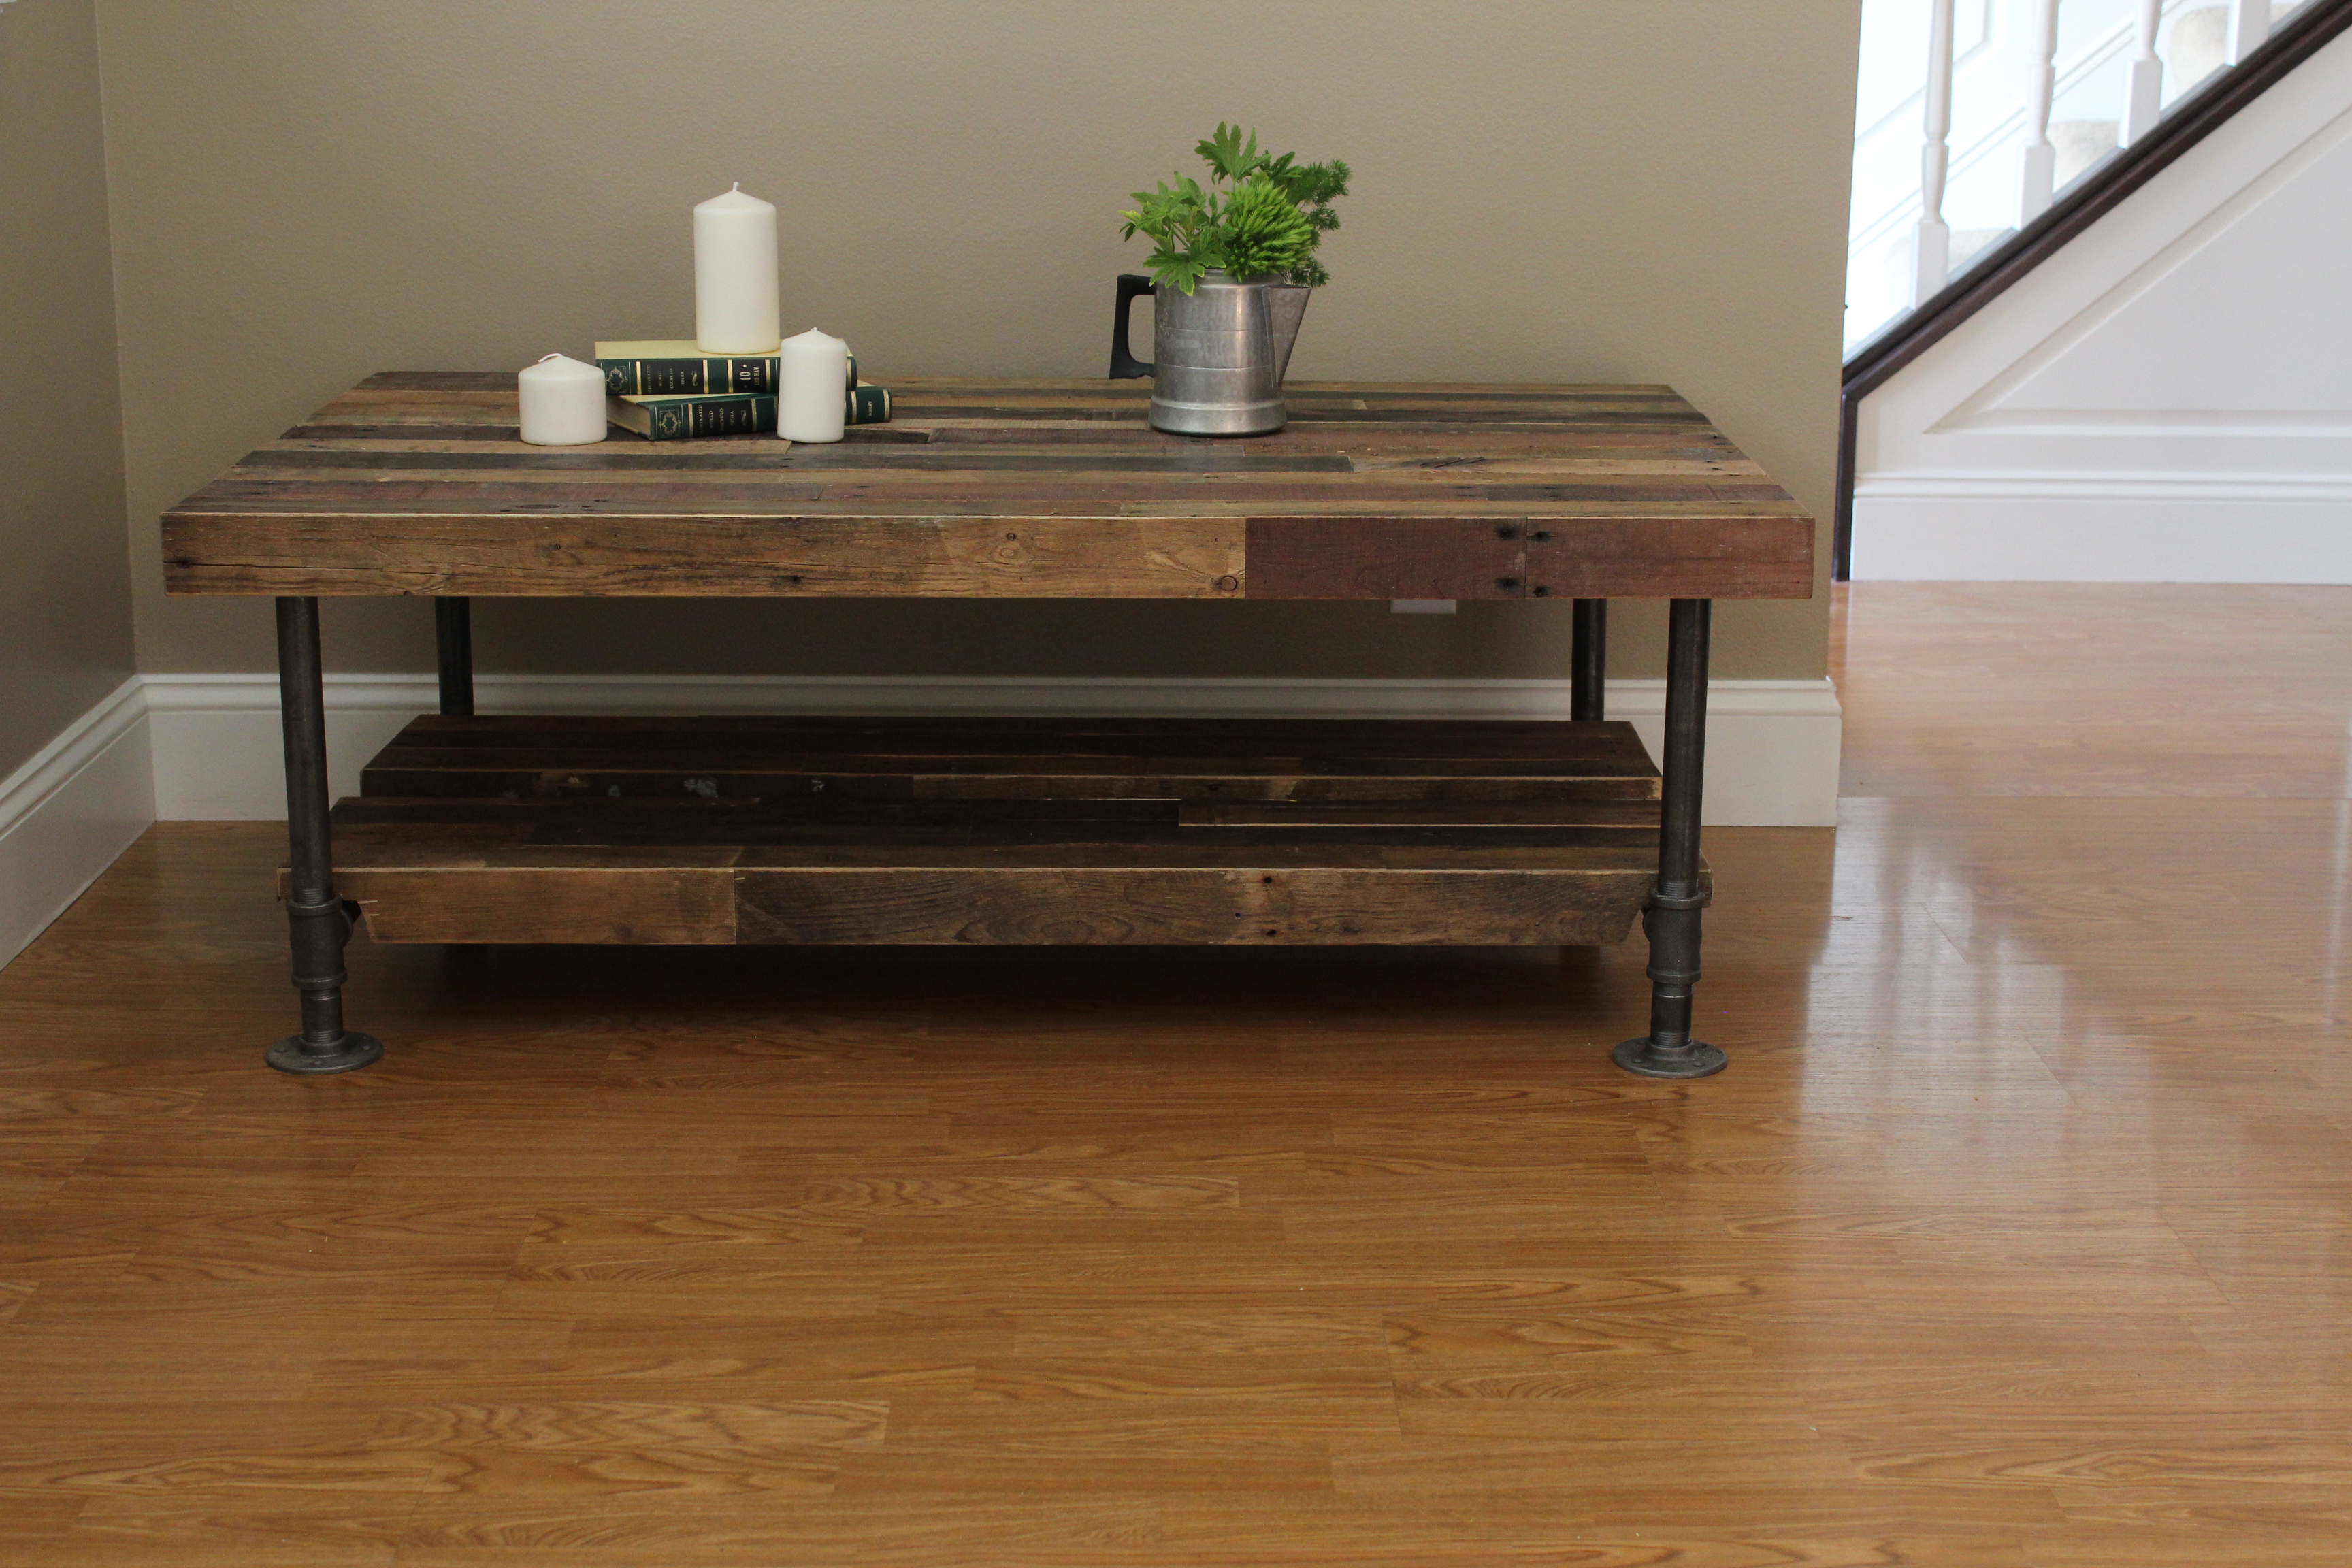
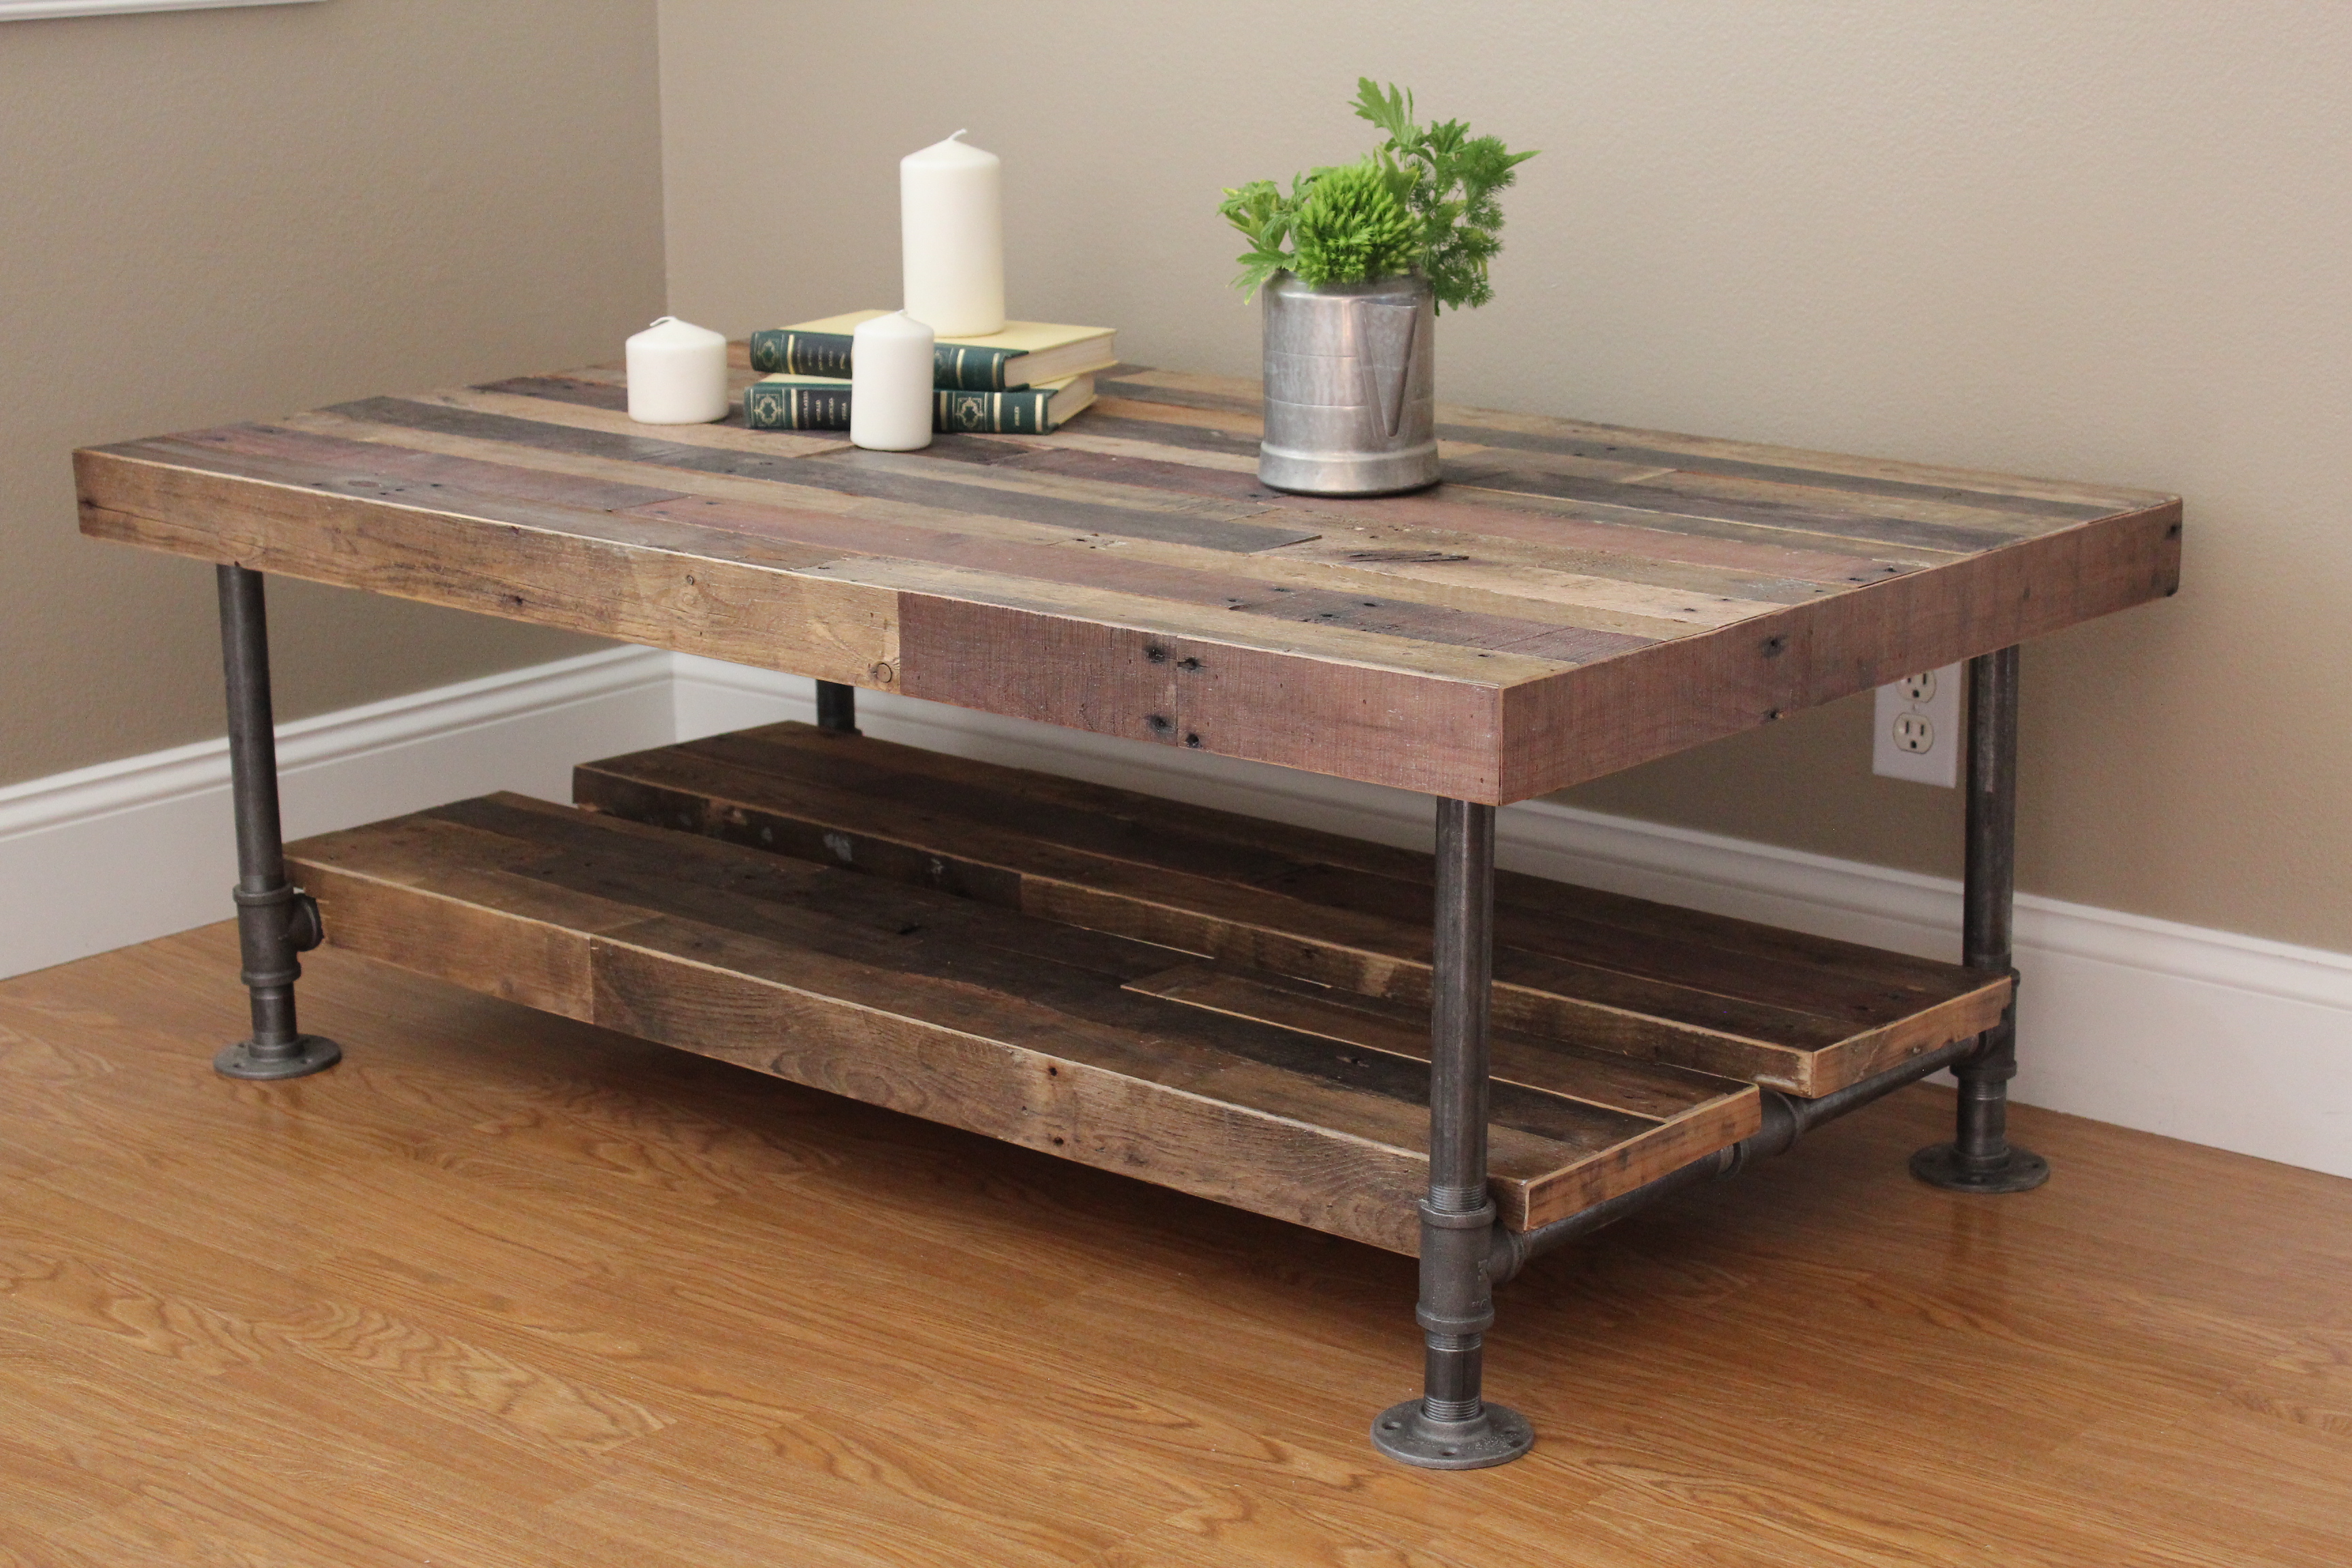
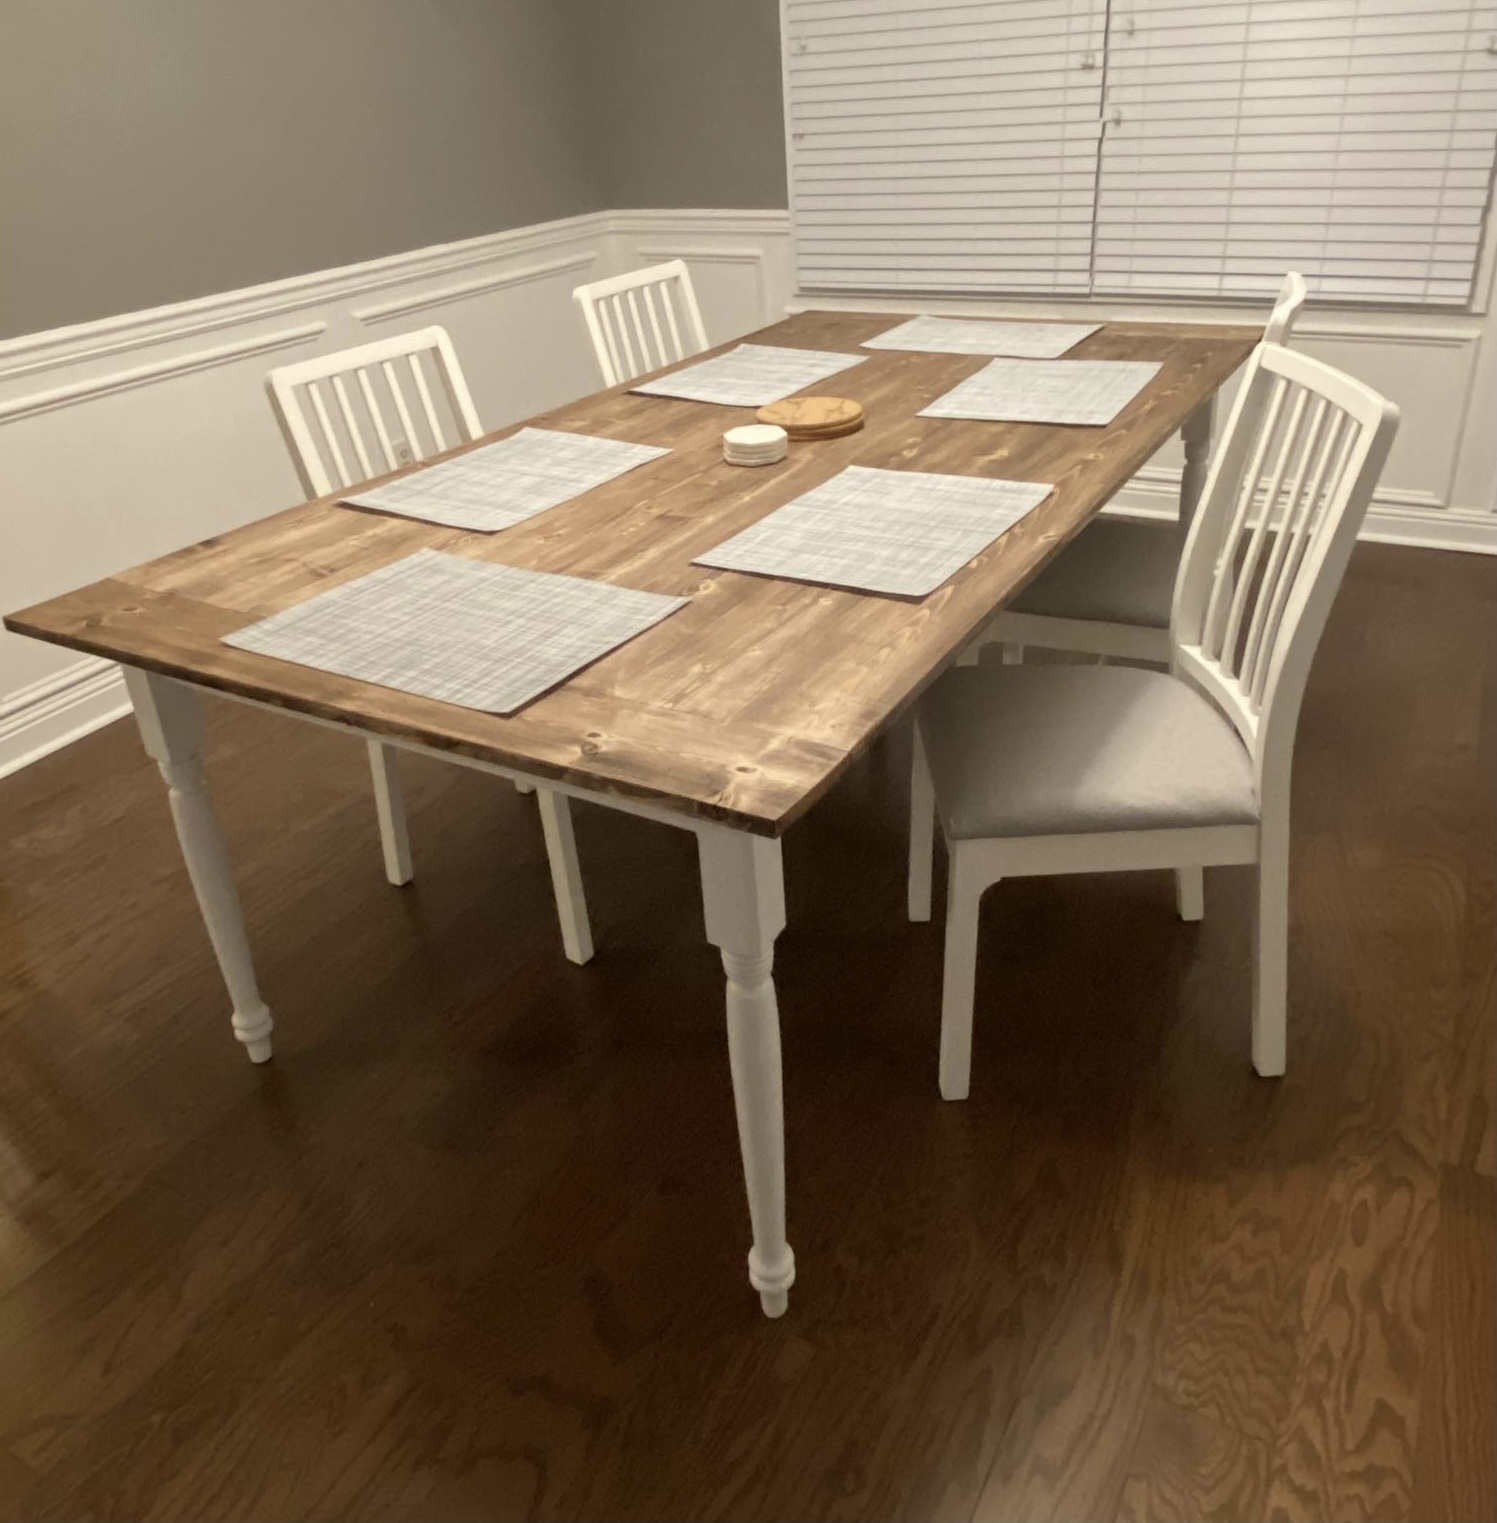
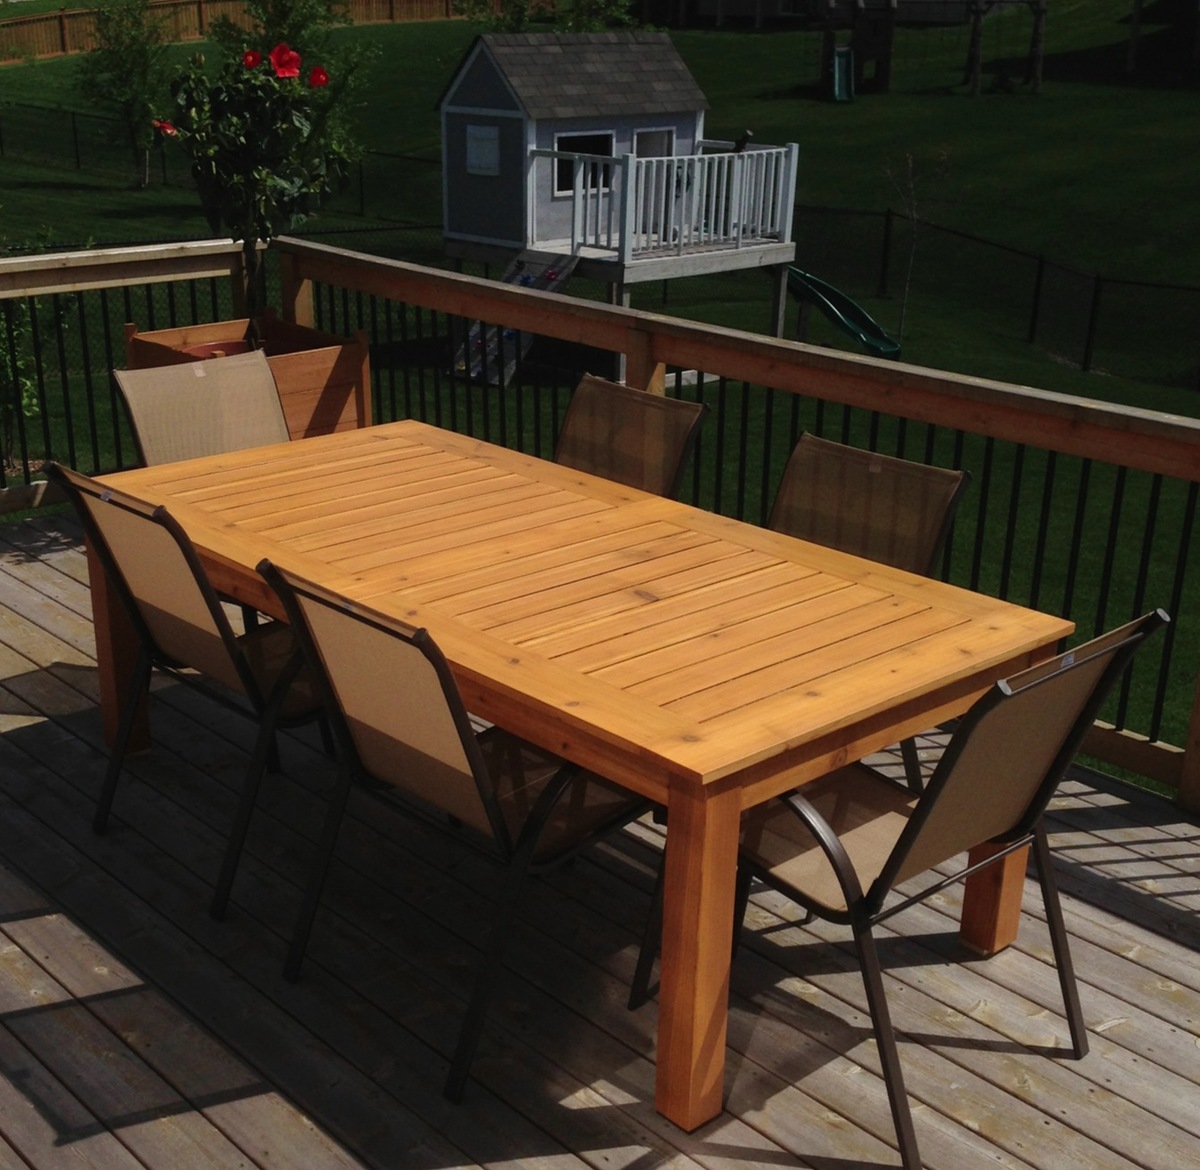
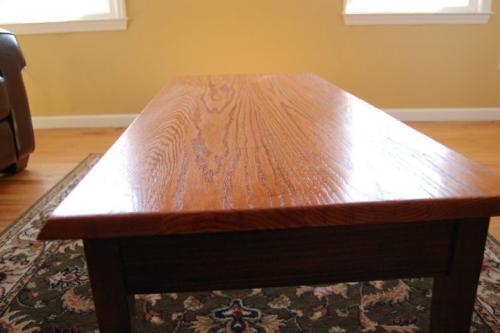
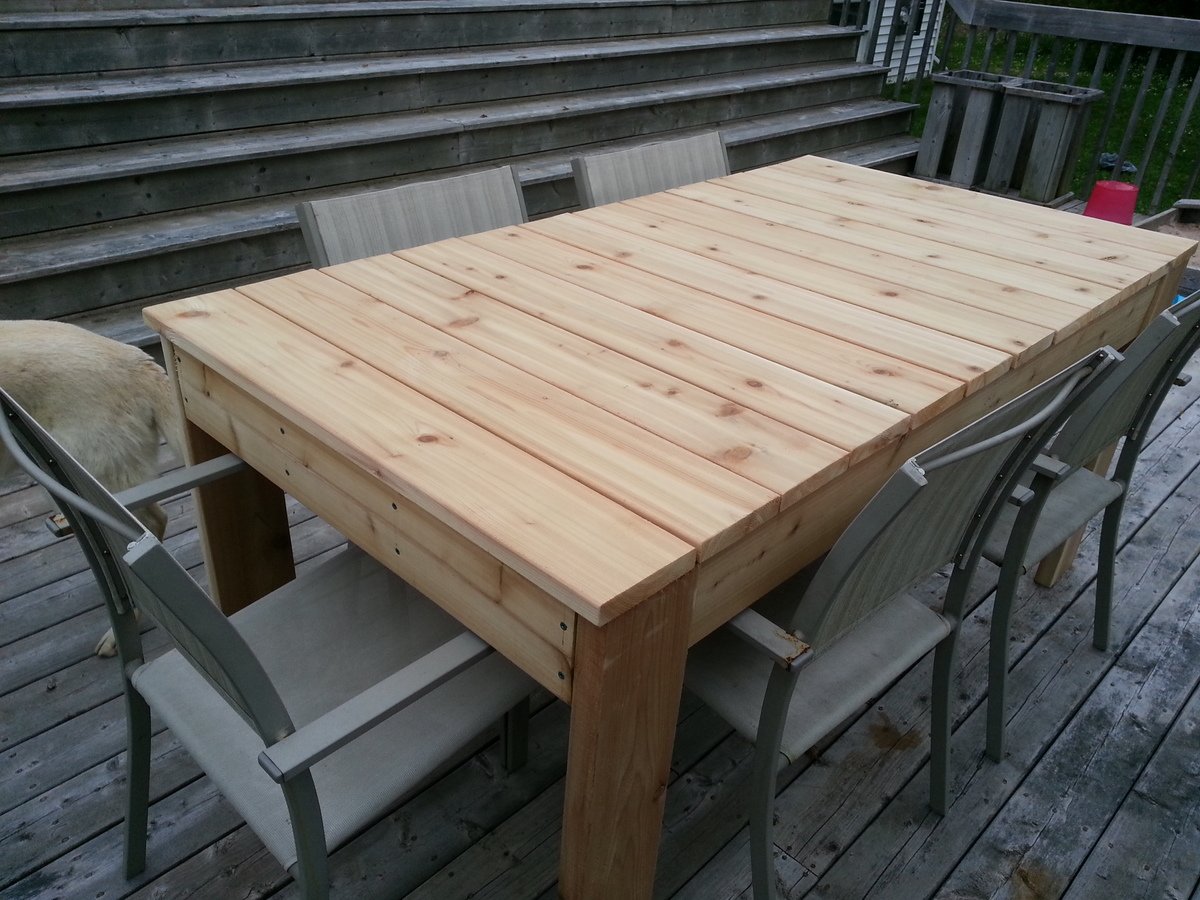
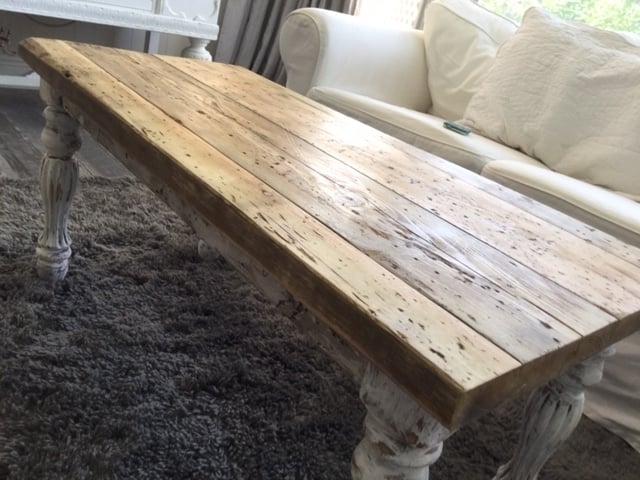
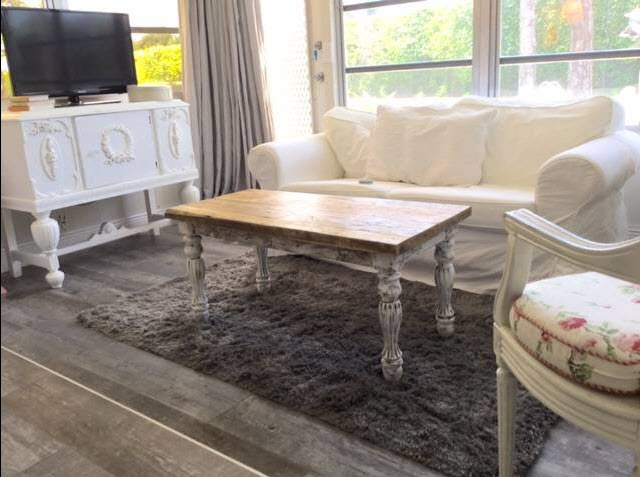
Farm Table
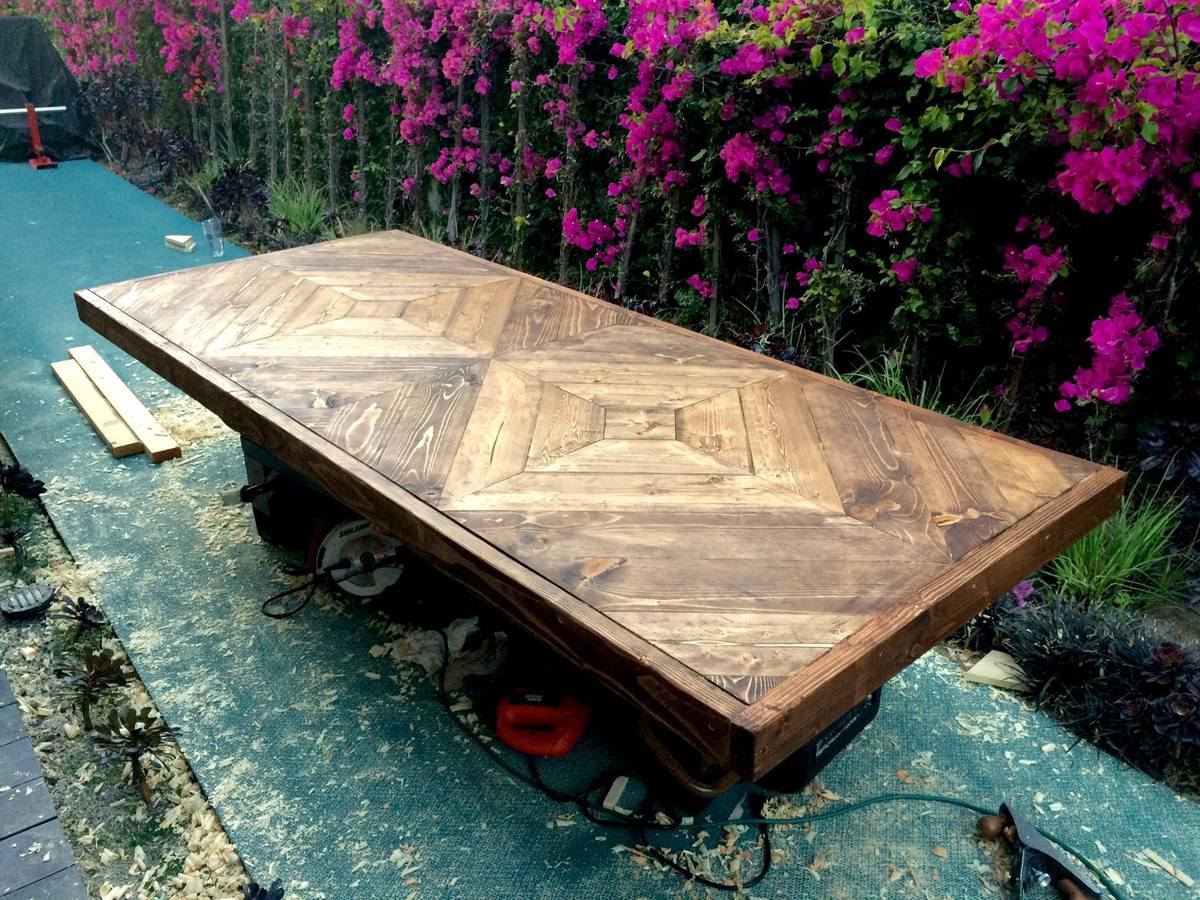
Took a lot more wood than I thought and time, but was a nice distraction from Law School.
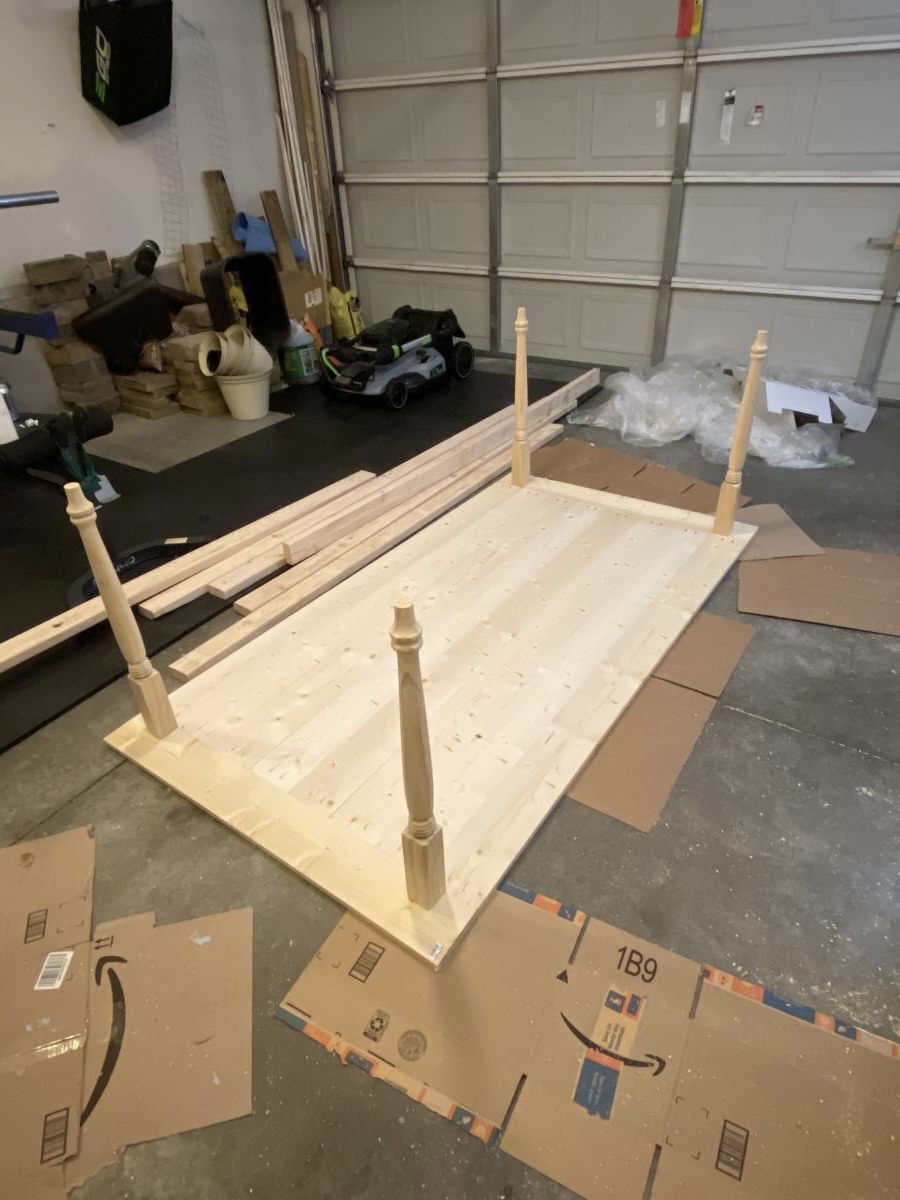
Built from Plan(s)
Estimated Time Investment
Week Long Project (20 Hours or More)
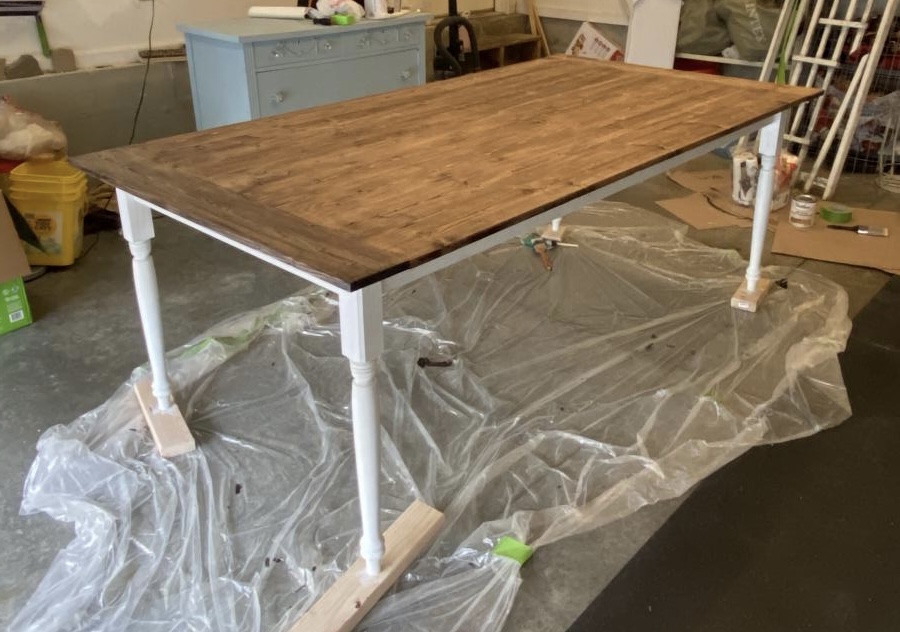
Finish Used
Minwax Special Walnut
Recommended Skill Level
Intermediate


Comments
Weekend Woodhacks
Mon, 04/20/2015 - 18:19
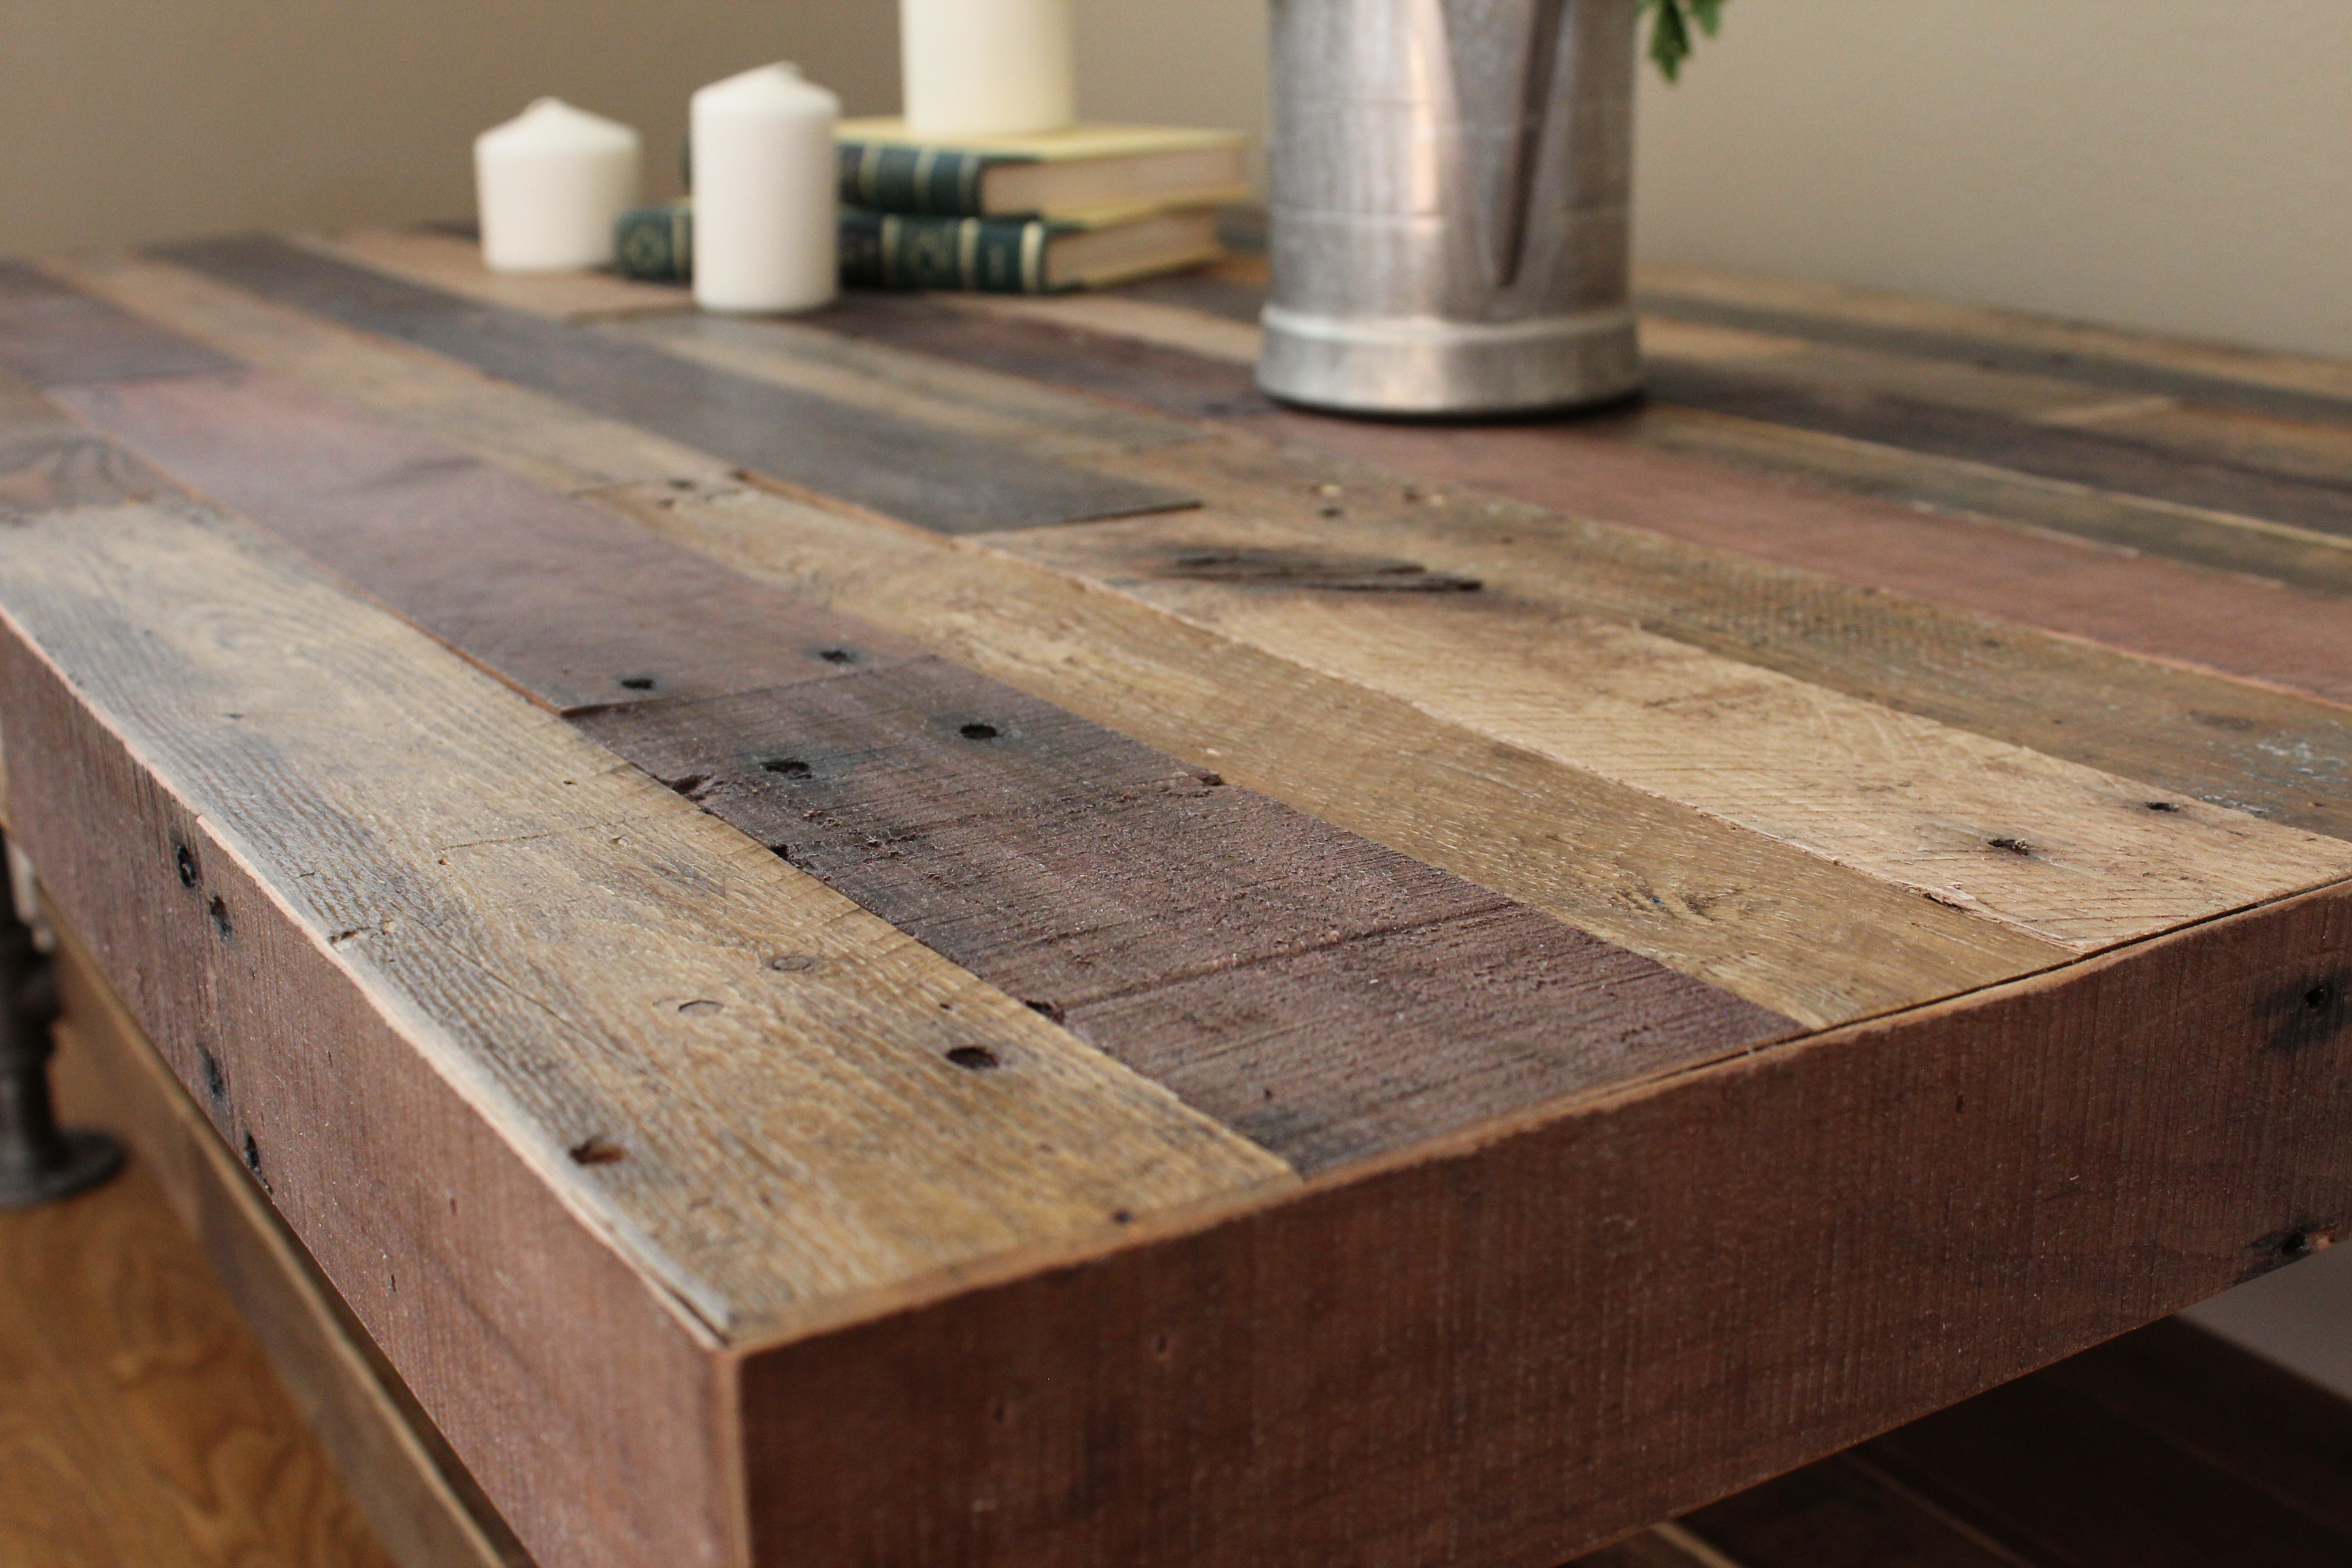
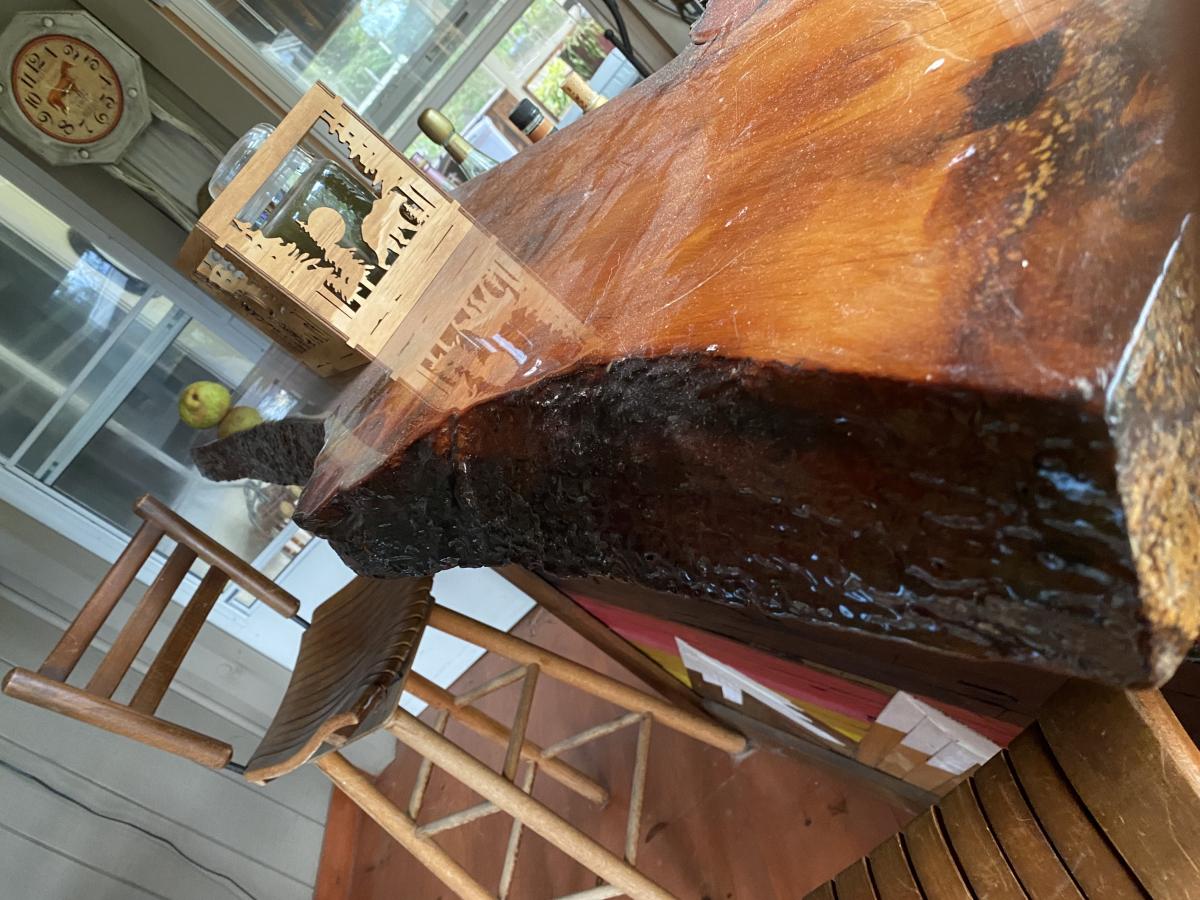
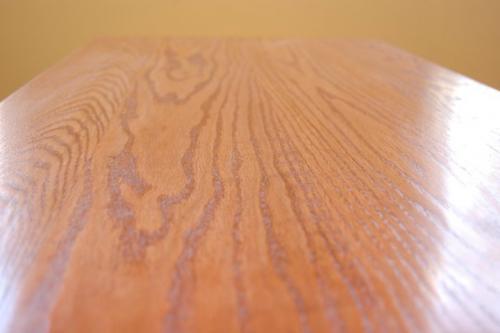
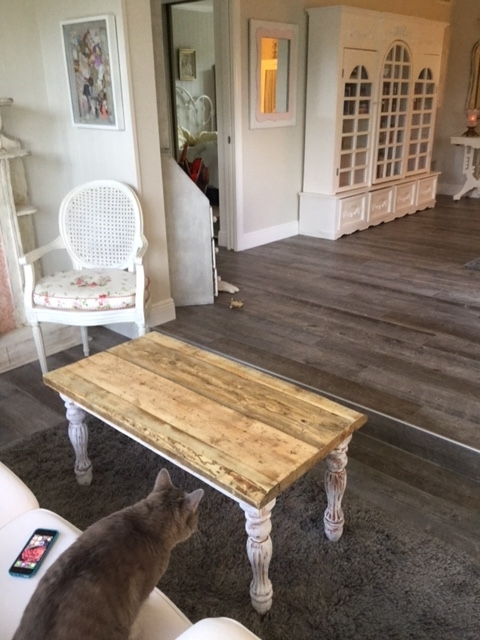
The table top is very
The table top is very impressive! Must have taken a very long time to cut / glue.