Workbench with pegboard
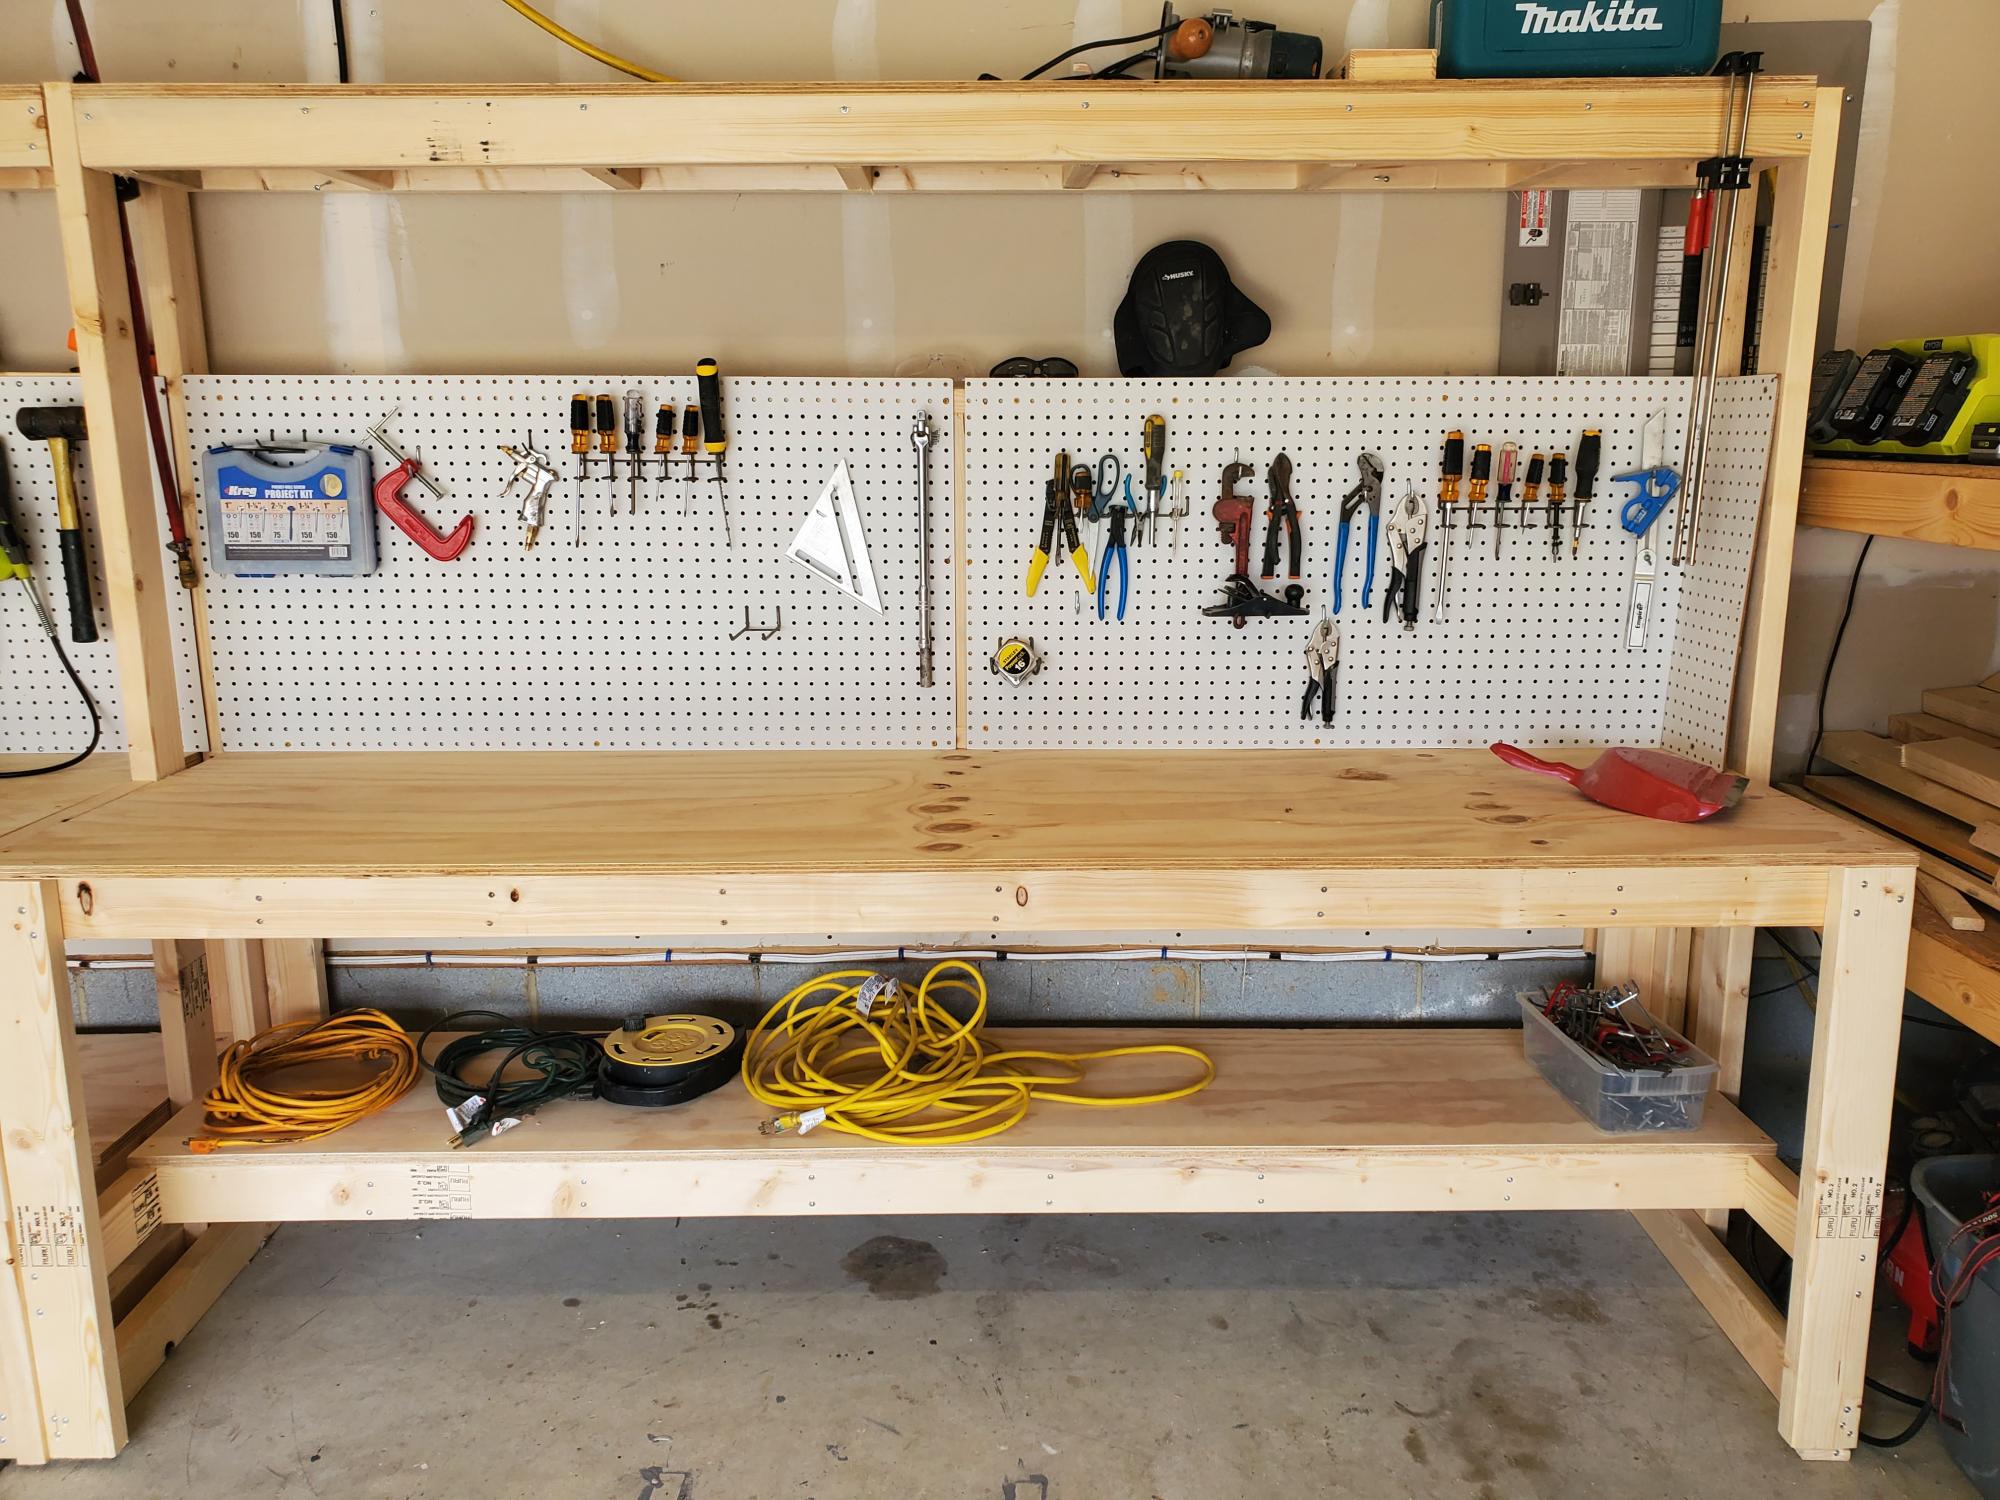
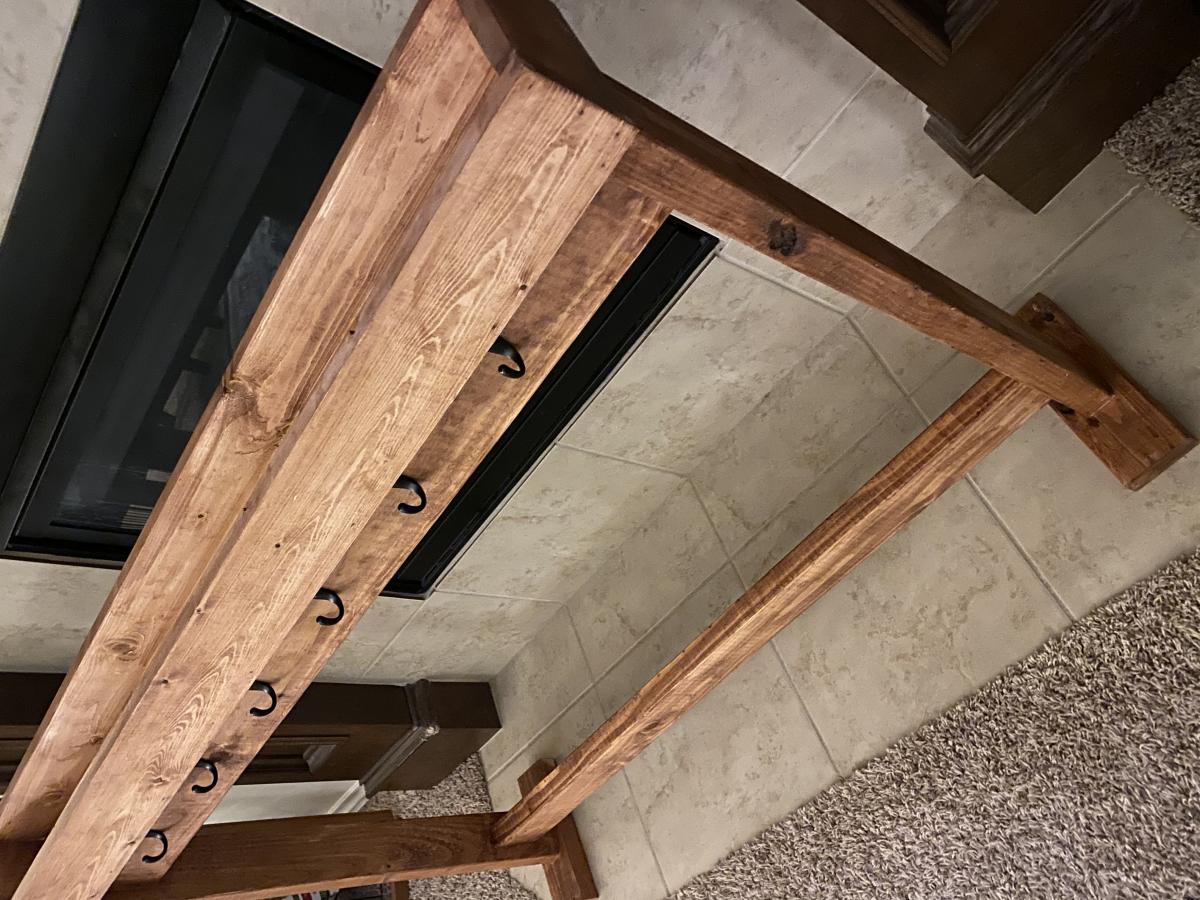
I made a workbench for my garage it was pretty easy. I also made an instructional youtube video if you want to learn how to make it. #diy #workbench #bench
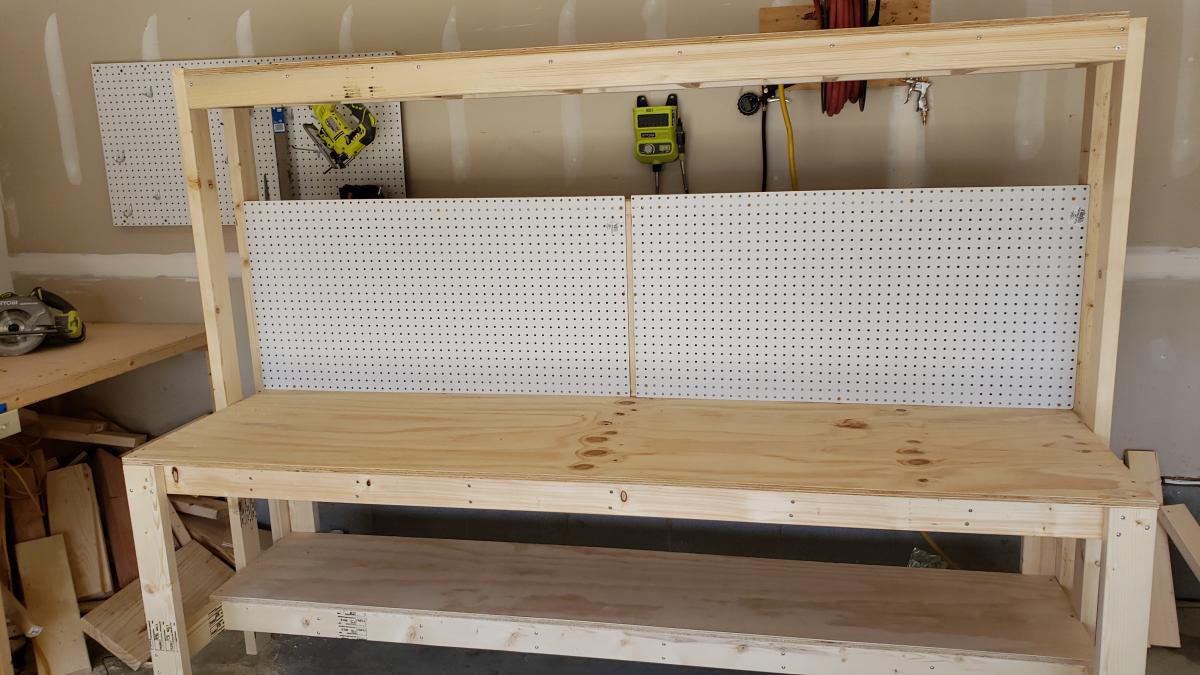
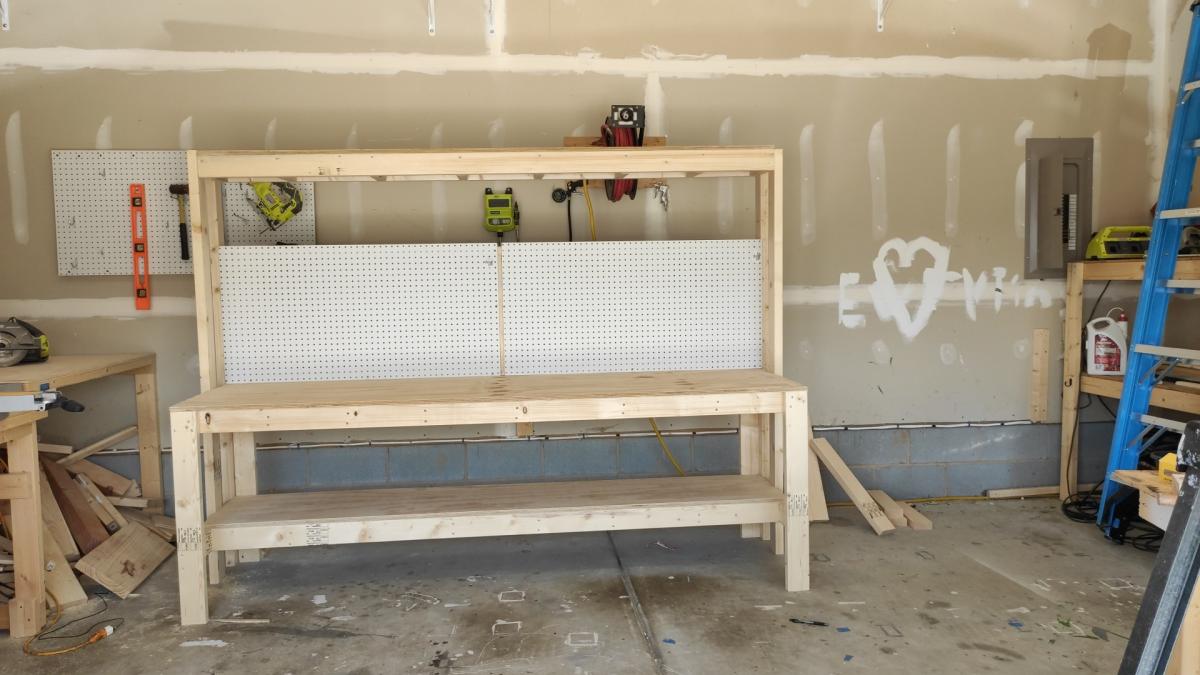
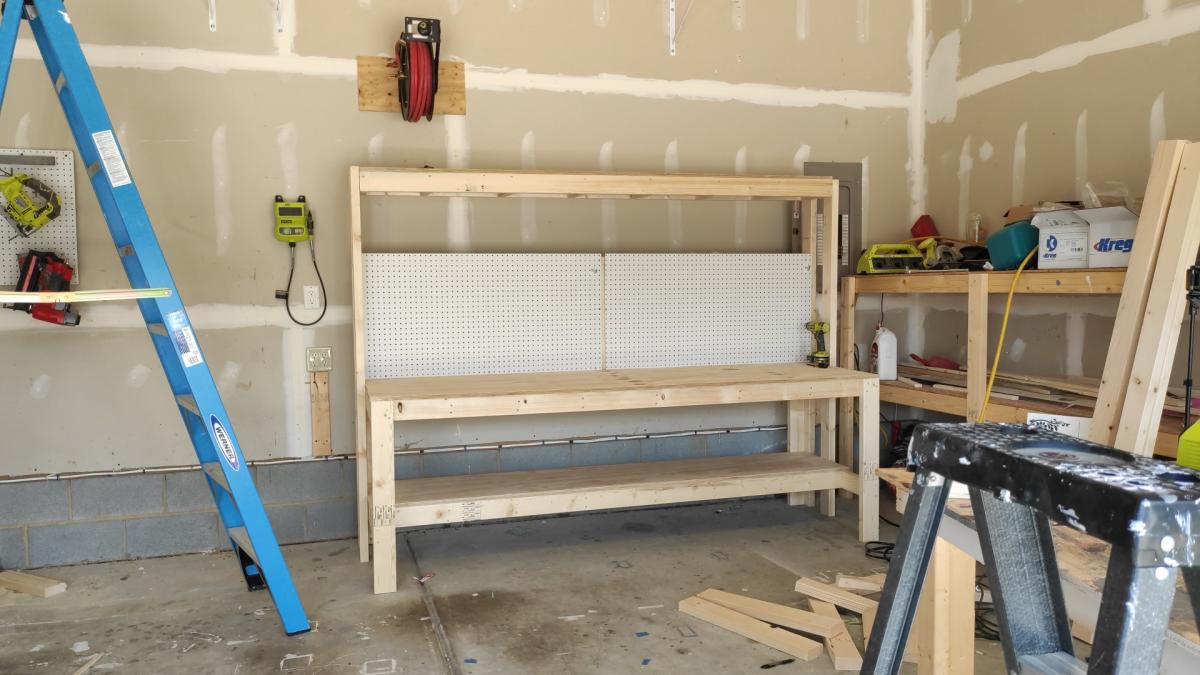

I made a workbench for my garage it was pretty easy. I also made an instructional youtube video if you want to learn how to make it. #diy #workbench #bench


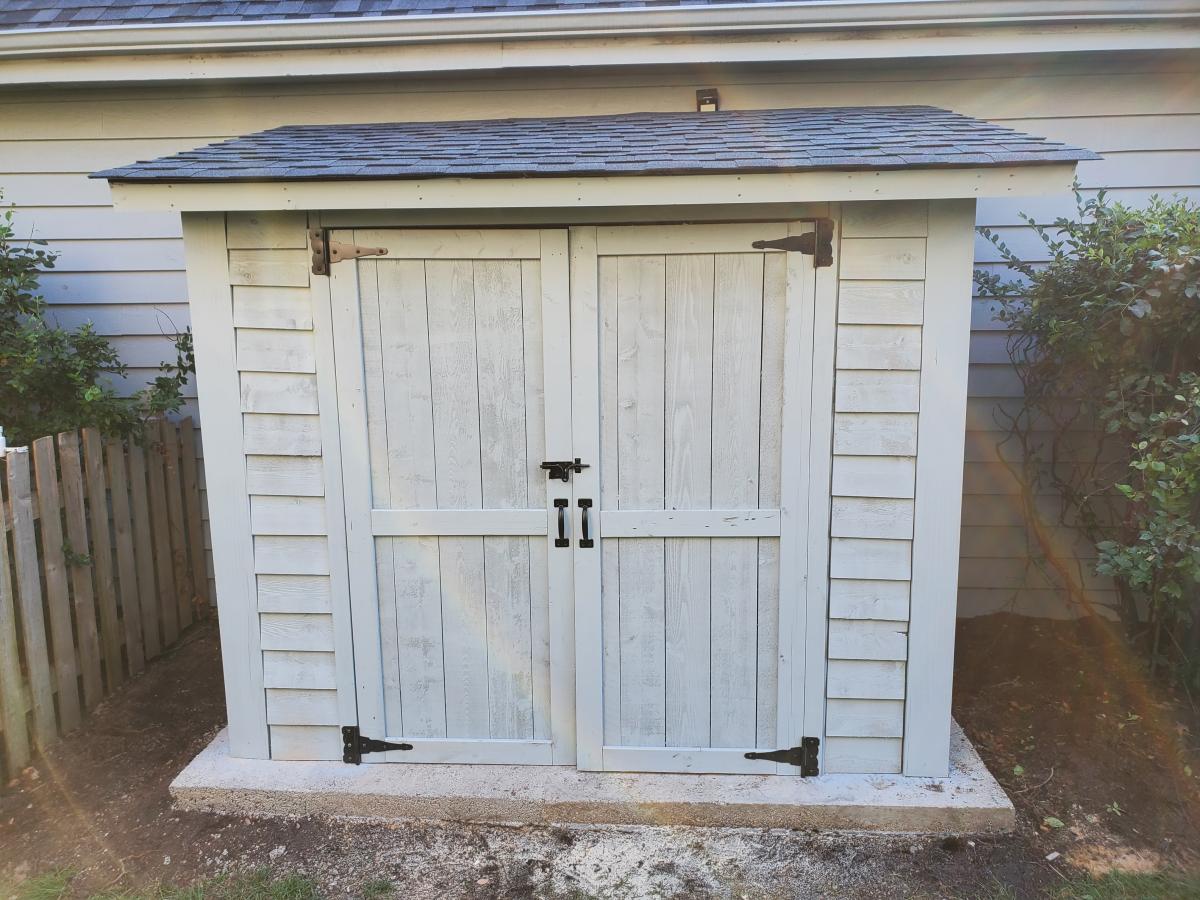
Thank you for the plans, shed turned out great! My association required me to match the siding color, roof color, and anchor to a concrete slab. So I poured 25 bags of 80lbs concrete to make a 9x5 slab. Redid the plans for an 8x4 shed, built the frame with 2x4s and not 2x2's, installed flashing, ice/water shield + felt + matching shingles since I'm near Chicago, and used a flexio finishing sprayer to paint the shed. Saved some $ by using 2 Redwood Grain Fiber siding panels for $22 each at HD.
All in all very happy with my shed and all my dangerous yard tools and woodworking tools can be put away from my toddler.
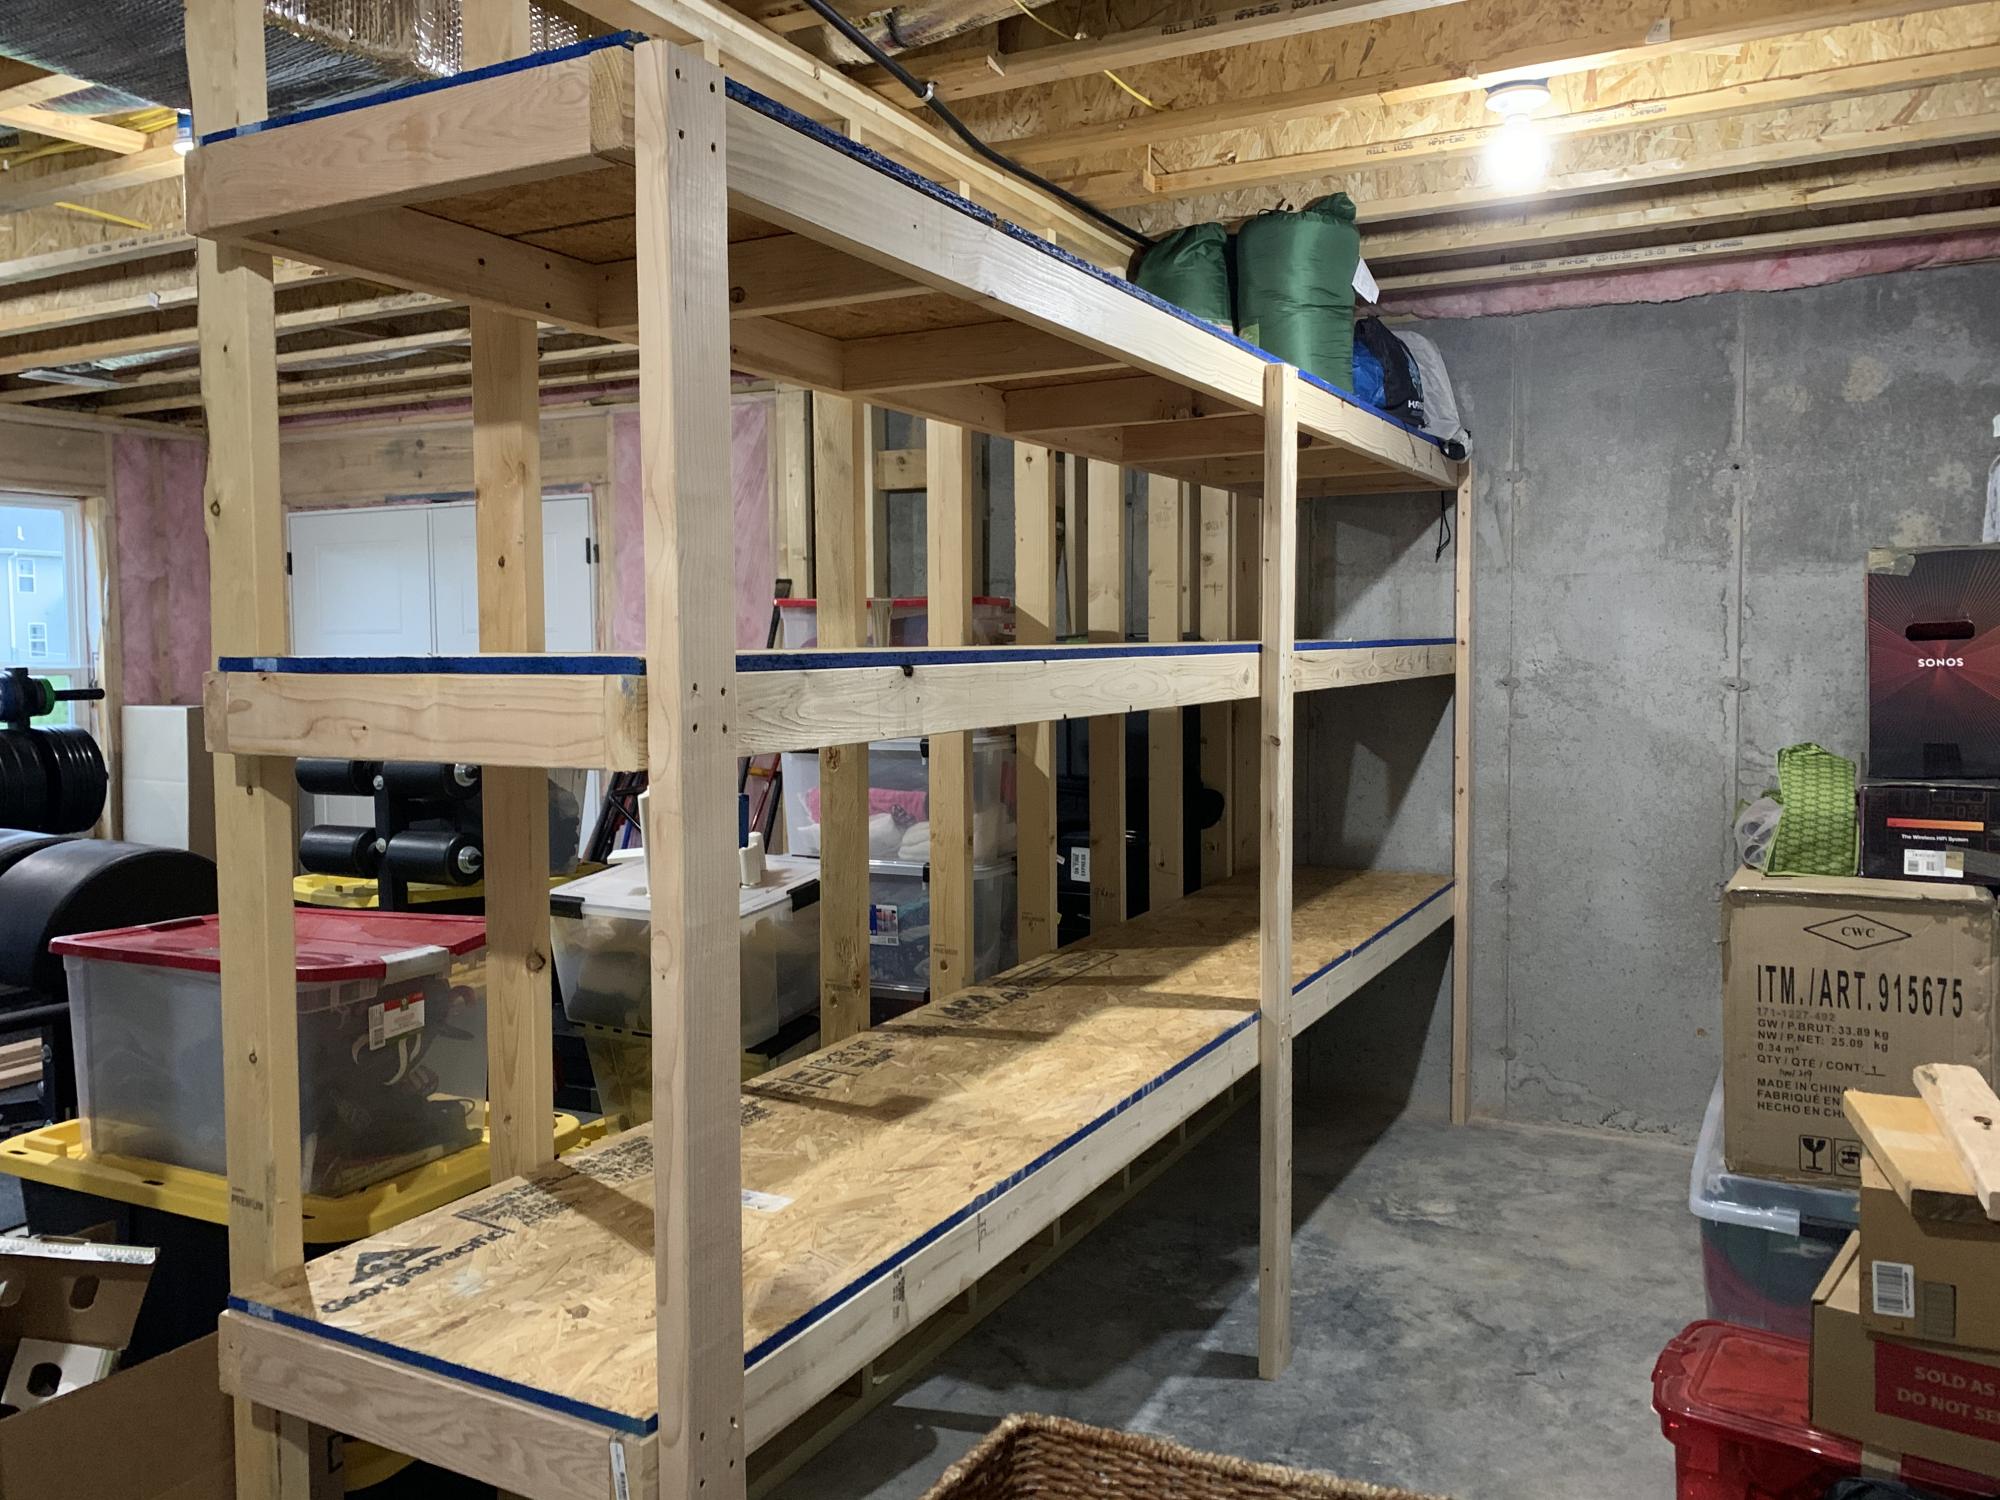
We just moved into a new home and had a huge open storage area in the unfinished portion of our basement and we’ve got a lot of stuff so we needed to make the best use of that space and these shelves deliver big time. This shelf is 12’ long by 2’ deep with 2 each 24” and 18” tall shelves. Really simple construction and I got to use my Kreg HD jig for the first time on the cleats so these bad boys are SOLID! My wife love this one so much I’m building another one in the opposite side of the wall with all 4 shelves at 18” tall.
This Firetruck bed was made from the plans from Ana white !
We did some little modifications to it.
All sizes where changes to cm instead of inches (we live in the Netherlands, so no American sizes will do here, since all sizes are different.)
Al the electric is 12 volt, and everything works with the key.
Put away the key, and there will be no electricity... :)
it was a hard work (about 1,5 week) but its worth it.
The bed is made out of MDF. The structur inside is pine (so it can keep a big time of weigh)
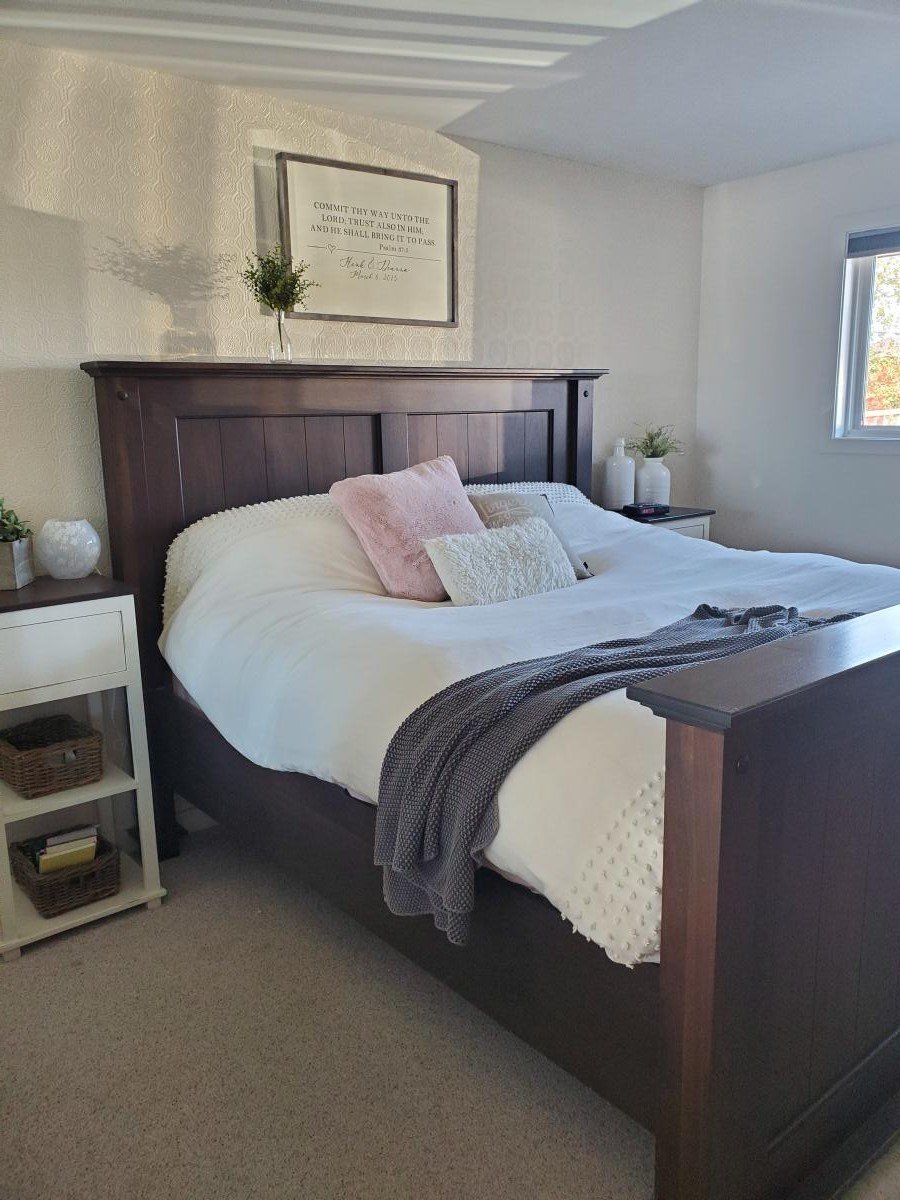
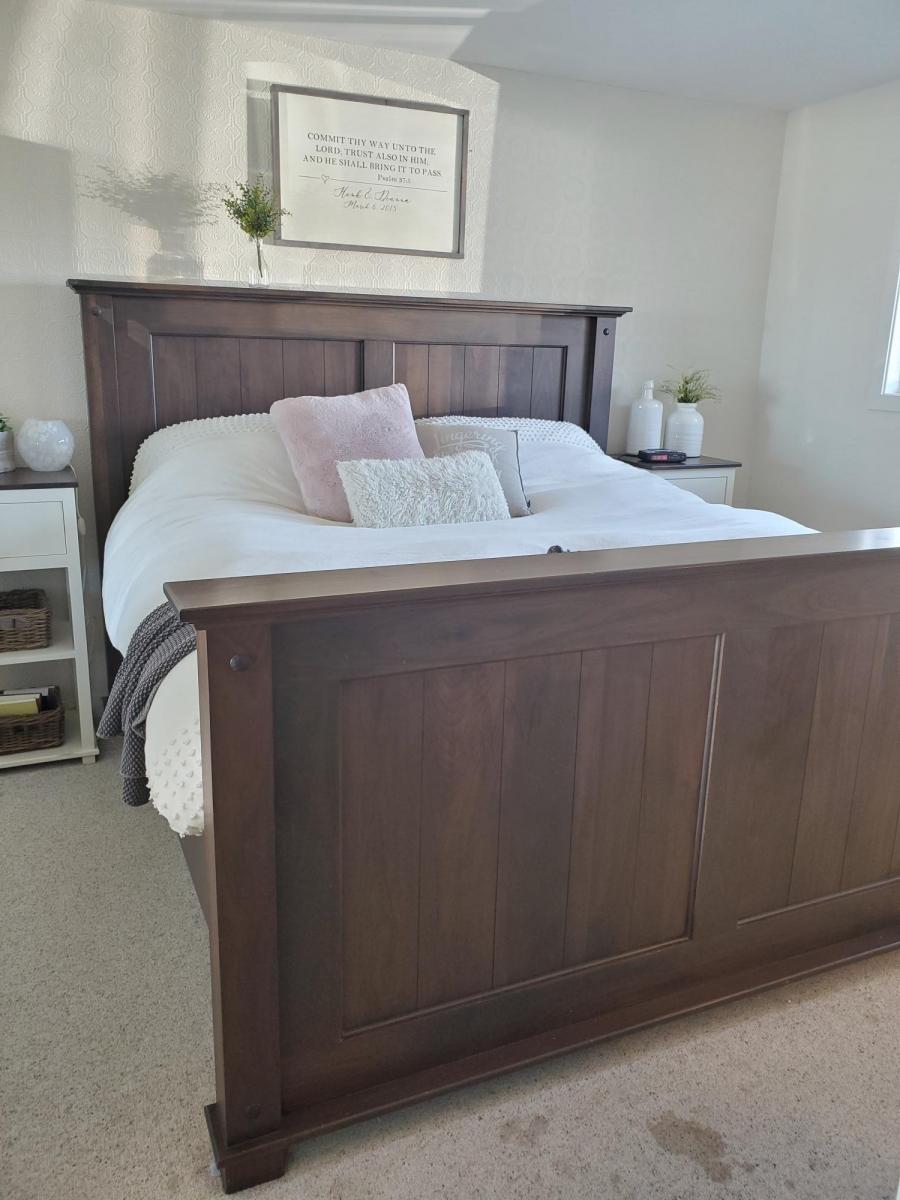
I used the Farmhouse Bed in the King size as an inspiration for this bed. I added a few things and tweaked the plan to make it my own. The cost of this bed was quite high due to the type of wood that I used, but can be made much cheaper with a softer, cheaper kind of wood and still look just as beautiful!
Fri, 10/04/2019 - 11:06
This bed is one of the most beautiful I've ever seen! I'm amazed!
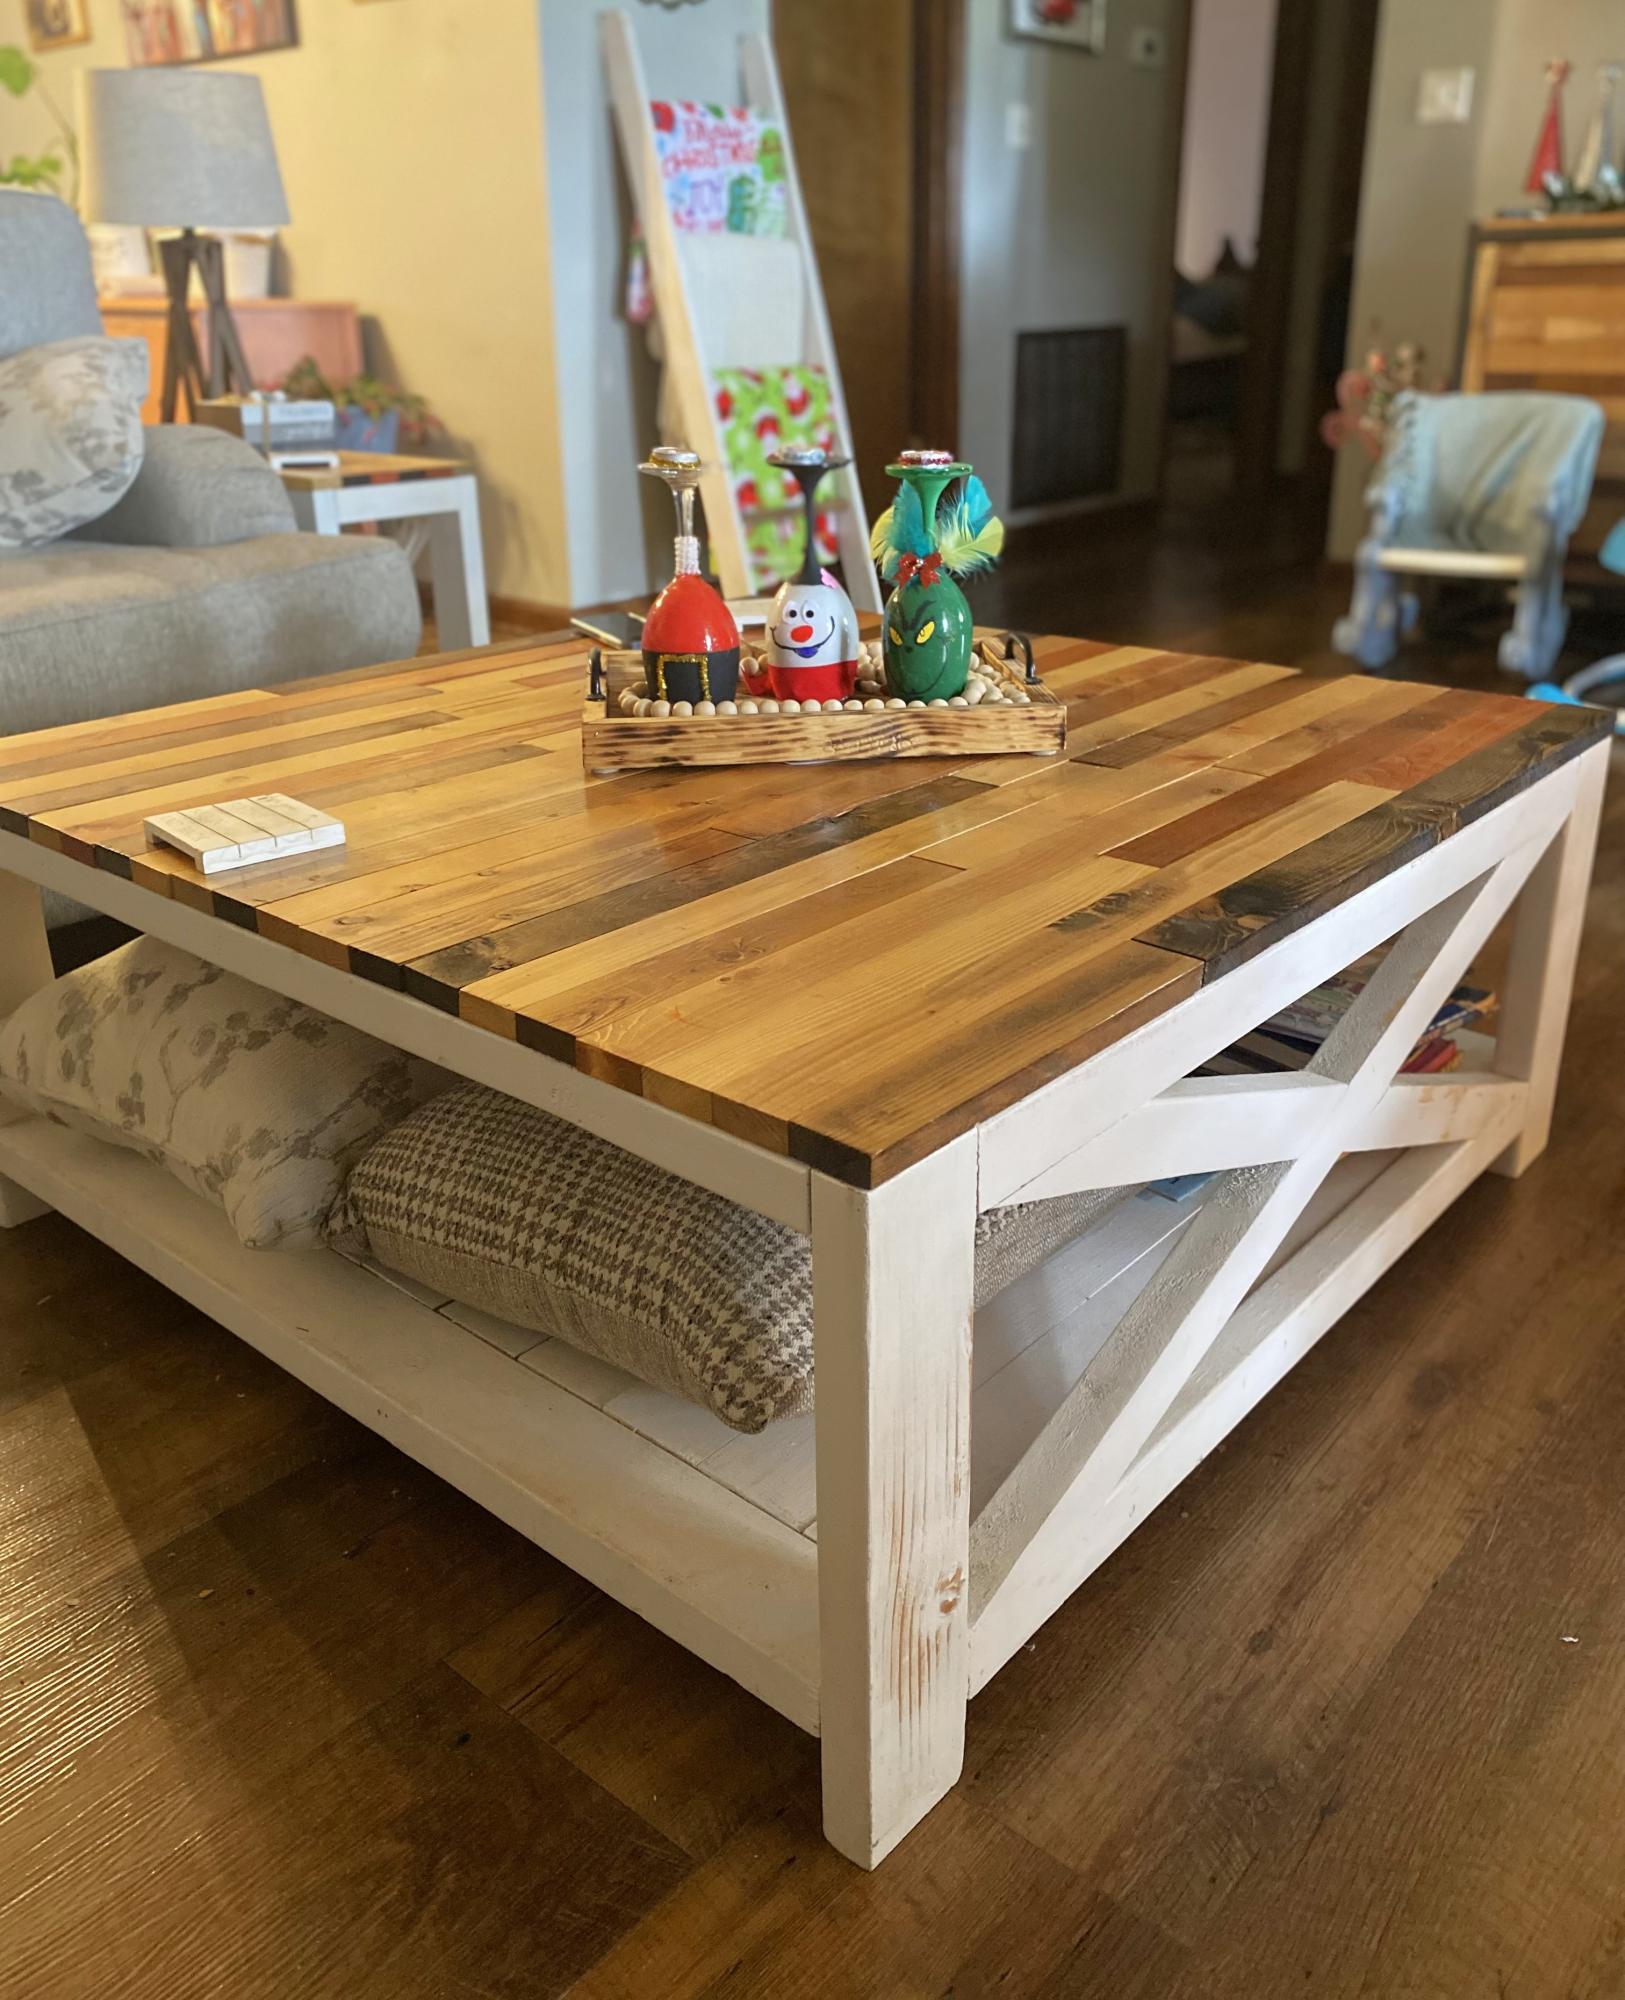
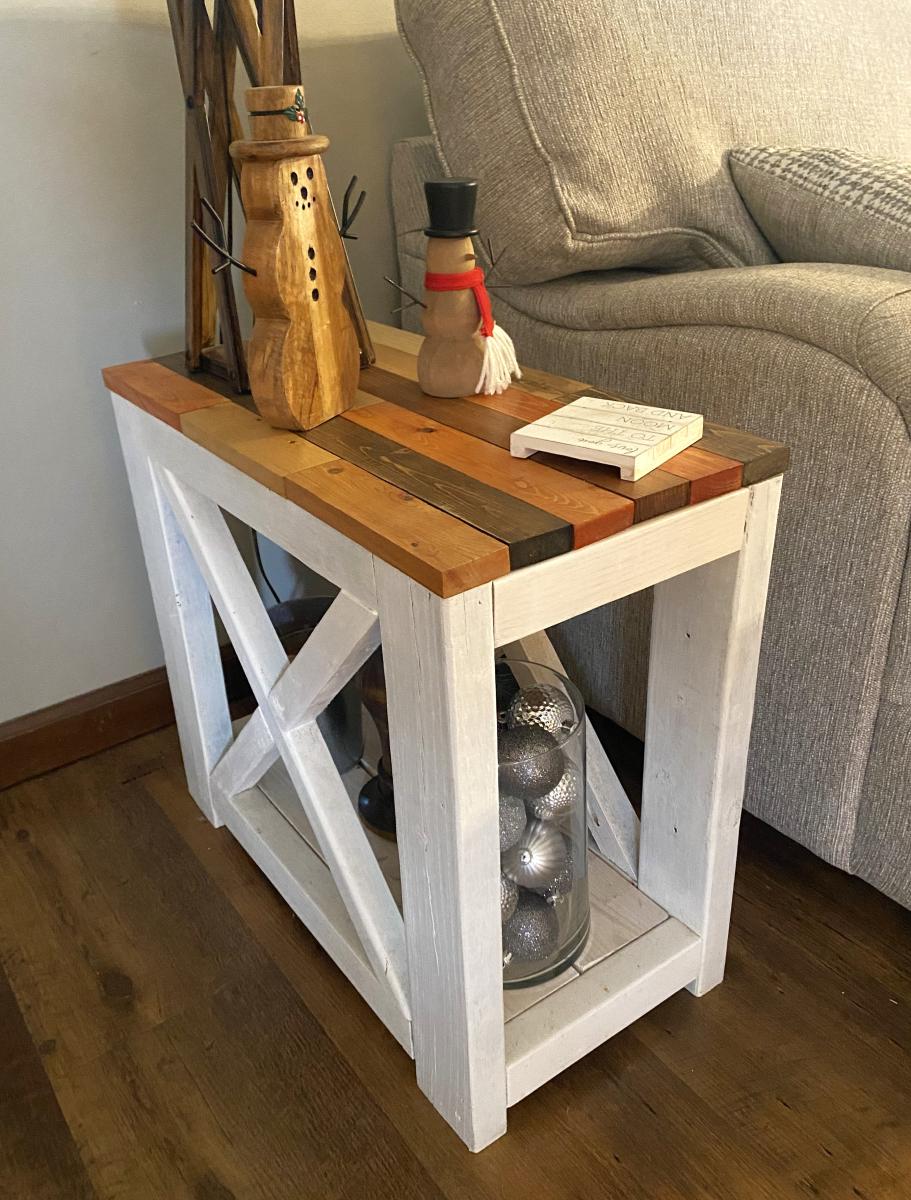
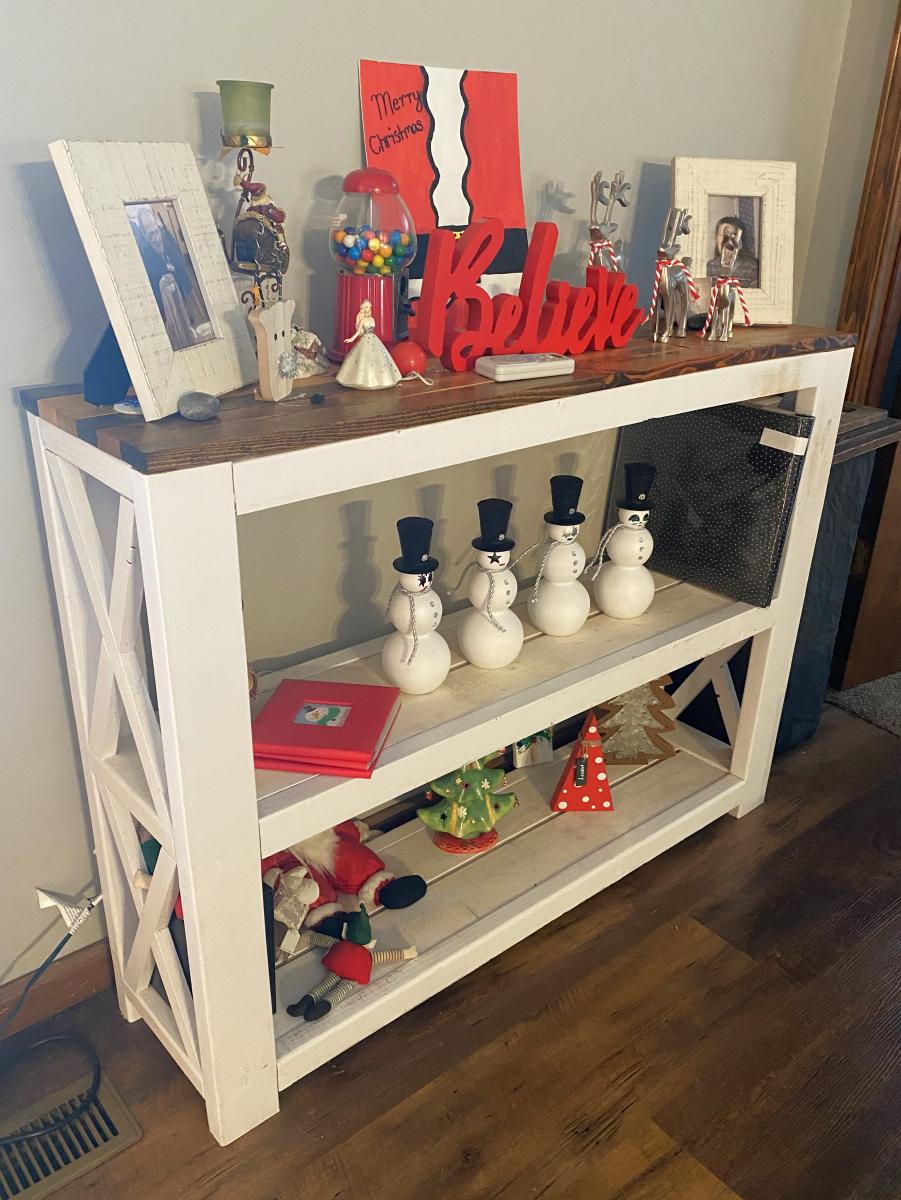
Farmhouse end tables, sofa table, and coffee table from farmhouse table plans, made tops flush with the sides no overhangs, tops made with scrap split 1x4’s in the scrap piles from Lowe’s and Home Depot, cut down to 2” wide strips, 5 different color stains.
Dale & Connie Putman
Mon, 11/18/2024 - 03:23
Finding furniture that’s both stylish and practical can be a real adventure, especially when you’re trying to create a space that feels cozy but still has character. I’m a huge fan of the rustic look, but not everything that claims to be "rustic" lives up to the hype—it’s either flimsy or way overpriced. That’s why I started digging into customer experiences before committing to a buy. I came across SKLUM reviews when I was redoing my living room, and it helped me avoid some regrets. Ended up with pieces that not only look great but also hold up to real life!
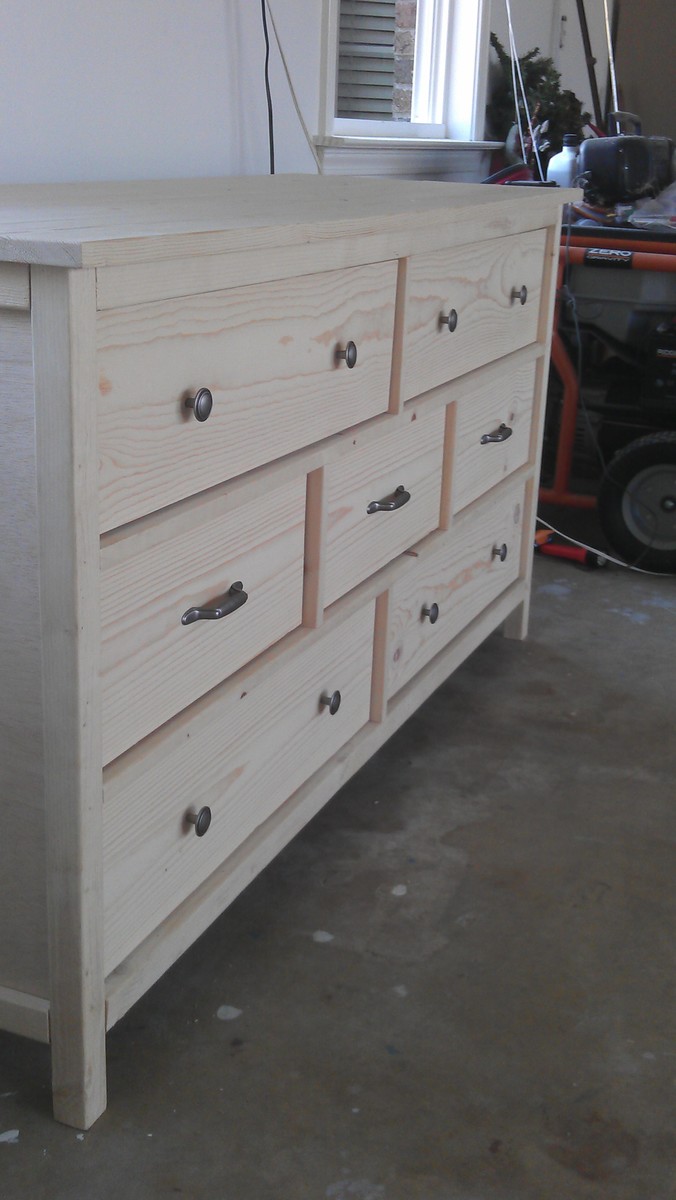
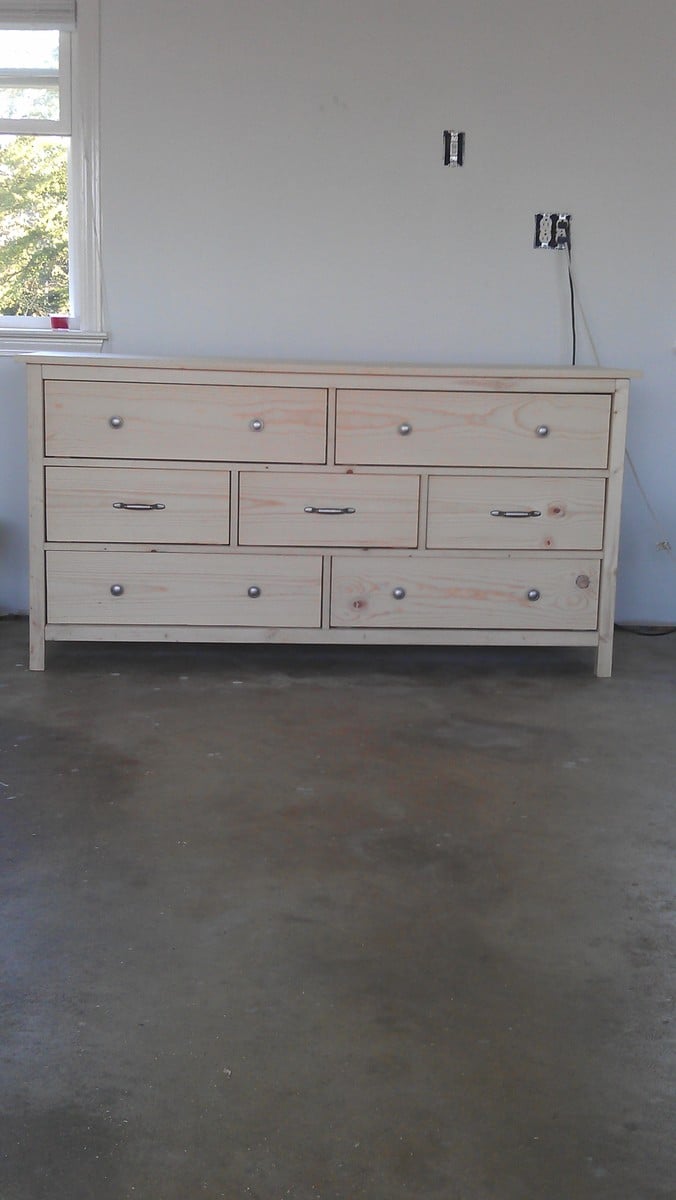
Modified wide cabin dresser with metal full extension drawer slides on the bottom of the drawers. The extra set of drawers on the bottom were added to give more space for storage.
Fri, 10/19/2012 - 18:42
This looks stunning. i think a dark stain would look great with linen.
Thu, 01/31/2013 - 14:04
Beautiful! I was wondering if it would look pretty with the extra drawers on the bottom. I'm building this plan for my son right now, but I might build another with extra drawers for myself!
Sun, 11/23/2014 - 05:29
Your build looks awesome! I'm going to be doing this for my twin daughters room very soon. I was just wondering how you modified the dimensions on the left and right sides. What were the measurements and dimensions of all the pieces since it had to cover all the way to the bottom?
Mon, 01/24/2022 - 18:04
I as well would like the plans to the modified dresser with the drawers on the bottom.
Fri, 02/04/2022 - 11:11
This looks amazing!! Would also love the plans for the extra drawers!! If you don't mind.
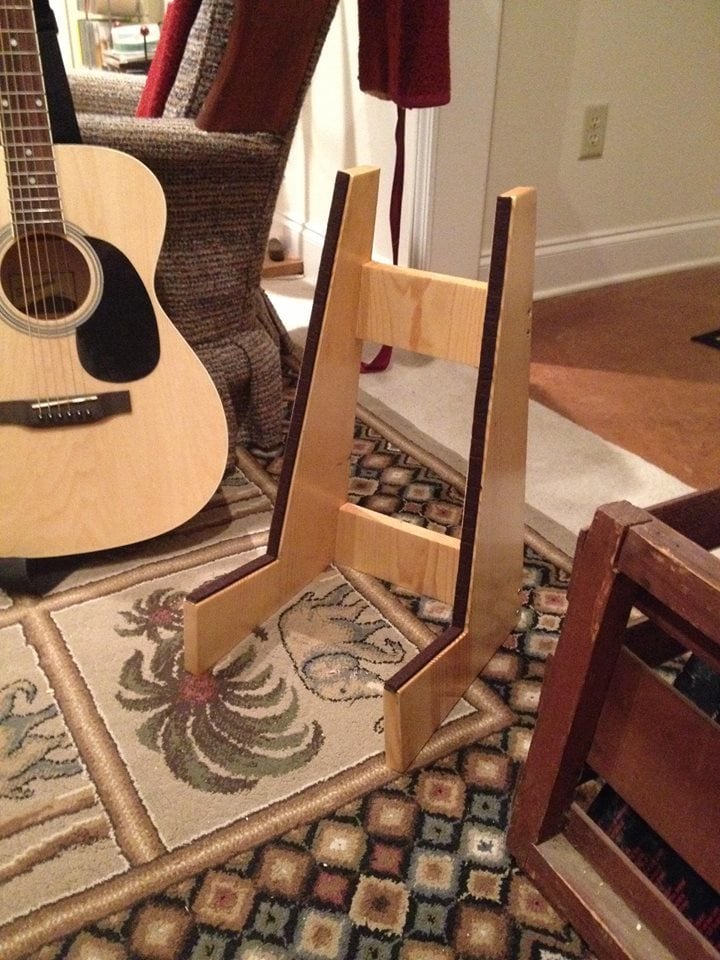
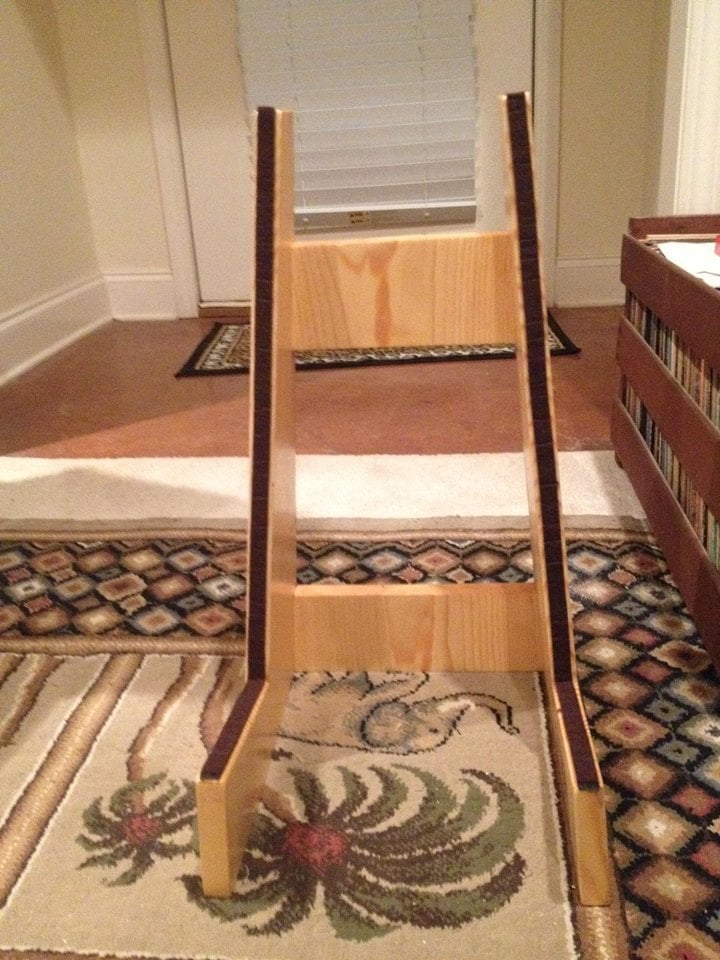
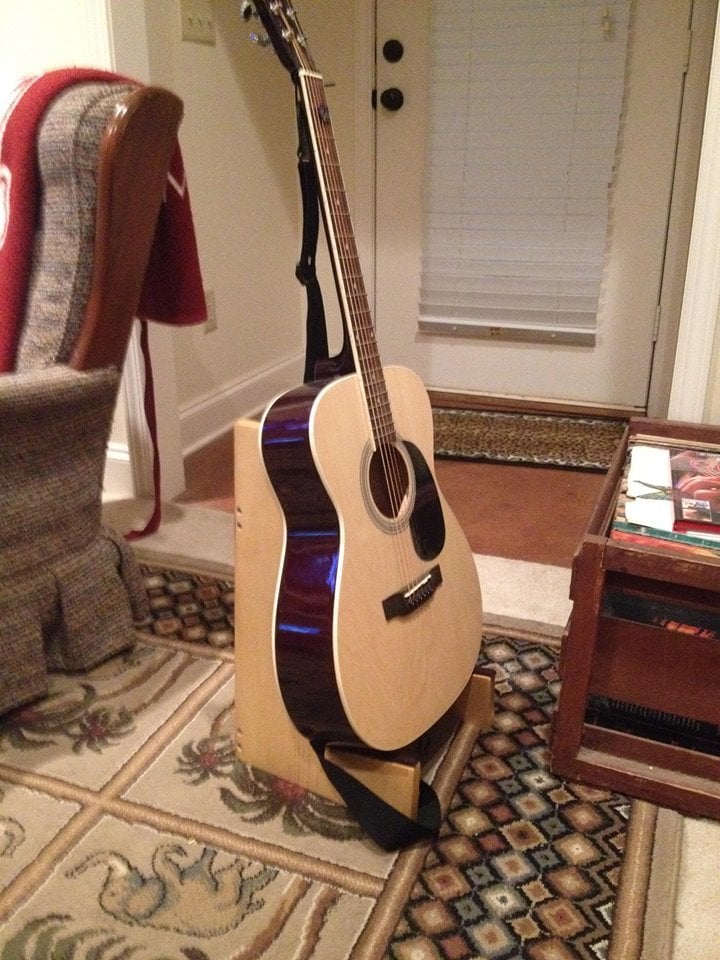
Built this guitar stand basically by using on-hand materials left over from another project. Used 1x12's; 18" tall fir for sides and back braces (cut at 5 degrees on each side). Added felt strips to protect the instrument.
Thu, 05/28/2020 - 17:37
Very nice and well designed. Thanks for some ideas!

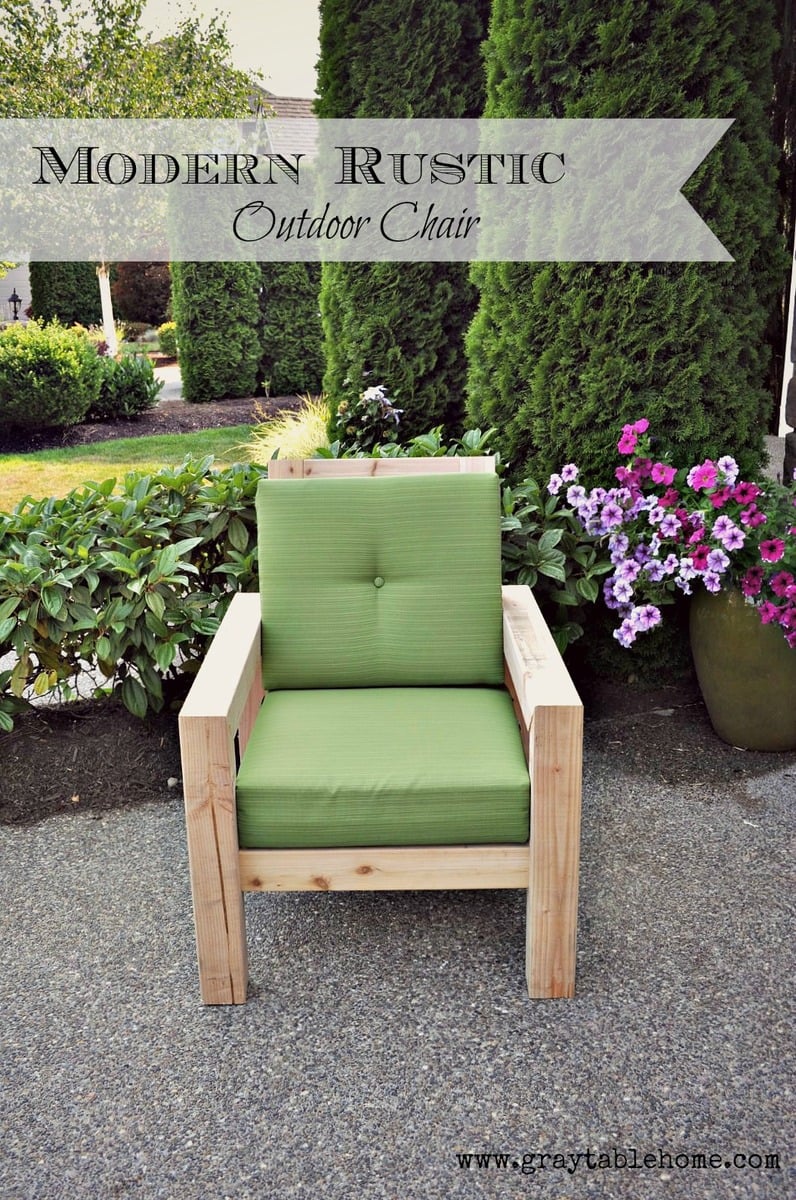
I made this outdoor chair by looking at a variety of plans and designs from Restoration Hardware and other stores. Check out more info on the project on my blog link. Thanks for looking!


Our local Habitat for Humanity puts on an annual event where they get folks to restore discarded or worn down furniture and sell them at auction. My wife and I participated last year and this year I was asked to build 4 dog houses and then they were going to let local designers/decorators finish them out.
I figured it would be easy to find a good dog house plan, but I was wrong so I had to come up with my own designs. I did not want to use plywood becauase I wanted them to look good. So I used 1x4's and 1x6's. I built them all just a little bit different, but the same basic design on all 3. Since I am not very good with circular cuts, did not do any fancy 1/2 circle doorways!
There are "after" pictures on the Blog. Thanks for looking!
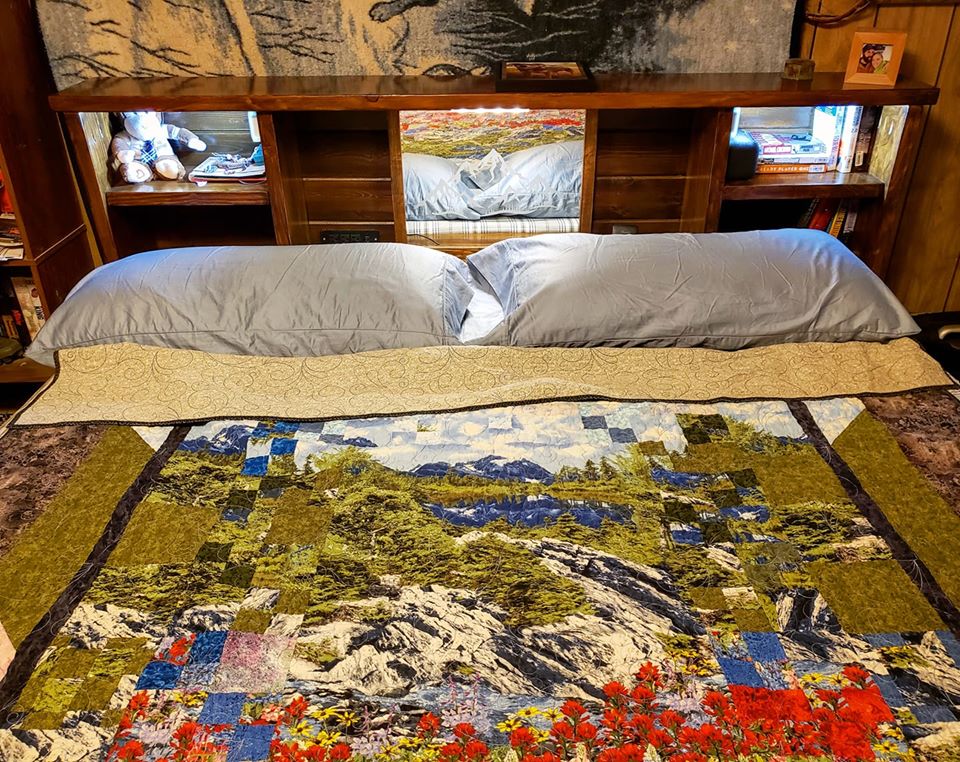
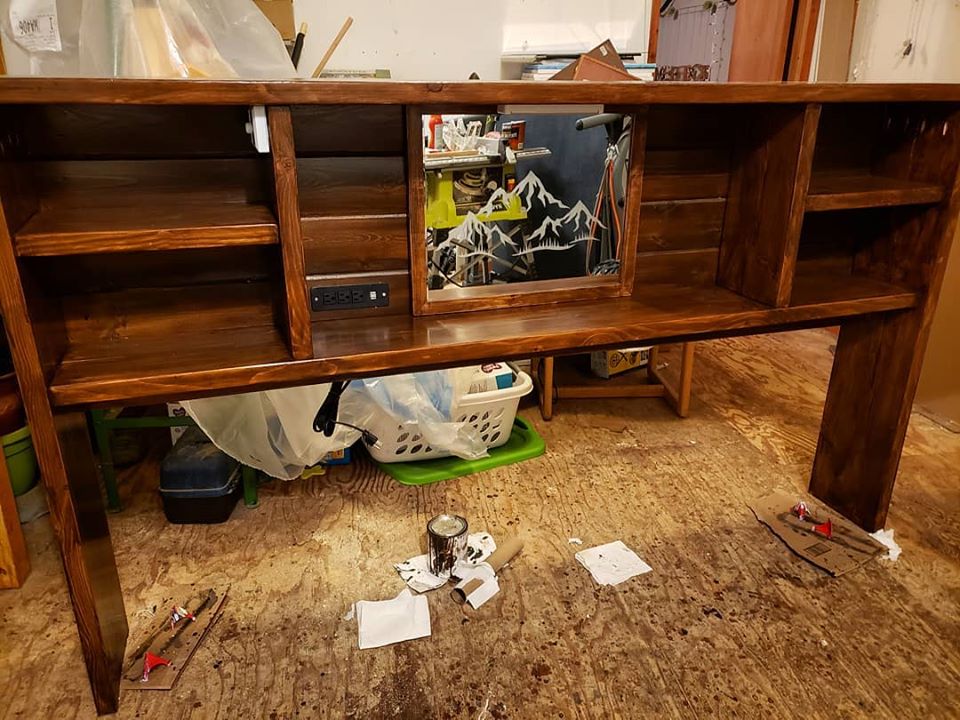
I designed this headboard on the back of a napkin, after we couldn't find one at a box store that met our needs. I used Douglas fir 2x10 for the headboard/shelves and Pine T&G for the backing. My fiance etched a mountain range into an unframed mirror, which I then framed from the scrap fir wood, and stained to match. Also attached an LED Lightbar above the mirror, Dimmer switch LEDs on each bookshelf, and a recessed USB/Plug port. This wasn't the cheapest project with the electrical accessories added, but we now have a custom wooden headboard with bookshelves, lighting and chargers that will last us years and be far beyond anything we could have bought at a big box store for the same cost.
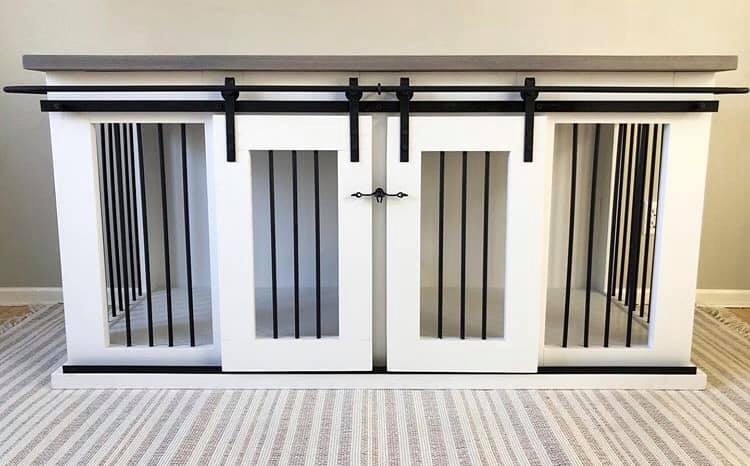
Built by Holli Peterson
Fri, 04/17/2020 - 09:30
Can someone post plans for this? Materials? Cost?
I love it!!!
Thanks!!
Thu, 08/31/2023 - 21:23
I’m looking to make one similar to this but looking to make it a little bigger for two Great Danes. Do you still have the plans and or cut list for this project to help me out. I’d greatly appreciate it if so.
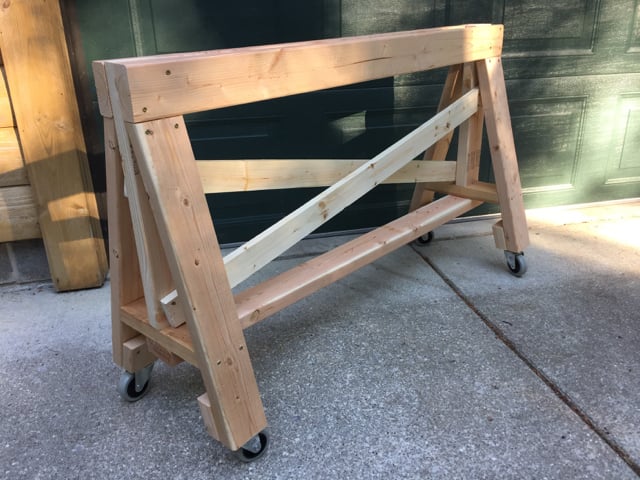
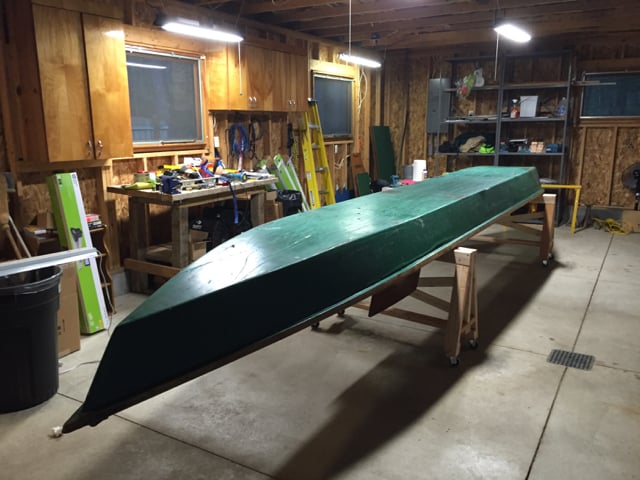
Your saw horse plan worked great for a wooden boat project I'm doing -- the 3" wheels (with one locking) enable me to move the boat around the workshop or even outdoors for heavy duty sanding.
I added blocks of 2x4 to the legs for more surface for the wheels and I extended the cross pieces to 4-feet long as the old AuSable River (MI) guide boat is about 40" wide.
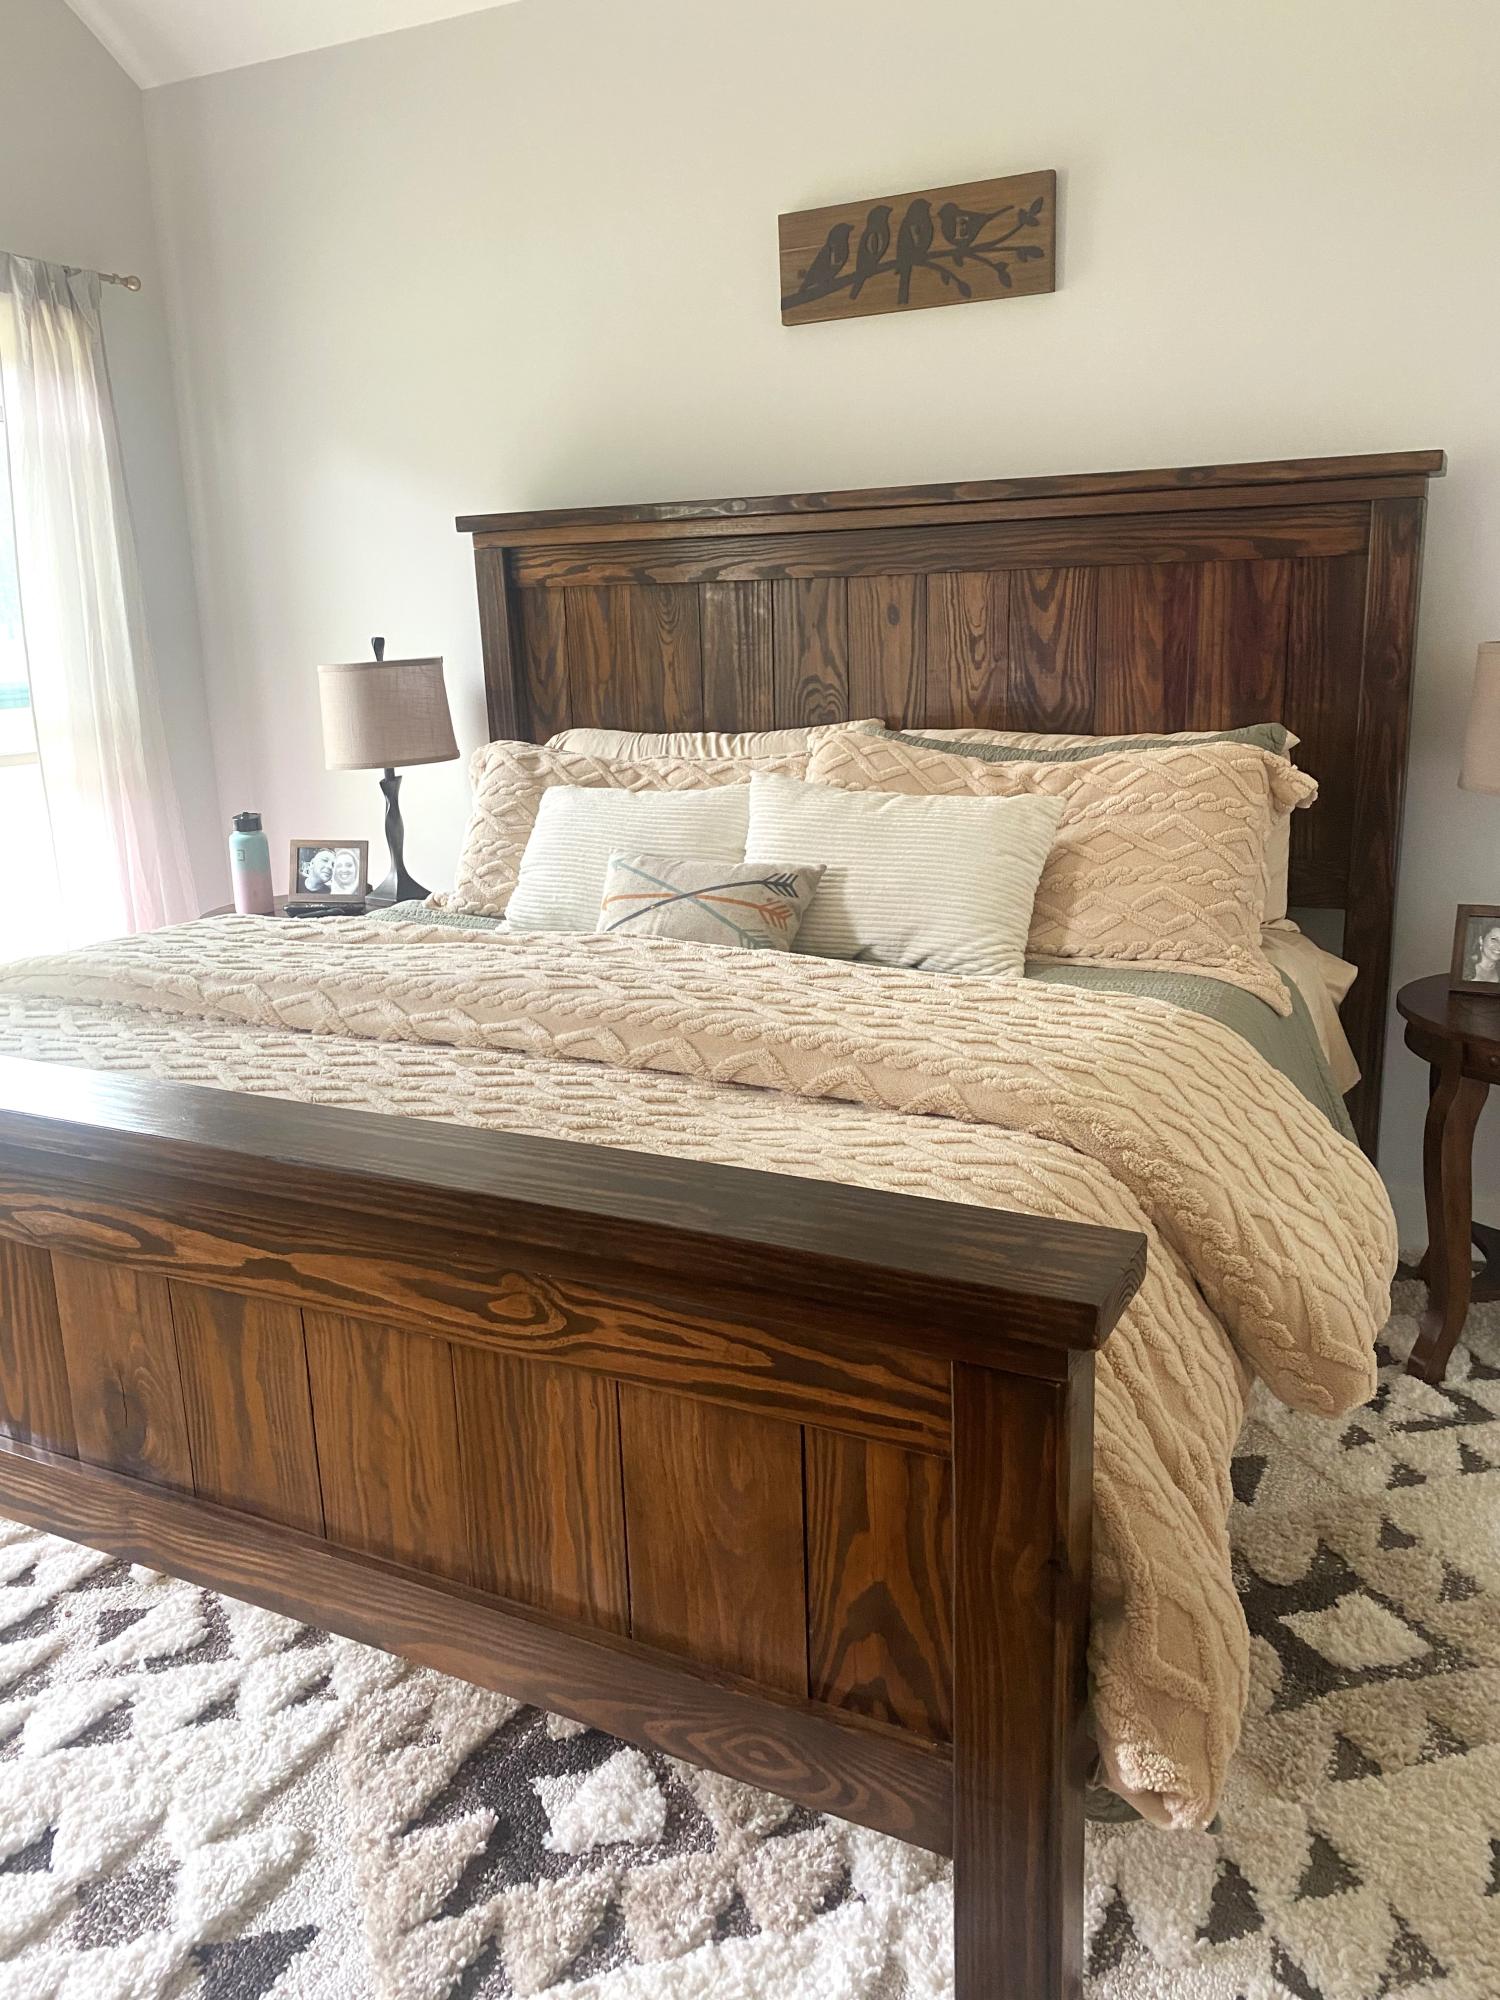
My husband slightly modified the height of the footboard of the farmhouse bed plans. We truly love this bed. It’s extremely sturdy and we have friends and family lined up to have him build them one!
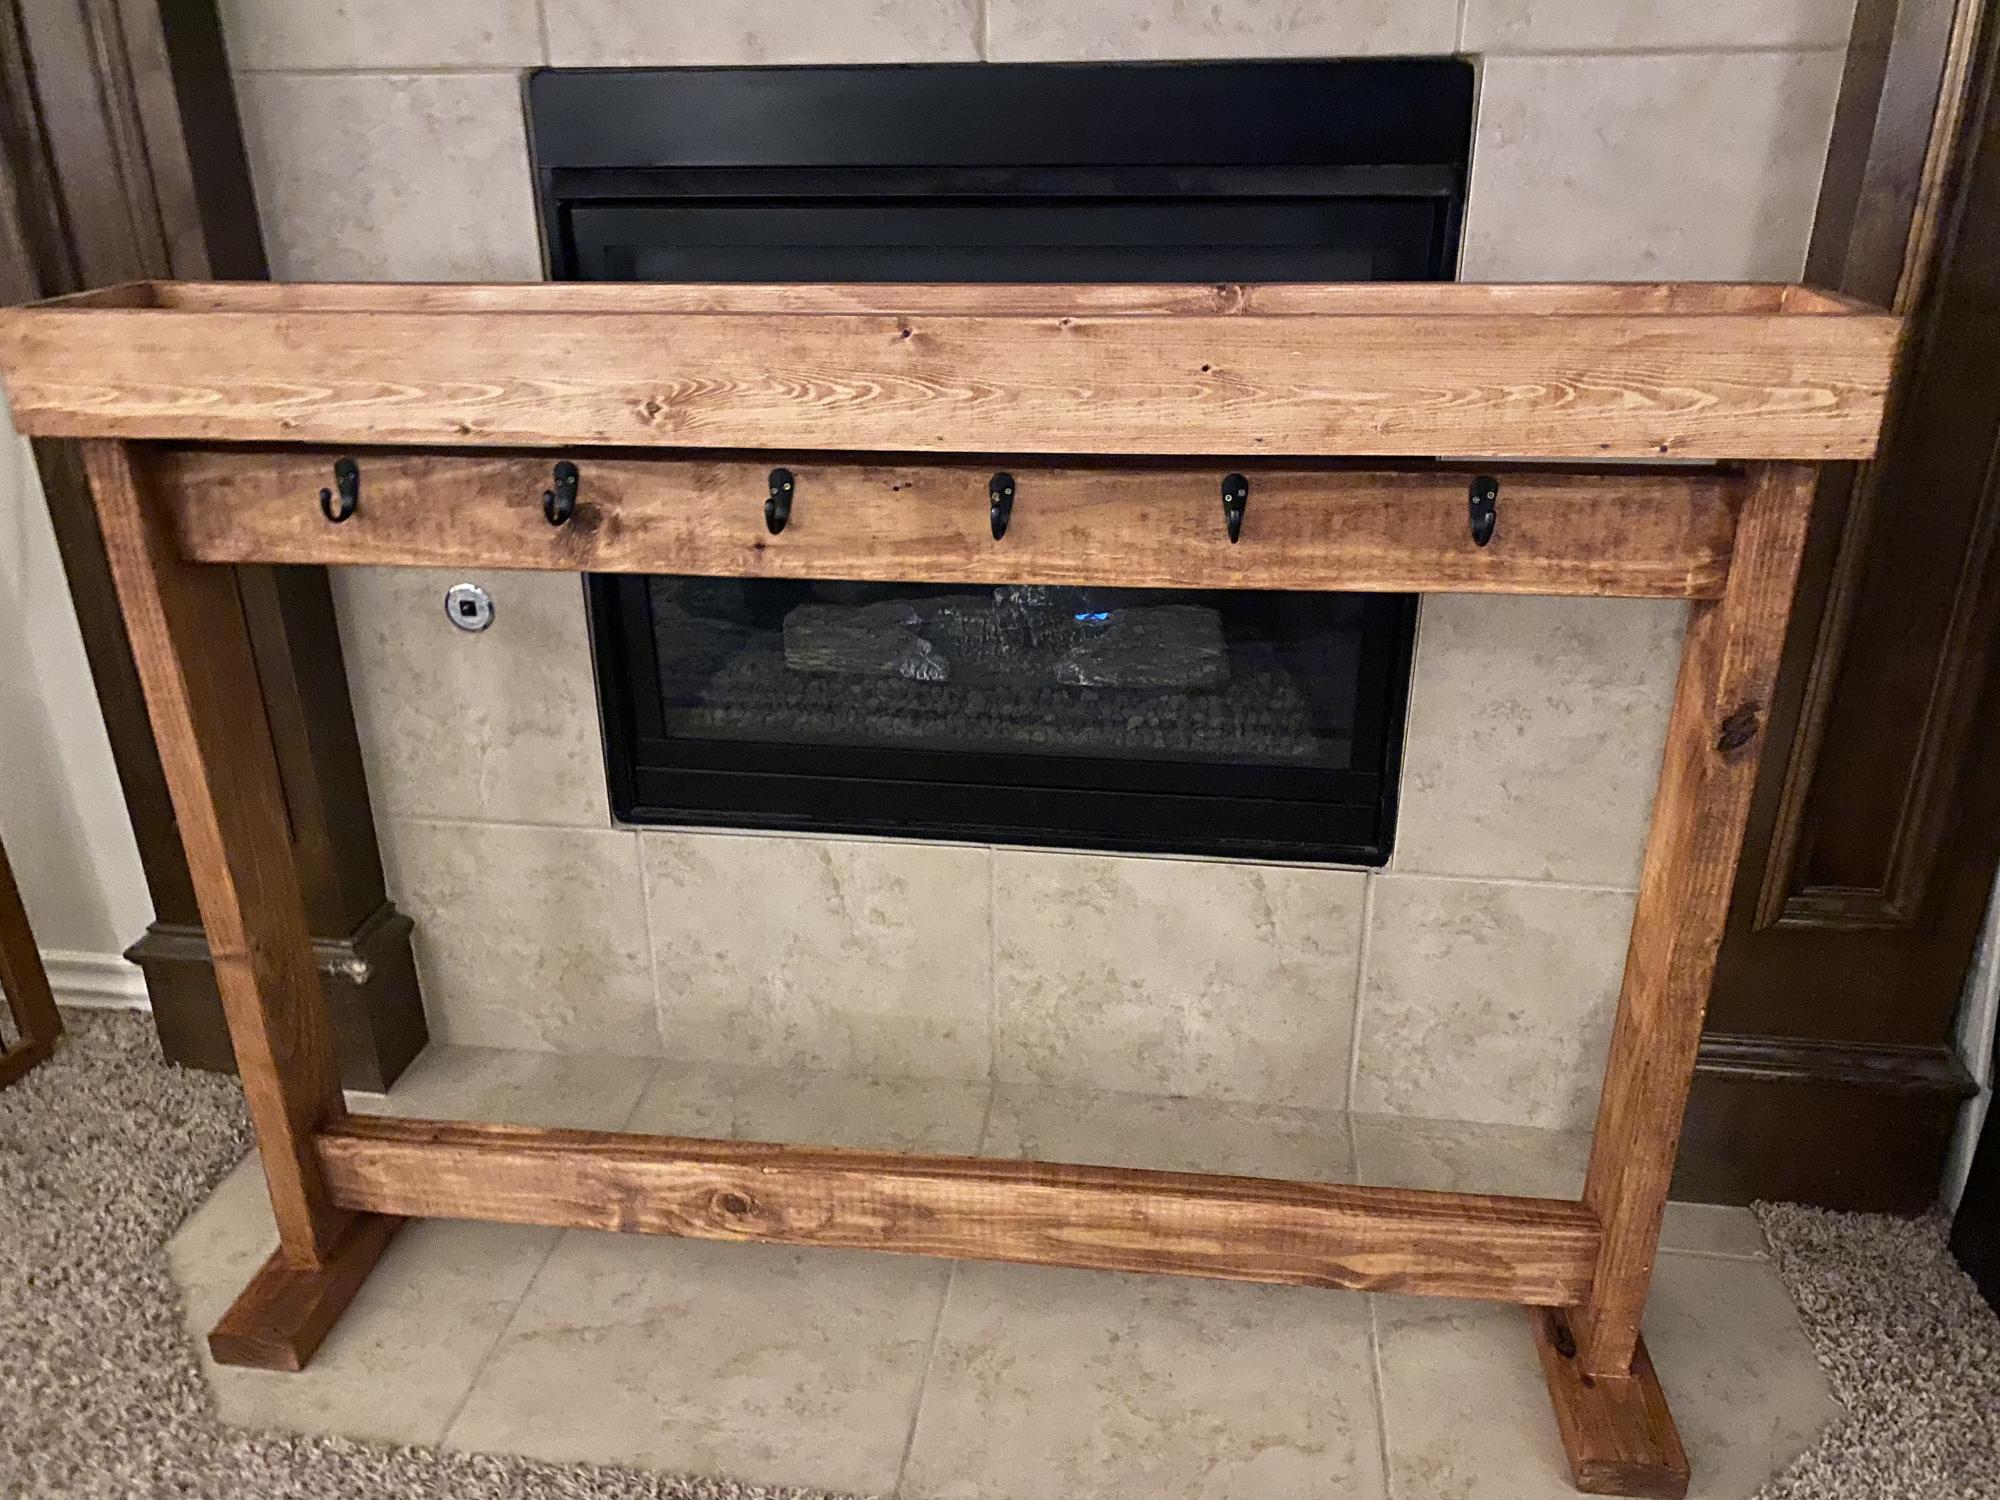
Built this today per request of my daughter because she wanted our stockings hung! I loved the stand Ana made but wanted to be able to use it after Christmas. I saw Shant2Chic built a stocking box and decided to combine my two favorite inspirational builders and came up with this! I hope you like it!
I added a 50” box (monitors Shanty2Chic’s measurements) and screwed it to the top of Ana’s Stocking stand!
Sat, 12/26/2020 - 19:09
Love the combo of the plans and so happy to hear you were able to hang the stockings!
My daughter helped me build this enclosure. We used Ana's chicken run plan, but just made it taller so we could walk in easily. We added an overhang to store food and pellets under, for the supports we used Ana's easy shelves angle support plan, and finally we used the playhouse base plan for the base of turkeys house. All plans used are linked below. We ran the chicken wire out under the structure and still need to bring in some large rocks or pavers, but so far no issues with predators. Turkey was getting too big to fit in the smaller coop, so we decided to have fun with his house and used cedar fence pickets and some treated 2x4's, built a box and jig sawed the shape of a turkey. As you can see in the first photo the ladder for turkey wasn't big enough, all the other chickens were in his house, lol. So I beefed up the ladder and he happily can put himself up at night now:) Overall a super successful project, I wasn't sure what to do with the top and just at that point, the neighbor walked over and offered the metal, talk about a huge win and the perfect solution! We attached the run to the previous smaller structure and now they have so much more room and are laying like crazy:) Finally, I think this would make a great dog kennel as well...
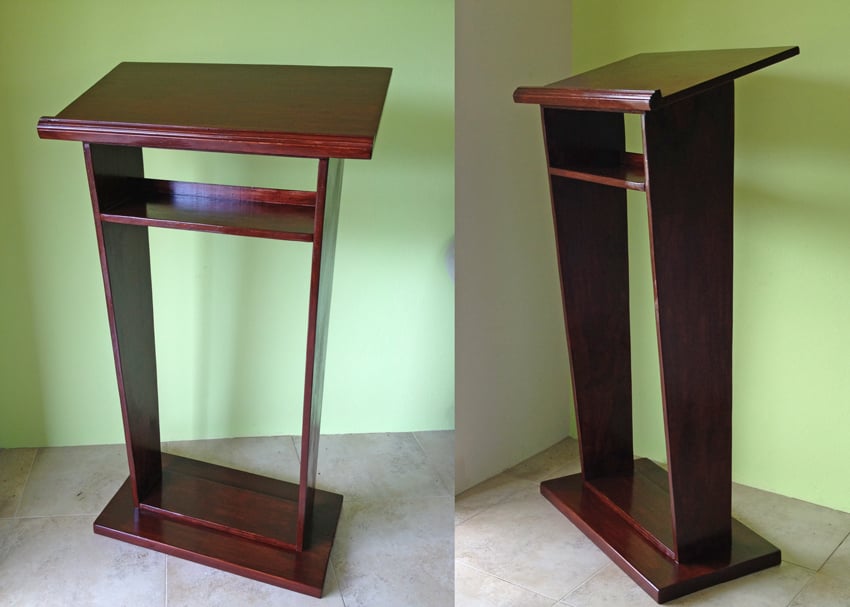
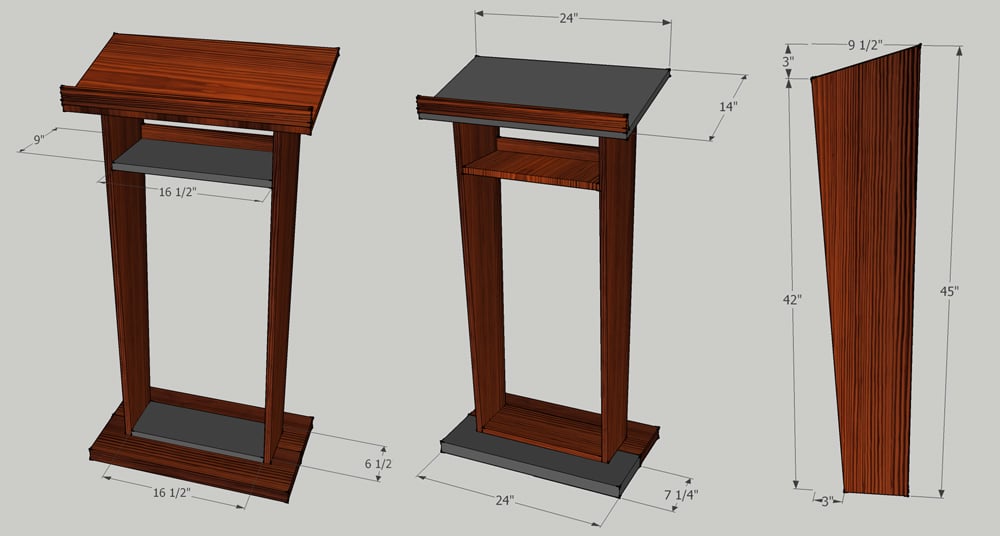
A good friend of mine, a pastor of a local church, asked me to build a pulpit for their recently finished church up in the countryside of Grenada. She showed me a picture of what she had in mind and based on that, I drew my own plan in SketchUp, and then built it out of Yellow Pine boards and Plywood.
Note to the dimensions:
After I drew the plan, and just when I was at the lumberyard to have the plywood and boards cut, I thought I might have had it estimated not wide enough, so I decided on the spot to make it 2" wider and the top panel 2" wider and deeper too. So if you'd like to build based on my plans, please consider if it's wide enough for your purposes.
This is what I used (corrected measurements here):
2x 2x8 26" long YP Boards (Base)
1x 18 1/2" x 6 1/2" Plywood (Base Support Panel)
1x 26" x 16" Plywood (Top)
1x 18 1/2" x 9" Plywood (Shelf Panel)
2x 45" x 9 1/2" Plywood (Side Panels ) - these are cut angled, see plans
1x 44 1/2" Wood Moulding (for the "stopper" on the top panel, and the "back" of the top shelf.


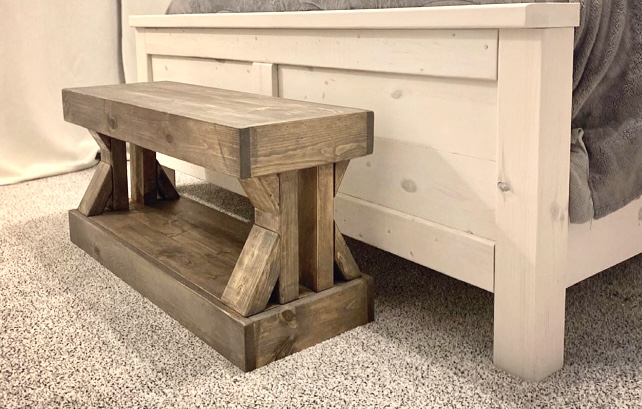
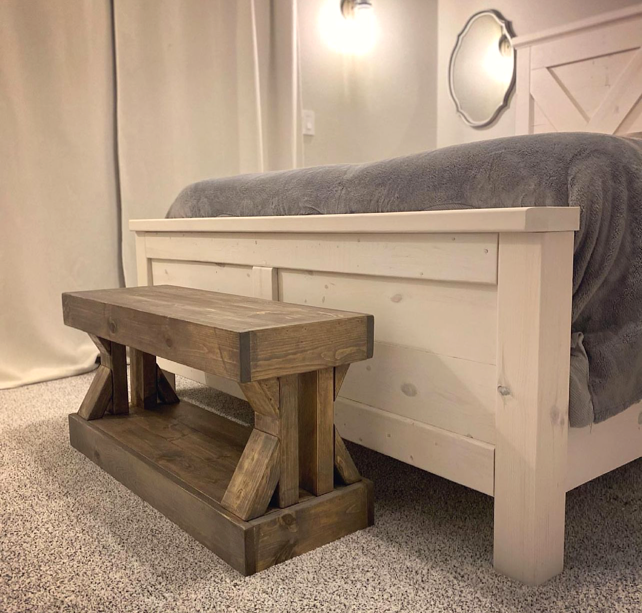
With all my bed frame scraps, I was able to build a small bench for resting and so the hubs doesn’t bump into the old ottoman when walking around the bed. by Mmade
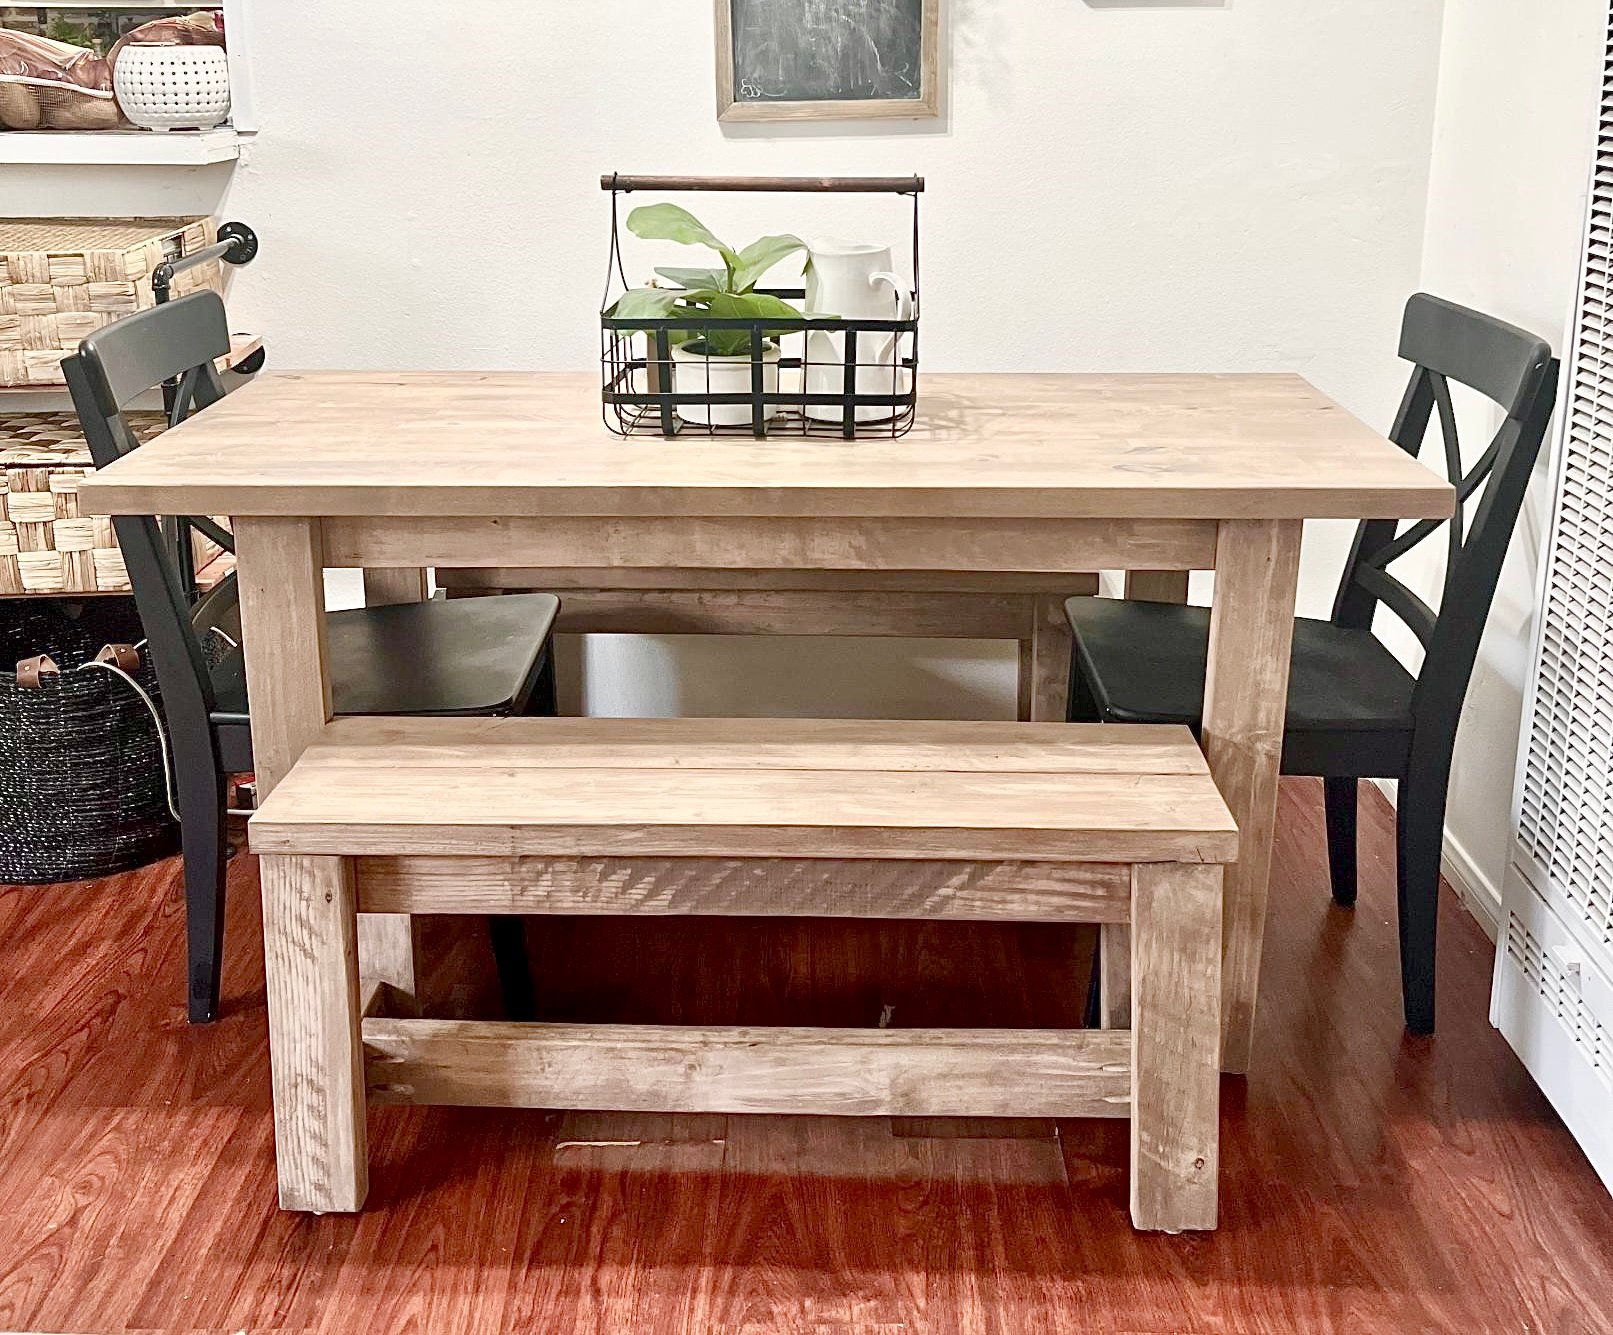
I absolutely love this table and benches! Thank you!
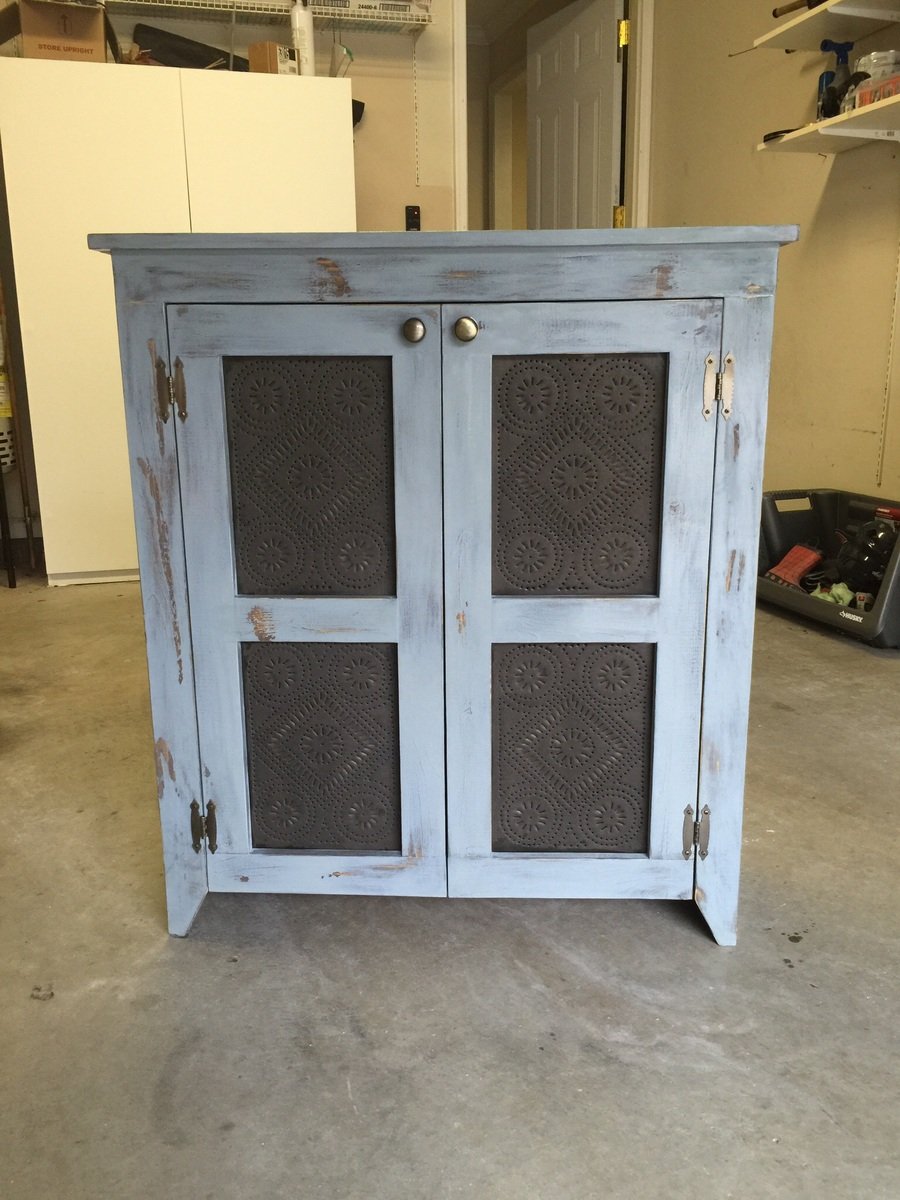
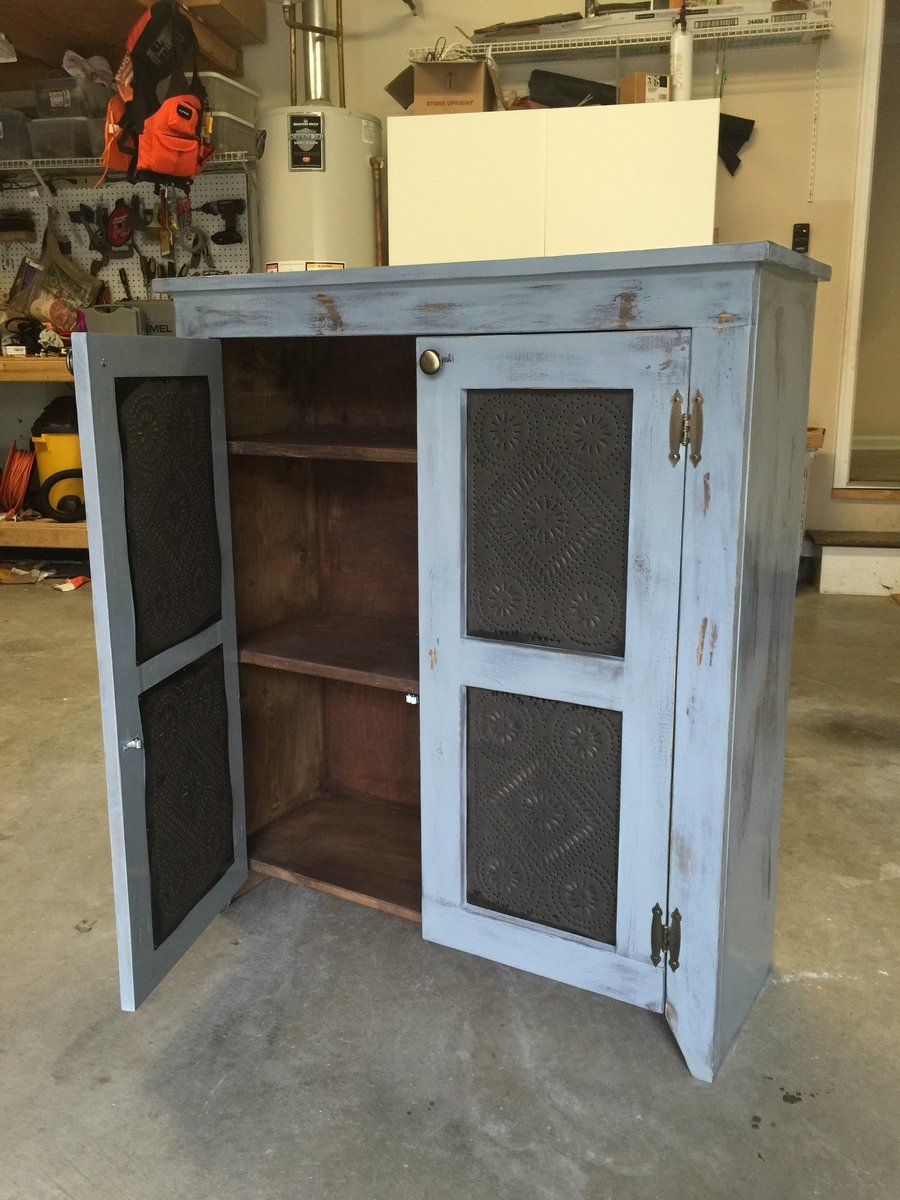
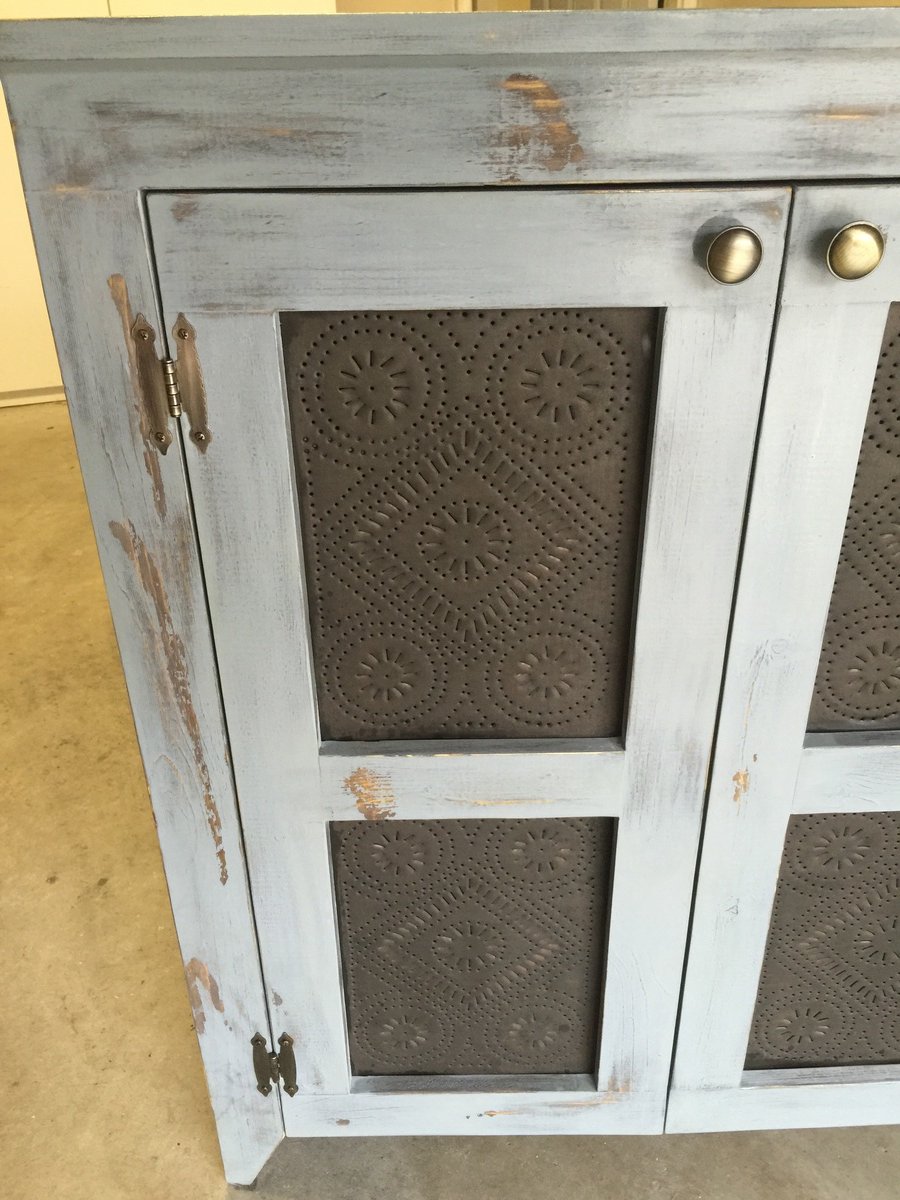
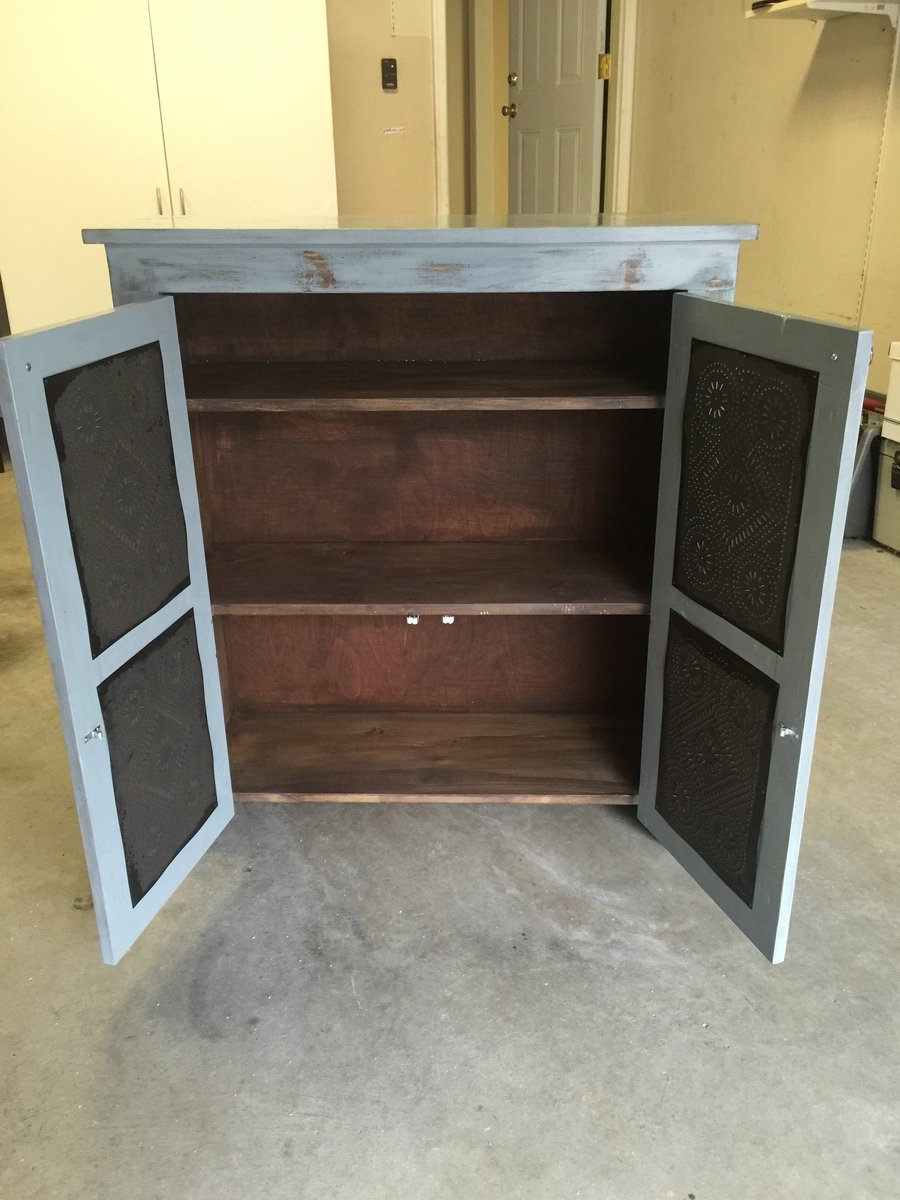
This is my first, of hopefully many projects to come. I modified Patrick's Jelly Cupboard plans to be 40" tall and added the tins to the doors. I used spruce and pine board from a local lumber yard. The finish is Miss Mustard Seed milk paint inside and out. With kids in the house I didn't want to use stain with the heavy chemical smell so I mixed the milk paint with a lot of water to look like a stain. That product is so easy to use and looks great. Needless to say my wife loves her pie safe. Thanks Ana for this site and the inspiration to give this a try. I'm hooked!
Sat, 10/31/2015 - 09:36
This is really beautiful! Might I ask where you got your tin inserts? Thanks!
Tue, 12/01/2015 - 11:13
Thank you for the comments. I ordered the tins from Irvin's online. They were quick to ship and were packaged well. Here's the link
https://www.irvins.com/category/Kitchen-Cabinet-Punched-Tin-Panels/08_2…
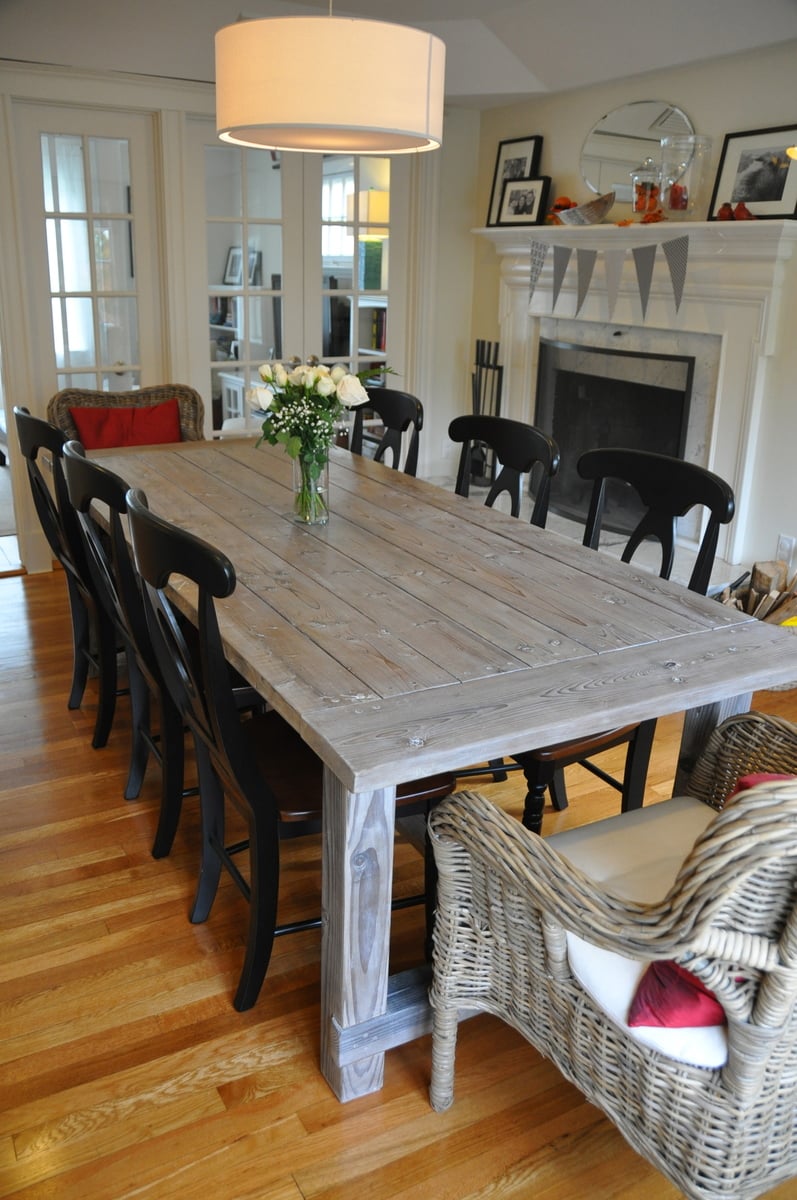
This was my first build and I learned A LOT and watched A LOT of youtube diy videos. The main take-away from this project is not to build in the freezing cold if the finished project is for inside. I finished this project in below freezing temperatures and I noticed that the wood expanded (increasing slightly the gap between the finished boards on the top) when it was brought inside.
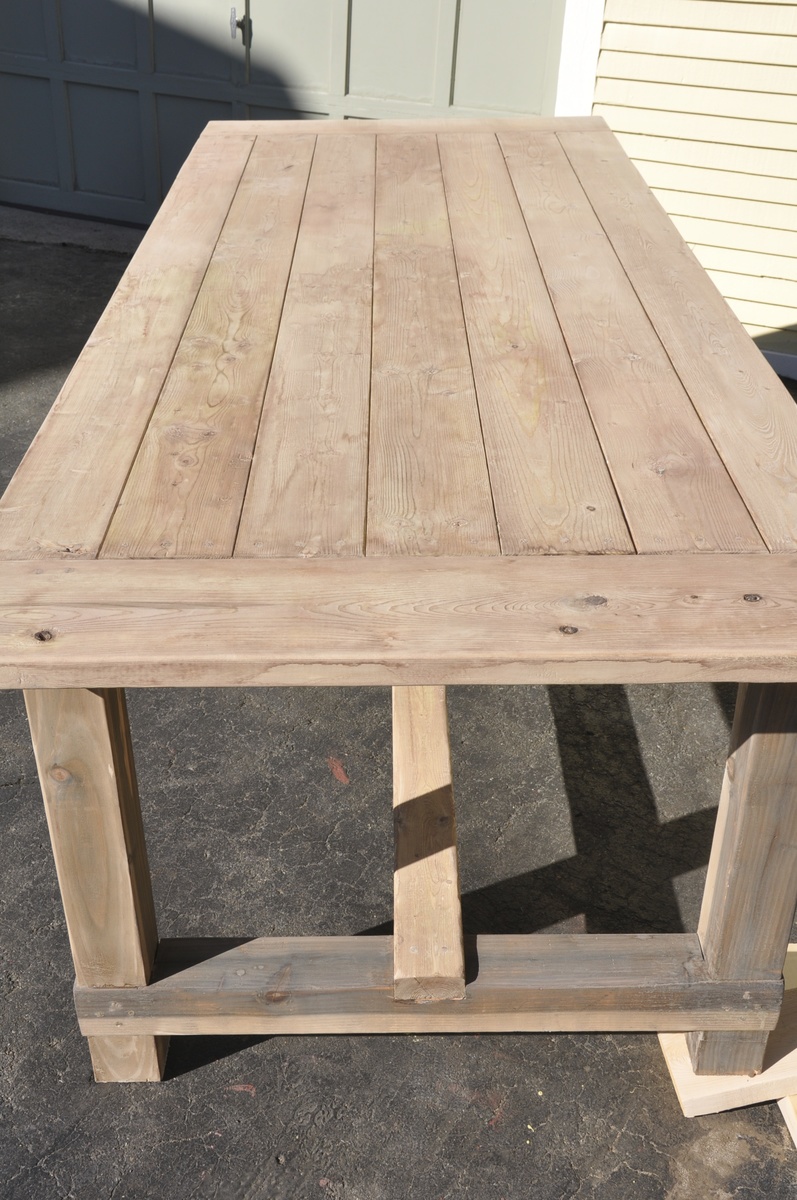
I built this from the original farmhouse table plans with no kreg jig although I did buy and use a pocket kreg jig to make the extensions. The main modifications were using 4x4s such as were used in the Country Living magazine spread that inspired this build and also making modifications to allow the addition of 15" extensions at each end of the table's bread boards.
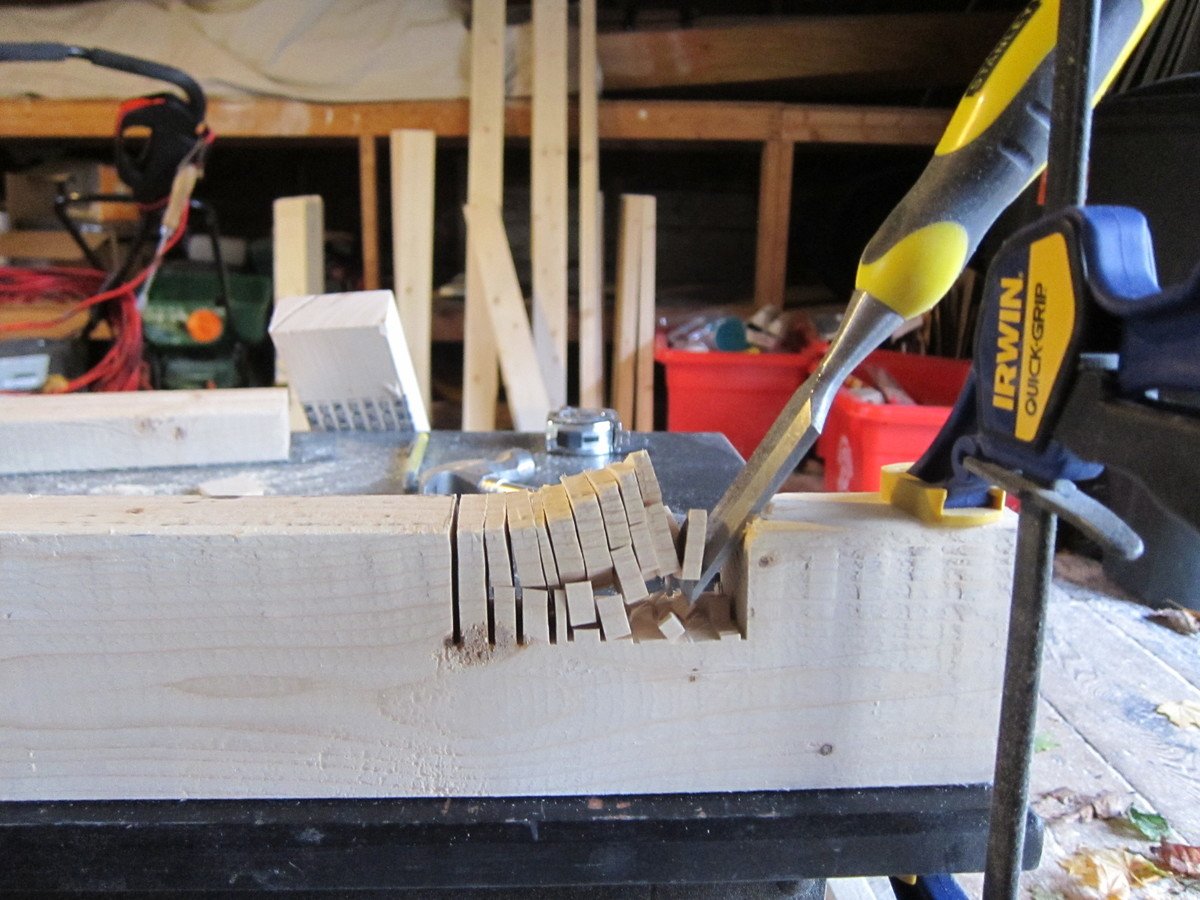
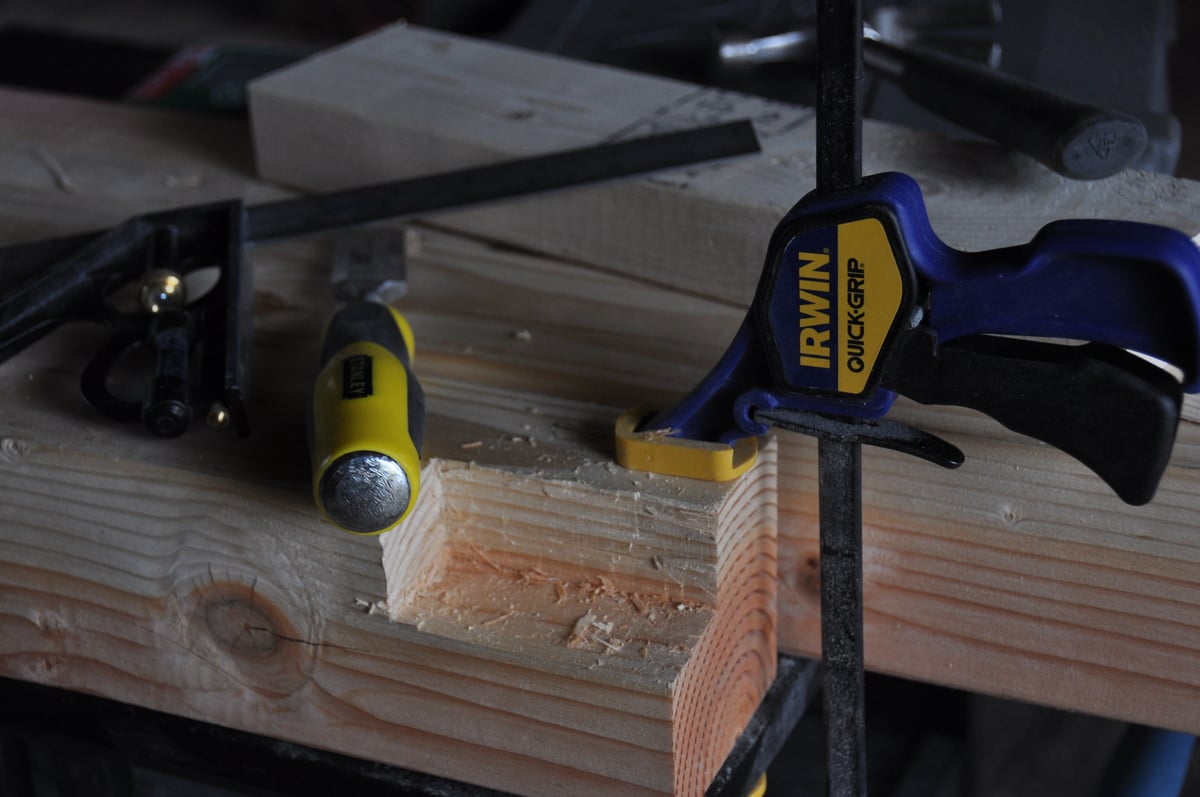
My first challenge was figuring out how to build with the 4x4 legs instead of the 2 2x4s screwed together. In order to accomplish this i had to use a chisel to create the corner lip that the table top frame would sit on. I added photos of this so I hope it will help someone. Chiseling these 4 corners (one on each post) only took an hour or two and was so worth it for the look of the 4x4s. Just measure carefully and work carefully with a sharp chisel. I actually removed half the wood by sawing off the corner at a 45 degree angle. Remember when cutting your boards for the table ends that a 4x4 has different dimensions than 2 2x4s screwed together. Compensate for this in your cuts.
Another challenge was hiding the screws on the table legs and table top. I was leaving the finish natural so didn't want to use wood fill. I accomplished this by getting a countersink bit and then buying wooden dowels the same diameter. For these screw holes, after finishing screwing, I put a dab of wood glue in the countersink hole, inserted the dowel as far as it would go, used a fine hand saw to cut off the dowel flush with the table and then used a hammer to make sure the dowel was in tight and flush.
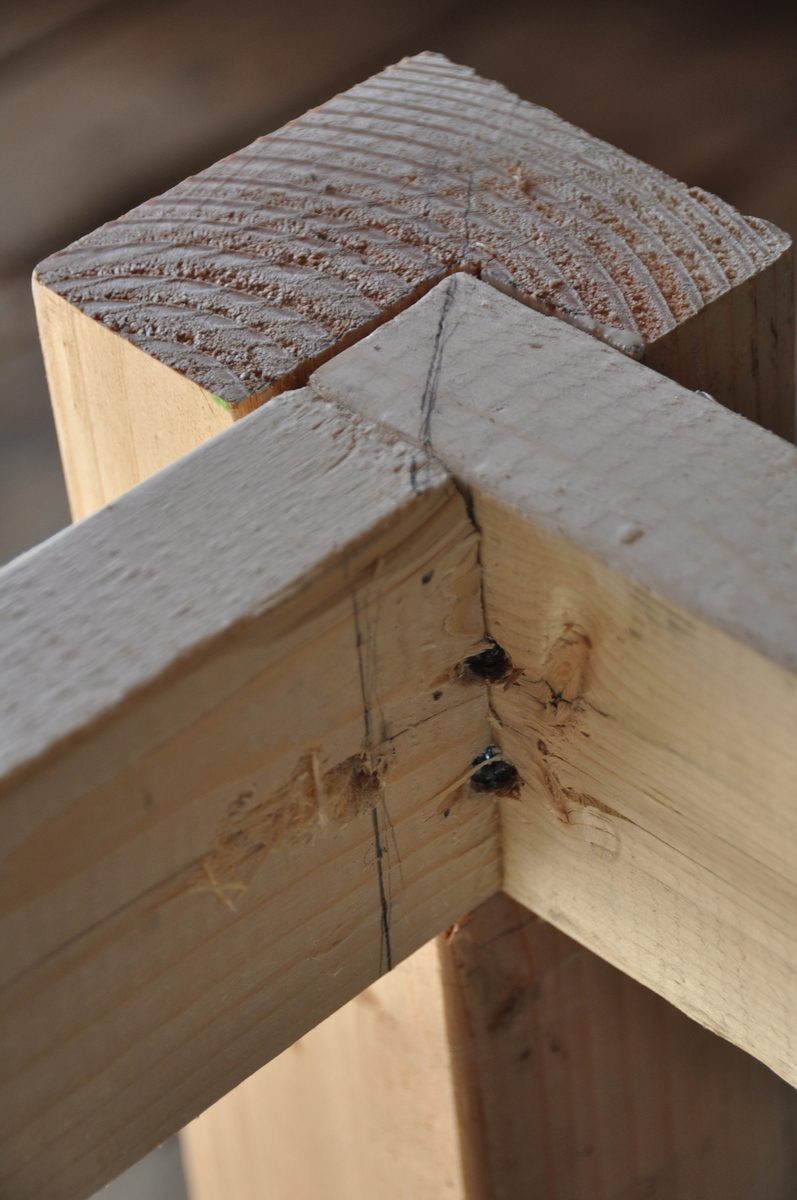
I had trouble figuring out how to attach the table top frame to the table legs with the long screws from the plans so I included a picture of this step. Its really easy but I was not able to use three screws as the plan calls for. I used two instead and it has been very solid. I used the long screws as proscribed.
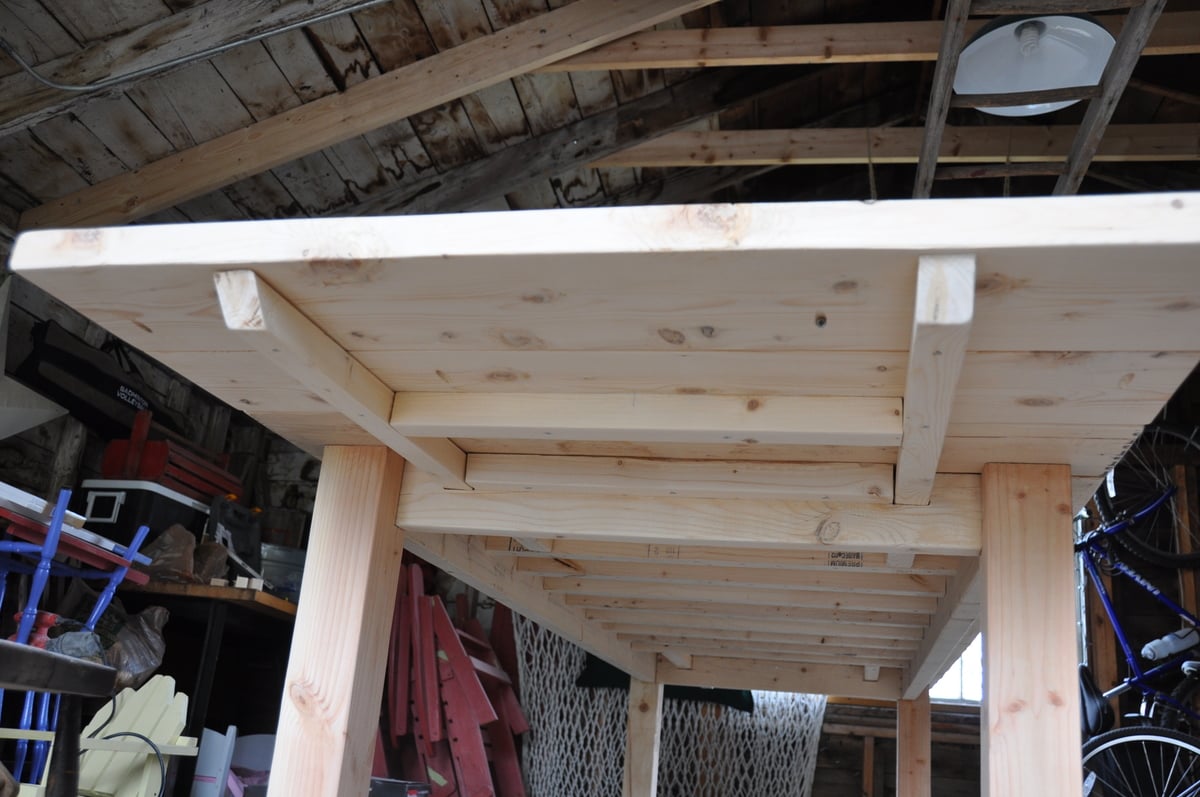
Finally, I wanted to build extensions (2 2x8 boards kreg jigged together) so I could increase seating up to a max. of 12 persons, so I needed to cut out 2x2 gaps on the table ends. I also included a picture of these in place. To make room for the 2 2x2s that extend under the bread boards and table top to brace the extensions, I left out one of the 2x2 cross beams at each end of the underside of the table (the boards that the table top boards screw into).
I hope this is helpful to you!
Mon, 02/10/2014 - 11:55
Great job on the table! I love...I had visions of this table before I saw it. I wanted to use the 4x4's for the legs as well, the same finish. I am concerned now about the 4x4's because I am an amateur and I think that may throw too many wrenches into my plan. I started with the bench, finished in 3 hours I have patted myself on the back. Plotting on a Kreg jig right now.