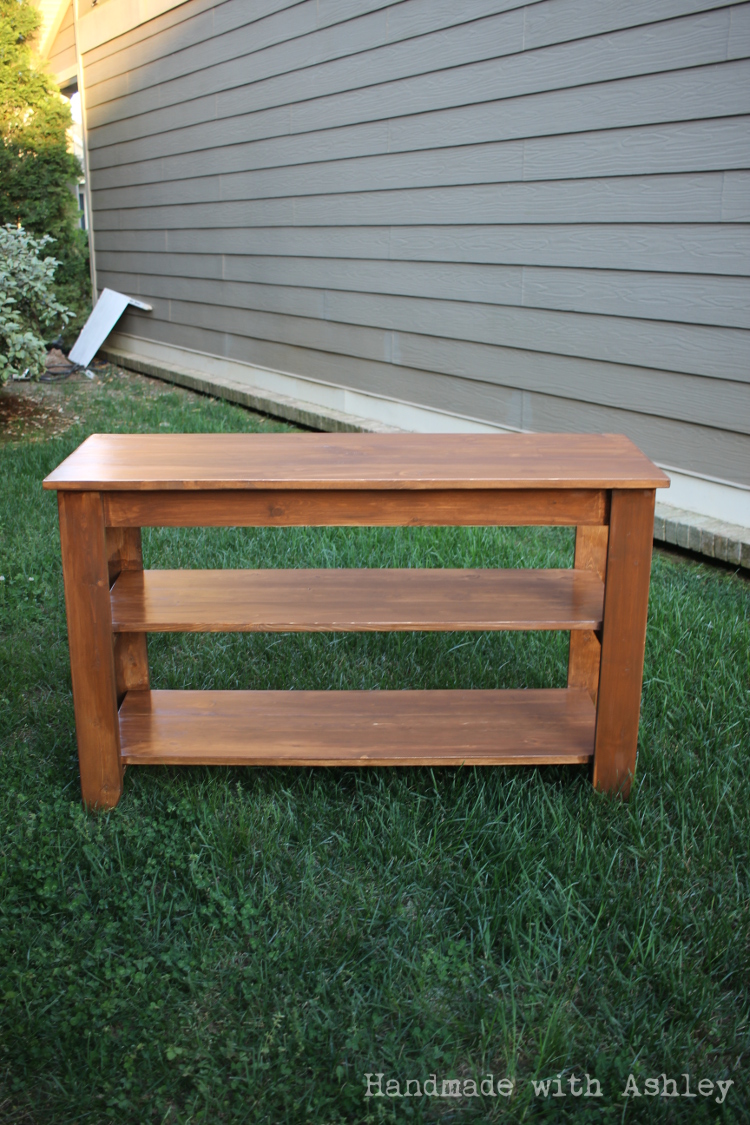
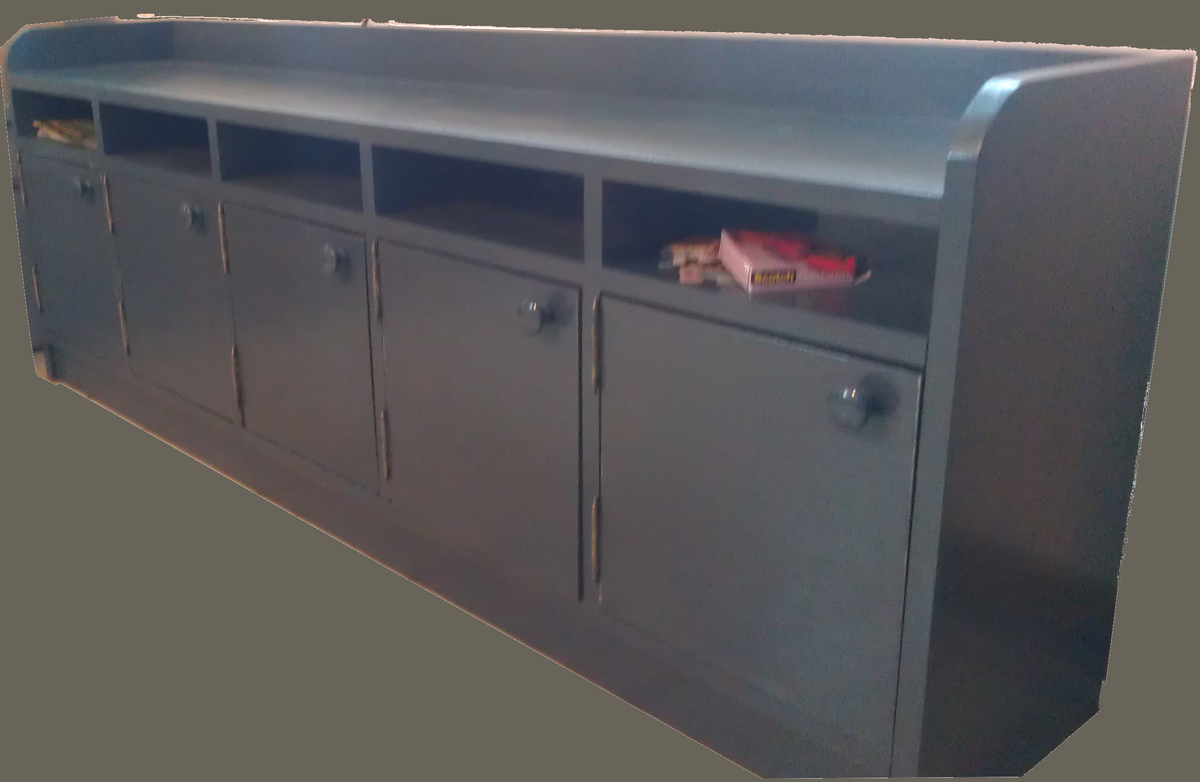
Cedar Planter Outdoor Speakers
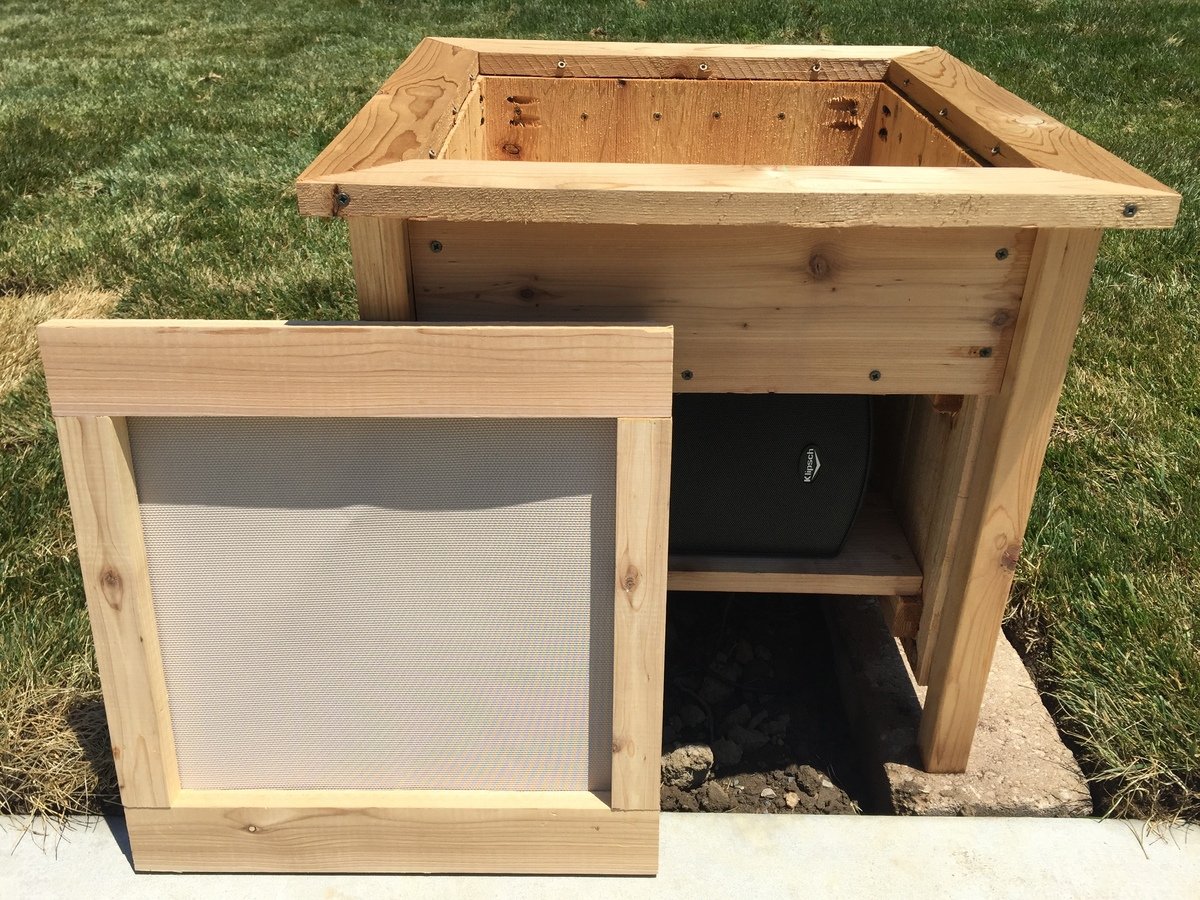
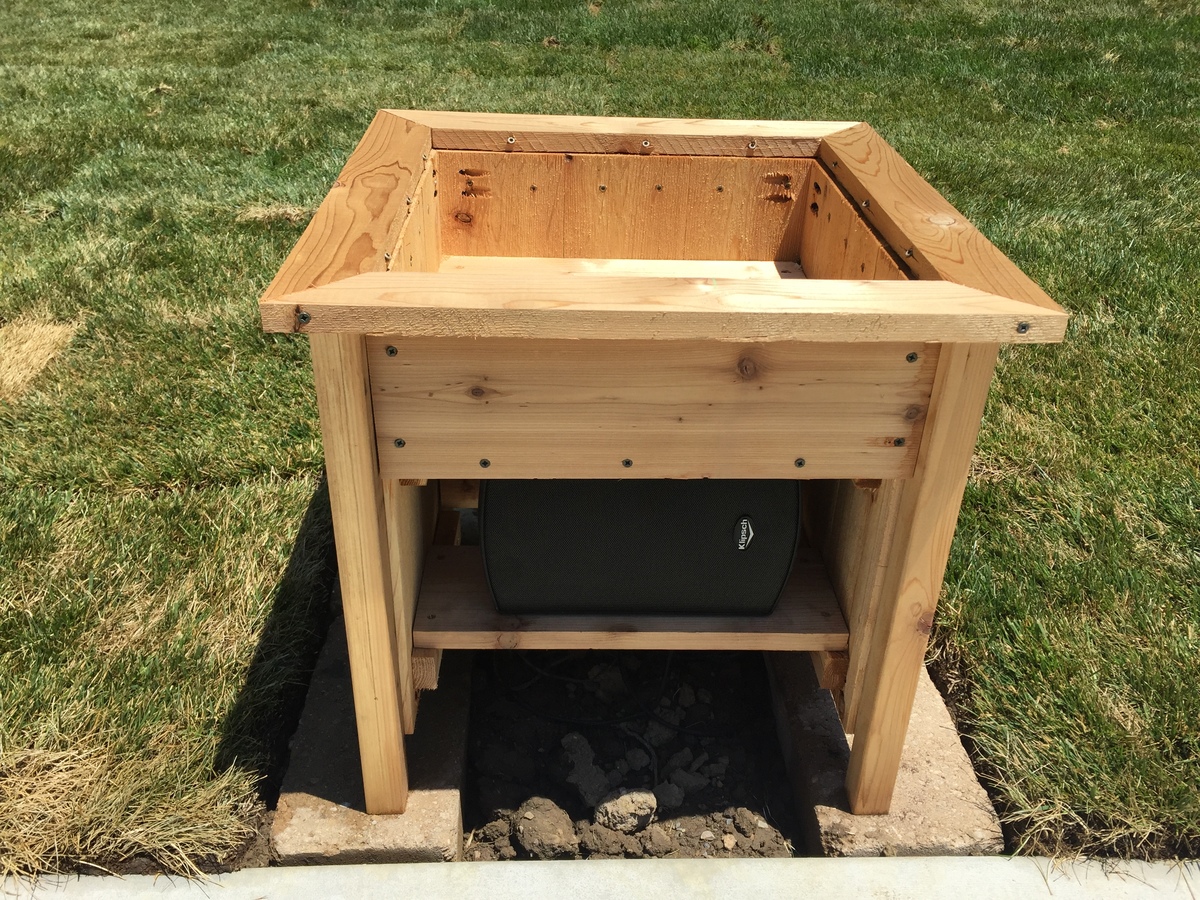
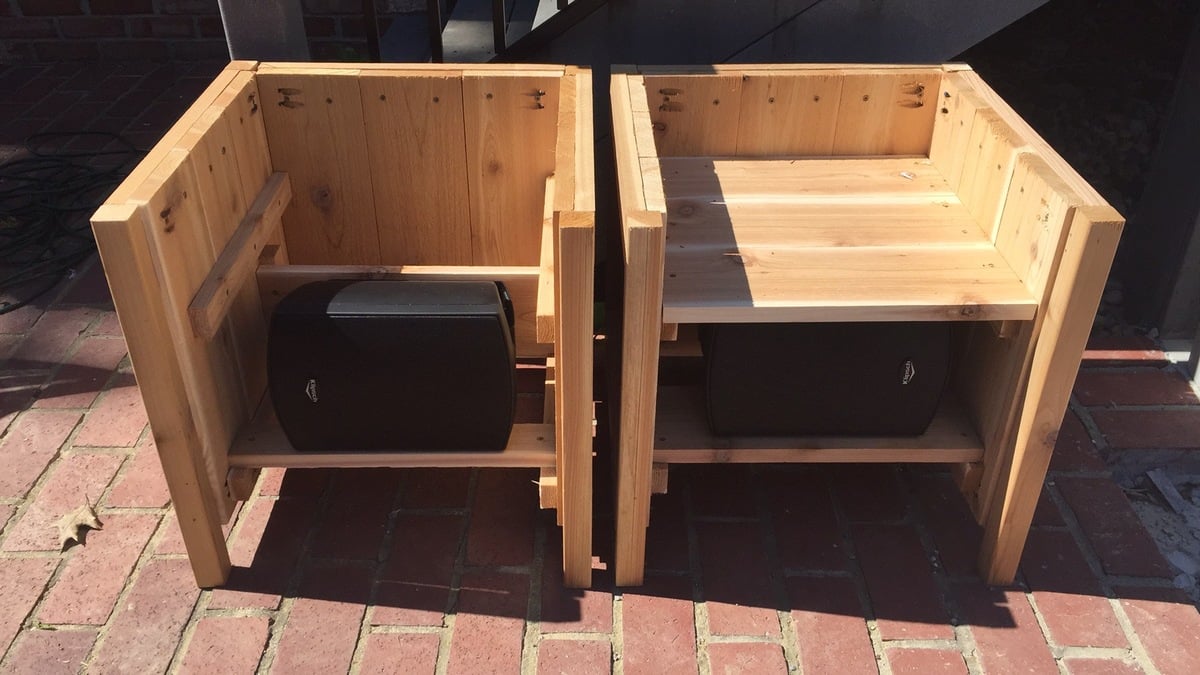
We just put in a pool and I needed something to hide a pair of outdoor speakers. I used Klipsh AW-525 speakers.
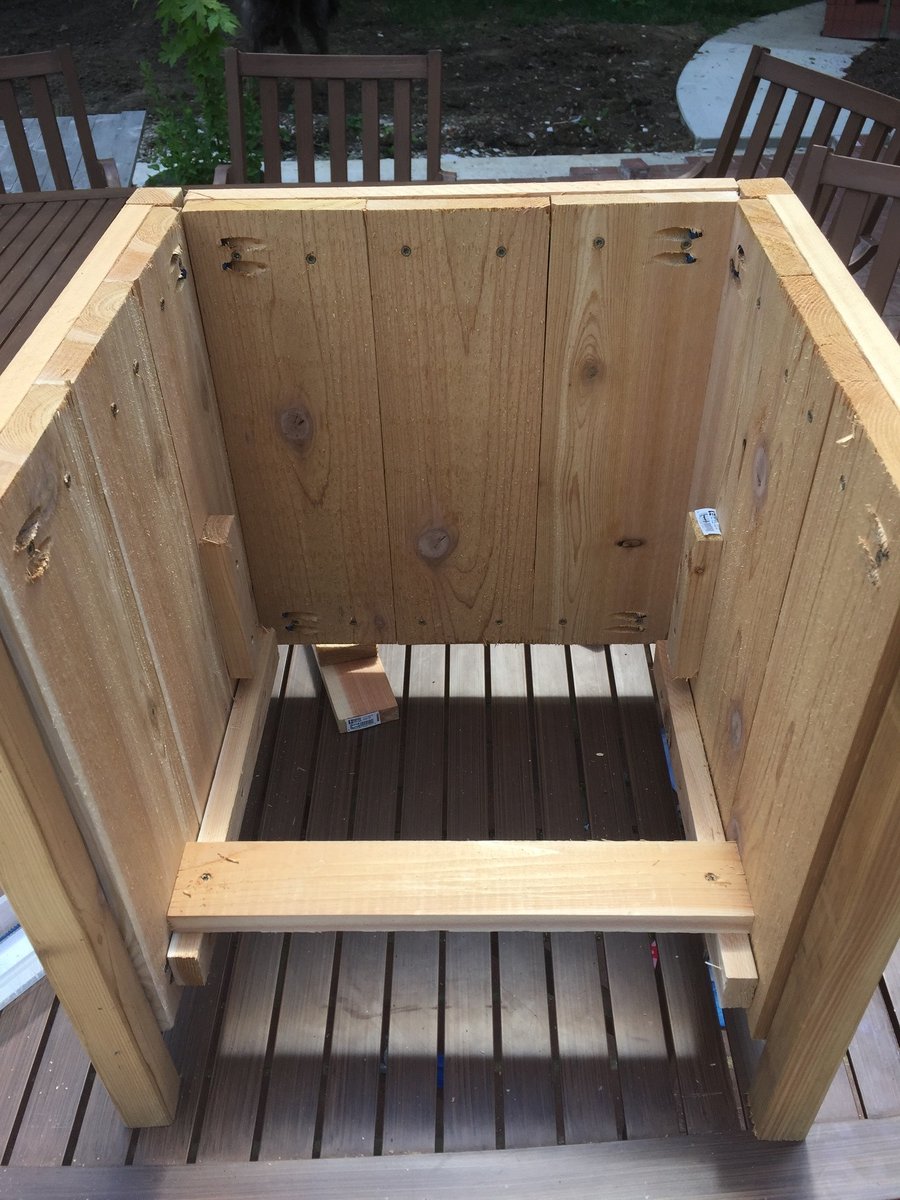
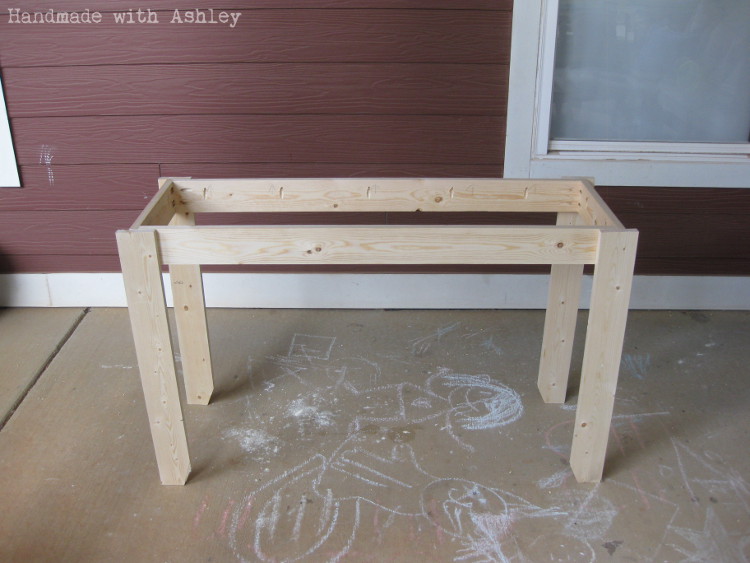
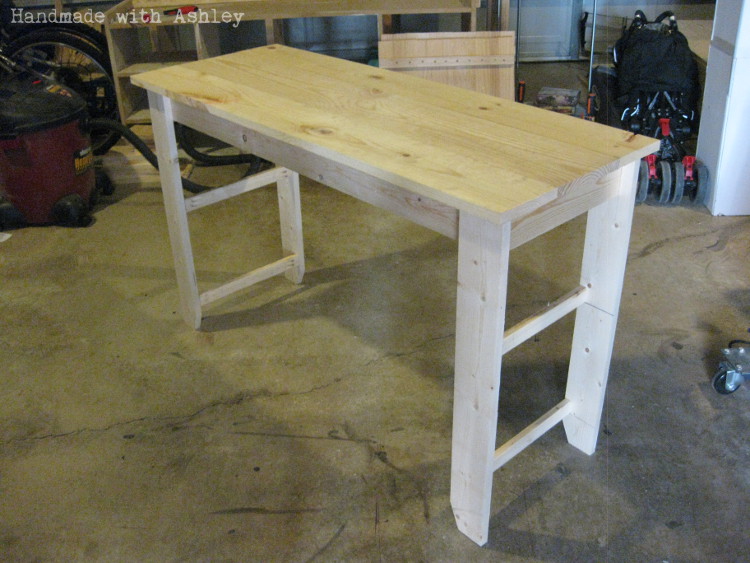
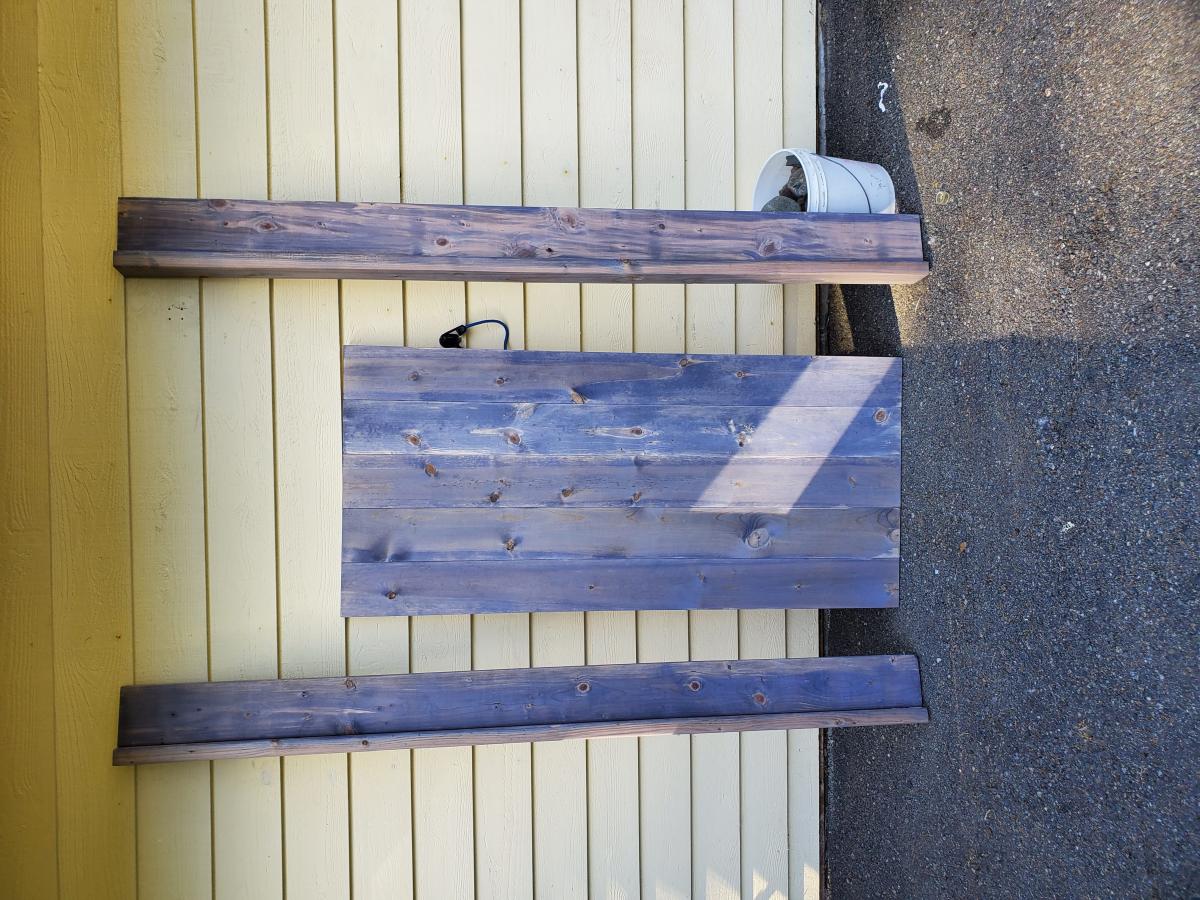
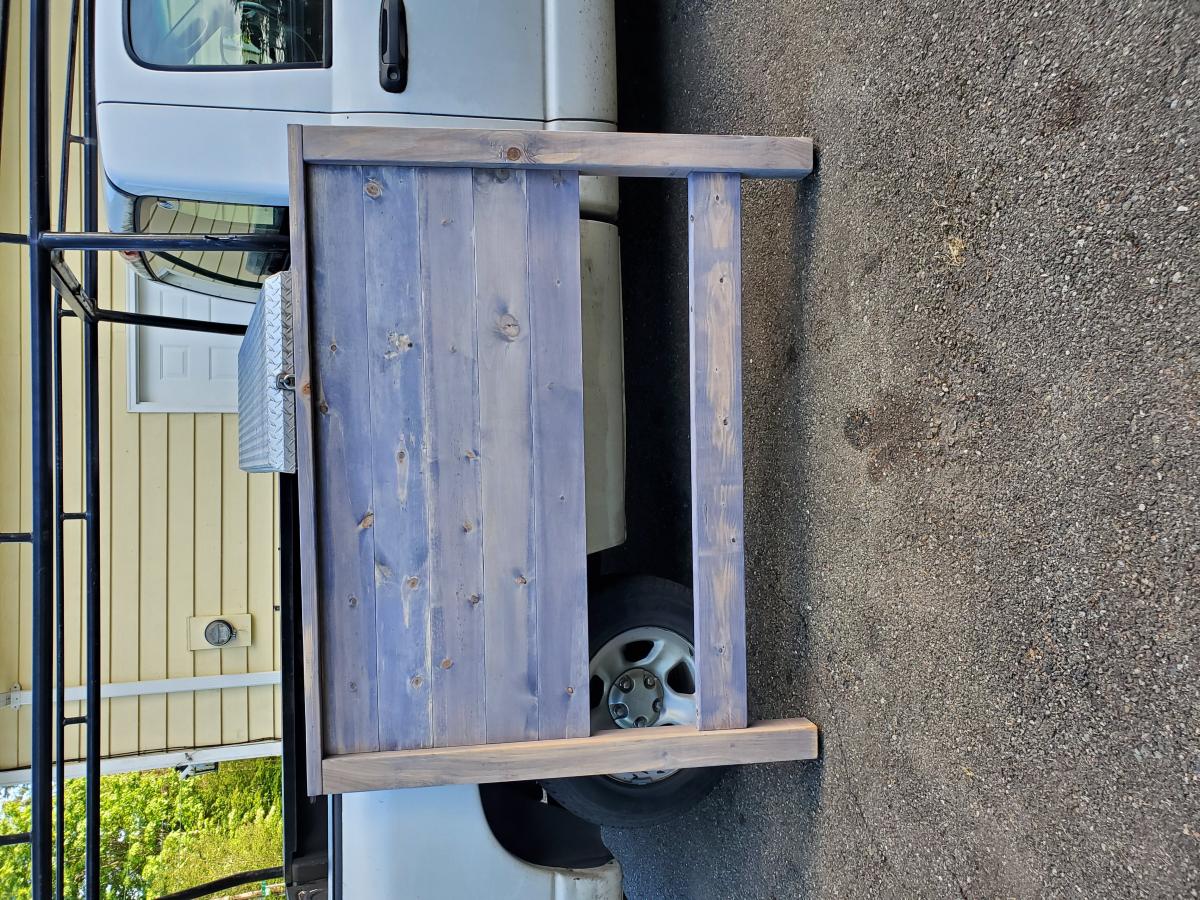
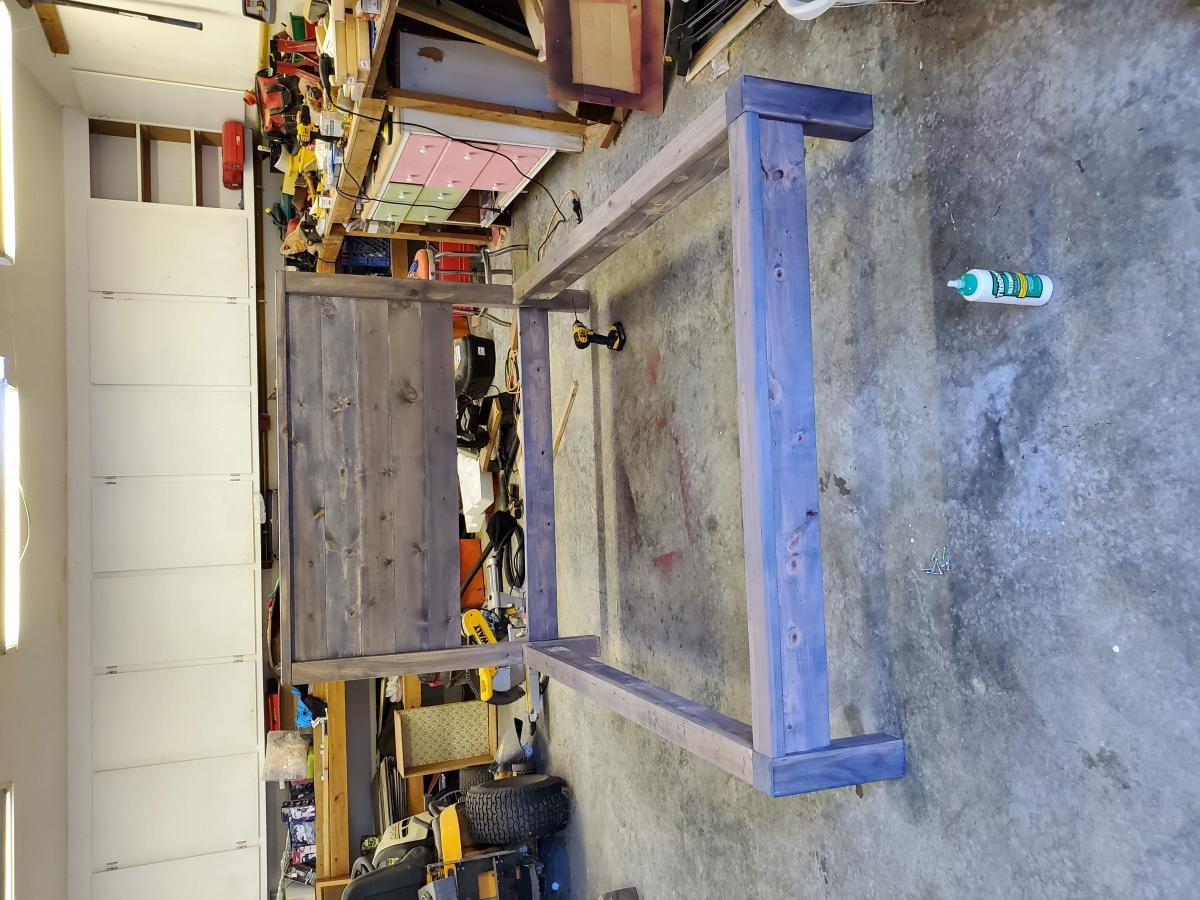
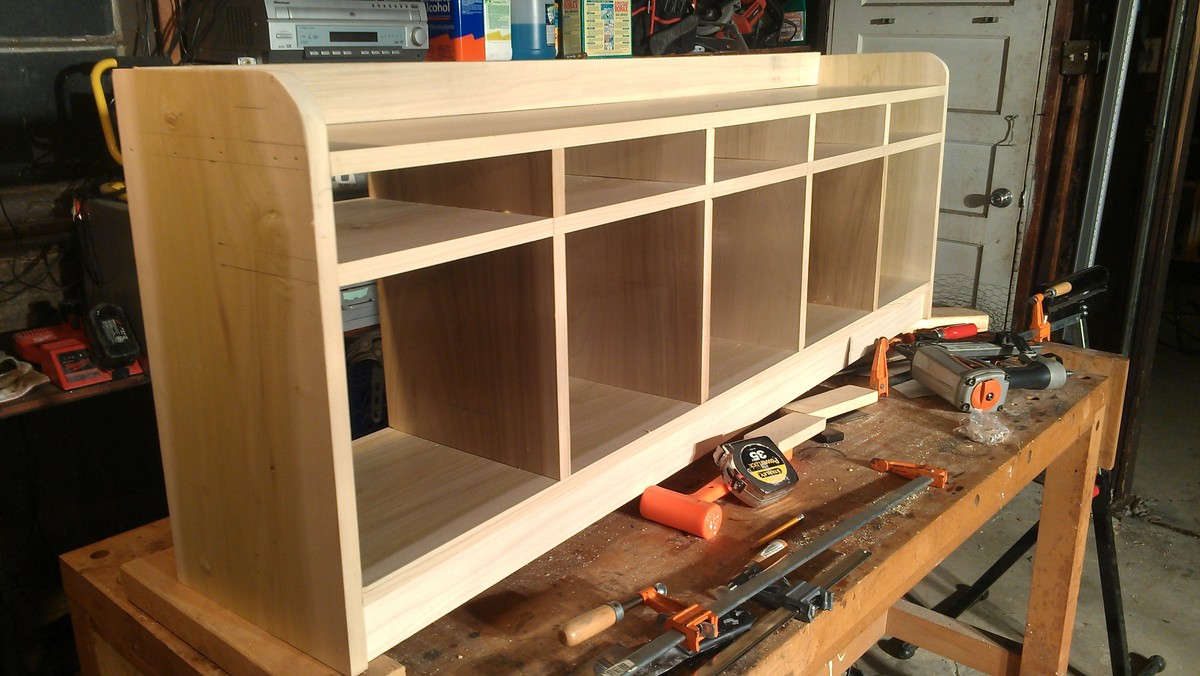
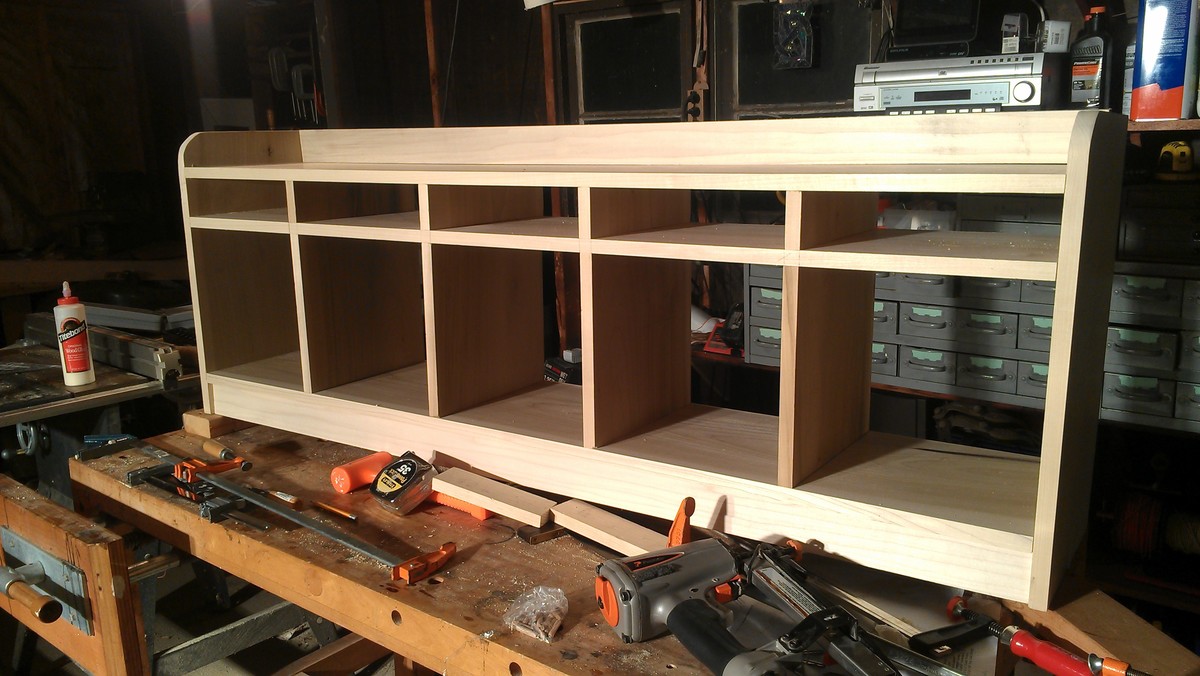
Basically I raised the bottom of the planter enough to fit the speaker under and had to add a few framing pieces to secure the speaker mount to. The mount attaches to a vertical board and the weight rests on a horizontal board. The wiring comes up from below.
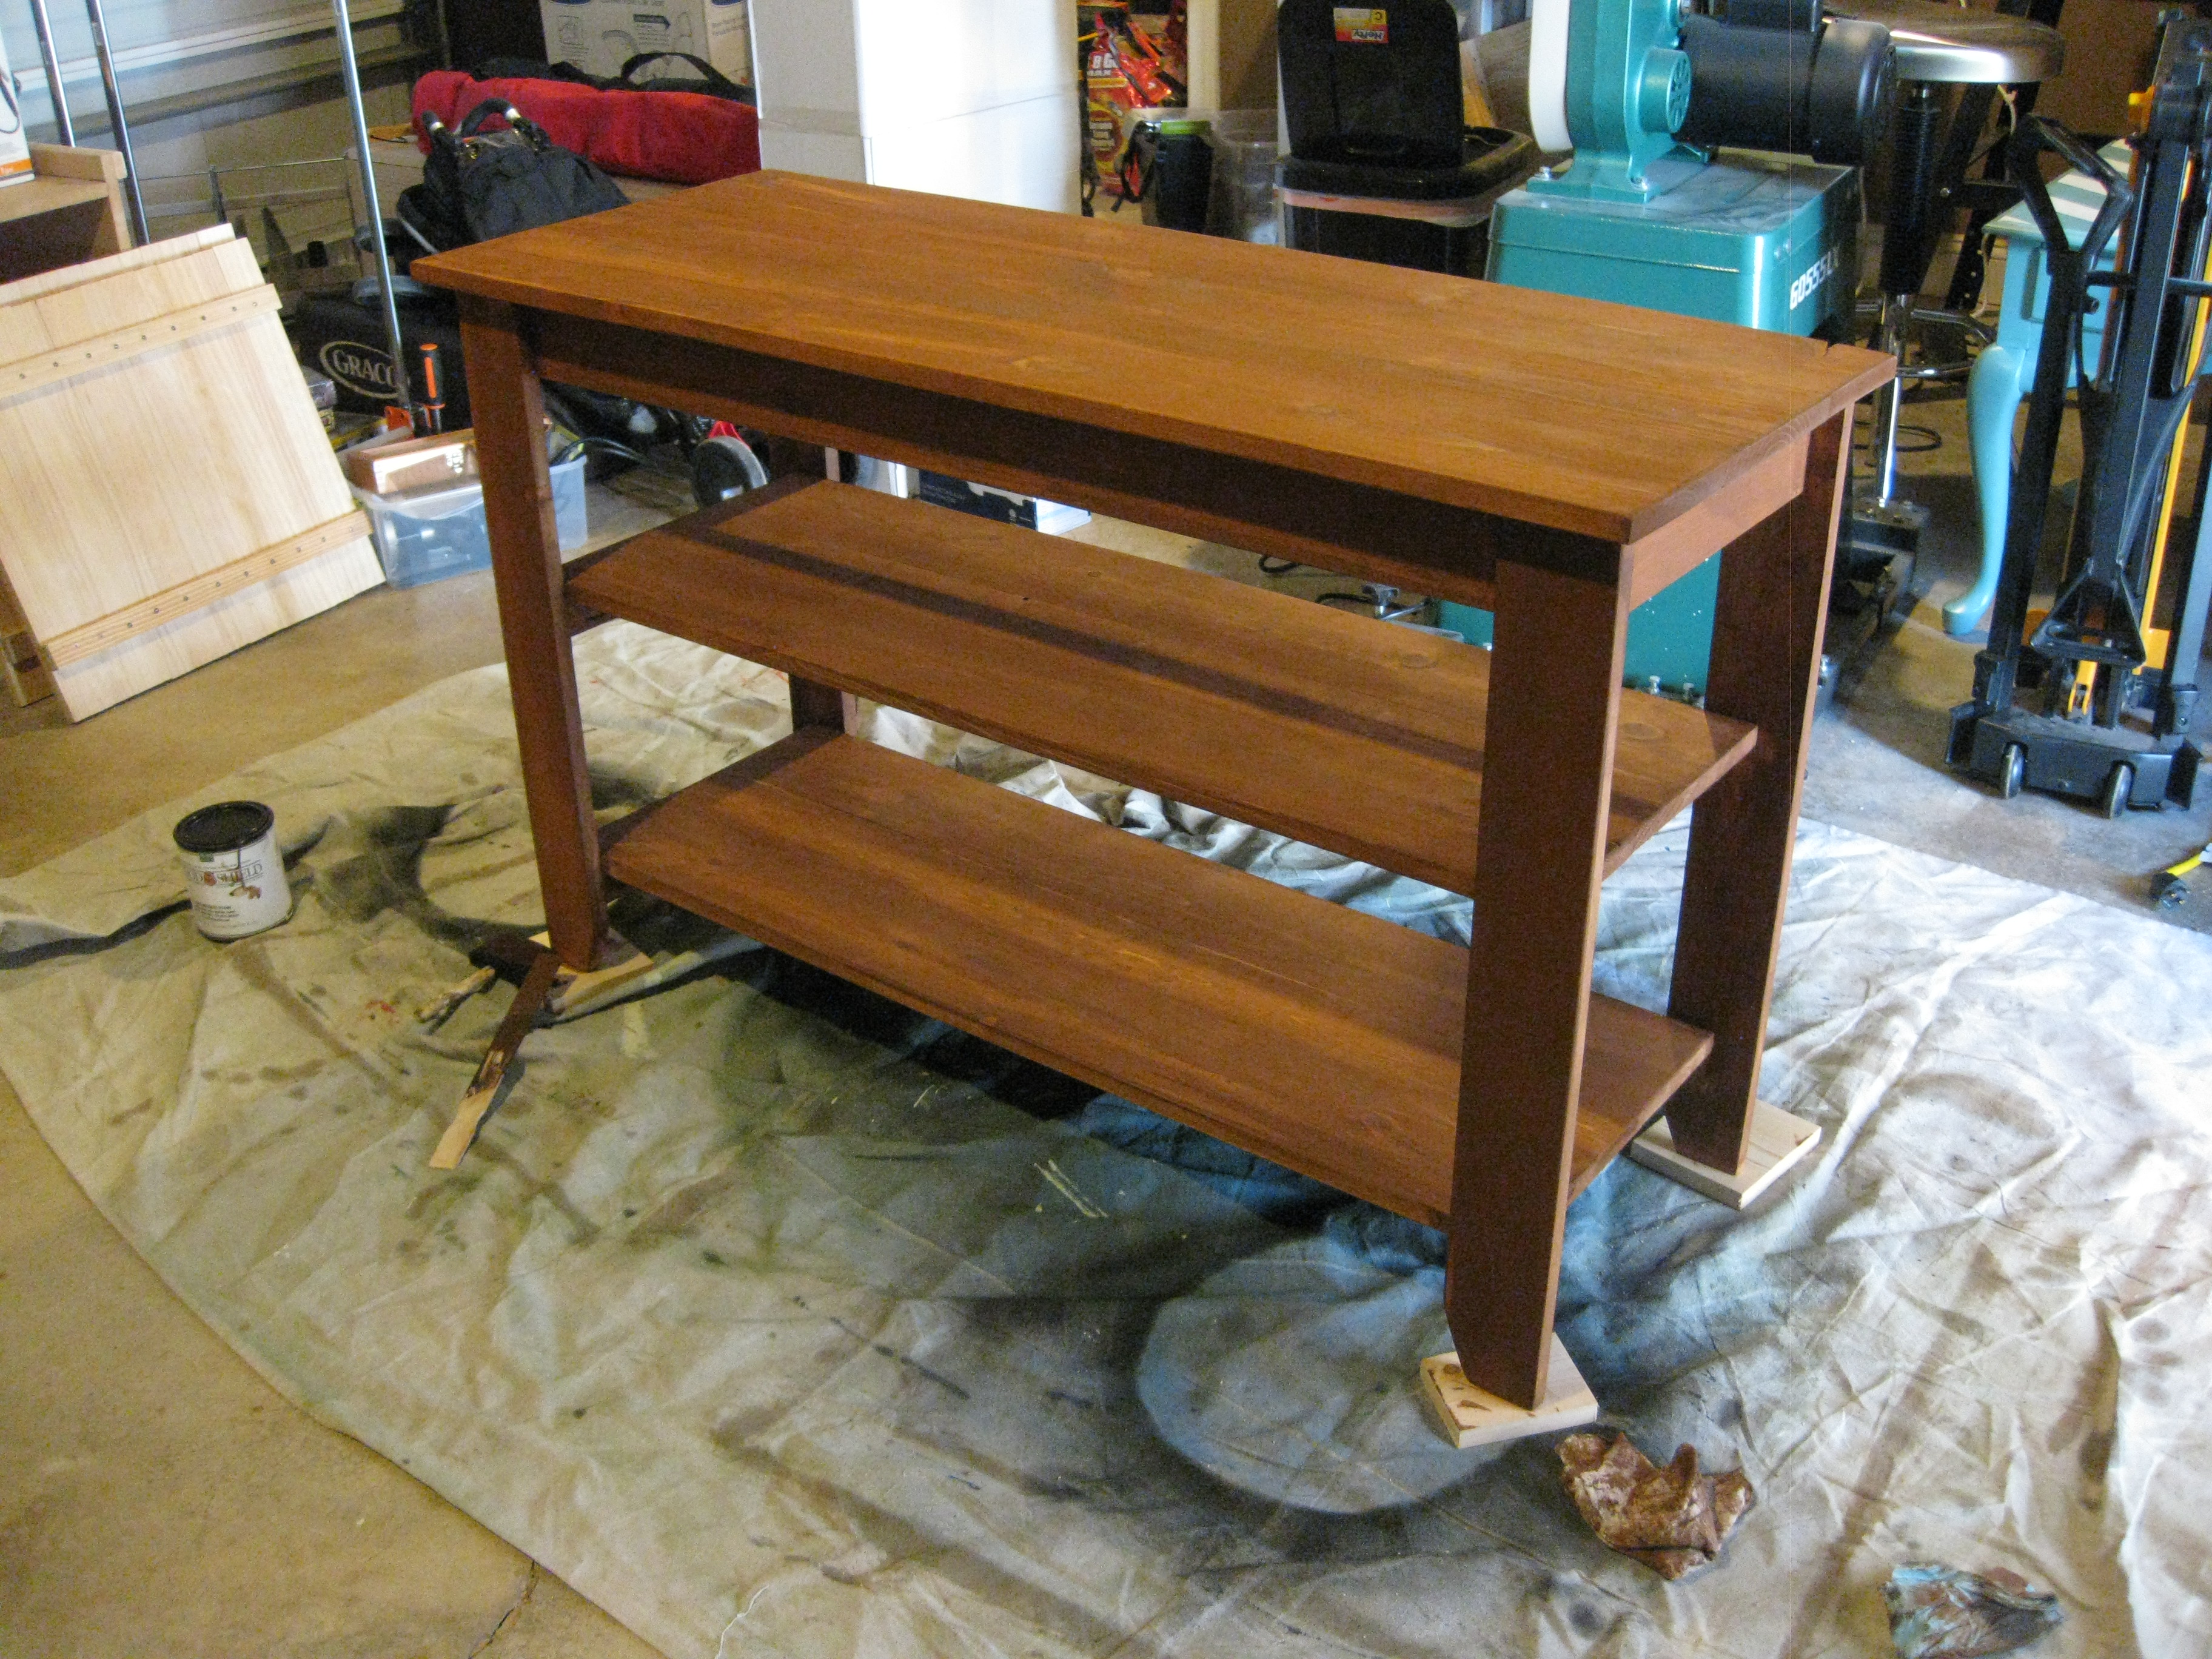
The front panel uses vinyl mesh from Sailrite.com to hide the speaker but allow sound out. Imm planning to hang it with magnets if it doesn't distort sound too much.
Built from Plan(s)
Estimated Time Investment
Afternoon Project (3-6 Hours)
Recommended Skill Level
Beginner


Comments
Ana White Admin
Fri, 05/07/2021 - 11:00
Super Cool!
Great idea, thanks for sharing!