Love Seat Adirondack Style
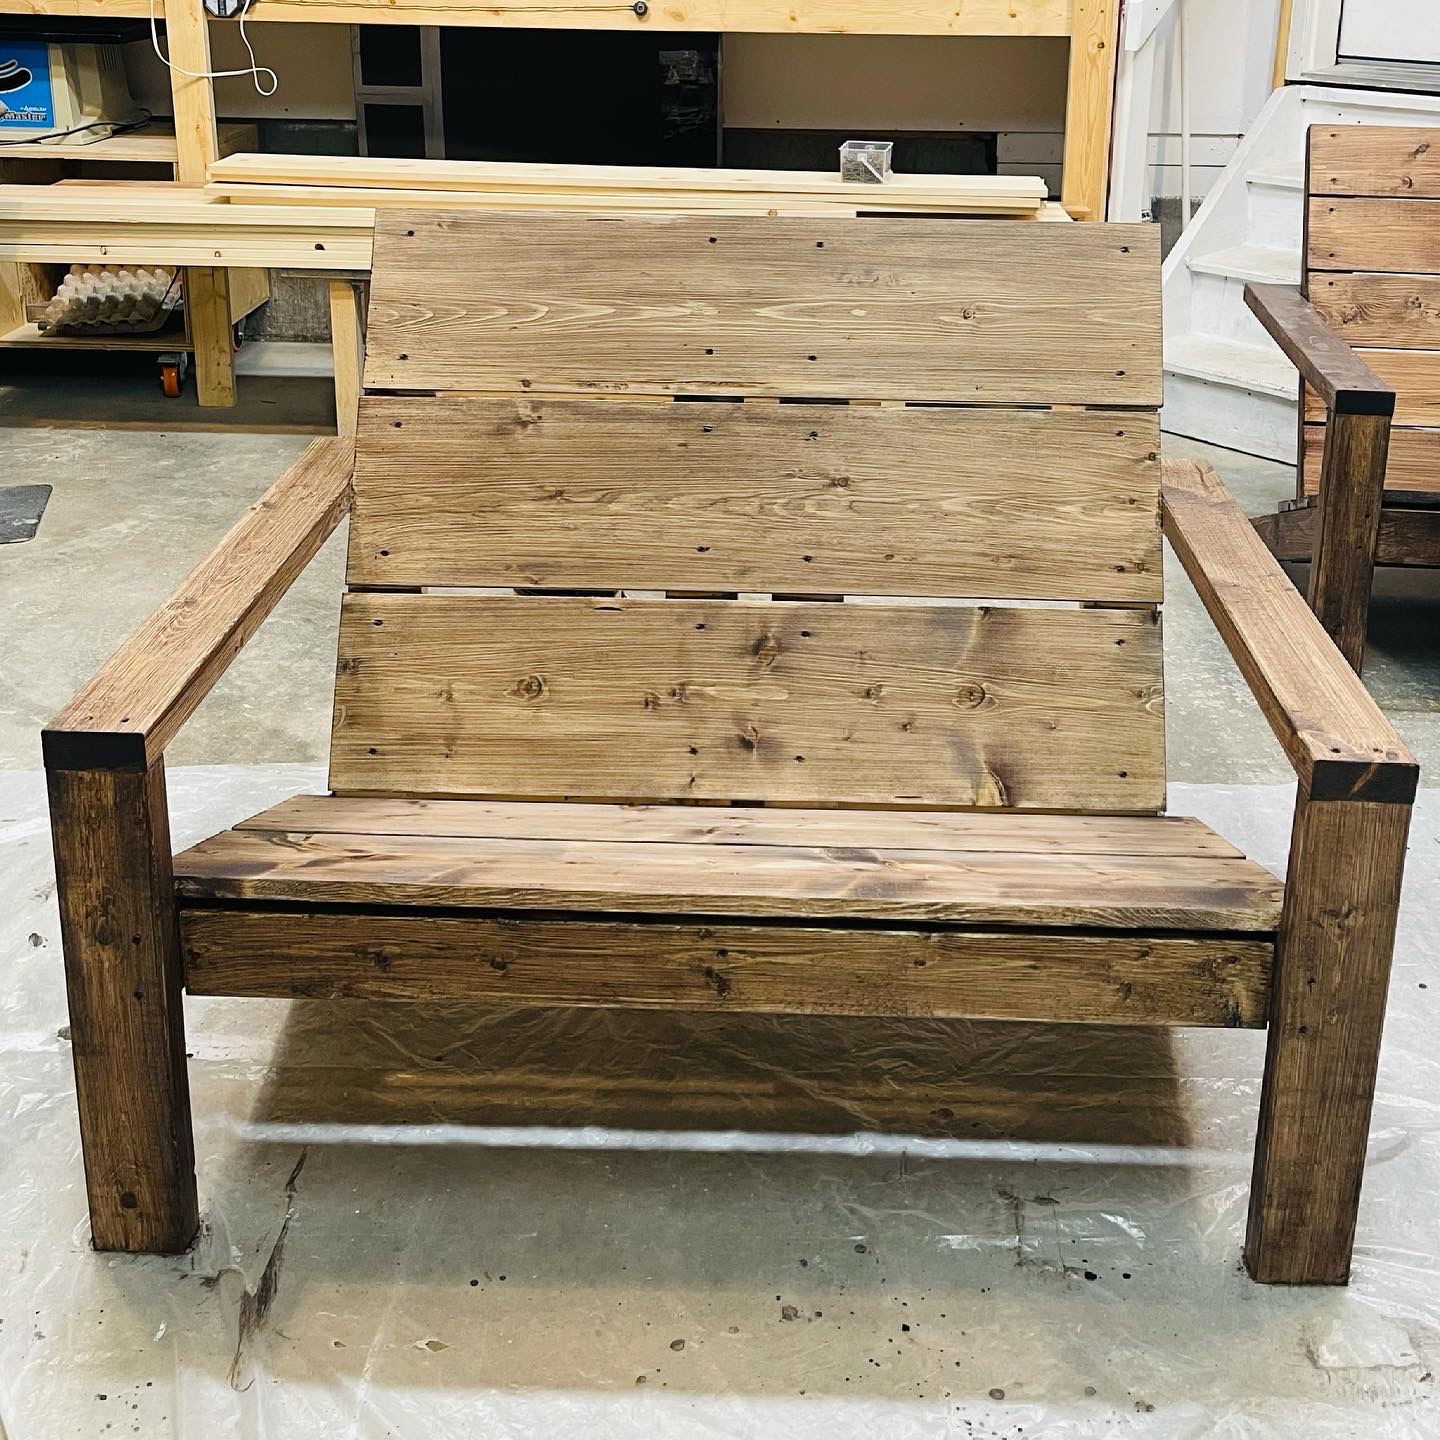
Thanks to Ana White for the free plans
I had the challenge to do a love seat Adirondack style
I did and it turned out beautiful and I’m very happy
I spent les than $100 (canadian)
Thanks Ana 🙏🏼
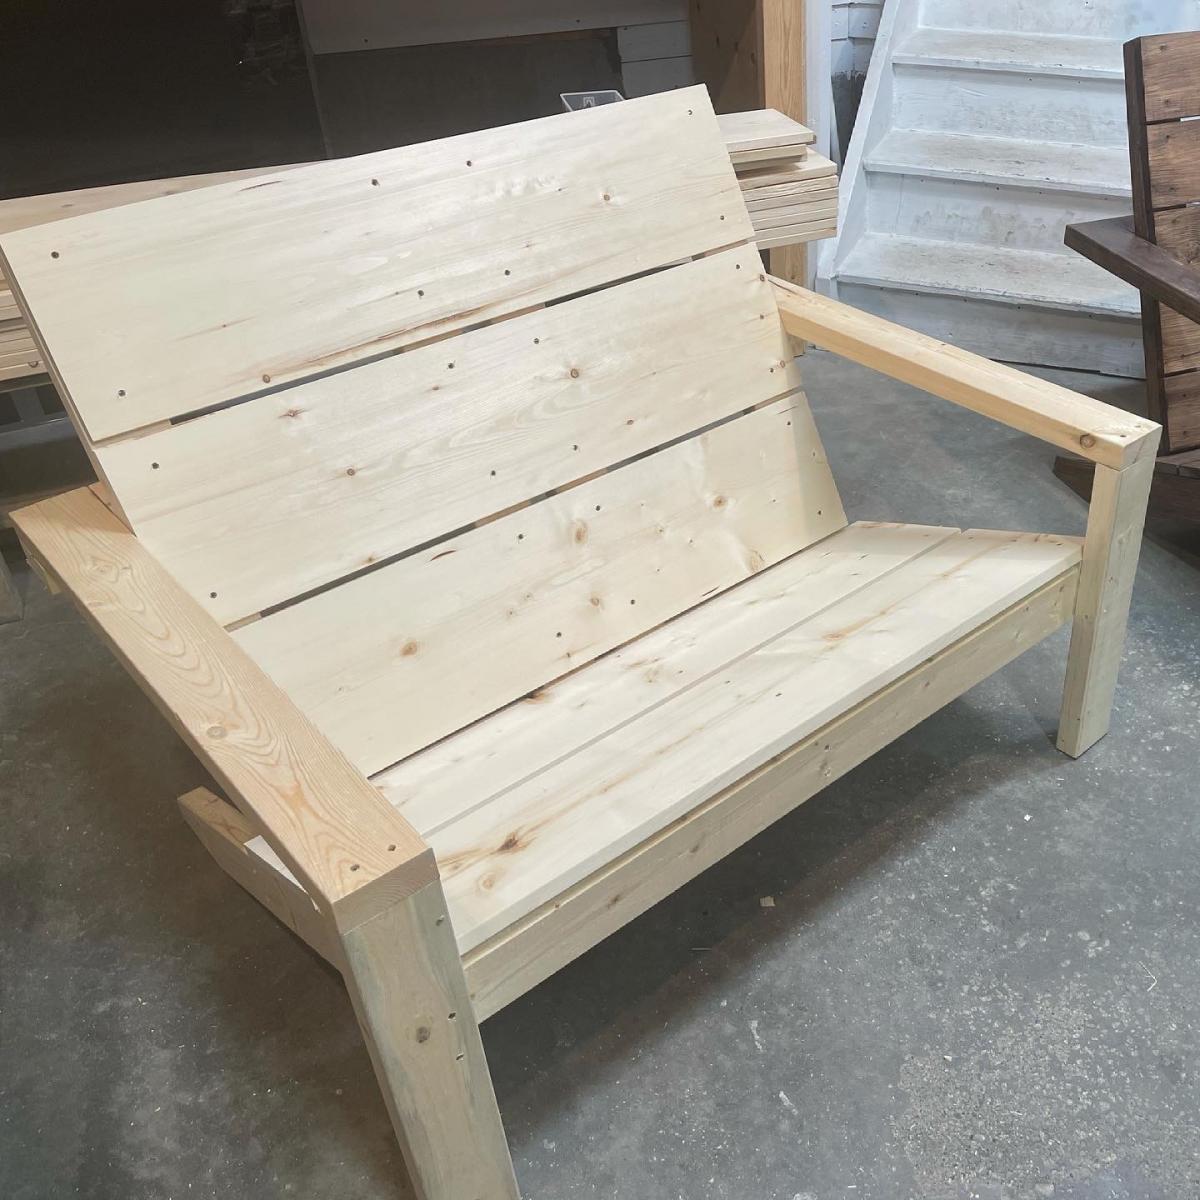
Base 500N

Thanks to Ana White for the free plans
I had the challenge to do a love seat Adirondack style
I did and it turned out beautiful and I’m very happy
I spent les than $100 (canadian)
Thanks Ana 🙏🏼

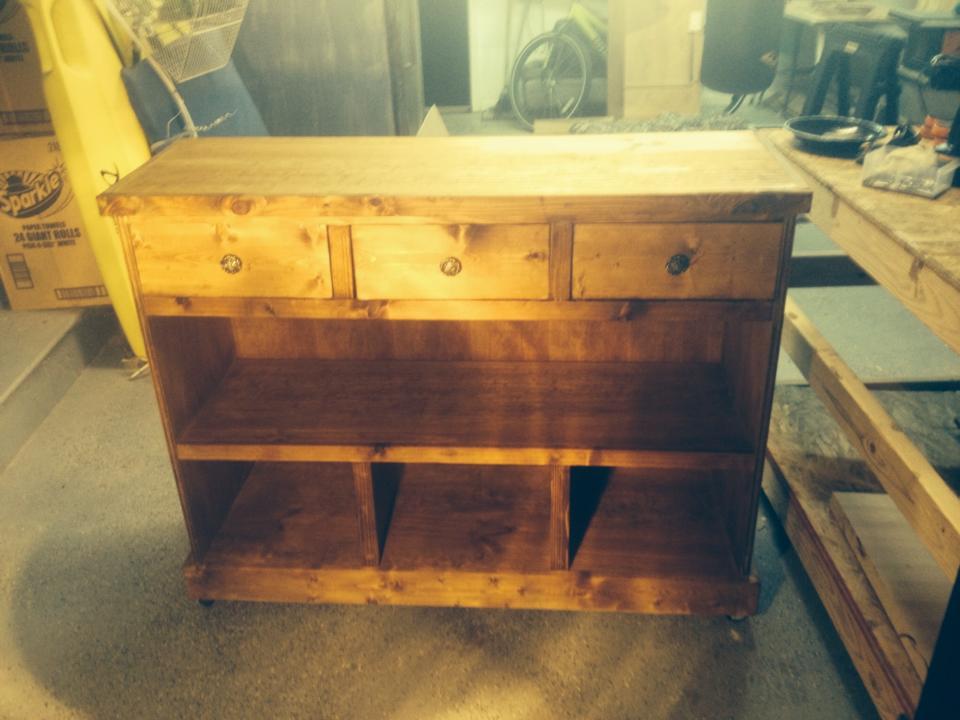
Made from pine boards and plywood. Golden Oak stain
Sat, 02/14/2015 - 16:45
Wow! You have been quite busy. Great job on all your accomplishments!
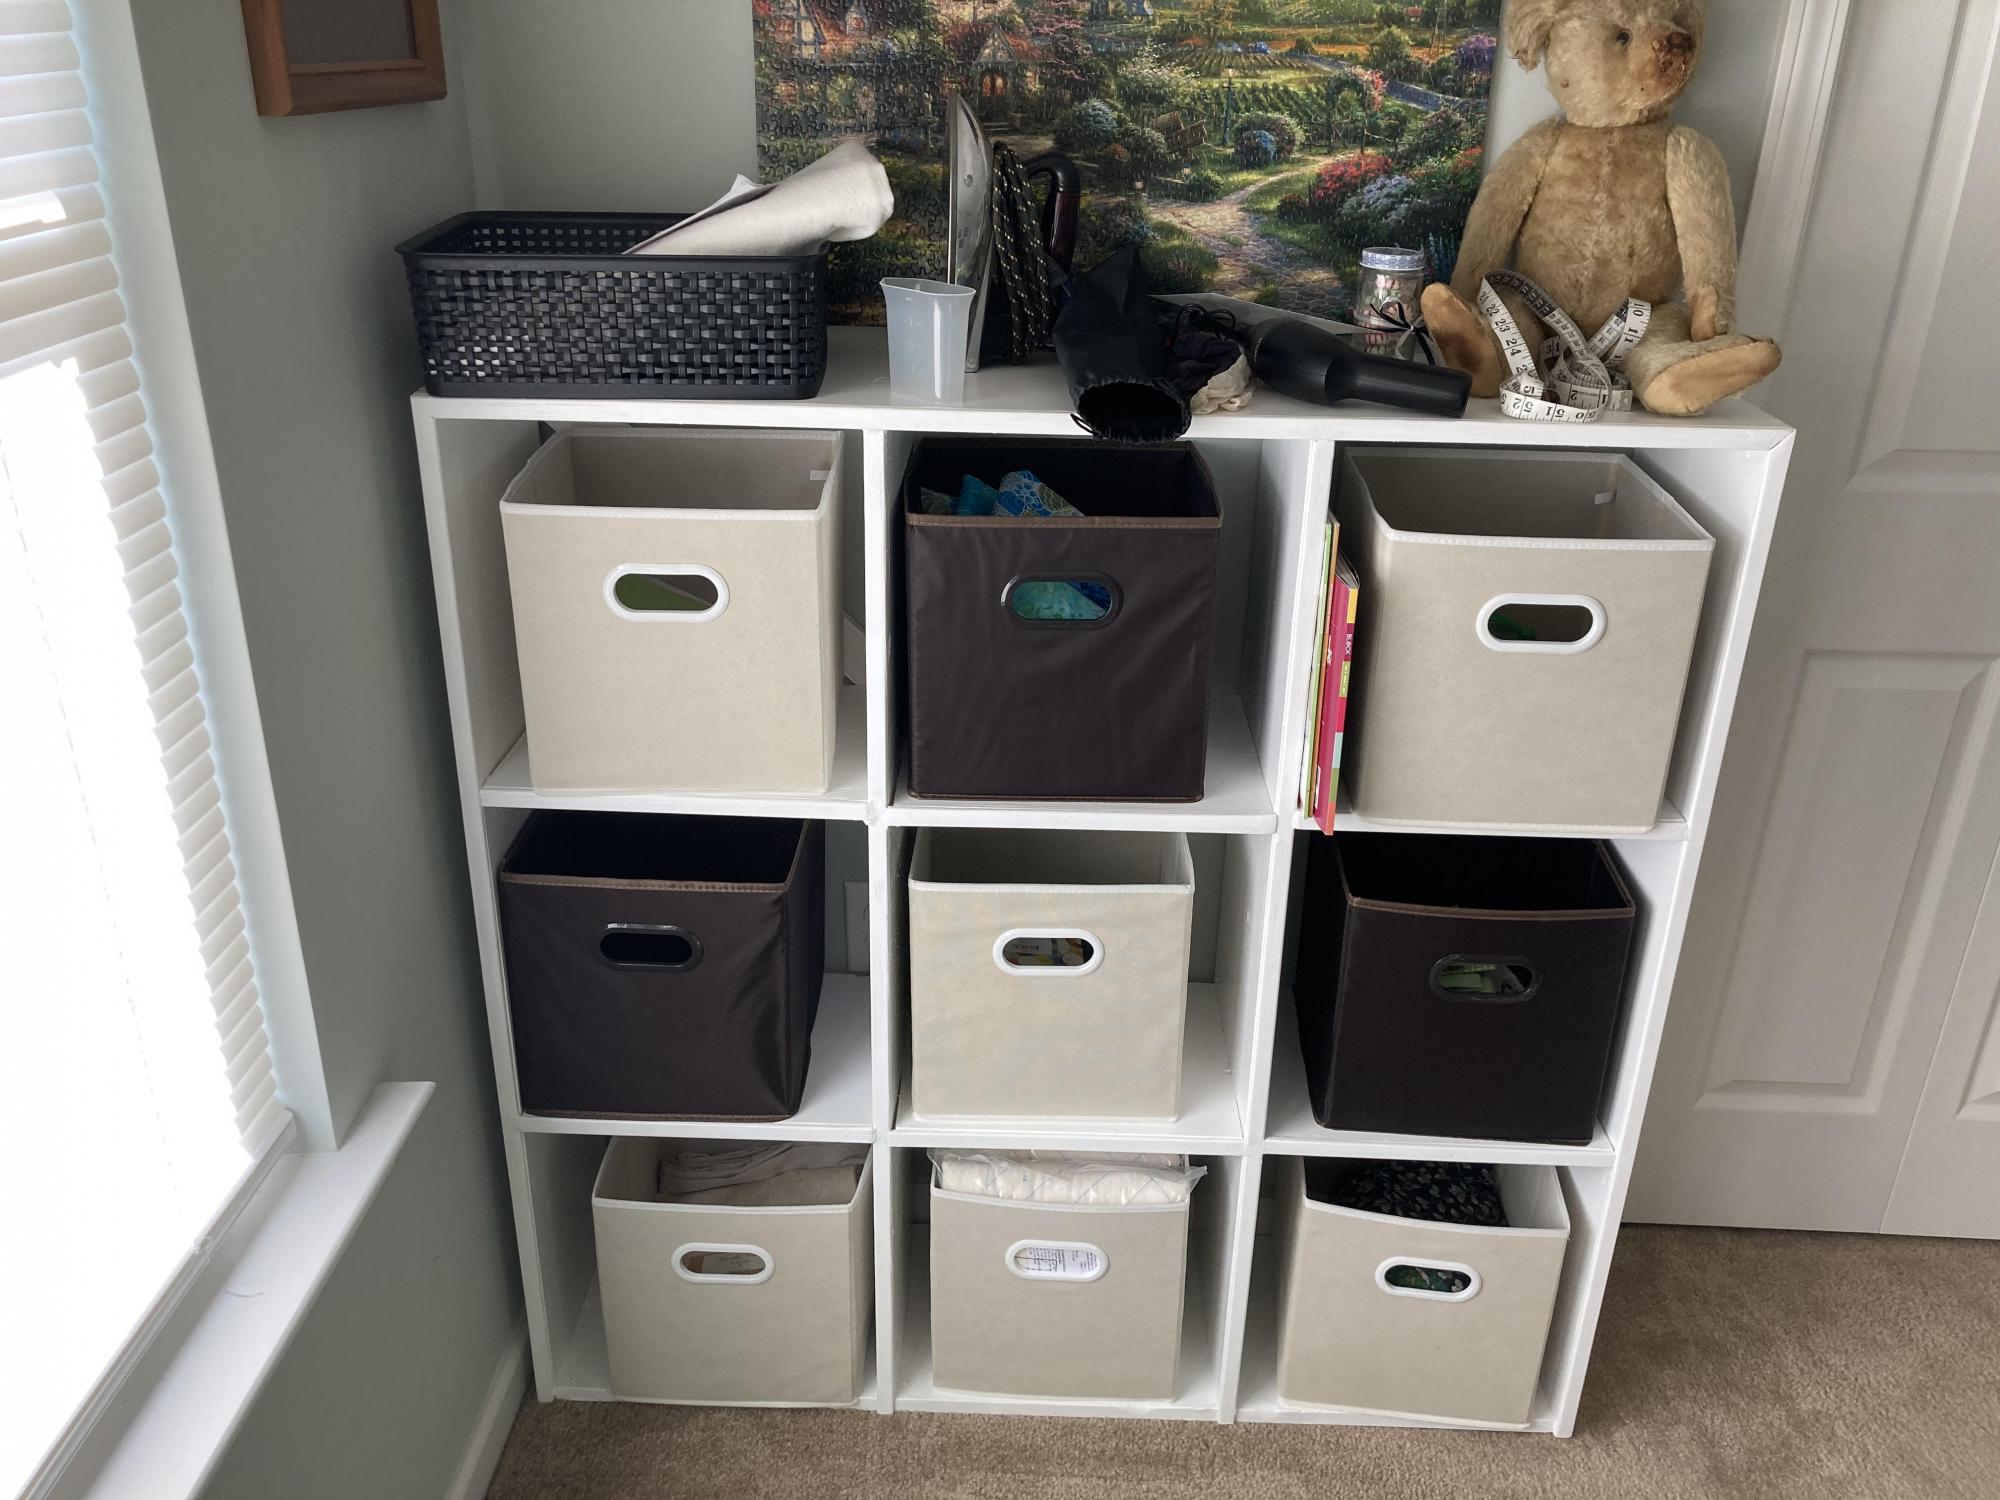
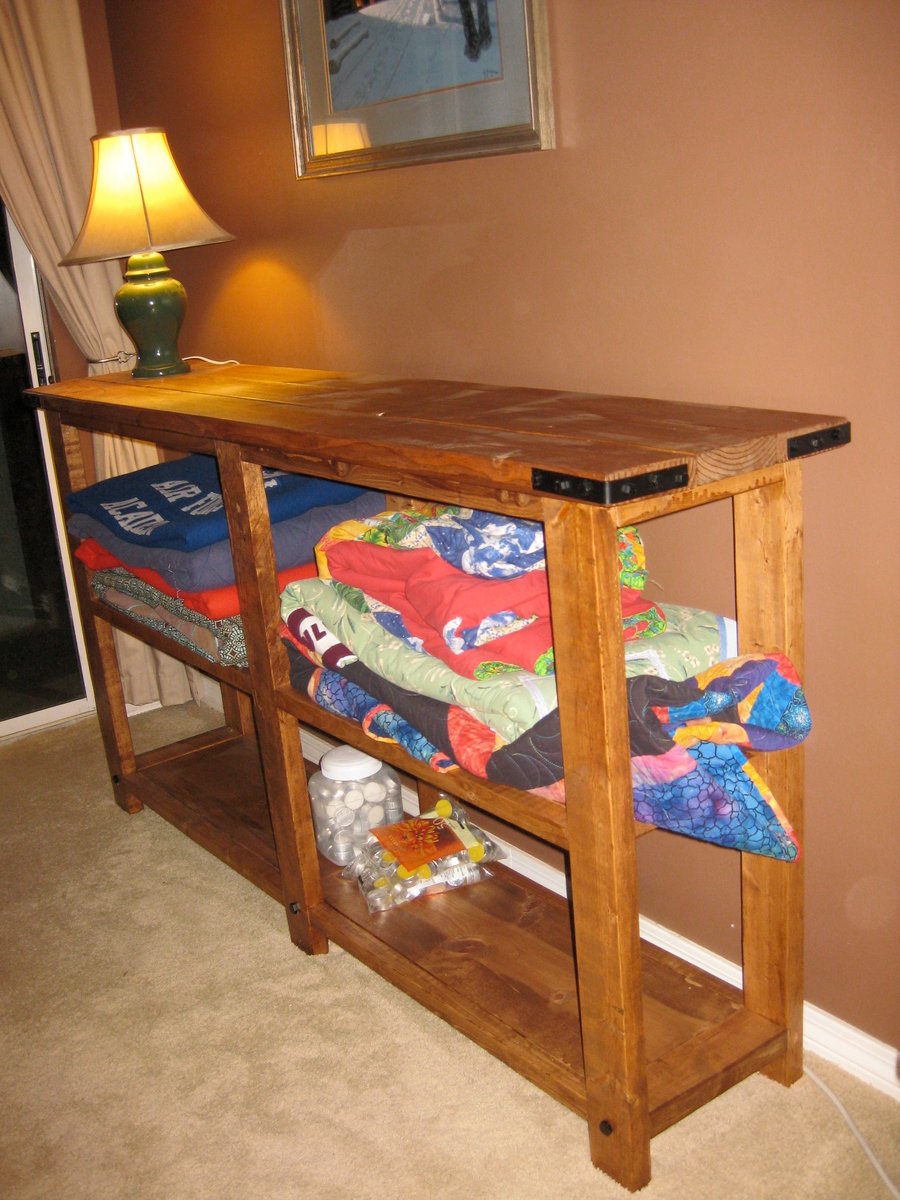
My wife is a crafter, and her room is chockful of material for projects planned and projects waiting to be inspired. Our house is not a large house, and I had this desire to give her some organization. She already had a cubby bookshelf similar to this one, but that was store bought. I have only recently begun building things in my retirement, and I wanted to give her something that was me. It turned out nice, if a little wobbly, but I fixed that with a couple diagonal cross pieces across the back. It fit the space we had perfectly. The important thing is she loves it, and has (obviously) filled it up nicely.
This was my first Ana White project! I didn't do the x's on the ends, obviously, and it's both taller and wider than the plans in order to fill up the giant space along our back wall. I notice the glue blobs that didn't stain, and the decorative hardware was trickier than I expected, but it was fun to build... and totally functional :)
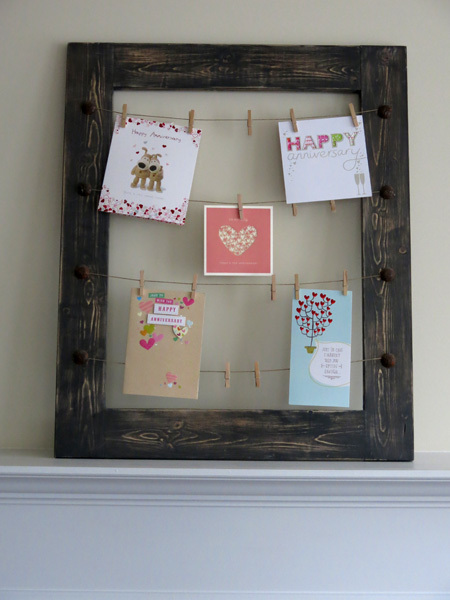
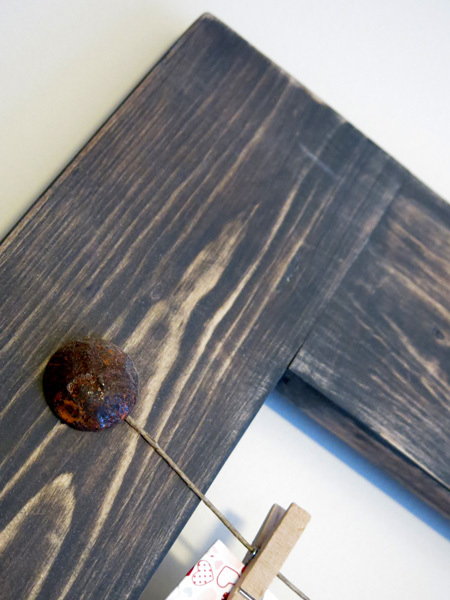
Initially made this to display Christmas cards in.
Made from 1 by 4 No. 2 Whitewood. Was stained with Rustoleum Driftwood and then painted with some left over paint I found in garage. I then sanded it back a bit to show the grain and stain through.
The nails are 1 inch Clavos nails from a website called www.Directfrommexico.com
Measures about 30 by 25 inches on outsides.
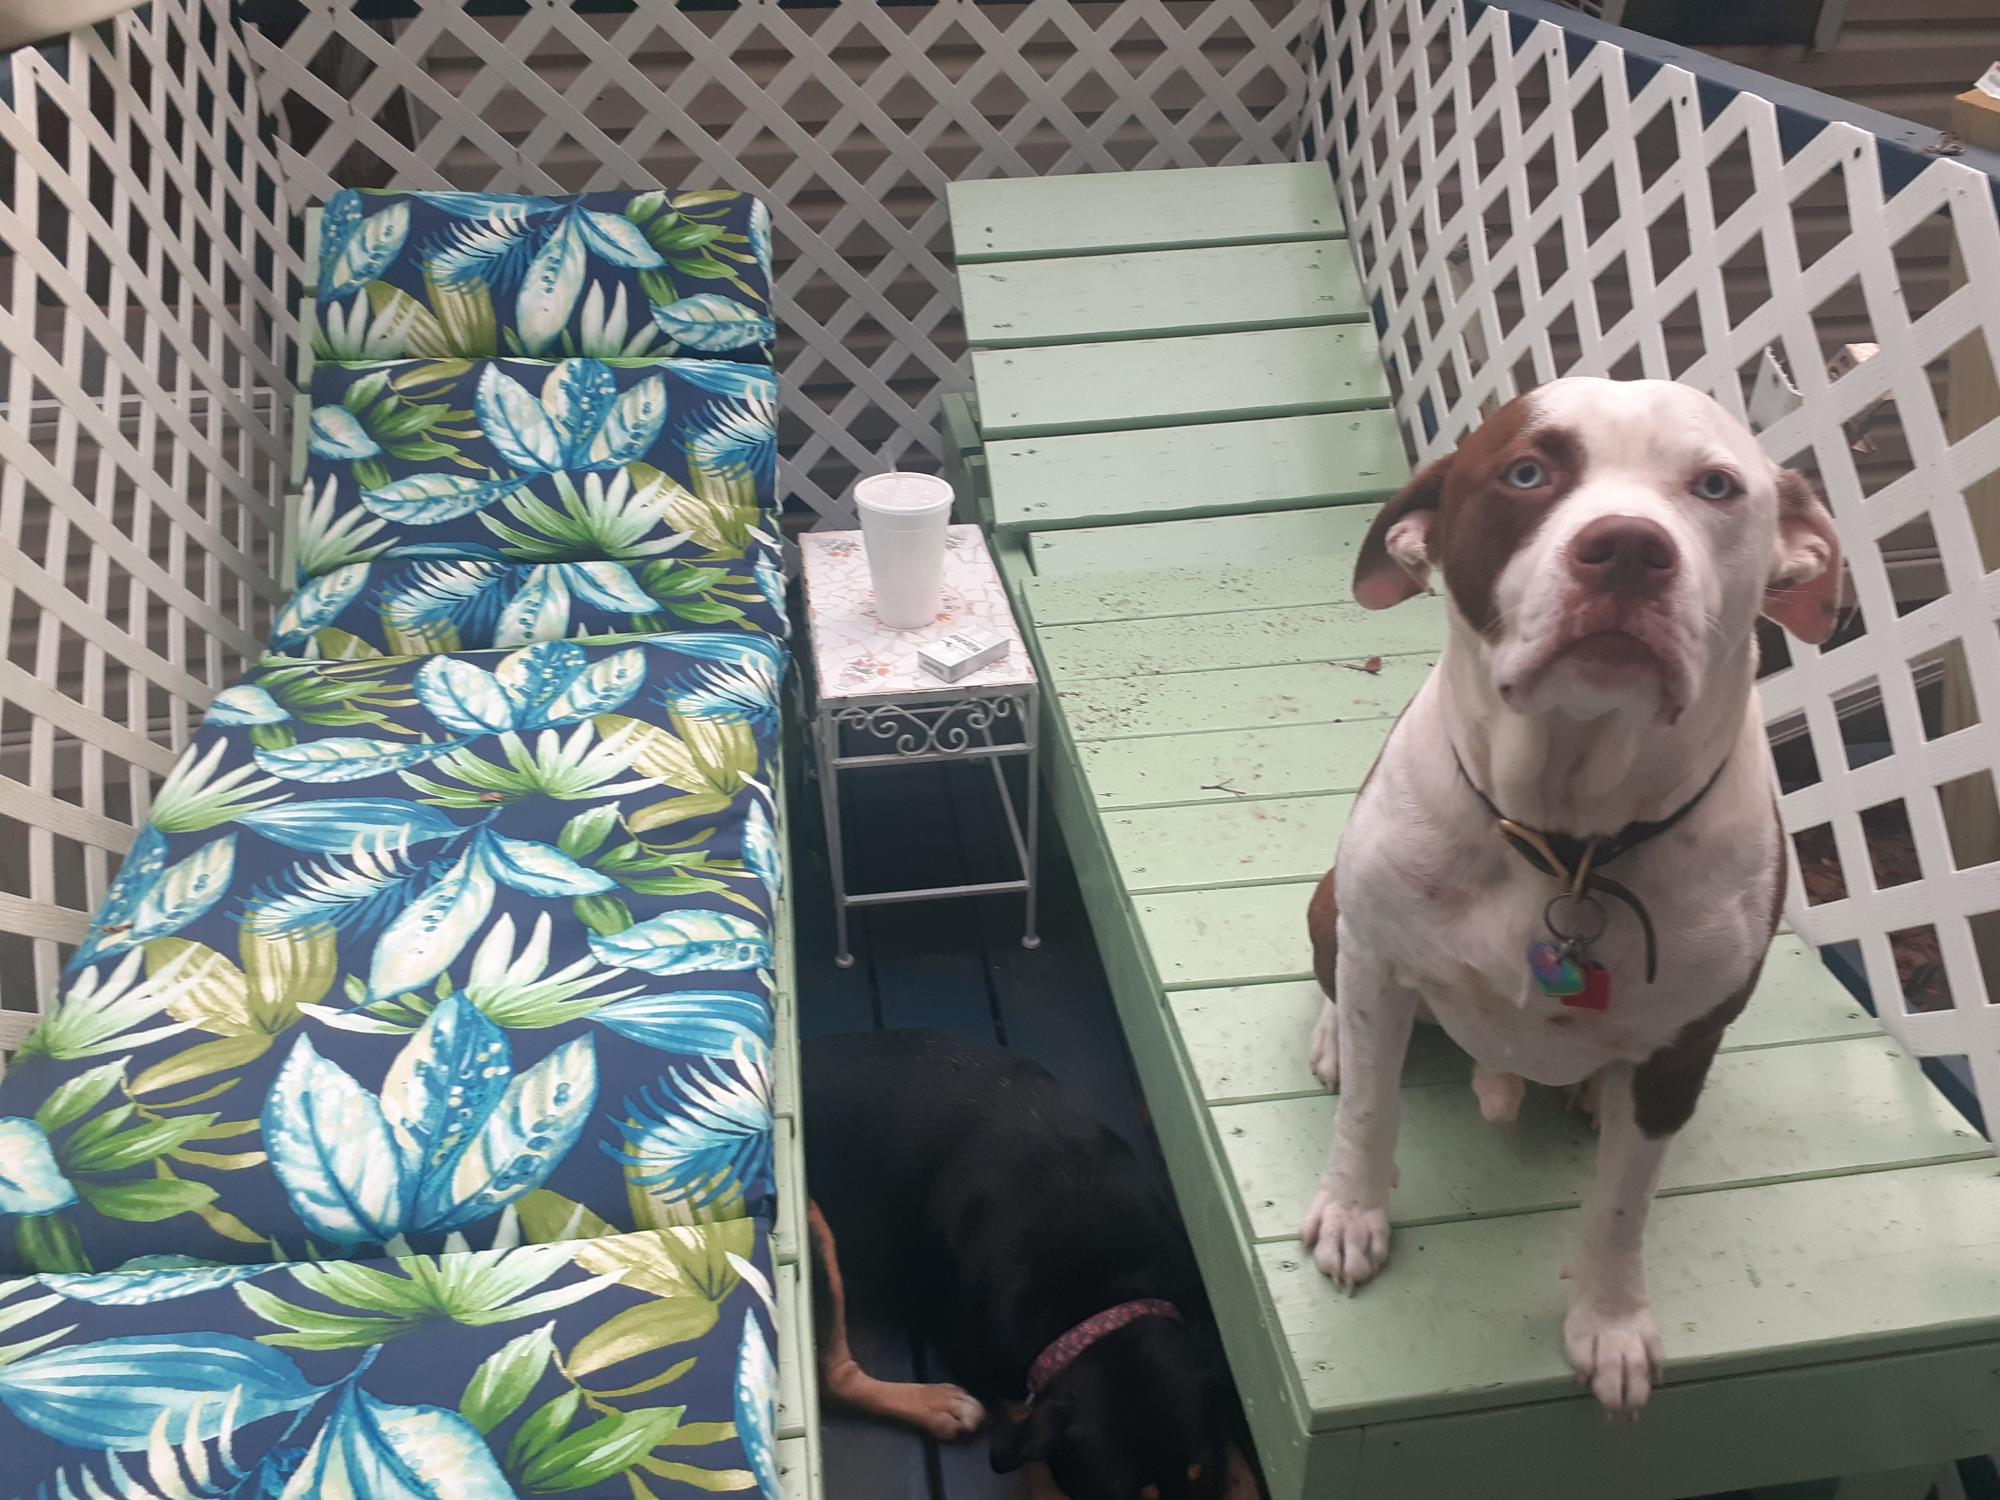
This is from your plans for your favorite chaise lounge chairs only I beat them up 2 x 6 Bass four by four legs and 5 quarter tops also change the tops so they're all the same directions this made it a lot sturdier for heavier folks of course my dog Dozer thanks I made them just for him thanks for the great plans
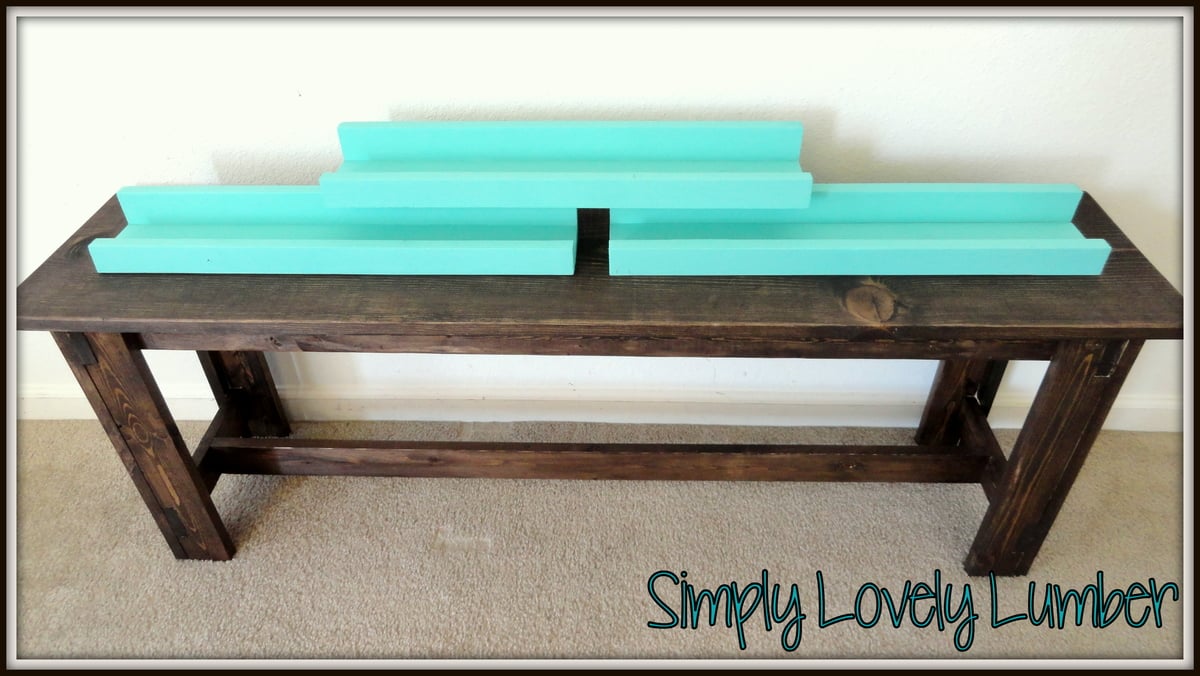
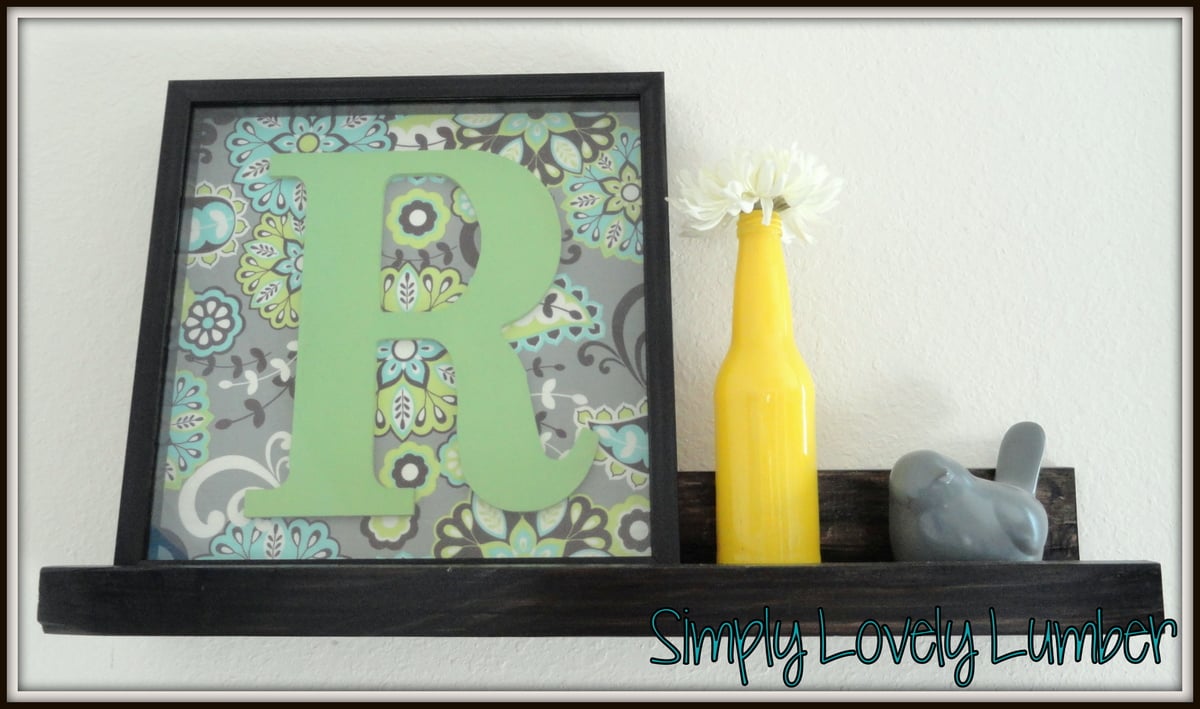
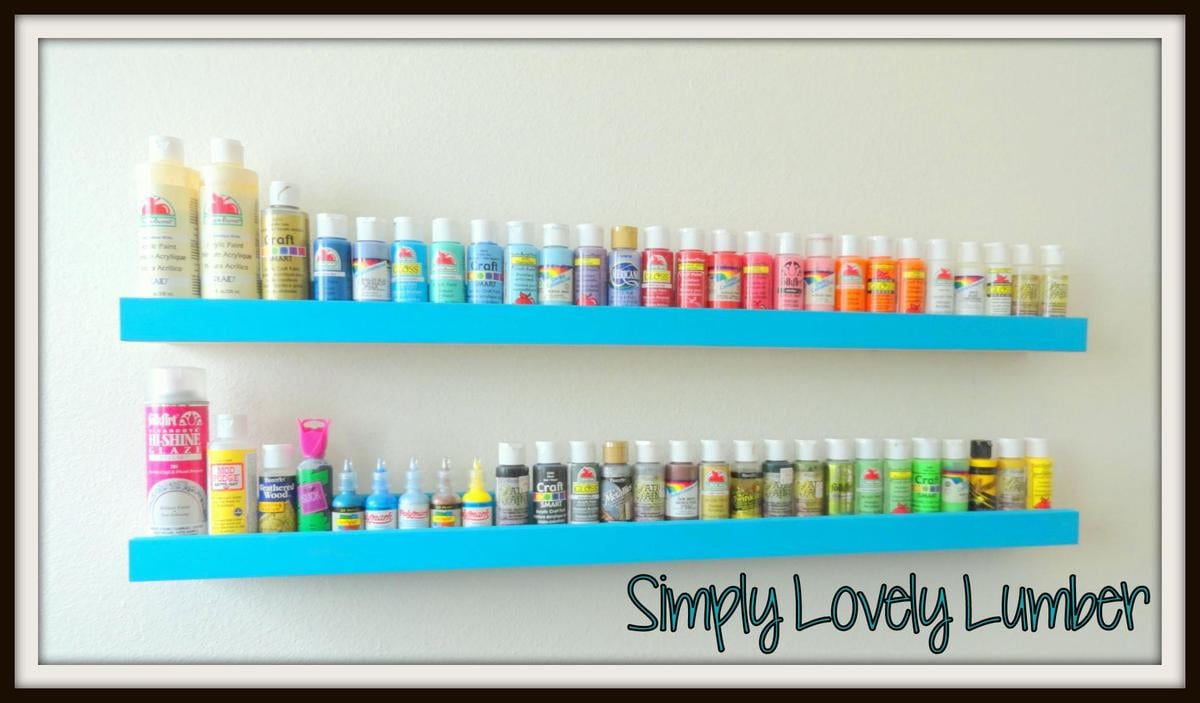
I have made many of these ledges and I just love them so much! I love that I can build them to any length or depth I want. I like to use them for more then just pictures. I feel like there will be many more of these in my future!
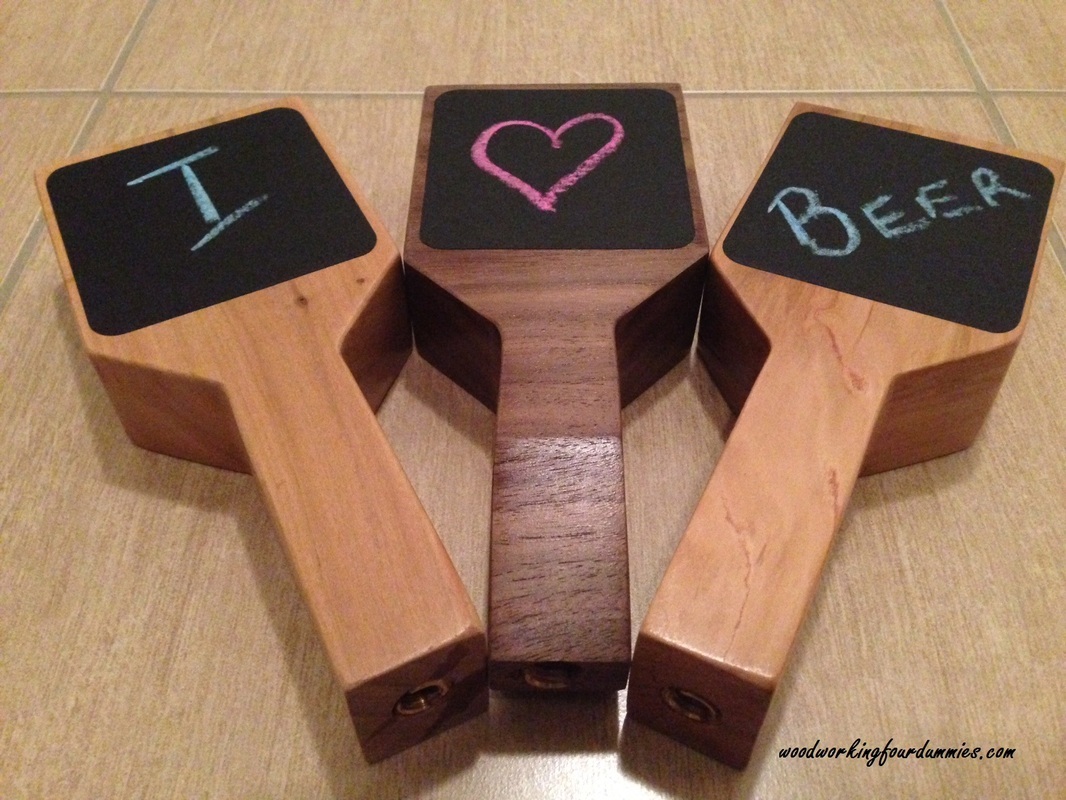
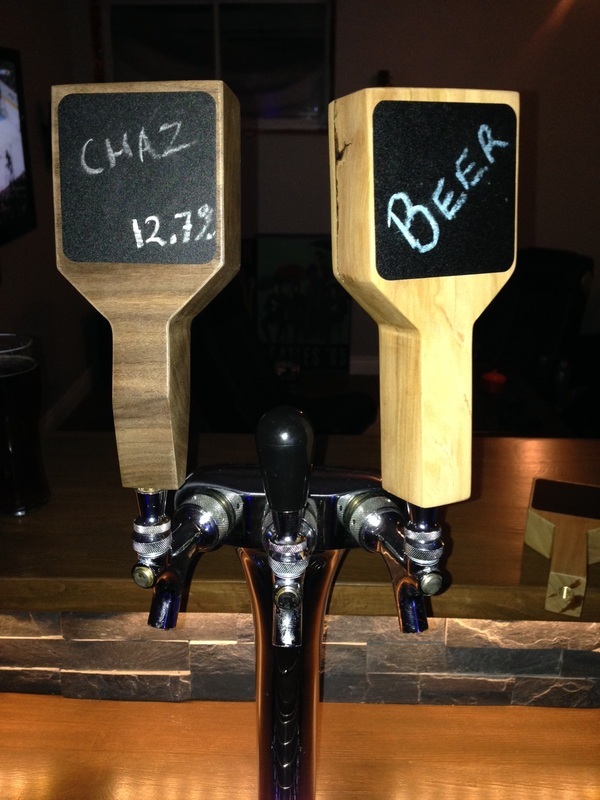
A buddy of mine brews his own beer (great beer btw) and mentioned that he was looking for some tap handles that he could write on to identify what brews he had on tap. I decided to help him out...
For more details and photos, check out my DIY blog:
http://www.woodworkingfourdummies.com/blog/keg-tap-handle-diy
Cheers,
Ian
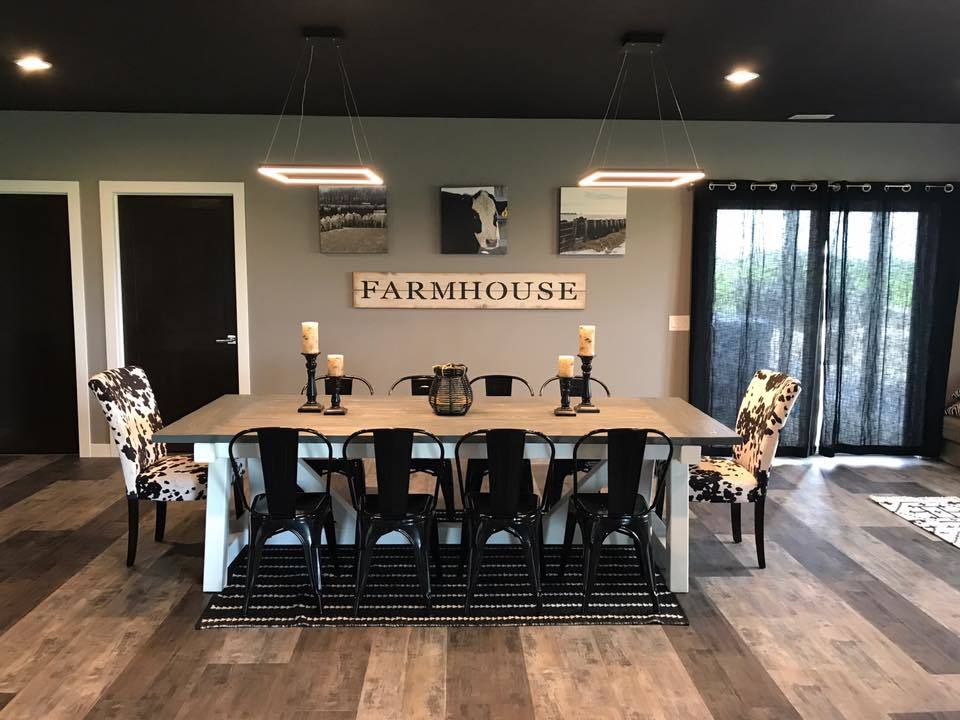
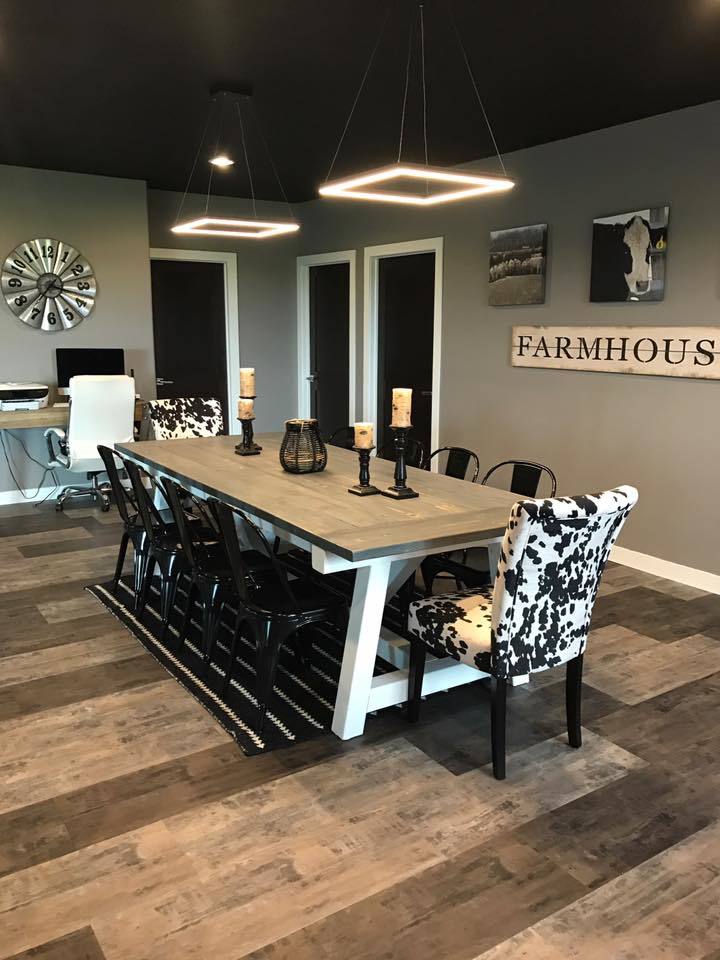
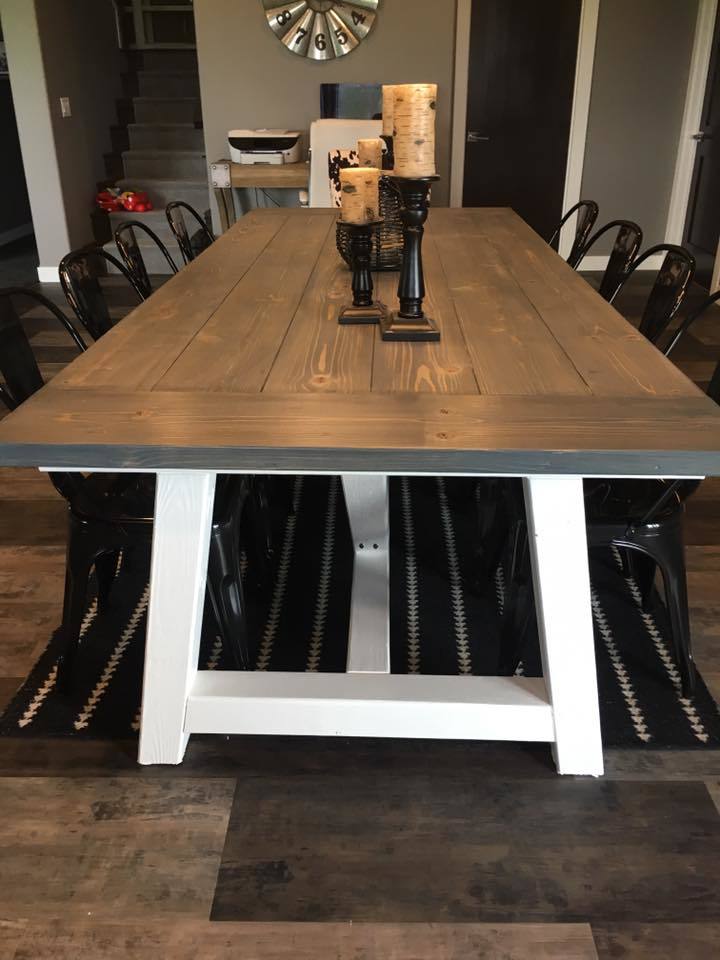
This was the first table that I built and turned out great.
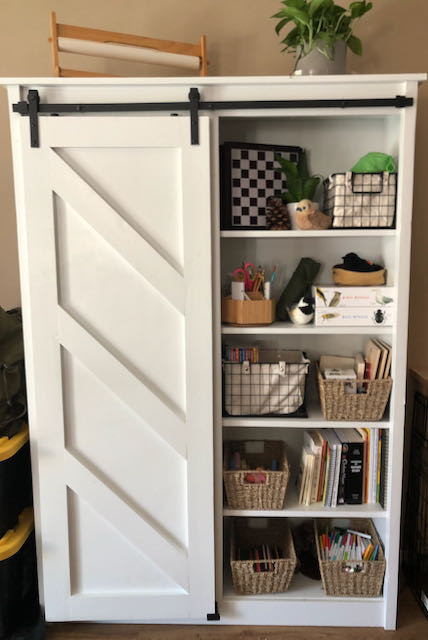
I LOVE, LOVE, LOVE this homeschool bookshelf my husband made from your plans! THANK YOU! We homeschool three children and the clutter was overwhelming! This bookshelf provides storage and a beautiful accessibility to supplies without the clutter! THANK YOU!
Fri, 06/04/2021 - 09:42
Nothing beats functional and beautiful! Thank you for sharing:)
Easily made from scrap.
Used pocket screws where possible.
Strong enough for a 2 year old to jump in :)
Mon, 04/08/2013 - 15:58
This is a very cute doll crib--love the curved ends above the slats. I have made six of these, each one a little different, and this design is perfect for the next one--hee hee. Would you mind sharing the dimensions; are they the same as the Olivia doll crib? Thanks!
Thu, 04/11/2013 - 13:04
Oops!! the plan i used was http://ana-white.com/2010/11/olivias-doll-crib.html …
I used those direction .. just modified the end to be slats like the sides then made a curved line that appealed to me … sorry for the mistake!
I did make the farmhouse bed too for another grand-girl!
I was just thinking I would be making more of these .. glad to hear i'm not the only one!
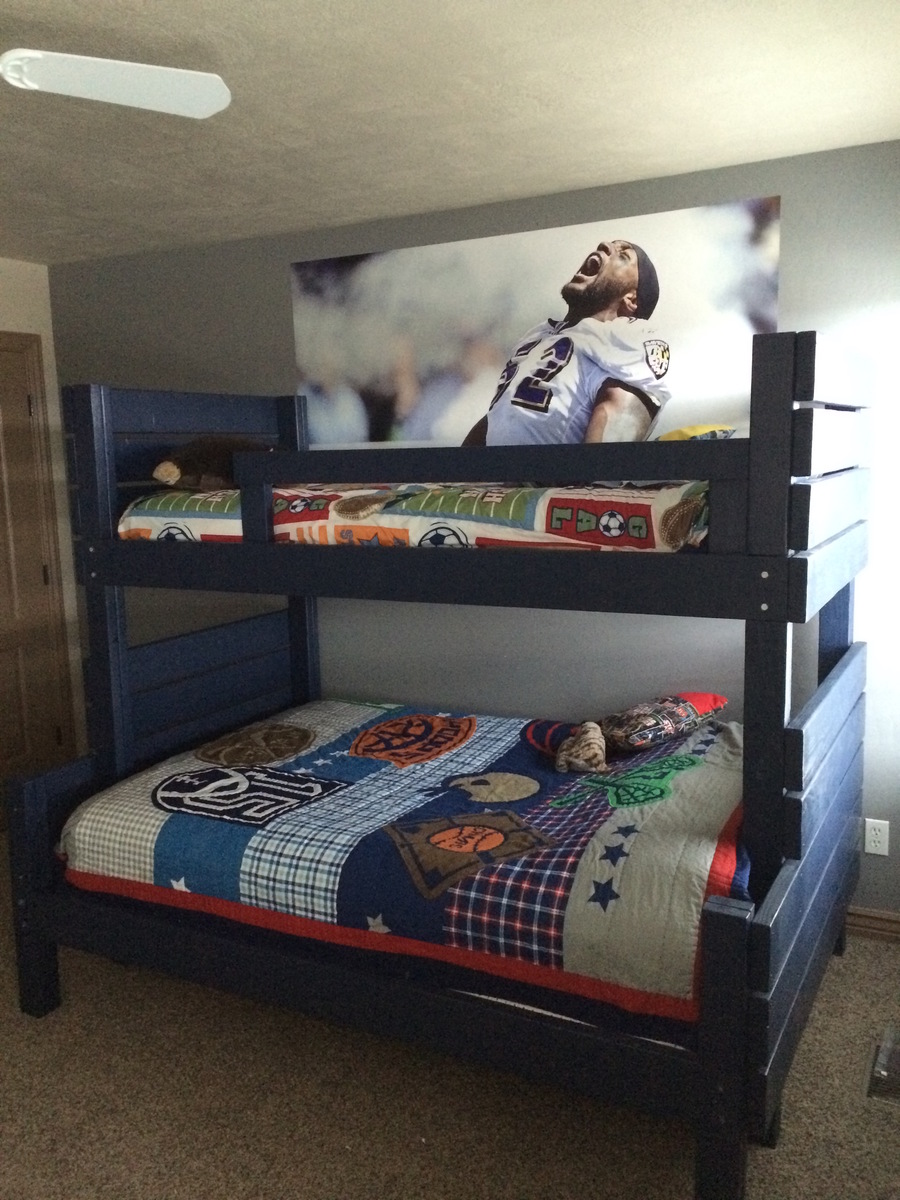
I needed a good sturdy bunk bed for my boys and I didn't want to spend a bunch of money. Every bunk bed I looked at seemed to wobble and cost a fortune so I ventured off to make my own! I came across the Side Street Bunk plans and did a little modifiying to make them work with the mattresses we had. I absolutley LOVE the way they turned out and my boys are so excited to finally have their bunk beds! Thanks Ana!
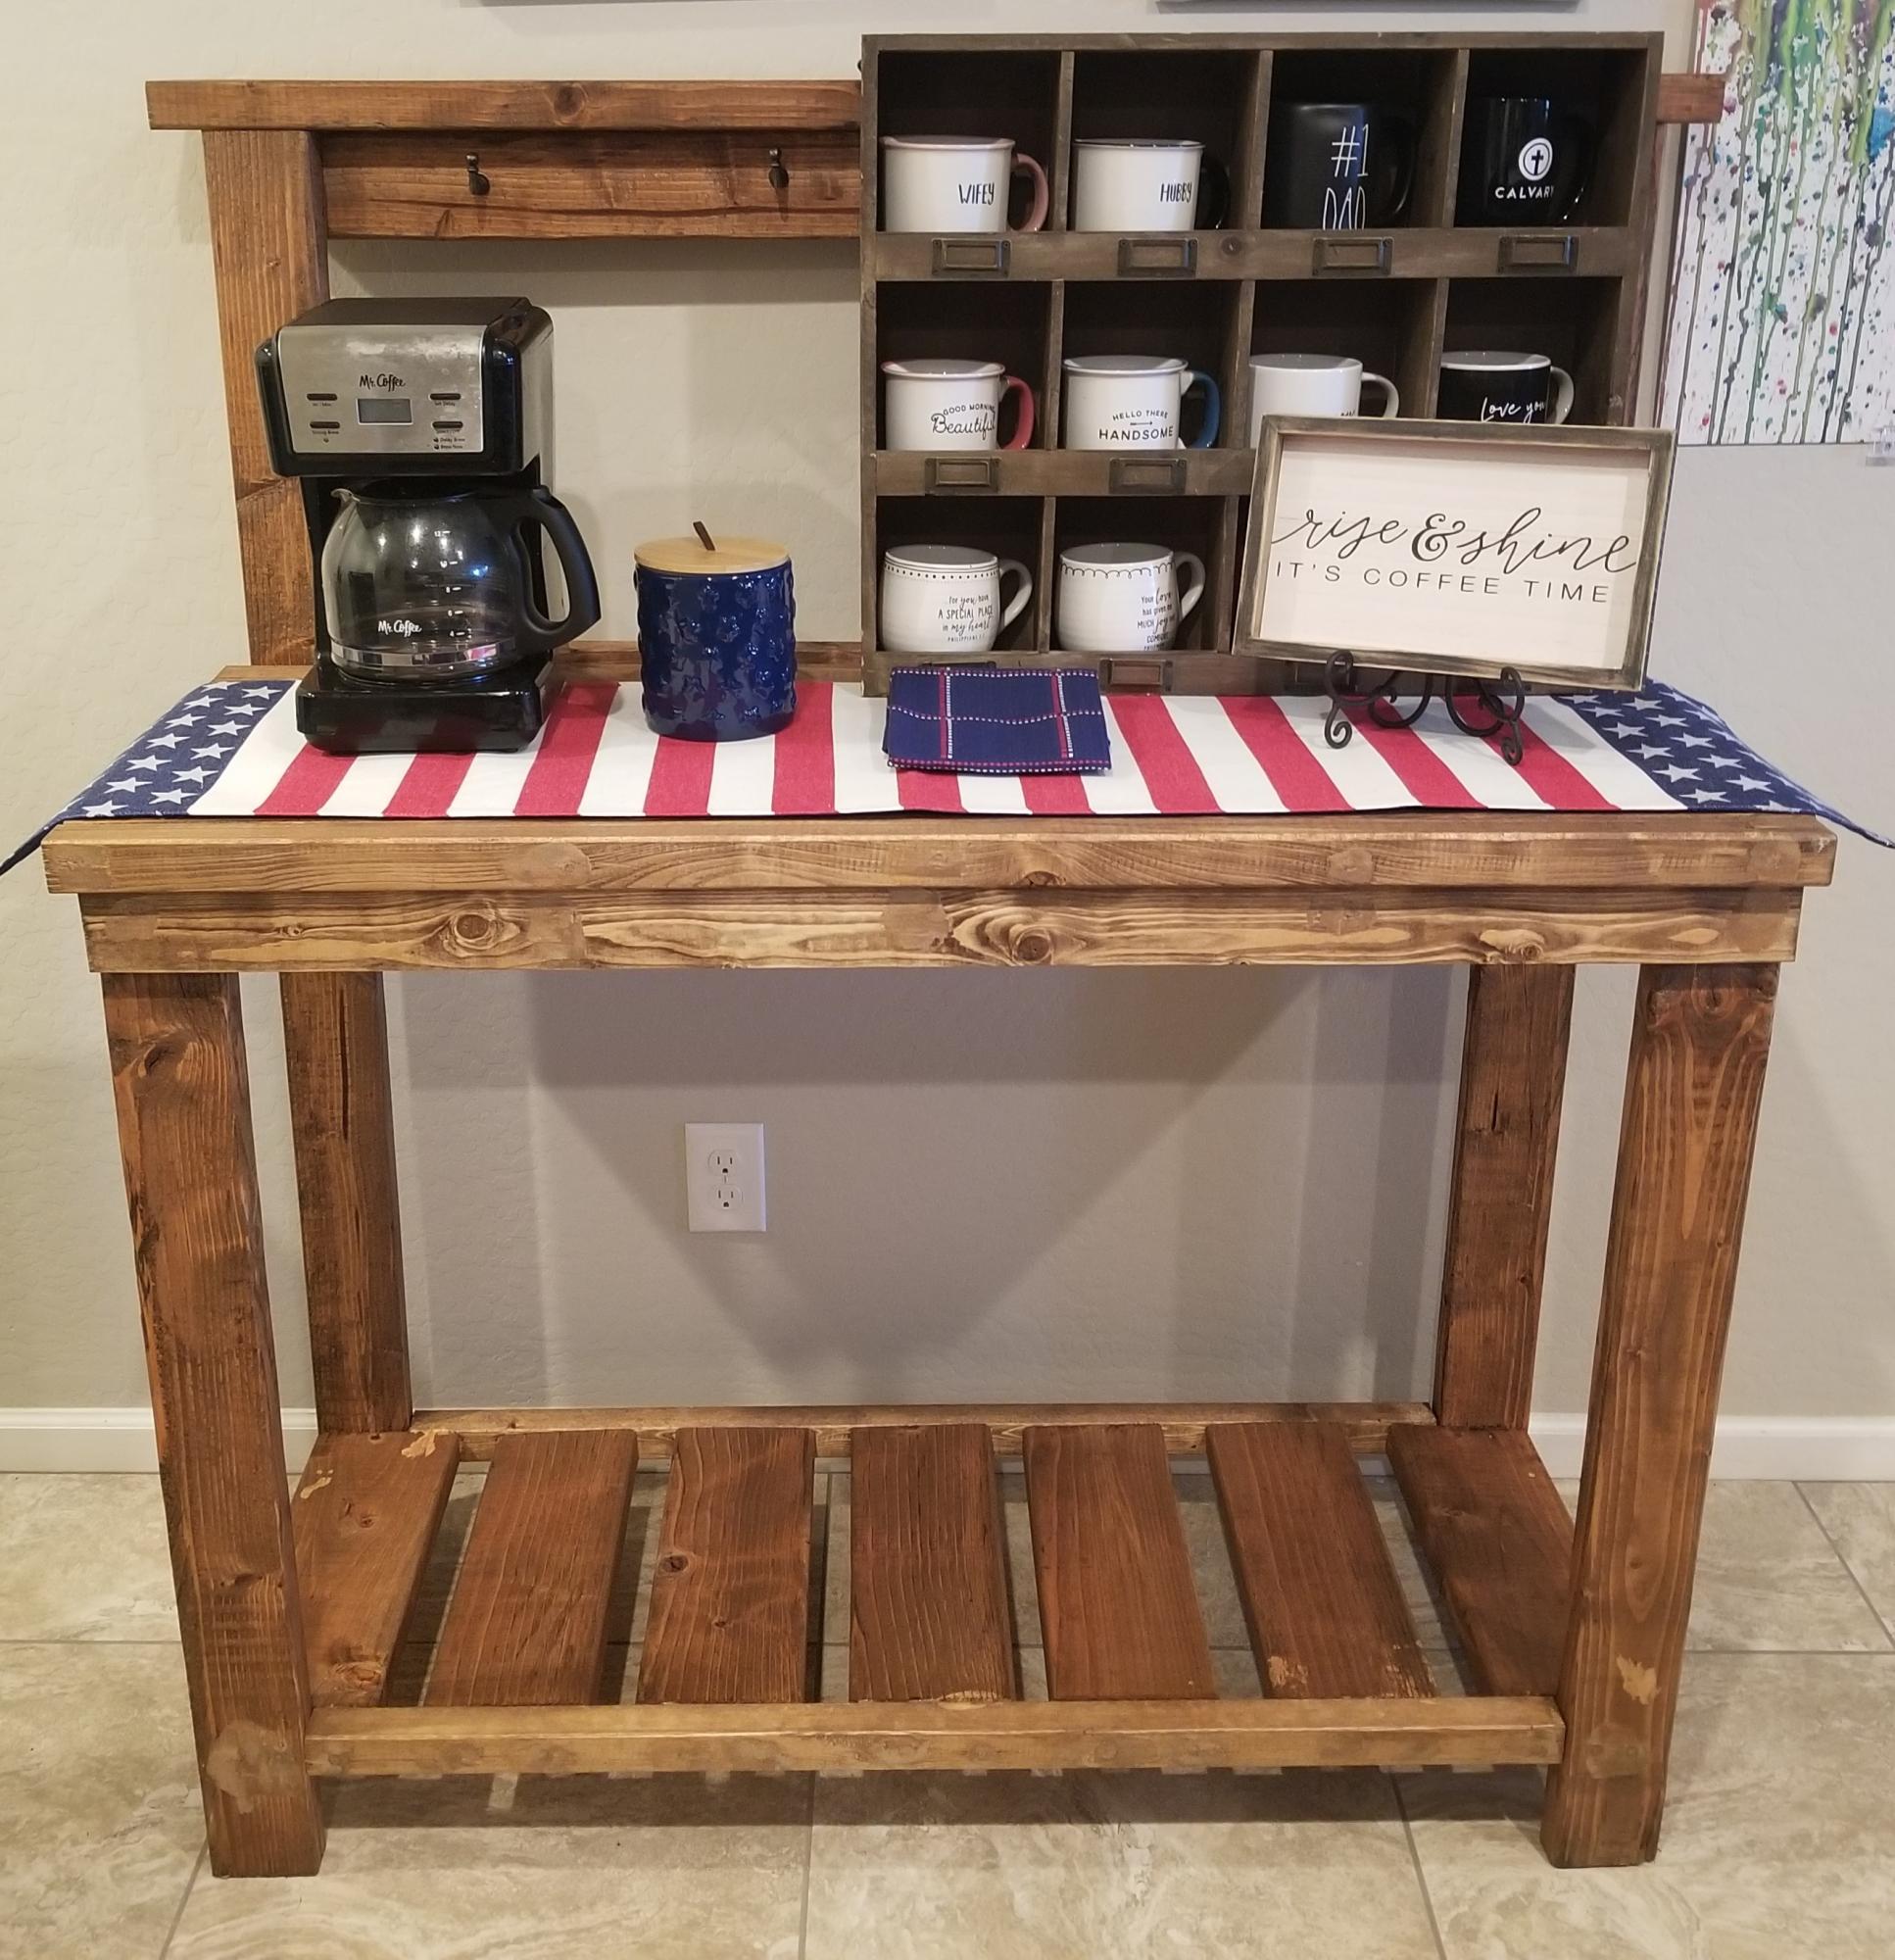
Basically, I was on the hunt for a bakers rack, but jumped on the site and saw this. I modified it a bit. Turned out cool with the decor.
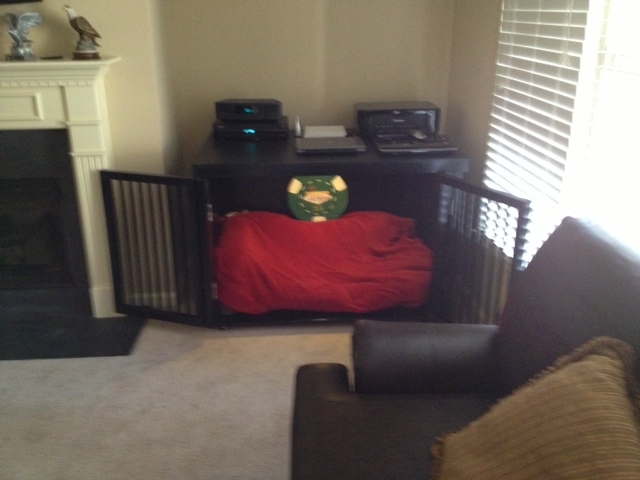
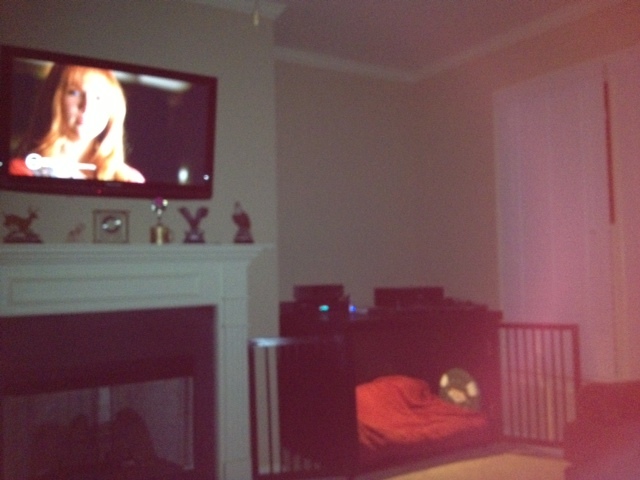
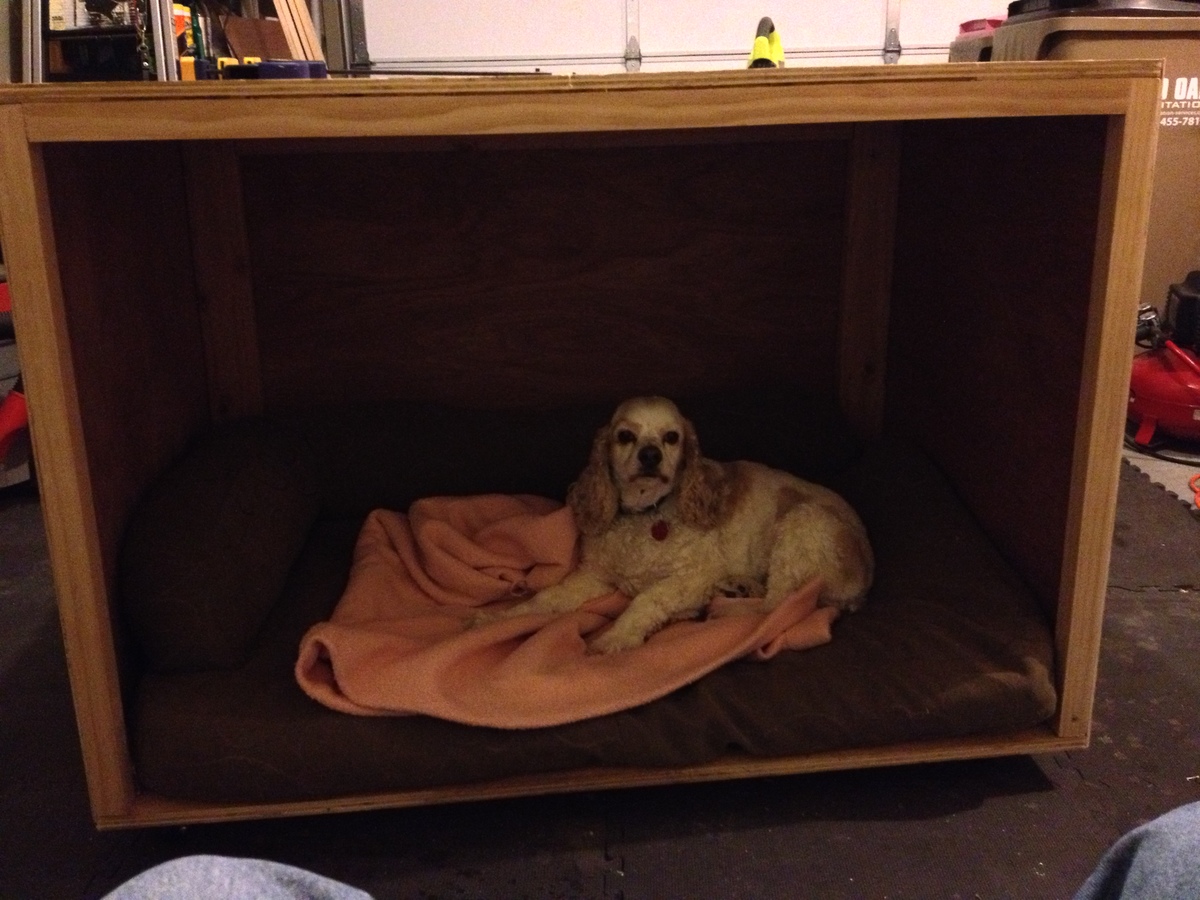
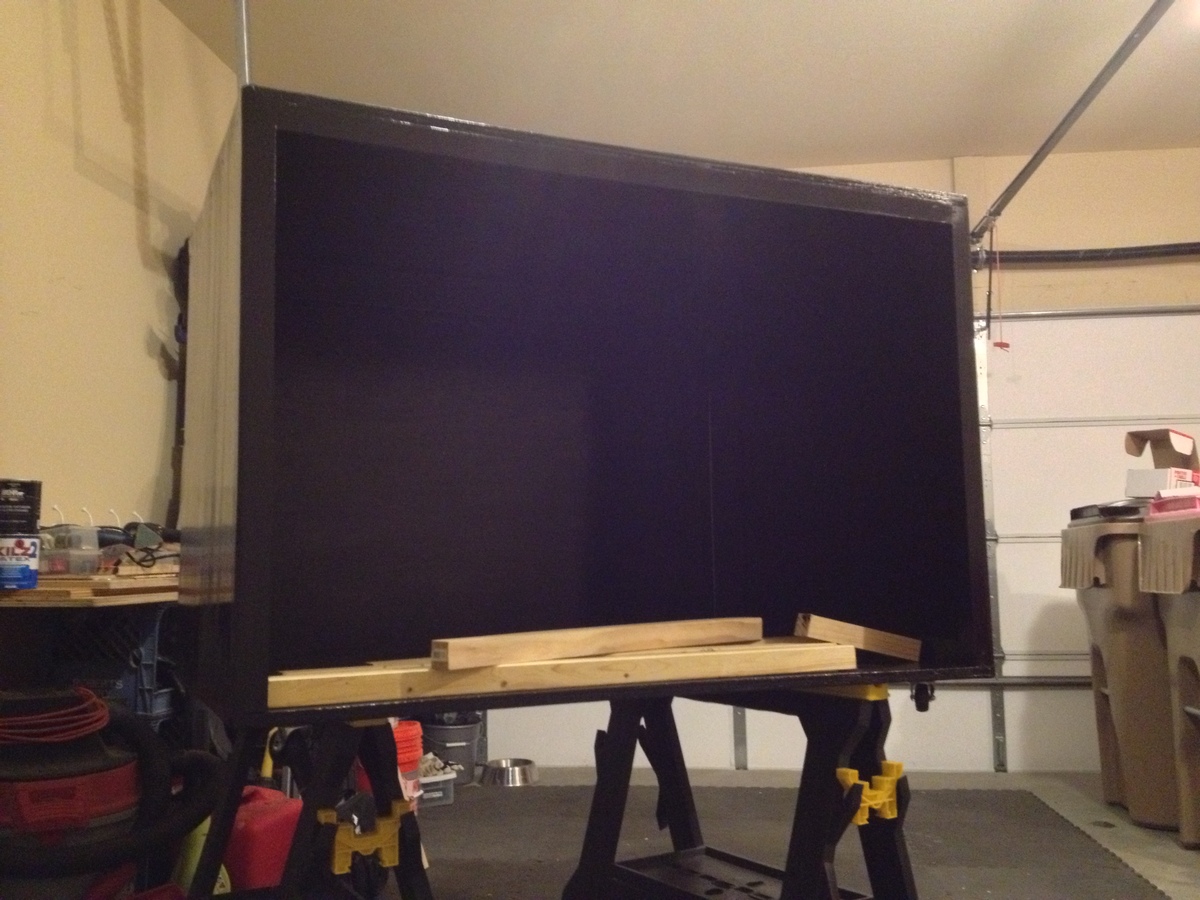
I had peformed internet searches on Pet Crates and decided to build my own. This one has a touch sensor small 1 watt light inside so I dont have to keep other house lights on when I am at work. The light has no heat and purchased at Rockler hardware. Shiloh's crib is on wheels and the only thing I screwed up is the width. I could not get it thru the garage door from the house. Had to take it thru the front door and had to take the door off the hinges. Either way I should not ever have to build another one. It has a kitchen cabinet black laminate on top purchase from a damaged piece at home Depot. Half the cost. Should be durable enough for my kids Printer, radio and Cable box. Doors have two hinges per door so they can fold back out of the way.
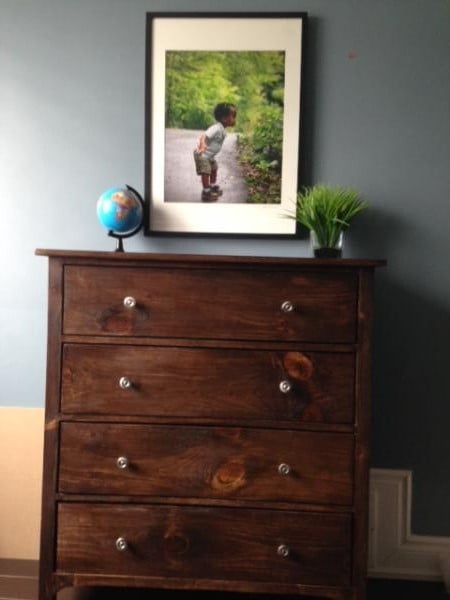
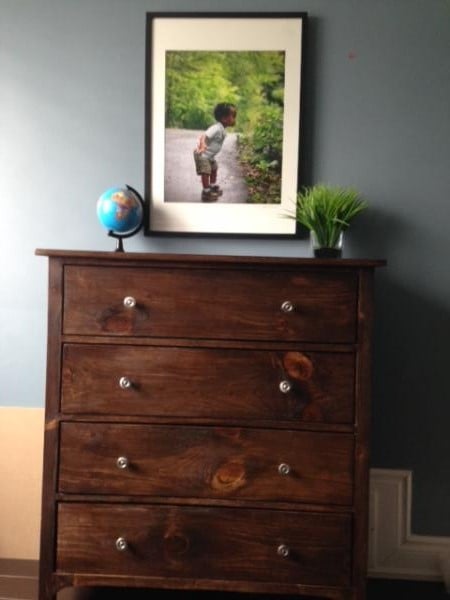
For my second project I decided to make a small dresser to match the Camp Loft bed we bult last week. I must say it was a great success. The only challenging aspect was installing the drawer slider properly. This took quite a bit of time to get it right. Everything else was a breeze. In the top drawer I added a little divider so I can seperate undies from socks.

I found the plans on the website last year but we never got around to building it. So this year it was first on the list!! I wanted a large enclosed garden because we had a hard time keeping our dogs out of our last boxed garden. I followed the plans pretty closely, making minor changes to give us more room for planting.
I did not use the corner wood pieces for bracing because I did not like how they looked. Instead I used brackets made for decks that I can't see from the outside of the garden. I also made a custom gate to mimic the custom railings I had made for our deck. Added brackets to the outside for hanging baskets. Still needs to be stained and sealed. Hoping to get that done next week.
Note: I bought 22 2cubic feet bags of Miracle Grow Flower and Vegetable soil to fill the garden boxes.
Approximate costs were around $180.00 for wood/stain/gate hardware, netting and deck screws.
Approximate costs for the soil was $140.00.
I hope
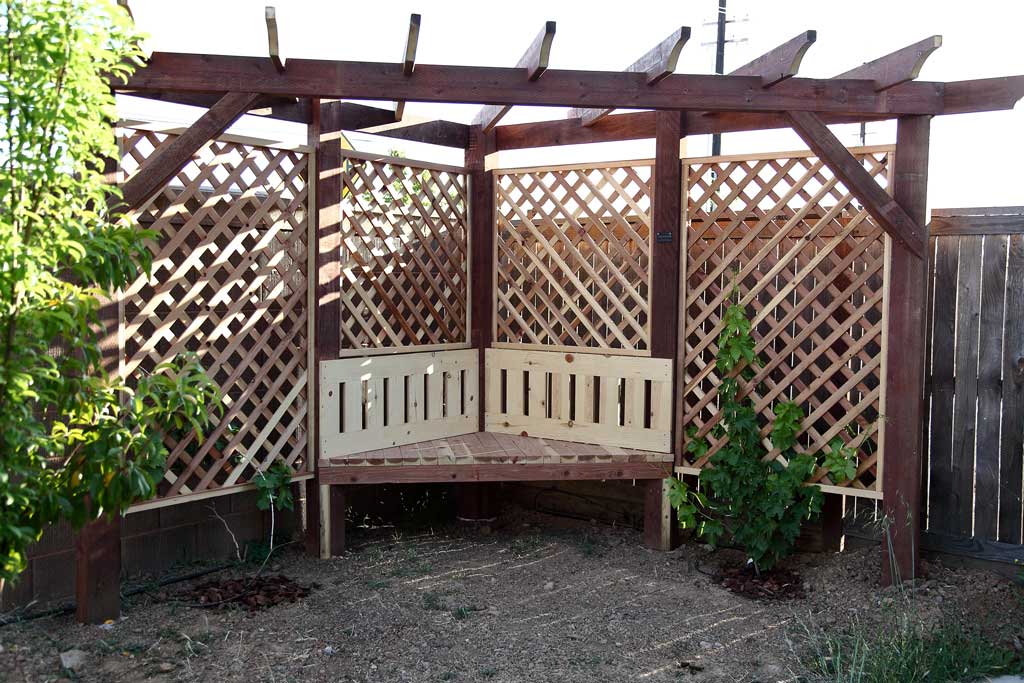
My brother-in-law planted a small grape plant in his backyard and wanted a trellis structure behind it for the grapes to climb on. He asked me to design and build it in the corner of his garden. After going through some designs, we decided to go with a corner arbor. When the project was complete, I created PDF plans on how to build a DIY Corner Arbor with a Bench that includes a trellis for the grapes to grow on.
See my website for additional pictures and how I've built it, TheDIYPlan.com
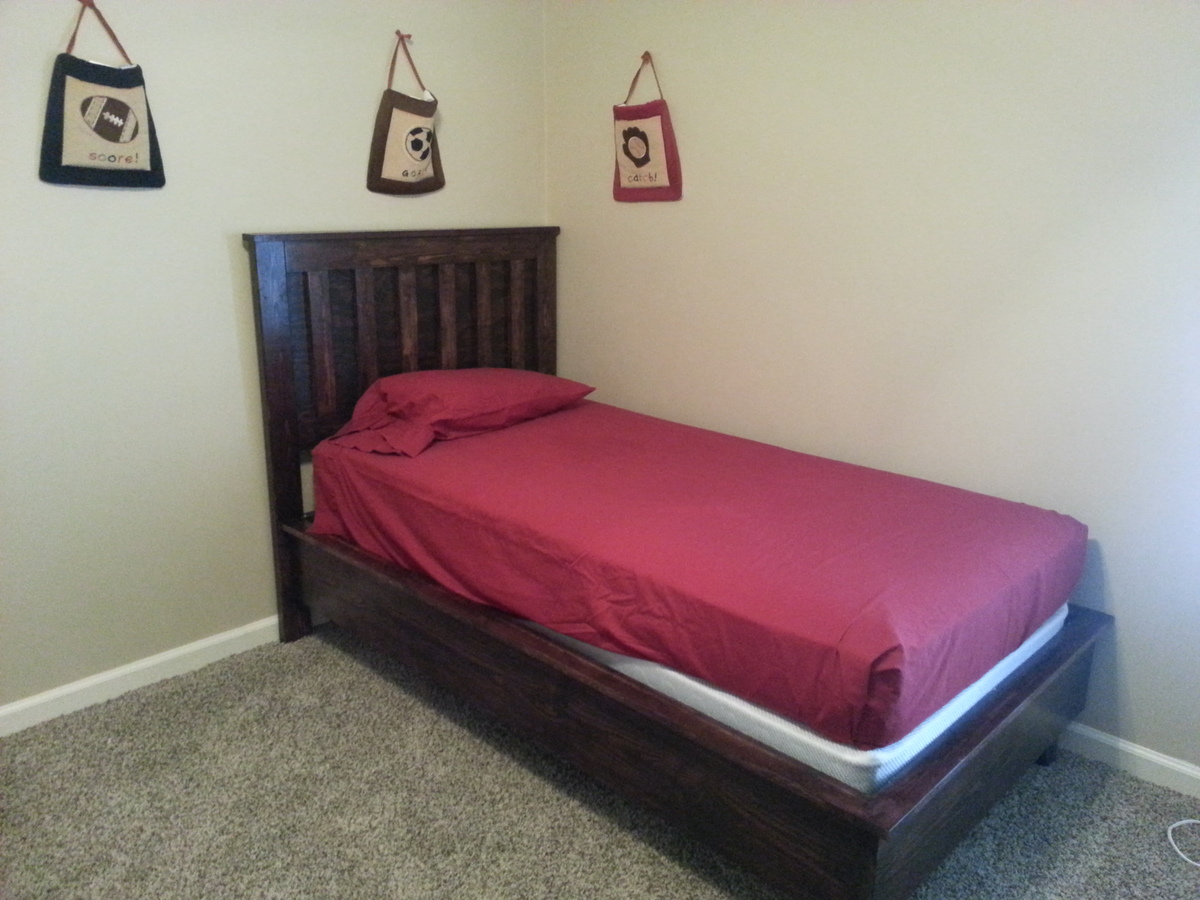
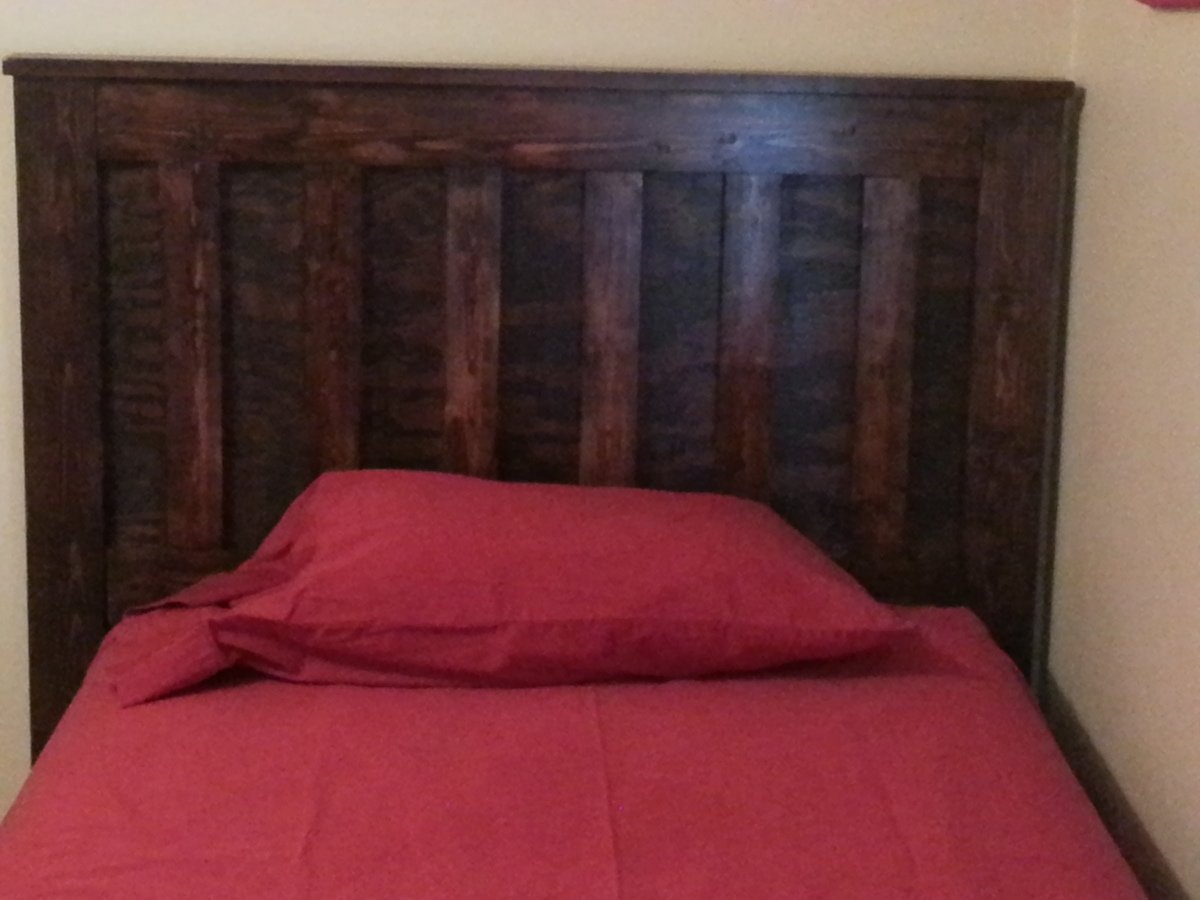
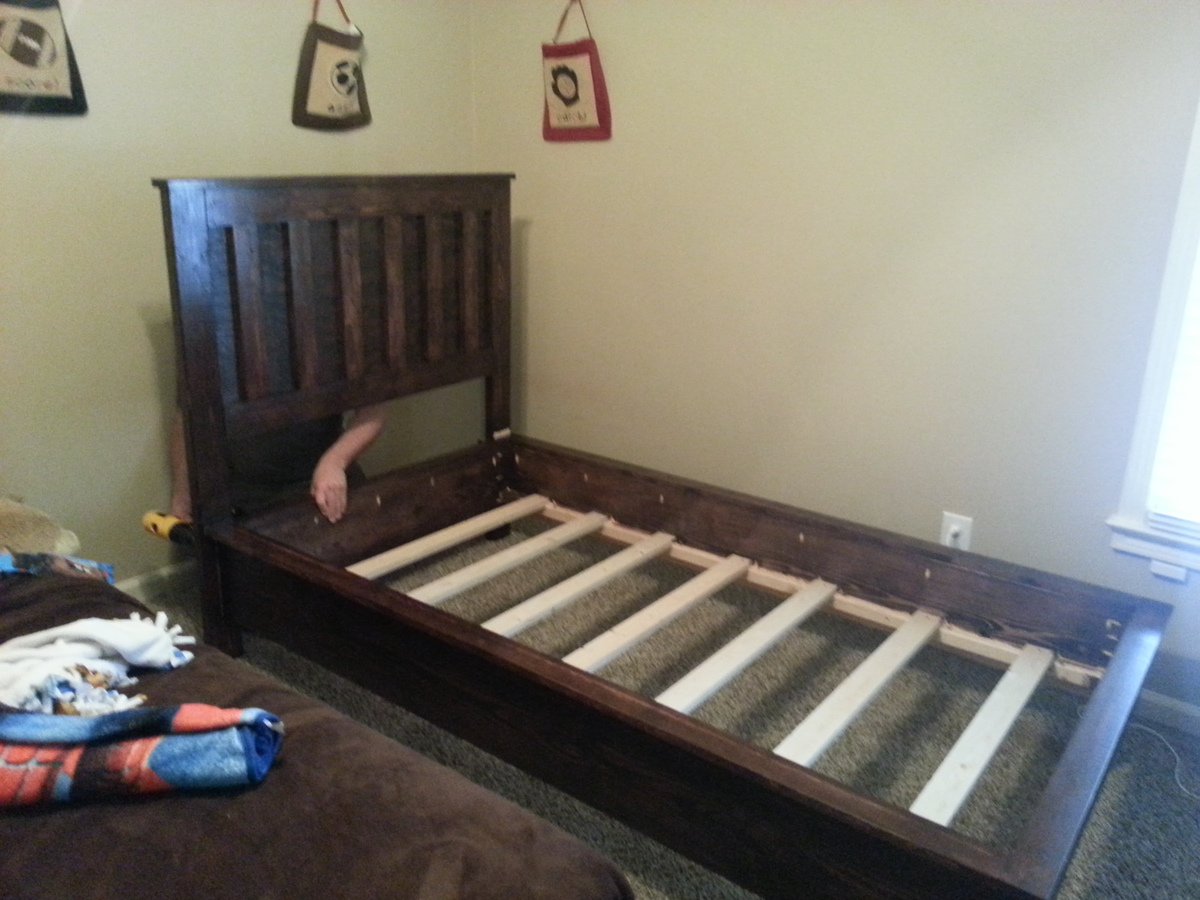
My boys are young, so I wanted to do this without a foot board (I'm always nervous while they play that they'll hit their heads or something). I modified plans from the Hailey bed for the frame, by making it deeper.
Comments
Ana White Admin
Wed, 05/12/2021 - 11:07
Sweet!
Love the loveseat design, thanks for sharing!