Community Brag Posts

Step Stool

Submitted by stcarroll on Fri, 08/26/2011 - 10:25

I fell in love with Ana's plan for this vintage step stool. I made three, but one has already gone to a new home (my sister's house). I used all scraps, I didn't have 1x8 for the treads, so I slatted two 1x4s. Then behind my husbands pile of scrap wood in the shop I found two planks of 1x8 oak!!!! I made the second two stools with the oak for the tread, but didn't want to cover it with paint, so I stained the top treads. This also was my first build using a kreg jig, I borrowed my sister's 'kreg jig jr.' It made the assembly so simple and quick! These have been so nice to have around the house for the kids washing and brushing and helping in the kitchen!
Built from Plan(s)
Estimated Cost
Free!!!!
Estimated Time Investment
An Hour or Two (0-2 Hours)
Finish Used
Minwax polyshades 'antique chestnut' on the all doug-fir-slatted stool. And minwax 'ebony' on the oak-tread with a mix of left over paint on the bottom. Then I sanded the paint to distress and used the ebony stain over the paint. I put several coats of poly on both of them because they will be used in the bathrooms during potty training and I wanted them to be sealed well so they don't soak-in any spills or mishaps!
Recommended Skill Level
Starter Project

Comments

Apothecary Media Console

Submitted by Laura Kemp on Mon, 11/23/2015 - 15:52

This project was made from Ana White's apothecary media console plan. The finish is Minwax Special Walnut on the drawers and top. On the sides is a finish technique I found on thehouseofsmiths.com - Faux Barn Wood Painting Tutorial.

Built from Plan(s)
Estimated Time Investment
Weekend Project (10-20 Hours)
Finish Used
I used an Olympic Brand Weathered Barnwood stain first. Then I used a shade of light grey, dark grey, and black paints (all Valspar brand) that I bought at Lowe's. I used one color at a time - and used a dry brush technique to put each color on. Then I did a quick sanding and after I wiped it down, another coat of the weathered barnwood Olympic stain. One more sanding and it was done!
Recommended Skill Level
Intermediate

Beam Table with benches

Submitted by Anonymous (not verified) on Sun, 01/13/2019 - 13:11

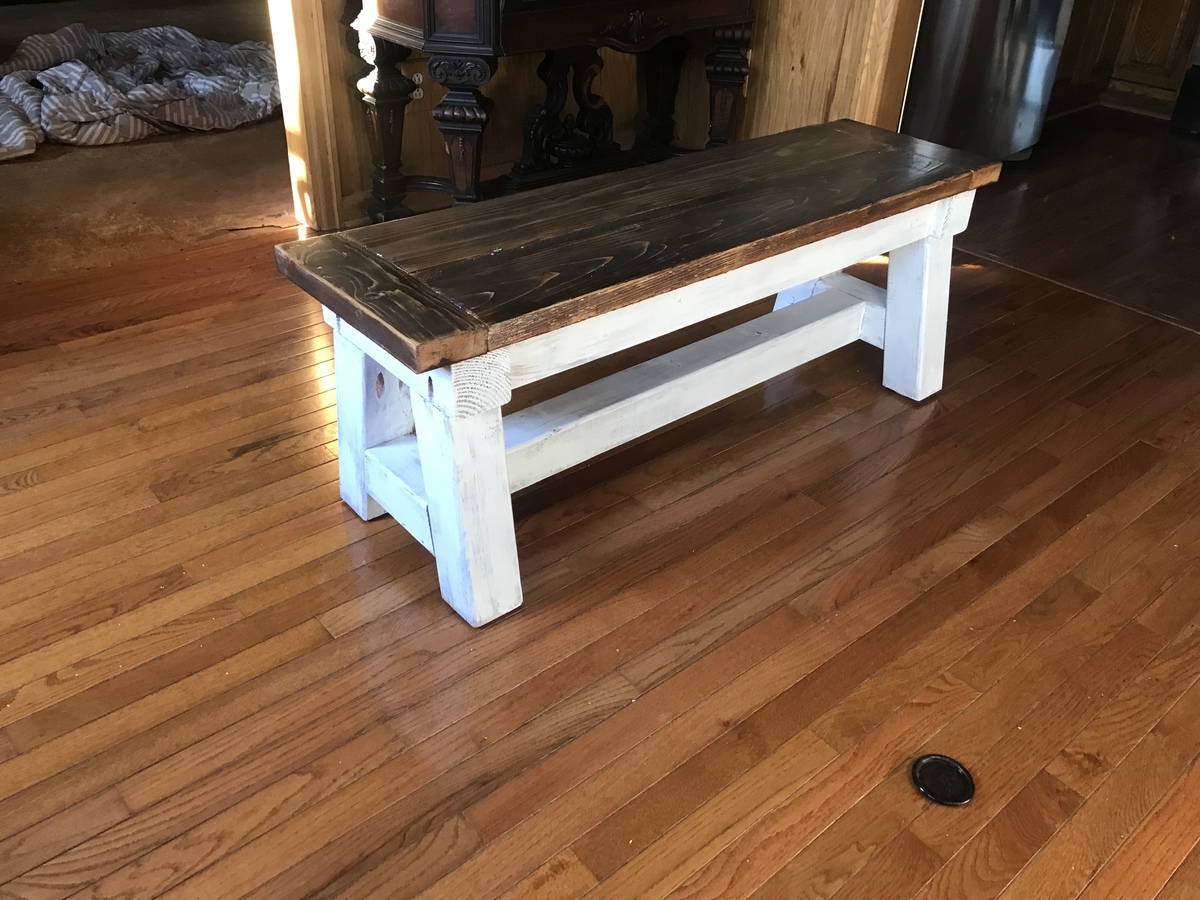
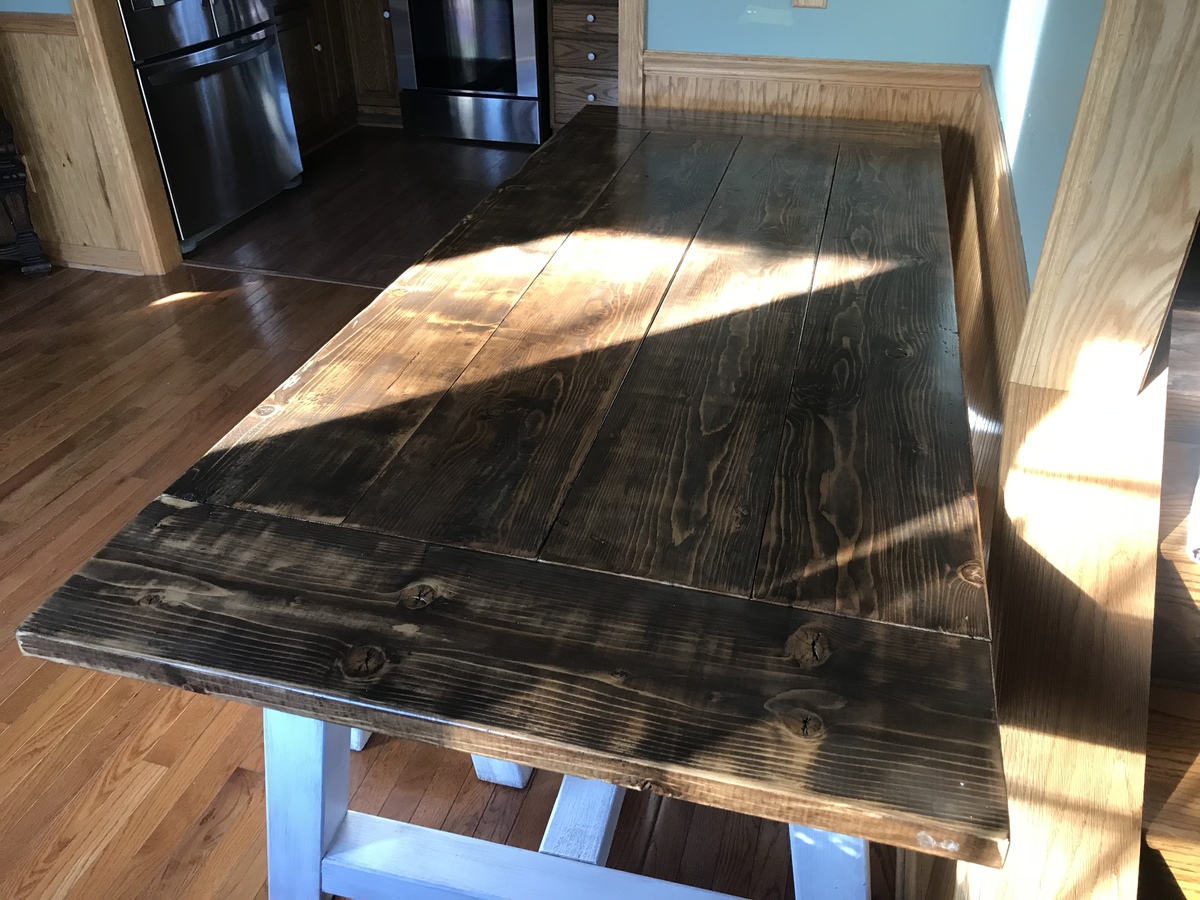
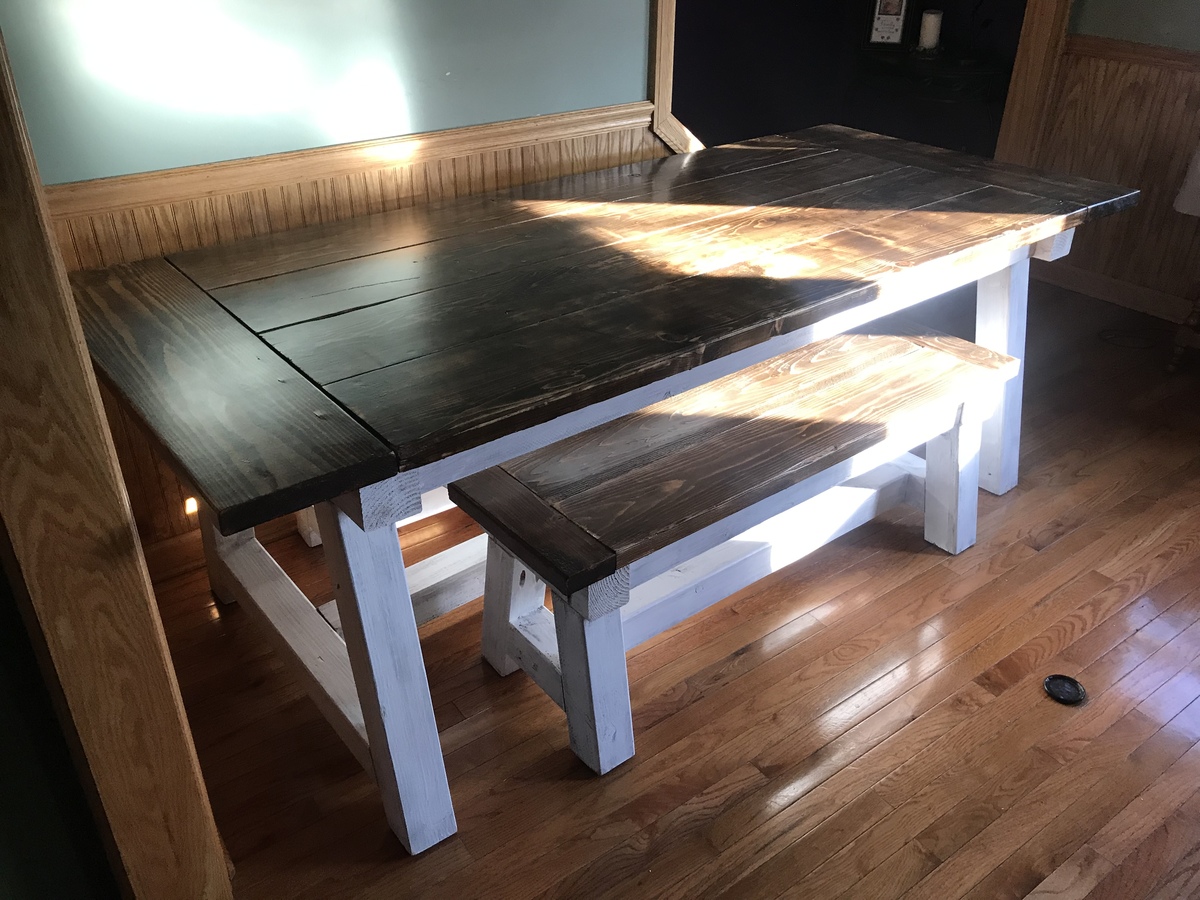
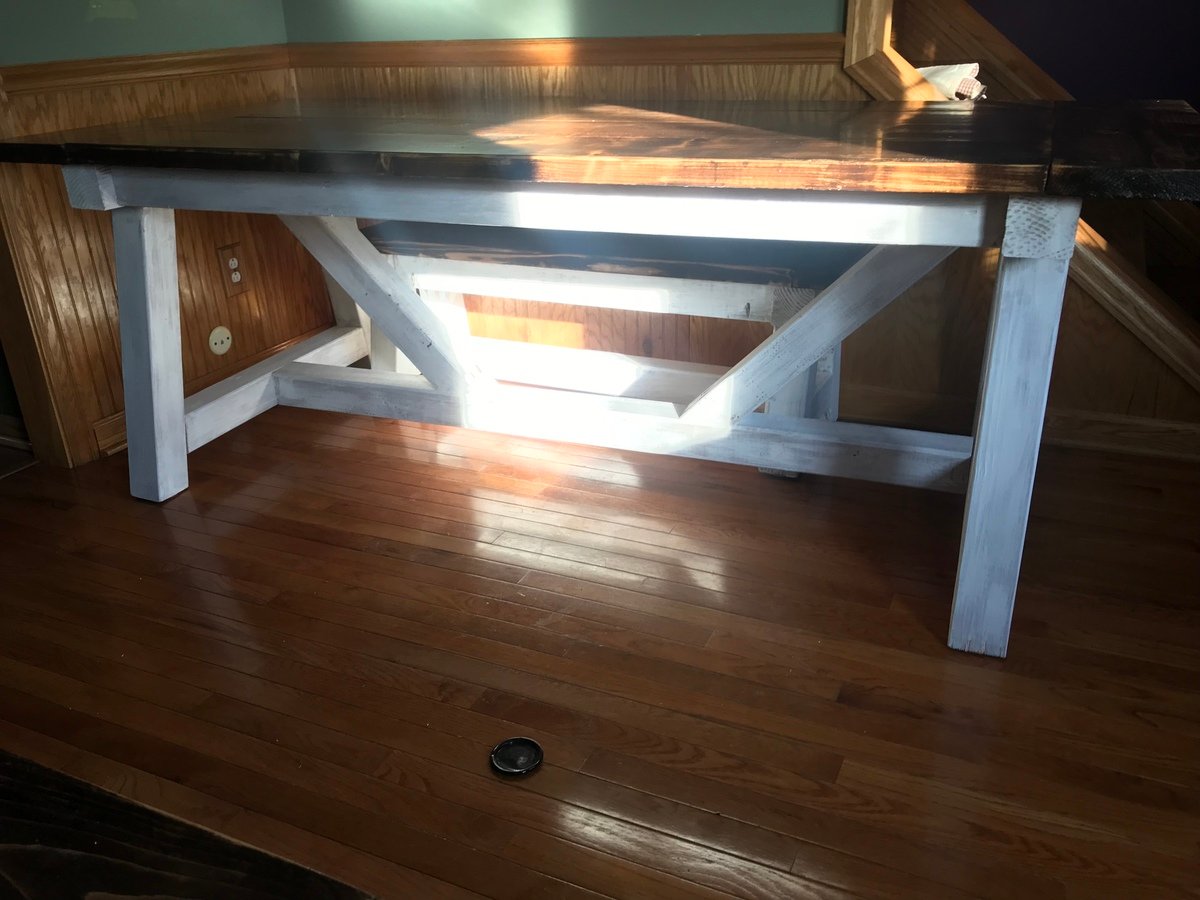
Anna White Beam Table with Benches 

This was a fun build. I used the HD Kreg Jig for the 4x4 beams and a standard Kreg Jig for the table. The bases were done with a white wash finish and the tops done with a few different stains to give it more of a barn look

Built from Plan(s)
Estimated Cost
$200
Estimated Time Investment
Week Long Project (20 Hours or More)
Recommended Skill Level
Intermediate

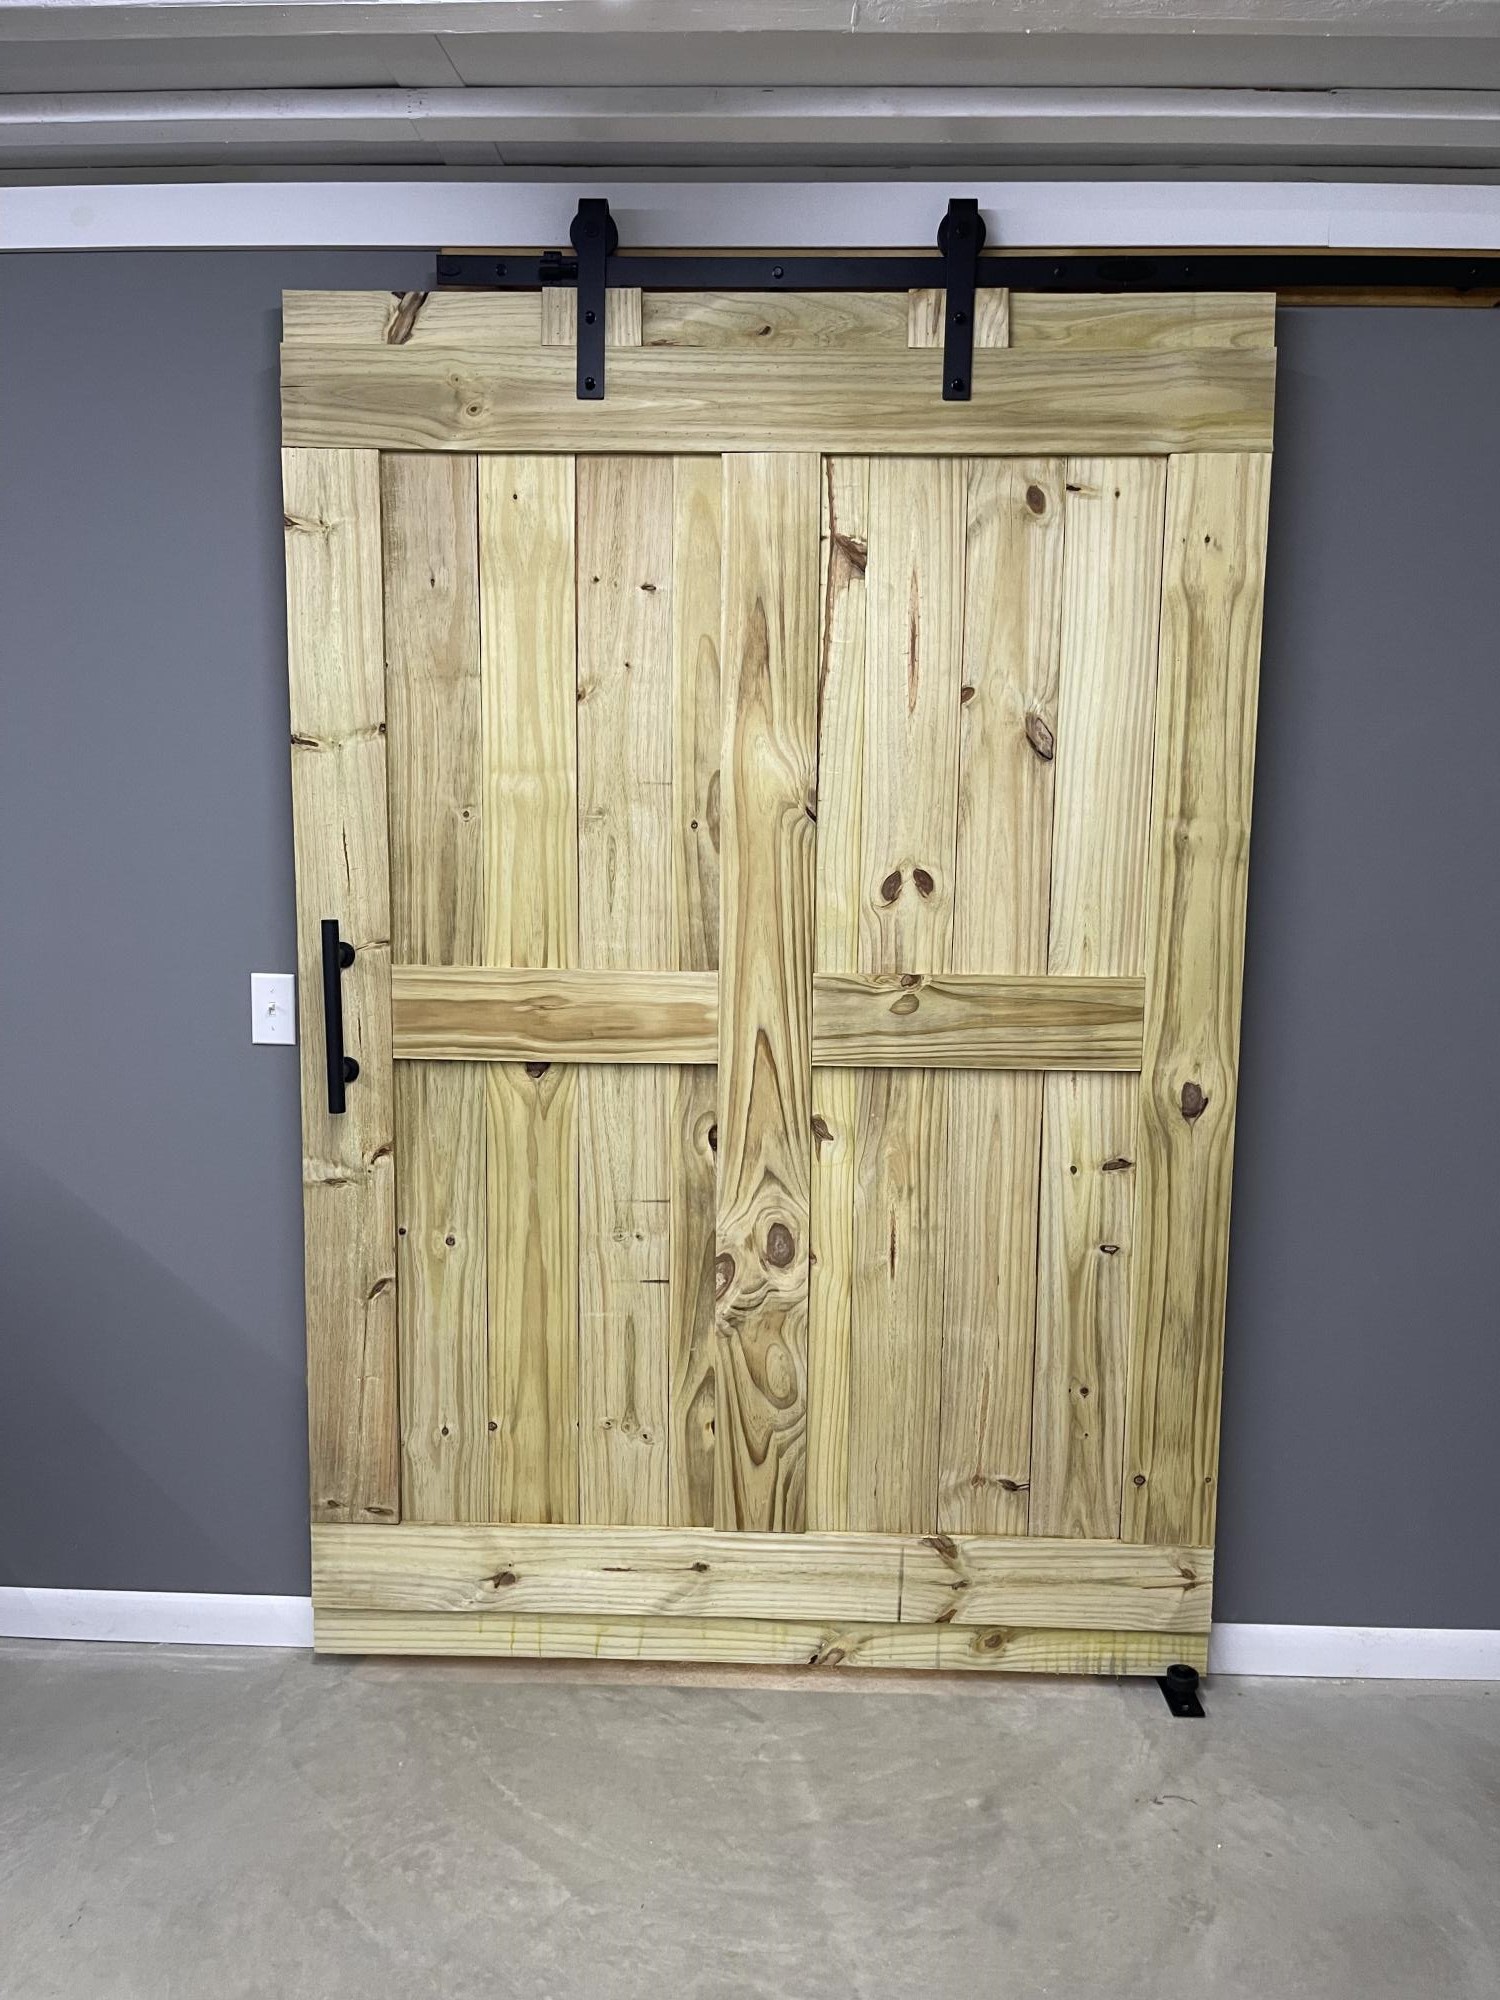
Fence Slat Interior Barn Door

Submitted by Anonymous (not verified) on Thu, 10/27/2022 - 12:09

Using 6’ fence slats. Planed until smooth then assembled to fill opening. Finished with beeswax and mineral oil with additional hanging hardware, handle and floor roller.

Comments

hanging bed

I saw this bed and just had to have it for my daughter. She loves it so much and it looks great in her room. It was easy to make, but very heavy. We were very meticulous to hang, we might have spent more time hanging it than building it :) There is more info on my blog.

Built from Plan(s)
Estimated Cost
35, but we had some extra lumber and screws we used
Estimated Time Investment
Afternoon Project (3-6 Hours)
Finish Used
primed then painted
Recommended Skill Level
Starter Project

Comments

Closet shelves

Submitted by mom of 4 on Thu, 09/19/2013 - 22:12

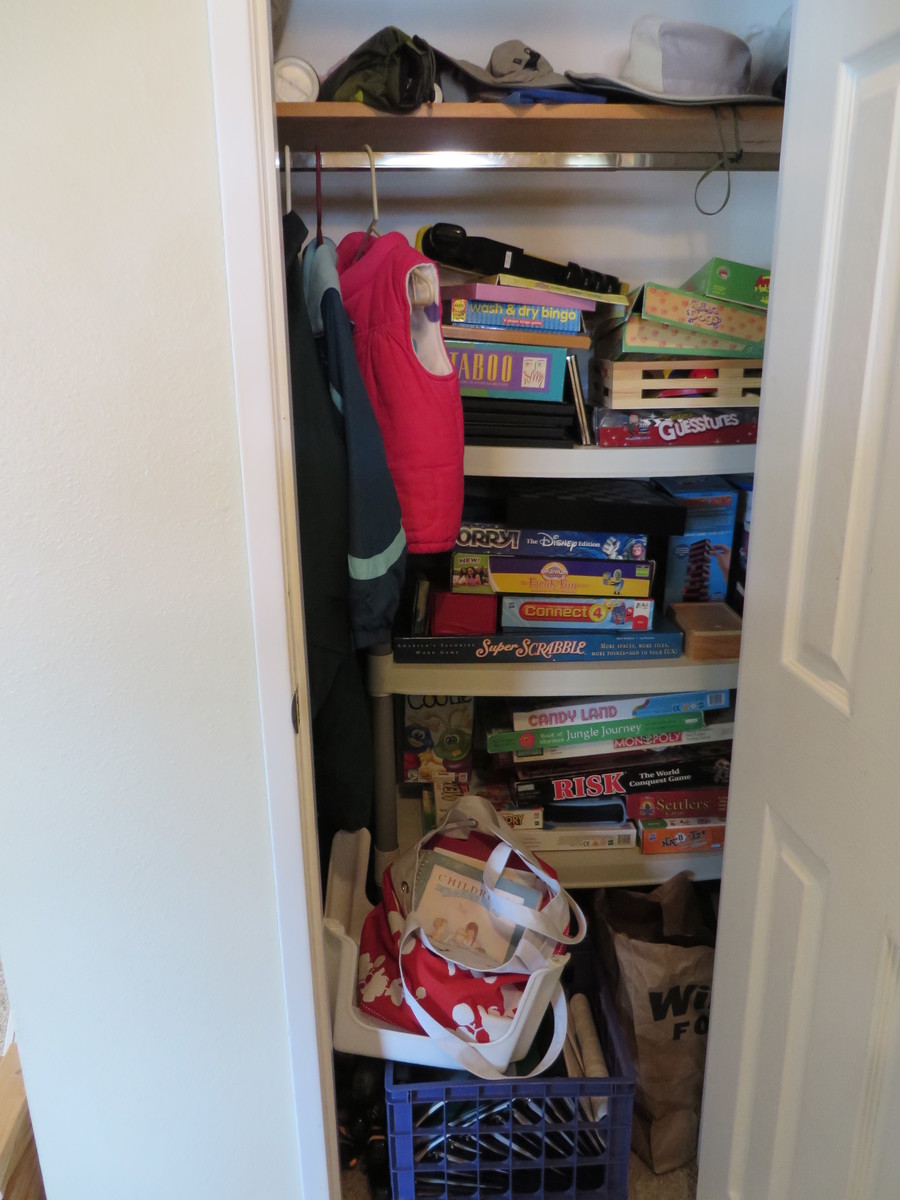
I needed to use my small coat closet more efficiently (observe the disaster in the before picture!), so I installed built-in shelves along a side wall for all our board games. Not a plan really, but just a simple solution. Measure the height you want your shelves to be, install a 1X3 at that height on either side wall, making sure they are level and secured to studs or anchored (Mine are 1 foot apart up to 5 feet). Then install plywood or solid wood shelves across the supports. Screw in to secure and you've got functional, inexpensive shelving, built to fit your unique space.

Estimated Cost
Scraps or the cost of 1 sheet plywood and 1 1X3 or 1X4.
Estimated Time Investment
An Hour or Two (0-2 Hours)
Finish Used
It's all just bare wood.
Recommended Skill Level
Beginner

Clara table and chairs with chalkboard and cubbie

I made a few changes to the chairs and the table plans.  Most notable, I added a storage box for chalk for the chalkboard table top.  The build was incredibly easy.  You could assemble the table and chairs in just a few hours.  

Built from Plan(s)
Estimated Cost
$35
Estimated Time Investment
Afternoon Project (3-6 Hours)
Finish Used
Rust-Oleum Chalkboard paint. Two coats and some touch up.
Recommended Skill Level
Beginner

Keurig holder

Submitted by Anonymous (not verified) on Wed, 01/16/2019 - 20:54

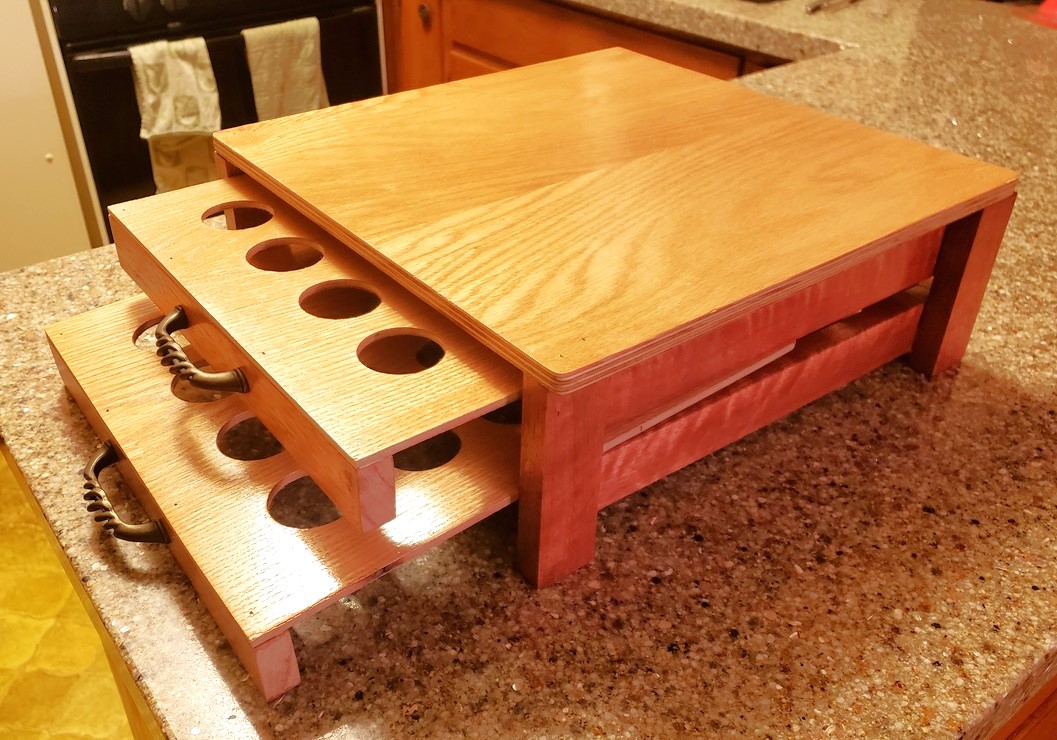
First project.  Was a blast and turned out great.  Mahagany strips with oak top.

Estimated Cost
$25
Estimated Time Investment
Weekend Project (10-20 Hours)
Finish Used
Poly
Recommended Skill Level
Beginner

Farm House Full Bed with Drawers

Submitted by Tumpai4308 on Thu, 11/17/2022 - 11:51

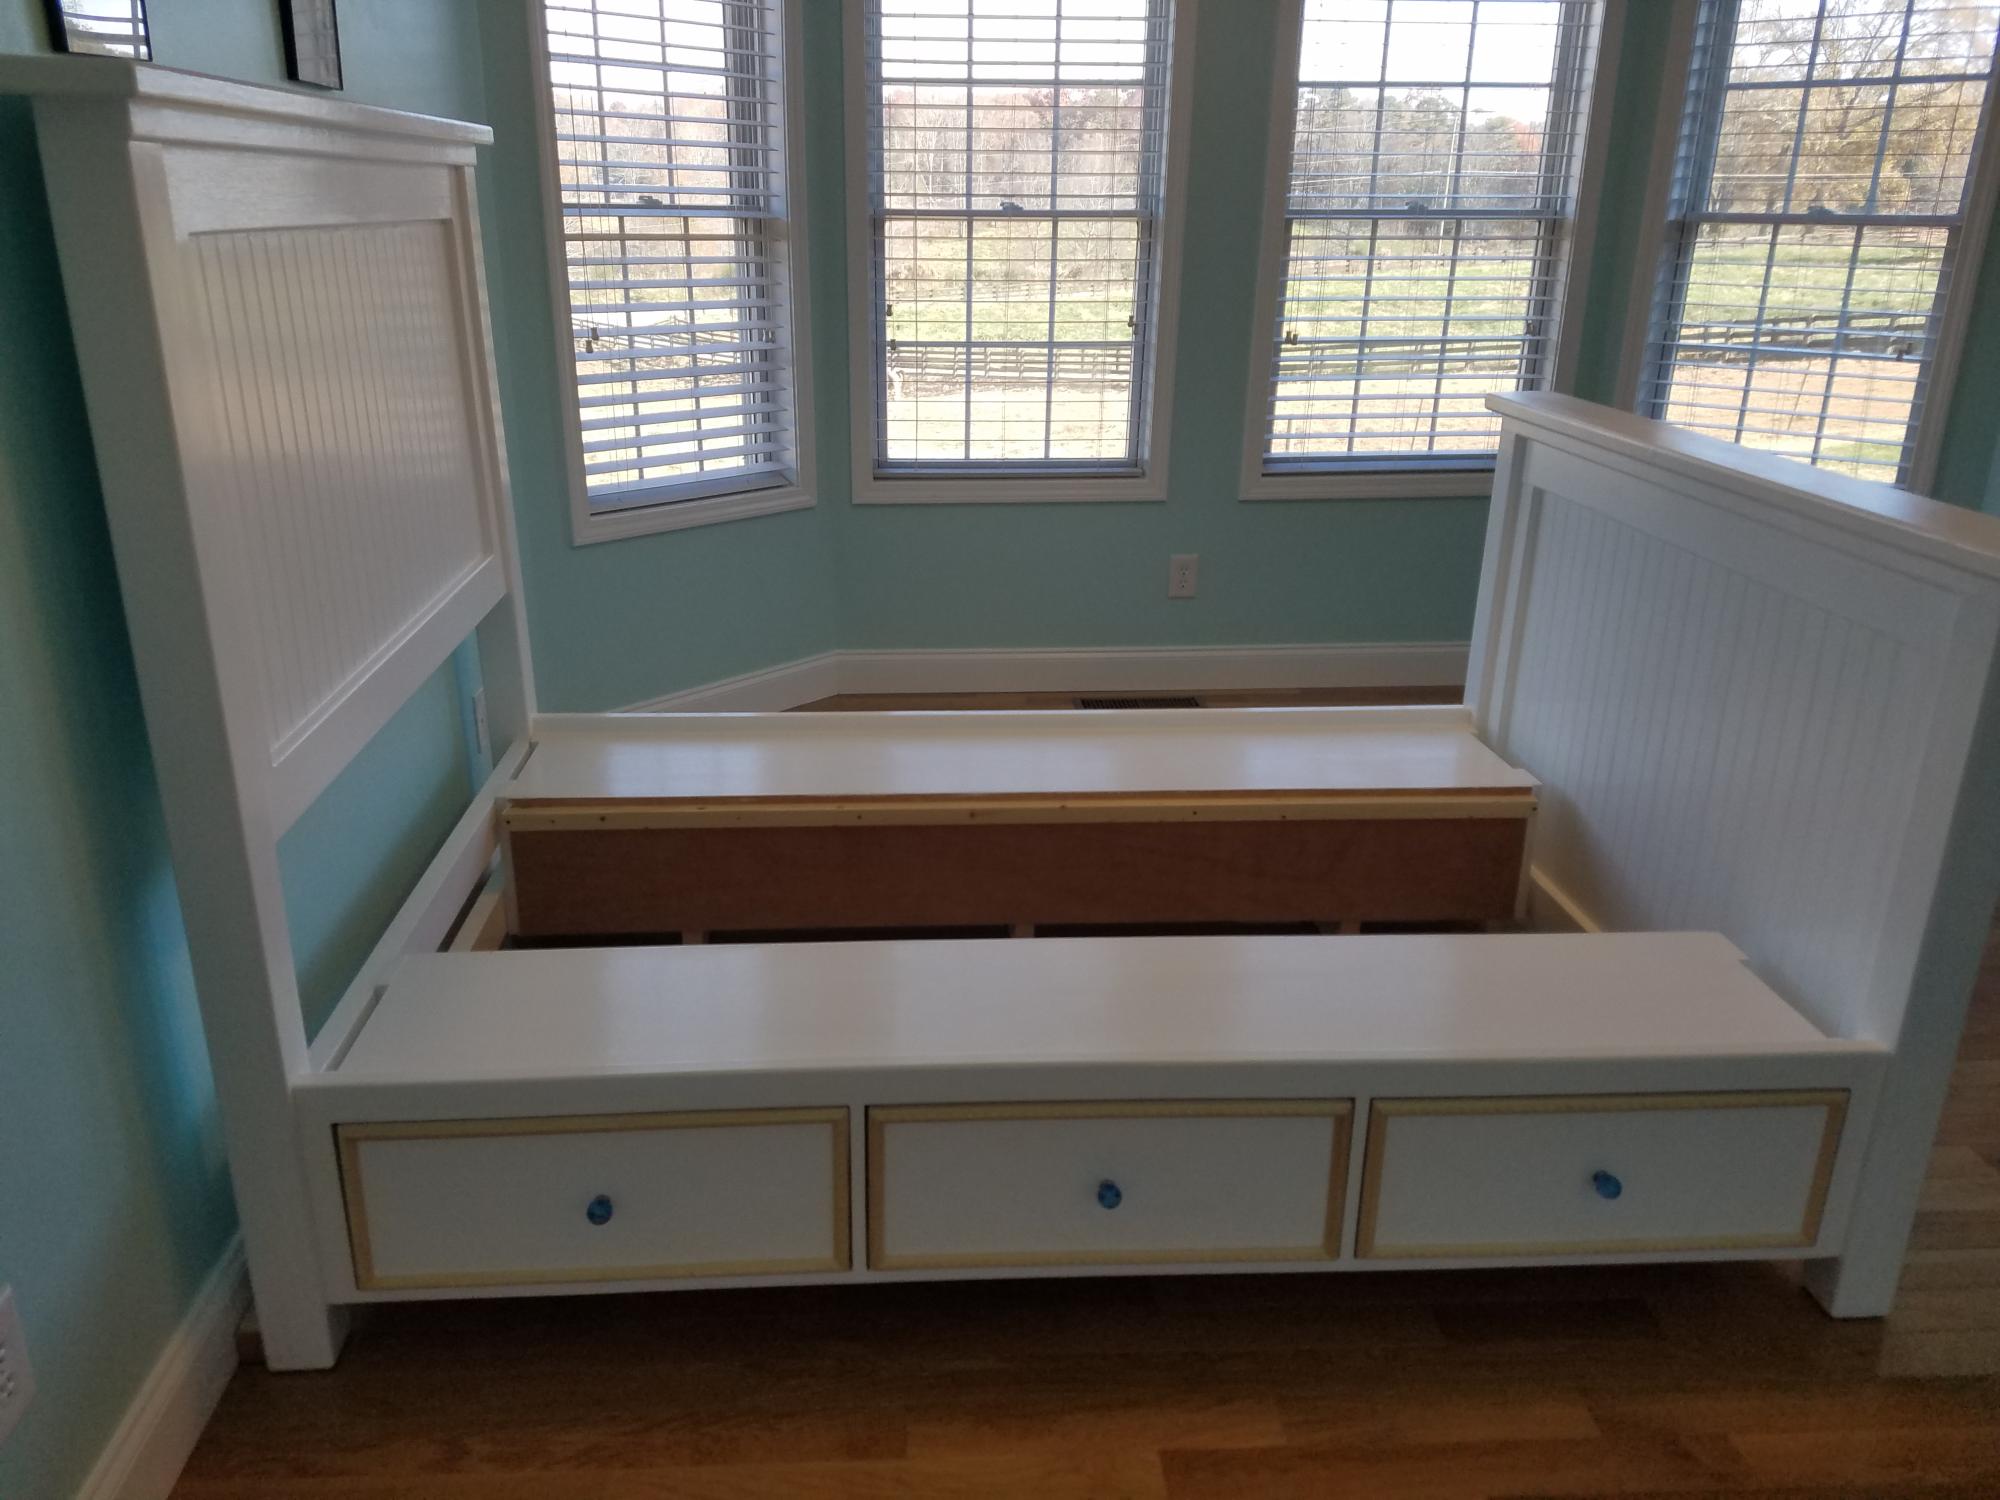
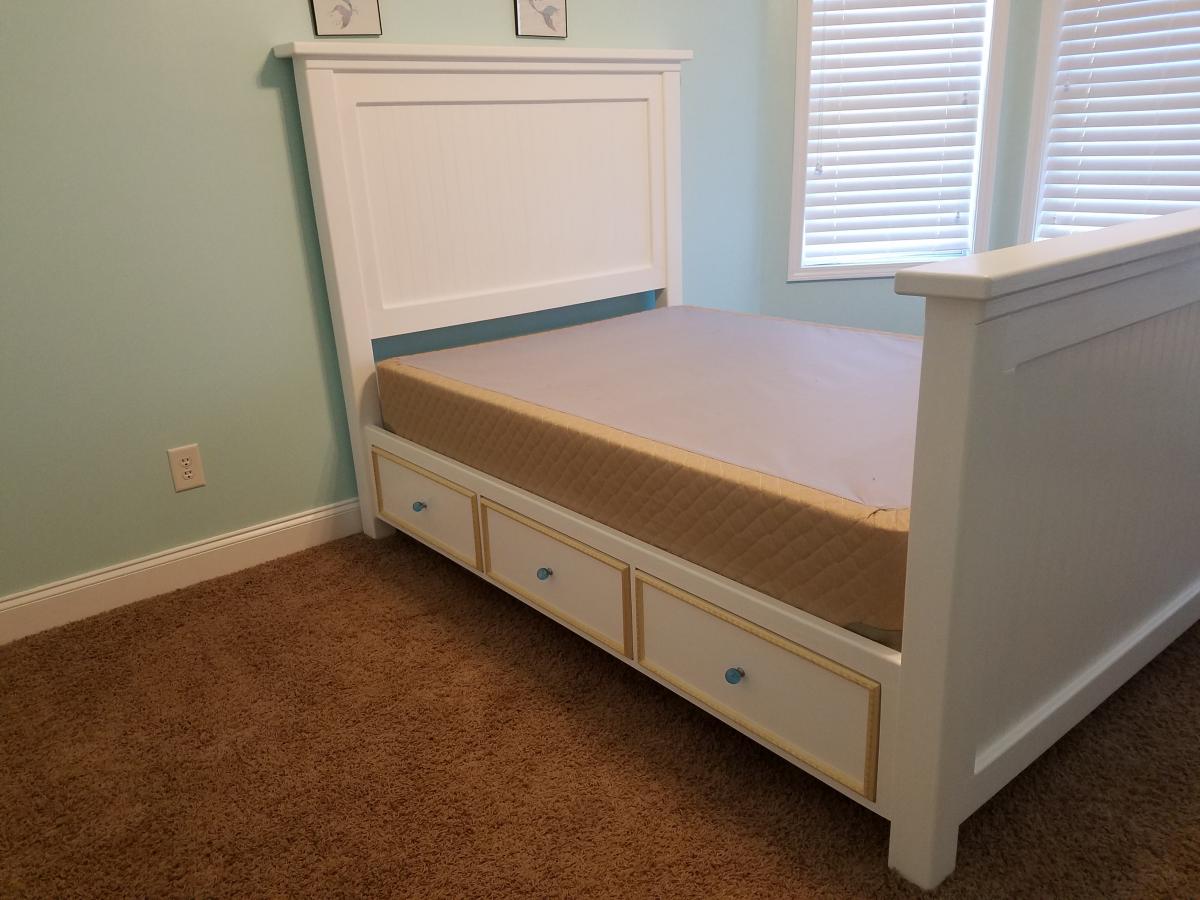
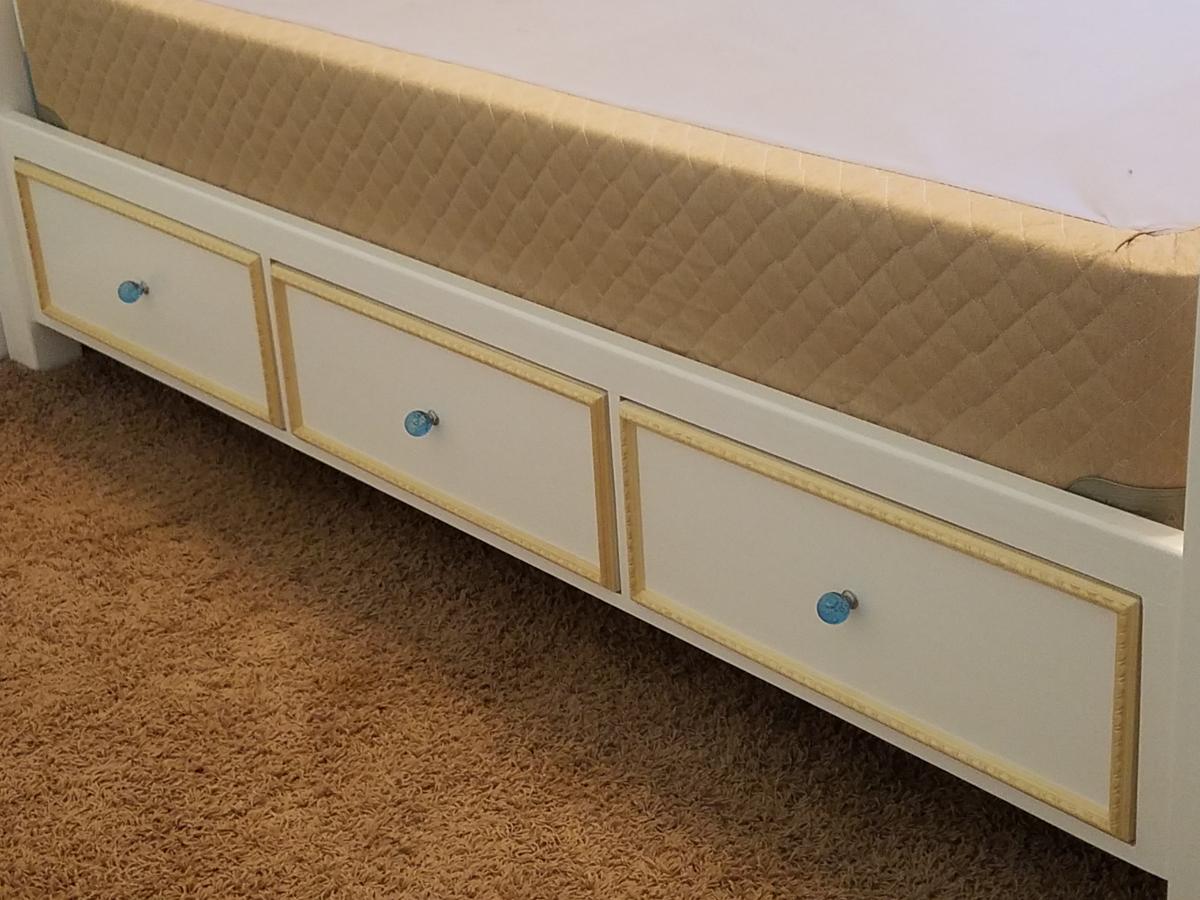
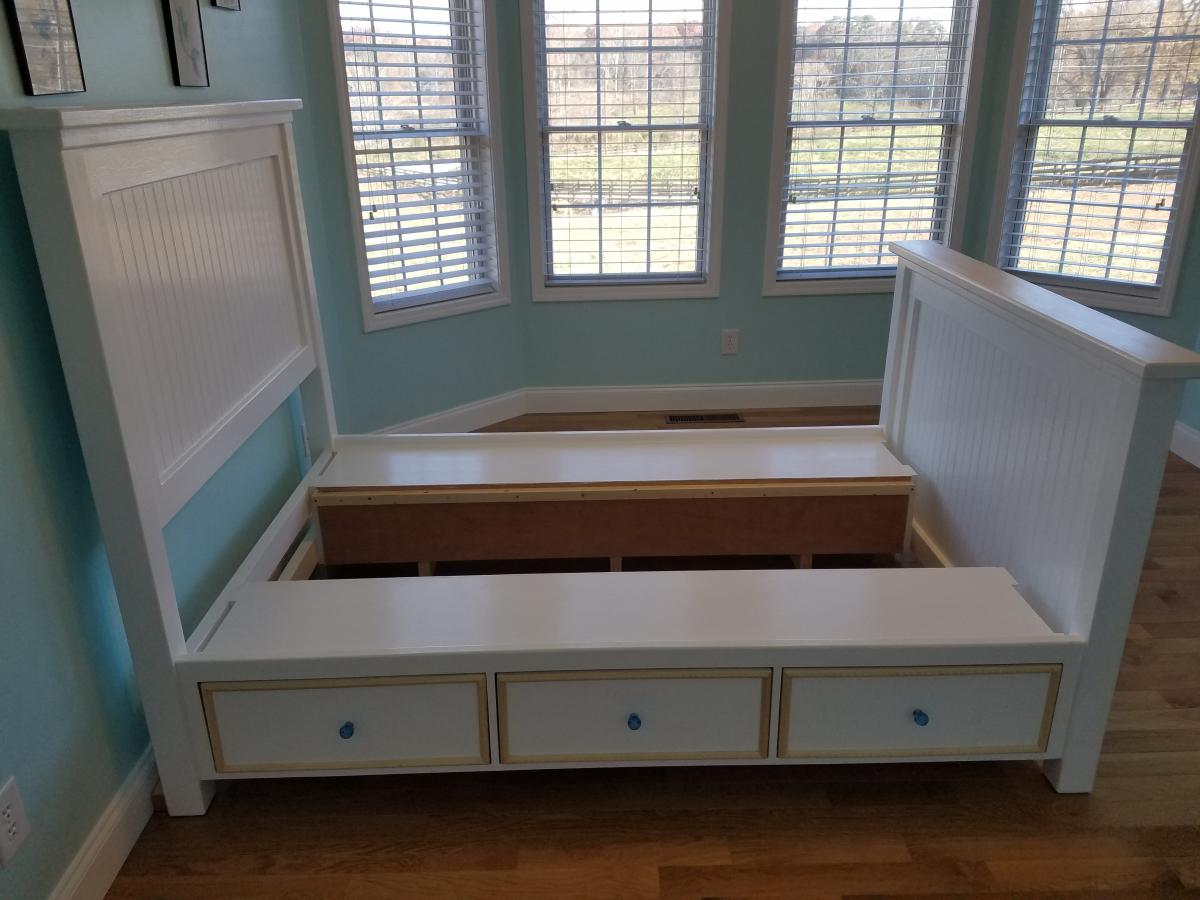
I built two beds one for each of my daughters using the Farm House Storage Bed with Drawers. The plans were very detailed and extremely helpful. I modified the plan to utilize a box spring and mattress set since the girls already had a full mattress set. This was my first piece of furniture to build so it did take a few weeks to complete. I added the trim molding around the drawers to add a little custom work to it. The original plan had the foot board below the mattress and I wanted it to be above the mattress and I extended the boxed to allow foe a comforter to be tucked down the bed. I placed purple knobs and blue knobs on the other bed to give the girls their favorite color to add to the bed. I used a semi gloss Sherwin William's interior paint on the beds to make it easy to clean. The girls love the beds and when we have company over they are amazed how the beds look and most end up taking naps on the beds. I spent $450.00 total per bed, which also included the knobs and the full extension / easy drawer slides.

Comments

Extra Tall Upholstered Bar Stool

Submitted by LinzFritz on Thu, 09/01/2011 - 21:26

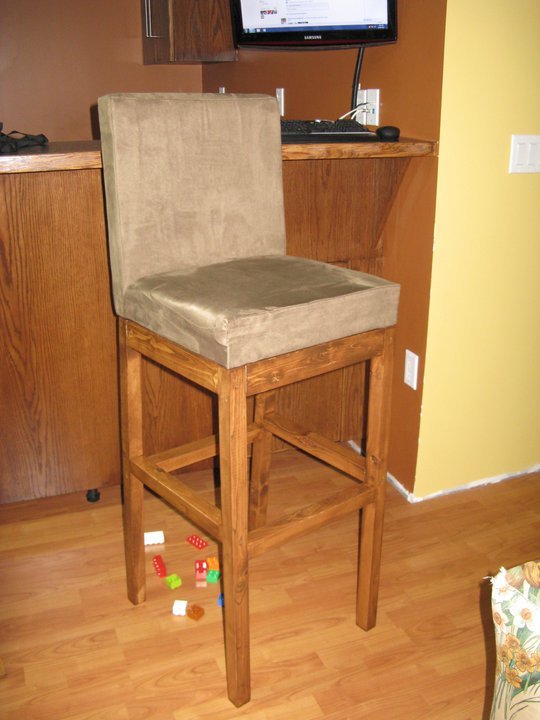
My sister needed an extra tall stool for the bar her husband built, so I adjusted the Parson Chair plans to make them fit. I included the Sketchup model that I used in my blog post.

Estimated Time Investment
Weekend Project (10-20 Hours)
Finish Used
Varathane Stain
Recommended Skill Level
Beginner

Comments

moosmani

Mon, 10/29/2012 - 14:15

I love this! I want to make 3 just like this, after I get a little better at the wood-working stuff!

Best Floating Shelves

Submitted by Anonymous (not verified) on Tue, 11/29/2022 - 11:57

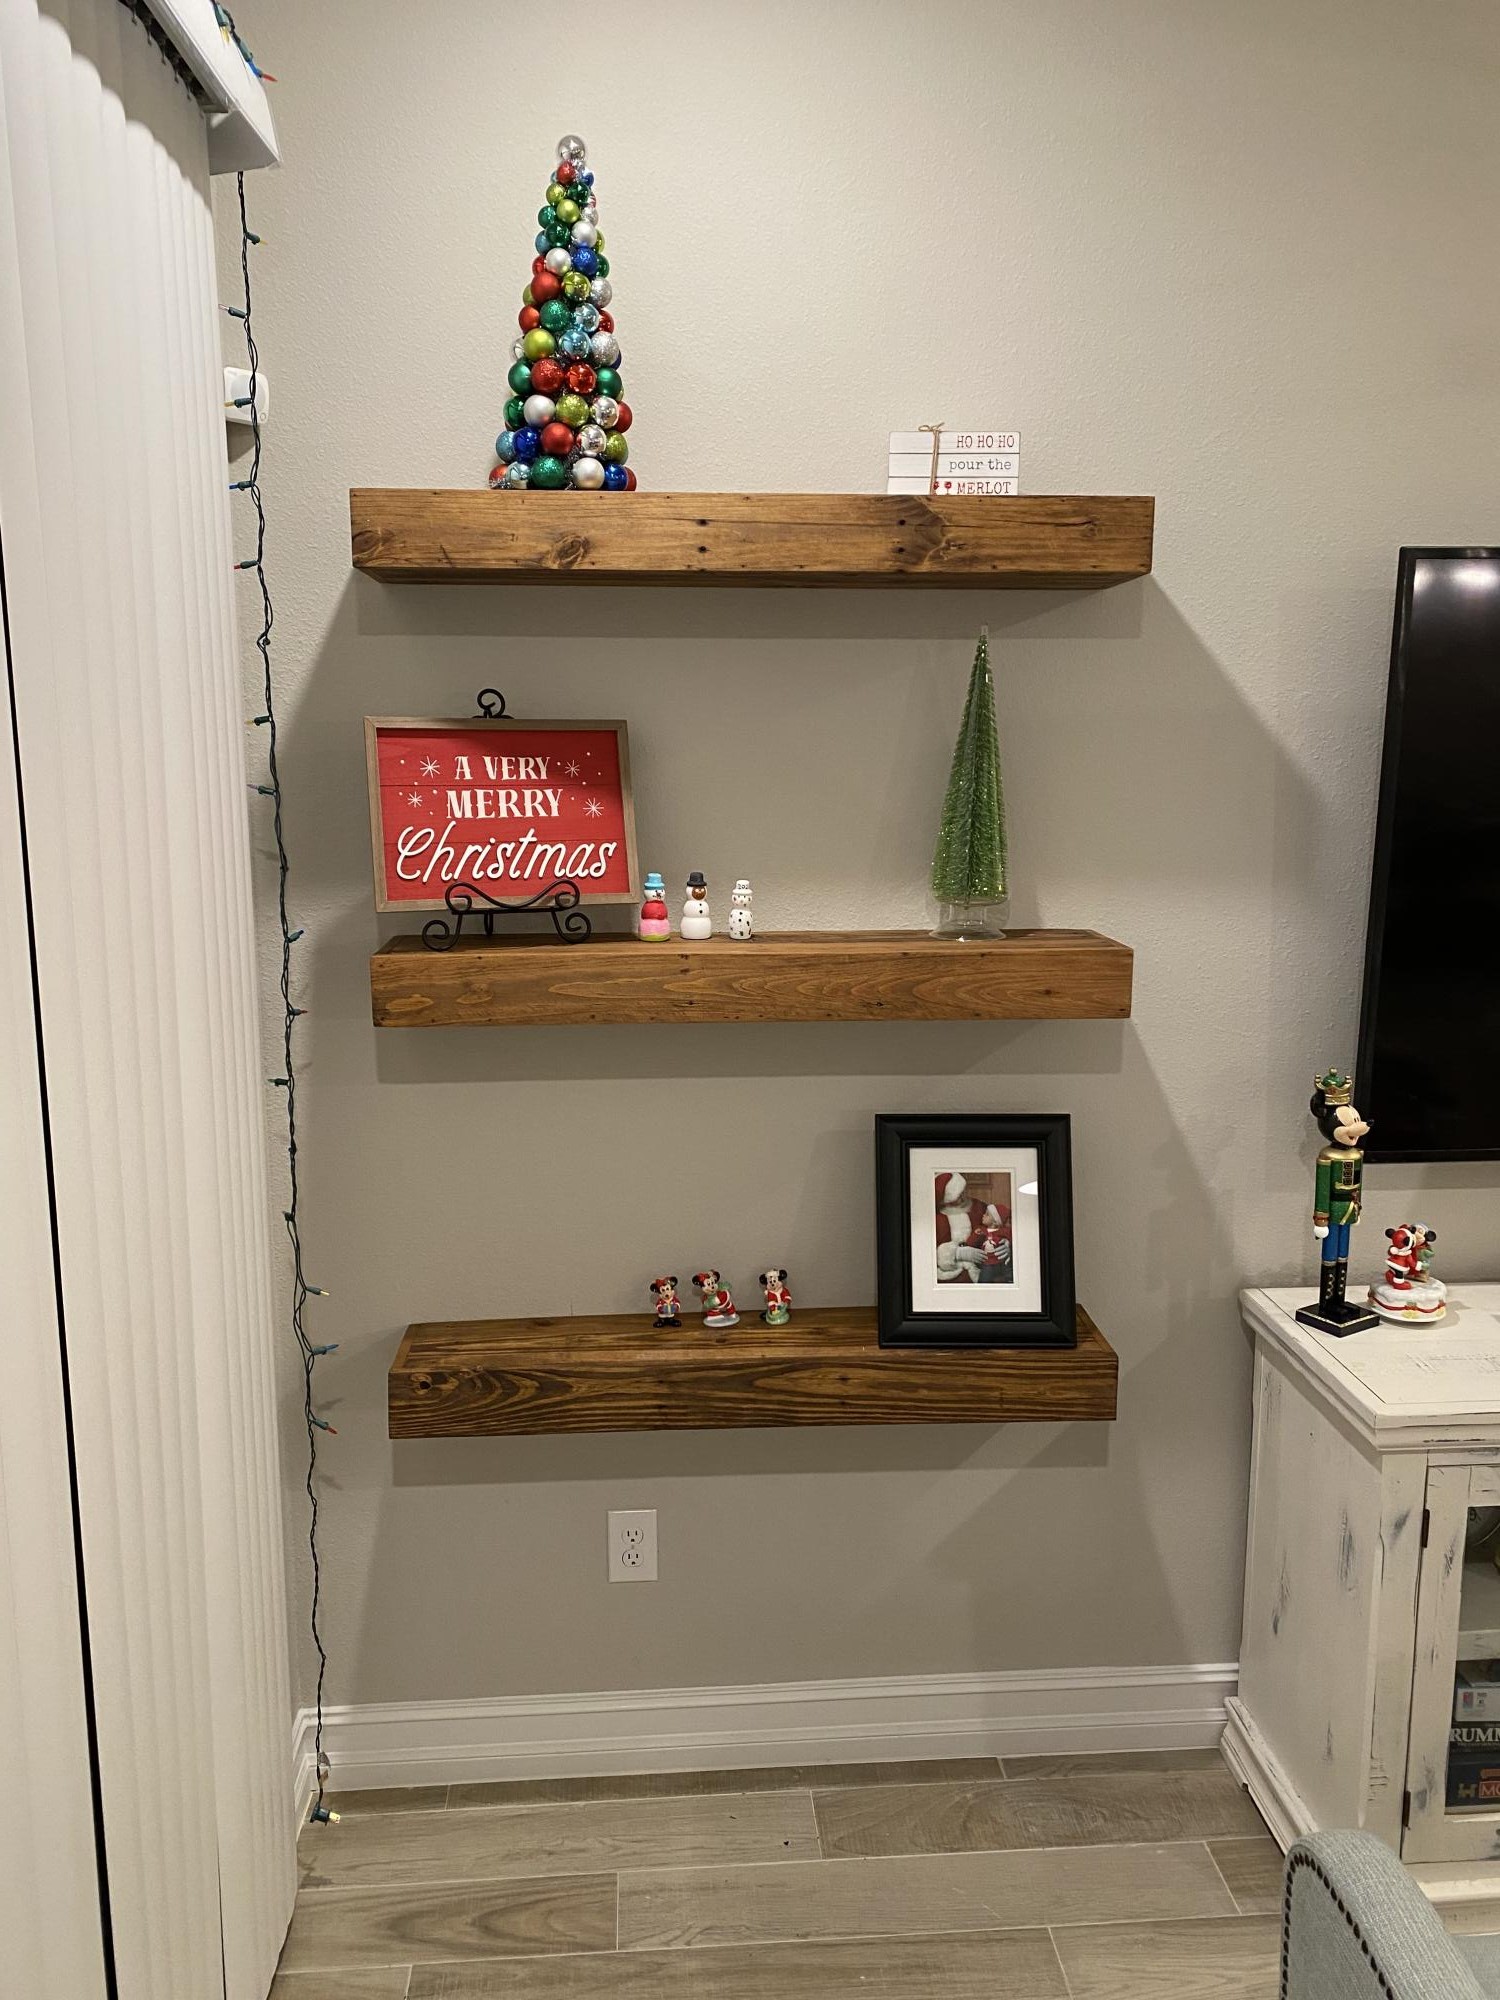
I modified the size slightly and turned an old pallet into three matching floating shelves.

Built from Plan(s)

Comments

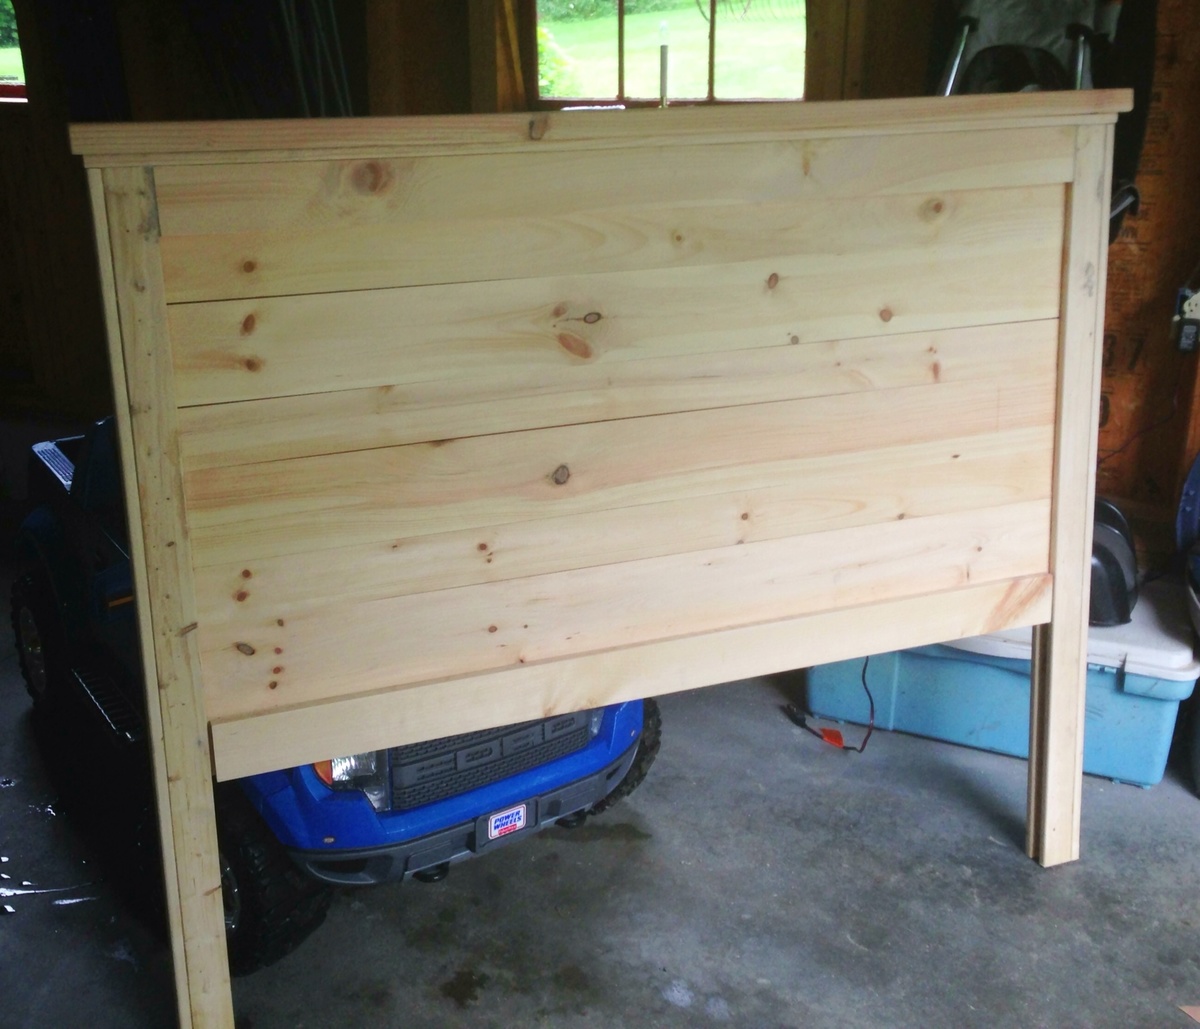
A Pair of Twin Headboards

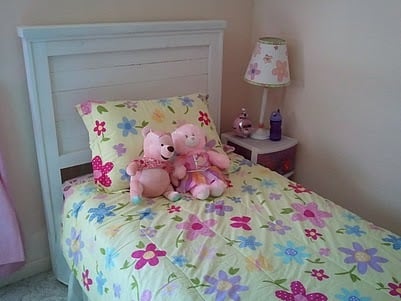
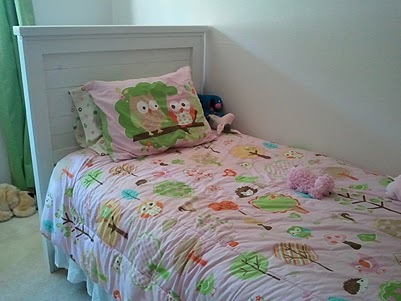
Submitted by ChrisHobbs on Mon, 09/05/2011 - 12:00

I built two of these headboards over Labor Day weekend for my girls.

Estimated Cost
$100 for 2 Headboards
Estimated Time Investment
Afternoon Project (3-6 Hours)
Finish Used
One coat of semi-gloss white paint. Was going to put a second coat on, but wife loked seeing the wood peeking through, so we left it with only one coat.
Recommended Skill Level
Beginner

Comments

denny Shortt (not verified)

Mon, 11/26/2012 - 21:46

Your mattress look a little low be careful that your girls do not get their heads stuck between the top of mattress and bottom of headboard

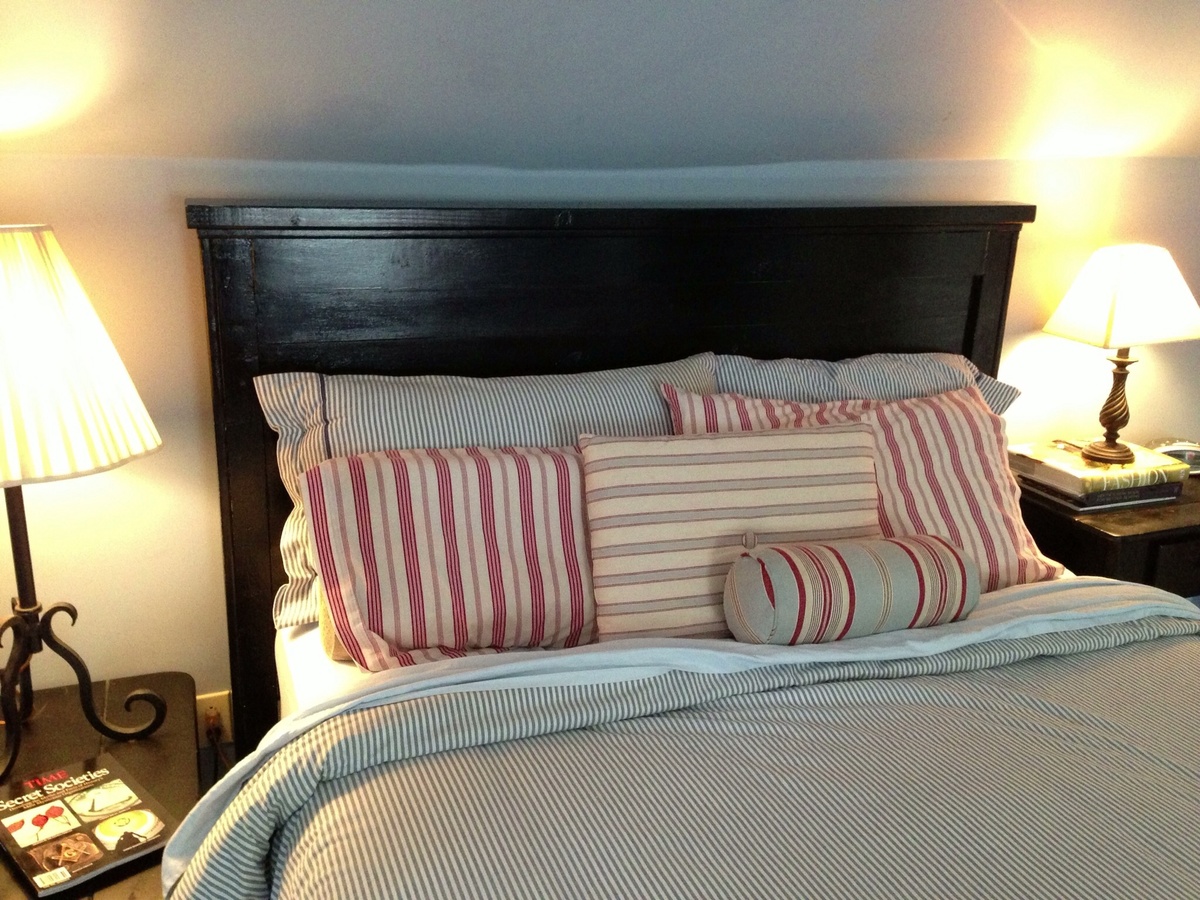
My first project - headboard

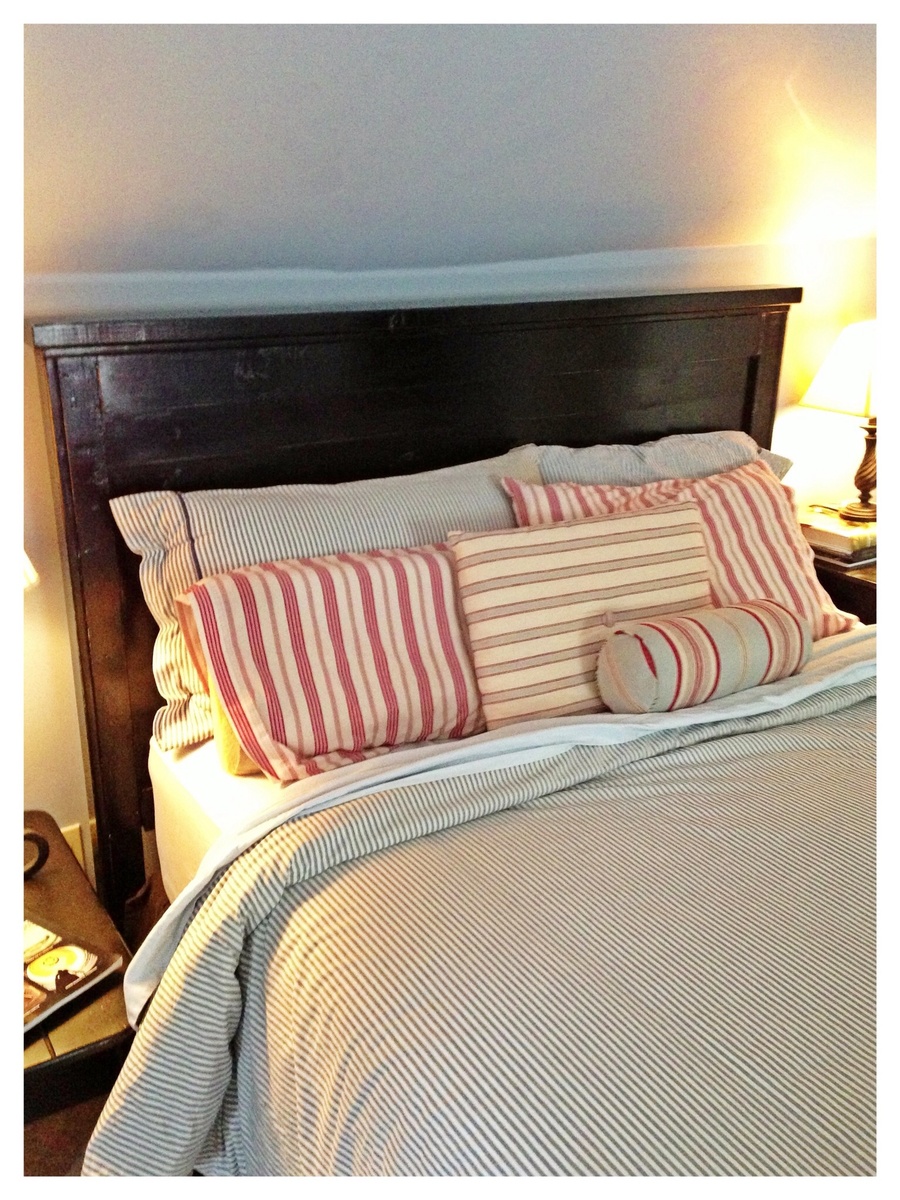
After looking through the Handbuilt Home longingly many times, I took the plunge with this simple headboard. I've never built anything from wood, but my main hobby is sewing so I'm good at following directions. I followed the plans exactly and I love how this came out! I used a nailer and glue for all the construction. I recommend this project for beginners! I chose to paint my headboard black to blend with my other furniture.
Now I'm already onto my next project, with a Kreg Jig in hand, the modern craft table from Ana's book. Thank you, Ana for sharing your plans and inspiring people to try building! I feel my skills and confidence increasing with each project!

Estimated Cost
$60
Estimated Time Investment
Day Project (6-9 Hours)
Finish Used
Black paint with a coat of polyurethane.
Recommended Skill Level
Starter Project

Comments

mom of 4

Wed, 09/25/2013 - 11:06

I've got the wood in my garage, marked for cutting this project out! Yours looks fantastic. You will love your Kreg Jig! It's one of my all-time favorite tools.

Rustic-Xless Coffee Table

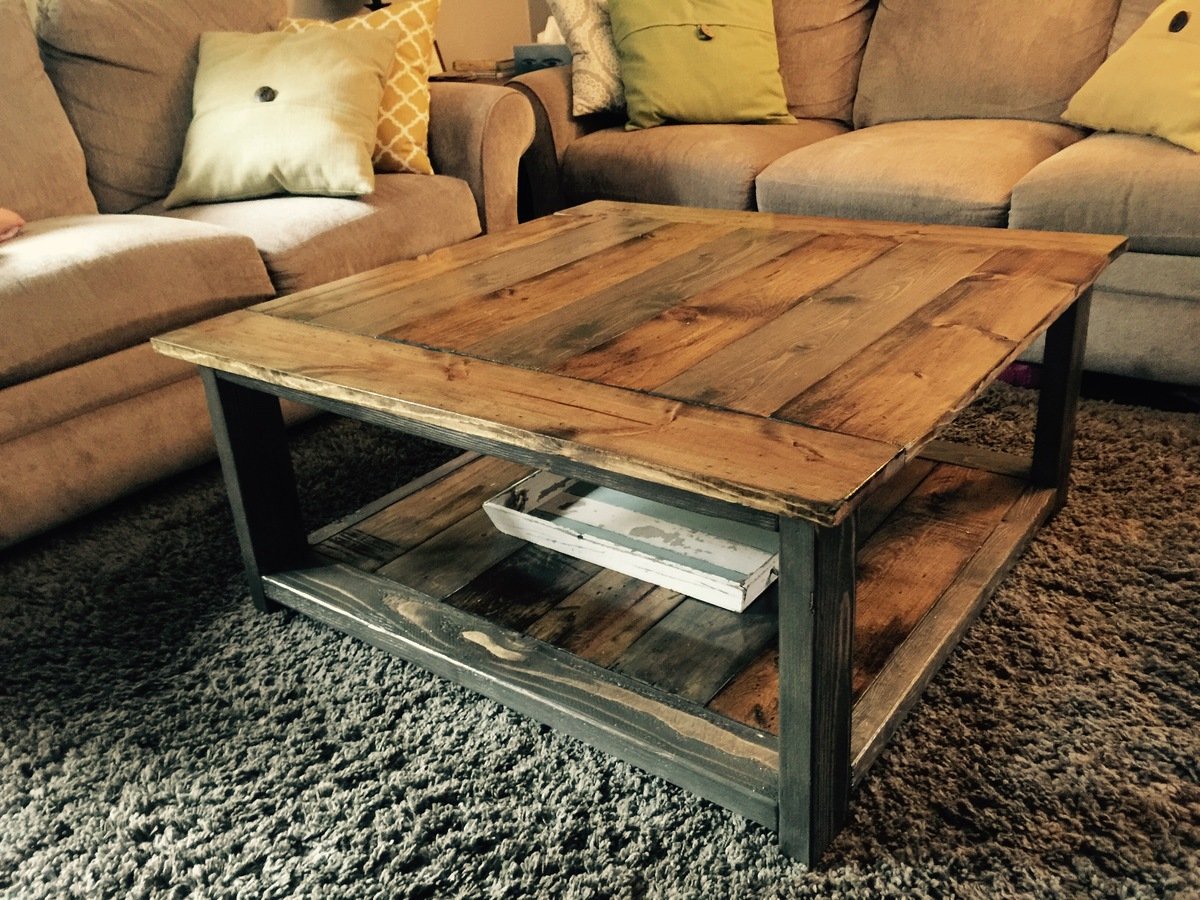
Submitted by wthalin on Mon, 12/07/2015 - 10:55

I used the Rustic X Coffee Table plans to create this table and changed the dimensions to make the table square for better accommodation in our living room since we have 2 full size sofas instead of the standard sofa/loveseat combo. I still need to add the actual X's and will add an updated picture when I finish those.

Built from Plan(s)
Estimated Cost
$50-$80
Estimated Time Investment
Weekend Project (10-20 Hours)
Finish Used
Base Stain - Minwax Dark Walnut
2nd Stain on some areas - Varathane Weathered Gray
Polyurethane - Minwax Gloss Poly on tabletop and bottom shelf - 4 coats added and sanded all the way up to 6000 grit. Polished with Maguire's Polishing Compound and Carnuba Wax for mirror finish.
PolyWhey - Vermont Natural Coatings Satin Poly on table base
Recommended Skill Level
Intermediate

Comments

Hidden slid top addition.

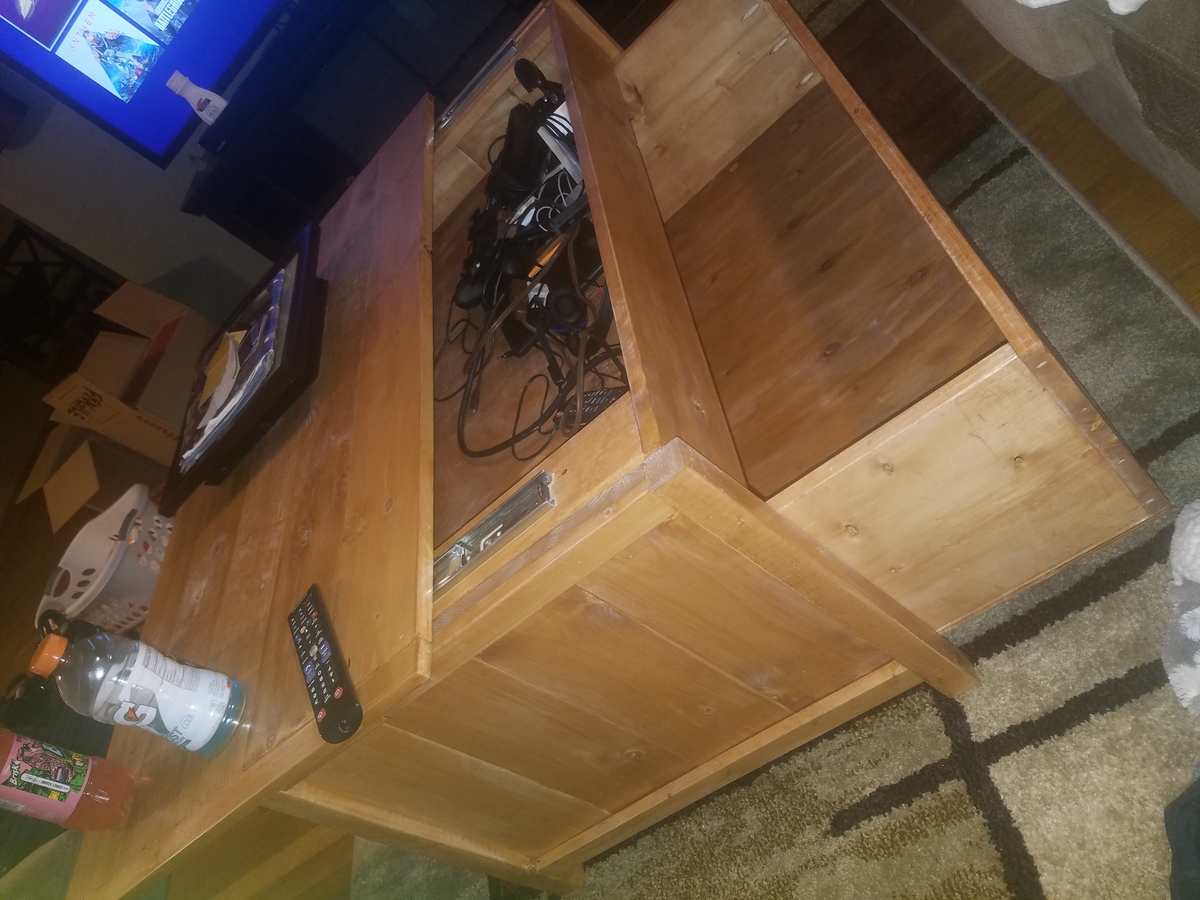
Submitted by Anonymous (not verified) on Sun, 01/27/2019 - 19:15

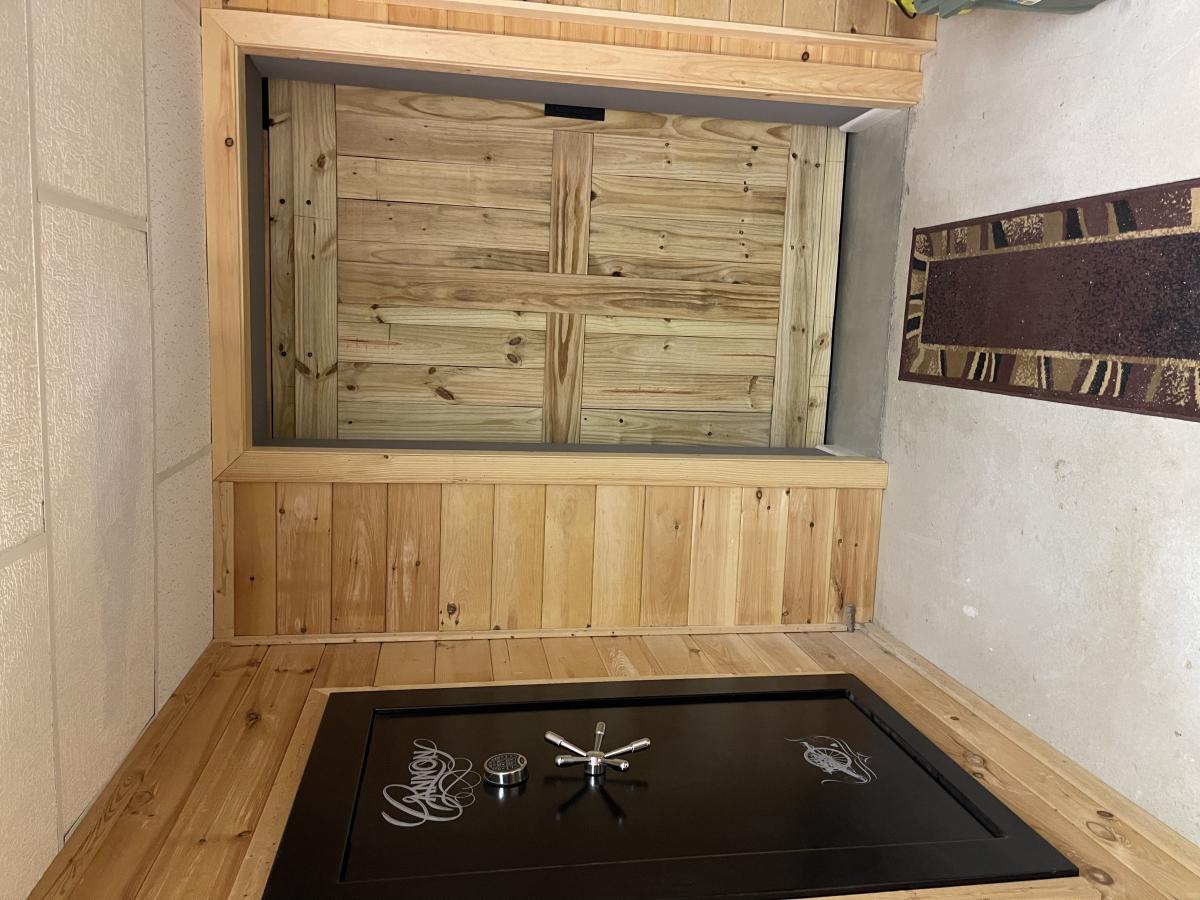
I wanted a add a safe spot to hide all my gaming controllers and remotes from my 1 1/2 yr old nephew. It was pretty simple and I got the idea from tactical designs. They make hidden storage! If you cant tell it is still dusty from sanding! Best wipe it off!

Estimated Cost
120
Estimated Time Investment
Week Long Project (20 Hours or More)
Finish Used
Ipswich pine with polyurethane top coat.
Recommended Skill Level
Beginner