Community Brag Posts
Storage/Toy Box

Storage box made from left over 1 by 4 and plywood from recent projects and a top I made for another cabinet but didn't use. All I bought was two 1 by 4s for the top trim and the hinges.


Built from Plan(s)
Estimated Time Investment
Day Project (6-9 Hours)
Finish Used
White satin paint and Sherwin Williams Foggy Day gray paint for top.
Recommended Skill Level
Beginner
Rustic tables
My first build! Didn't want the X's so I put a straight piece on each end.
Built from Plan(s)
Small Farm Table
This was my first time building furniture. I've restored and refurbished antique furniture for years and but never imagined building my own before. I have a small kitchen and had to modify the size to accommodate area space. I also added breadboard ends to the tabletop. I am now planning to build more furniture using your plans. Thank you Ana White for providing such a wonderful resource to help beginners build their own furniture!
Built from Plan(s)
Comments
Fri, 09/22/2023 - 08:01
Great First Build!!!
WOW, you did such a great job! Love the finish choice and added breadboard ends. Thanks for sharing:)
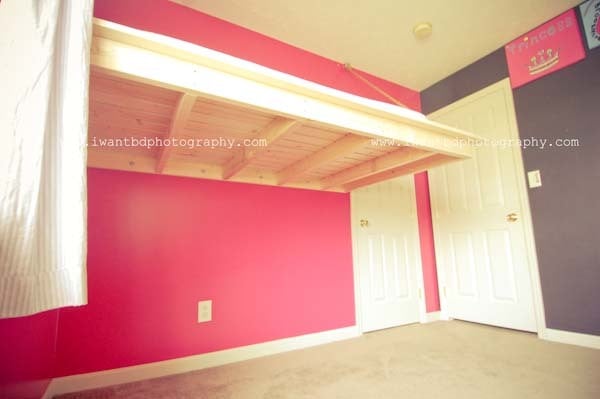
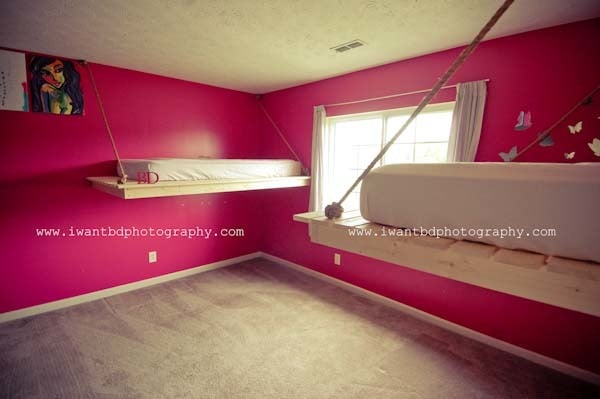
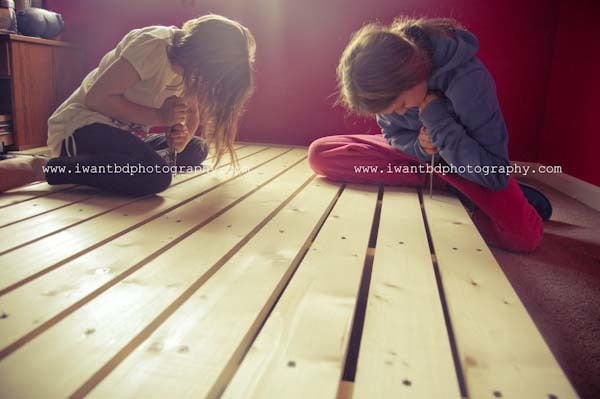
easiest daybed turned floating twin beds
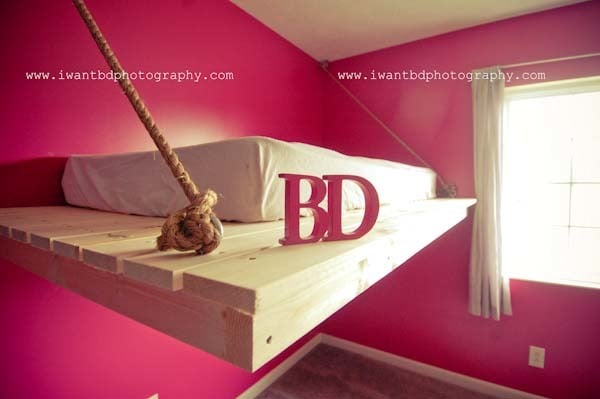
we love ana's plans, and we love the way this one was executed by the bumper crop. check out more pics of our girl version and how we did it at http://www.iwantbdphotography.com/archives/2661
Built from Plan(s)
Estimated Cost
$90 each
Estimated Time Investment
Weekend Project (10-20 Hours)
Finish Used
none :) gutsy for a kid's room. not sure how they will hold up, but we just love the raw unfinished look
Recommended Skill Level
Intermediate
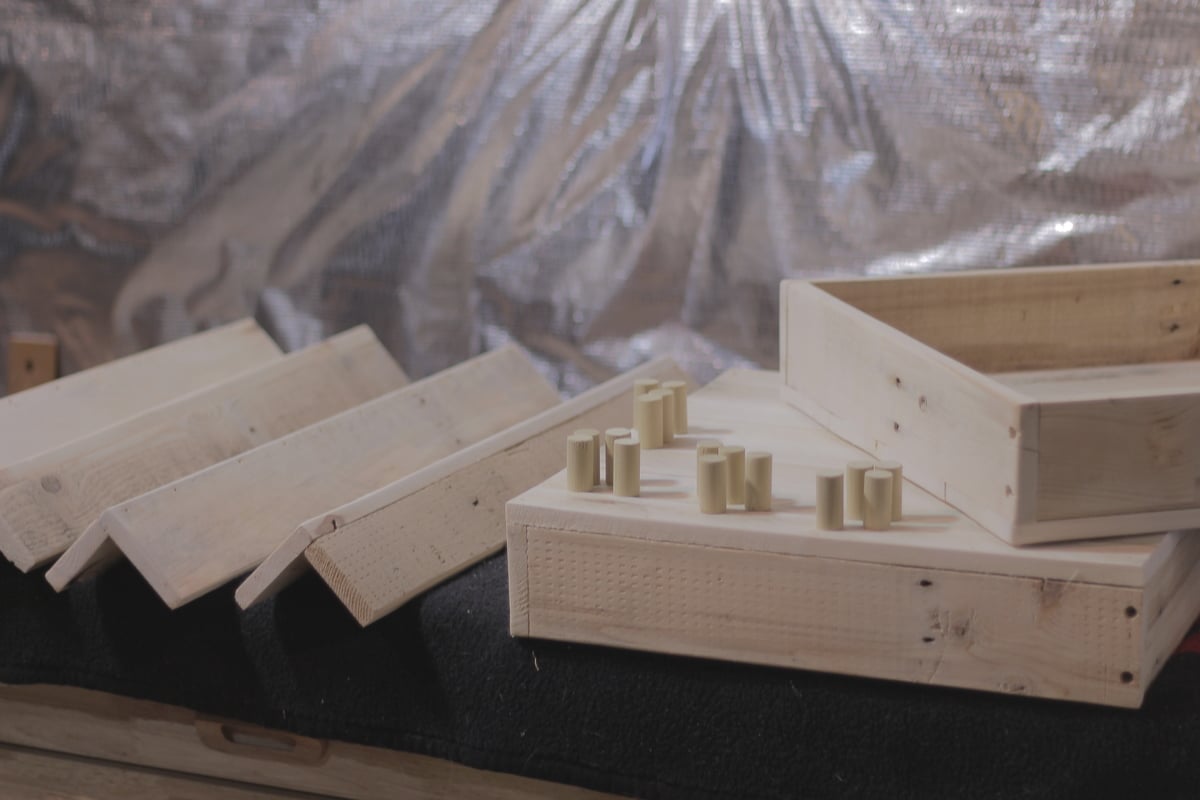
End table made from pallets (plans included)
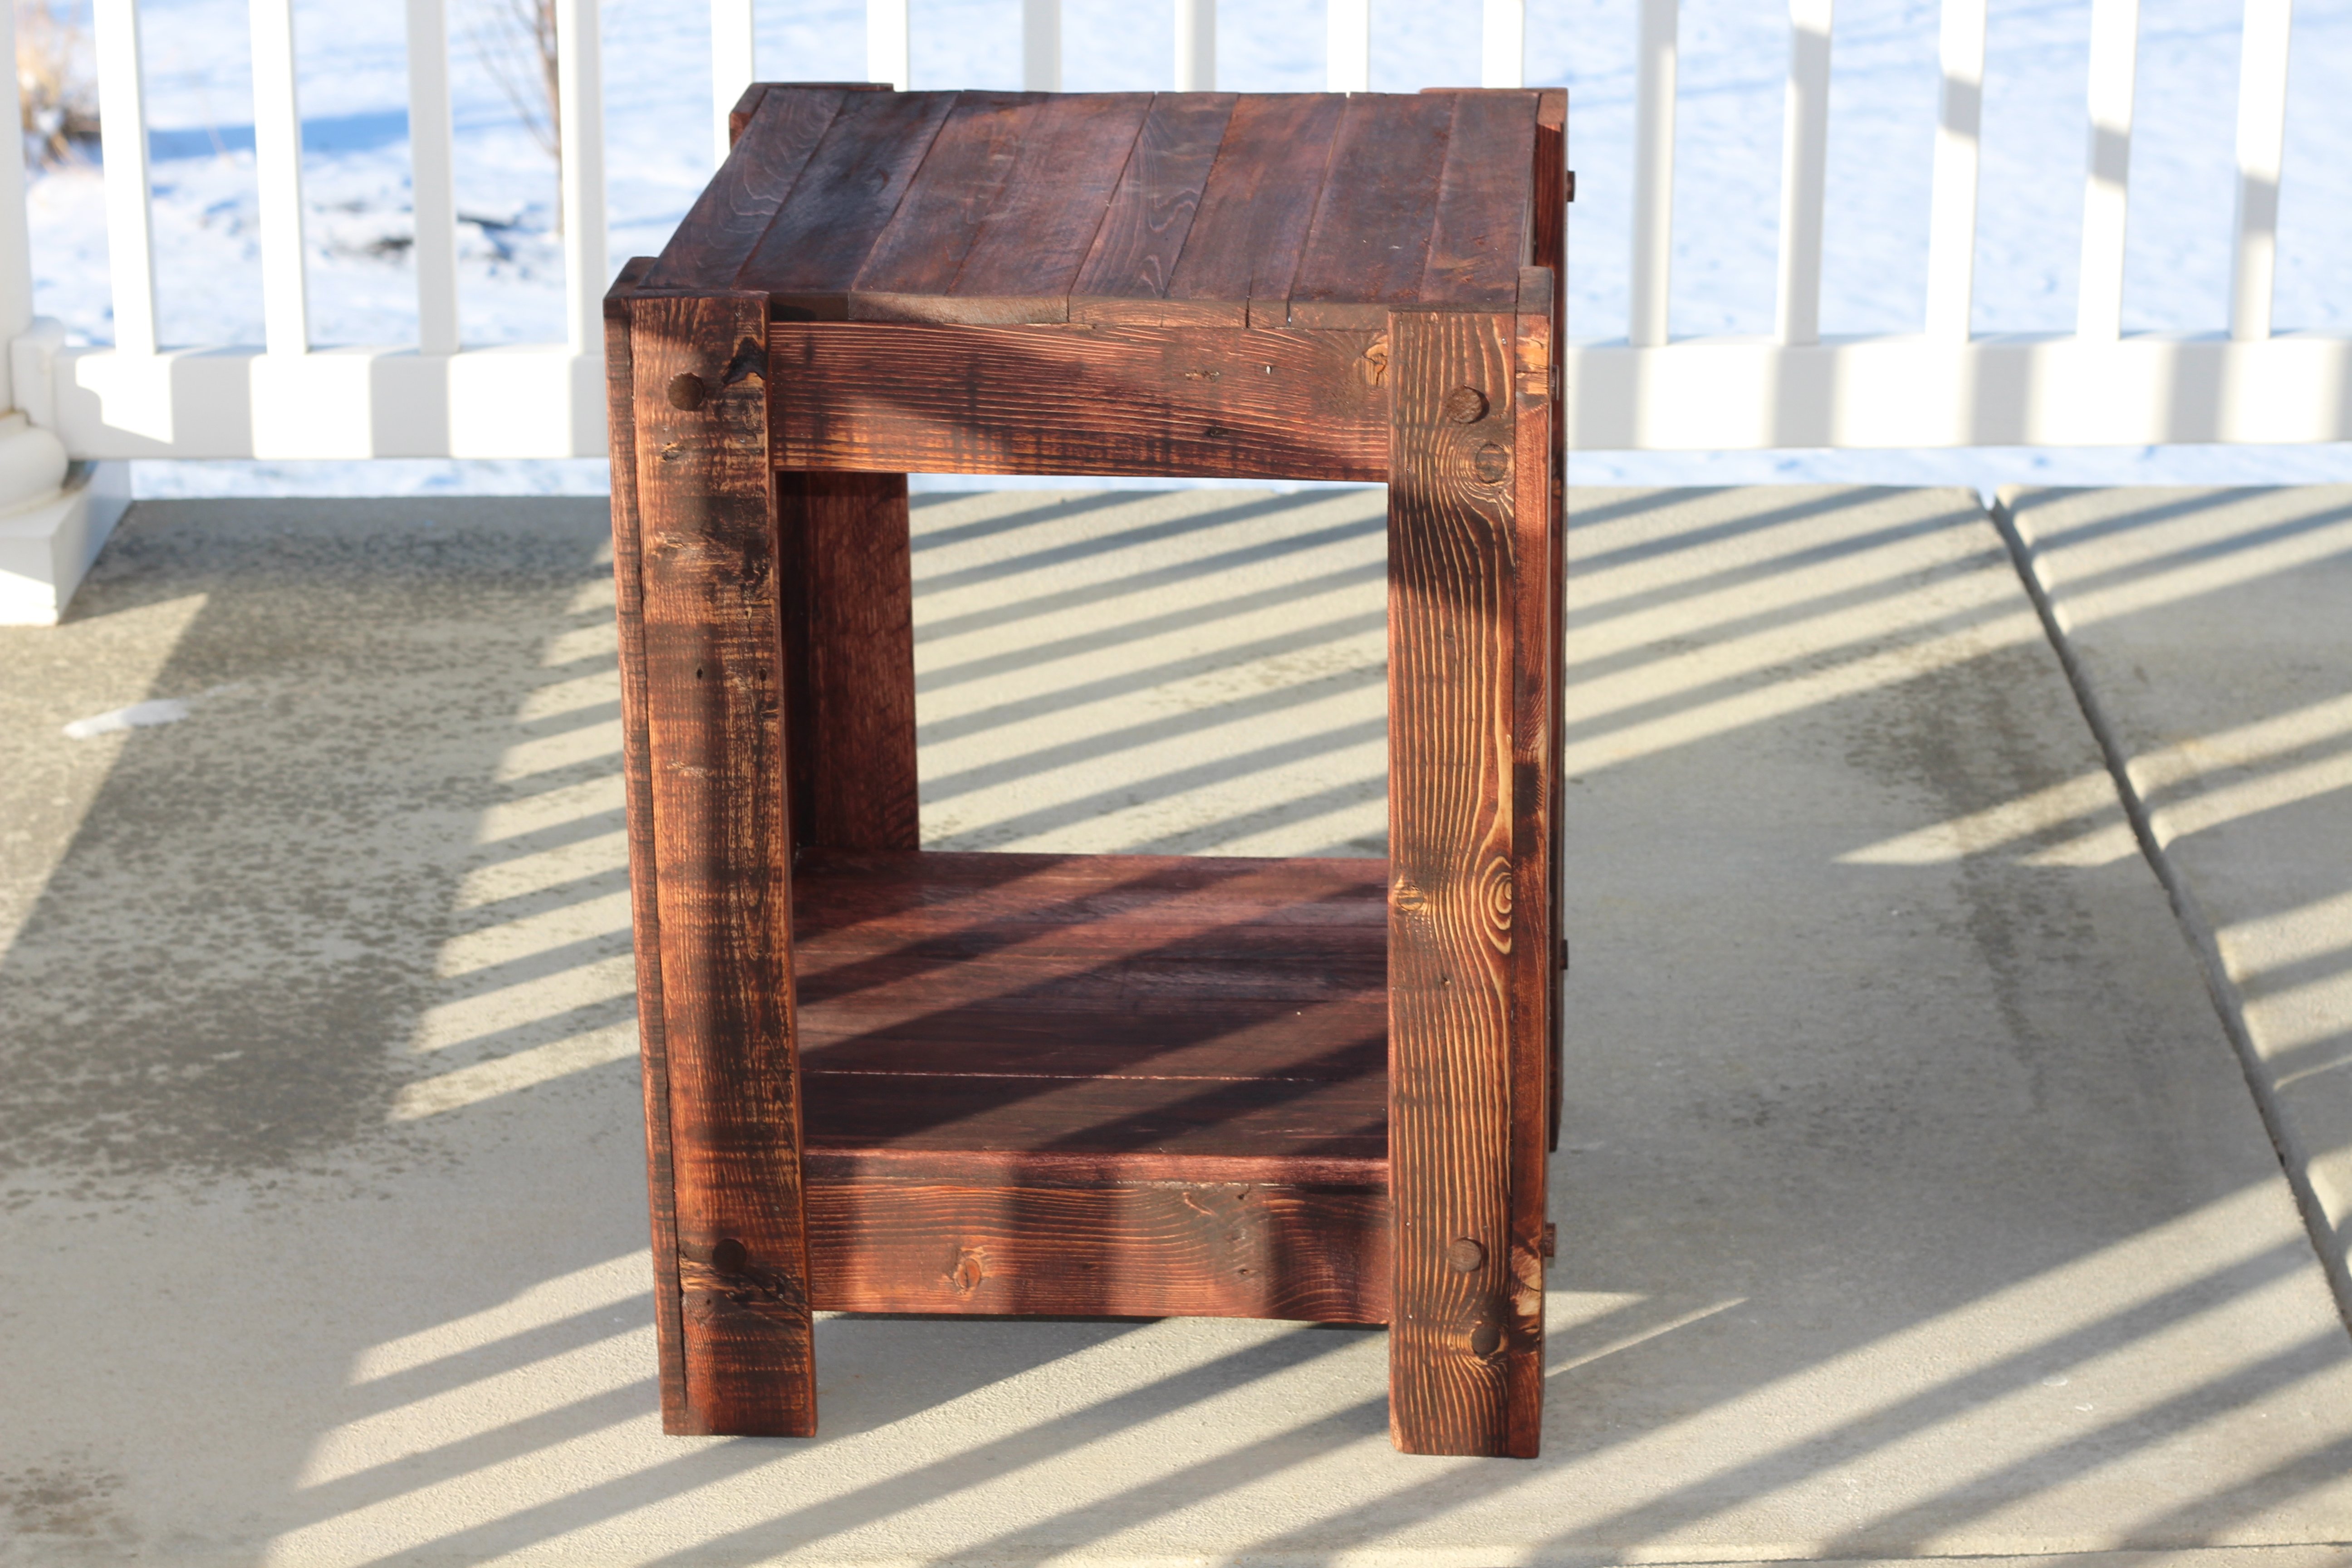
Building an outside side table out of scrap pallets.
Video of the build:
https://www.youtube.com/watch?v=kVAYXVGiL_8
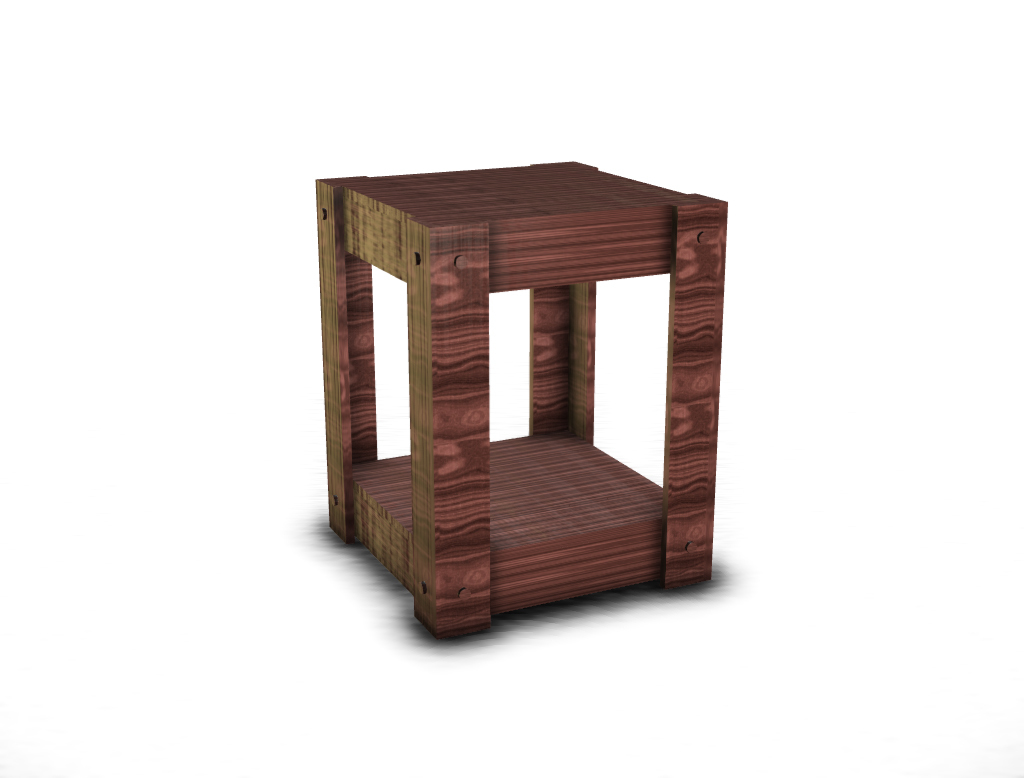
Drawing File
https://googledrive.com/host/0B21TbB8gGNQbX2dlNGdxR0NuOE0/end_table.pdf
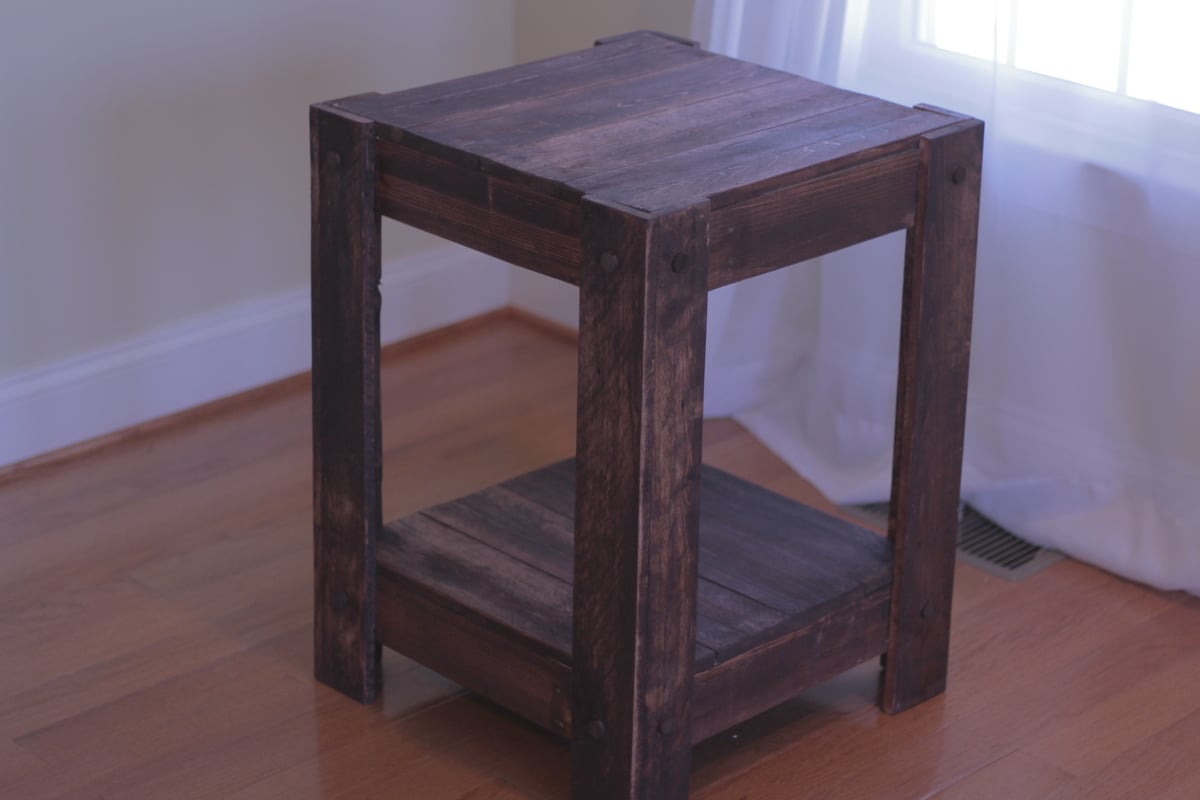
Estimated Cost
$5 for stain and nails - free pallets
Estimated Time Investment
Day Project (6-9 Hours)
Finish Used
Red Oak
Recommended Skill Level
Starter Project
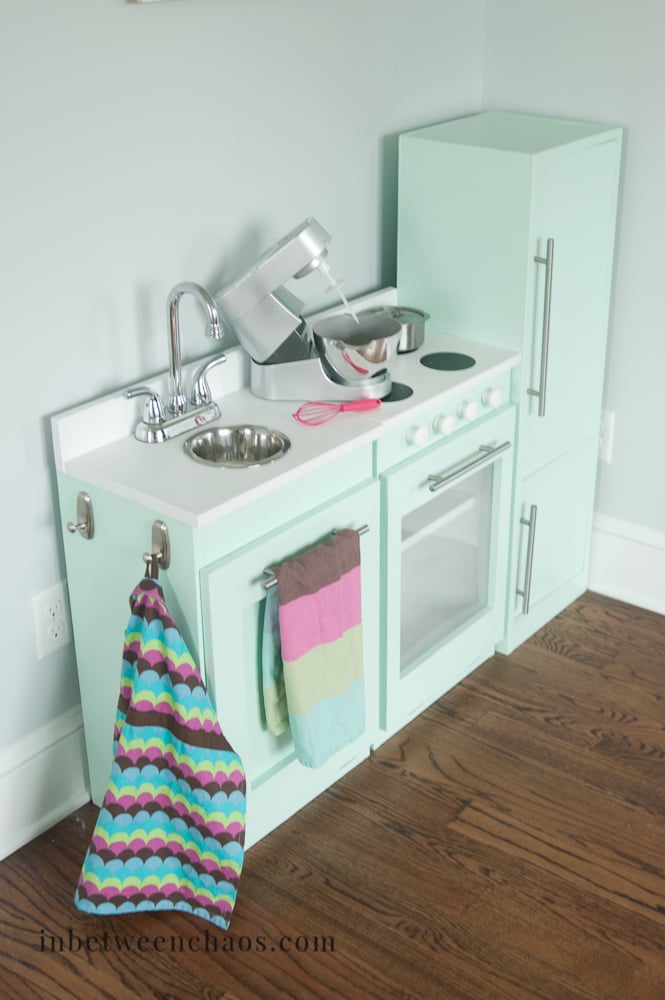
Modular Play Kitchen
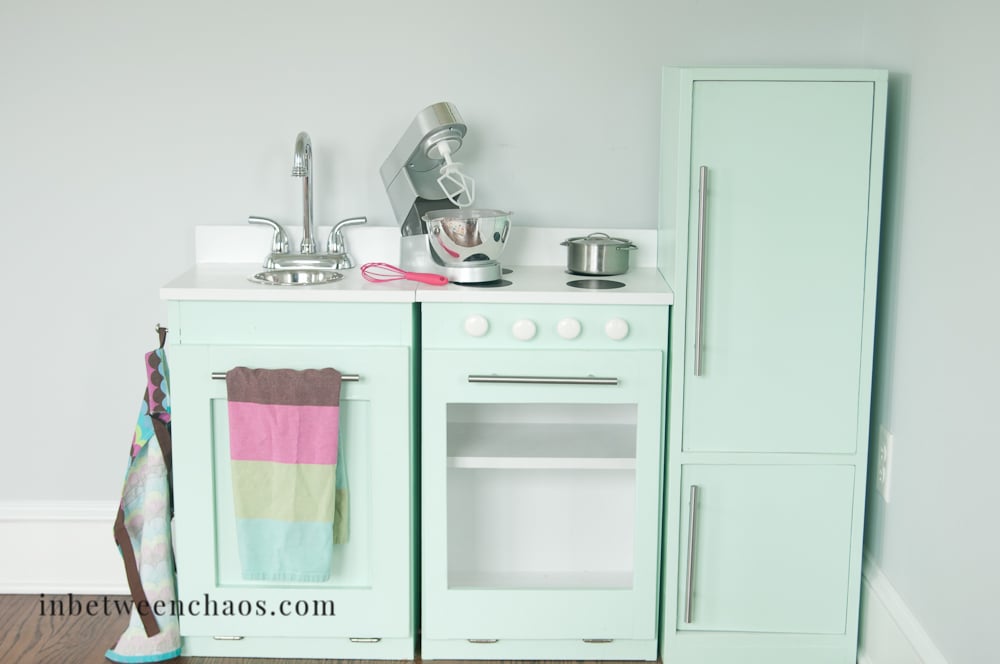
I made this for my 3 kids for Christmas and I'm so glad I did! They have gotten so much use out of it and love to move it around to set up different "houses" and restuarants. Thanks so much for these plans! I made the pieces a little taller, and use the play stove as the sink base too so that it could double as a dishwasher :)
Built from Plan(s)
Estimated Time Investment
Weekend Project (10-20 Hours)
Finish Used
Color Bay by Pantone
Recommended Skill Level
Beginner
Rustic X Coffee Table
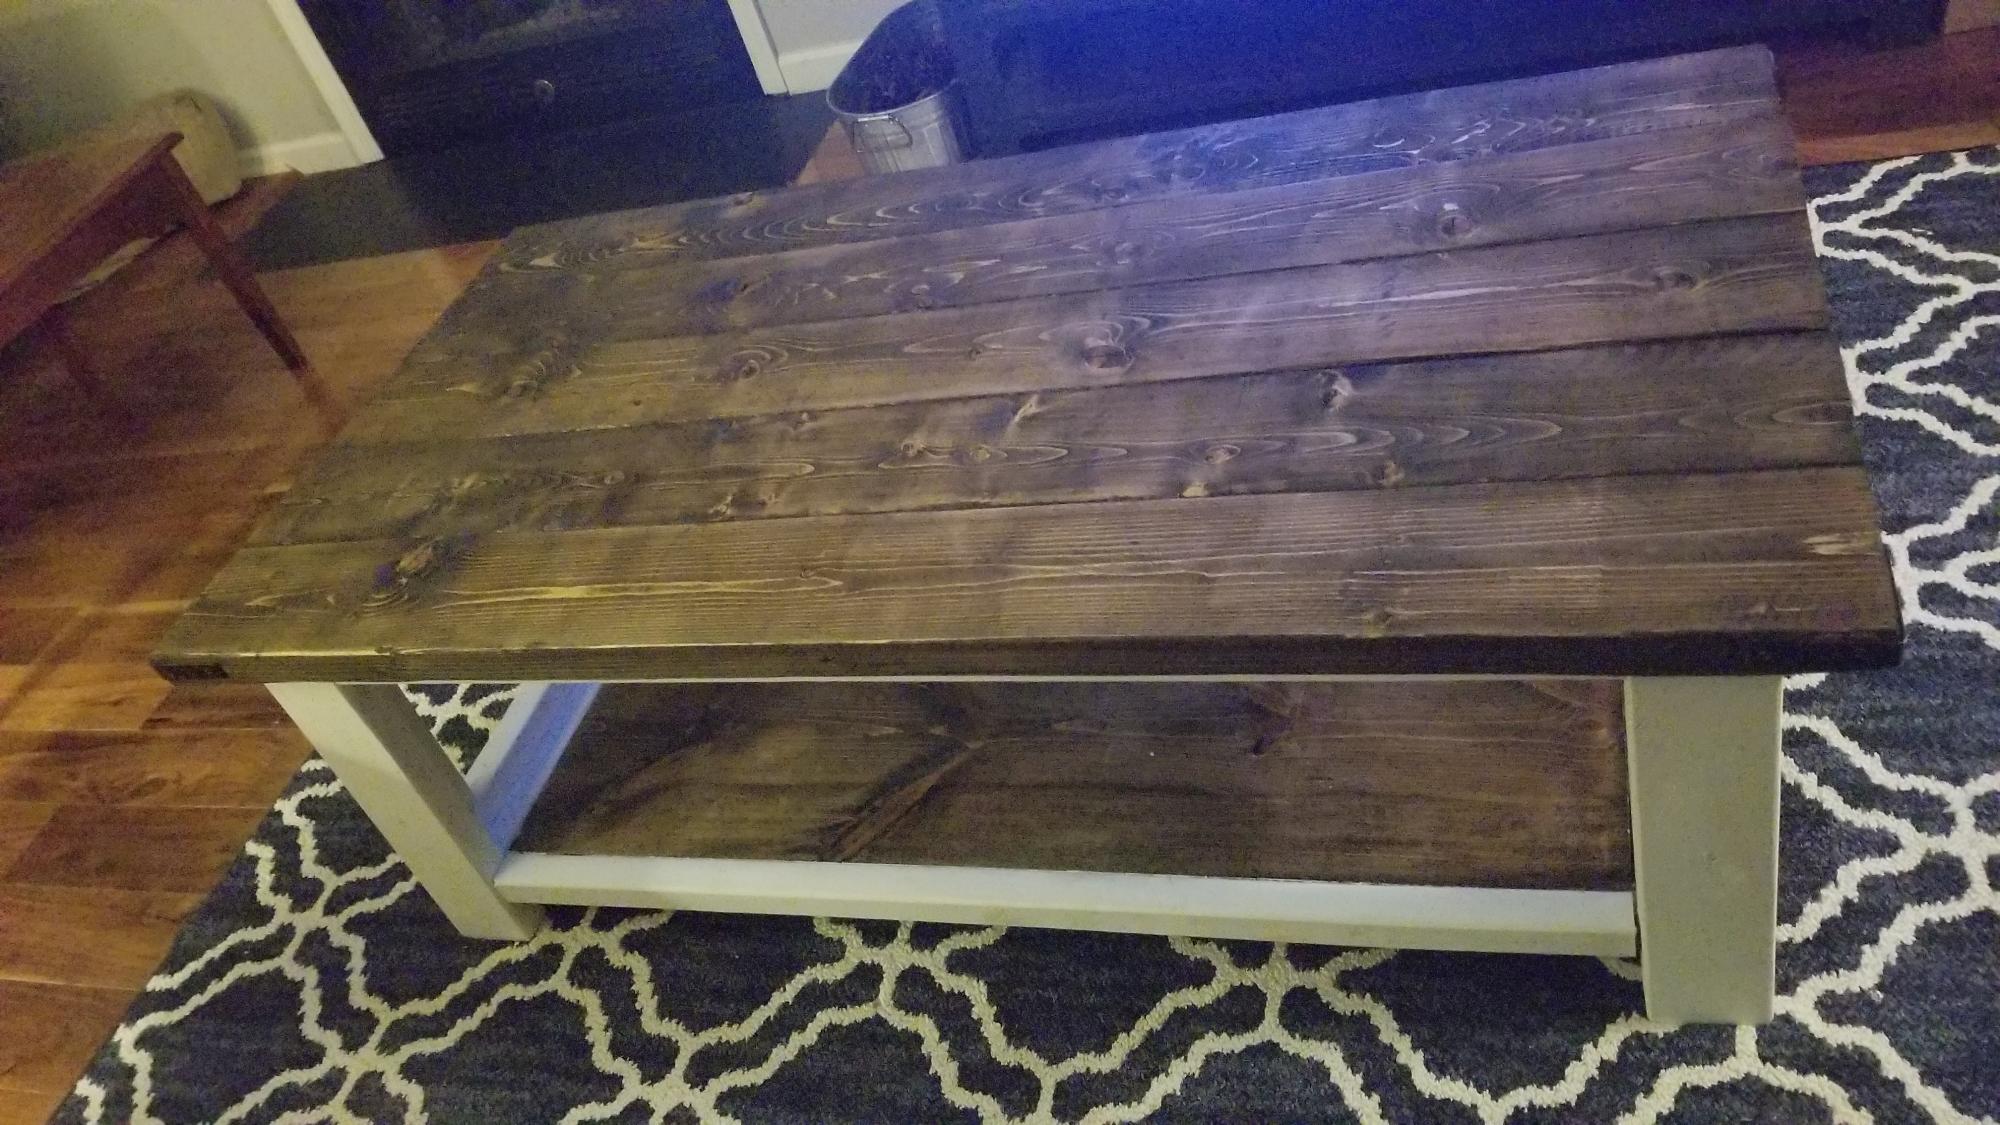
I'm really bad at making the X's, so I just added some straight pieces for decoration.
Built from Plan(s)
Estimated Cost
$64
Estimated Time Investment
Day Project (6-9 Hours)
Finish Used
Dark Walnut stain and white chalk paint
Recommended Skill Level
Intermediate
Modified Husky Farmhouse Table
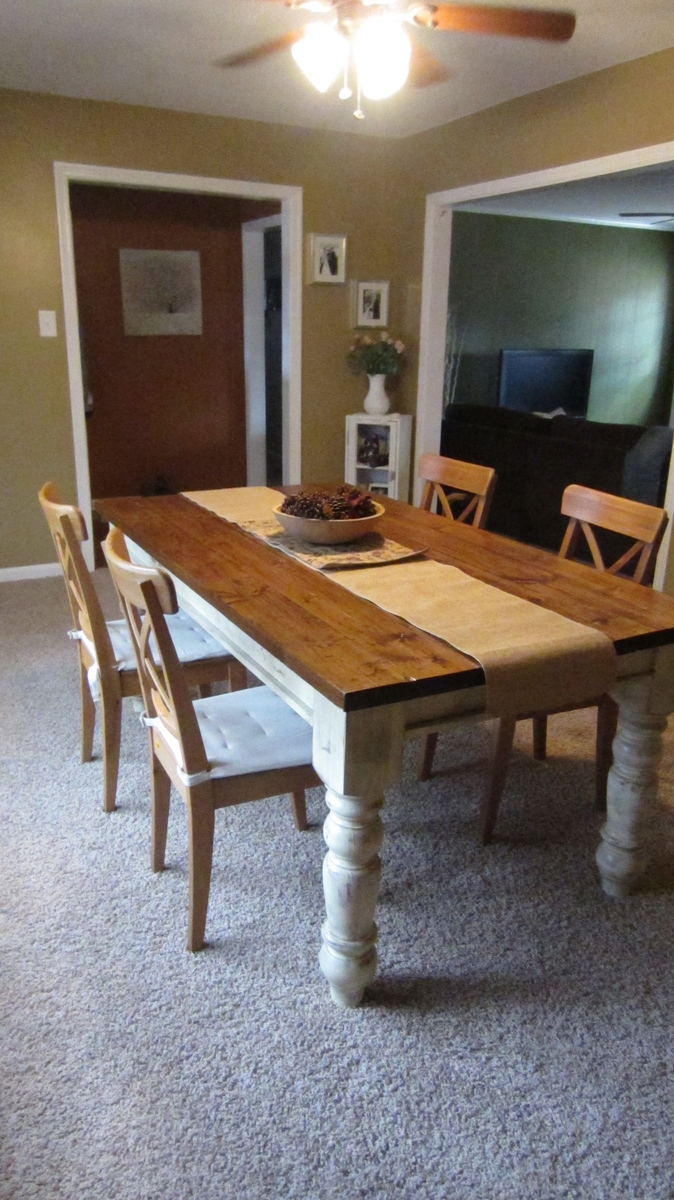
My husband Chris and I have been planning for a few years now to build a farmhouse table for our home. Every year for christmas my mother-in-love (mother in law) gifts us a "must have" tool. We like to think of it as her investing in our home and quality time together. Last year she gave us the Kreg gig, holy cow, that sure is a must have!!! :) This year we received a hand sander. Needless to say we were motivated to start our farmhouse table journey.
We loved the table Ana built for her sister, so we followed the plans almost to a tee. We ordered the turned legs from Georgia. Let me also add that we try to buy everything we possibly can that is made in america, from paintbrushes on. I encourage everyone to take the a few seconds to look and spend an extra dollar or two to support america's economy.
The only modification we did to the plan was add a small strip of wood to the base layer for just a little extra touch of character. :)
Estimated Time Investment
Week Long Project (20 Hours or More)
Finish Used
Table top- miniwax wood conditioner, Early American stain, and helmsman spar urethane.
Base- early american stain for base layer, Old Fashion Milk Paint in Buttermilk, and spray on polycrylic.
We live in a small town and were not able to find gel stain anywhere. We could have ordered it online, however we adamant about using our snow days to work on this project. This made a difference as far as how the milk paint chipped on the legs. I had to hand sand to get the rustic look, however it still looks fabulous. :)
Recommended Skill Level
Intermediate
Comments

Herb & Flower Ladder
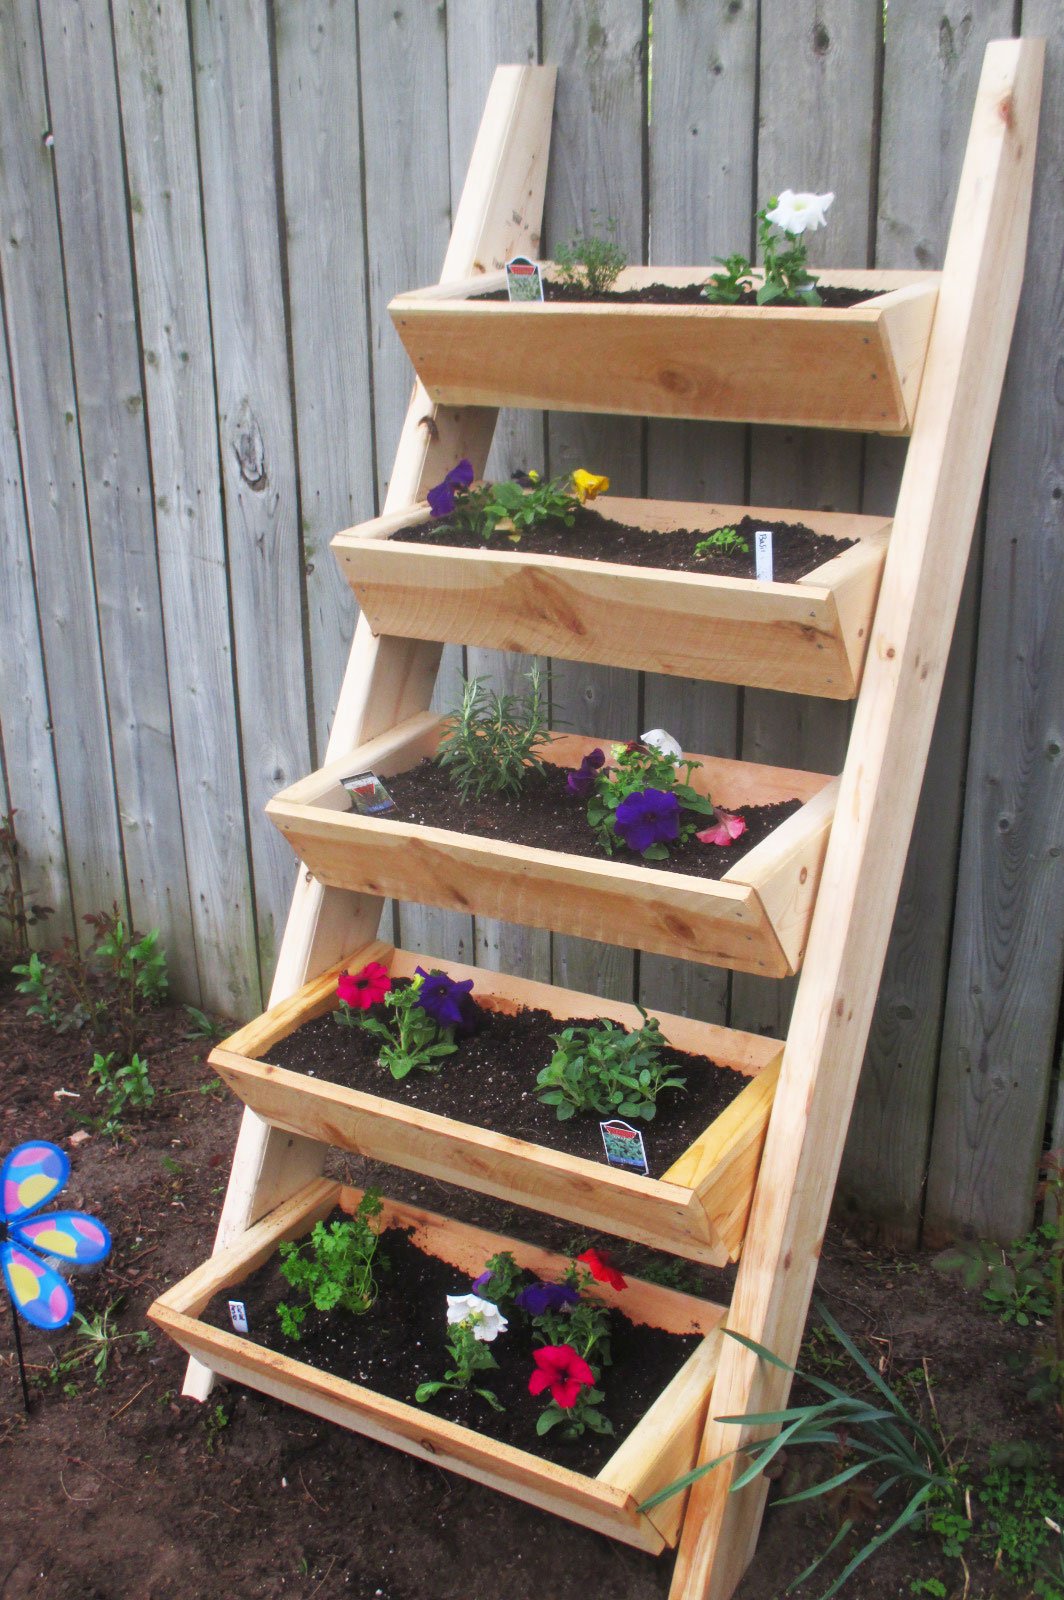
Living on a small city plot, this vertical ladder planter was just what I was looking for to grow my herbs and flowers. I am not an experienced builder but the plans were easy to follow. It didn't take me much time at all to complete this project. Now I am looking forward to fresh herbs and flowers all summer.
Built from Plan(s)
Recommended Skill Level
Beginner
Comments
Combination Workstation
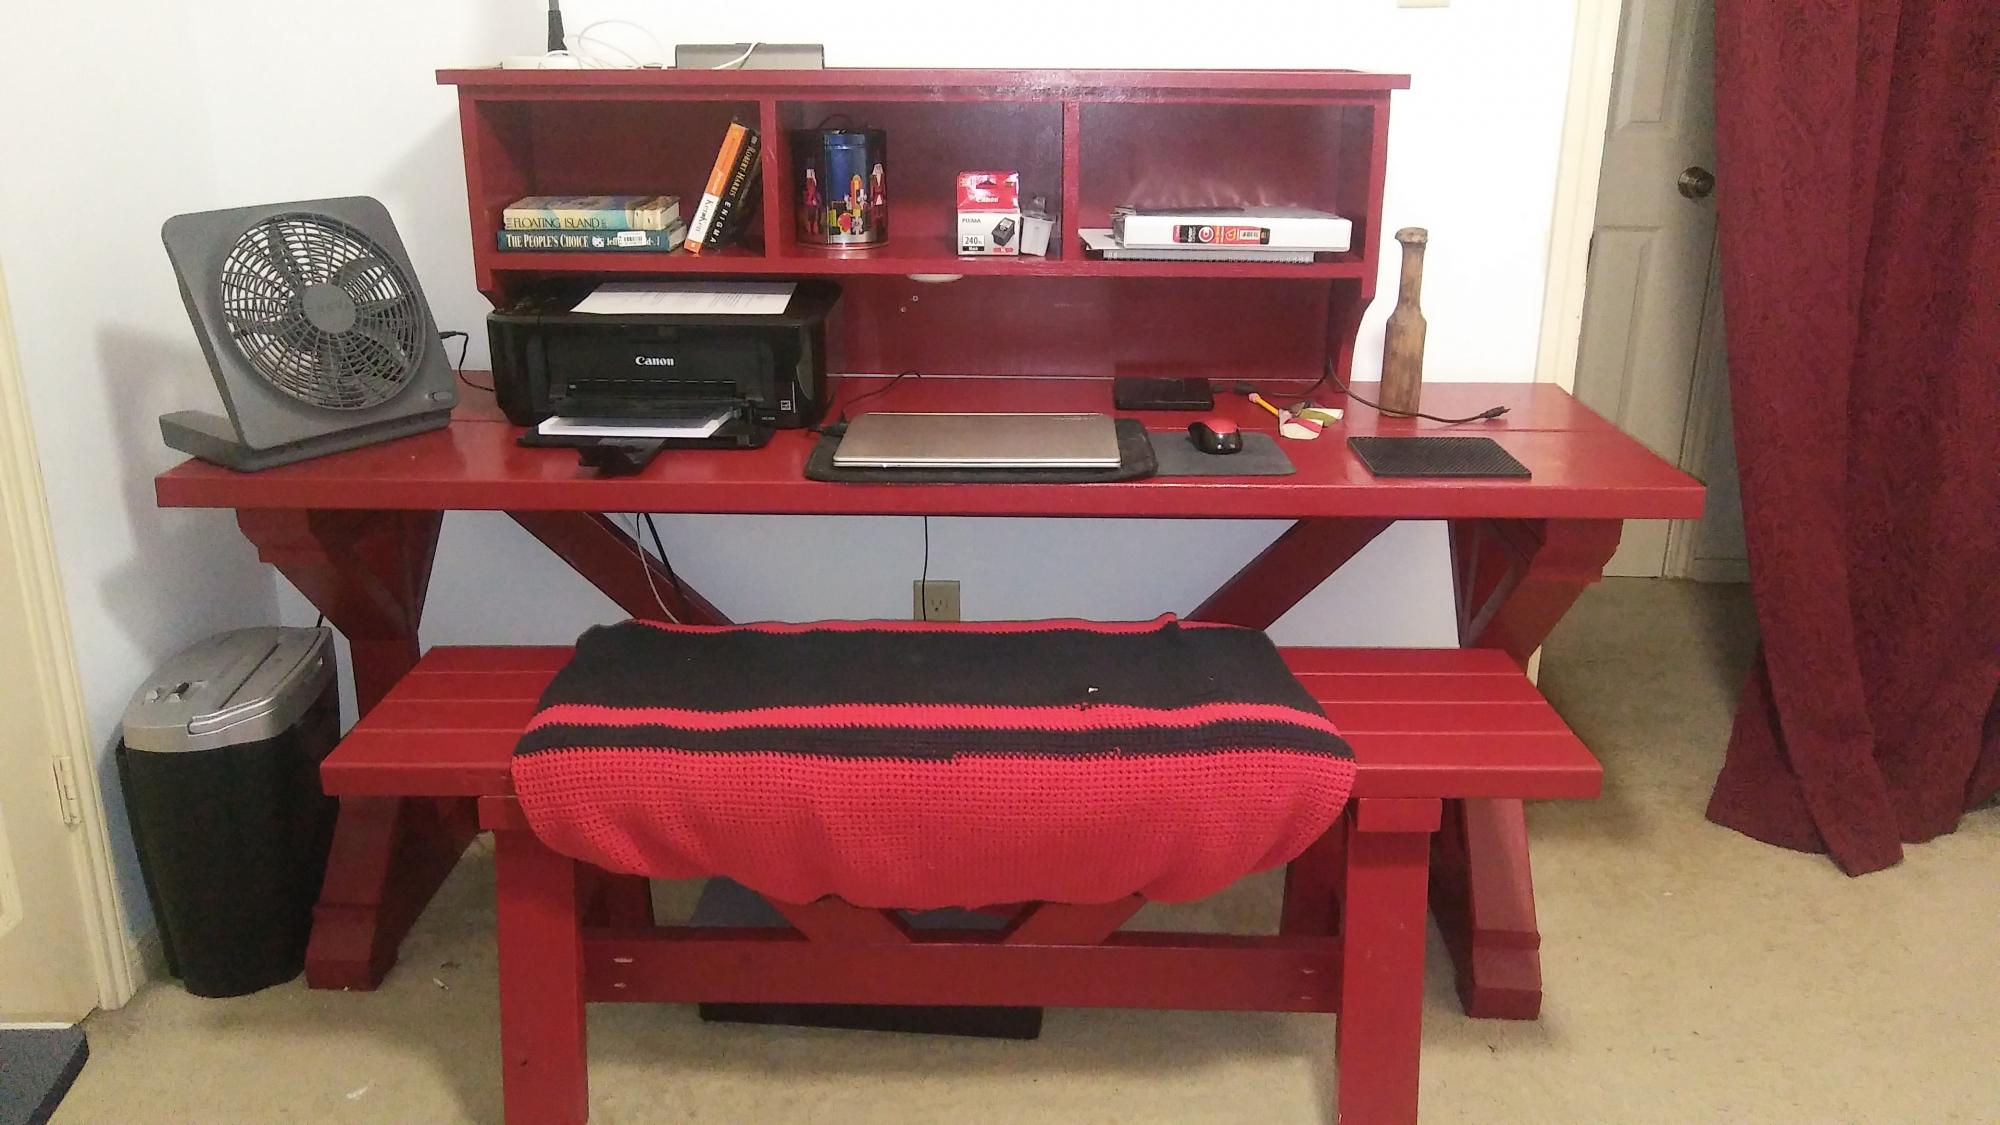
Combined a few of your plans to make my wife a Workstation. Plans were easy to follow and there were no dimension errors.
Estimated Cost
200.00
Estimated Time Investment
Week Long Project (20 Hours or More)
Finish Used
Combo semi gloss paint and primer
Recommended Skill Level
Intermediate
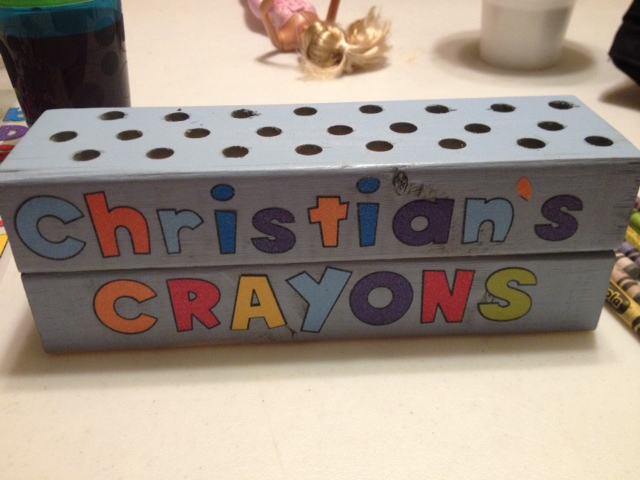
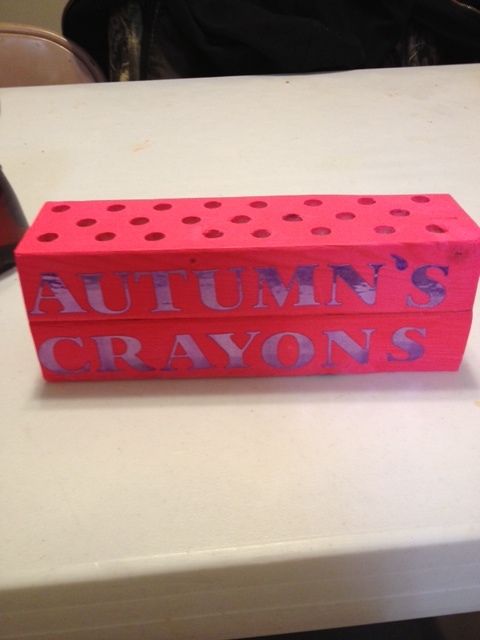
Paint stir stick Letter Bin
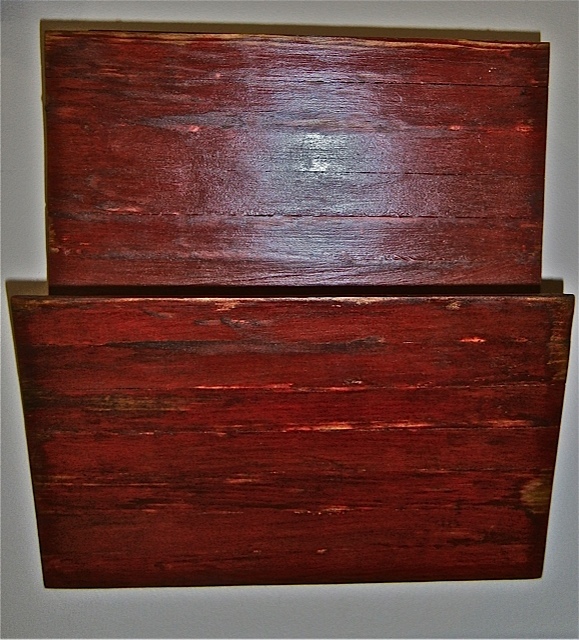
I used paint stir sticks as the front of my bins!
I wanted the "bead board" look but to still have a natural wood grain that I could stain for the rustic look. I also really like being "frugal"

Built from Plan(s)
Estimated Time Investment
An Hour or Two (0-2 Hours)
Recommended Skill Level
Starter Project
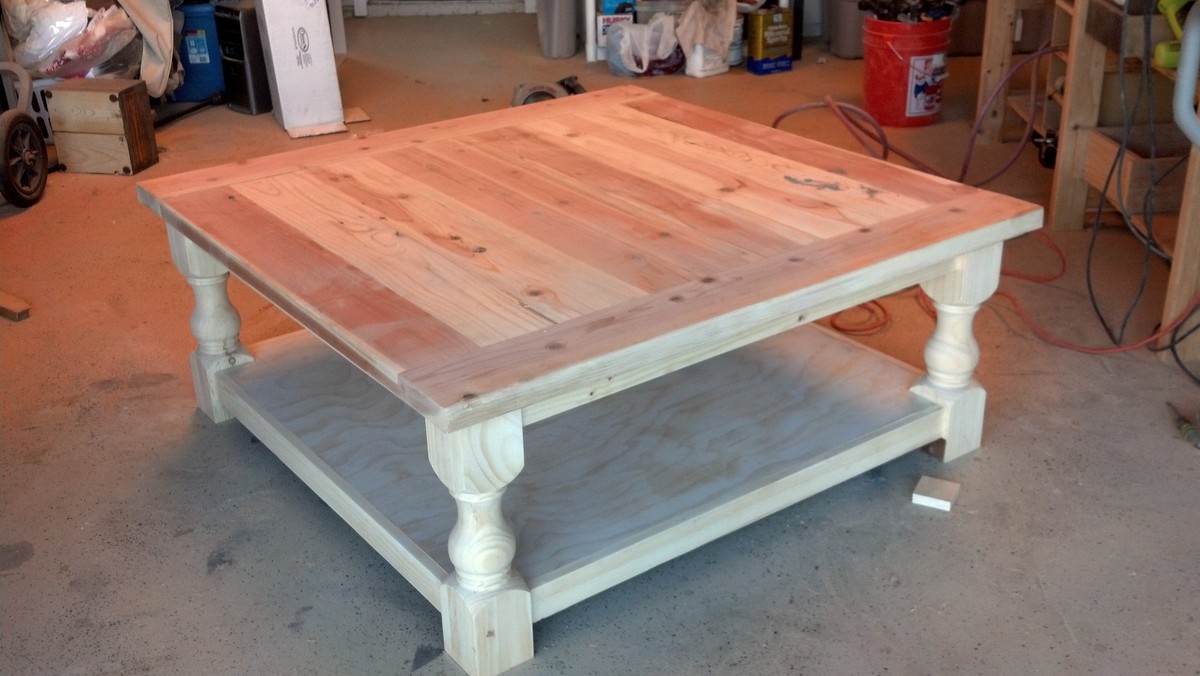
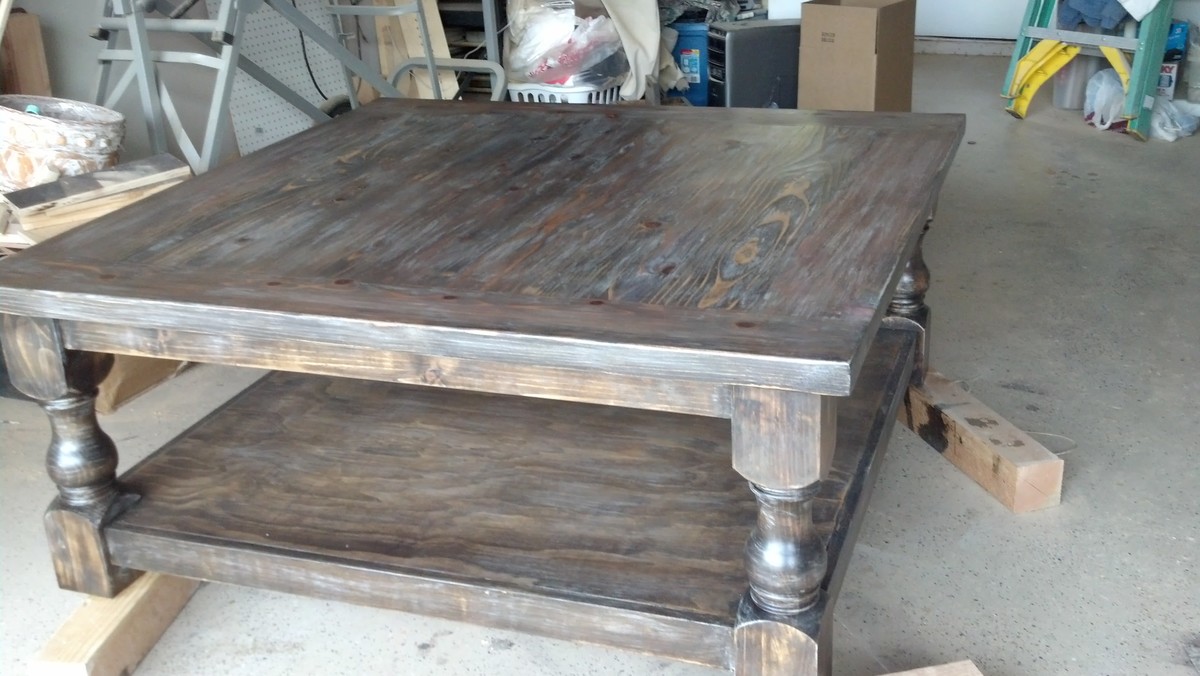
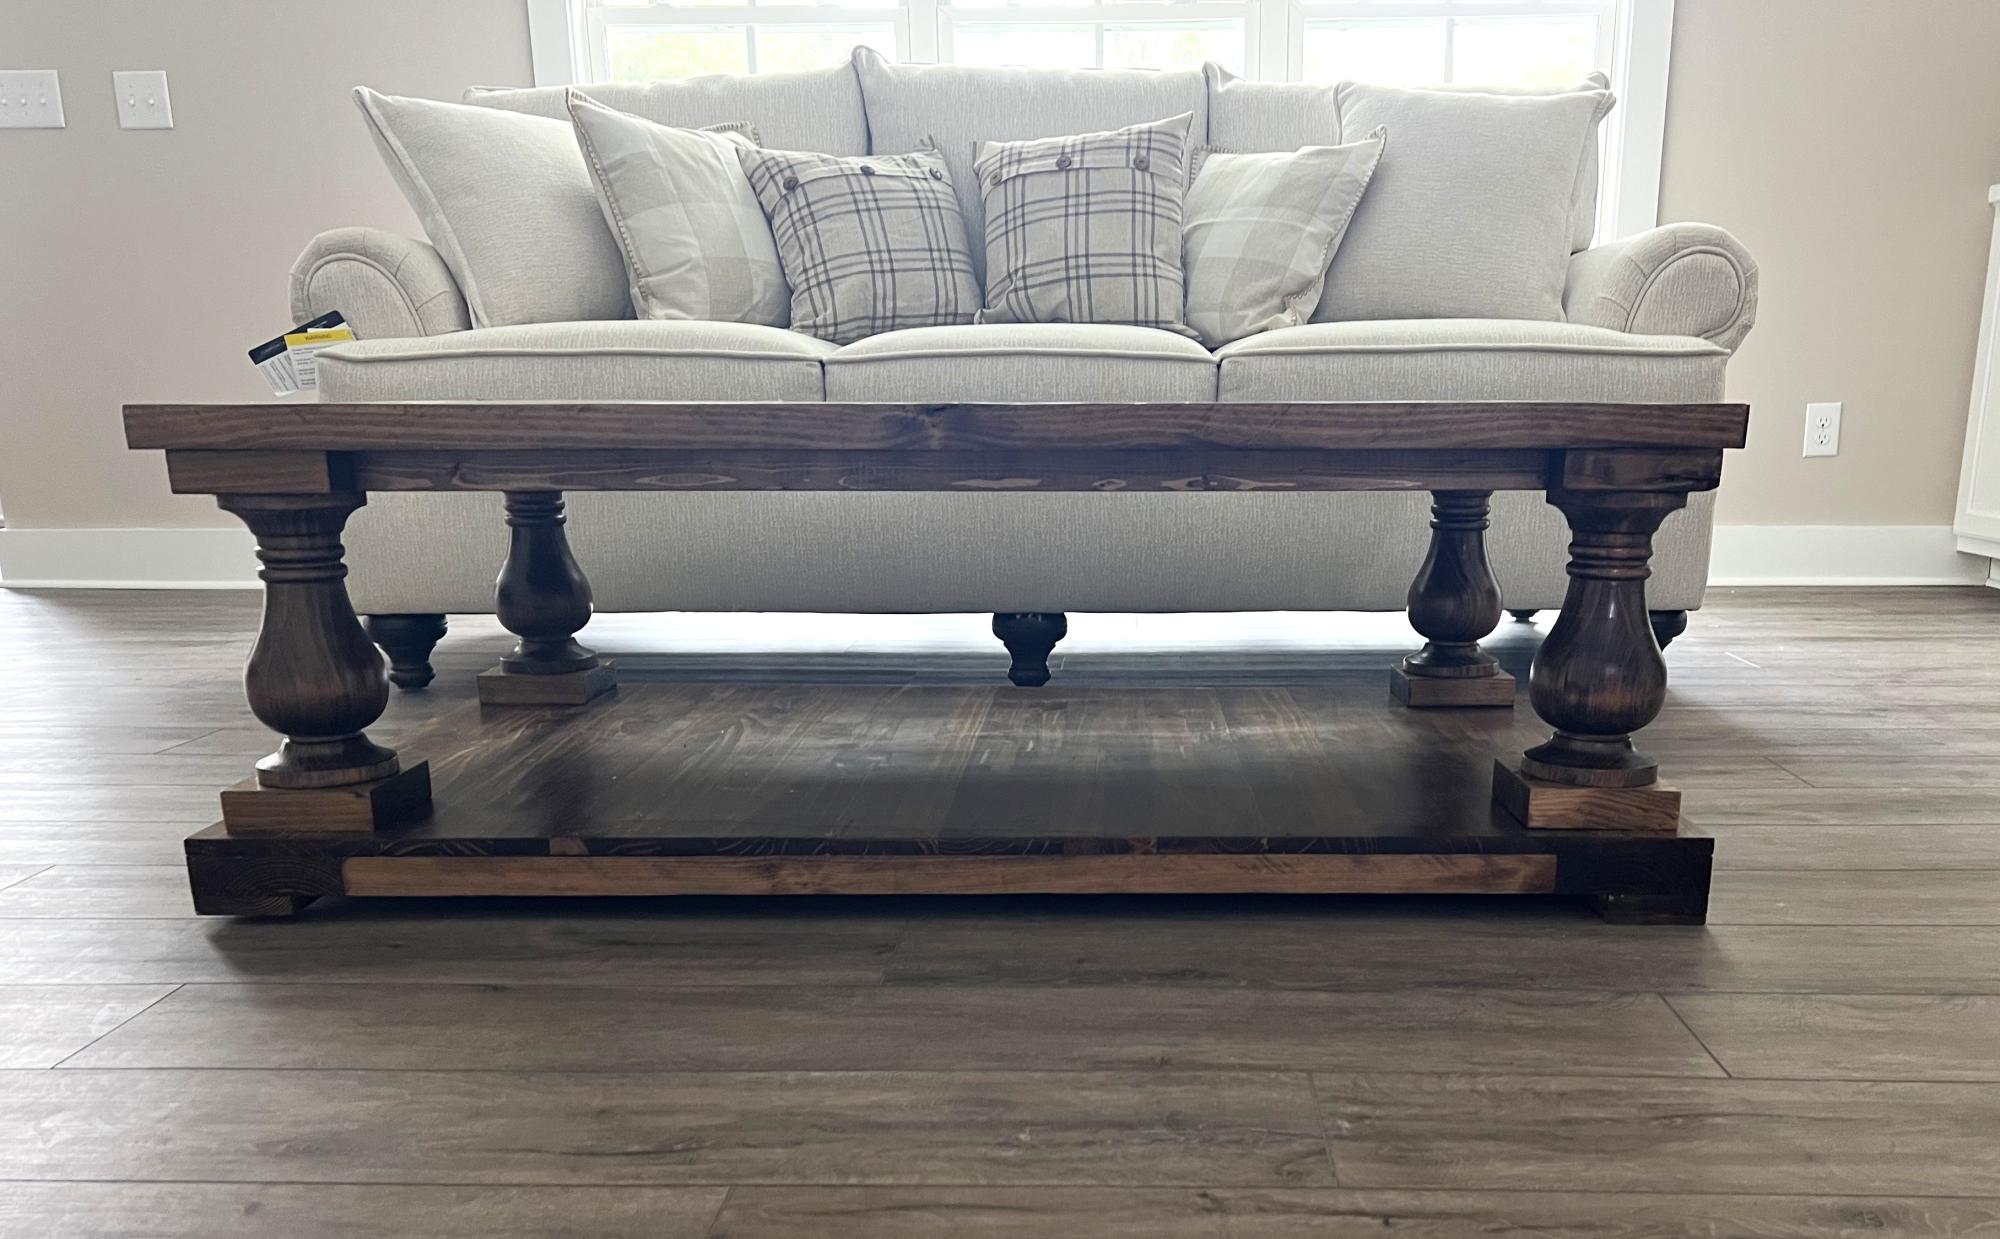
Pretty, massive coffee table
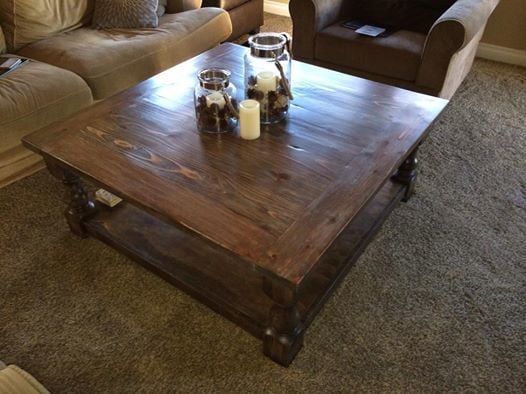
I'm still helping my kids furnish their new home. They "hired" me to build them a massive coffee table for their family room. They fell in love with the legs featured in a plan built by Shanty 2 Chic (http://www.shanty-2-chic.com/2013/11/diy-square-coffee-table.html). The legs definitely were the most expensive part of this table!
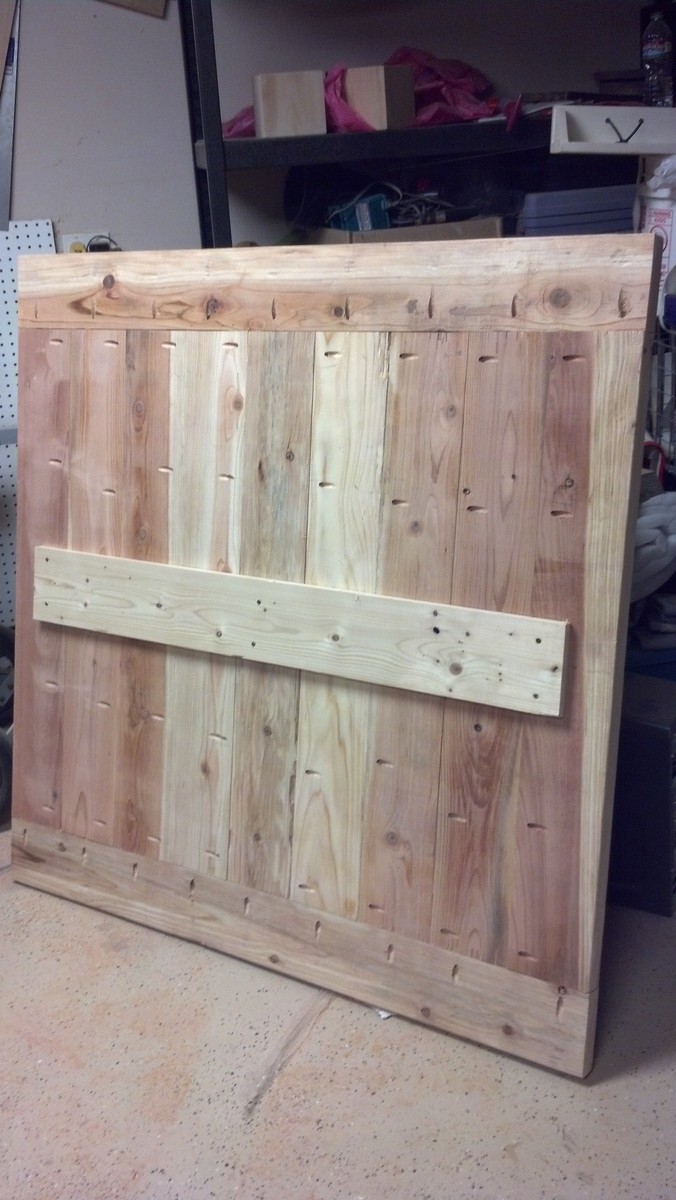
I made a couple of adjustments: because these kids of mine hope to have kids of their own soon, and the table measures 48x48, I reinforced the lower shelf of the table and the table top with support pieces. I picture babies crawling all over this and wanted to ensure that it would hold up!
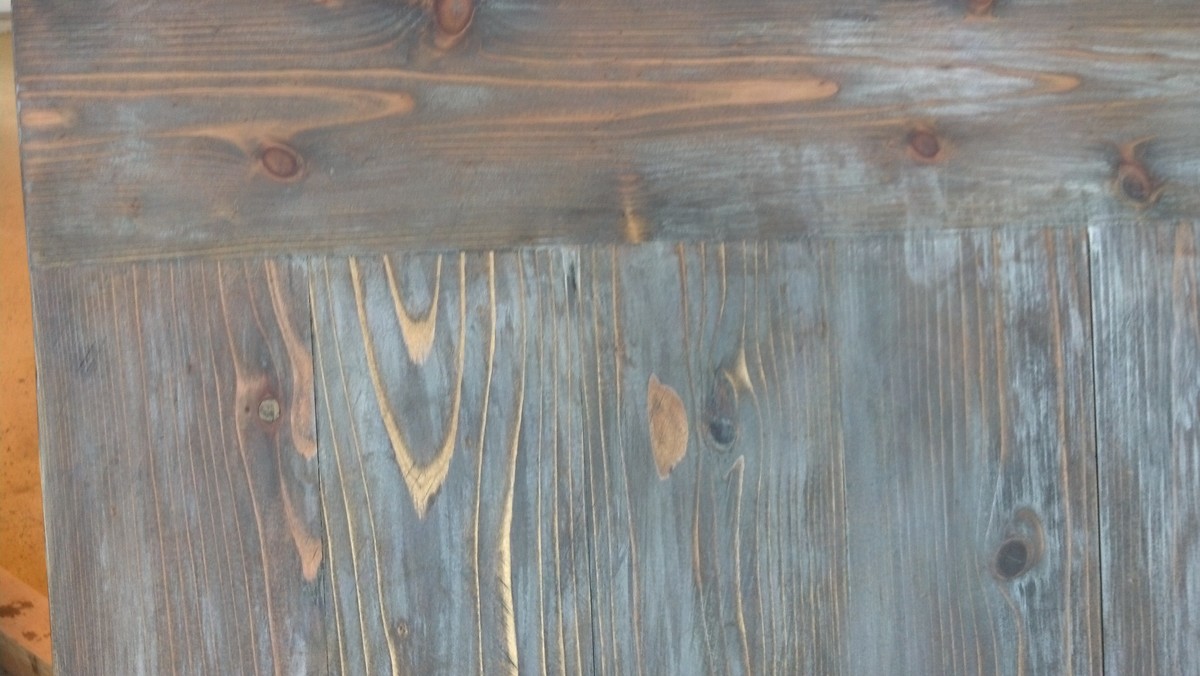
I finished with the same steps used by Jen of House of Wood's rustic yet refined finish, but used a dark walnut stain as the base.
Another fun project for me, and they are very happy with it!
And, I just have to say that Osborne Wood products delivers a wonderful product with great follow up and customer service! http://www.osbornewood.com/
Built from Plan(s)
Estimated Cost
$250 for table - the Legs accounted for $160 of that.
Estimated Time Investment
Weekend Project (10-20 Hours)
Finish Used
Wood conditioner (2 coats), sand, Minwax Dark walnut, Minwax weathered Oak, sand, rubbed on whitewash (old, diluted white paint), sand, mixture of weathered oak and a little dark walnut, sand, 3 coats of polyurethane, satin finish, sanding between coats.
Recommended Skill Level
Intermediate
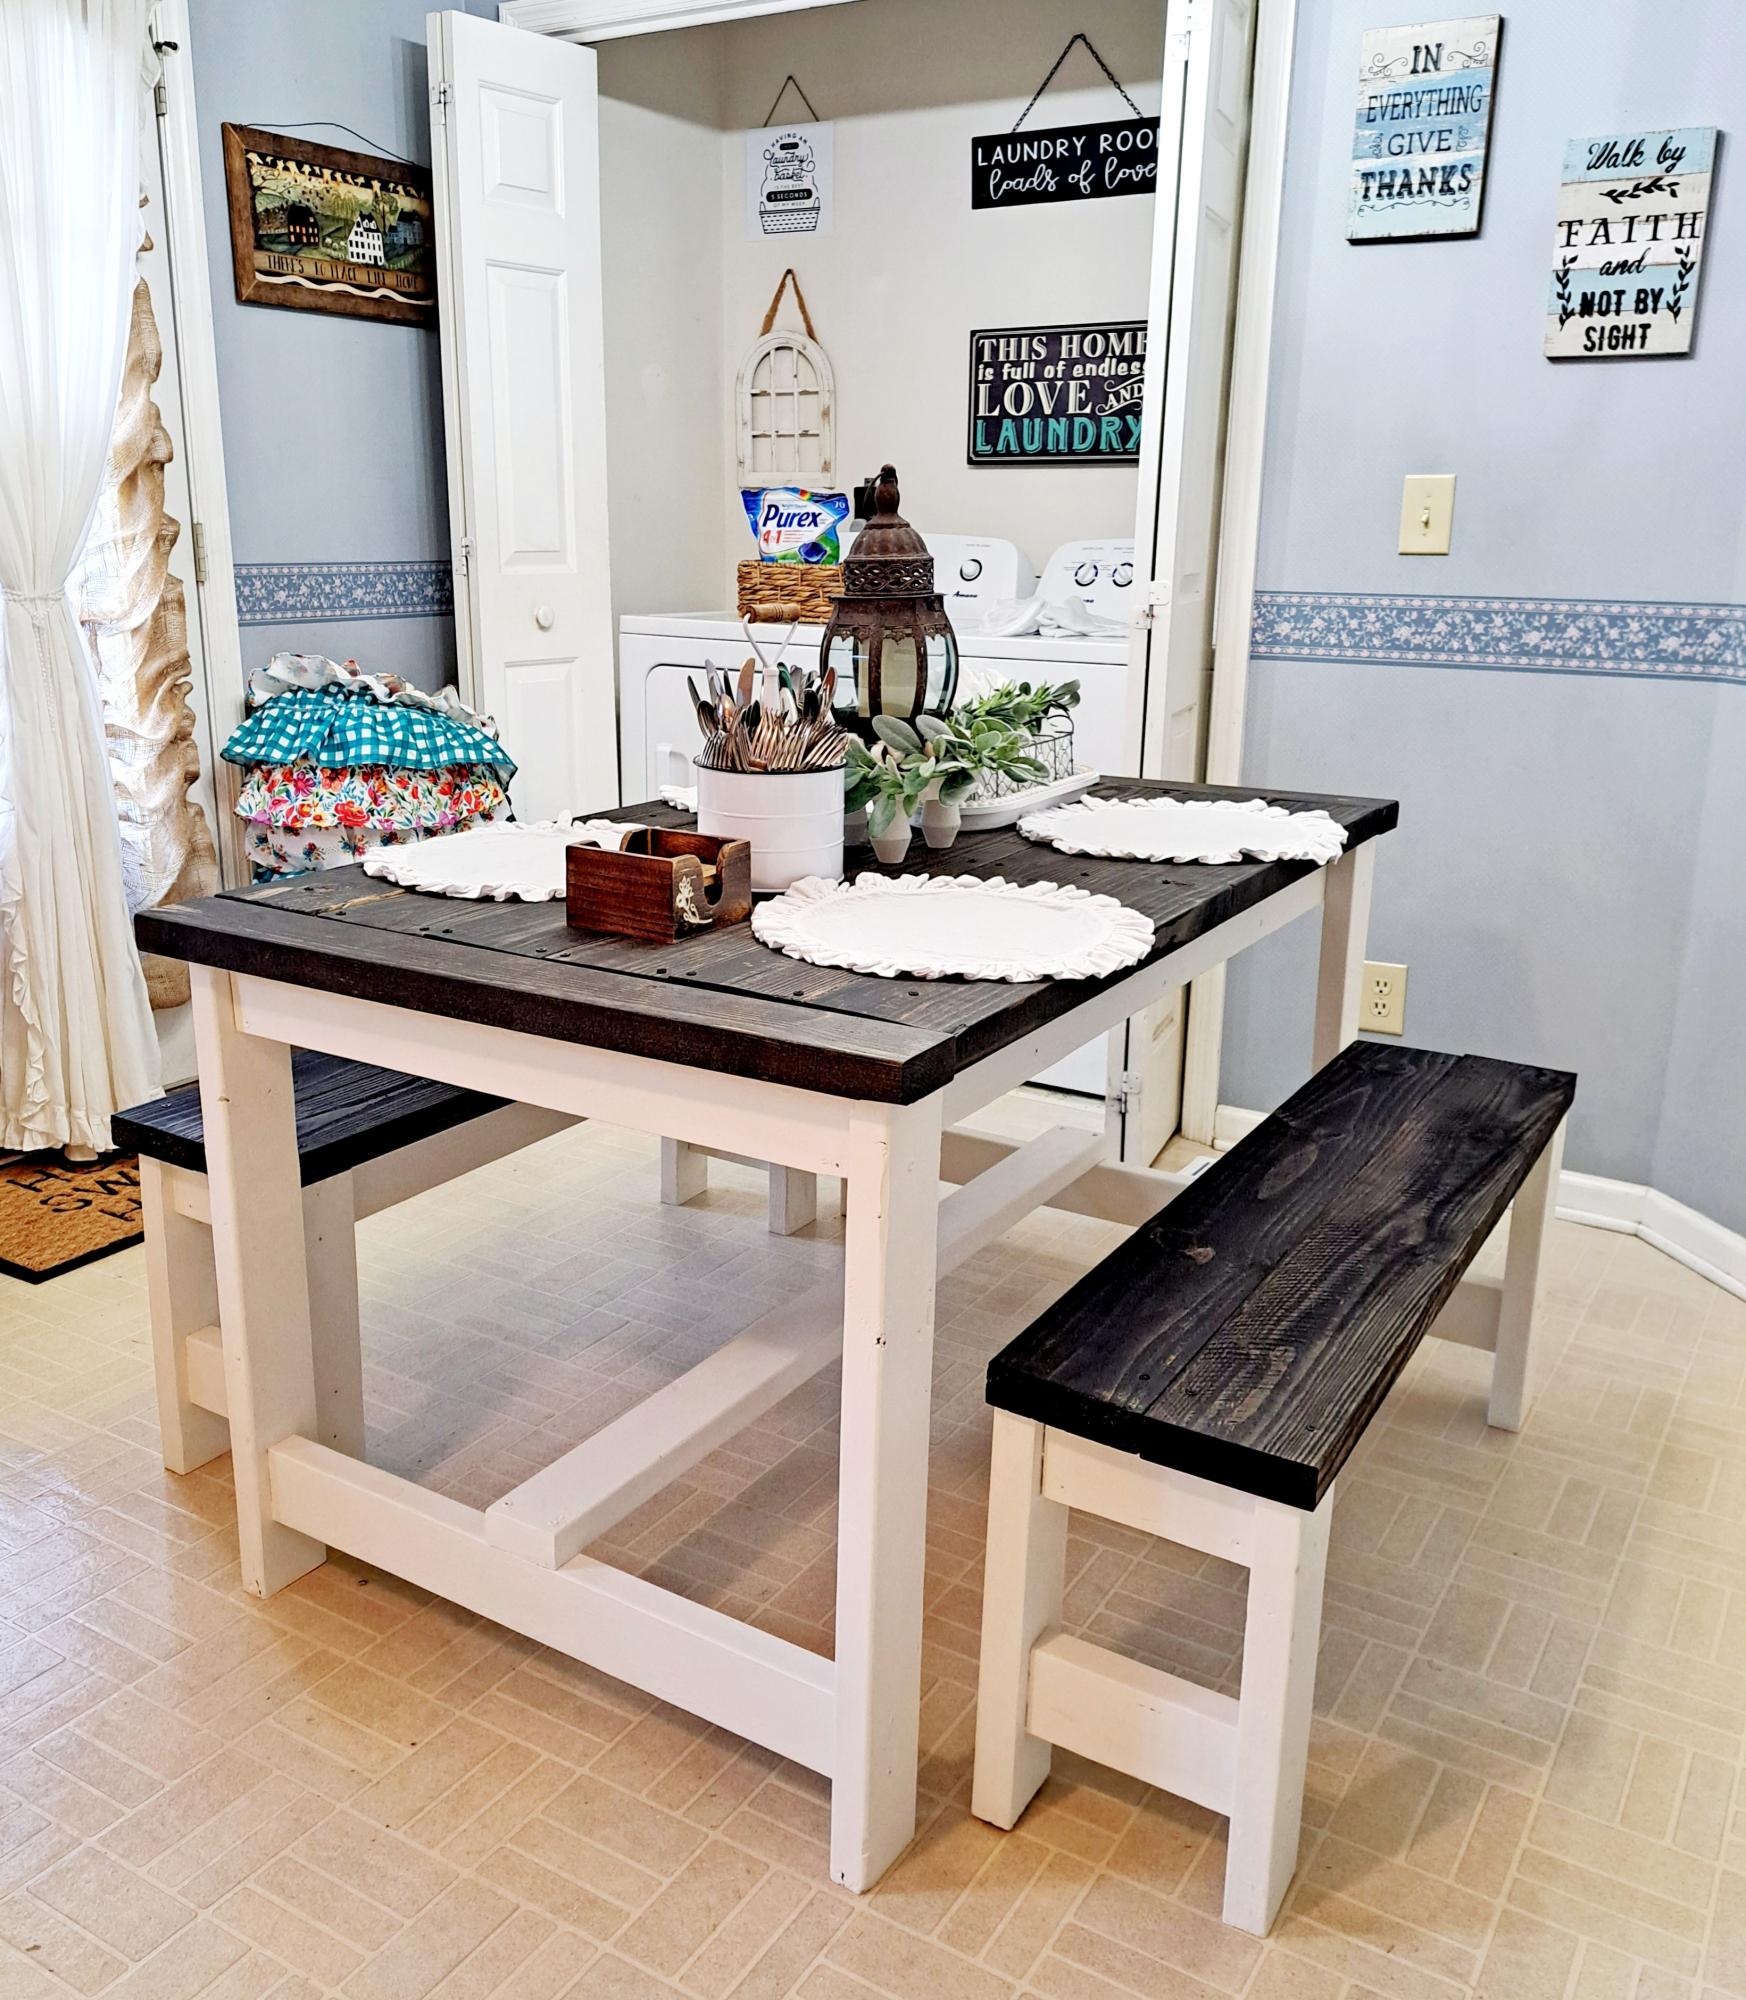
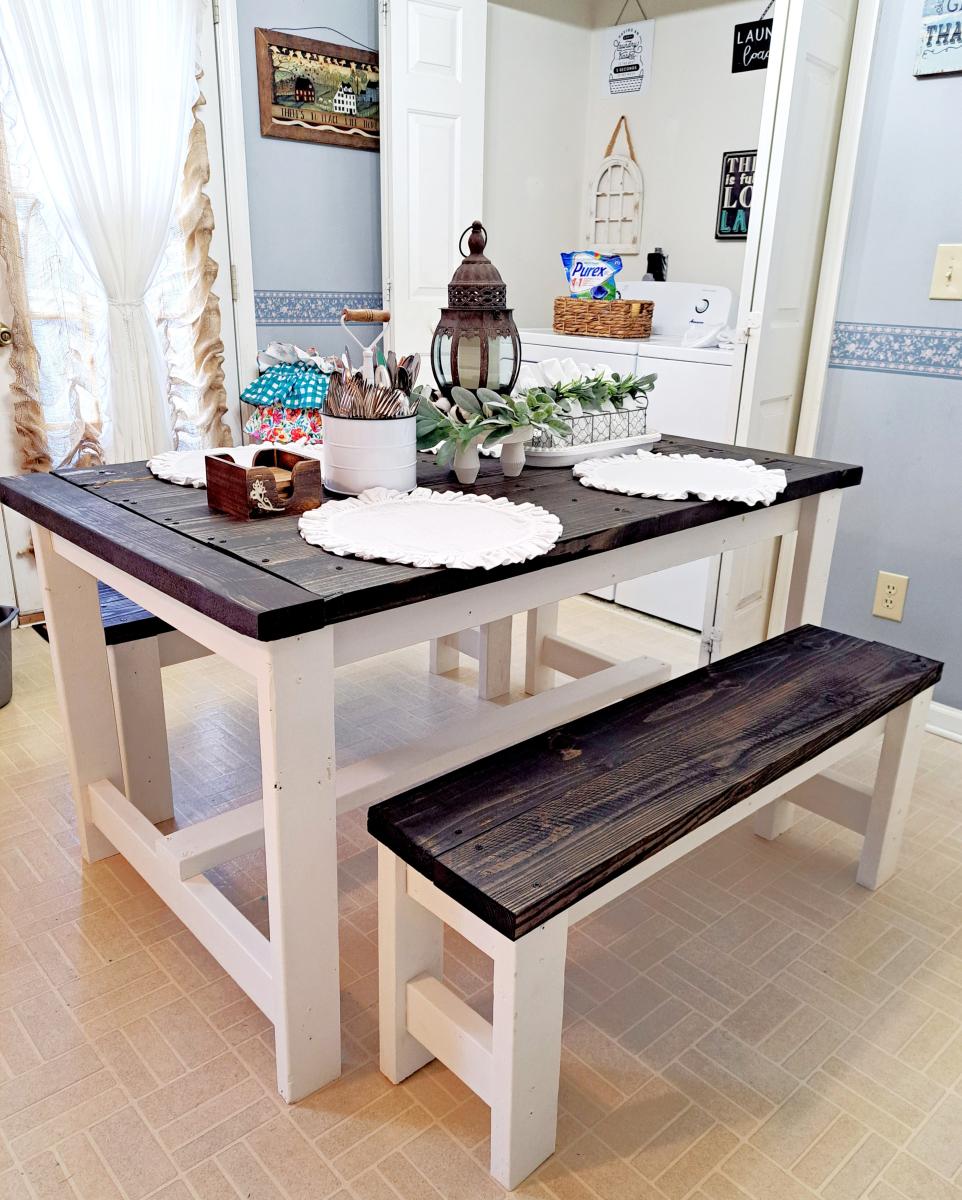
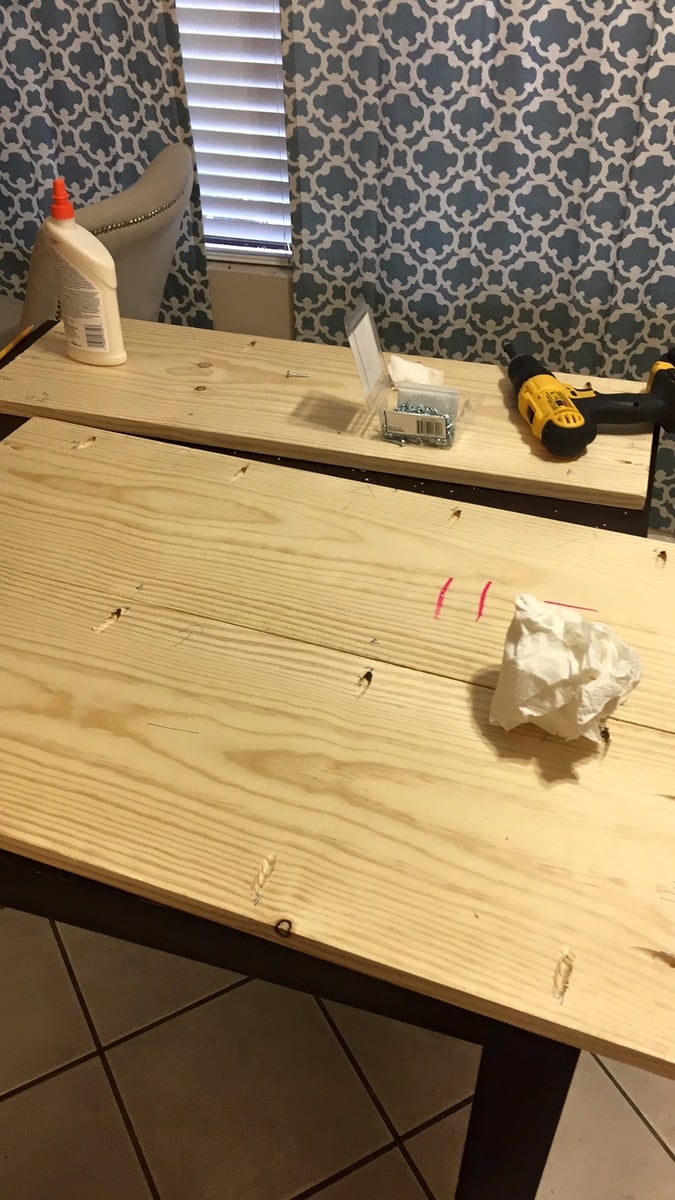
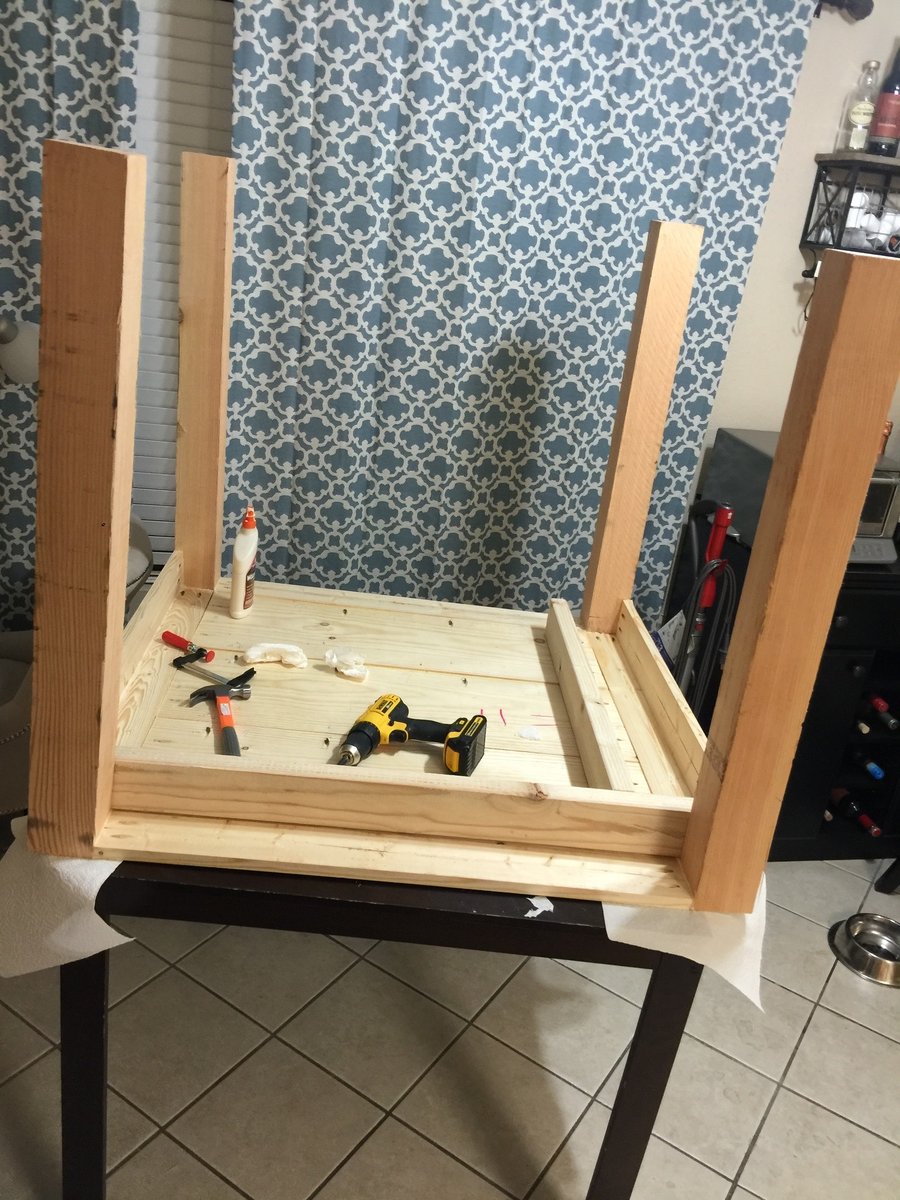
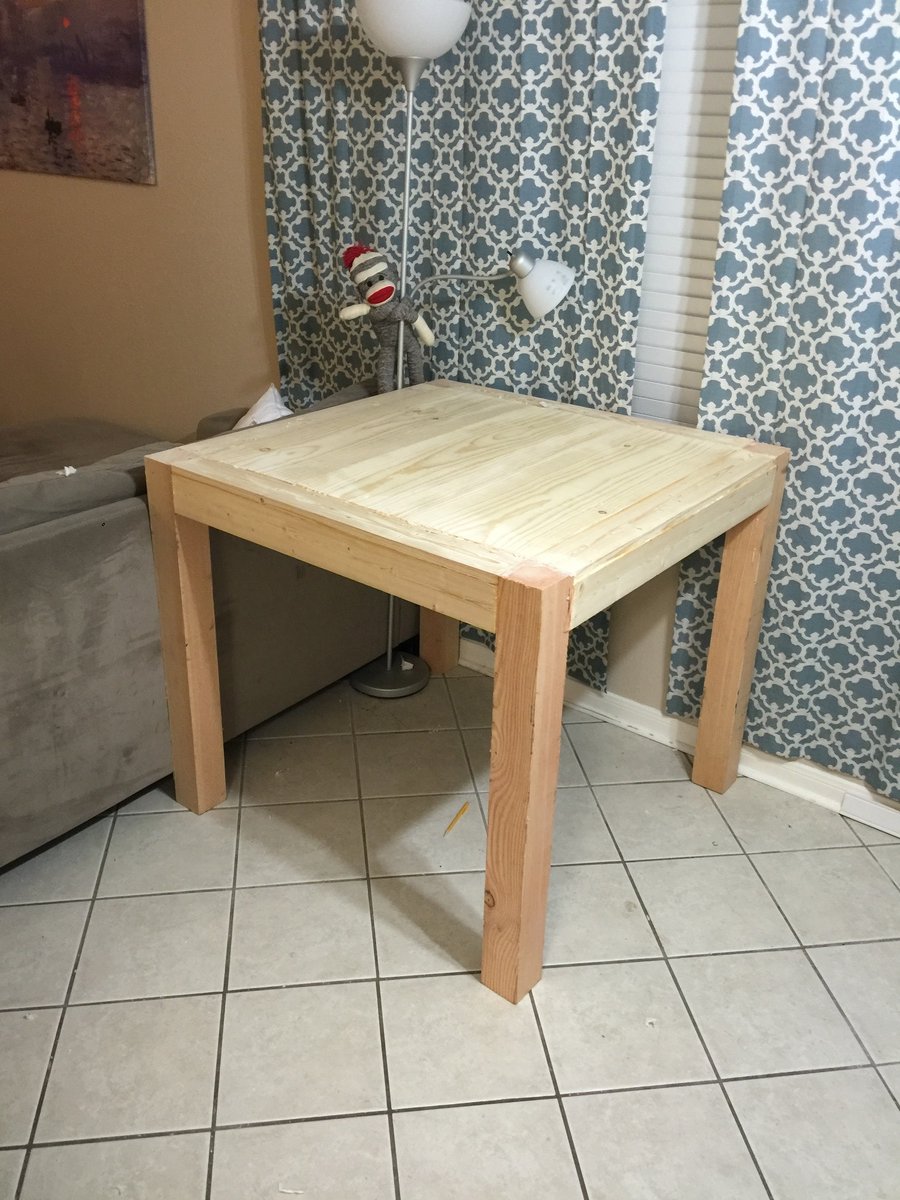
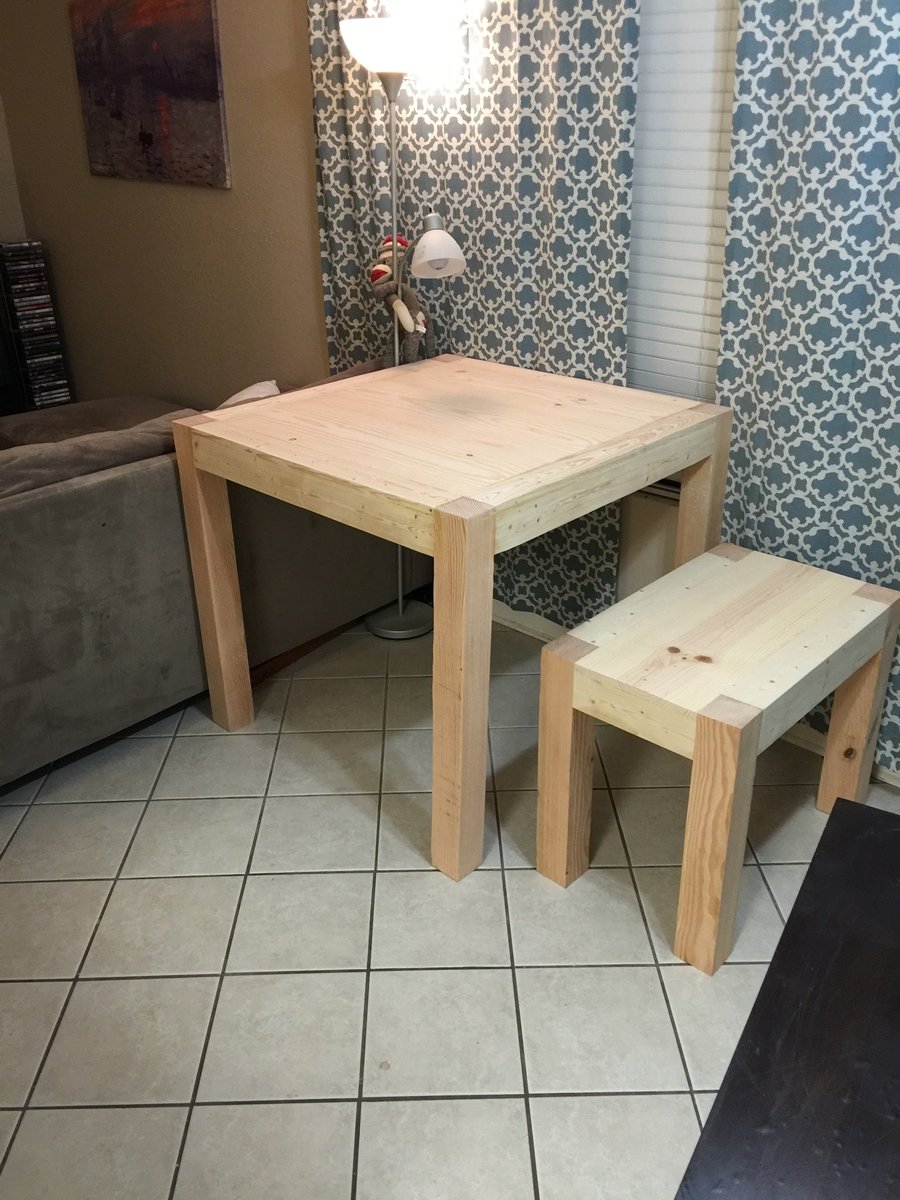
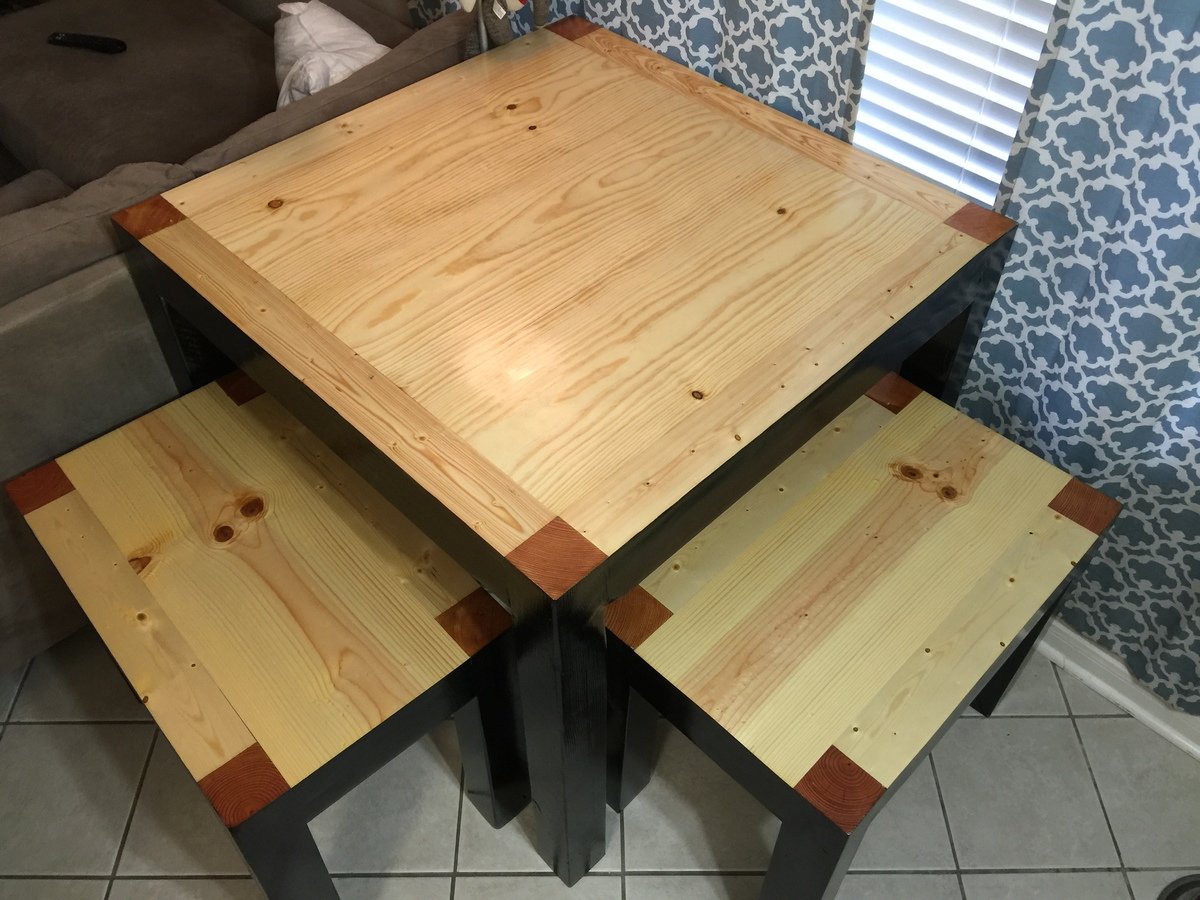
iTable with bench seats
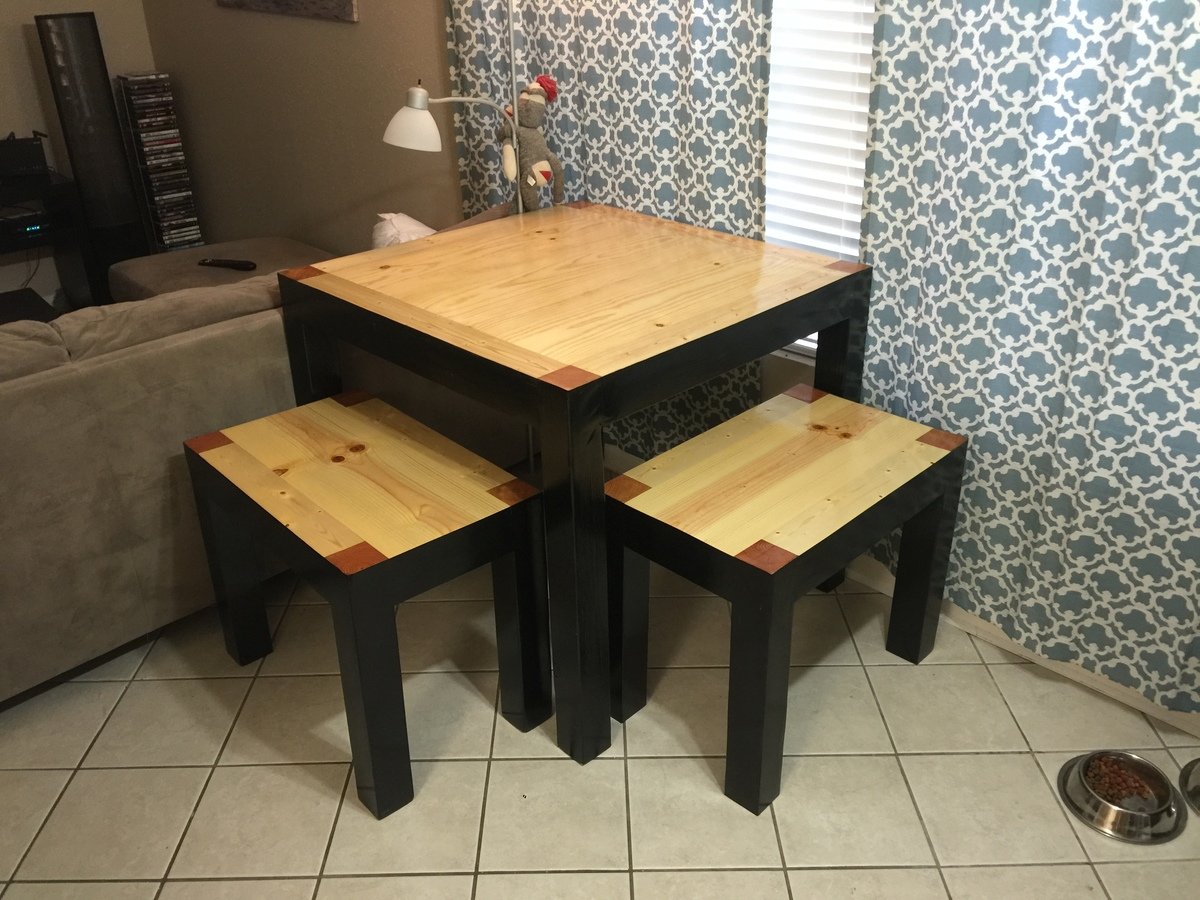
Ana, I really loved this design and was pretty easy to build! I like the way the finish turned out by painting it black and just a few coats of poly on top.
The benches are overbuilt with intention of converting 2 benches into 4 chairs in the future. I made them larger so I can simply just cut them in half and add two 4x4s 18 inches higher than the current bench legs at 24" and just deck it as a chair back, seems simple enough. One thing I would change in the design is eliminating the 3 1x12s and 2 of the 1x4s and just going with a solid table top at 33 3/4 x 40 3/4, similar to what I did on the benches.
Let me know what you think and if you have any questions.
Built from Plan(s)
Estimated Cost
150
Estimated Time Investment
Weekend Project (10-20 Hours)
Finish Used
Flat black paint with satin finish polyurethane
Recommended Skill Level
Beginner
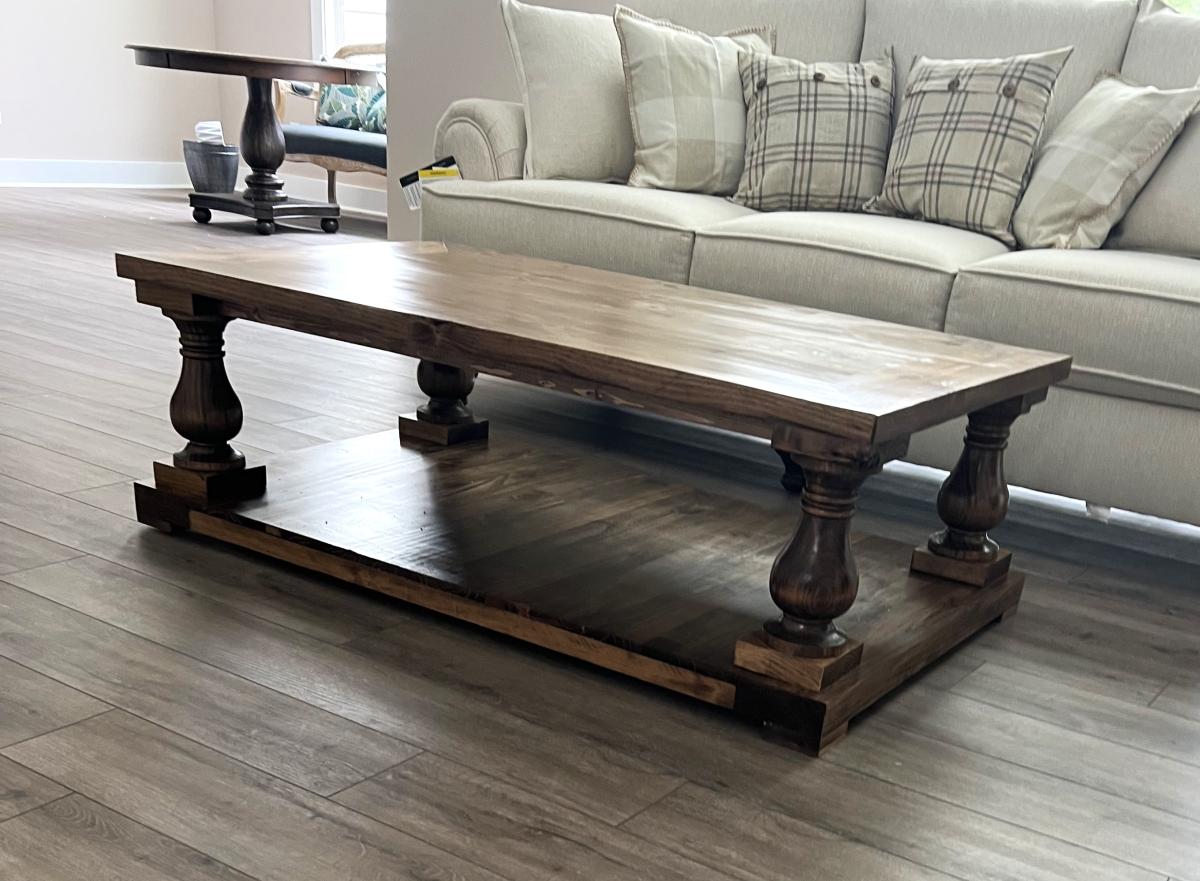
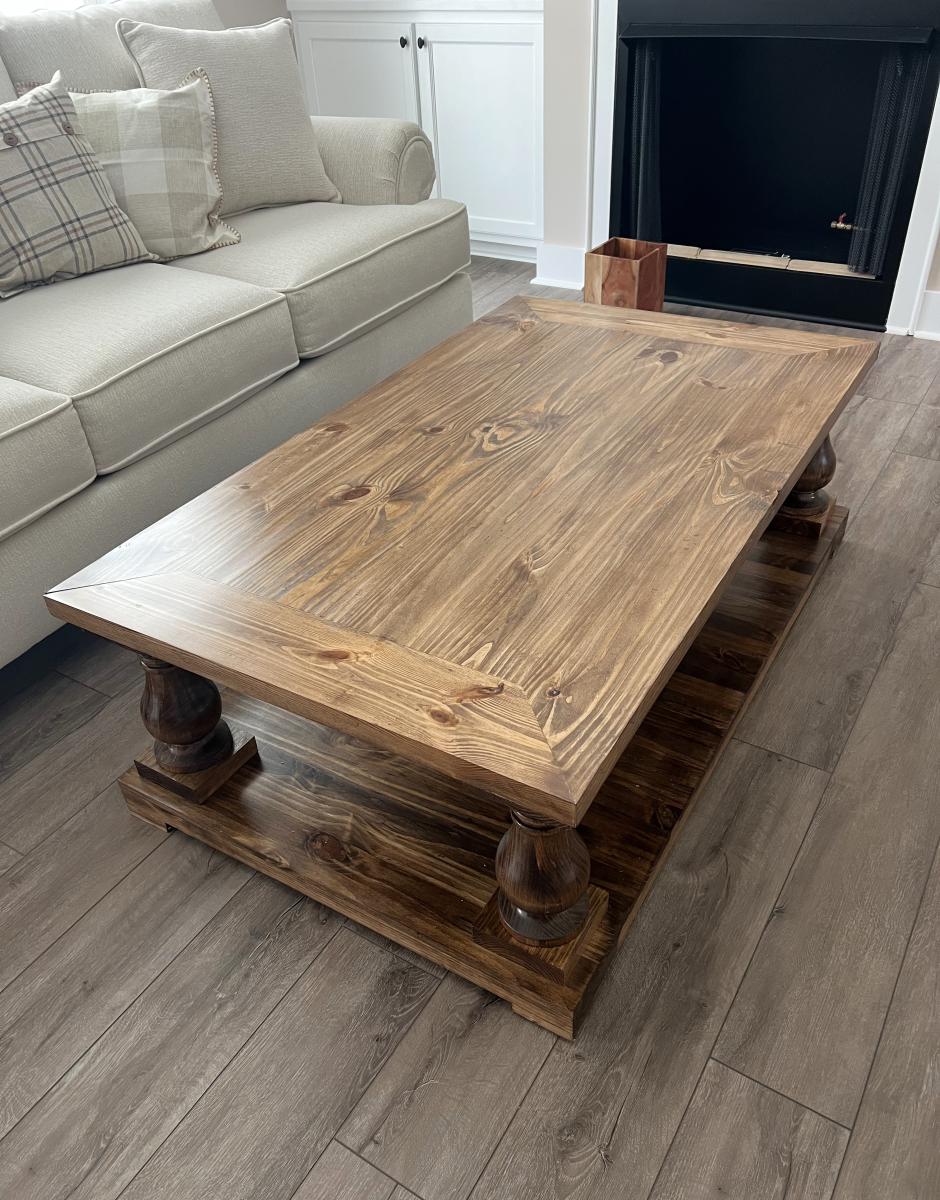
Turned Leg Balustrade Coffee Table
My rendition of the baluster coffee table.
Wayne A.
Built from Plan(s)
Alex's Book Shelf
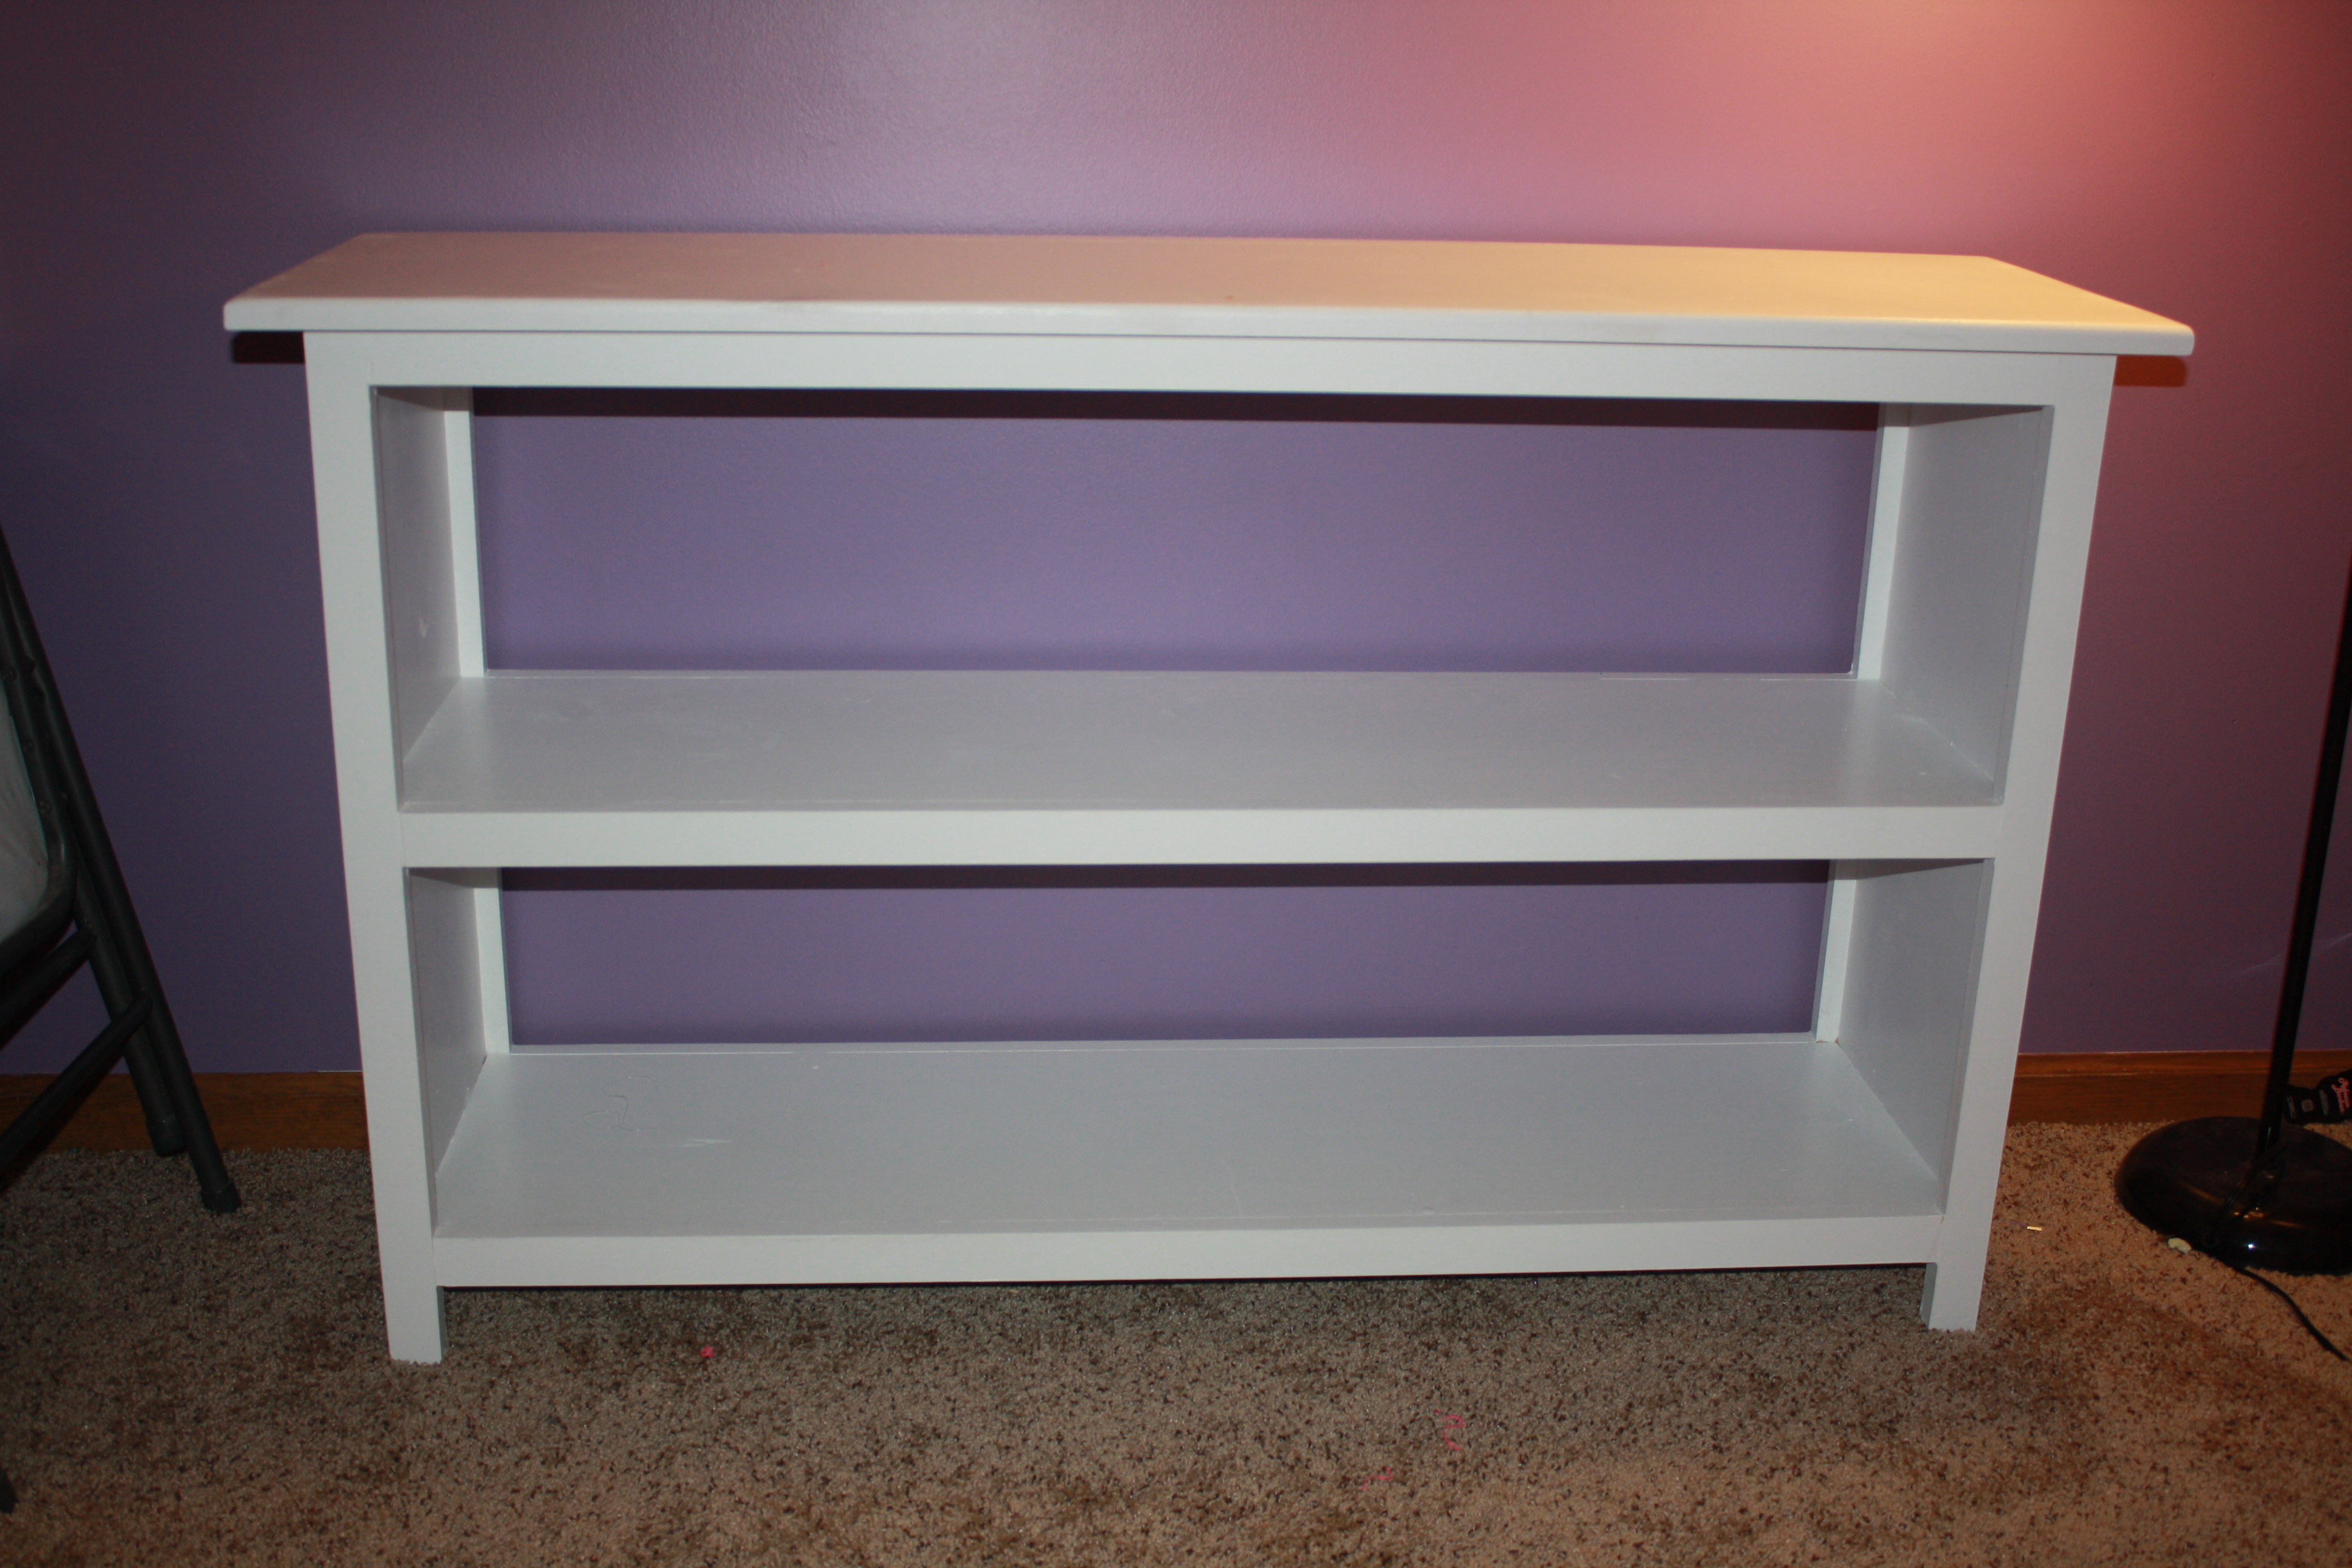
This design came from Ana's website. My daughter Alex asked me for a shelf to hold all her "stuff". She's a typical girl... lots of "stuff". I was able to snap a picture before she started to fill it all up!
Built from Plan(s)
Estimated Time Investment
Day Project (6-9 Hours)
Finish Used
White Paint
Recommended Skill Level
Beginner
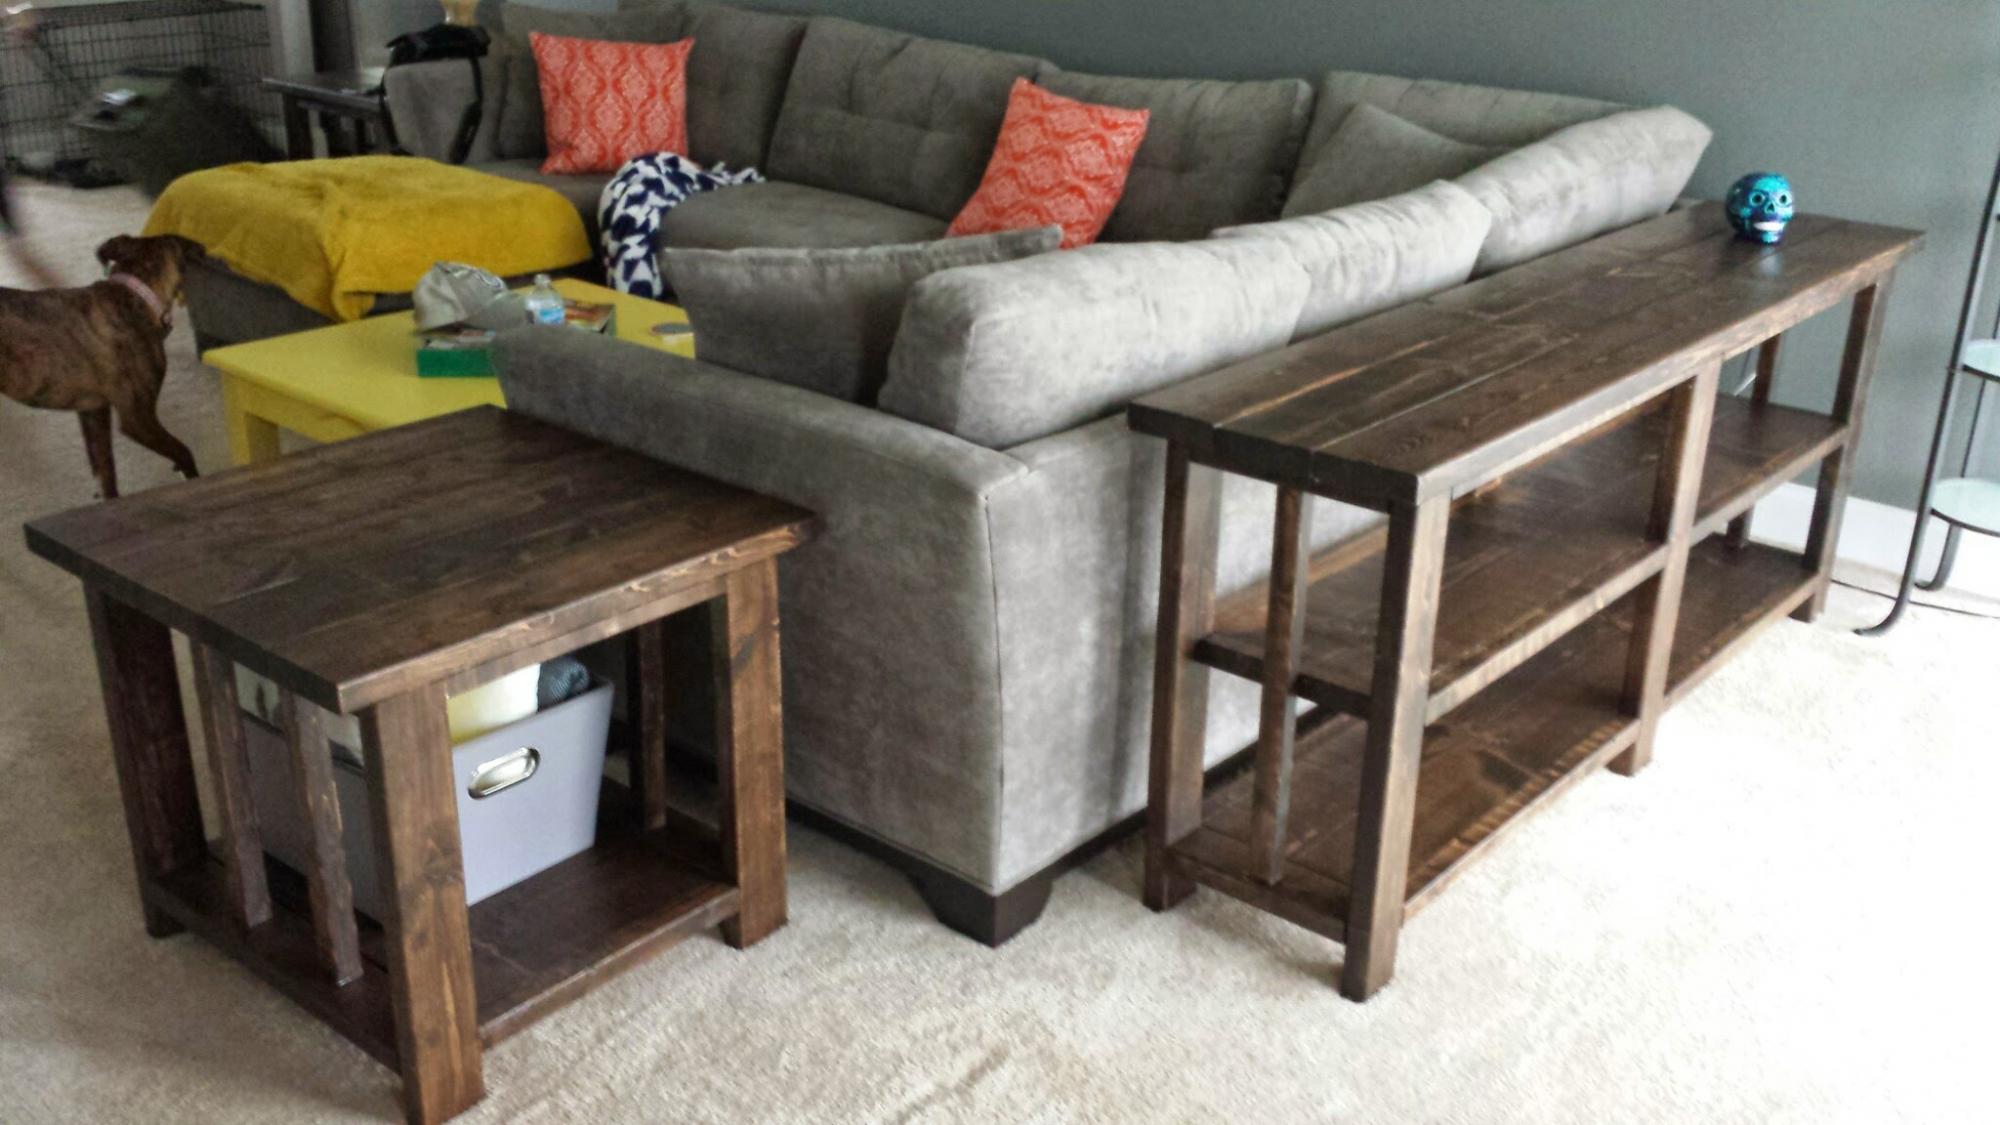
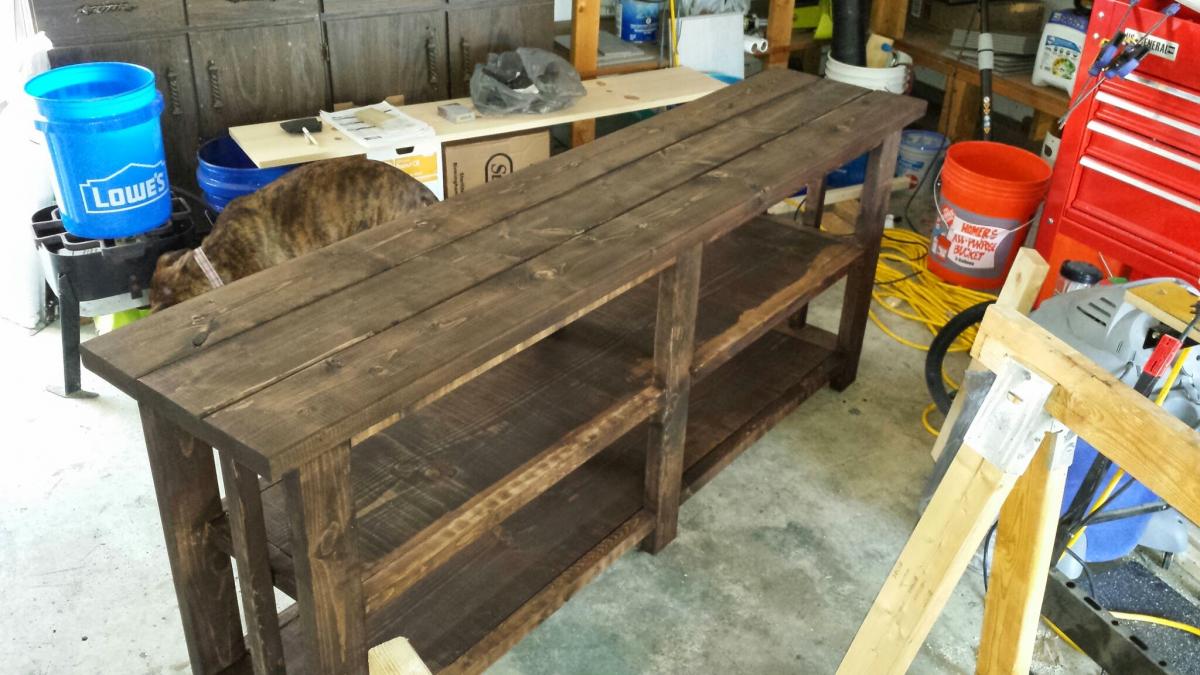
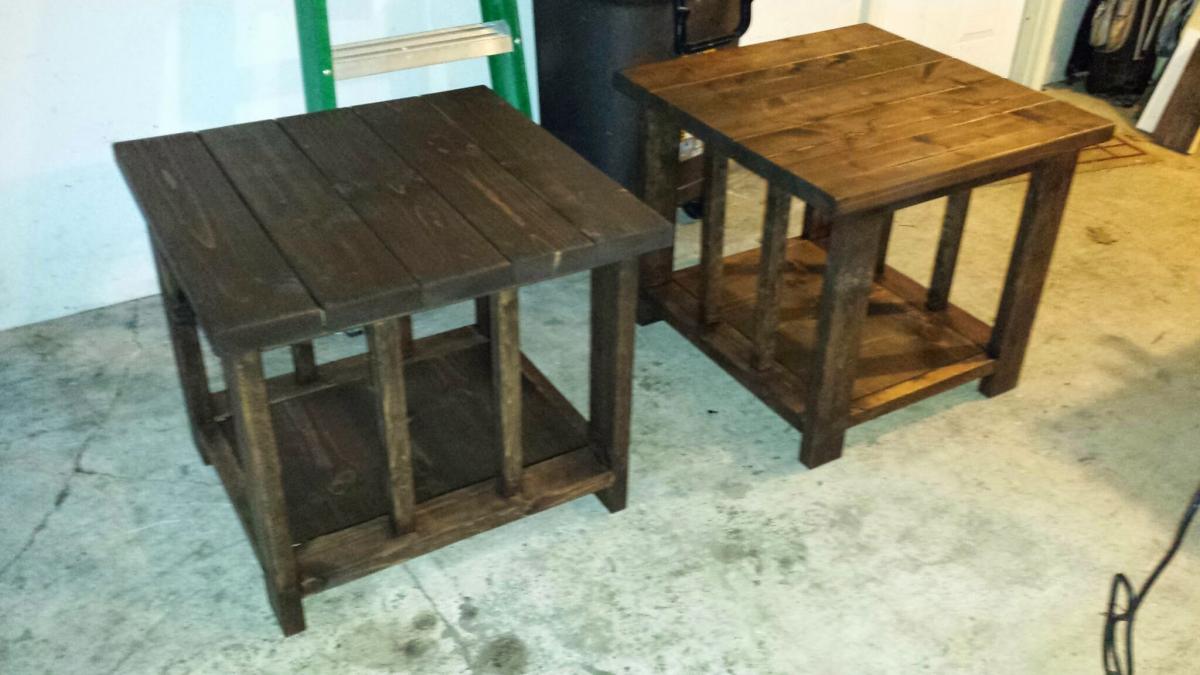
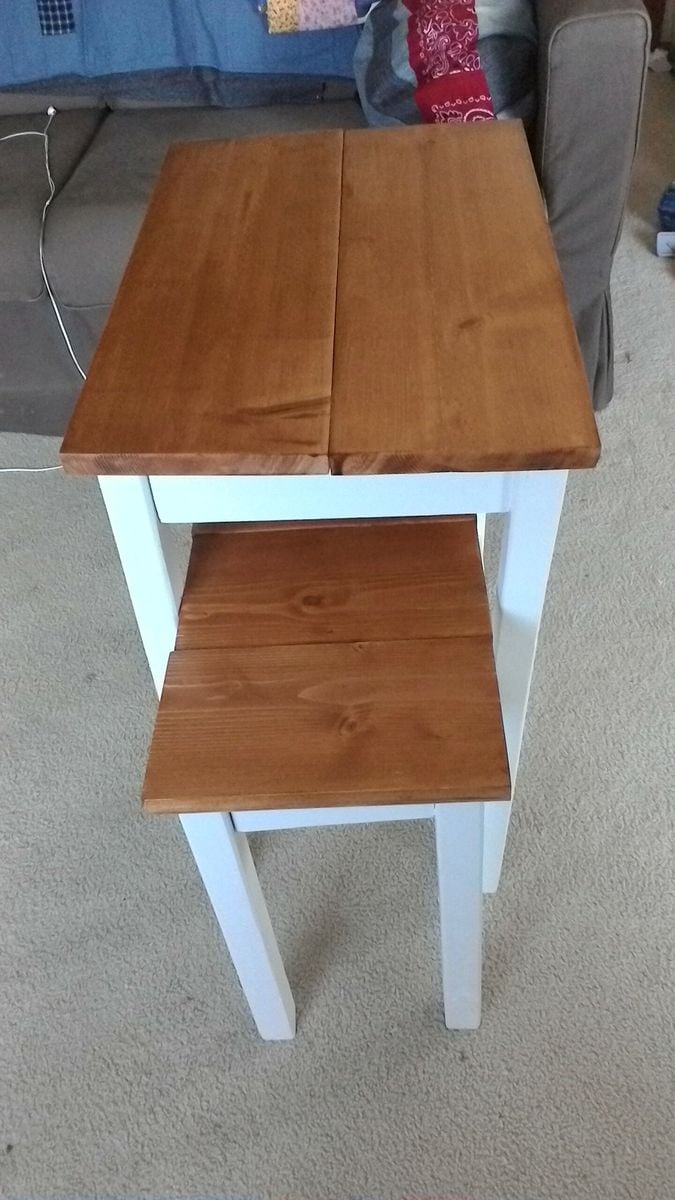
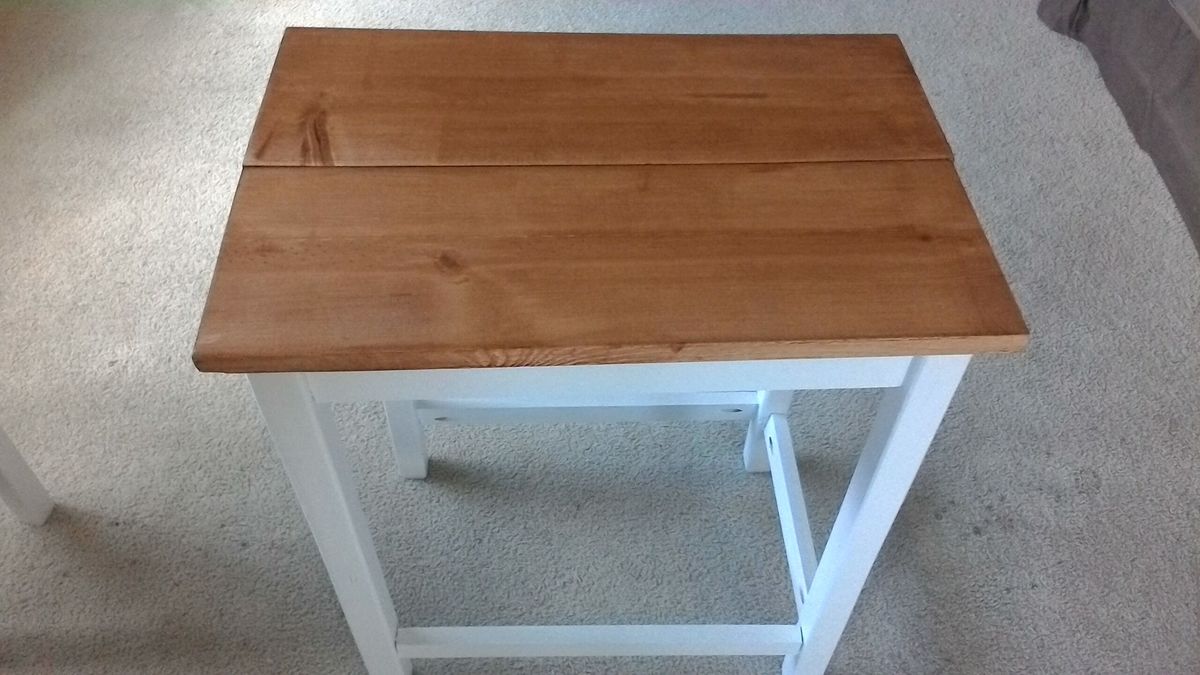
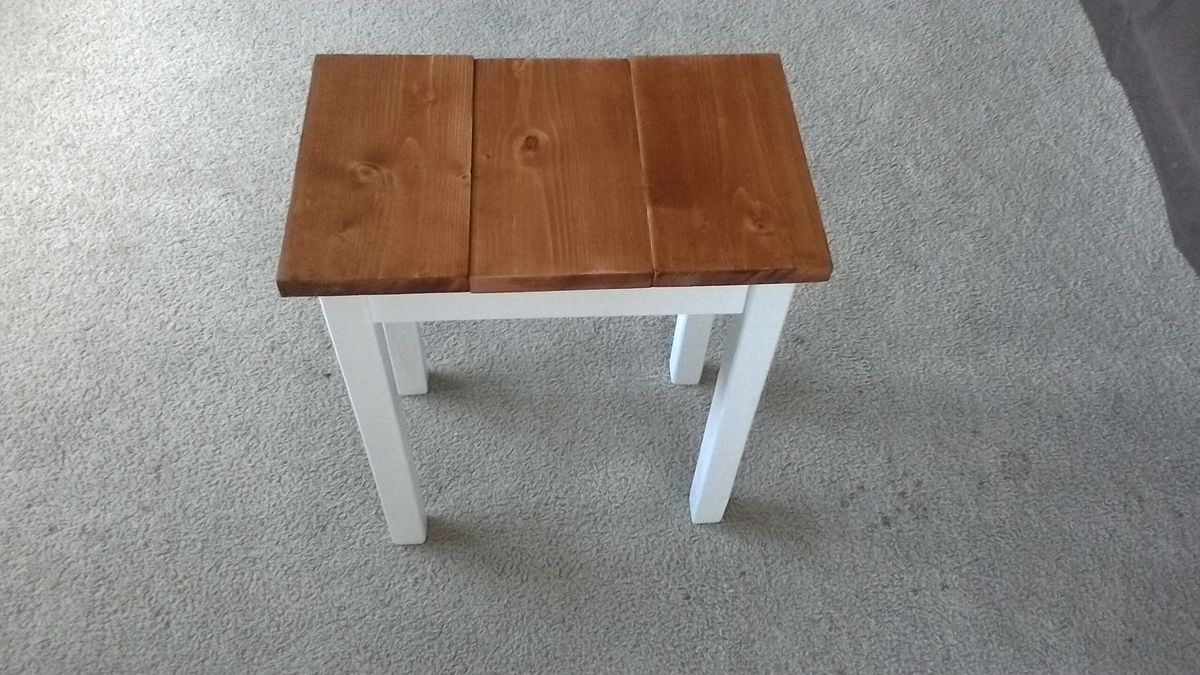
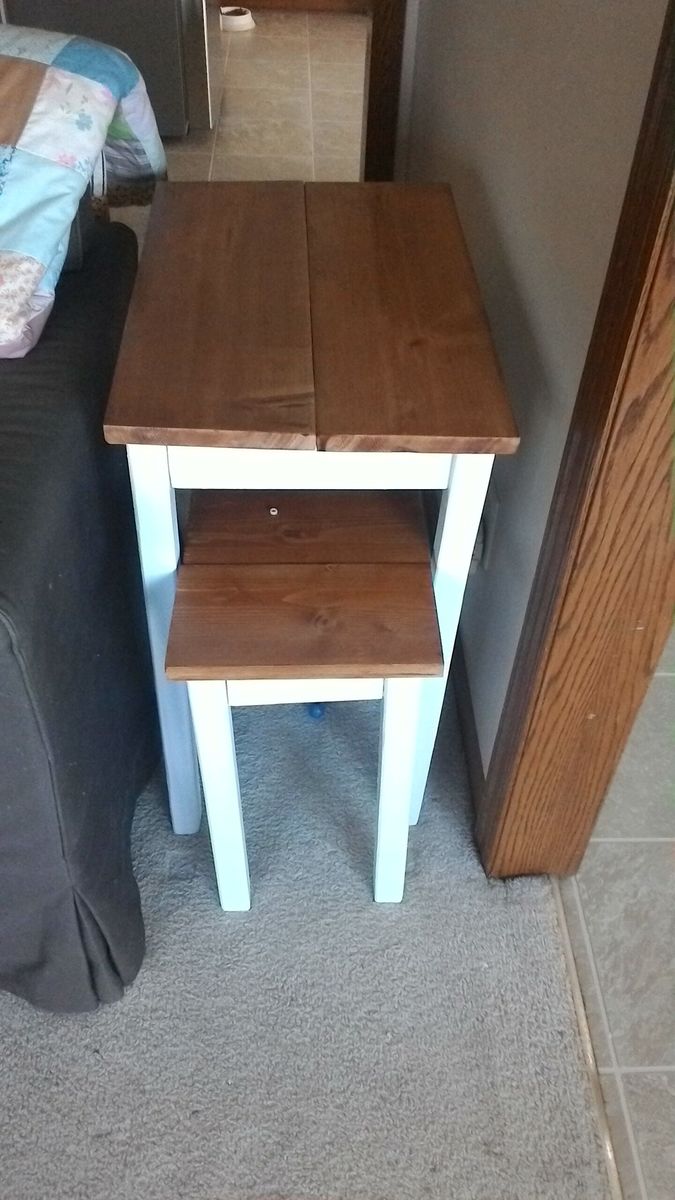
Rectangle Nesting Tables
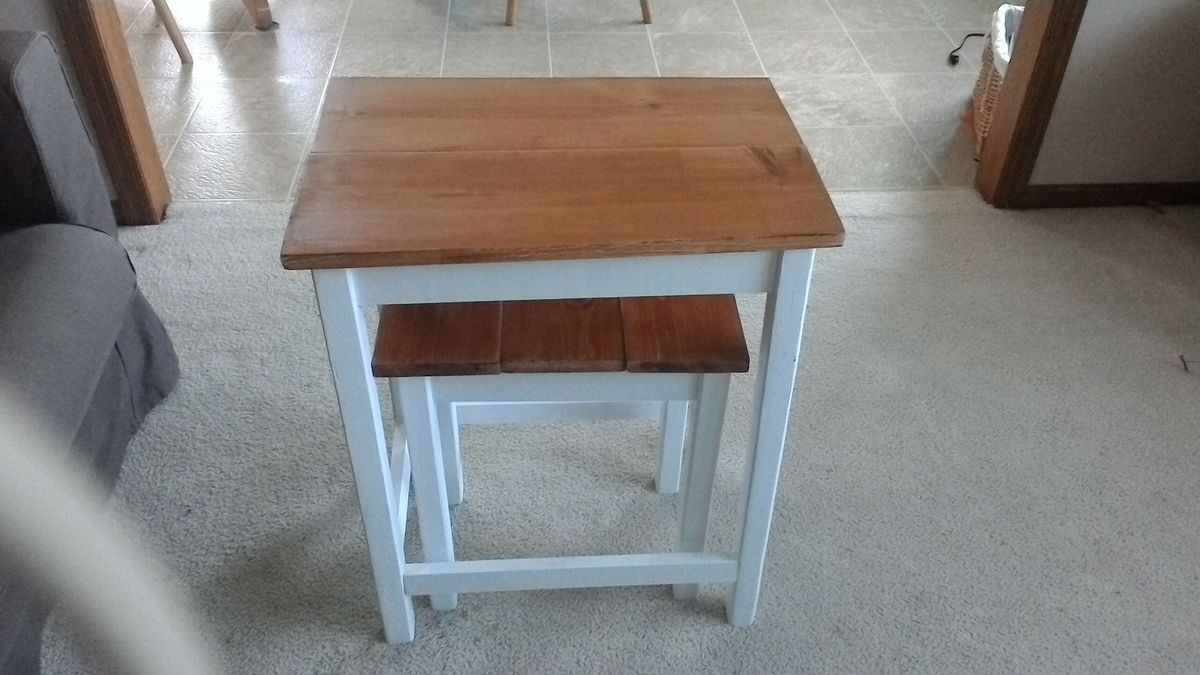
I needed a small rectangular table to put between the sofa & wall. I also wanted a small table to set elsewhere in the room temporarily. Nesting tables were the answer. I adjusted several measurements to fit the wood I had on hand for the tops. The larger table used 2 1x8's. The smaller table is topped with 3 1x6's. I also used 1by lumber instead of 2by except for the 2x2 legs.
Built from Plan(s)
Estimated Cost
Mostly used lumber I already had, about $15 if new
Estimated Time Investment
Day Project (6-9 Hours)
Finish Used
Leftover white paint, stain/ poly combo from house windows
Recommended Skill Level
Beginner
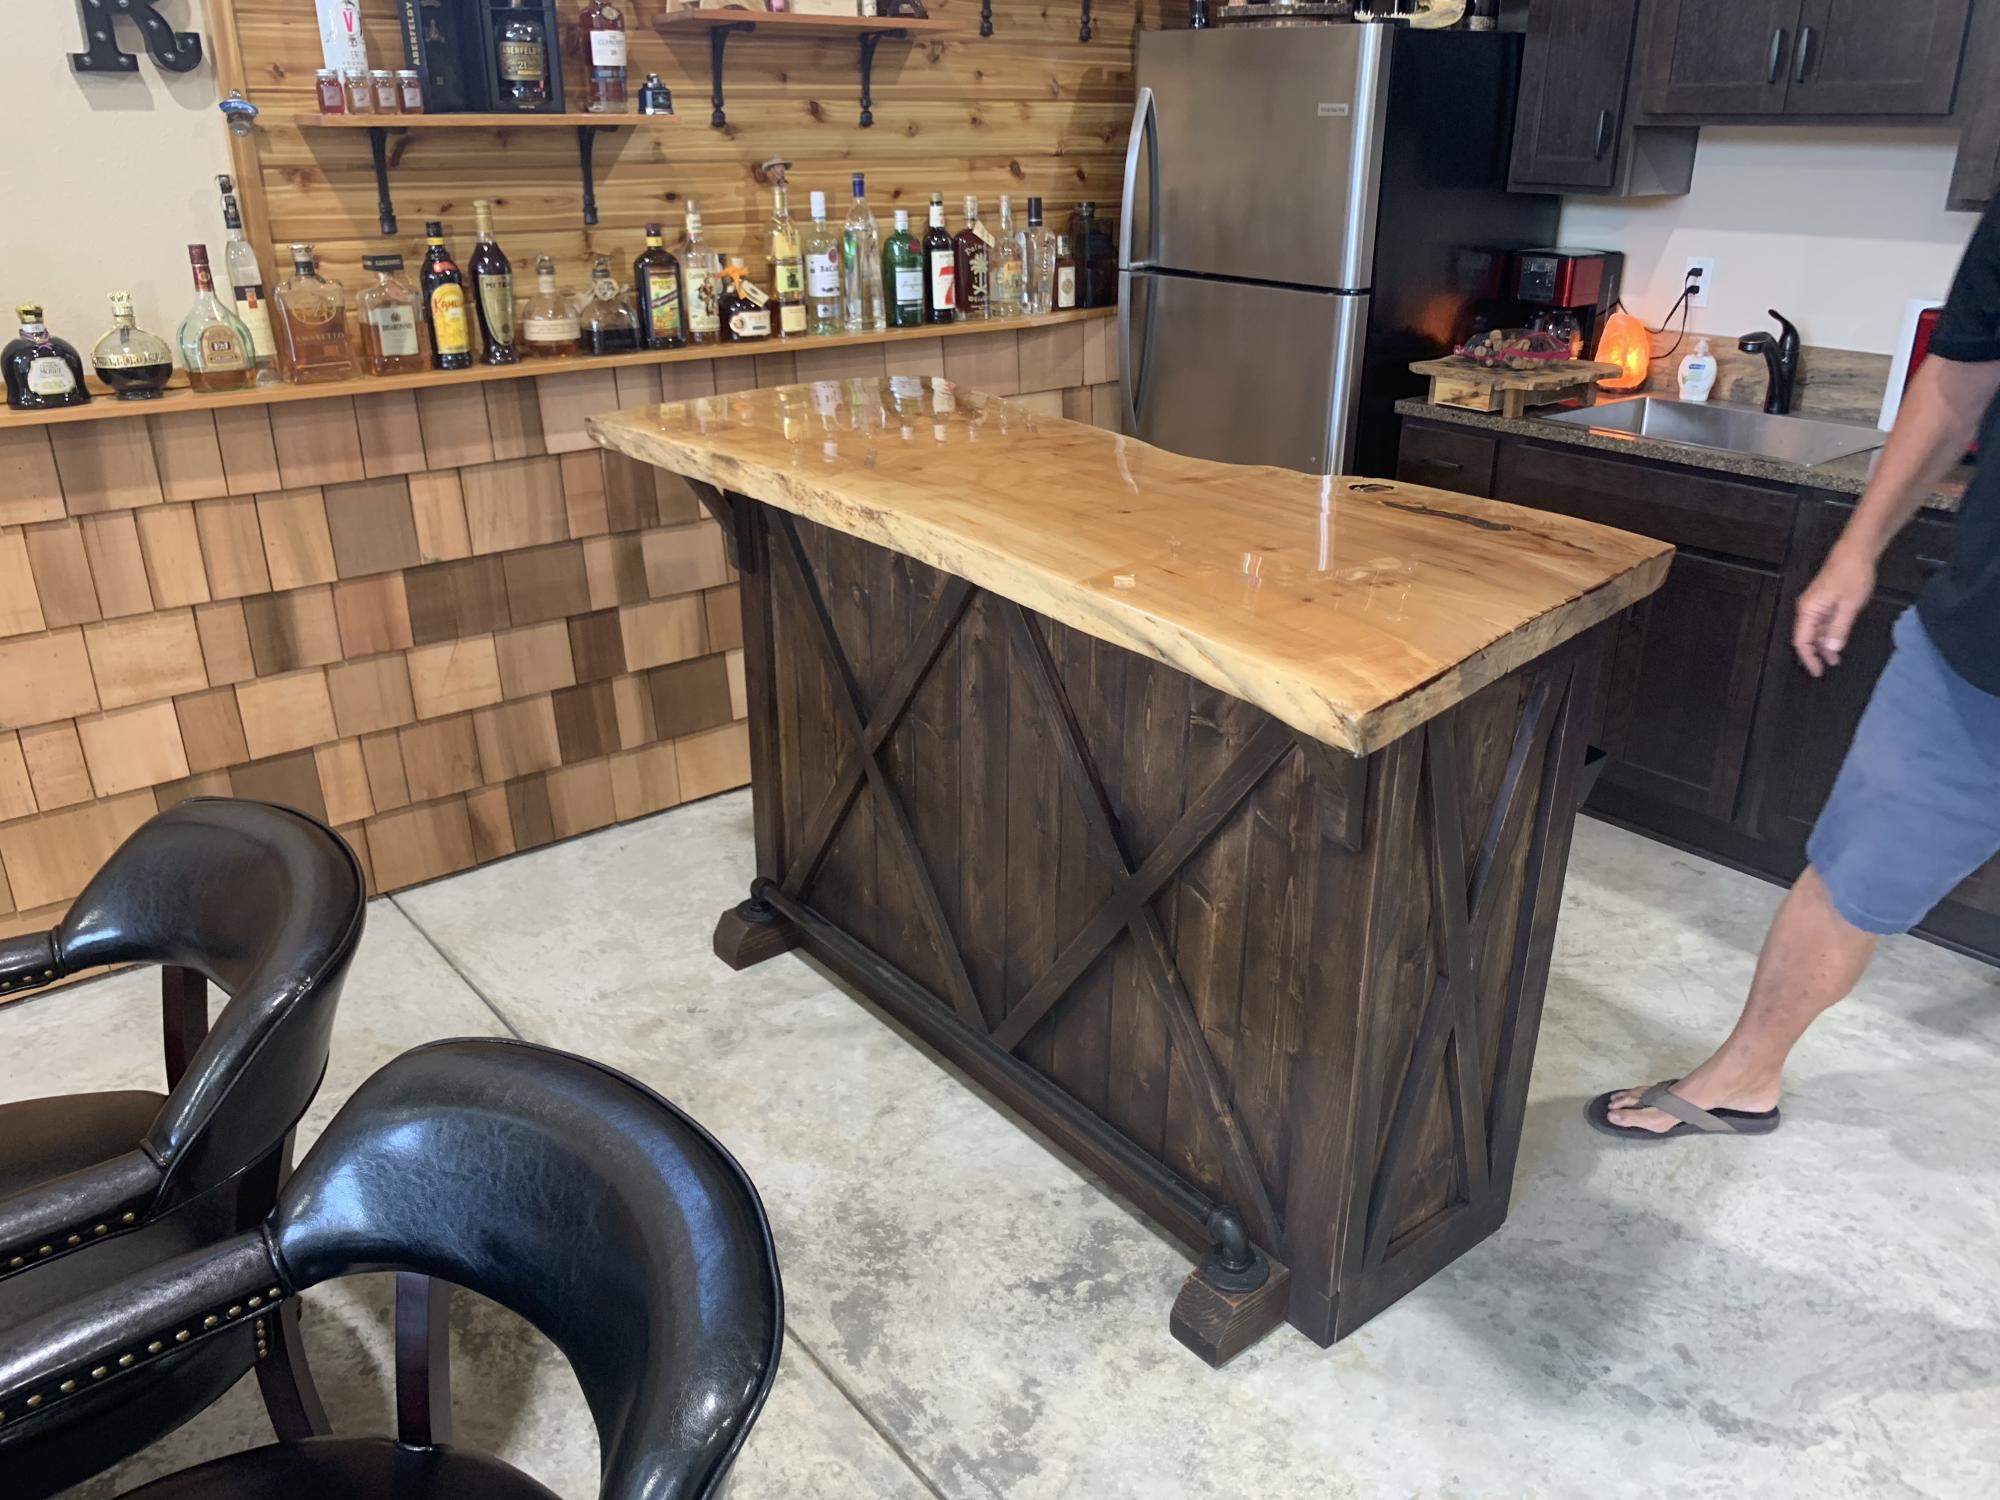
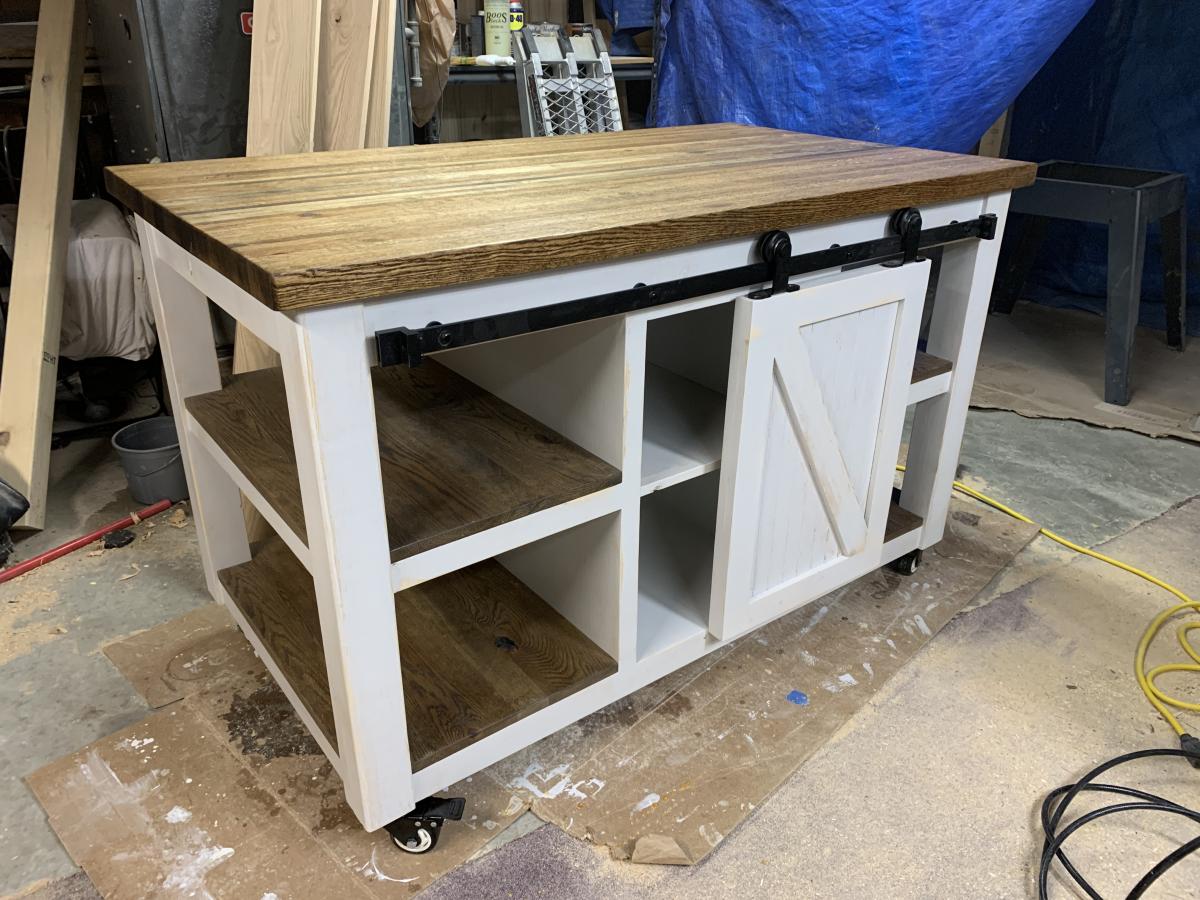
Custom kitchen island
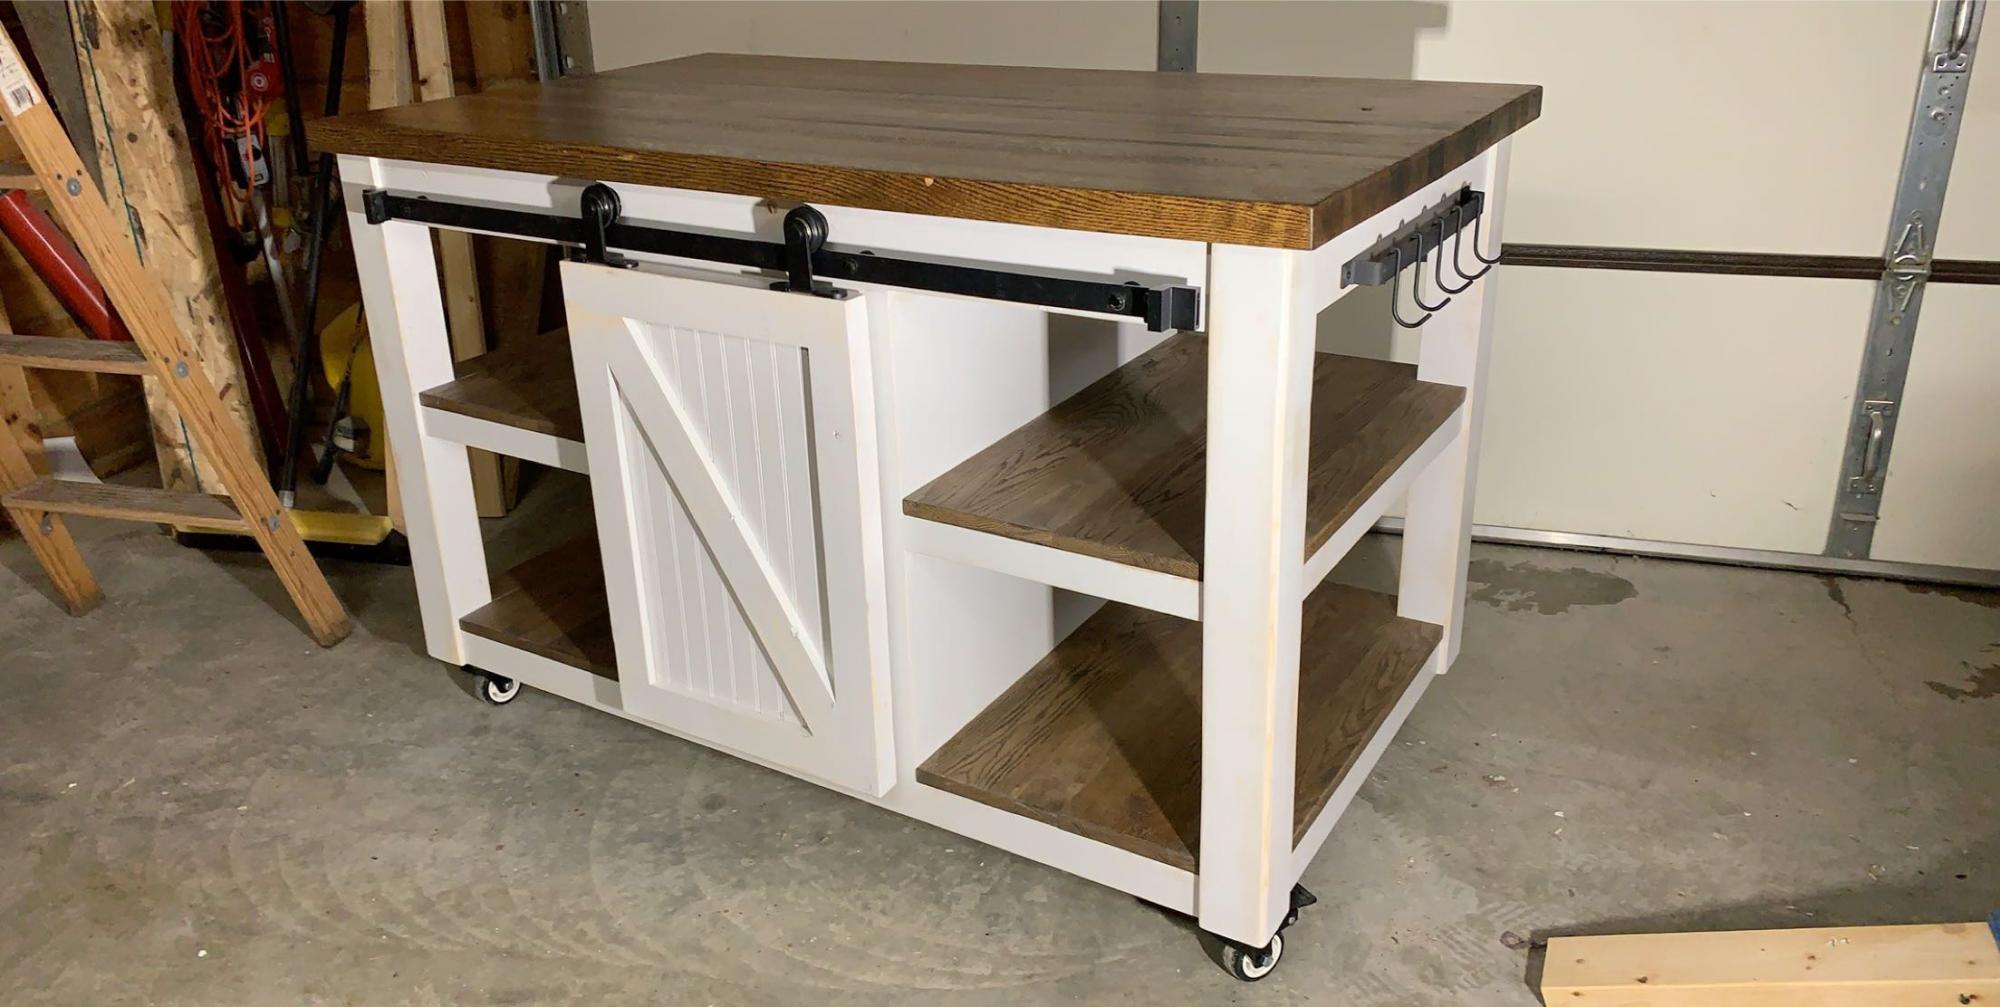
I built this custom kitchen island for a family friend that wanted something bigger than what can be purchased at a retail store. They also wanted to have a butcher block top for cutting meat. The base is made out of select pine and the stained parts is red oak with a couple strips of birch. The over all project took me 5 days to build. With the top being the longest because it consisted of 94 1 ¼” pieces glued together. Thanks for looking!
Estimated Cost
$1,200
Estimated Time Investment
Week Long Project (20 Hours or More)
Finish Used
White Chalk paint mixed with a little antique white, sanded, and spray with poly. Dark stain for top with butcher block oil and sealer.
Recommended Skill Level
Intermediate
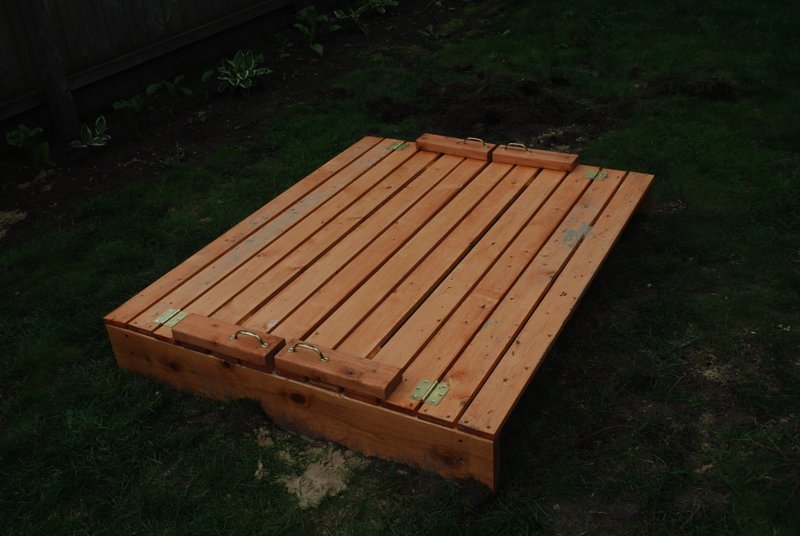
Sandbox with Benches
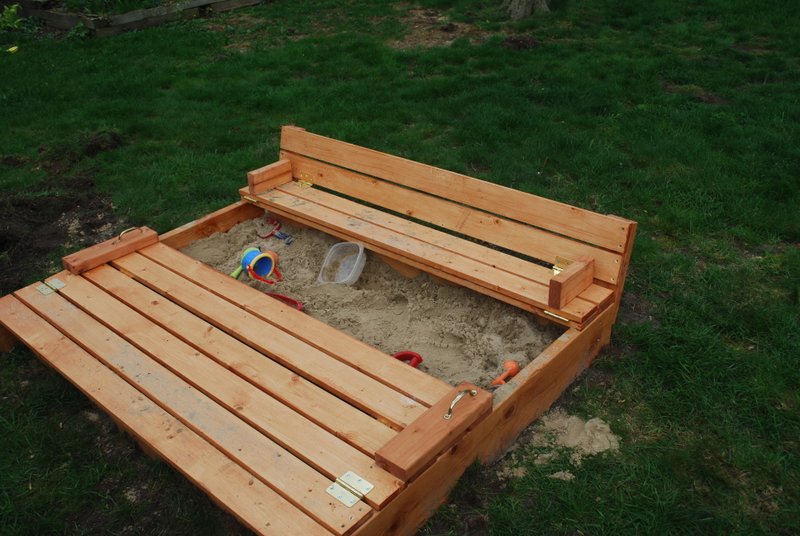
For the last year we have been kicking around making a sandbox. We really needed a cover and really wanted seats. So this worked out perfect. We did modify the plan a little to make it just a little bigger. It is 4' x 5' instead of the 4'x4' called for in the plans. Very easy to build...we have very little building experience and pulled it off. We did dig out the grass where the box was going to sit and stapled 2 layers of landscaping fabric to the bottom of the box frame. We also sealed the main box frame with a little silicone to minimize sand leakage.

Built from Plan(s)
Estimated Time Investment
Day Project (6-9 Hours)
Finish Used
Miniwax Polystain (Stain and Urethane in one) in Pecan color
Recommended Skill Level
Beginner
Comments

Mon, 05/07/2012 - 05:32
Widening
Thanks. There are the same number of 1x4s on the top they are just longer. I was worried about the benches sagging because of the increased length and was prepared with scrap 2x4s to add support under the first two boards if needed but it doesn't seem to be a problem. We only widened it to 5' though...I think at some point that extra support would be needed.
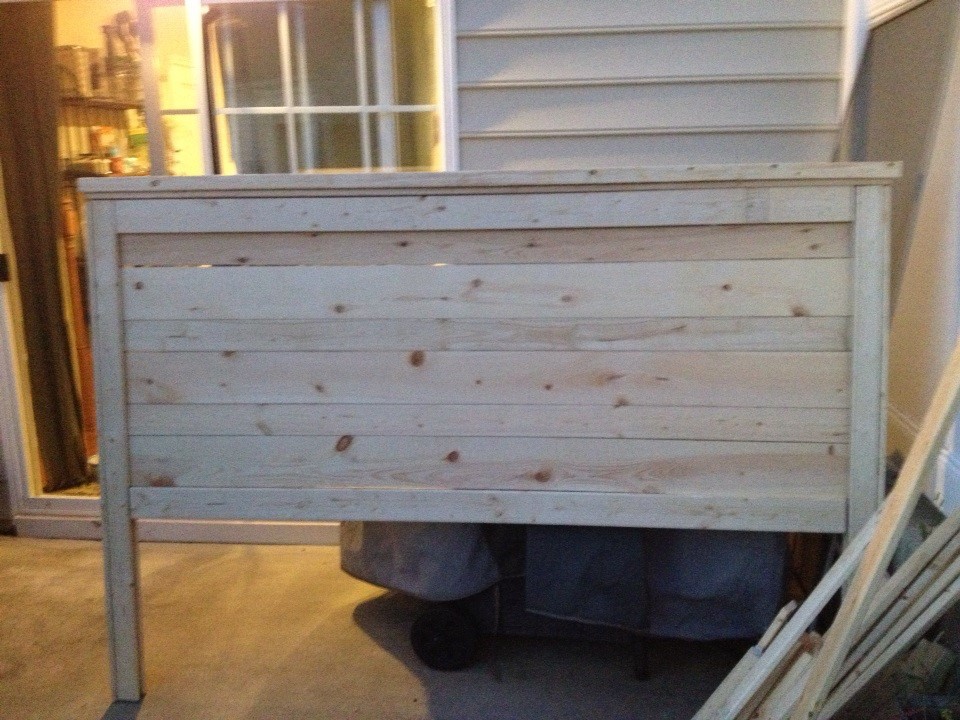
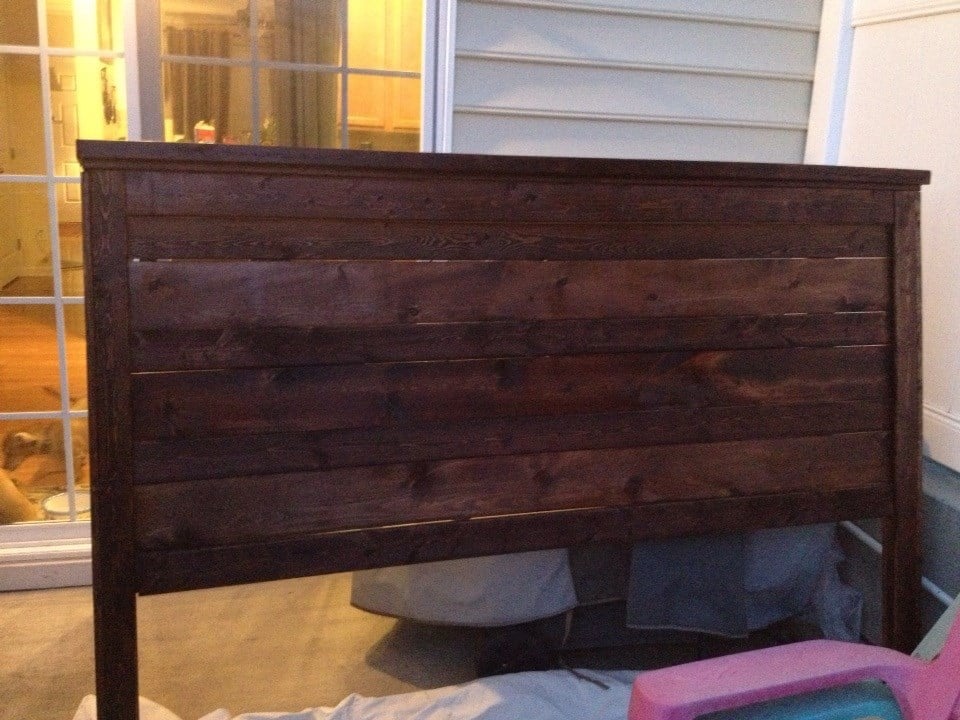
Headboard
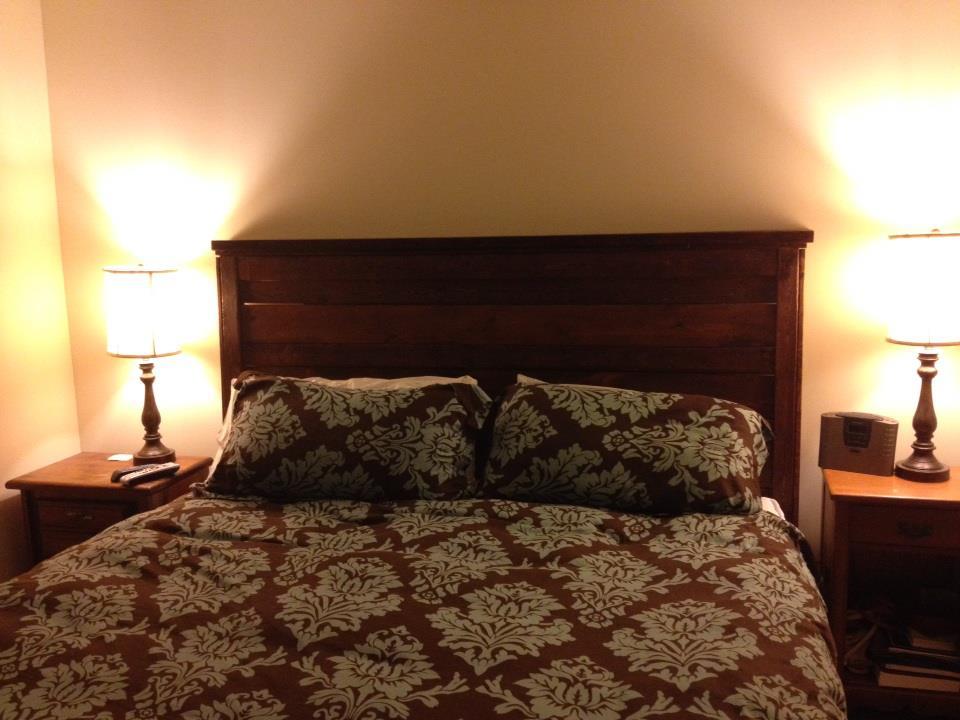
2nd project - added some additional supports on the back with scraps & fixed a bowing issue. We've had it in the bedroom since October 2013 & love it (especially the price tag)!
Built from Plan(s)
Estimated Time Investment
Afternoon Project (3-6 Hours)
Recommended Skill Level
Beginner