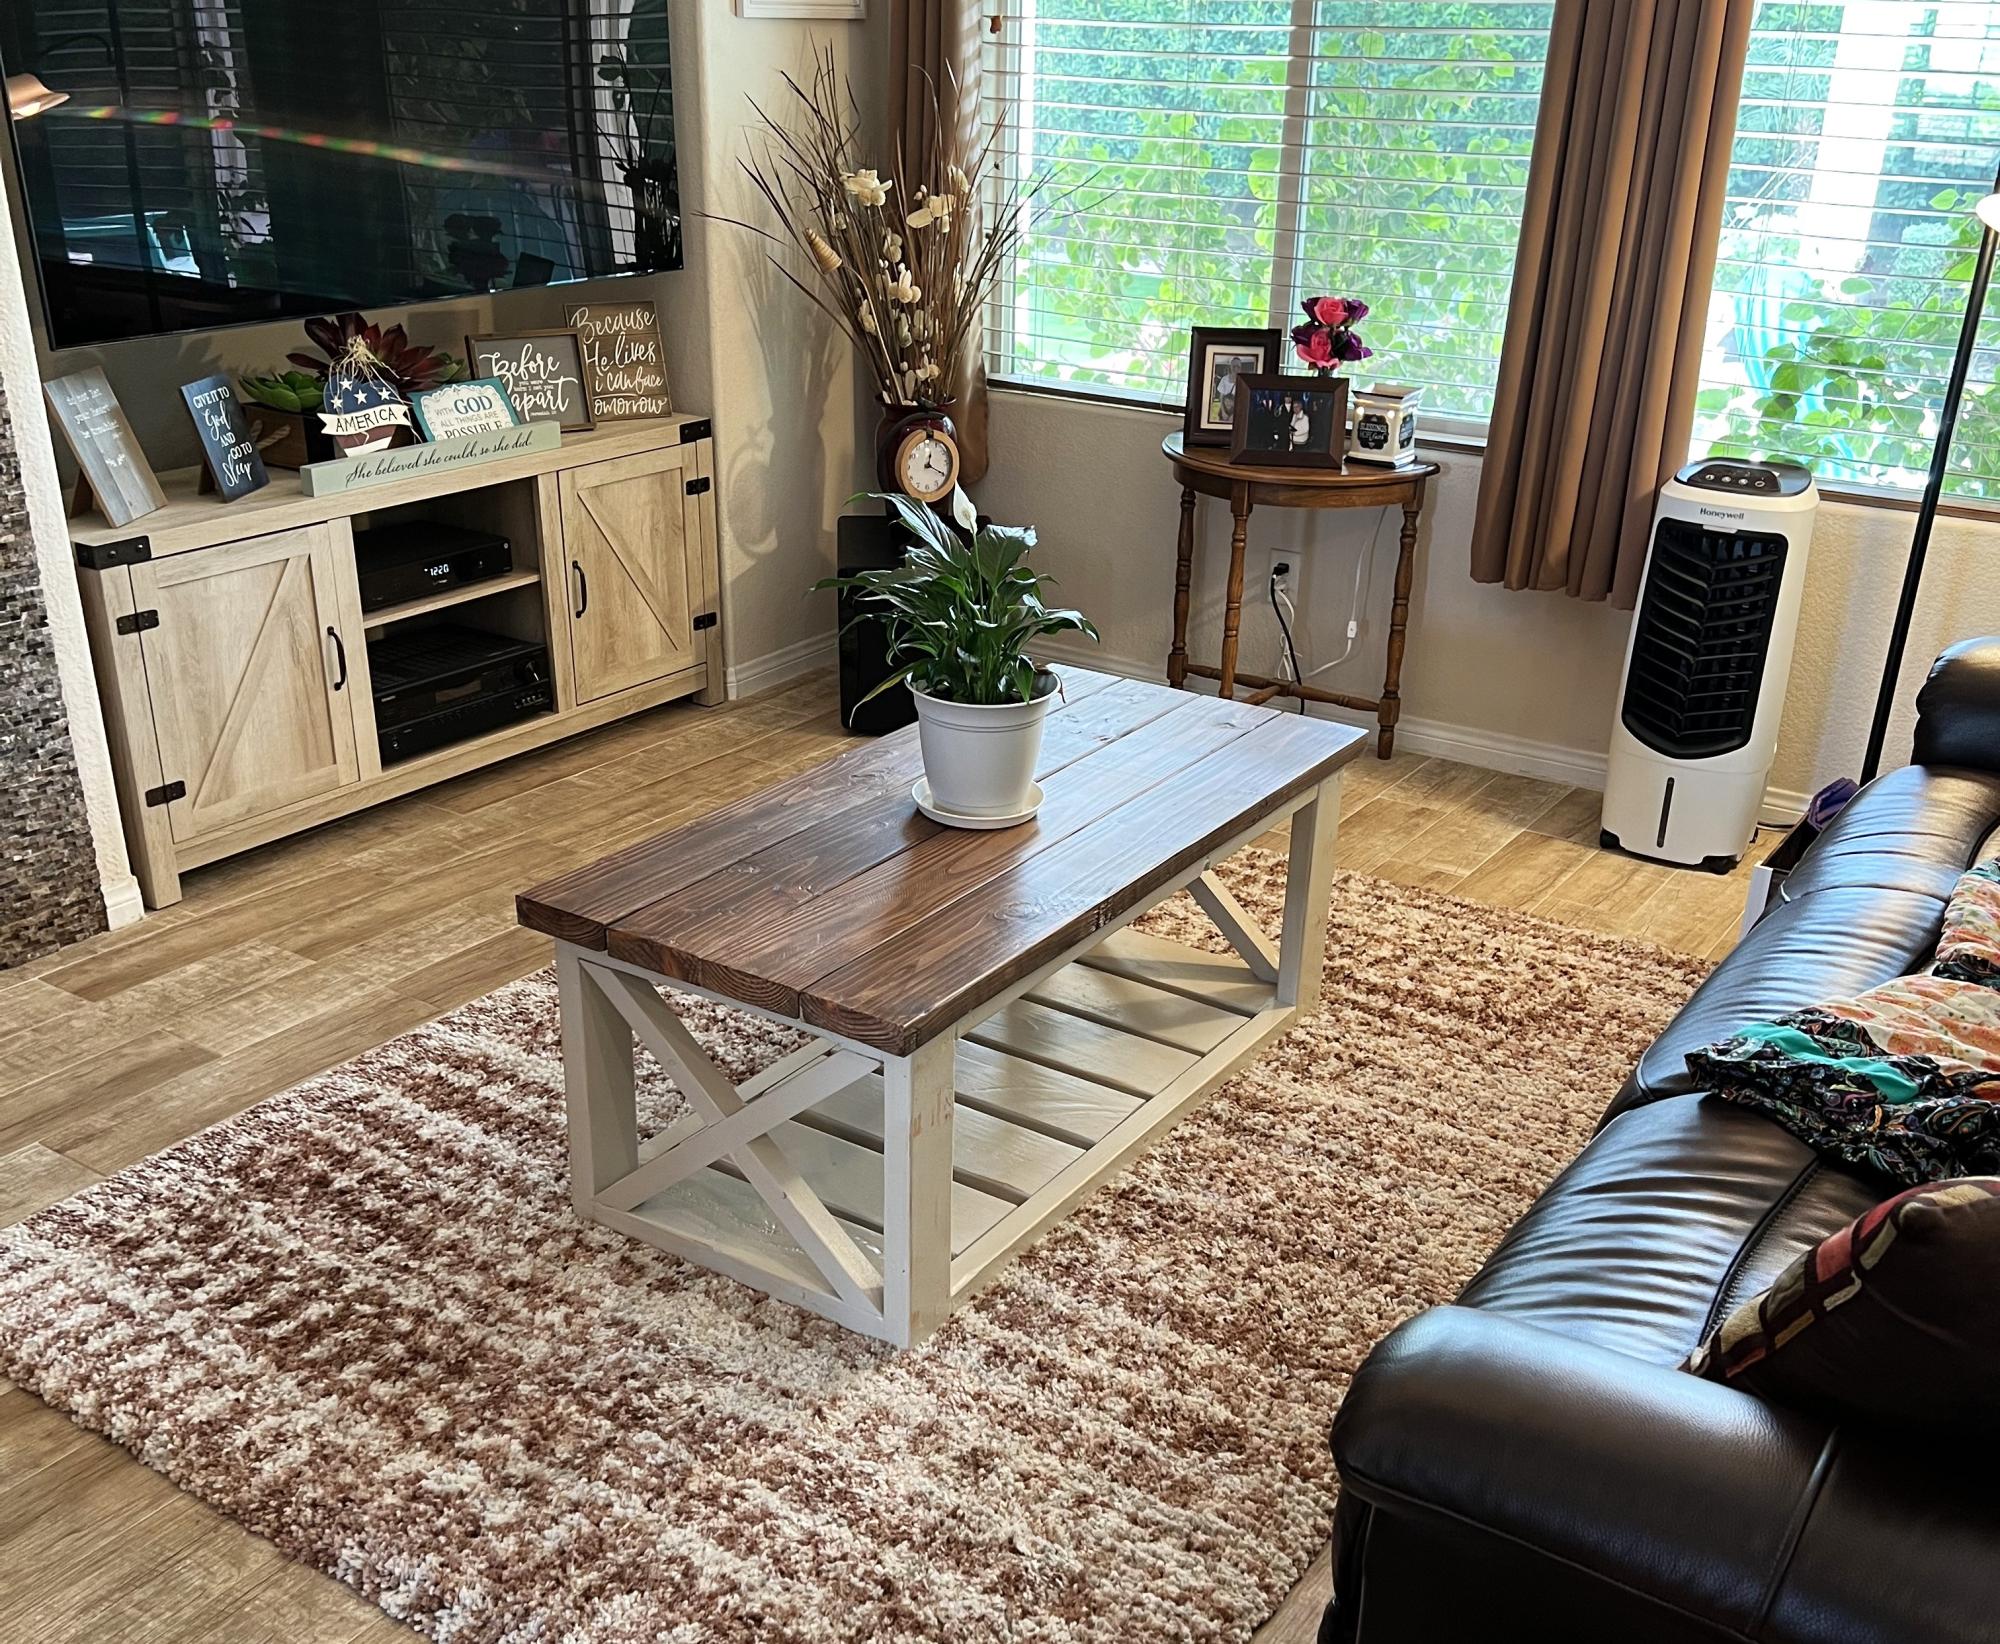
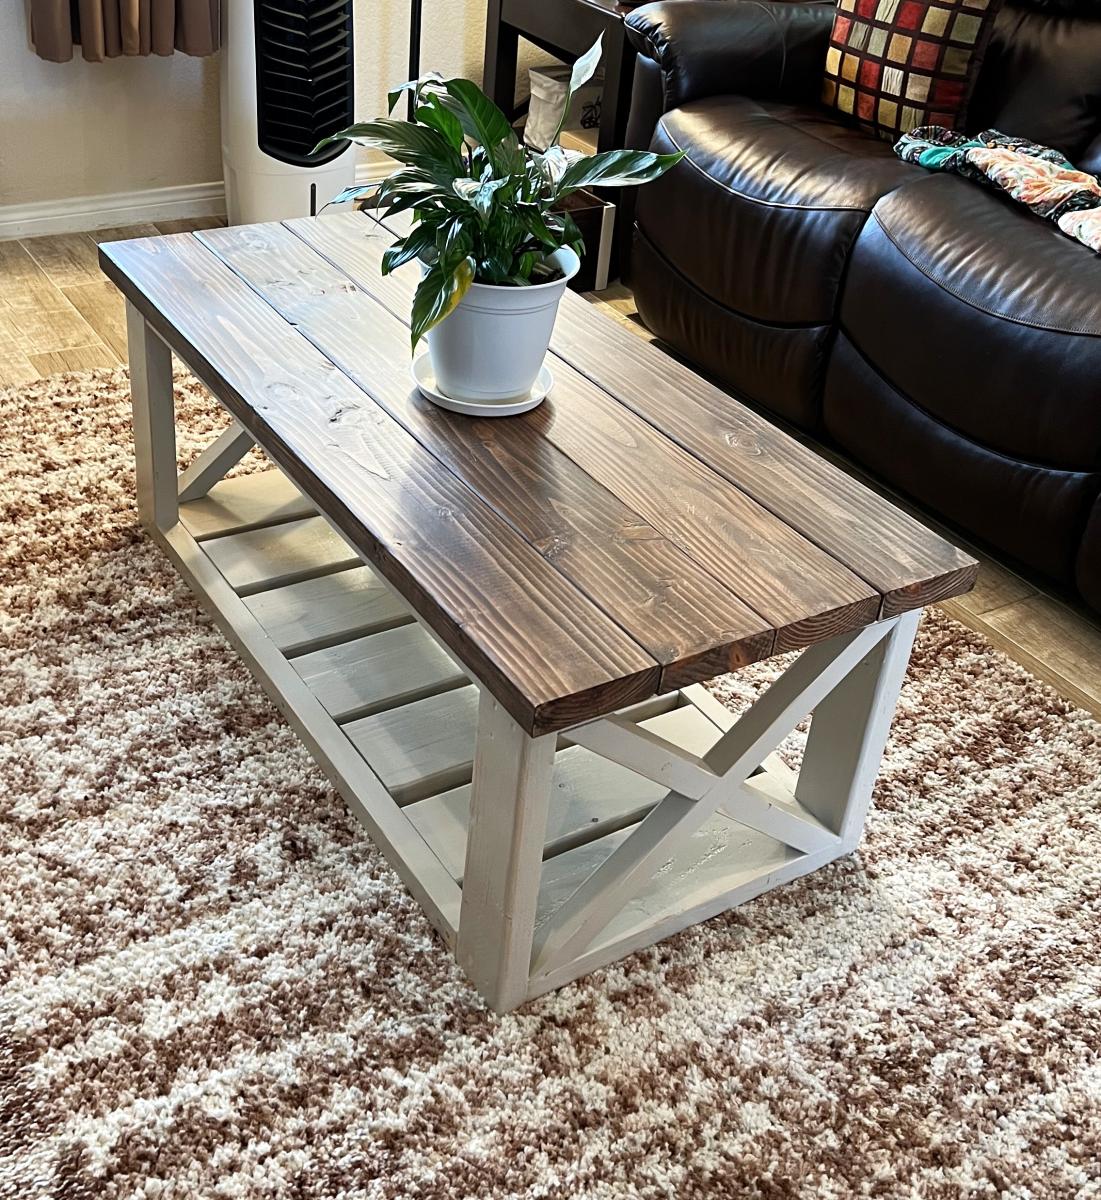
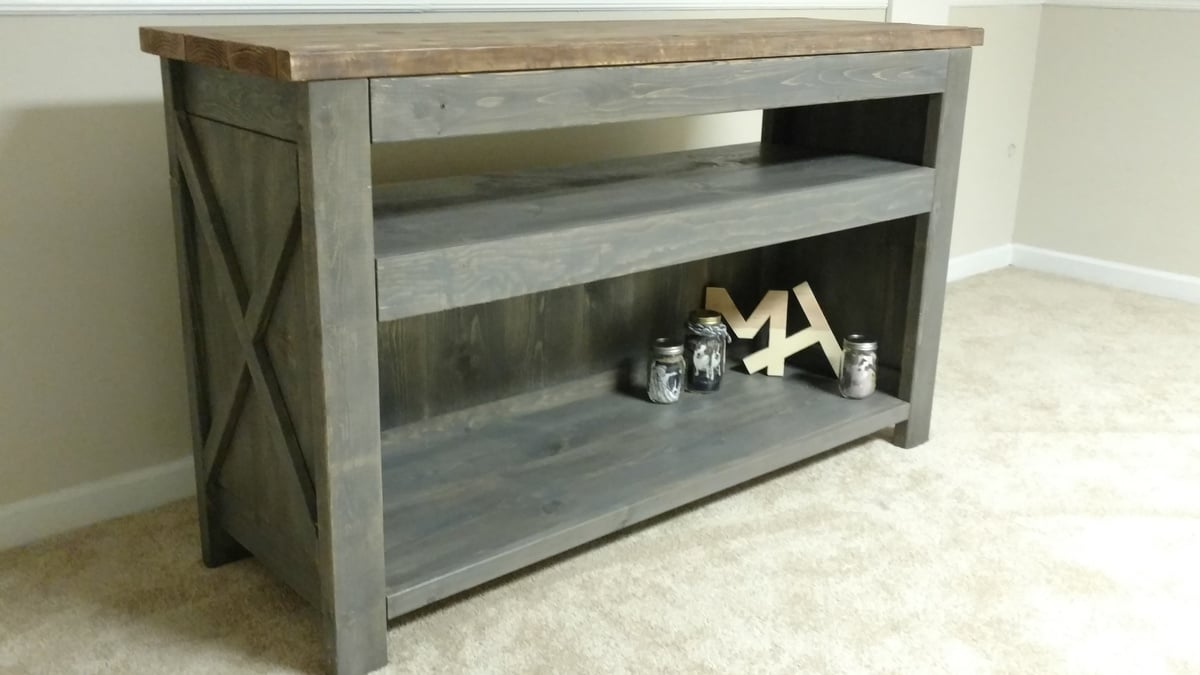
Rustic X coffee table
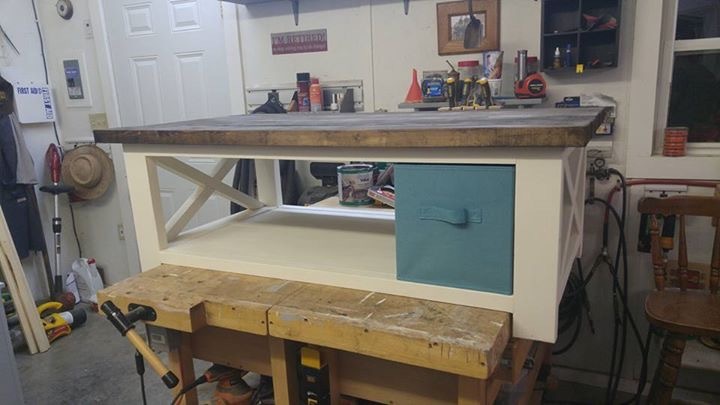
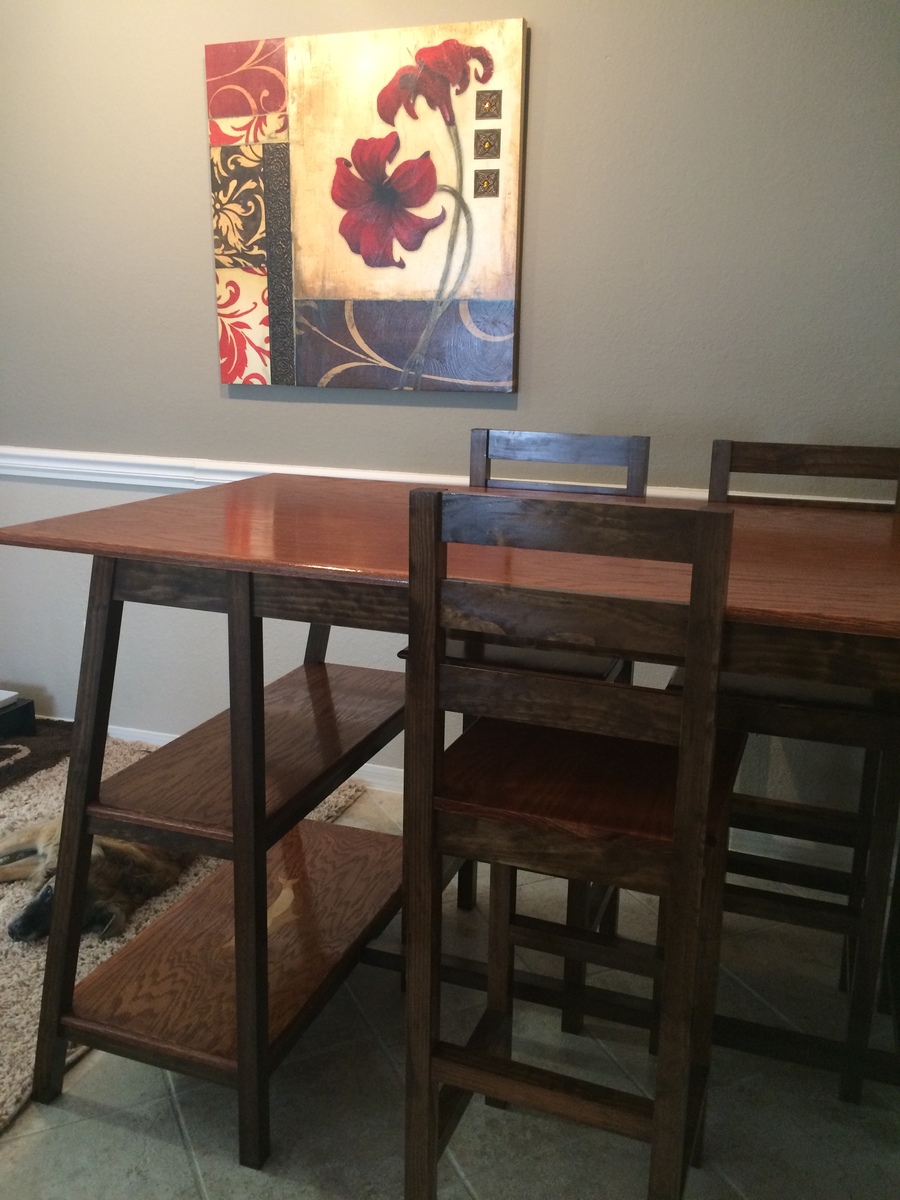
This table was very easy to build. A little bigger than I expected. You can fit storage cubes in it perfectly.
Built from Plan(s)
Estimated Cost
$70
Estimated Time Investment
Day Project (6-9 Hours)
Finish Used
Stain and chalk paint
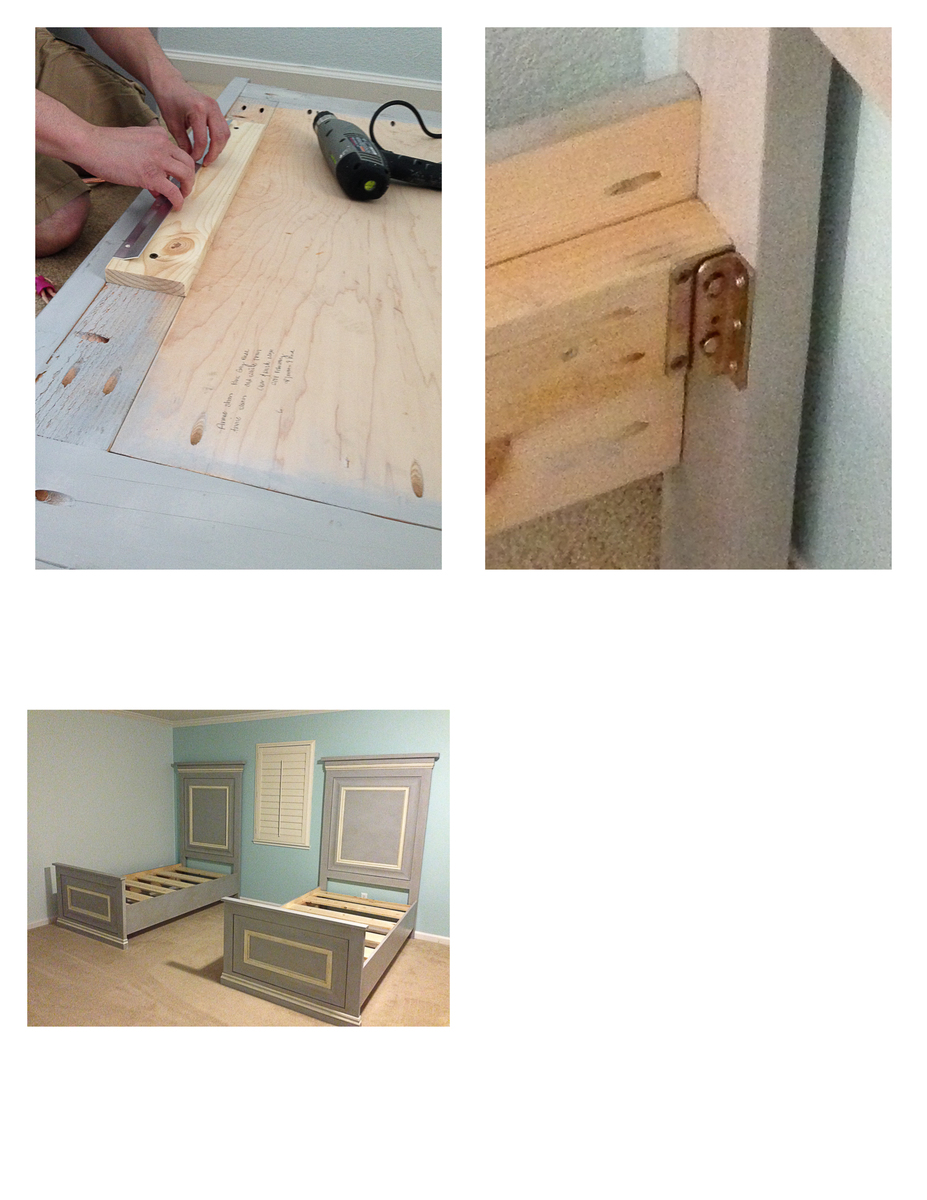
Recommended Skill Level
Beginner