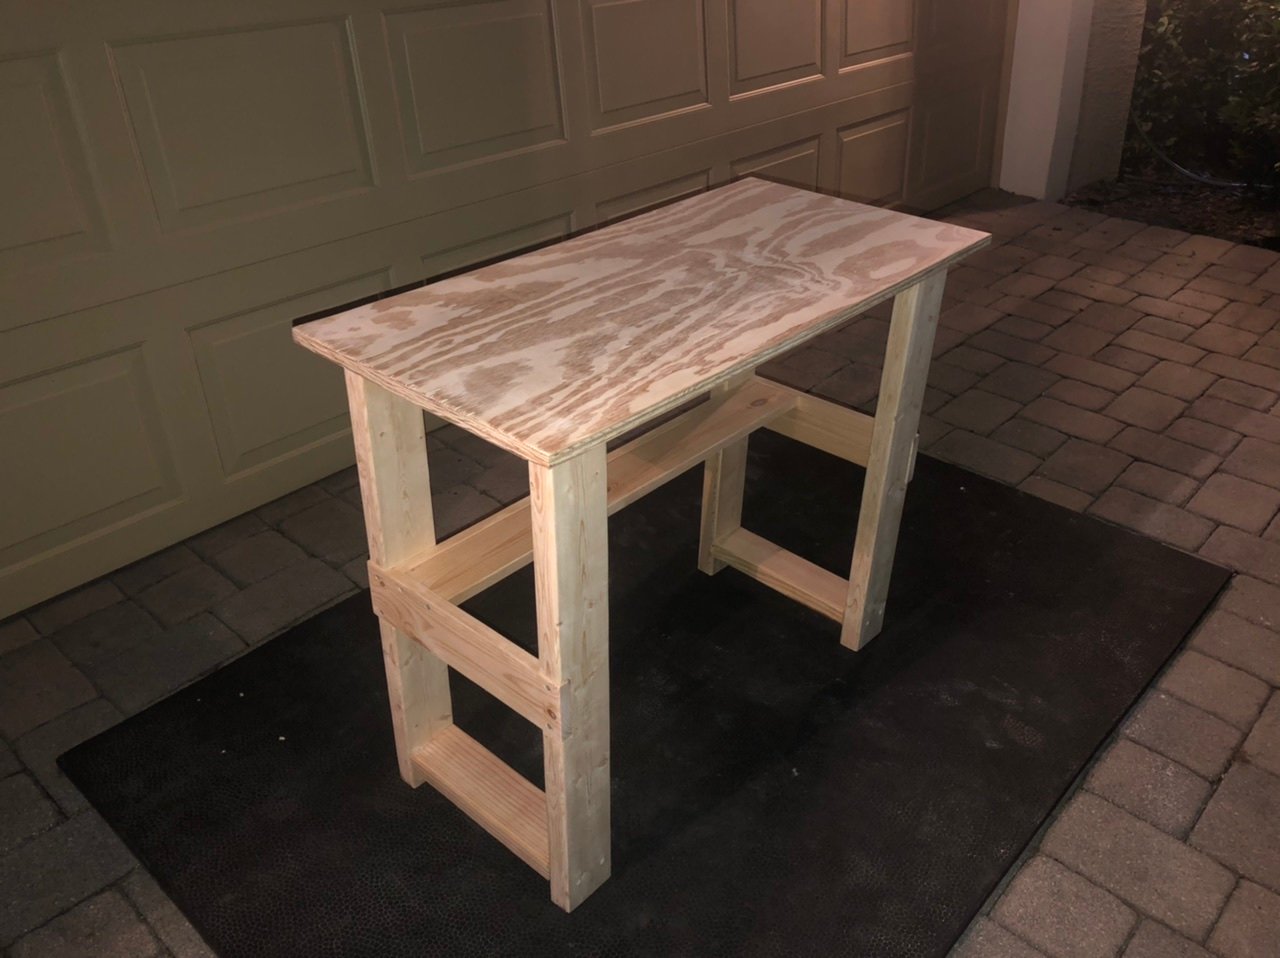
Ultimate Workbench for me
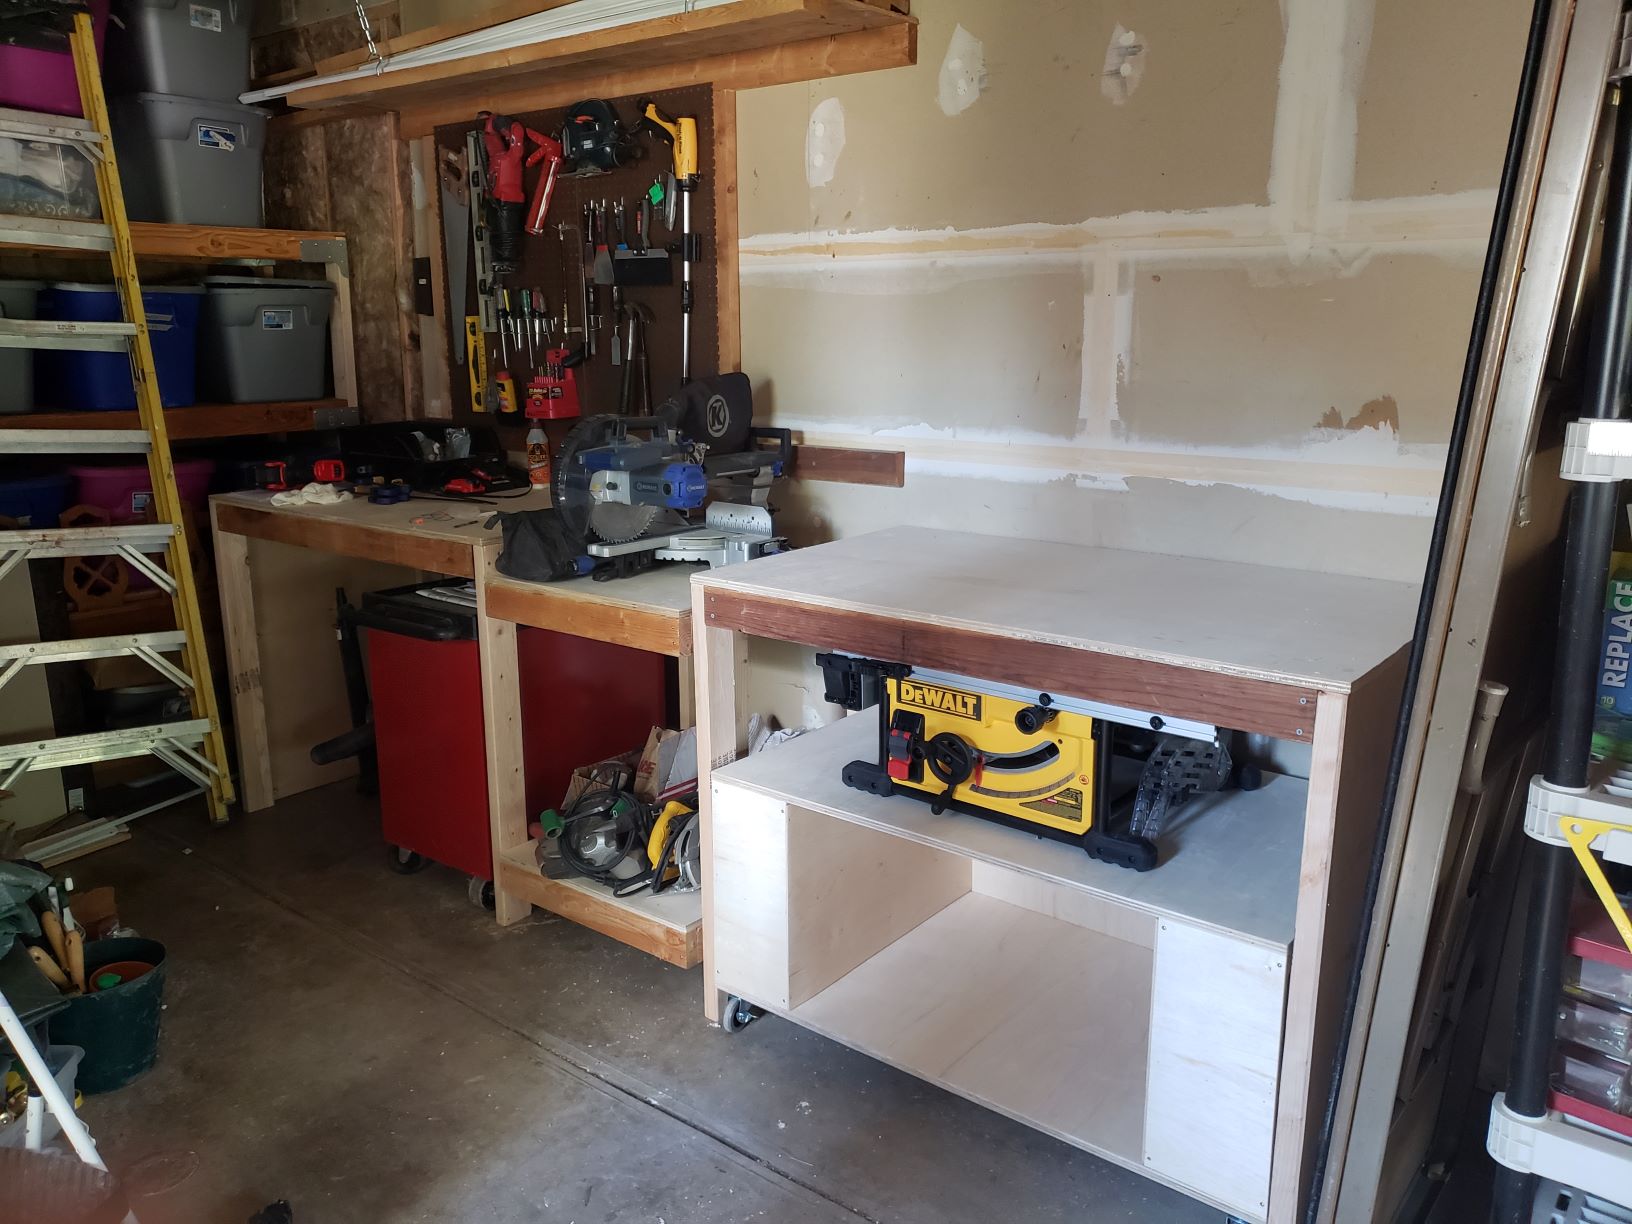
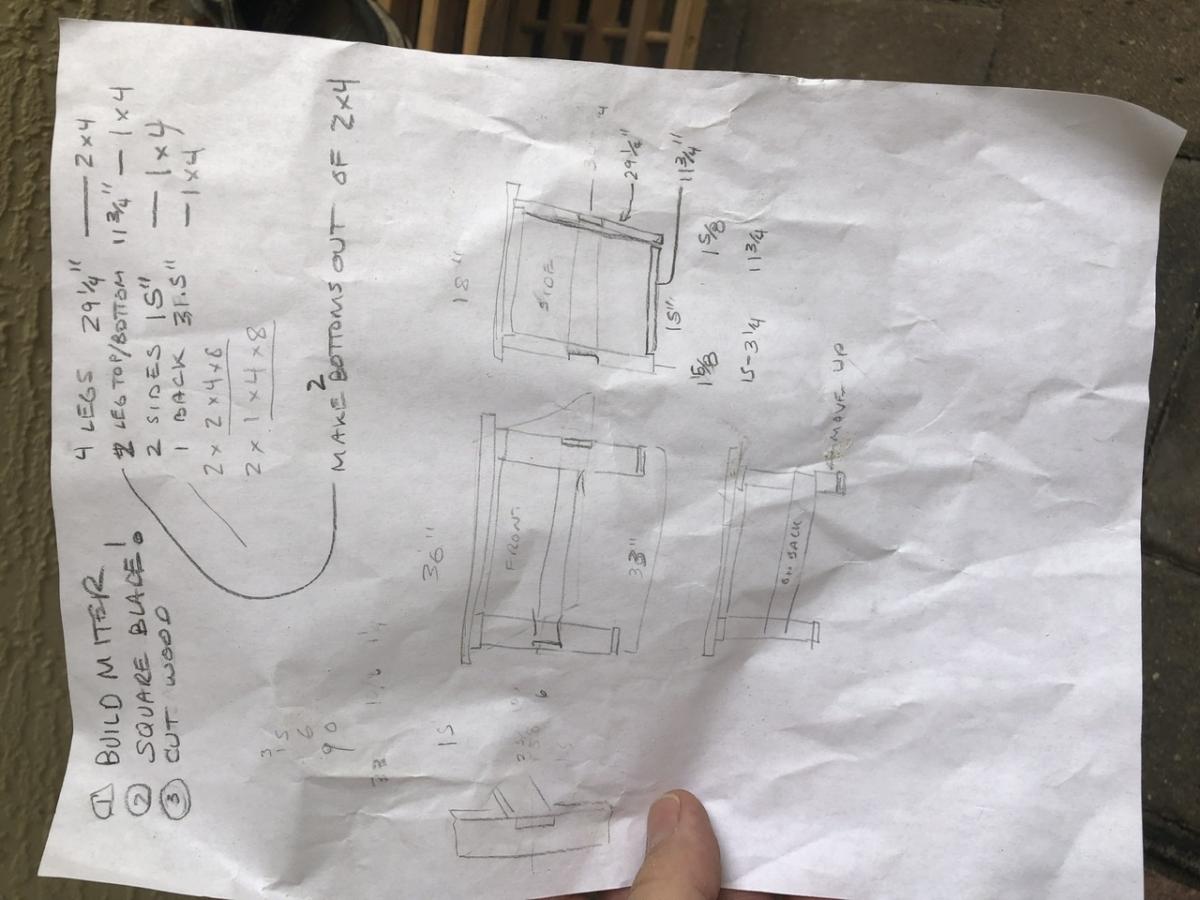
I altered the original plans in the following ways:
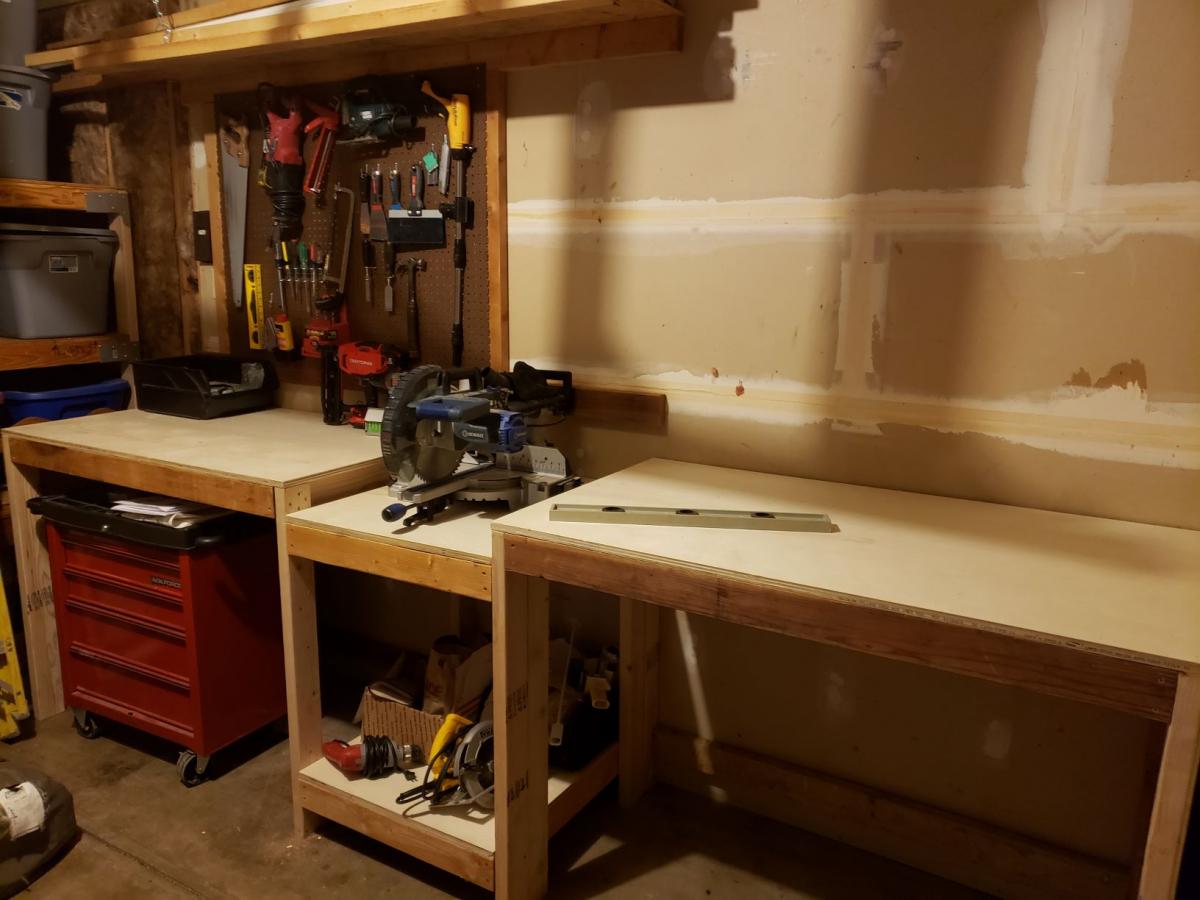
- Only built one rolling cart because I already had a multi-drawer tool chest that fit right under the workbench.
- Built the right half of the workbench as a separate piece from the miter table because attic access is right above it and we need to move the workbench to get to it.
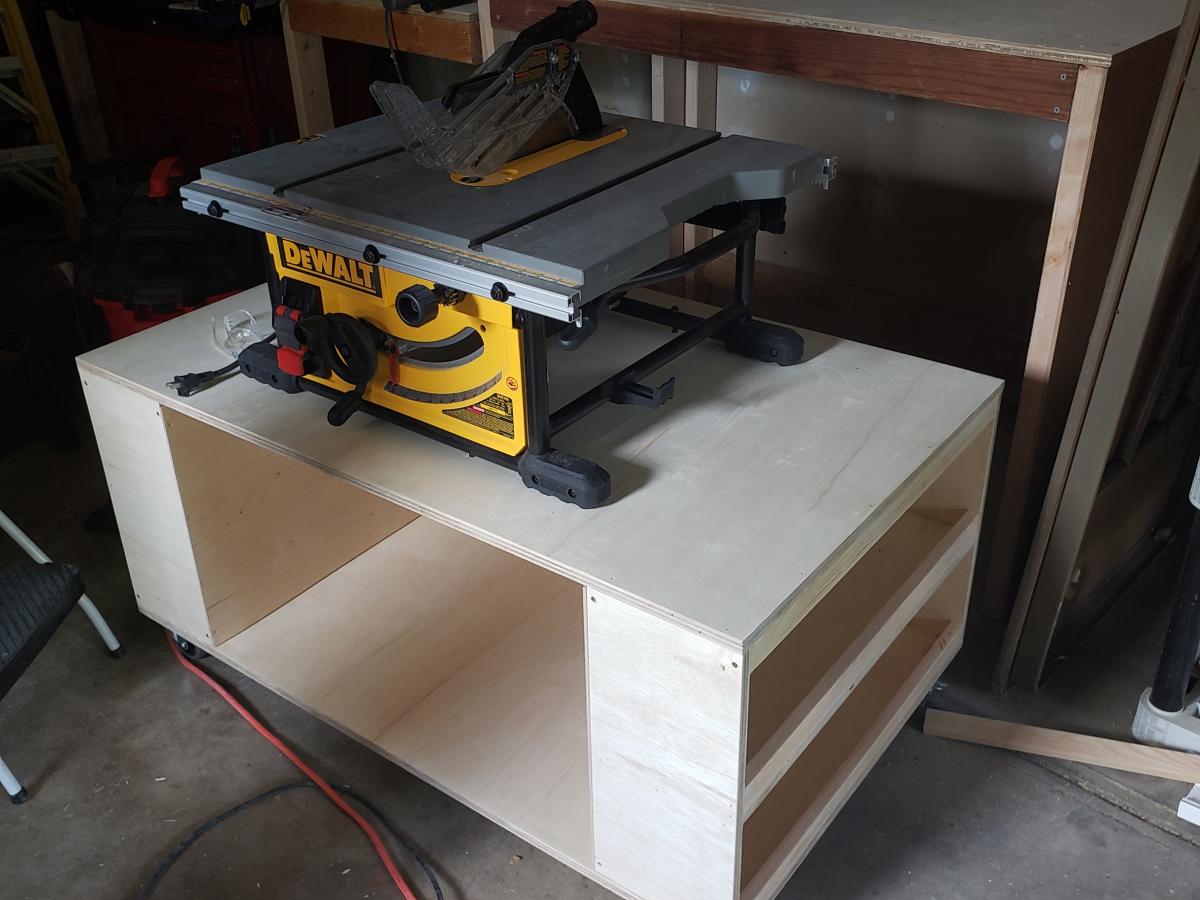
- Built a half cart for the table saw because the Dewalt contractor saw extends too far to the sides to have it boxed in.
- I'm going to add a sliding plate that locks down for my miter saw so I can pull it away from the wall without dragging or lifting it.
- I used a nail gun with two inch nails instead of staples since I don't own a staple gun that holds staples that long.
I'm not that experienced with projects so here are a couple of things I learned:
- Attach the castors far enough under the cart so that the wheel never extends beyond the sides.
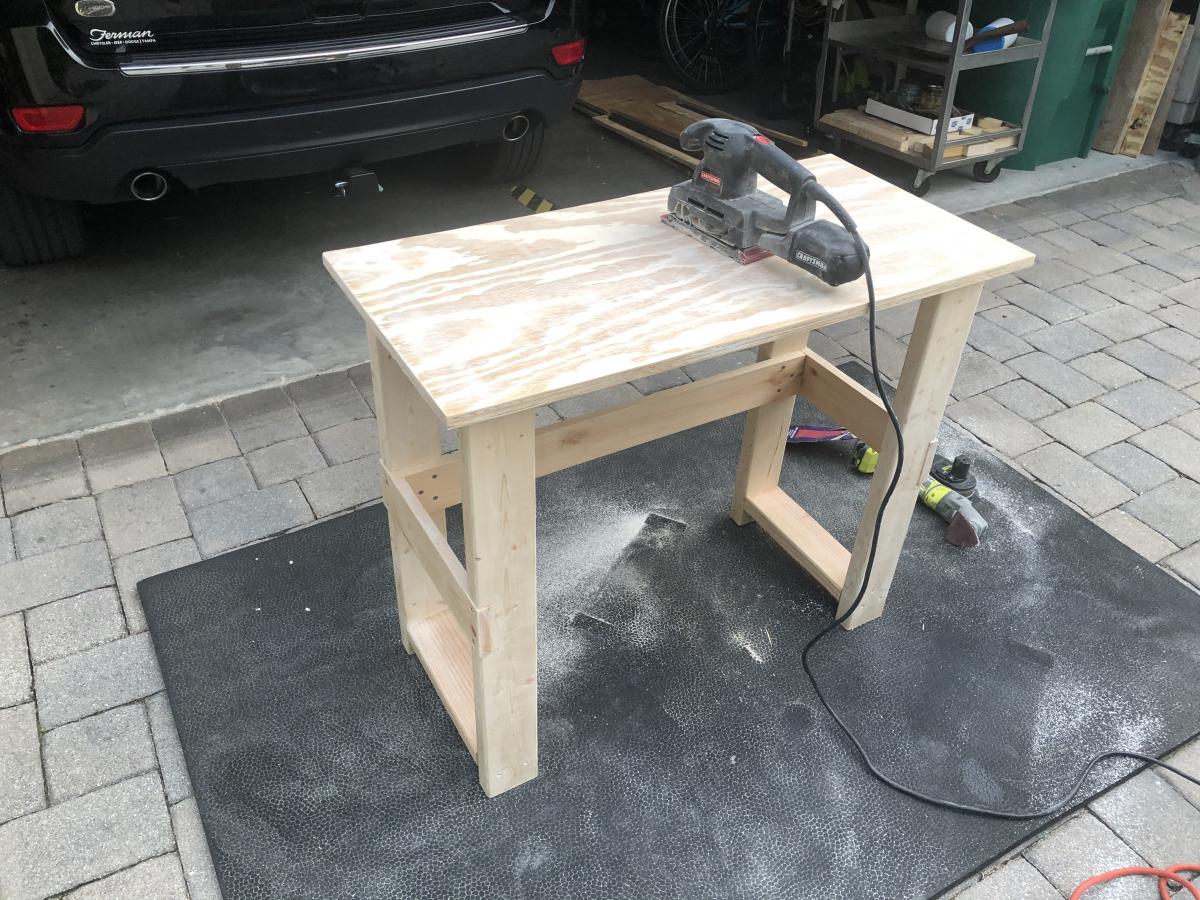
- Watch what grade sandpaper you use on the plywood. It's easy to strip off a layer.
- This was not a one-person project for me. Even with clamps, I still needed help bracing parts and rotating pieces.
Thanks for the great plan! Now I can start on all the other projects on our improvement list.
