Community Brag Posts

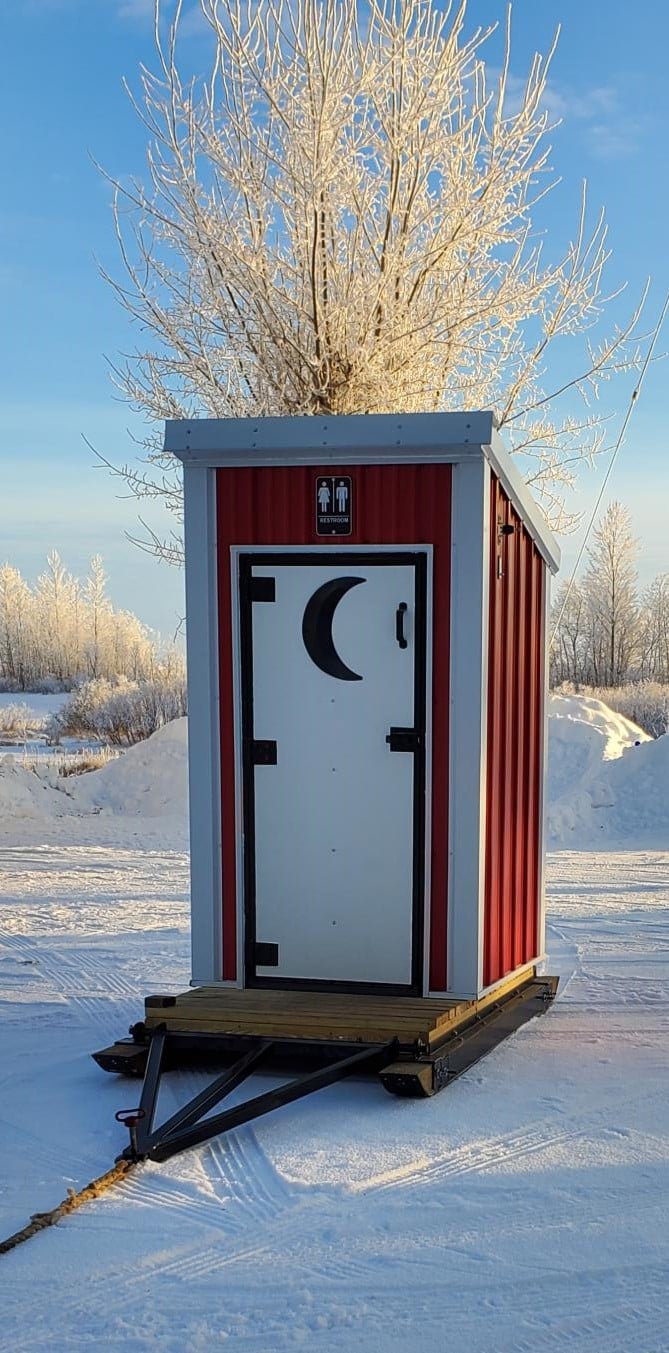
Solar Outhouse - By Deb

Your outhouse design was modified for a snowmobile club project as the building needs to be towed across a lake to a site next to a warming shelter.  An LED light with a timer switch and solar battery charger were installed to provide light in a remote area of Lake of the Woods.

A steel hitch and skids with hyfax were added to the design.

Thank you for providing a design that allowed us to make modifications for winter outdoor recreation accommodations.

Built from Plan(s)

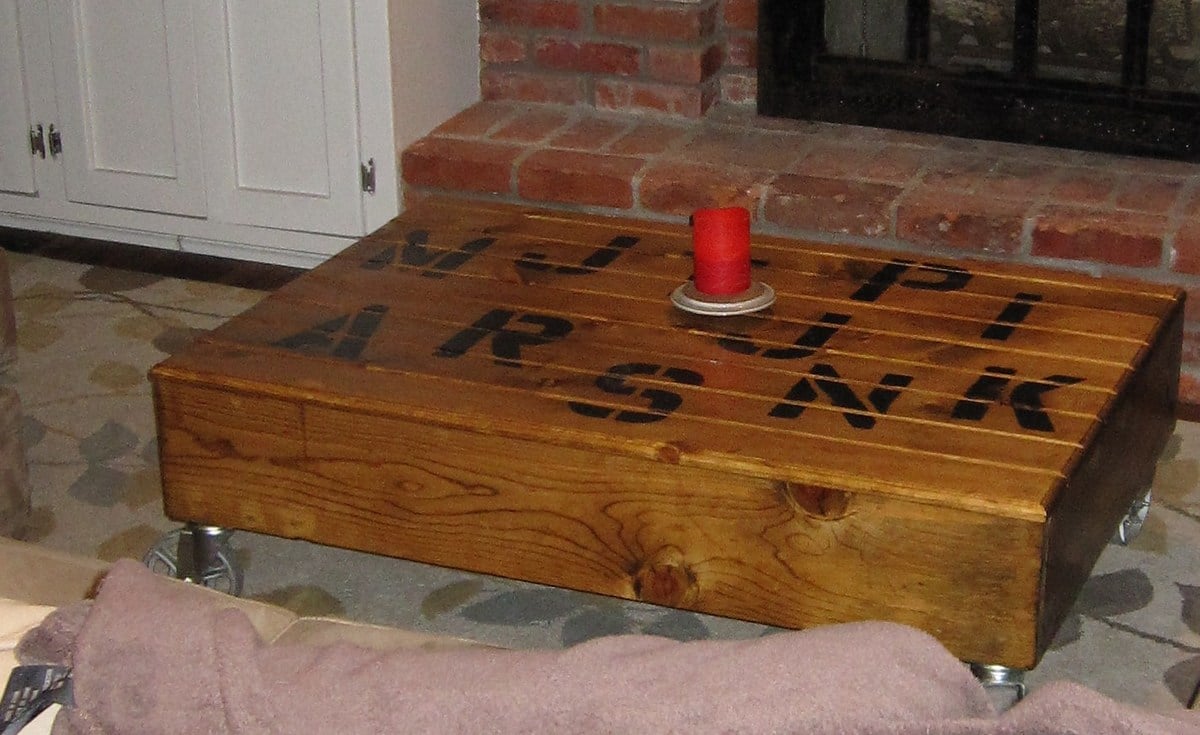
Factory Cart Coffee Table Stenciled version

Submitted by rustywmn on Sat, 10/08/2011 - 16:13

We modified our plan by use a router on the edges and stenciling the top. We used pine. We left our wheels the original industrial metal .
**This is one sturdy table and easily serves as an ottoman with large groups .

Estimated Cost
100.00
Estimated Time Investment
Weekend Project (10-20 Hours)
Finish Used
Used a Minwax Oak wood finish and polyurethane .
Recommended Skill Level
Intermediate

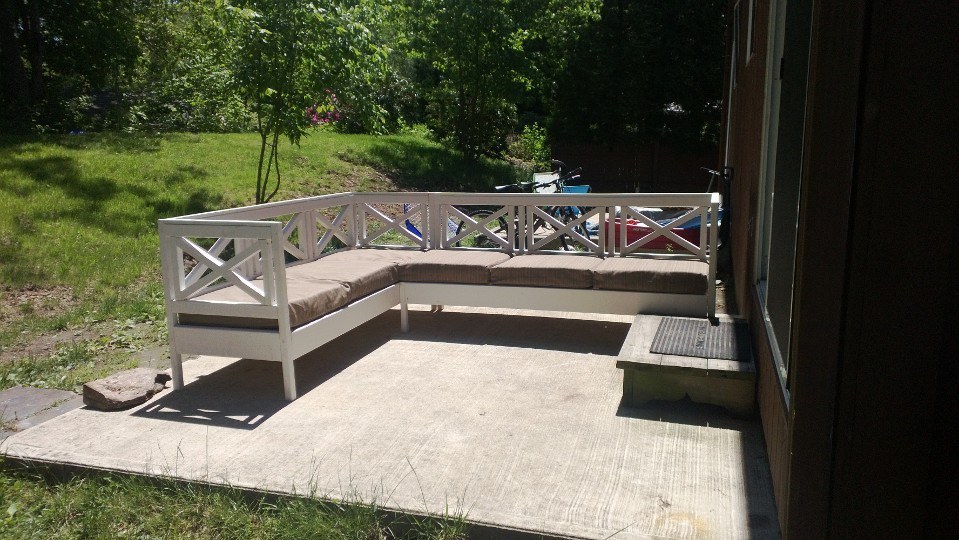
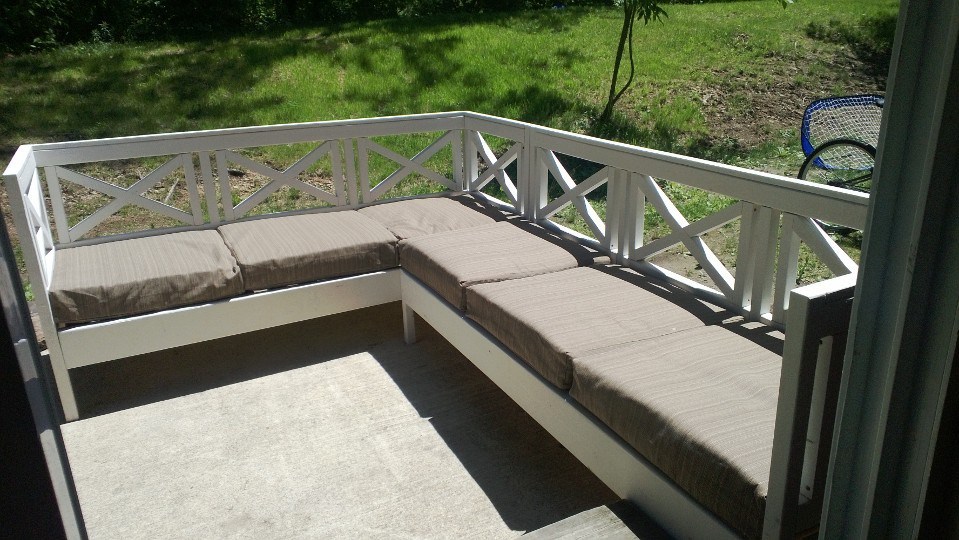
Outdoor Sectional

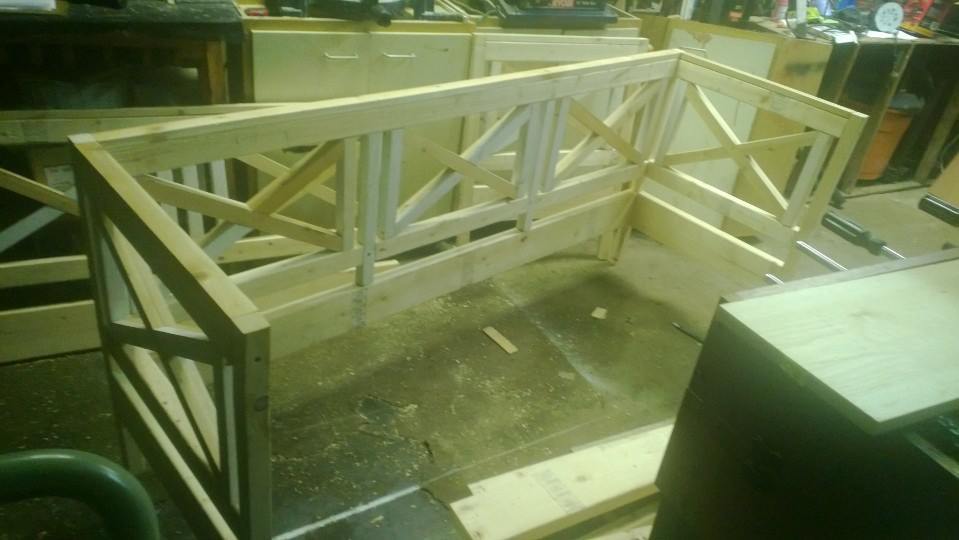
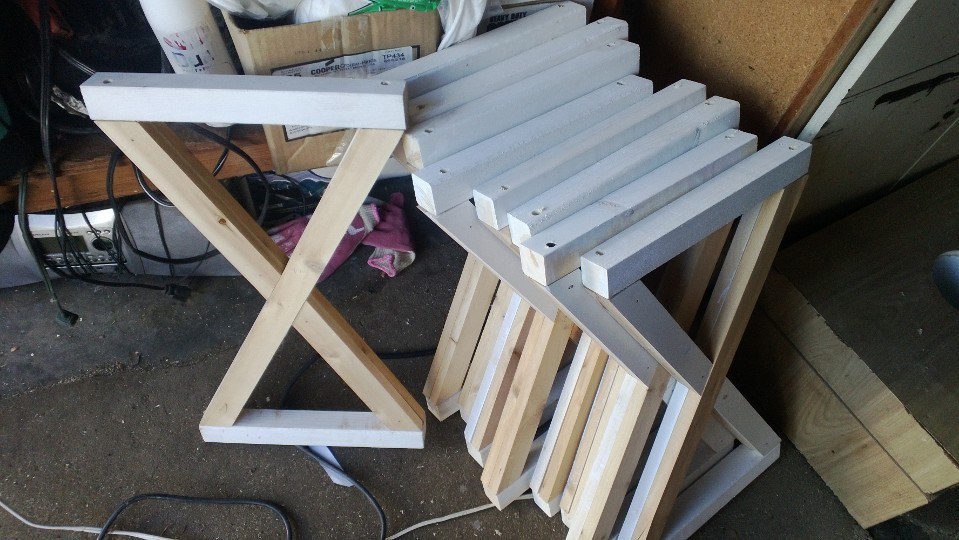
This was my first project ever! I was very happy with the way it came out! I just did a little adjusting to get it the size I wanted =) Cushions for a decent price was very hard to find, I ended up going to walmart and I actually really like them.

It took me a while to complete as I have a little one (turned a yr the wknd I finished) and only worked at night and during naps!

Estimated Cost
Apprx. 150$
Estimated Time Investment
Week Long Project (20 Hours or More)
Finish Used
The picture it just of it primed =)
Recommended Skill Level
Intermediate

Comments

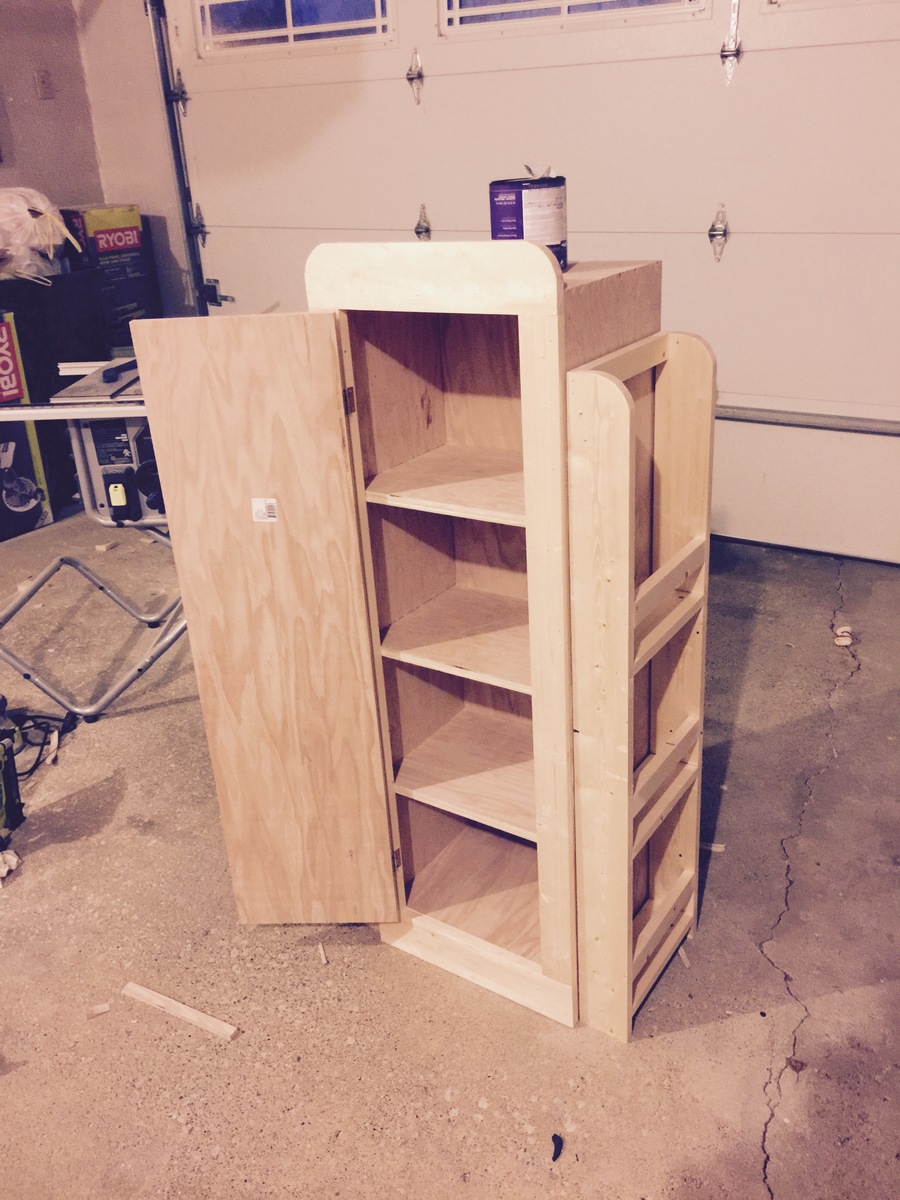
Recycling Bin Cabinet

Submitted by Anonymous (not verified) on Thu, 03/07/2019 - 15:14

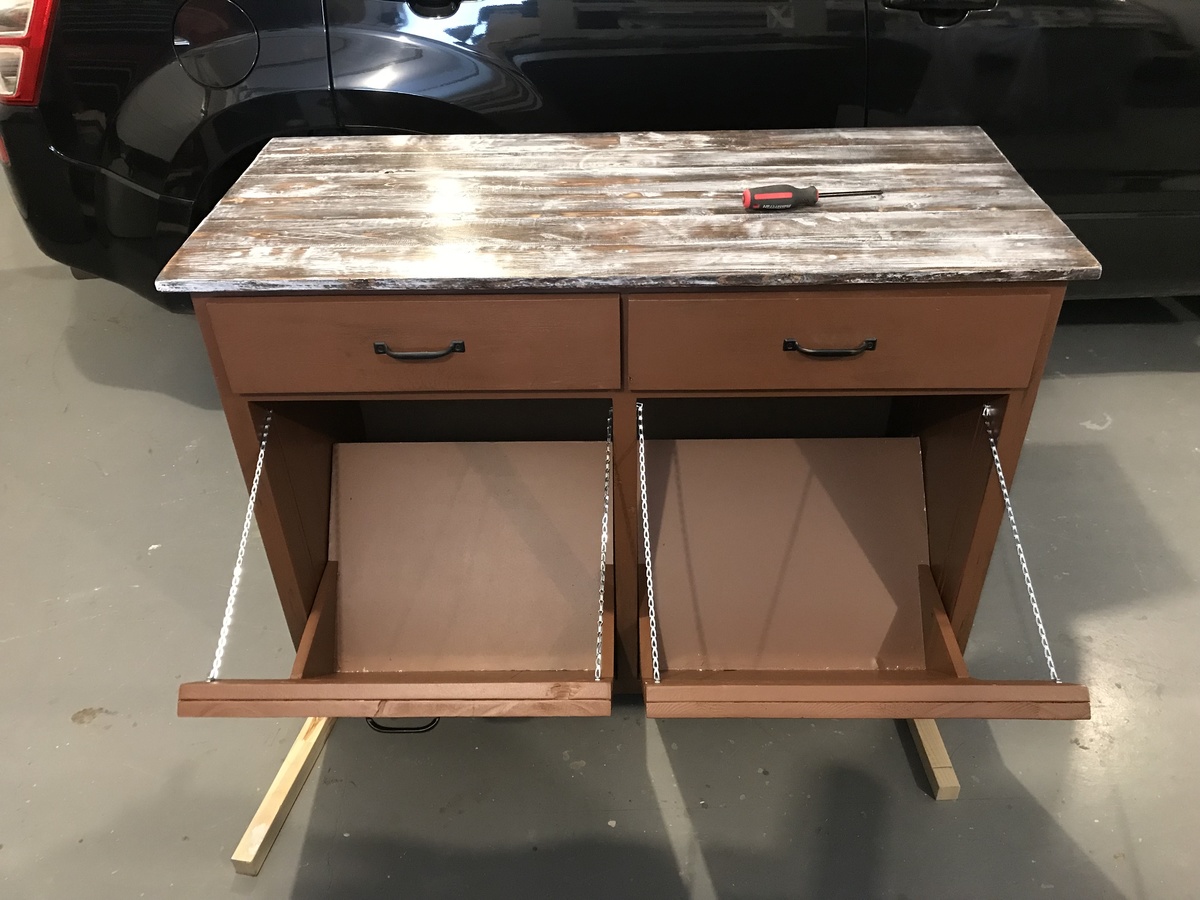
I just started building "stuff" a few years ago and love Ann's plans. I have built several of your dining and coffee tables. This cabinet was a bit challenging and took me a while. I have had built drawers before but they turned out OK. I really like the top I create from some scrap 1 x 4's. Thanks for the great projects.

Estimated Cost
$100
Estimated Time Investment
Weekend Project (10-20 Hours)
Finish Used
white paint, walnut stain, red oak paint.
Recommended Skill Level
Intermediate

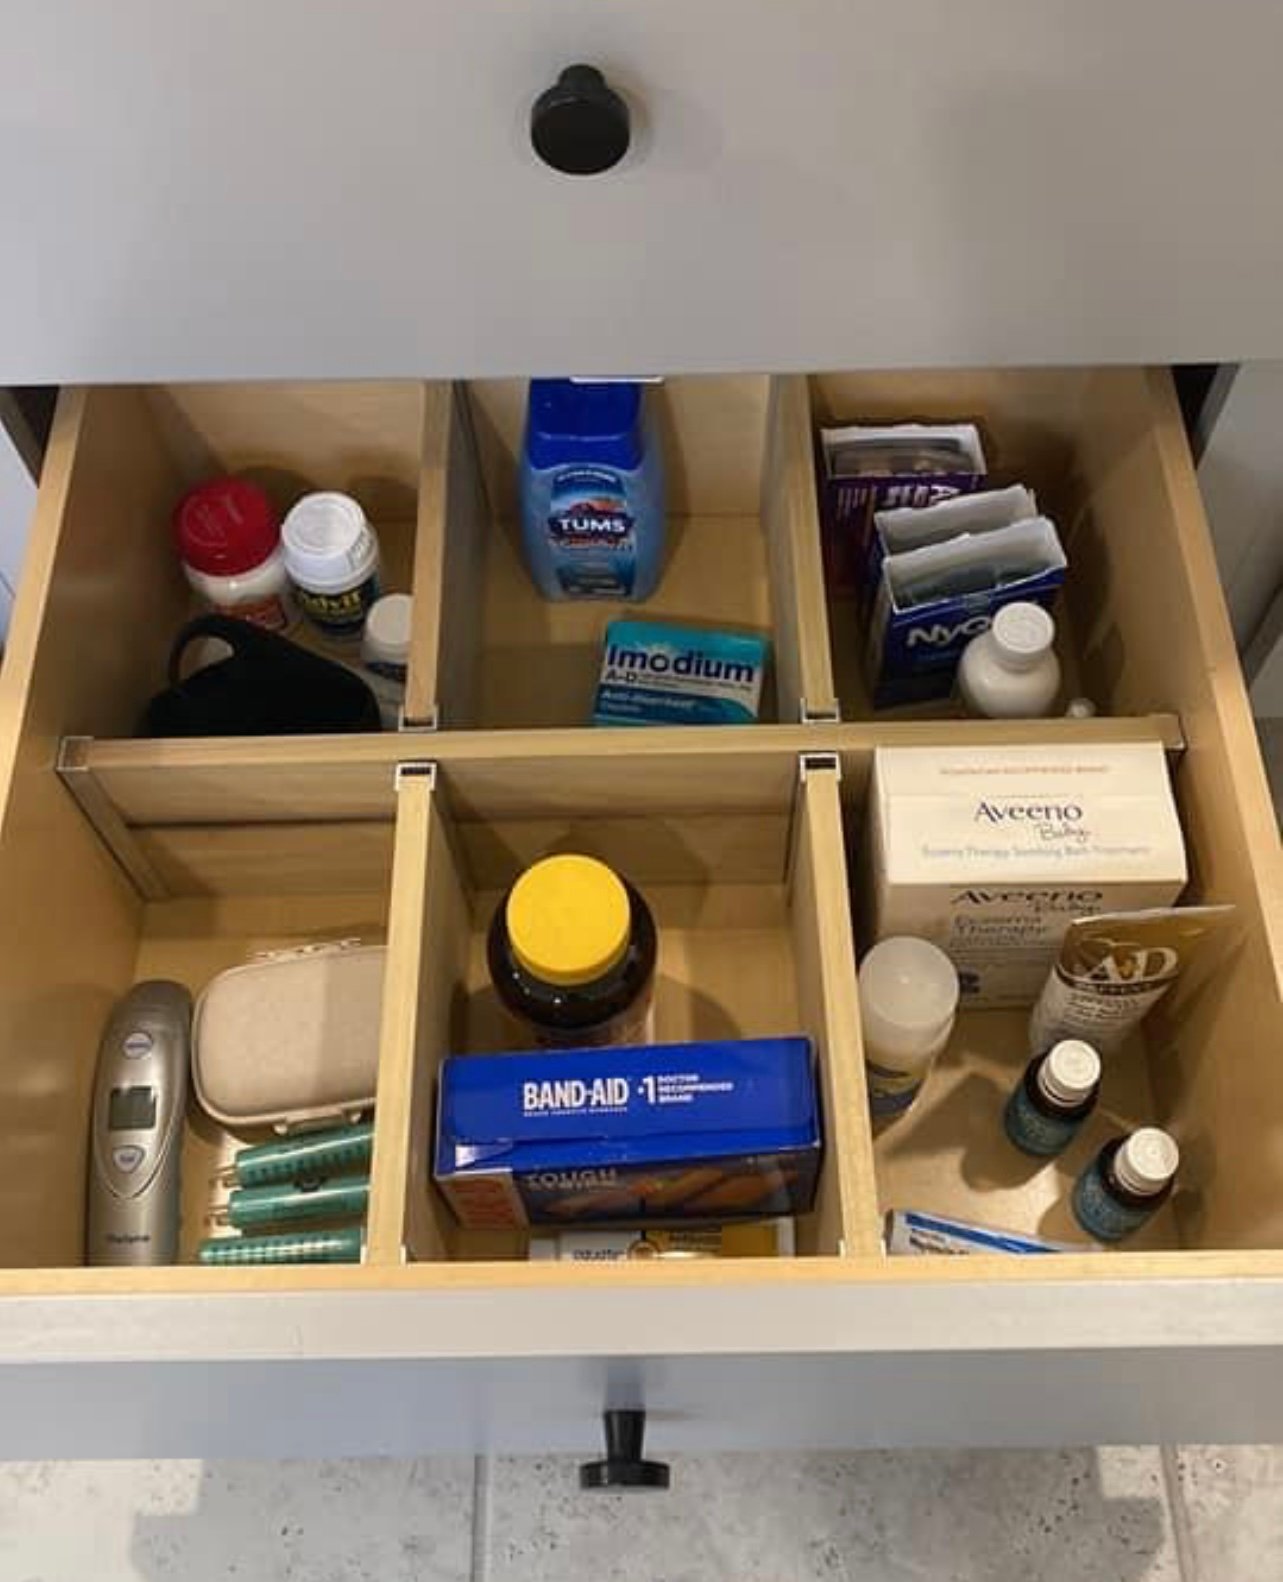
Simple Drawer Dividers by Hannah McCormick

Simple and great way to get drawers organized, by Hannah

Comments

OceanCactus

Tue, 01/31/2023 - 05:40

Hi Ana! Your work and dedication to your art are amazing! I had a quick question regarding the channels. I looked up "C channel" to order at my hardware store but there seems to be a curve at the bottom where the wood panel would sit. I also saw a "U channel" that's square and looks more like the one you posted in your video. Could you guide me as to which one would be best? Thanks!

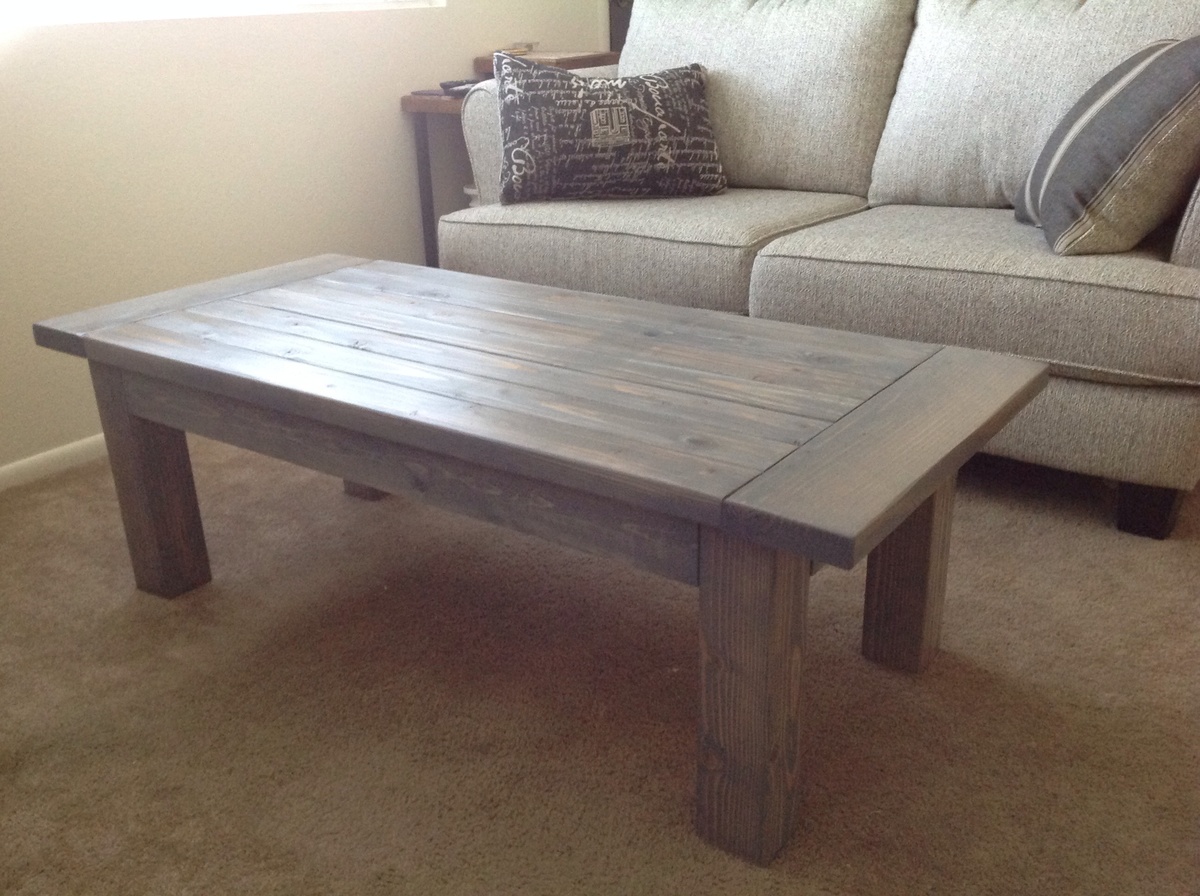
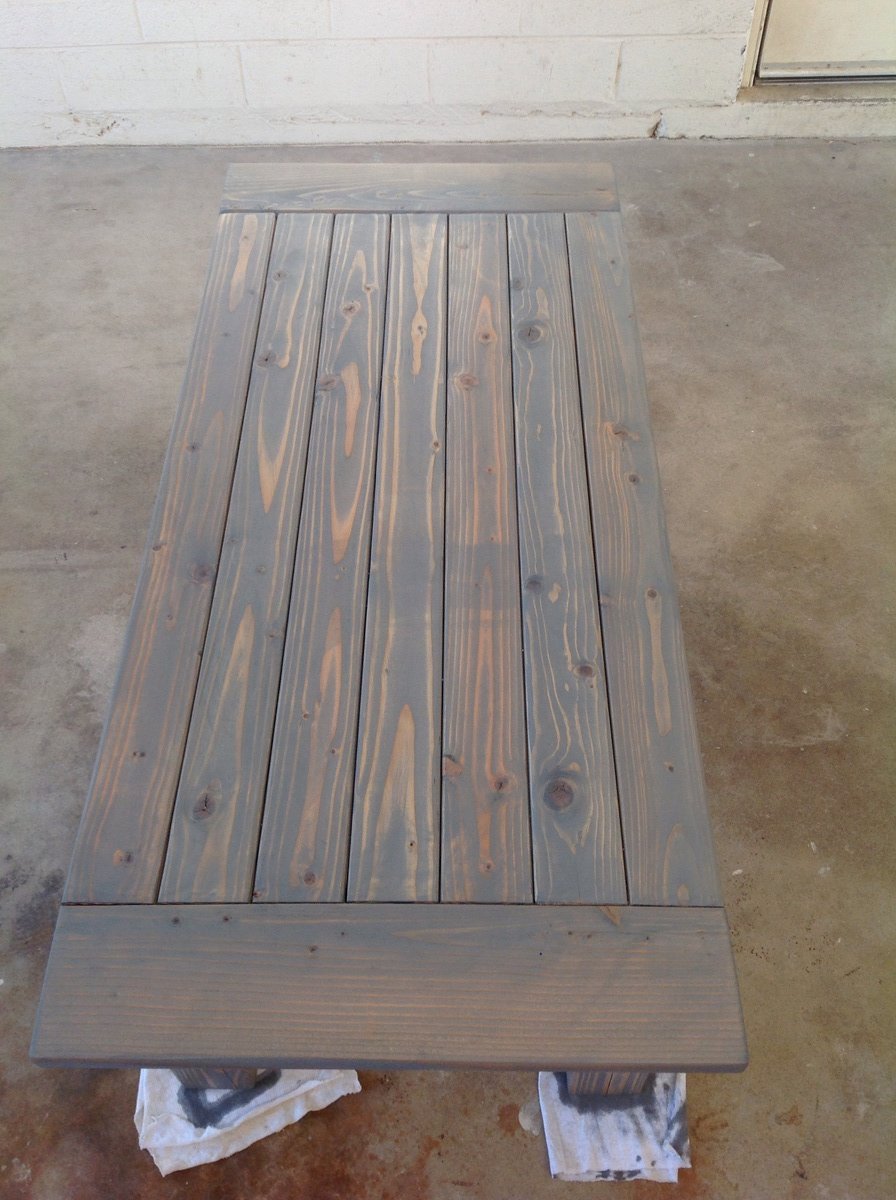
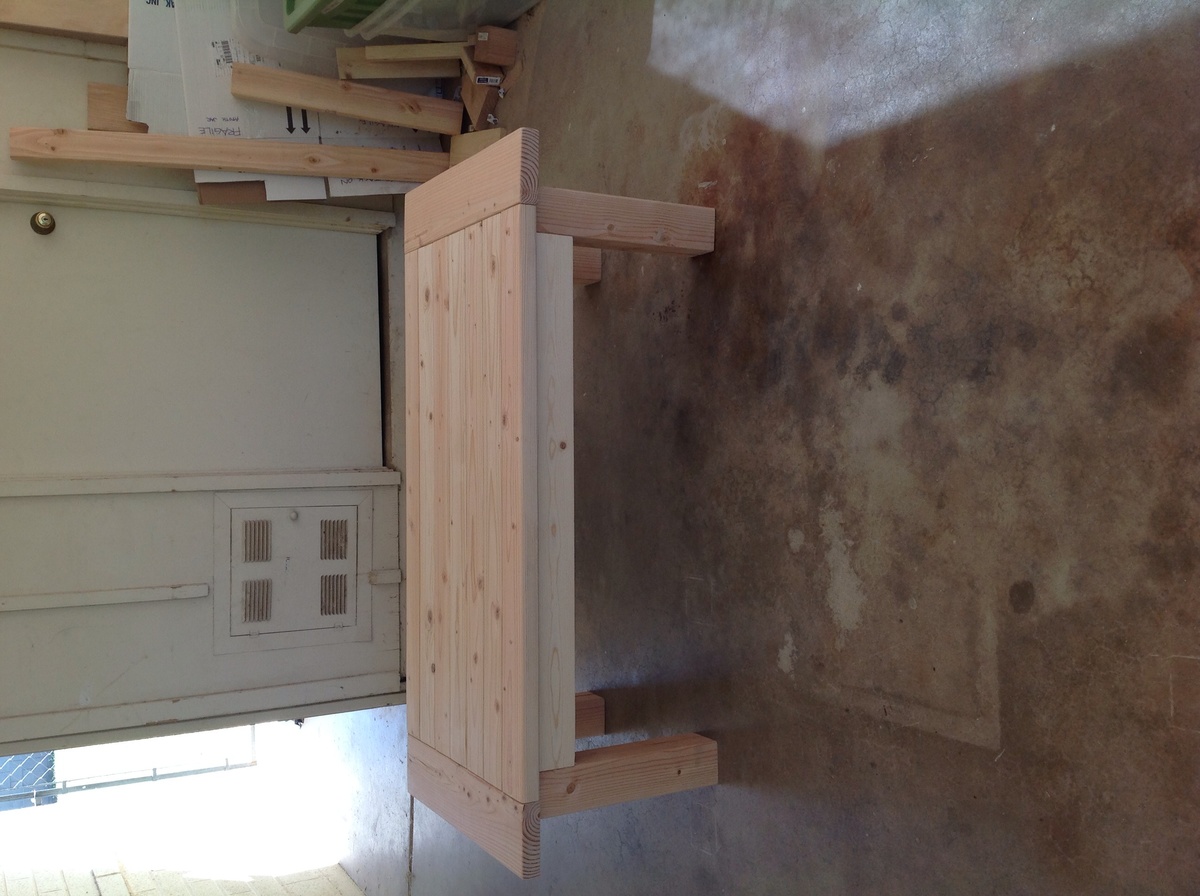
Tryde Coffee Table

Submitted by Krifenbery on Thu, 10/10/2013 - 10:46

This was a fun easy to do project that can be done in a day.

Built from Plan(s)
Estimated Cost
$50
Estimated Time Investment
Day Project (6-9 Hours)
Finish Used
Sanded with 80, 120, 220 grit sandpaper.
Applied pre-stain with foam brush. Allowed to dry 1 hr.
Applied gray wash stain with foam brush, wiped off stain with lint free rags BEFORE stain dried. Allowed to dry 2 hrs.
Applied two coats of polyurethane with synthetic bristle brush. Allowed to dry 2 hrs between coats.
Recommended Skill Level
Beginner

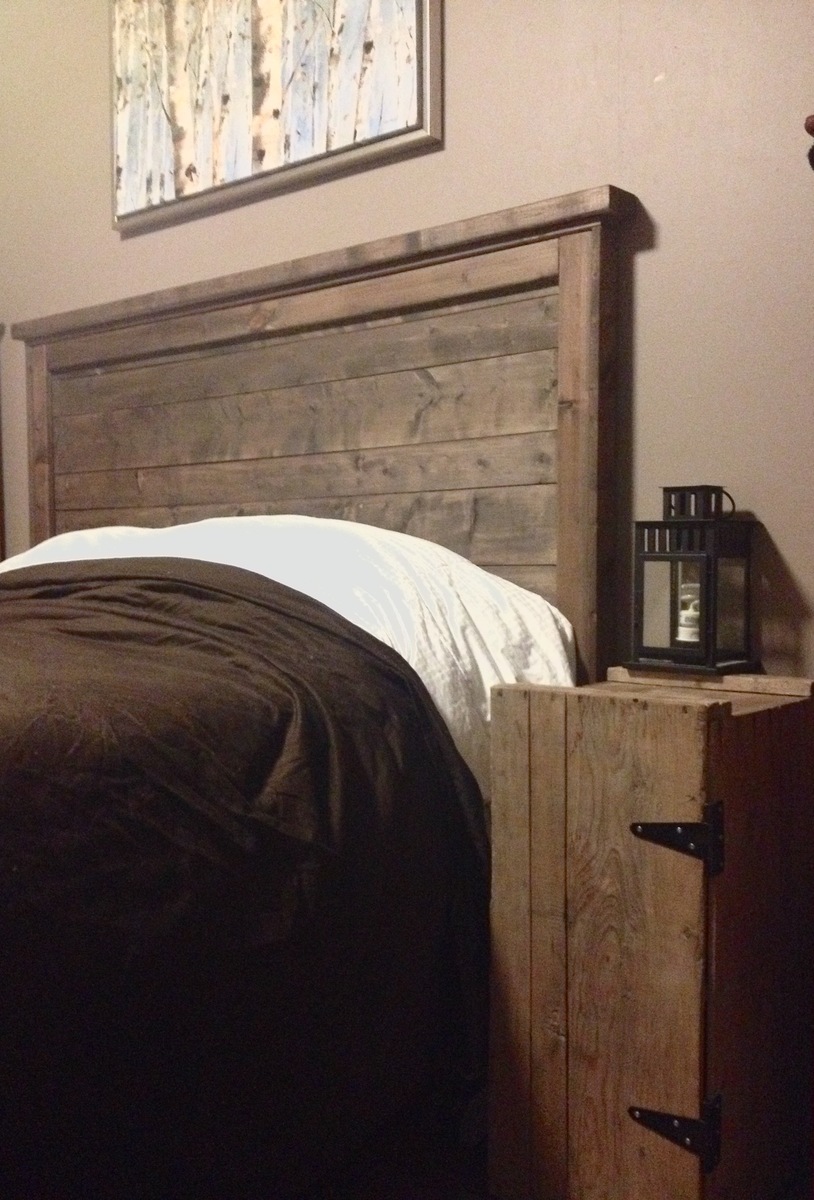
easy build queen headboard

Submitted by Jodie on Thu, 12/31/2015 - 08:01

this was a super fun afternoon project! I used the specs for the Queen size headboard, and they were bang on. no modifications needed. i did reinforce with some screws from the back, as well as I used a 1x3 vertically in the centre of the back of the headboard, which i used to give extra stability to the horizontal pieces. i secured each horizontal board to it using 1" screws from the back, as my boards were not quite flush and I am a bit of a perfectionist! lol

Estimated Cost
$75
Estimated Time Investment
Afternoon Project (3-6 Hours)
Finish Used
oxidizing treatment followed by a coat of wax.
Recommended Skill Level
Beginner

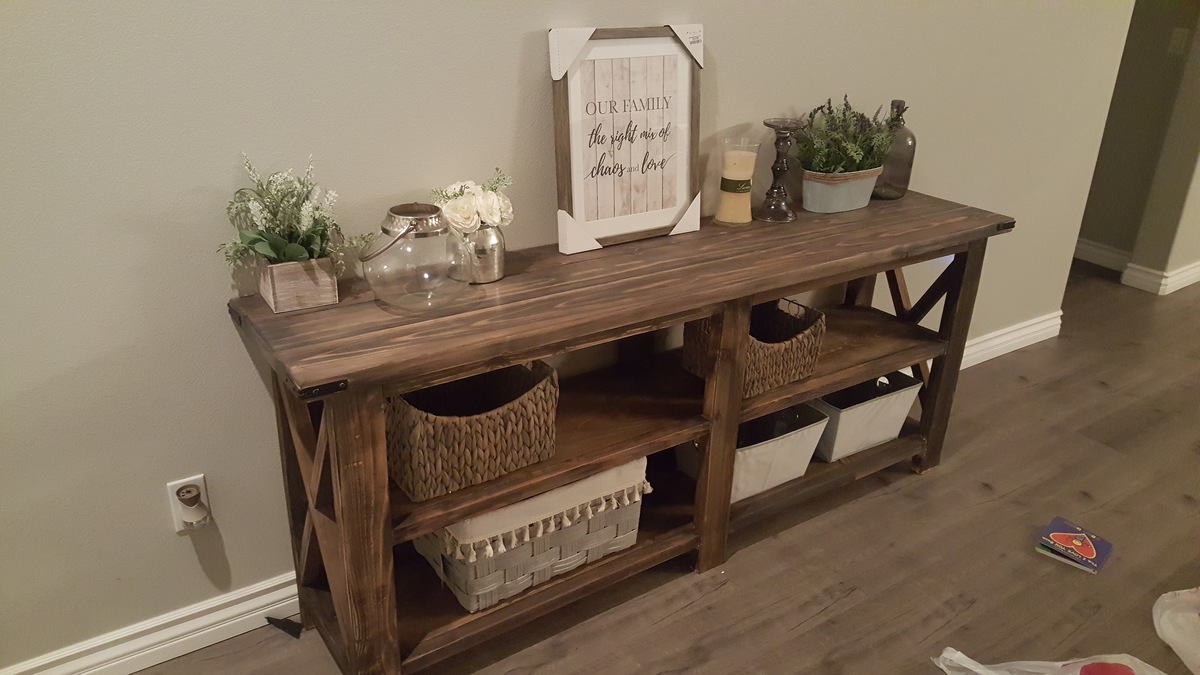
Rustic x console

Submitted by Anonymous (not verified) on Mon, 03/11/2019 - 23:02

This is my first ana white project and my first woodworking project. I think i like this new hobby i just picked up. 

Built from Plan(s)
Estimated Time Investment
Weekend Project (10-20 Hours)
Finish Used
Black tea, vinegar/ steel wool stain, wax finish
Recommended Skill Level
Beginner

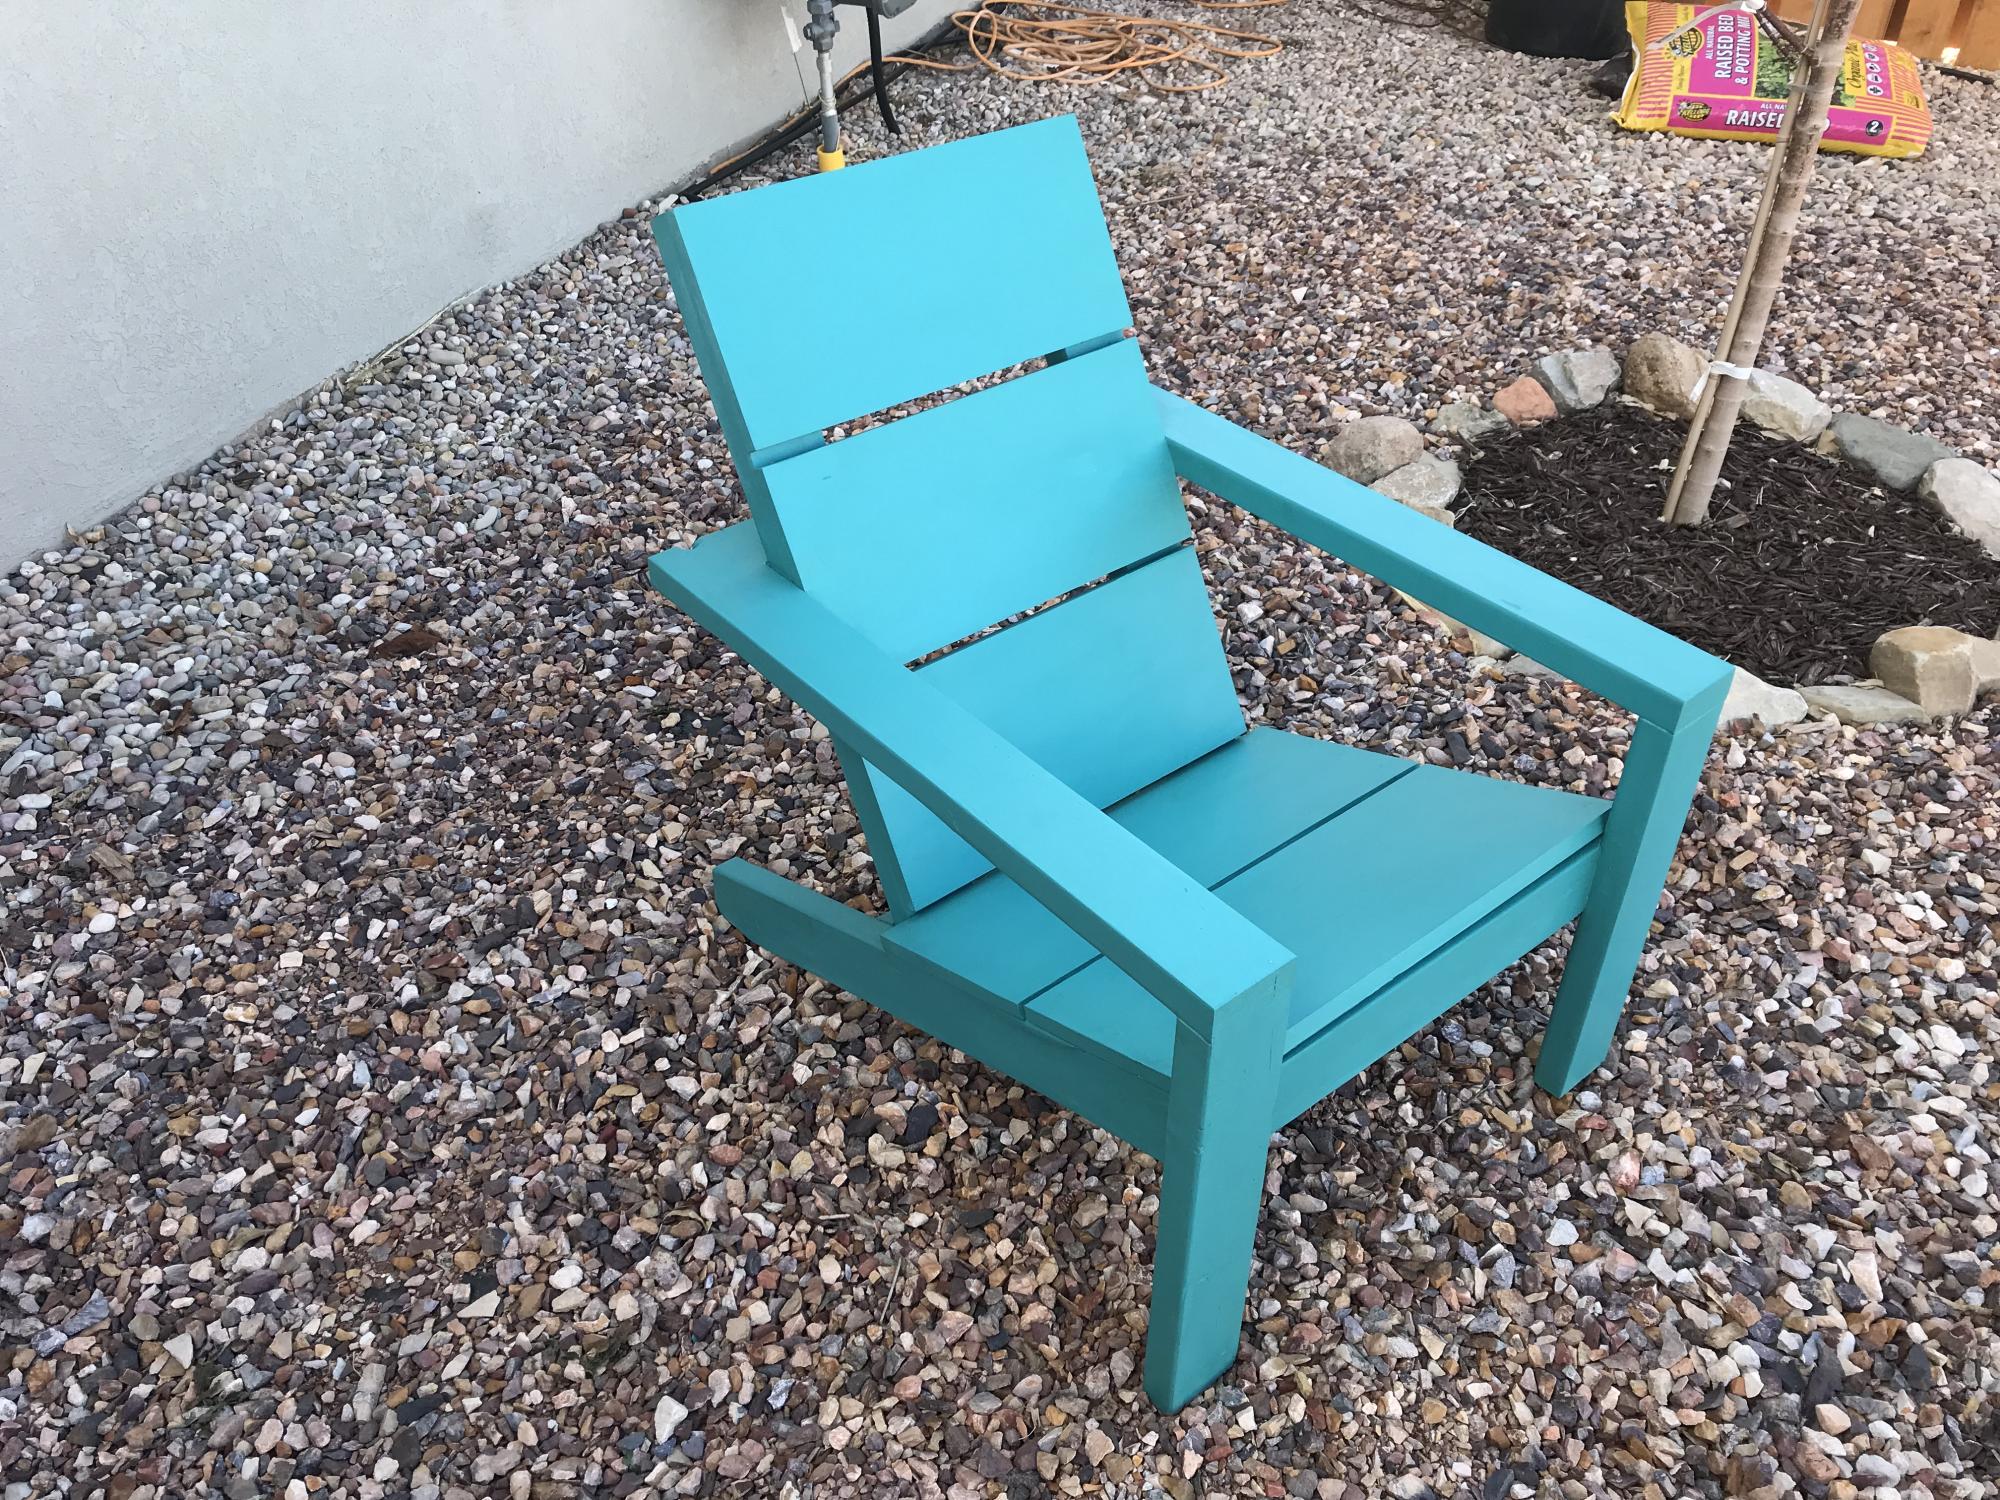
These Adirondack Chairs are super comfortable

Submitted by Anonymous (not verified) on Fri, 02/03/2023 - 05:45

I built a couple of these for the garden area and they are wonderful to sit in. As an experiment I painted these with chalk paint then finished them with several thin coats of spar urethane. After a couple of years in the sun, they seem to be holding up pretty good. I may sand and apply more spar urethane this summer just to keep them looking good.

Comments

Pallet Coffee Table

Submitted by Emscan on Mon, 10/17/2011 - 20:09

We love our new coffee table! Thanks for the idea!!

Built from Plan(s)
Recommended Skill Level
Beginner

Comments

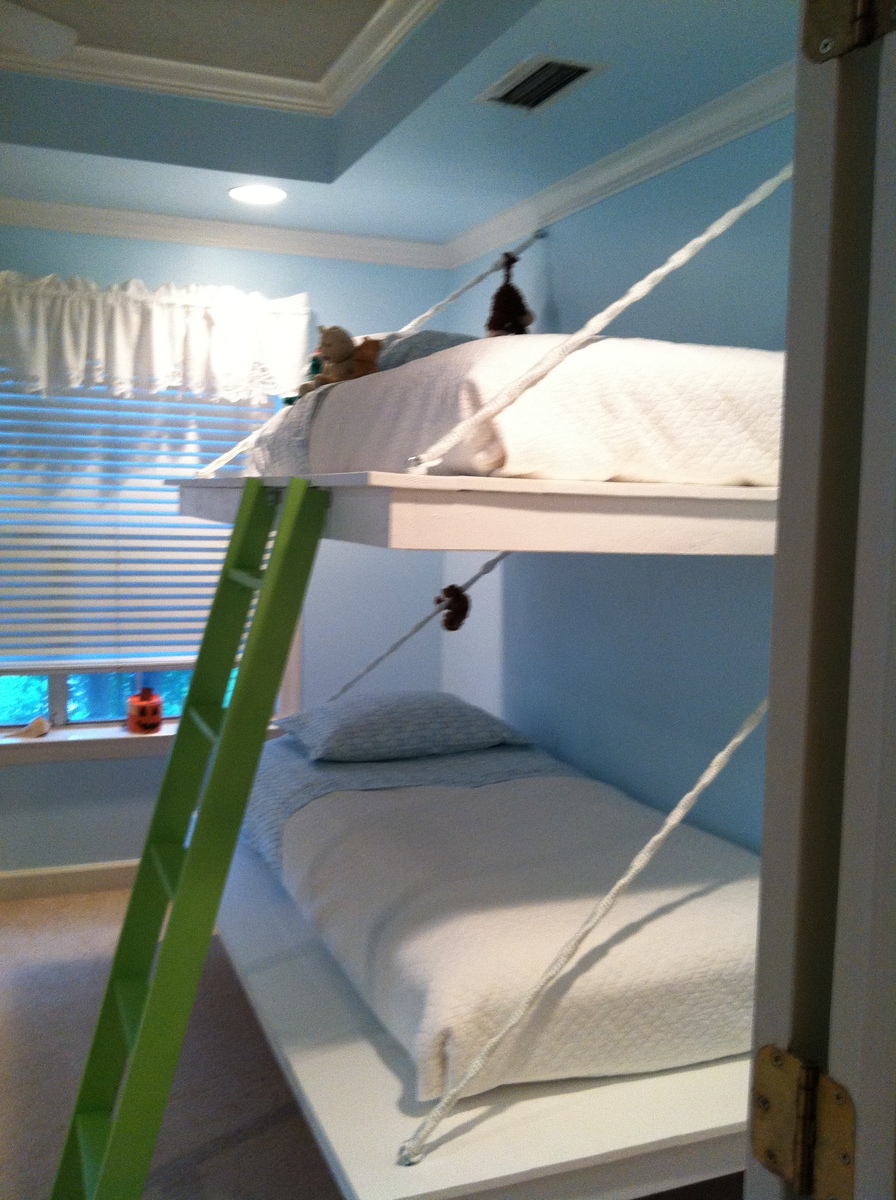
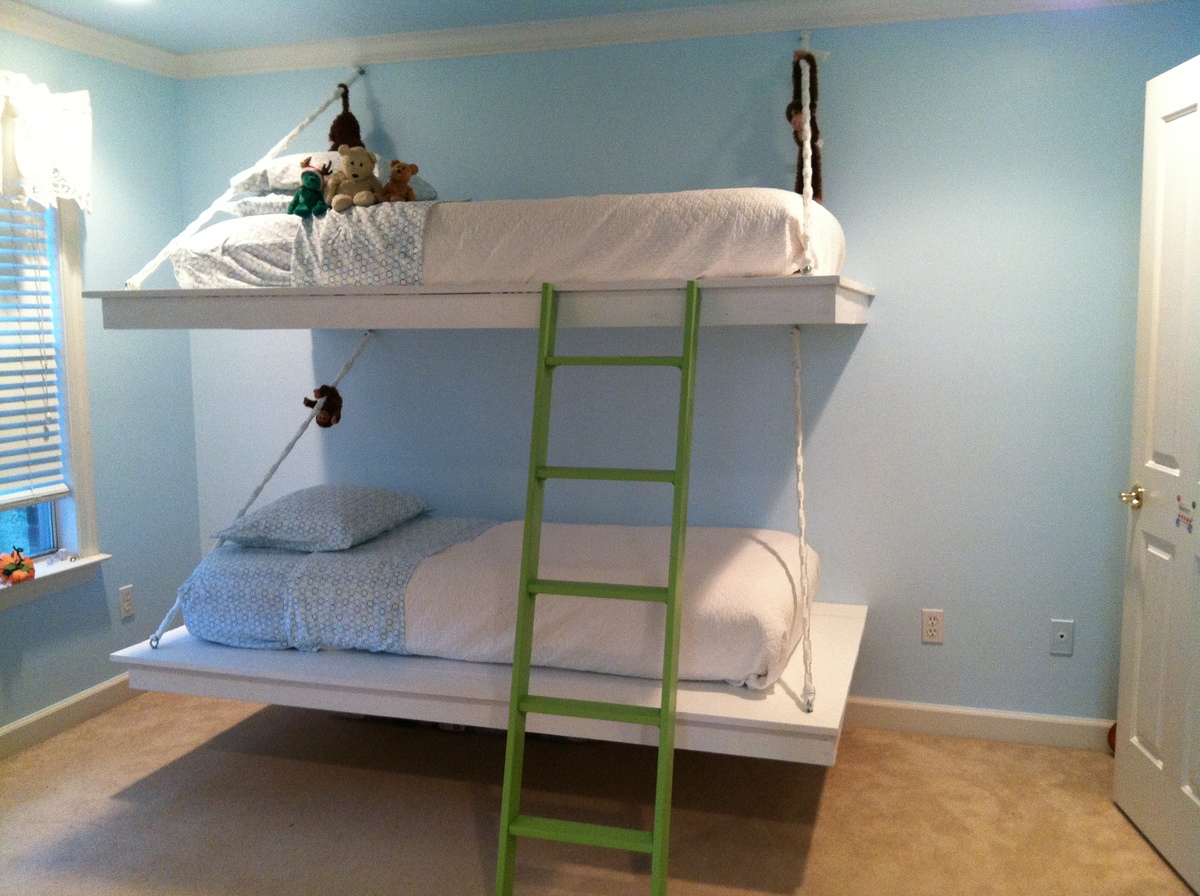
Hanging Bunk Beds

Submitted by janarae13 on Sun, 10/13/2013 - 18:01

I saw these beds featured in a Sherwin Williams paint mini magazine, fell in love w the idea, and customized them to work for my daughter's room. She loves them! Thx Ana White!!

Built from Plan(s)
Estimated Time Investment
Weekend Project (10-20 Hours)
Recommended Skill Level
Beginner

Comments

joseph.ribecca

Wed, 10/16/2013 - 18:08

What kid of wood did you us for the bed base, and you just ancored them in the wall studs, With screw hooks?

Wvchanger

Fri, 10/21/2016 - 20:39

How did you tie your rope? I made the beds but having a difficult time finding a secure way to tie the rope so it's study and won't slide

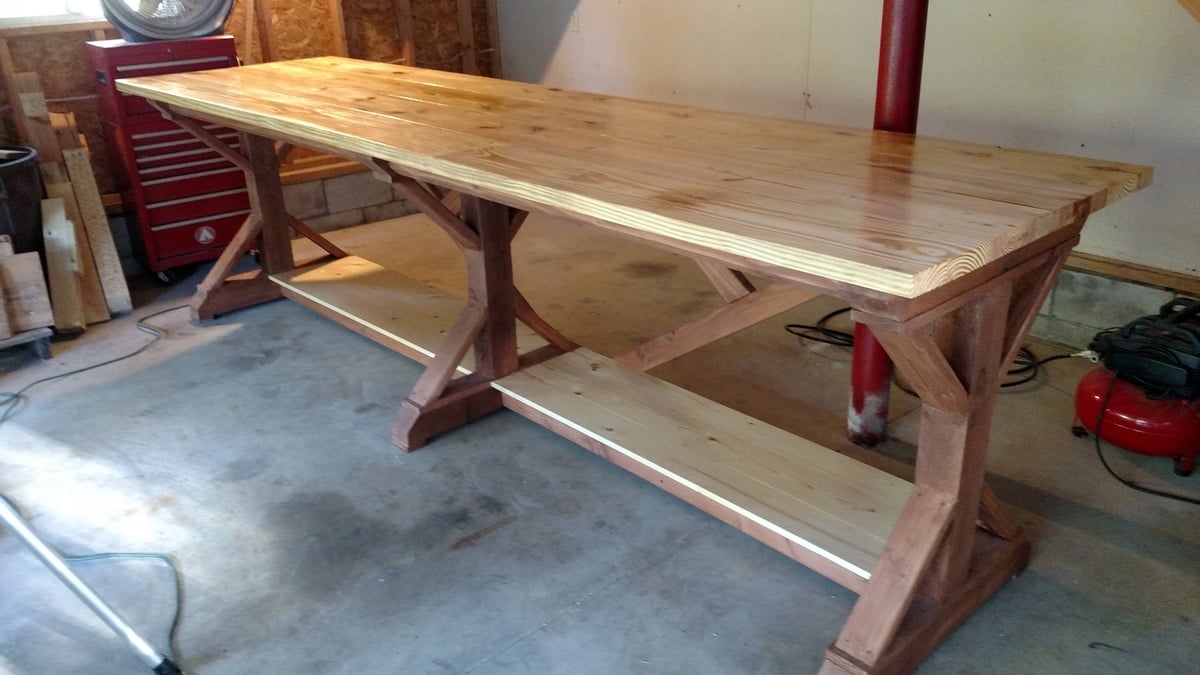
X style work bench

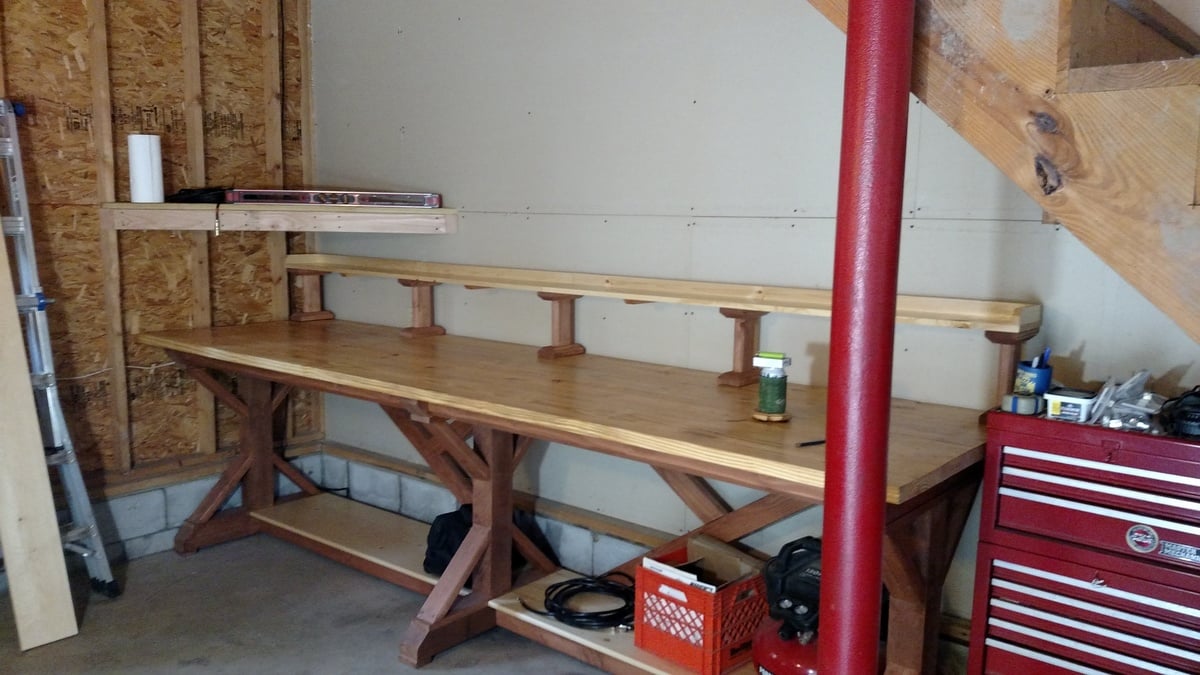
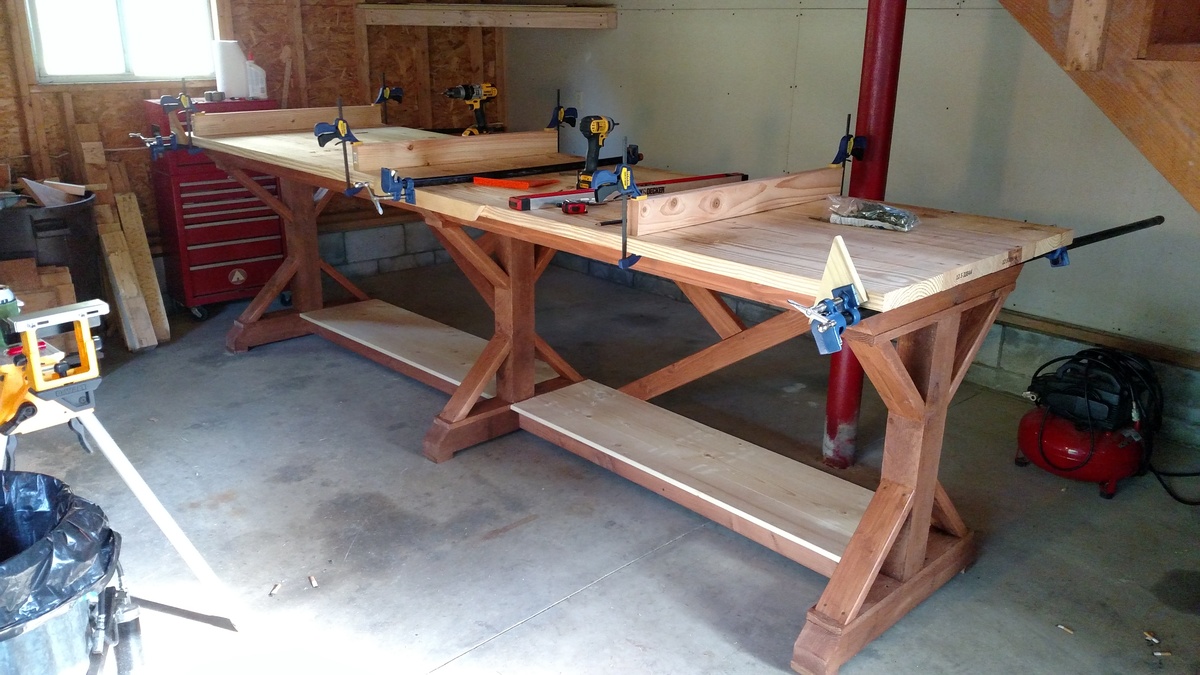
Submitted by Anonymous (not verified) on Sat, 01/02/2016 - 10:50

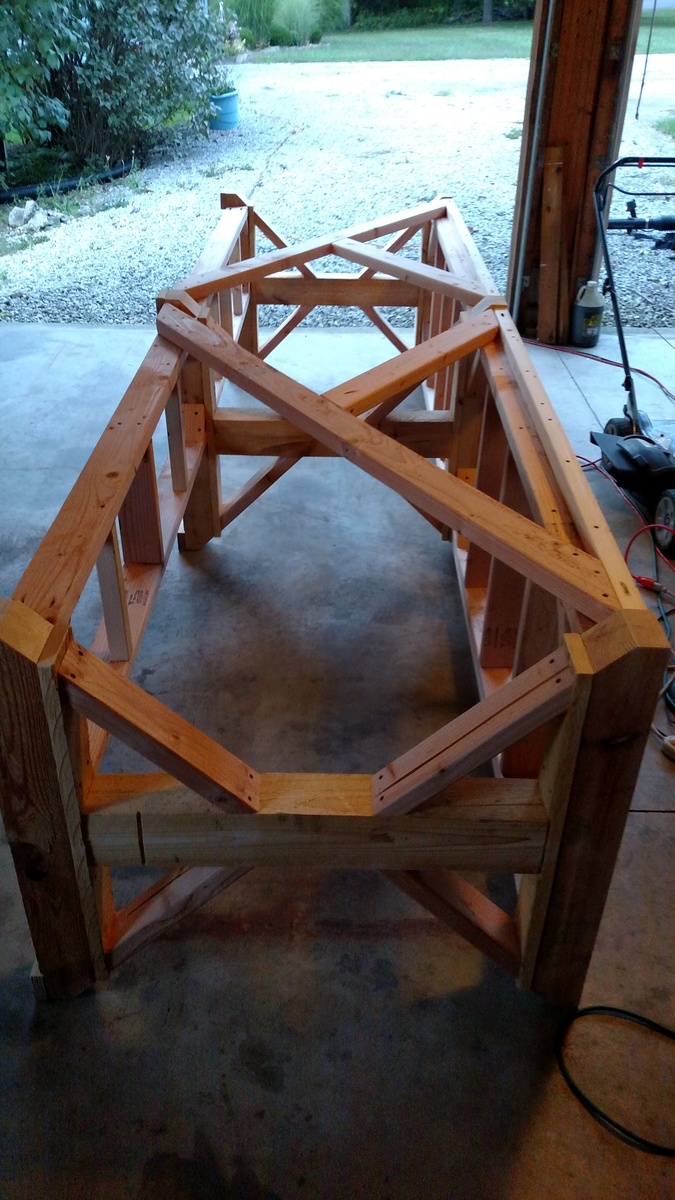
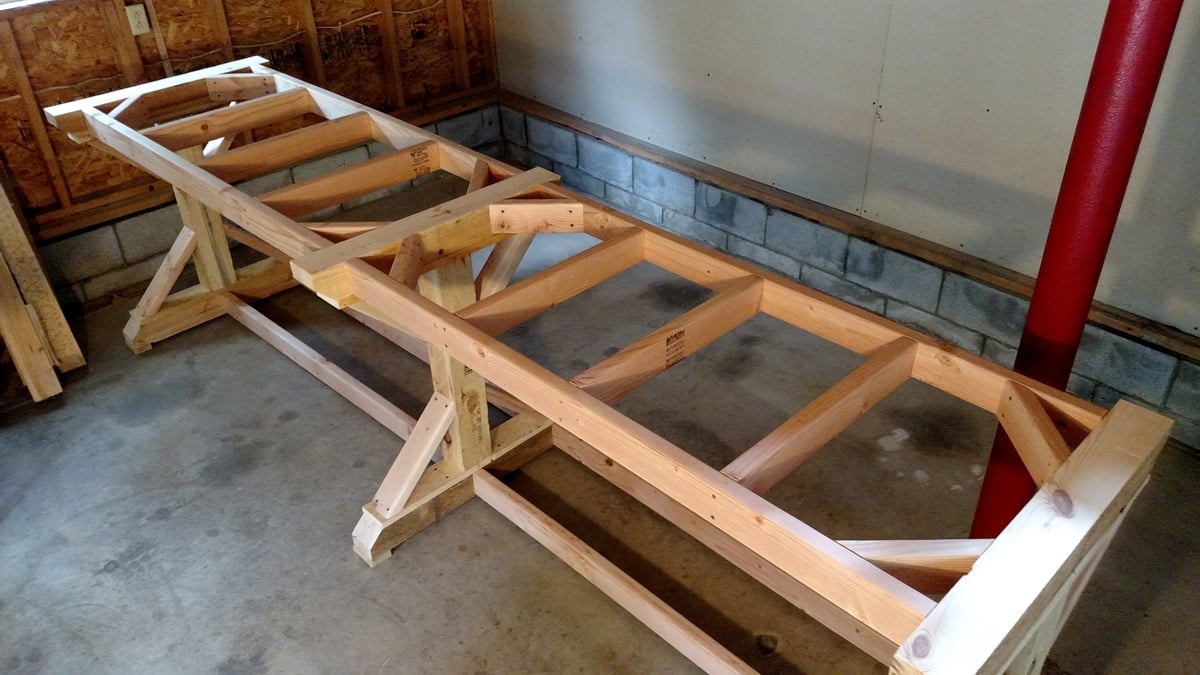
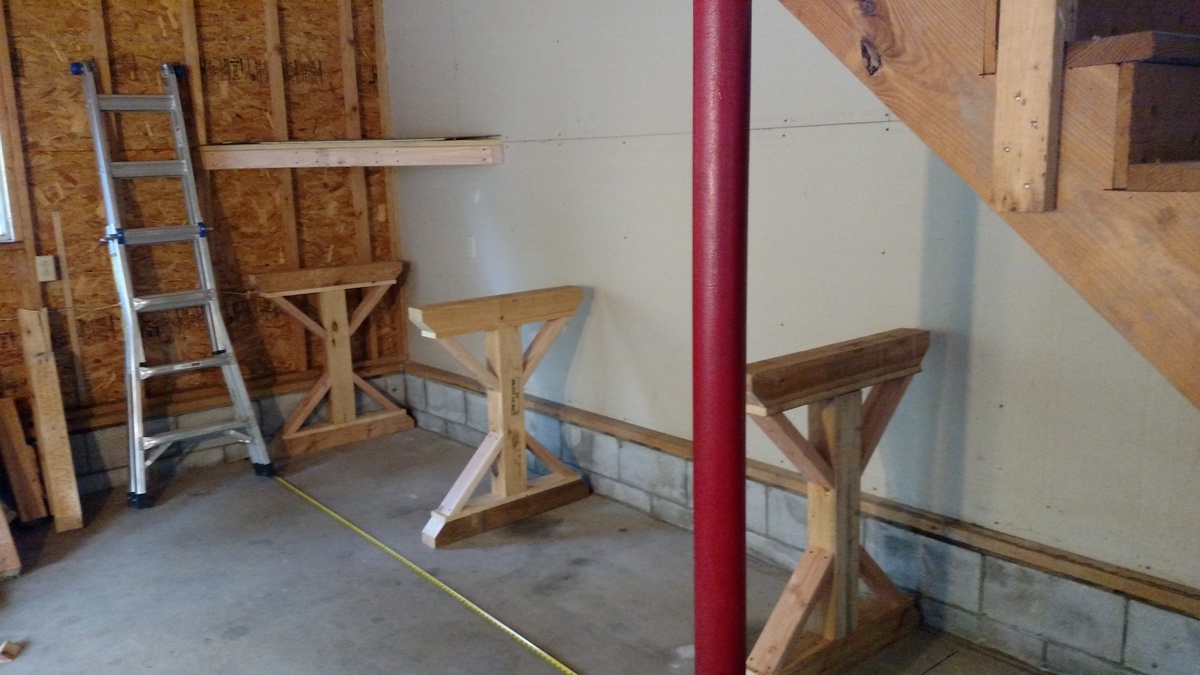
I made this work bench for my garage. Over a few weekends. It is 11' 6' long and is made of pine lumber. I used 2x10x12's on the top, mostly 2x4's are used for the farm with the exception of the center part of the legs. Those are rough cut 4x4's I had laying around. 1x6's for the bottom shelf. Getting the top seams to line up took a lot of sanding with 40 grit. They were to big for me to run through the table saw myself so I sanded and sanded. I did run skews threw the top and then filled with wood filler. I wanted strength. Plus the top boards are not glued so I can replace as needed (It's a work bench right?). This thing is big, heavy, and solid!

Built from Plan(s)
Estimated Cost
$120.00
Estimated Time Investment
Week Long Project (20 Hours or More)
Finish Used
Thompson’s WaterSeal Stain – Transparent ACORN BROWN on frame and Minwax Fast-Drying Polyurethane for the top and bottom shelf
Recommended Skill Level
Intermediate

Comments

Bunkbeds for the Grandkids using the Clubhouse Bed plans.

Submitted by Anonymous (not verified) on Mon, 03/18/2019 - 14:02

Used the Clubhouse Plans as the base. Added length to the 2x4's for the second bunk. Made upper and lower railings. Used 2x4's between the legs with 2x2's screwed in for the lower bunk. Hobby Lobby for the nautical swag. So now me and the grandkids have a place to hide!

Estimated Time Investment
Weekend Project (10-20 Hours)
Finish Used
Min wax pickled white wash water base
Recommended Skill Level
Beginner

Cornhole Boards

Submitted by Anonymous (not verified) on Wed, 02/08/2023 - 18:09

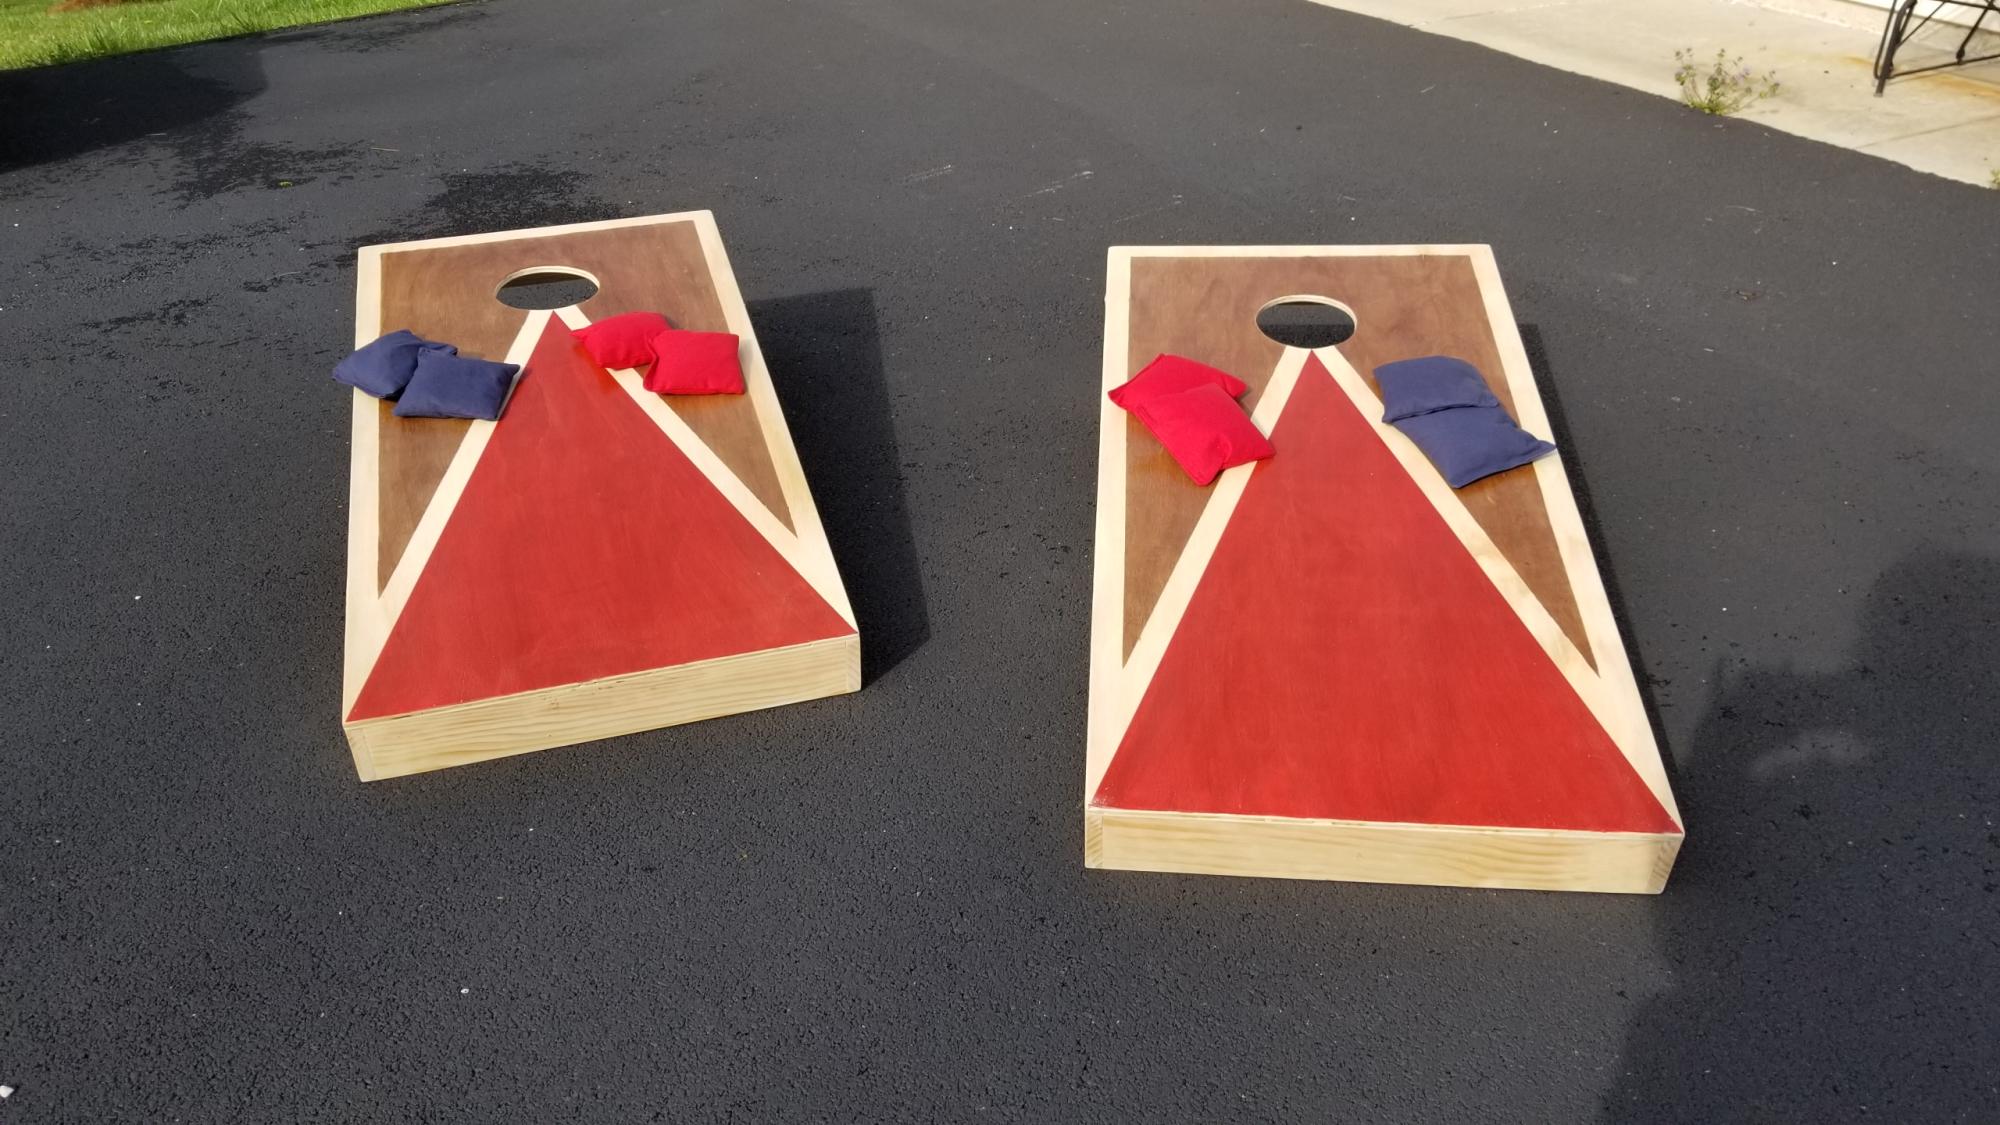
I made one set for my son, the one with the stained top. His friends liked it so much and kept borrowing his set, that he wanted to surprise them with their own and asked me to build them one with the LSU colors. Thought they turned out great! Thank you for the plans!

Comments

End of the Bed storage ottoman

This was my first project. I already had a large ottoman, but it didn't hold anything. So I broke it apart for the box frame, added a bottom and hinged the lid. I was able to reuse the padding and upholster the pieces with sale fabric from Joann Fab ( love that store). Than I attached the fabric with a staple gun. Since it's in my bedroom, I like to keep wedding photos and such inside. Plus my 2 year old cannot open it!

Built from Plan(s)
Estimated Cost
$50, since I had the frame and padding already
Estimated Time Investment
Weekend Project (10-20 Hours)
Recommended Skill Level
Beginner

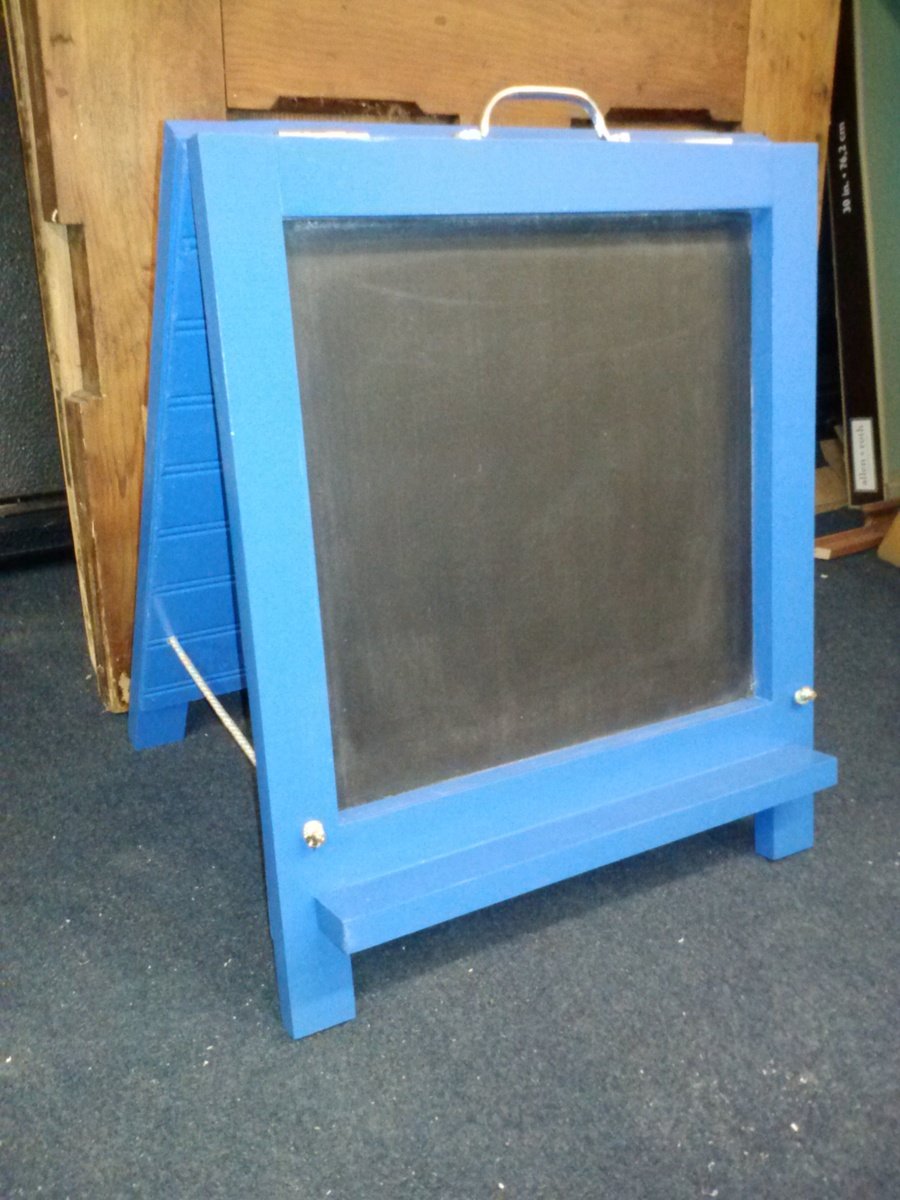
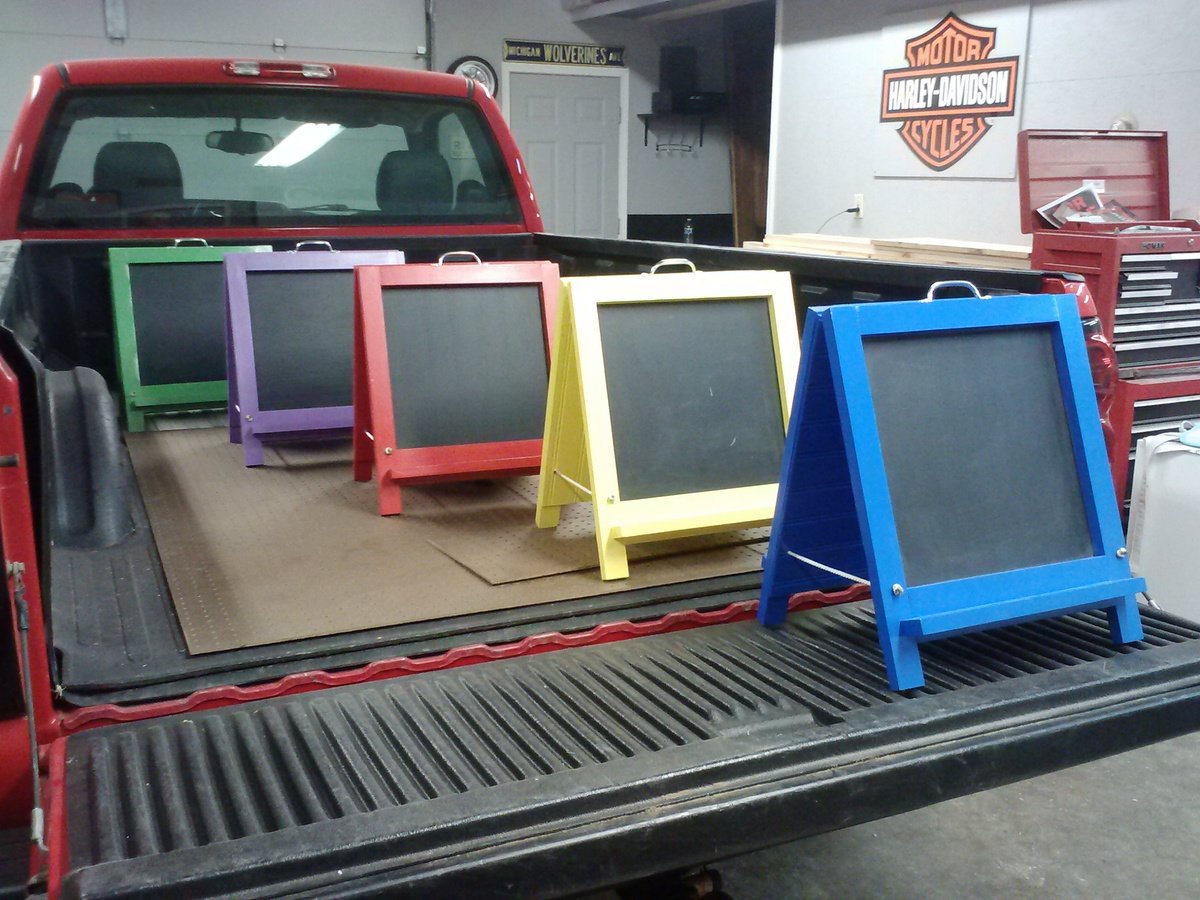
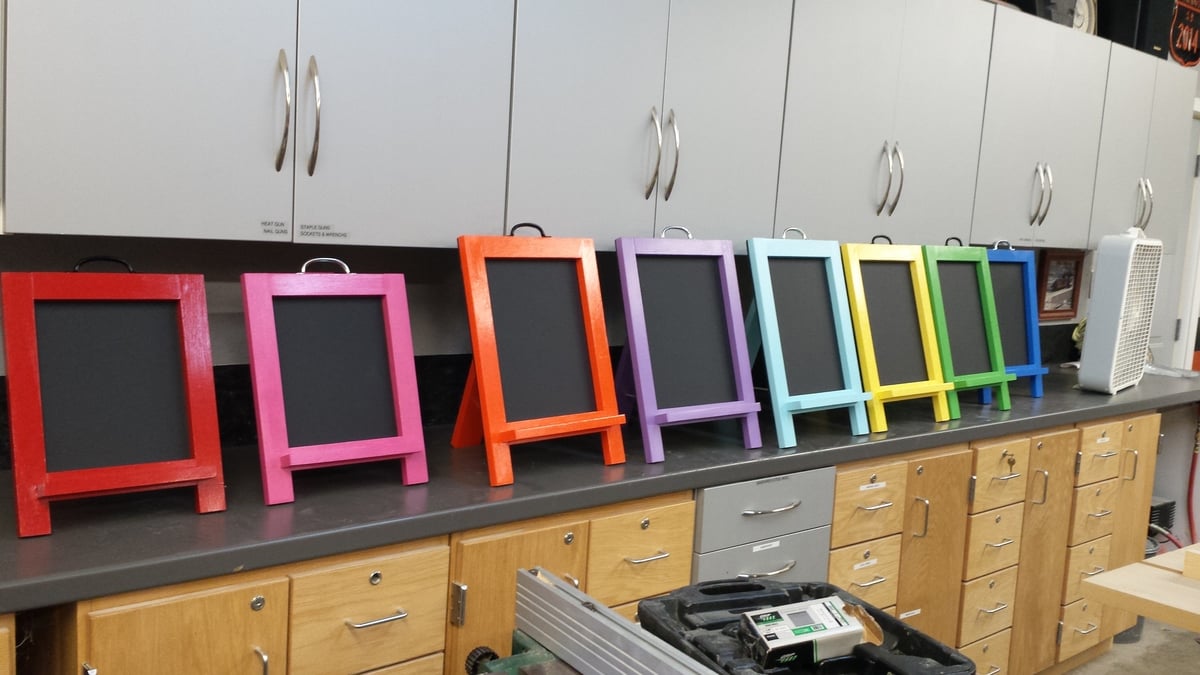
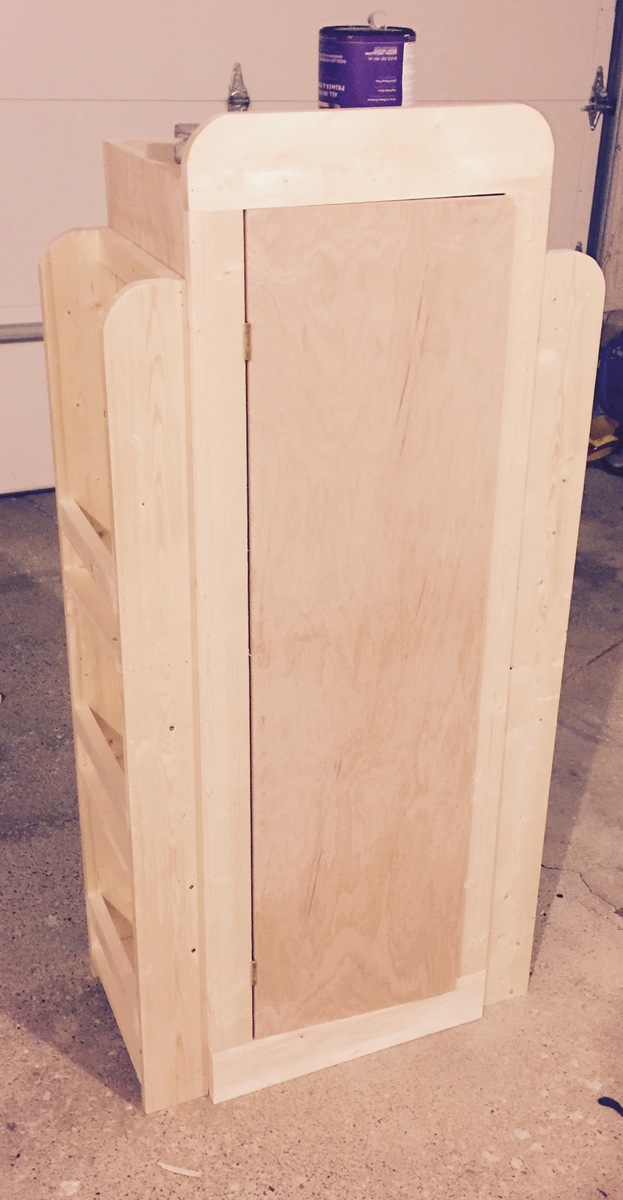
Tabletop Chalkboard Easel

Submitted by spiceylg on Thu, 10/17/2013 - 01:47

First project for upcoming annual craft show. Guessed on cost as we bought 2x6s and 2x12s on clearance and ripped them down ourselves for a cost savings. Used beadboard for the chalkboard because I got a slightly damaged 4'x8' sheet for just $3.95. Have to say that it's not the smoothest so I'd definitely go with something like luann next time. Still cute!

That last picture shows the second batch I made for the following year. I modified the plan to simplify it for me and use less materials by making it just one-sided.

Estimated Cost
$8-10
Finish Used
Olympic paint (not a huge fan). Sorry don't have color names. Purple color from oops paint at Lowes, Valspar, I believe.
Recommended Skill Level
Beginner

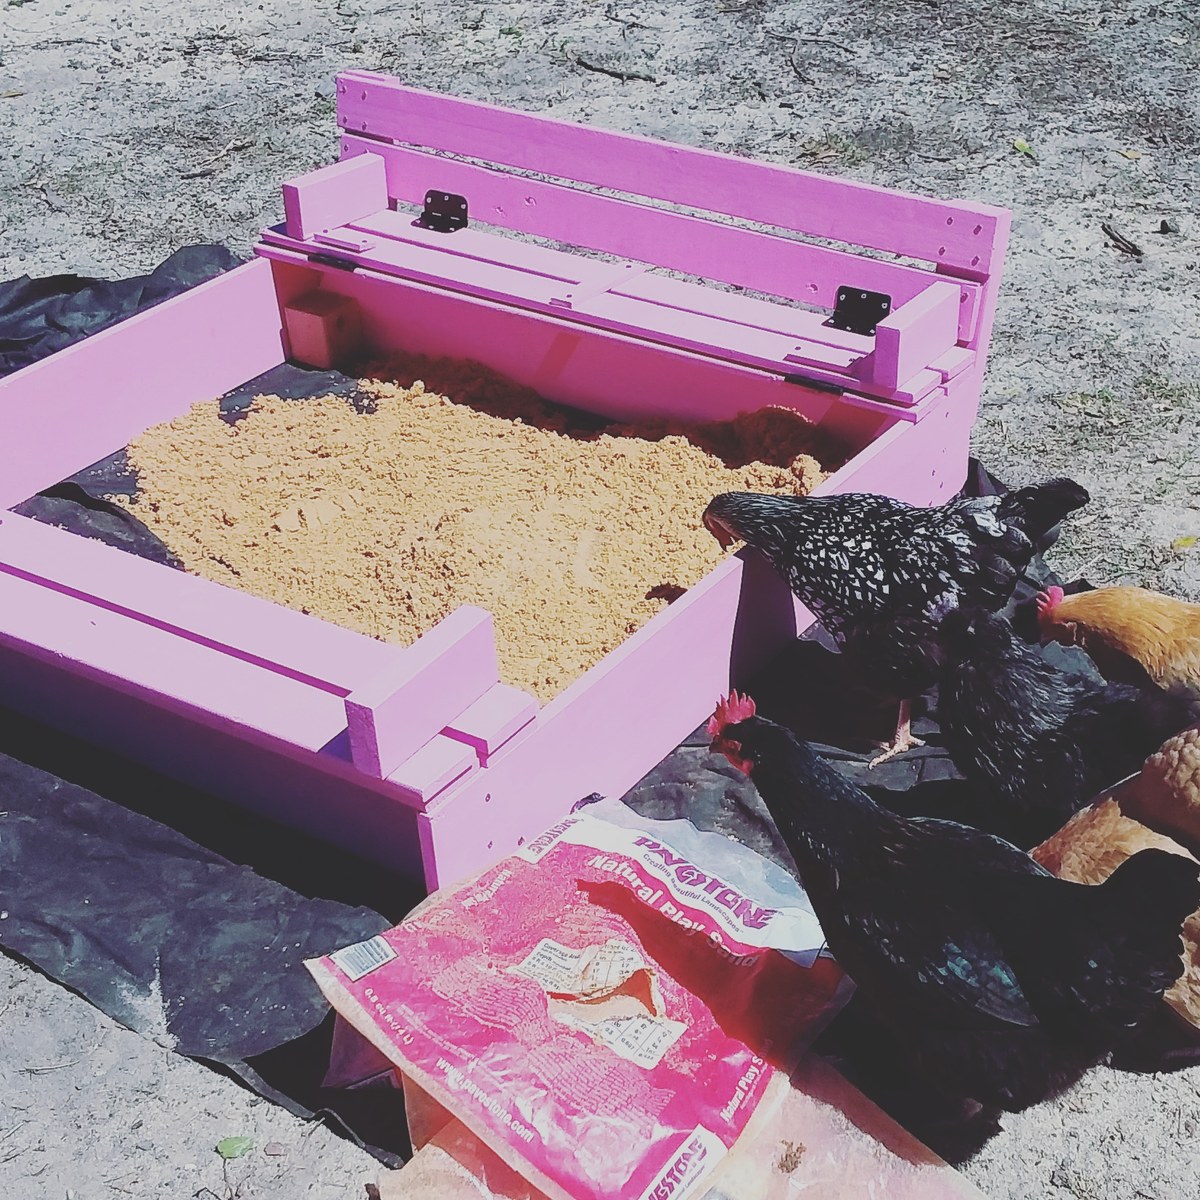
Pinkpinkpink sandbox

Submitted by Anonymous (not verified) on Sat, 03/23/2019 - 11:26

I let my kindergartener  choose the color, so we have a pink sandbox! I live that this has a full lid, as the sand generated a lot of interest from our chickens! Plan egg followed as written, with a few minor detail changes, love it! Note, 320 pounds of sand was a just right amount for this sandbox!

Built from Plan(s)
Estimated Cost
50, but I used heavy gate fixtures and expensive exterior paint and an additional finish, it could be made for less.
Estimated Time Investment
Day Project (6-9 Hours)
Finish Used
Behr satin finish exterior in high maintenance pink
Recommended Skill Level
Beginner

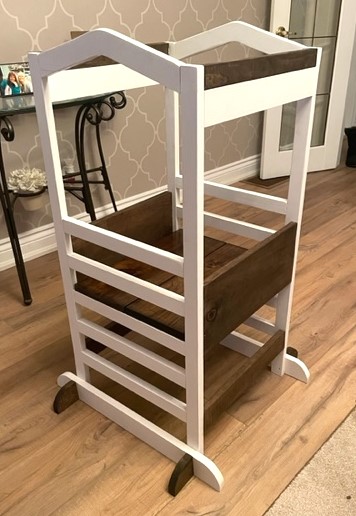
The littlest Helper Tower

Submitted by Anonymous (not verified) on Fri, 02/17/2023 - 04:54

I built this Tower from plans found on Ana's site.
Decided to do with a two tone colour.
I'm very happy how it turned out.
All three Grand Kids fit in there and love it.

Thanks Ana

Built from Plan(s)

My first build - storage daybed!

Submitted by lbadger on Tue, 10/25/2011 - 06:50

I finally did it! I purchased mattresses for our two girls (2 & 4) which have been just sitting on the floor for a while. Wanting to build some simple frames just to get them off the floor I ran across Ana's site. Oh boy! This site is amazing! We have a small house with very little storage so when I saw the storage daybeds I was smitten! The extent of my power tool comfort zone is dimensional lumber and a compound miter saw. Not plywood and definitely not the table saw, so I was a little leery about starting this project. In the end, I tackled it and am so glad I did! Even used the circular saw! Full disclosure, there's probably nothing square about the thing (see additional photos), but like mulch in your garden, trim covers a multitude of sins! I learned a lot and will take my time measuring and squaring for the next one. Also, as some readers commented, I would prime and do at least one coat of paint prior to assembly (that part was definitely time consuming). I also wanted the storage to go all the way back to the wall so I didn't include the center piece of plywood but instead trimmed down a 2x4 to a ~2.5" width and glue/screwed in into the plywood at the top center under the top piece. So far so good! On the finish, I wanted a distressed finish and started using a dark walnut stain but did not like how much it adhered to the paint as well as the sanded down edges. When I picked my daughter up from pre-school that day they had been doing flower rub pictures. I saw that the centers of the black-eyed susan’s and cone flowers came out a beautiful brown color. So when I got home my daughter and I went out and cut some old flower stems and we finished the other two cubby cubes that way. I think it turned out really well! I didn't end up top coating it with anything, I liked the scuffed up paint look. A big THANK YOU to Ana for doing all this work so we can too!
Built from Plan(s)
Estimated Cost
$135
Estimated Time Investment
Weekend Project (10-20 Hours)
Finish Used
Benjamin Moore Smoke and Dark Walnut stain for distressed finish on one cube which was replaced with the centers from our black-eyed susans and cone flowers.
Recommended Skill Level
Beginner